
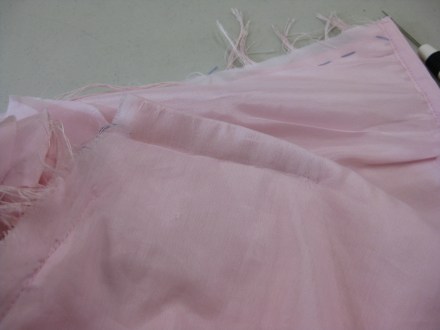
During construction – before hem and final steam press.
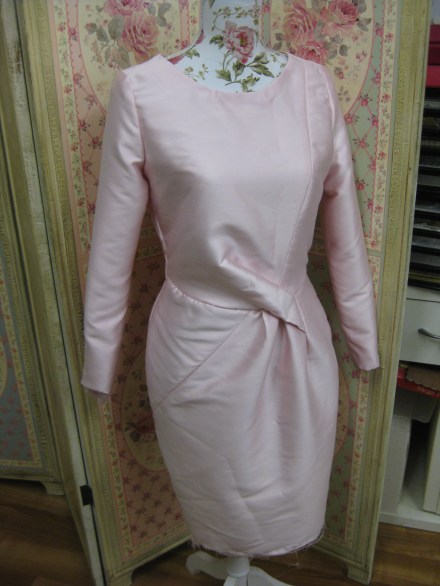
With its flattering, asymmetrical lines and interesting front pleat detail, this dress makes a versatile wardrobe piece.


The description on the pattern envelope states that it is intended for medium knits only. However, by making a woven toile for fitting, any necessary pattern alterations can be made so that the fit is adjusted to accommodate a woven fabric. The only changes needed for this garment were a little more width across the back and front at bust level.
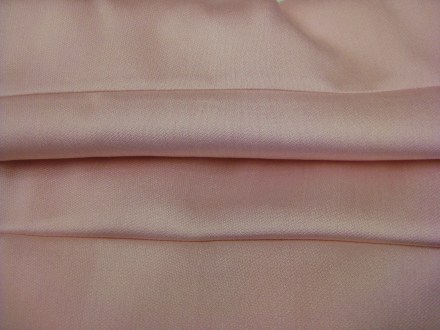
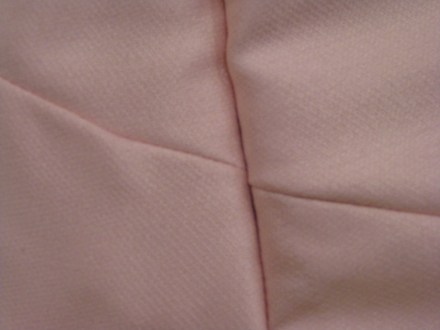
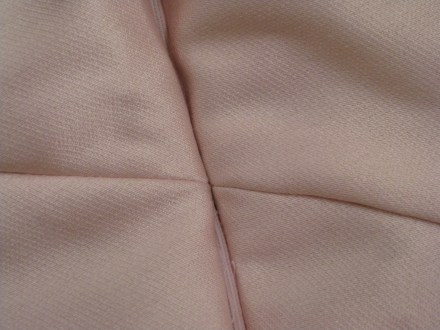
The fabric is Italian silk and polyamide was purchased at Alla Moda in Brisbane. It is a most unusual fabric – the warp threads are artificially manufactured polyamide (an extremely fine fibre sold as nylon in all parts of the world ) and the weft threads are silk woven in an intricate diagonal twist pattern. It is beautifully soft with a slightly springy hand and is resistant to creasing.
The dress has been underlined with a silk and cotton blend to support the fabric and minimise the seam shadows with occur when using a plain fabric in a pale colour.
Underlining and Marking (especially intersecting points and pleats on front)
This garment is a perfect candidate for underling and, while it is a relatively simple style, meticulous marking is needed to ensure that the diagonal lines align perfectly and that the unusual attachment of the front bodice to the front skirt section is easily accomplished. Pleats in the skirt also need to be accurately positioned.
The garment has only the sleeves cut from double fabric. The remaining pieces were cut single layer and the fabric pieces (with pattern still attached) placed on grain on the underlining fabric which was then cut. This ensured accuracy in grain and fabric edges.
Stranded embroidery floss is excellent for thread marking as it is quite weak (2 strands only at a time) and easy to remove.
All fabric and underlining pieces were tacked together at the cut edges of each piece. 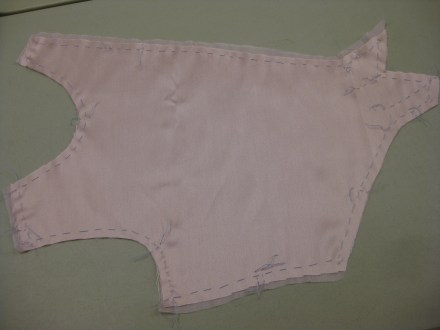
Sometimes the difference in weights of the fabric and the underlining can cause distortion at the garment hem. To alleviate this, a 25mm fold has been added to the underlining approximately 15cm above the finished hem. This creates a jump hem so the underlining will not pull against the garment fabric over time. The fold was added before the final tacking of the underlining to each lower garment piece and to the sleeves.


Tip: Make a diagonal stitch when turning corners. This stitch can be snipped later for easy removal of individual sections during construction.


Notches are marked with short running stitches.
Dart points and dots indicating the ends of pleats are marked with a single stitch tailor’s tack. Continuous tailor’s tacks have been used to mark the fold lines for pleats.


To ensure layers of fabric stay together when sewing pleats and darts, a tacking stitch was applied down the centre of these elements.
For later removal of the tacking, a pair of thread tweezers is a very helpful tool.
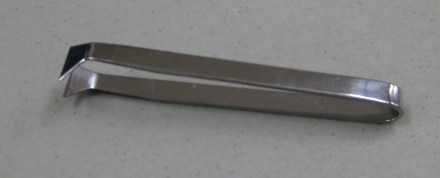
Clover thread tweezers are perfect for removing stubbon thread tracing threads
Staystitching and Stay Tape on Bias Seams
Machine staystitching using a small stitch length (1.5) was applied close to the seam line, directionally around the neckline. This was also done close to the diagonal seam lines to minimise stretching of bias grain when seams were pinned in place.
Narrow strips of lining selvage were tacked in place along diagonal seam lines and were permanently attached as seams were sewn. This will help the garment to keep its shape and avoid stretching in the skirt when it is being worn.


Finishing Darts
Darts have been sewn before being slashed open and edges catch stitched to the underlining so that they remain flat and in place.
Since the garment is not lined, a strip of straight grain lining fabric has been hand stitched over the opened darts. This gives a neat finish and prevents future fraying of the cut edges.


Seam finish
The pattern instructions suggest that the front bodice seam is pressed towards the centre and diagonal seams and waist seam are pressed towards the top of the garment.
This results in quite unattractive bulky ridges in all of these areas, especially when using a fabric with a springy hand and a shiny surface.
Top seam with seam allowances pressed open; bottom seam with seam allowances pressed to one side – very bulky in this fabric
A better way with this fabric was to bind all the seam edges with bias strips (Hong Kong finish) and gently press the seam allowances open.
The strips were marked on bias cut lining fabric and carefully cut with scissors before being pre-shrunk. I started with 4cm strips but this needs to be tested on scraps of fabric first as not all fabrics will shrink to the same degree.
I used a 25mm bias maker to make the strips
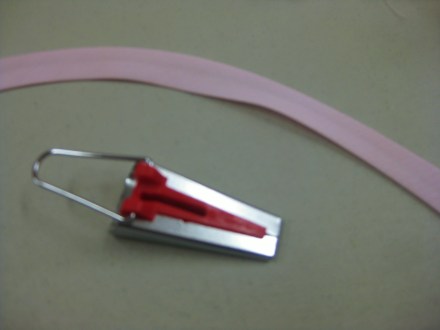
25mm bias maker used to press strips and shape as needed
So that the seams remain open during the life of the garment, the seam edges have been catch stitched to the underlining.


The result is lovely smooth lines on the right side of the garment.
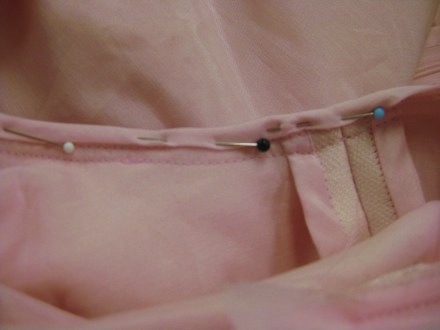
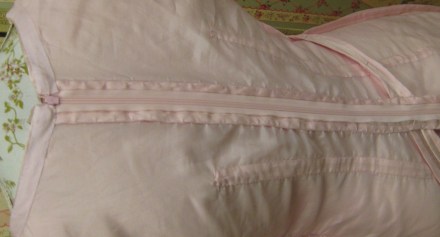
Zipper
An invisible zipper has been inserted. Lining up the diagonal seam was rather tricky though. I usually attach one side of the zipper and mark the tape on the other side to make it easy to line up as the second side is stitched.
However, with diagonal seam, the position of the seam line changes with the alignment of the roll of the fabric towards the zipper coil once the zip is sewn in place.
Oops – diagonal seam does not align

Zipper tacked in place on second side so alignment can be checked again
Success! – much better alignment
It took a couple of tries with tacking the second tape in place before stitching to gauge the exact position of the second side but the result was worth it.
Pleats
The left front of the skirt features pleats at the waist. Careful marking made it quite easy to position the folds in the correct direction before the folds were tacked in place.
Tip: When folding pleats or tucks, it is important to remember that the directional arrows on the pattern apply to the fabric right side up. Thread marking makes accuracy so much easier.
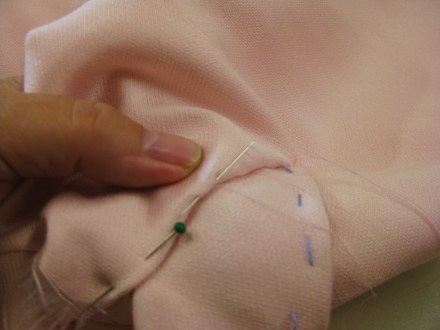
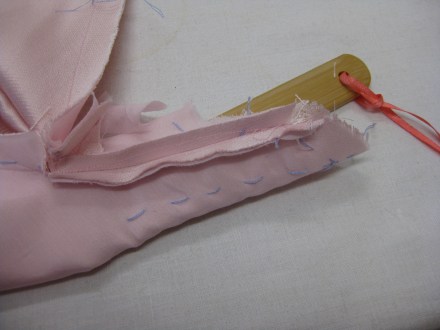
The folded extension from the bodice is sewn into a pleat on the skirt. Positioning of this element is also critical. Once the end of the extension was pinned in place, it was fell tacked so that it would not move when stitched from the wrong side.
Fell tacking (sometimes called slip basting) is a very useful hand technique to control the exact positioning of fabric layers. The needle is inserted along the upper fold and then the piece to be joined, making sure that the needle penetrates right through all layers. Once the tacking is completed, an accurate stitching line has been marked on the wrong side of the fabric.
Fold of pleat fell tacked from right side to mark the sewing line for the stitching inside the garment
Pleat stitched in place
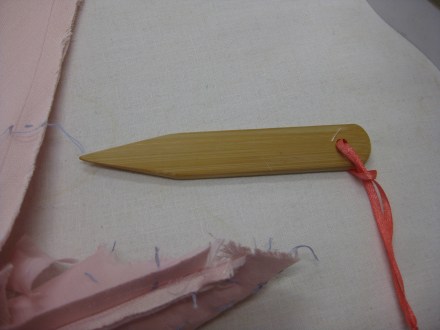
Use bamboo point turner as a pressing tool to open small seam in tubular pleat extension
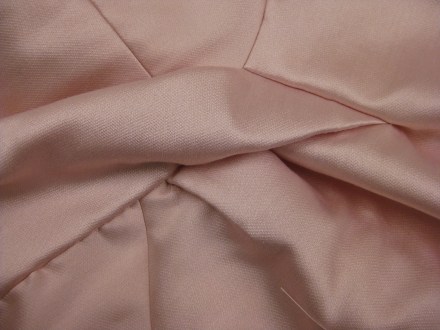
Front extension detail completed
Sleeves
Sleeves were inserted and the armhole seam allowances finished with double binding, hand stitched in place.
Armhole binding stitched in place on garment side of armholes
Armhole binding folded inside sleeve and fell stitched in place
Finished armhole
Neckline Finish
Facing pattern pieces are provided. However, to avoid show through on the finished garment, these have been replaced with wide bias binding made from the underlining fabric and applied by hand to give a softly rolled neckline finish.
Neckline has been staystitched and clipped before being soft pressed to inside – catch stitched to underlining to hold it in place
Bias strip has been shaped first with the iron before being fell stitched in place just inside the neckline and the outer edge to the underlining.
Hems
The sleeve and skirt hems have also been finished with bias binding made from underlining fabric which has been attached as it was to the neckline.
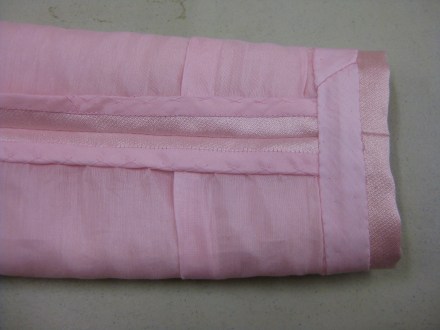
Hem and sleeve hem allowances have been turned up and a strip of 25mm bias fell stitched to the hem allowance and to the underlining.
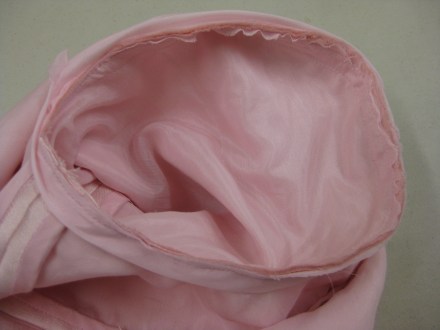
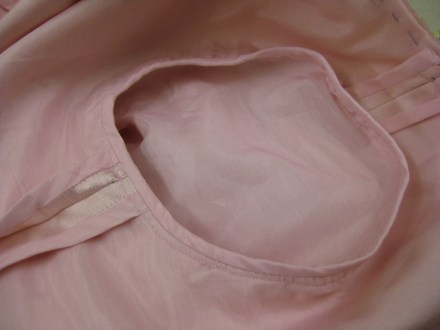
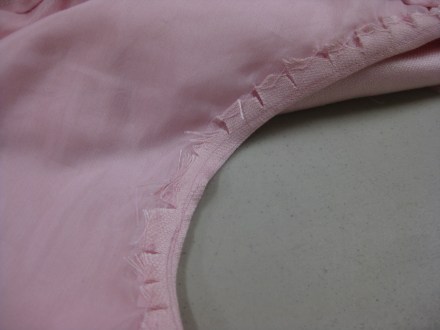
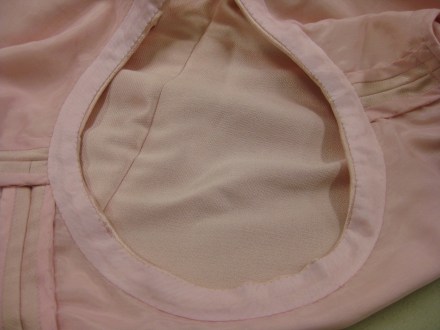
Extra Photos of Finished Inside of Underlined Garment
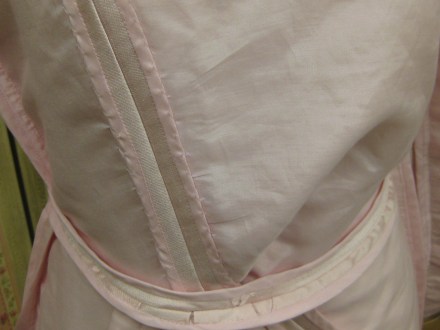
Upper back
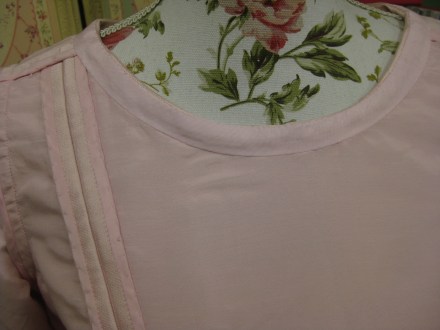
Finished neck edge
Finished front bodice seam catch stitched in place to underlining – this same method was subsequently used on all seams
A Note on Pressing Specialty Fabrics
With a fabric such as this, careful “soft” pressing is the key:
- A silk organza press cloth makes pressing much easier – it protects the fabric but allows visibility to see what is being done
- All seam allowances, darts, tucks, etc. have been pressed using strips of manilla folder between the layers of fabric to protect the front of the garment from marks which can result from overpressing
- In many areas, just steam has been used to relax the fibres without the iron touching the fabric – hands are then used for a soft, gentle press to coax the fabric into position (Photo 15)
- Outer edges (neckline, sleeve and skirt hems) are steamed and hand pressed for a softly rolled finish.
—o0o—
While not all of these techniques will be used with all projects or fabrics, I hope knowing how to get the best from special and expensive fabric will hopefully encourage anyone who is not familiar with these methods to give them a try.
