
Portions of this article were first seen in Dressmaking with Australian Stitches magazine Volume 21, Issue 4 (Facings) and Volume 20, Issue 12 (Applying Bias Binding to Curved Edges). Permission has been sought and granted for electronic use and the photos and text remain the property of Alison Wheeler – Sewing Lady.
Facings are used to finish and support the outer edges of a garment. They are most commonly seen at necklines and armholes but can also be used to finish detailed hem edges on dresses, jackets and tops, sleeves; as well as waist and hem edges on skirts and pants.
However, they are by no means the only way to finish necklines and armholes. When working with sheers, slinky or shiny fabrics, facings can give the edges too much weight and will be visible from the right side of the garment. A better option to finish these edges on these types of fabrics is to use a narrow binding.
Facings:
Most patterns include facings which are cut from the garment fabric. There are times when these instructions need to be modified.
Where a fabric is thick (for example a heavy weight wool or silk woven from thick threads), using the garment fabric for facings would result in very thick and bulky edges when facings are trimmed and turned to the wrong side. This situation also occurs at the hem edges when thicker fabrics are folded back to form the hem.
In these cases, cutting a facing from a lighter weight fabric (interfaced before being applied to the garment) would give the desired stability at the outer edge while resulting in a smoother outer edge. The weight of the lighter fabric would need to compliment the fashion fabric. Good choices to consider are cotton homespun for thick and heavy fabrics or cotton lawn for medium weight.
Consideration also needs to be given to the type of stabiliser (interfacing) to be used. Fusible interfacings seem to be the most commonly mentioned in pattern guide sheets today. However, they are not the only choice. The use of a sew-in interfacing can also give good support. Silk organza gives great body to facings and works particularly well with linen and loose weave fabrics.
Where more stiffness is needed, for example with a stand-away neckline, light to medium weight Shapewell (the sew-in variety) also works very well in keeping the neckline in shape during the life of the garment. (See blog posted 18th April – Vogue 1303 Kay Unger Dress)
Regardless of the type of fabric and interfacing used for facing pieces, the following application method works well:
Stay stitch the neckline edges – use a small stitch (2.0) just inside the seam line (see blog posted 26th April – Staystitching and Understitching).
Taping the waist line edges on skirts and pants will prevent the garment from stretching during wear:
- Use 6mm cotton tape or grosgrain ribbon

Use waist seam line on the pattern to measure the tape exactly.
- Measure the waist length from the pattern
- Stitch the appropriate seams, leaving the zipper opening, and press them open
- Mark the centre point of the tape and the garment
- Matching these reference points, pin the tape in place centred over the waist seam line – tape will cross the open seam allowances
Stitch with tape uppermost. The feed teeth will ease the skirt in place.
- Stitch in place just within the seam allowance.
Interface the facing with chosen method.
Construct the facing and clean finish the outer edge by overlocking or another method appropriate to the fabric being used.
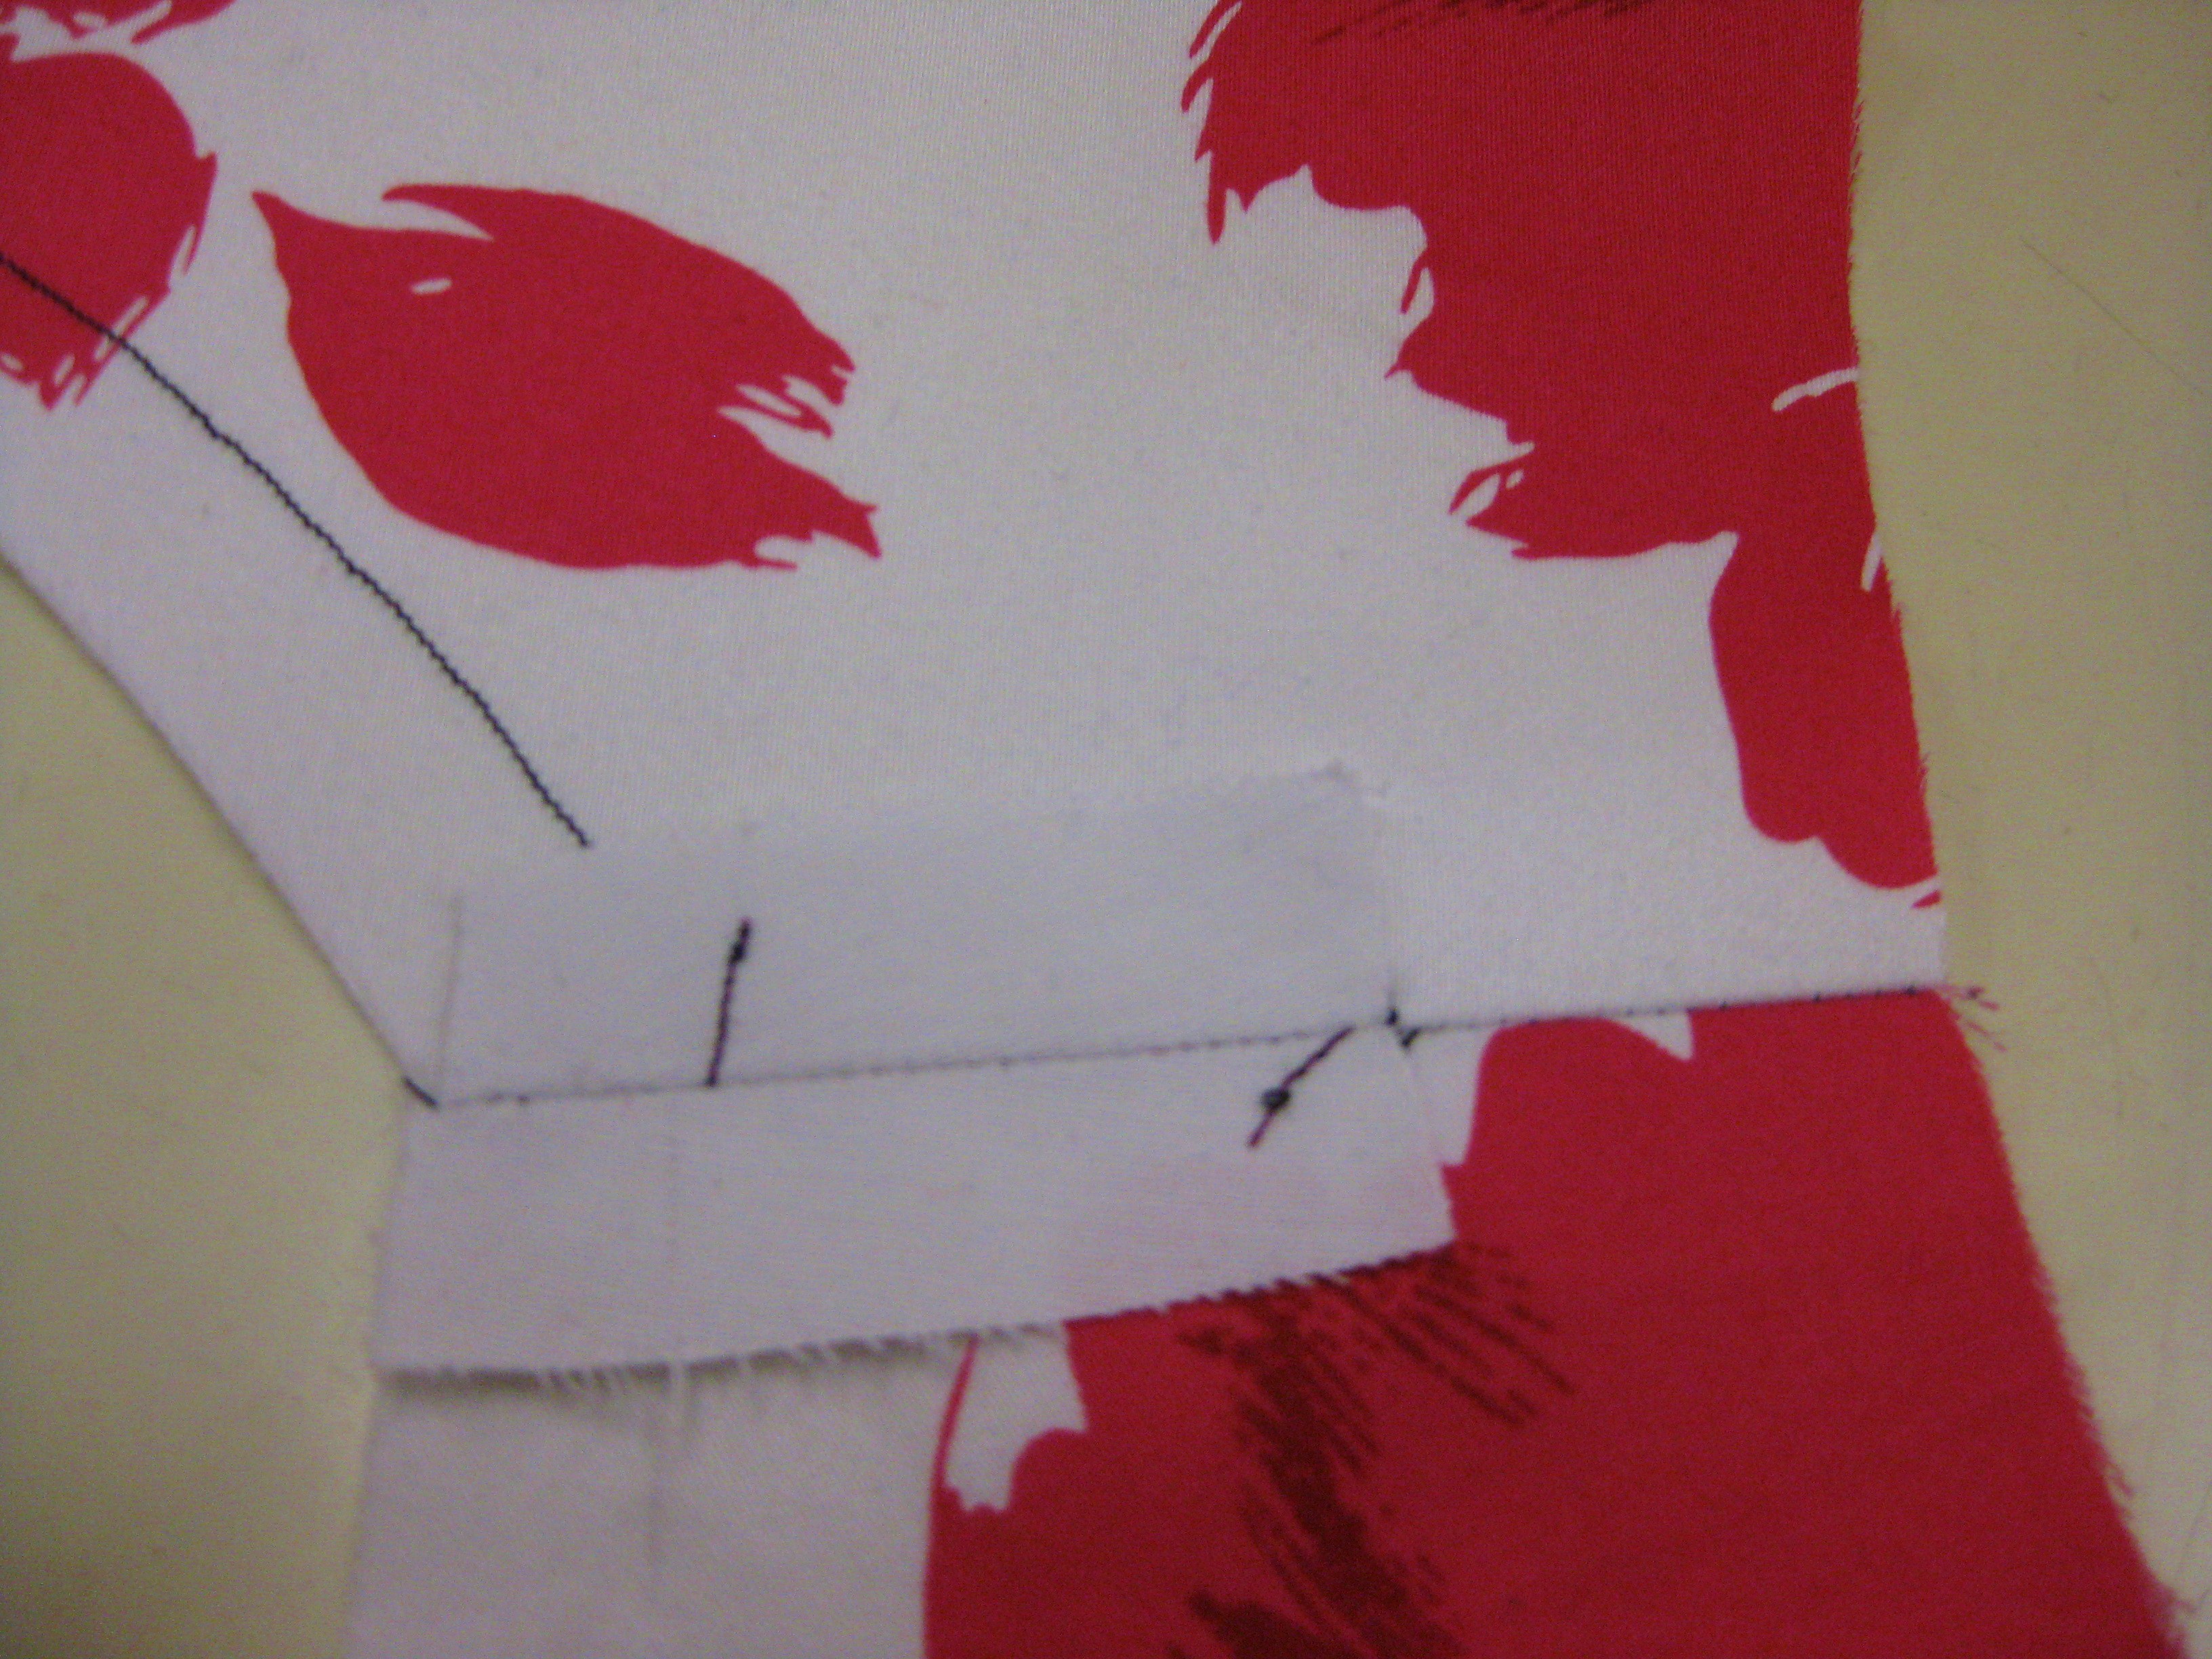
Pin the facing to the garment edge with right sides together and keeping the cut edges even :
- Place a pin in the seam allowance of the facing 15mm from the cut edge and take it through the garment in the same position – this is a great method to make sure that the seam allowances are perfectly aligned at the seam line
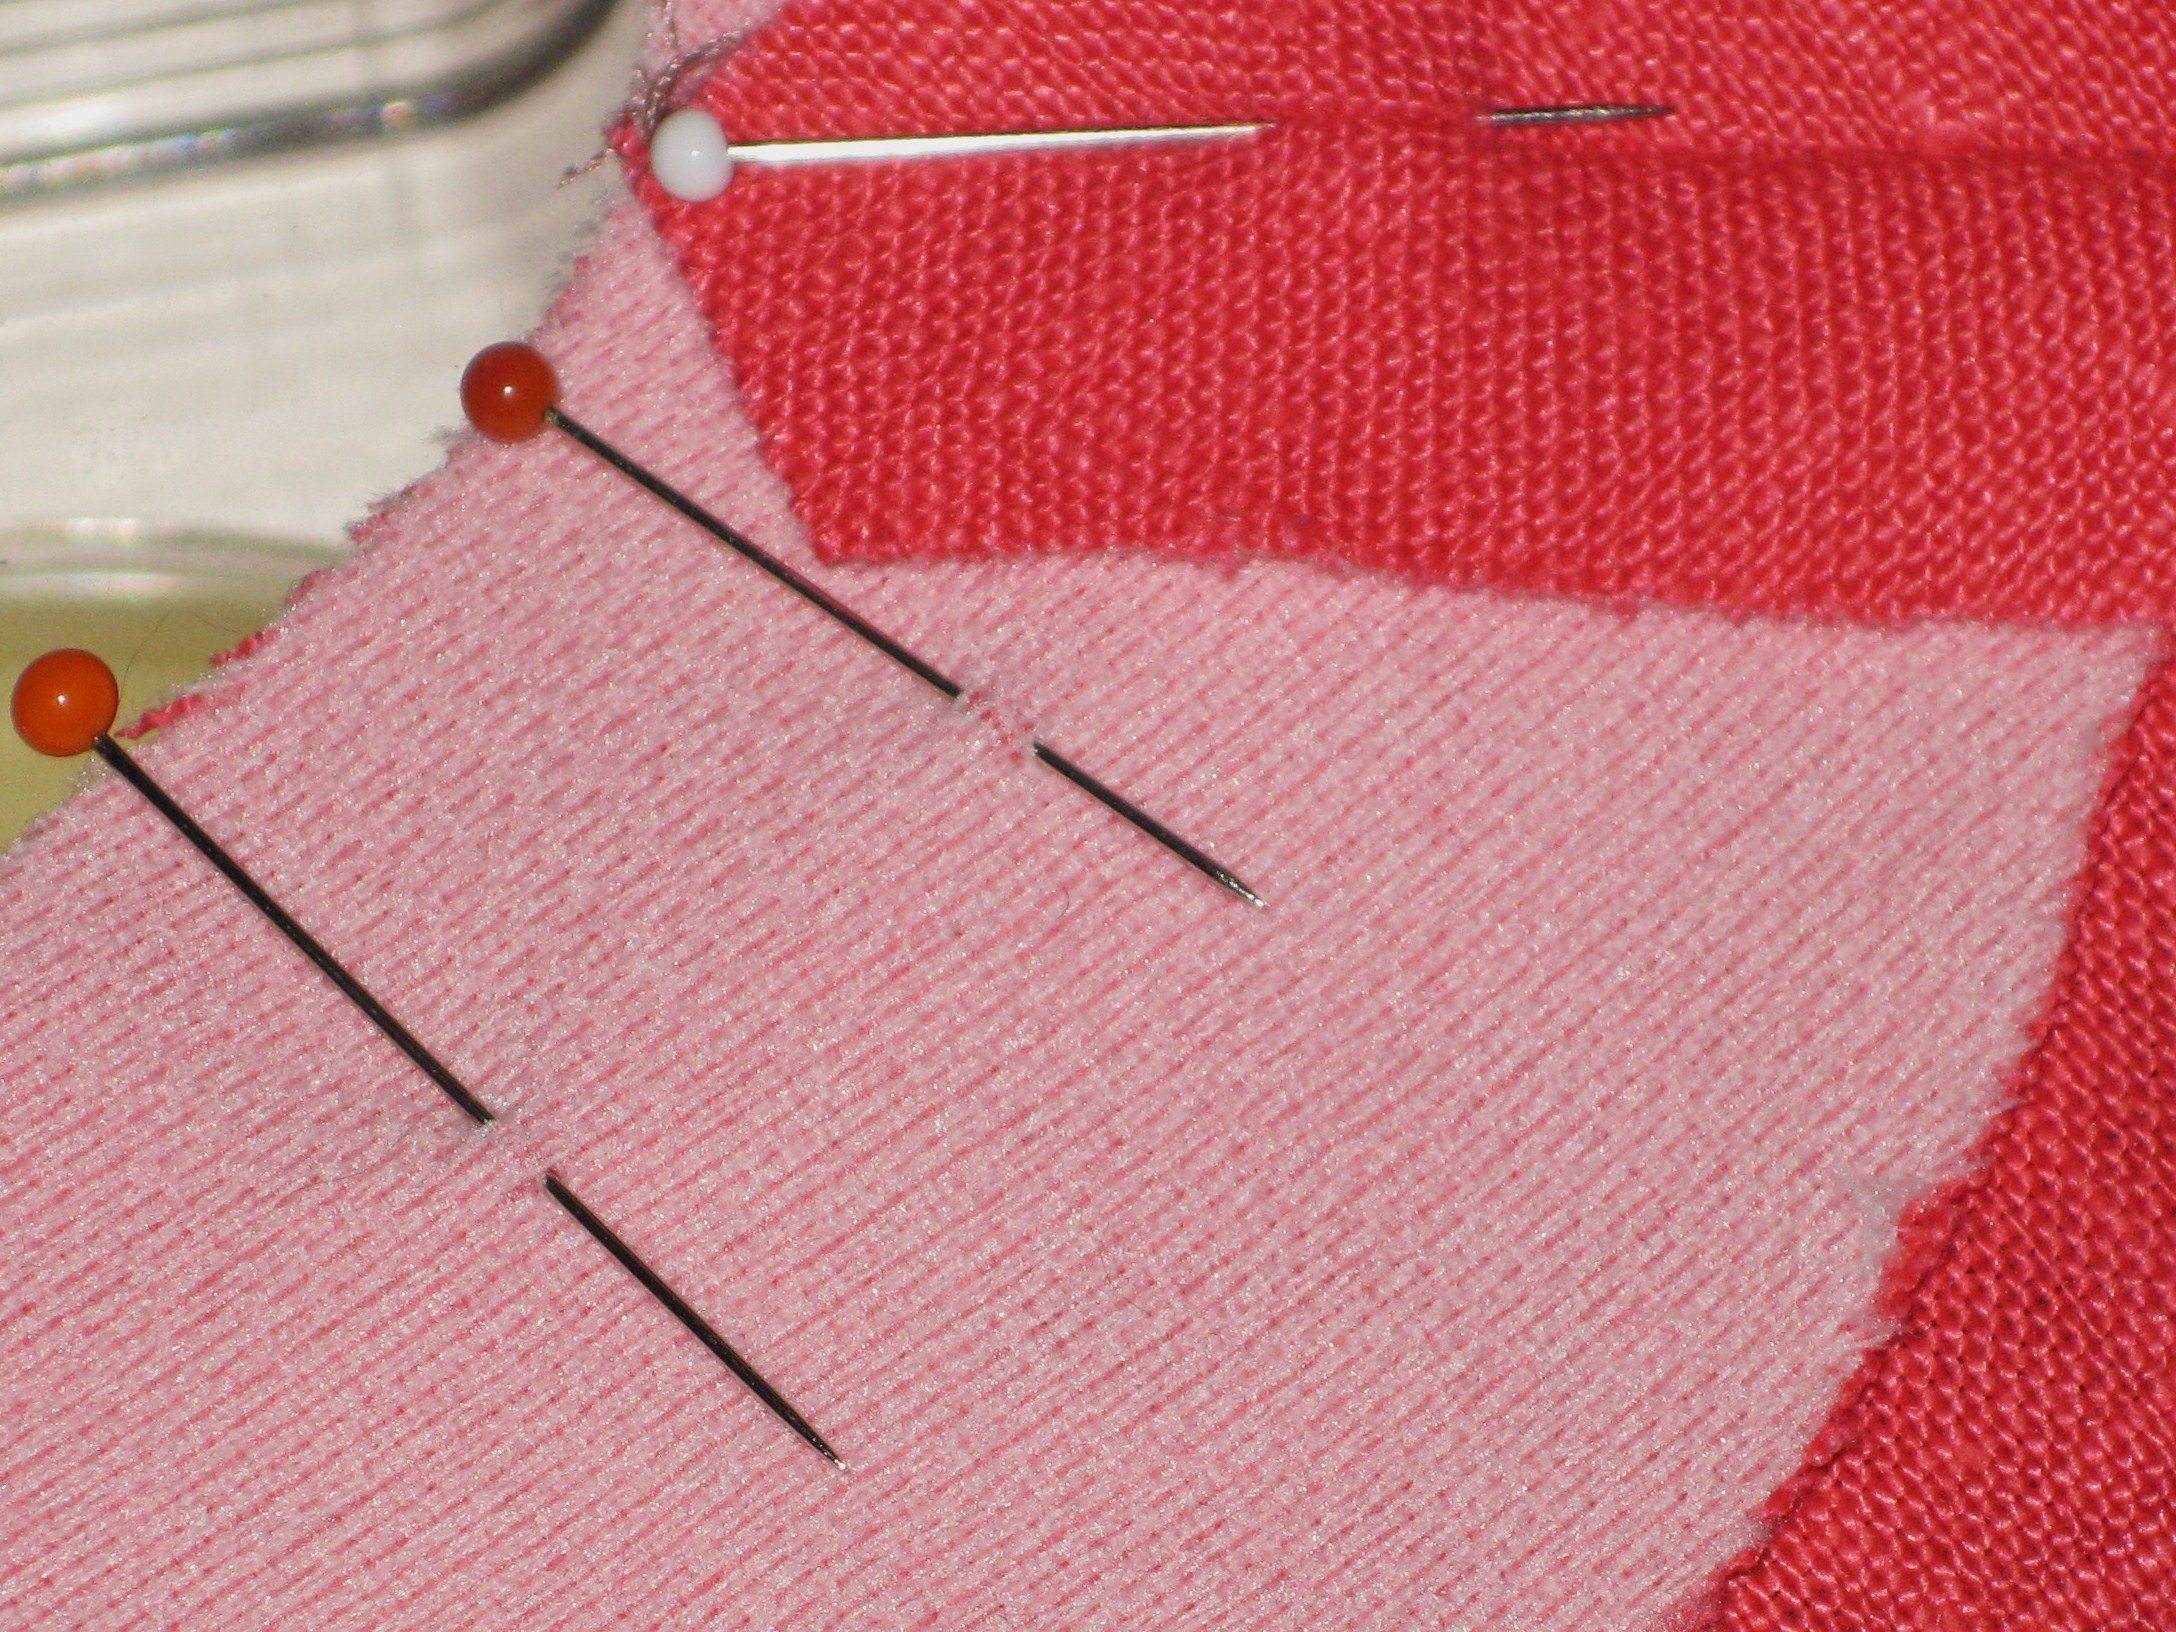
Pin facing to garment. To prevent slippage and make it easier to avoid puckers, pin at right angles to the seam and take a small bite with the pin right around where the seam line lies.
- Placing pins at right angles to the seam line and with just a tiny bite of fabric will assist greatly in making sure the fabric does not move and eliminate puckers. Be sure to remove the pins as you come to them.
Stitch the facing in place.
Press the seam to meld the stitches into the fabric.
Trim the seam allowances to between 3 and 6mm (depending on the thickness of your fabric) –
- To assess where your seam allowance needs to be clipped so that it will lie flat when the facing is turned in, fold the trimmed seam allowance towards your garment and you will see where it needs to be flattened against the fabric. Clipping will allow this to happen.

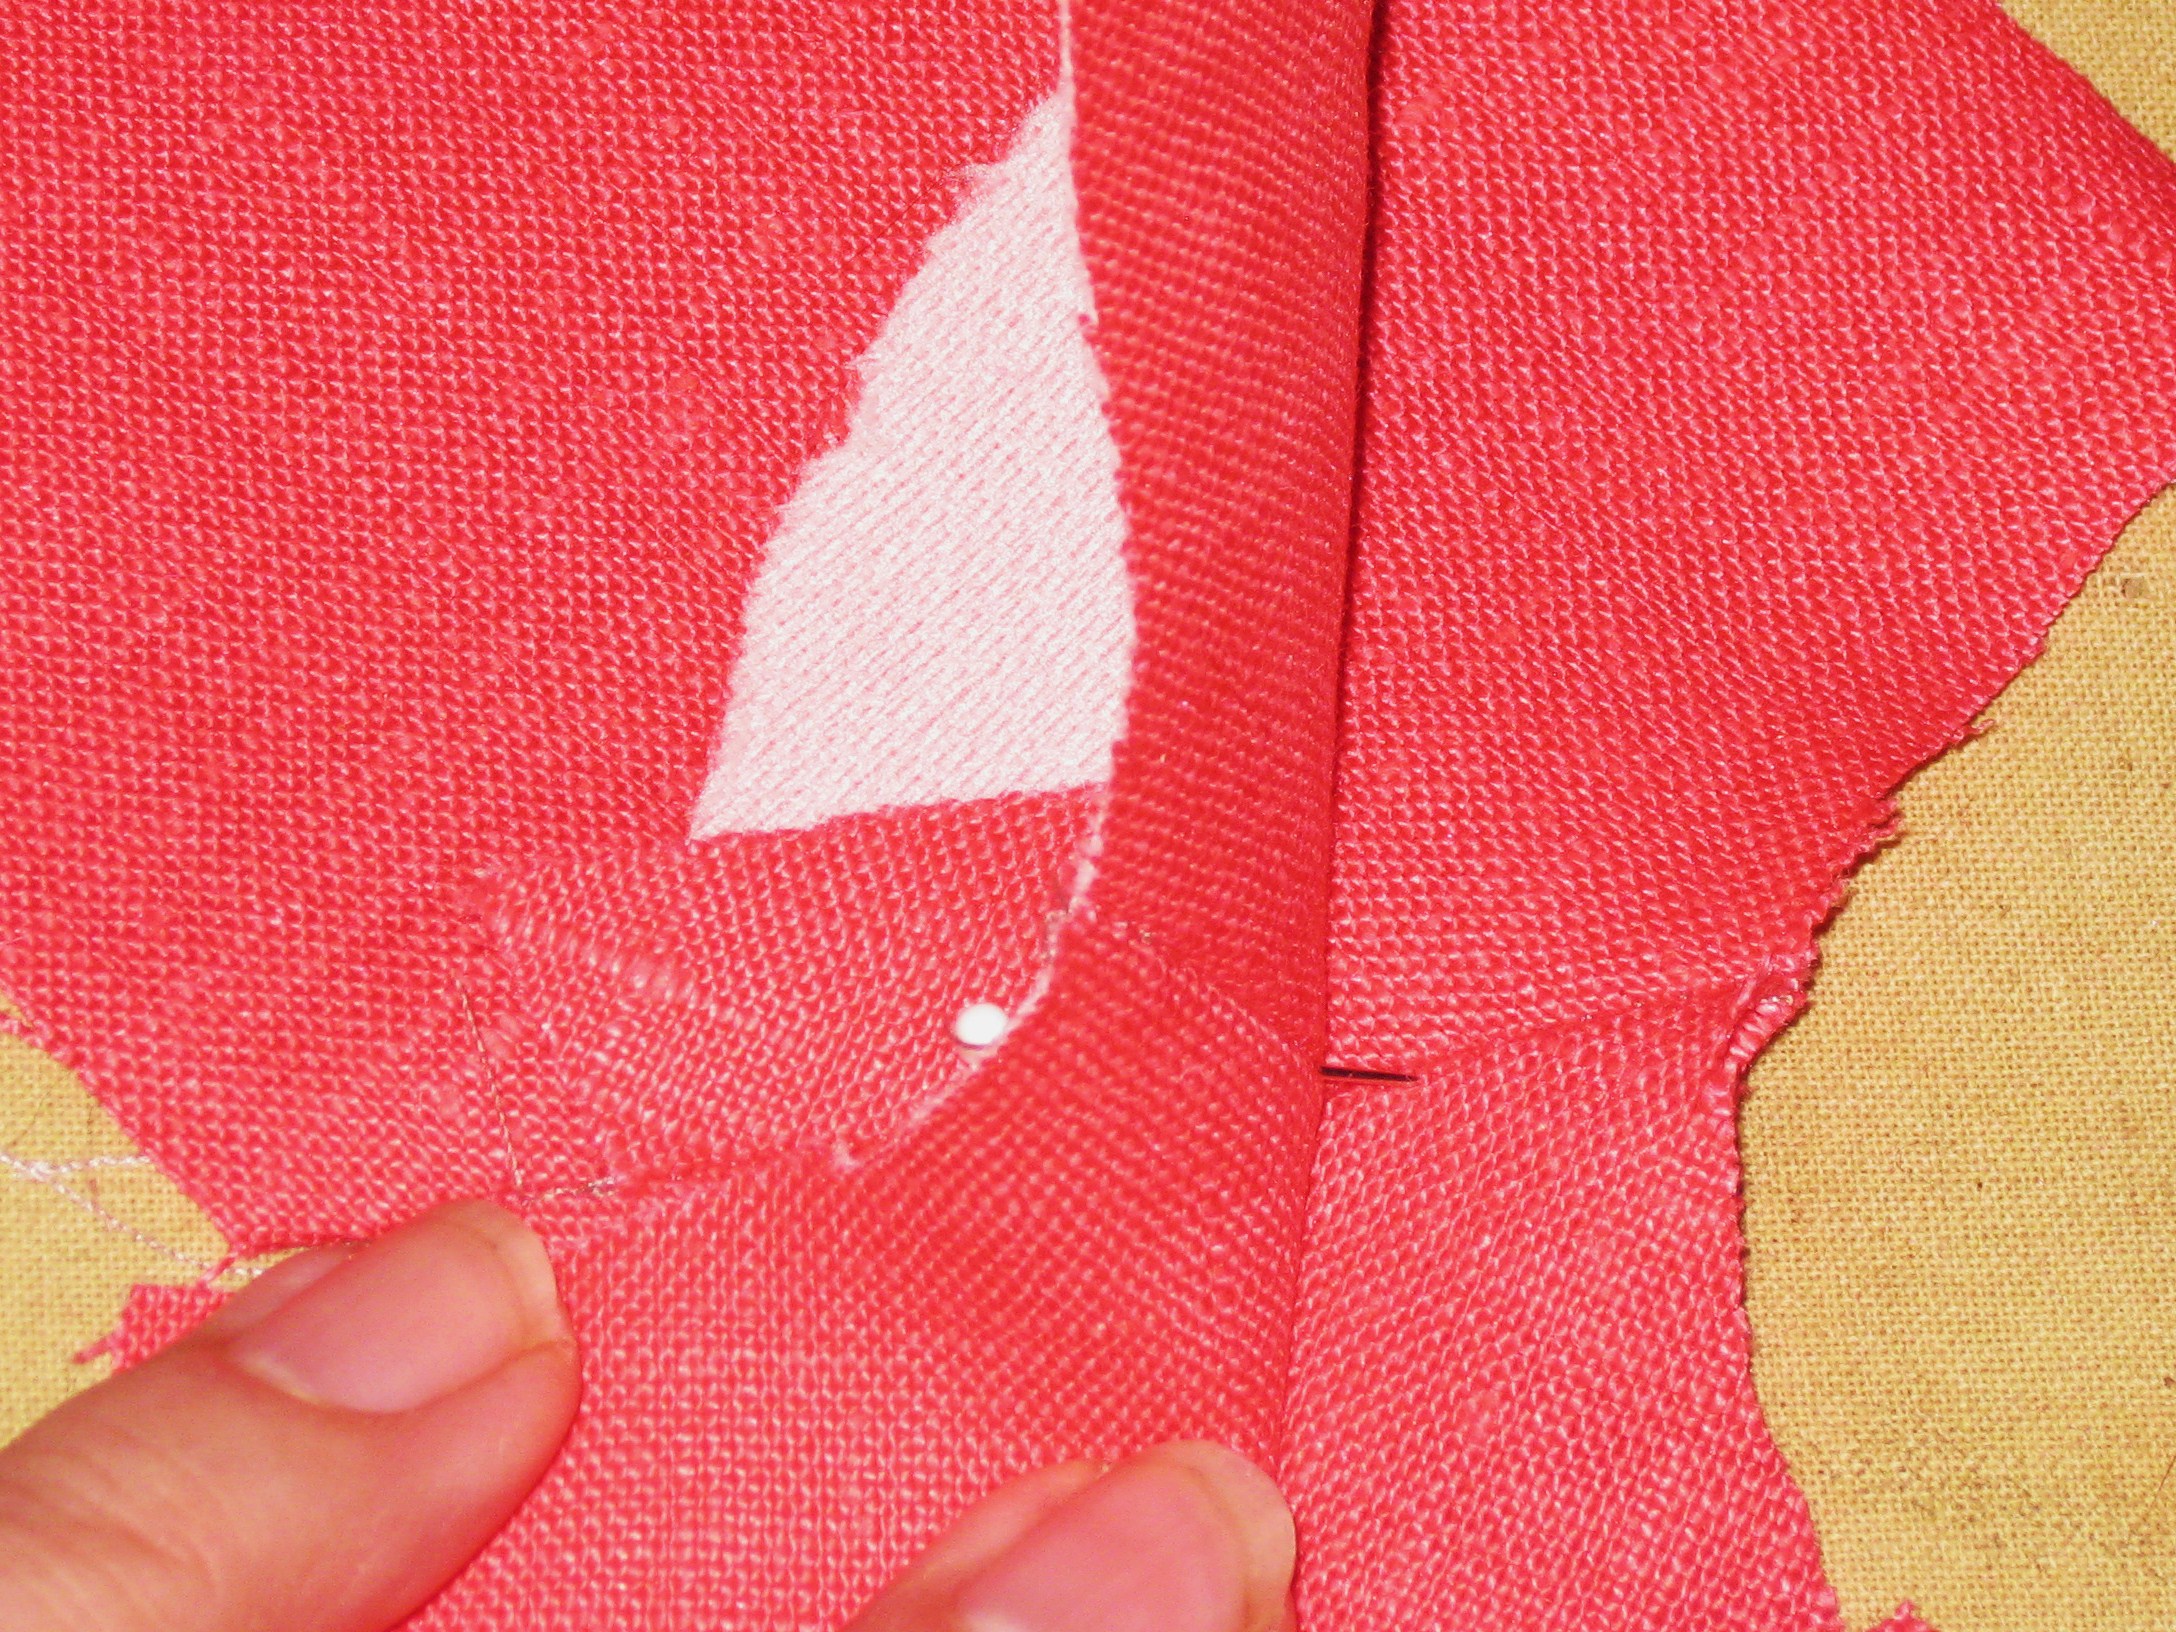
Clip seam allowances on an angle towards centre front and centre back.
- To avoid the possibility of weakening the seam, clip seam allowances diagonally to the seam line. Use very sharp, smaller scissors to do this. Simply place the tip of your scissors exactly against the stay stitching and clip.
- If your fabric is light in colour, stagger the clips on the garment edge against the facing edge so that the clips will not be visible through the face of the garment.
- When using thicker facings, facing seam allowance needs to be graded slightly narrower than seam allowance of the face fabric. This makes for a smoother, less bulky seam.
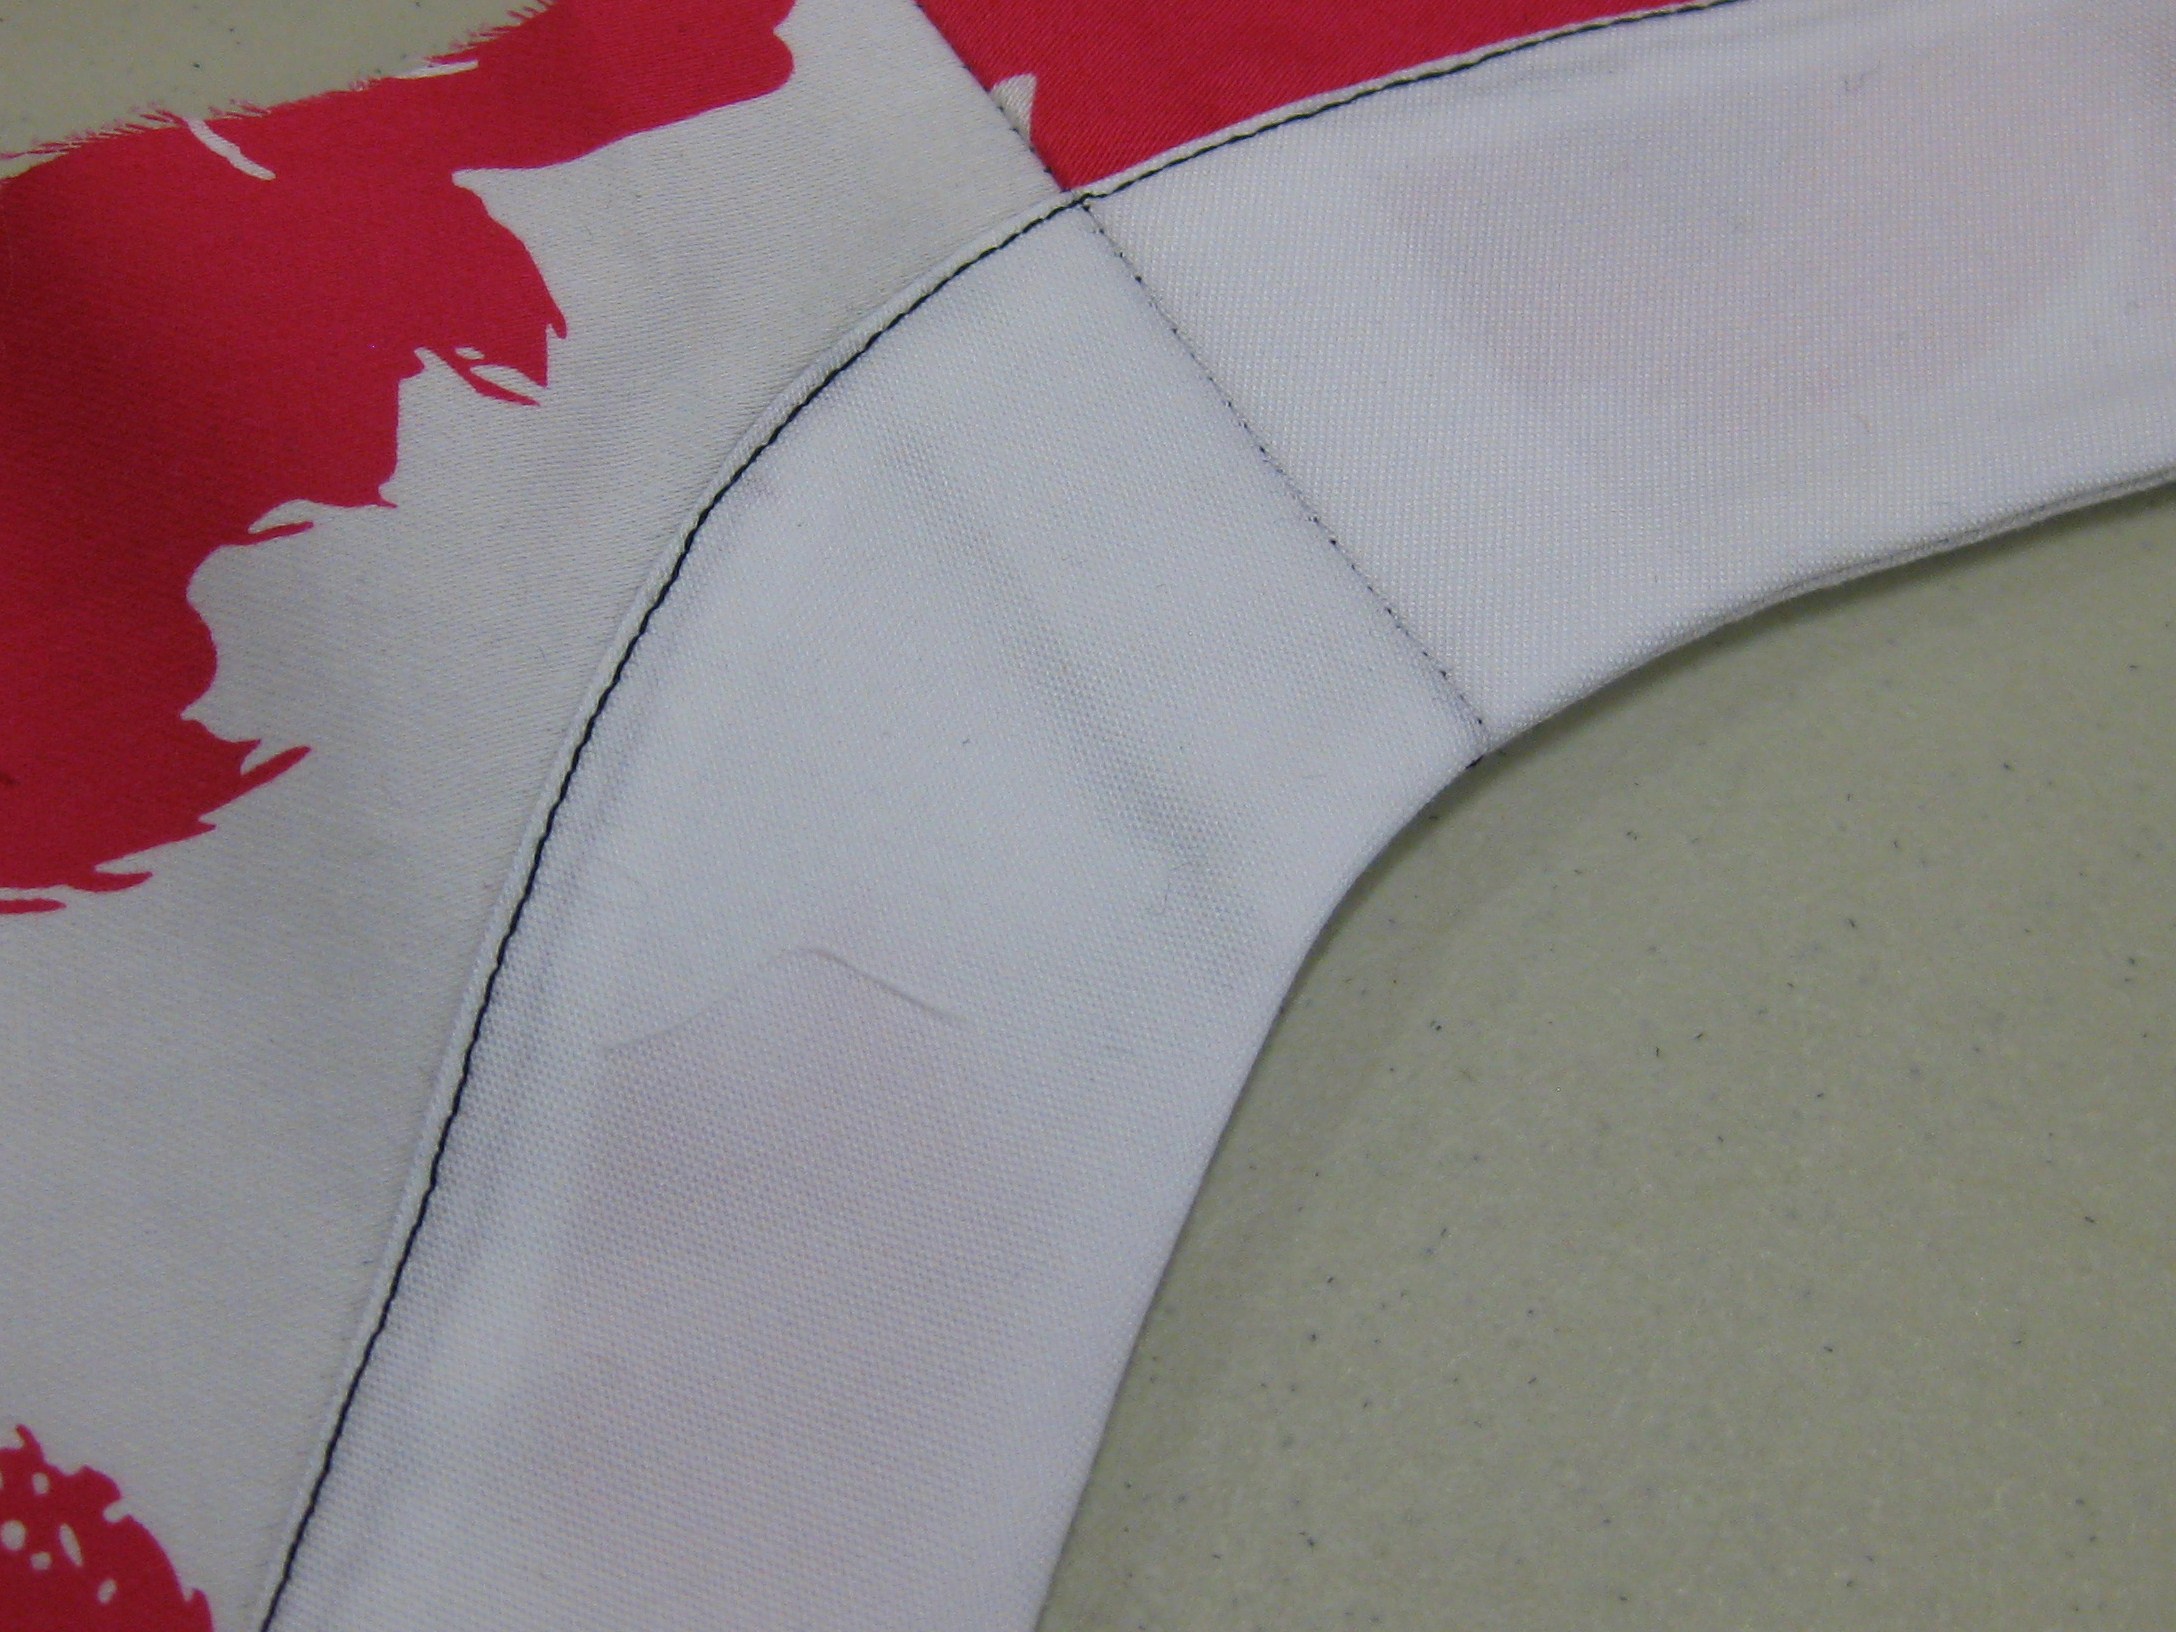
Press the seam allowance open – using a point presser makes this task much easier – and then towards the facing.
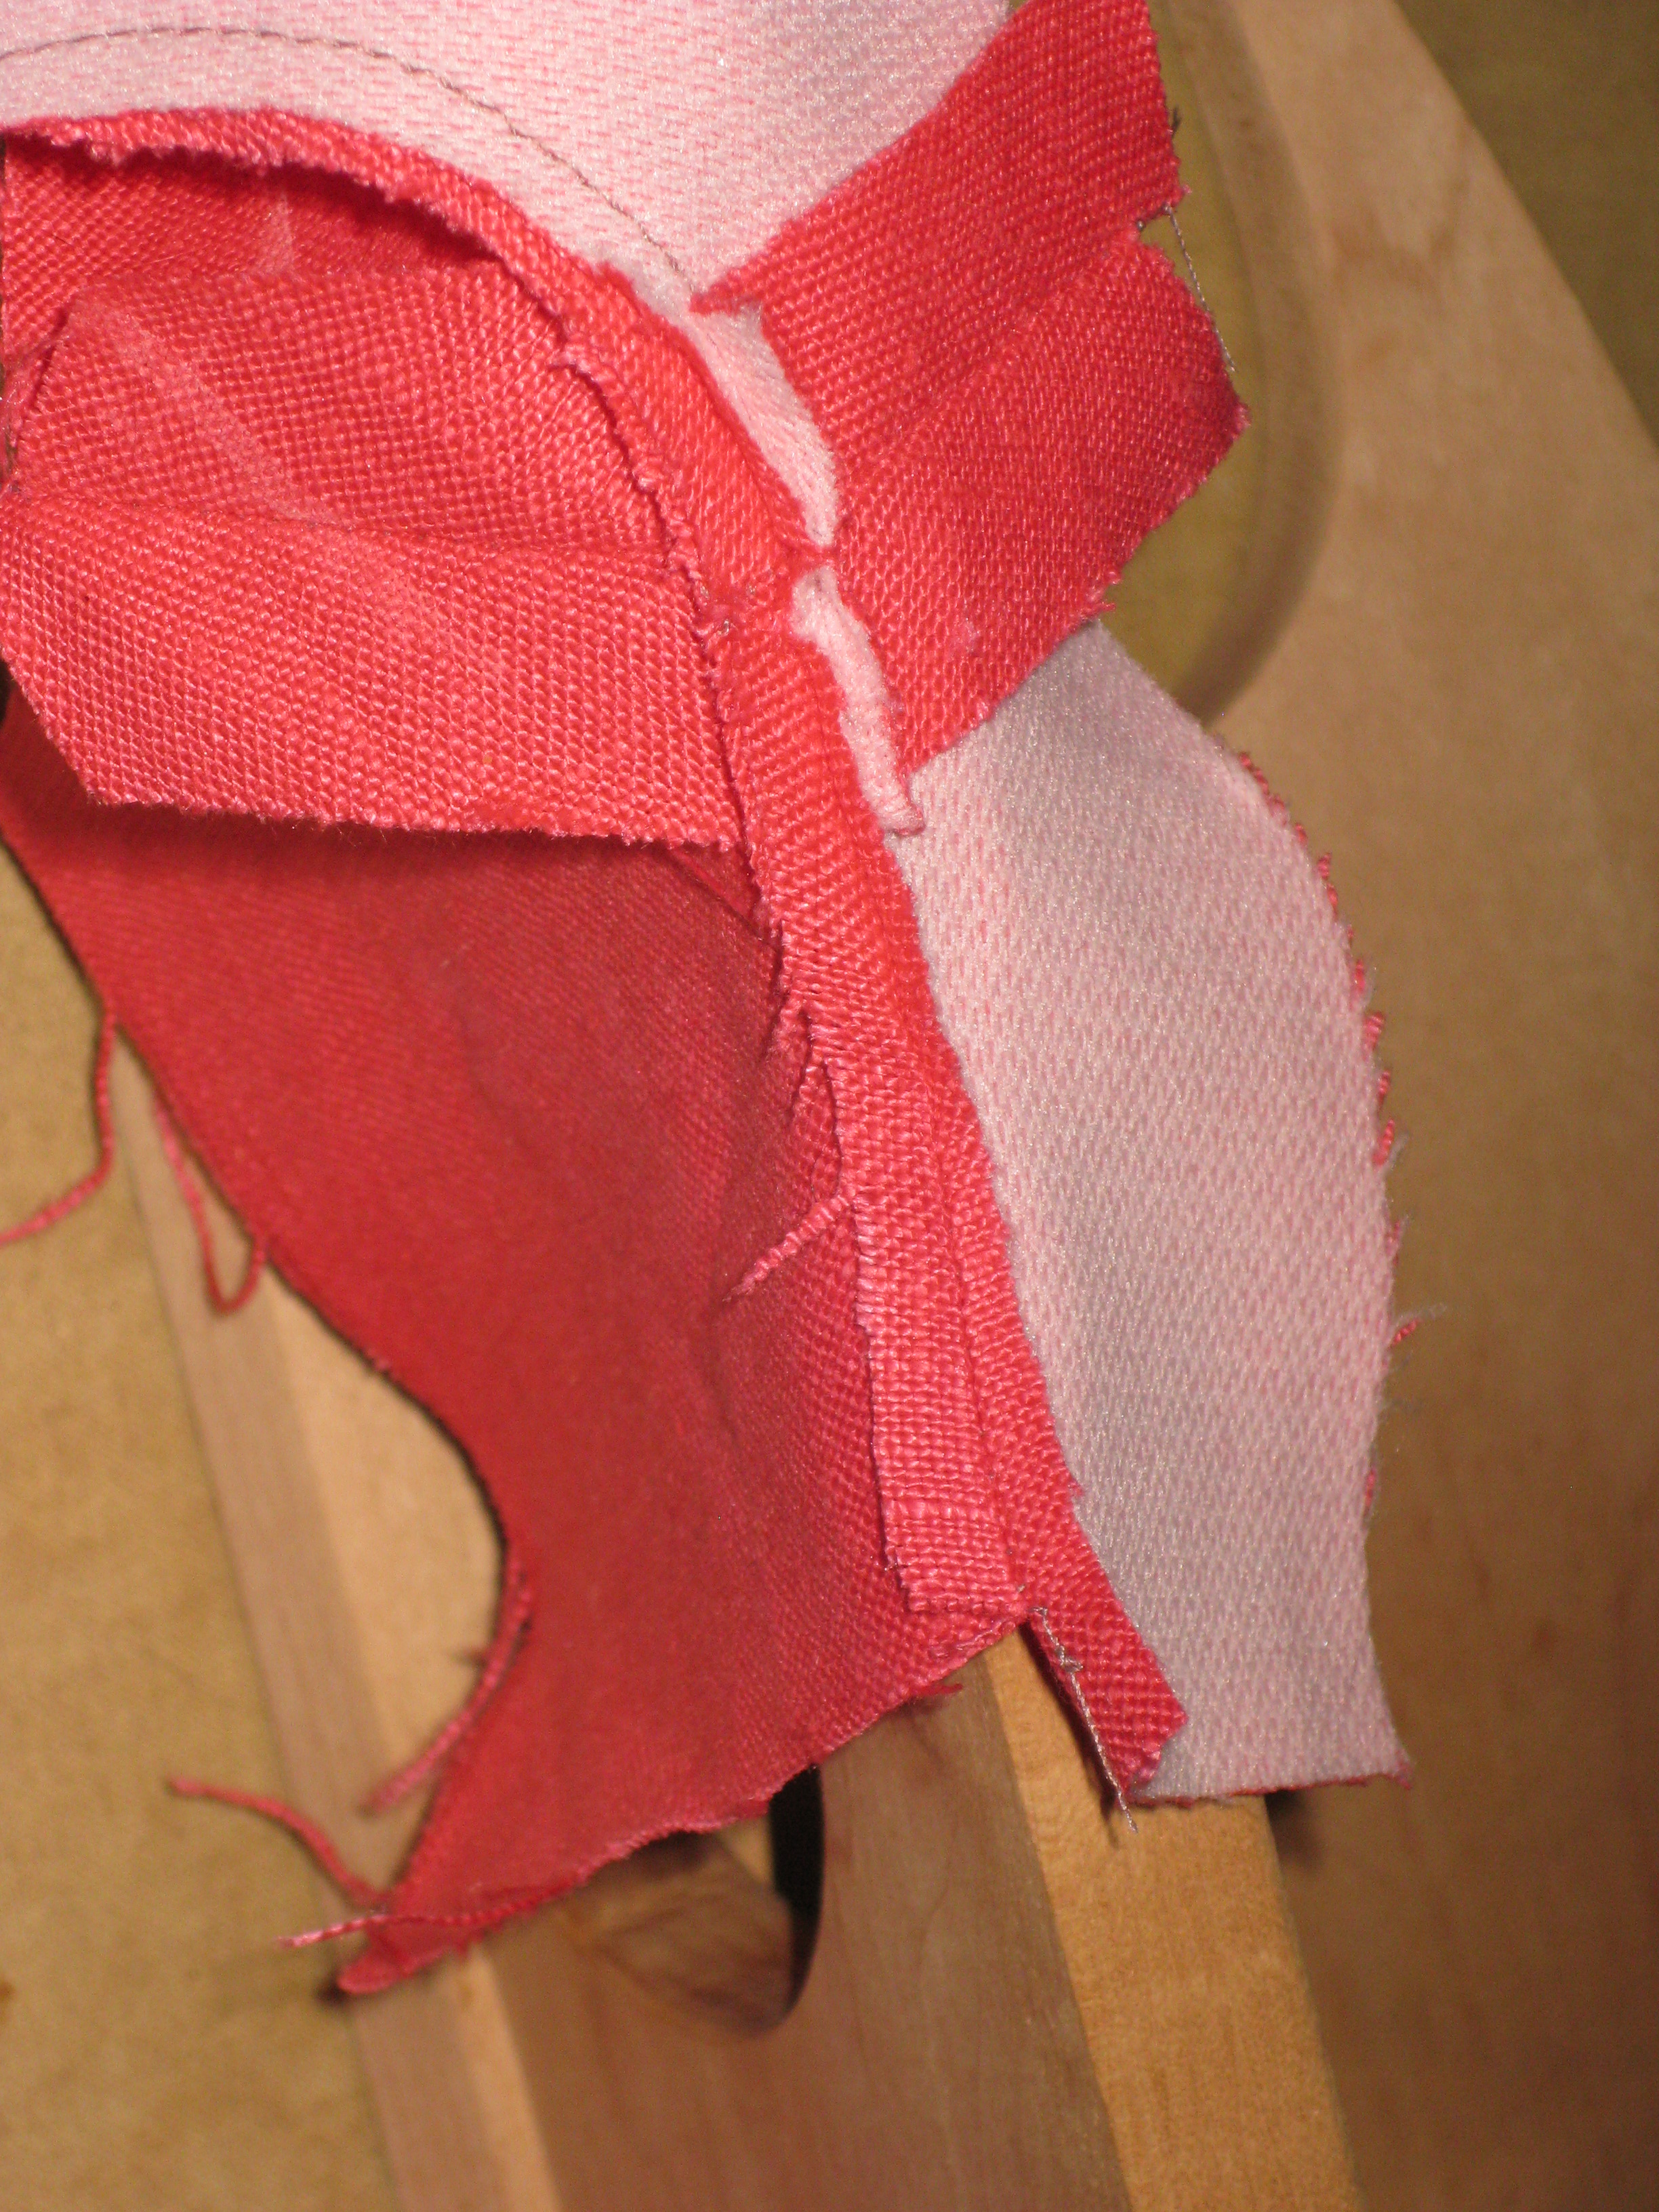
Place open seam along either a point presser or seam stick.
Facing turned to inside of garment with smooth seam allowance.
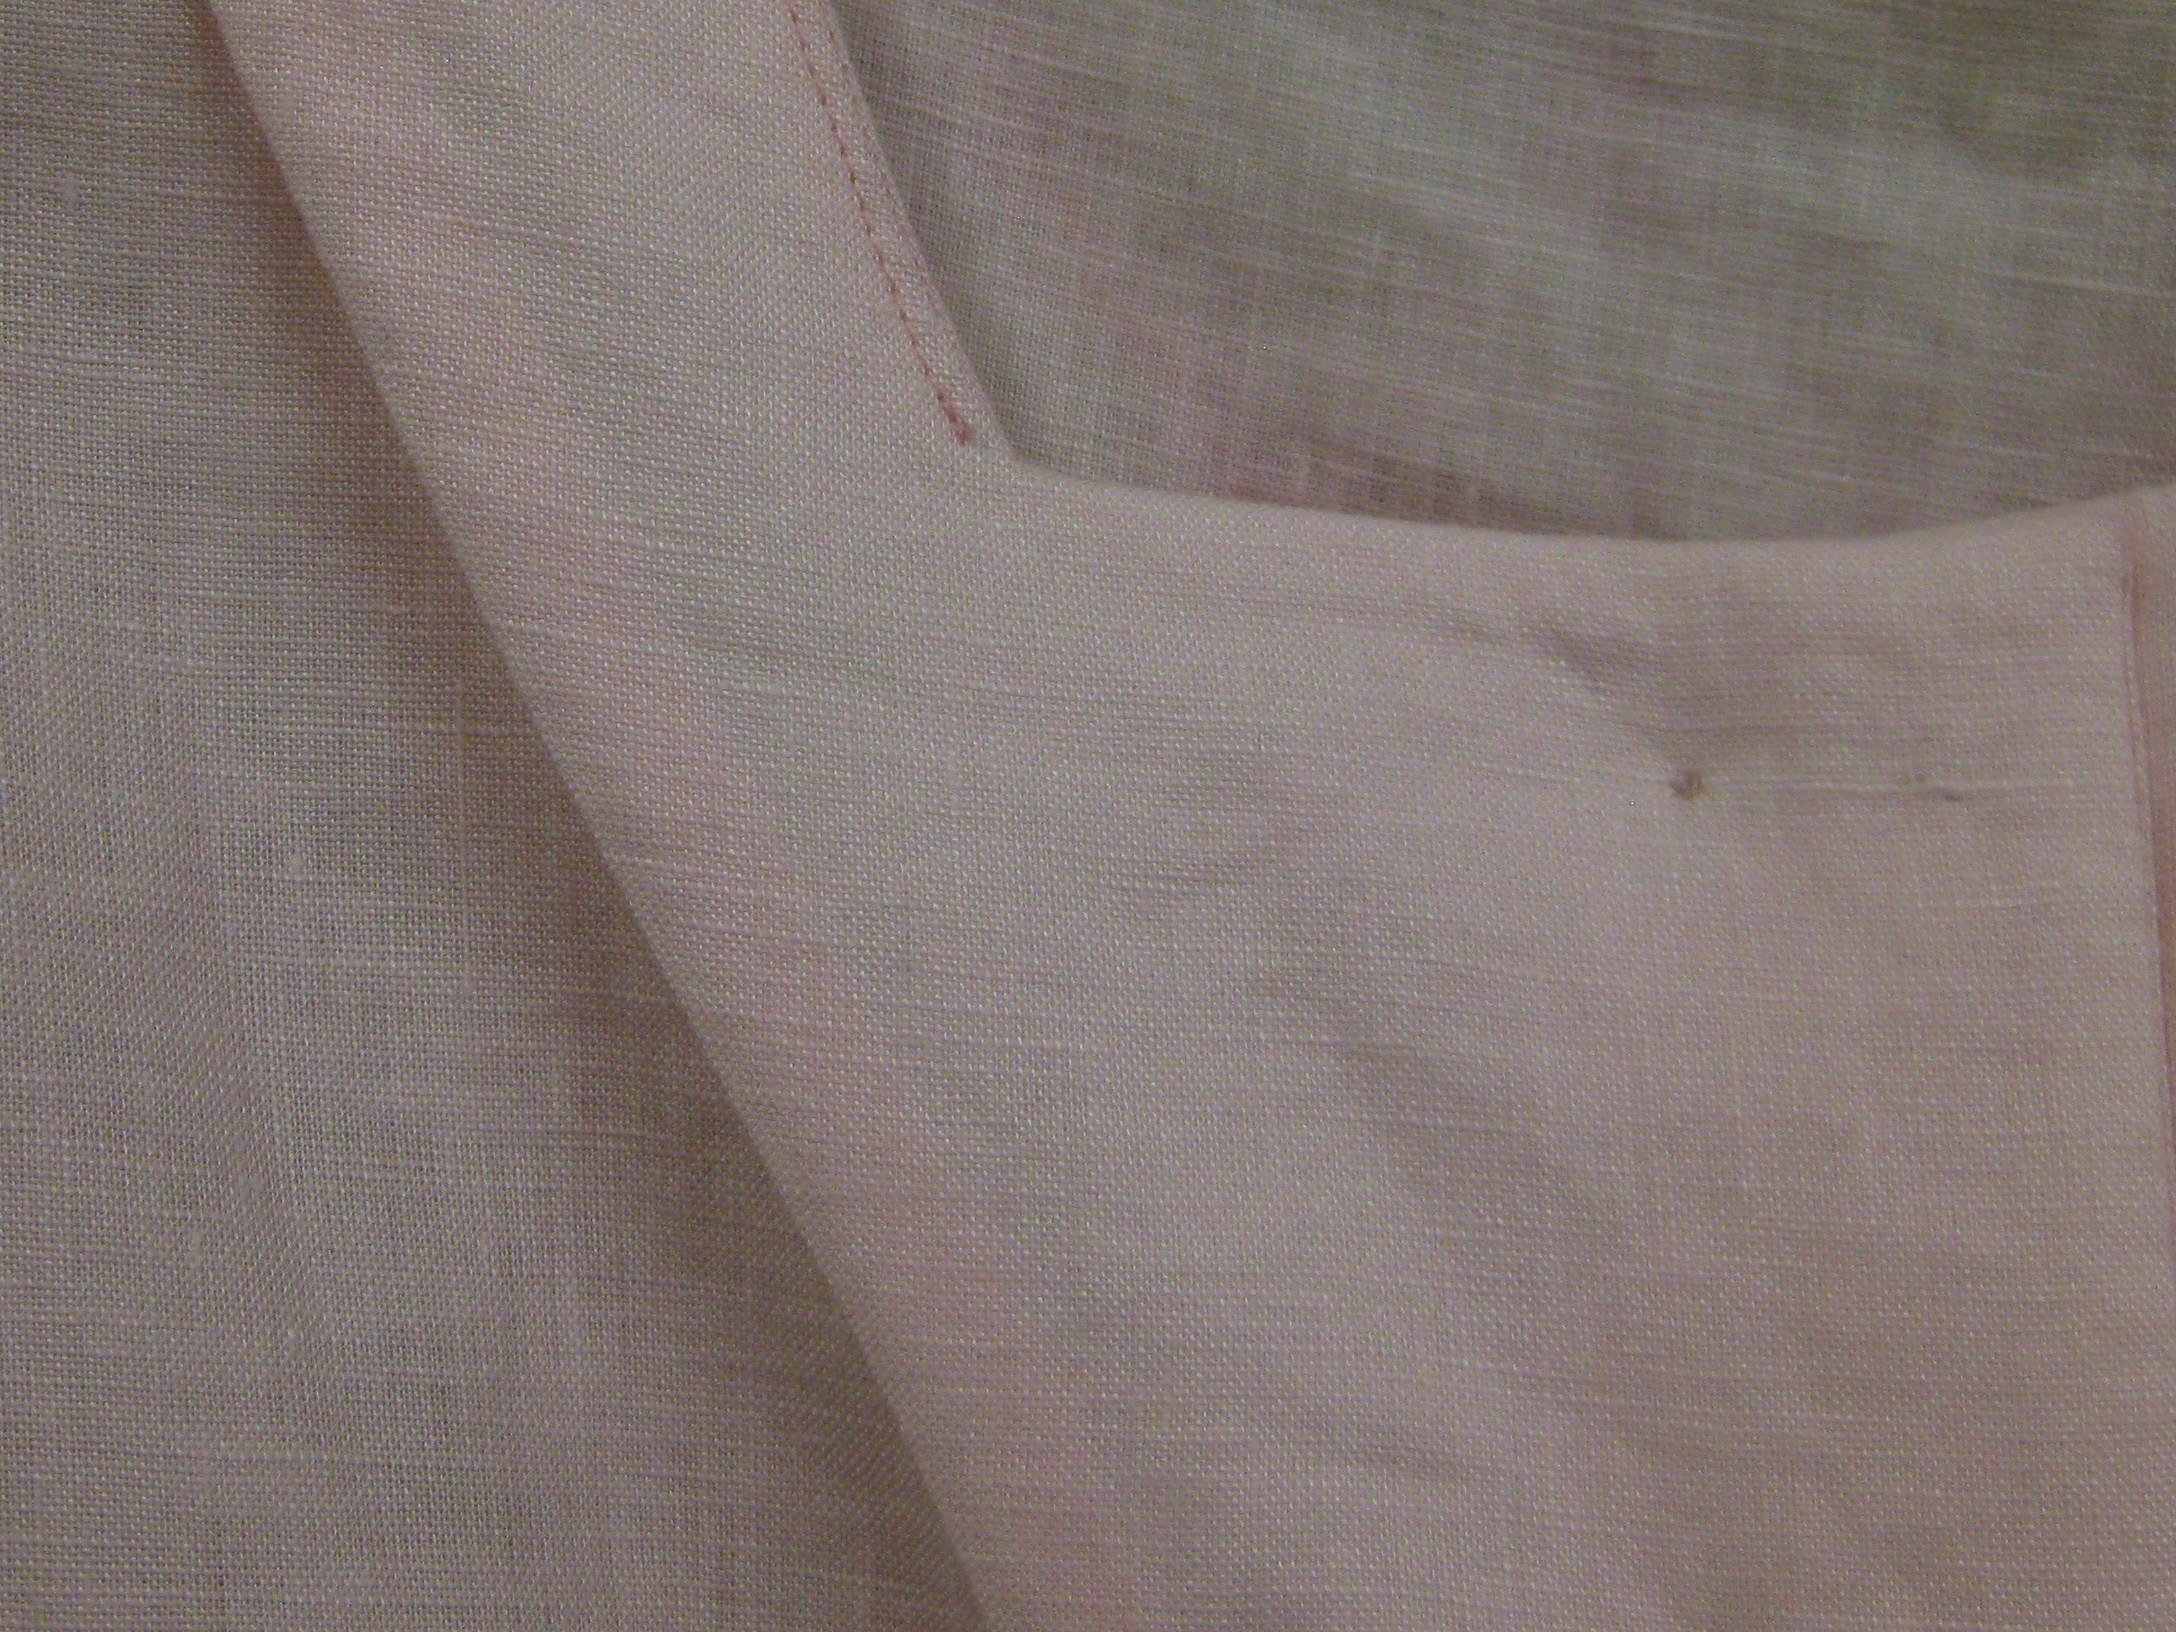
Understitch – This is done from the right side of the facing with all seam allowances under the facing and causes the garment edge to roll slightly towards the facing. Outer edge of facing is then caught by hand to the seam allowances of the garment. (see blog posted 26th April – Staystitching and Understitching)
Secure – Handstitch to seam allowances and around zipper openings.
Other Options:
Facings can be brought to the right side of the garment as a design feature in lieu of a separate band:
- Face the facing piece (as detailed above) with a lightweight fabric, eg silk organza or lightweight cotton by piecing the outer edges to give a smooth edge
- Tip: Fusible interfacing can be used to clean finish the edge of the facing but care is needed to fuse the sewn edge only before carefully fusing the remainder of the facing towards the cut edge.
Stitch area which will sit under the facing with wrong sides together; clip and stitch remainder of seam with right sides together.
- To avoid exposing the garment’s seam allowance at the edge of the opening, stitch the seam allowance with wrong sides together in the area to be covered by the facing. Clip the seam allowance, turn the seam allowances so that right sides are together and stitch the remainder of the seam
- Apply the right side of the facing to the wrong side of the garment and stitch, trim and clip. Press before bringing the facing to the right side of the garment
Facing is turned to right side and edge stitched in place. This is an alternative to a separate band. Seam allowance is invisible from underside of neck edge.
- Edgestitch in place from the right side of the garment
This option of facing the facing can also be used on the inside of a garment where a neat finish is required, especially when using a light coloured or sheer garment.
Facing the facing with lightweight fusible interfacing results in a neat, smooth finish on the inside of the garment – no shadow of overlocking can be seen from the right side of a light coloured garment.
When working with a thicker fabric, a shoulder seam allowance can be eliminated from neck and armhole facings to achieve a smoother, flatter result:
Mark seam allowances on pattern pieces.
- Mark the seam allowances on the facing pattern pieces
- Overlap the seam lines in the shoulder area and, using either a front or back fold depending on the pattern style, cut a one piece facing
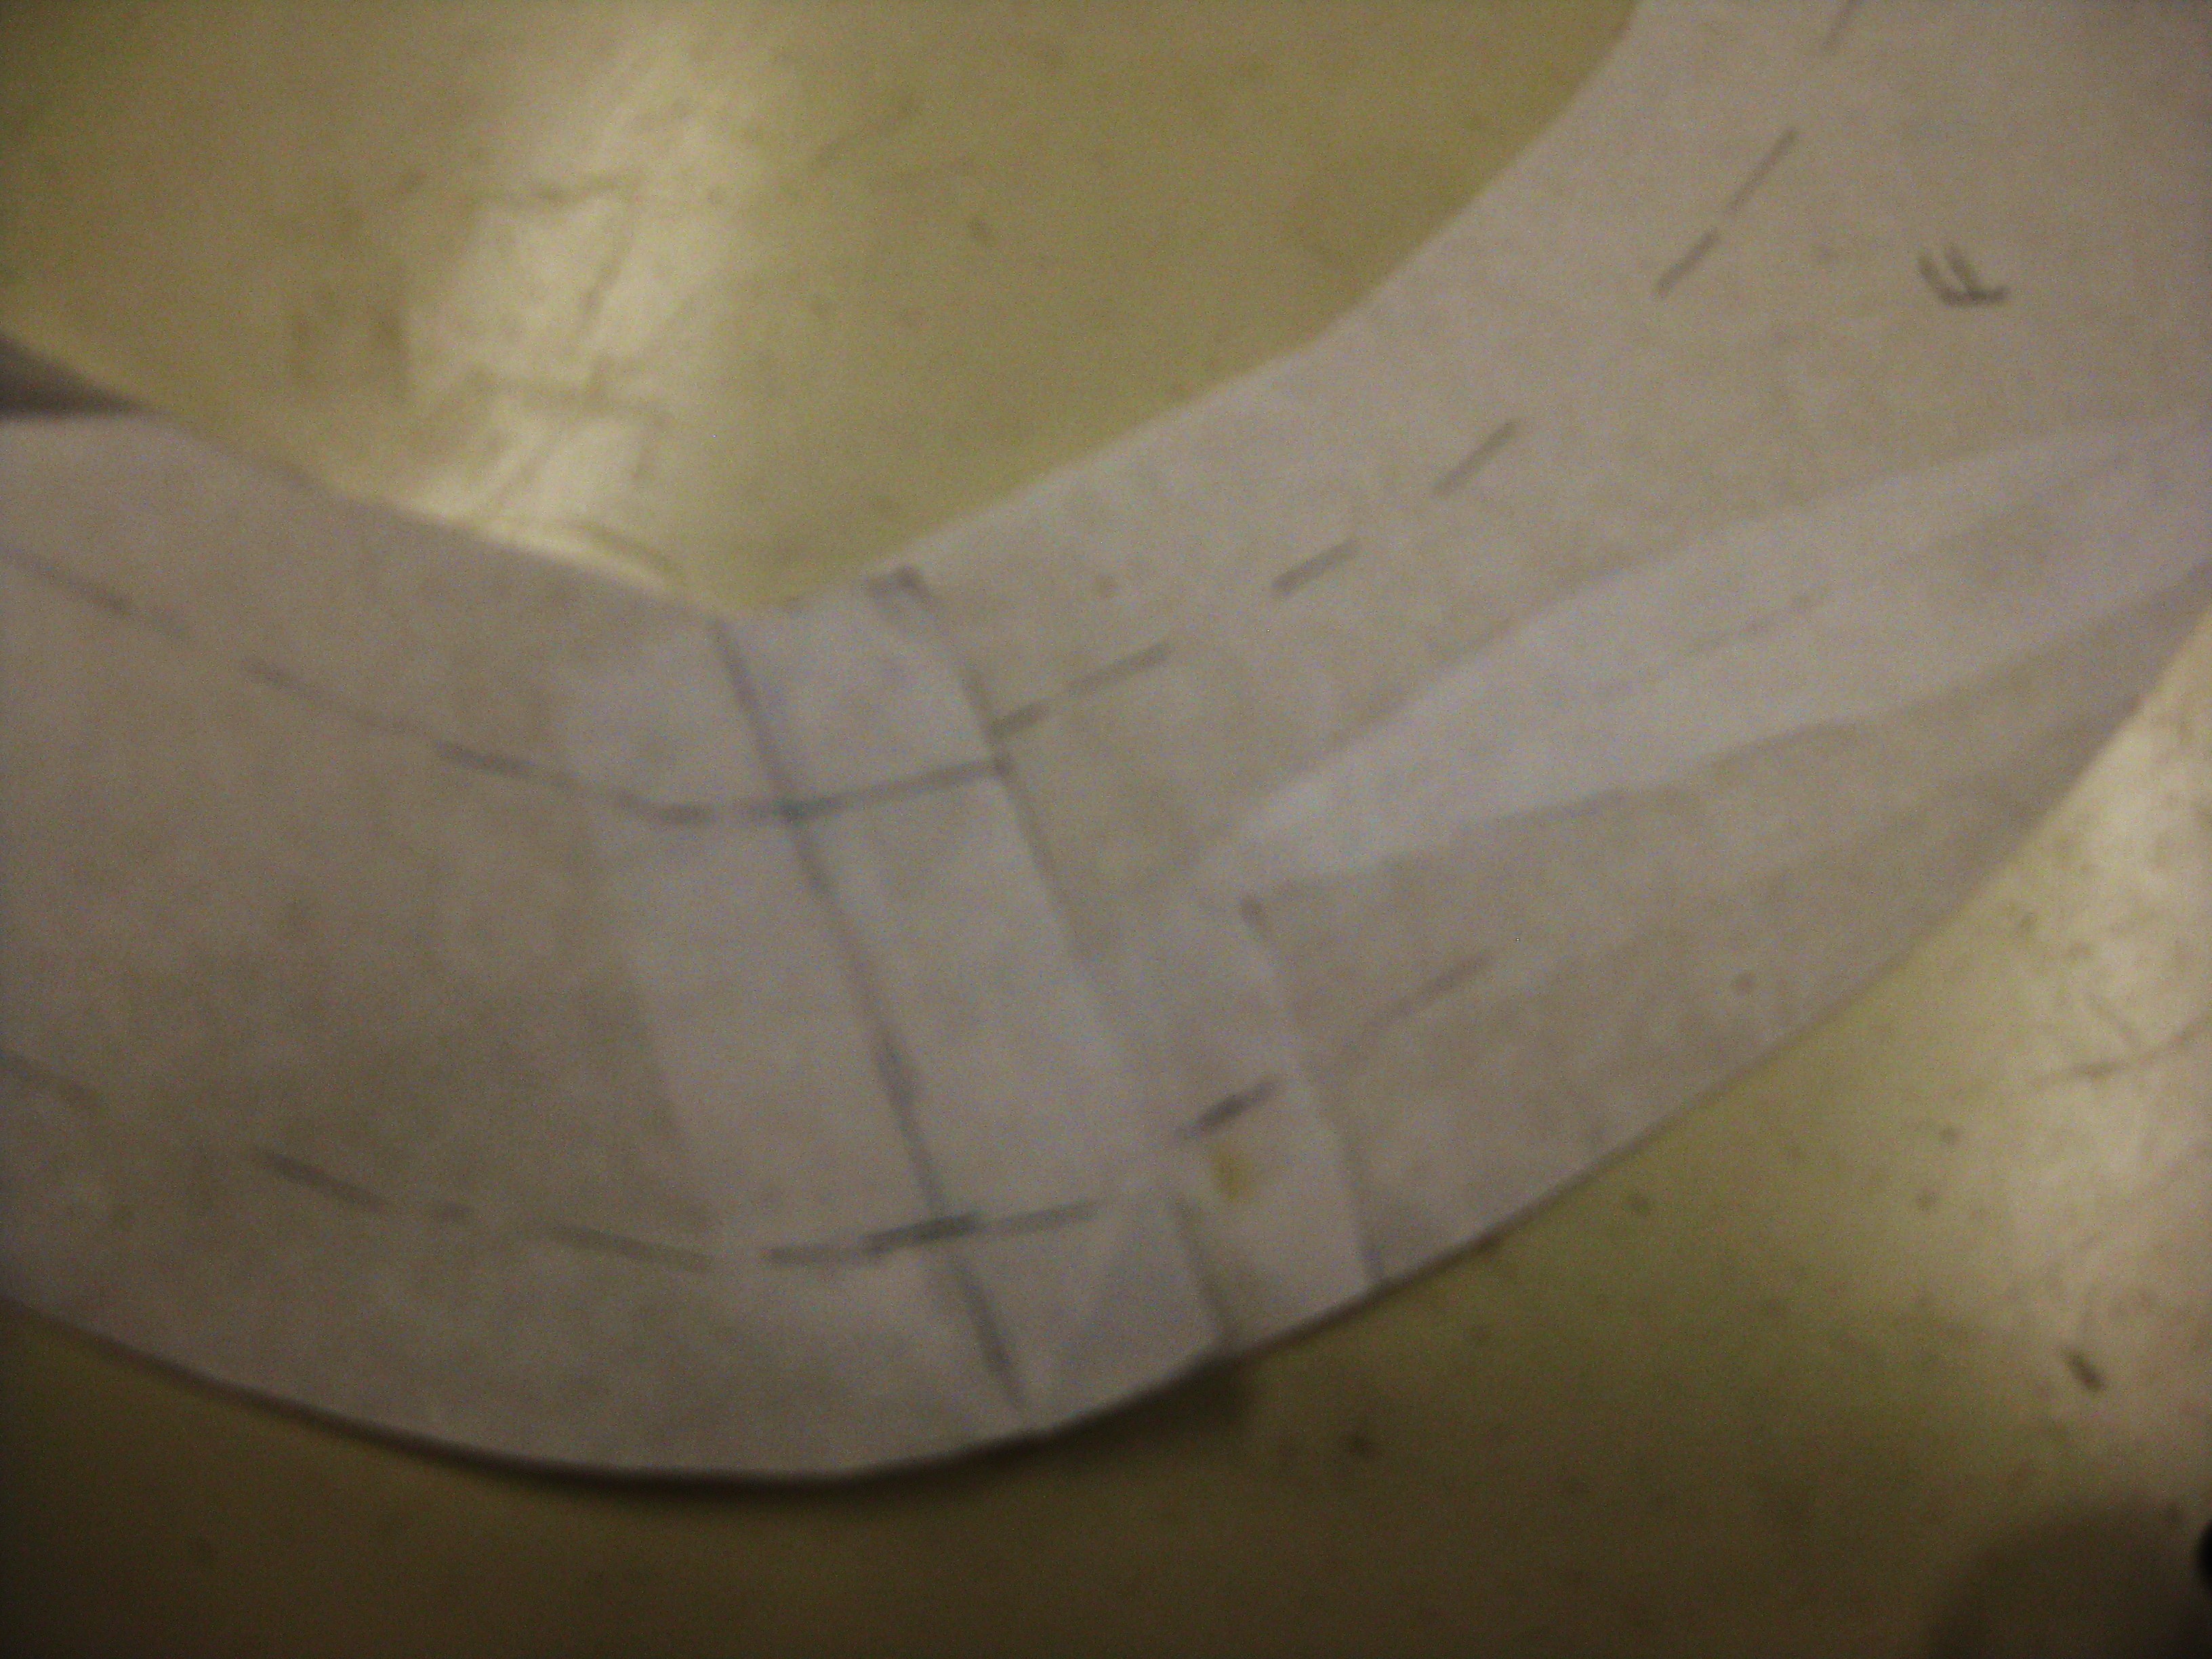
Overlap seam lines to make new facing pattern piece.
- Part of the facing will be on the bias which results in a facing which moulds to the body and is less likely to roll towards the neckline
Back section of facing will be on bias grain which moulds well to the upper curve of the back.
- To eliminate the bulk of seams at armhole edges where separate front and back pieces are provided, use the same method and redraw a grain line at right angles to the new shoulder position.
Applying Bias Binding to Curved Edges:
There are a number of things to consider when using a bias binding finish to curved edges.
The first consideration is the thickness of the neckline edge. If the garment has pleats or gathers, the edge will be thicker and this will take up some of the bias trim width. It would be wise to cut the bias strip wider to accommodate this extra thickness.
Secondly, the thickness of the garment fabric needs to be considered. If using a heavier fabric the thickness at the edge to be bound needs to be considered. In these situations, it would be better to use a double binding technique. The bias strip is cut four times the desired finished width plus two seam allowances. If the fabric is lighter or firmer, a single binding may well suffice – cut the strips twice the finished width plus two seam allowances. A small allowance in width to allow for the turn of the cloth may also be needed.
Tip: Whichever method is chosen, making a sample first is important to ensure a good final result.
The seam allowance should be removed from the area to be bound to maintain the original position of the outer edge. If this is not done, the neckline or armhole will be too narrow.
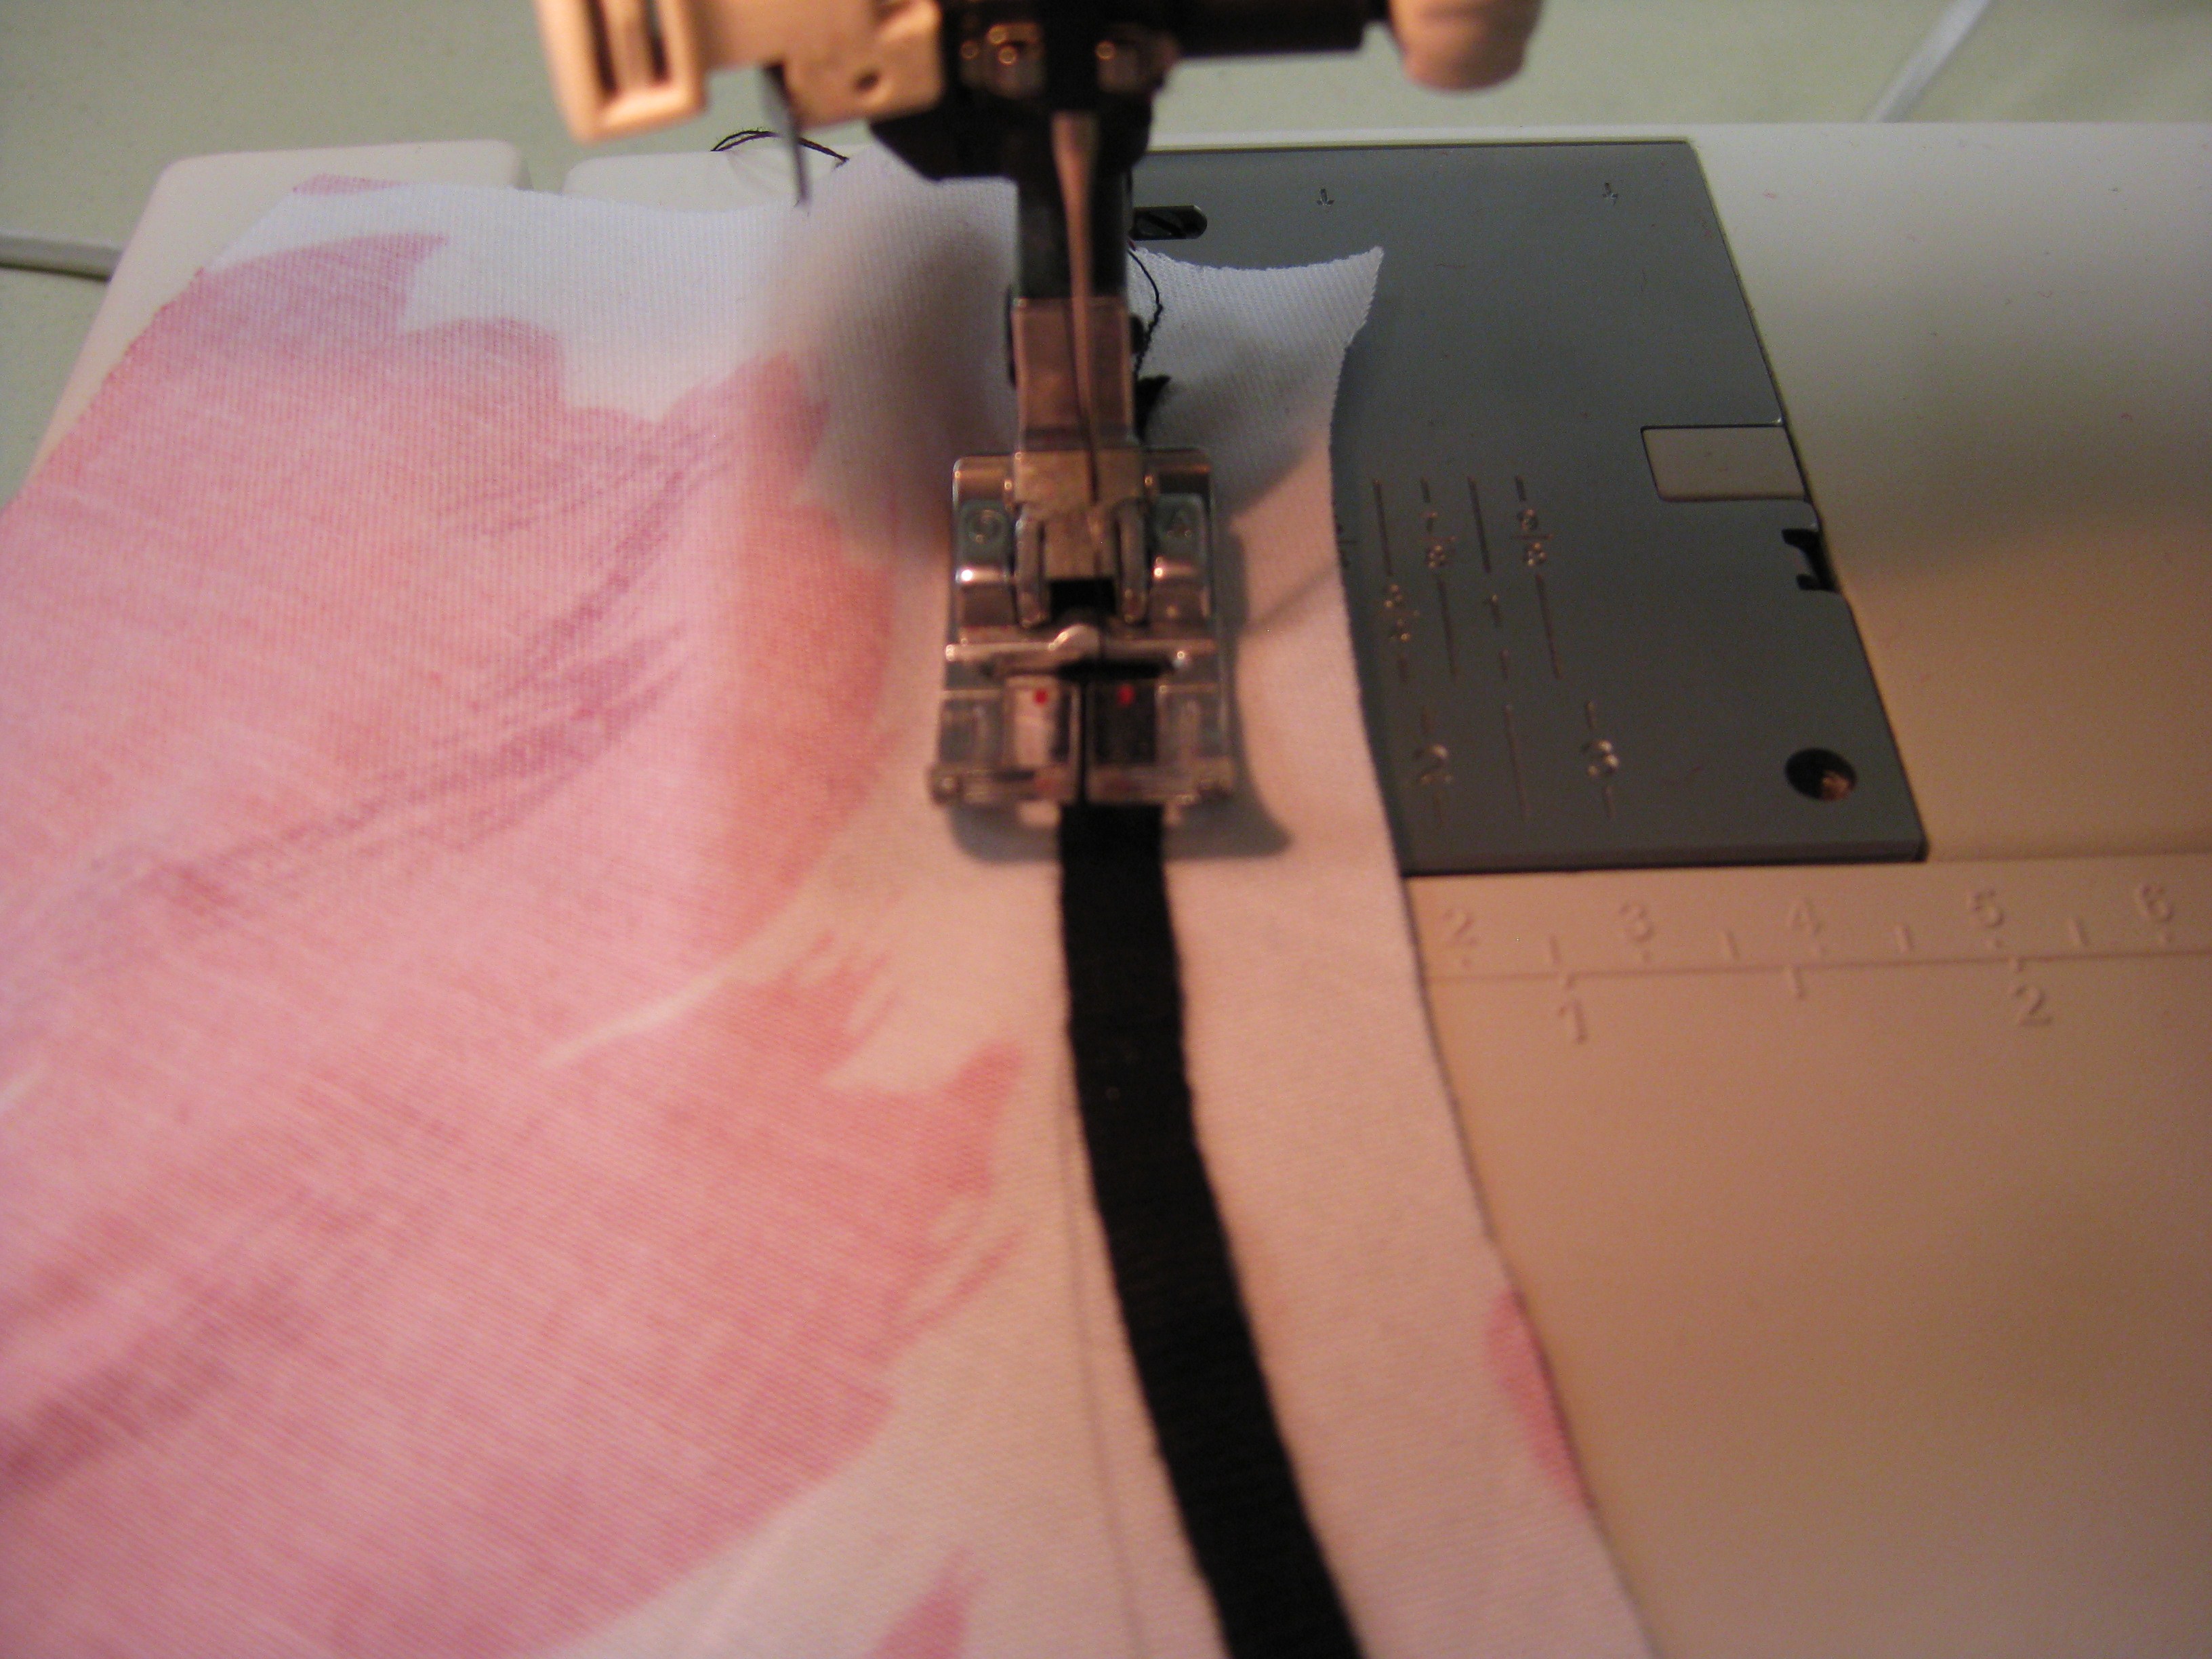
So that I can achieve strips with an even width and evenly cut edge, I usually cut bias strips using a rotary cutter, mat and ruler. If you have a pattern piece for the trim, measure its width and length and cut your strips by the exact width but allow extra length to enable you to use a bias join which is much flatter and less bulky.
If you do not have enough length in one strip, it is quite easy to join strips. Simply cut several strips in the correct width. Place one strip right side up vertically on a grid; take another piece and place it with right sides together at right angles and to the right of the first piece.
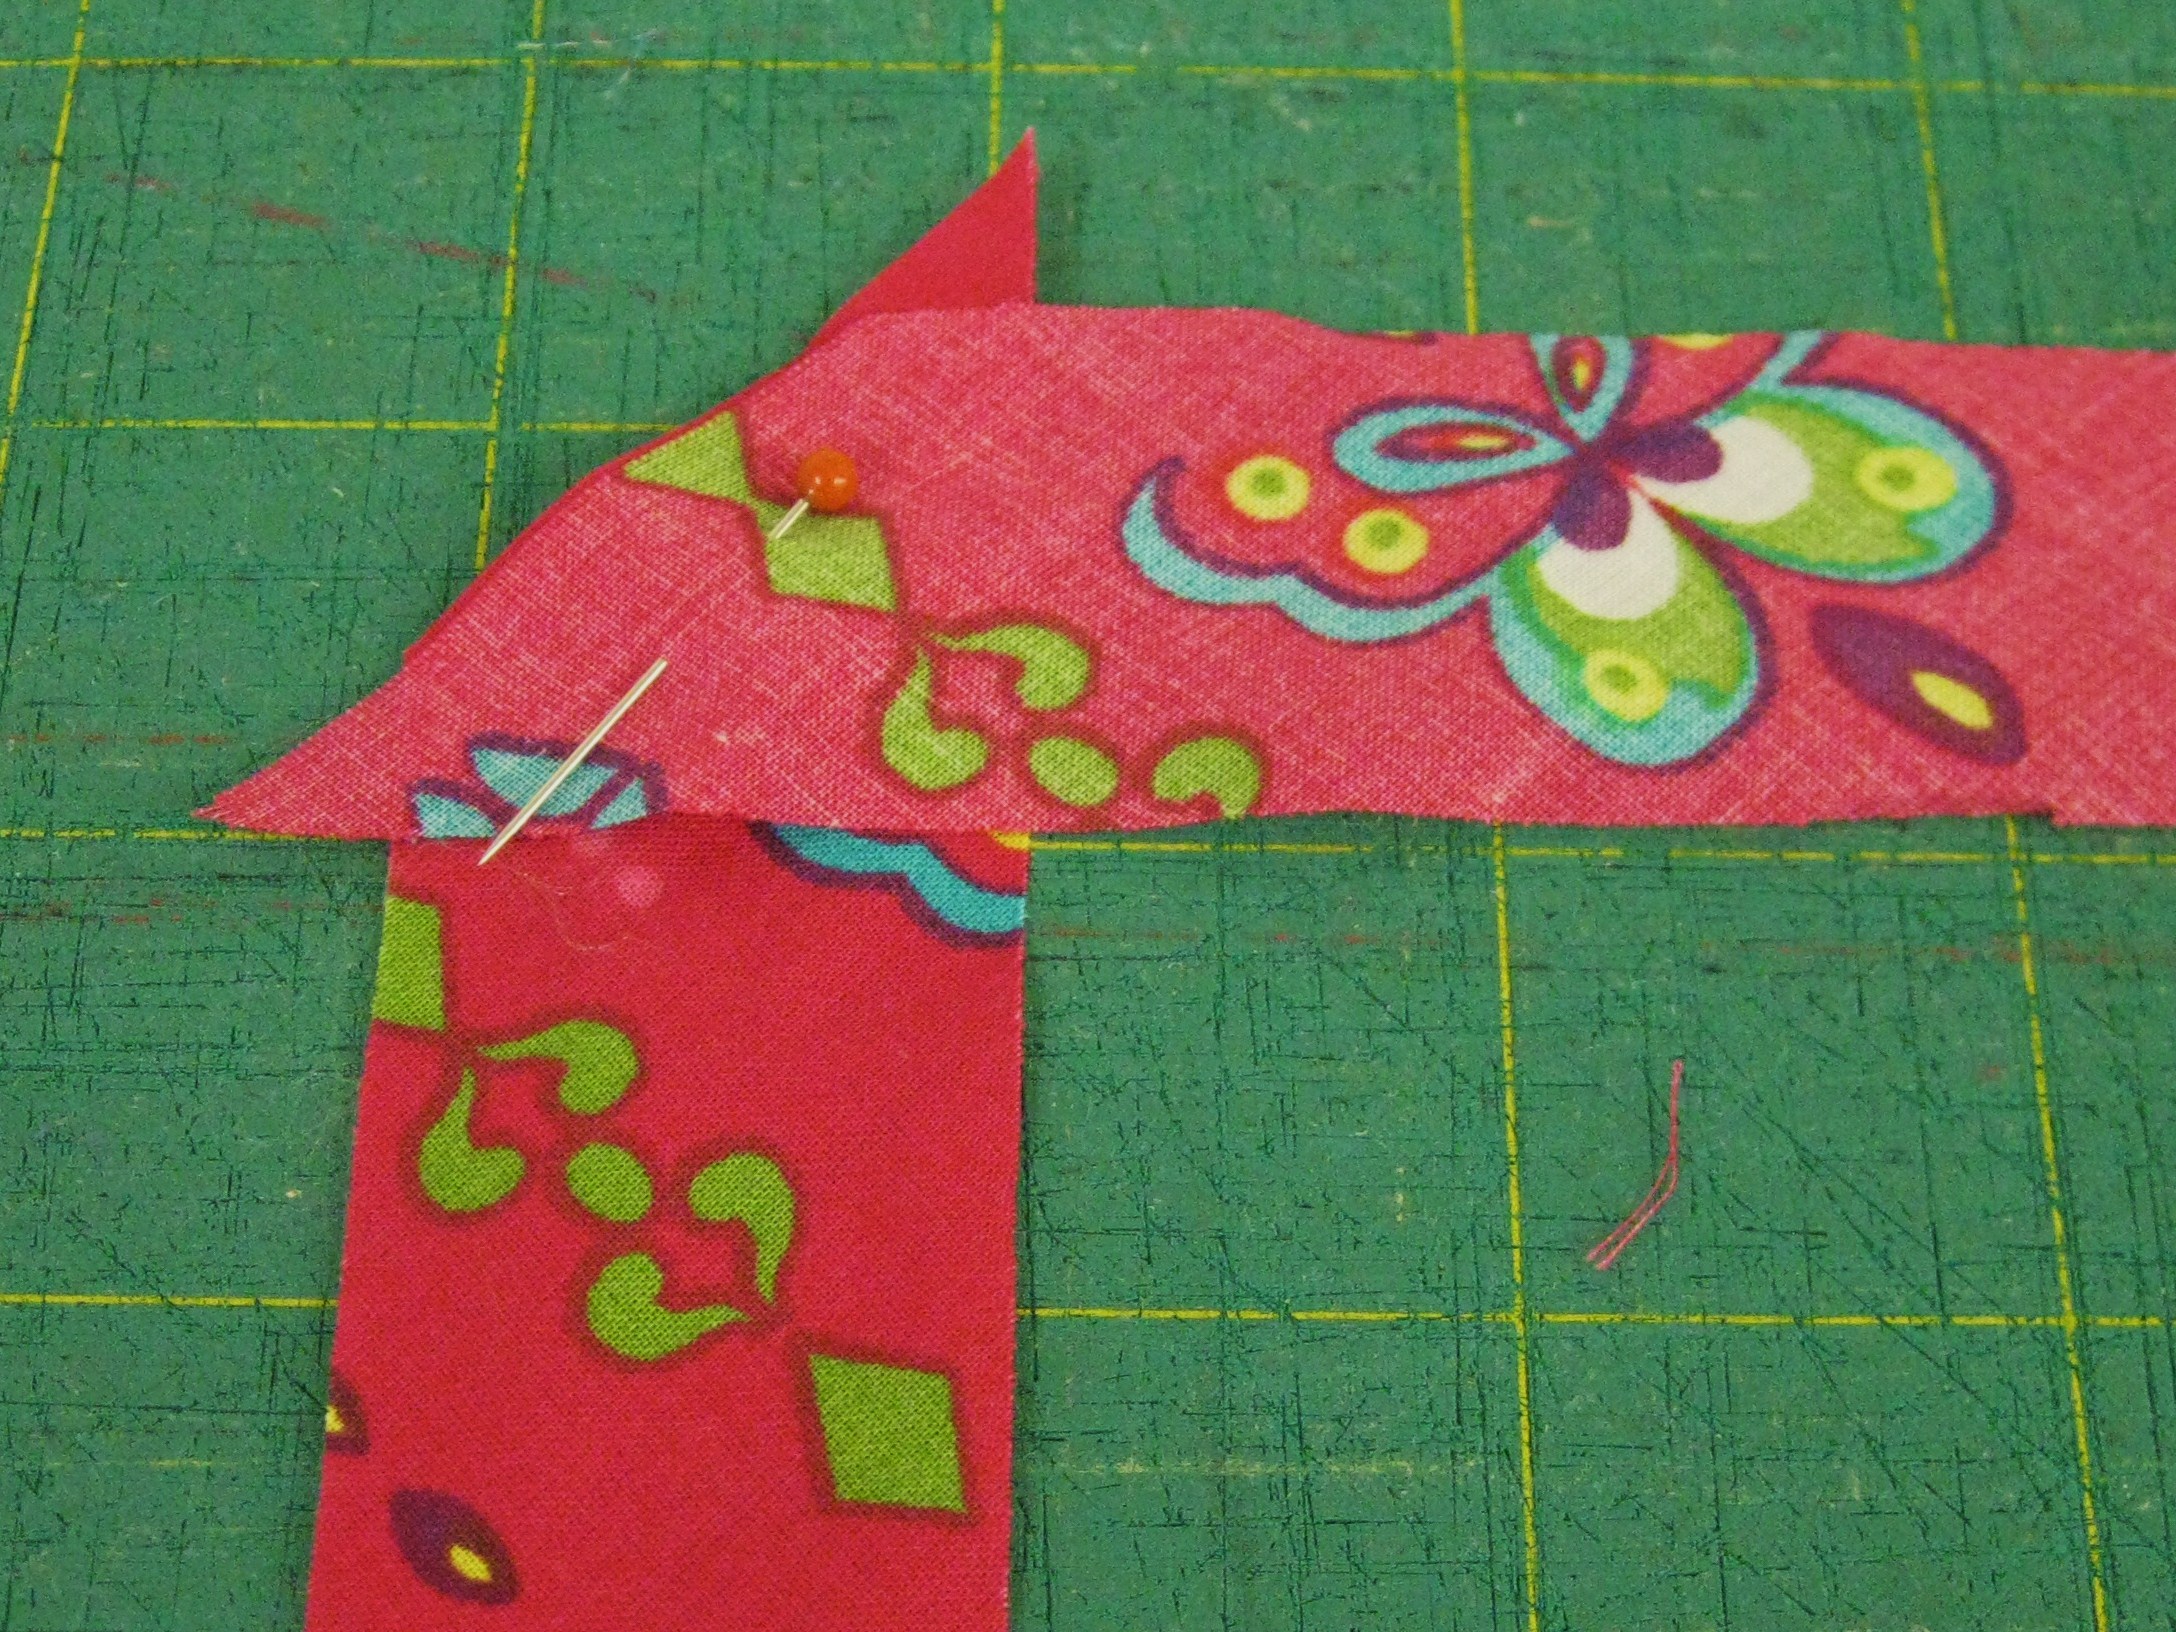
Place bias strips at right angles and stitch across the angle.
Pieces are then stitched across the diagonal (which is on the straight of grain and will not stretch) – use small stitches and hold threads – do not back stitch. Seams are trimmed to 6mm and pressed flat and then open.
Steam stretch the length of the bias to remove as much stretch as possible.
Steam stretch the strip before it is shaped so that it will be less likely to twist once applied. Pull strip away from the iron and steam press.
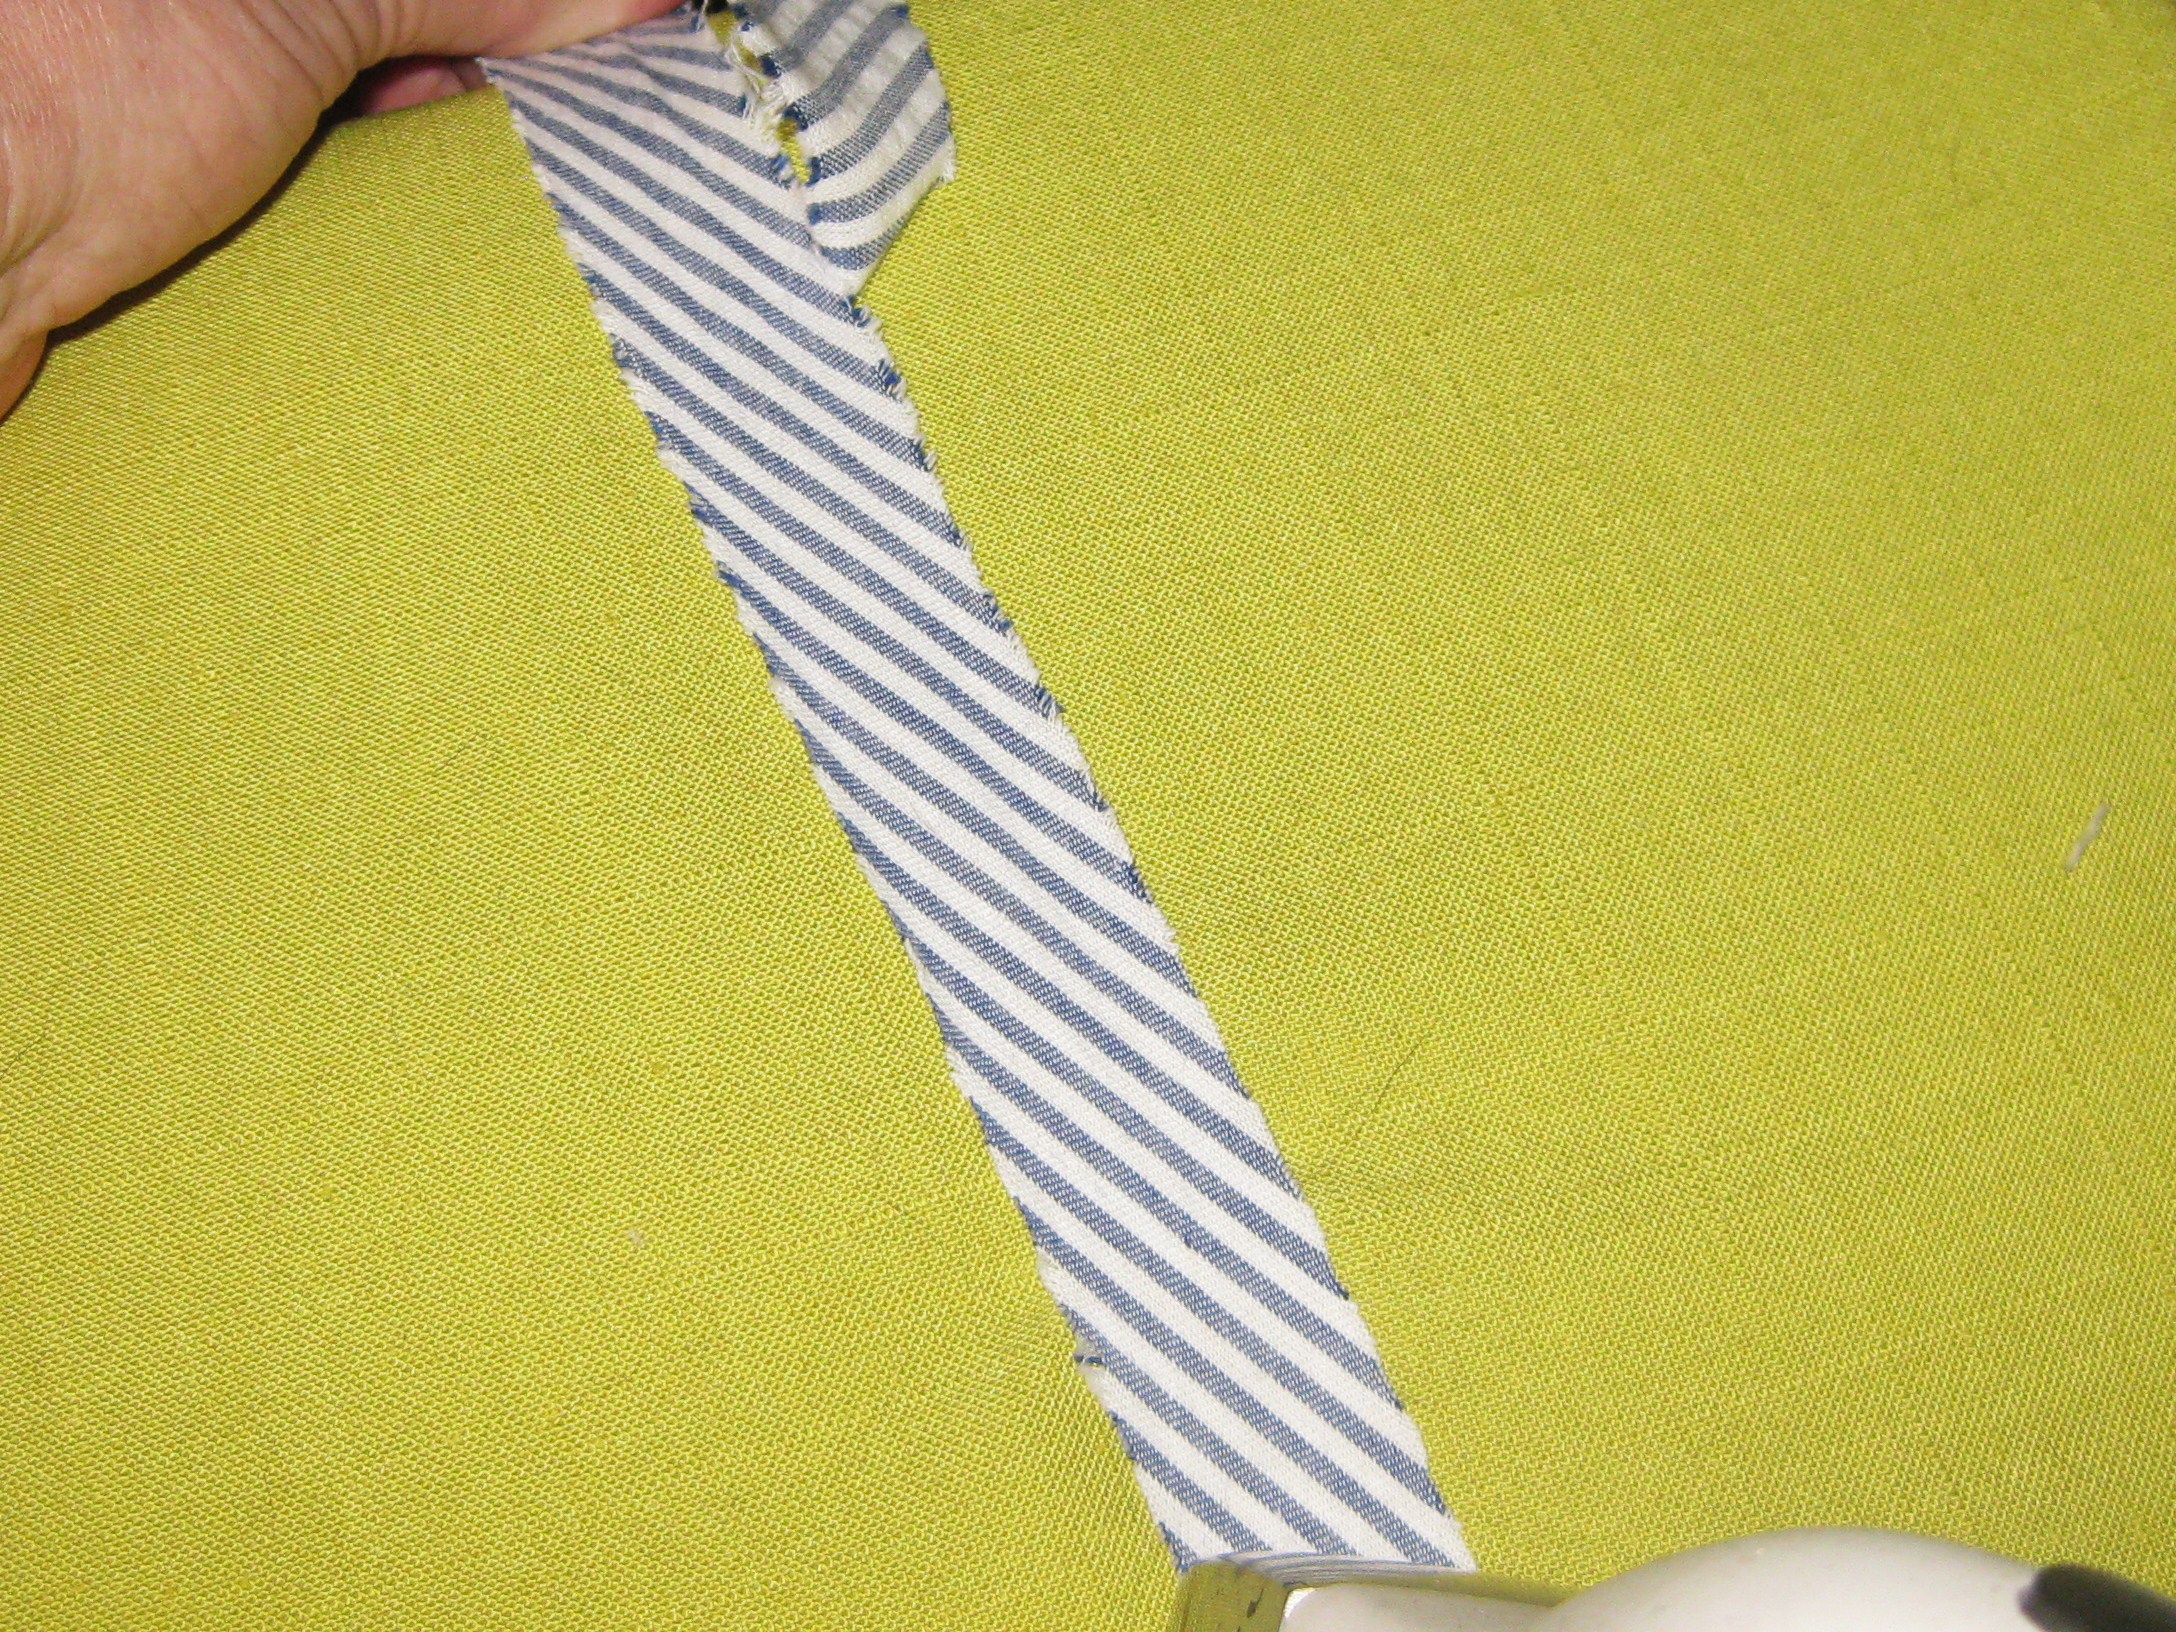
Using a bias maker, turn under the edges of the bias strip.
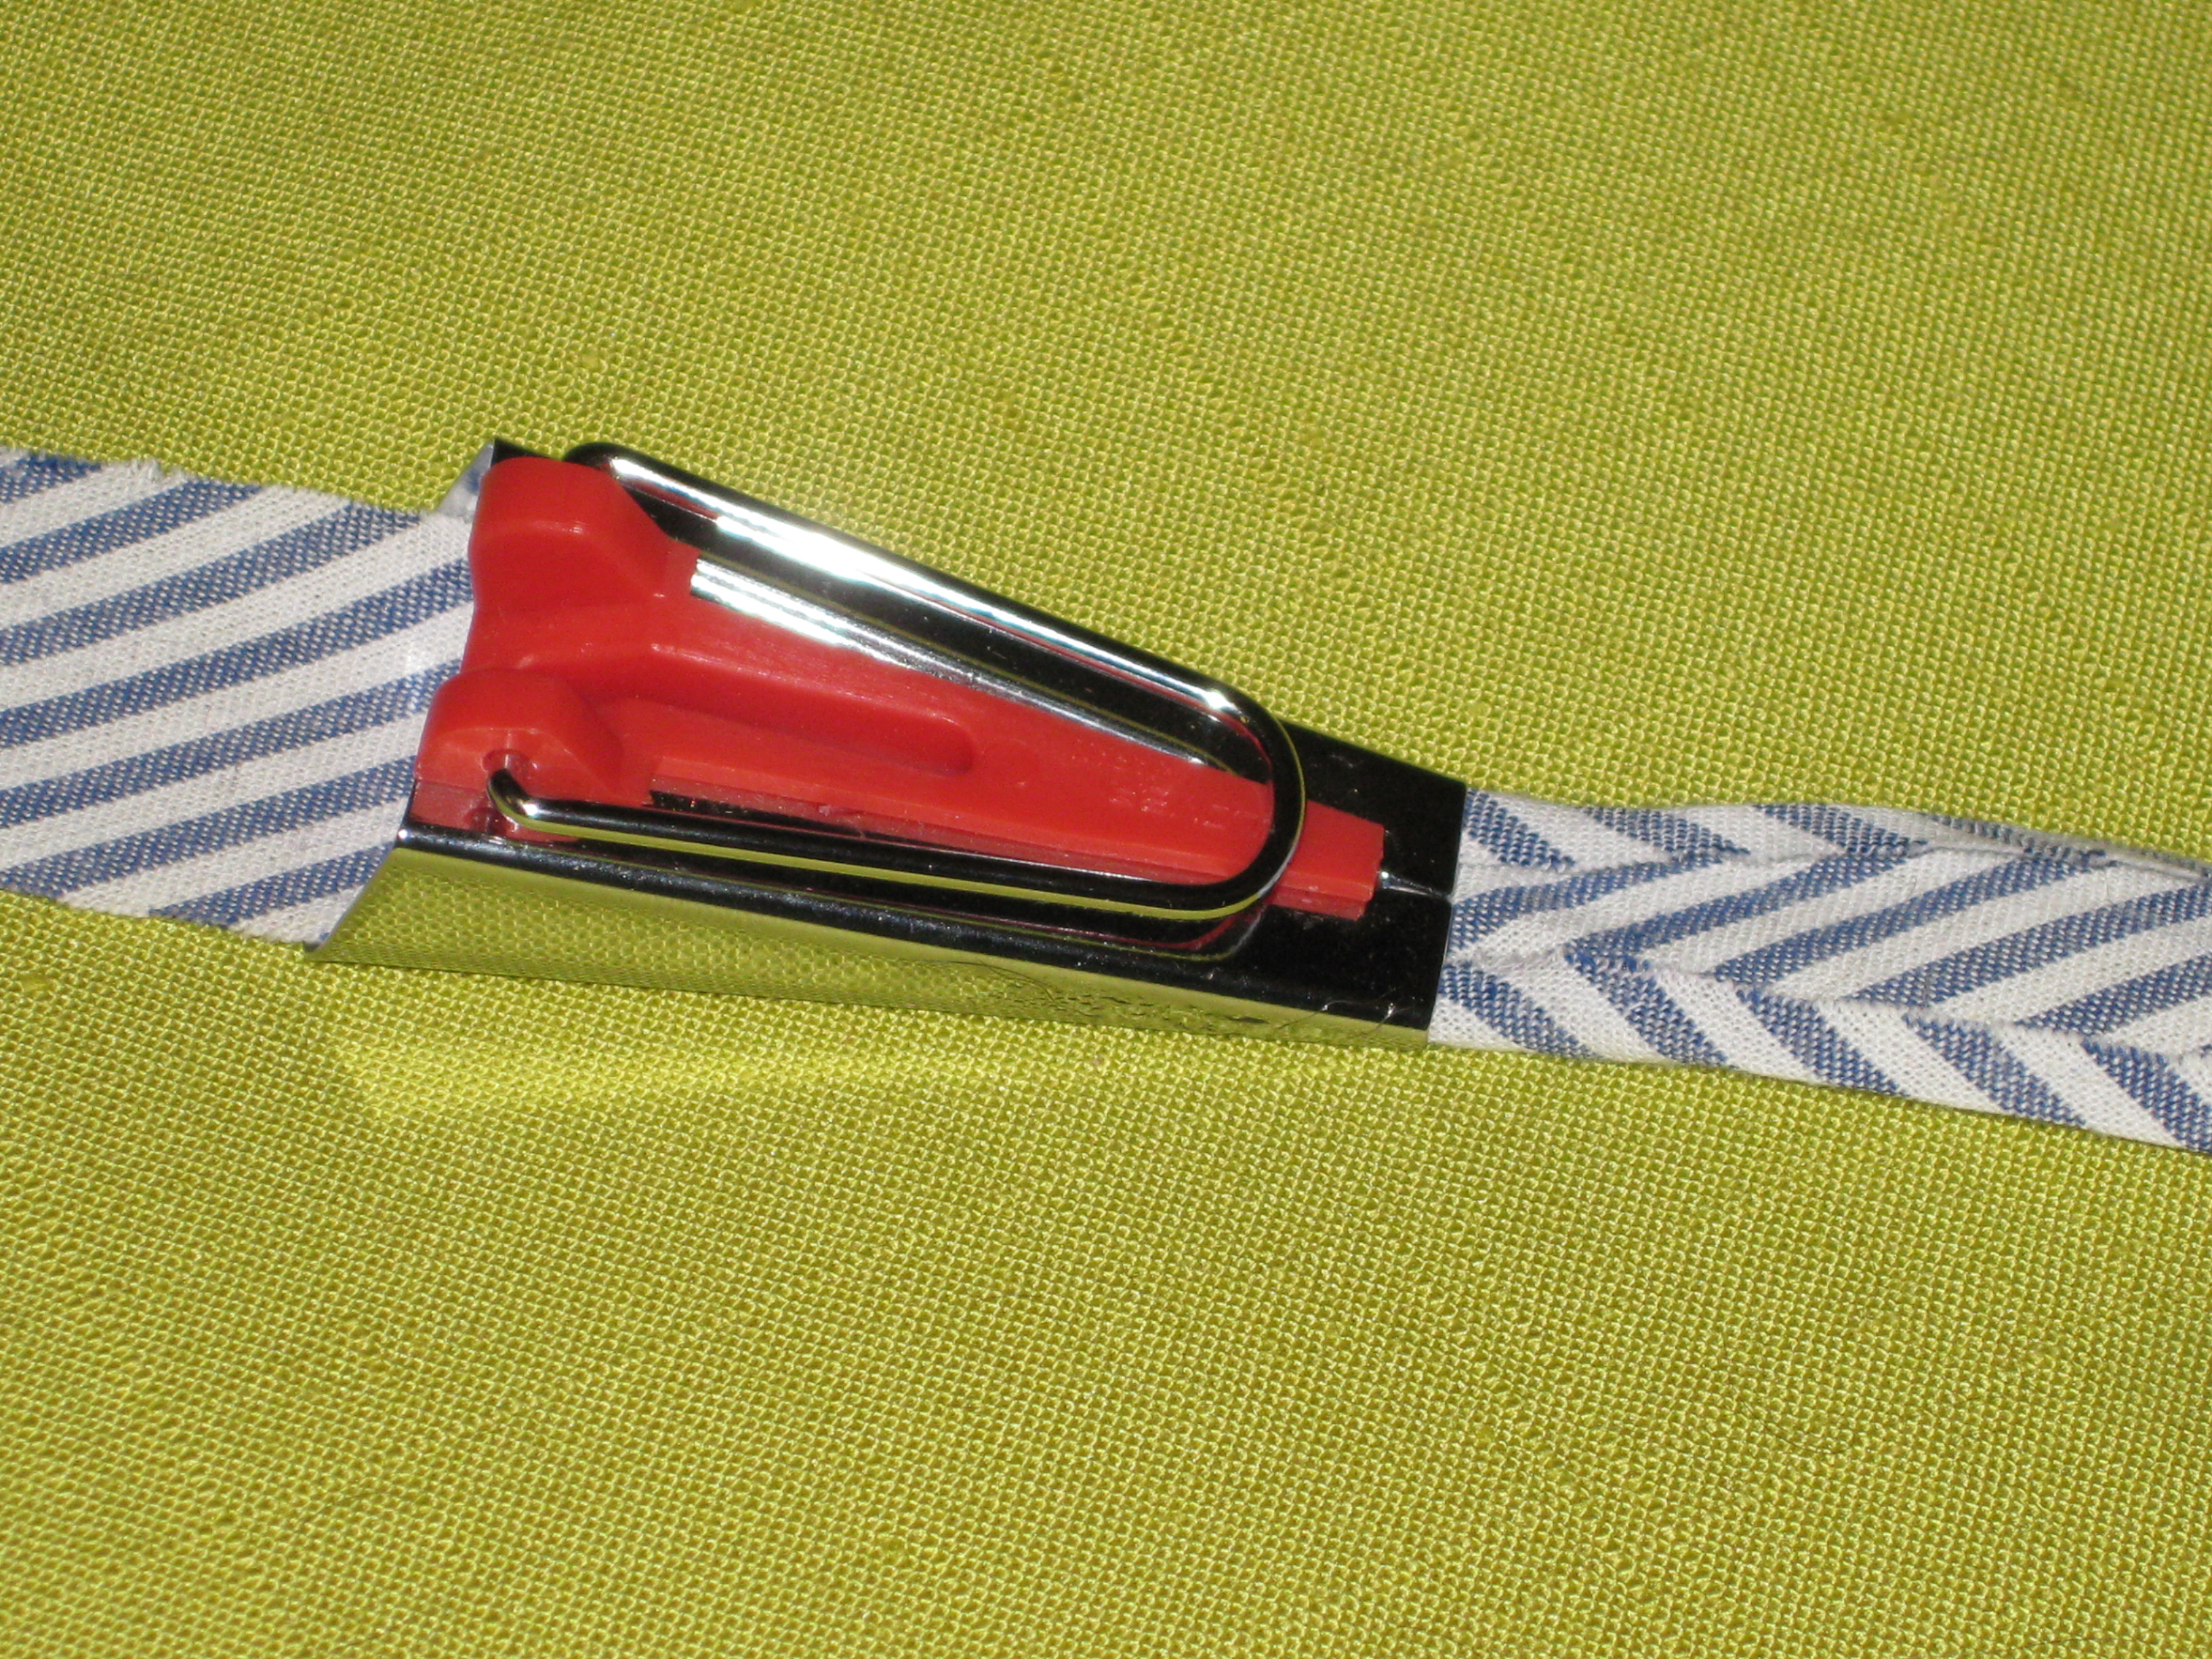
Feed fabric strip into bias maker. Press folded edges as you slowly slide the bias maker along the strip.
Once your strips are ready to be applied, take a look at the shape of the curve they will need to match.
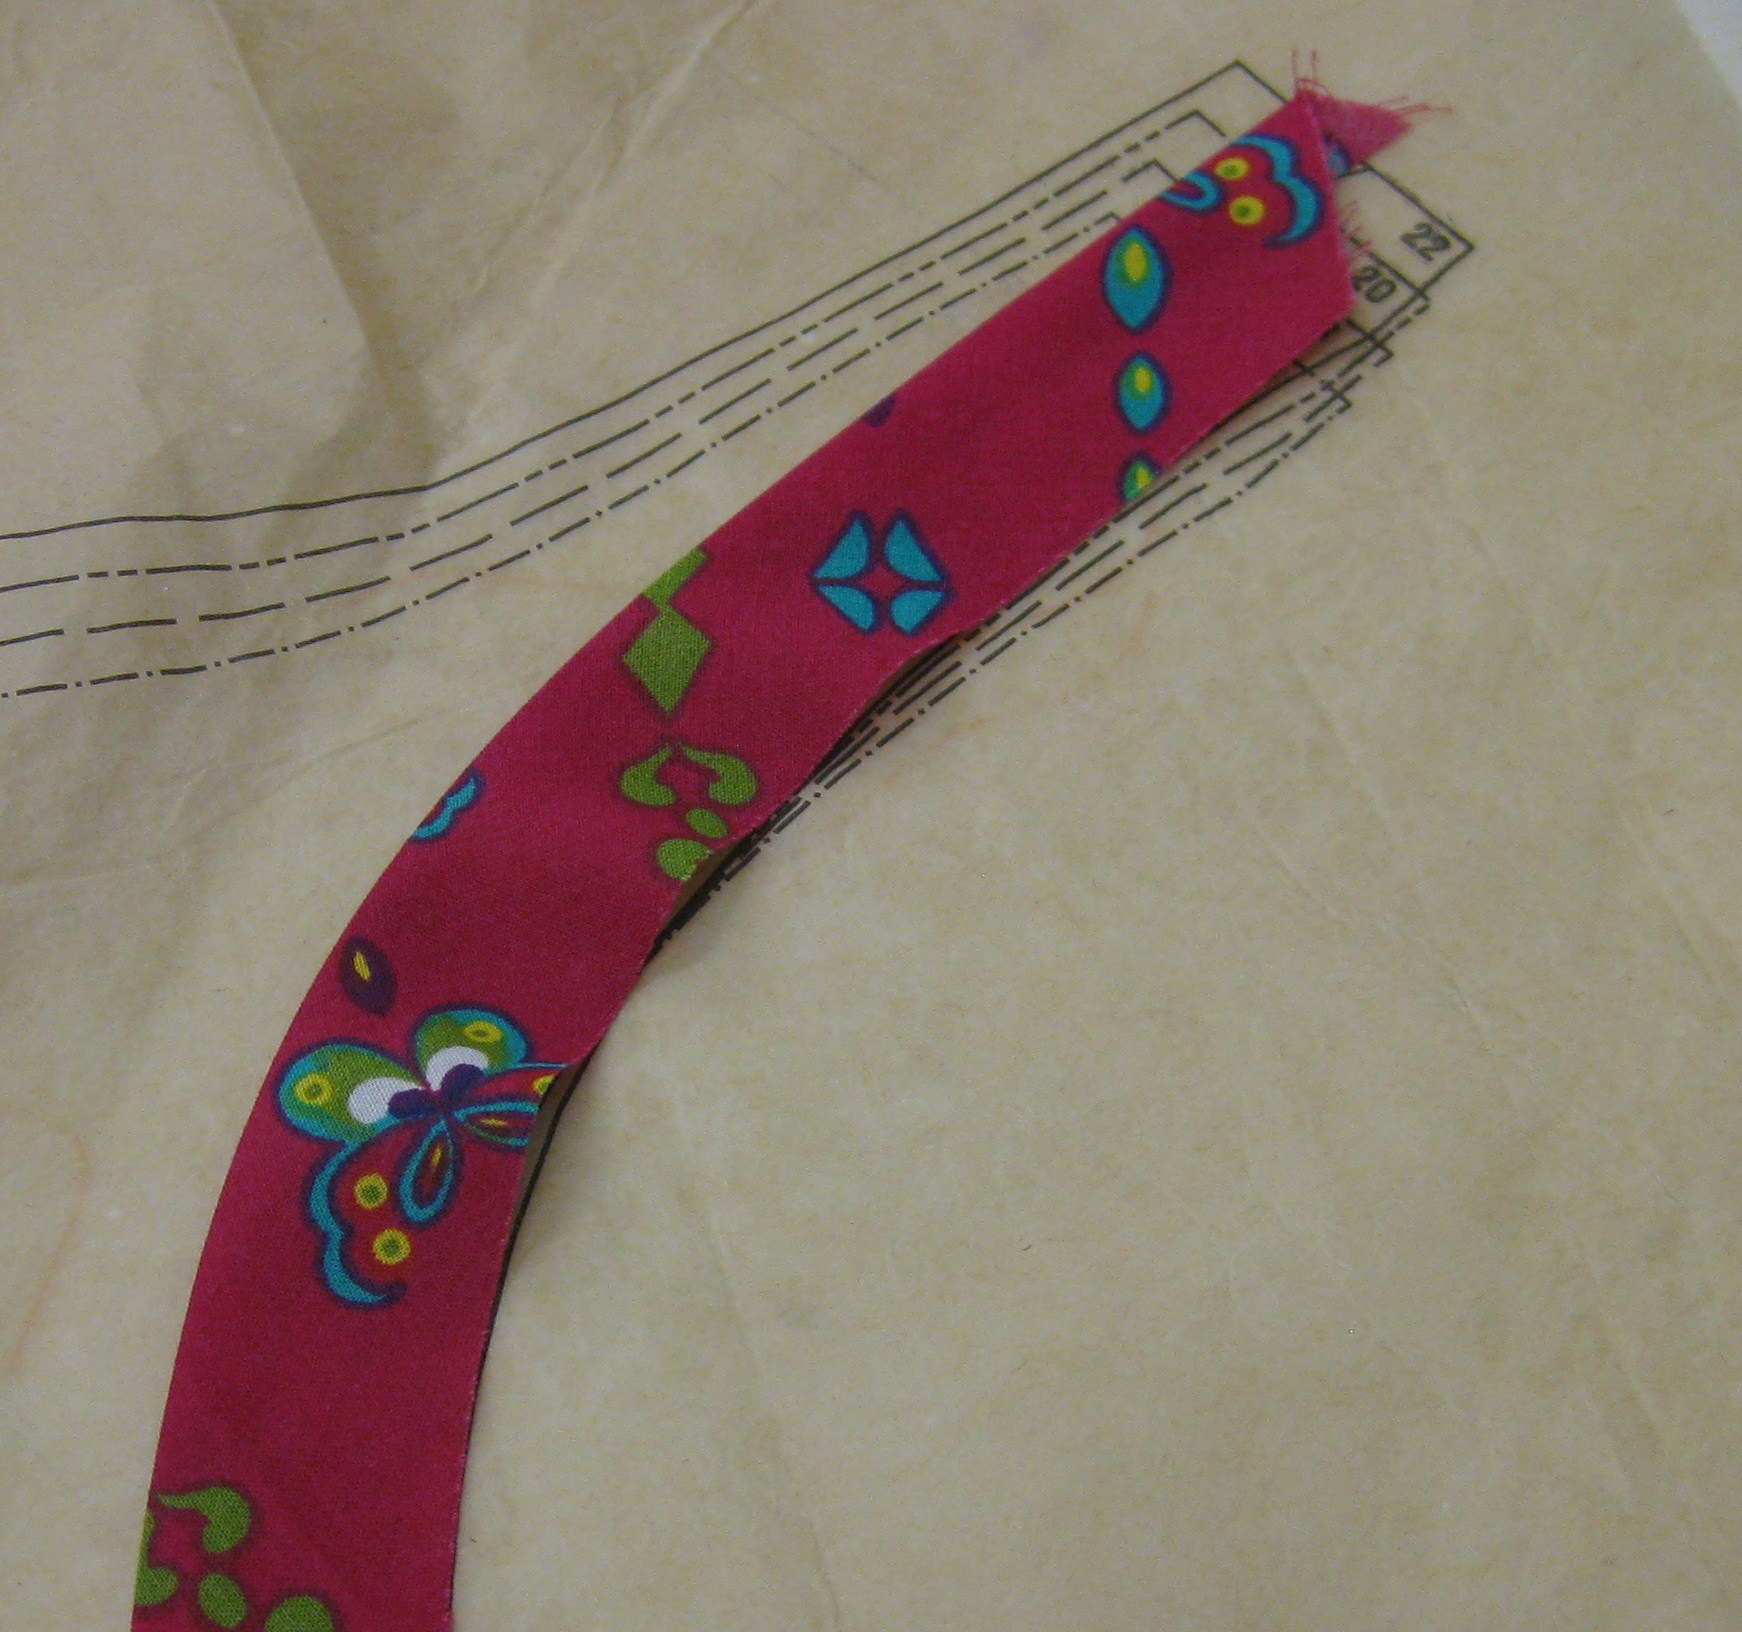
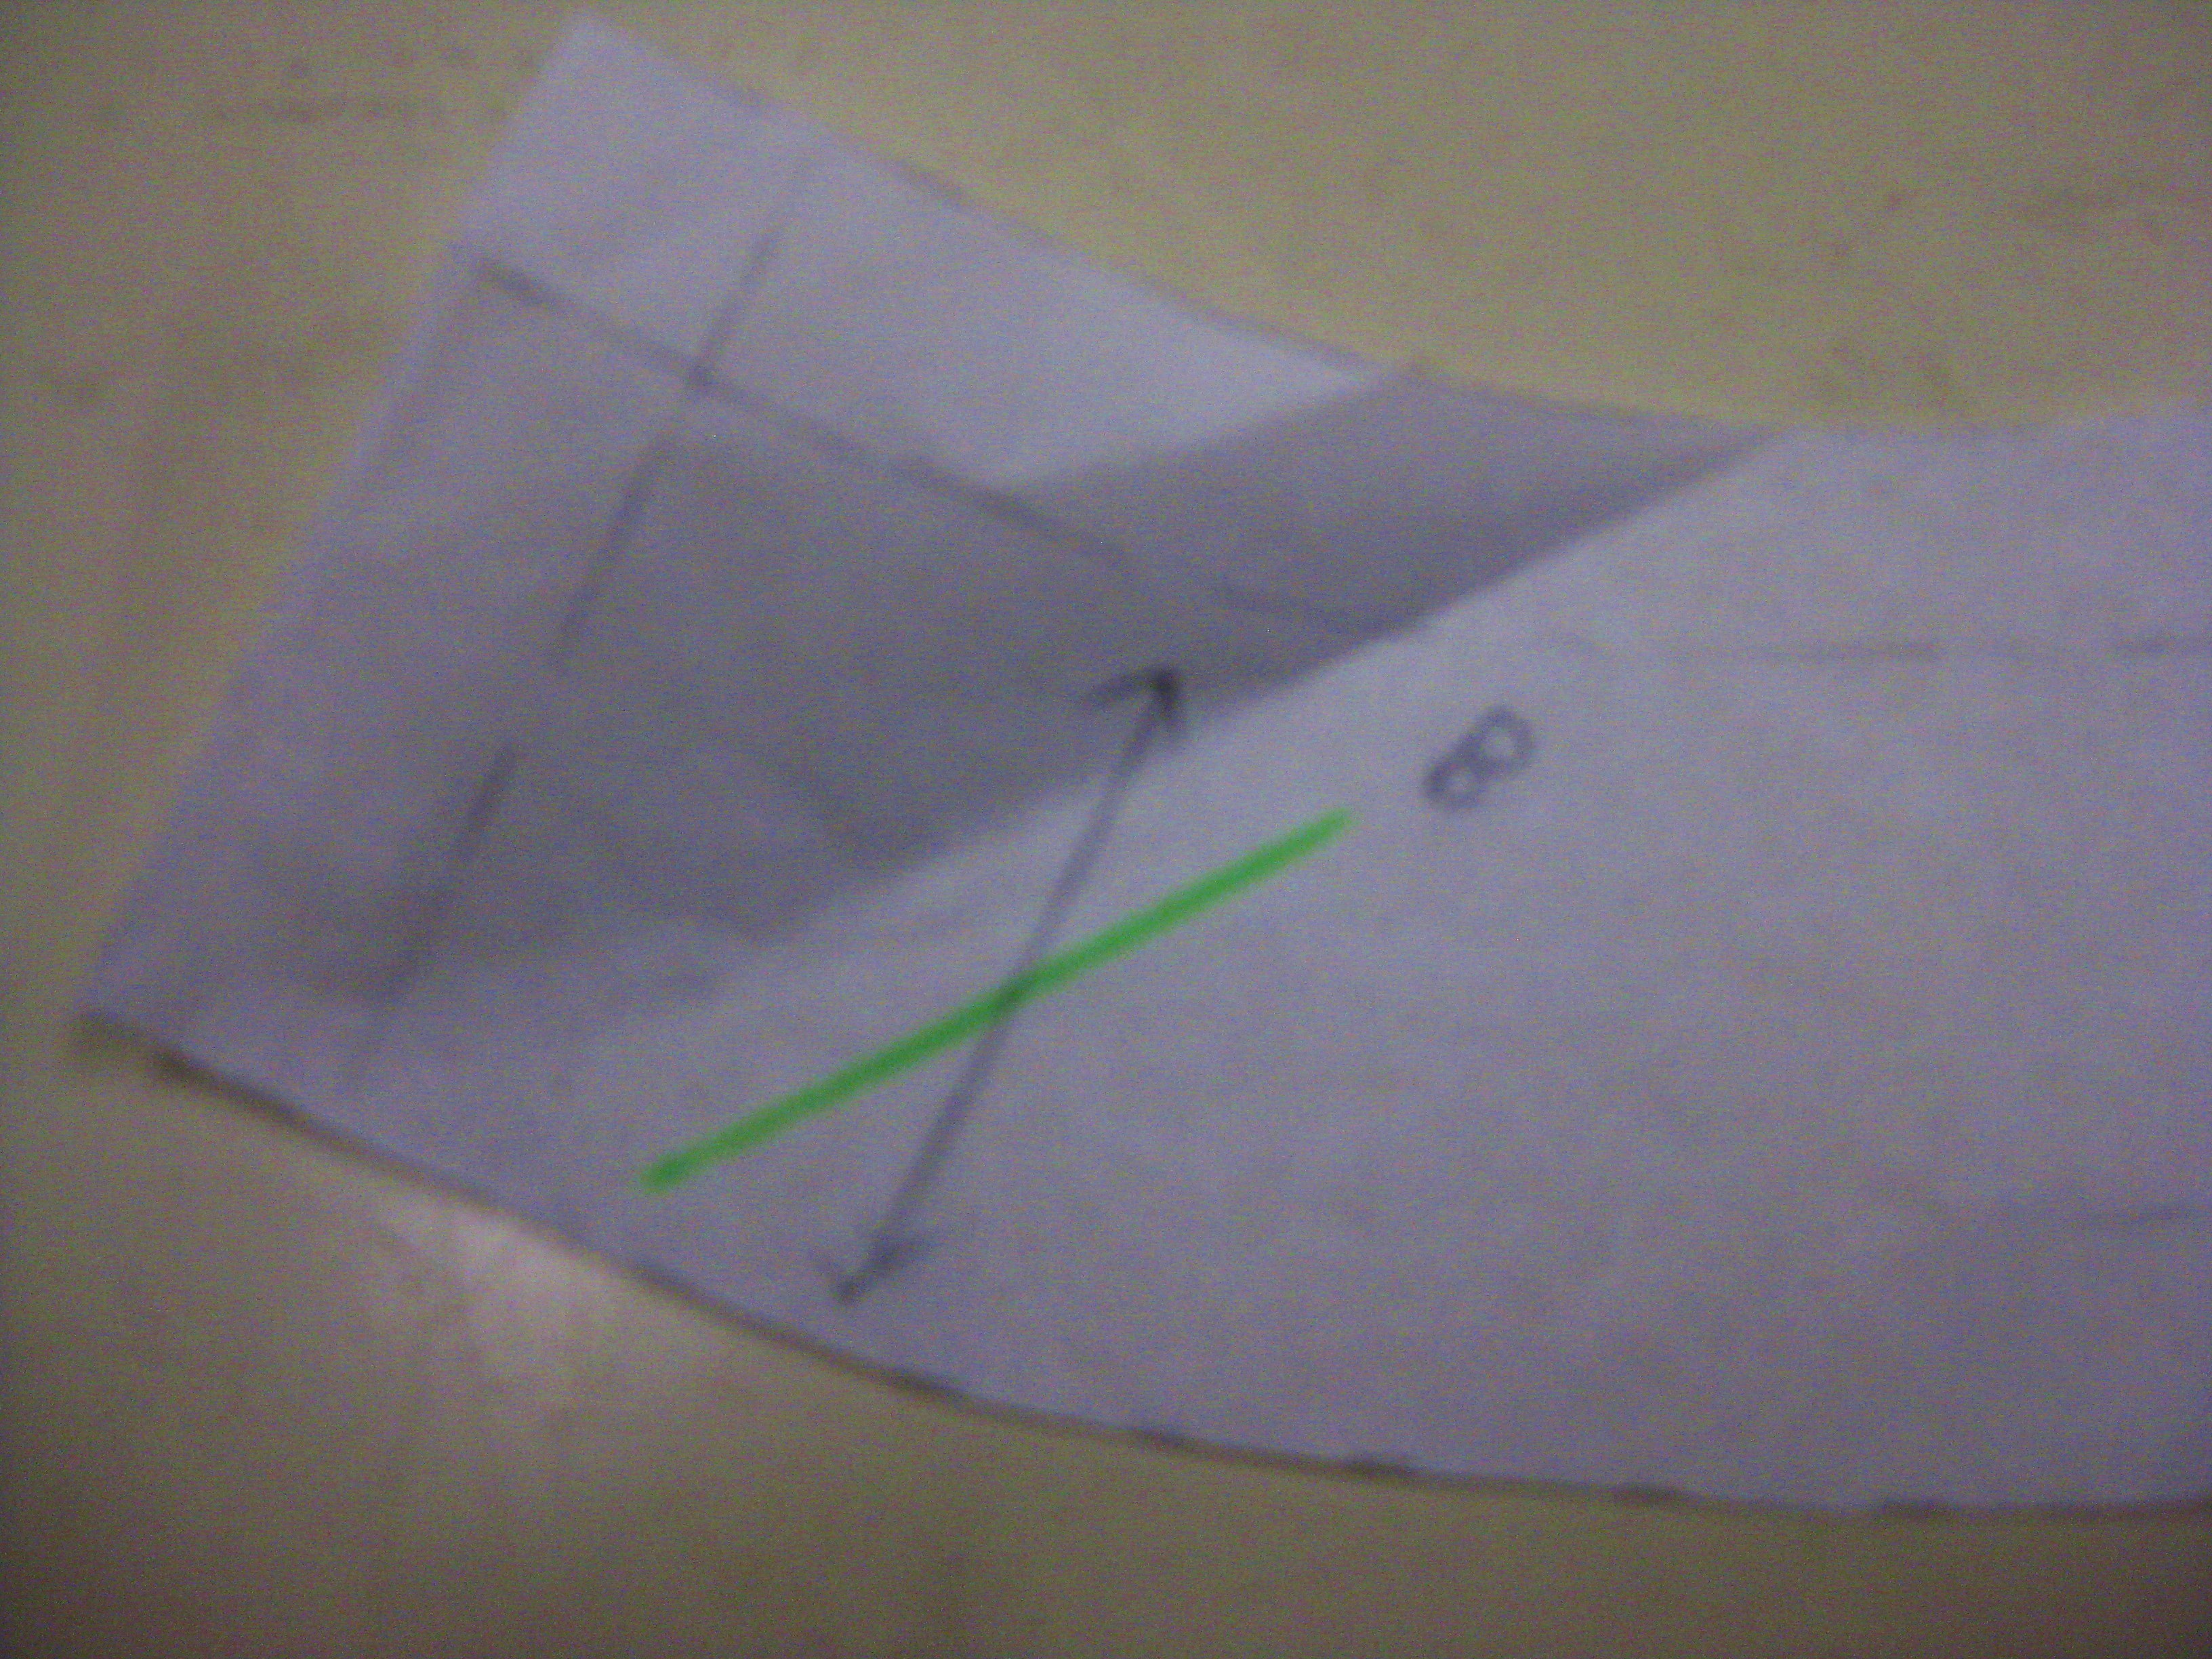
Use pattern edge to measure curve.
Using an iron and steam, press the bias strips into the shape of the curve of the pattern piece. When applying the bias to a neckline the inside curve is applied to the neckline.

Press curve before attaching binding.
If you are using satin or other tricky fabrics or applying a binding to a neckline edge with pleats or gathers, tacking the binding in place before machine stitching will really help in achieving accuracy.
When machine stitching, start away from the thickness of a seam line. Fold edge at right angles and commence stitching the binding in place.
Fold binding at right angle and commence stitching over the fold.
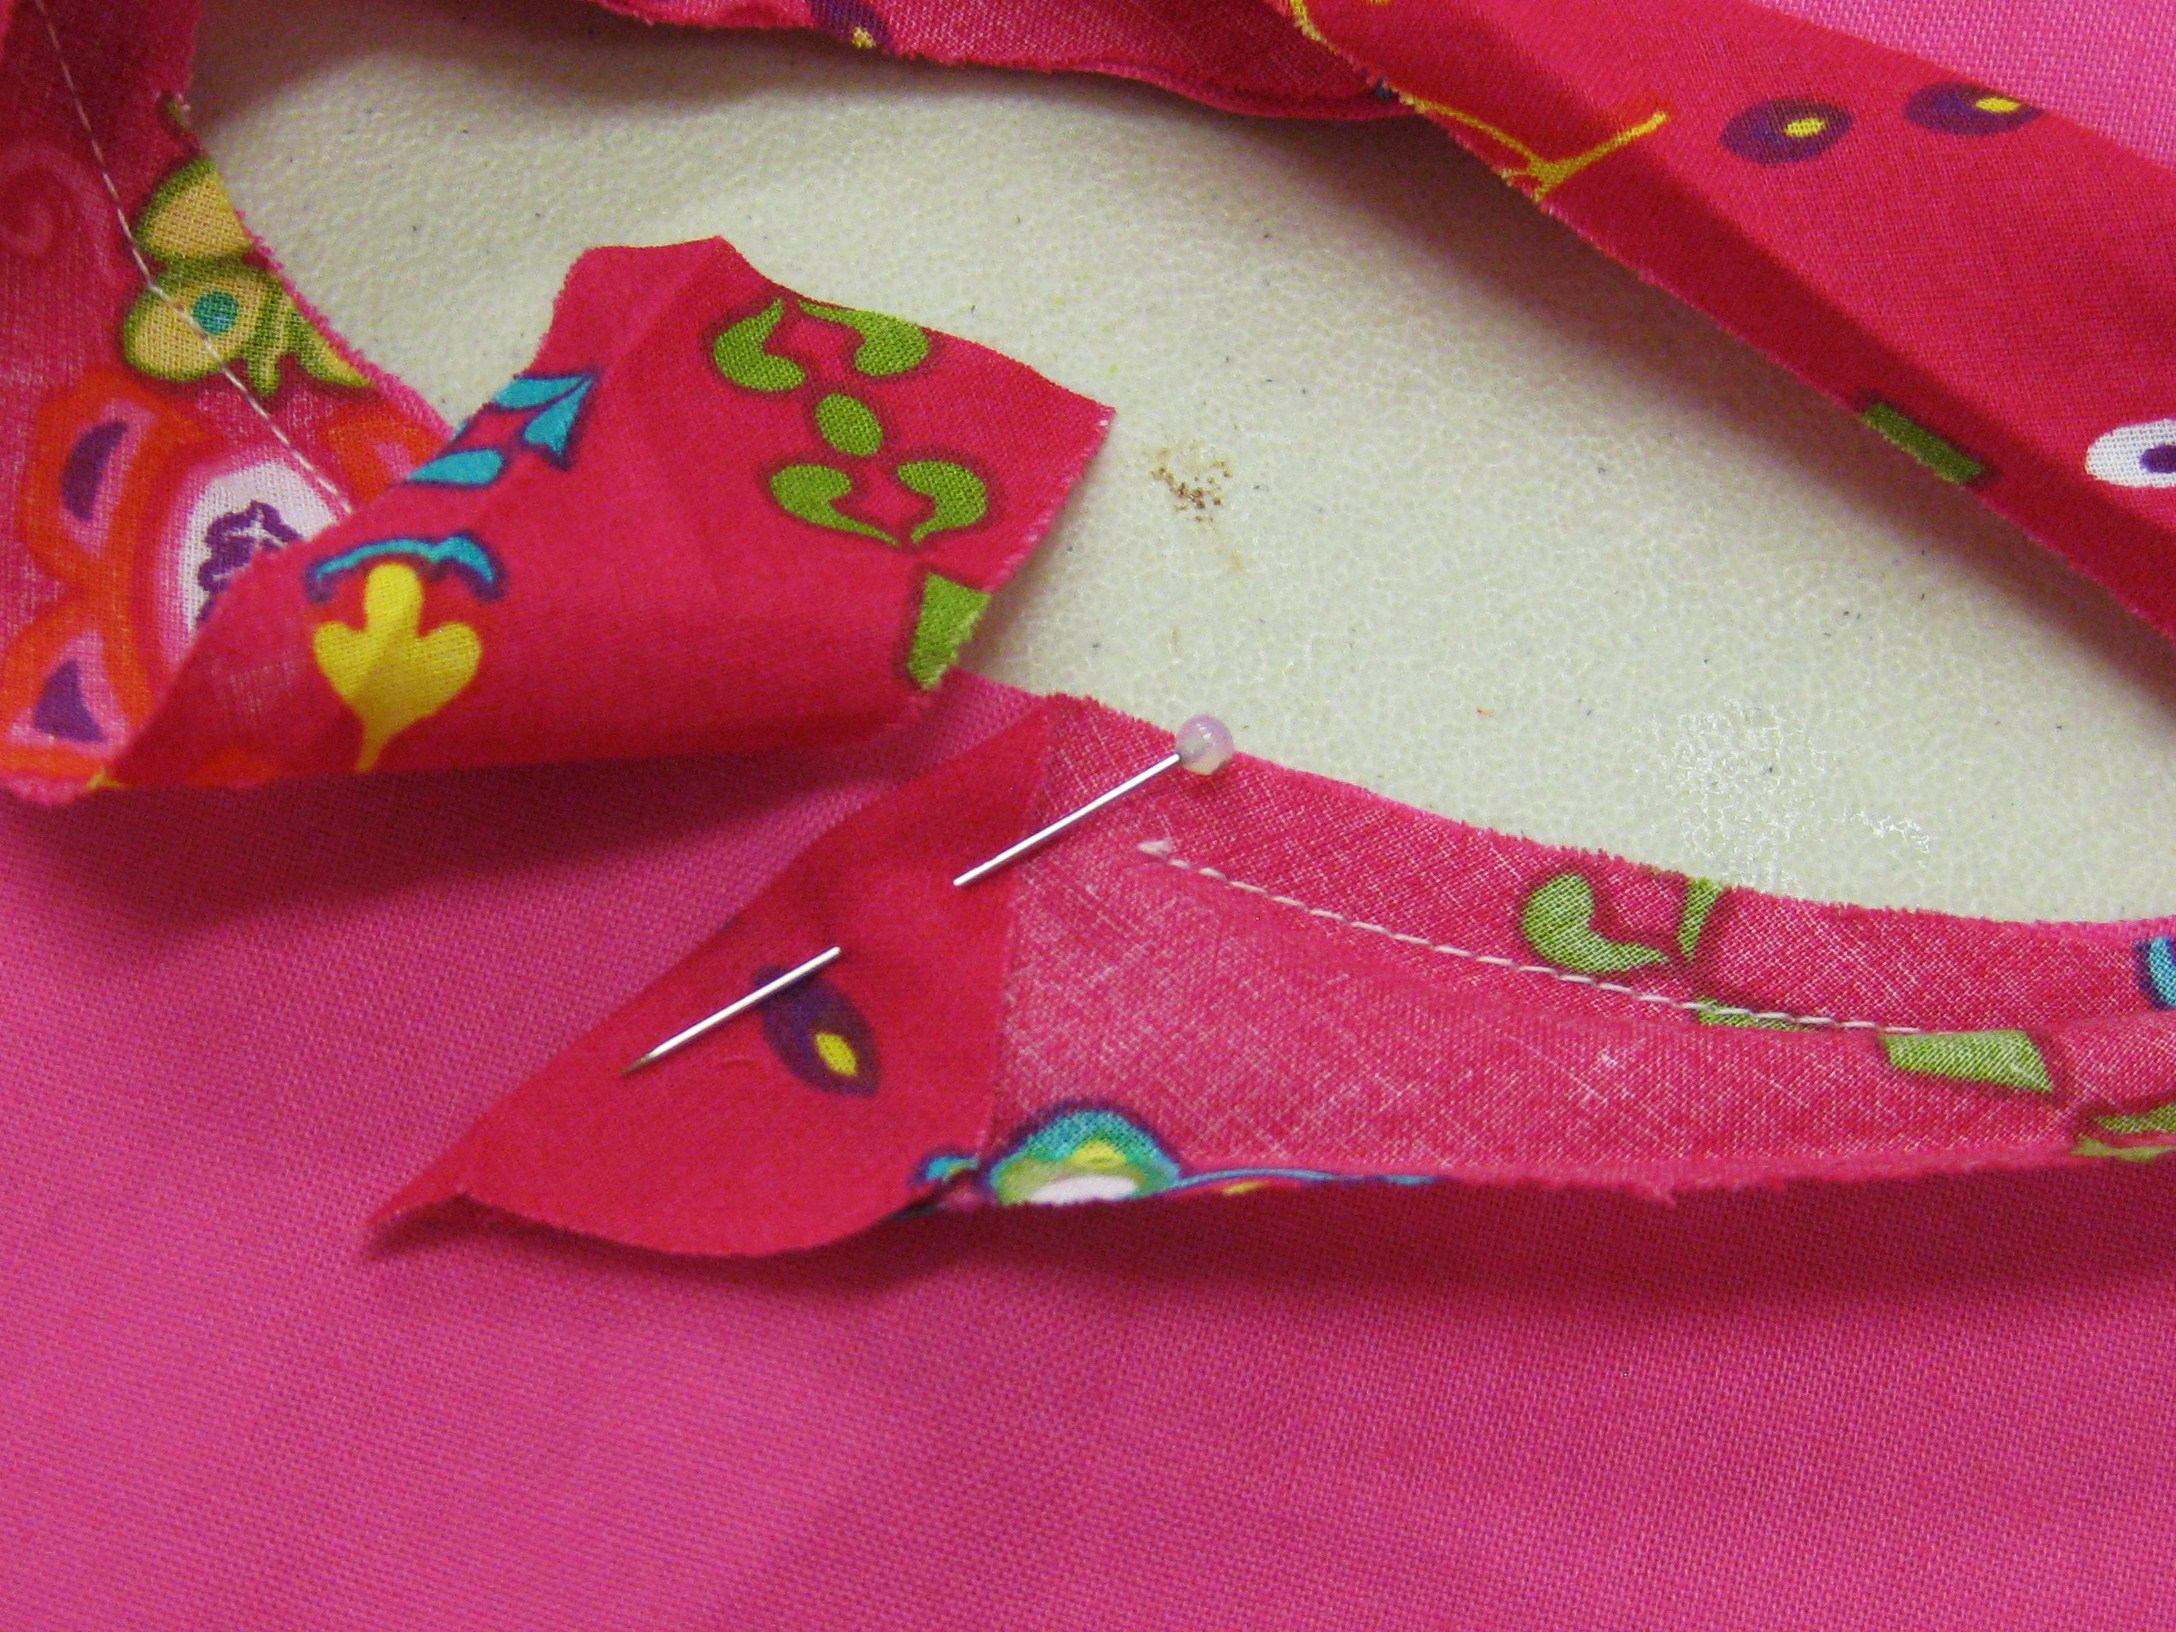
Leave approximately 10cm on either end of the binding unstitched. Lay this remaining edge over the previously stitched fold and continue stitching over this section for approximately 2-3cm.
Trim seam allowance to slightly narrower than the desired binding width and gently roll folded edge of binding to the stitching line. Place pins at right angles to the seam when holding the fold in place. Tack in place.
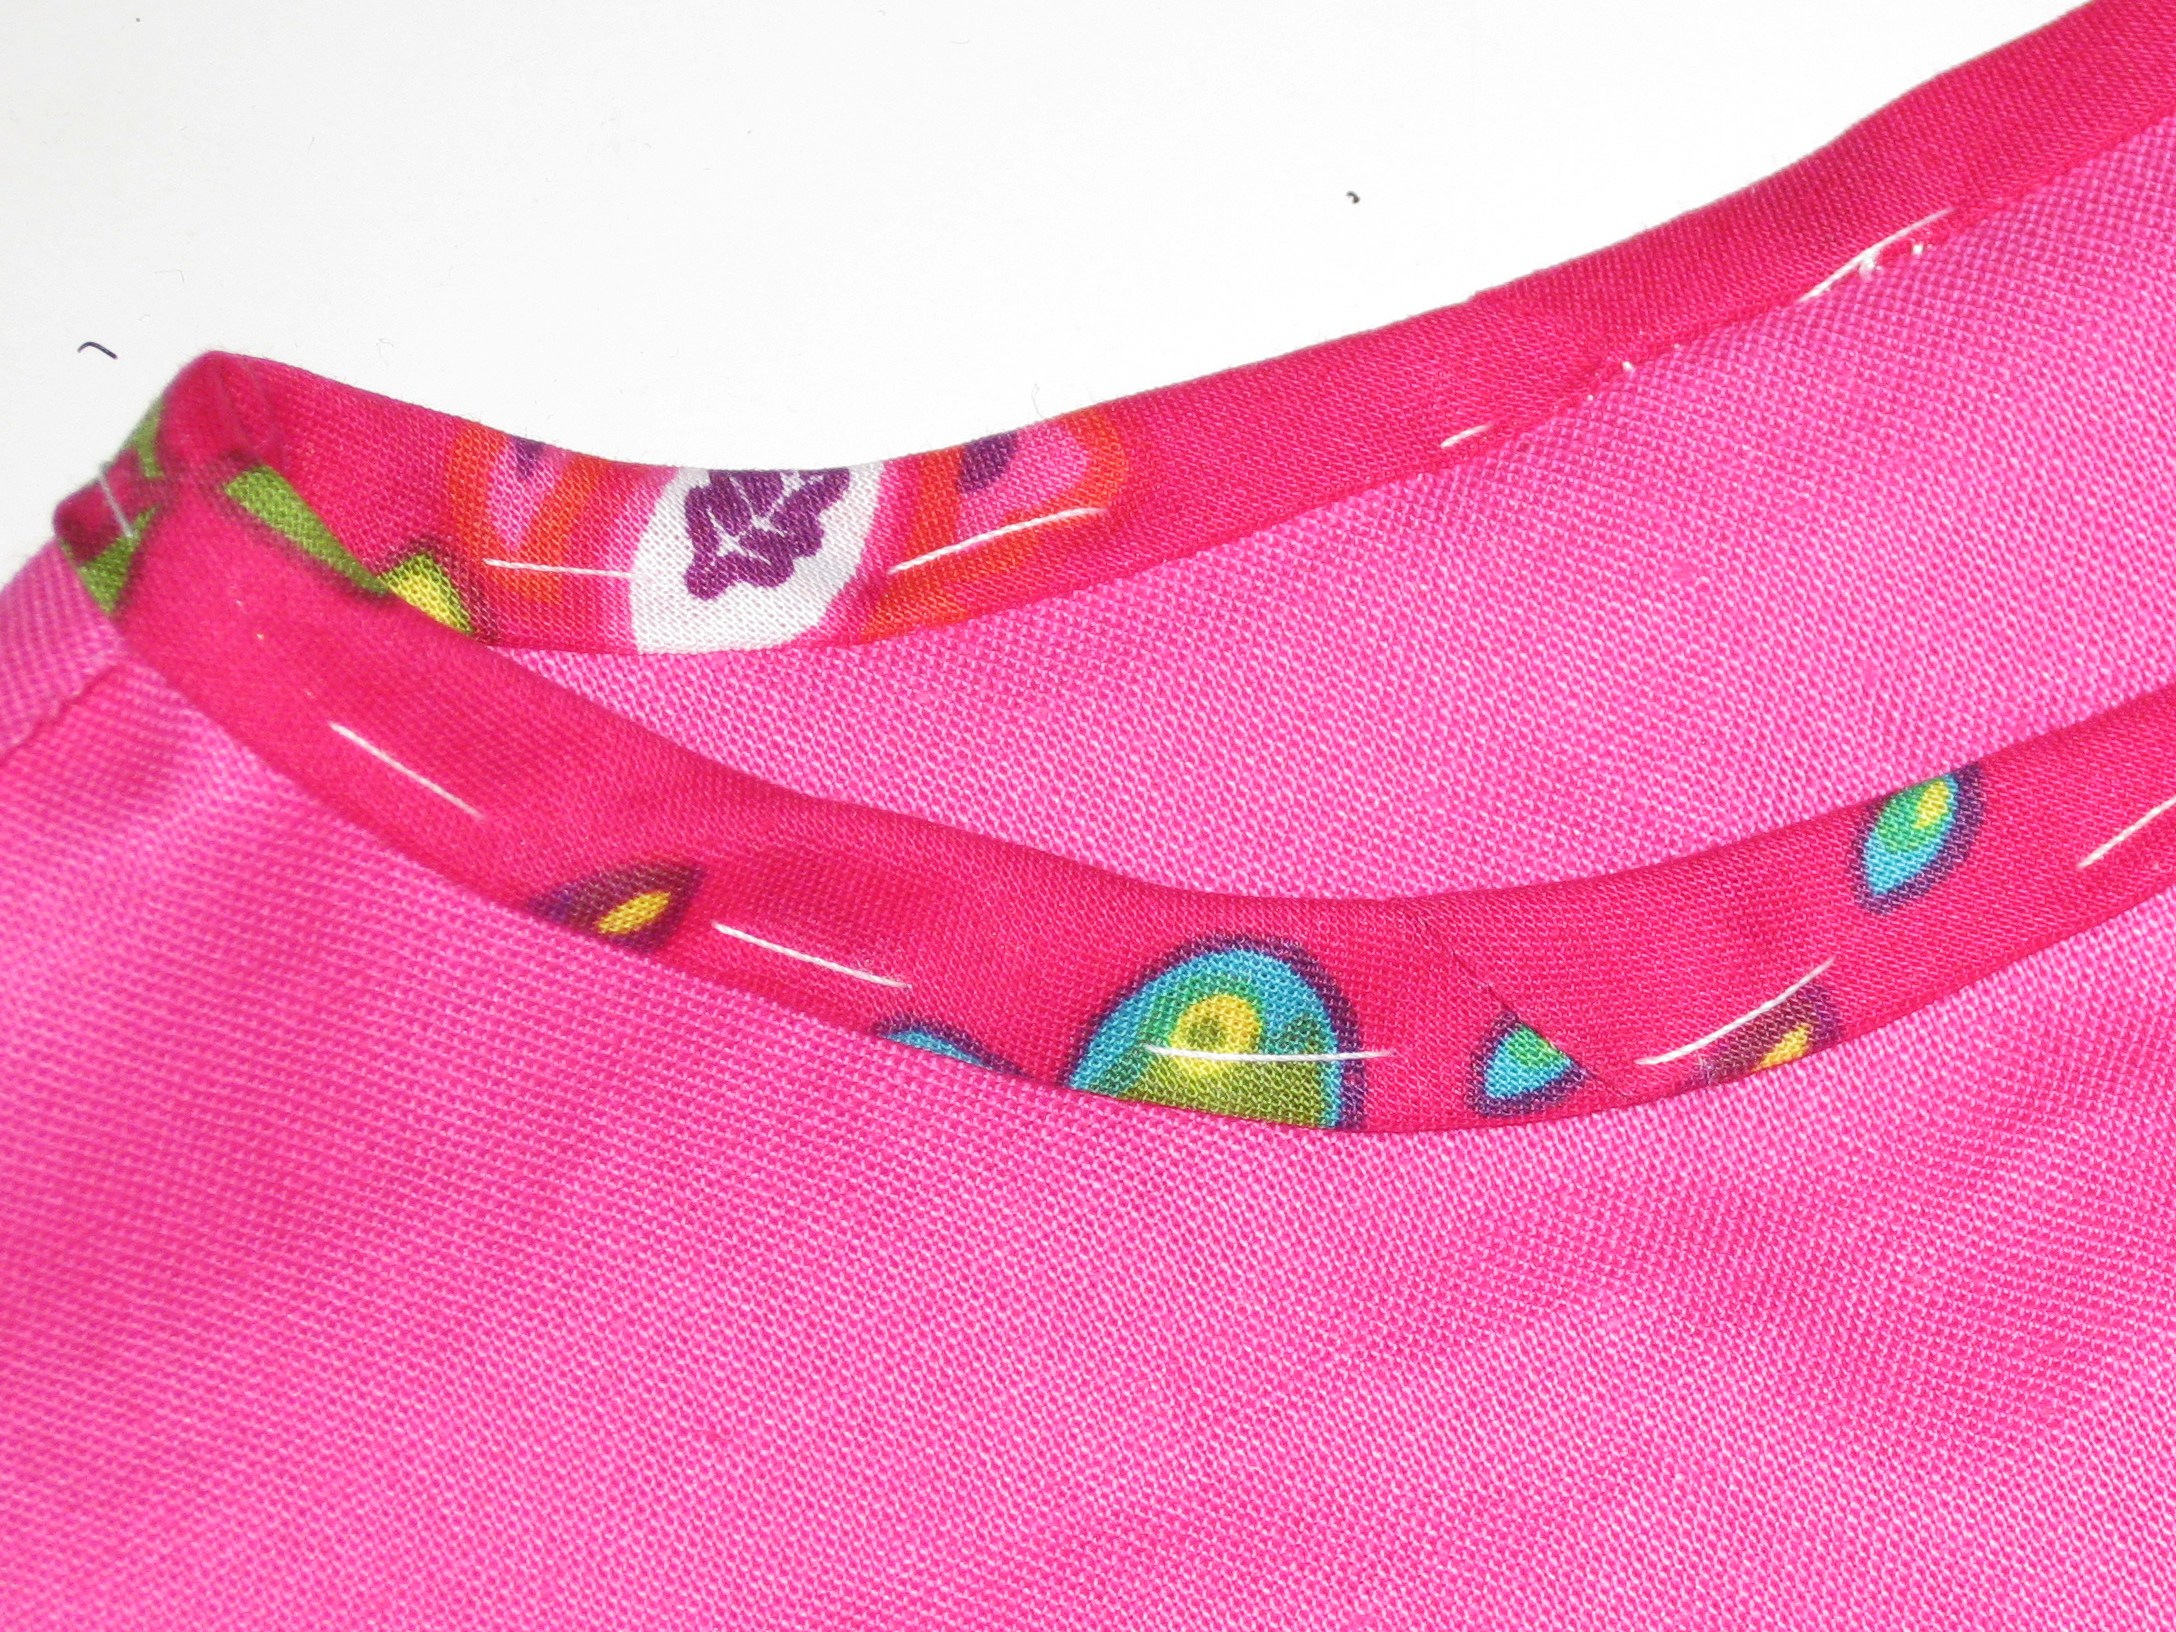
Turn binding at right angles to the seam line. Tack in place so it does not move or ripple.
Invisibly hand stitch by placing hand needle under a machine stitch and taking a stitch through the underside of the folded edge of the bias.
Roll folded edge back slightly. Hand stitch catching the bias just under the folded edge.
Make several stitches and then pull the thread to make the binding roll into place. Do not press the rolled outer edge flat.
