
A couple of years ago I purchased some lovely soft woollen fabric with a mottled grey, black and white weave to make a winter jacket. Having ”aged” the fabric for a couple of years while I waited for its project idea to arrive(!), I finally decided the time had come.
I wanted to incorporate the collar and asymmetrical front from KwikSew 3531 and the back and sleeve details from a Marfy jacket which is offered as a free pattern with their 2009 issue. This pattern is not sold separately and I am not sure whether the 2009 issue is still available. However, the details I used are fairly easy to replicate using a plain bodice jacket back and one piece sleeve.
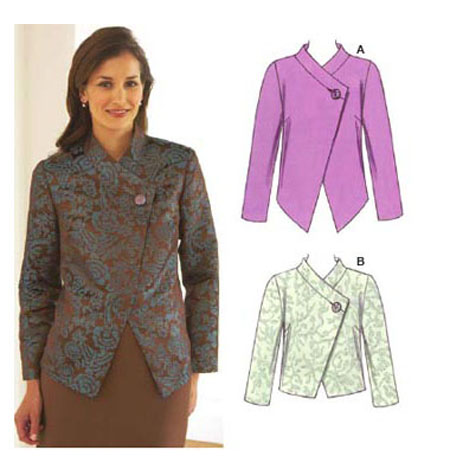
Kwik Sew pattern 3531 used as a base – front and collar unchanged

Marfy Catalogue 2009
Marfy jacket in linen
Back and sleeve detail
I traced all pattern pieces from the KwikSew pattern and made the styling alterations.
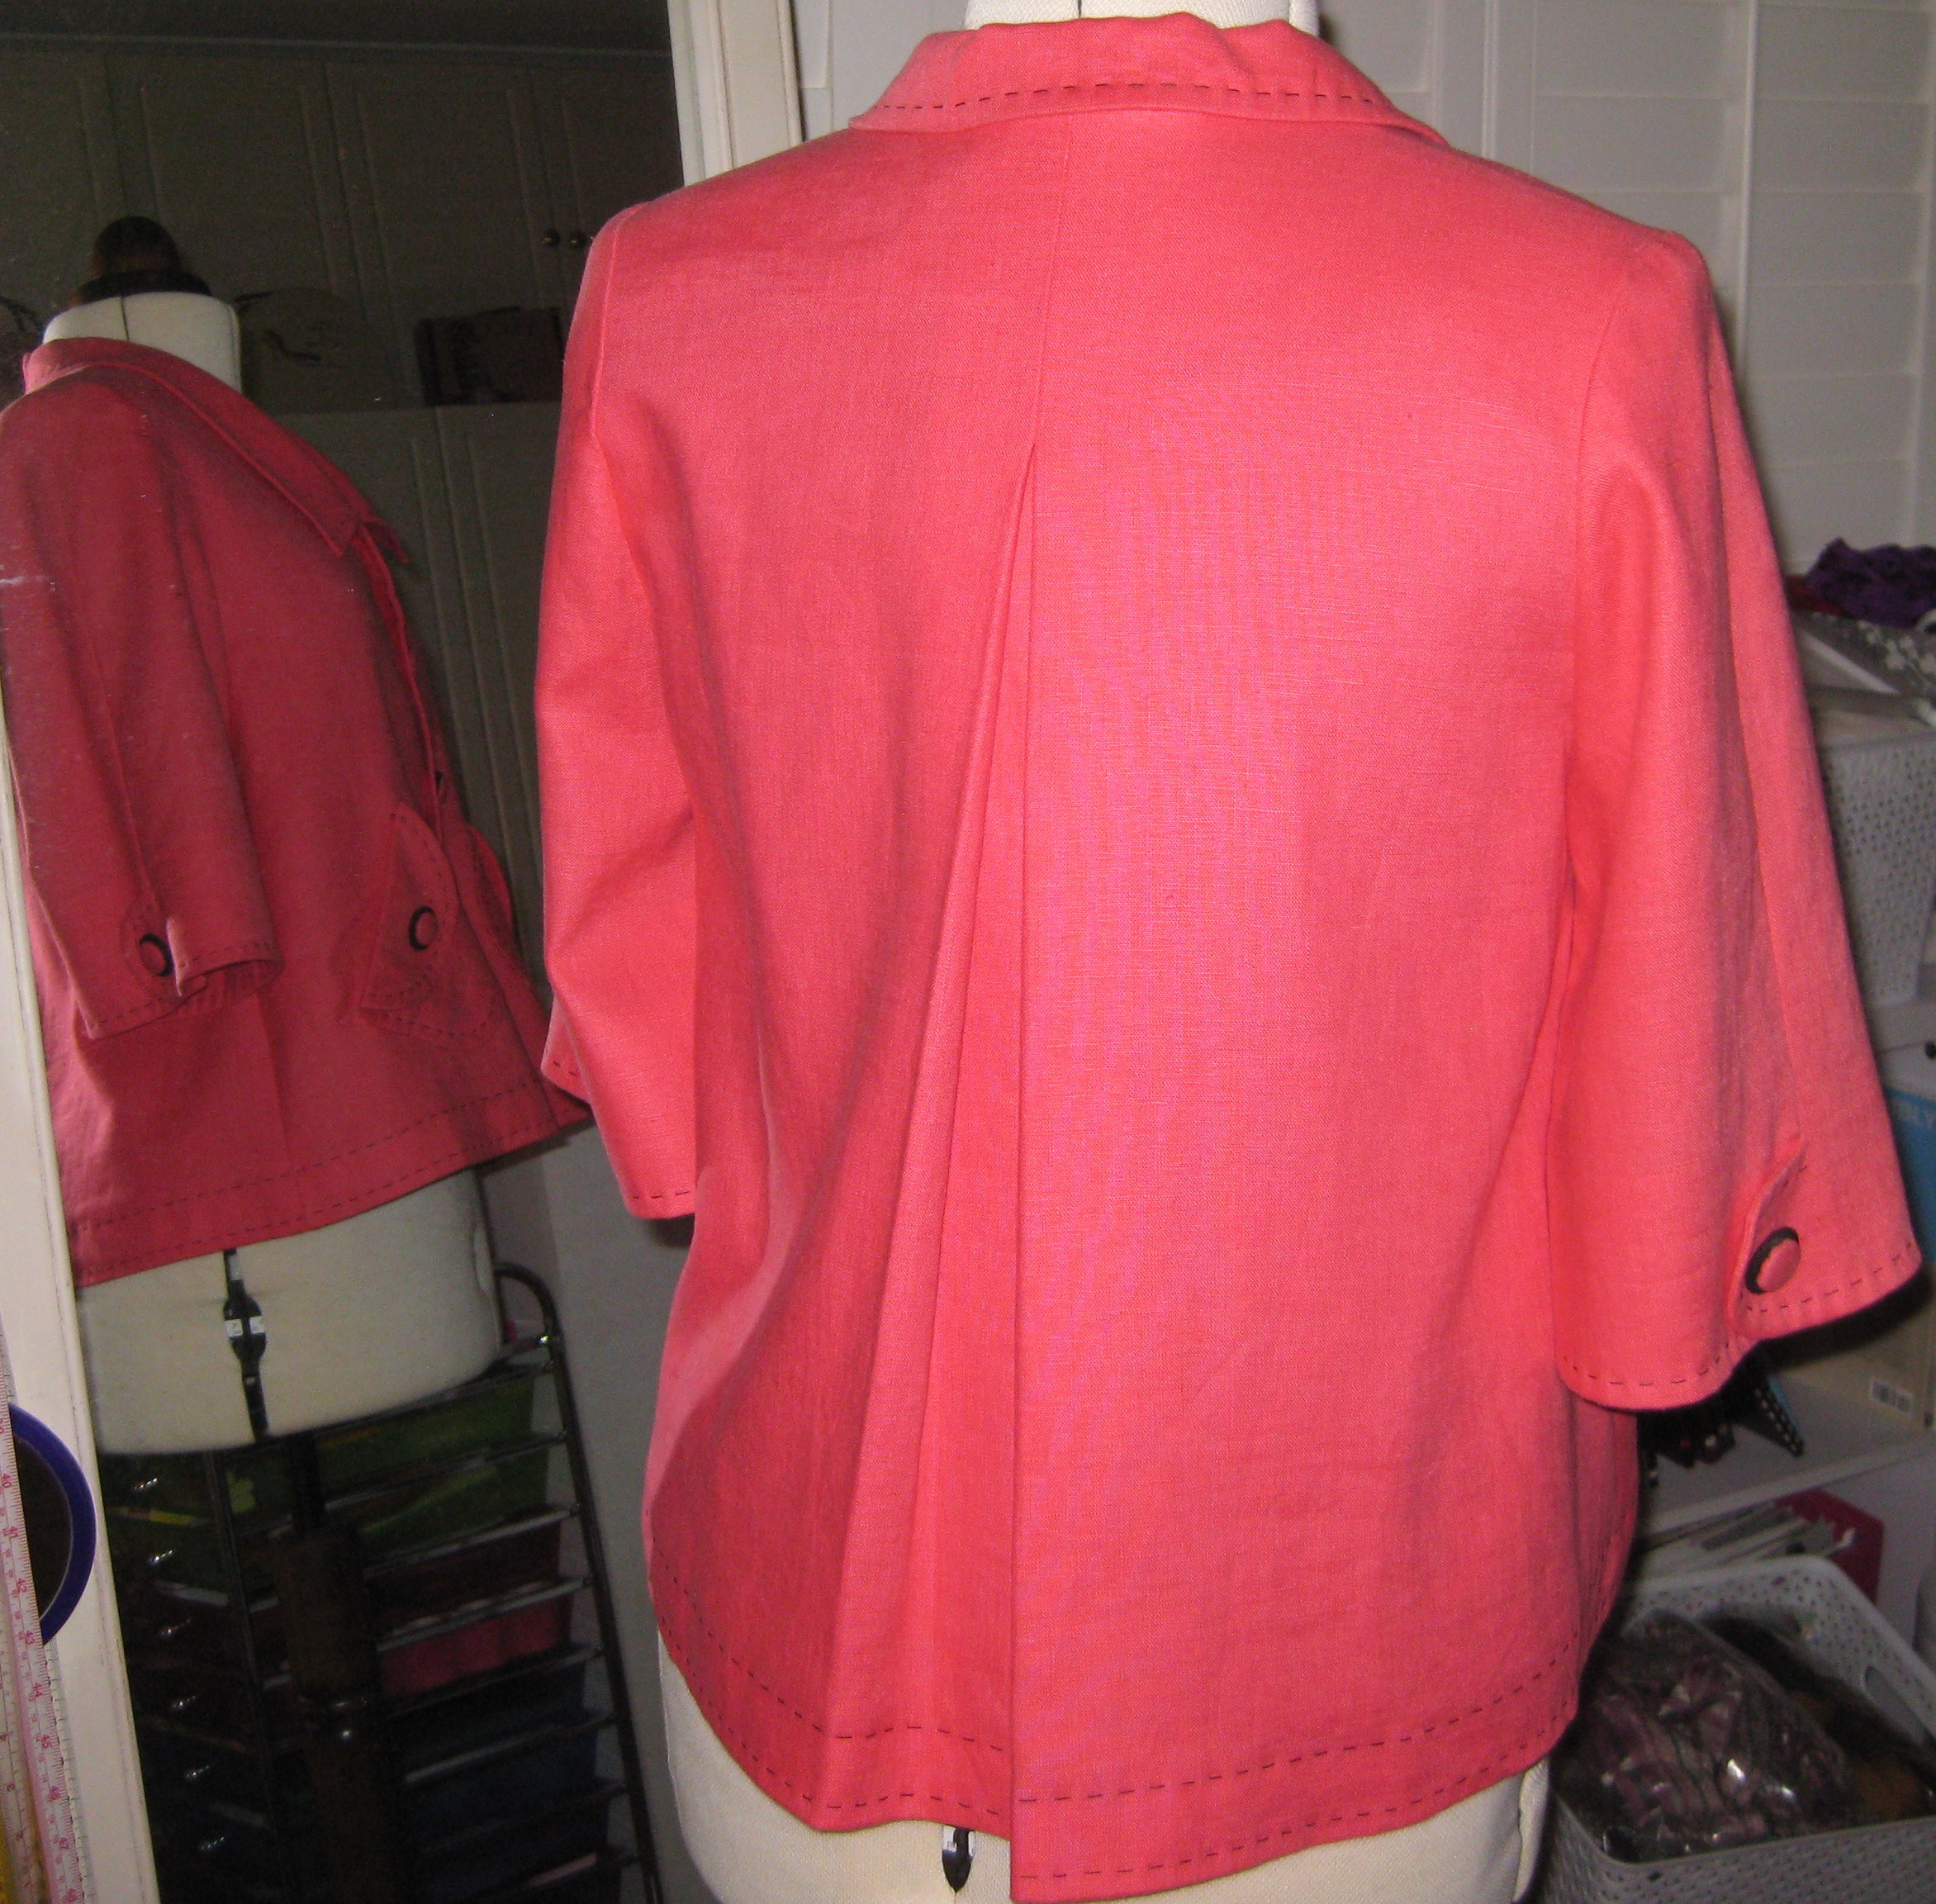
The Back
To achieve the swing back, I used the back pattern piece from the KwikSew pattern which was to be cut with centre back on the fold and positioned the centre back 3 inches /7.5 cm from the fold which resulted in an inverted pleat. A line was also drawn parallel to the grain line from the centre of the shoulder to the hem. This insertion was cut and spread by 1 ½” / 3cm at the hem and an extension added to the back side seam ( ¾” / 1.5cm which is half the insertion measurement). Using this ratio, more could certainly be added to achieve a fuller swing.

Pattern changes to include inverted pleat and swing back
To keep the pleat in position, I stitched from the neckline down 6 inches /15cm. Pleats were sewn from the centre to the outer fold and the excess fabric above the opening trimmed from the undersides of the pleats to avoid extra thickness at the neckline seam.
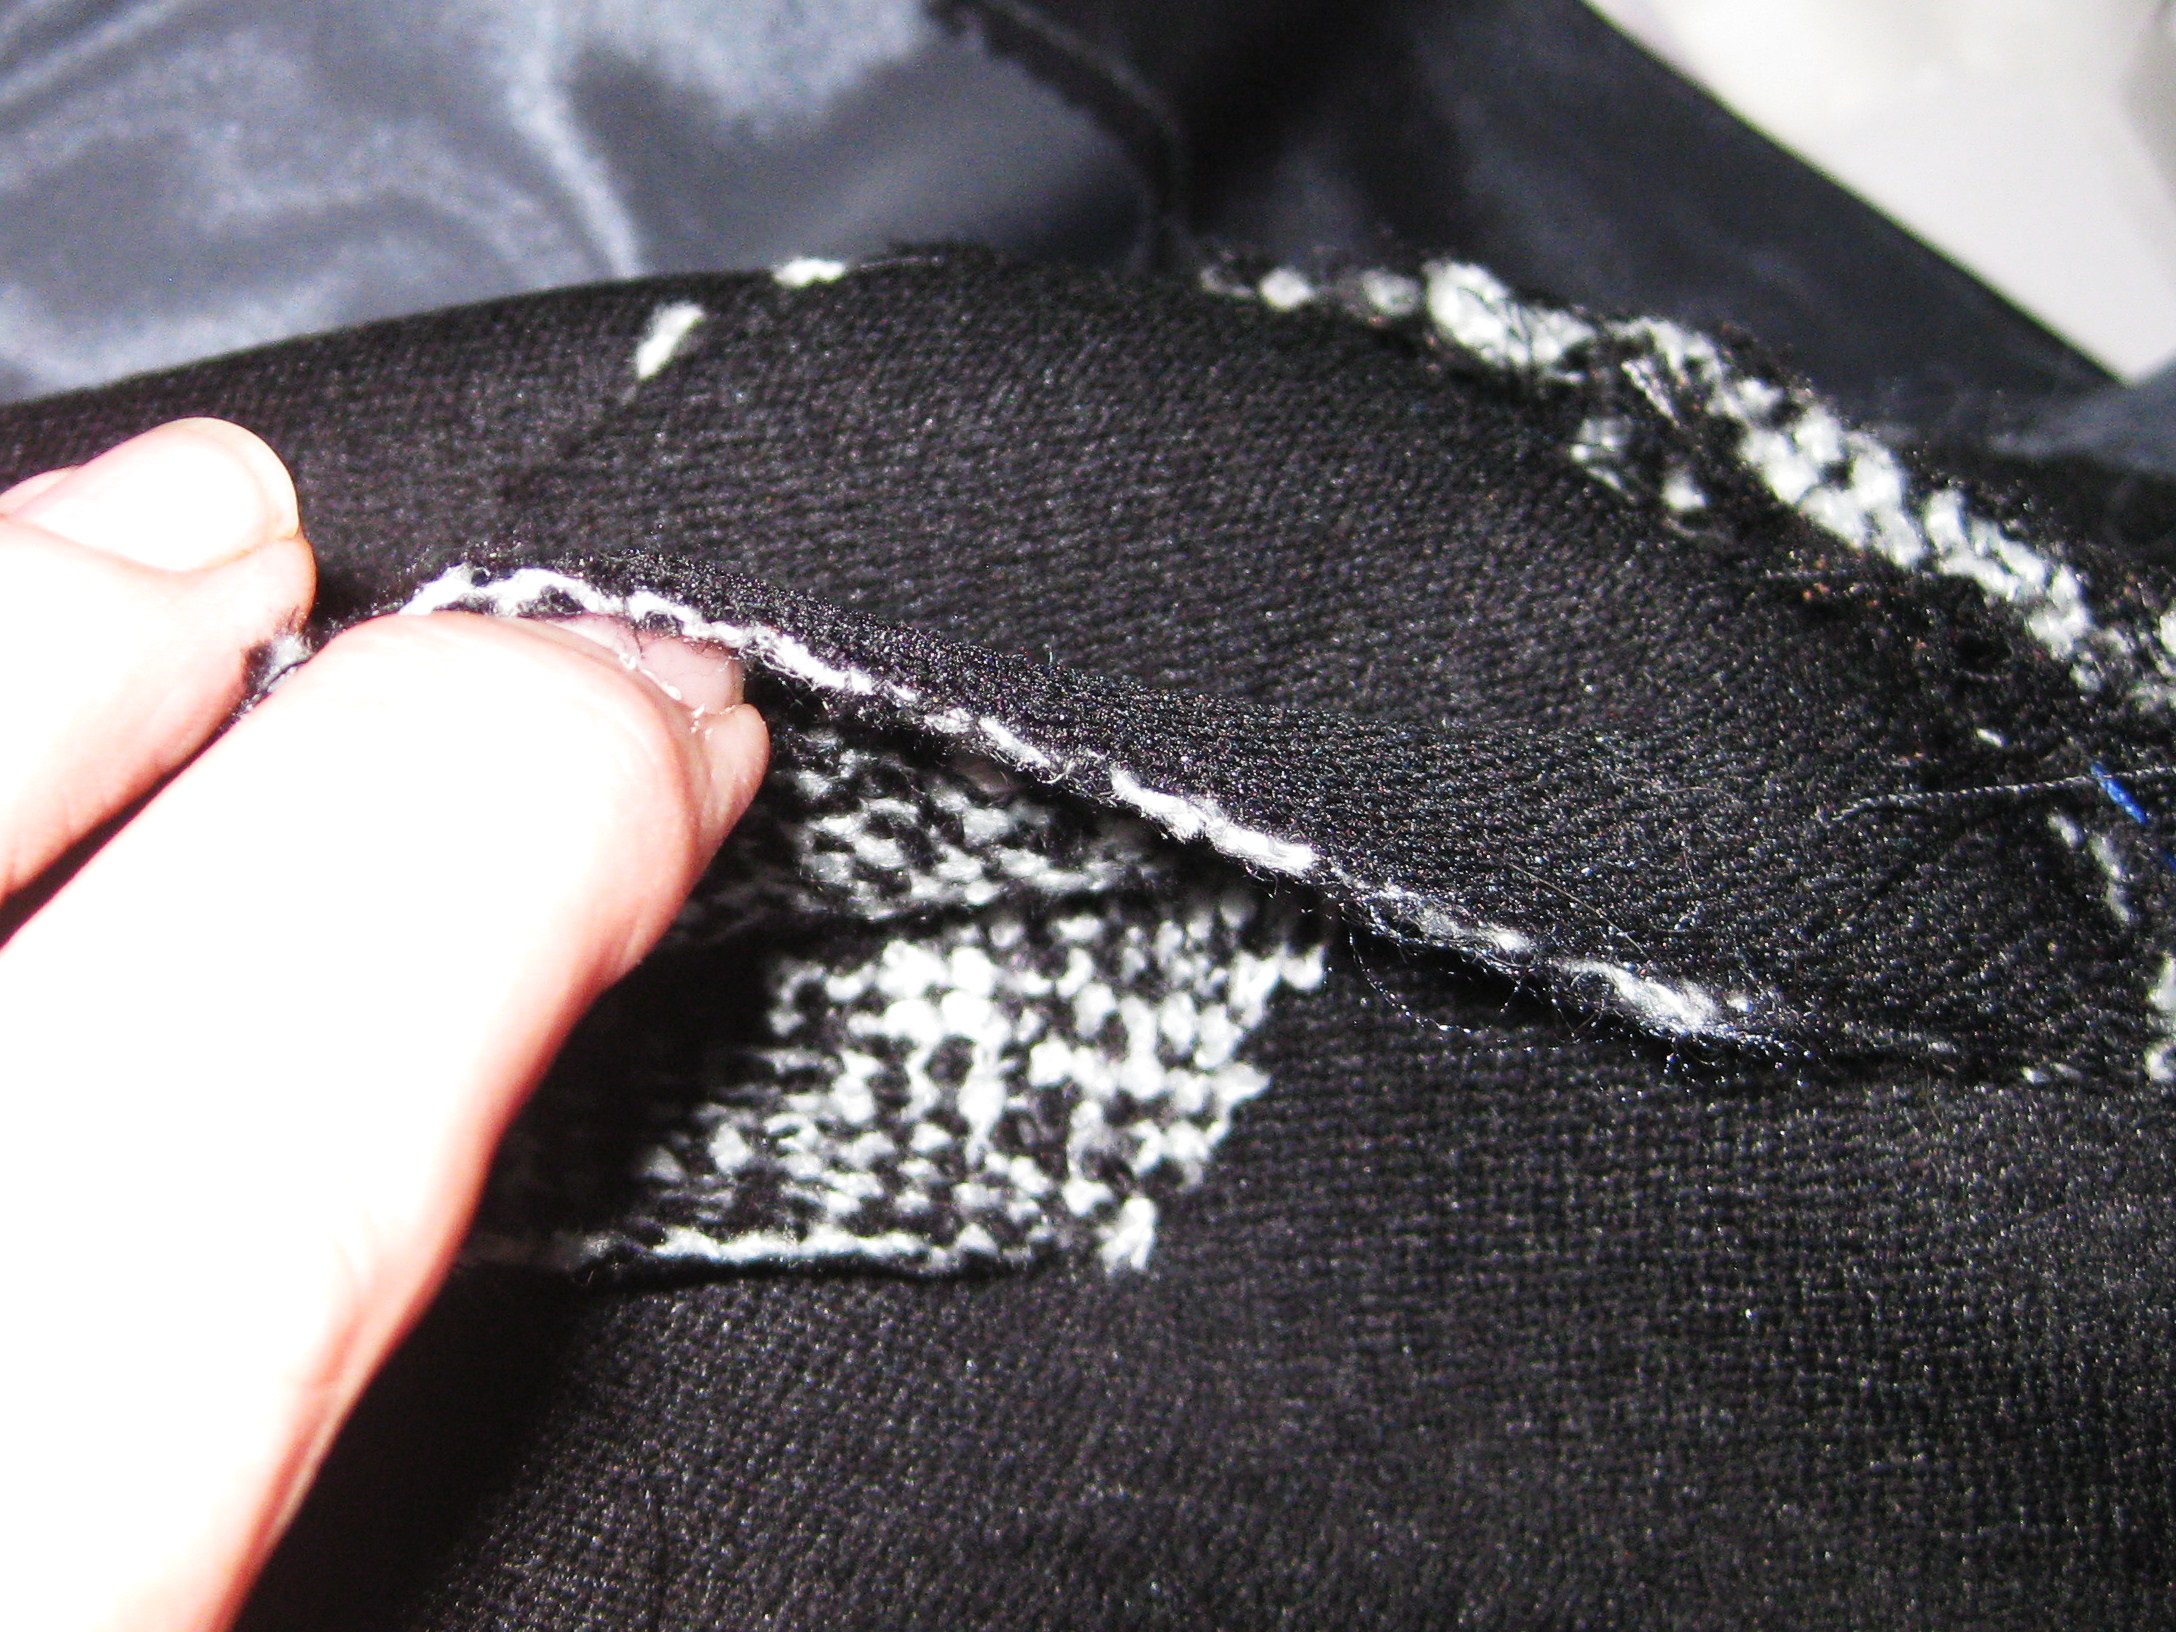
Return side of pleat removed to minimise bulk
The remaining underside of the inverted pleat has been catch stitched to the interfacing and joined into the neckline. It acts as a stay to keep the pleat in place.
Top edge of underside of inverted pleat connected at neckline seam provides a stay for the pleat
The Sleeves
Again using the KwikSew pattern which has a one piece sleeve, I drew a seam line down the centre of the sleeve and drew in the sleeve flap which lies towards the back section.

Centre seam line added to sleeve; width of facing and sleeve hem detail drawn on to KwikSew sleeve
I joined the seam to the top of the button extension and applied a hem facing to finish the bottom of the sleeve.
The top section of the sleeve was cut down the centre and clearly marked front and back.
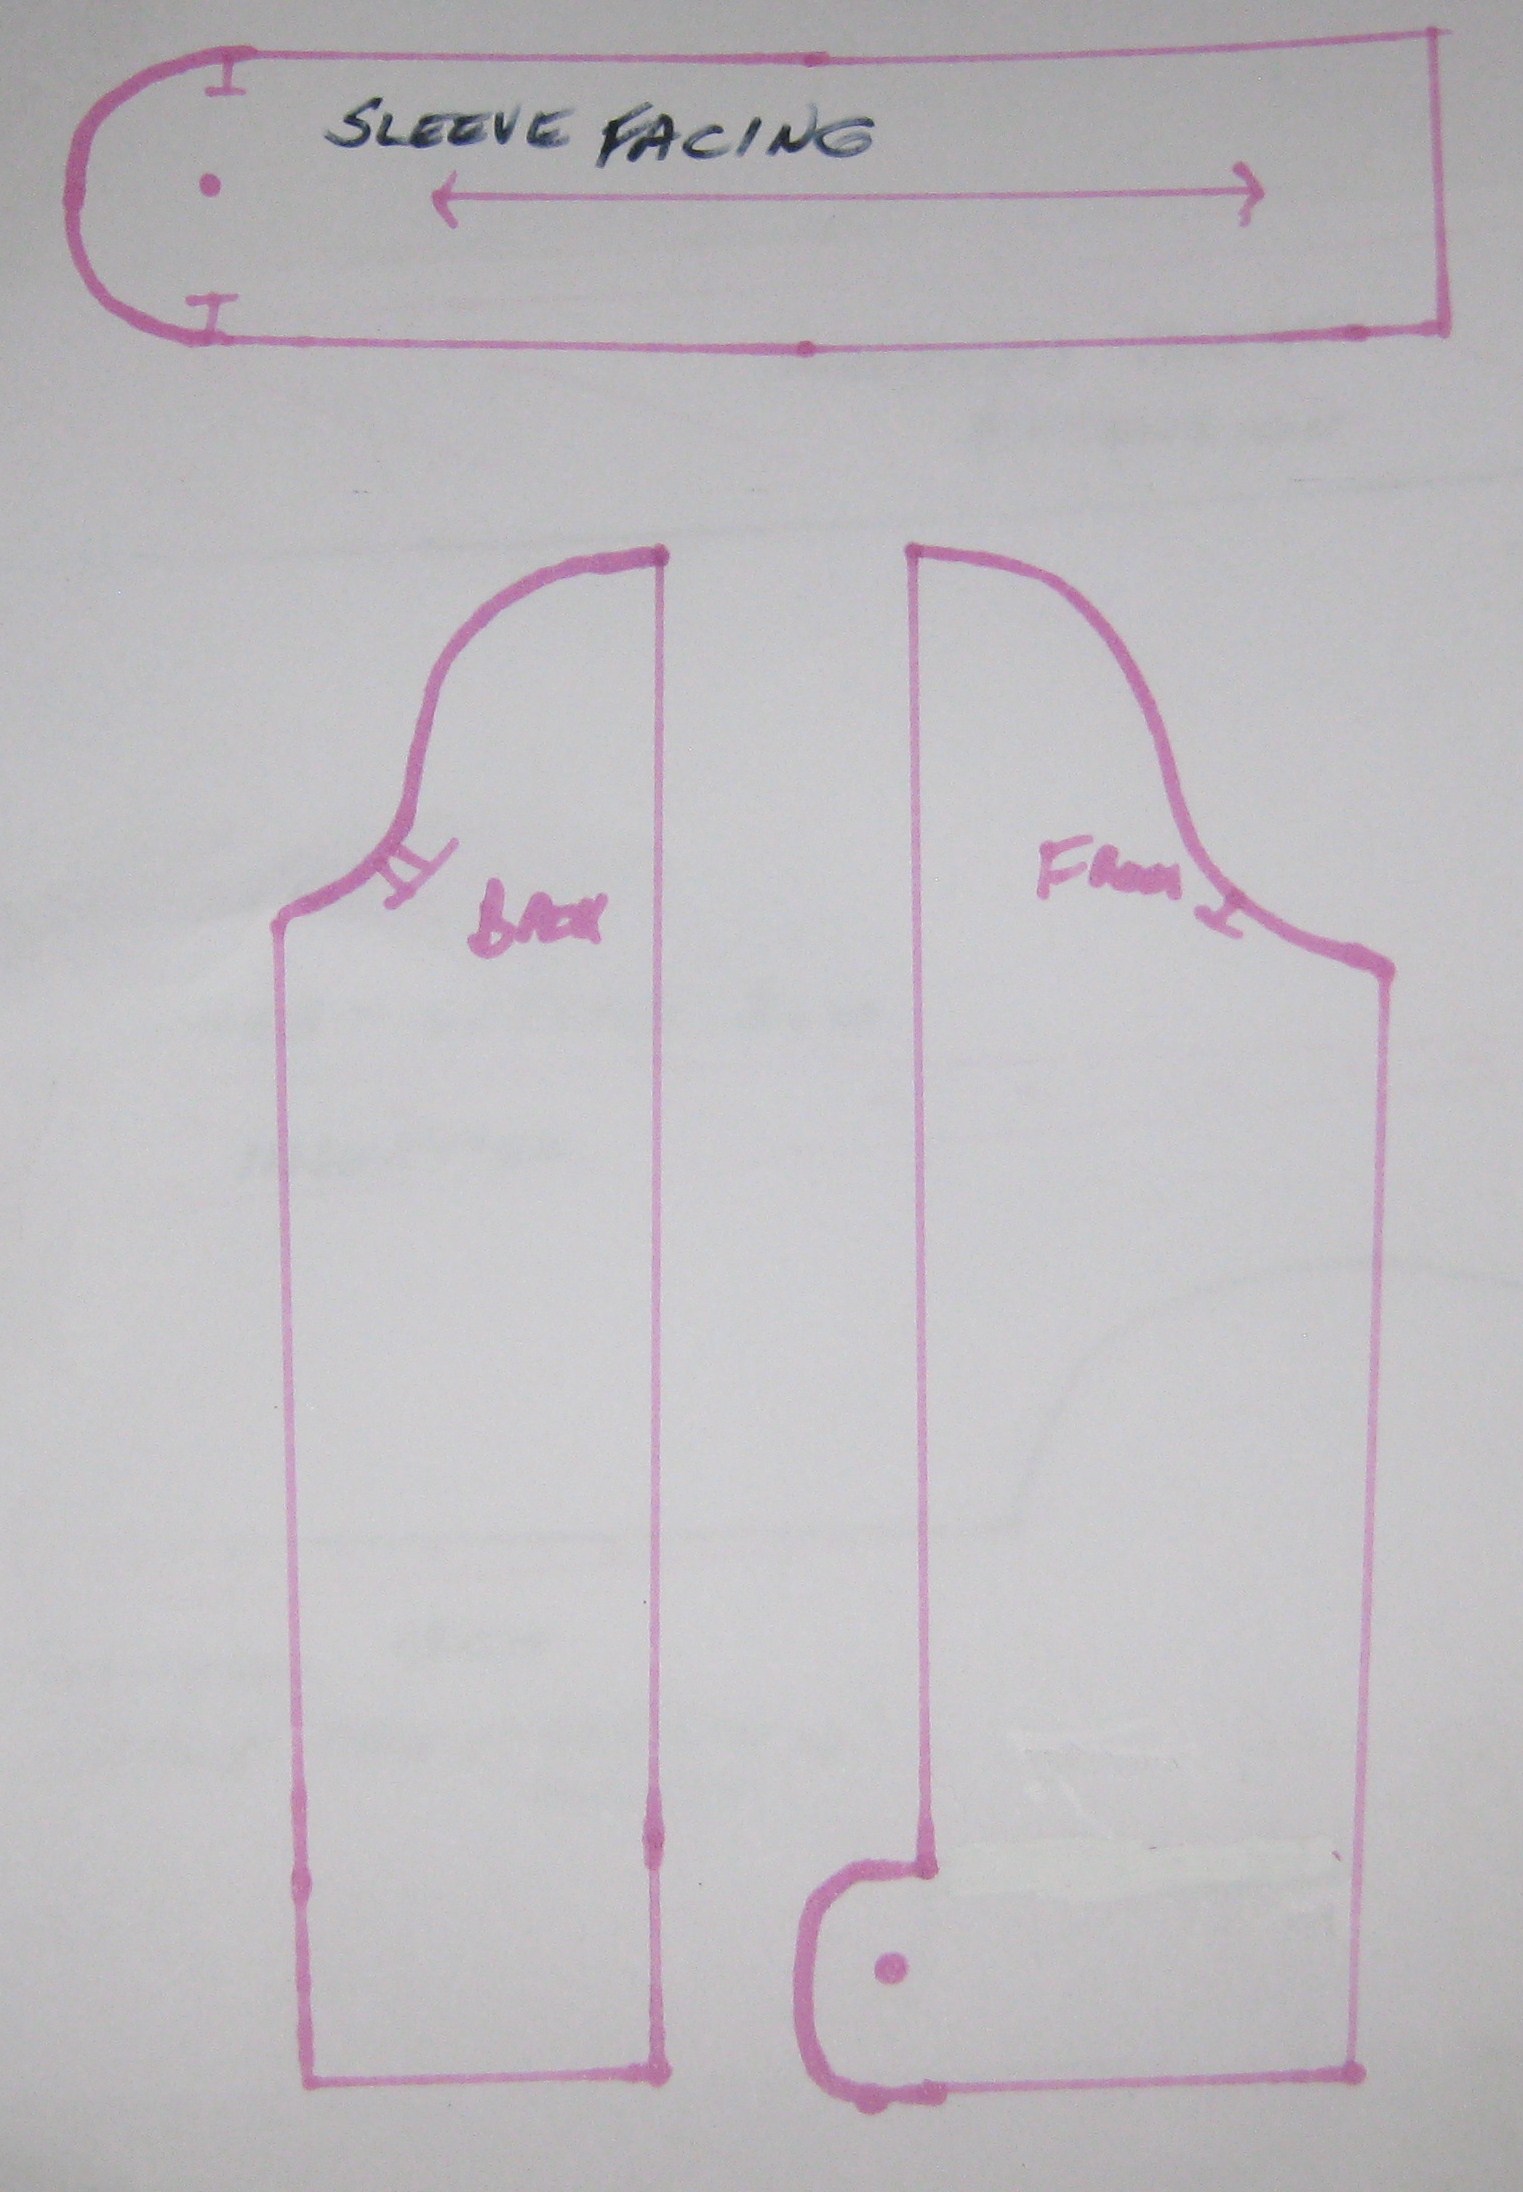
Pattern pieces for sleeve and hem facing
Seam allowance was added to all new seam lines.
Inner support
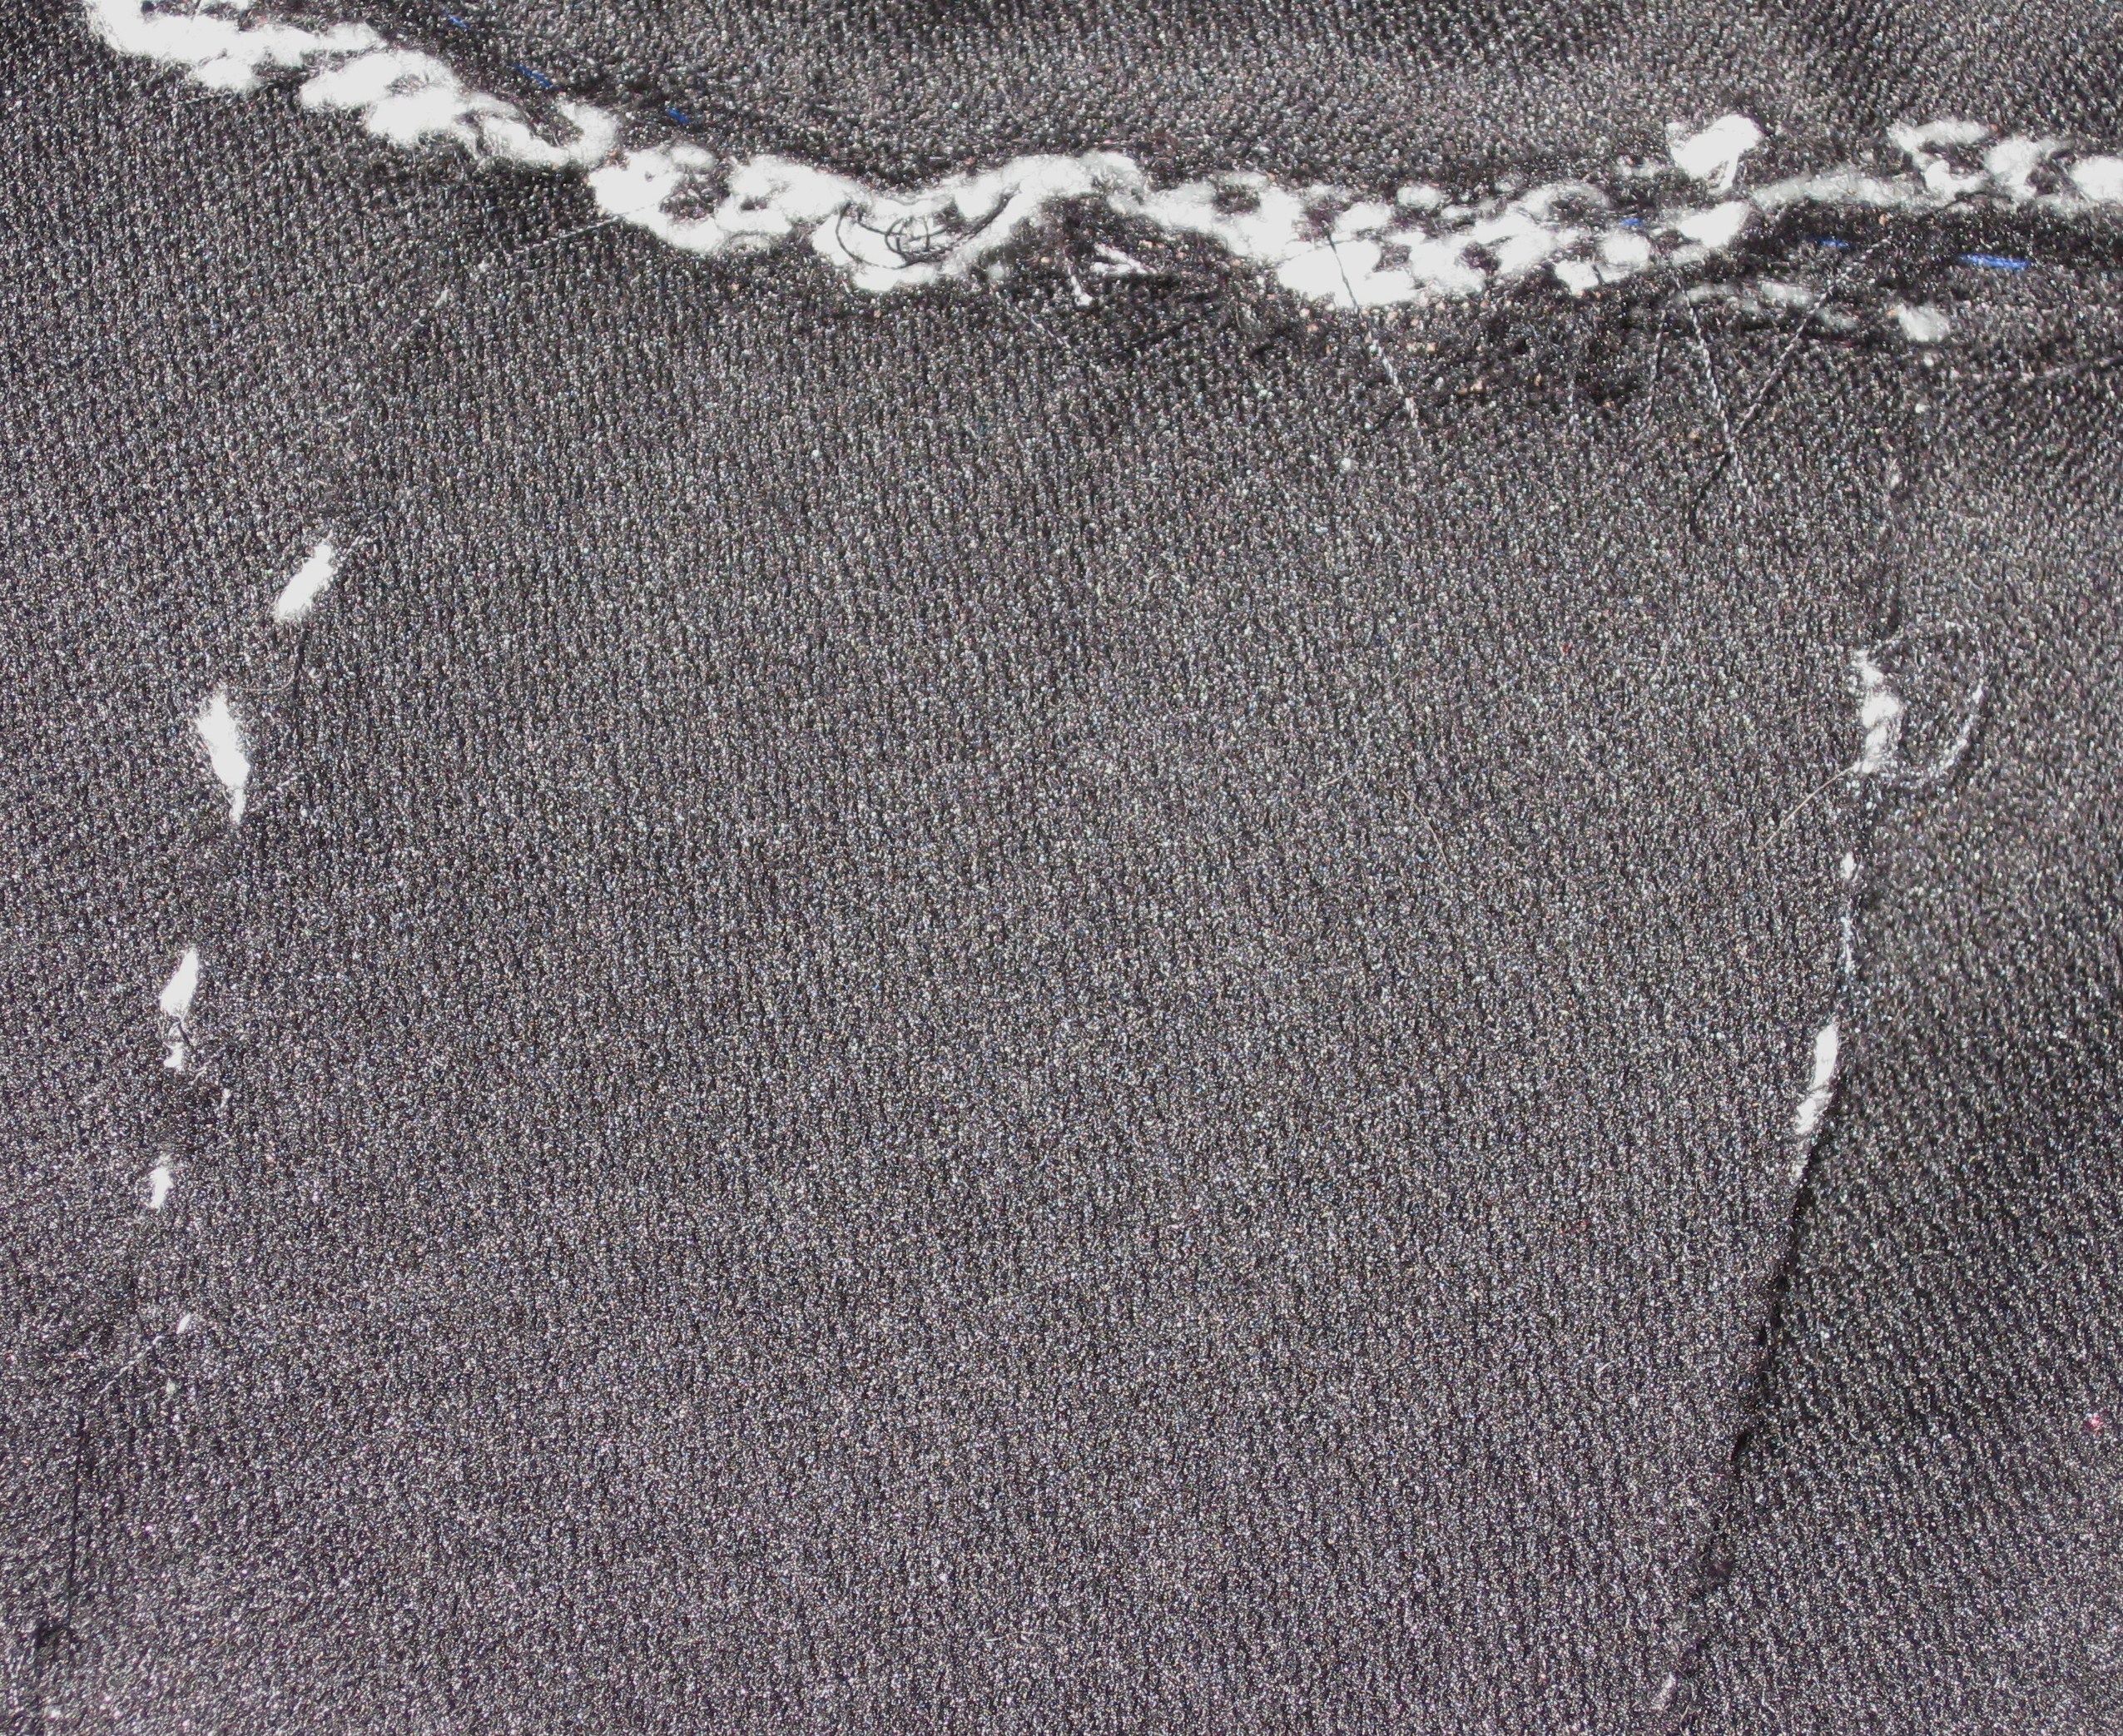
The wool fabric has a very soft hand and is inclined to fray easily. I fully fused each garment piece with a medium weight knit interfacing to support the structure of the jacket long term.
Underarm Gusset
Once the jacket sleeves were set into the armholes, I tried the jacket on and found that, despite my taking careful measurements, the sleeves felt a little too close fitting with a heavier top underneath.
To fix the problem, I have inserted an underarm gusset. This is a good solution for any sleeve that binds a little around the bicep area.
A gusset can be one or two piece. I chose to open the underarm sleeve seam and the underarm bodice sleeves and insert a diamond gusset 7” x 3” / 18cm x 7.5cm. The stitching points were marked on the sleeve and jacket seams. The longest section of the gusset was cut on grain and the piece interfaced for stability.
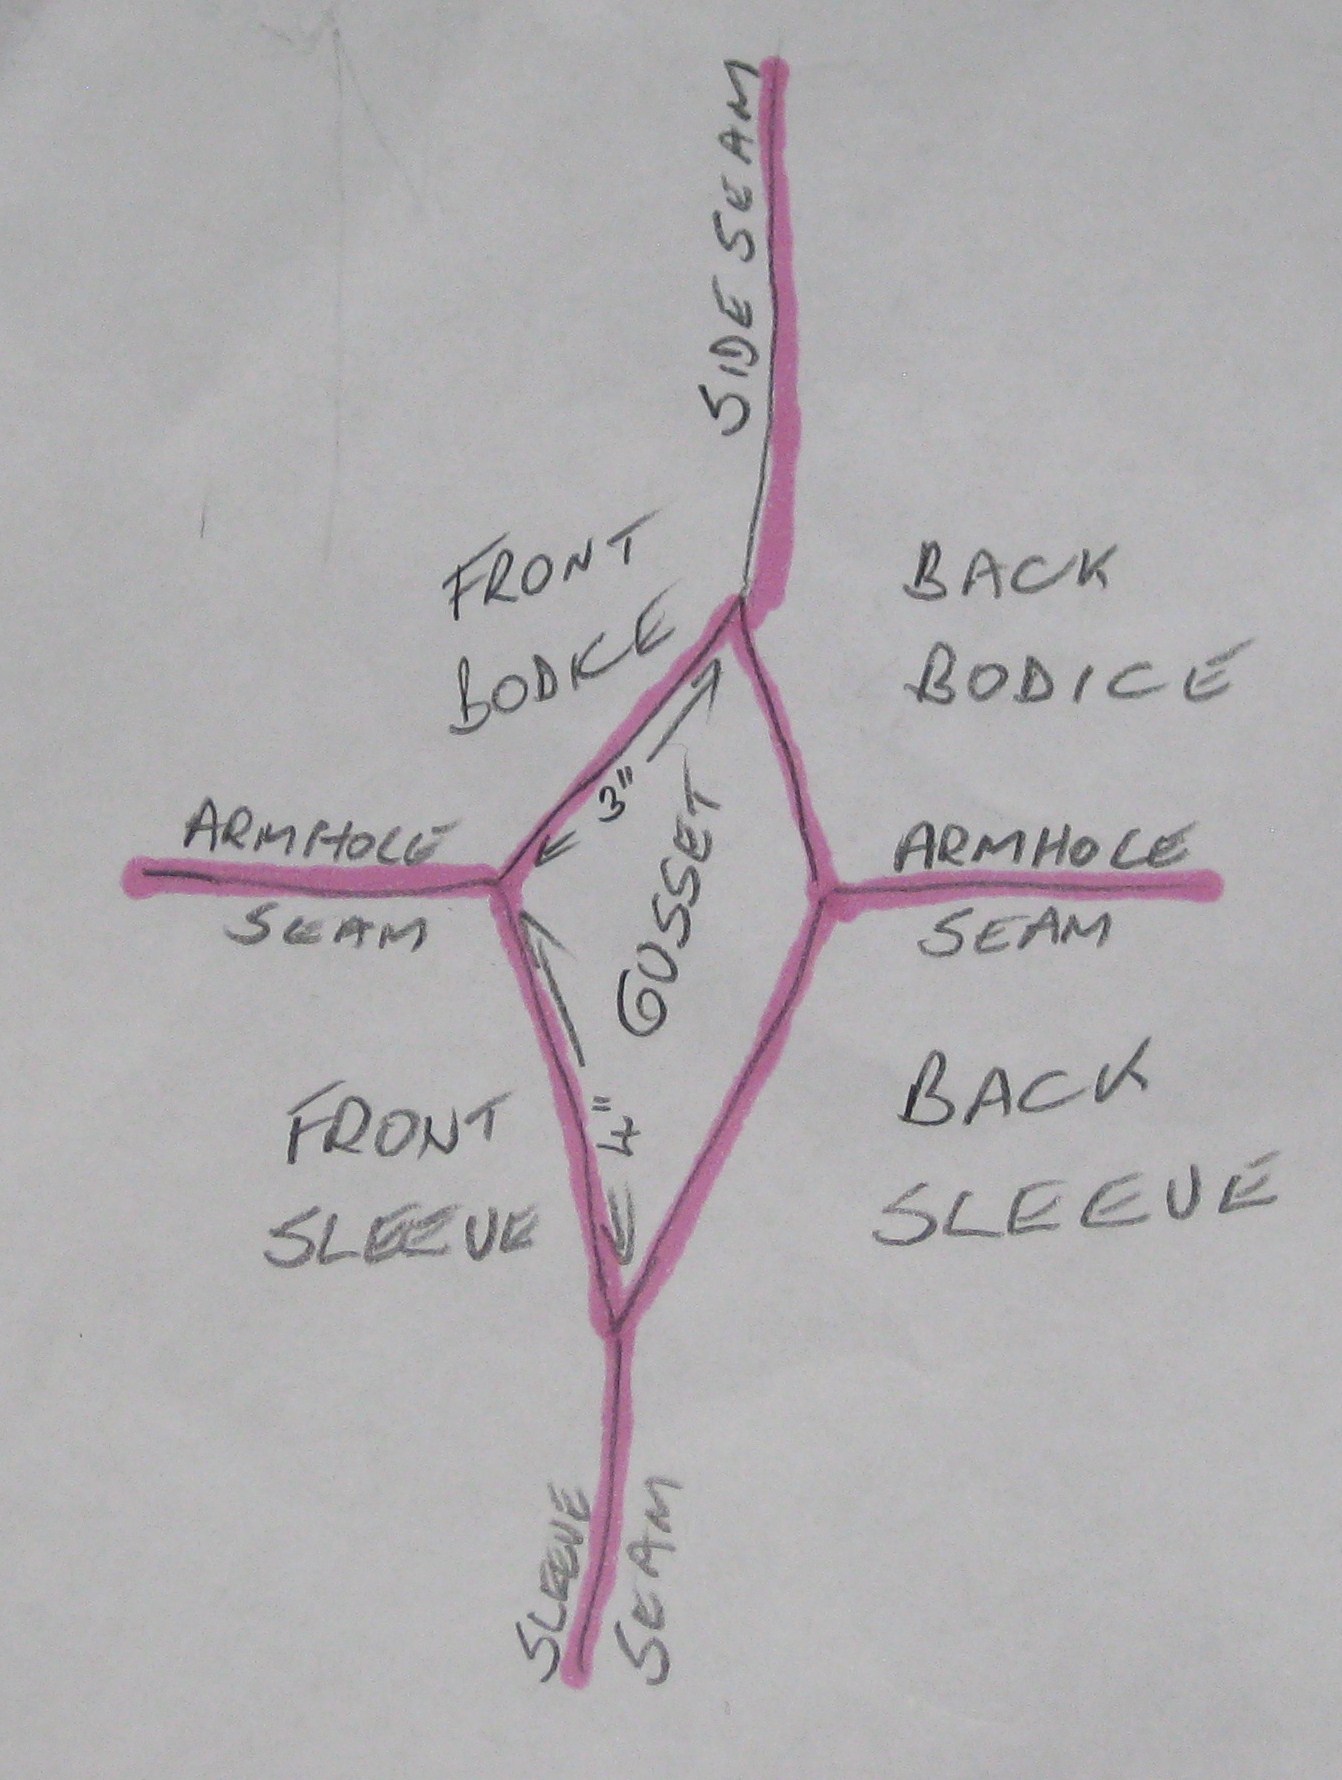
Diagram of an underarm sleeve gusset

Gusset pattern

Underarm gusset in sleeve and lining
When stitching I gusset I find it much easier to achieve an accurate result if I stitch each side individually. Starting at one sleeve/ side seam junction, each separate section of the gusset was stitched in place in both the garment and the lining. This has given much easier movement when the jacket is worn over heavier clothing.
Hem Finish
Because of the swing back, the jacket lining has been hemmed and left hanging separately. Hong Kong finish has been applied to the jacket hem which was then hand stitched in place.
Frenchtacks have been added at the side seam allowances and between the underarm seam allowances to keep the lining in place.

Hem finished with Hong Kong binding; French tack secures lining and top of hem
Trim
Russia braid has been applied by hand to the outer edges of the jacket, around the bottom of the sleeves and on the flaps of the pockets.

Russia braid applied by hand around outer edges of jacket, sleeve and pocket tab.
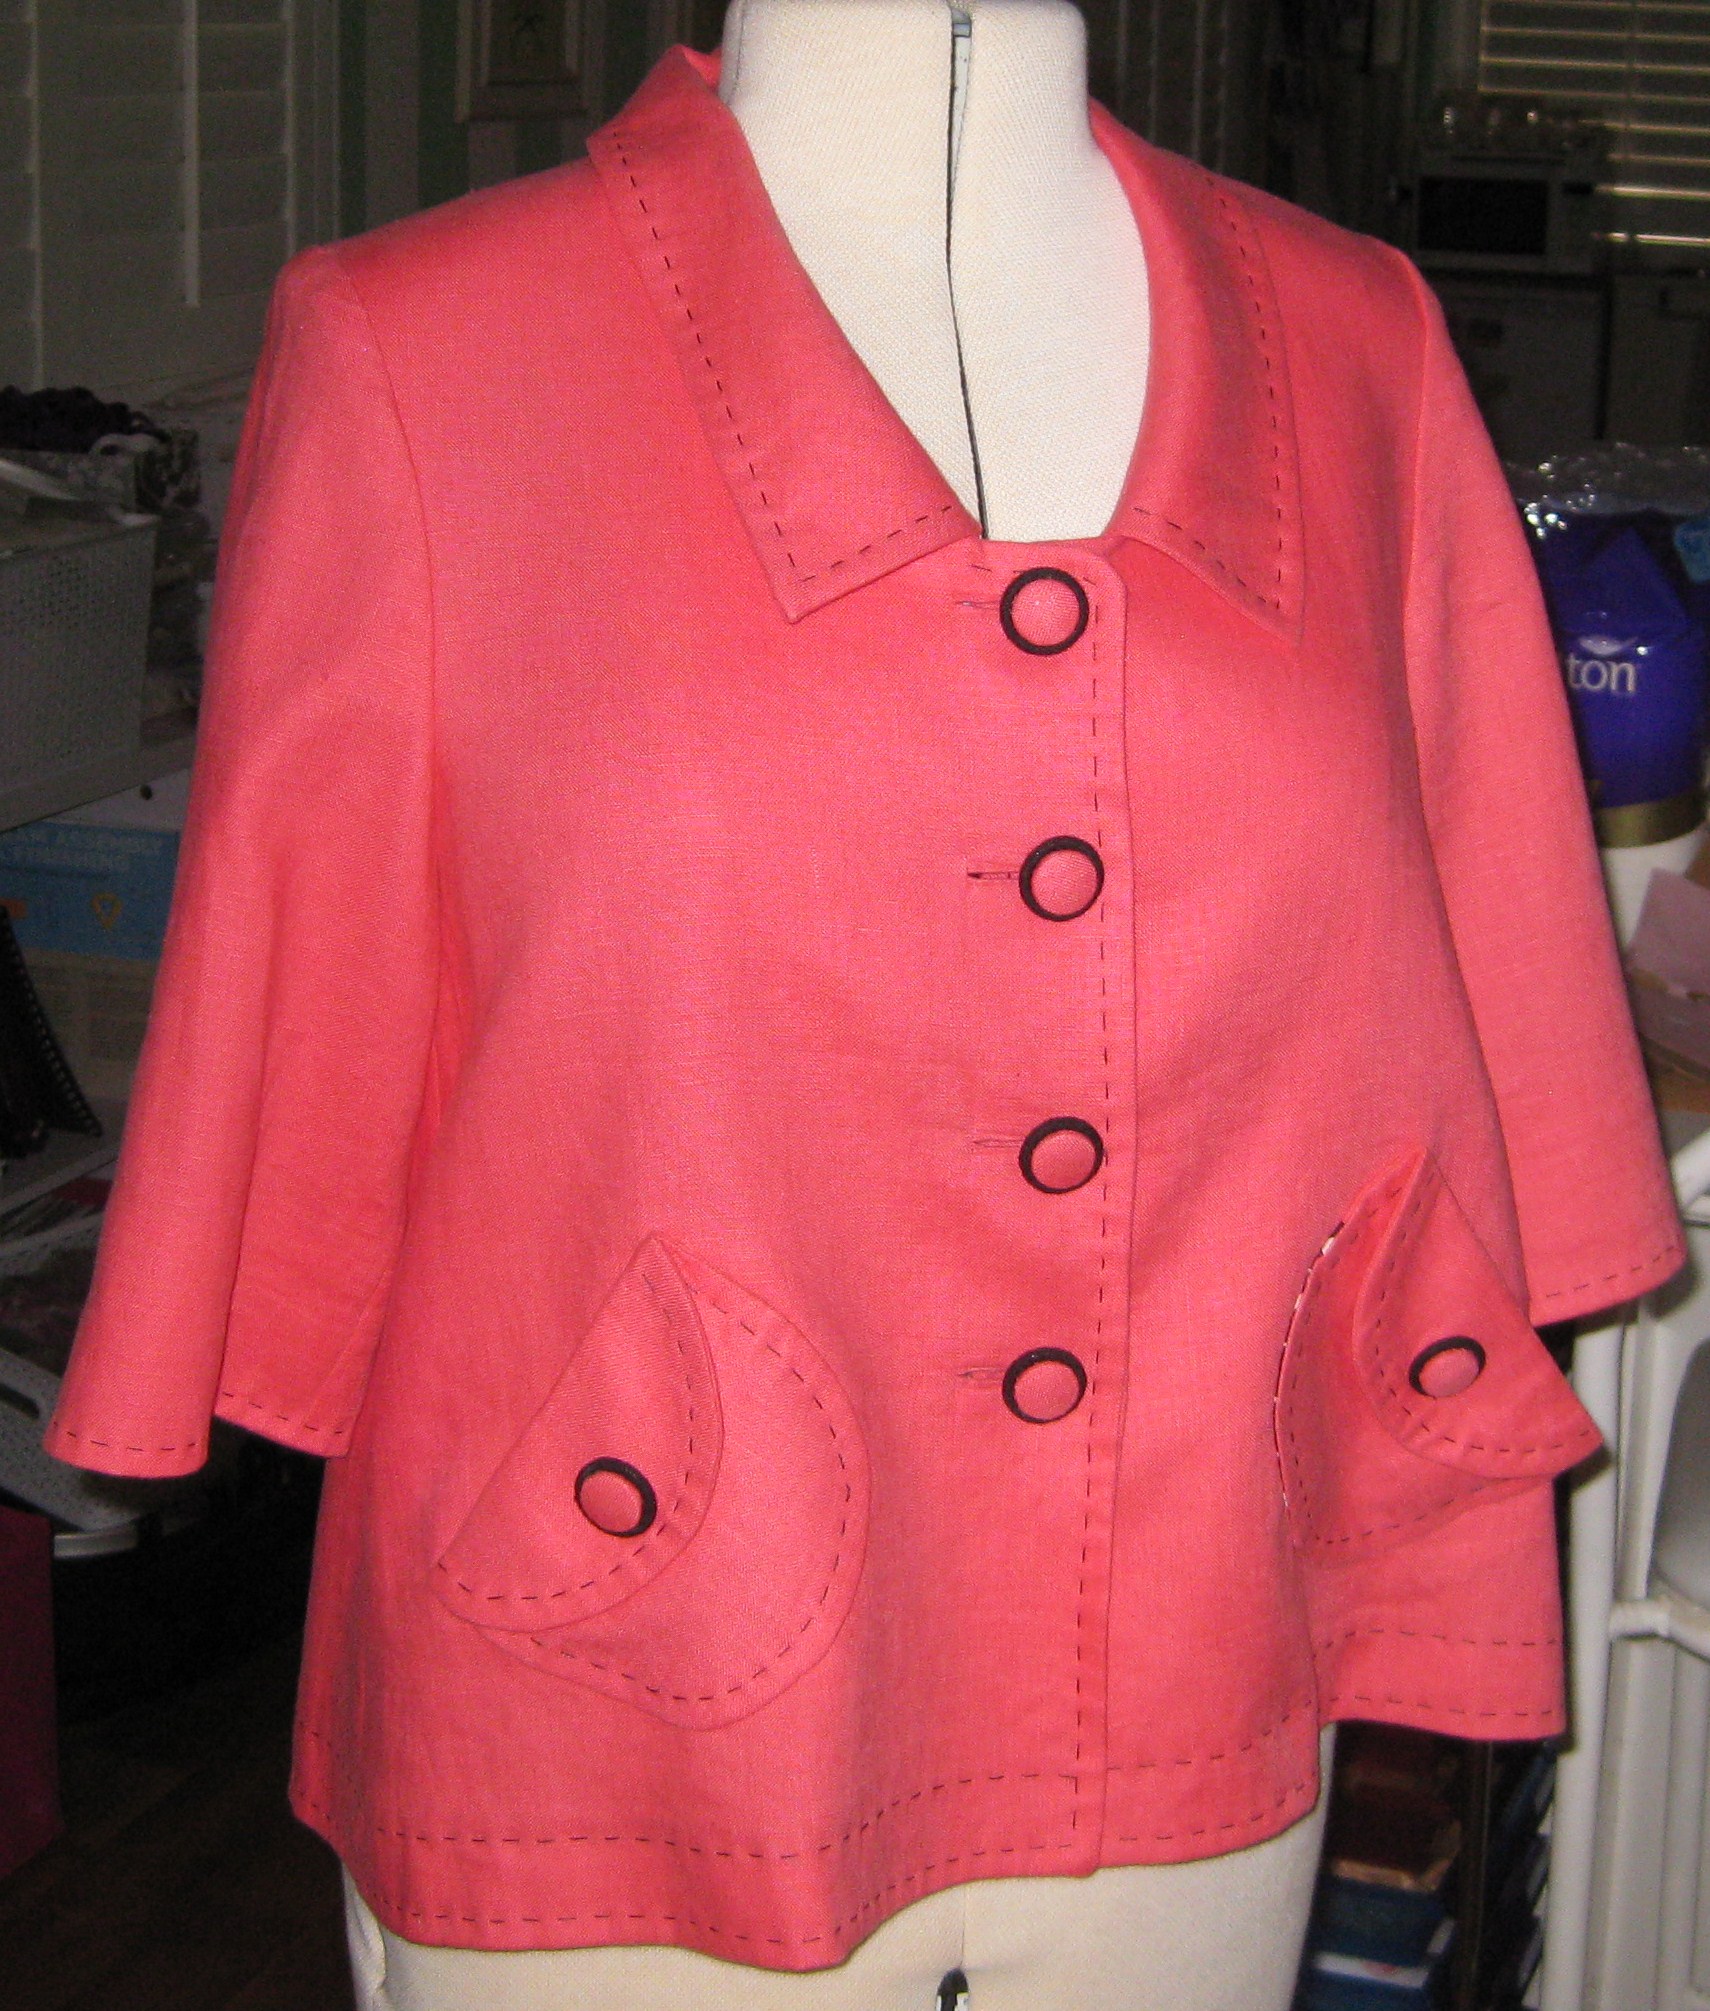
Buttons covered with faux leather have been stitched in place on the sleeves and at the collar. The opening for the button is an inseam buttonhole and a large press stud/snap has been stitched to the underlap side to hold the front in place.

Inseam buttonhole, faux leather button and large snap on underside
The weather in Brisbane is indulging my love of wearing coats with a westerly wind due on Monday and Tuesday so I will have an opportunity to wear this new one as well.

Front detail
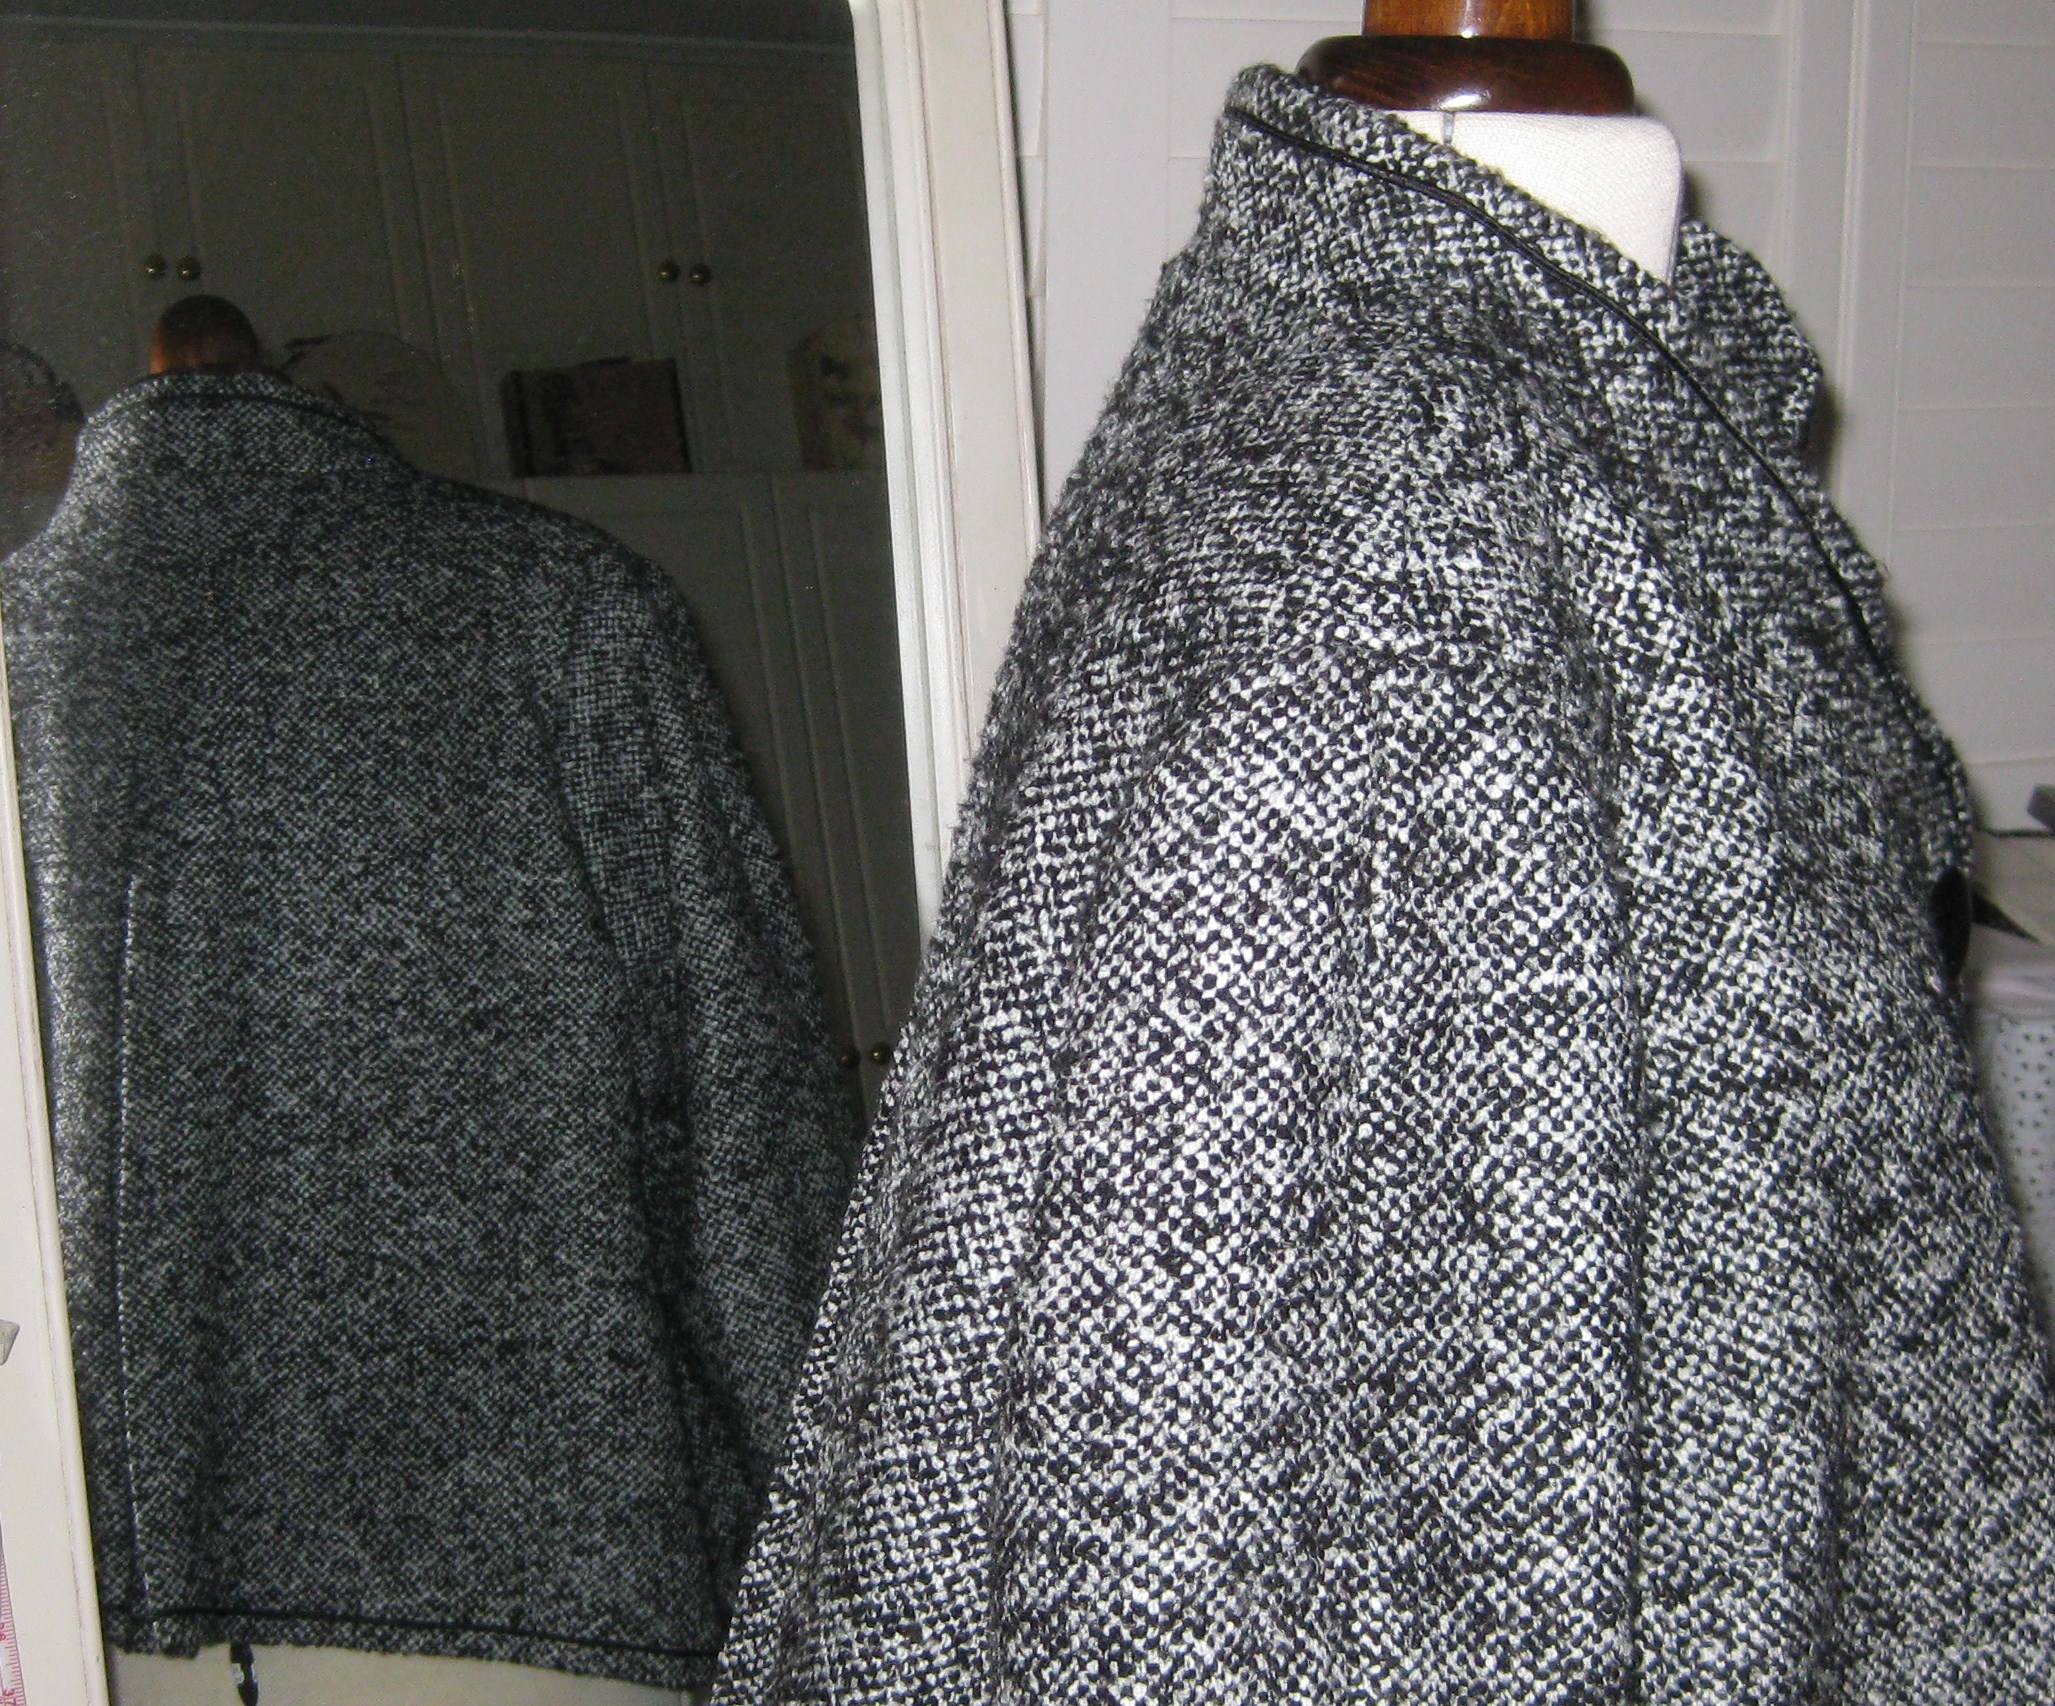
Side and back detail
Beau has been helping me with the blog – he has his own cushion (formerly a pin cushion)
