
A cotton back saddle has been applied across the shoulders and upper back of the garment.
Cotton back saddle added to upper back
The technique of reinforcing the corners with organza certainly helped achieve a sharp corner where the back of the garment joins the front, resulting in a three seam join just above the pocket.
Sharp corner where side seam joins waist seam and side front
The pouch pocket is quite unstructured and rather floppy so, to keep it in place, I have added pocket stays to the waist seam line and front edges of the jacket. Cotton tape and grosgrain ribbon were used for these stays.
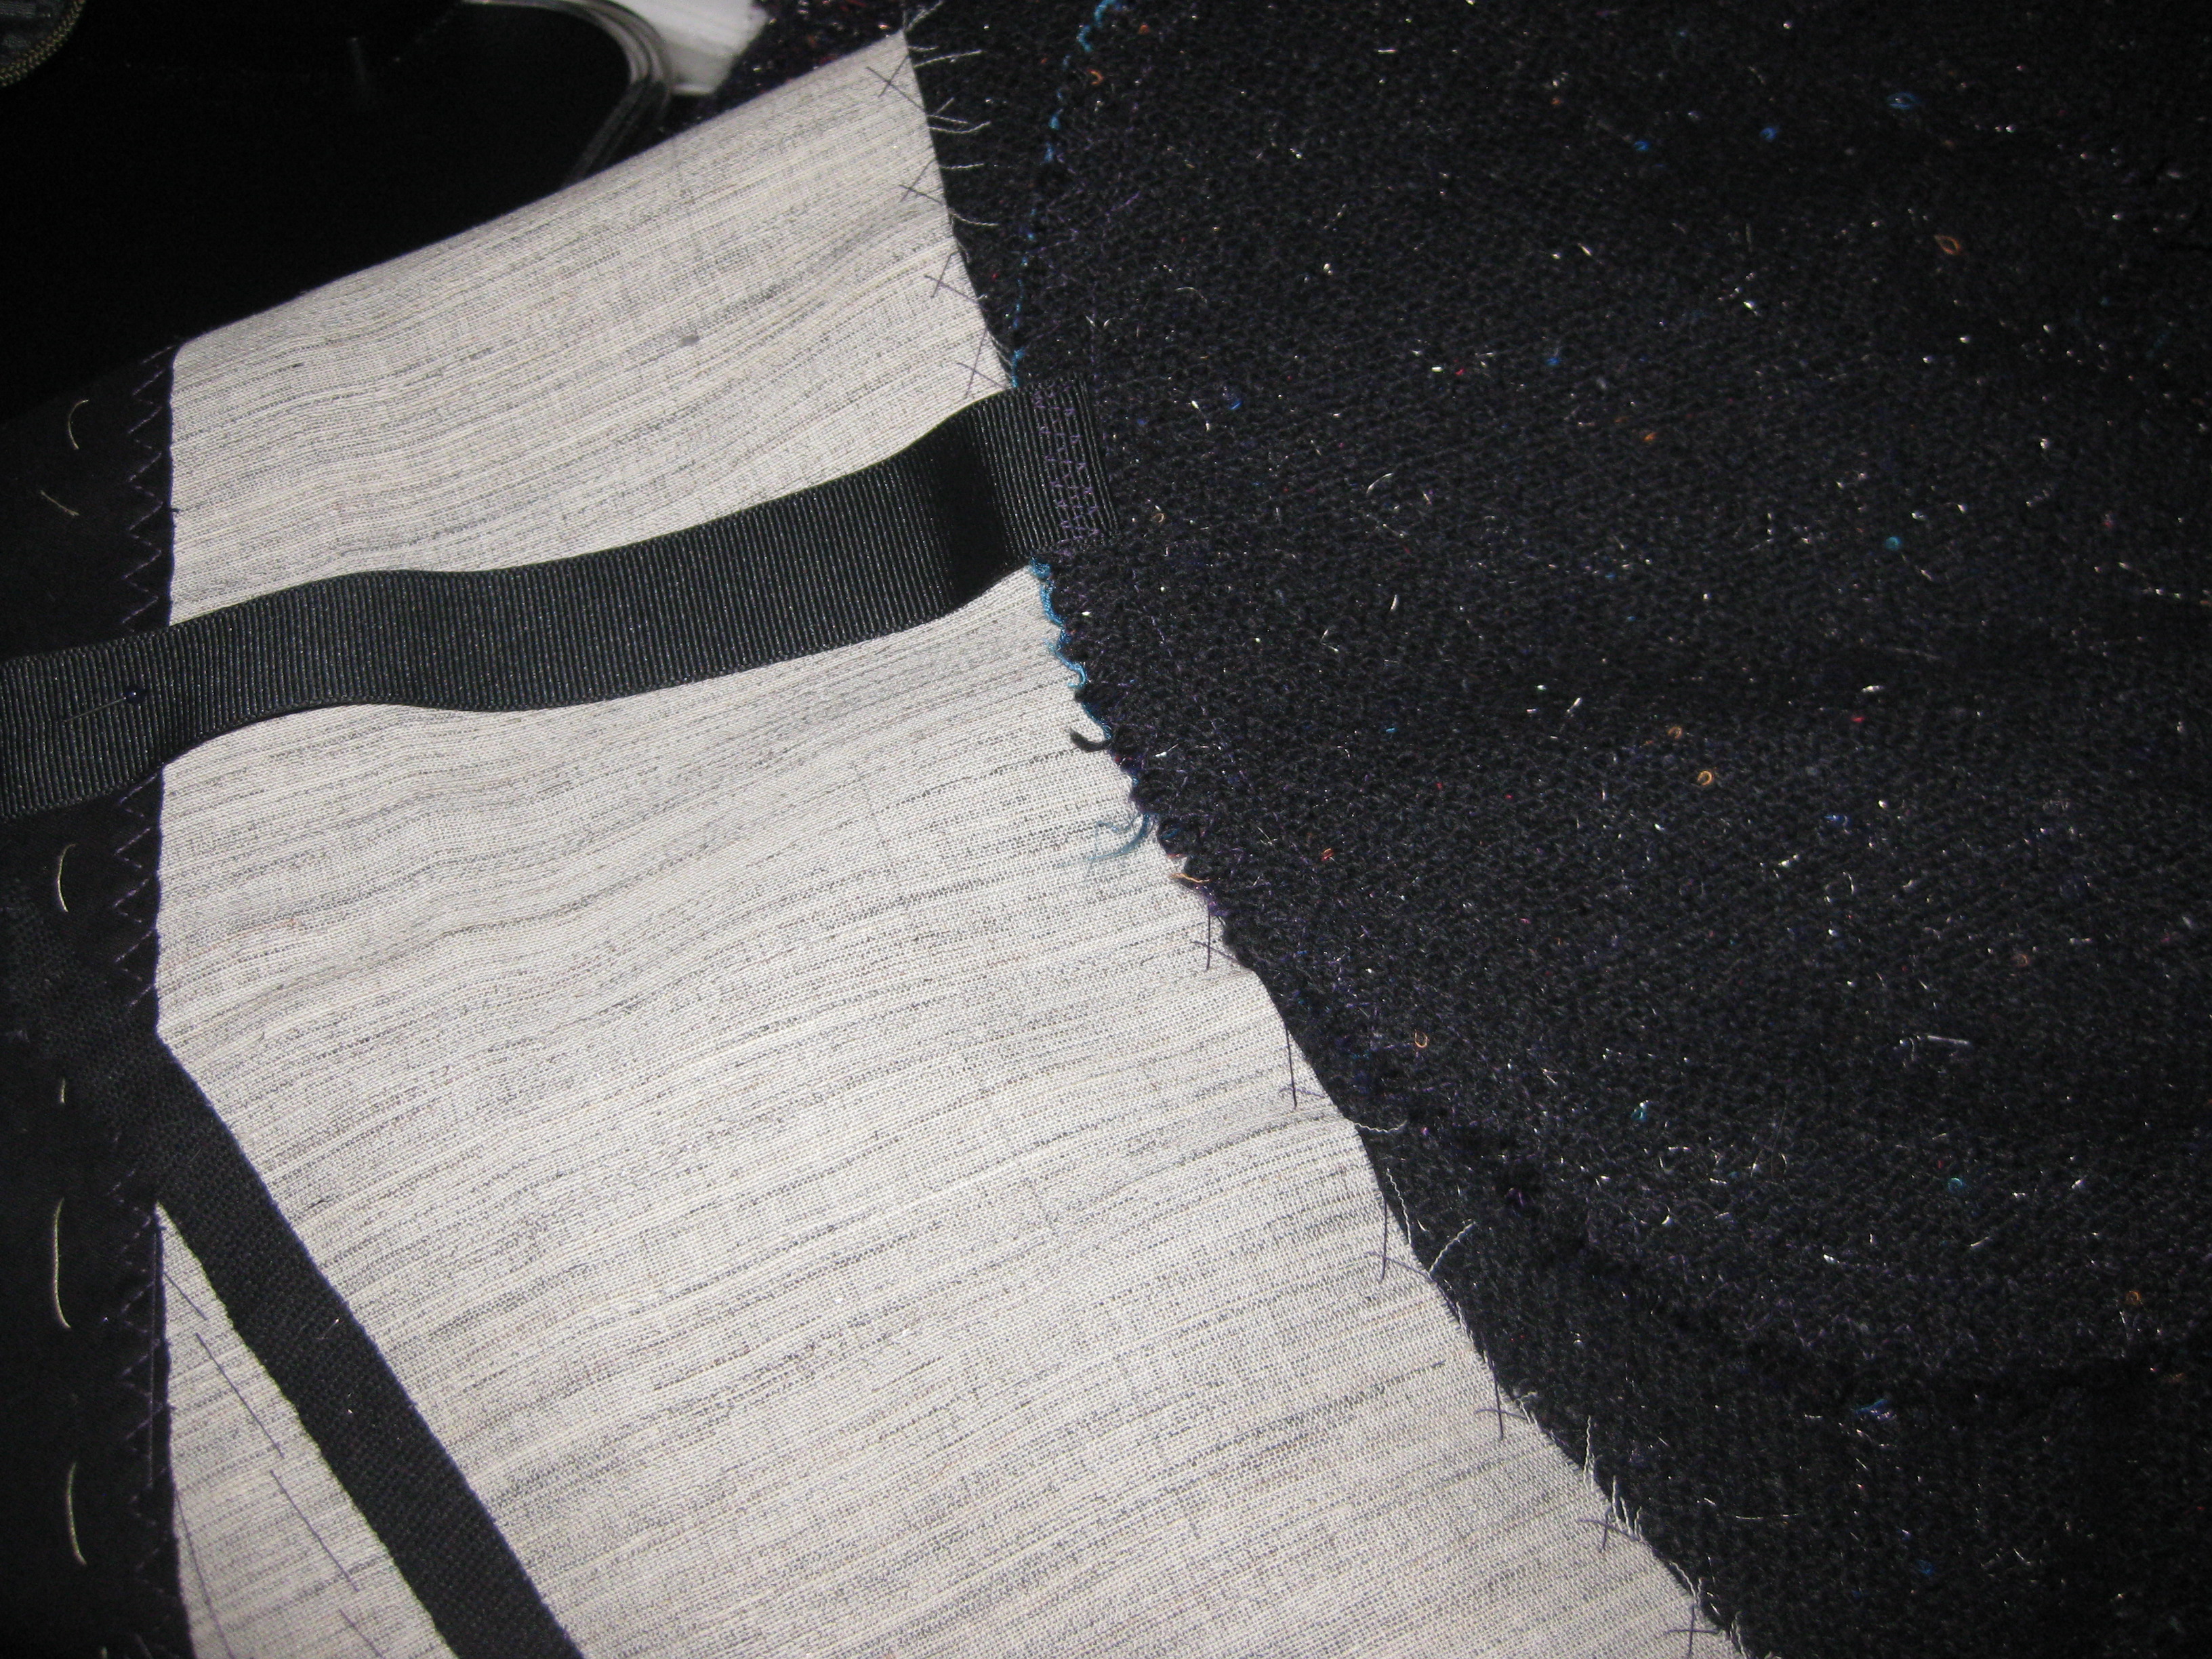
Grosgrain pocket stay runs from front edge of pocket bag across to front edge of jacket.
Cotton tape stay attaches top edge of pocket bag to waist seam
The sleeve seams were flat felled and the hem stabilised with hair canvas. To accommodate attaching the sleeve lining by machine, the hem has been hand stitched in place half way up the hem depth.
Hem catch stitched half way from hem fold to allow space to machine lining in place
I eased the caps (see blog post 31st May Set-In Sleeves) and inserted the sleeves.
Shoulder pads have been added to provide a pleasing shoulder line while support the weight of the jacket.
At this point, I needed to make a decision about the width of the collar. While I am not a small person, I do have narrow shoulders and the collar extended about 10cm / 3 ½” beyond the shoulder. I measured, marked and removed 8cm /3” from the upper edges of the collar and feel it still maintains the basic integrity of the garment but is better suited to my body proportions.
Collar has been narrowed to keep the integrity of the style but better suit body proportions.
The lining has been constructed and attached to the collar and front facing; followed by the attachment of the facing to the garment.
To hold the back neckline section in place, the seam allowance of the facing/lining has been hand stitched to the seam allowance of the under collar jacket.
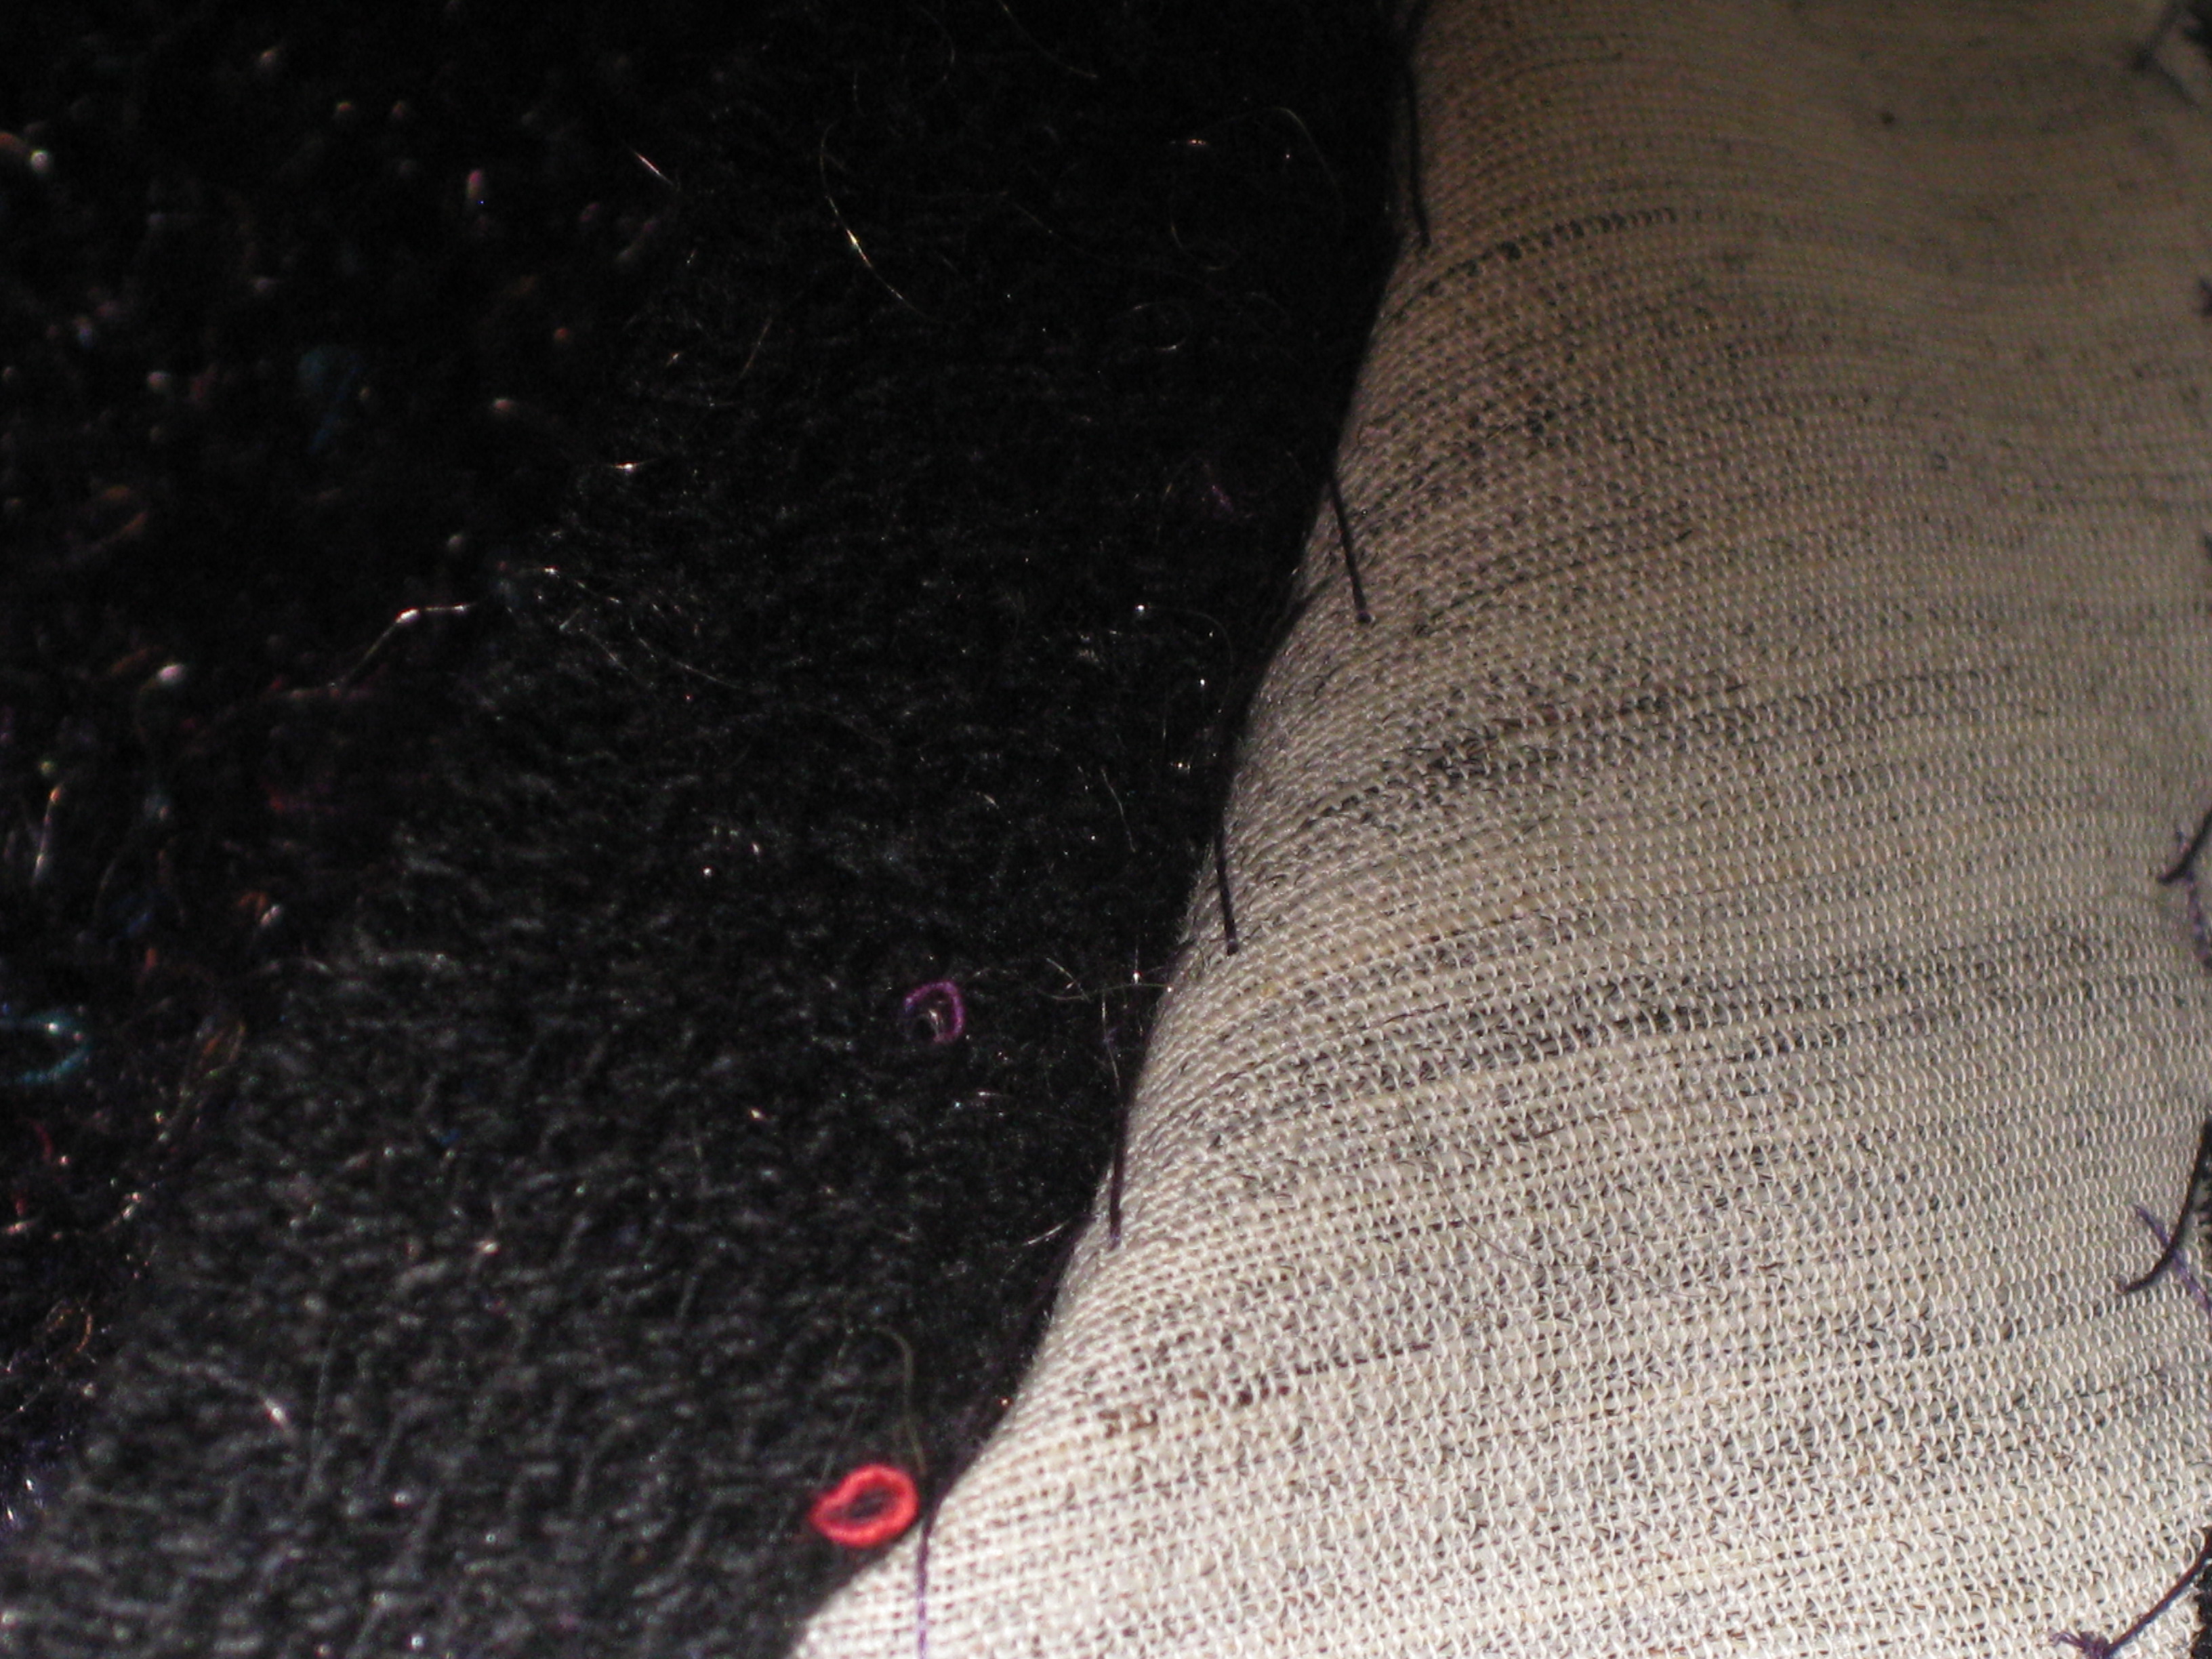
Neckline seam allowances of under collar and upper collar whipped together.
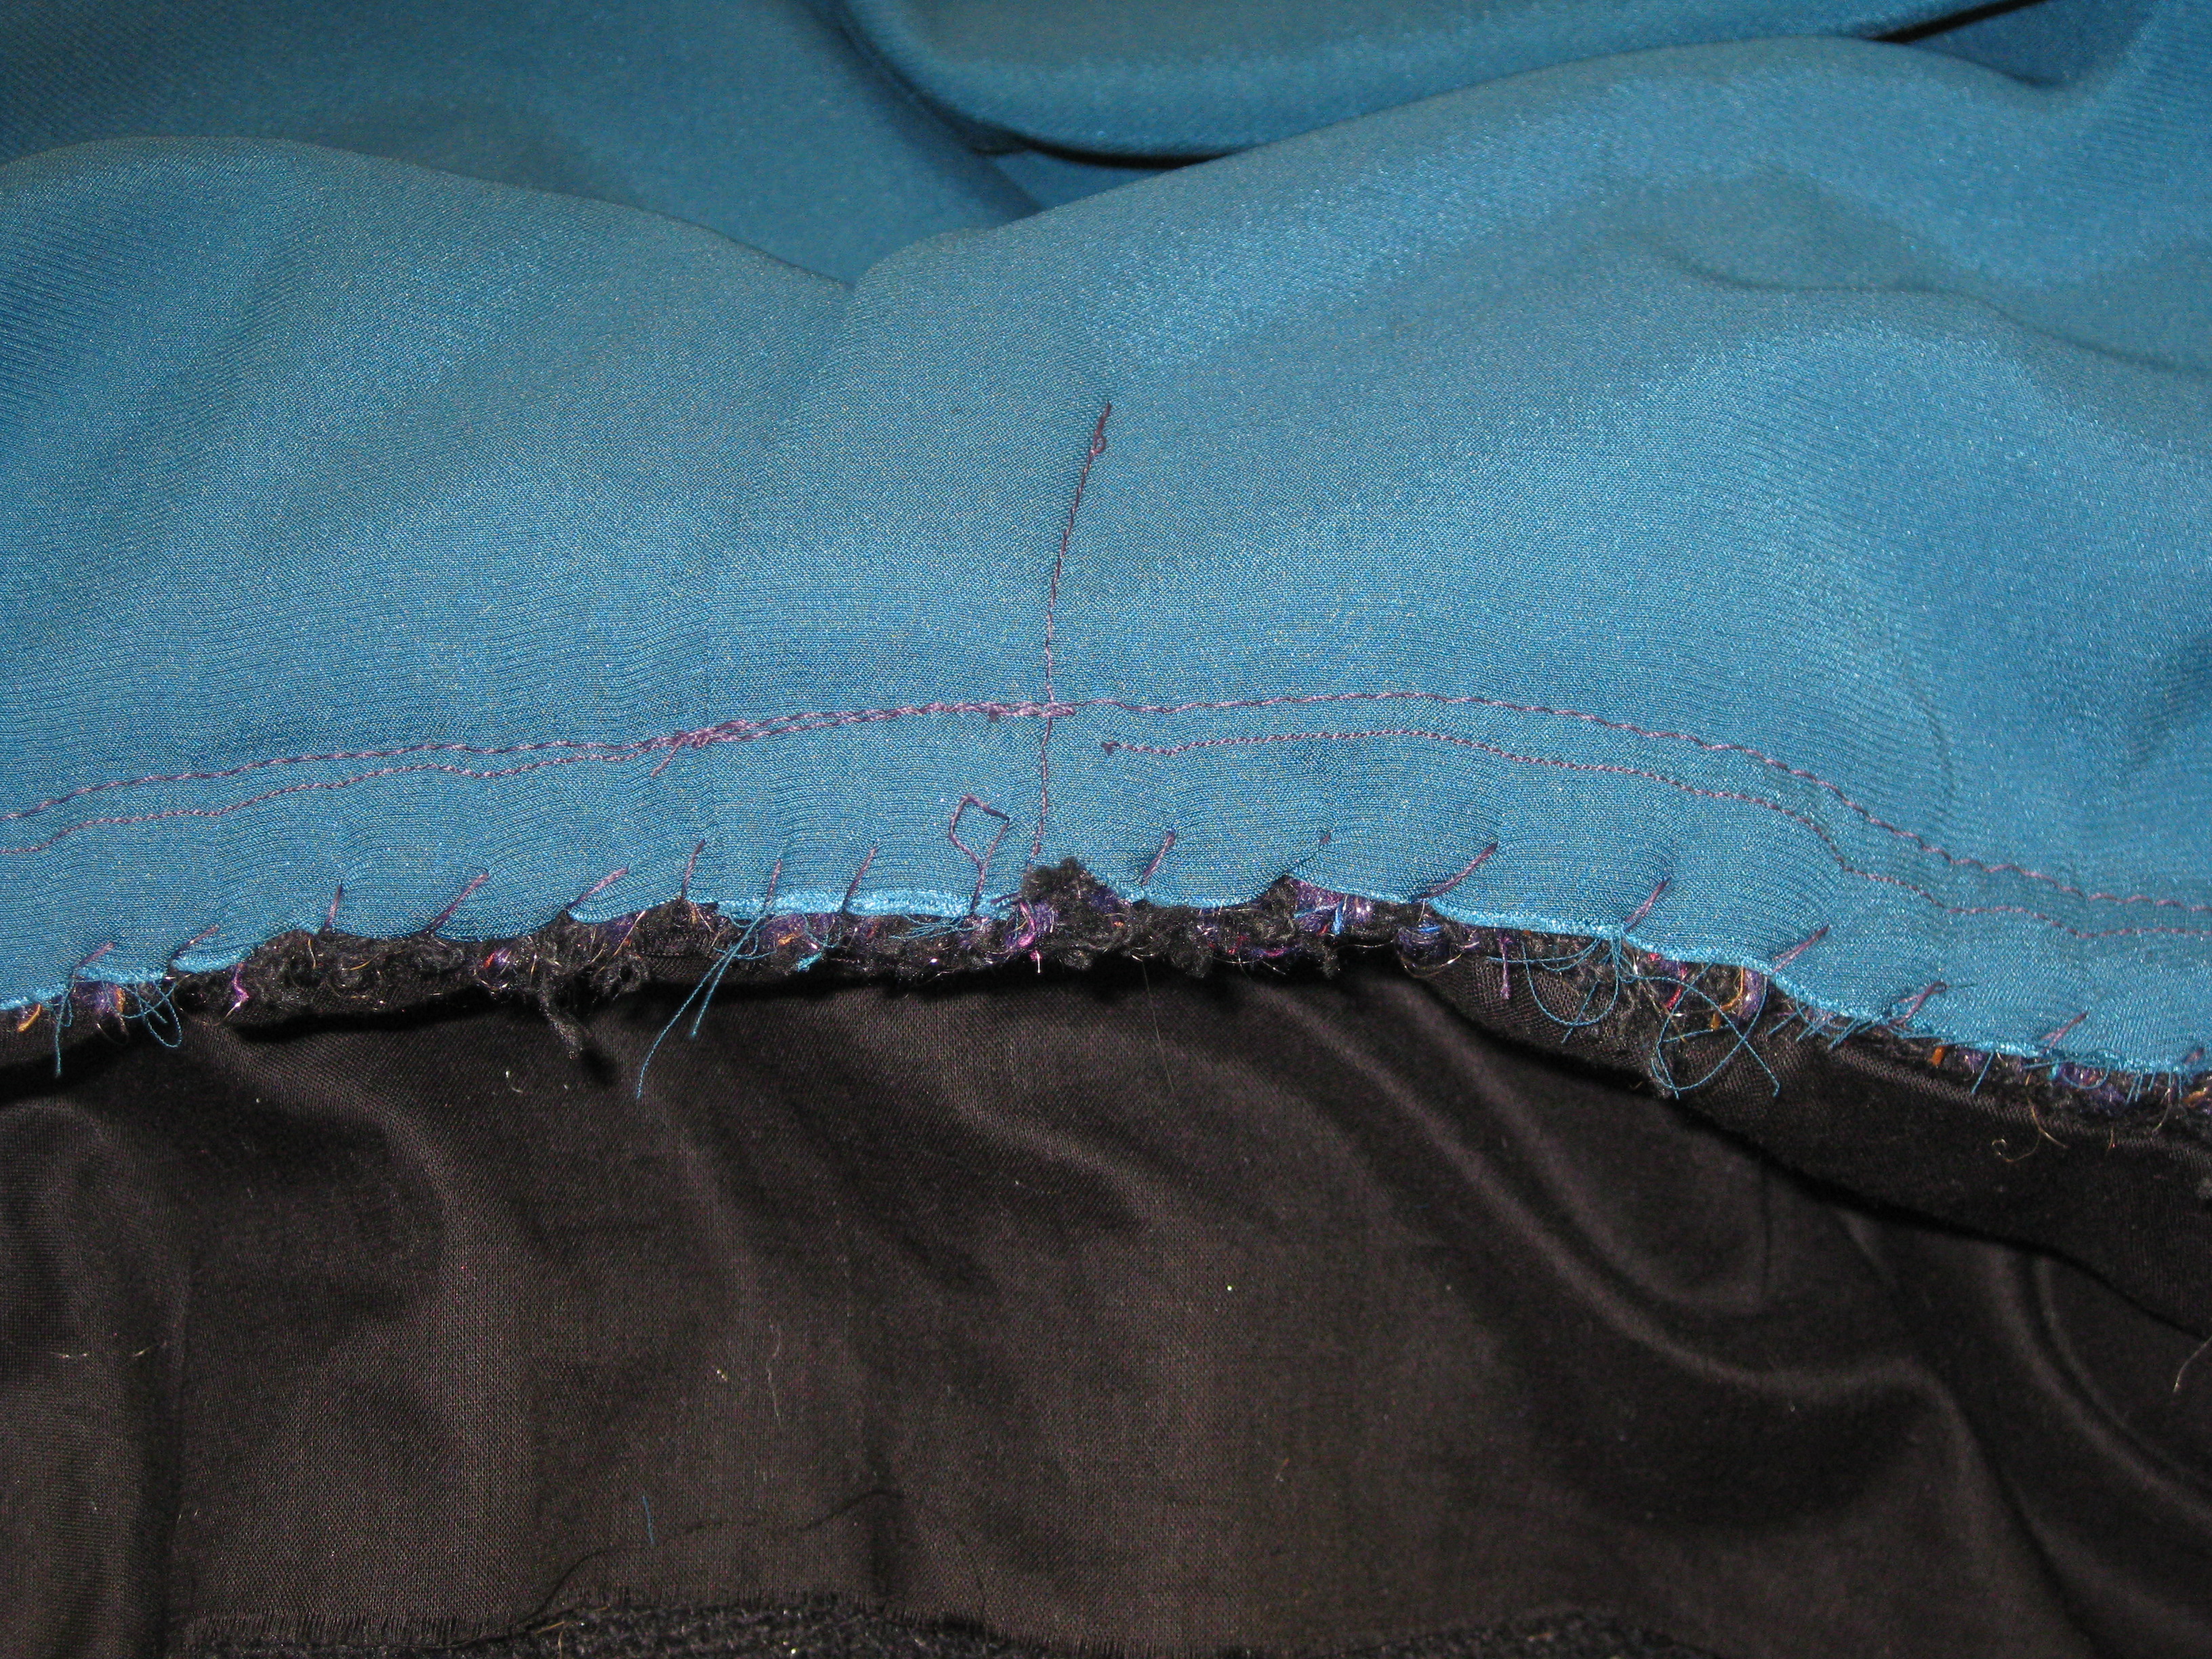
Following the attachment of the sleeve lining to the upper edge of the sleeve hem allowance, French tacks have been used to hold the underarm sleeve and lining seams loosely together.
French tacks loosely hold sleeve seams and lining waist seams in place.
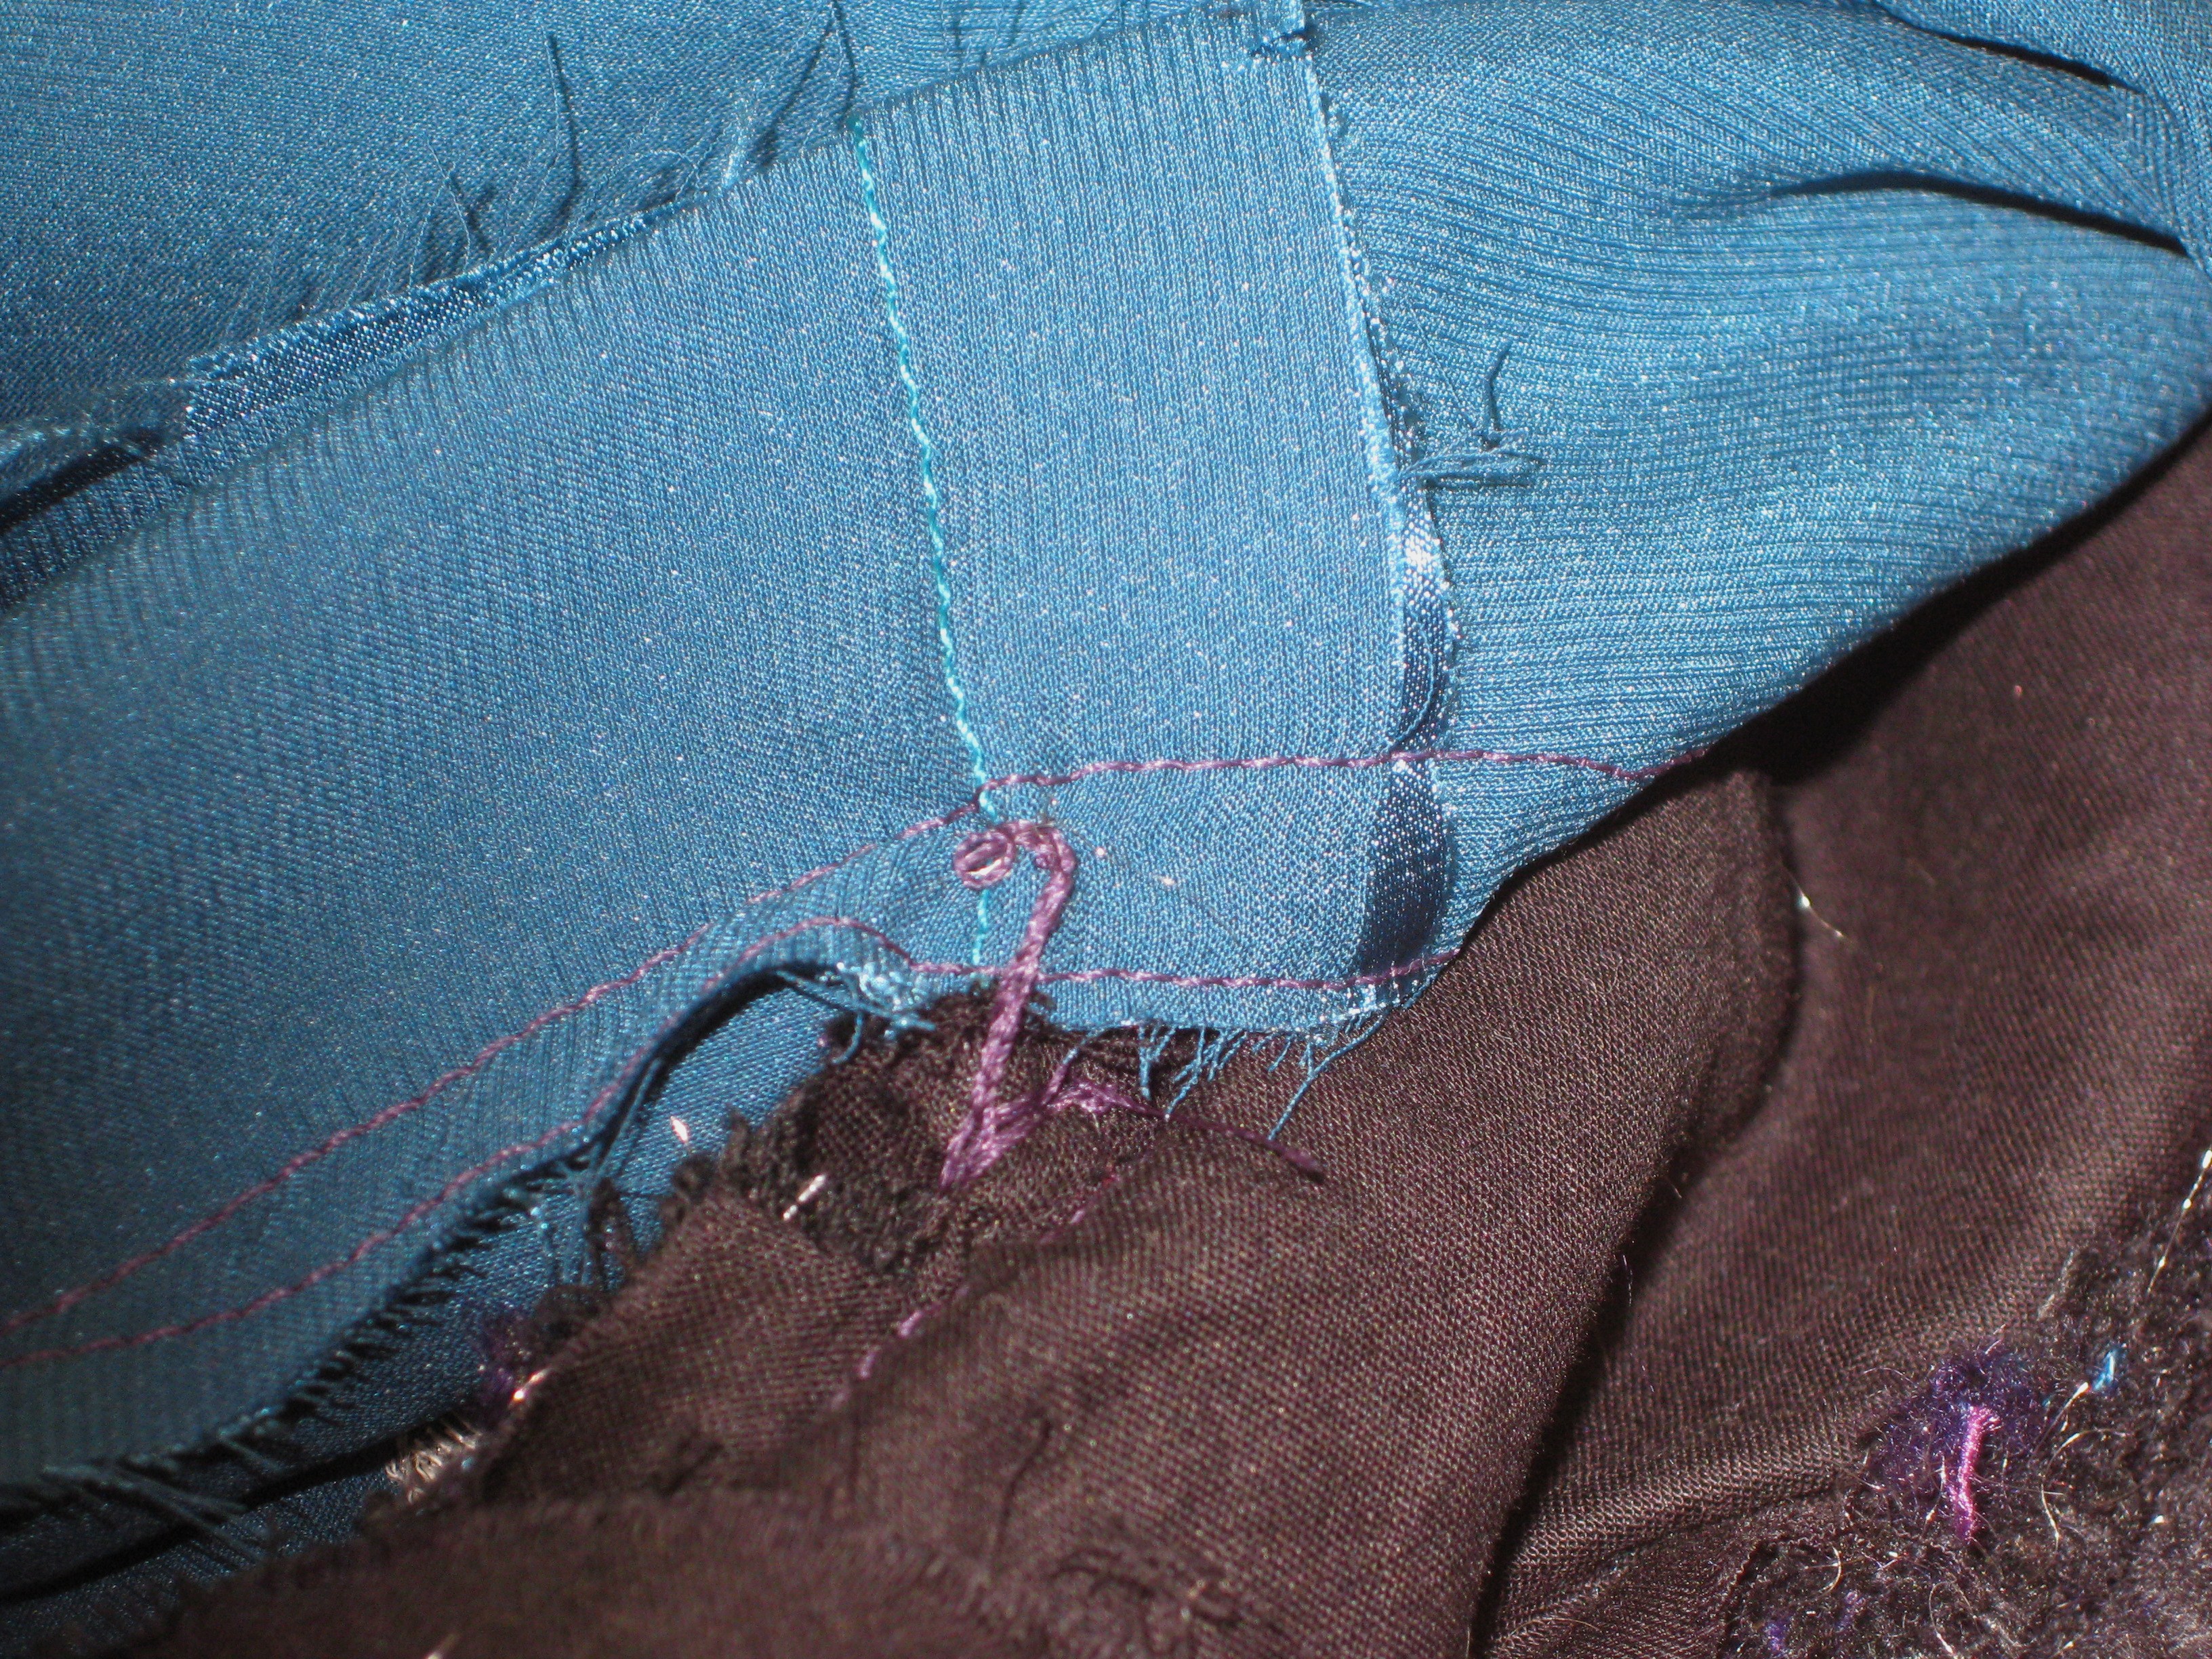
French tacks have also been used to keep the waist seam of the lining loosely attached to the garment waist seam.
I have chosen to slipstitch the bottom of the lining to the top of the hem allowance rather than using a machine bagging method which would be extremely difficult to achieve because of the weight and bulk of the garment.
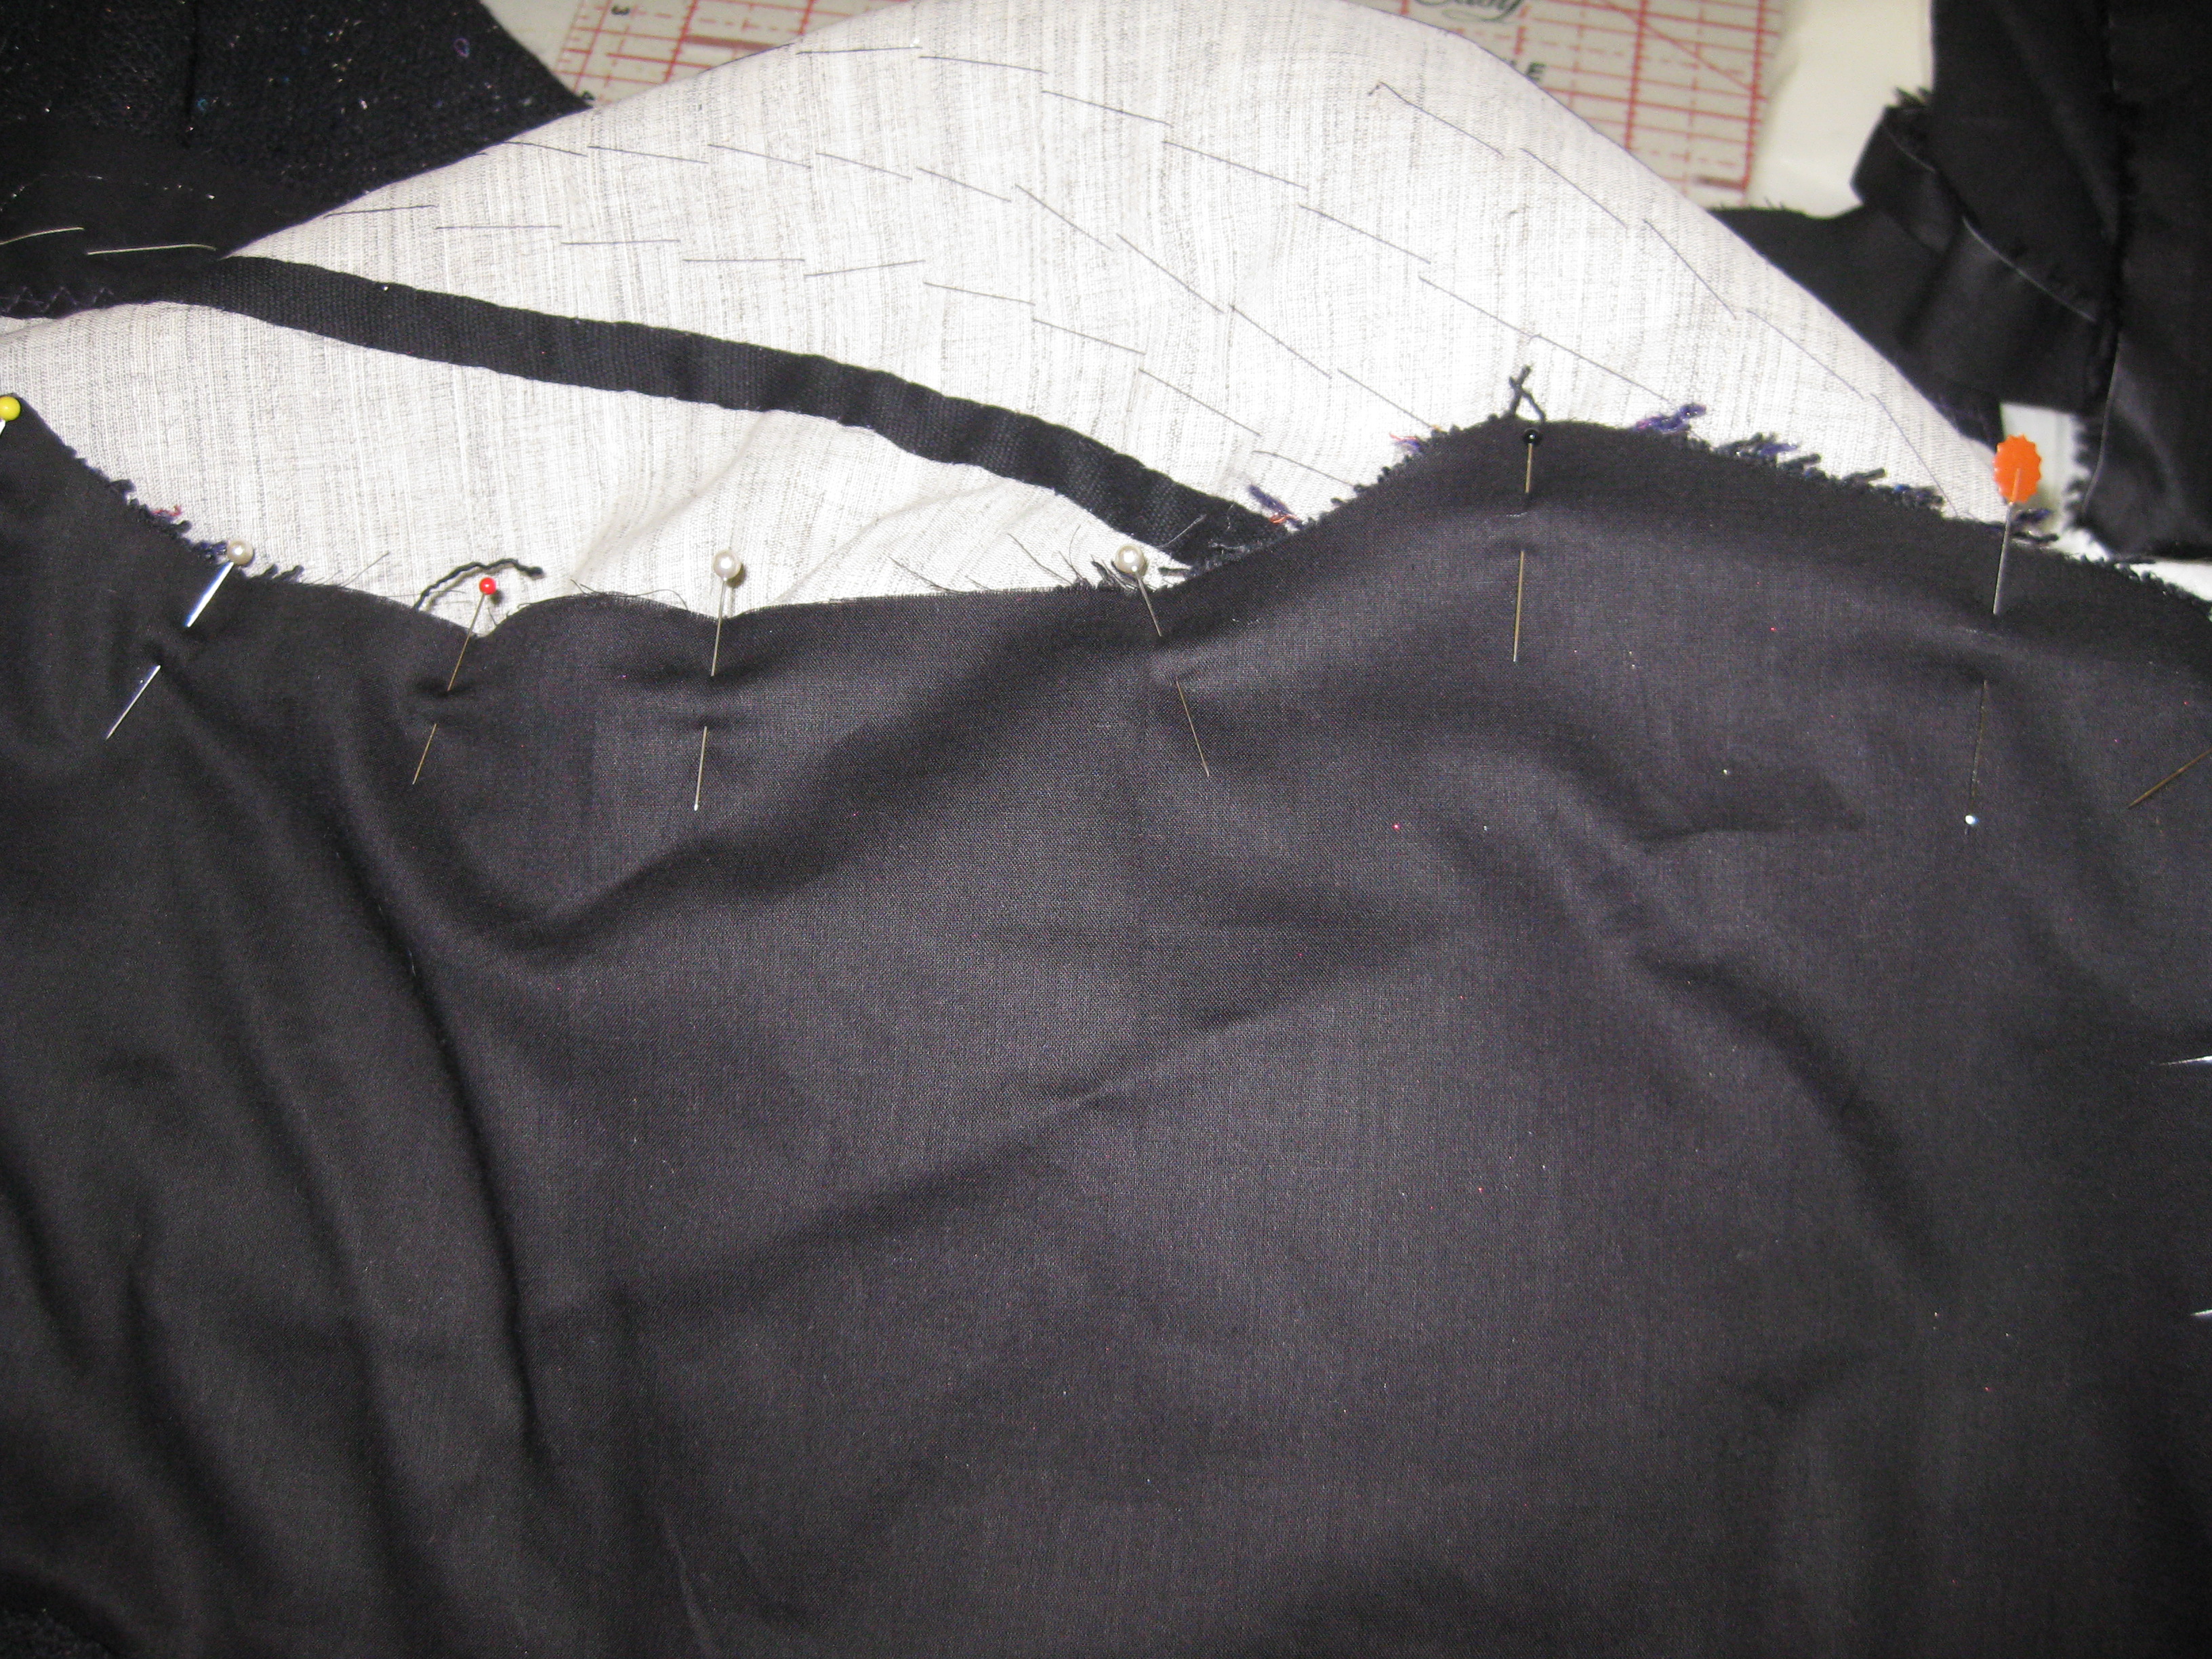
The seam allowances at the front edge of the jacket have been graded, pressed flat and pressed open. The finished seam allowance has been pressed from the right side and I used diagonal edge tacking to keep the edges in place for topstitching – again to avoid problems using pins with the weight and bulk of the jacket.
Diagonal basting holds front edges in place for machine topstitching.
The topstitching has been done using two threads in the one needle.
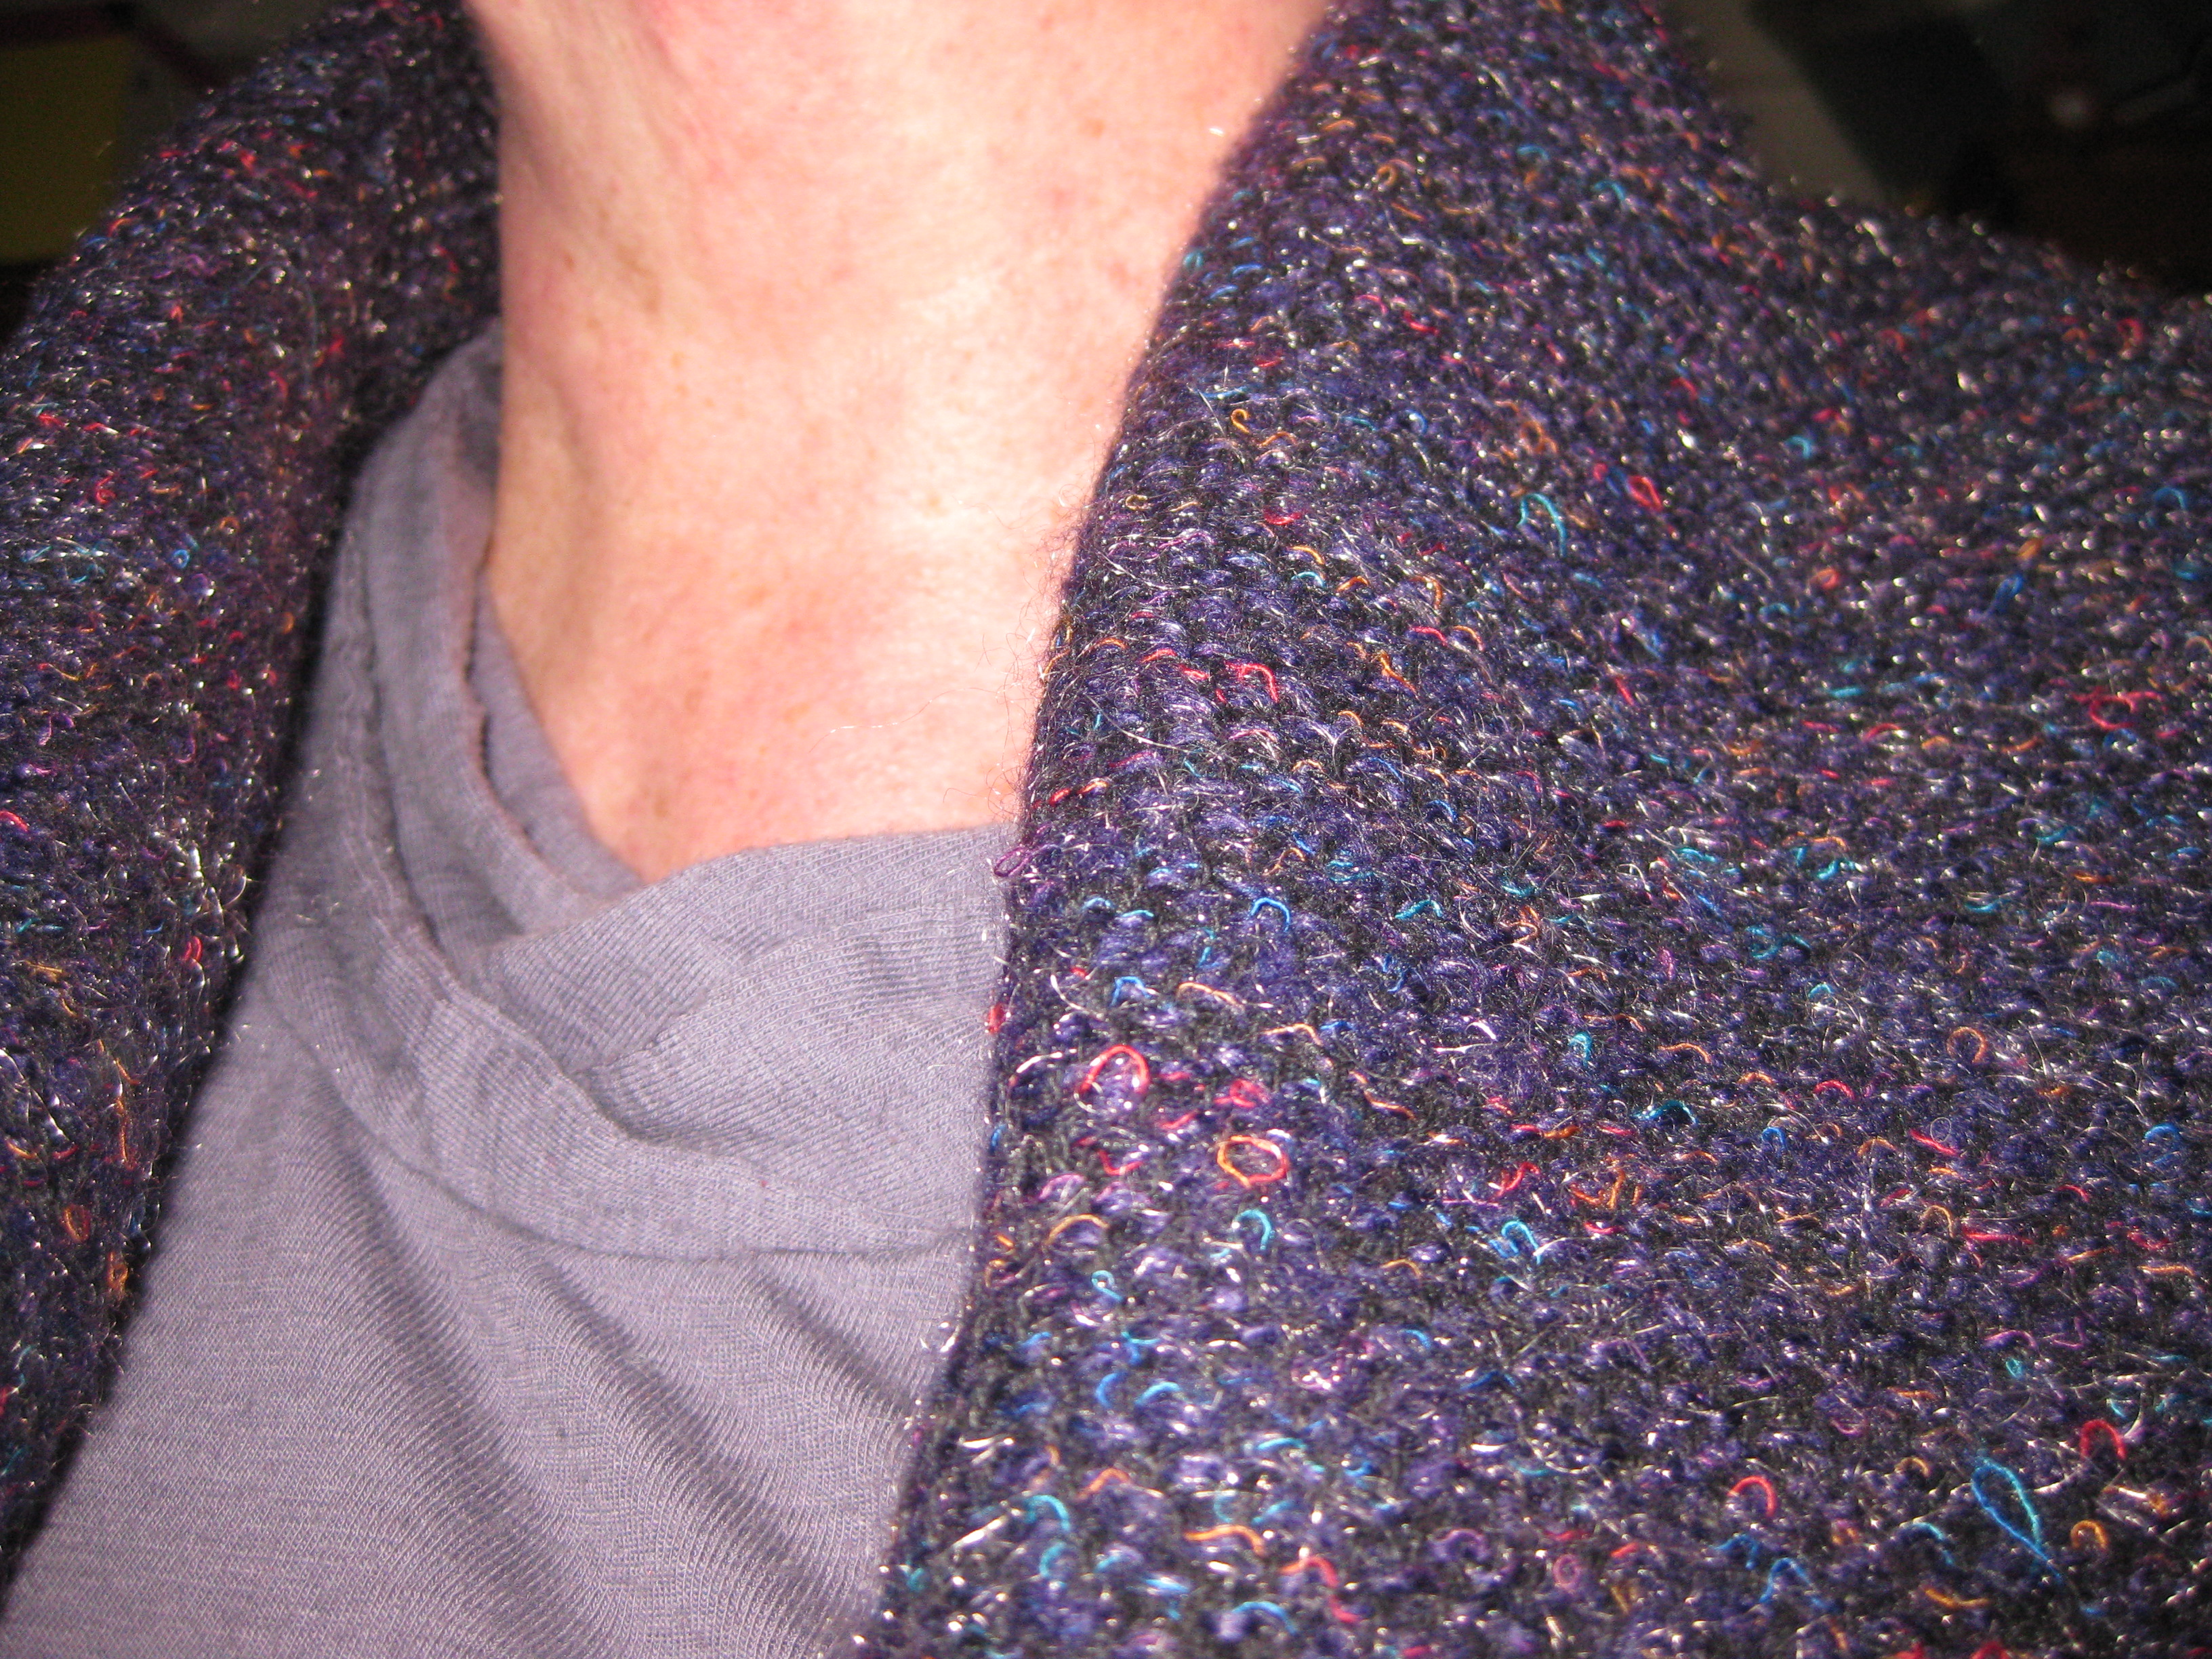
As a final feature, I have used a hand whipping stitch and a variegated DMC cotton perle thread (No 5) to enhance the topstitching on the collar. A chenille needle was used to accommodate the thickness of this thread and the stitches have been wrapped over each stitch along the length of the collar and back.
Variegated DMC Cotton Perle 5 thread “wrapped” around each topstitch around edge of upper collar and then reversed for emphasis.
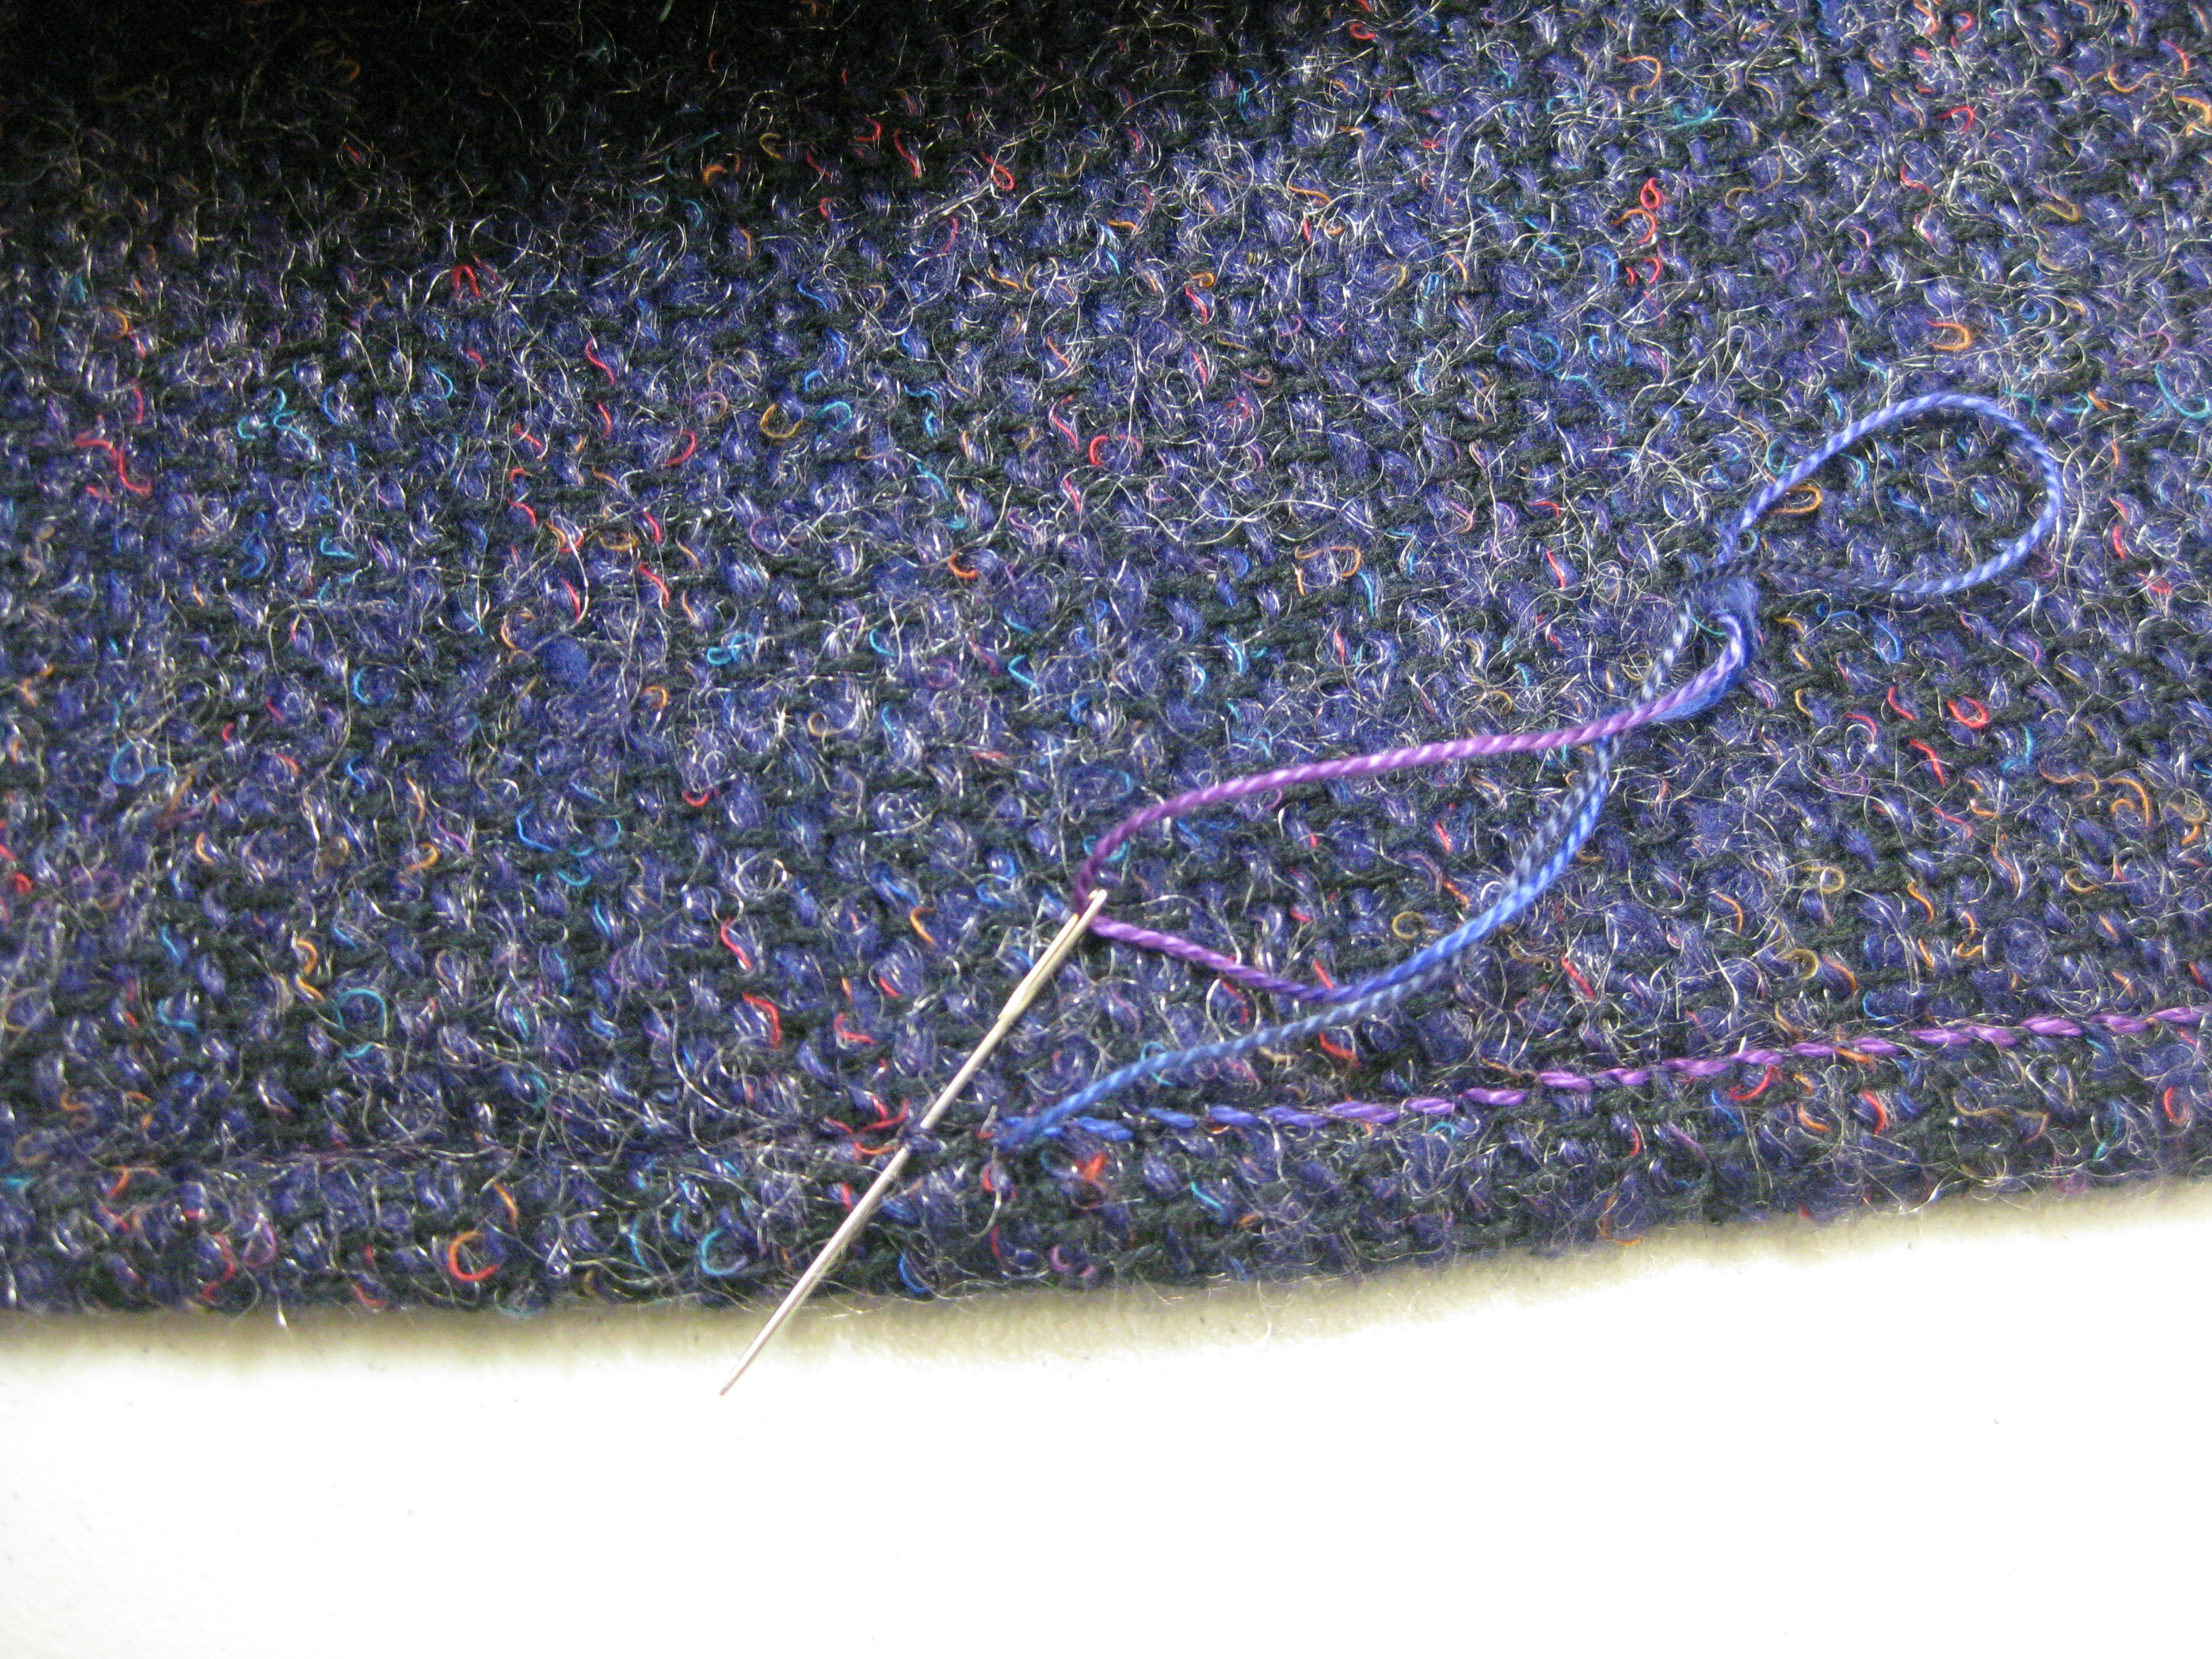
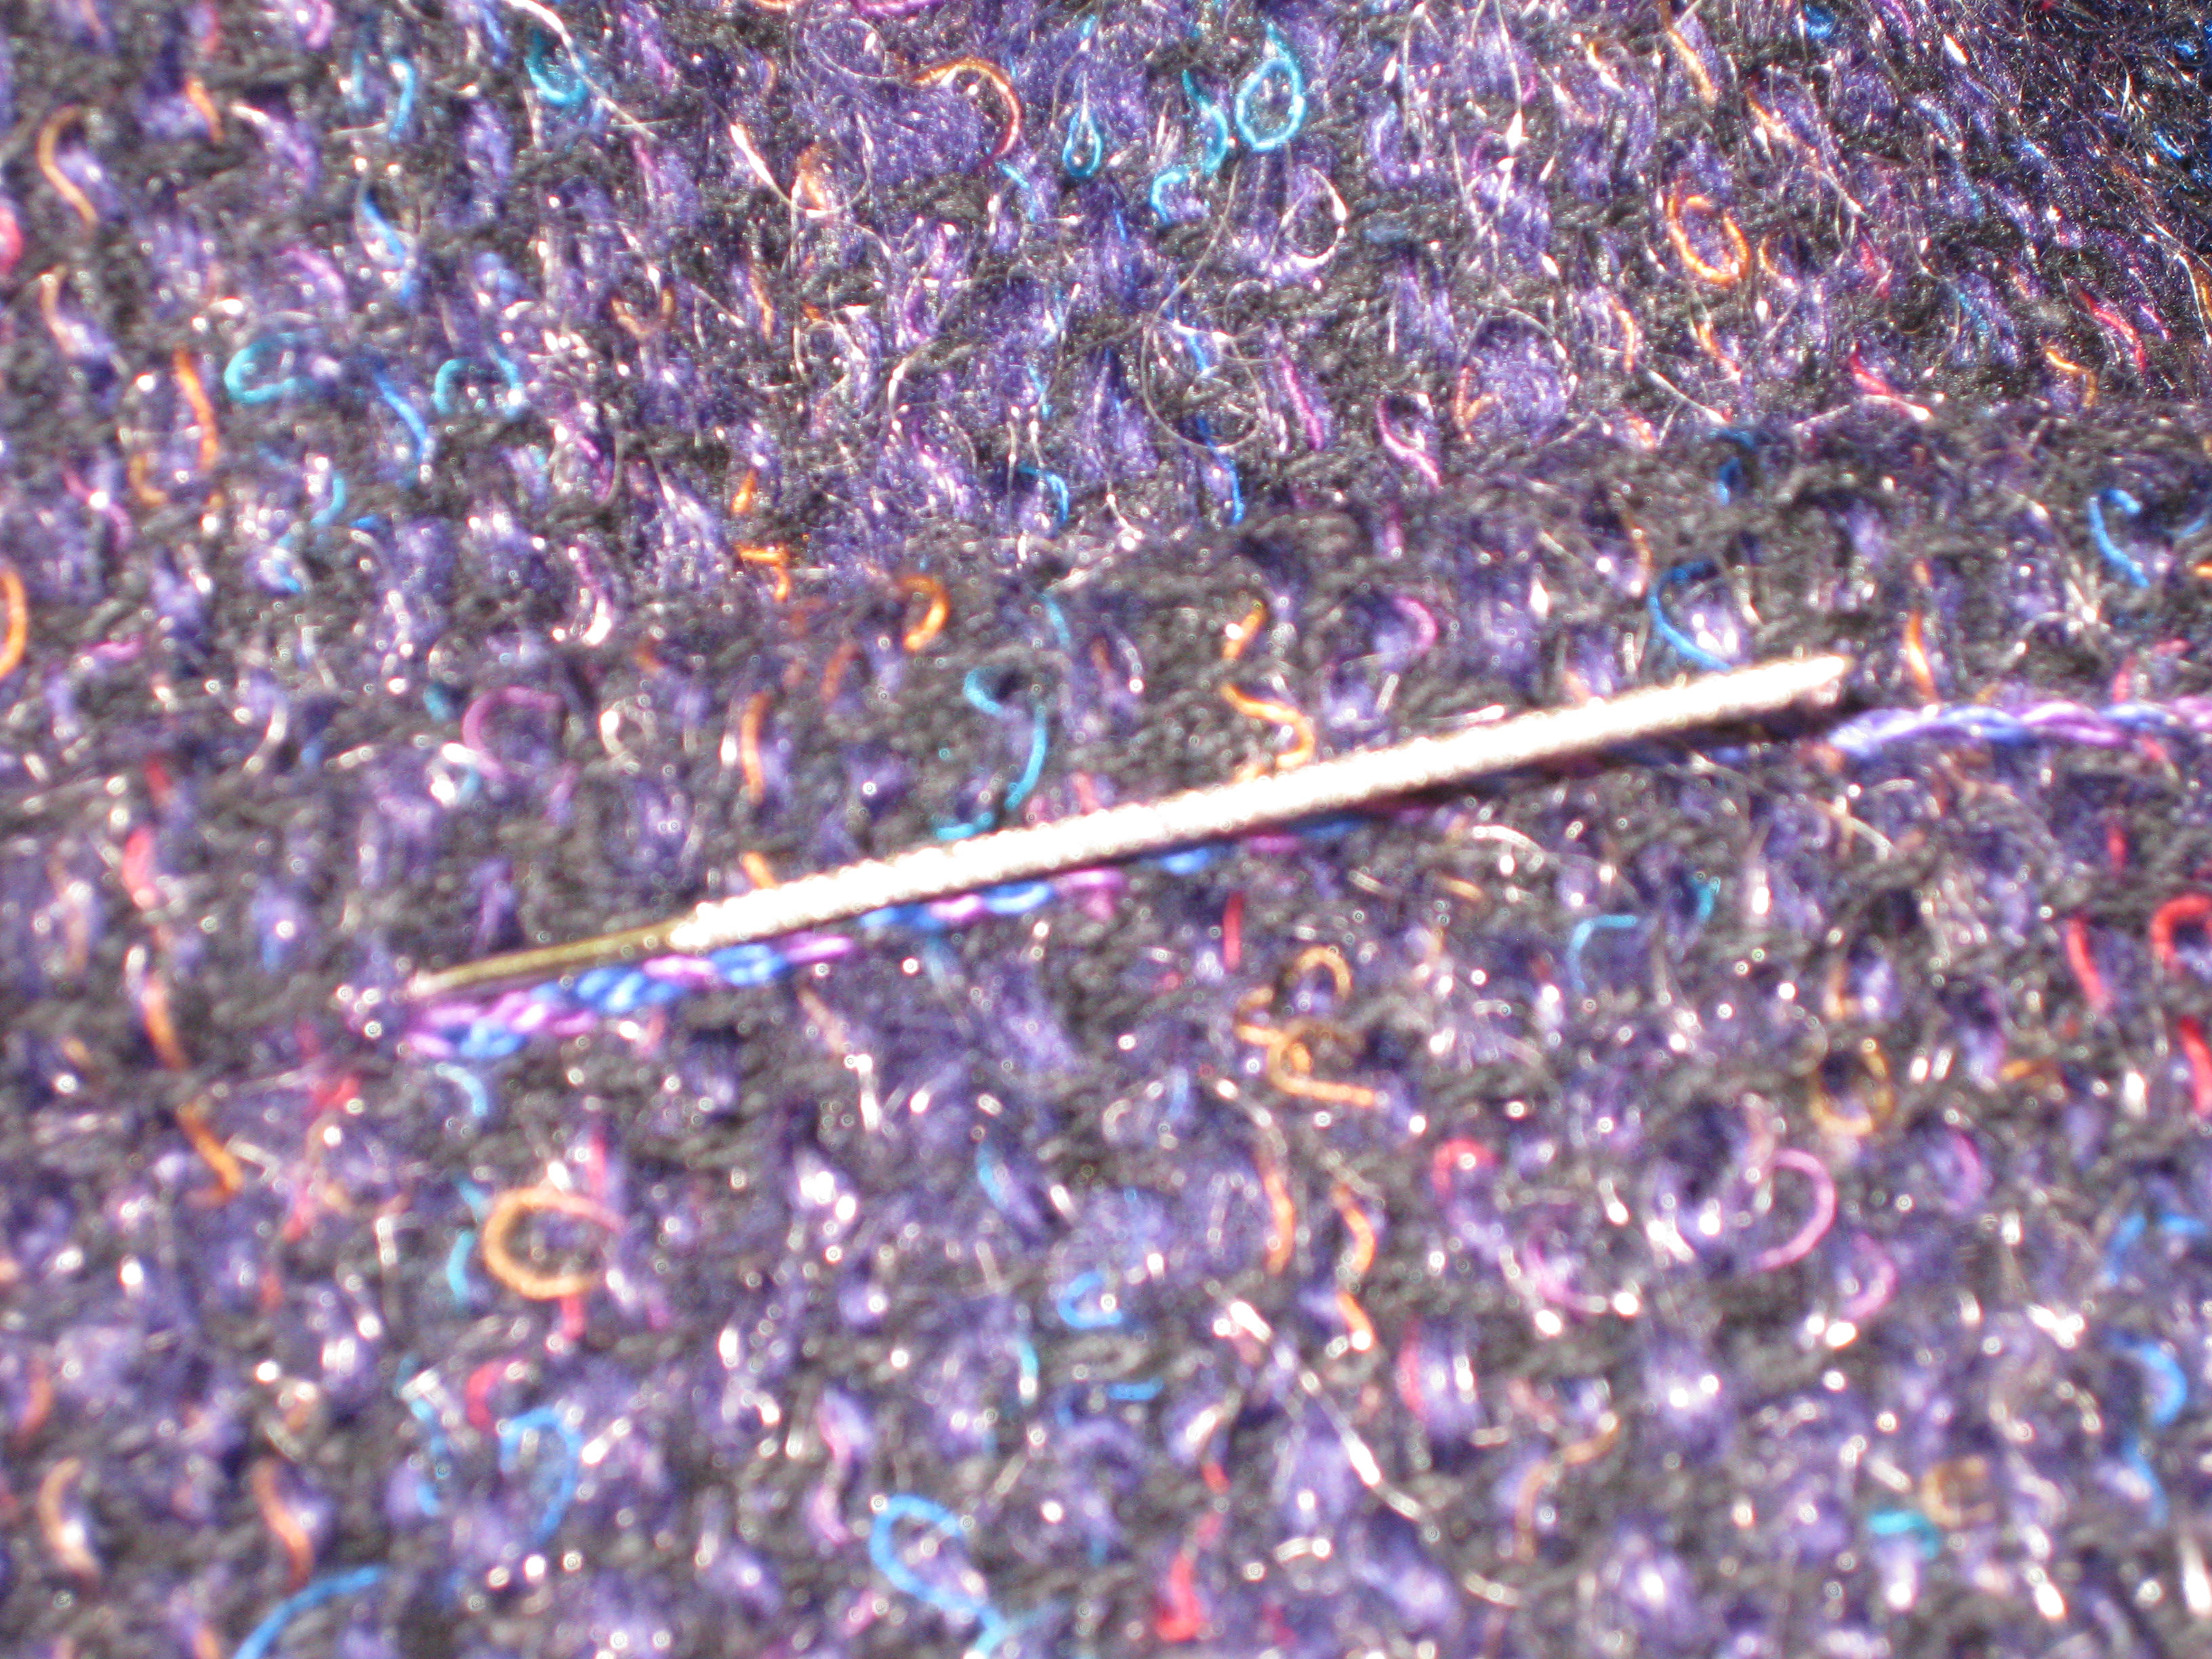
Thread ends buried between layers.
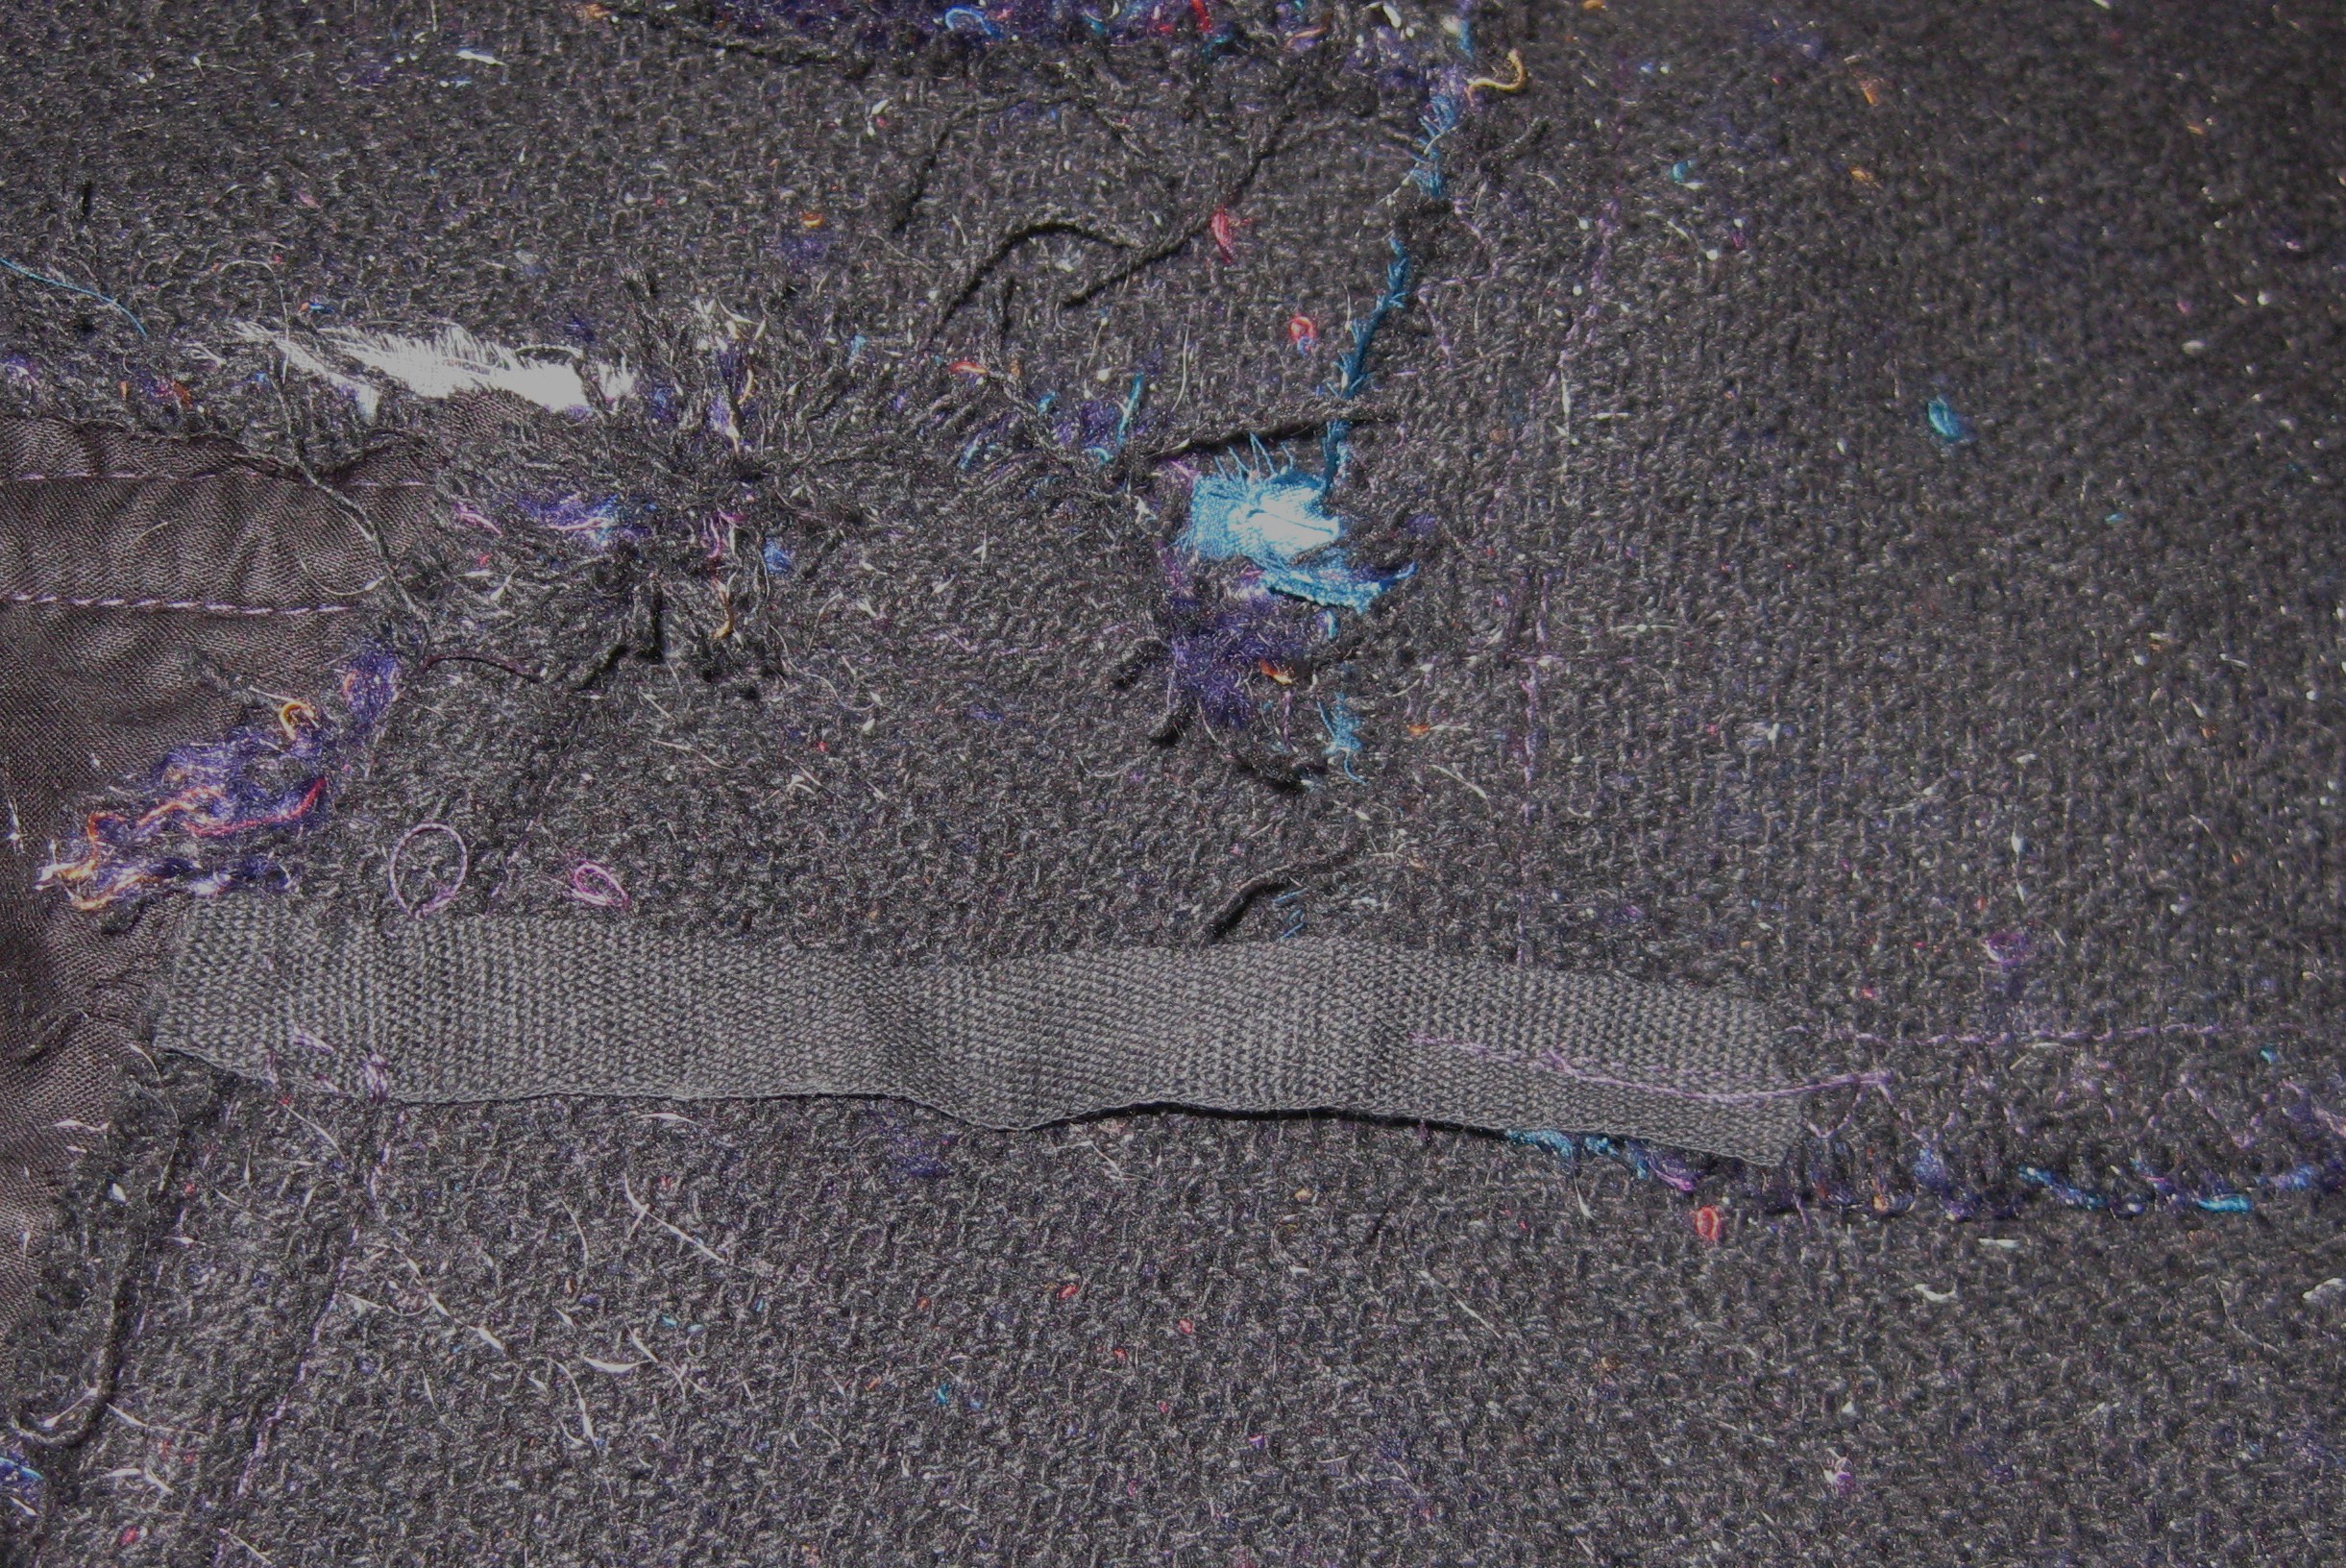
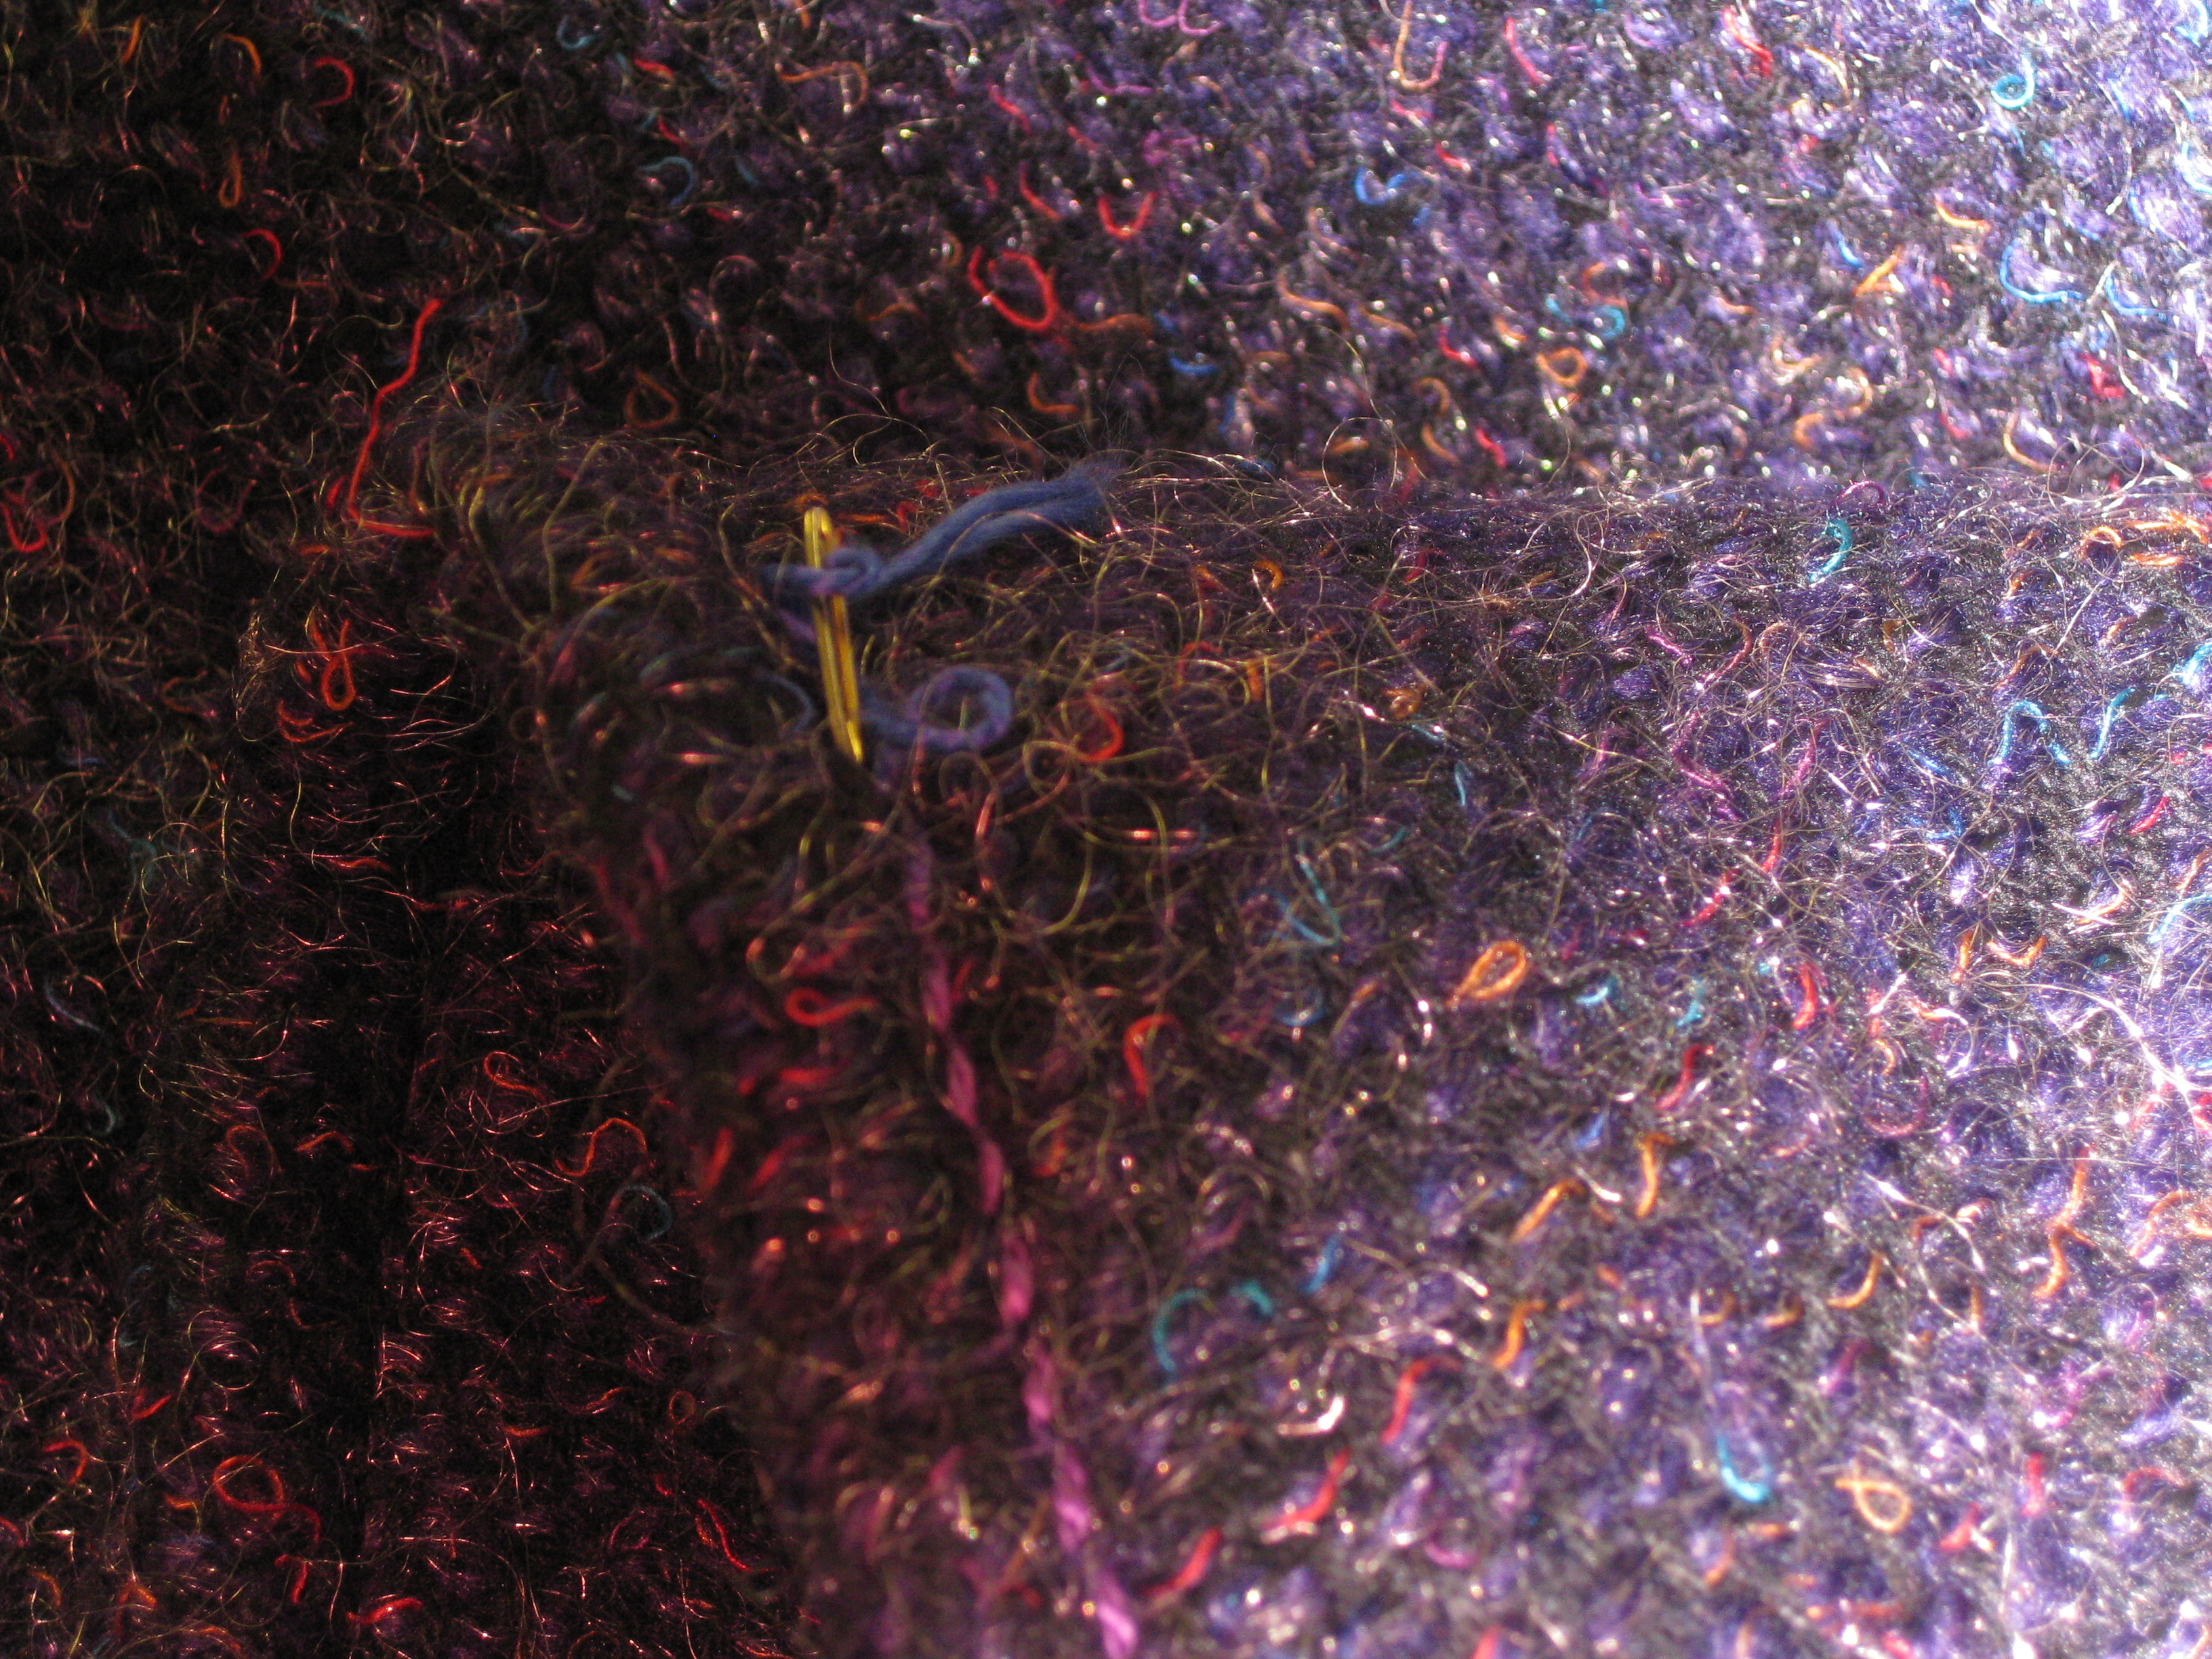
When the thread needed to be finished, it has been threaded back in between the layers. A snag tool was very helpful with this as well as in repairing other pulled threads in this type of fabric.
Snag tool does an excellent job of repairing any thread pulls as well as burying thread tails.
I am really pleased with my finished jacket – now all I need is some cooler weather so I can wear it!
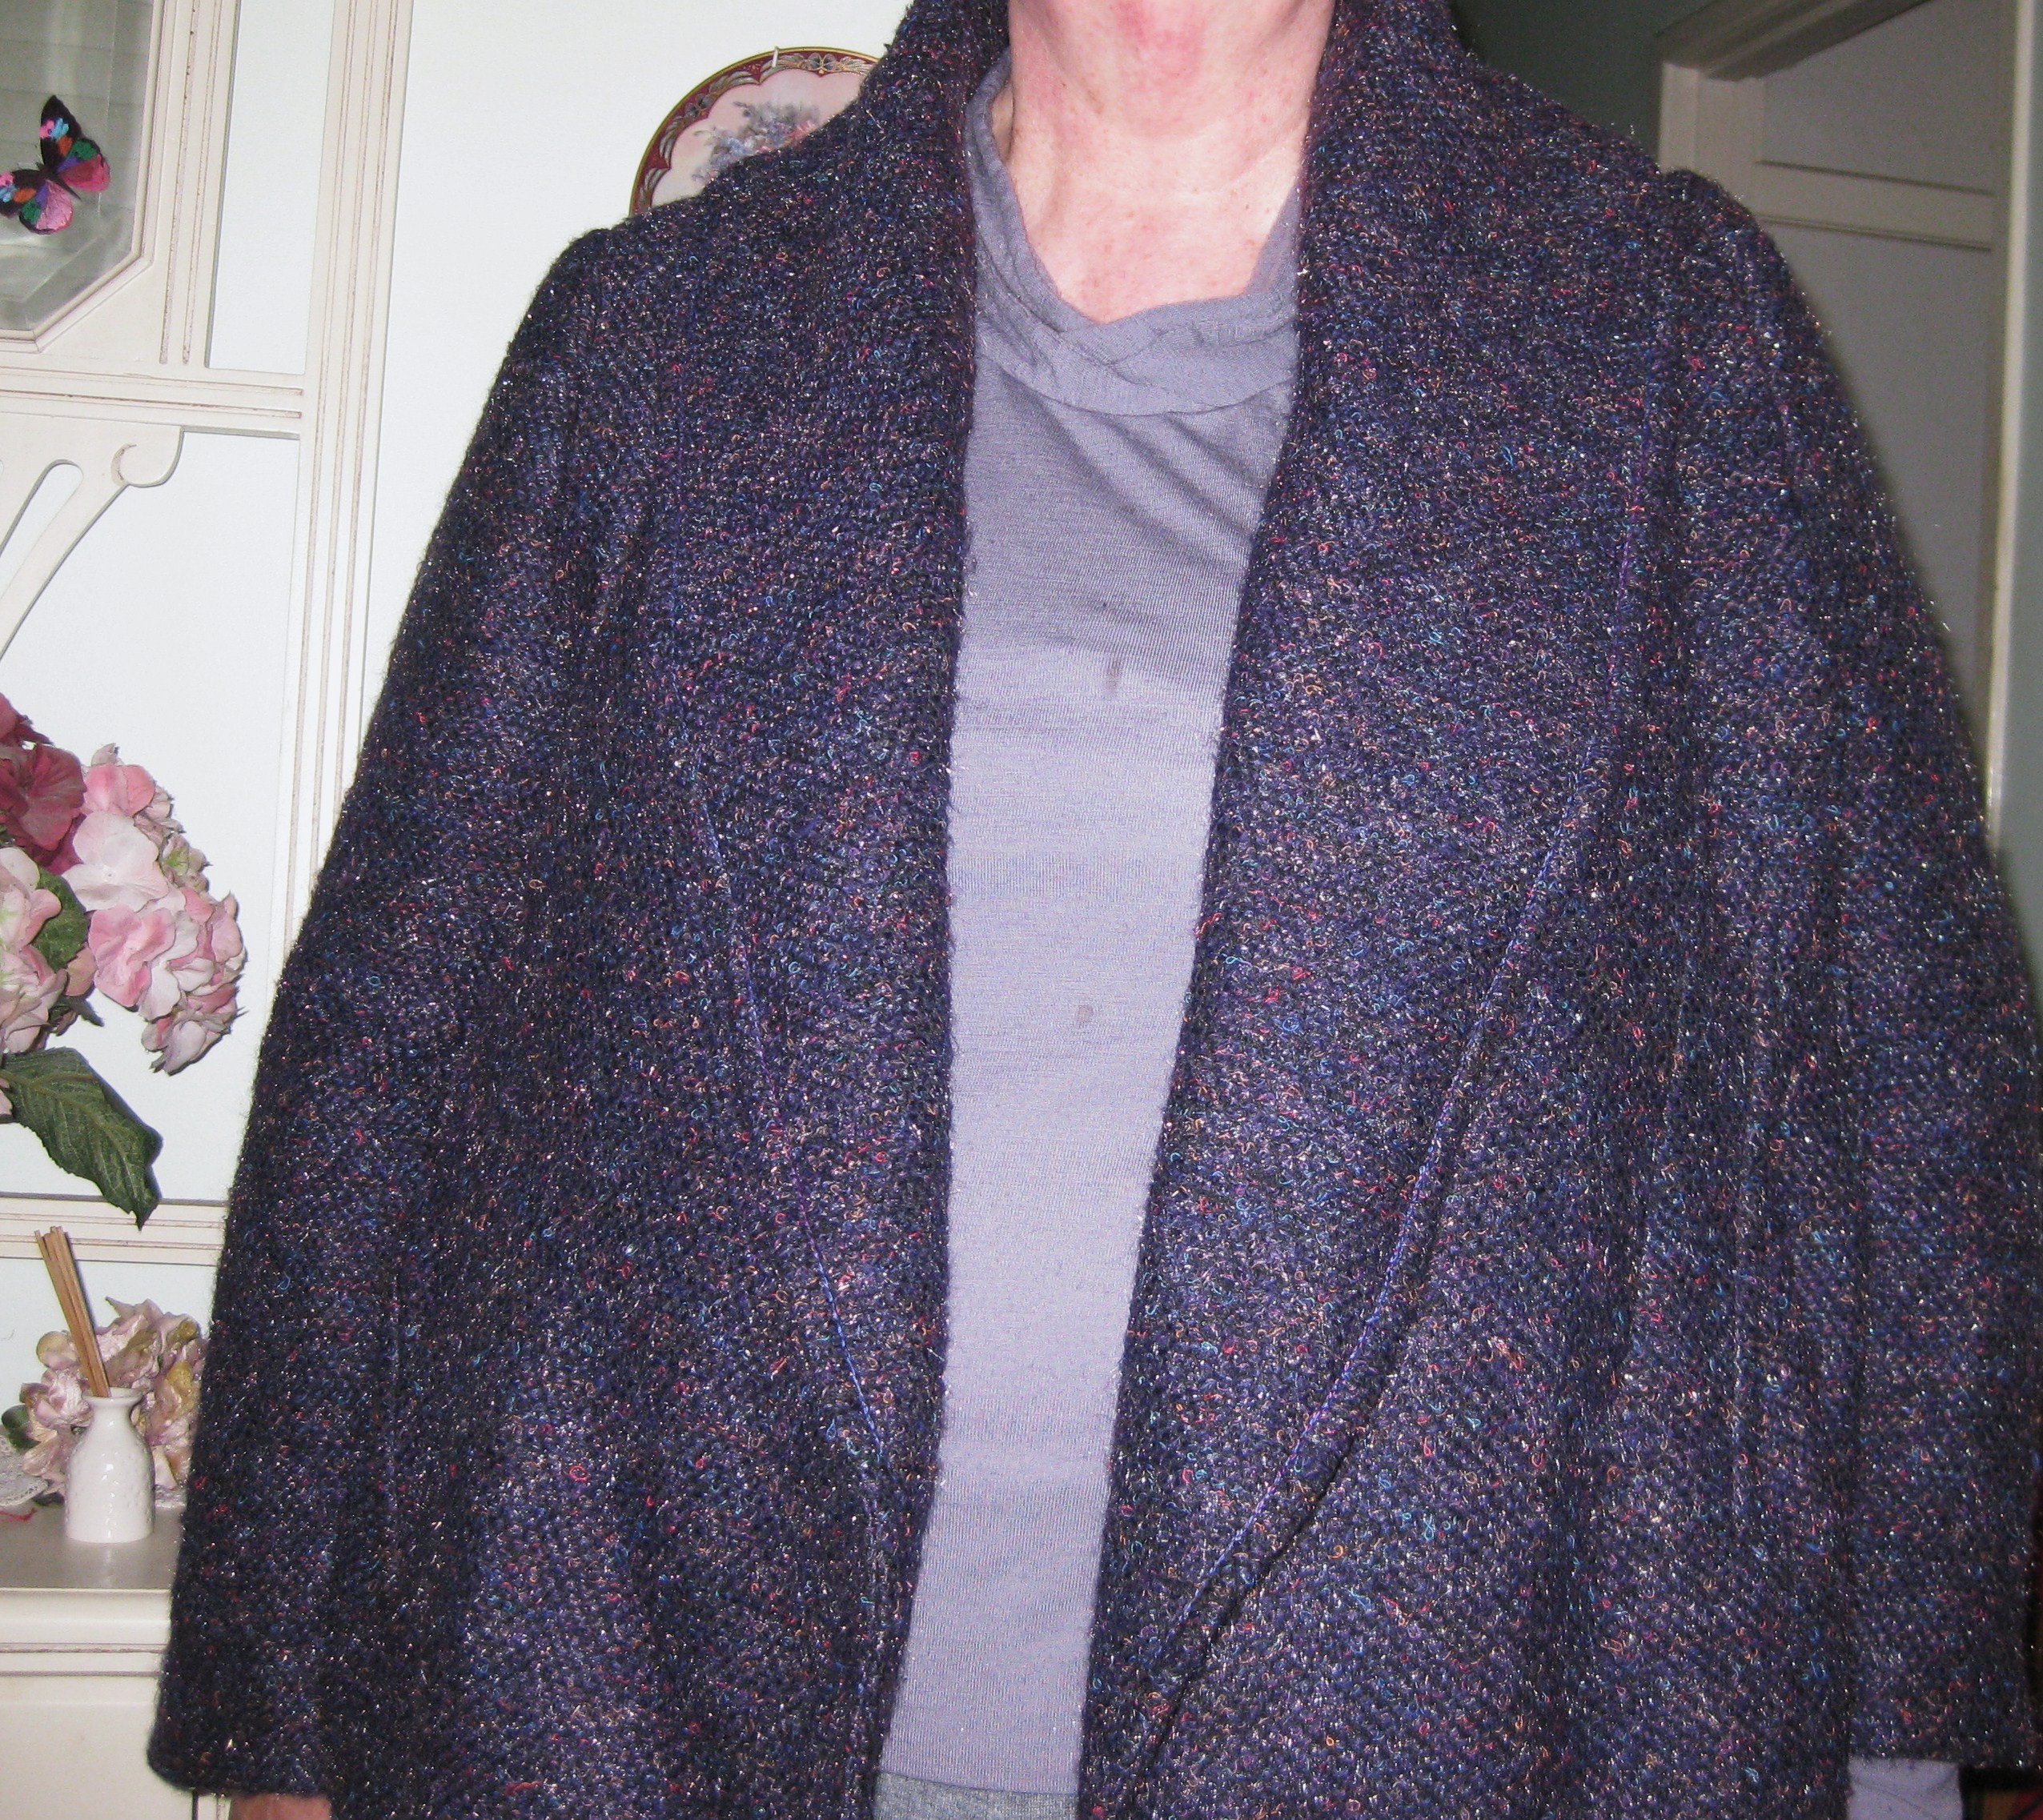
Since the collar is such an important feature, I am really happy with the way it hugs the neck and rolls so beautifully.
