
My usual way of working through a project is to construct all of the individual parts and then assemble the garment.
This design has one very large piece which flows from the centre front, including the shawl collar, on through the skirt section right across to the centre back with no side seams.
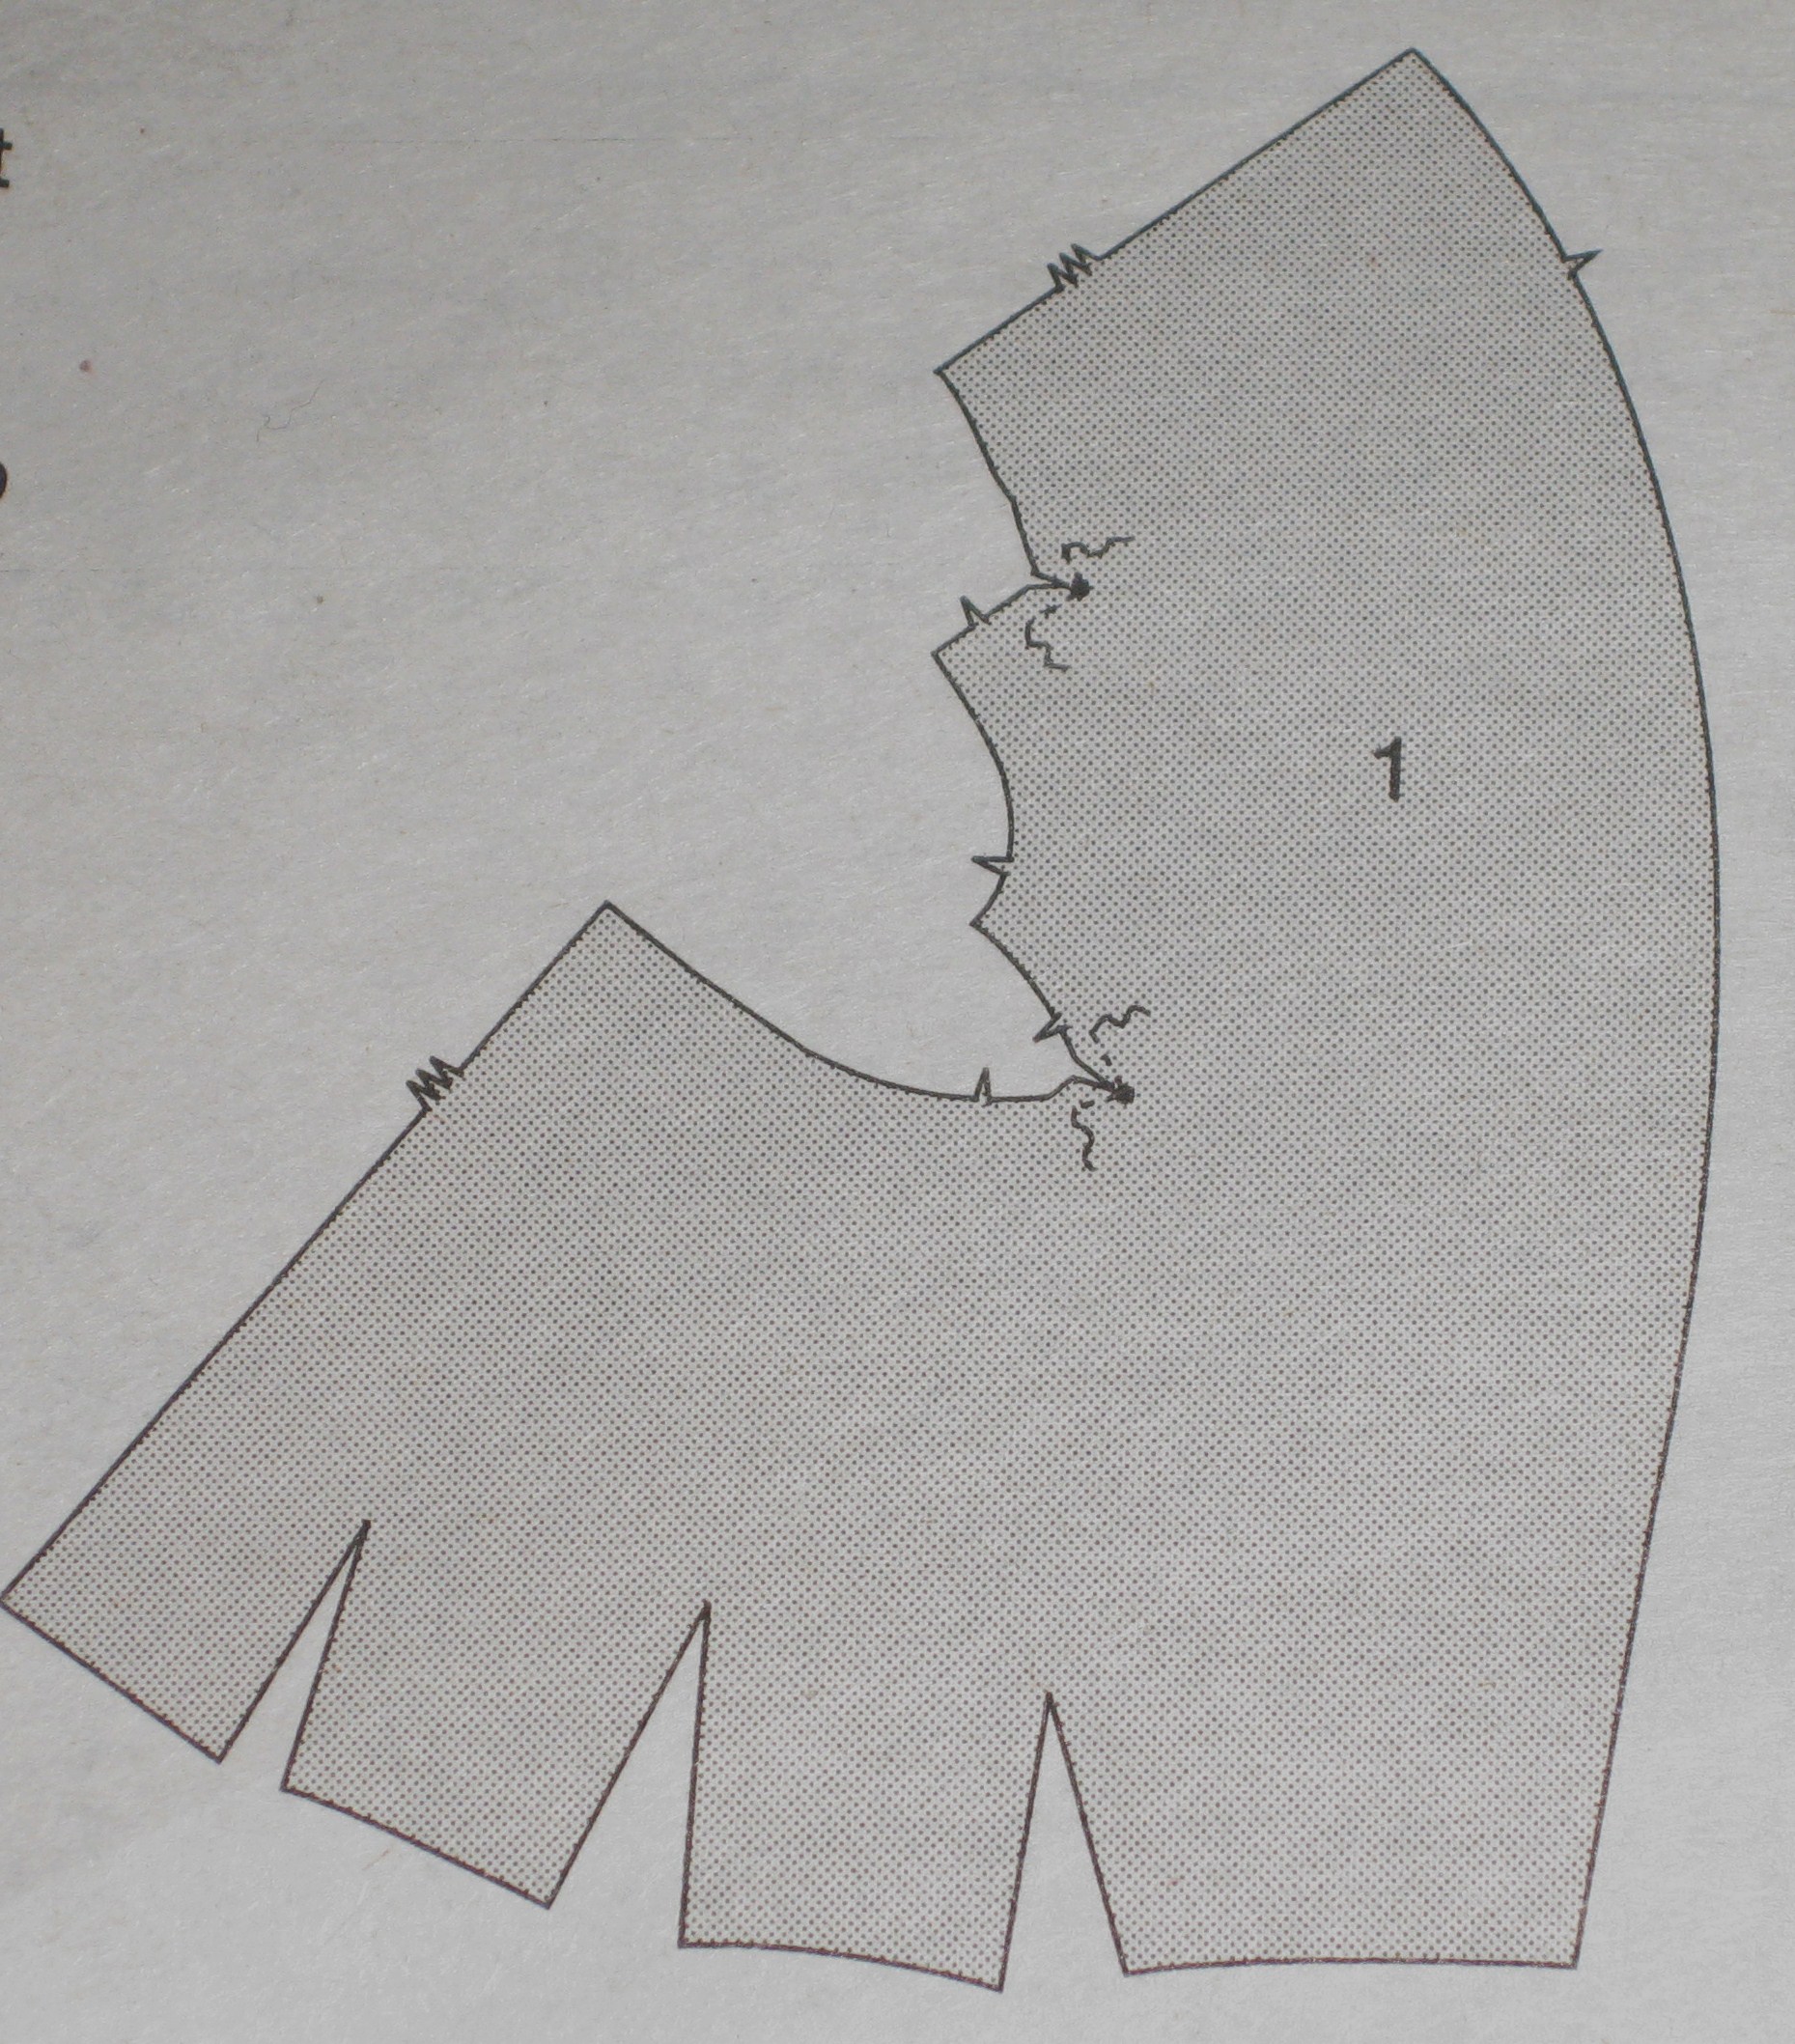
Pattern piece covering collar, front and skirt section to CB
Details on this large piece include six hemline darts, two double ended “waist” darts and an interesting pouch pocket.
I have sewn and slashed the darts. They have also been pressed them open which reduces the bulk, particularly at the hemline. Before the hem is completed they will be topstitched in place.
Hem line darts slashed open and pressed. To be trimmed and topstitched.
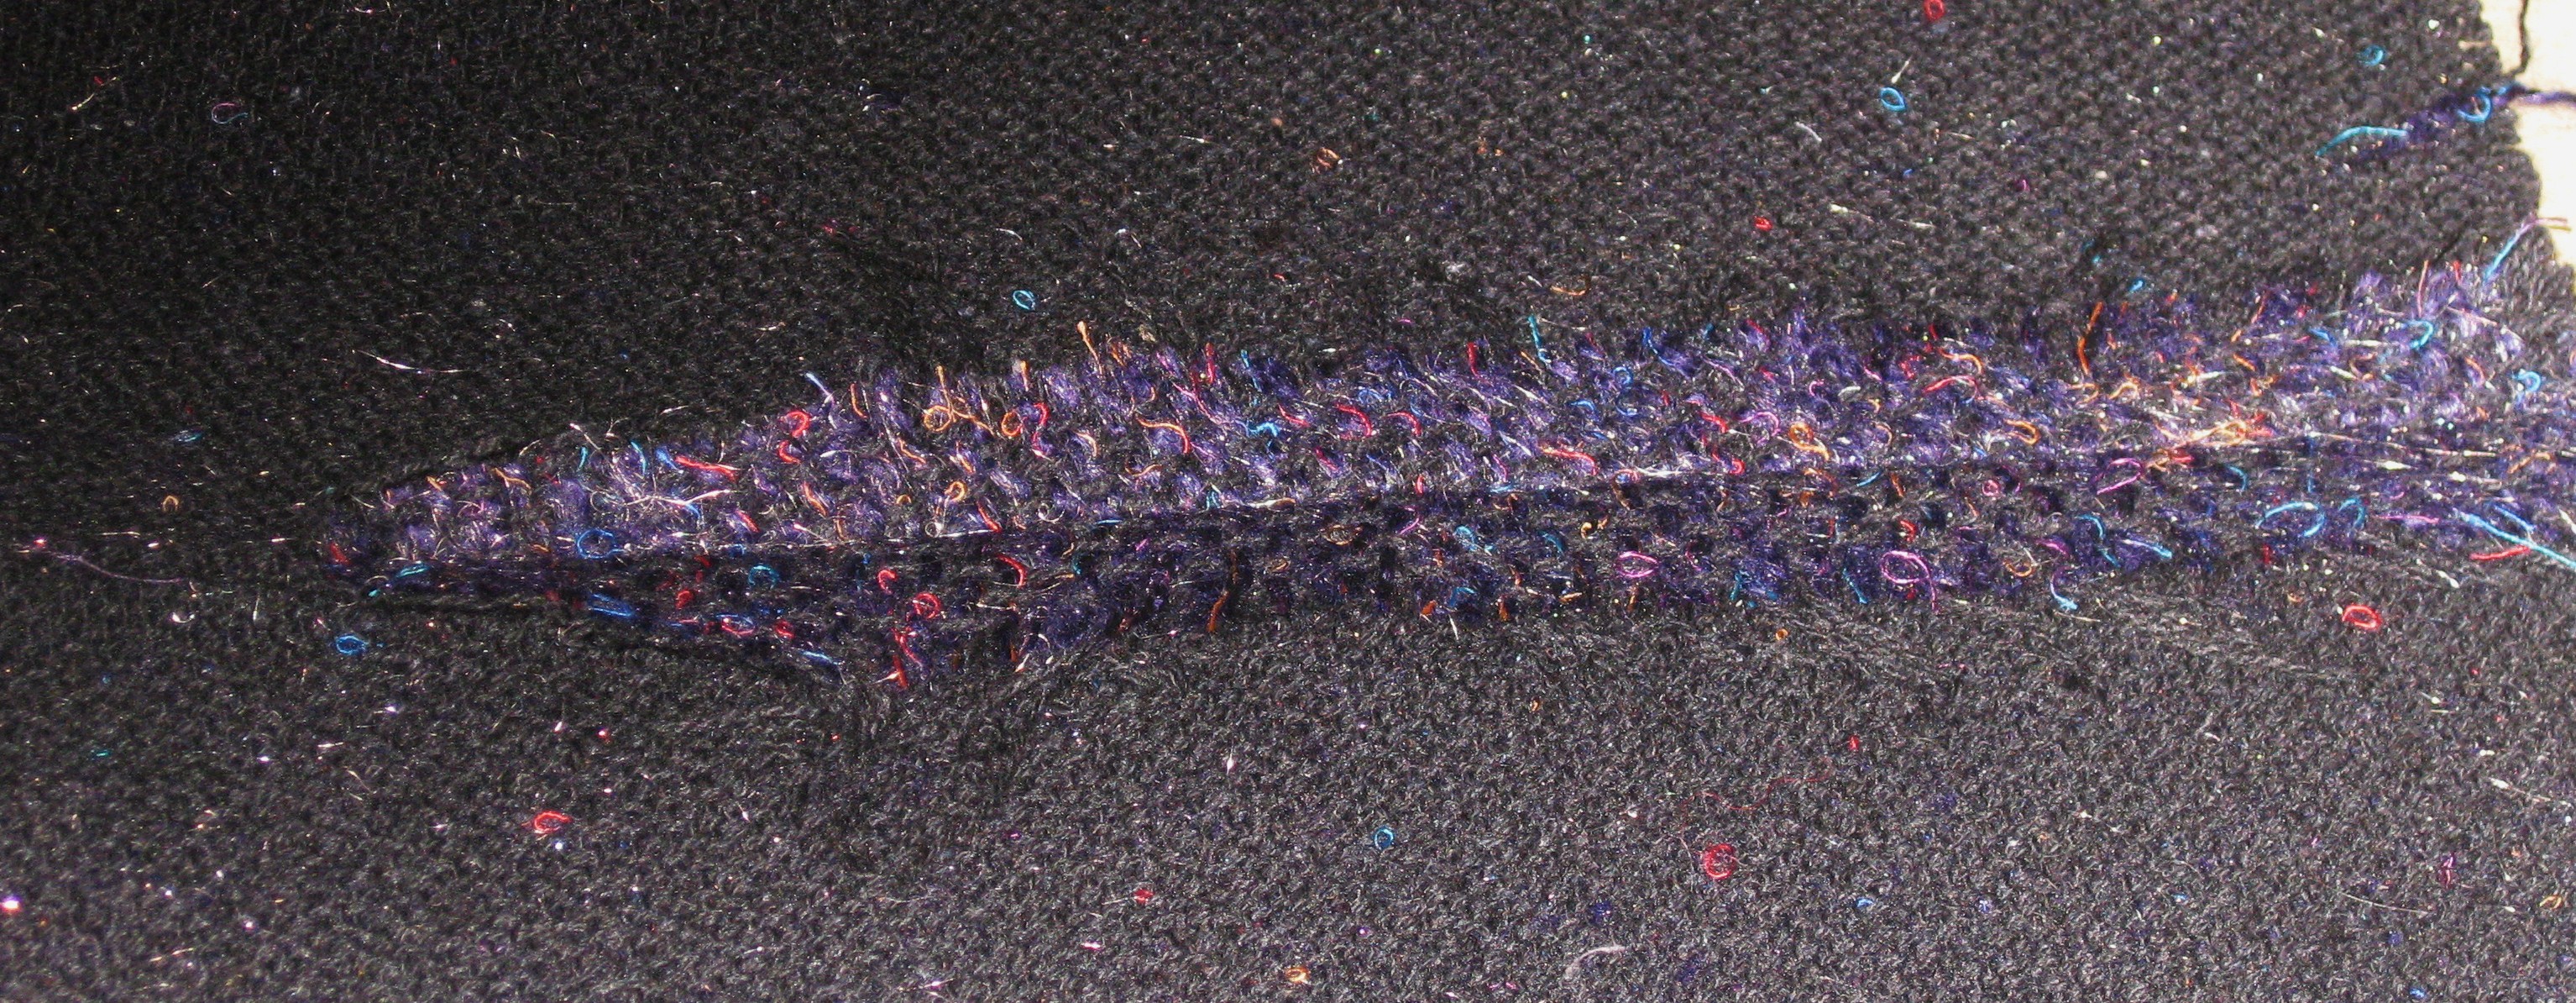
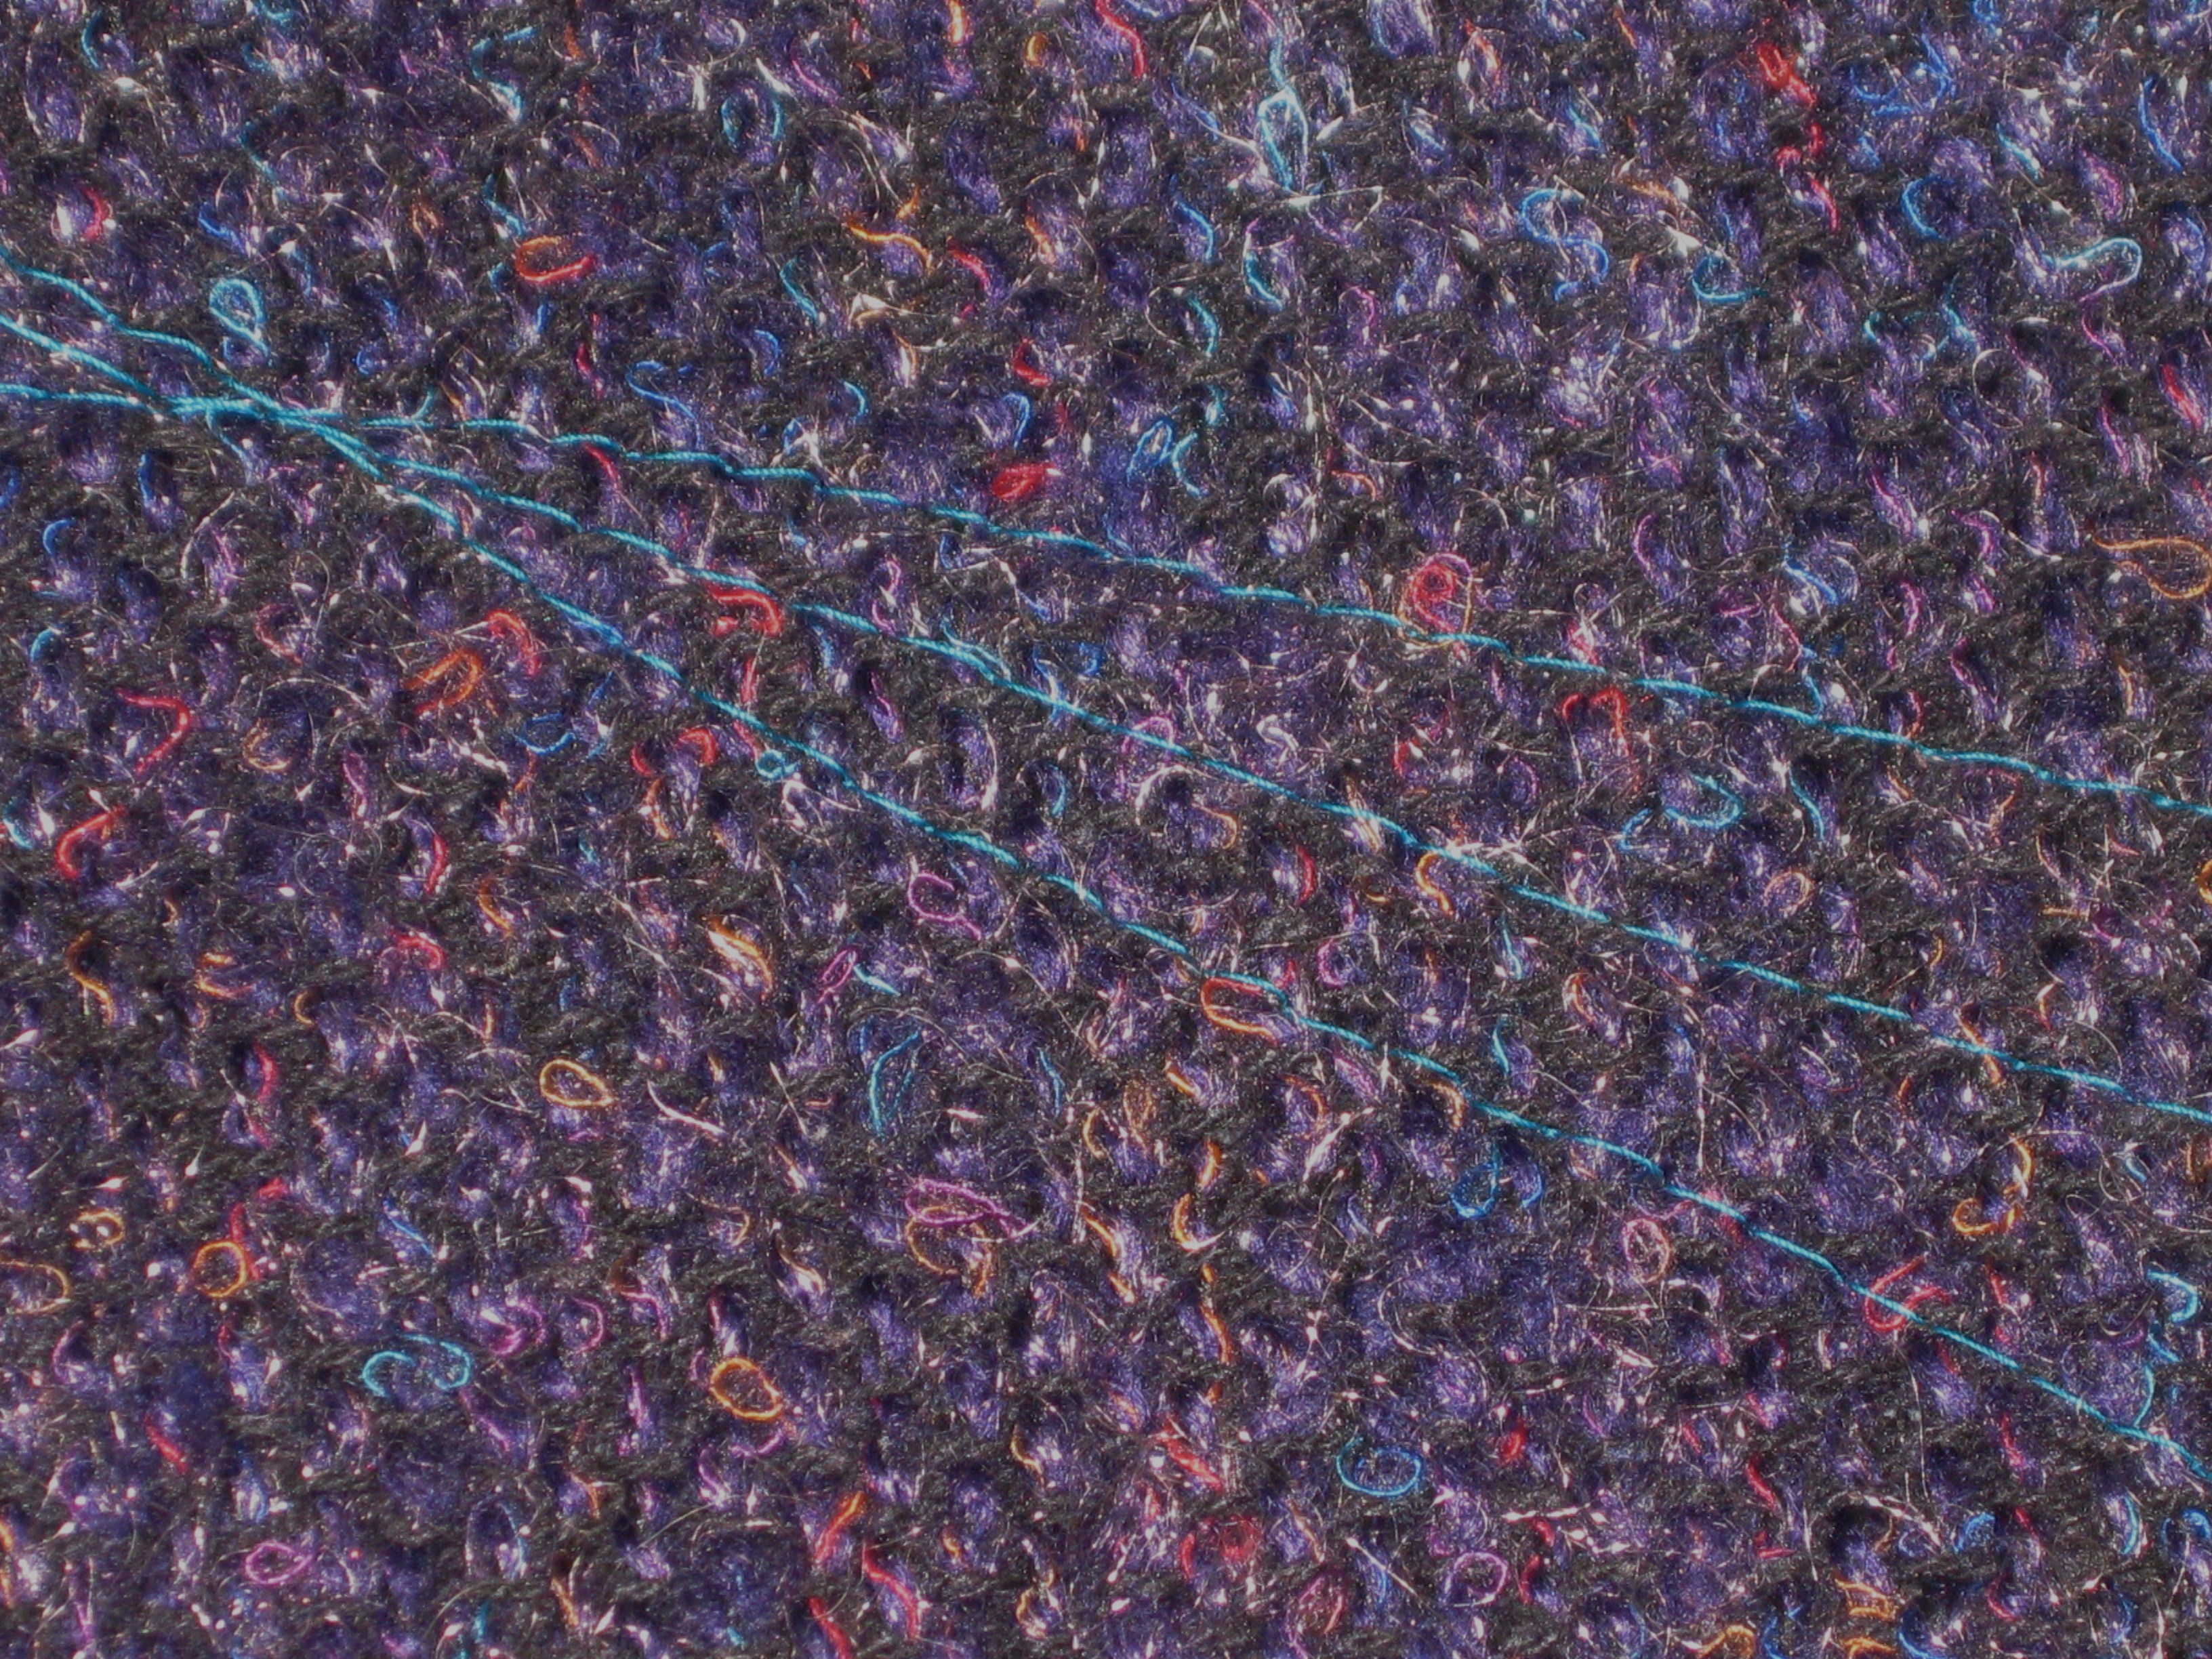
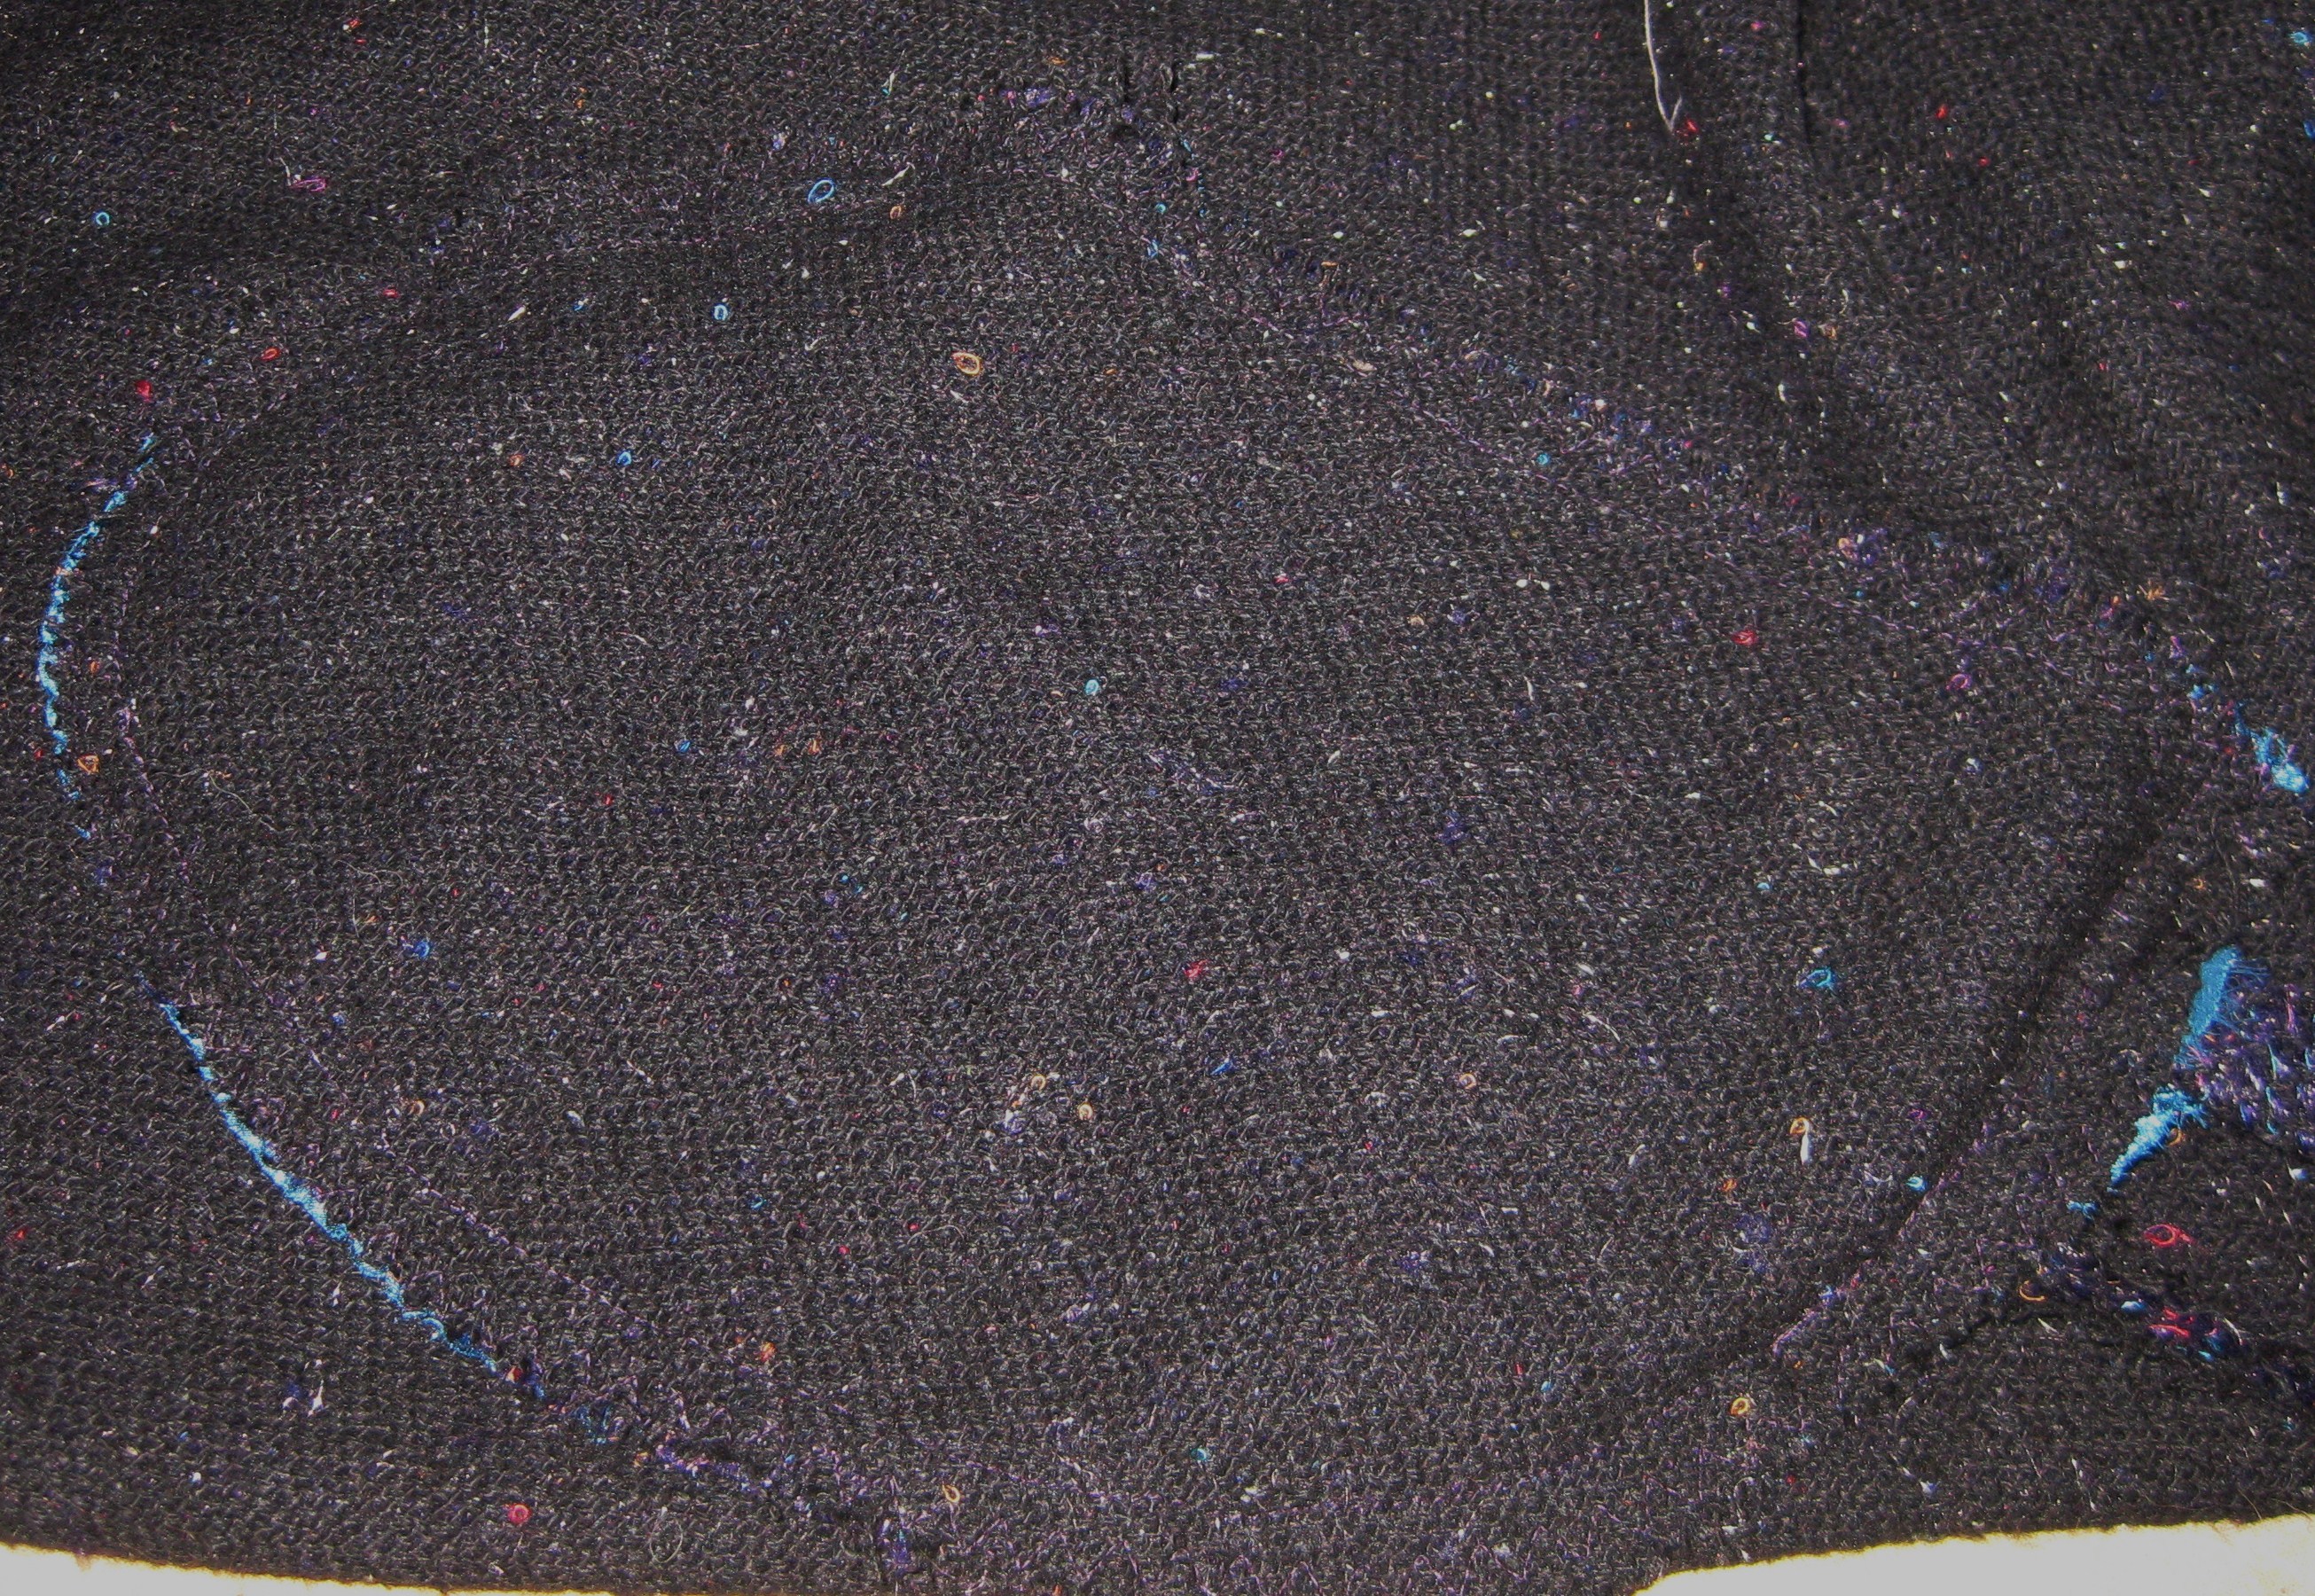
The markings for the pouch pocket were traced on to the wrong side using dressmaker’s carbon. They were then thread traced by hand. Because of the textured surface and the need accurate and clear markings, I decided to machine baste the markings as well (used a stitch length of 6.0 which was easy to remove).
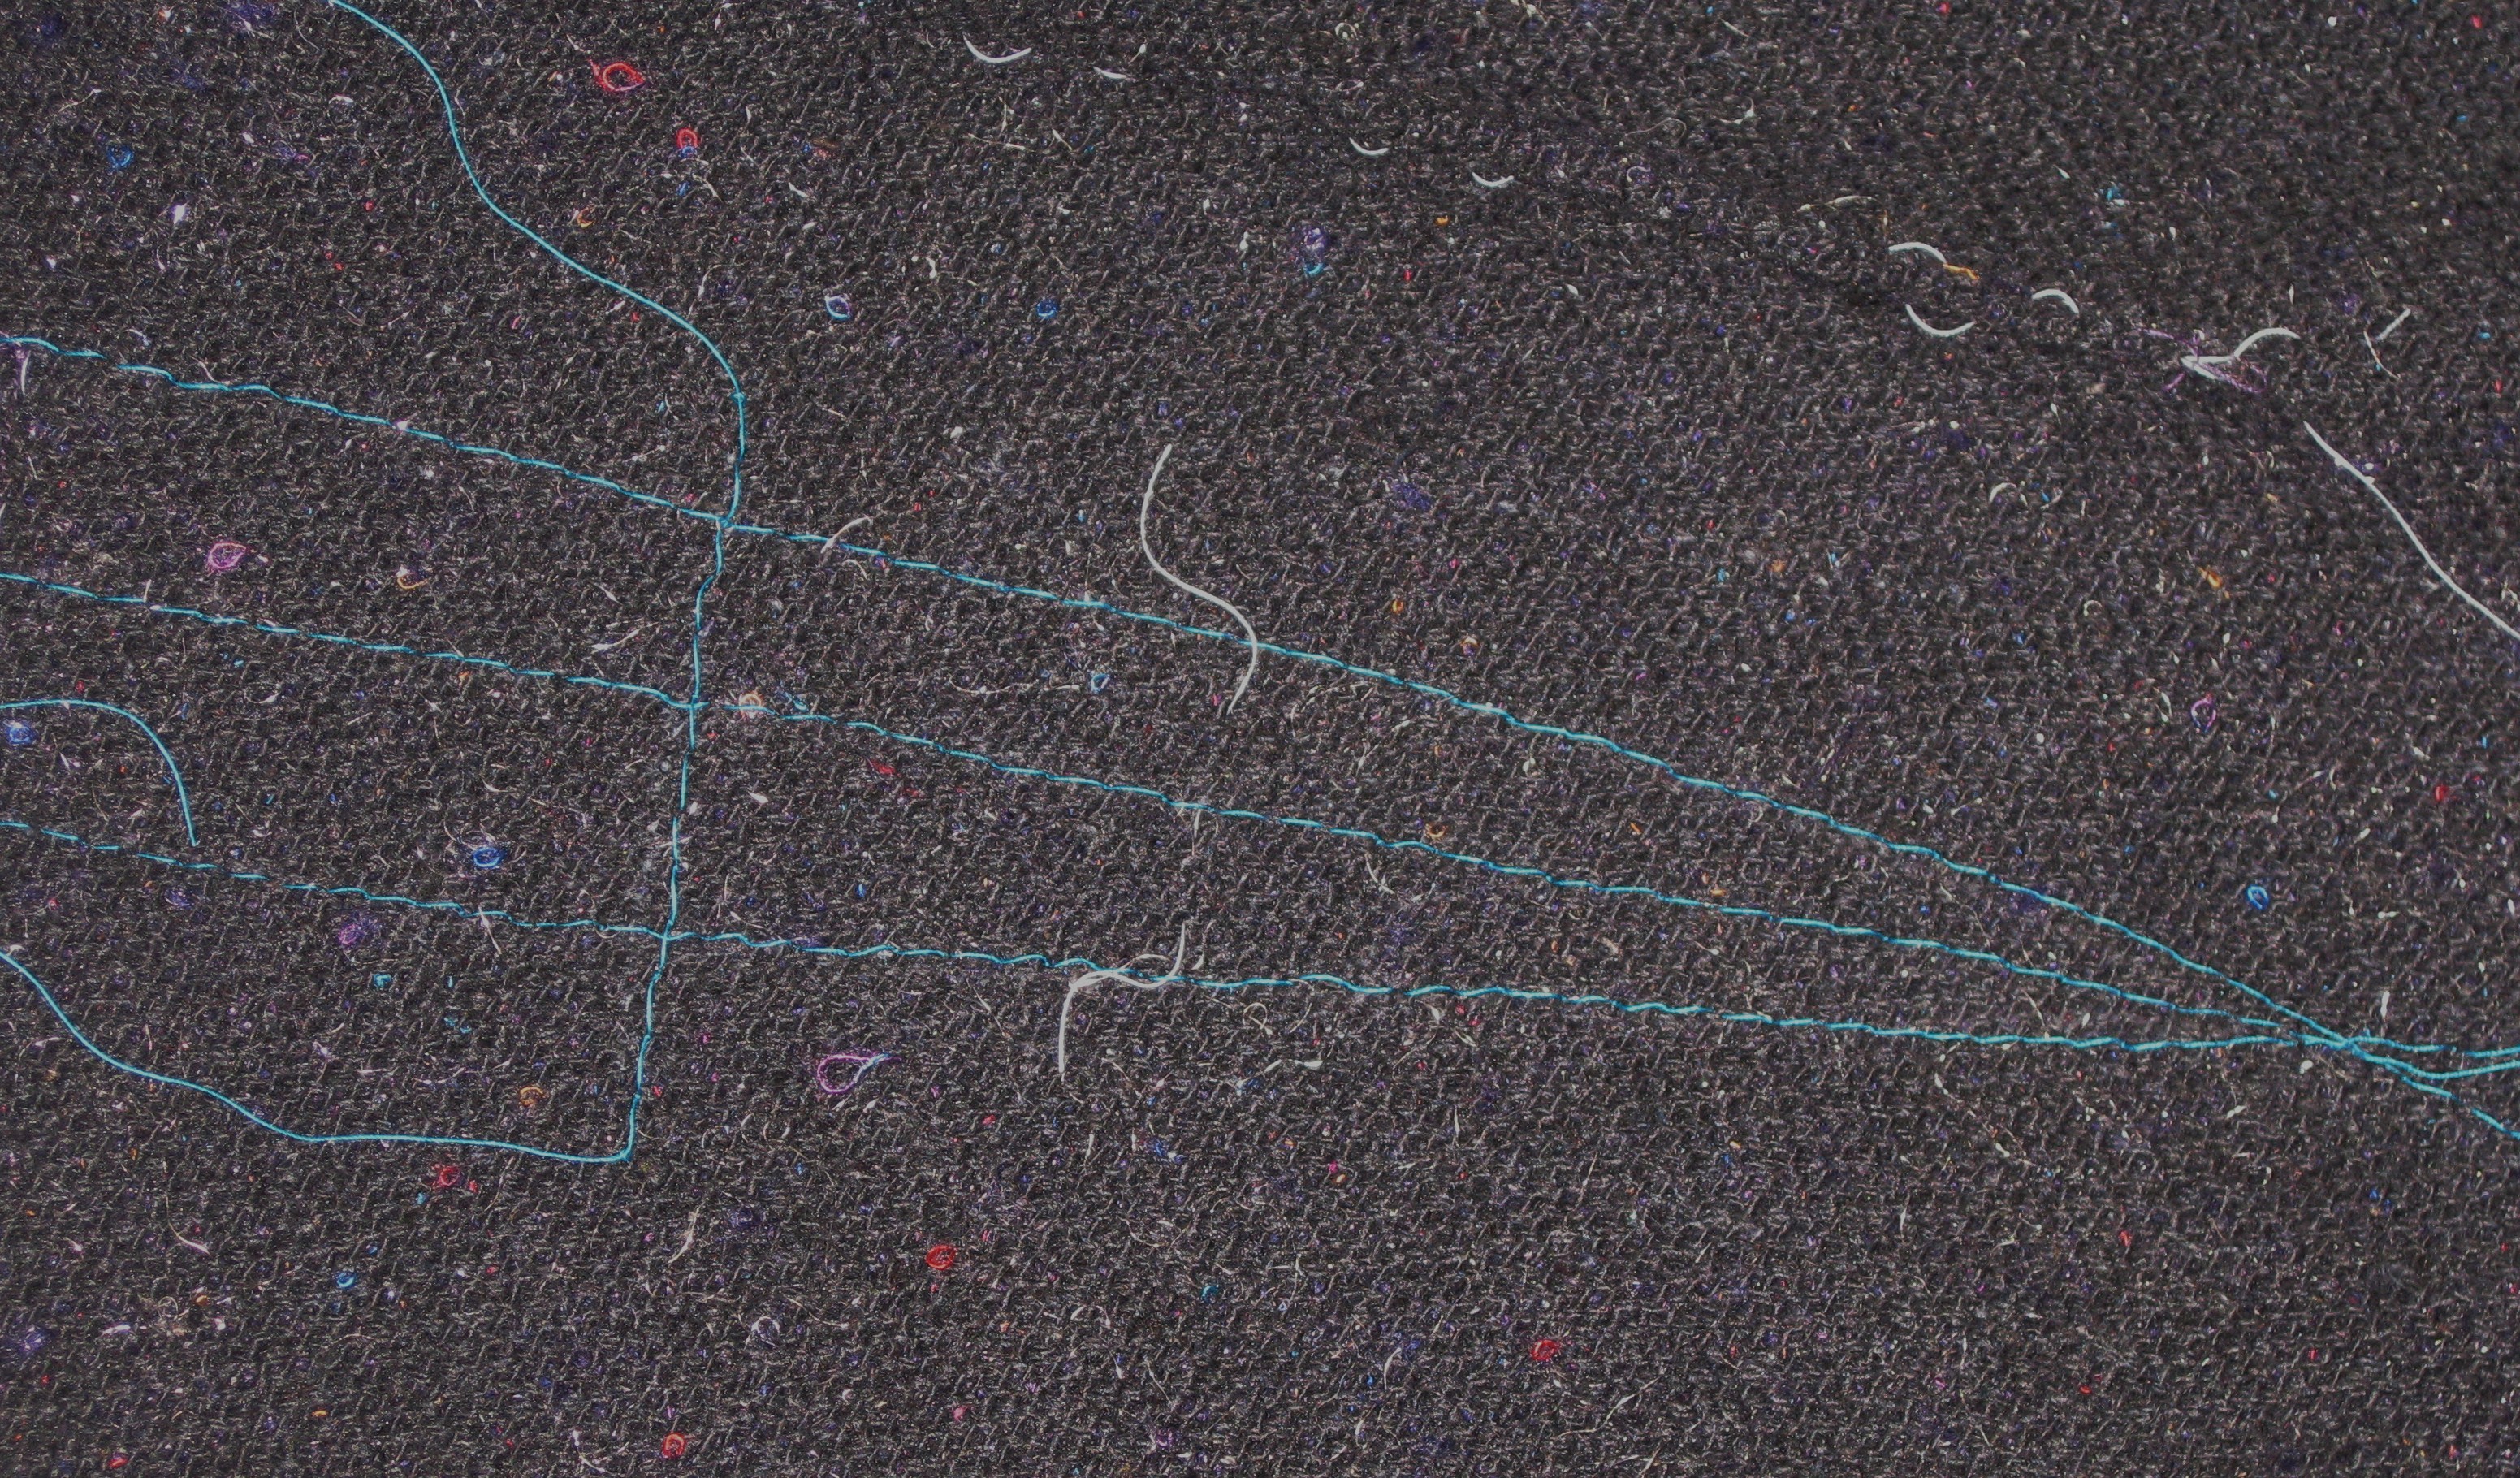
Darts were thread traced from wrong side and machine traced (SL 6.0) so the pocket markings were extra clear on the right side.
Bottom of pocket markings on right side of fabric
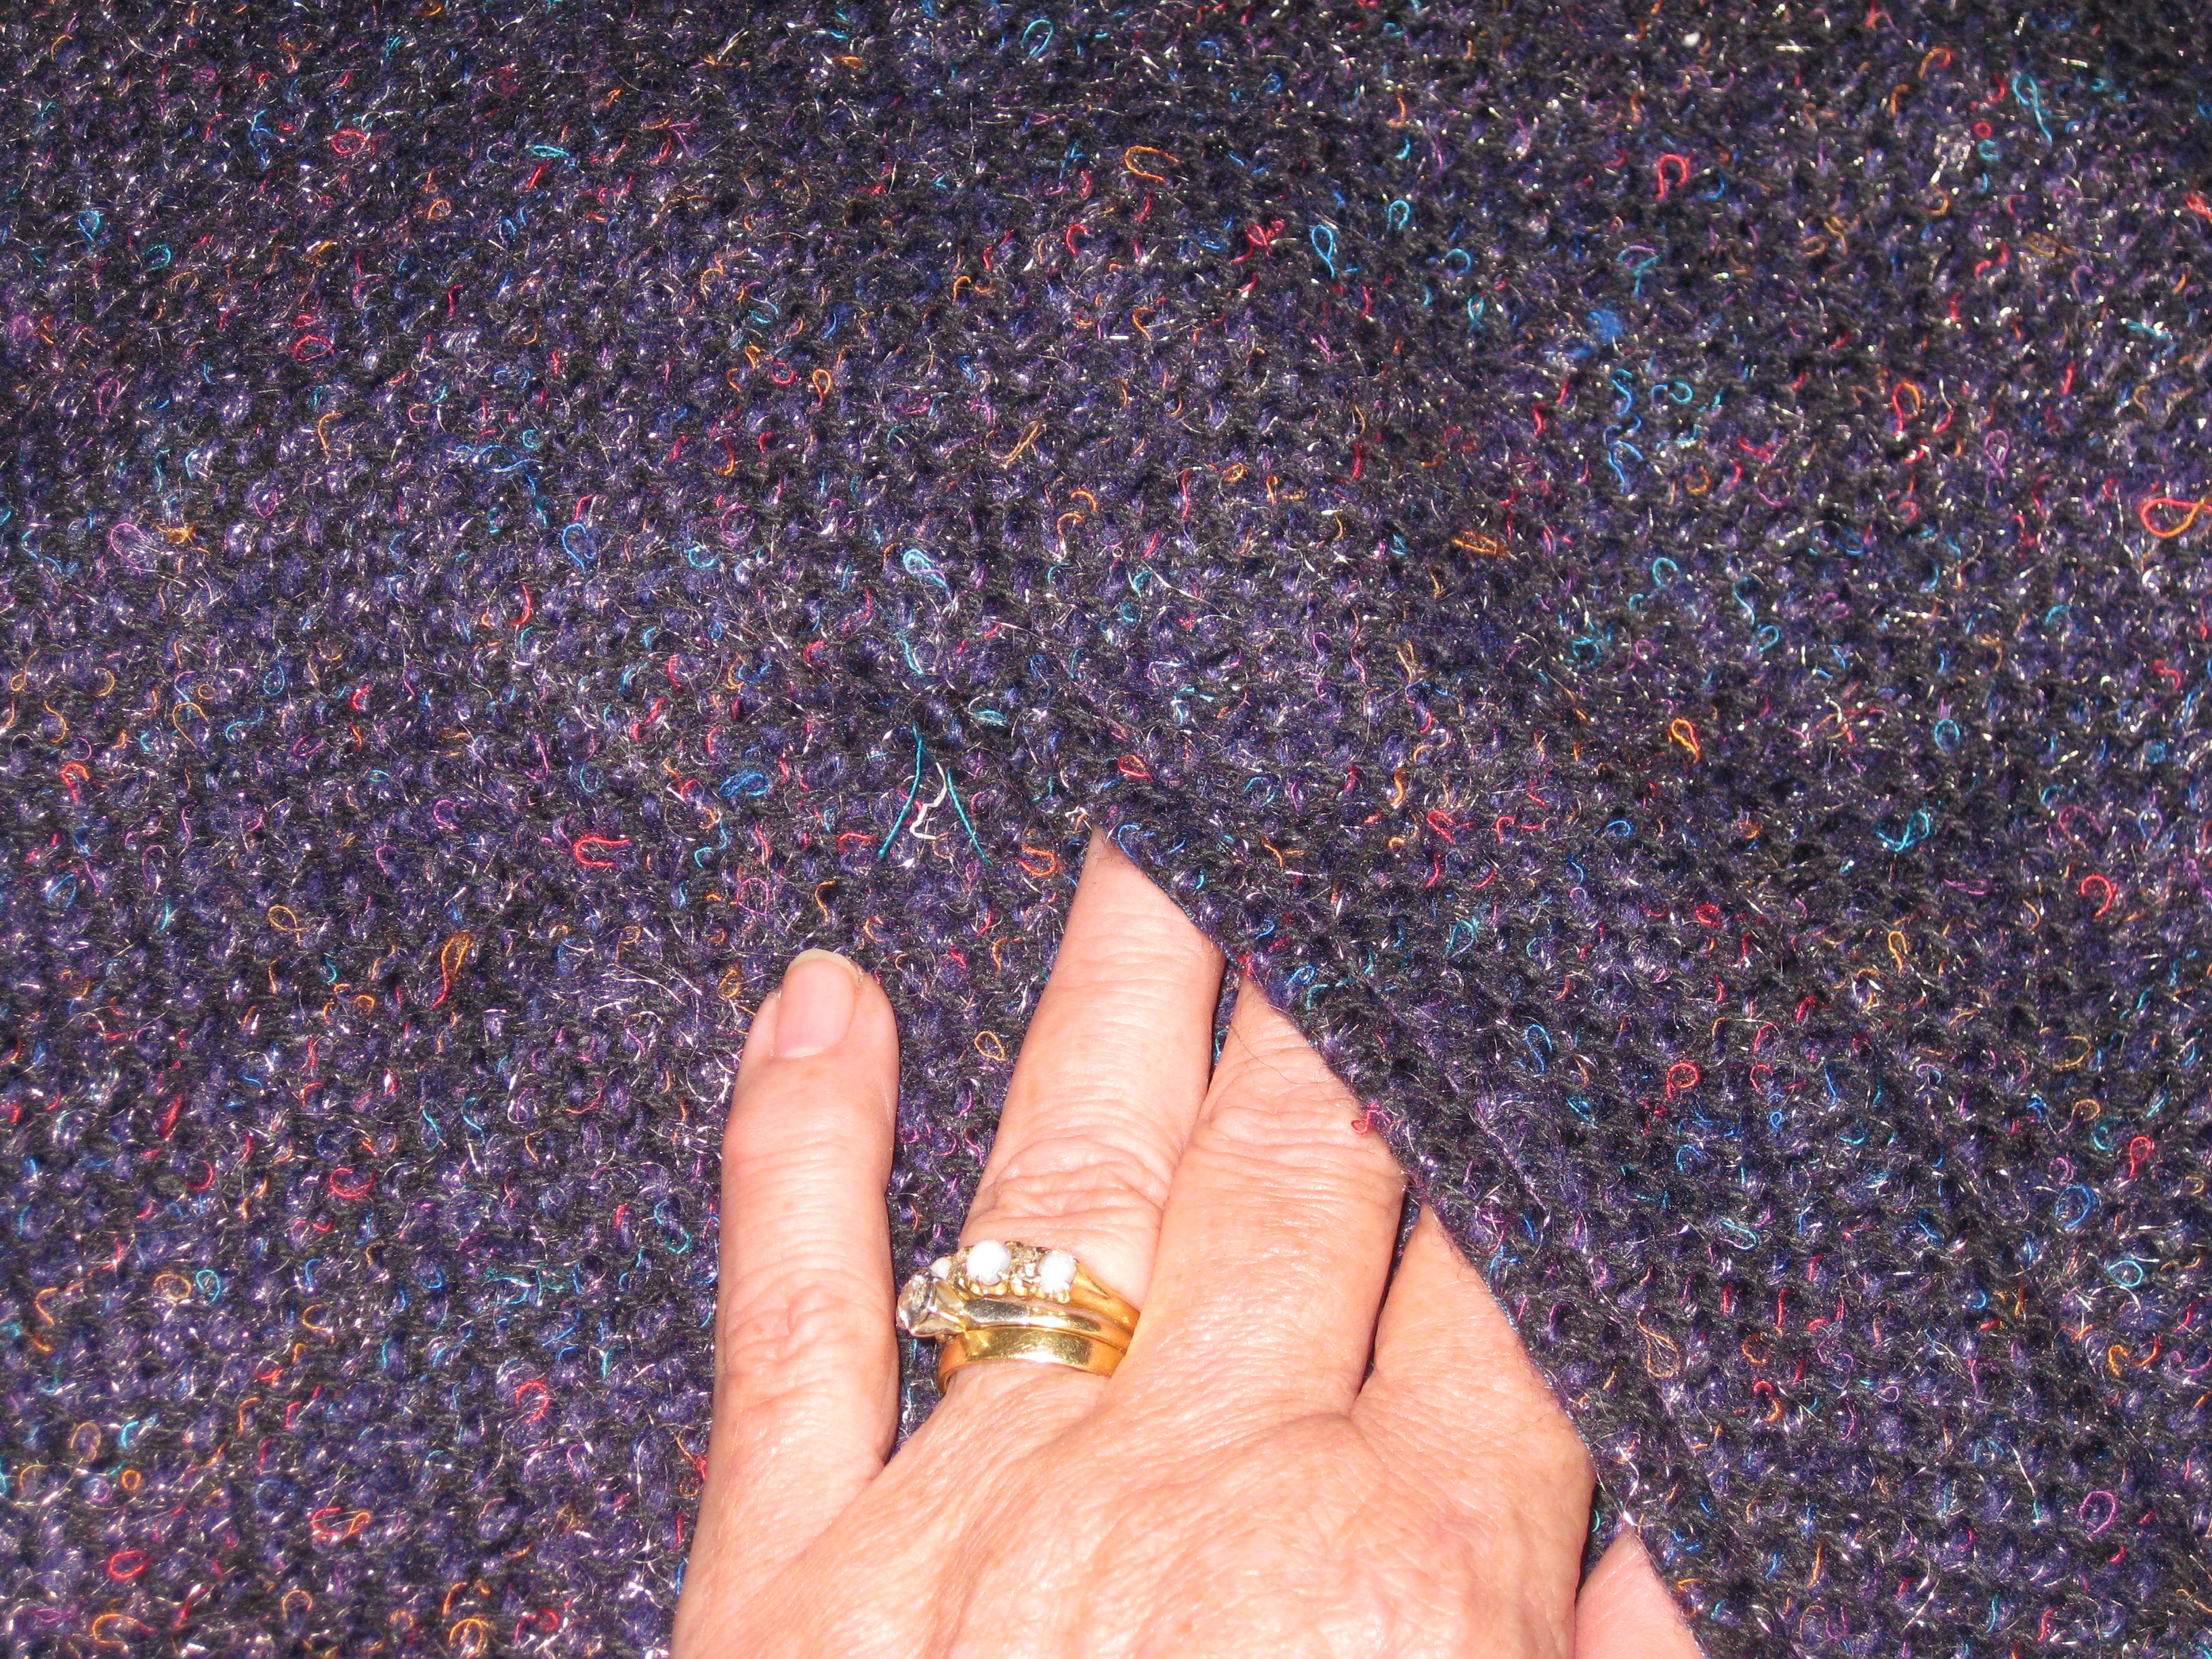
Nice deep pouch pocket will be good to keep hands warm.
Underside of pouch pocket

Pouch pocket with front edge topstitched. The back edge will be hidden once the seam above is sewn.
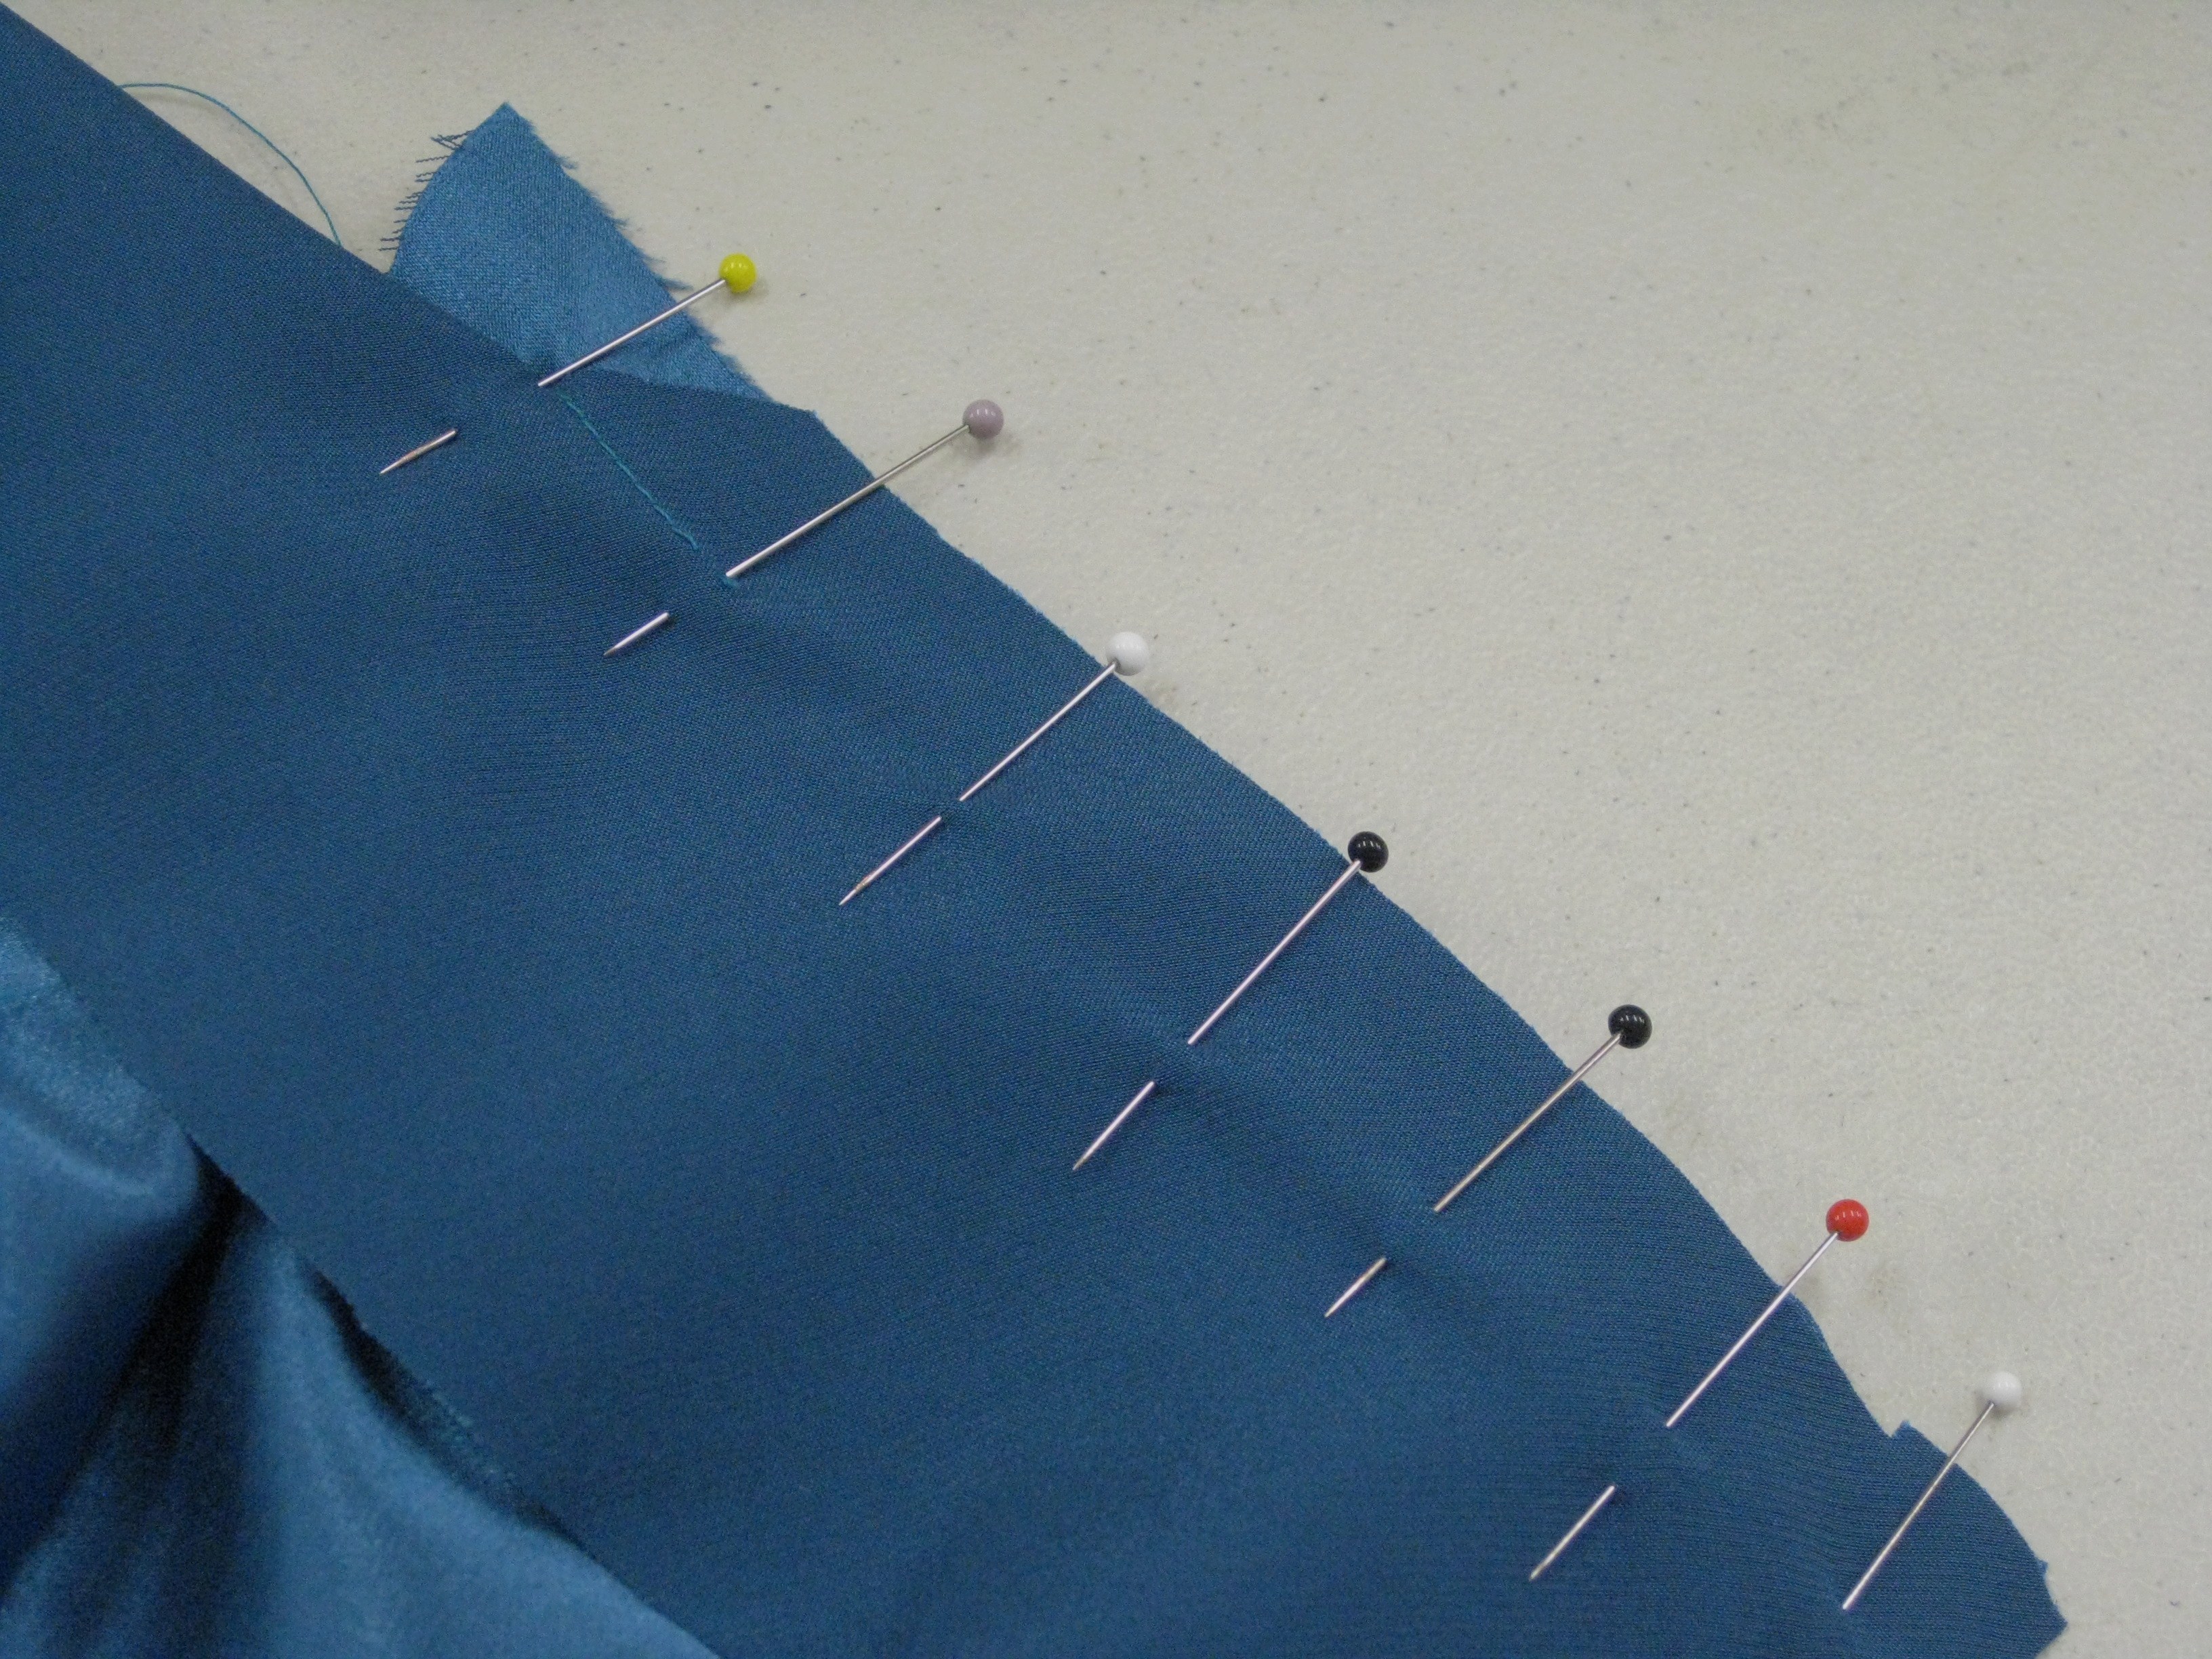
The back bodice and side panels have been seamed and added to the front side panel. I have used flat fell seams. When I tested this seam finish on a scrap of the fabric, I found that while it is very soft, is quite springy so I allowed wider seam allowances wherever the flat fell seam will be used. This has given me a wider amount of fabric to wrap over the trimmed seam.
I made a pattern for the front interfacing which will support the weight of the collar and keep the front edges stable. This has been cut from sew-in hair canvas (purchased from http://sewexciting.blogspot.com.au/ ). It is 60 inches/ 150cm wide and very good quality wool and goat hair at a very reasonable cost.
I have pencil marked a line at 1 ½” /3cm inside all cut edges that will be sewn into seams. The dart fabric has been removed in preparation for attaching the hair canvas to the mounting cloth..
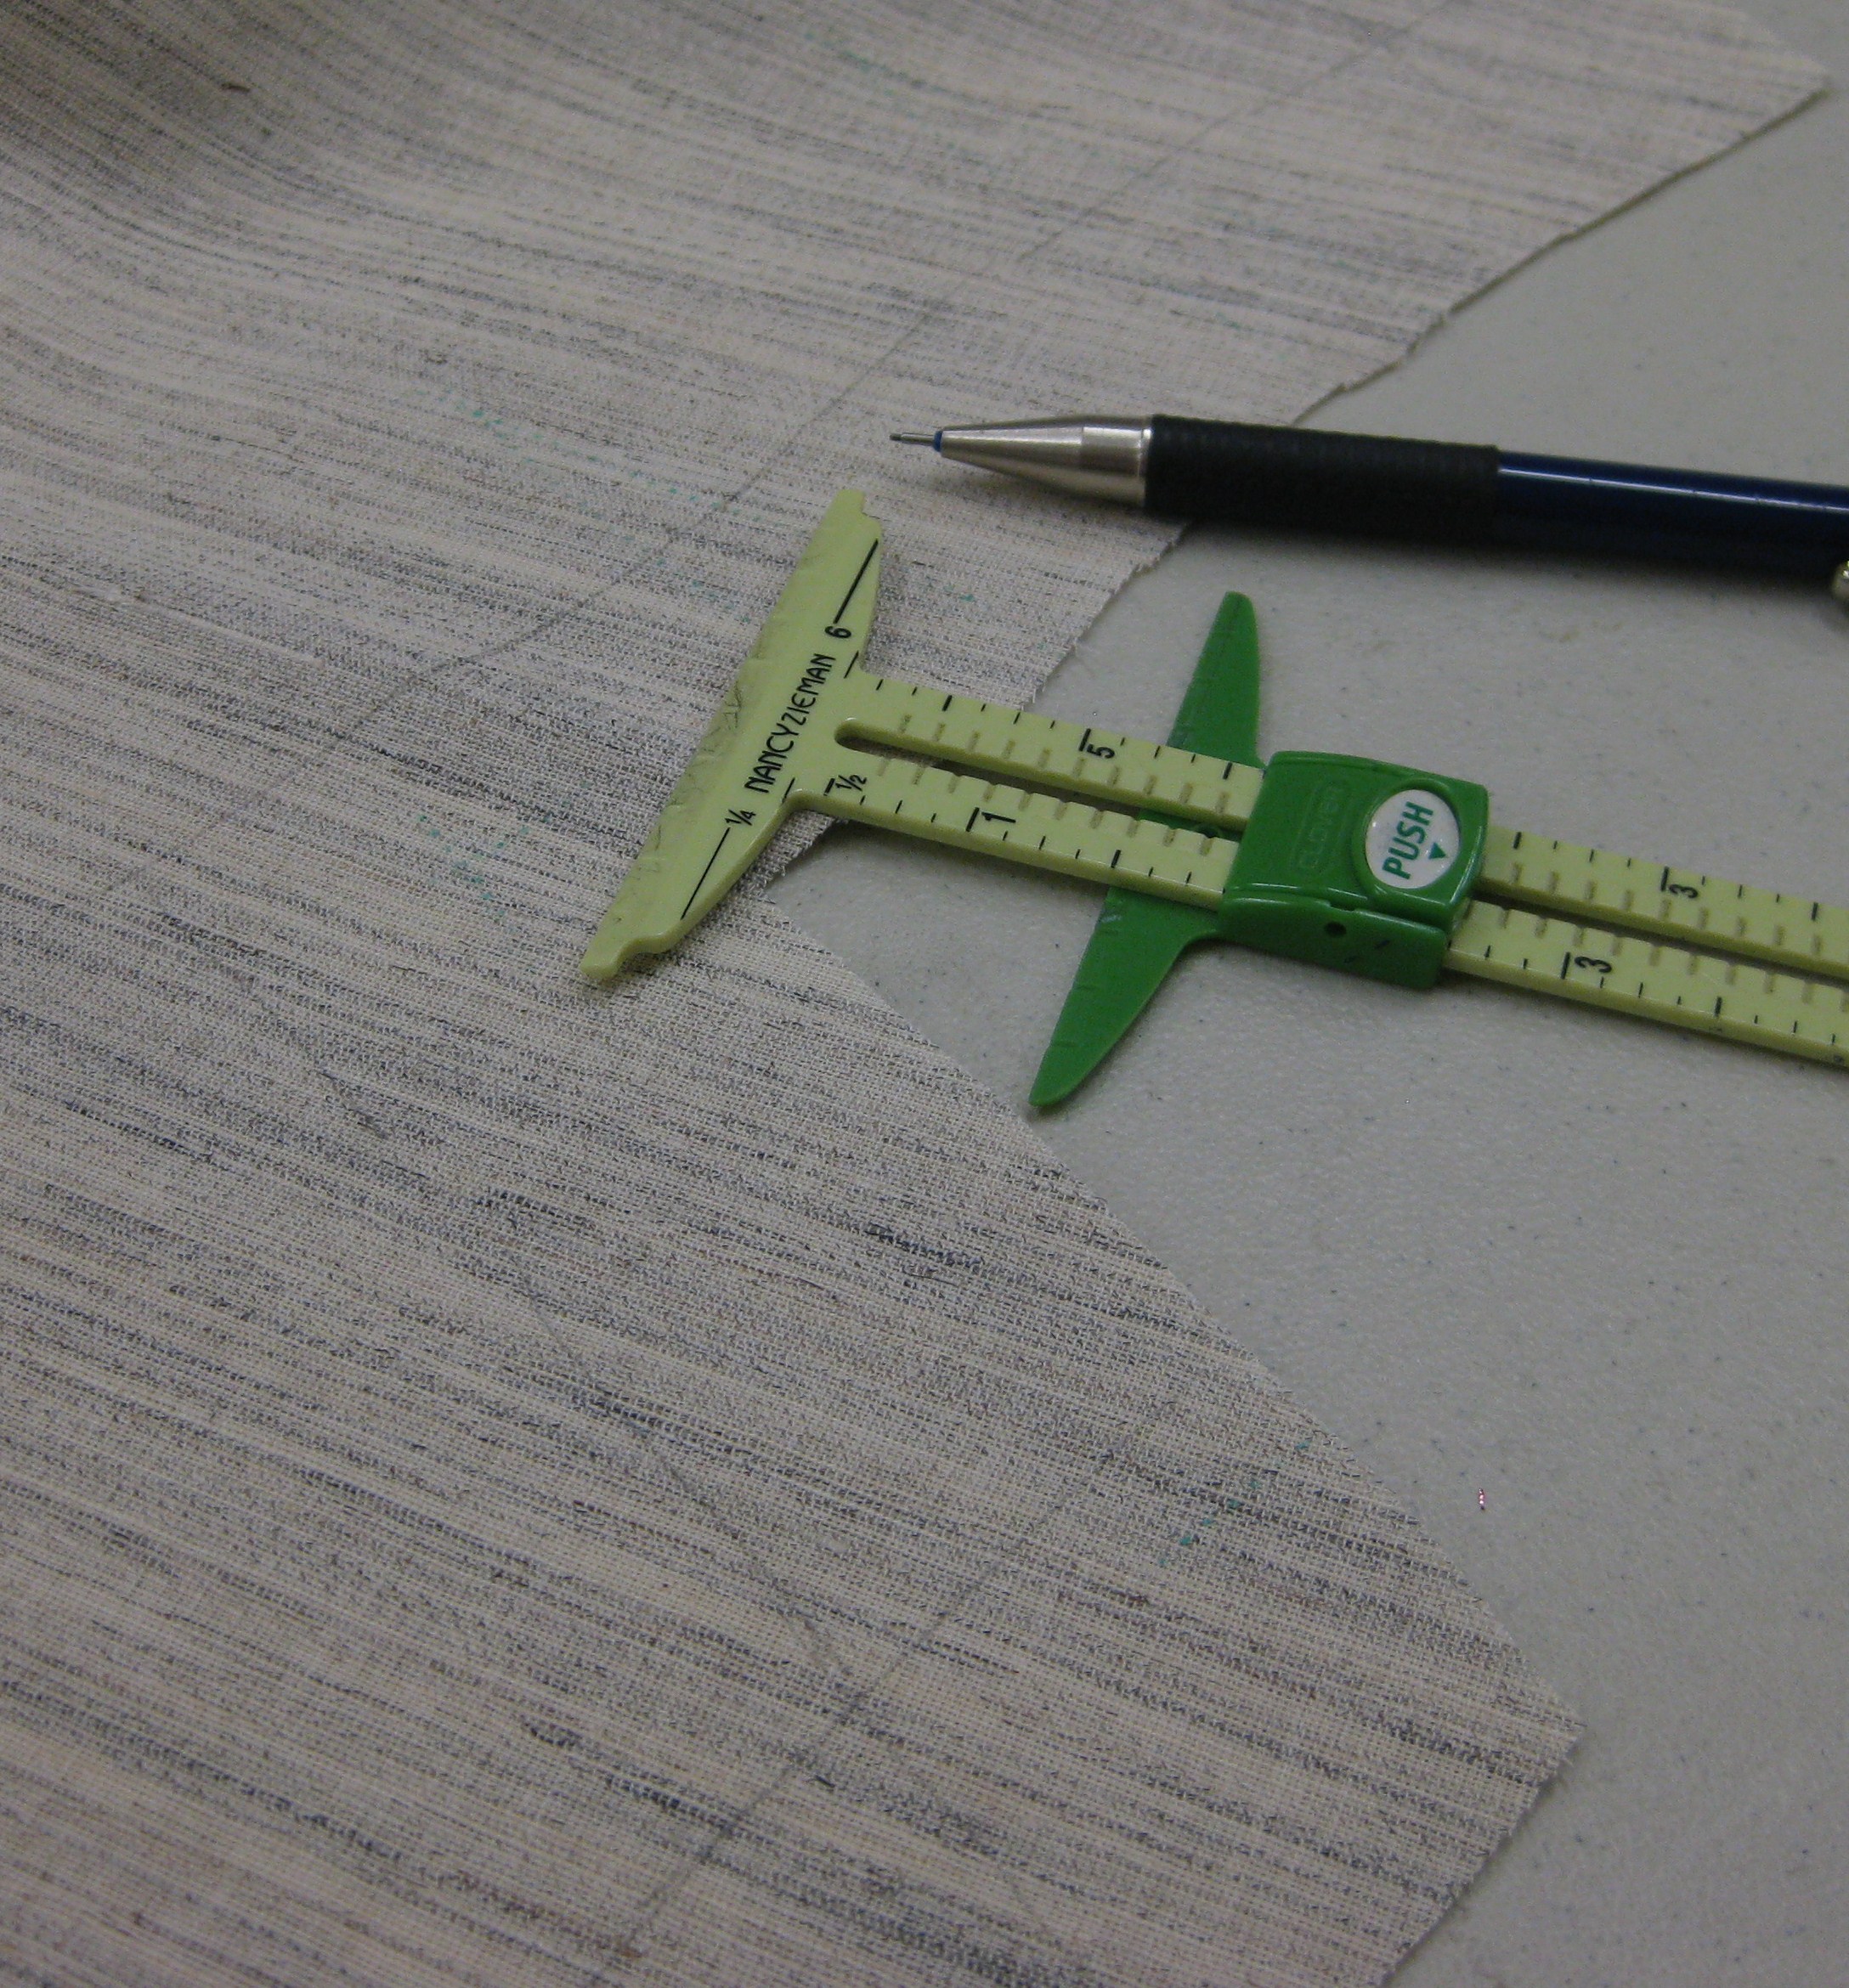
Pencil line marked 3cm/
1 1/2″ from cut edges of sections which will be included in seam allowances.
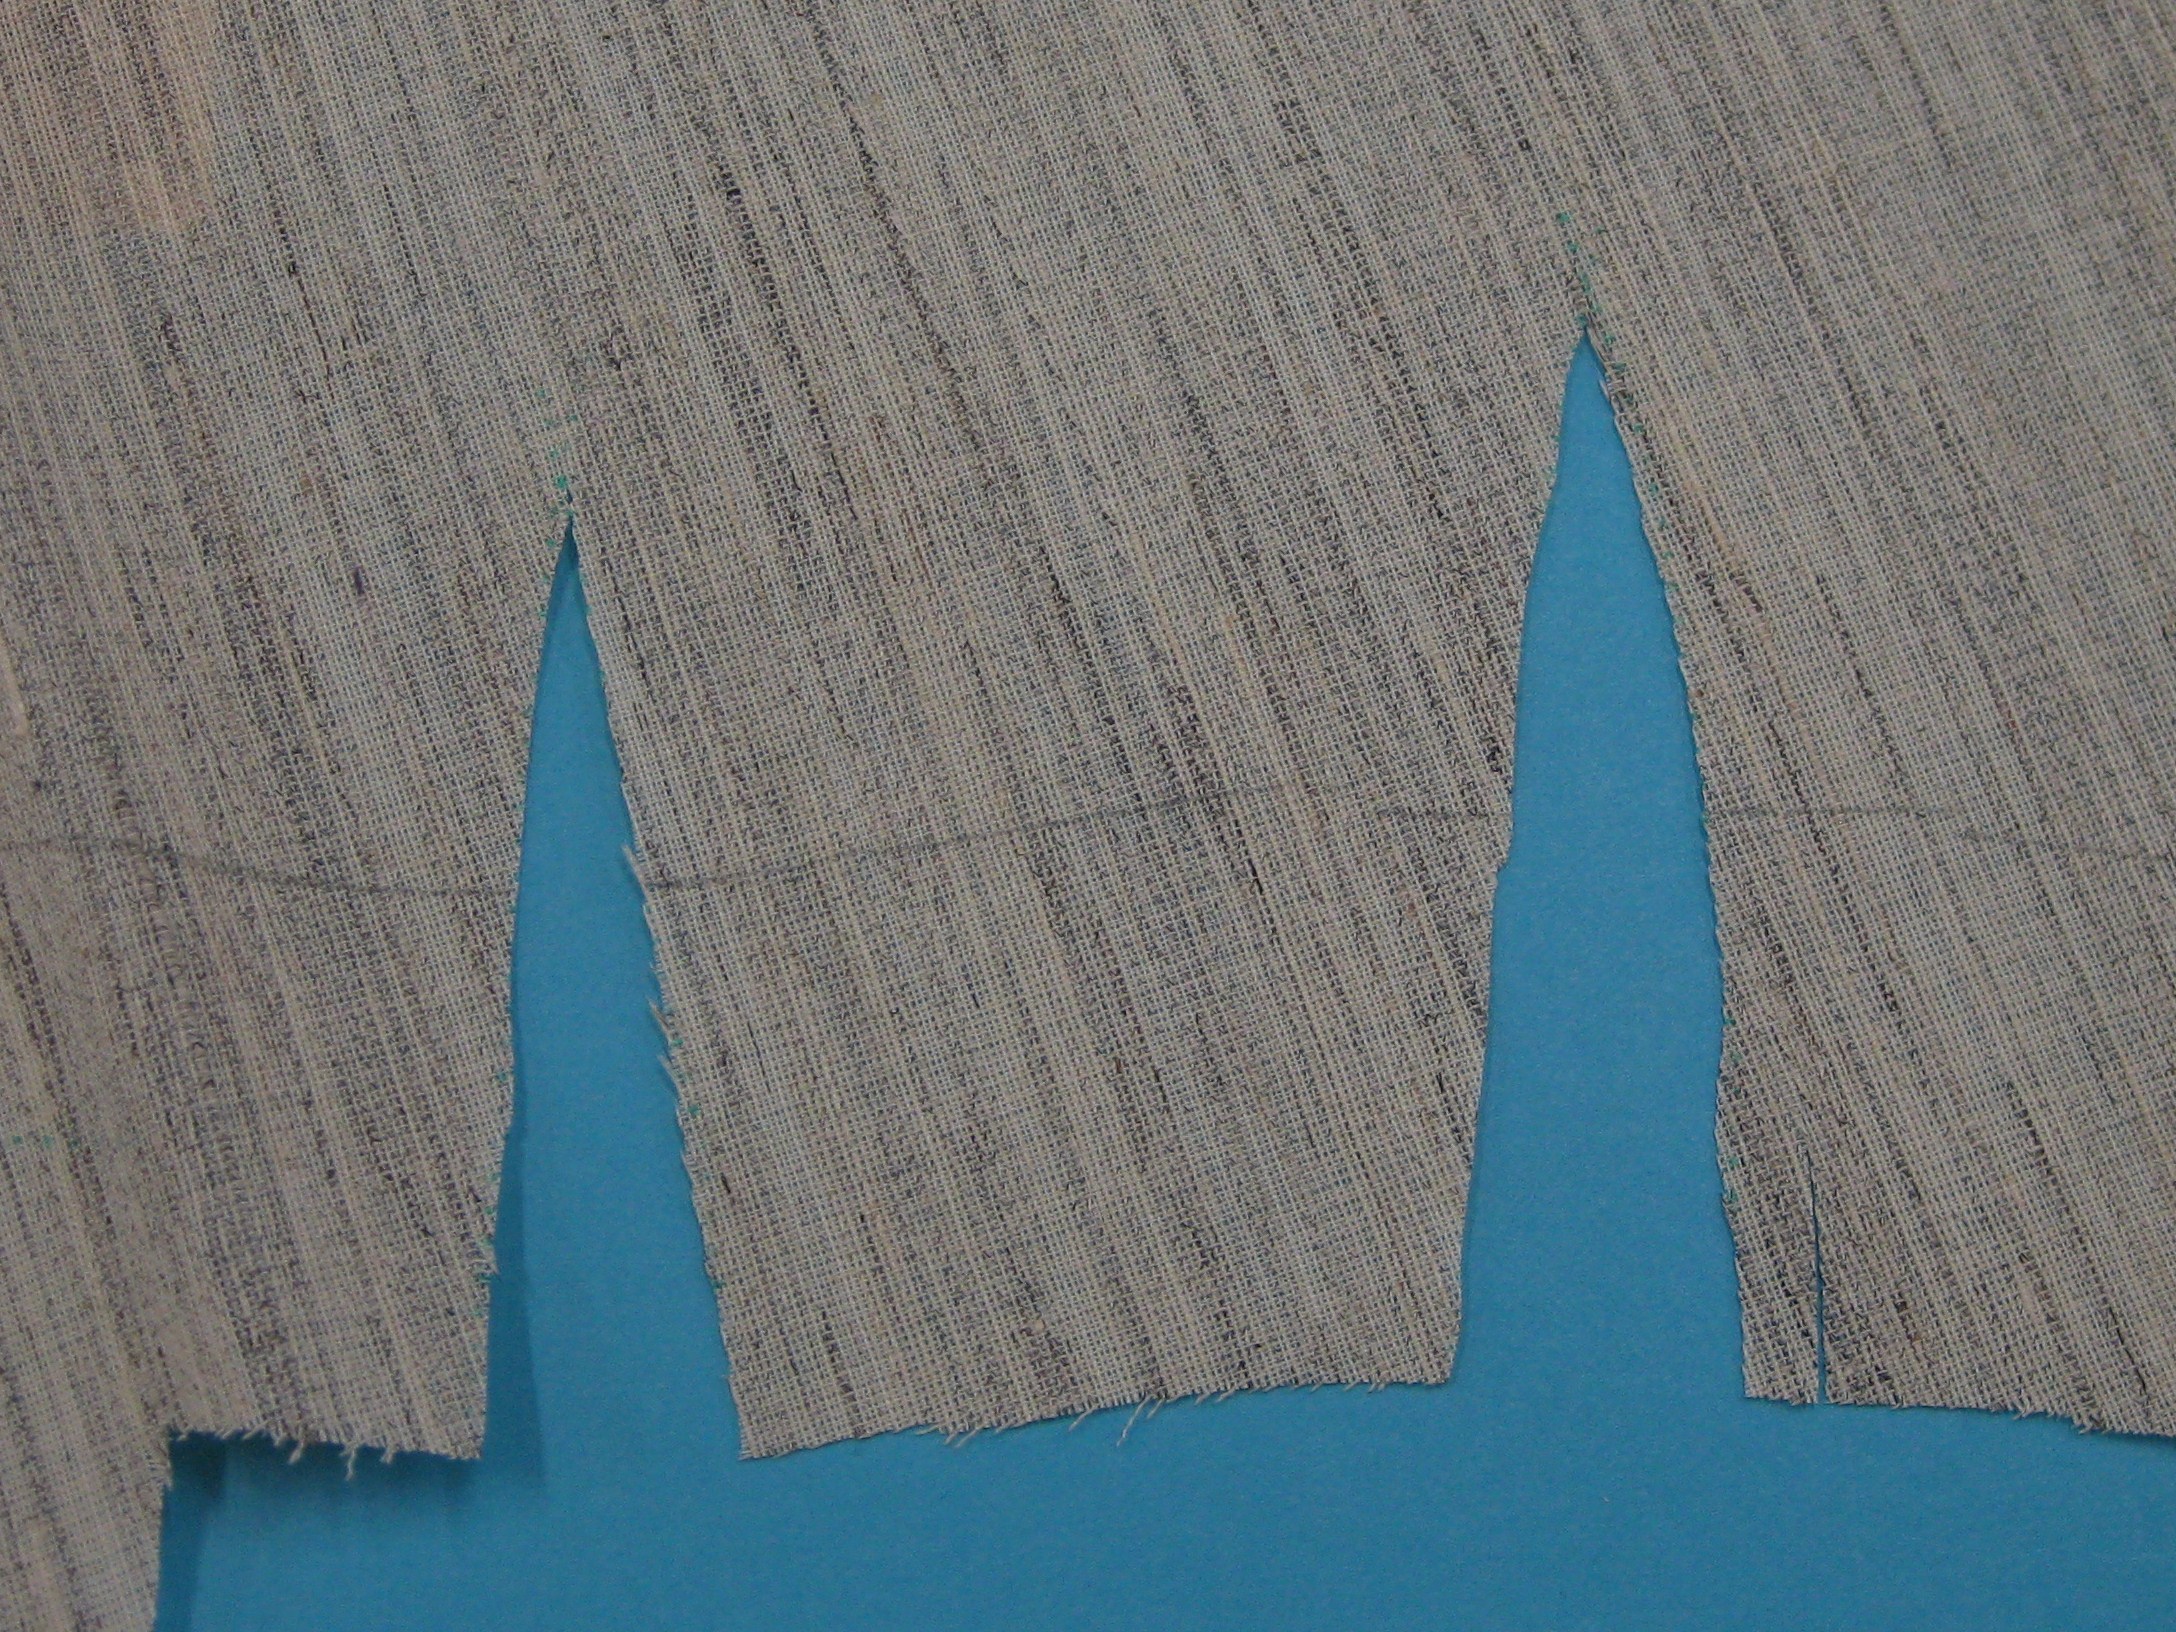
Dart sections of hair canvas removed to eliminate bulk.
So that I can check whether I like the width of the collar, I have assembled the lining and attached it to the upper collar/facing and have placed it on my dress model to “live with it” for a few days before I make a decision.
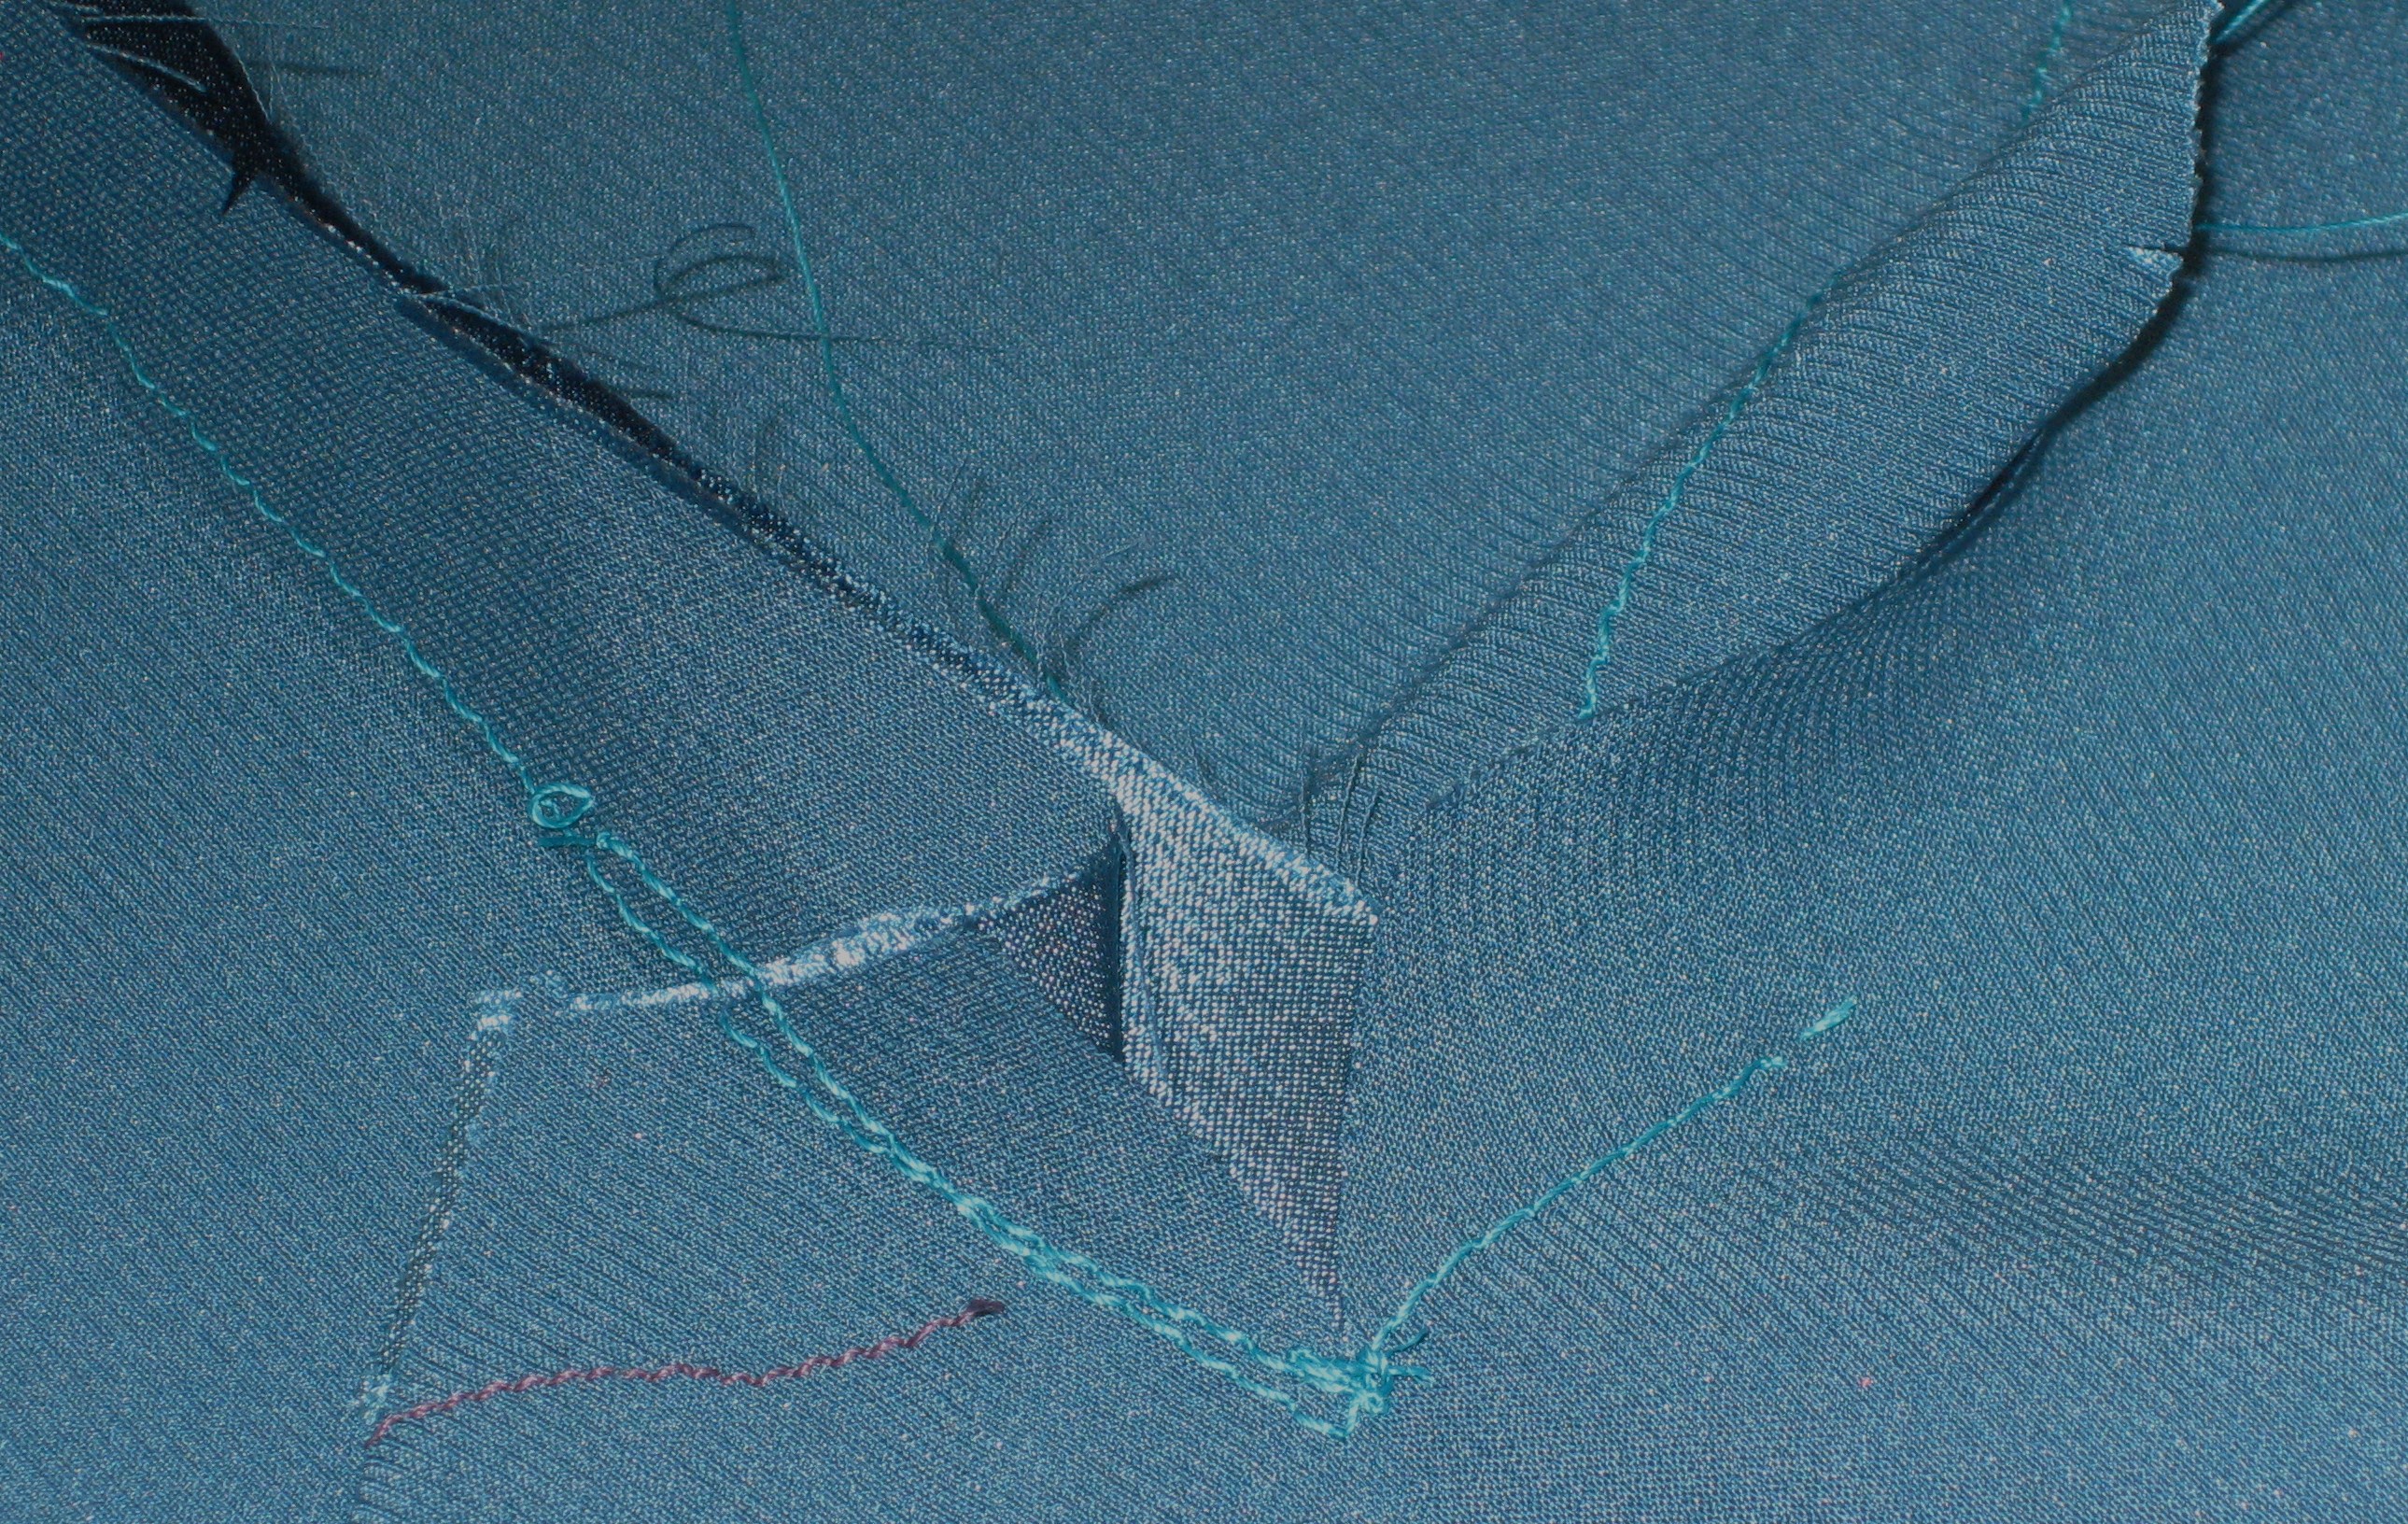
Inset corner where bodice is joined to the front/skirt section. Pleat is caused by allowance for the pocket.
Stitching the second side of the inset corner.
Unfortunately, time has run away from me this week and I am yet to cut the mounting cloth for the hair canvas so it can be applied to the wrong side of the under collar ready for the pad stitching.
Until next week.
