
A recent unplanned purchase of a textured wool blend fabric at Spotlight sparked a search through my patterns for just the right style.
Last year I purchased this Vogue pattern with the intention of making it in wool for a casual winter jacket.
Line drawing Vogue 1263
As I mentioned, I had not planned to buy the fabric during my visit to Spotlight for some haberdashery but, as soon as I saw it, I loved the colour and soft feel of the fabric and could not pass it by. Consequently, I did not buy enough for this jacket which takes 3.3 metres (80 cm more than I bought). Luckily, I was able to purchase some more and I bought the length of the facing – because of the wide shawl collar I needed another 1.2 metres.
I really should practise what I preach and have some measurements with me at all times in case I come across an irresistible piece of fabric! But, all’s well that ends well.
Fabric Considerations:
The pattern lists suitable fabrics as “Novelty Organza, Wool Crepe, Cloqué or Taffeta”.
Since I was unsure what cloqué actually was, I looked it up using Google and found the following description:
“Translated from French (literally meaning ‘blistered’) Cloqué is sometimes referred to as Clox or Cloky. Cloqué fabric is compound or double fabric with a Jacquard effect. Produced by using yarns of different characters or twists and very often blended with silk/wool or silk cotton.”
A close look at the photographs of the garment would seem to show that this was the fabric used.

Donna Karan jacket – made in cloque
The original jacket is unlined, except for the pocket and, apart from supporting the pocket opening, there is no interfacing in the jacket. I can only assume that cloqué has a lot of body to it.
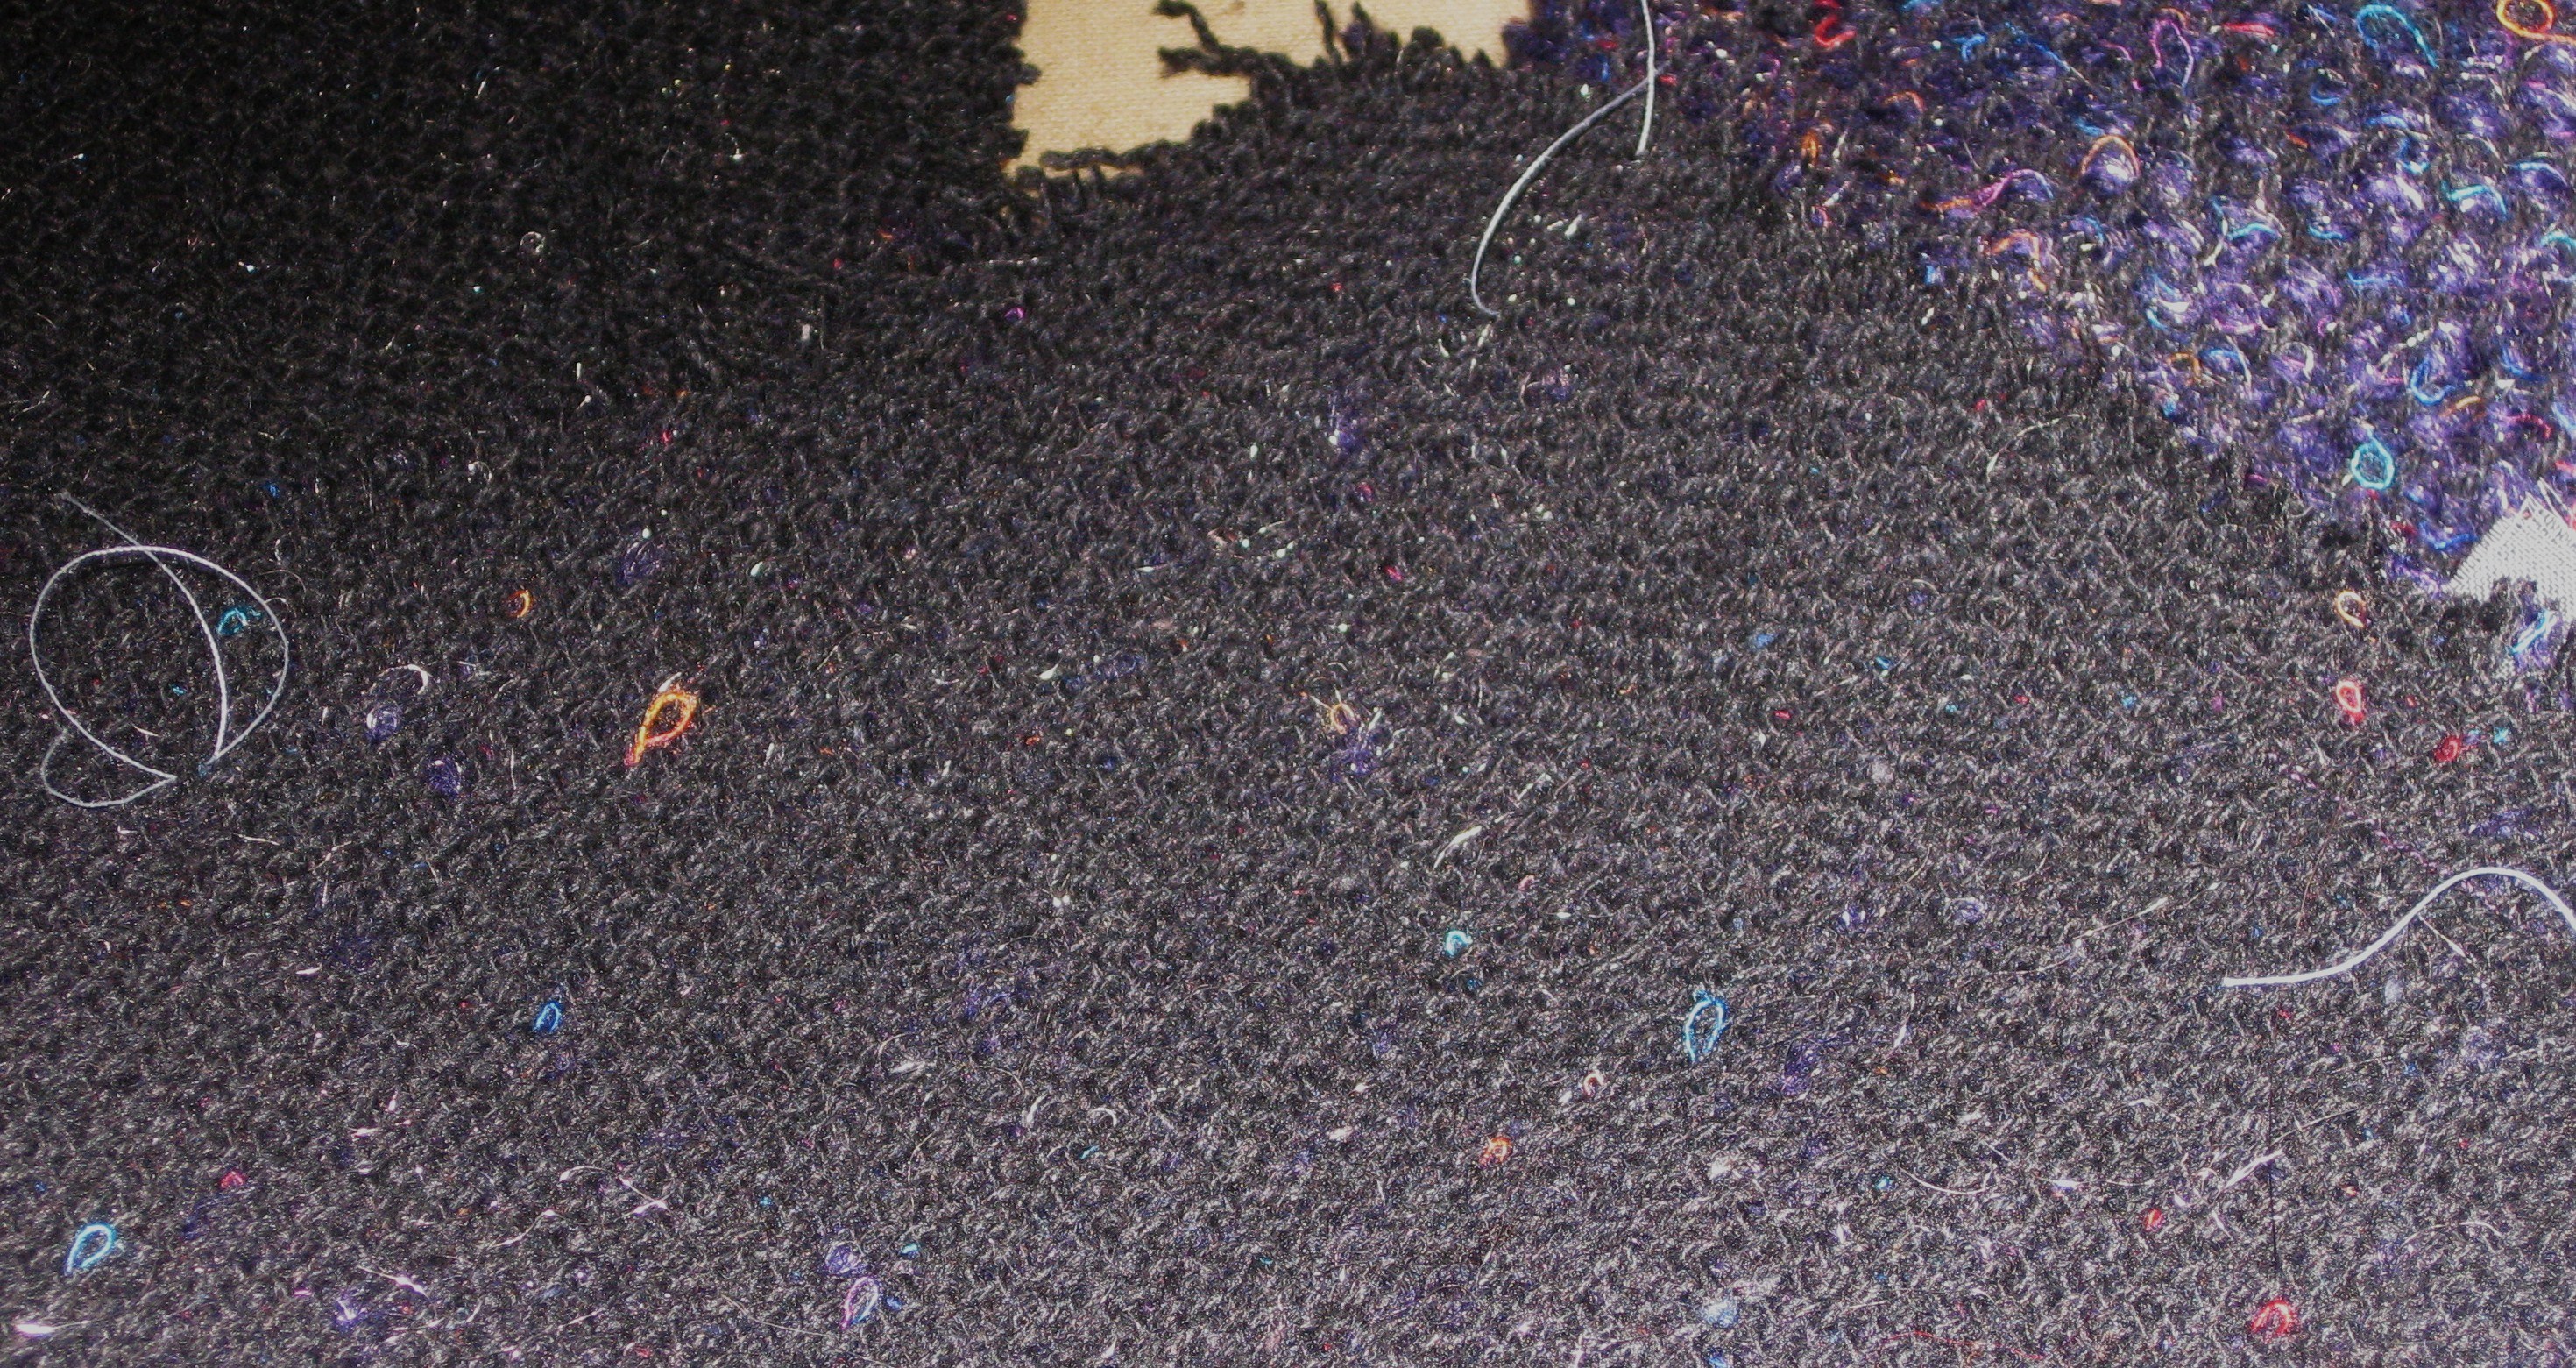
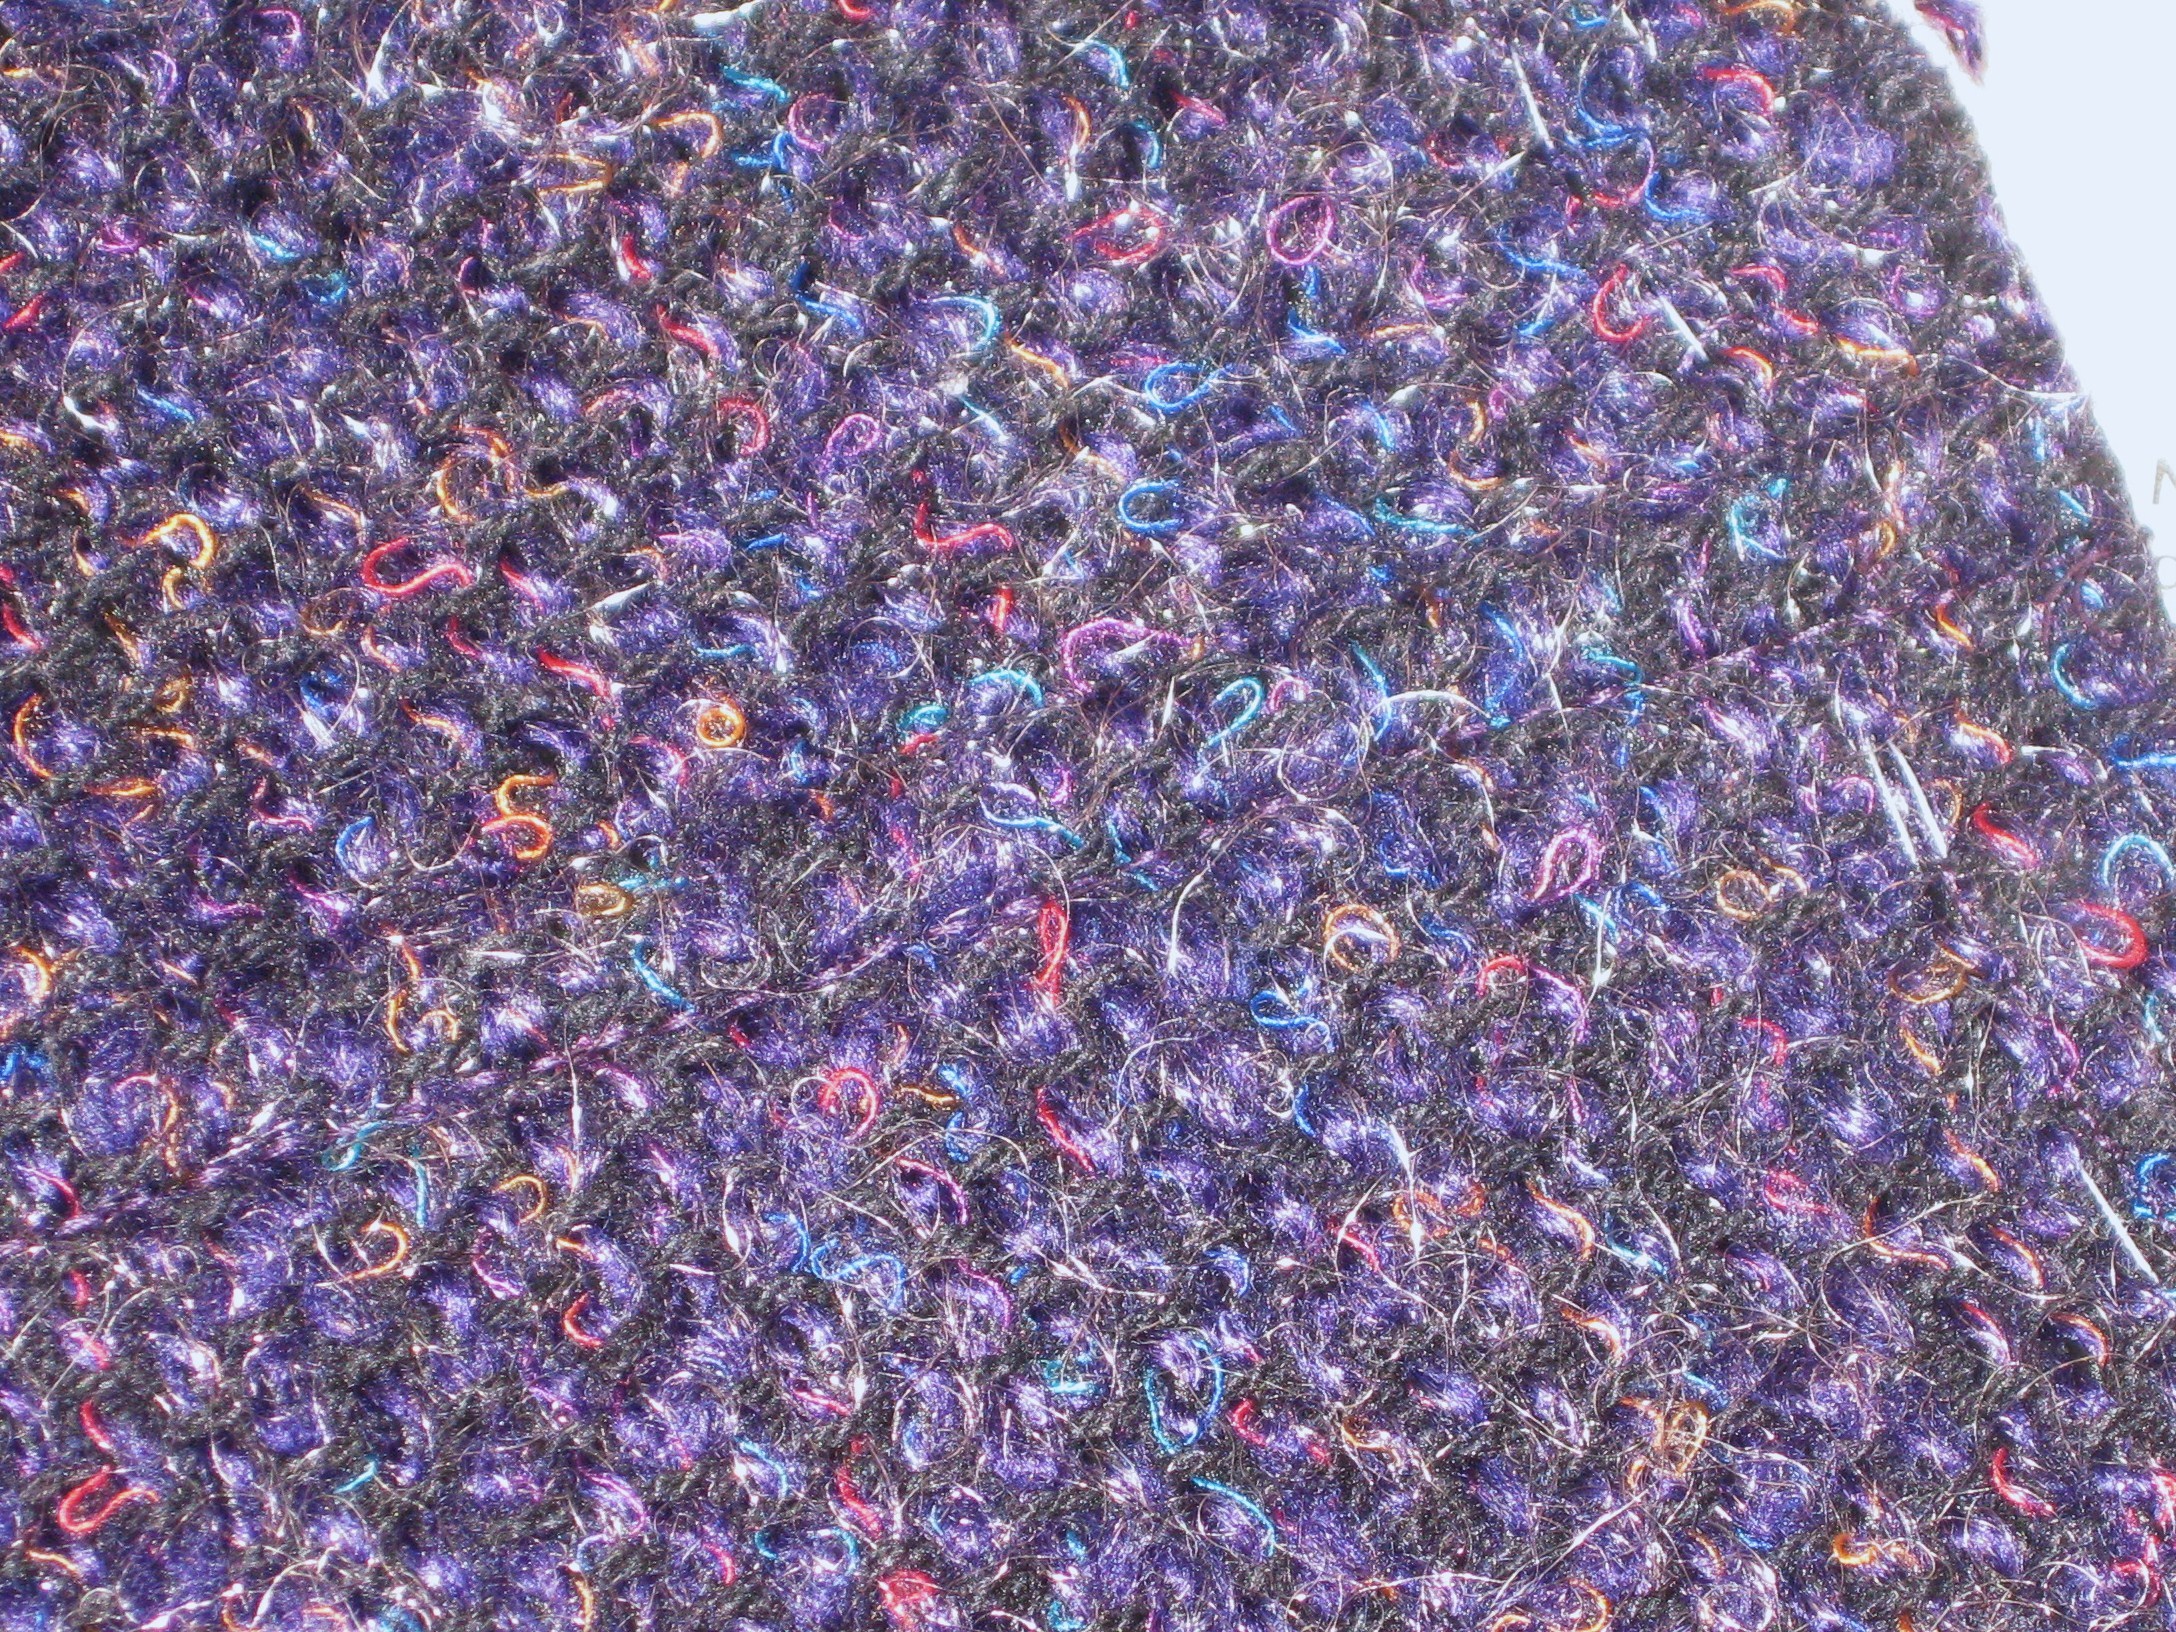
My fabric is a wool blend with a textured surface. It is quite soft and has a heavy drape which I think will work well, especially for the back of the jacket and the large shawl collar.
However, it is much too soft to hold the shape of such a large collar without the support of interfacing and I have decided to use a lightweight sew-in hair canvass which will be pad-stitched in place. Since I will be adding interfacing and wearing it over long sleeved garments, I will also line it so that it will be much easier to put on and remove.
The collar may also be a little too wide for me but since I am adding interfacing I have decided to go ahead with the original width to see how it sits. It can be cut smaller later on in the construction if needs be.
Pattern Work:
Apart from the fitting alterations I usually need, I needed to make pattern pieces for the front interfacing and the lining.
For the interfacing pattern, I drew the outer edge of the areas to be interfaced which will allow the front shoulder and under collar areas to be supported. I will be using a lightweight fusible woven interfacing on the upper collar and front facing.
The upper collar/facing extends to the front armhole so I have made a lining pattern which will join the outer edge of the facing and extend to the centre back. Lining will also be cut from the upper back (allowing a wearing ease pleat in the centre) and upper and under sleeve pieces.
Markings:
Since the fabric is textured, it is difficult to mark with a pencil. Another consideration is the size of the pieces – the main pattern piece covers the upper front, shawl collar and skirt section across to the centre back.
There are six darts to the hem and several small darts in the upper collar. The markings for the pocket are within the body of the garment.
To avoid problems with such a large piece of fabric, it was imperative to work with the whole piece flat on the table during the marking process. I chose to thread mark all notches and match points and used tailor’s tacks to mark the darts.
Tailor’s tacks mark dots and darts.
To make accuracy easier to achieve with the pocket placement marks, I traced them on to a separate piece of greaseproof paper which could be aligned on each layer of fabric separately. This avoided the problem of the large piece of pattern becoming unwieldy and tearing or moving during the marking process.
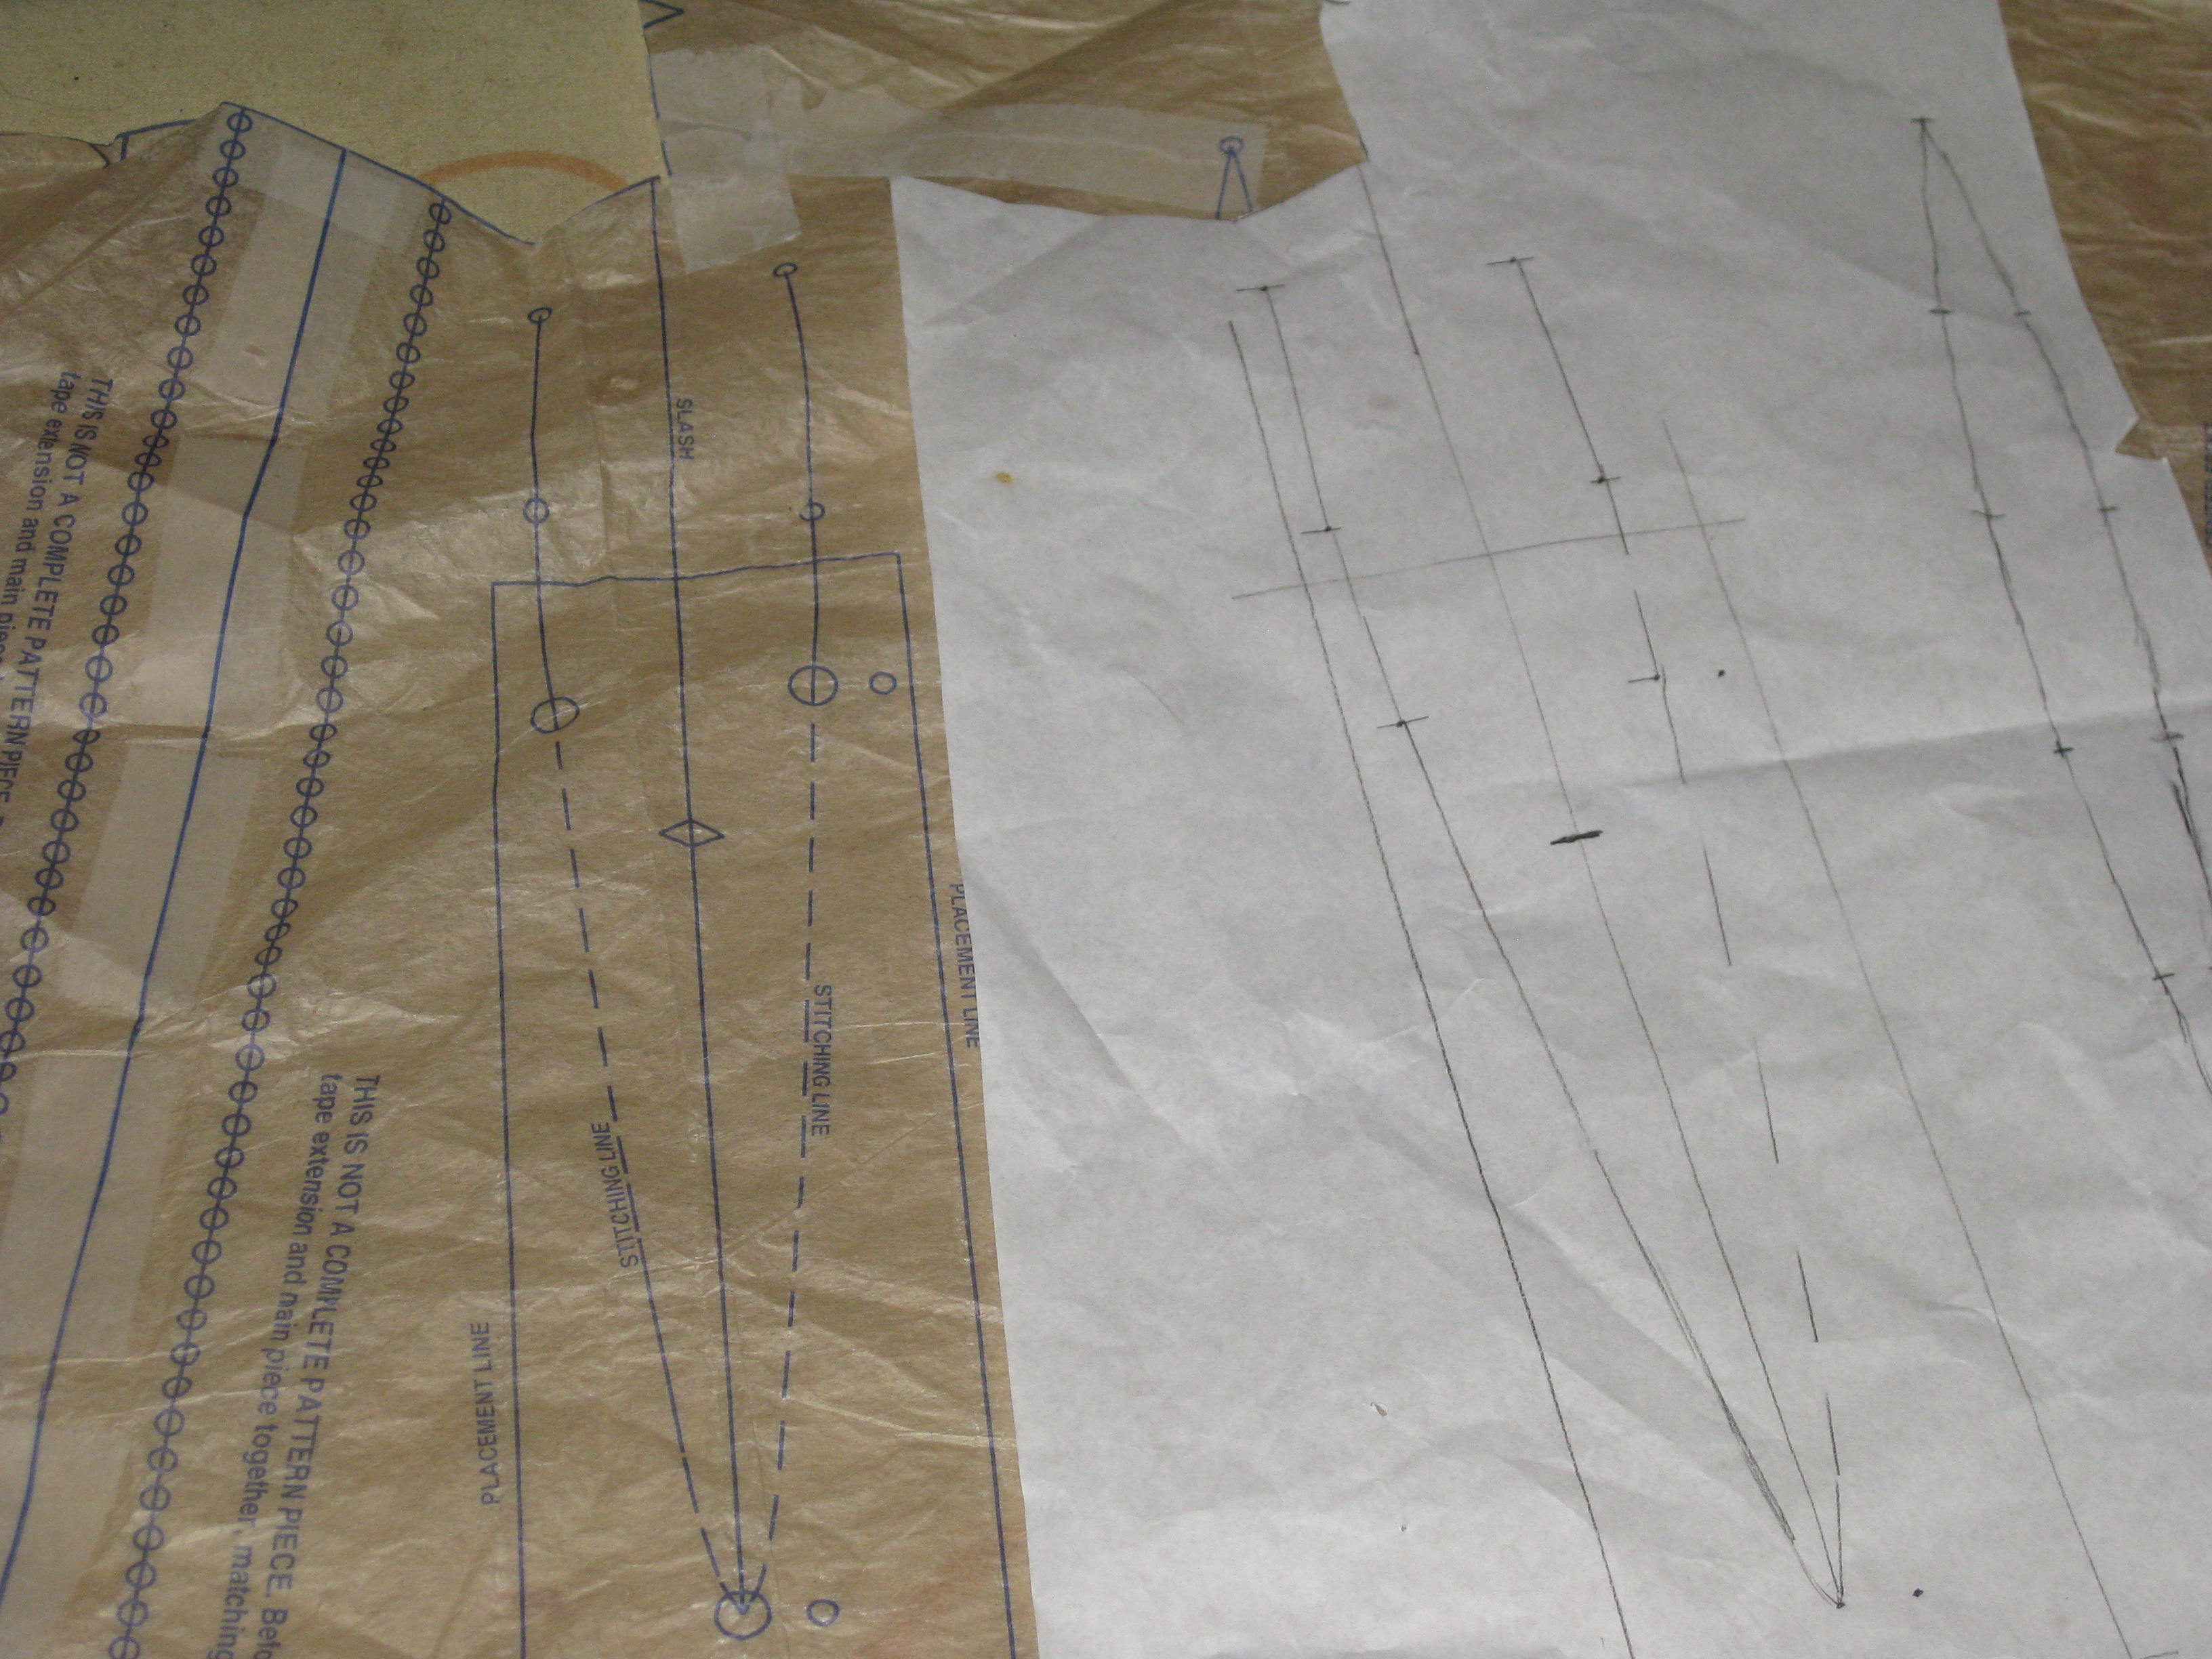
Pocket markings traced on to greaseproof for ease of marking. Must remember to reverse the markings!
I used dressmaker’s carton and a tracing wheel to transfer the guidelines to the wrong side of the fabric before thread tracing so they would be visible from the right side of the fabric to make installation of the pocket easier.
Testing the Flat Fell Seams:
The pattern suggests flat fell seams to give a clean finish on the inside. Since I am lining the jacket, this will not be necessary. However,
I tested the technique and like the appearance of a padded seam. A normal thread topstitch would disappear in the texture of this fabric so I used two threads through the needle to complete the final topstitching – I am quite pleased with the result and will still use these seams in my garment.
Sample flat fell seam with double thread topstitching gives the appearance of a padded seam.
To make it easier to fold the fabric in these seams, I have allowed 18mm / ¾” seam allowances where I will be using the flat fell seams.
Stabilising the Neckline and Armhole Seams:
Since the fabric does not have a tight weave, I have used cotton tape to stabilise the neckline and armholes.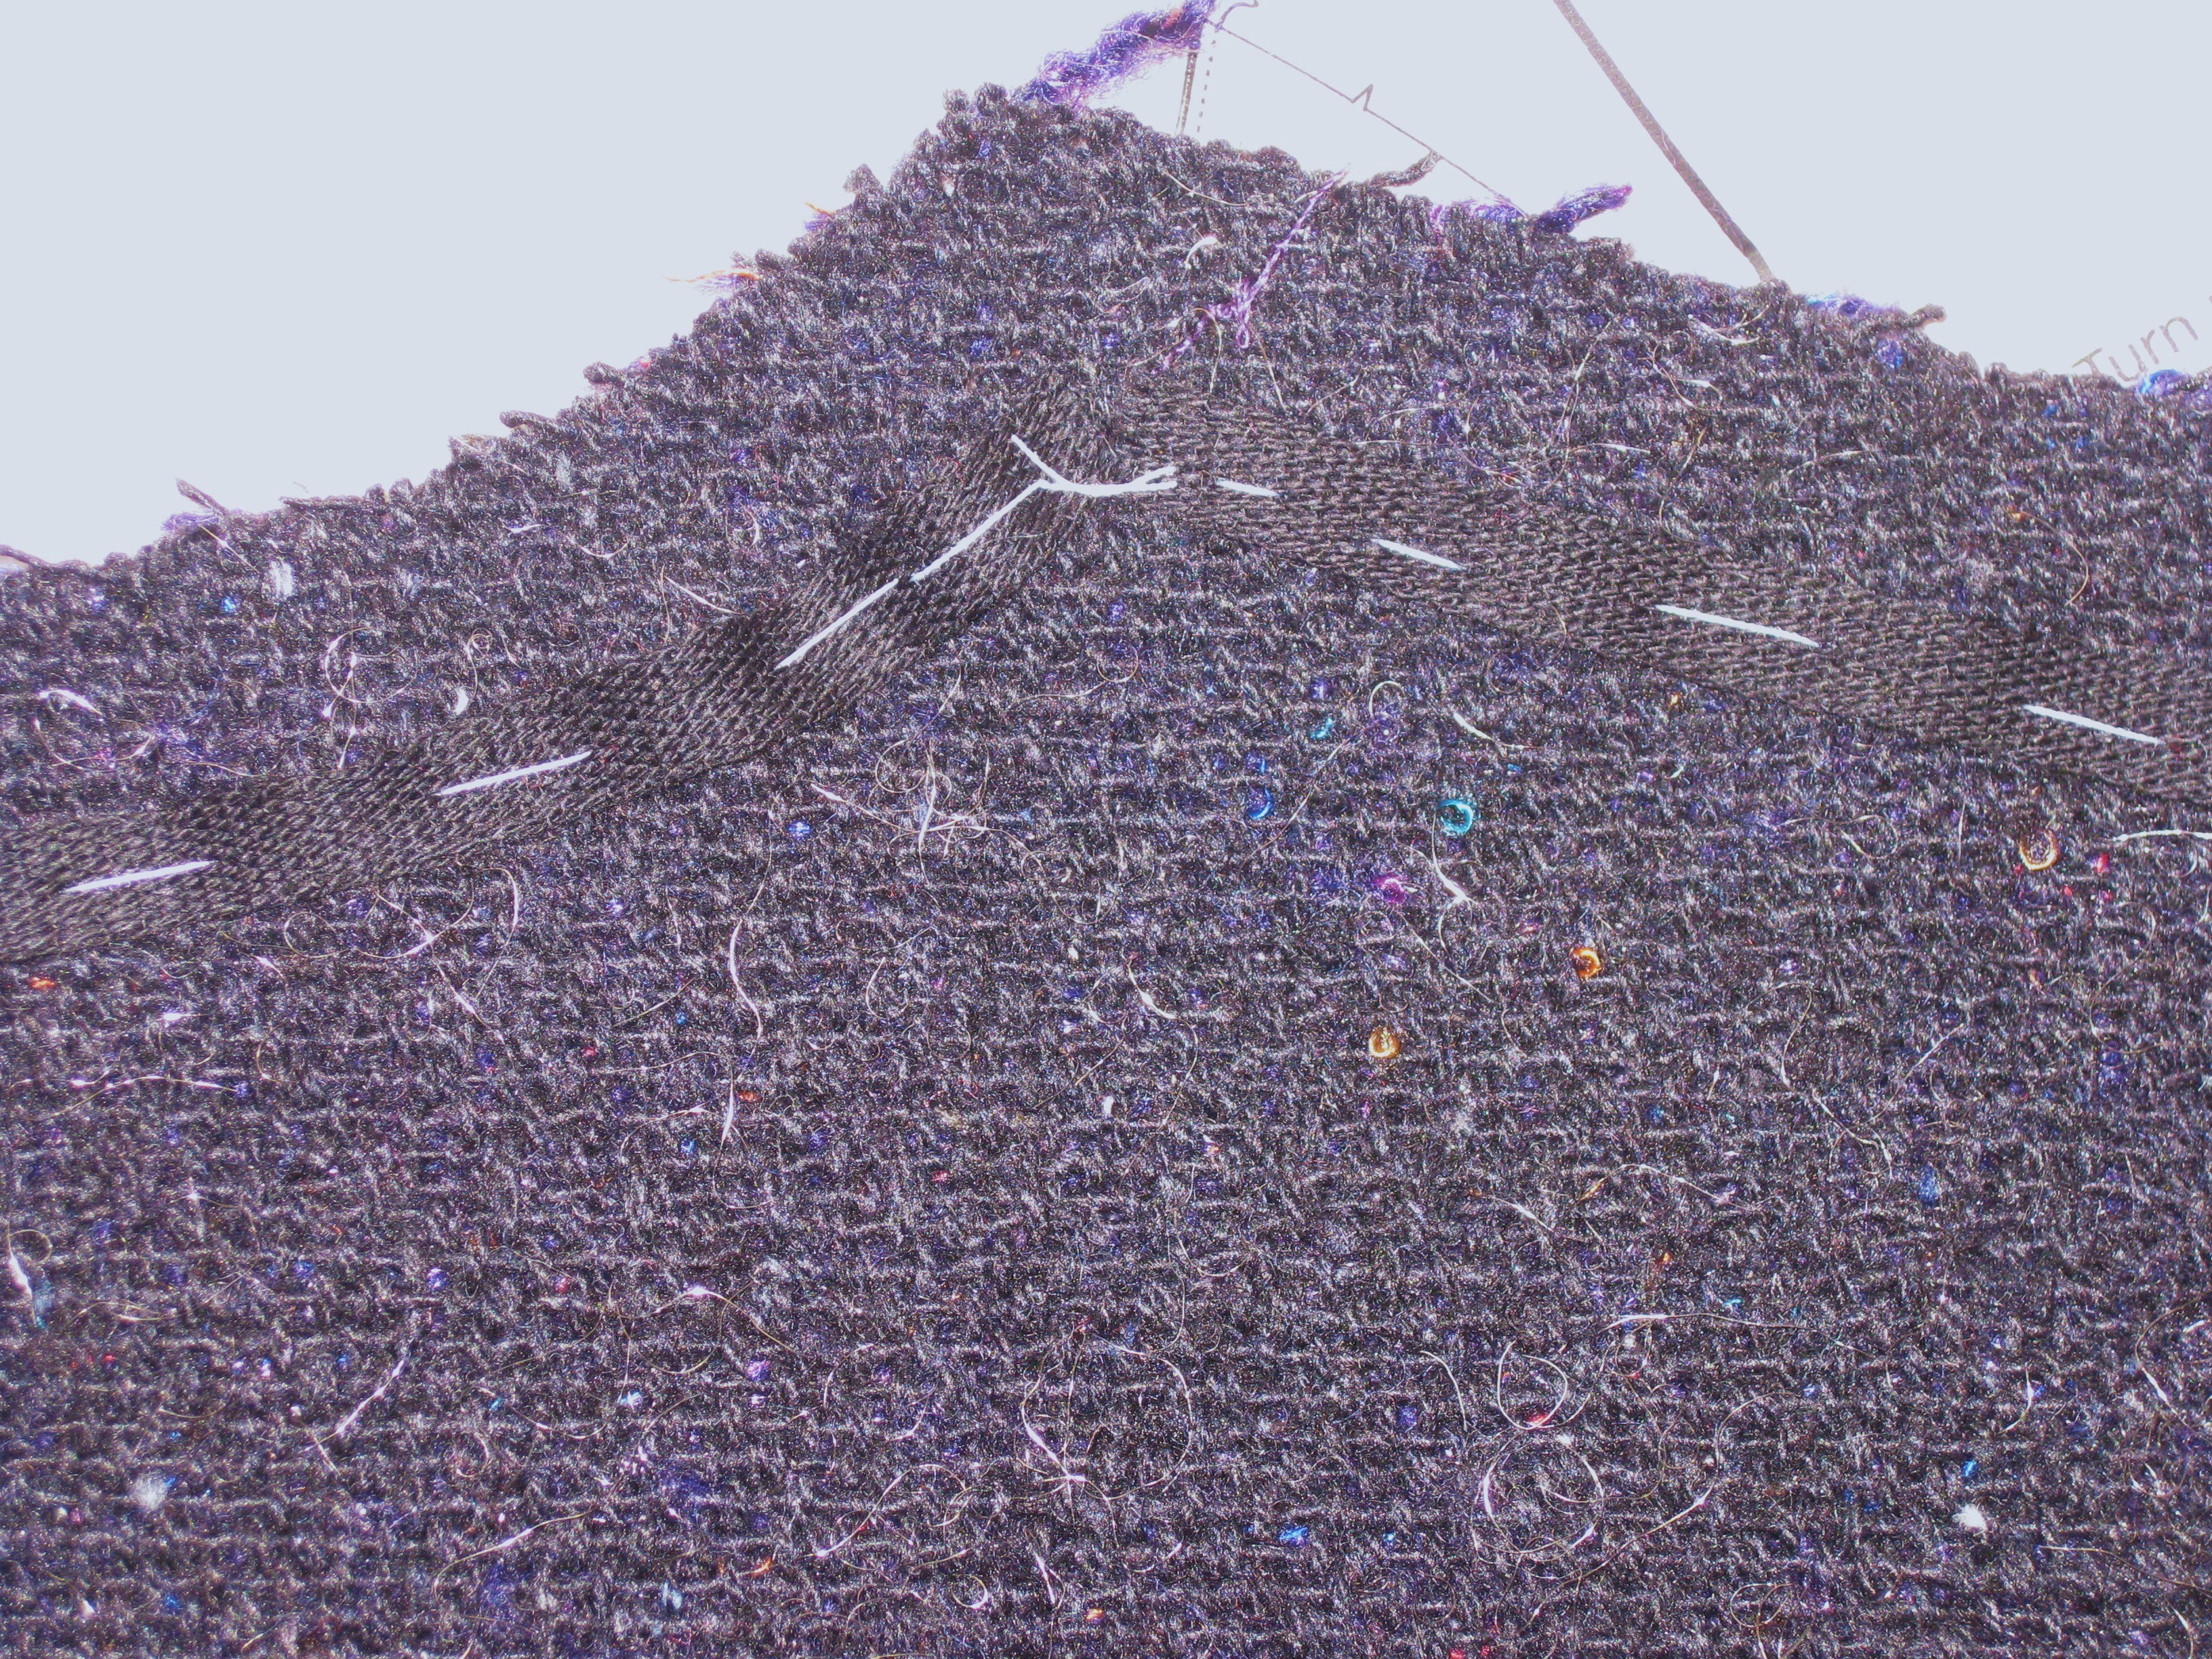
I have used vertical basting on all the seams.
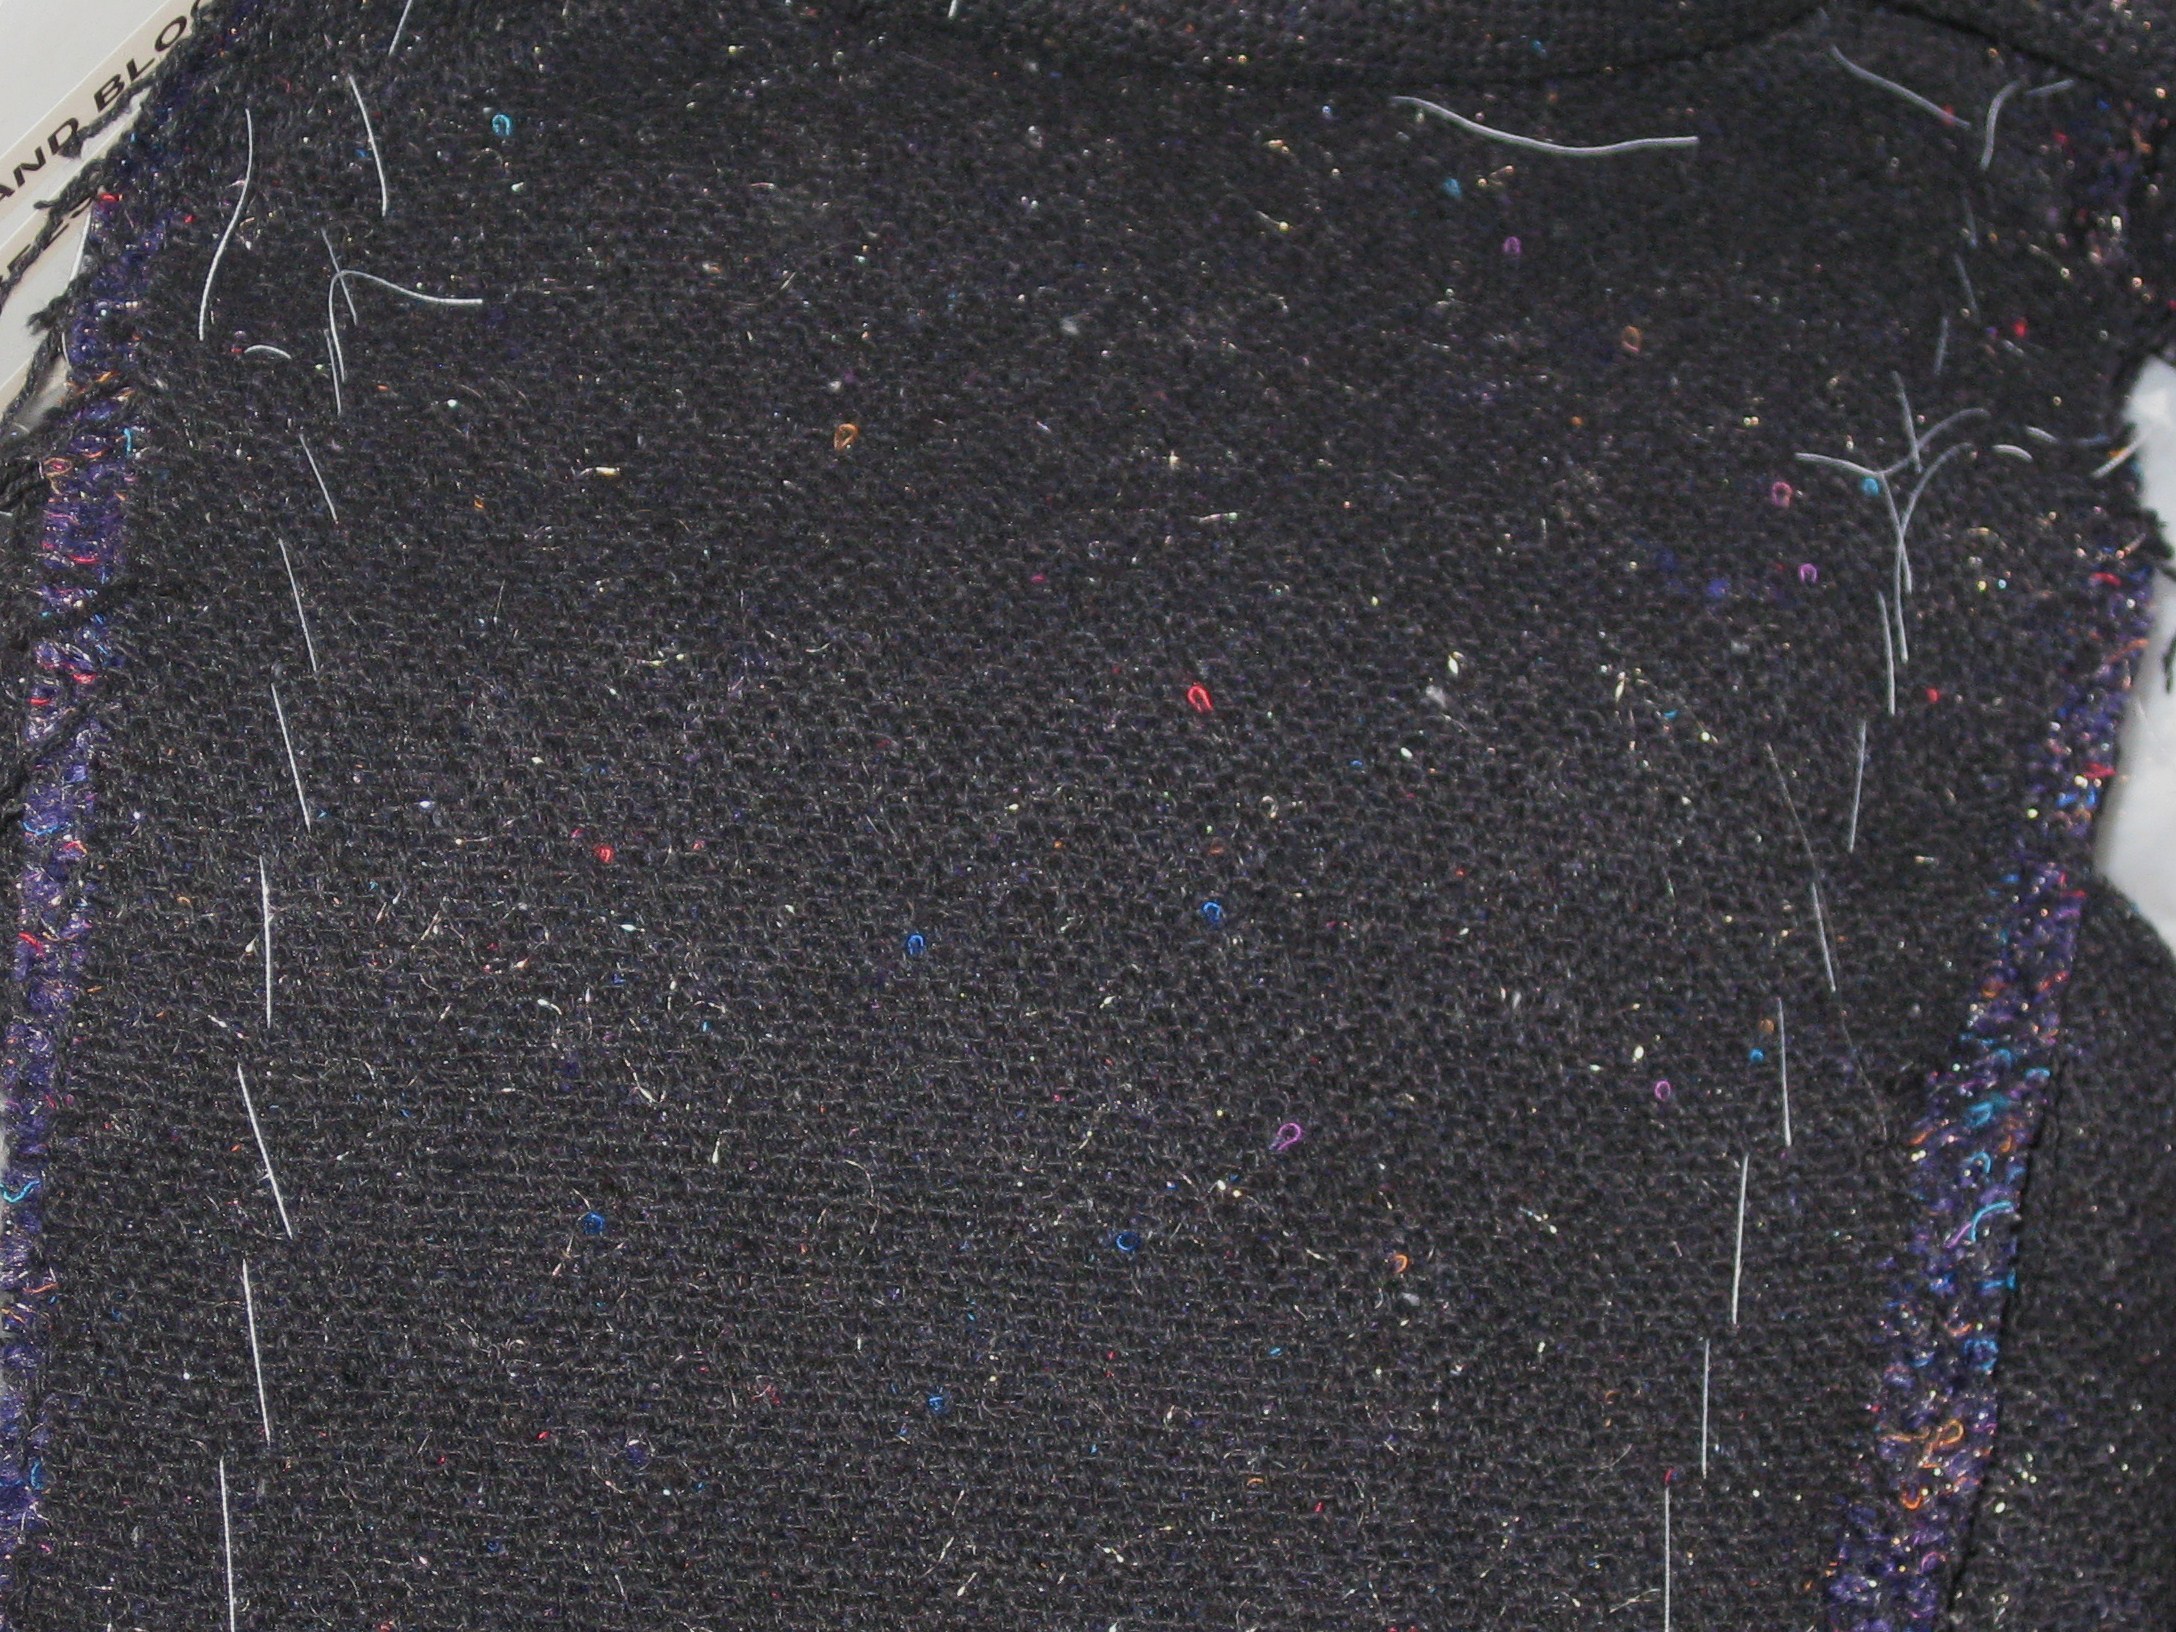
Seams vertically basted and ready for stitching.
Next week I will continue with the pad-stitching and construction.
