This article was first seen in Australian Dressmaking with Stitches magazine – Volume 22 No 2.
Permission has been sought and granted for electronic use and the photos and text remain the property of Alison Wheeler – Sewing Lady.
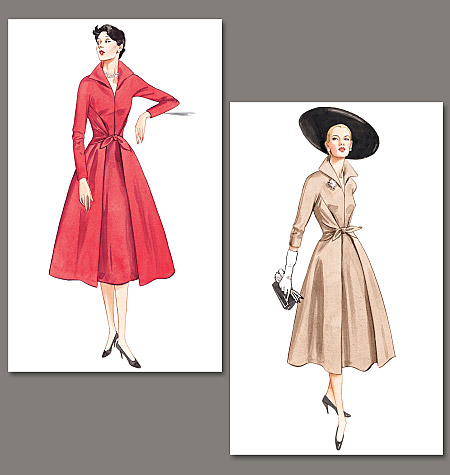
There are many different sleeve styles. Set in sleeves have a smooth, high cap. They may also have gathers, tucks or pleats at the cap.
What all set in sleeves have in common is the incorporation of ease in the cap area to facilitate comfortable movement of the arm when the garment is being worn. The amount of ease can vary depending on the style of garment and whether it is intended to wear other garments underneath.
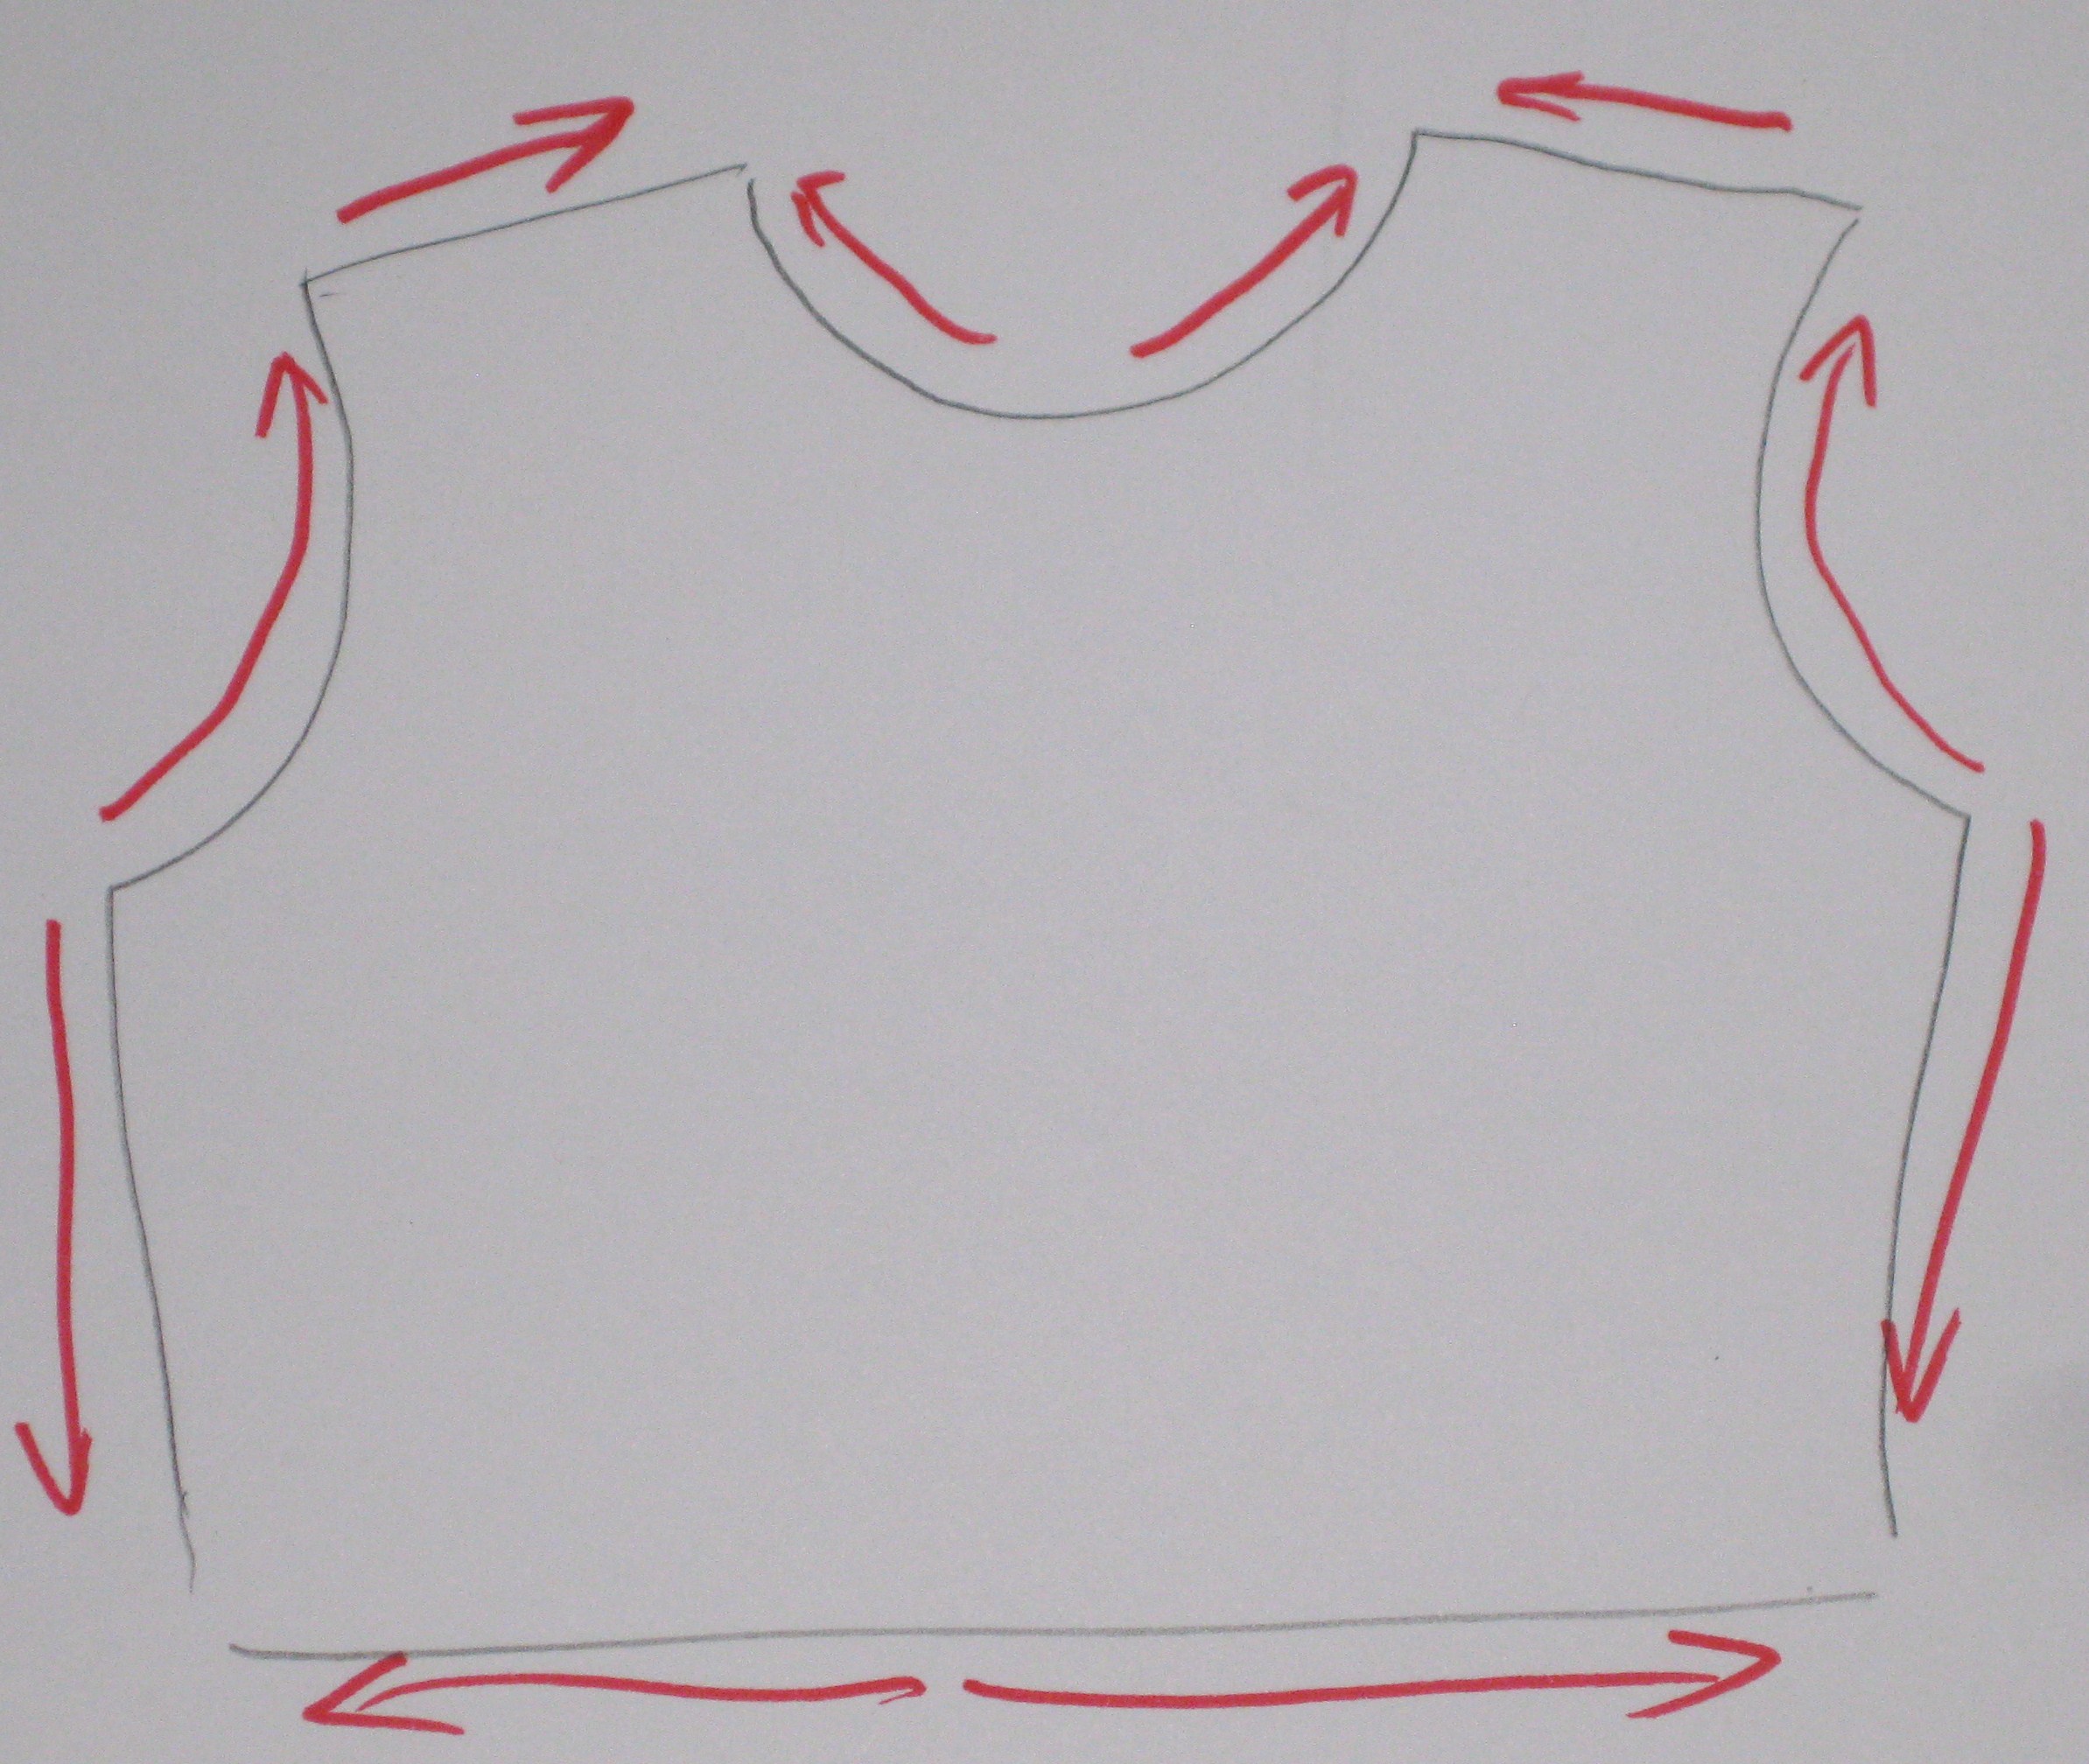
The Anatomy of a Sleeve
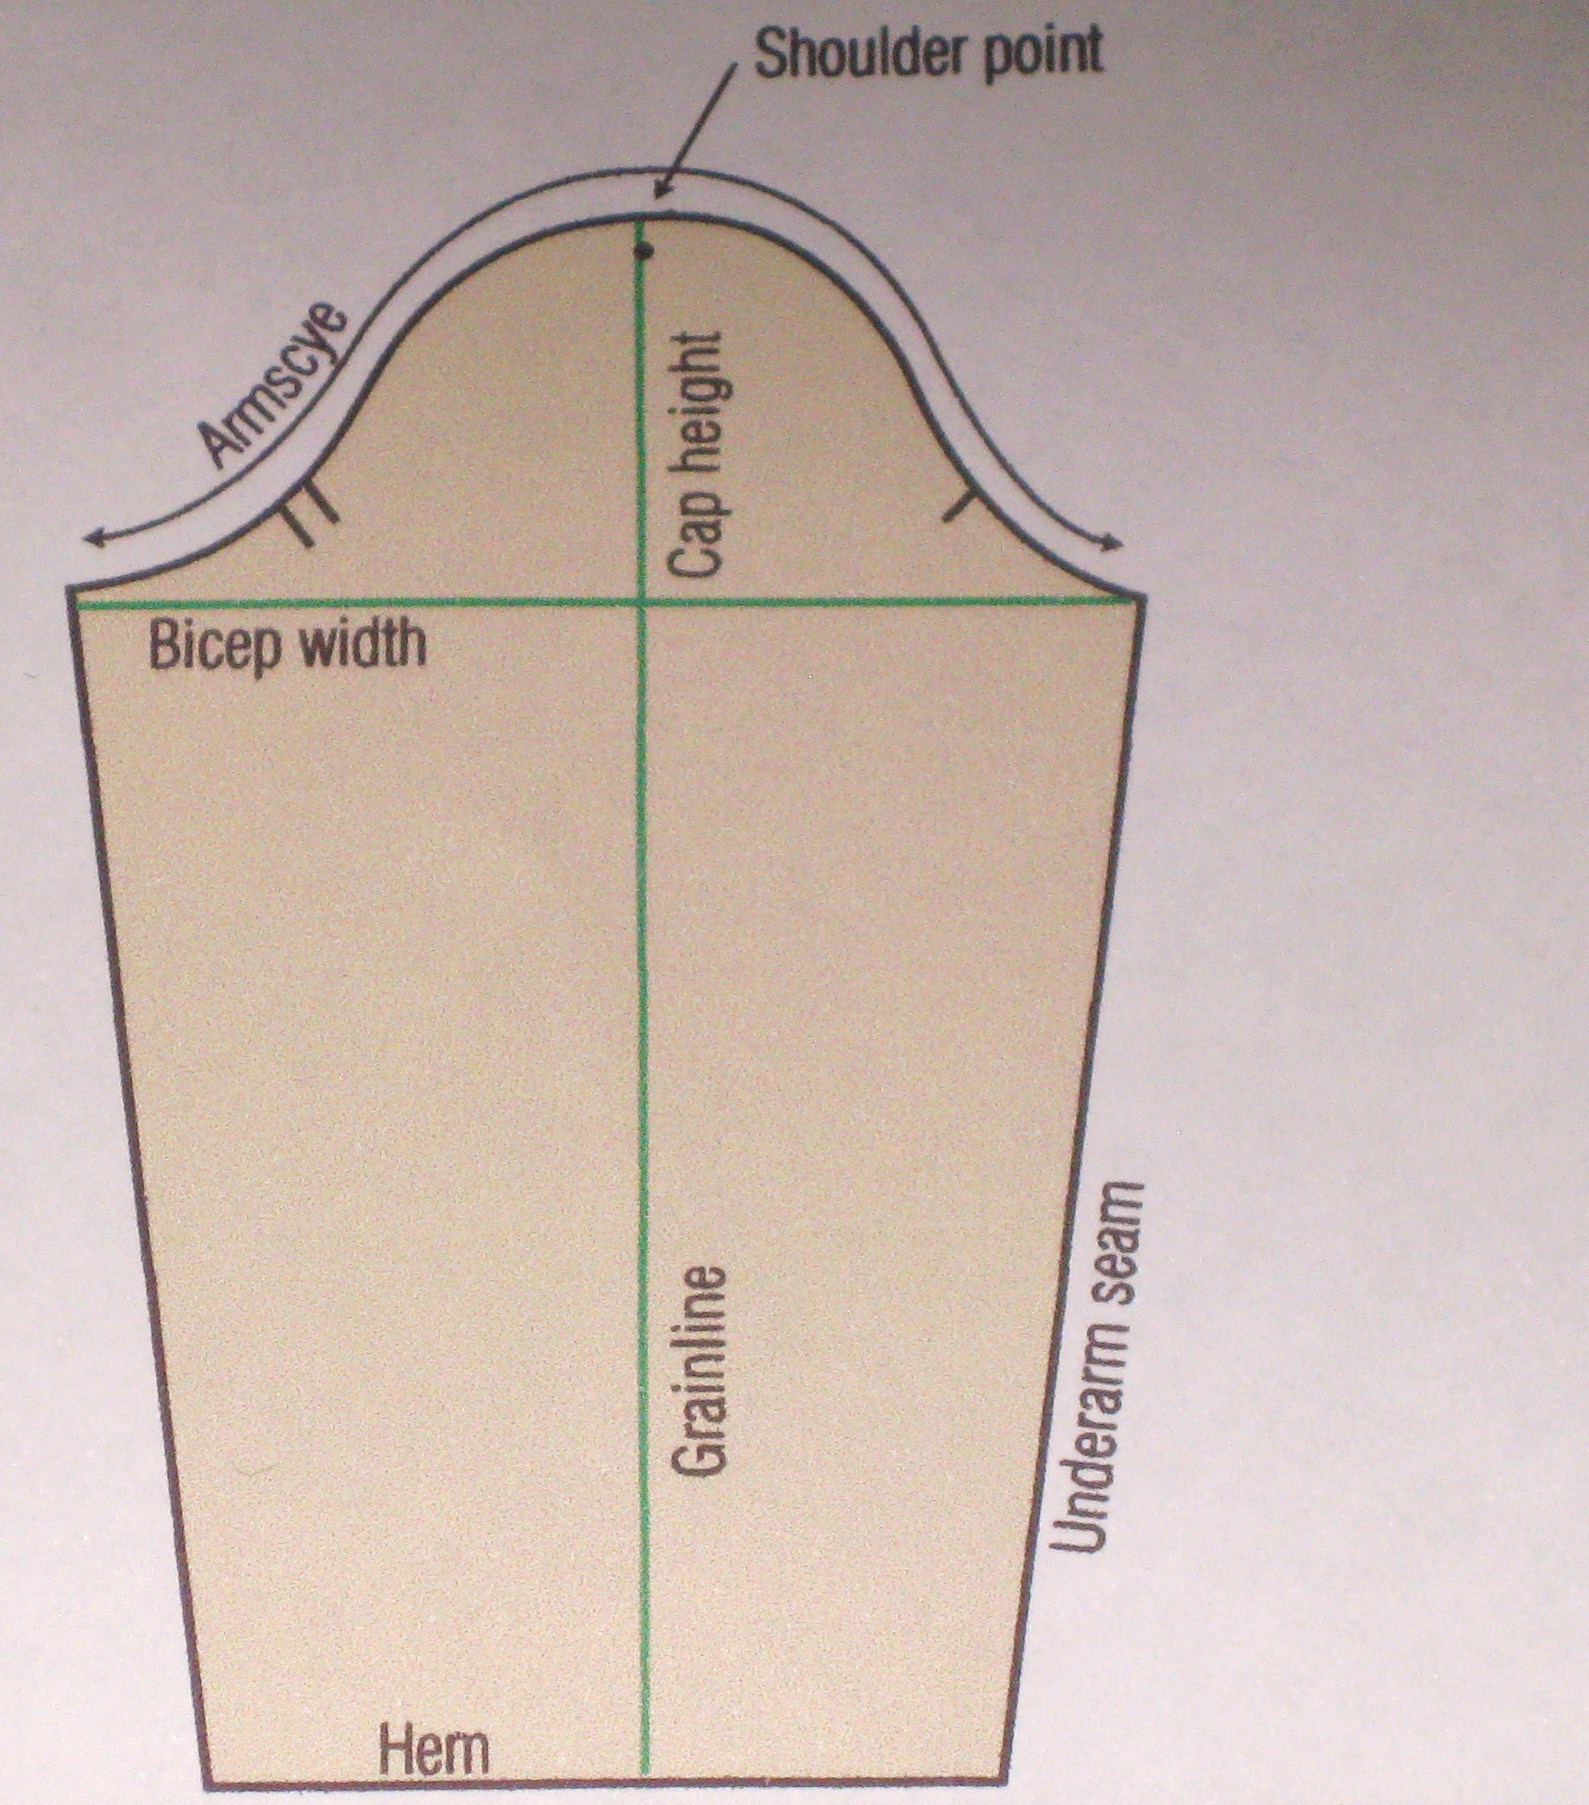
Anatomy of a sleeve.
Sleeve Cap – the top section of the sleeve between the underarm and the shoulder
Armscye – the measurement of the armhole
Bicep – the measurement across the whole sleeve level with the underarm
Sleeve Length – the measurement from the shoulder point to the hem
Fitting the Sleeve
There are two important body measurements to check against a sleeve pattern. These are bicep and cap height.
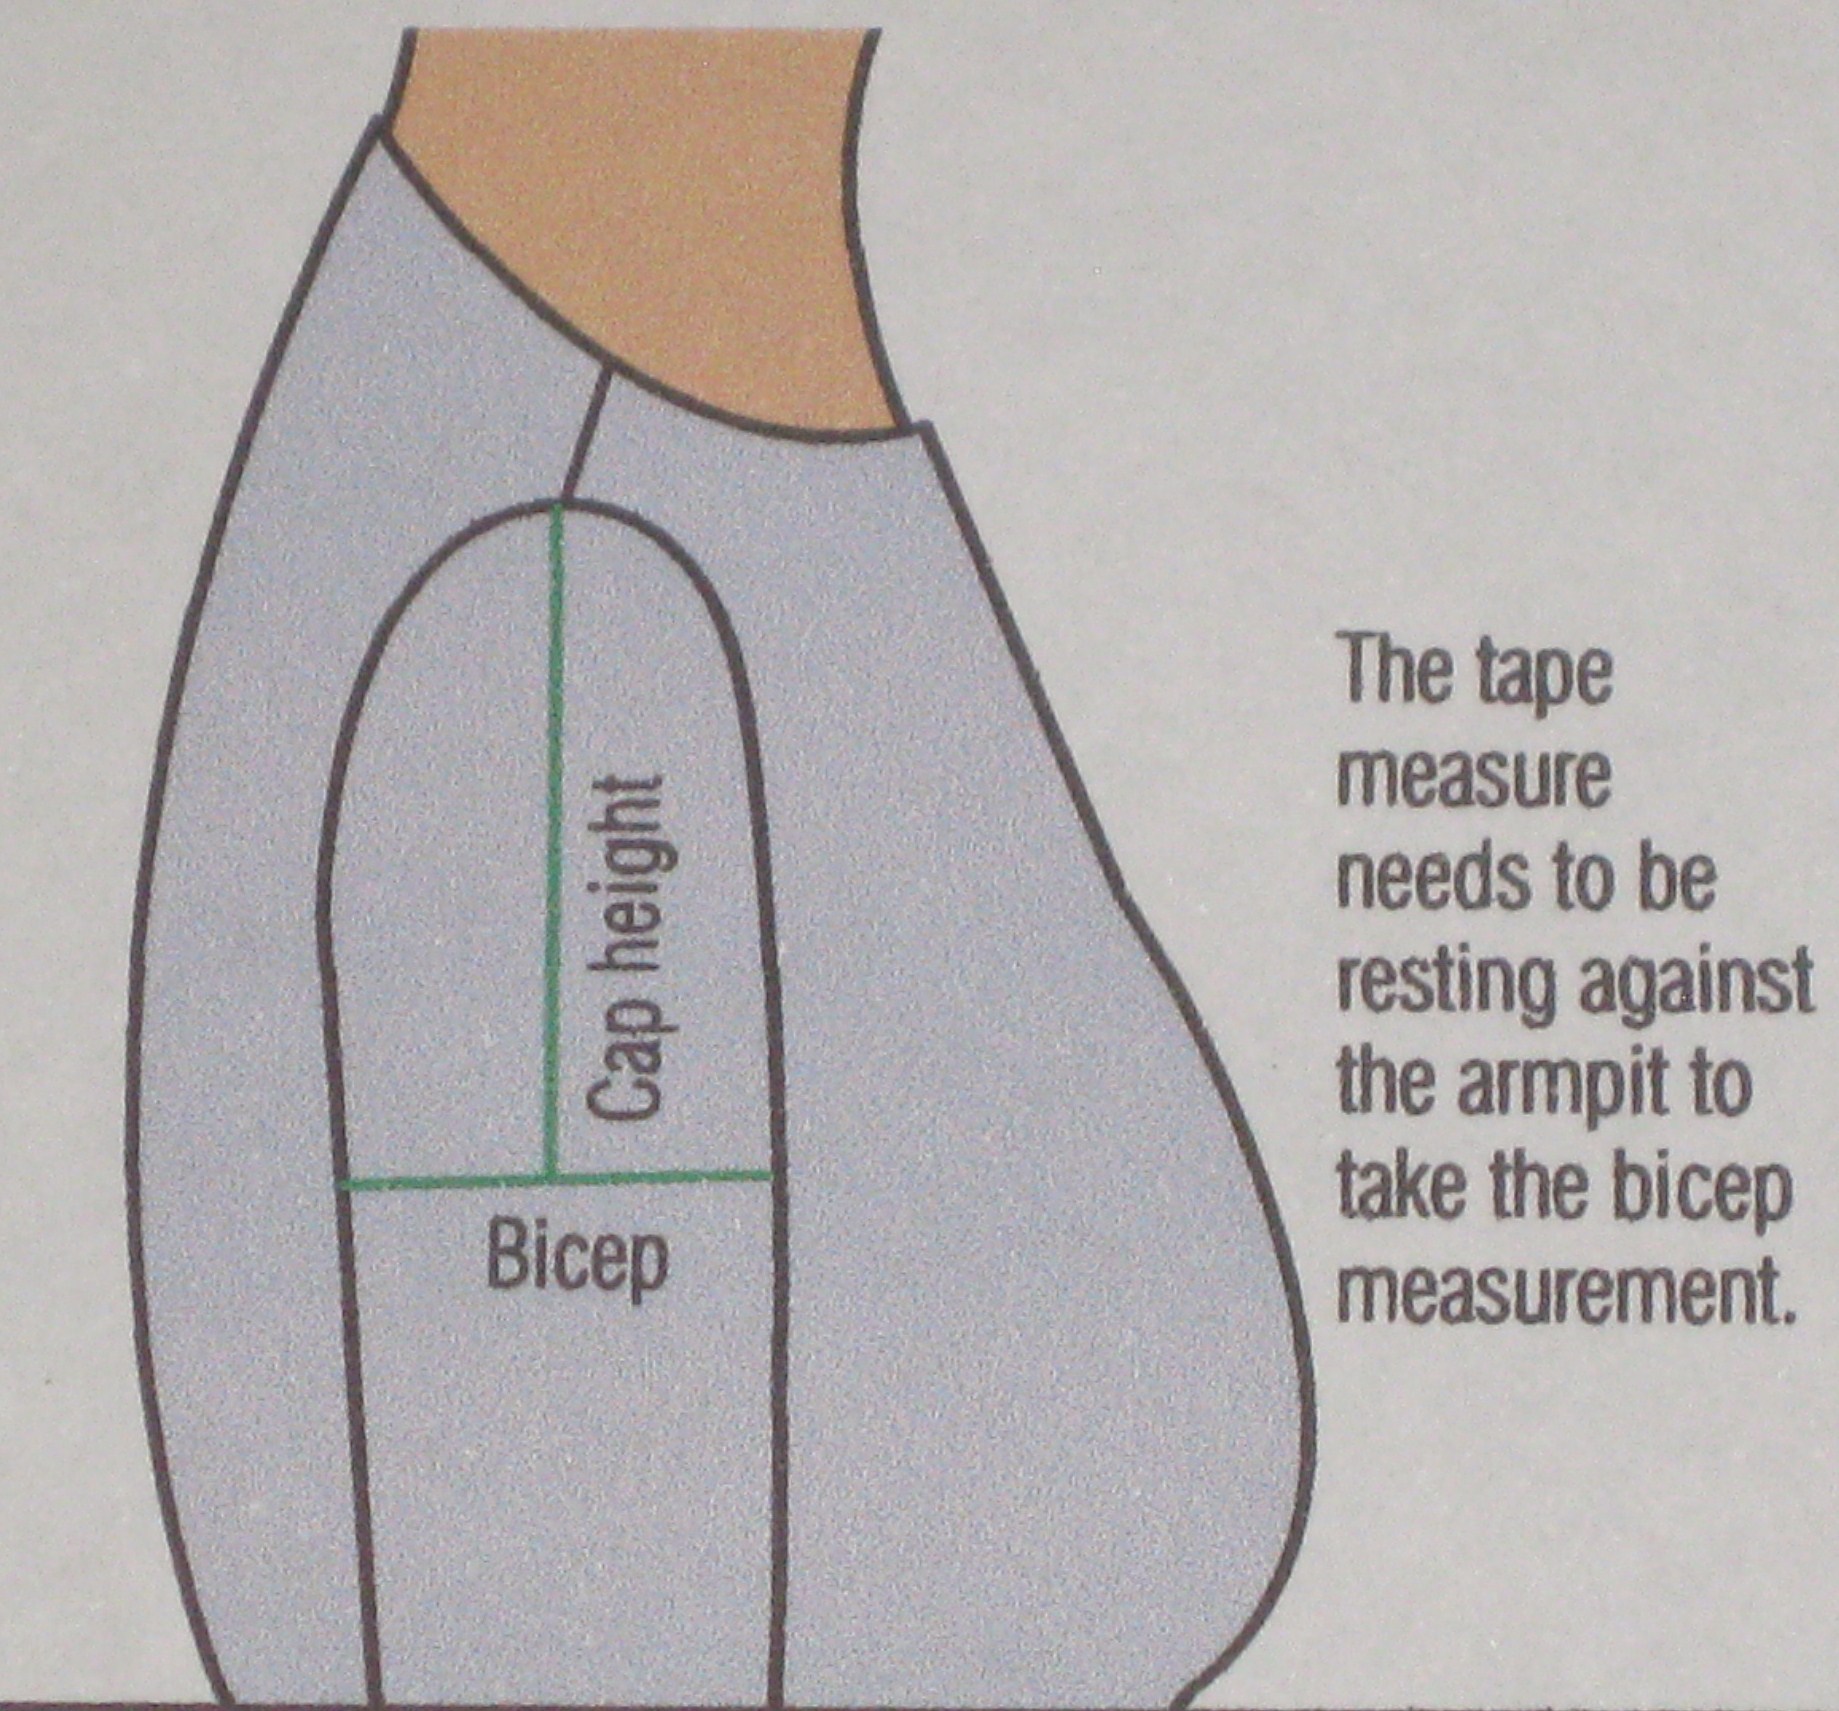
Where to measure the height of the cap. Place a tape around the bicep, nesting it against the underarm. Measure from the top of the tape to the shoulder joint.
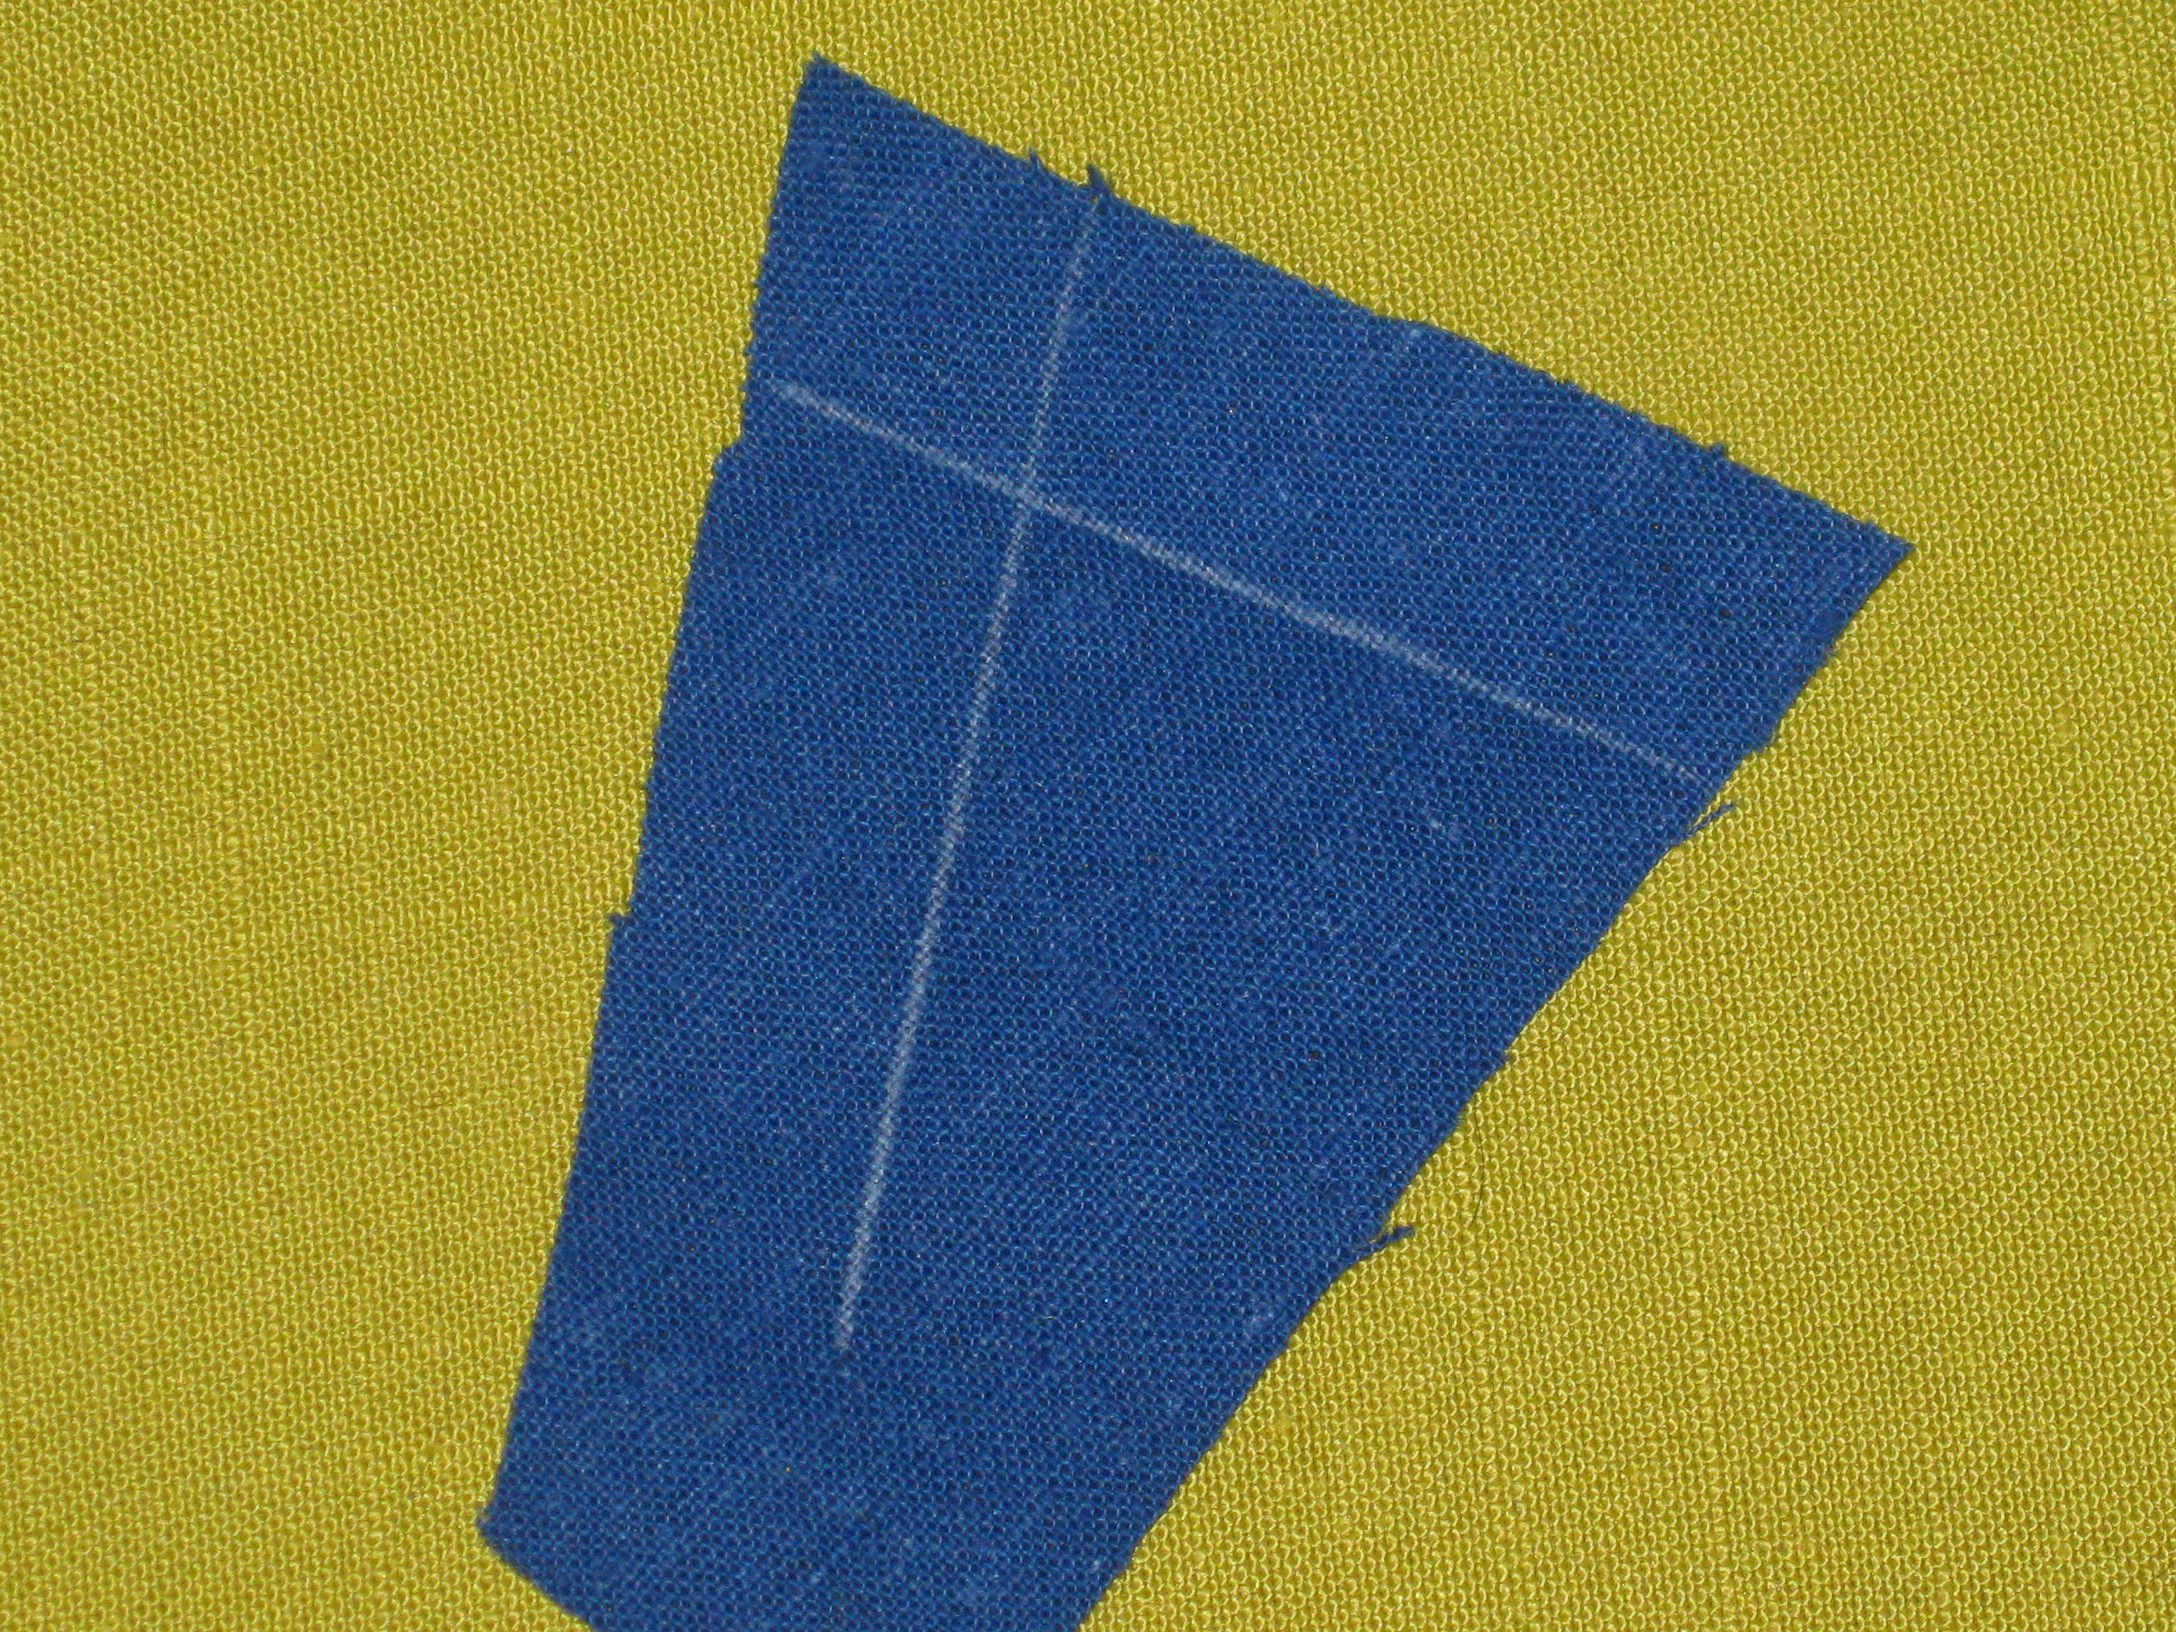
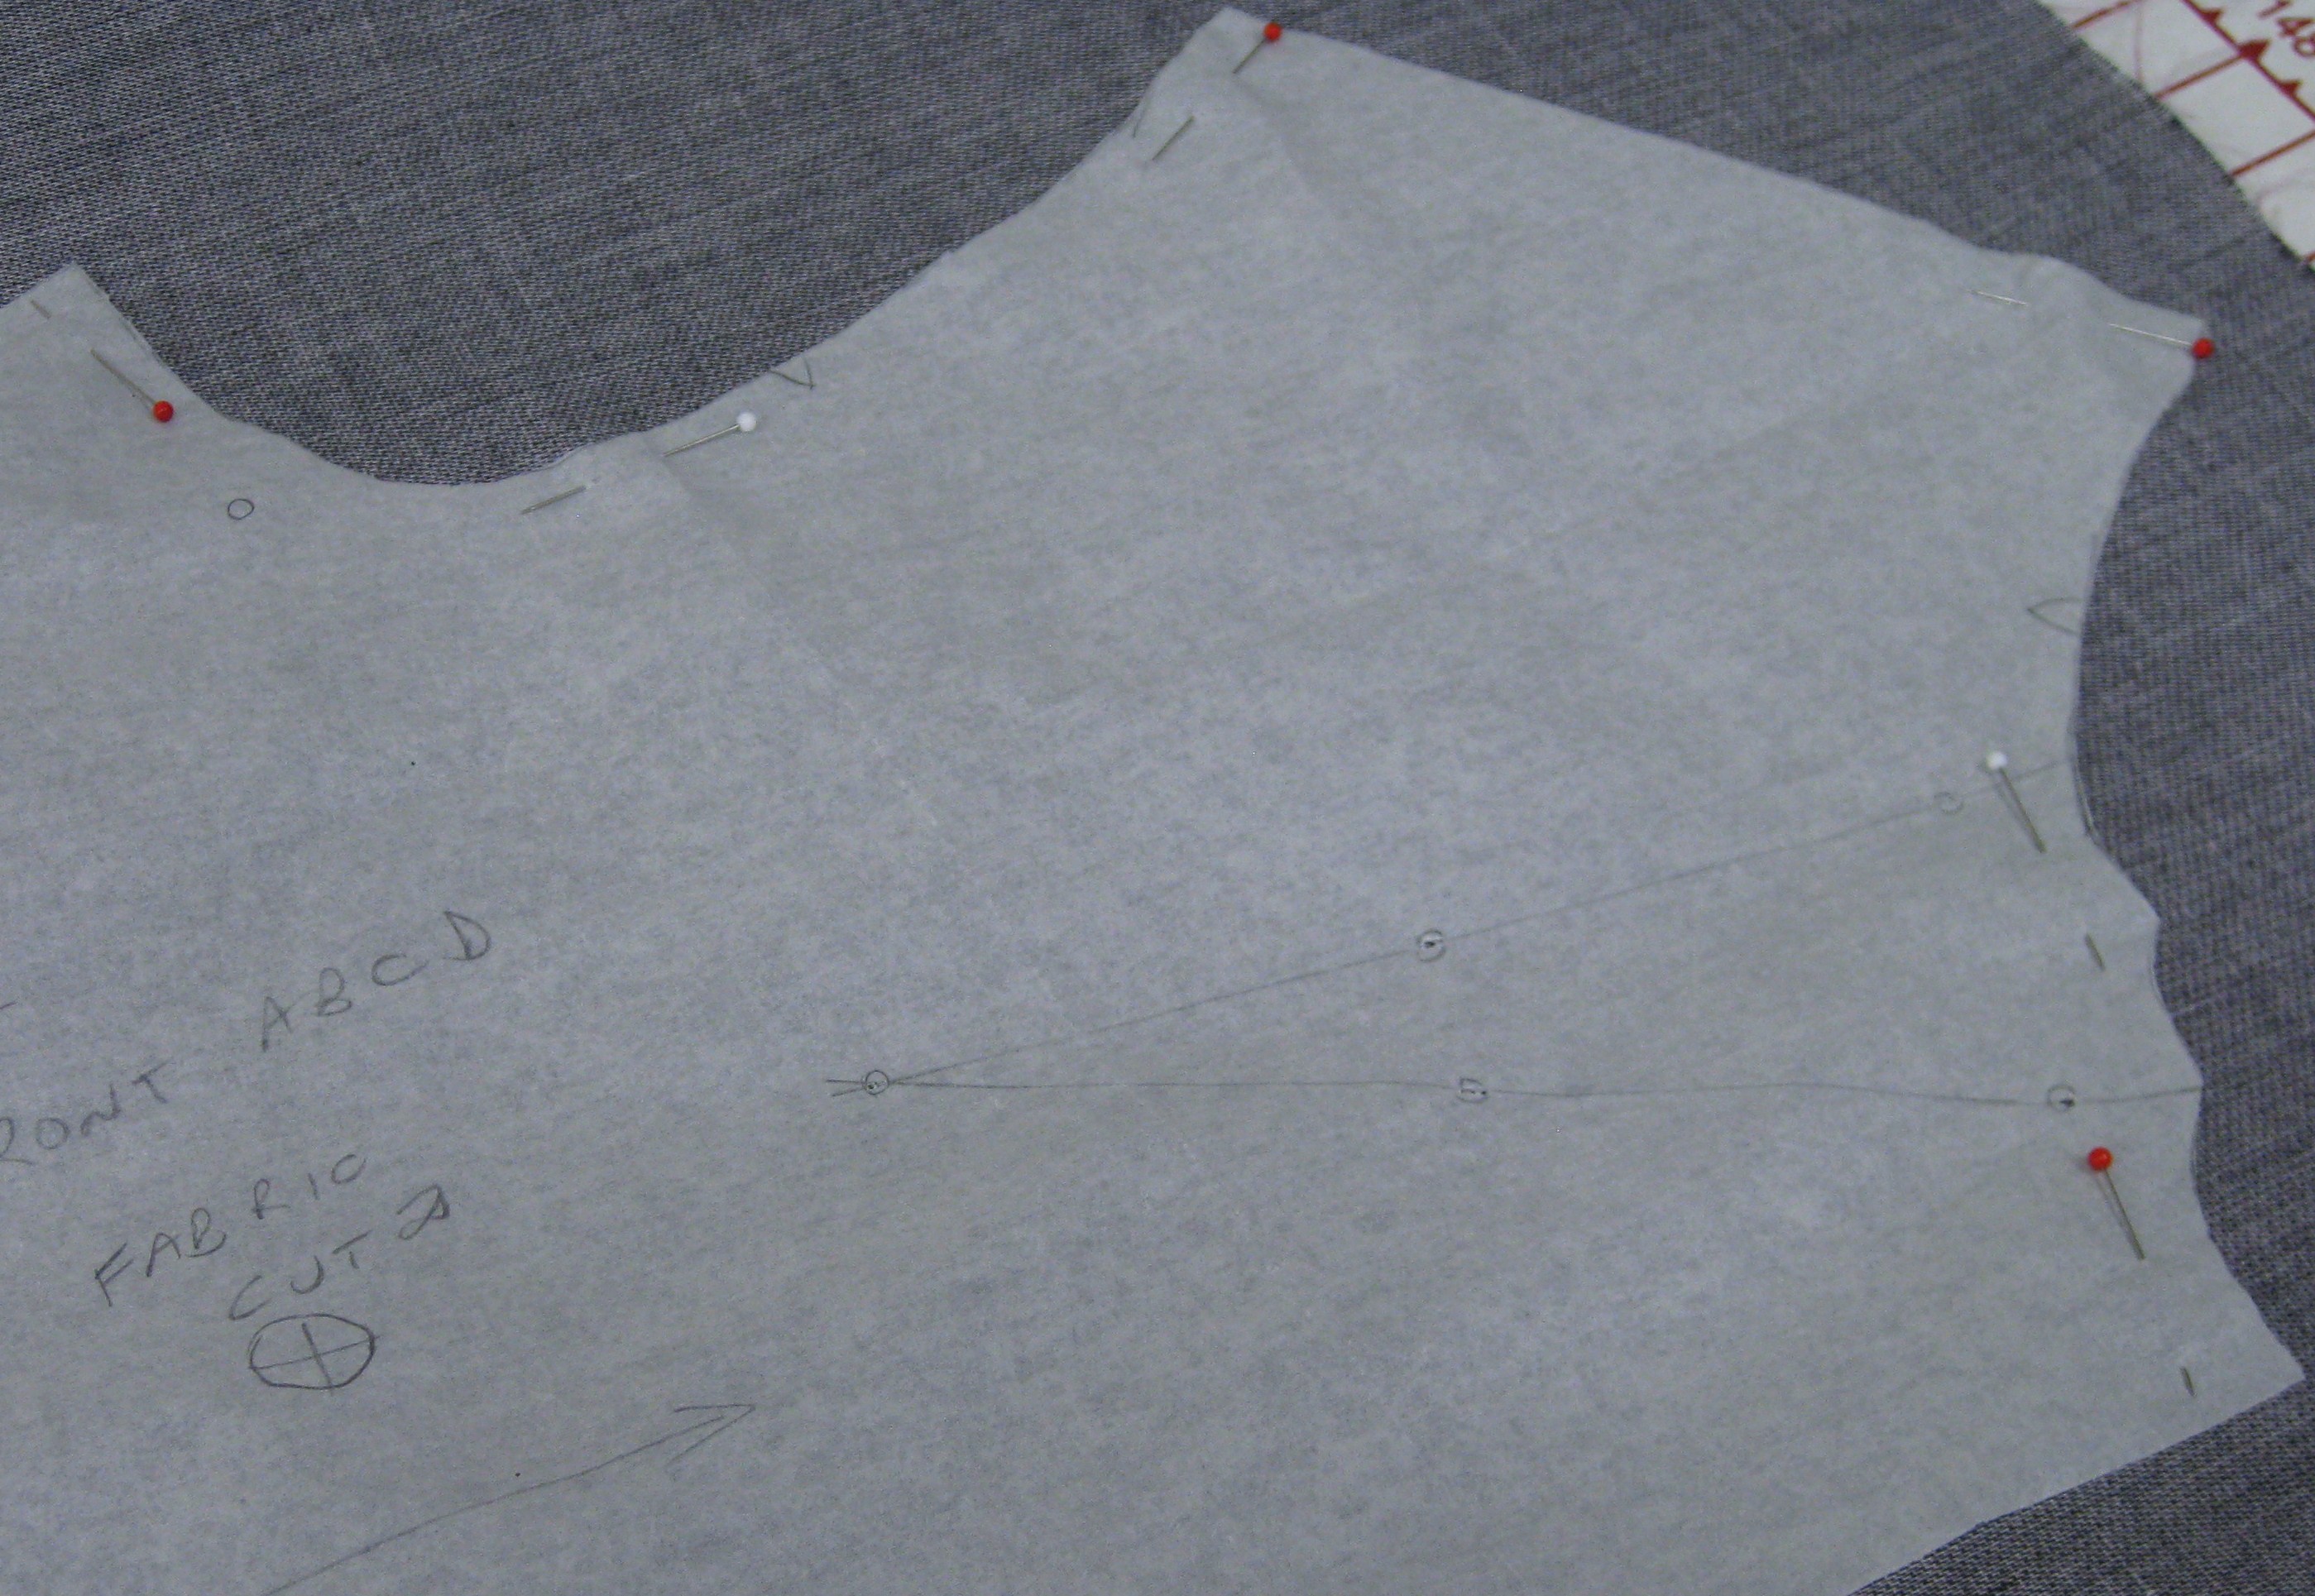
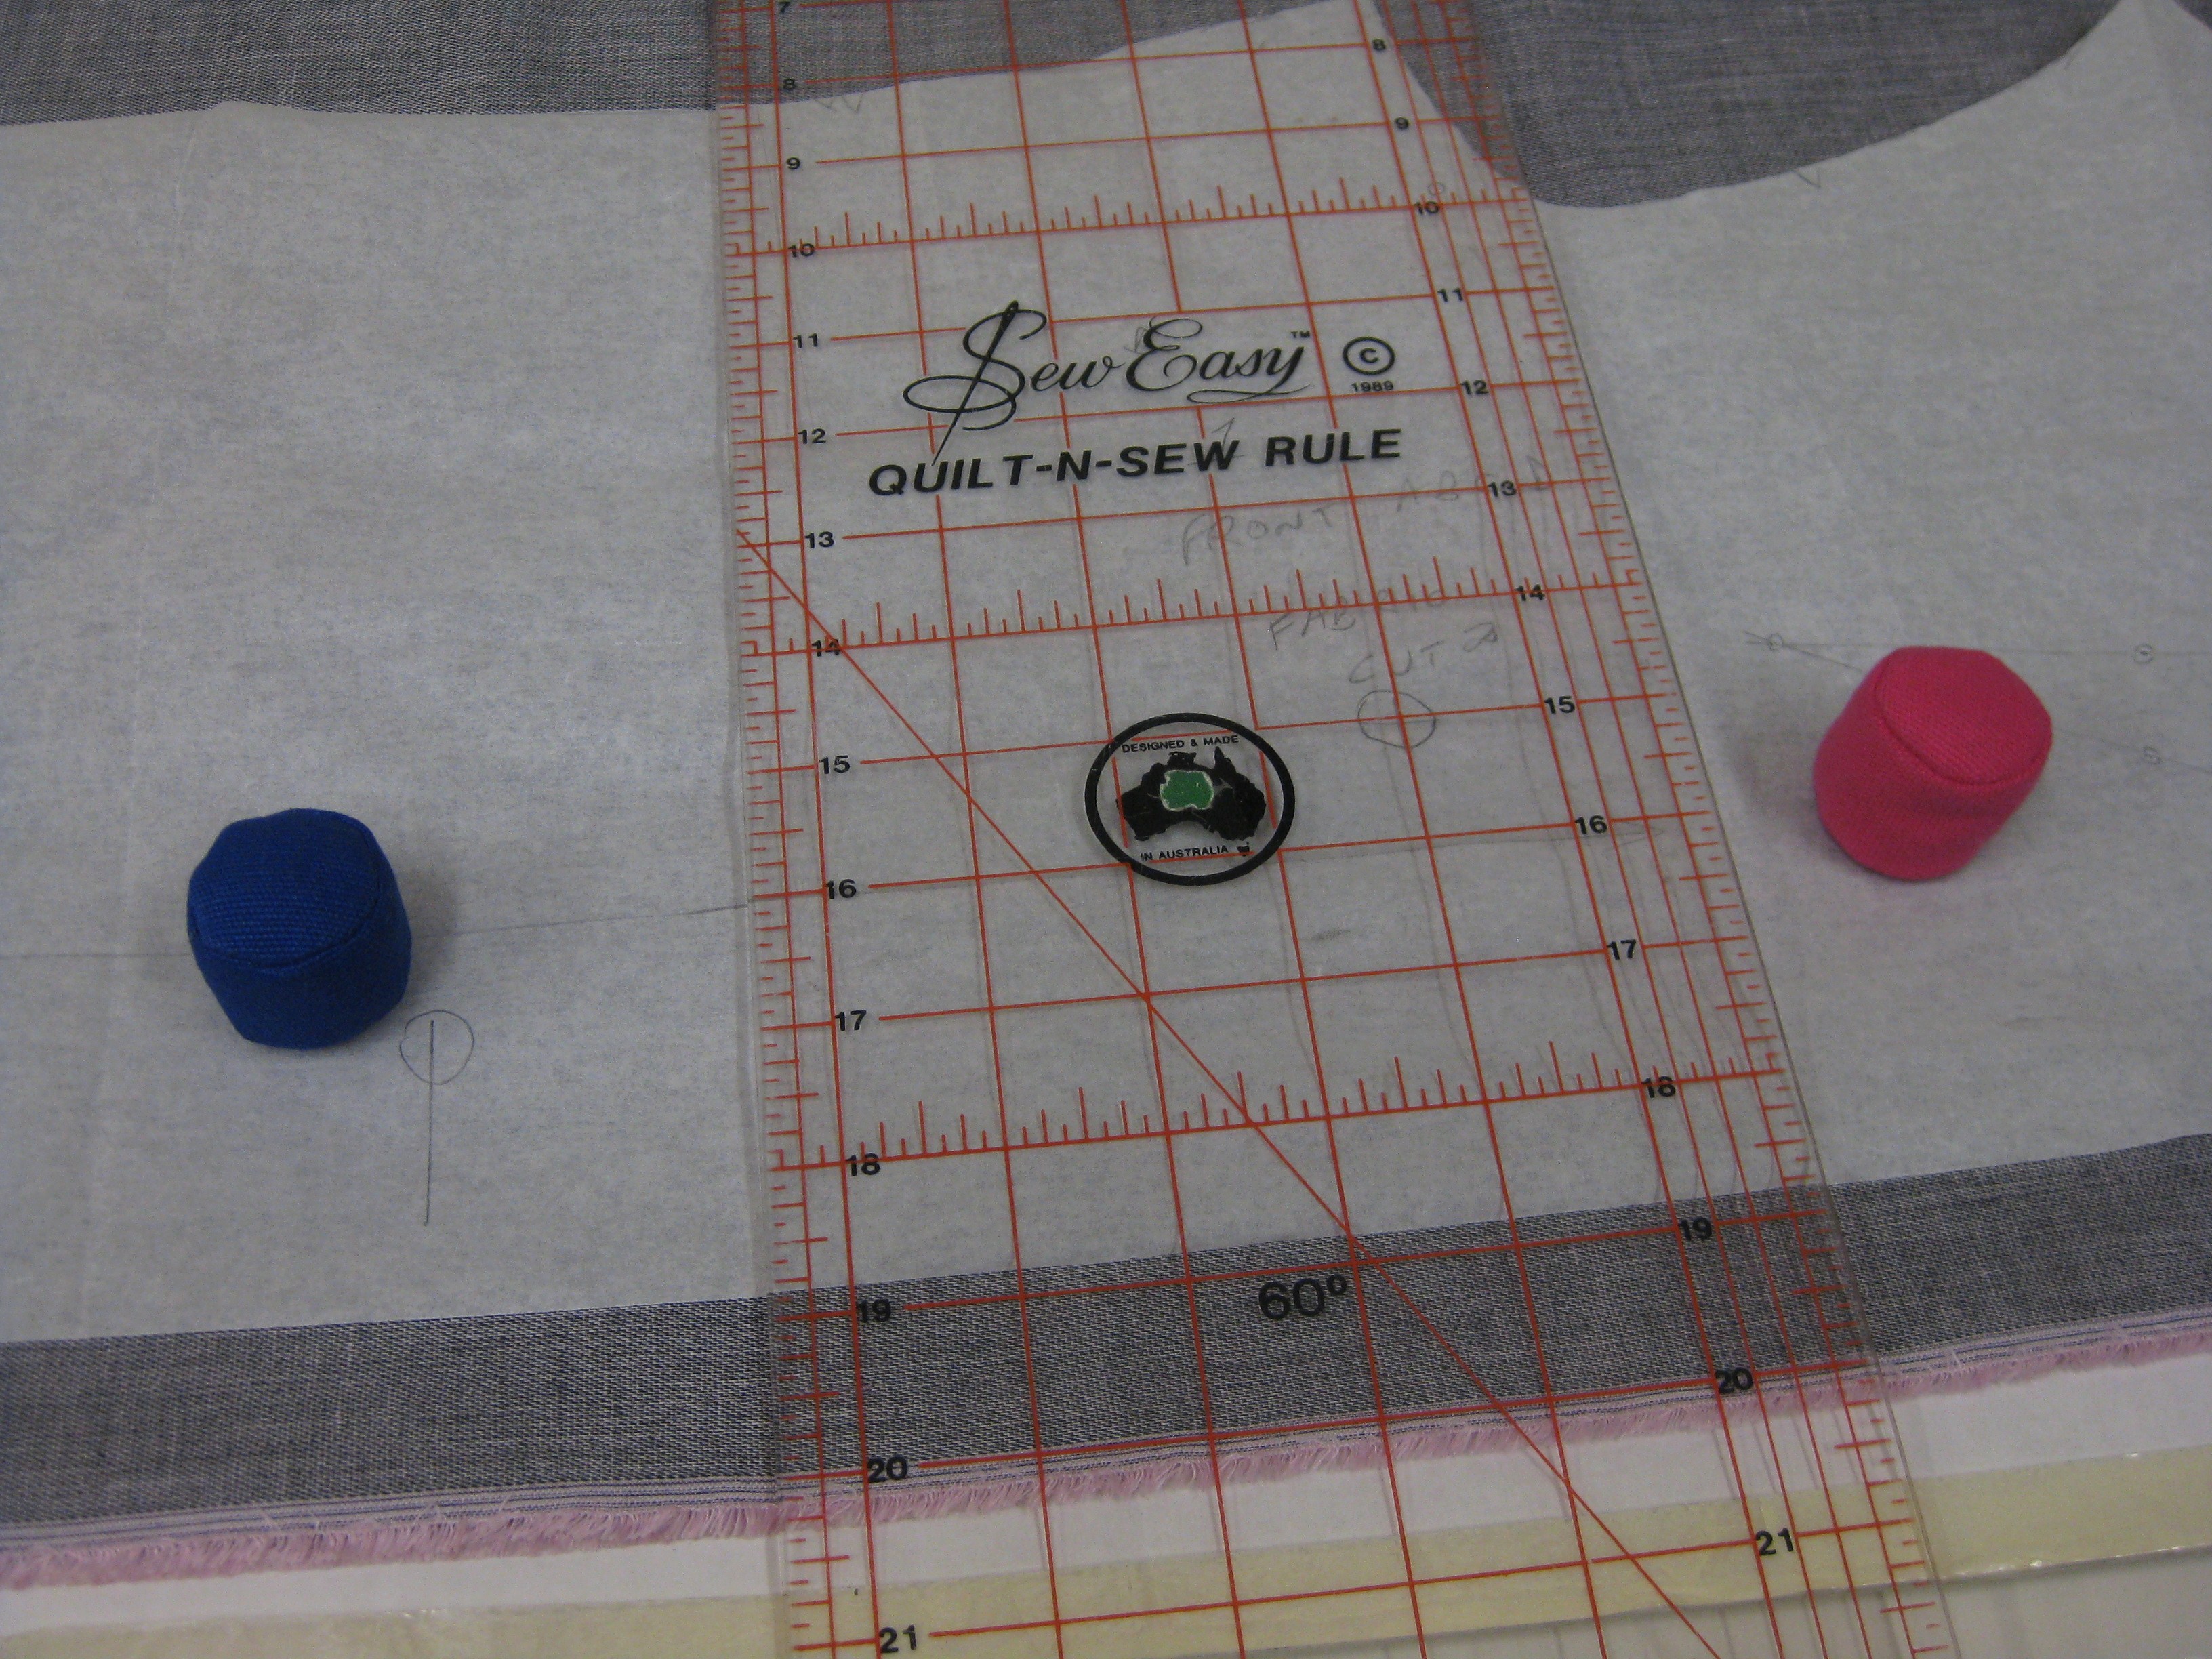
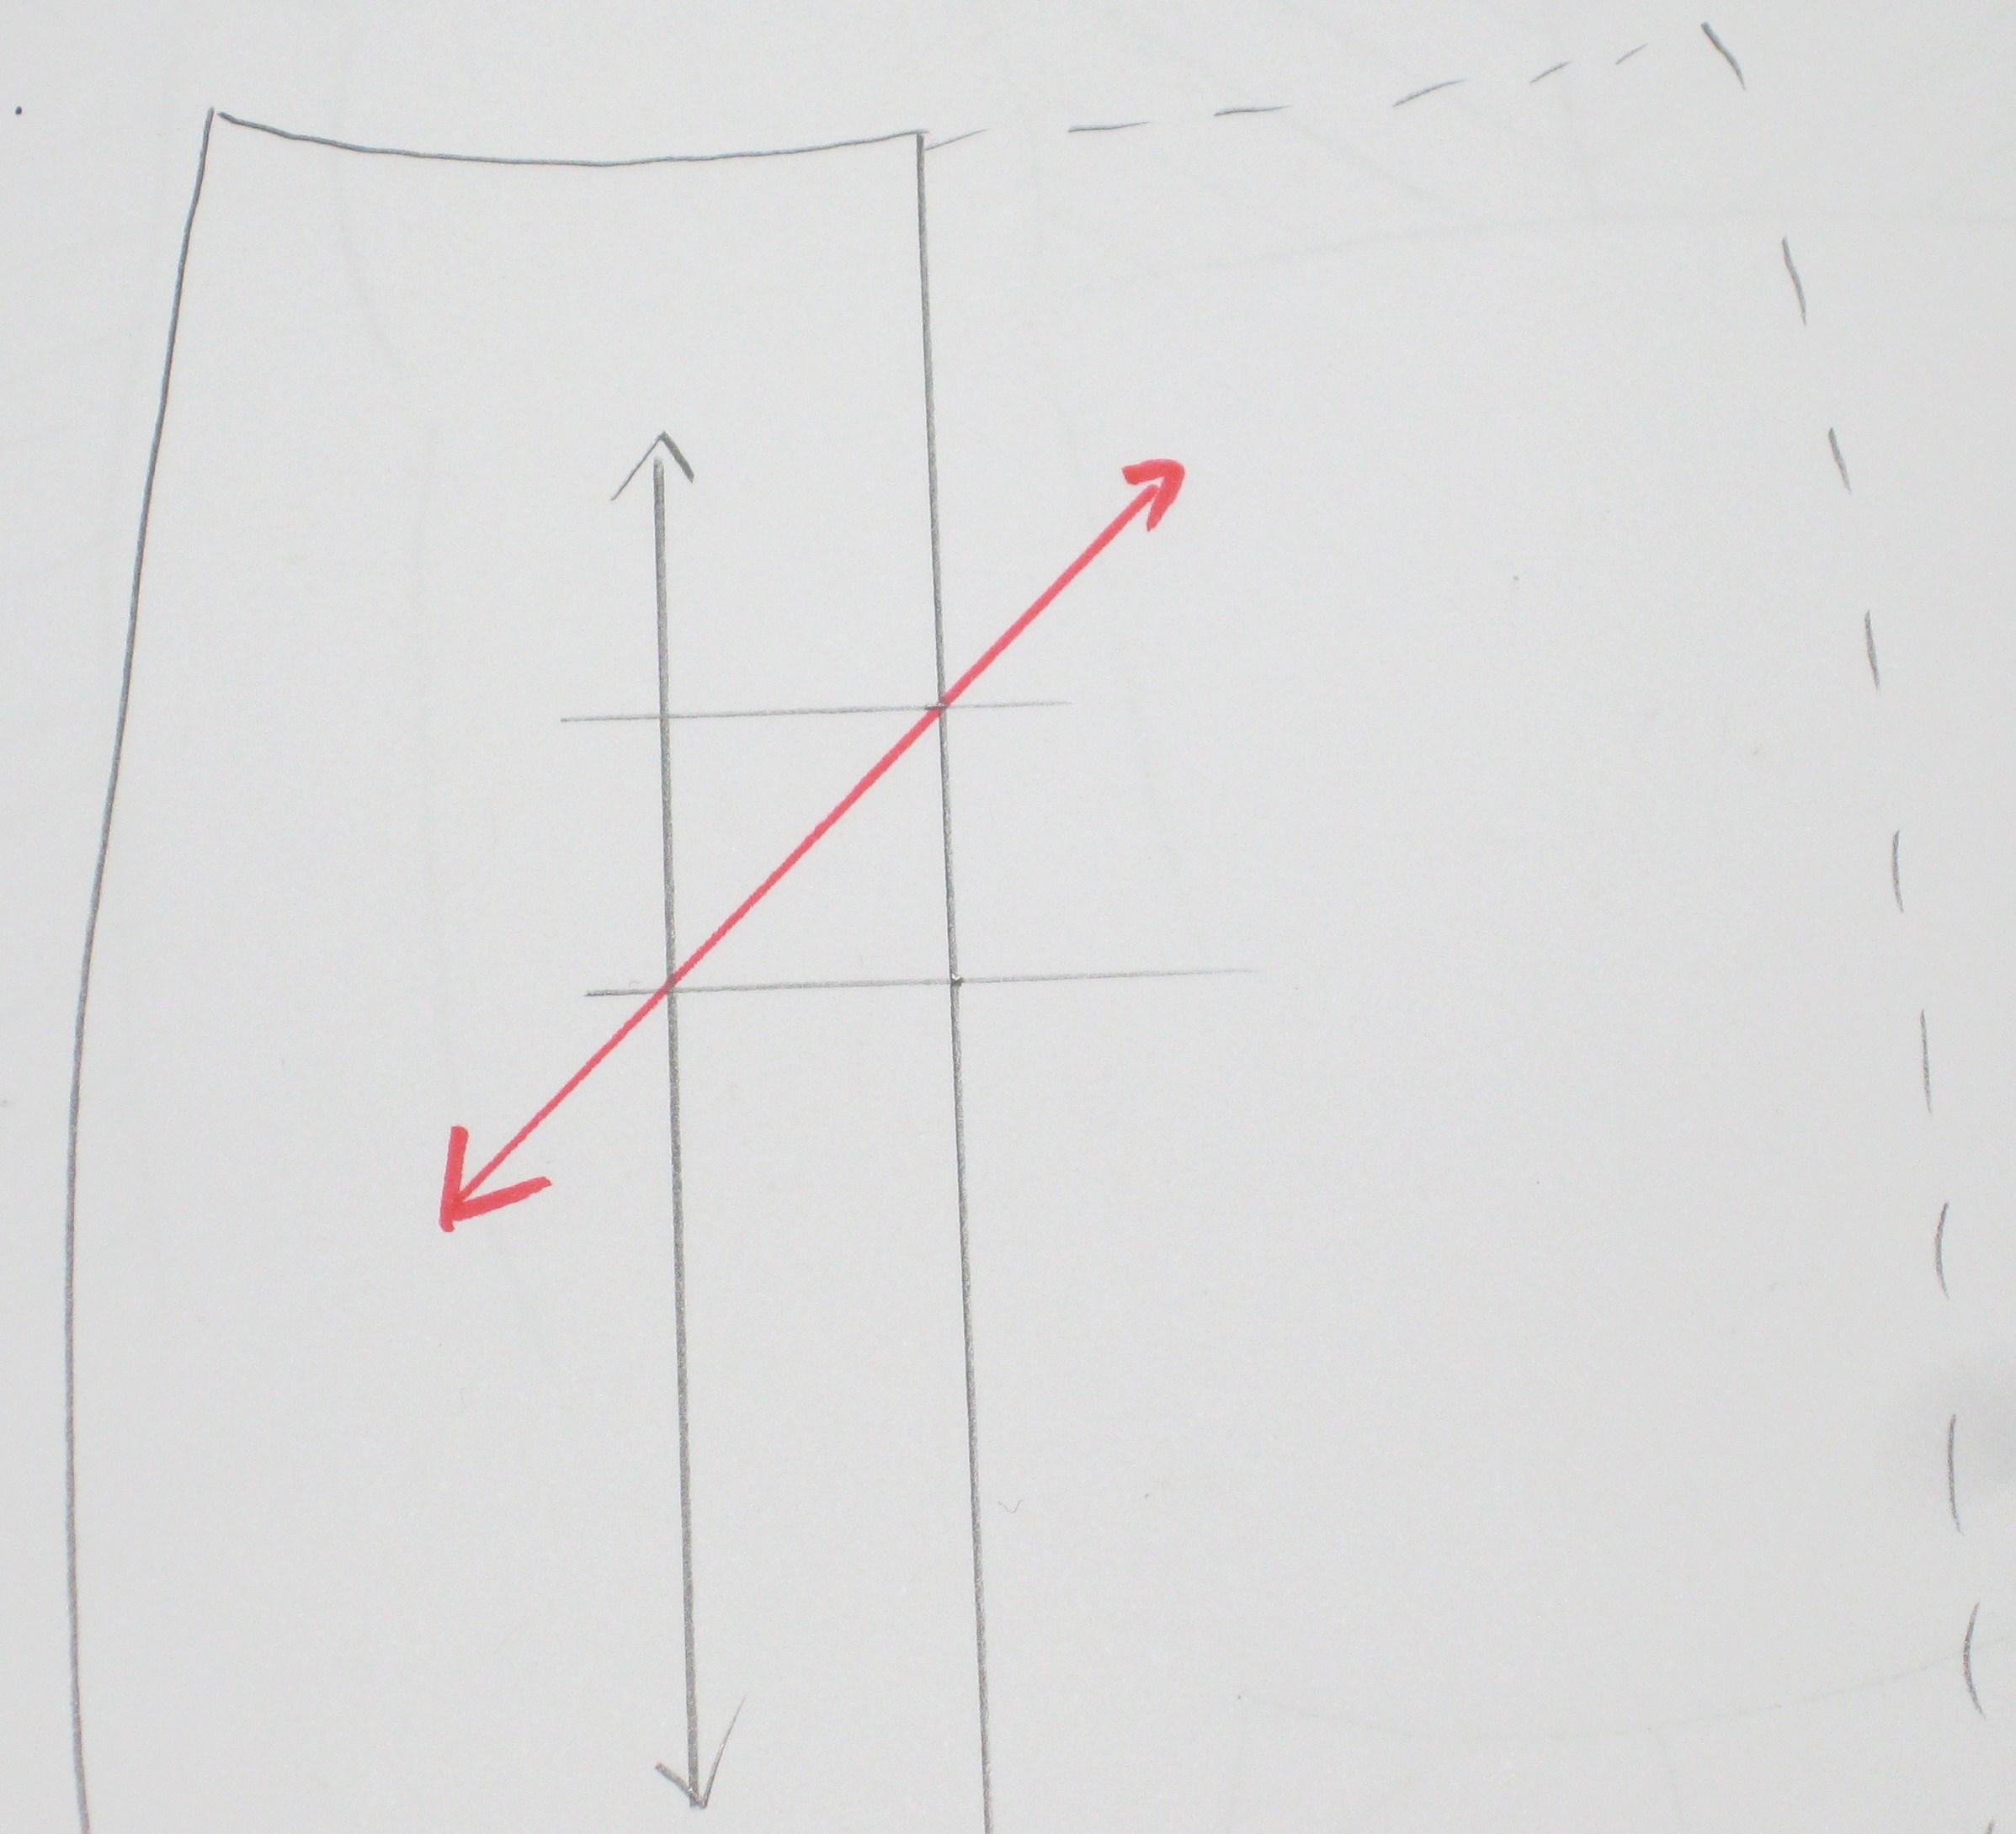
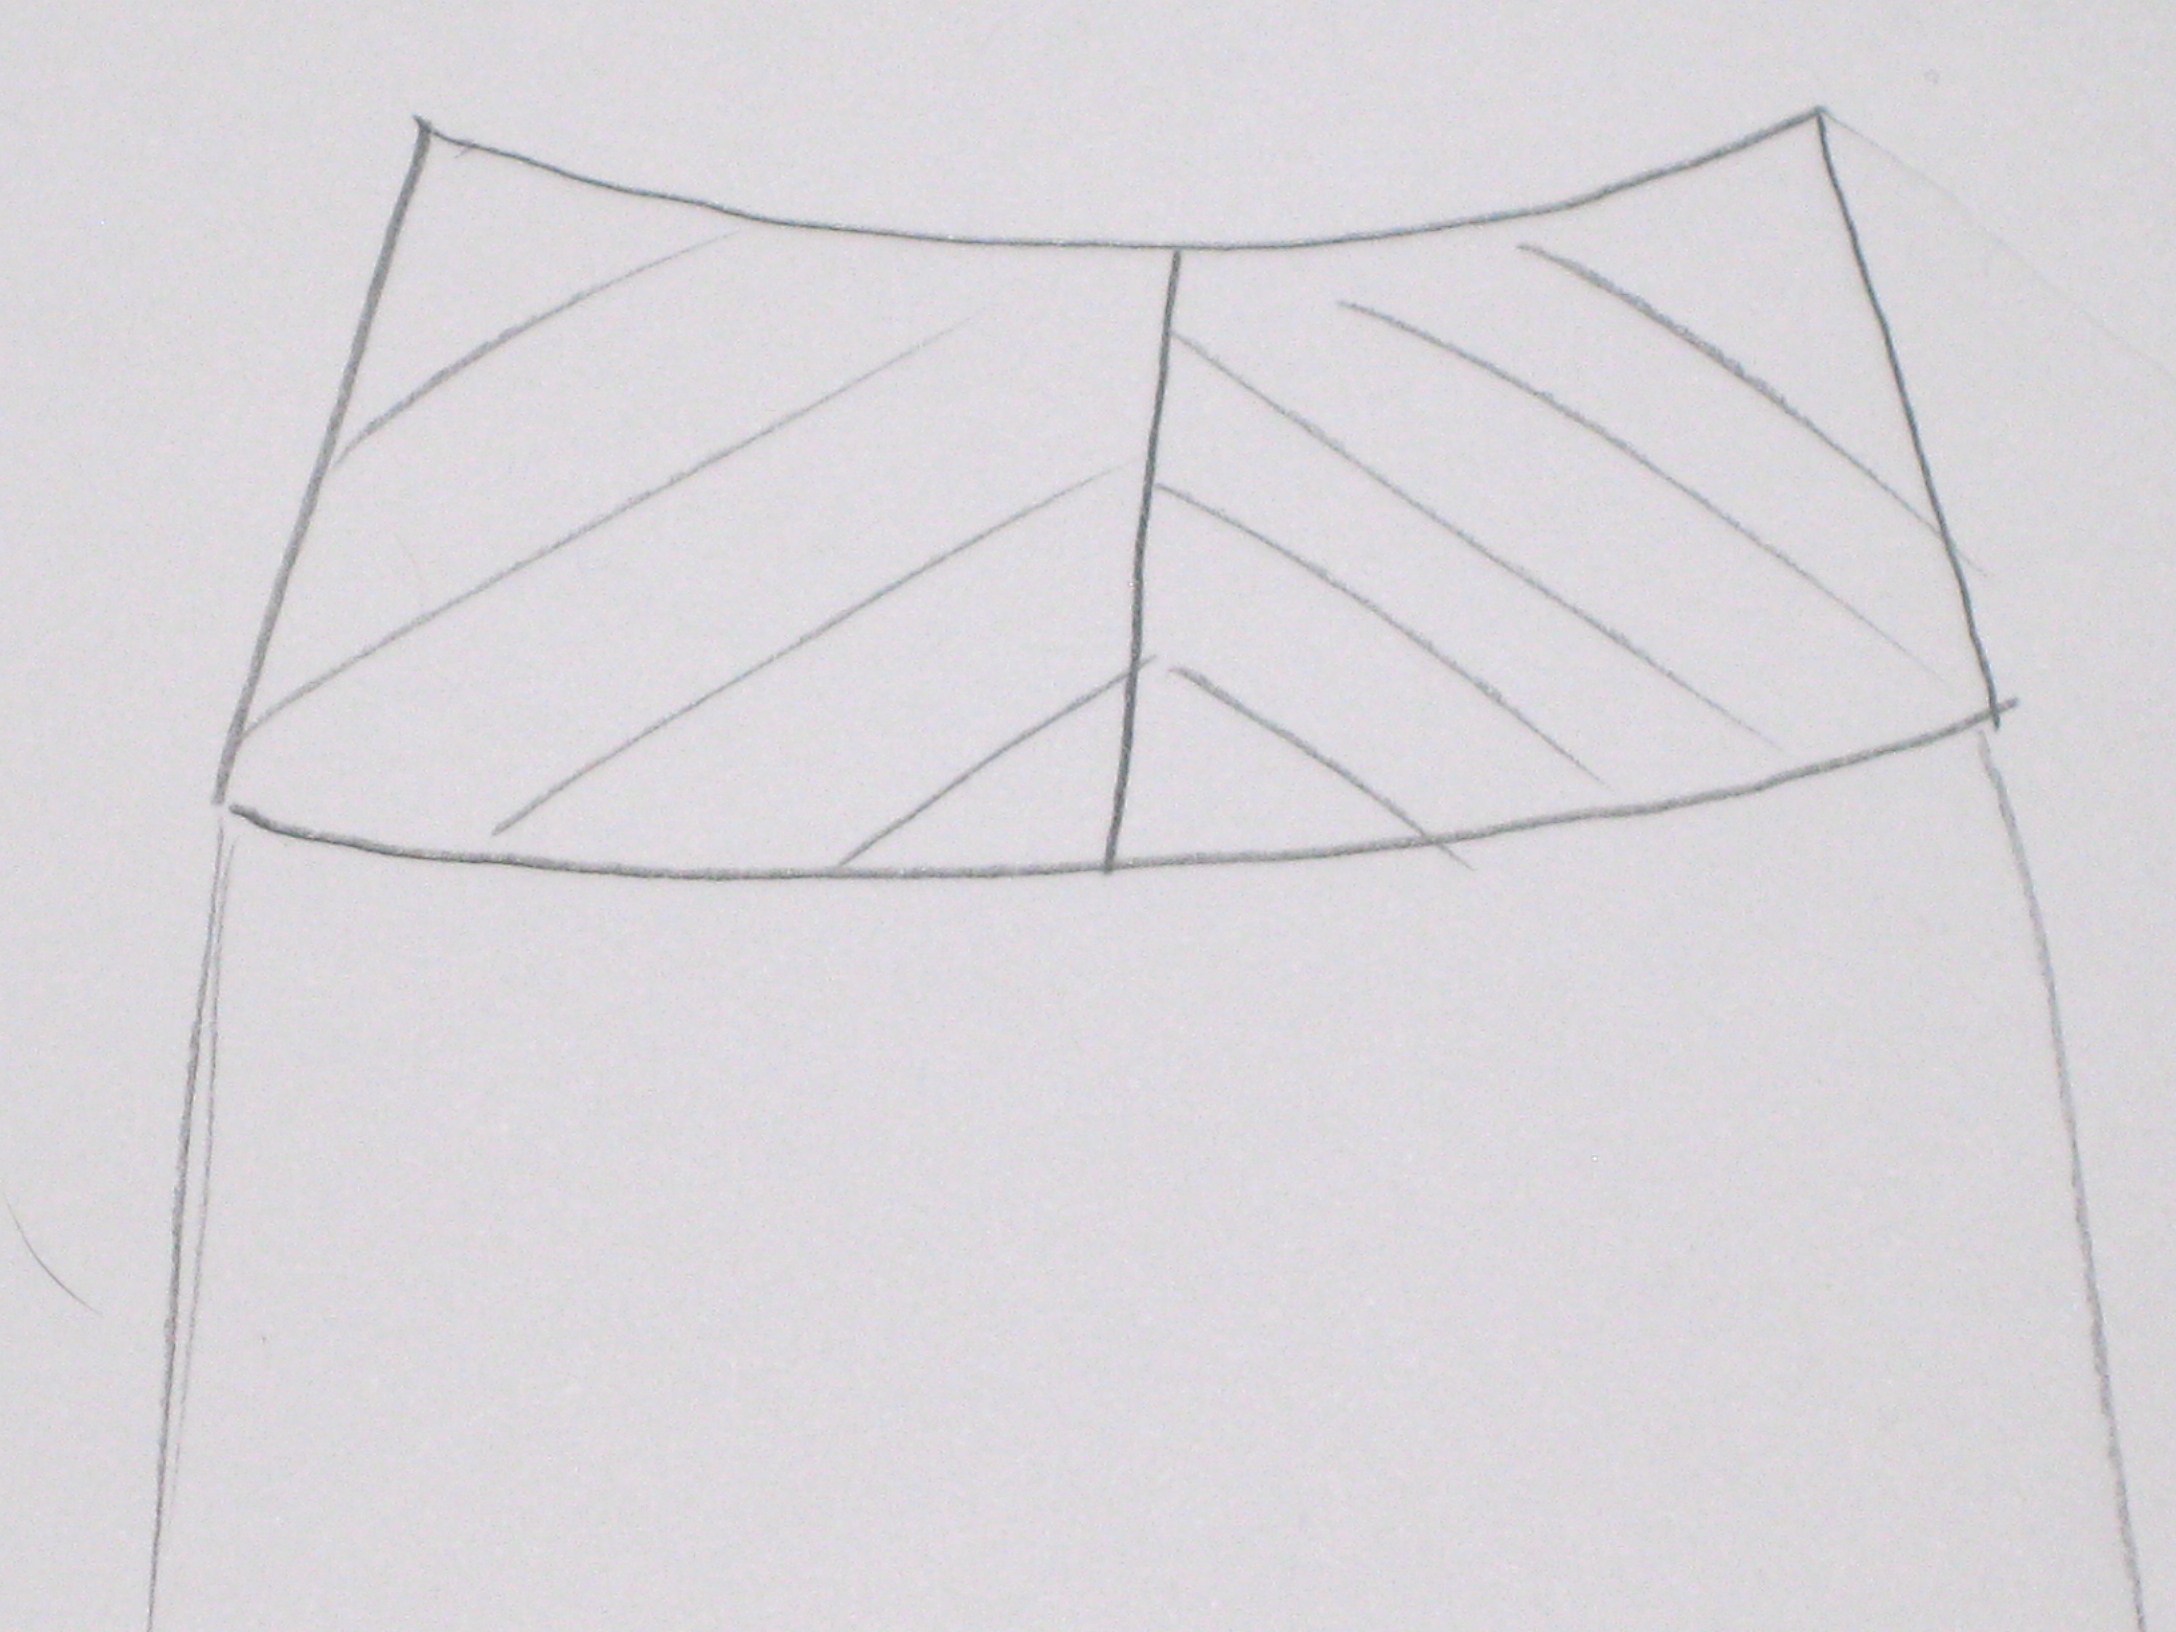
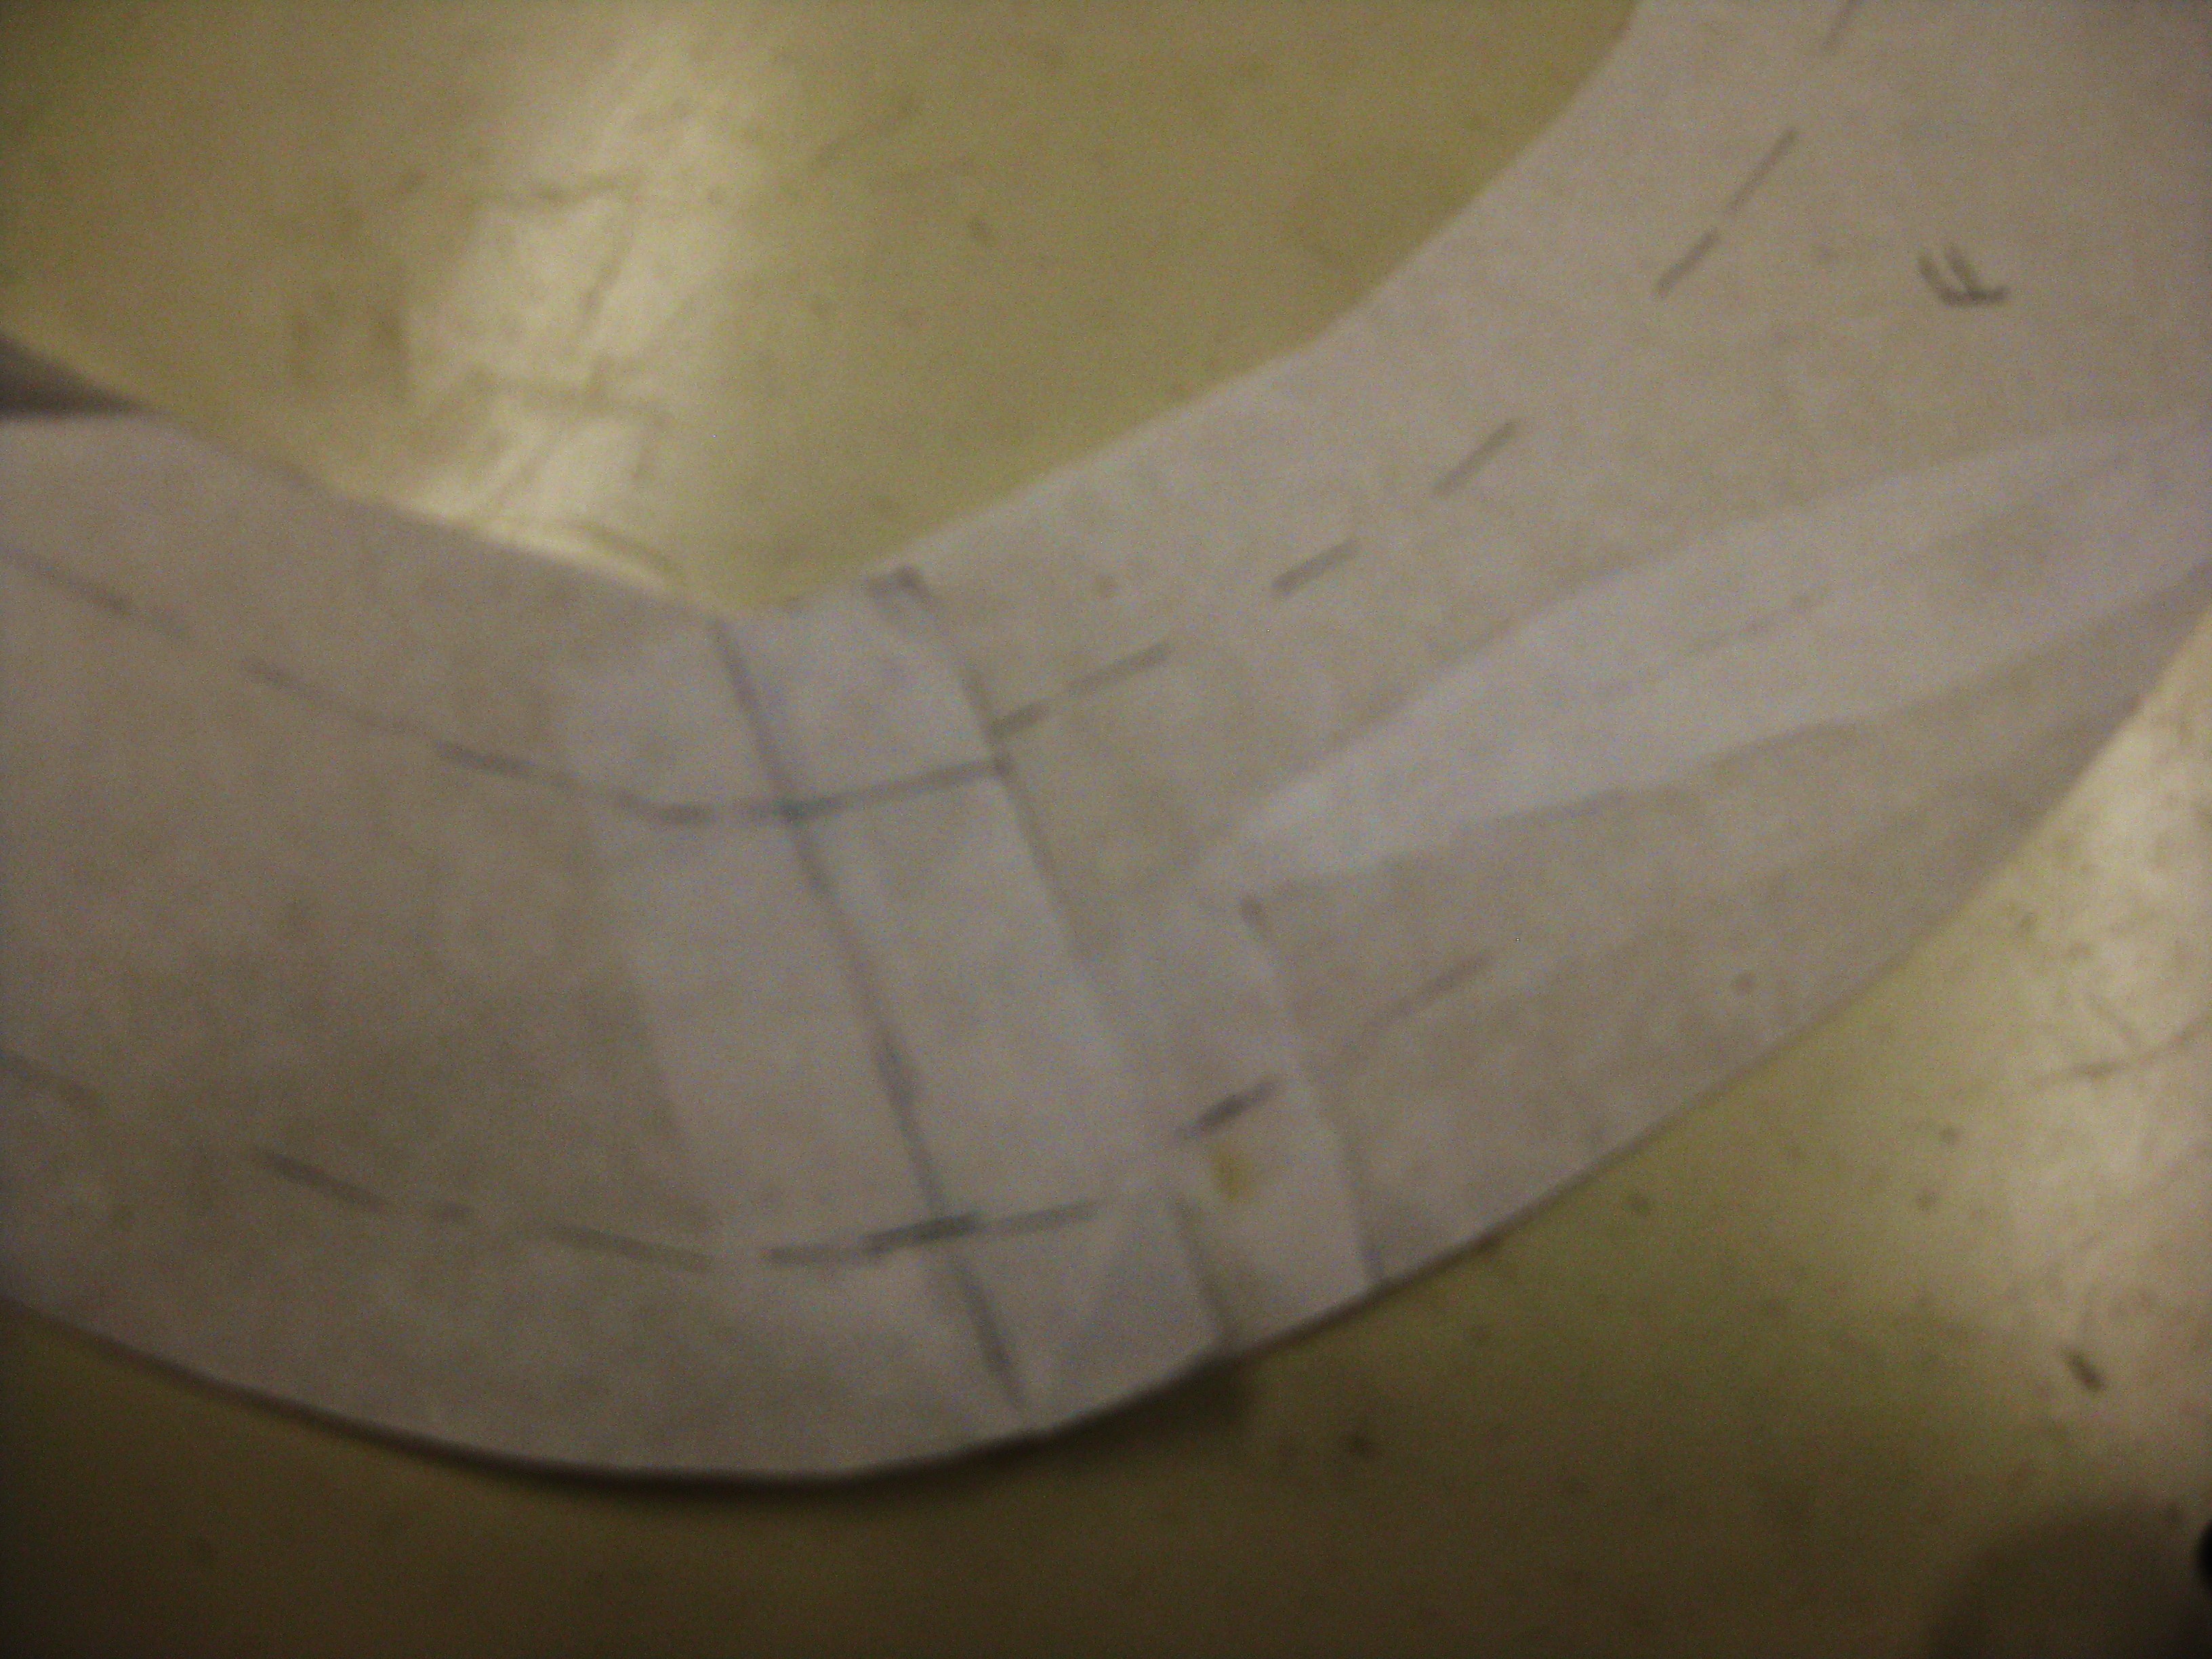
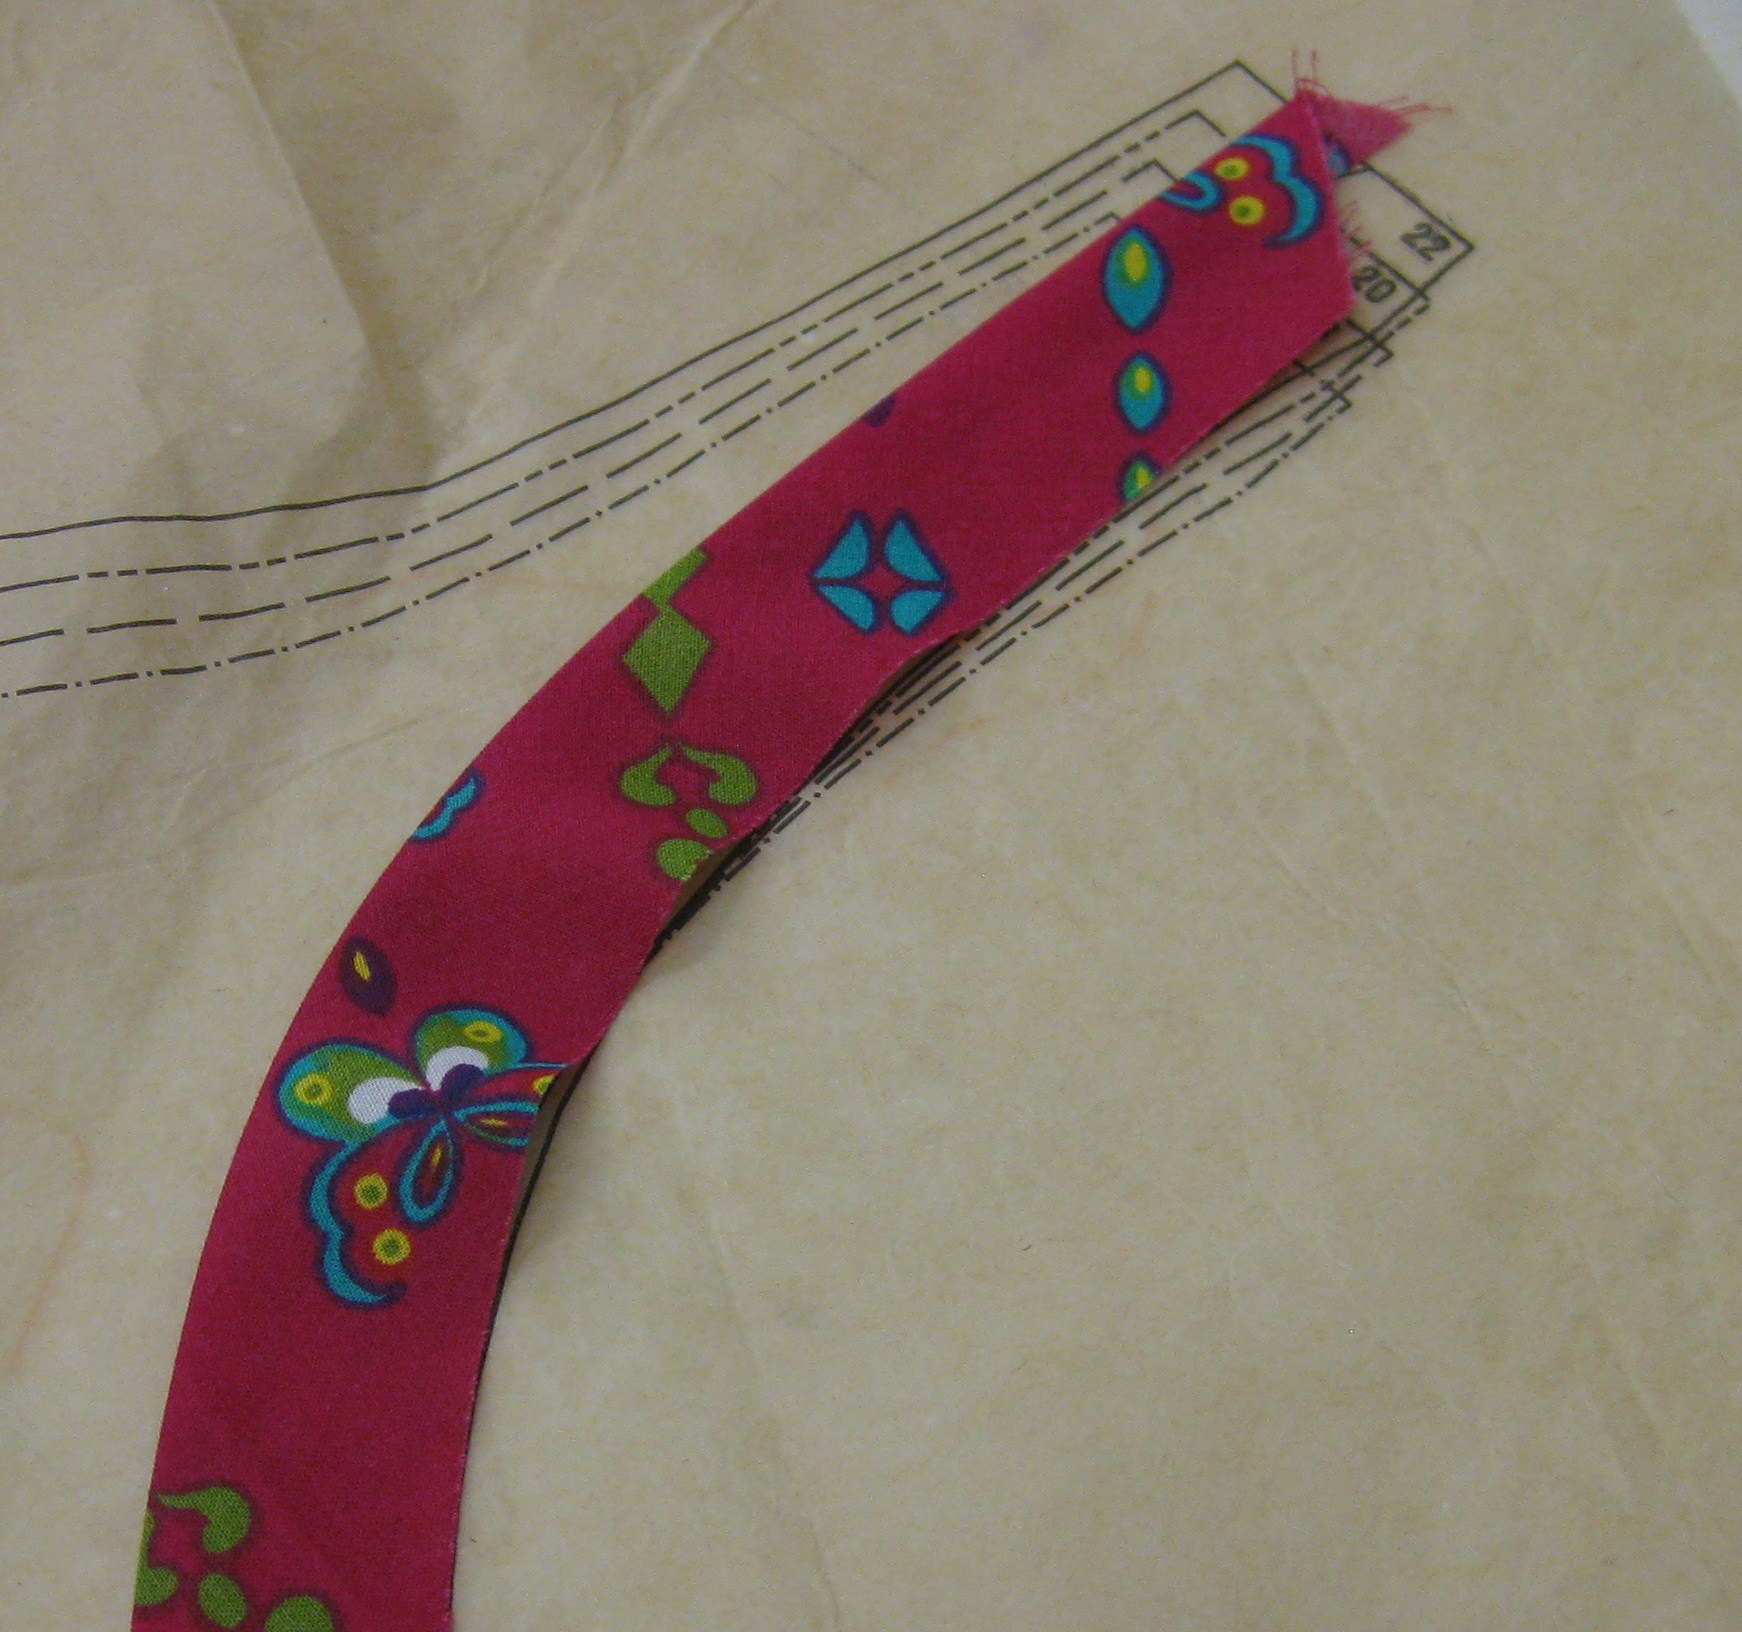
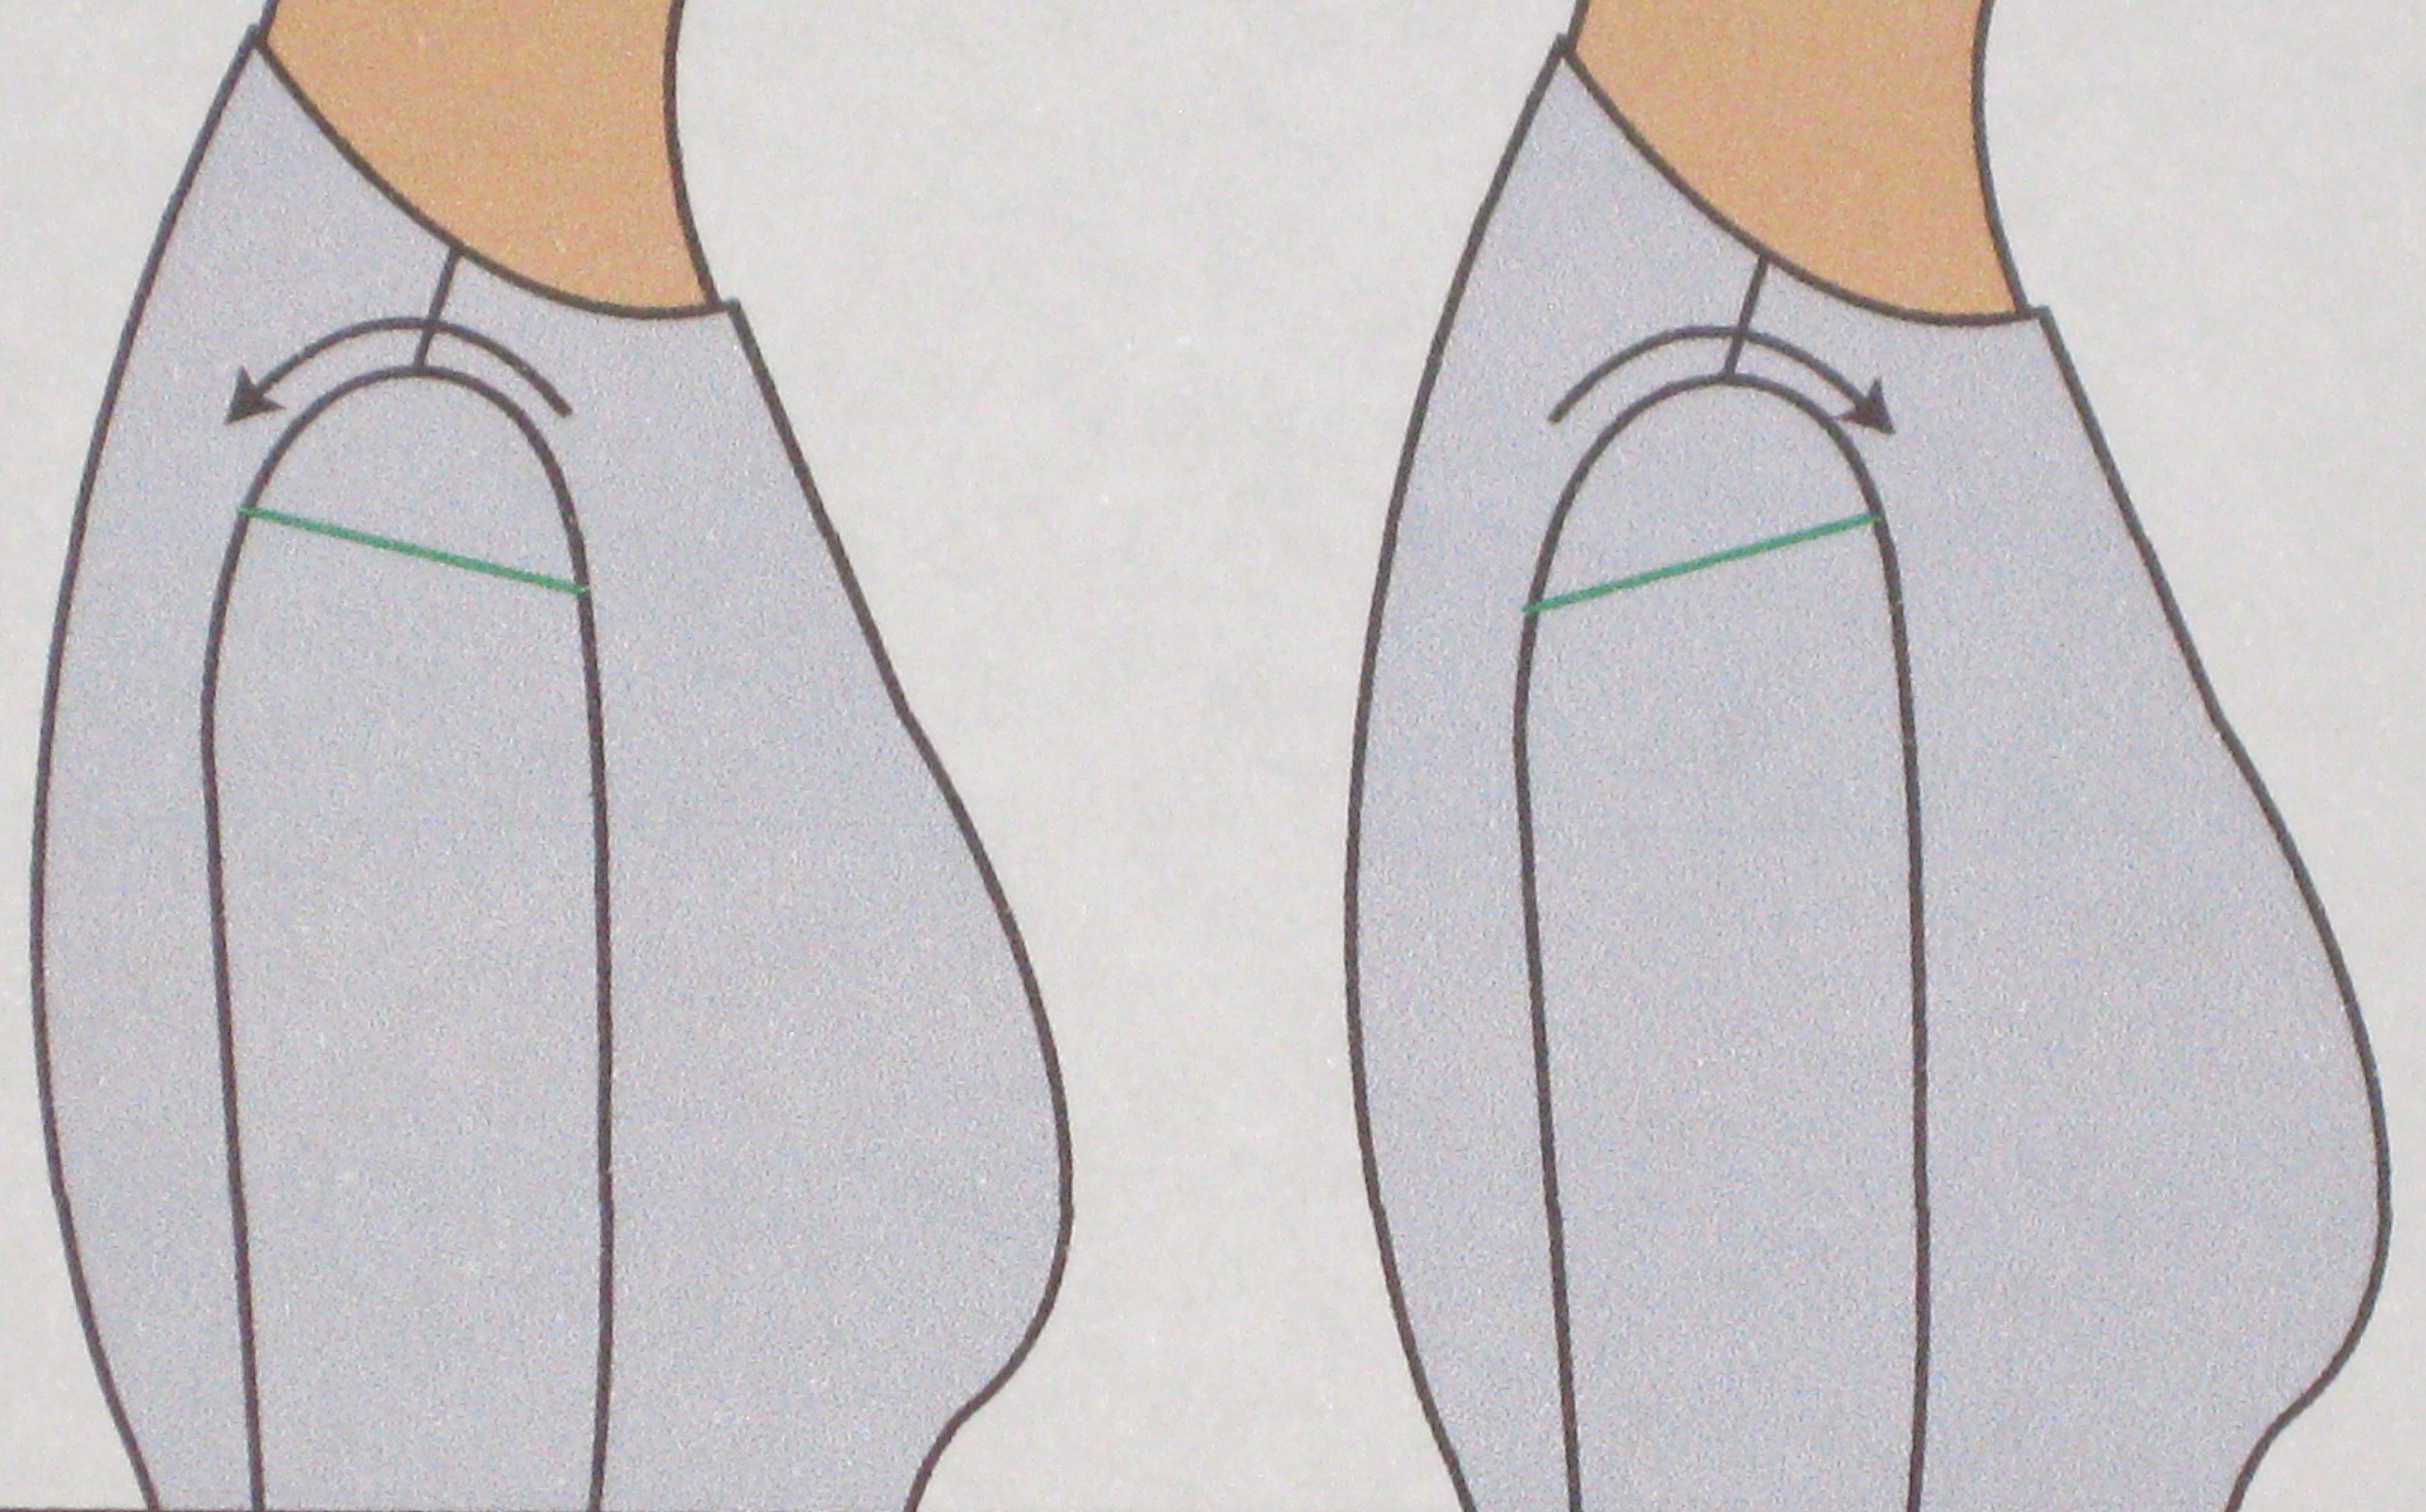
Draw a line from the shoulder point to the hem, parallel to the grain line. Then draw a line at right angles to the grain line level with the underarm points.
The measurement from the horizontal line to the shoulder point is the cap height and the length of the horizontal line at underarm level is the bicep measurement.
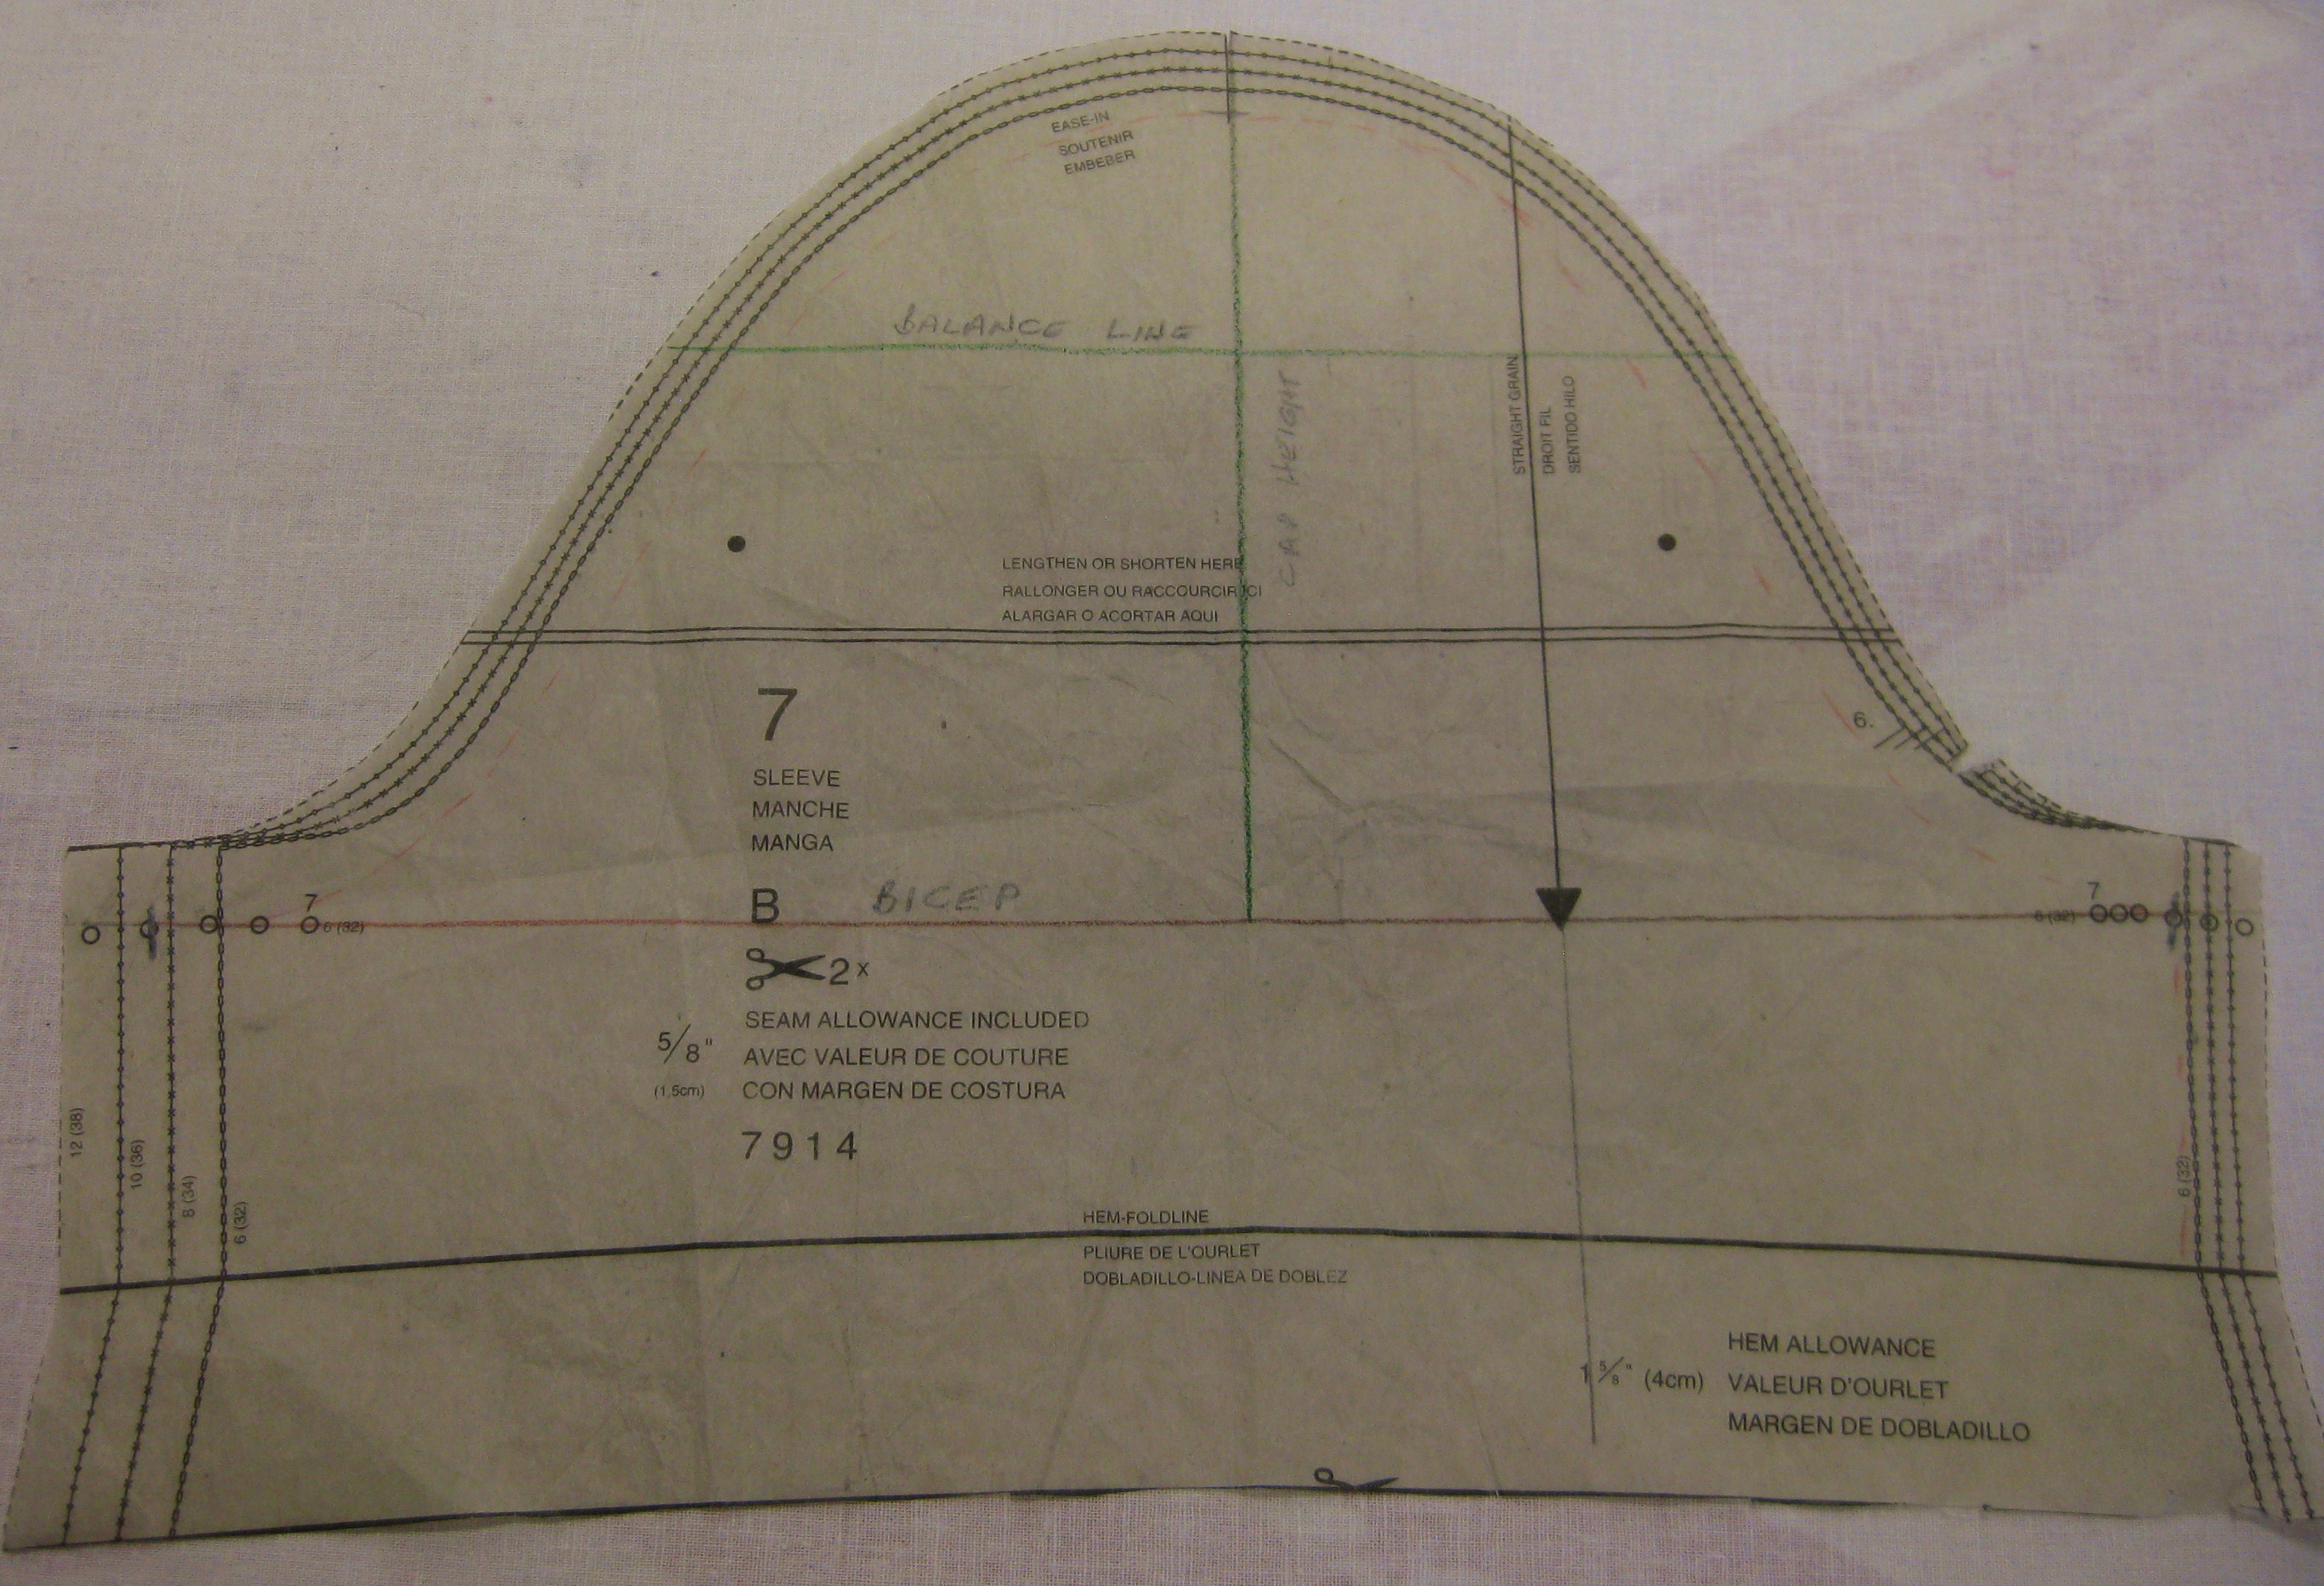
Draw line joining top of underarm seams and measure from this line to the shoulder point. This is the cap height.
For comfort when wearing the garment the cap height of the sleeve should be approximately 1.5cm longer than the body measurement and the bicep should be at least 5cm more than the body measurement. These measurements will increase for jackets which are to be worn over other garments and even more for coats.
If the underarm is too low, arm movement is considerably restricted. Many will remember the large full sleeves of the 1980’s and 1990’s when large shoulder pads and low armholes were the norm. Fashion today dictates a closer fitting sleeve so the underarm may need to be raised if using an older pattern.
It has been my experience from fitting many jackets and garments with set in sleeves that even if the bicep area has sufficient width, a cap height which is too high will result in a feeling that the sleeve is too tight. This problem can be easily fixed by raising the armscye in both the sleeve and bodice sections of the garment.
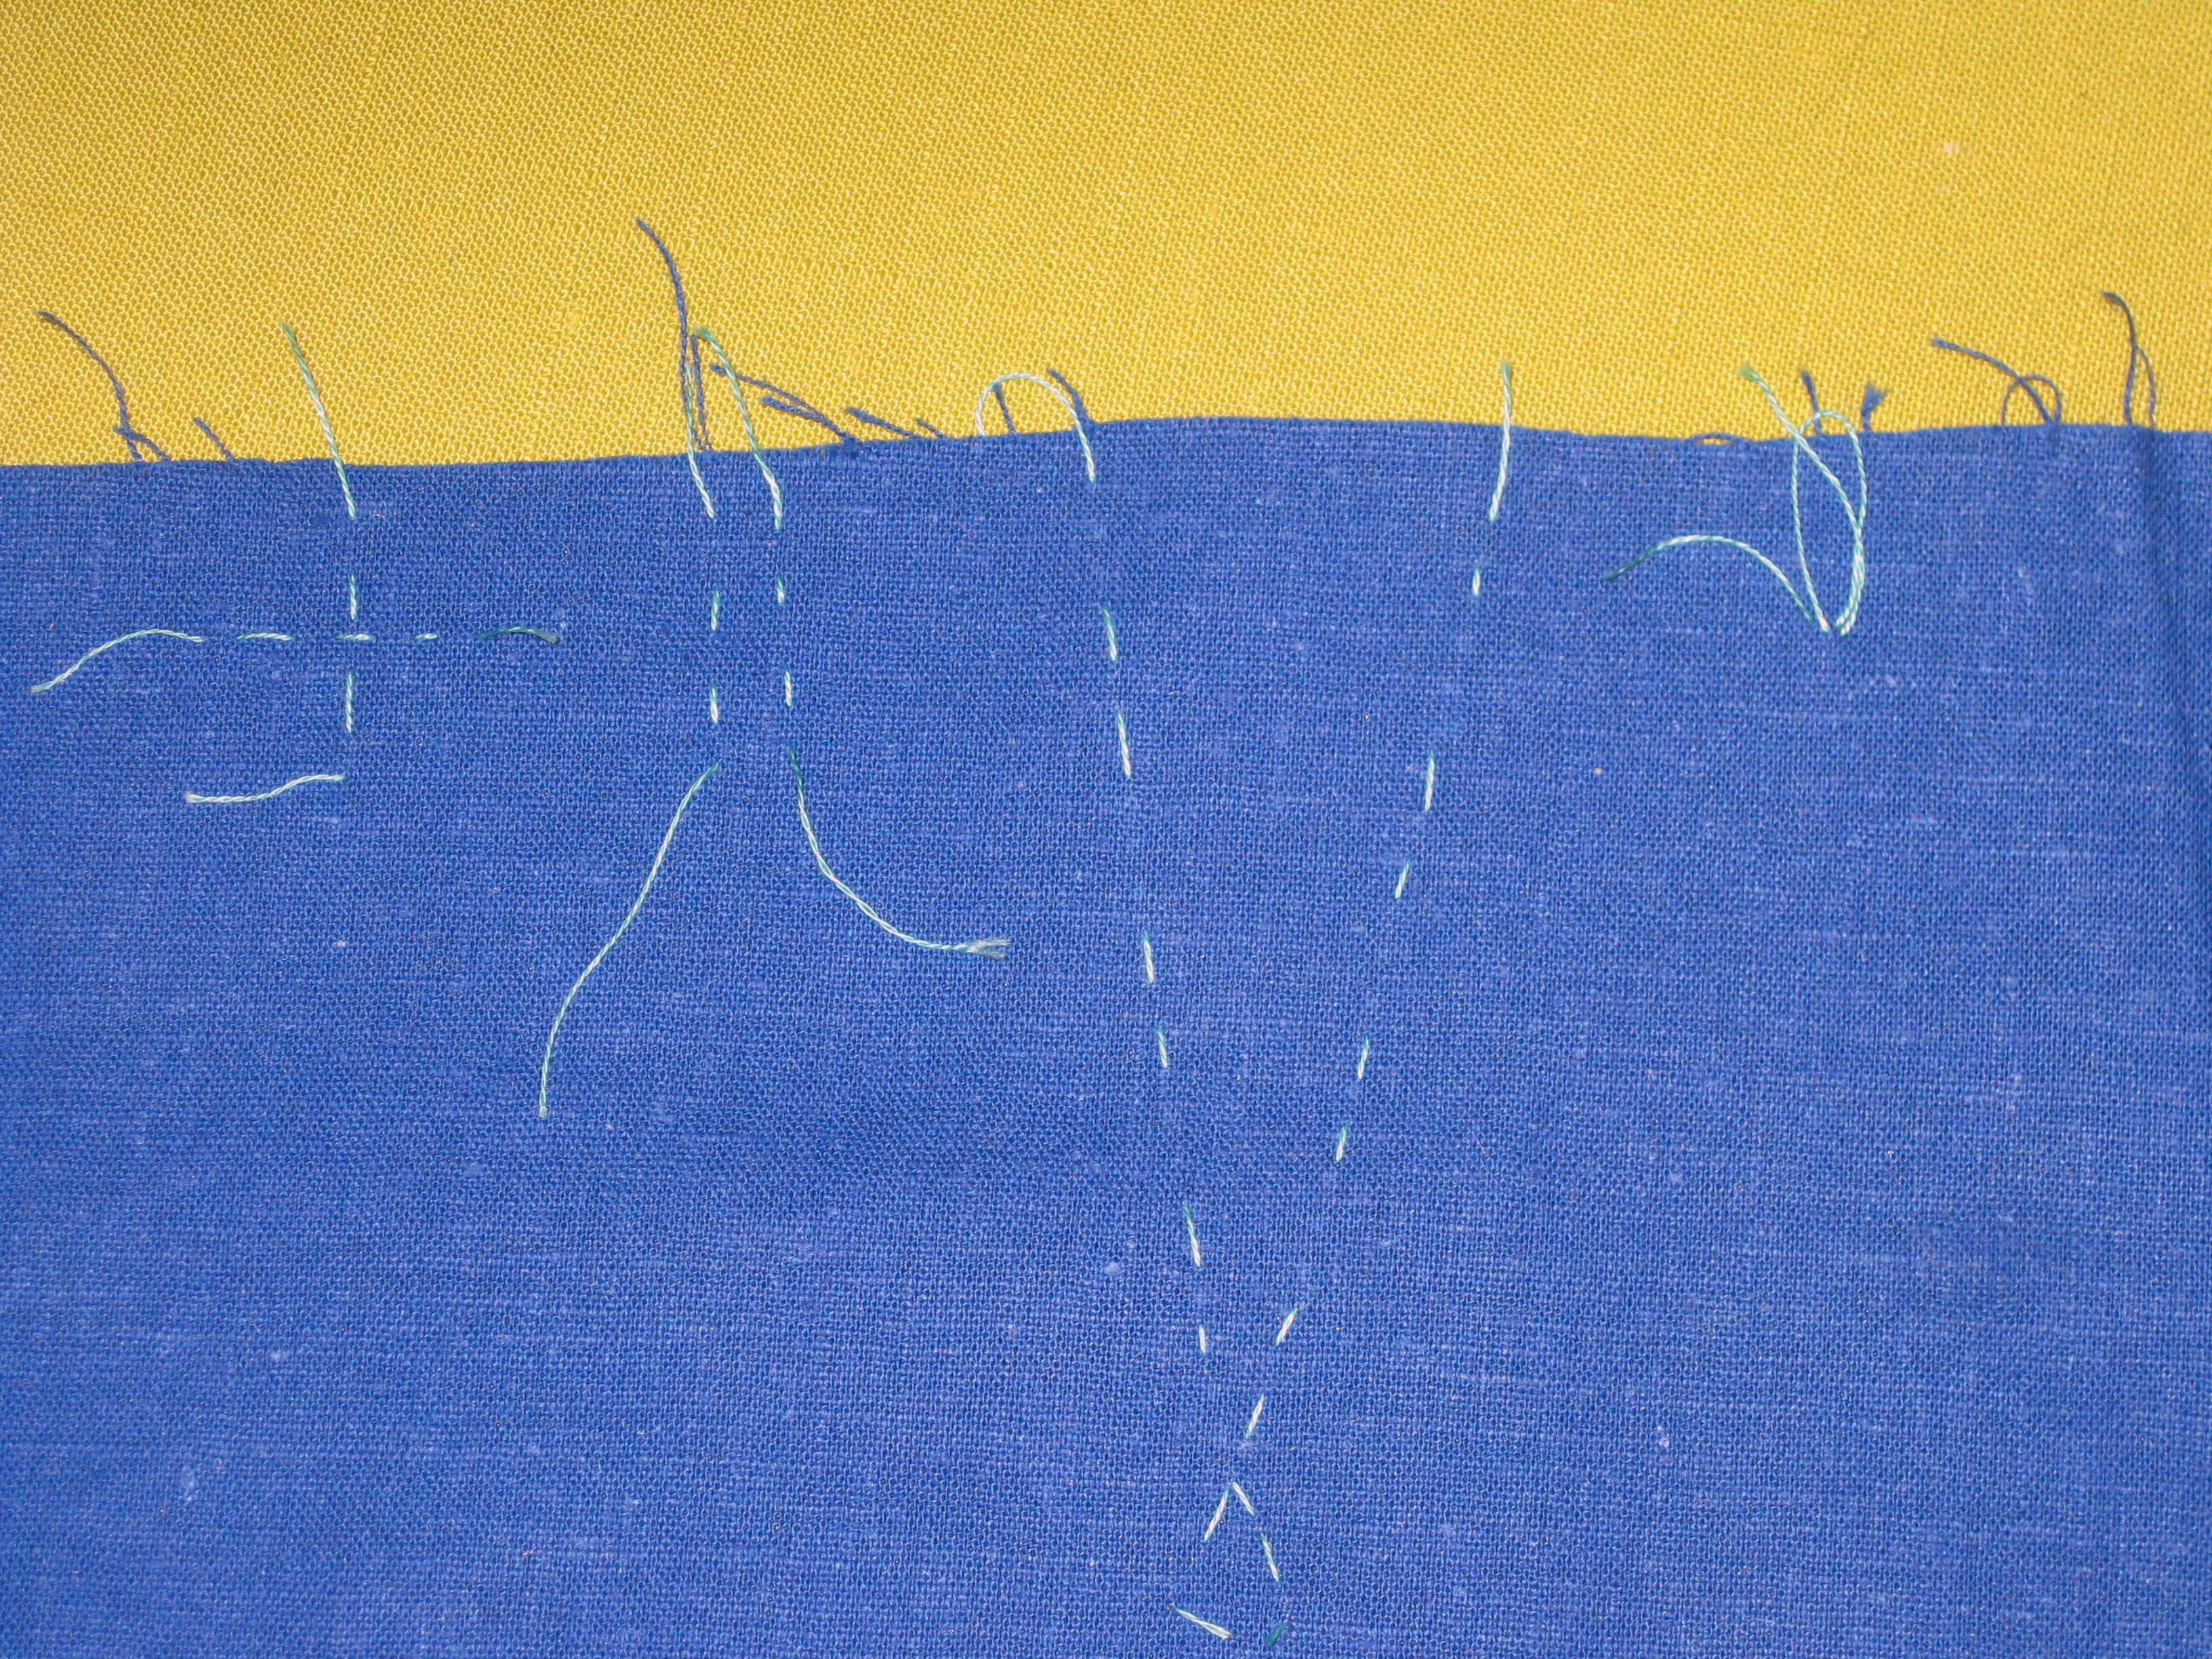
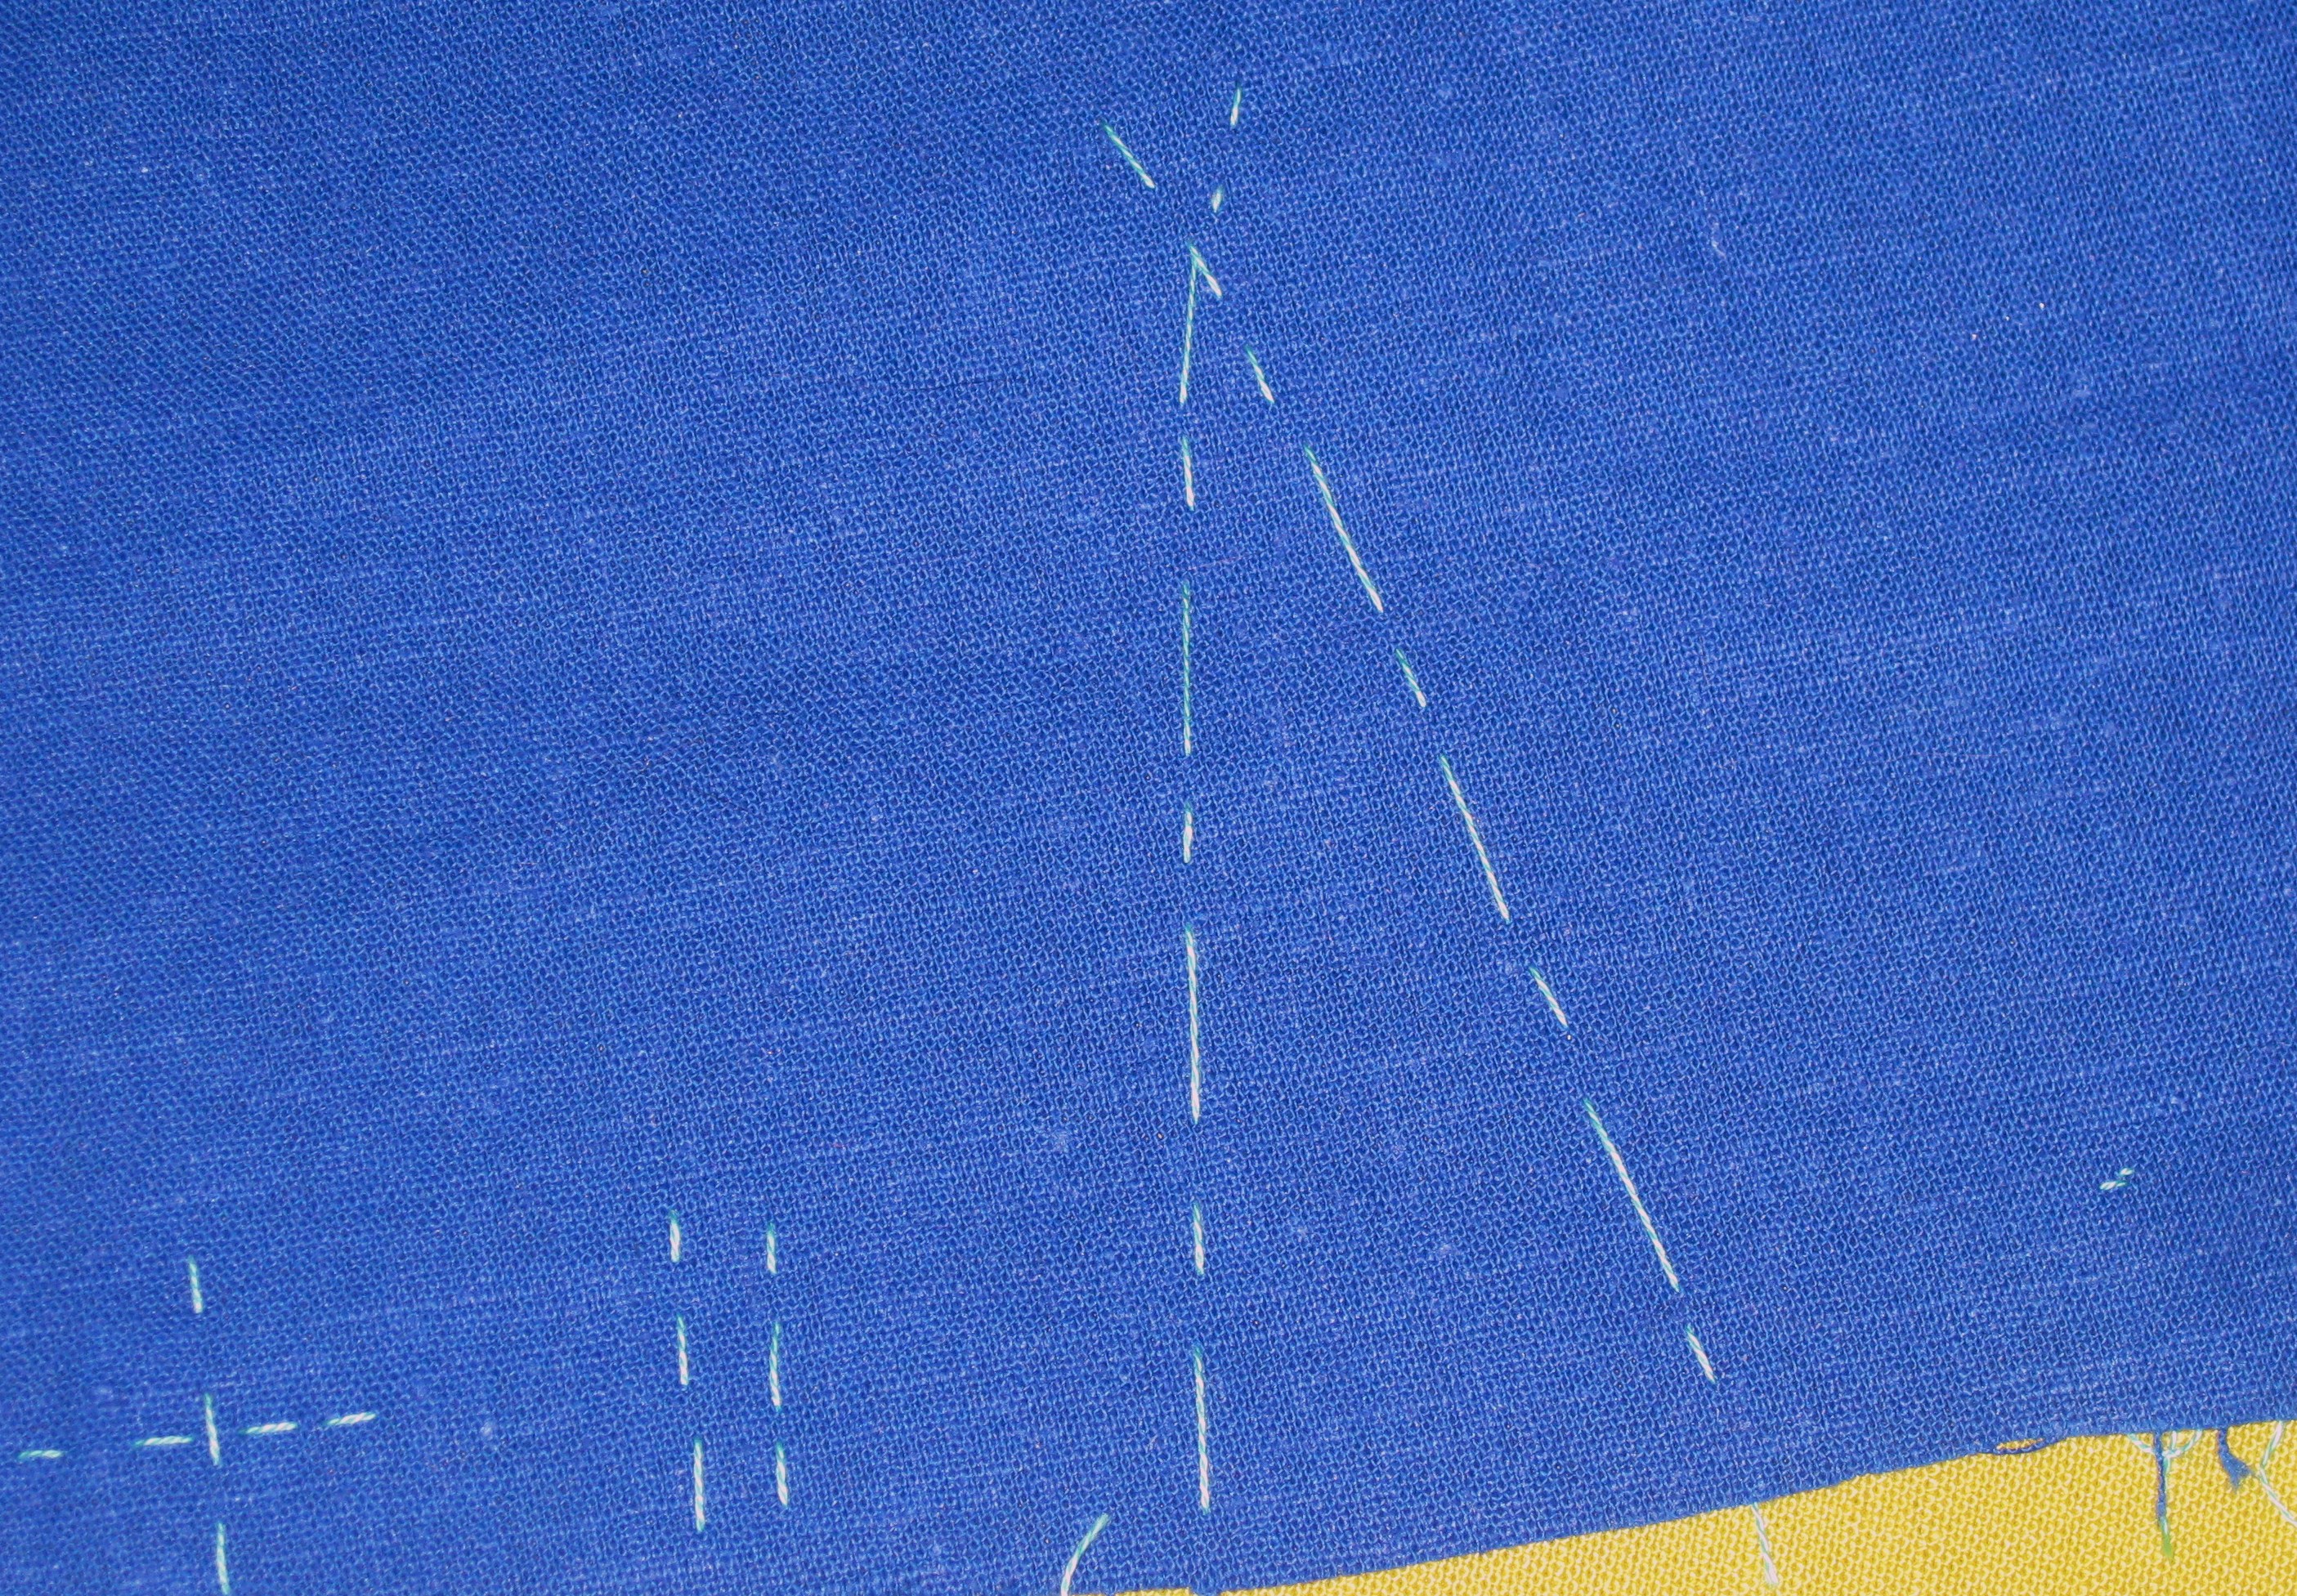
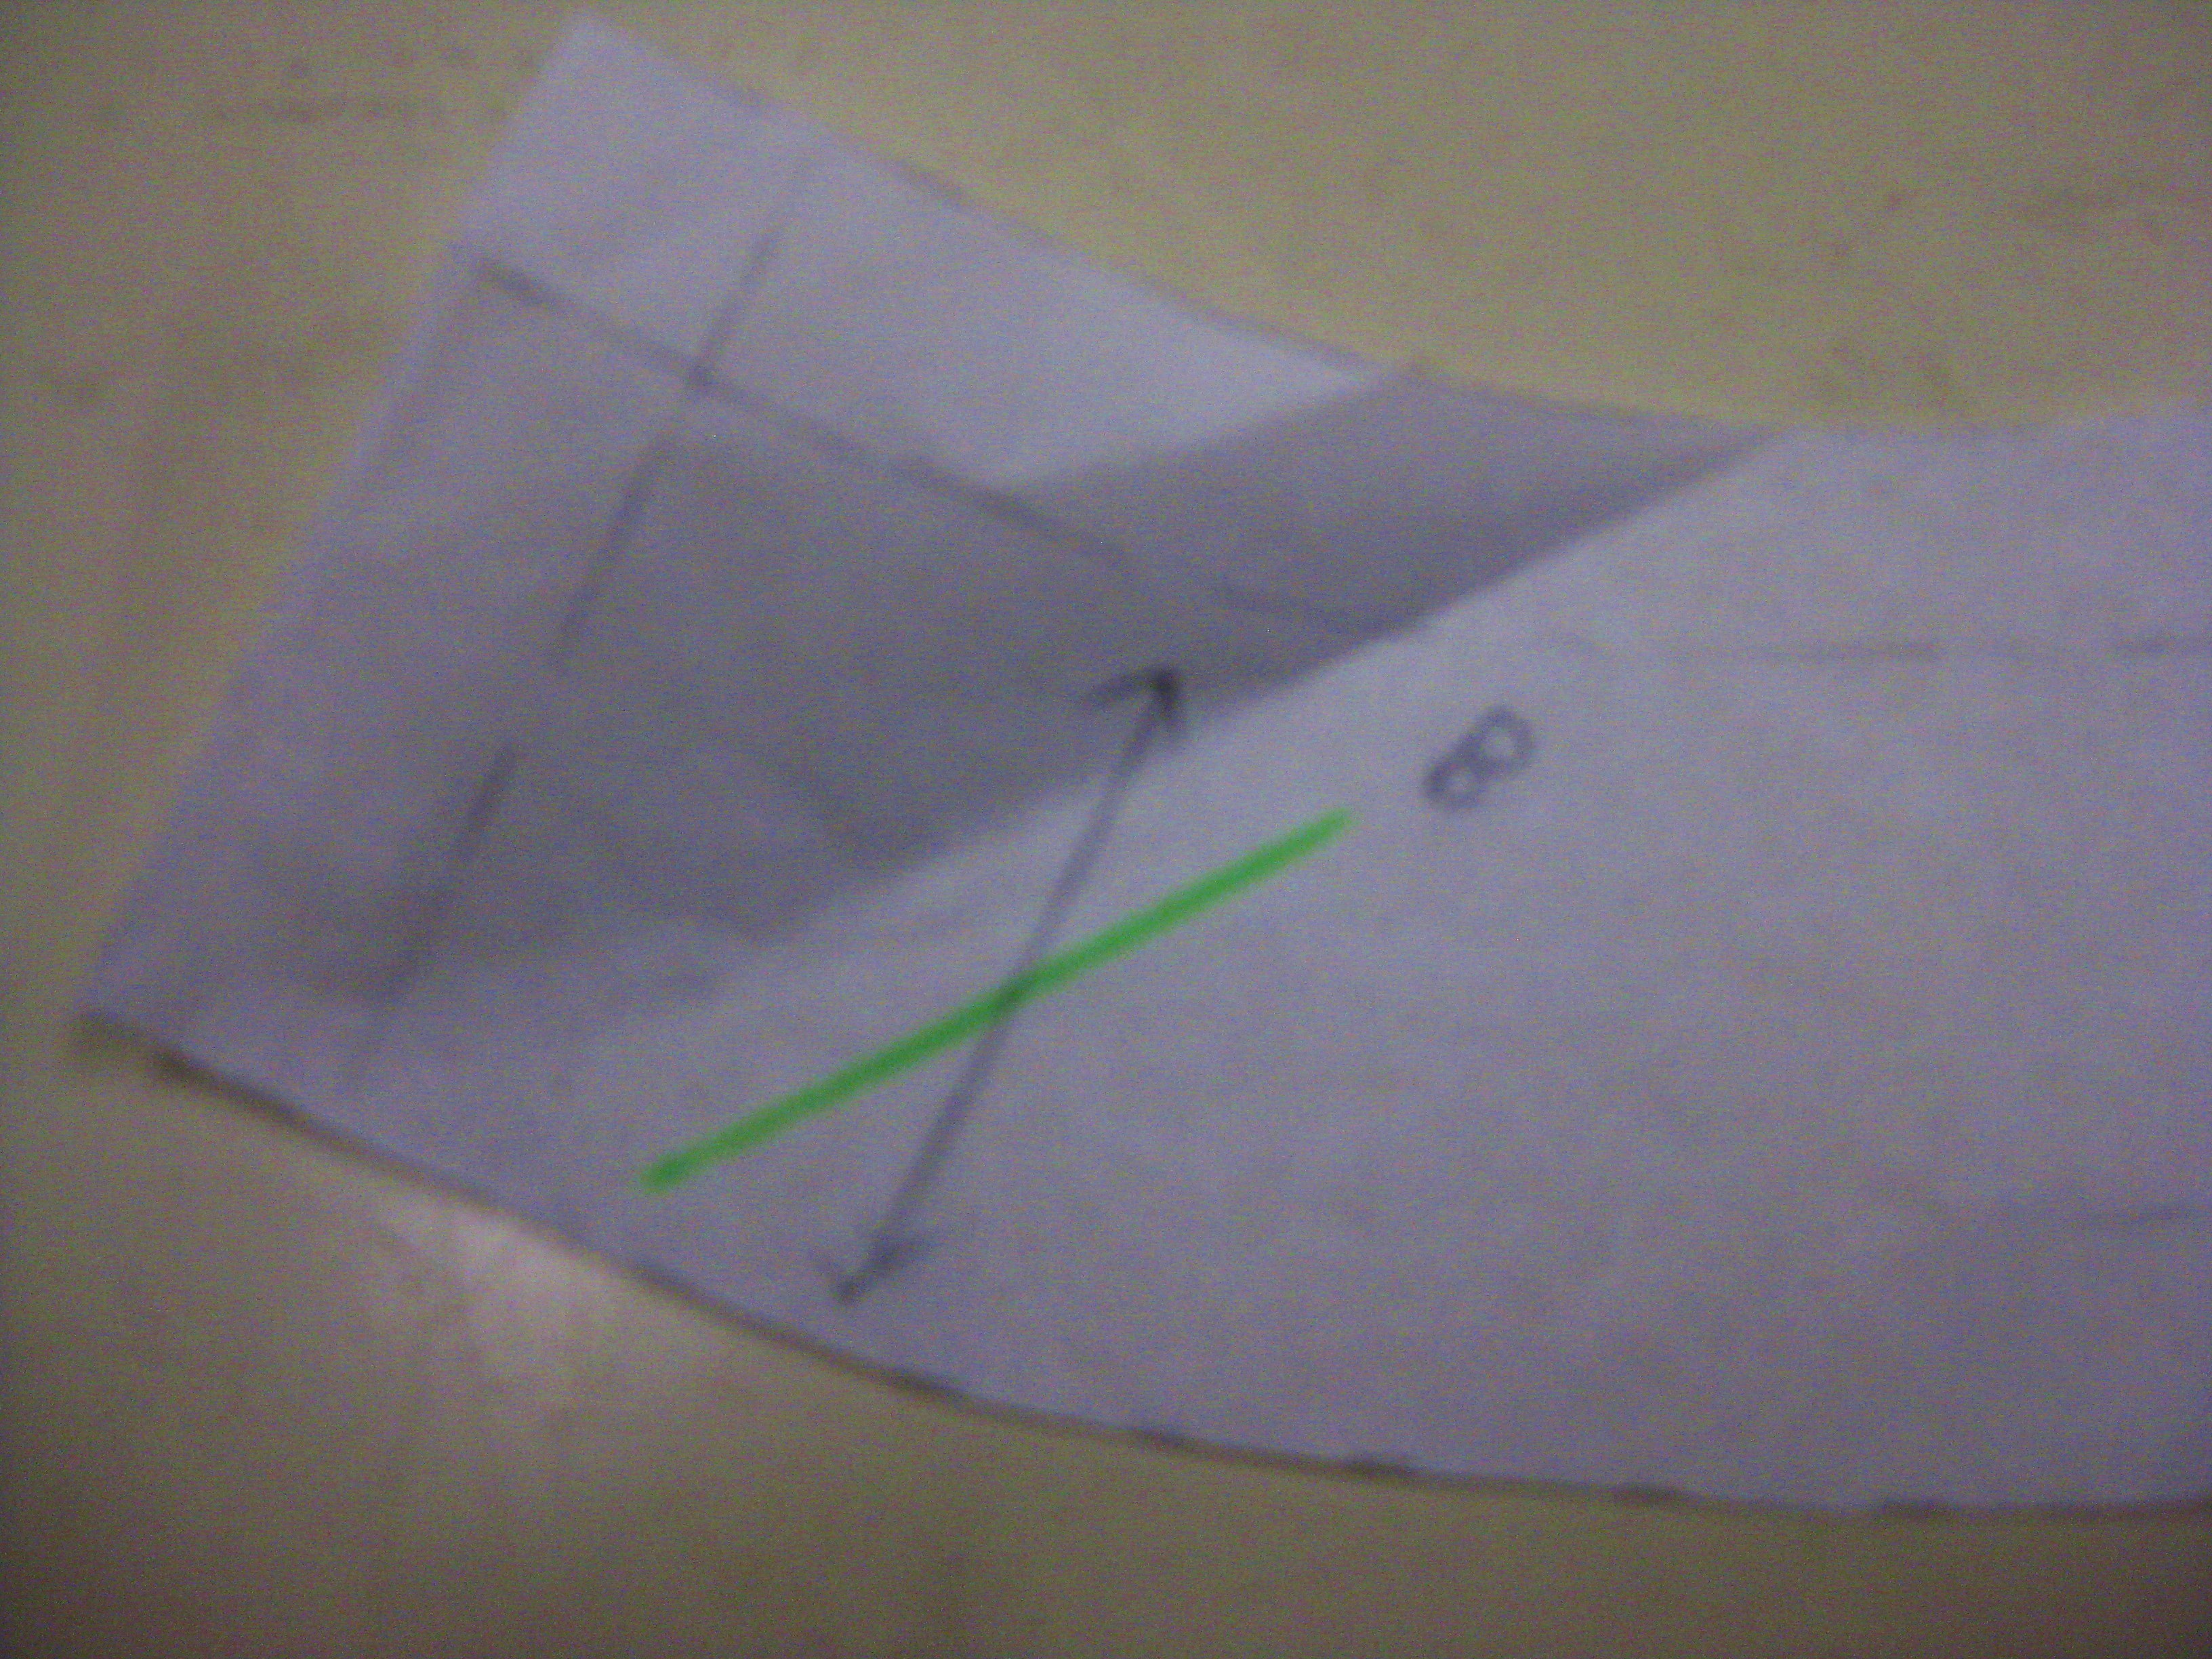
Another important issue is the hang of the sleeve as it leaves the armhole. It should hang smoothly down the arm without any folds. An easy way to check that the sleeve is well positioned is to thread mark a balance line across the cap of the sleeve, at right angles to the grain line.
Pin the sleeve in place matching the shoulder seam with the original match point at the top of the sleeve and try on the garment. The balance line should be parallel to the floor. If it is not, there will be folds in the sleeve which can be corrected by rotating the sleeve until the balance line is in the correct position.
Rotate balance line until it sits parallel to the floor.
Sleeve Cap Ease
In a sleeve which is to be set smoothly into the garment, the measurement at the seam line of armscye of the sleeve should be 25mm (1”) to 30mm (1 ¼”) longer than the seam line on the bodice. This excess is the amount of ease. To check the amount of ease in the sleeve, measure the front and back armscye sections of the garment separately. Also measure the front and back sleeve caps separately. These measurements can then be compared to find where the excess ease lies.
Easing the Sleeve Cap
There are many different methods and opinions on how to ease and set a sleeve. I offer a method which has served me very well in lots of different fabrics over many years.
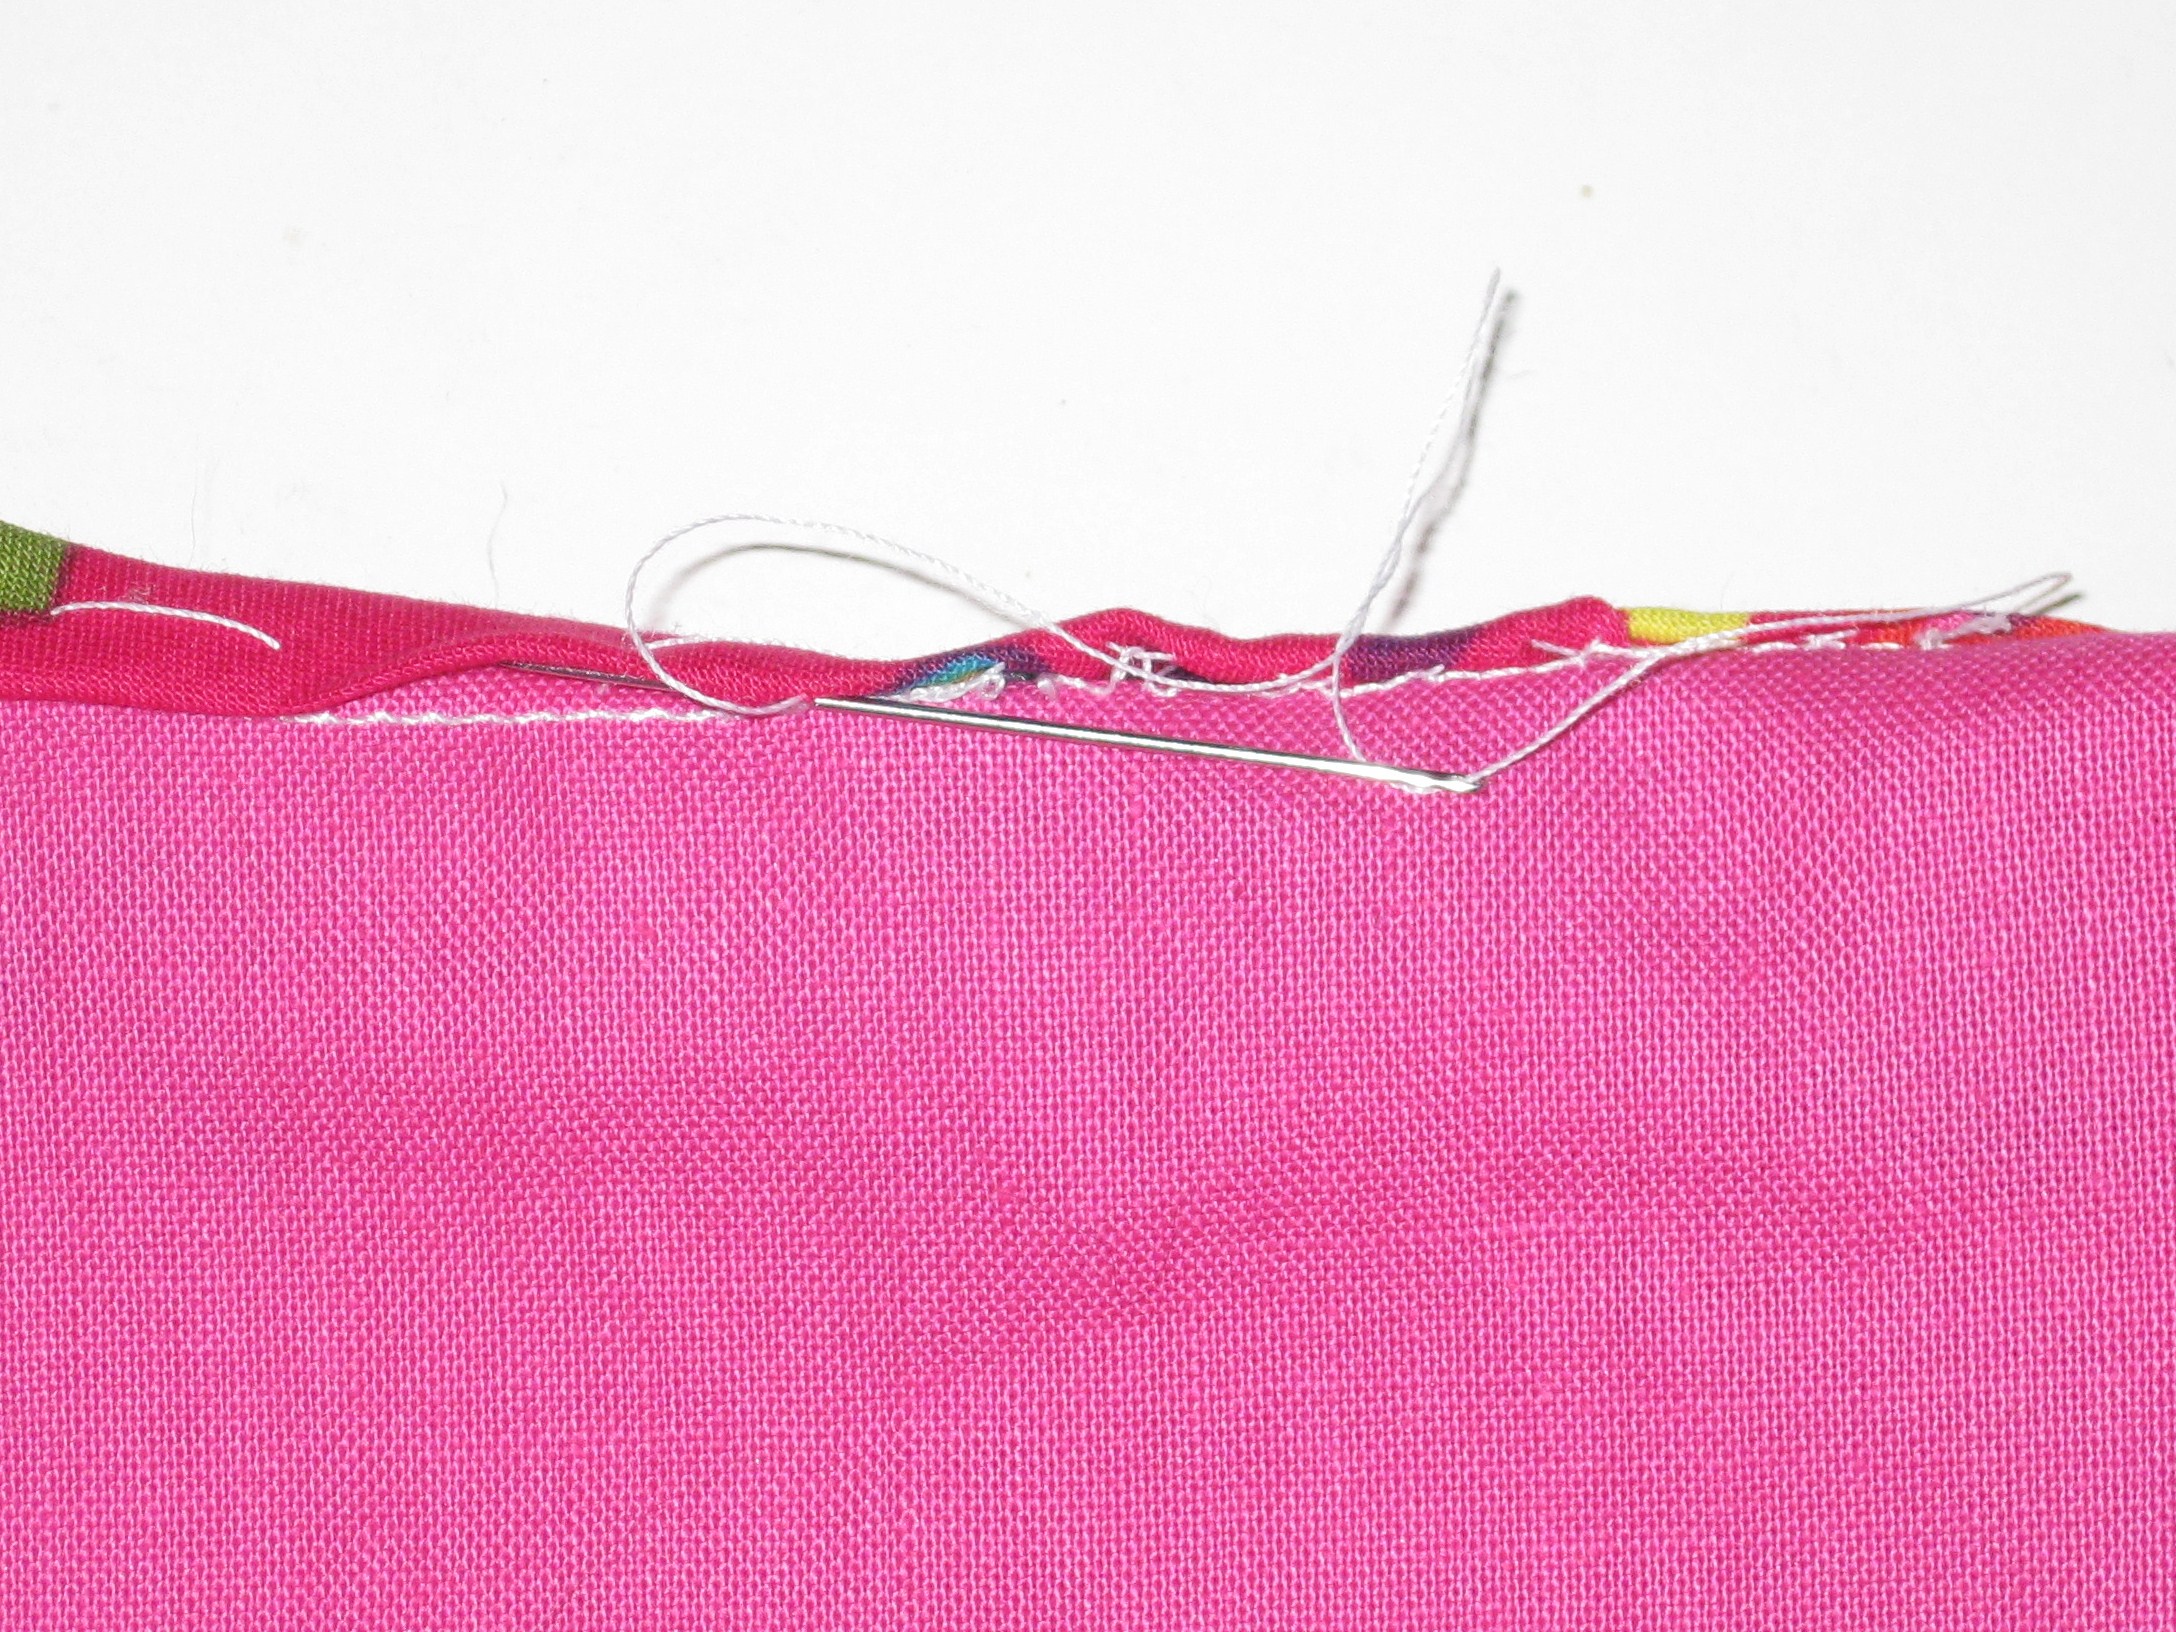
Select a stitch length of 2.5 to 3.5 (small stitch for fine, thin fabric and longer stitch for thicker, heavier fabrics) and reduce the machine’s thread tension to just below 2.0. This will make the bobbin thread quite loose and the fabric will draw up very easily without making small pleats which are difficult to remove when the sleeve is sewn in place.
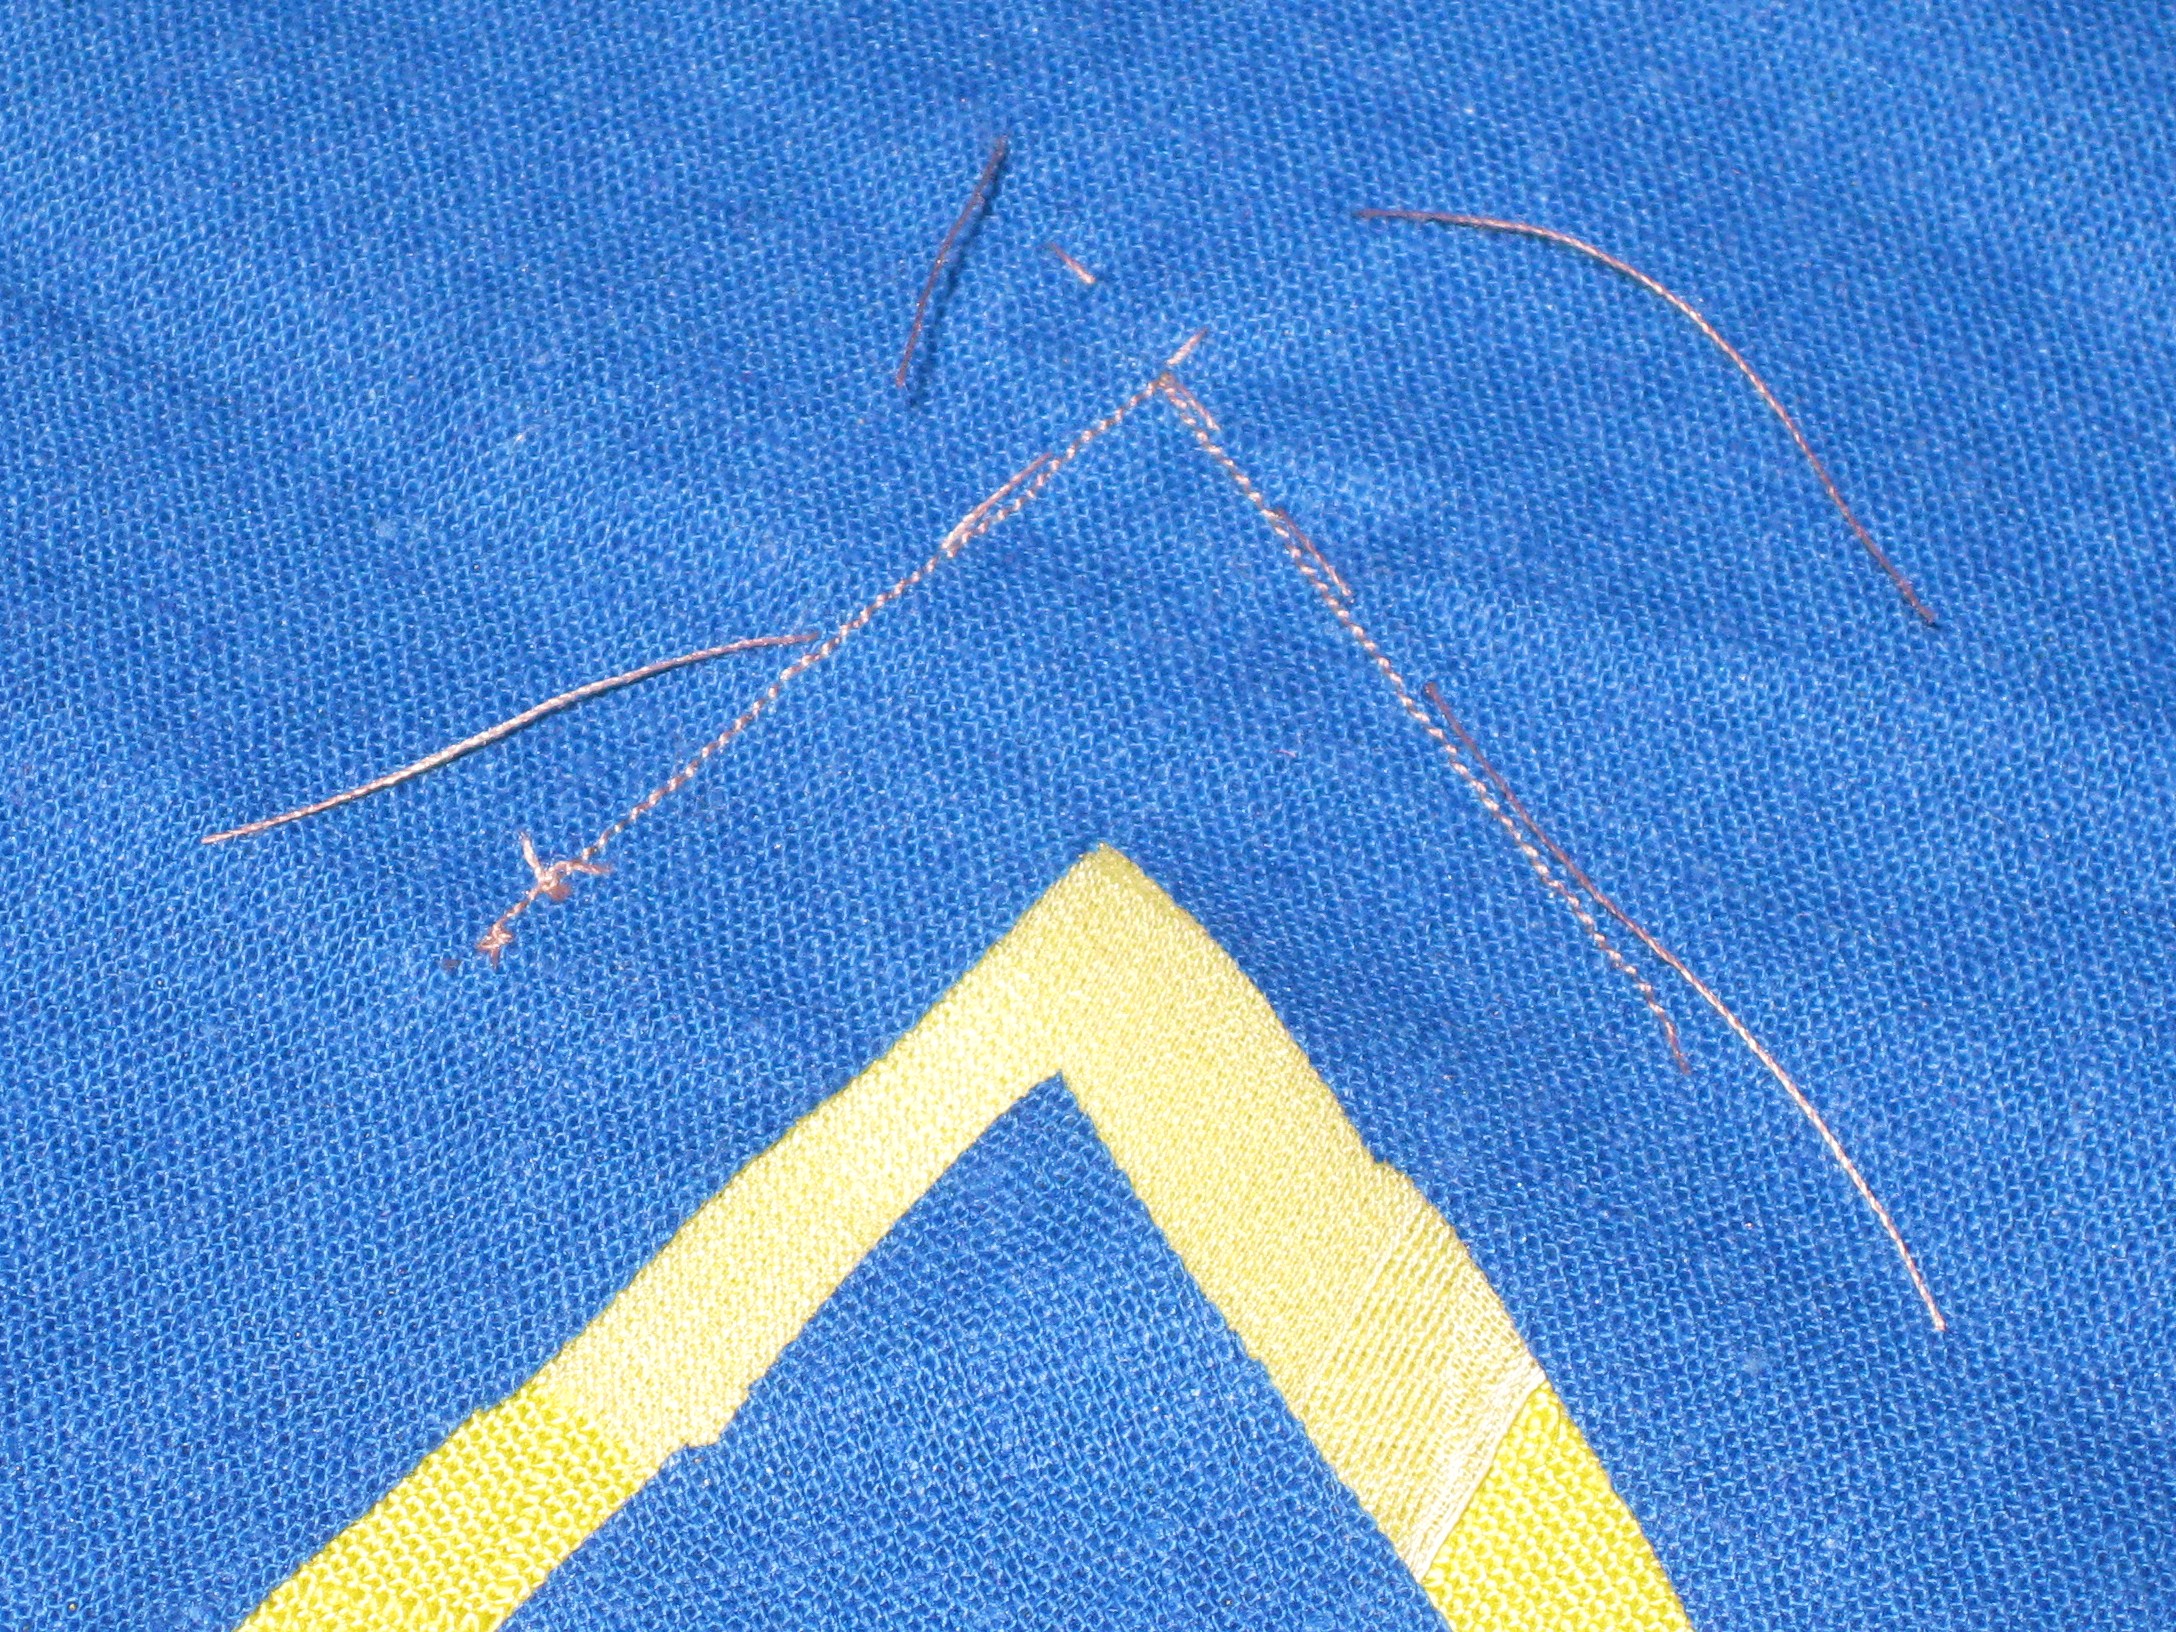
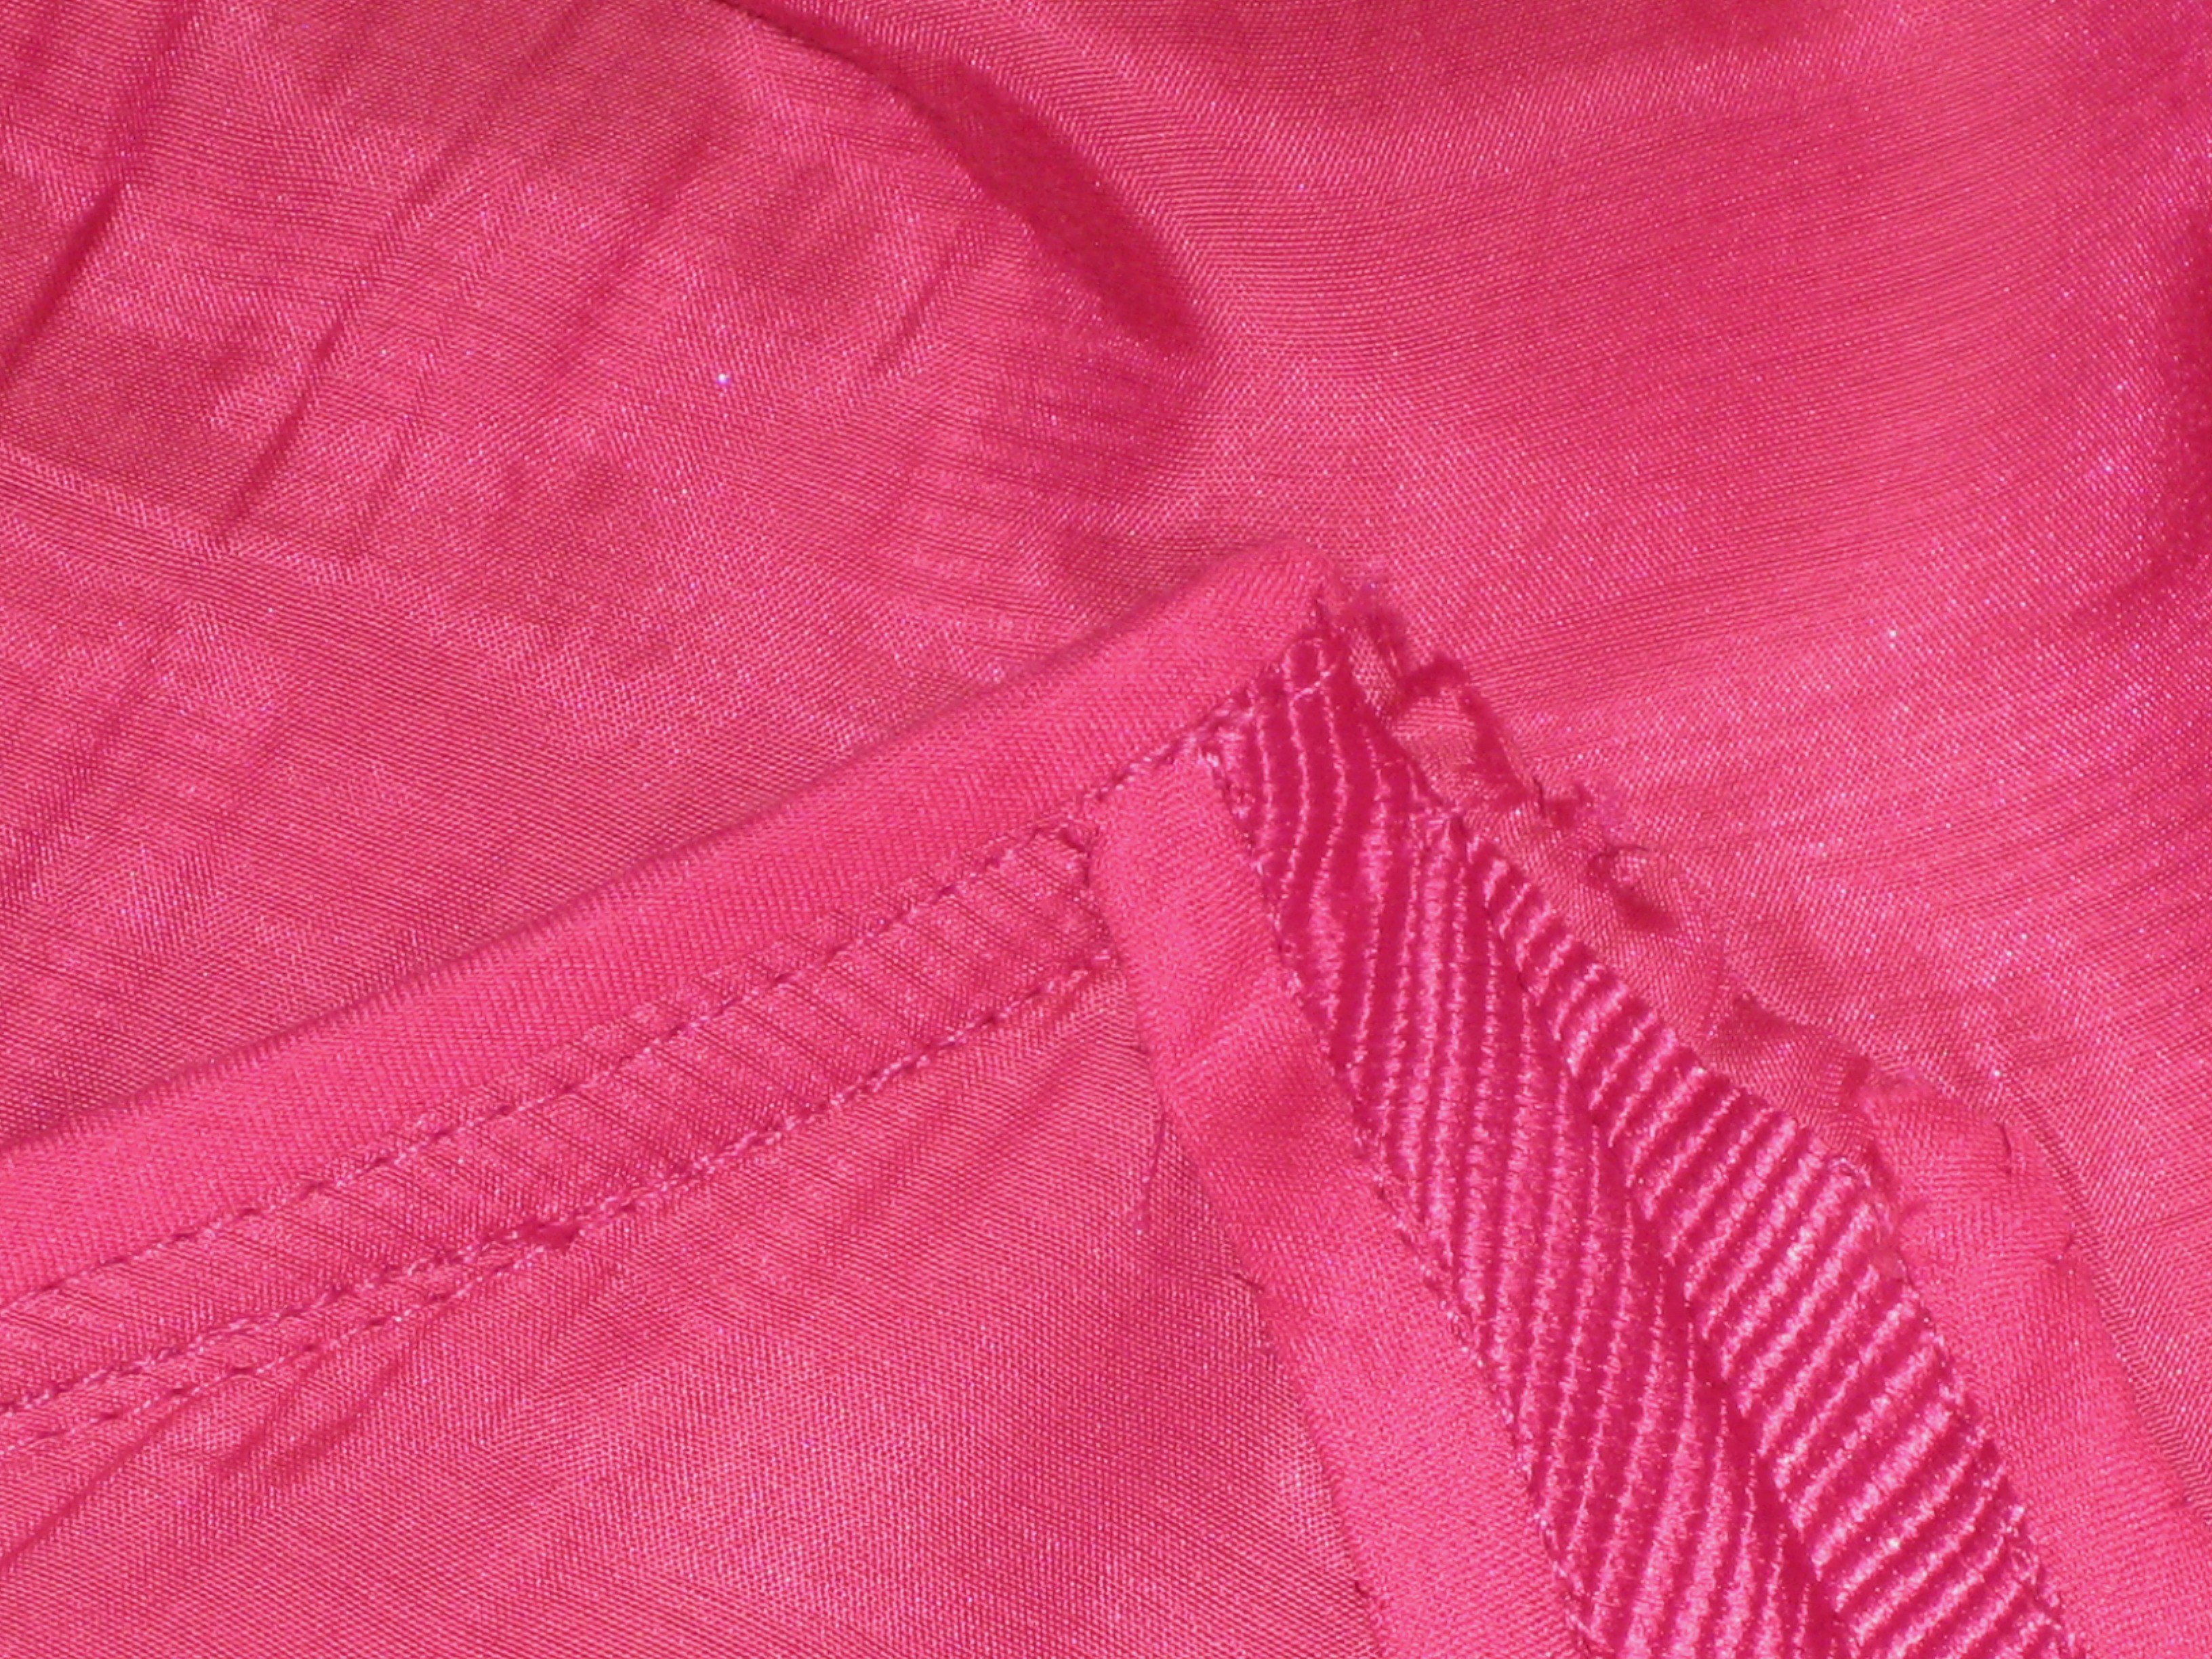
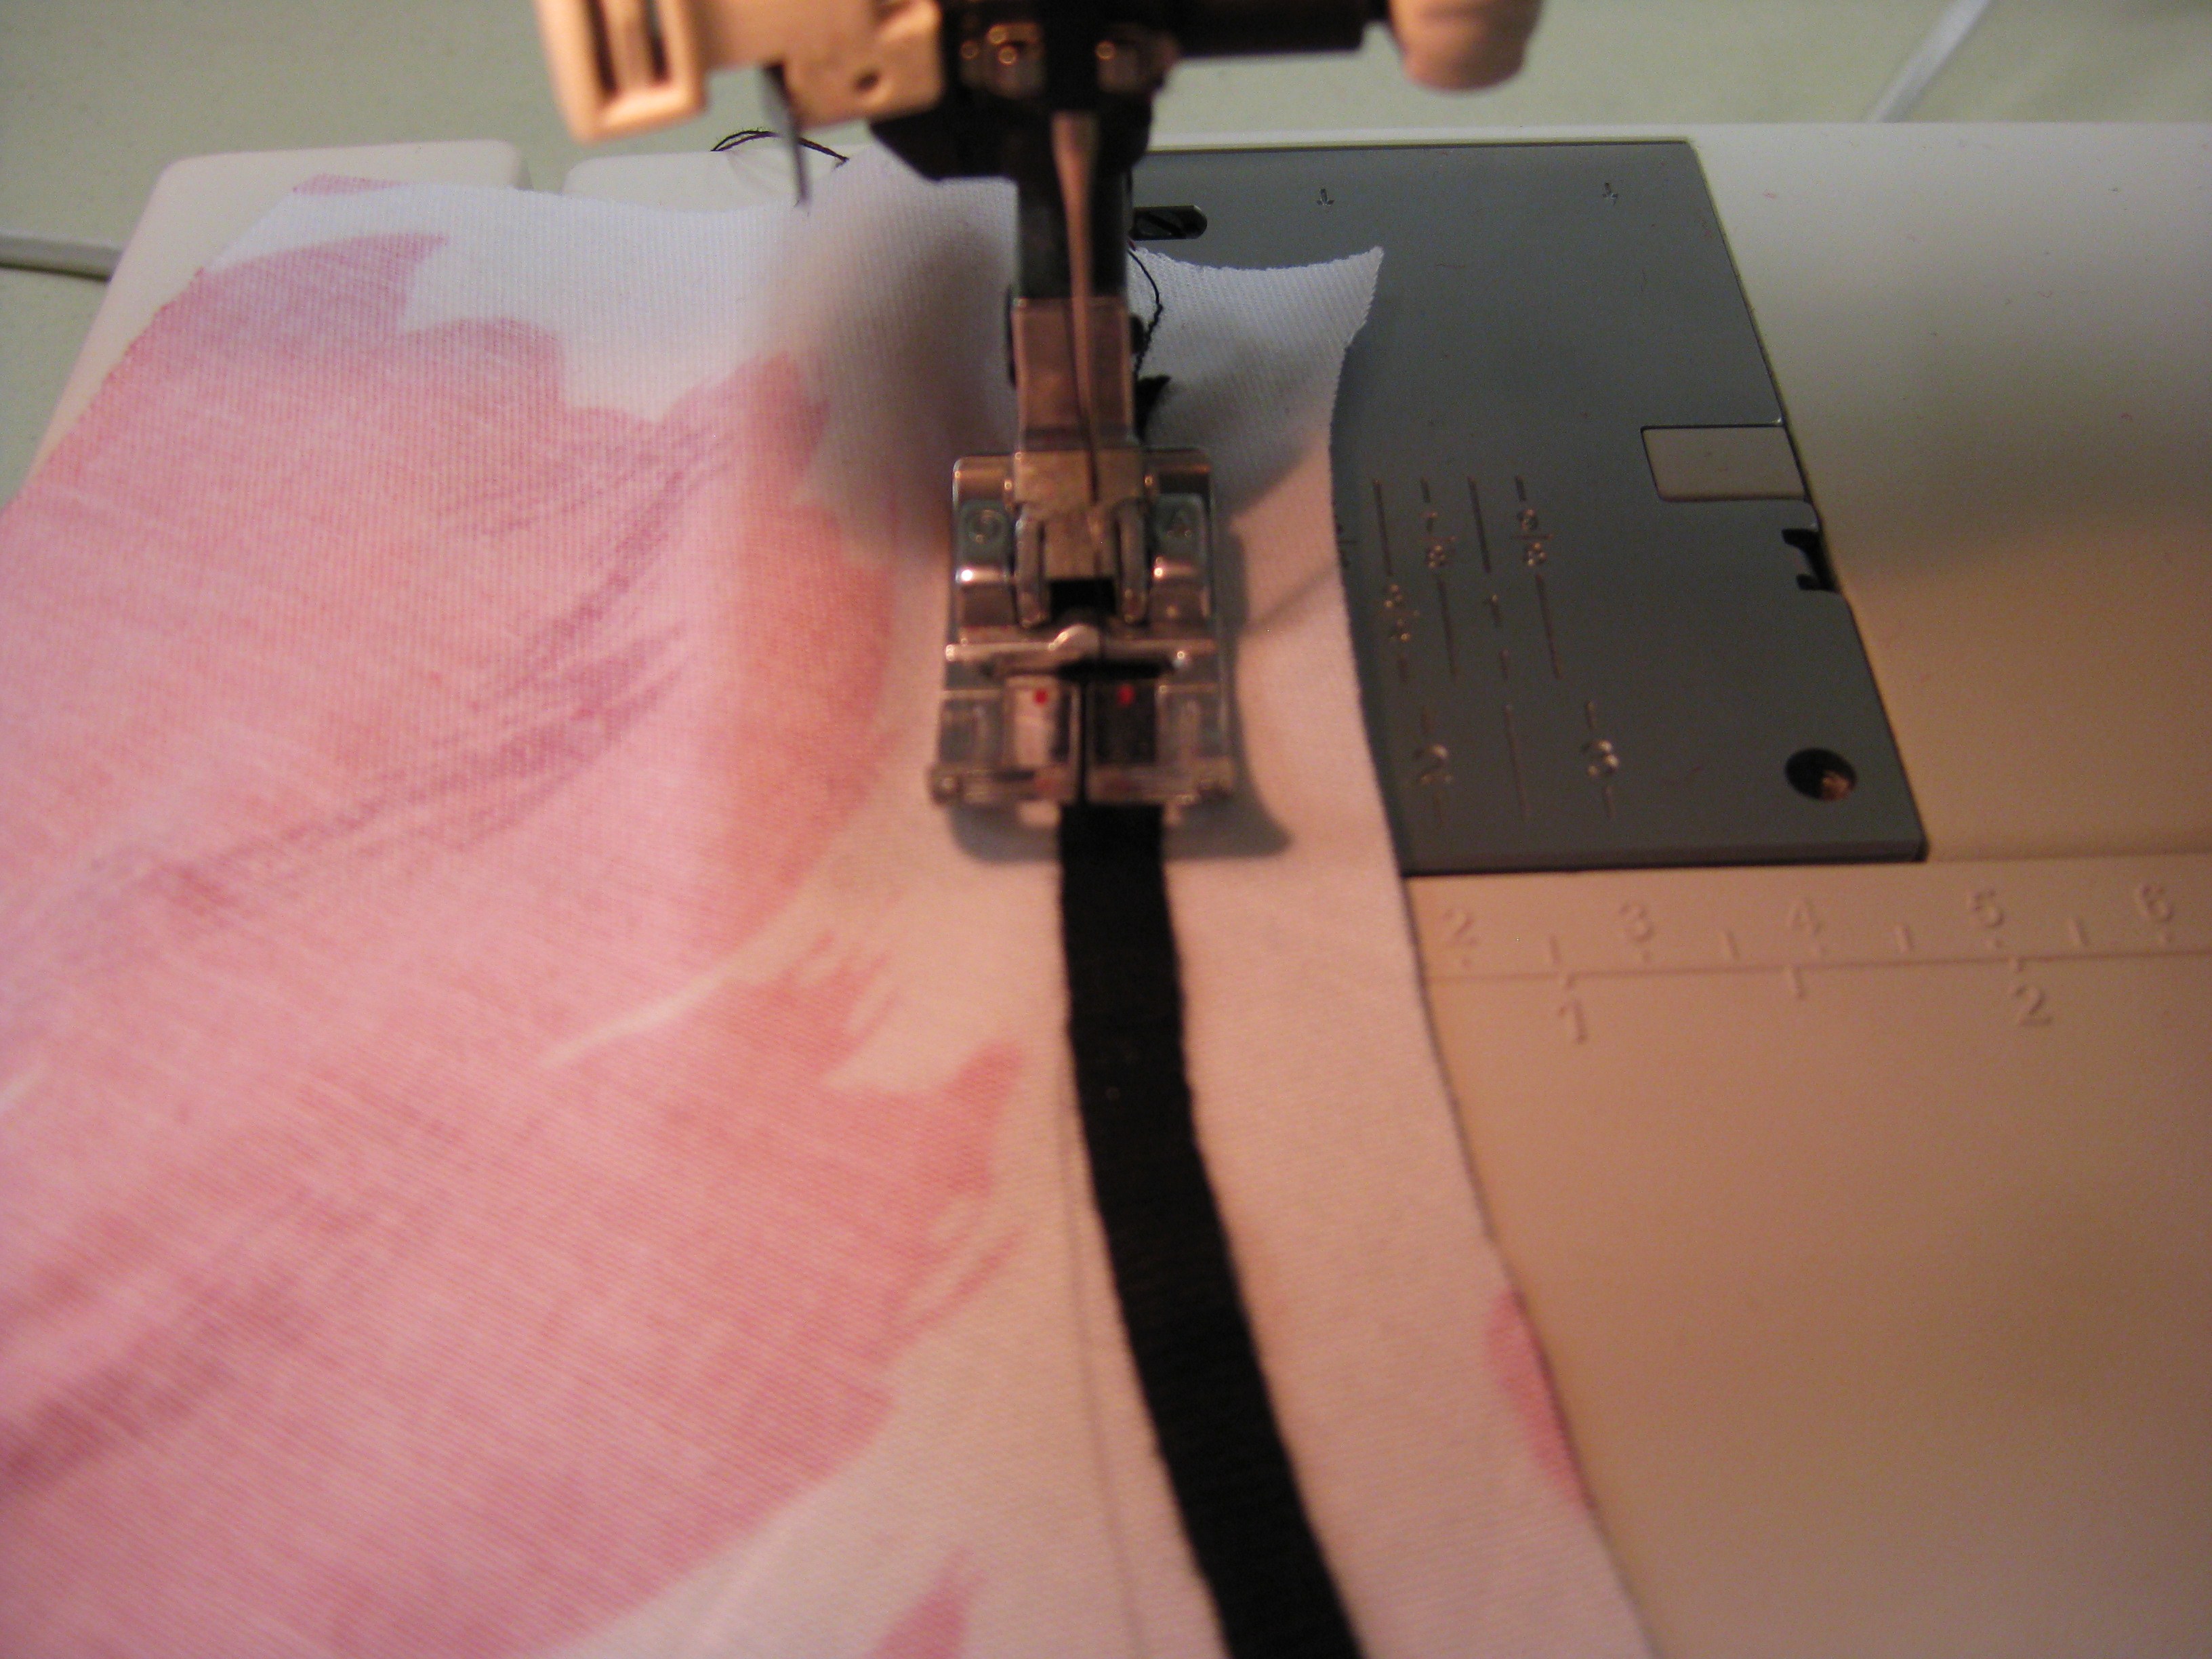
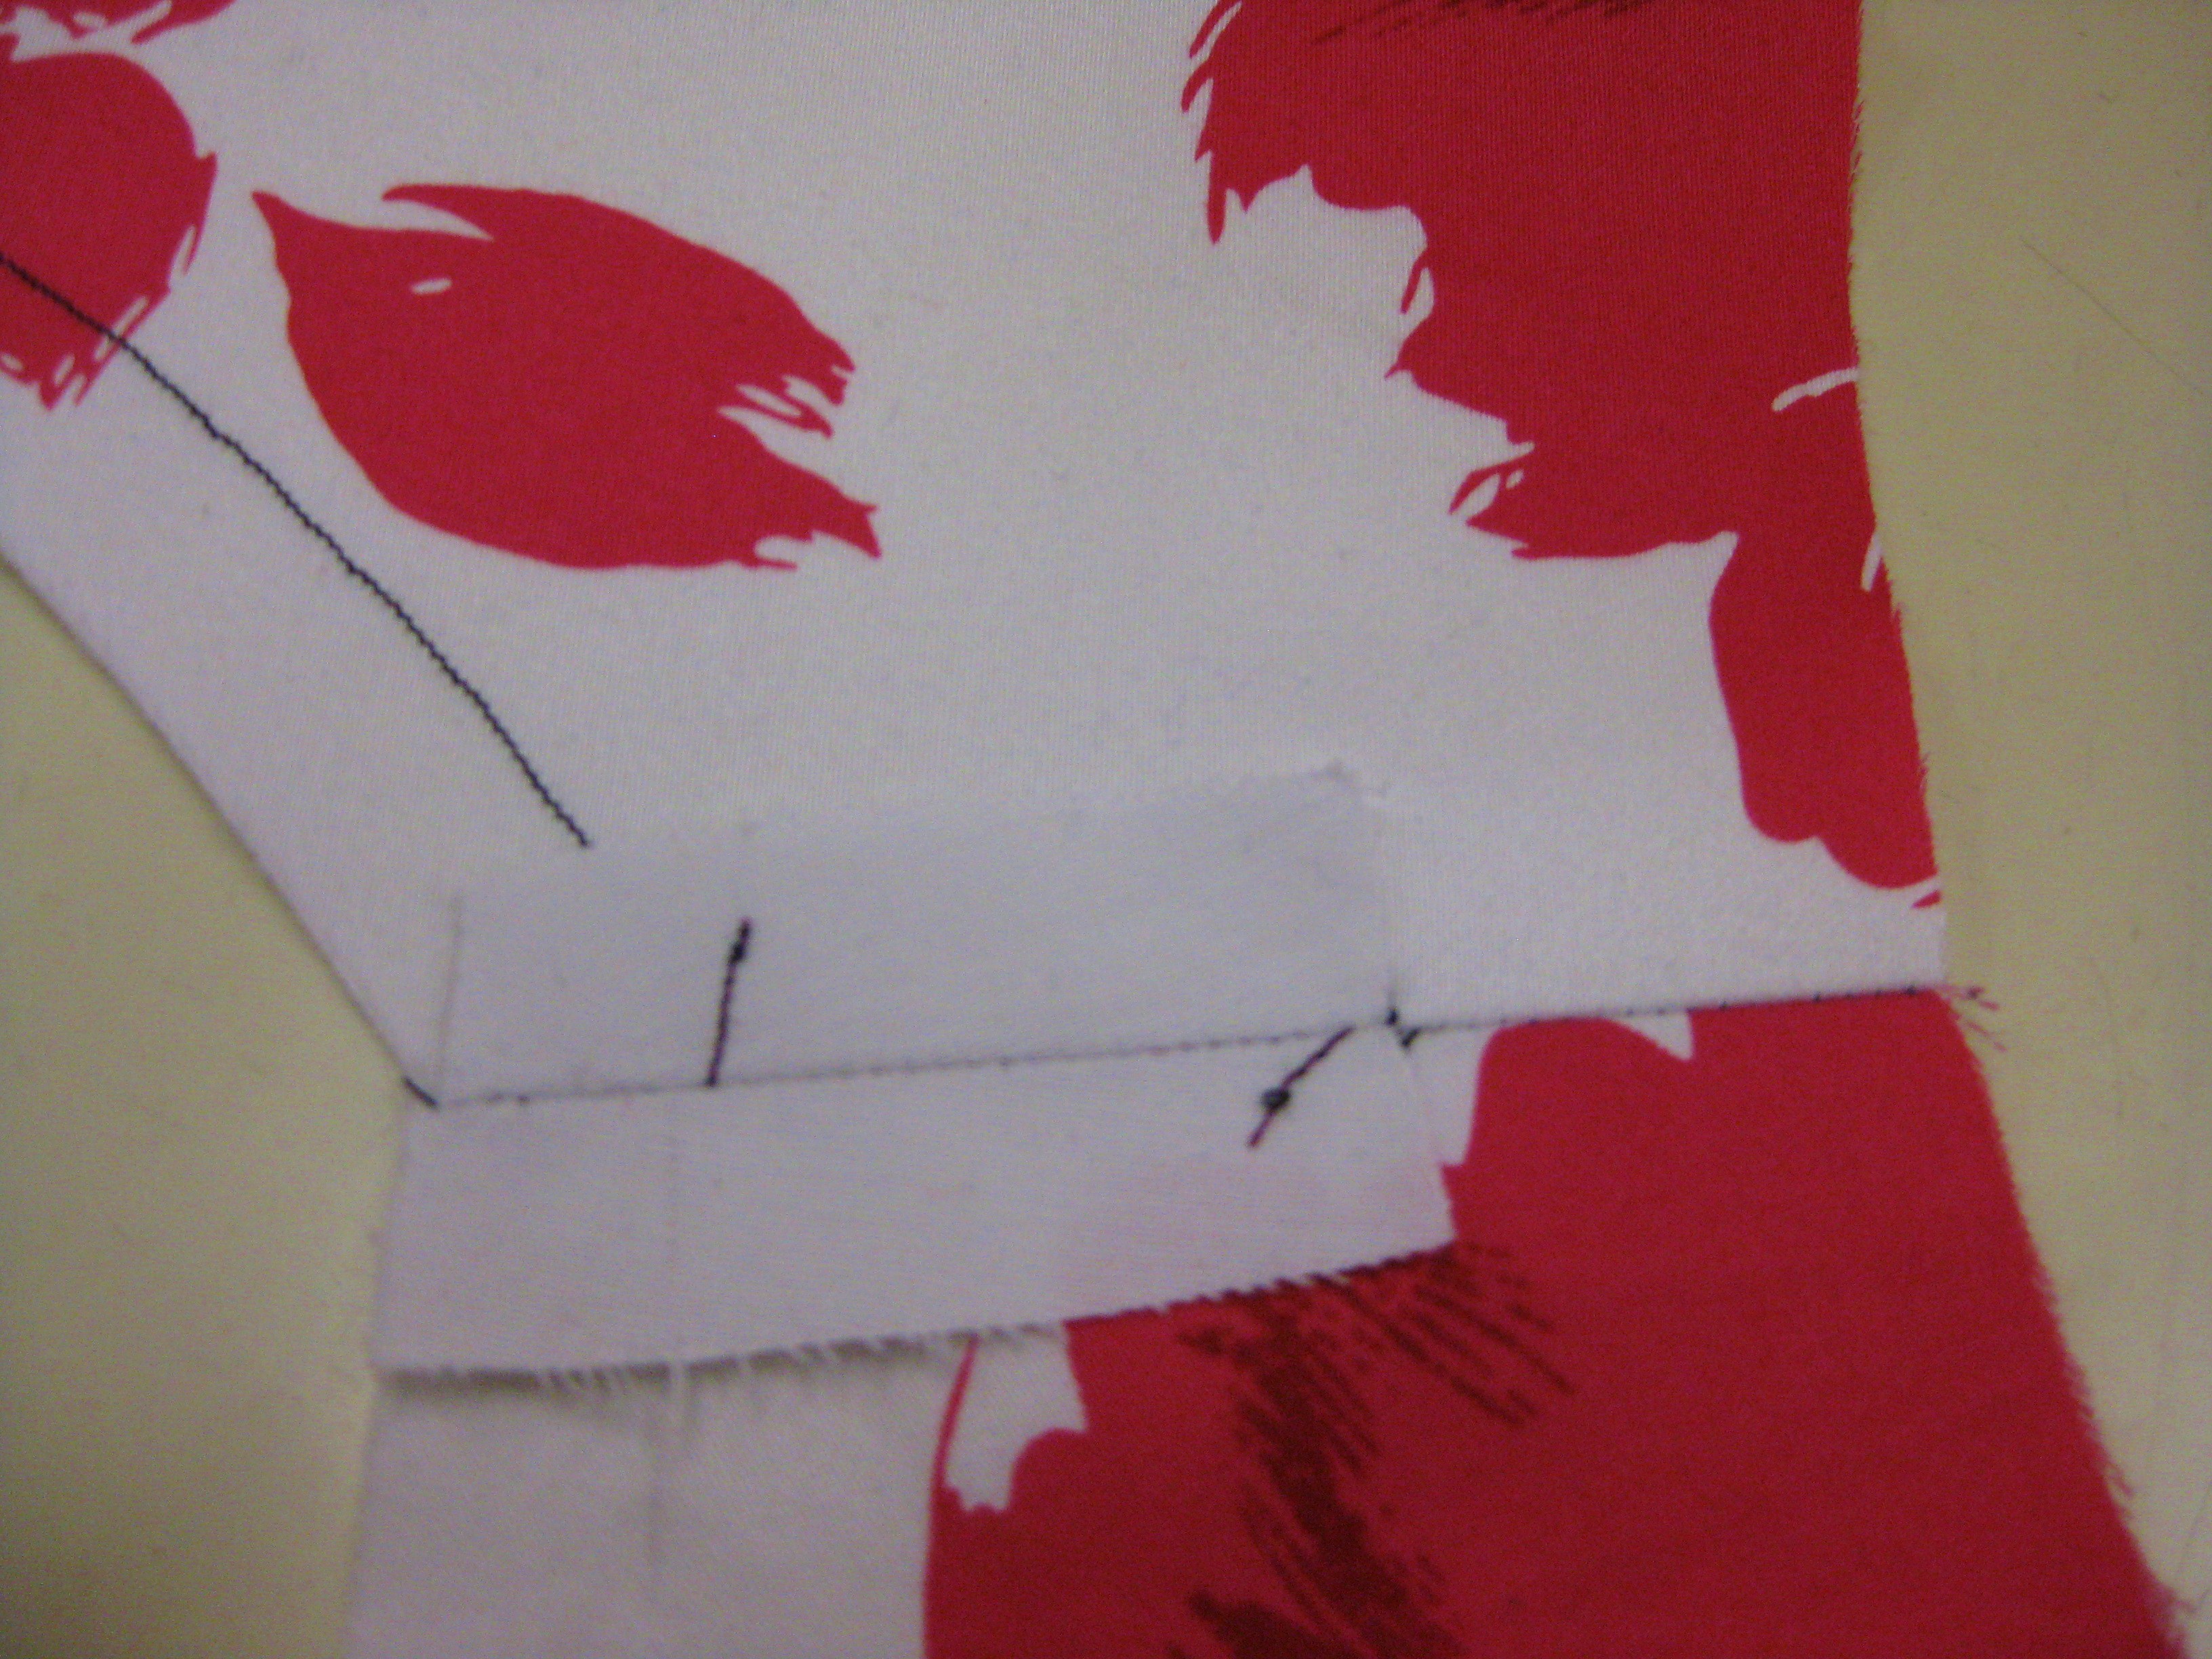
With the sleeve flat, the stitching is done from the right side of the fabric between the notches and across the cap of the sleeve, with the first row right on the seam line. Stitch a second row parallel to the first and within the seam allowance (place the edge of the presser foot against the first row of stitching to assist in keeping the rows exactly parallel). (Photo 3) Be sure to leave thread tails on either end so that the stitching can be pulled up easily.
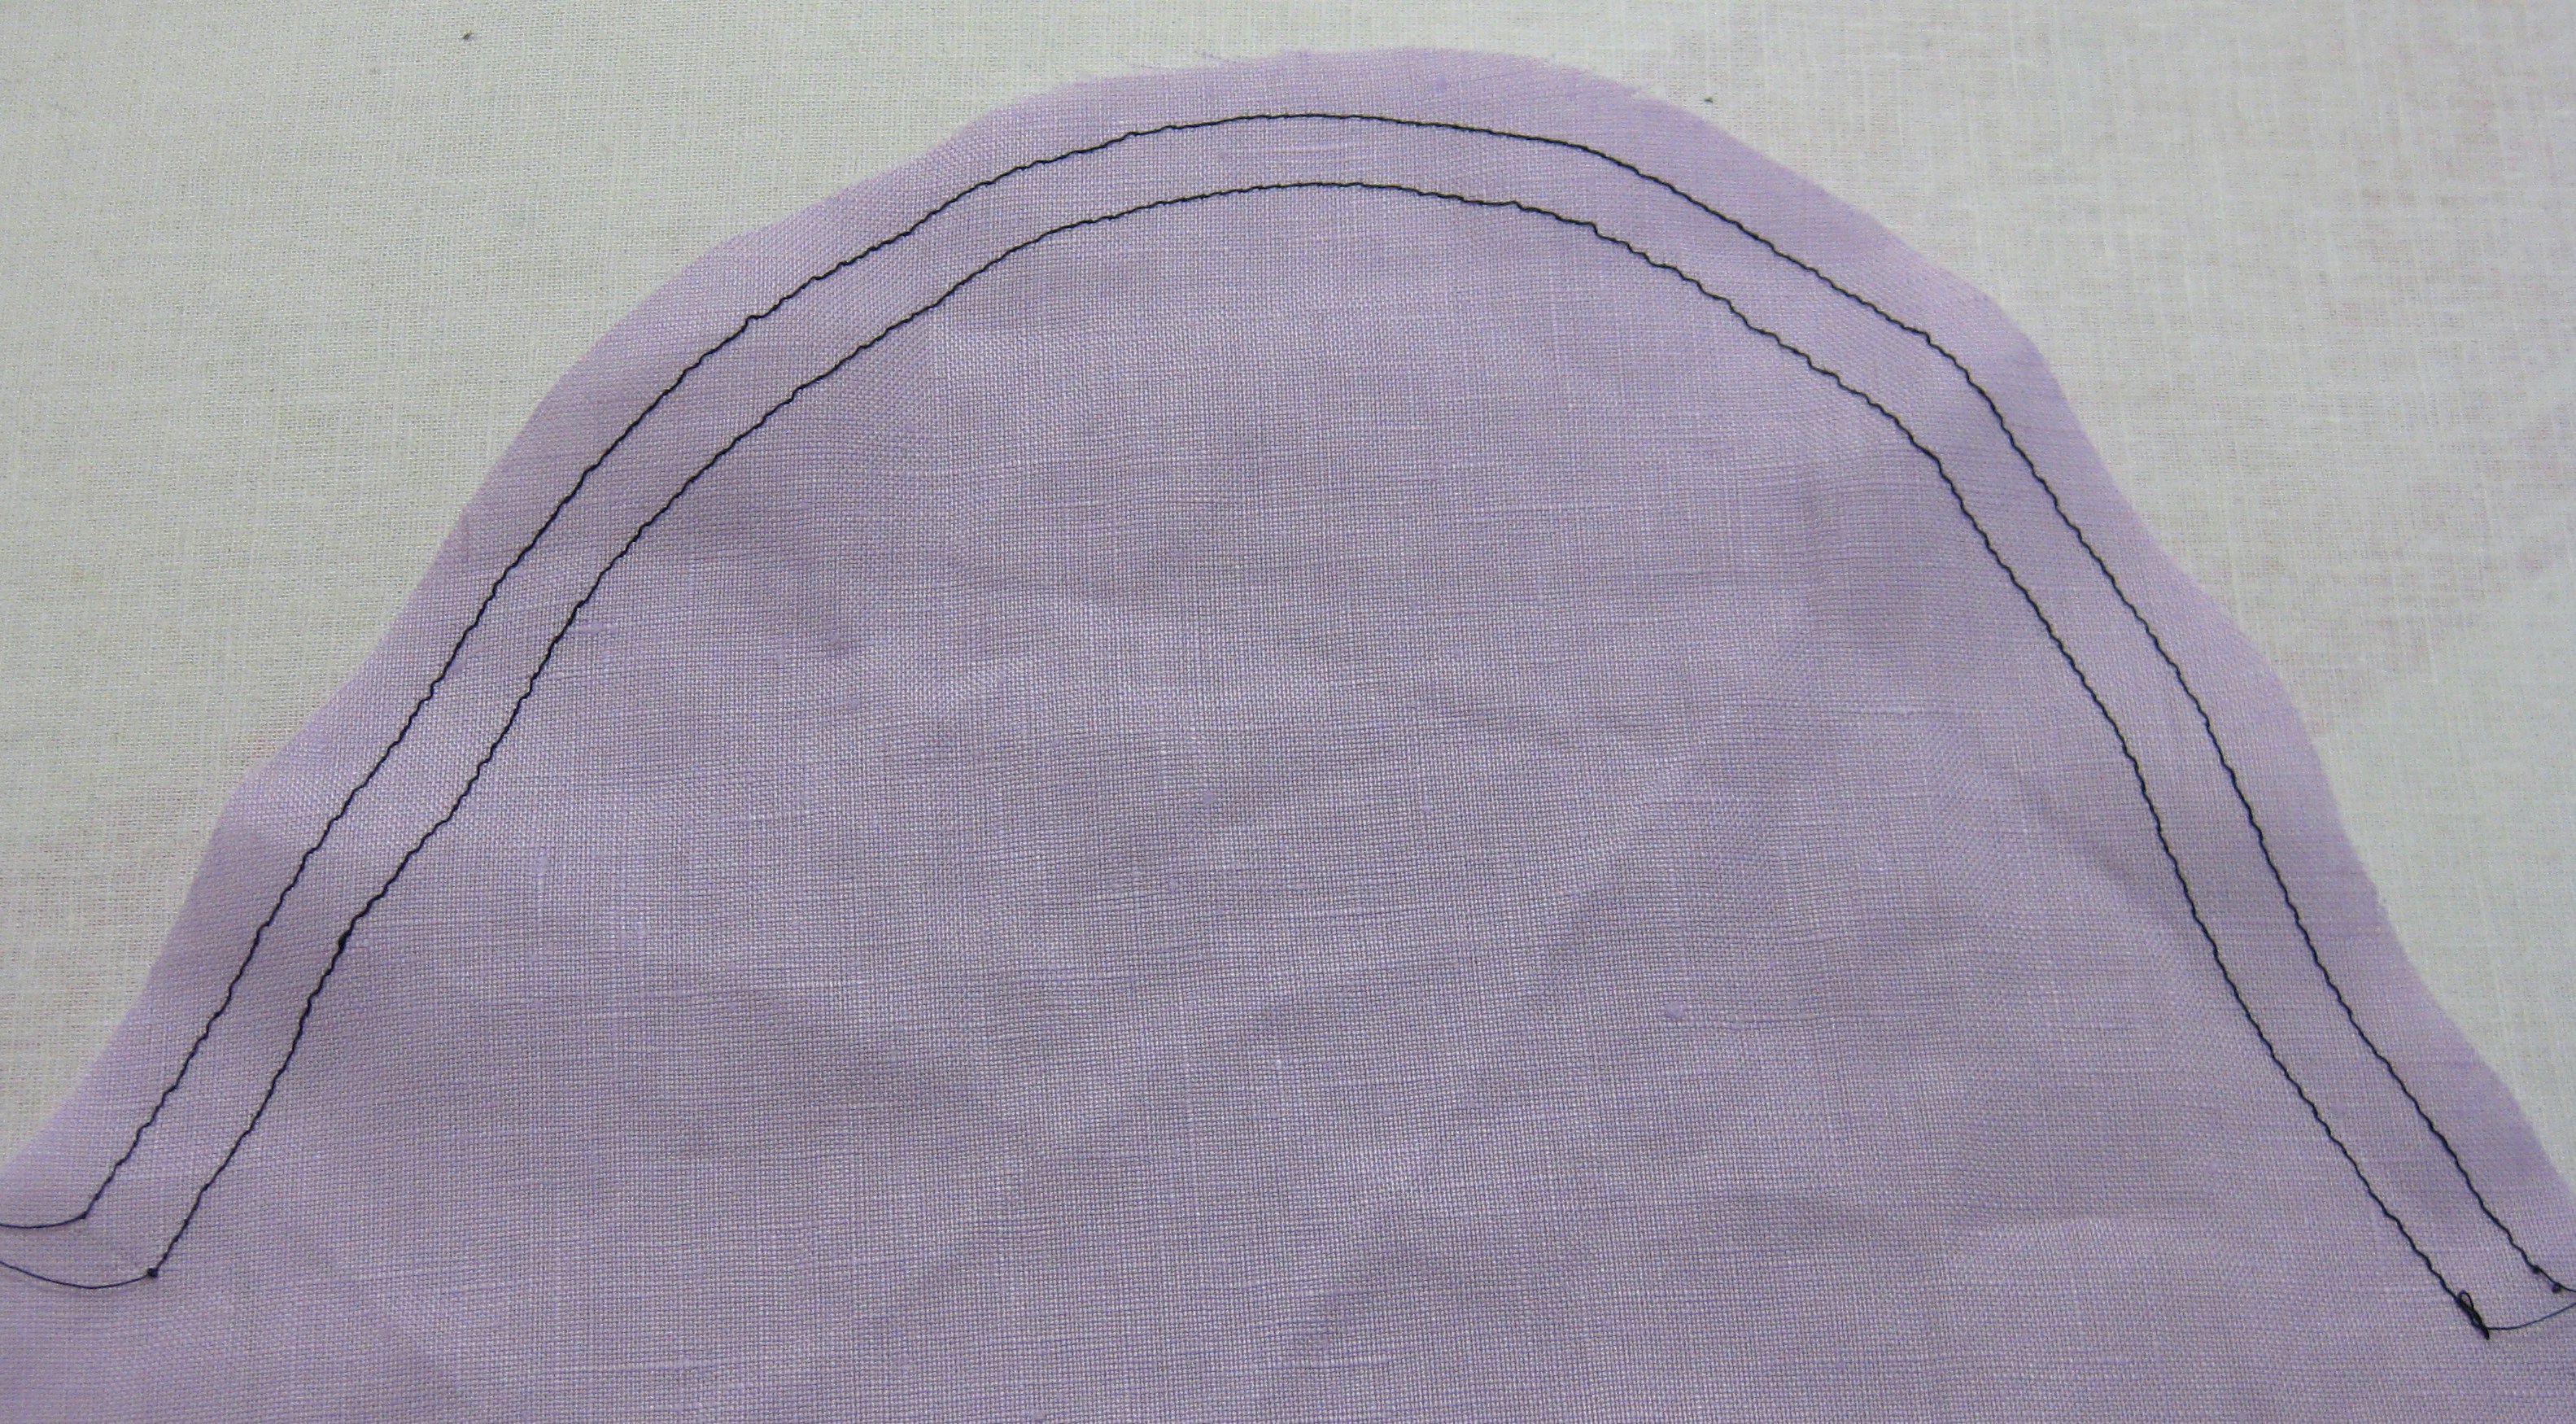
Stitch ease lines while sleeve is flat. First row on the 15mm seam line and the second row within the seam allowance approximately 6mm away. Both rows should be parallel and evenly spaced.
Stitch the underarm seams working from armhole to wrist. Press seams flat and open over a sleeve board or seam roll. Finish edges as desired.
Pin or thread mark the shoulder point. Before setting the sleeve into the garment, pull up the easing from the wrong side of the sleeve using both threads at the same time. The easing is pulled up quite tightly but not in the shoulder area for 1cm on either side of the shoulder point.
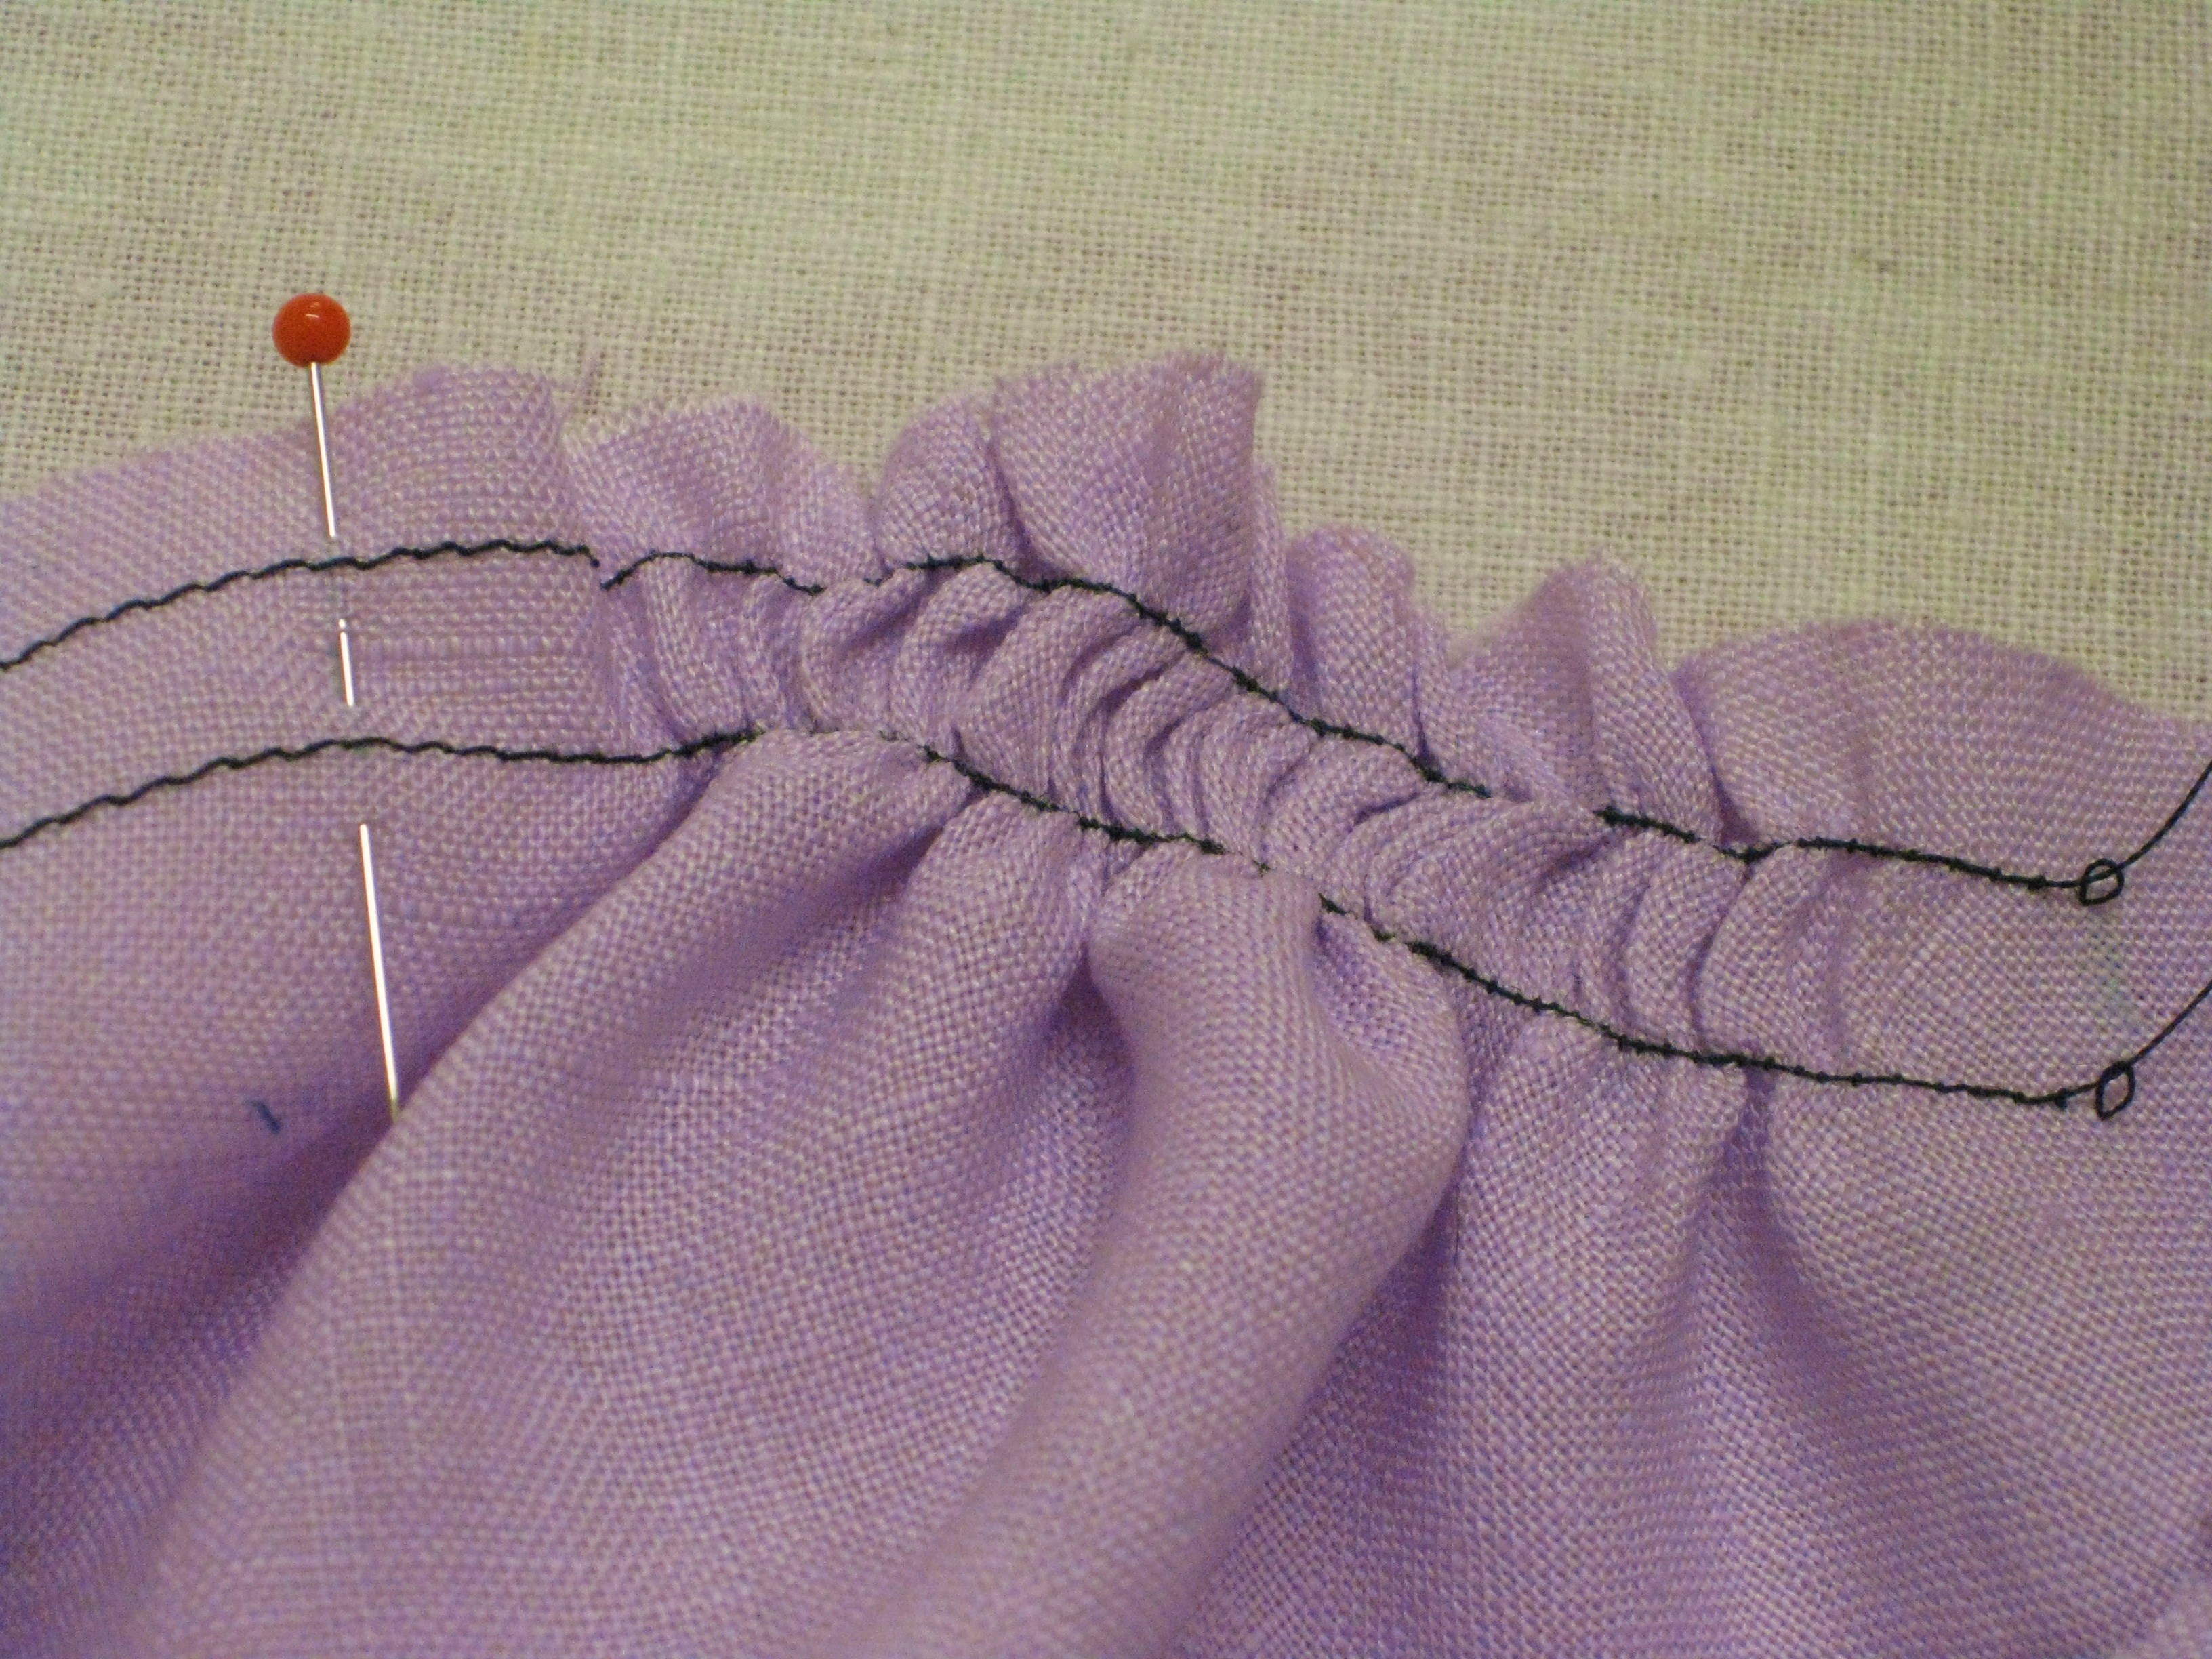
Pull up easing to within 1cm of top of sleeve.
Using your thumb, work the easing back until the seam area is perfectly smooth.

Carefully smooth easing back along the ease row nearest the seam line. The outer edge will remain fluted while the seam line area fits the armhole perfectly.
Carefully press just the seam allowance to remove any fluting or small pleats at the seam line but do not allow the point of the iron to go past the seam line.
To position the sleeve in the armhole, place the bodice and sleeve right sides out and beside each other on a flat surface. Reach inside the bodice armhole and pinch the top of the sleeve and the shoulder seam together. Flip the bodice over the sleeve. This will position the sleeve perfectly.
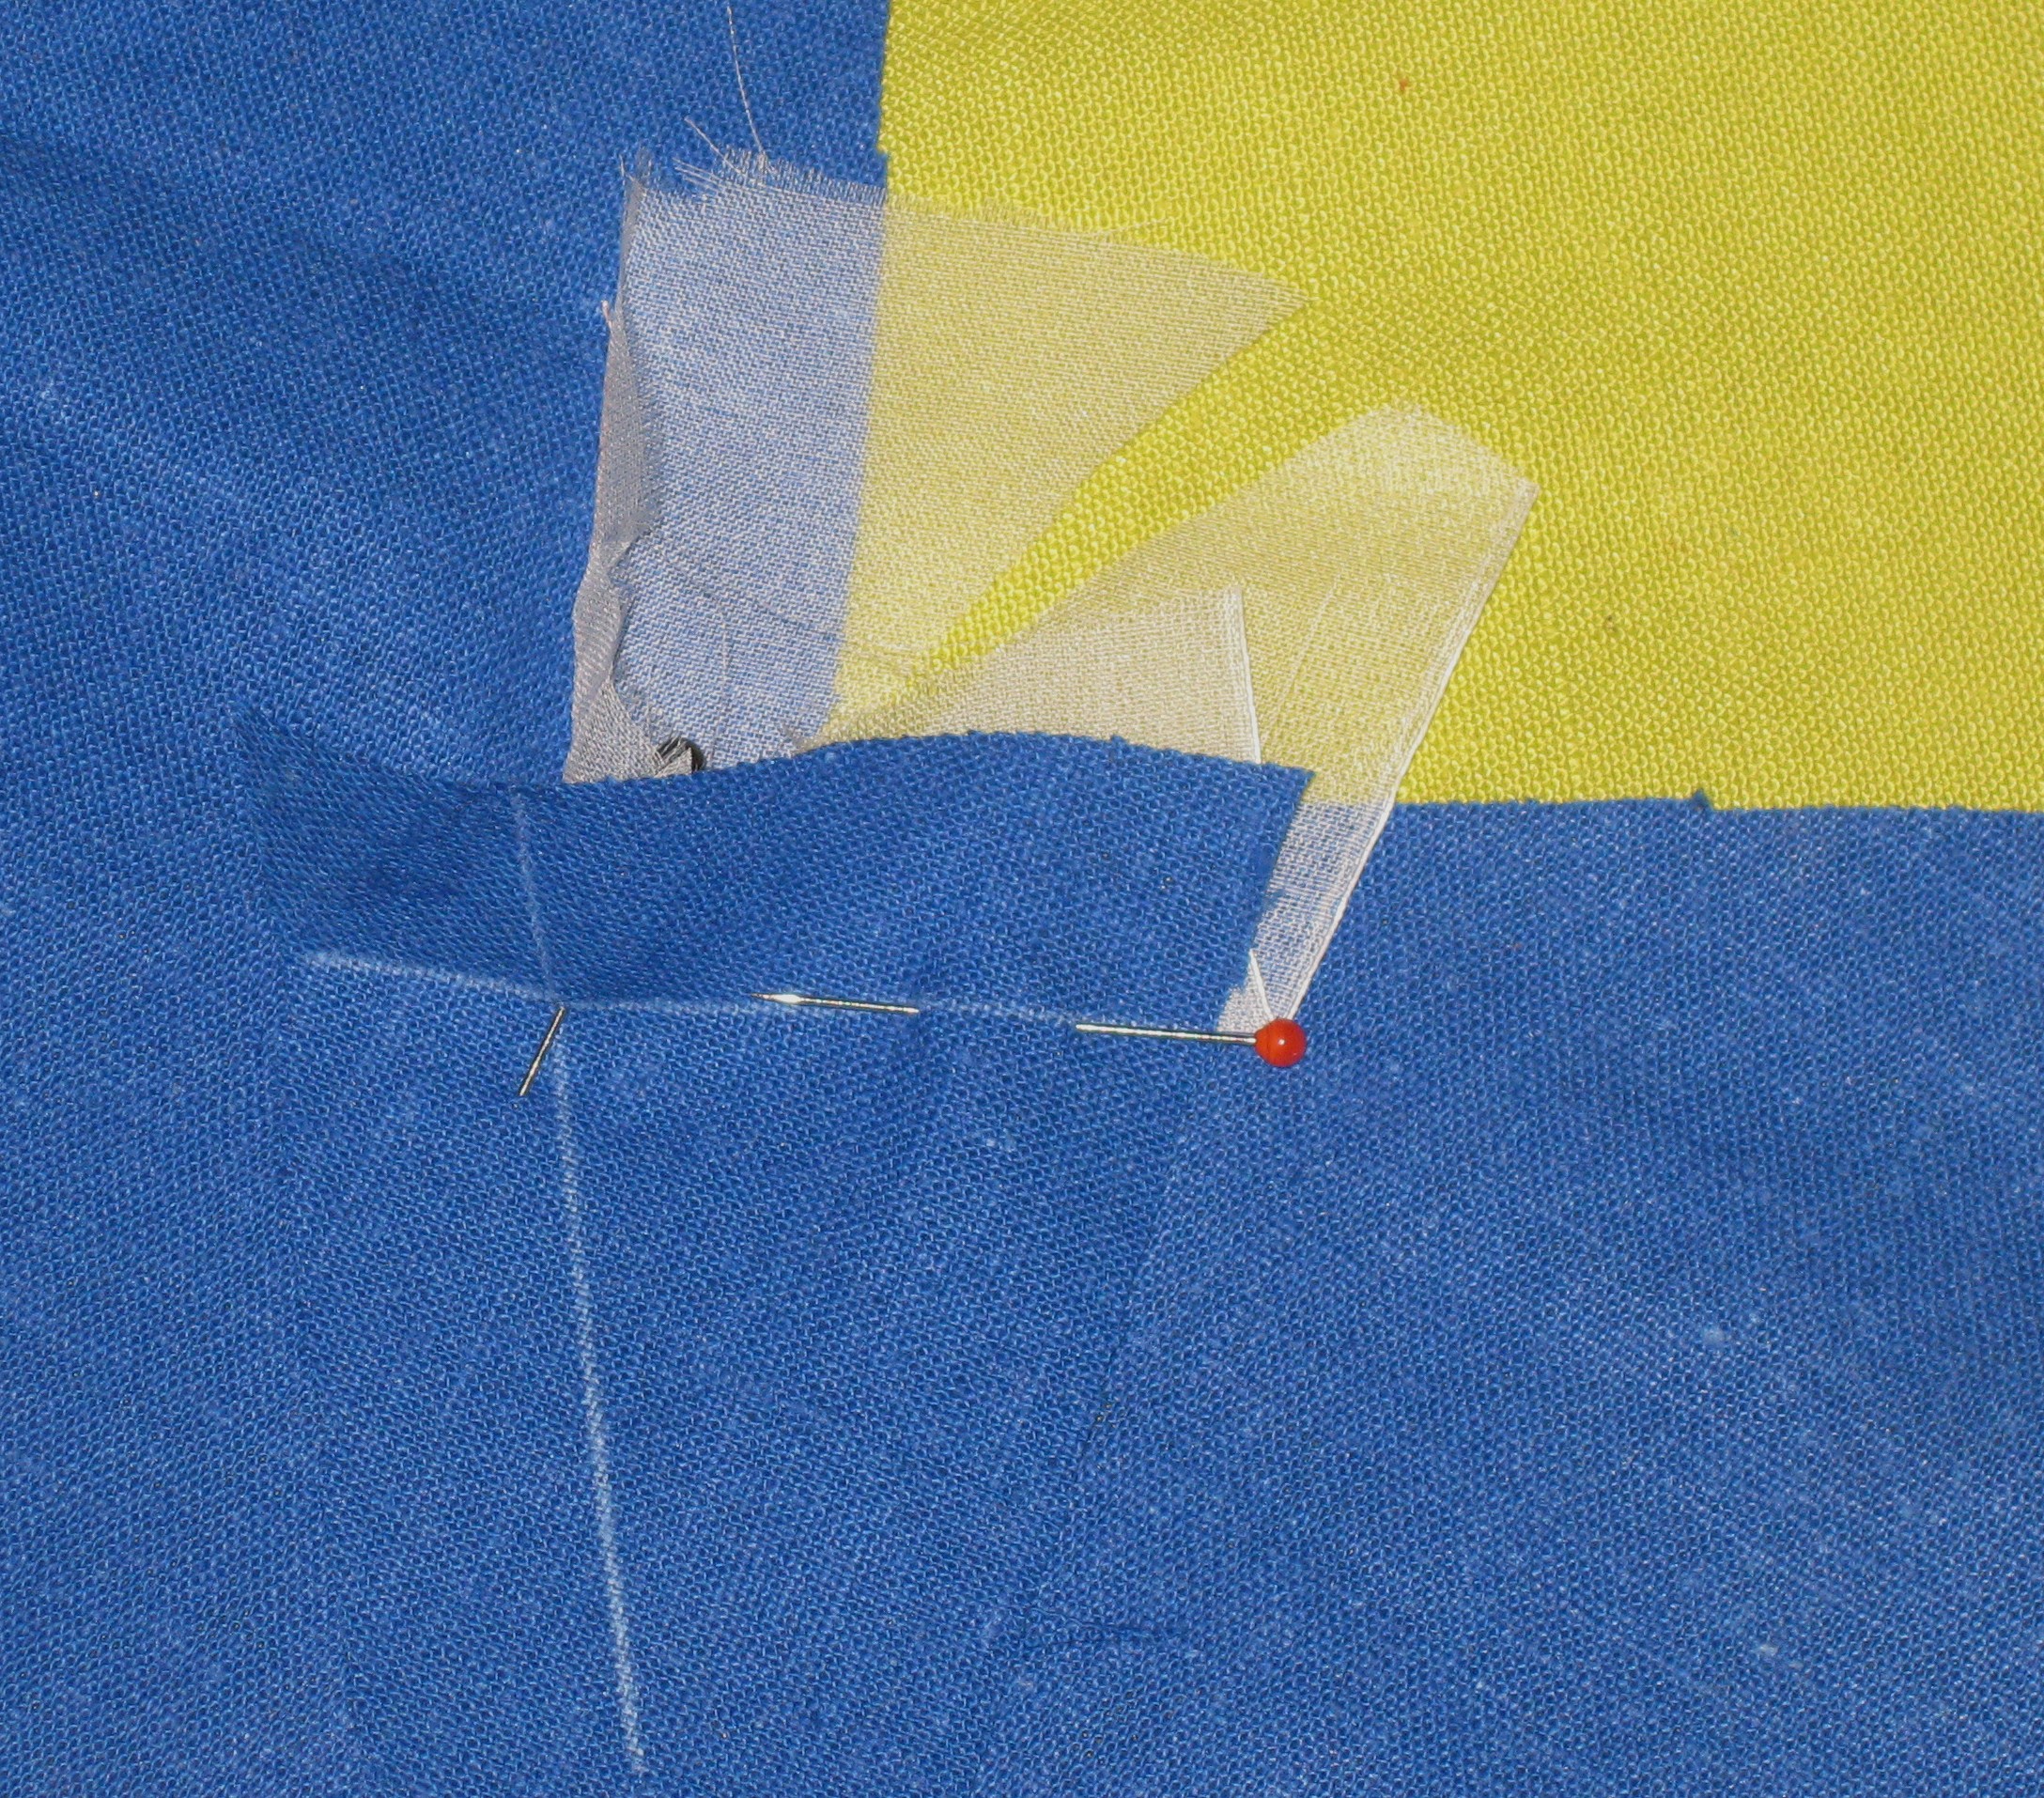
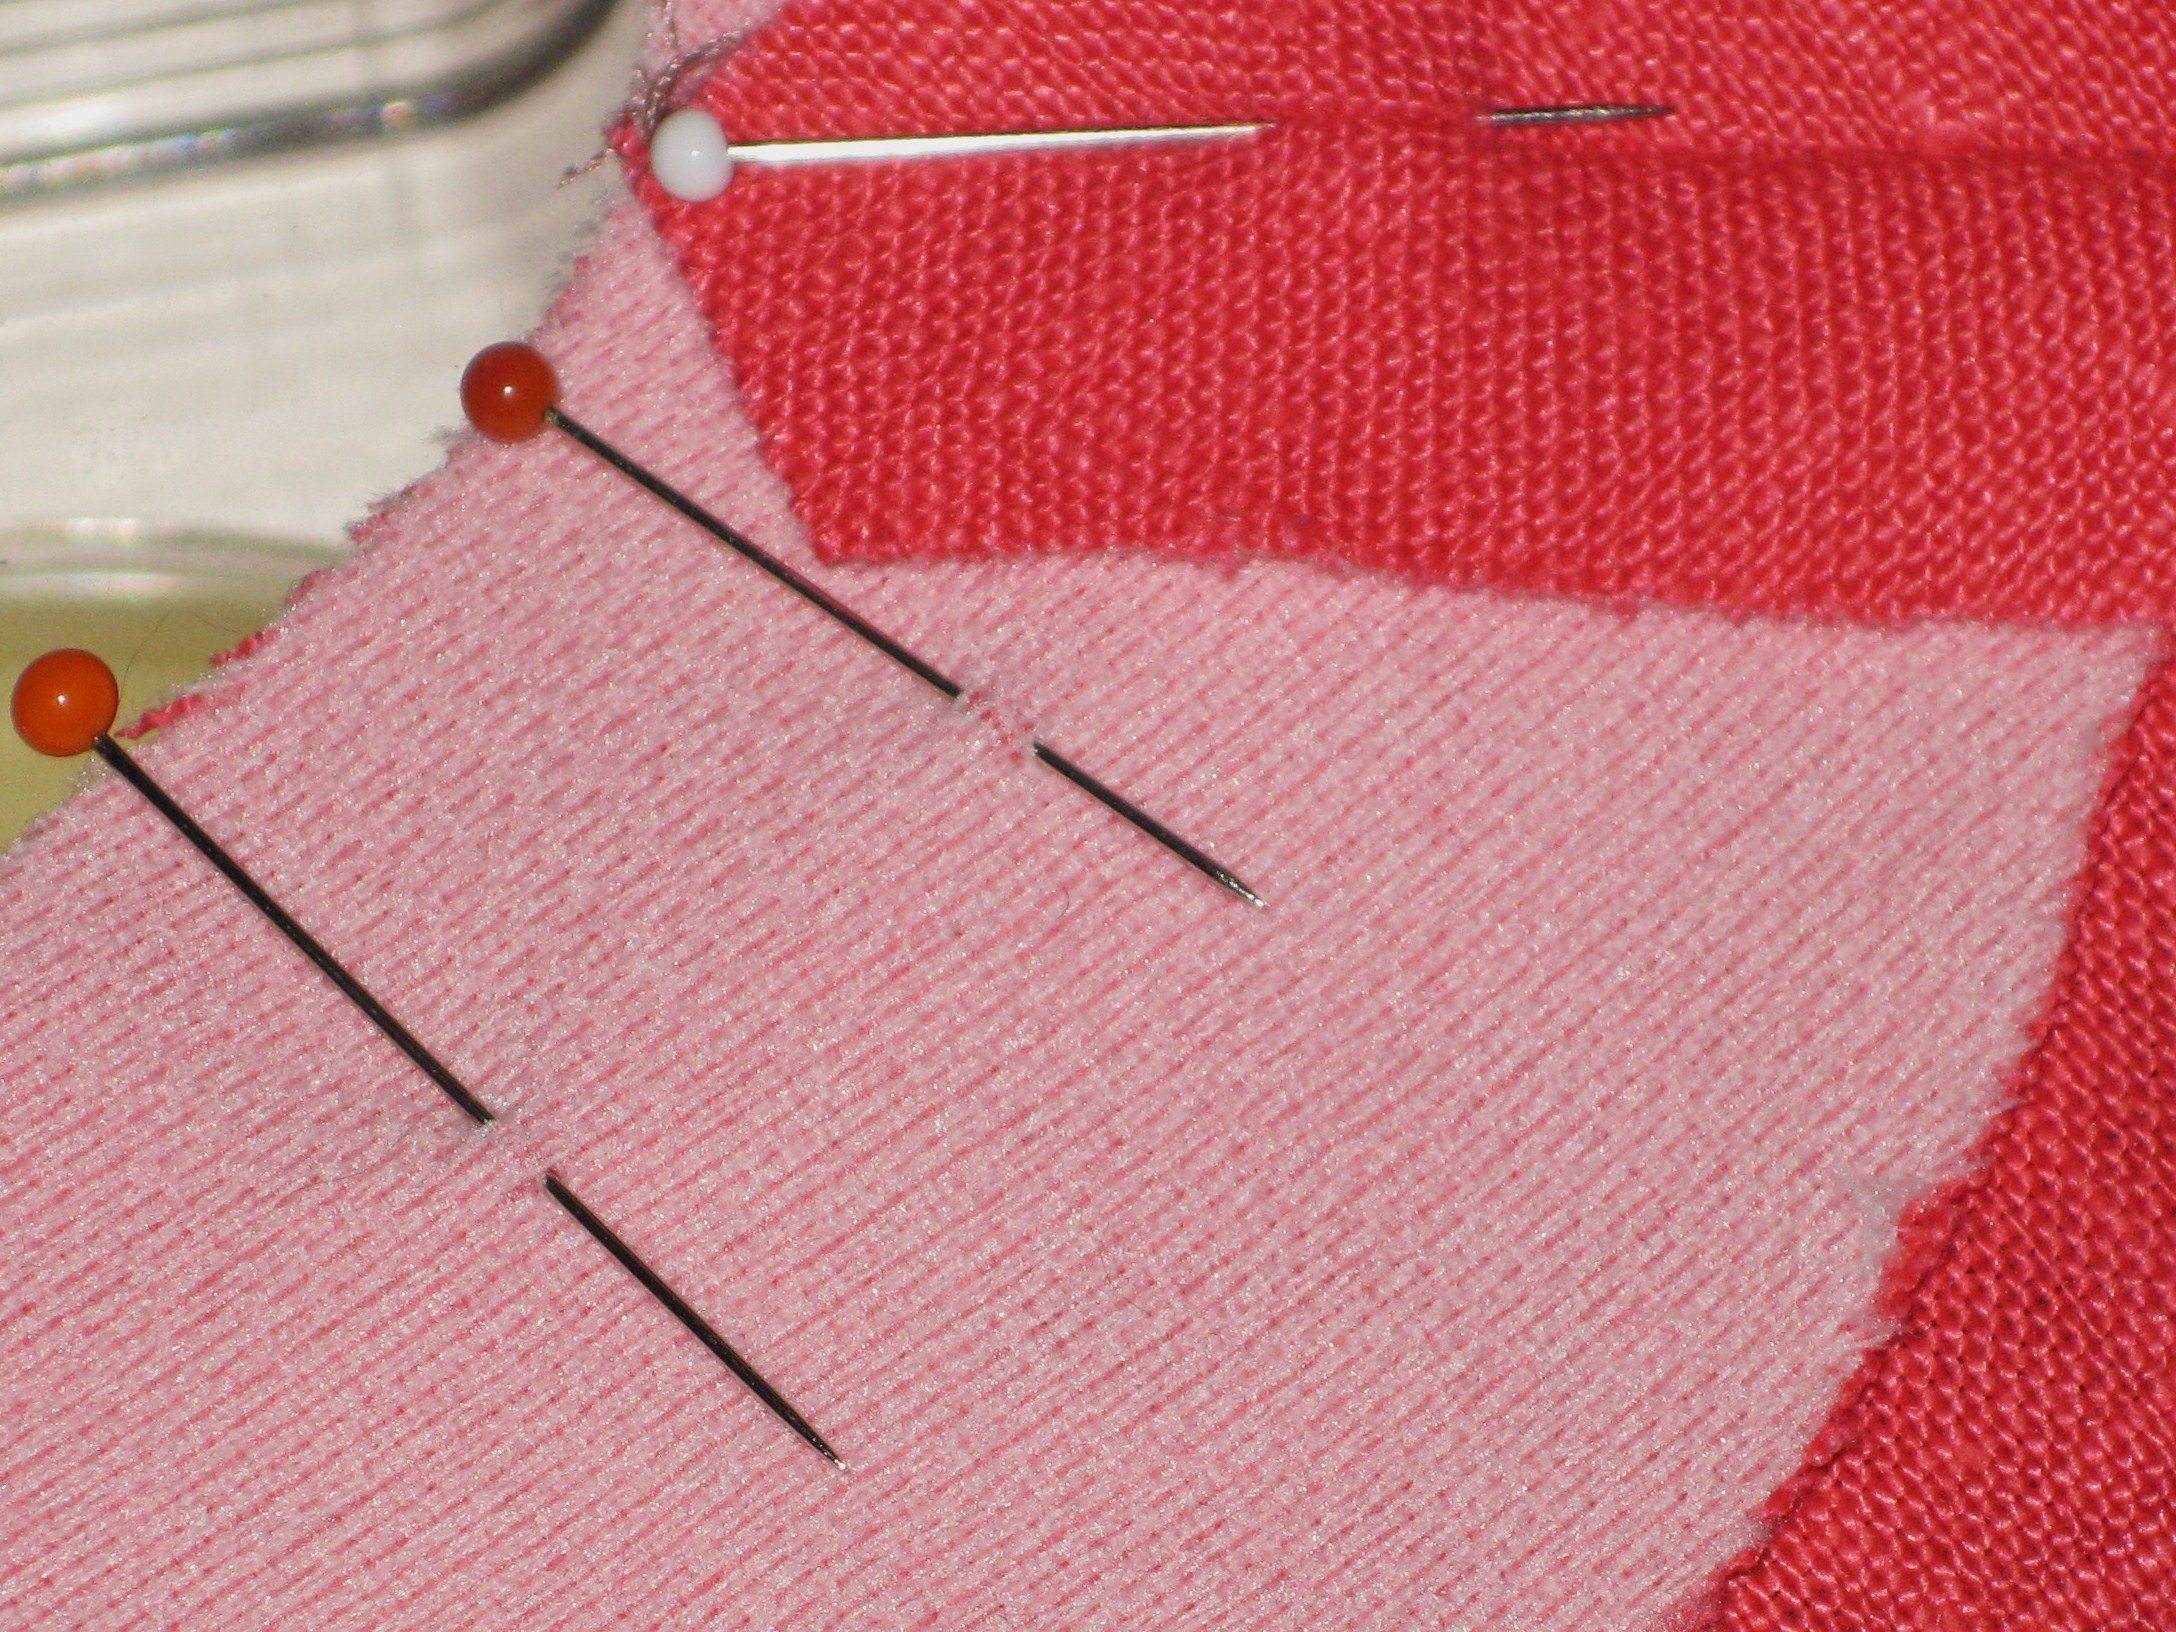
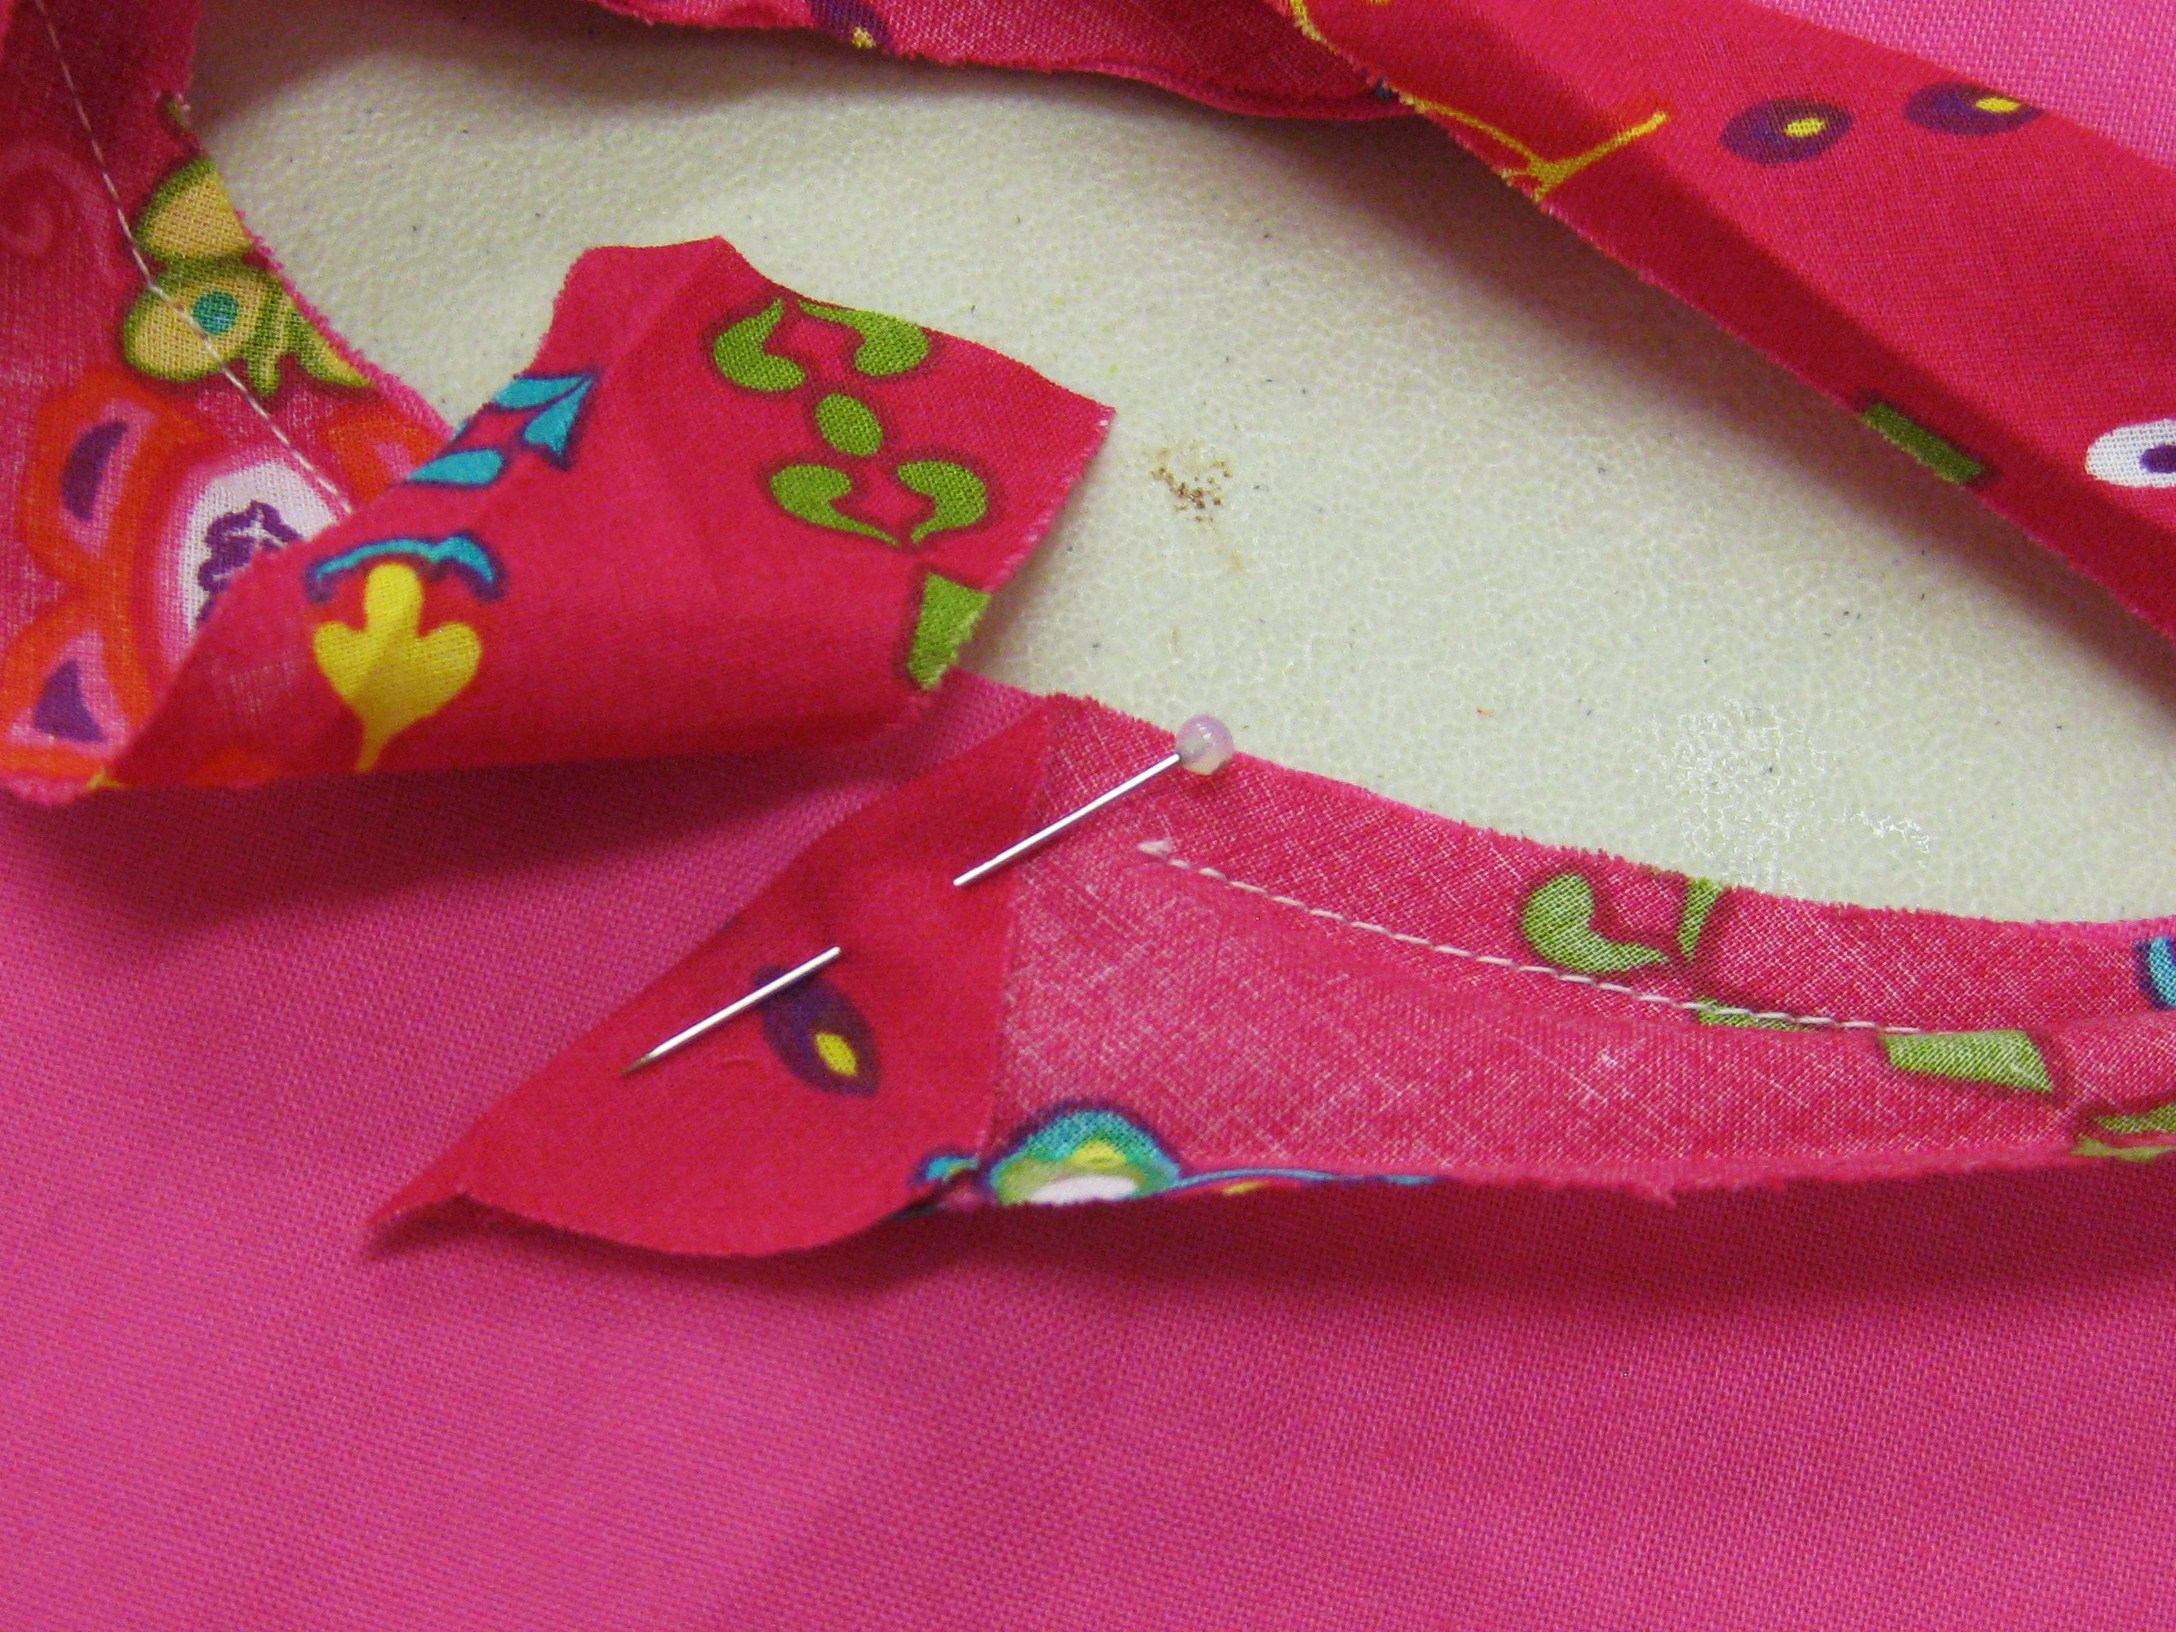
Working inside the sleeve, pin the shoulder and underarm points. I usually pin the underarm area in place first and then the cap area. Be sure to keep the outer edges of the fabric together and pin at right angles to the seam line with just a small bite of the pin at the seam line.
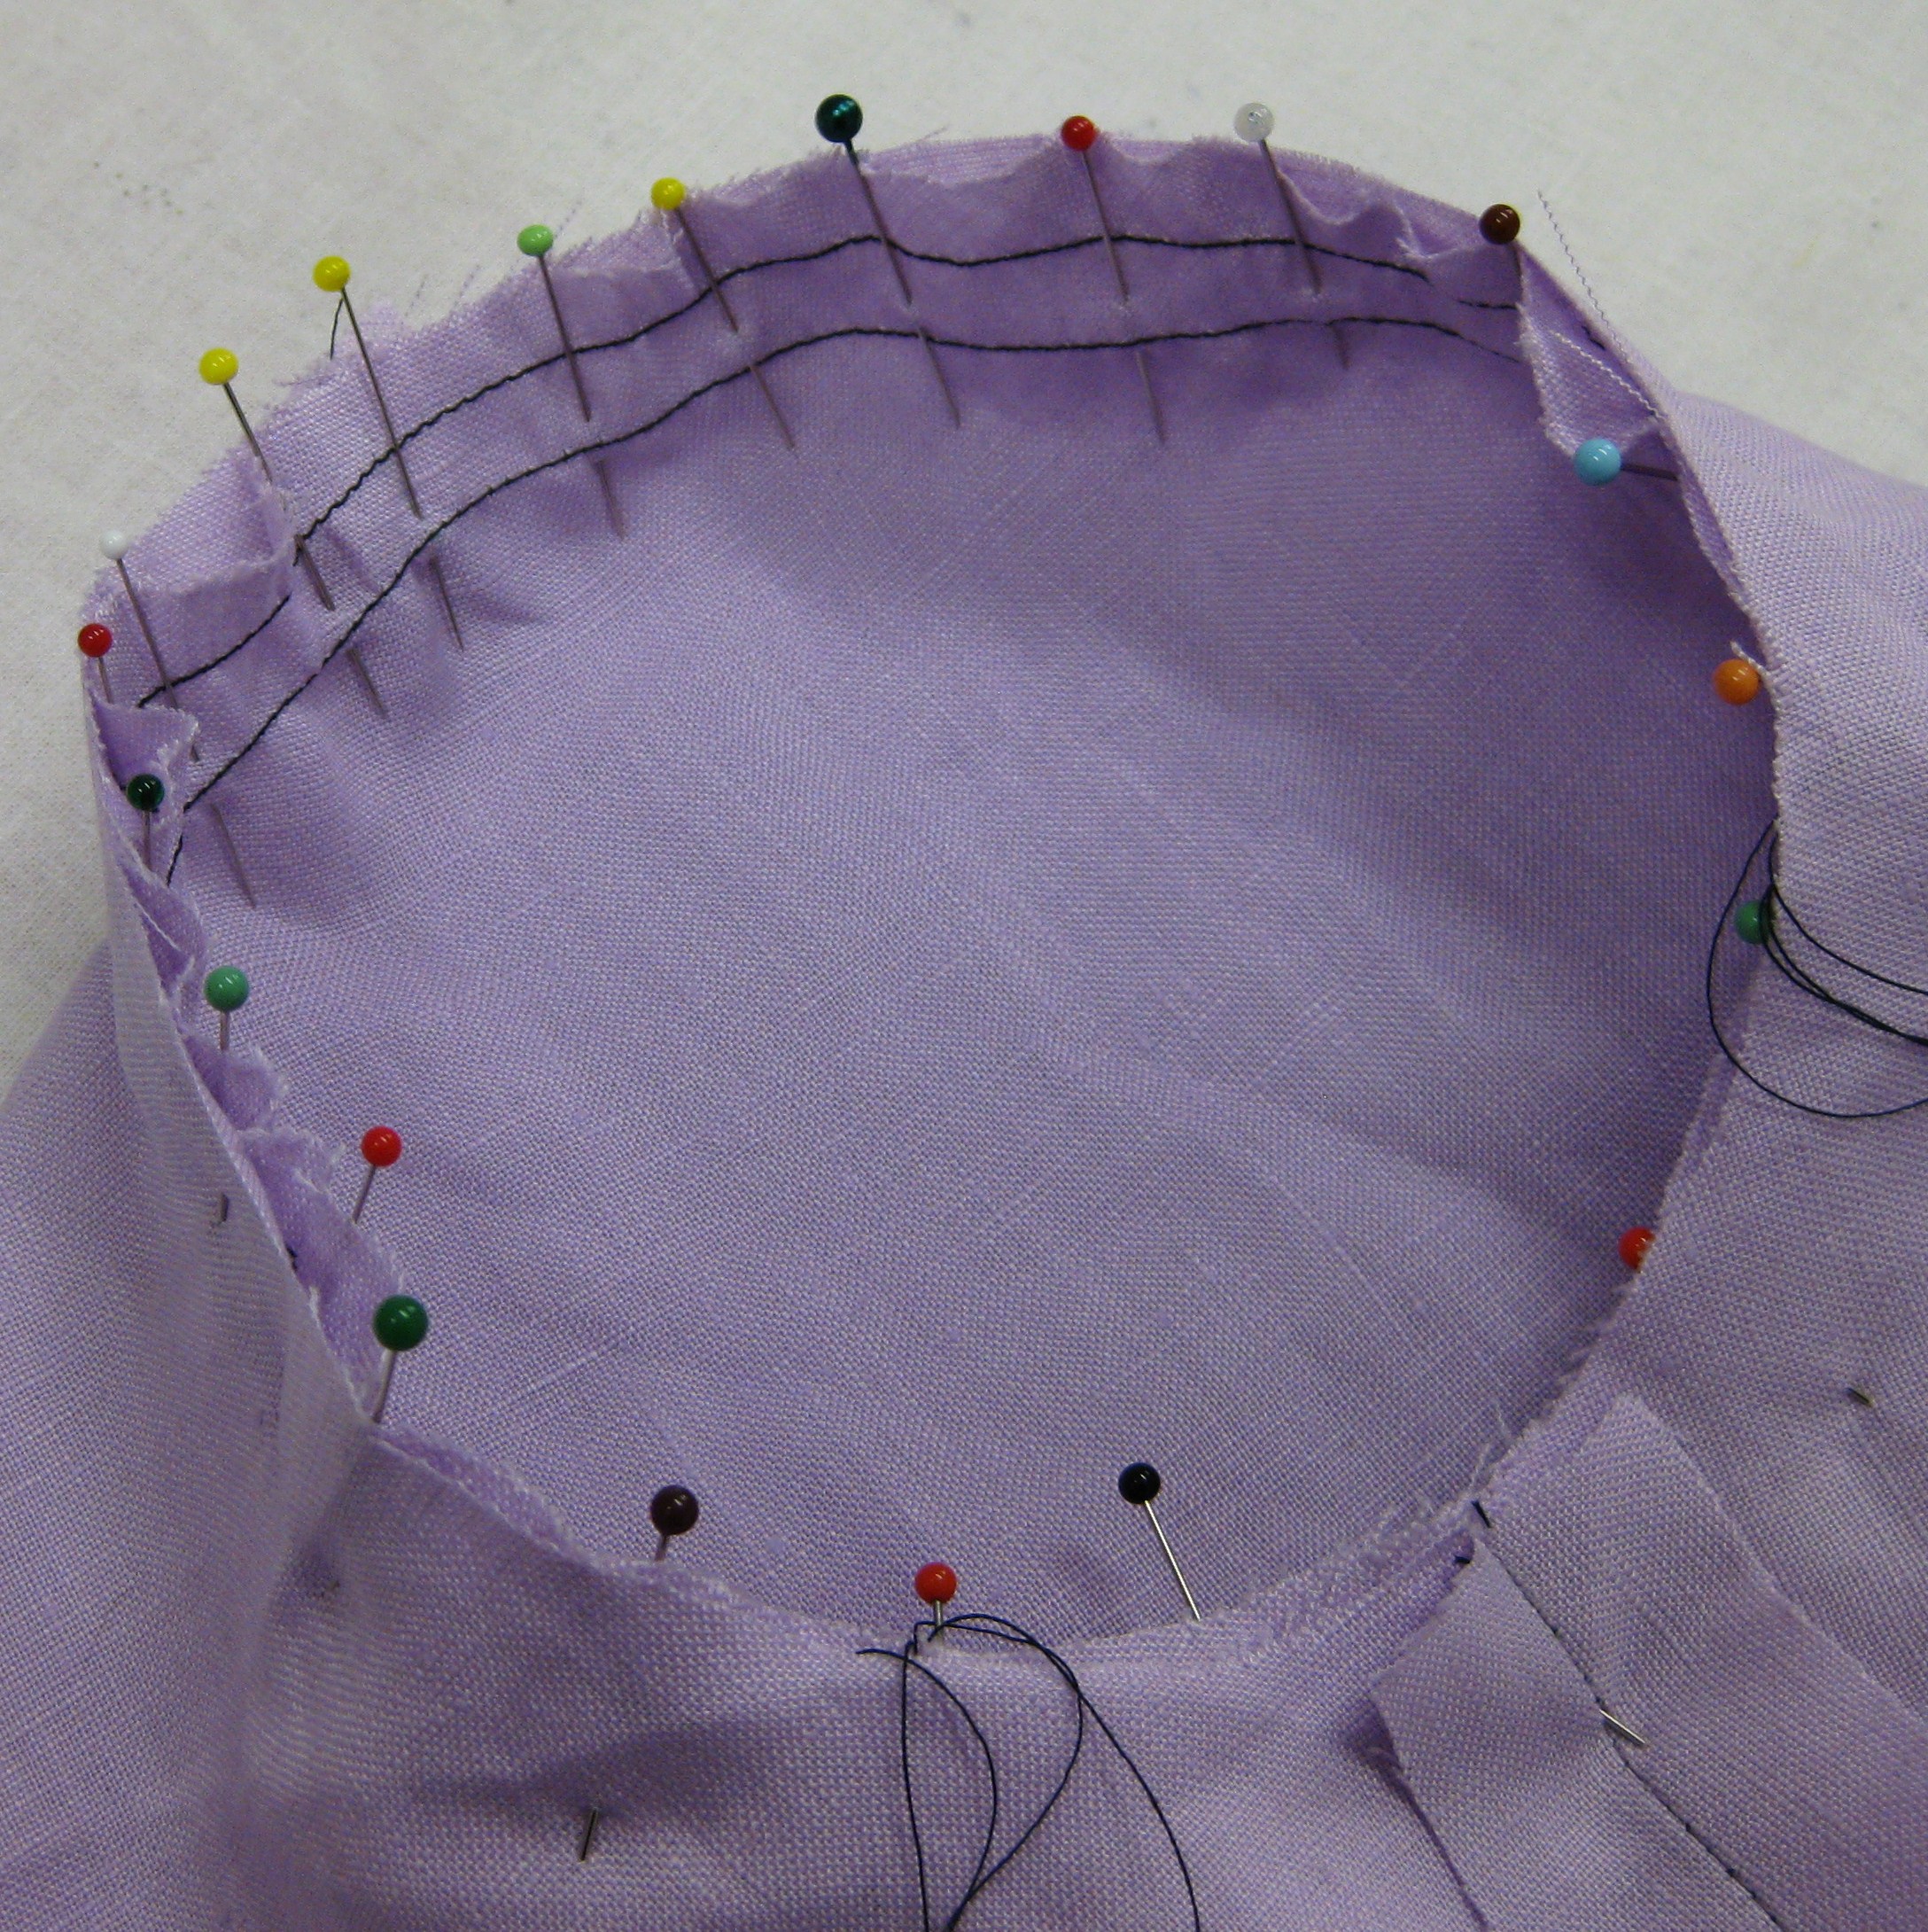
Pinned right on seam line from inside the sleeve.
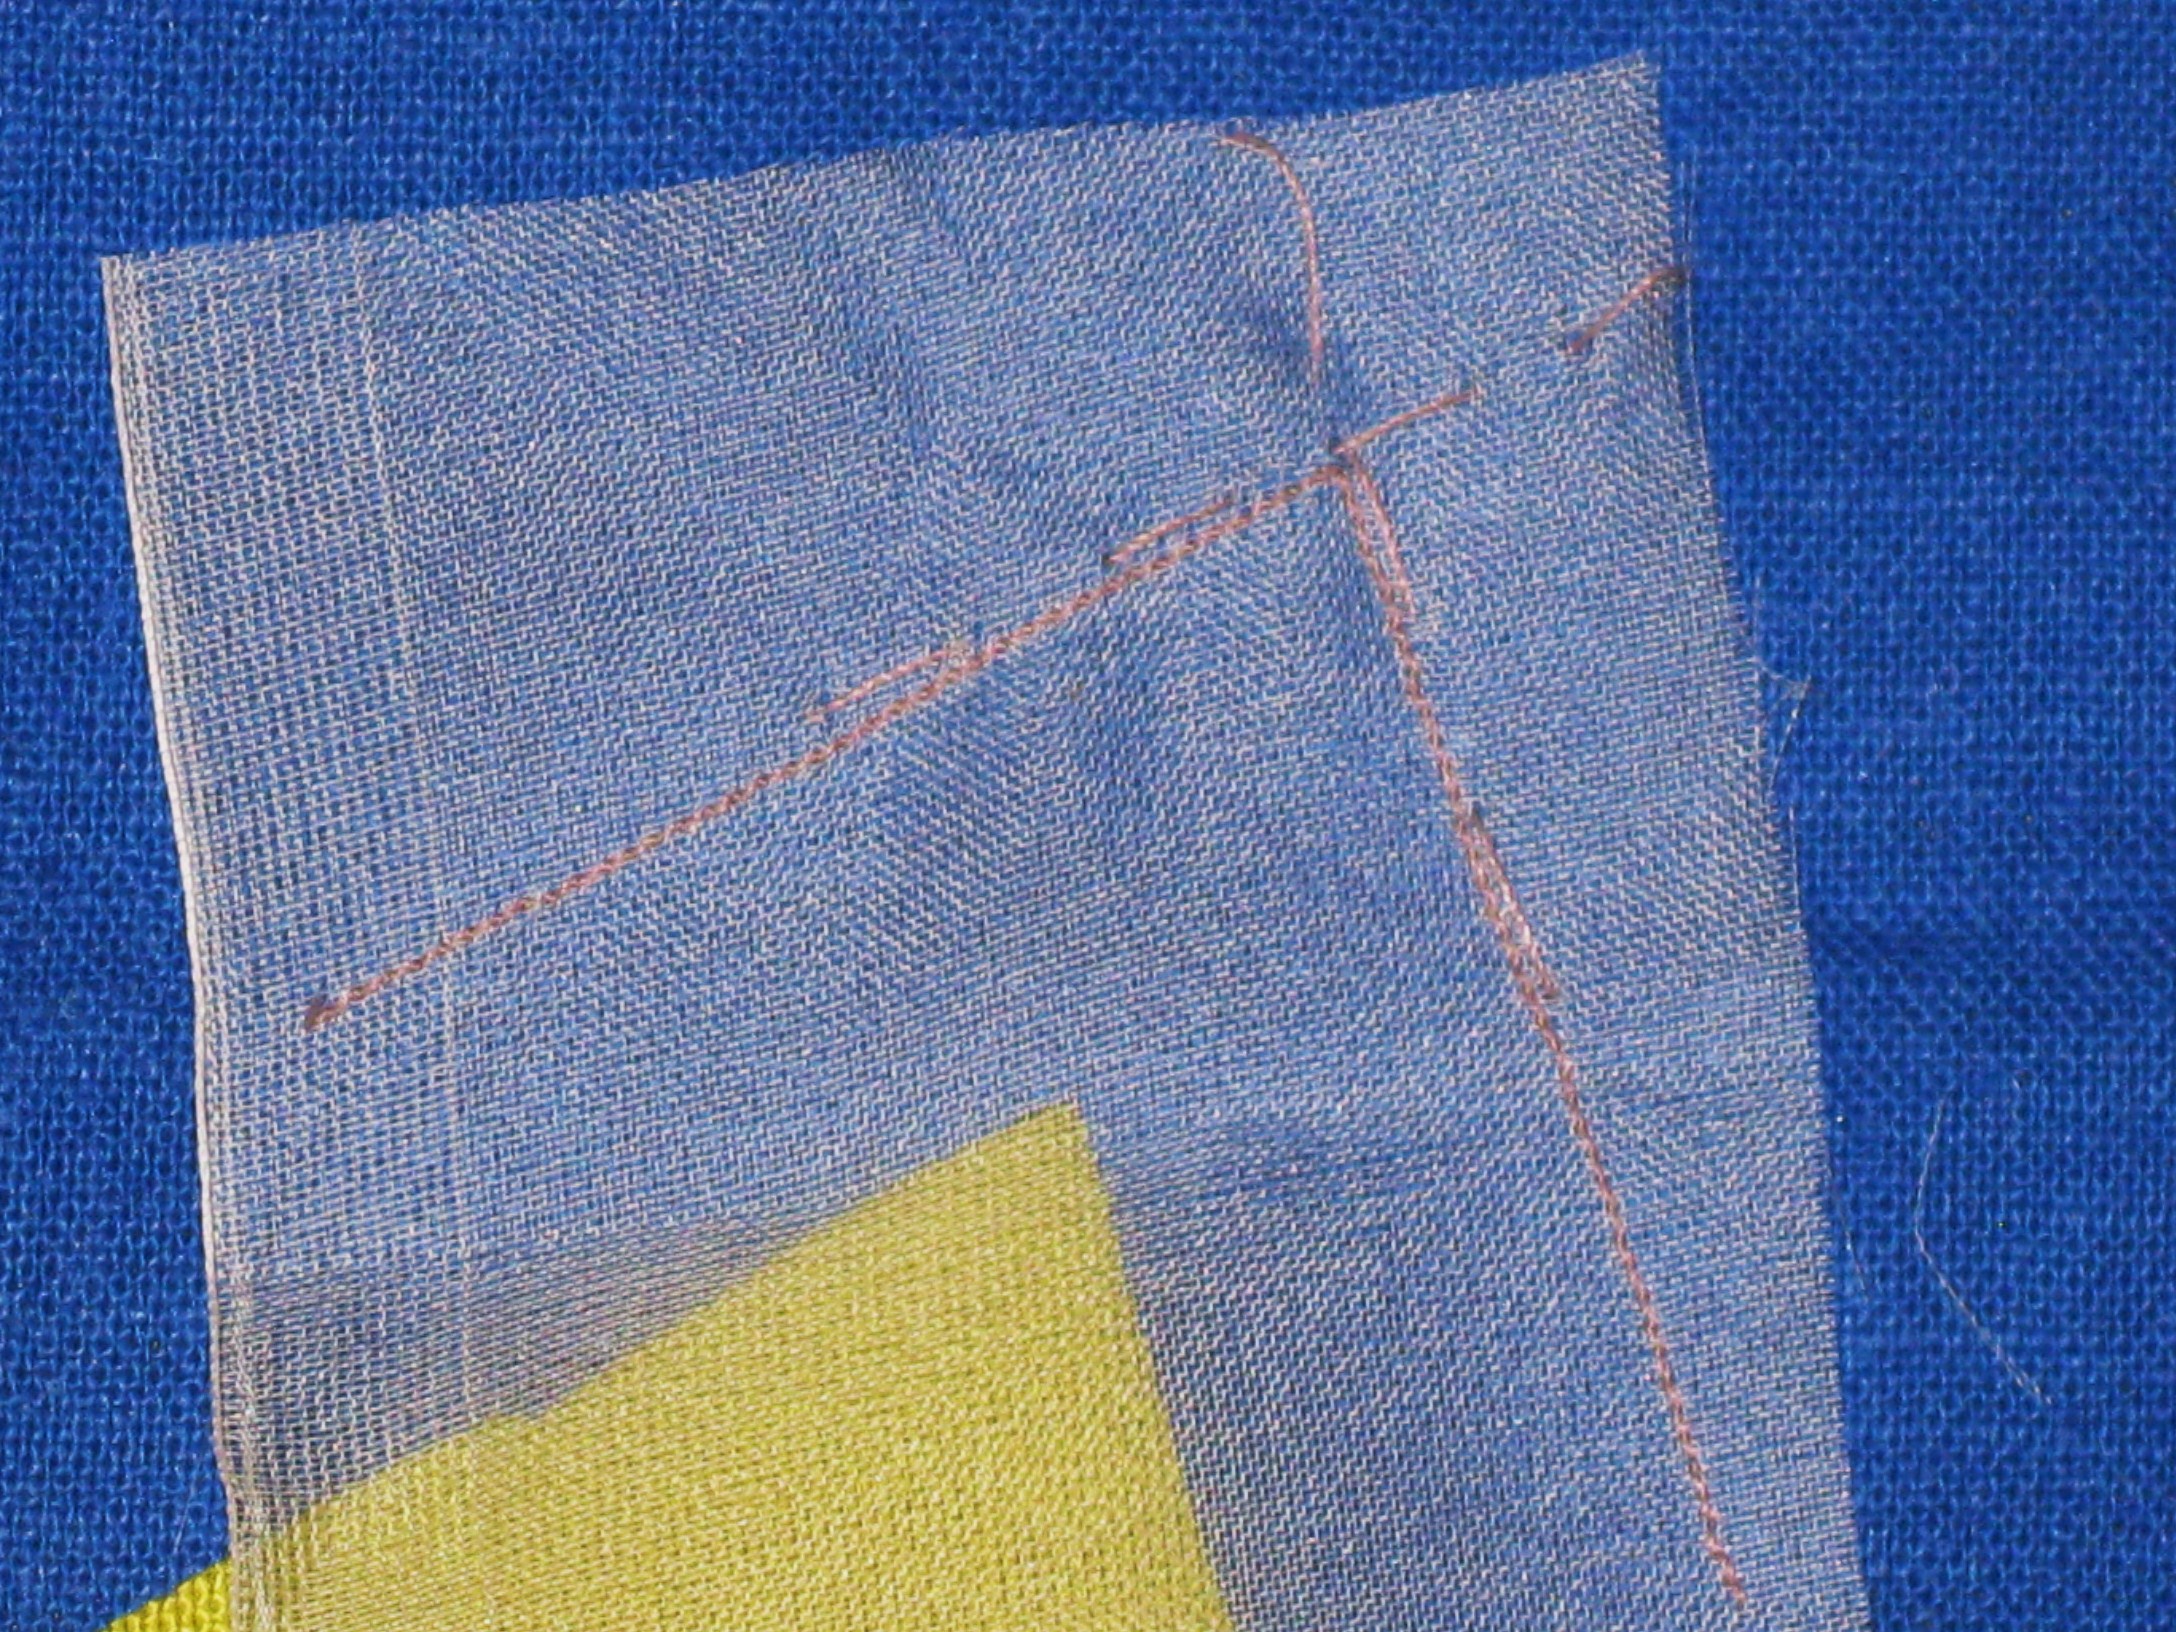
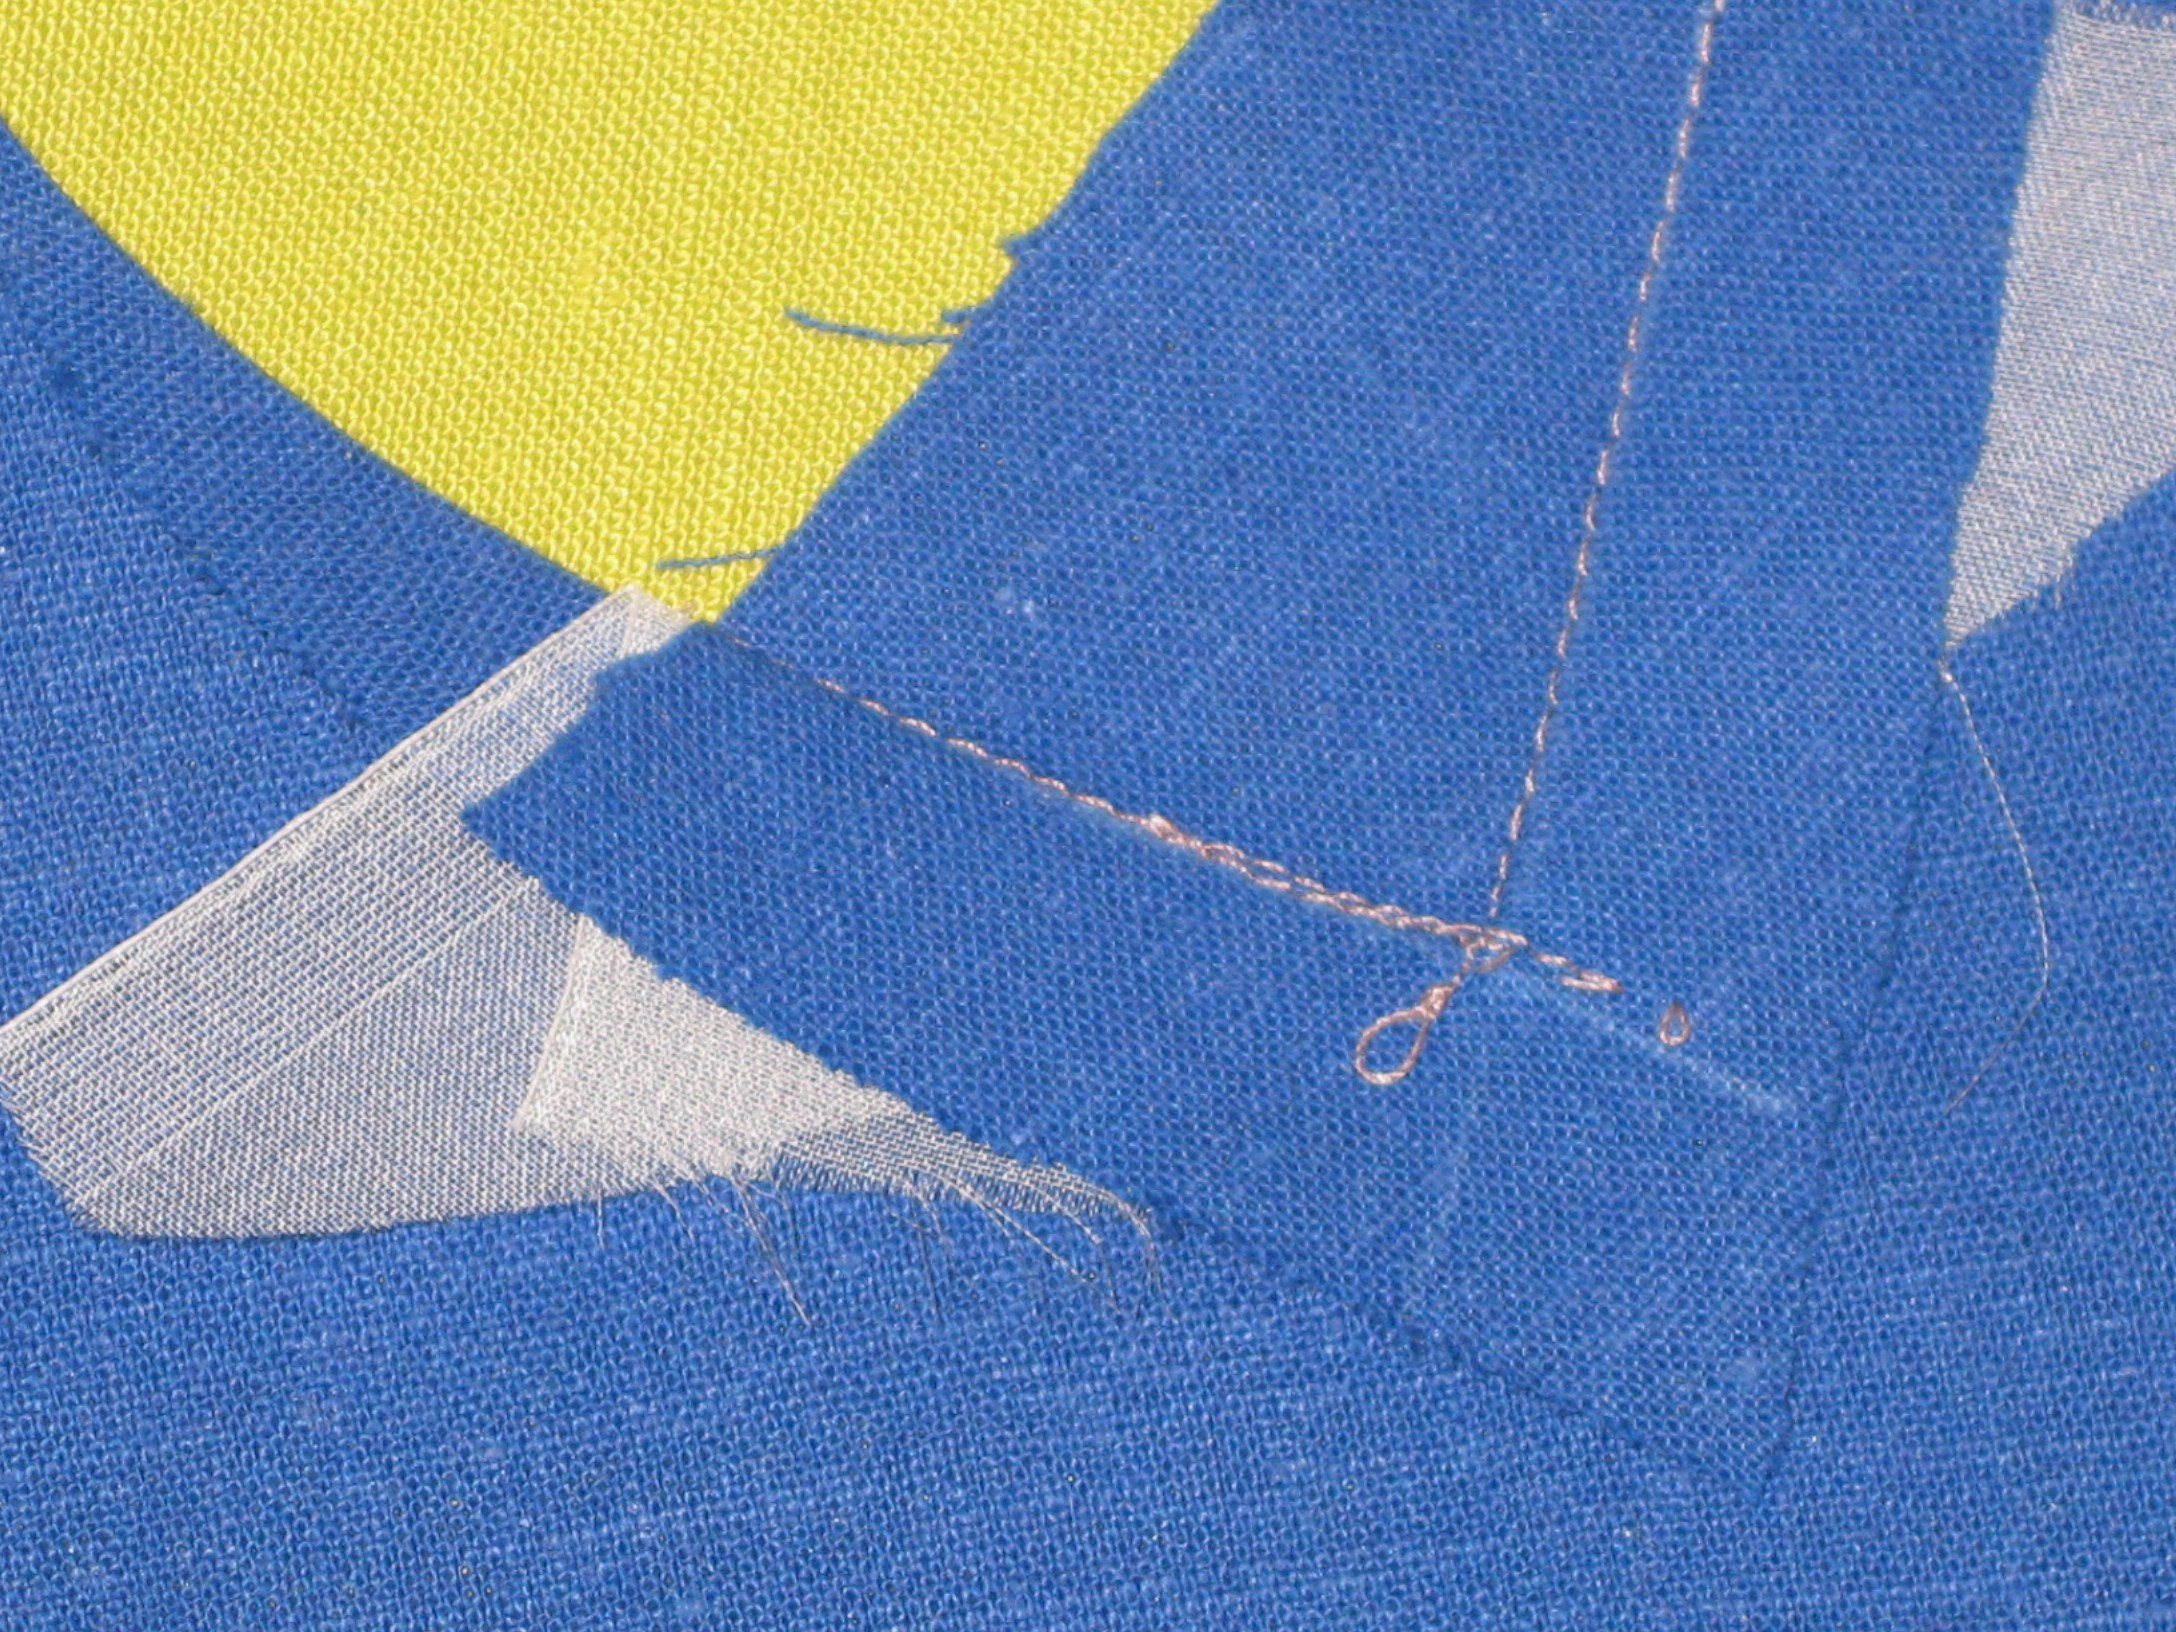
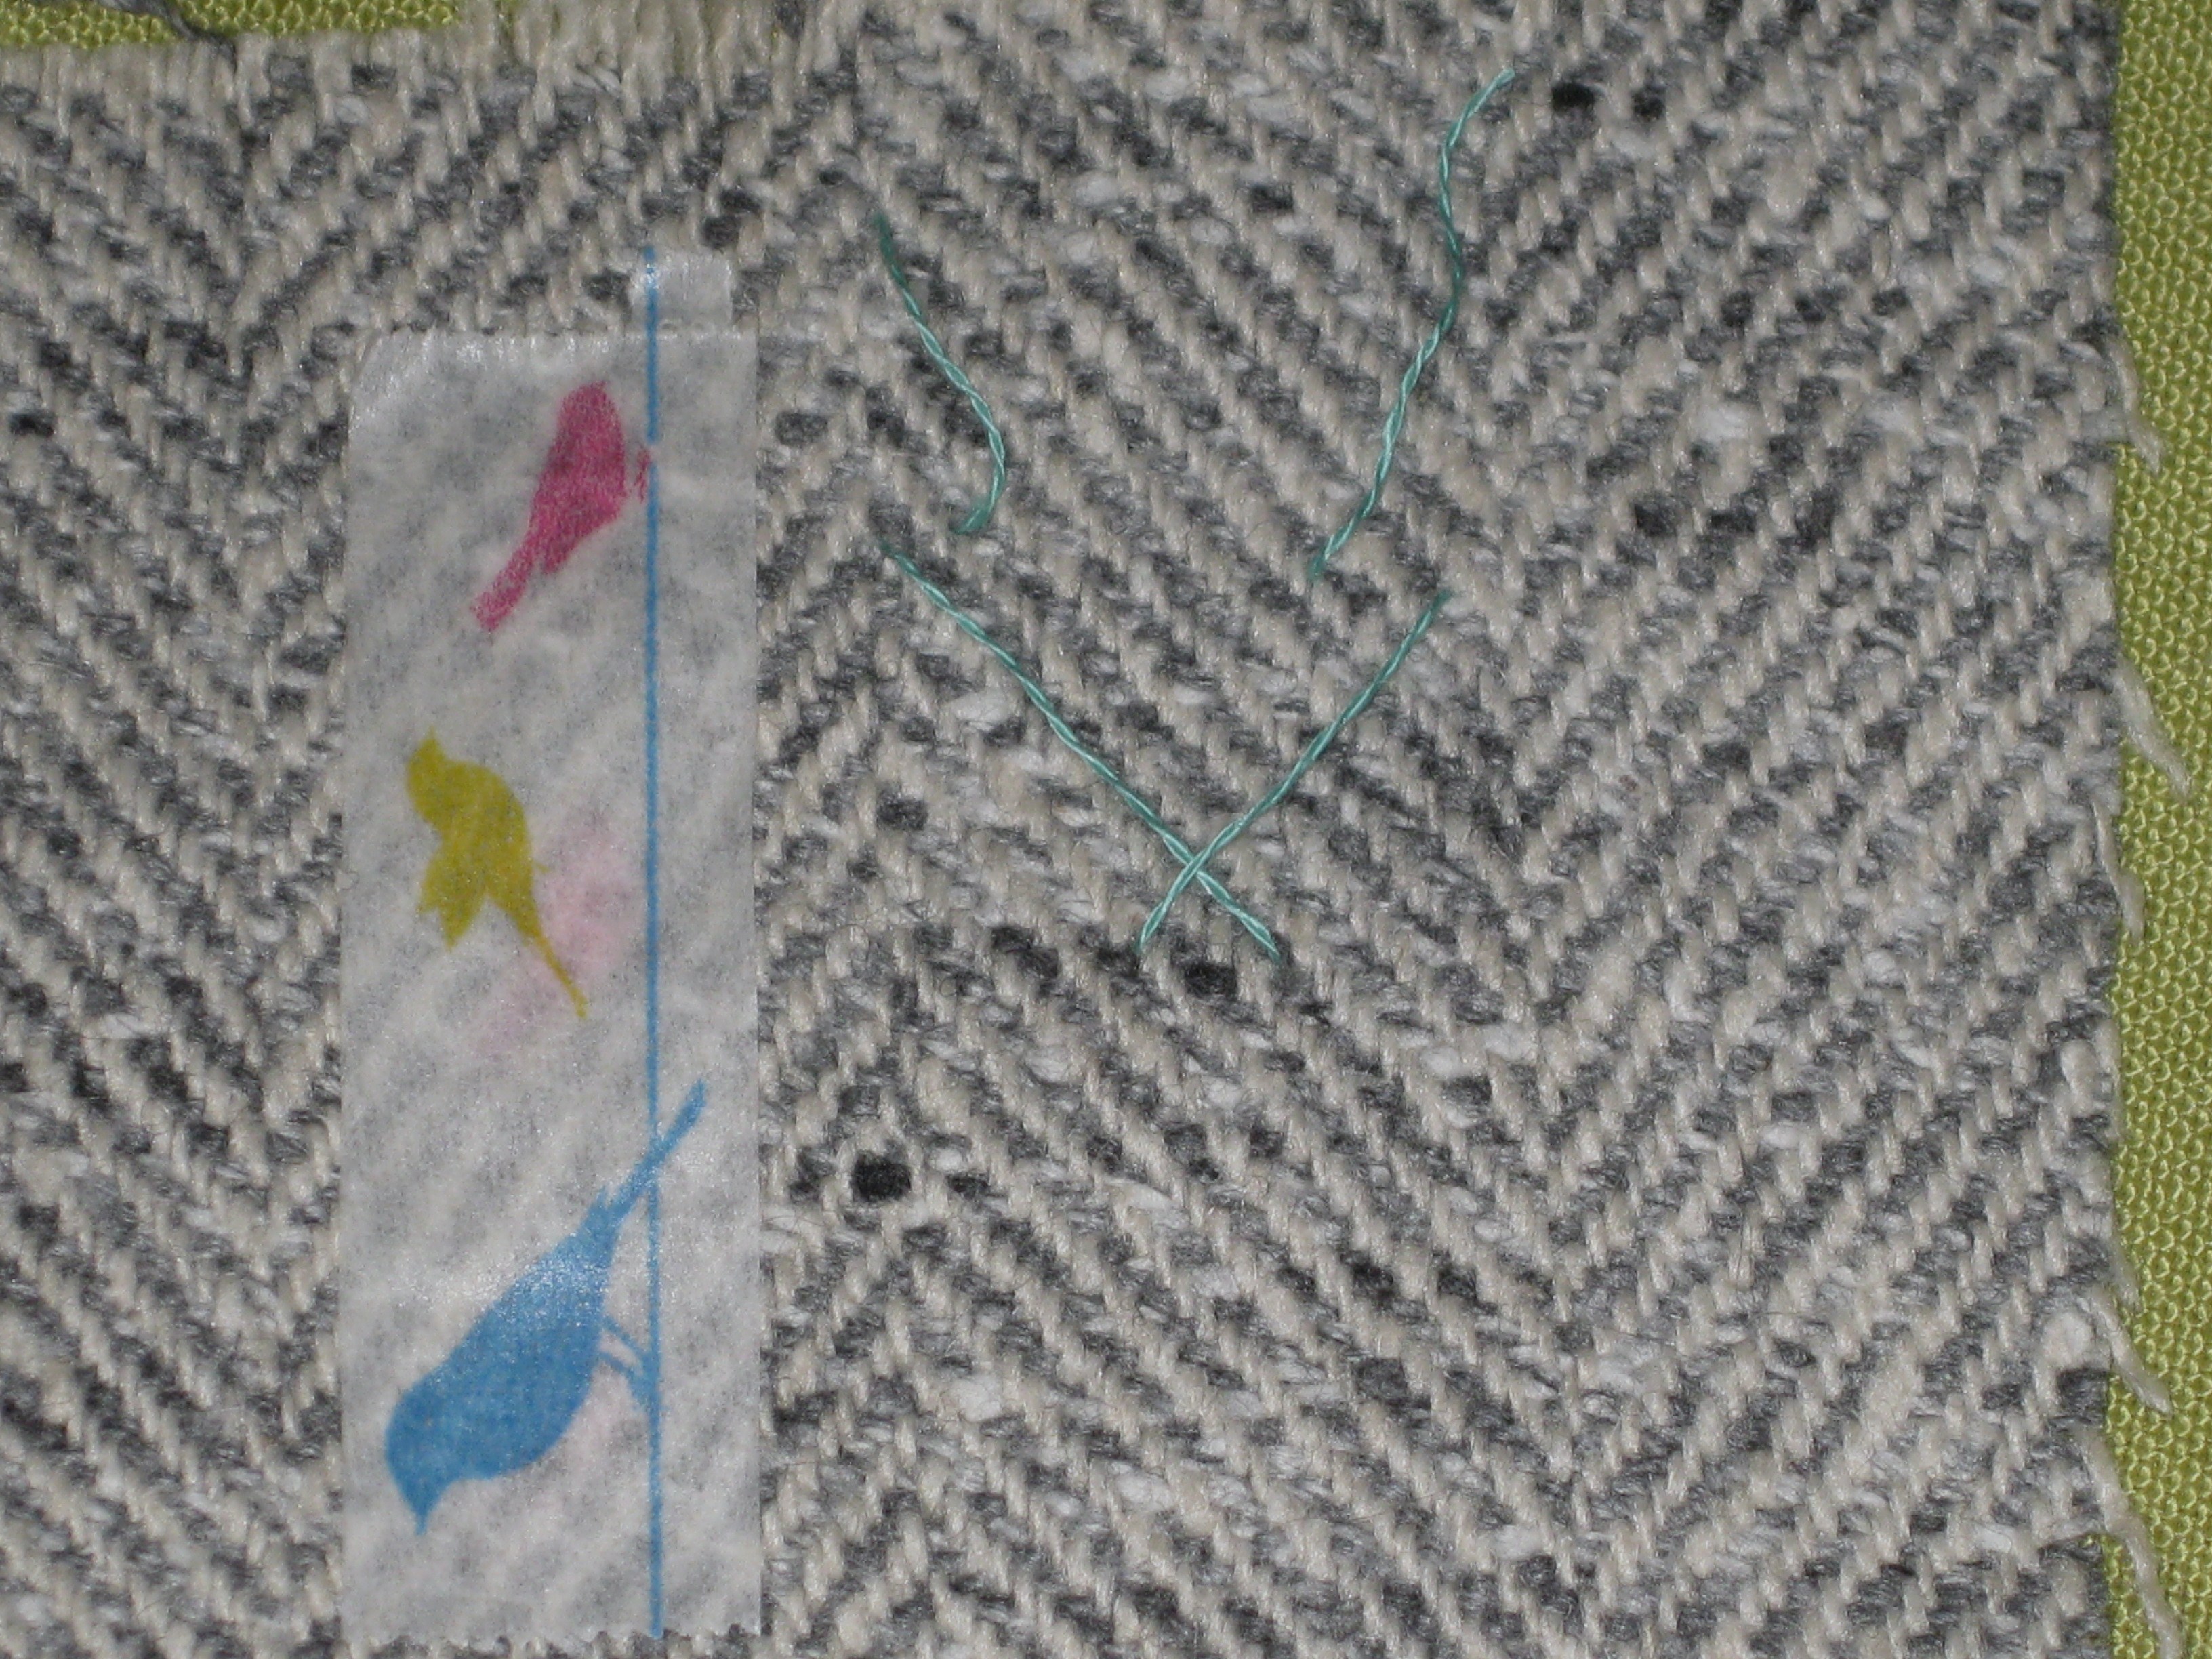
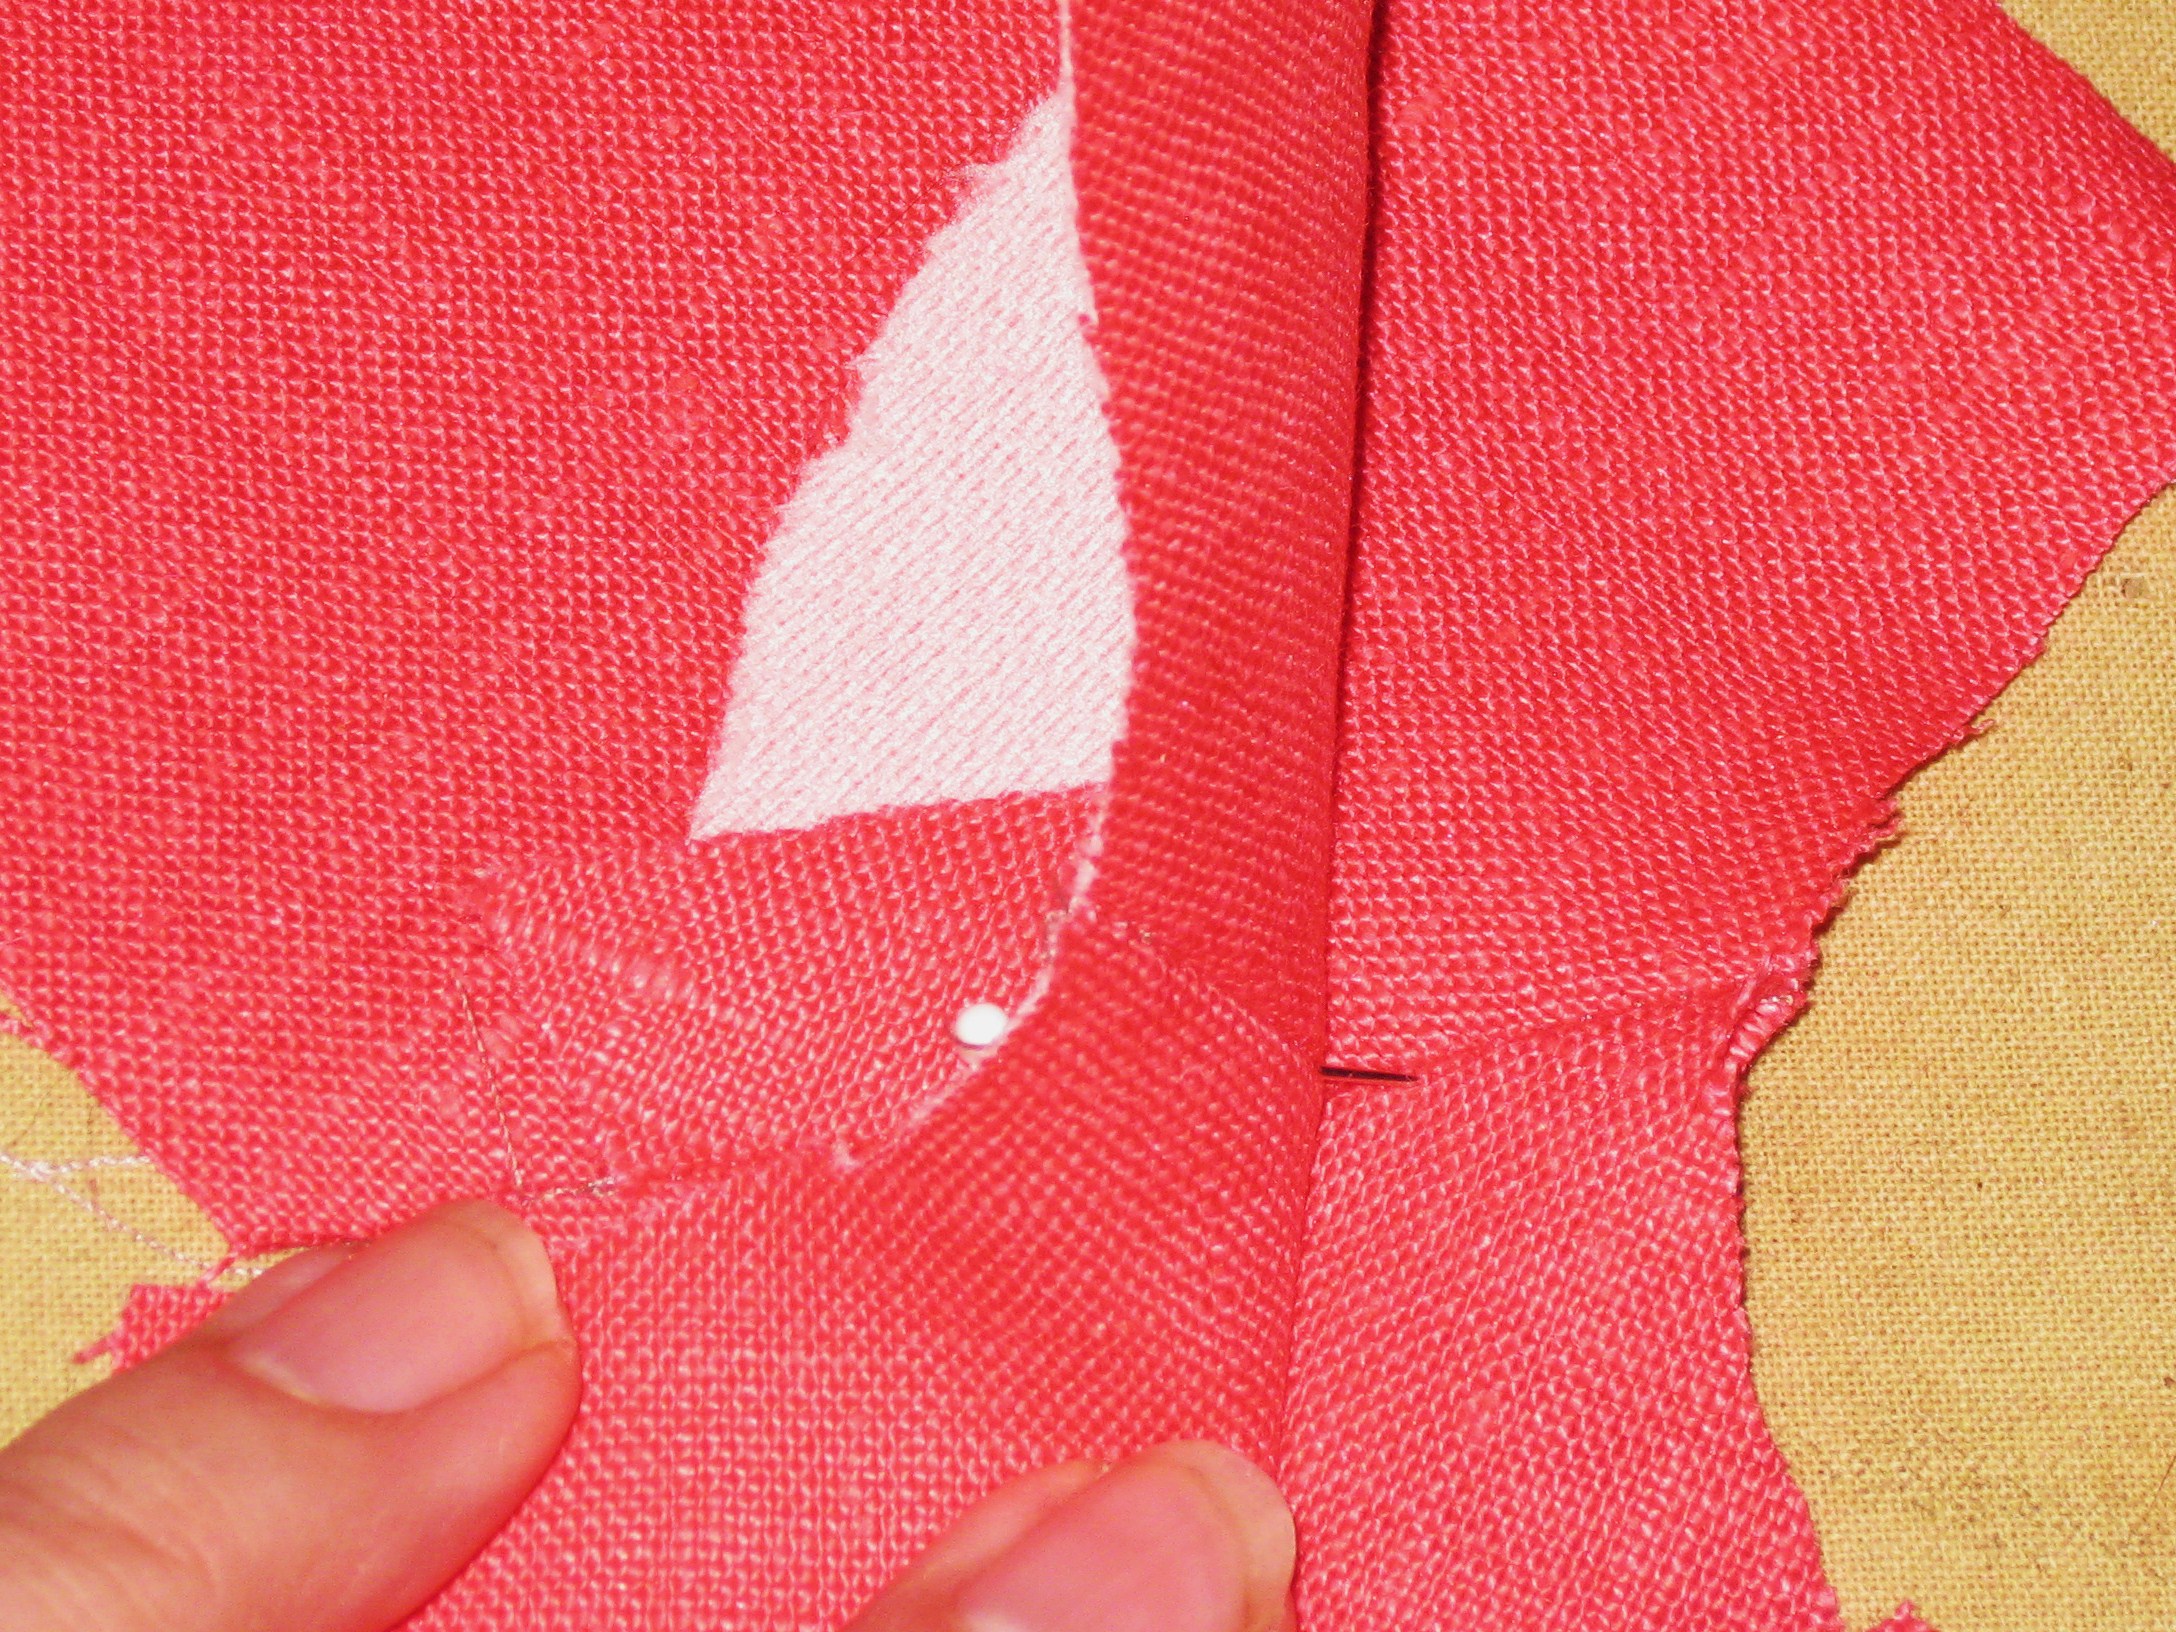
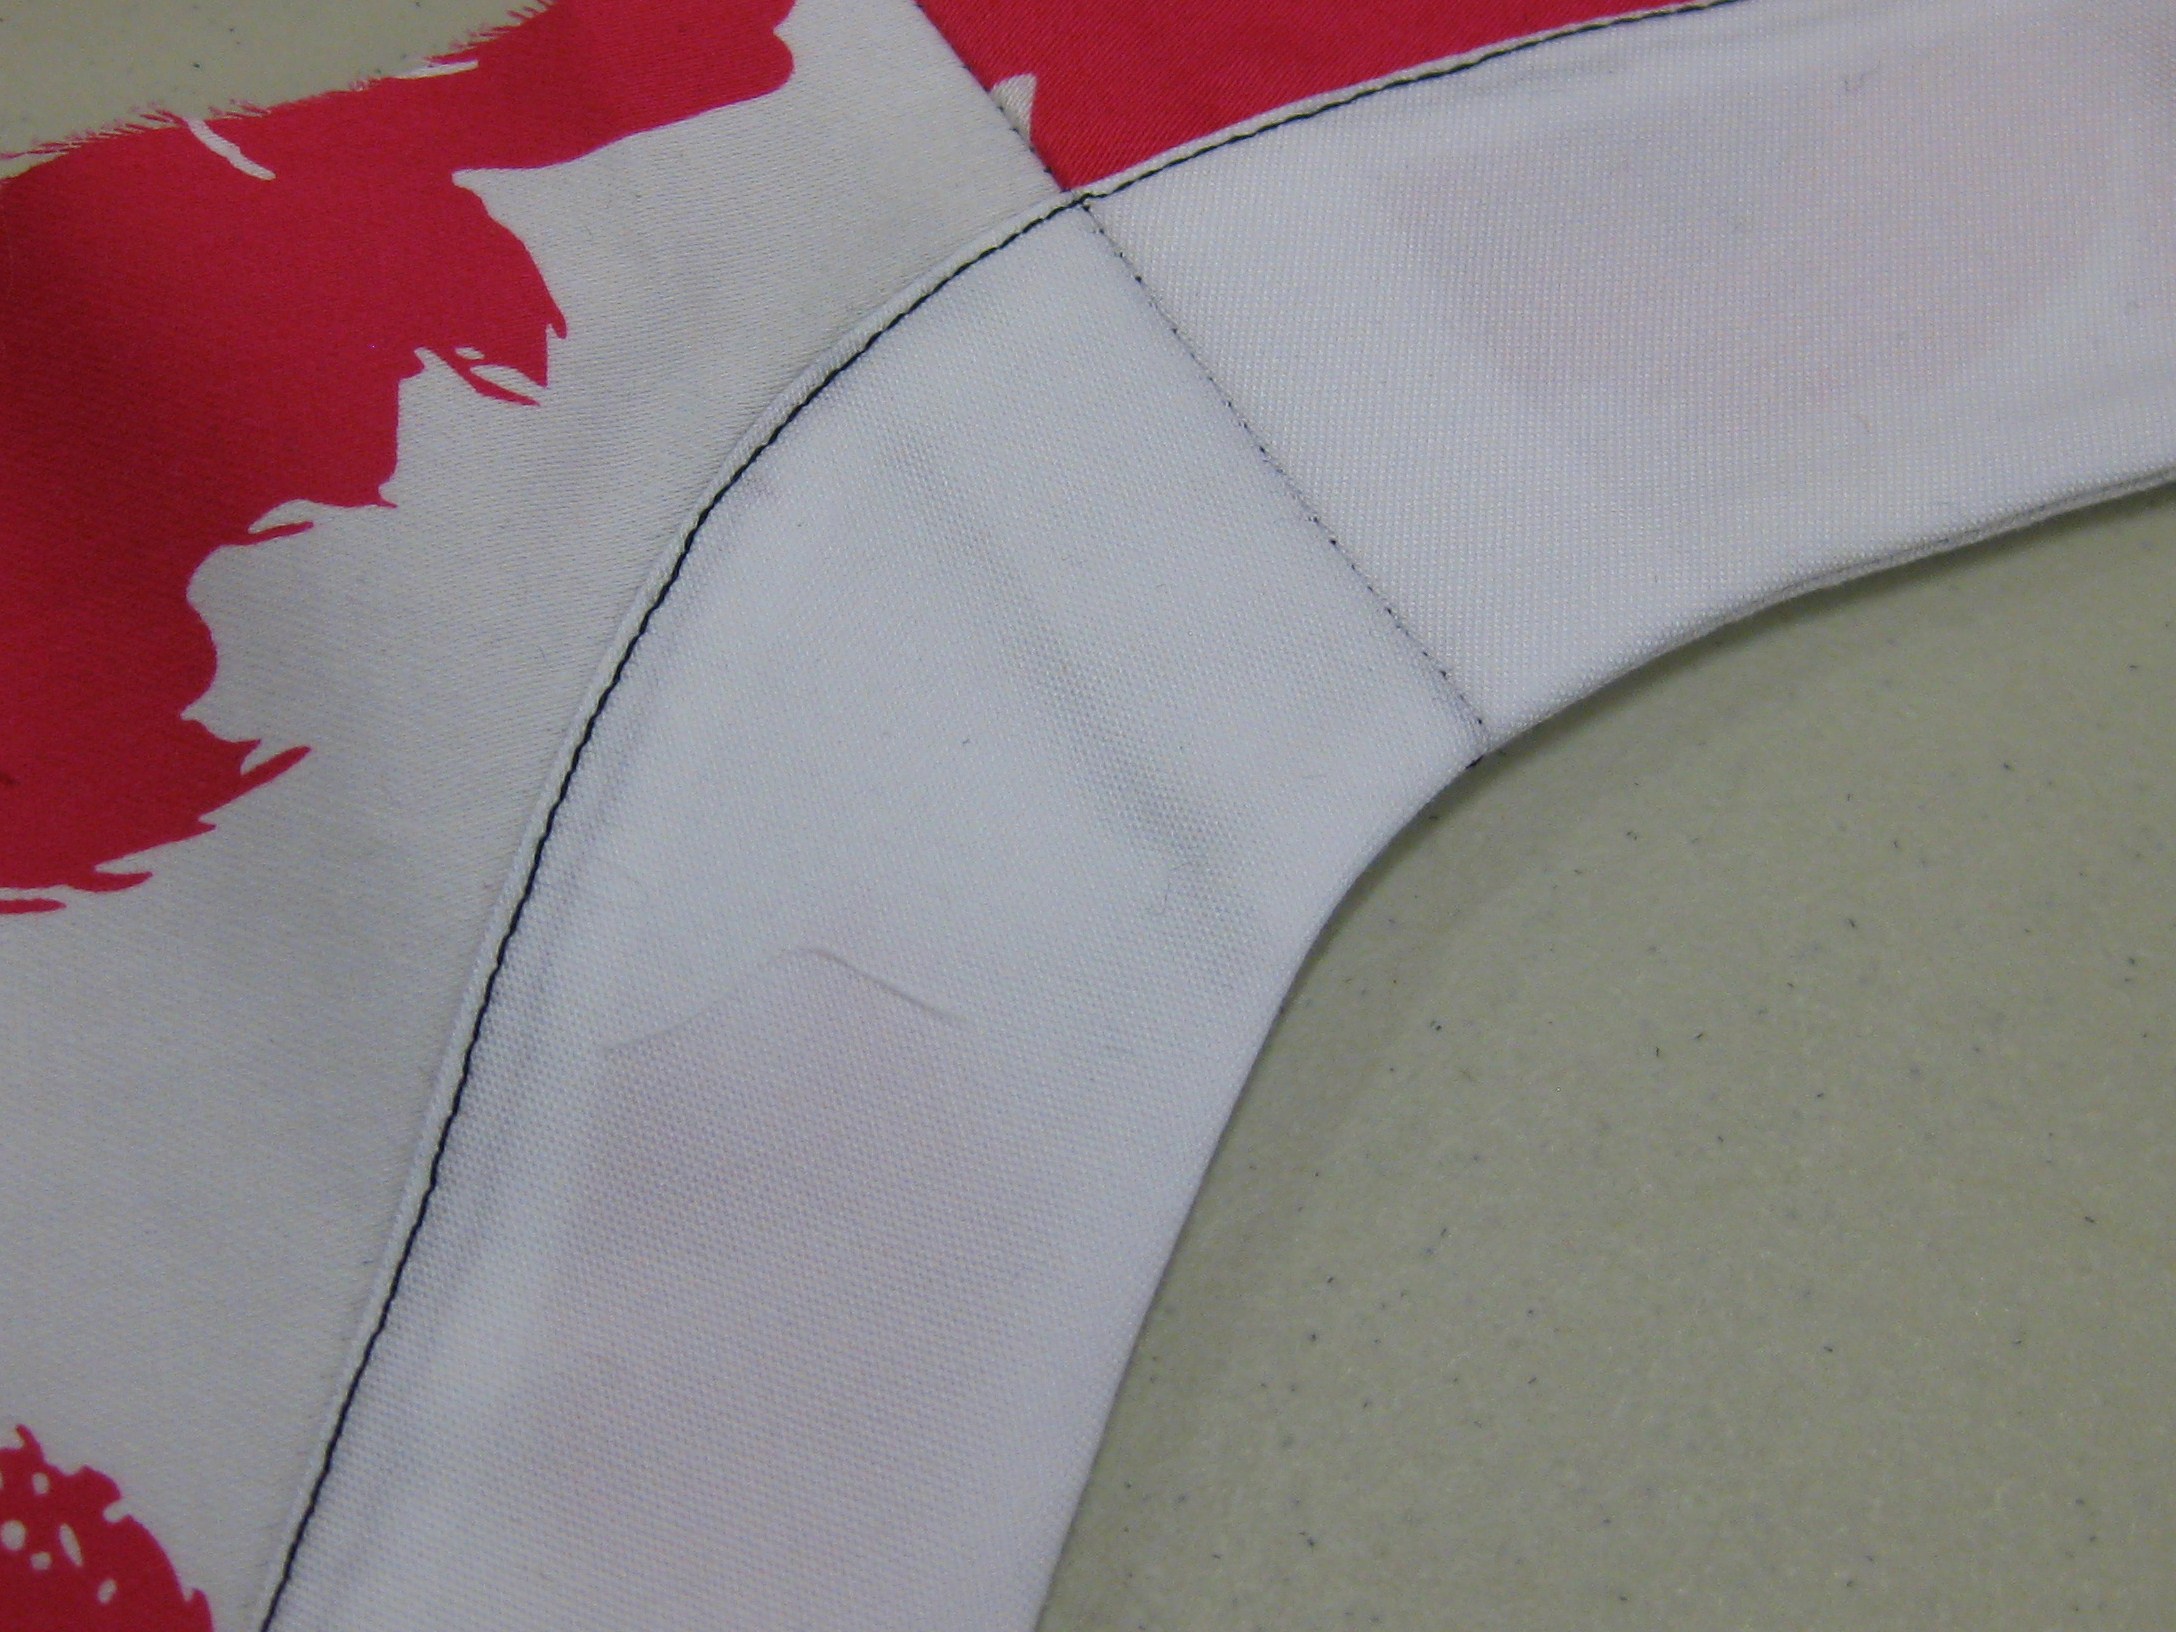
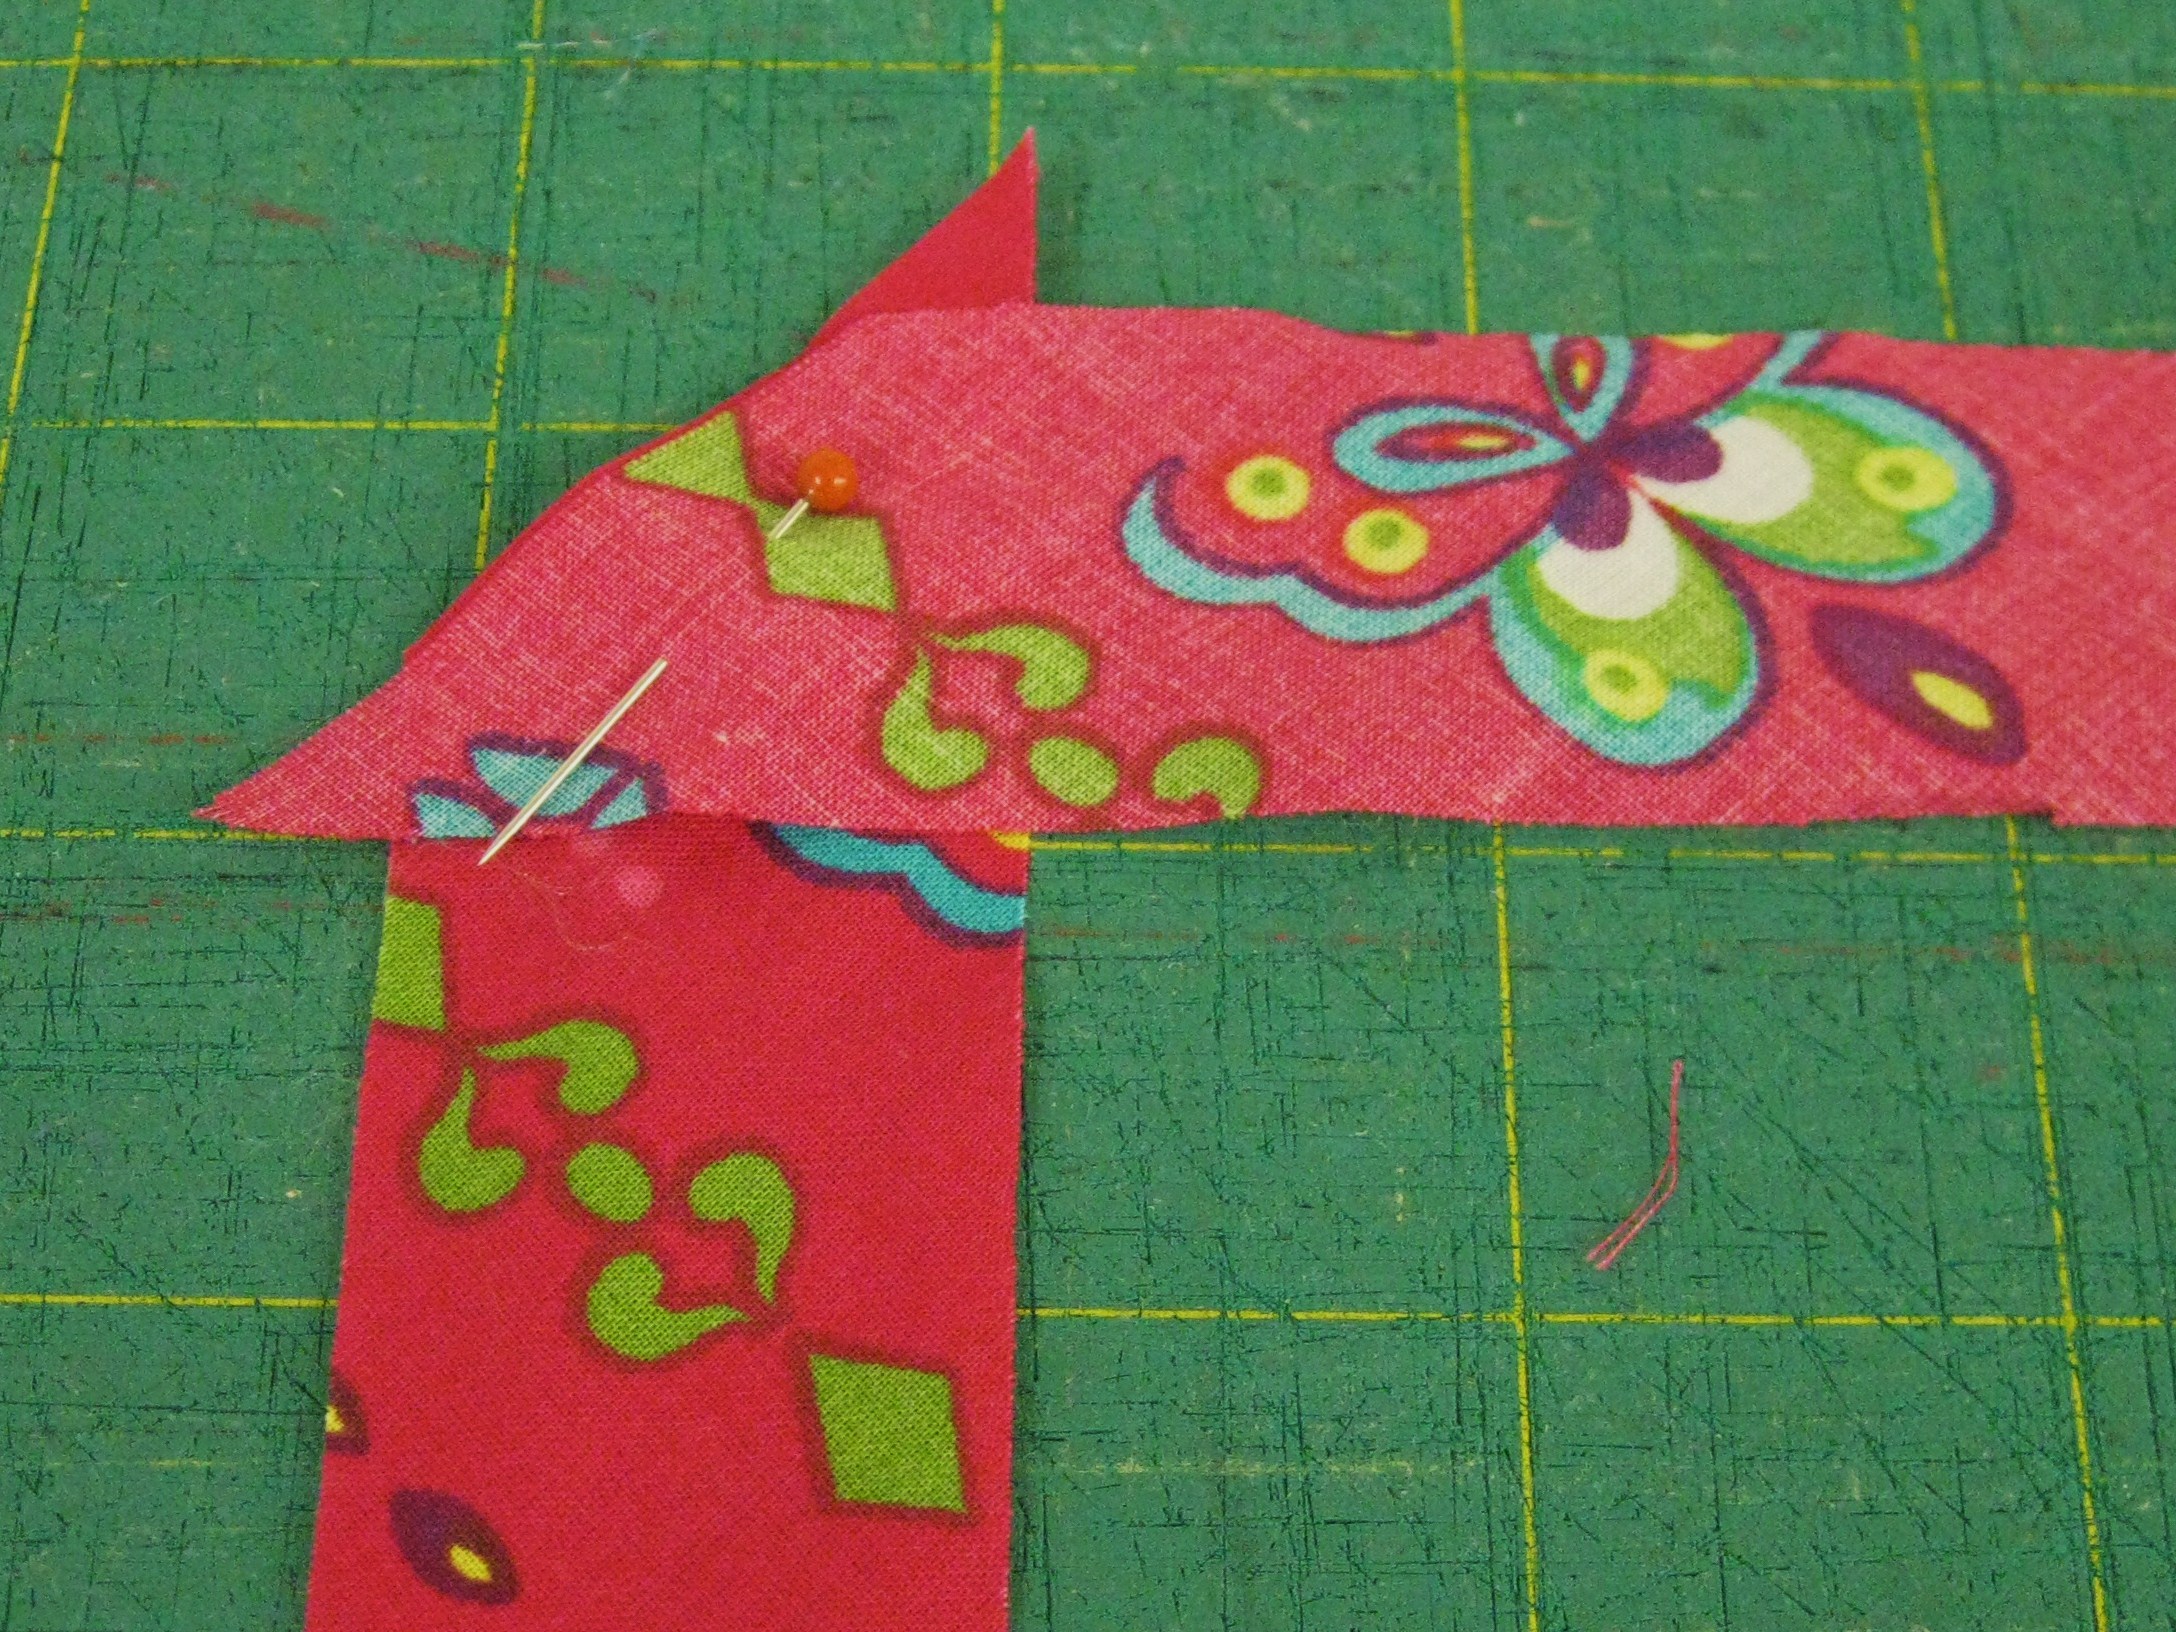
Starting about 5cm ahead of the underarm seam, stitch along the seam line. Follow your machine’s measuring guide and not the original stitching line used for the easing. When the easing is pulled up, the bias sections of the sleeve cap stretch and the original easing line will no longer be 1.5cm from the cut edges.
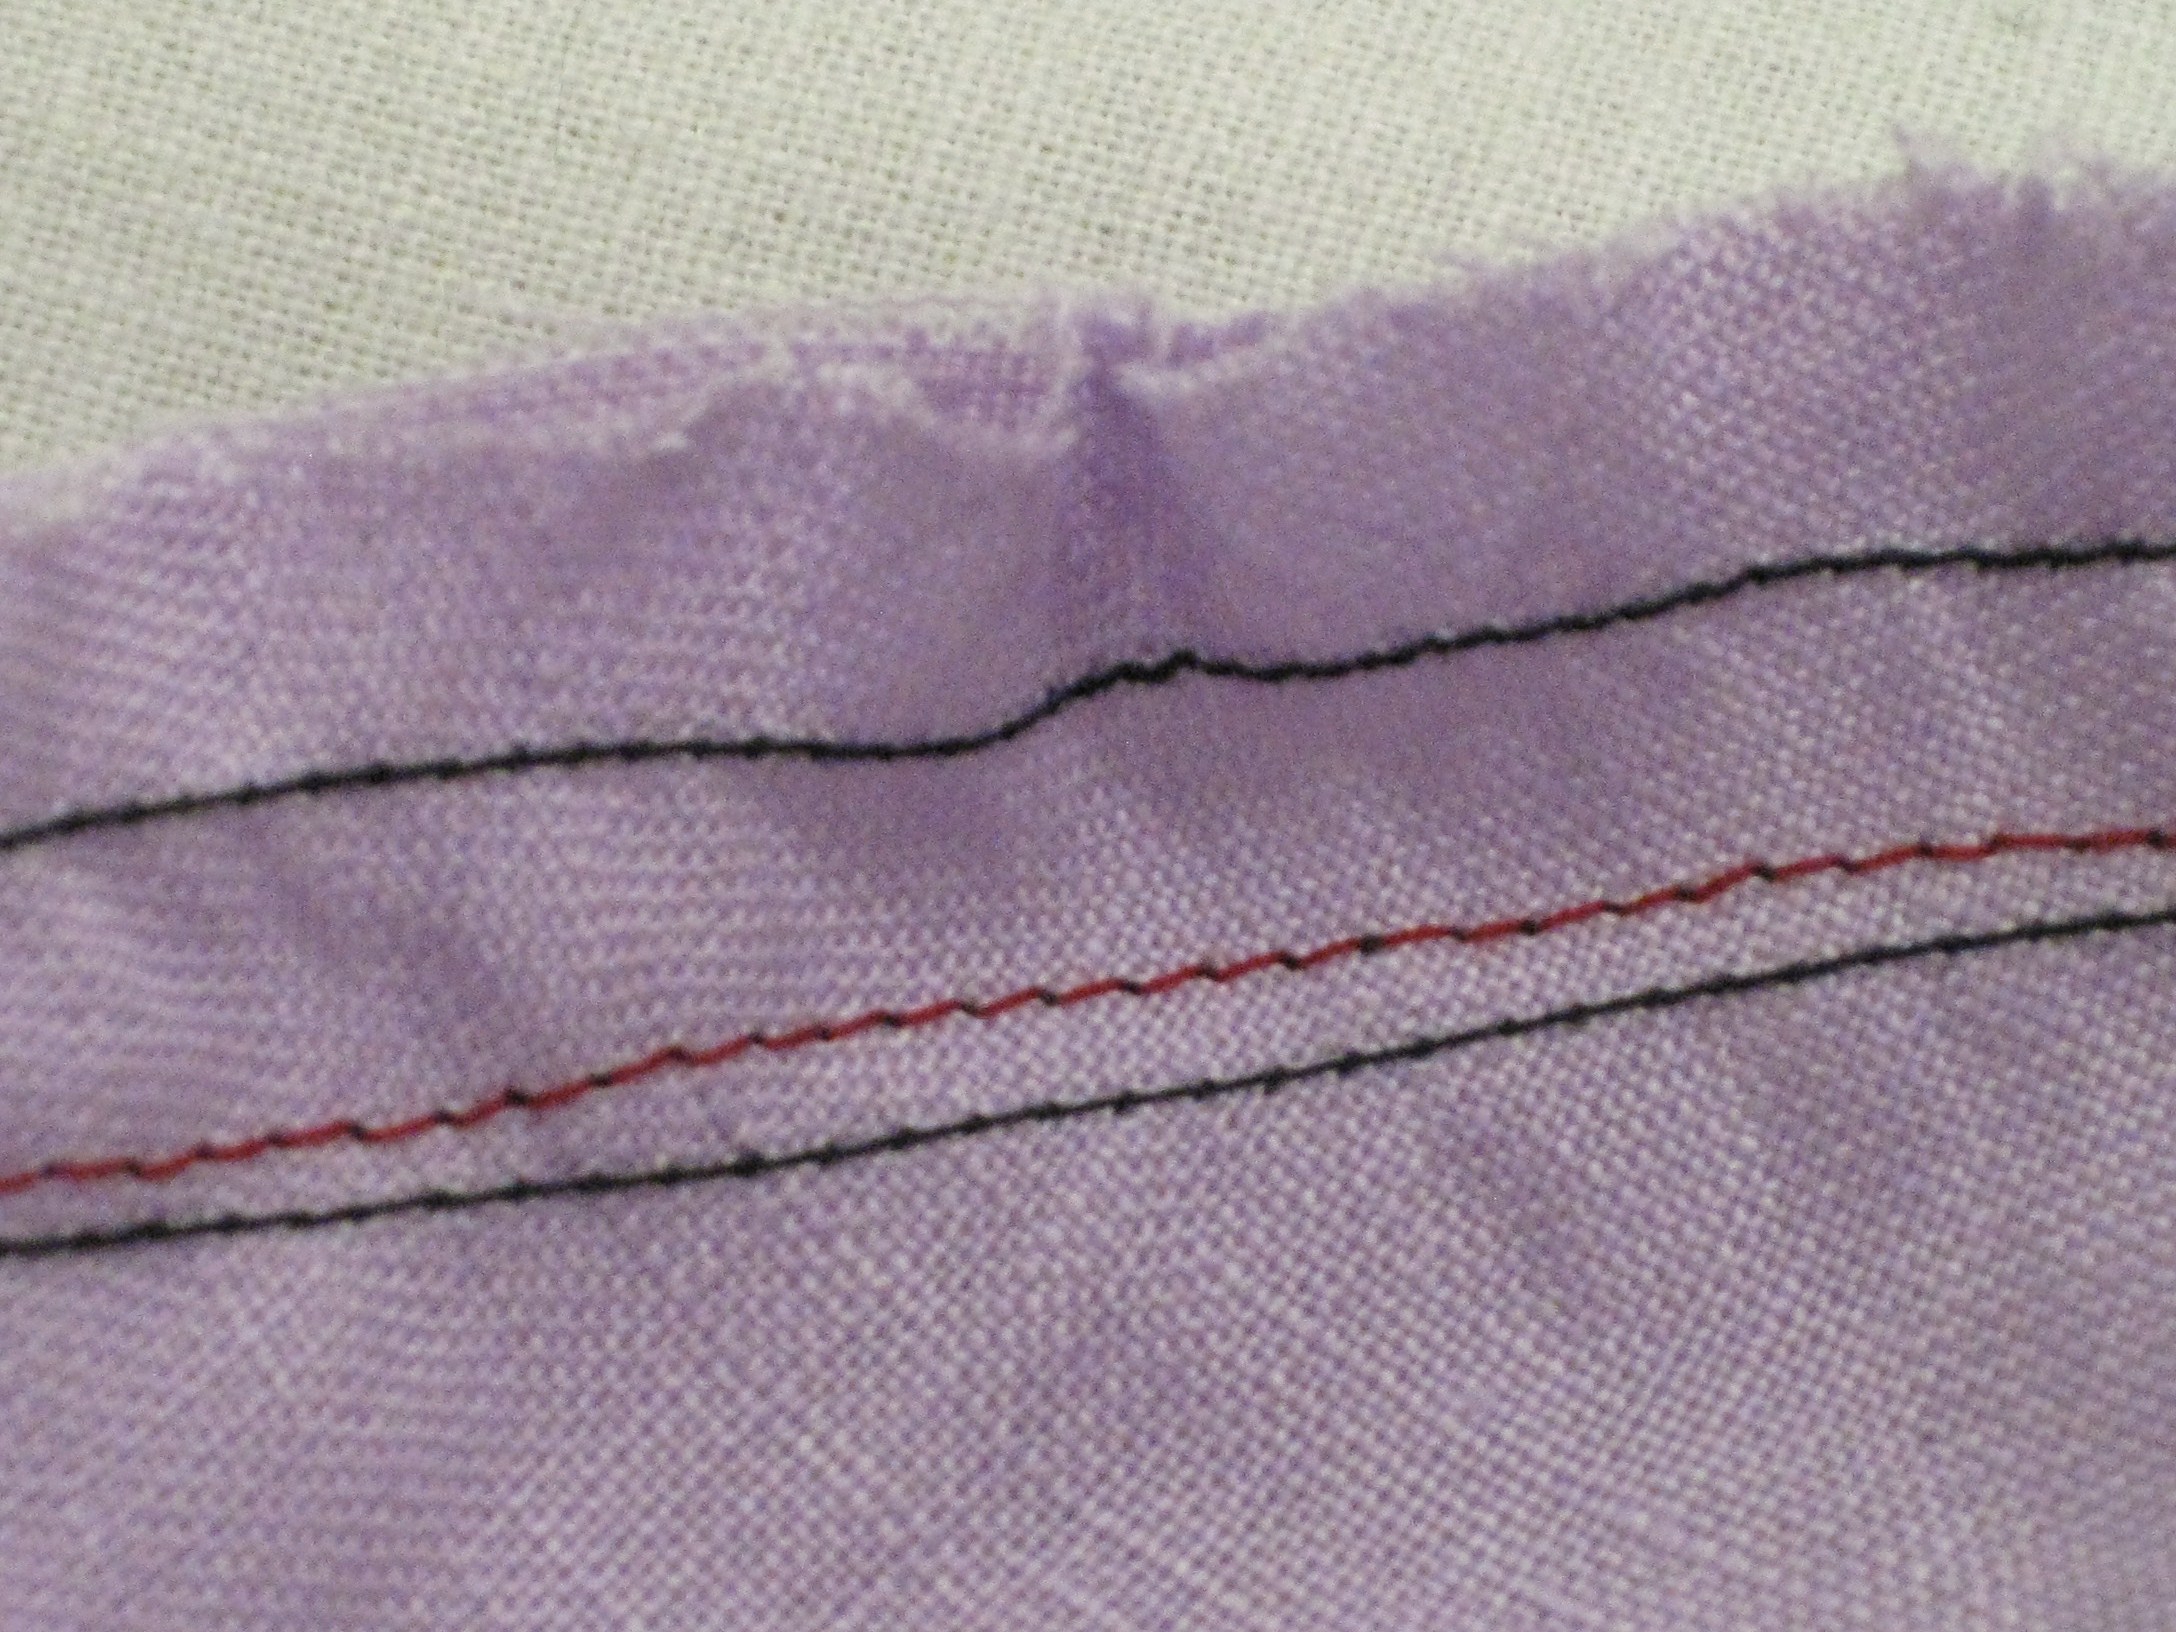
Black rows are ease stitching – red row is permanent seam line. Easing causes the bias sections of the cap to stretch so seam line moves.
When reaching the original starting point, simply overlap the stitching for about 1cm – there is no need to backstitch. Stitch a second row approximately 6mm from the original line in the underarm area only and trim the seam allowance back to this stitching line.
I do not trim the remainder of the seam allowance which is pressed flat and sits inside the sleeve to act as a small sleeve head to support the cap line.
The seam allowance can then be finished as desired and appropriate to the fabric of the garment.
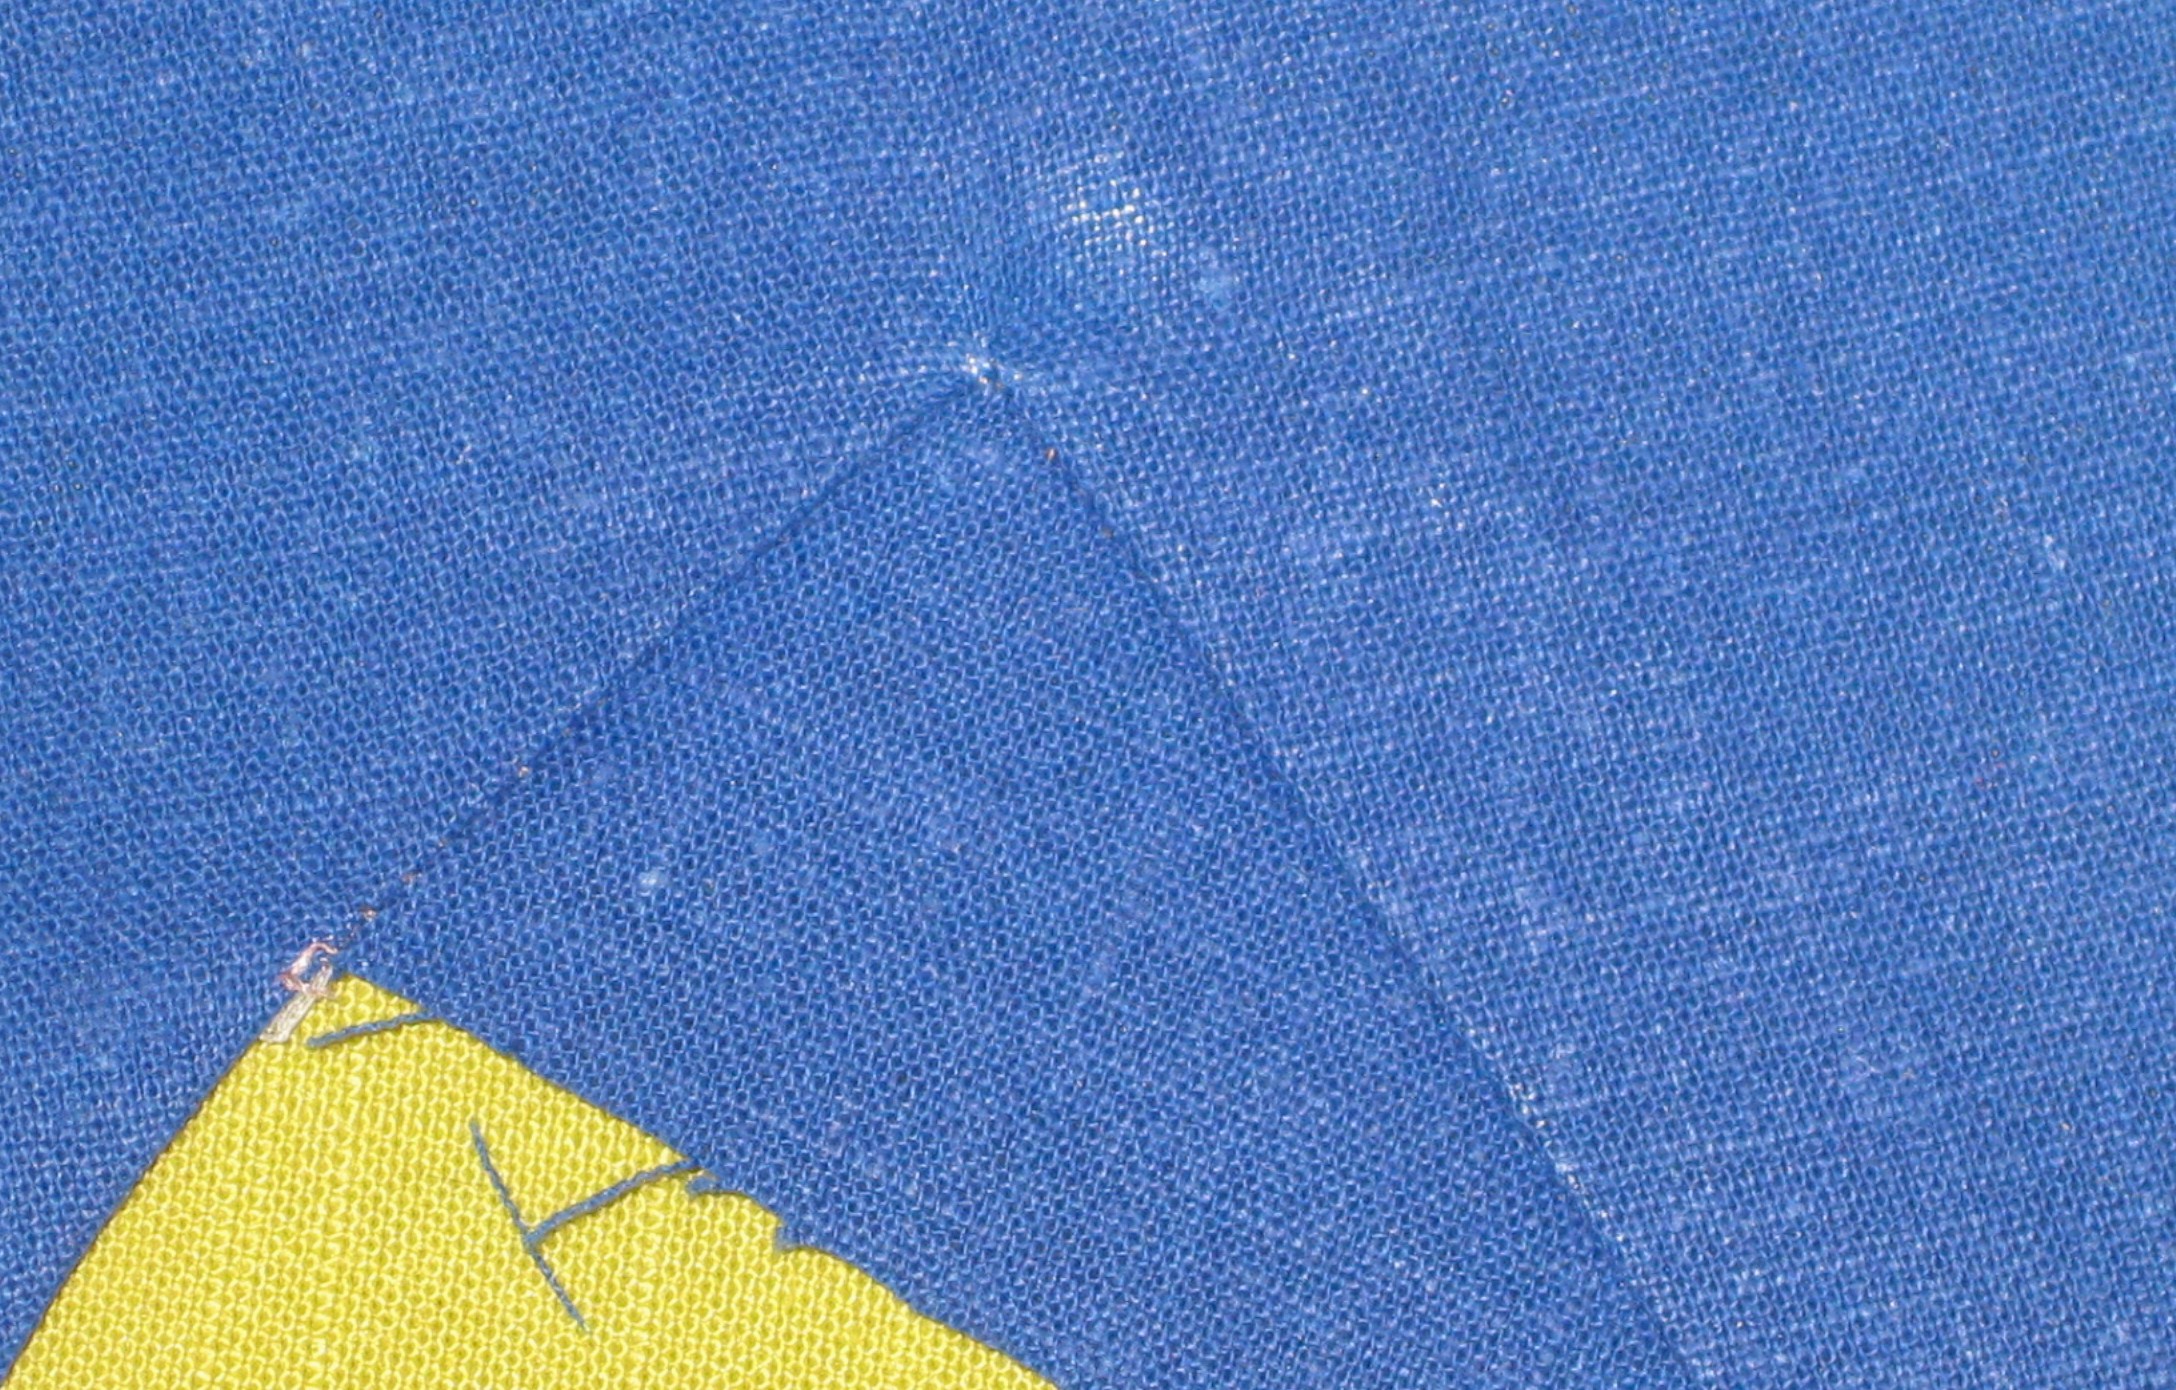
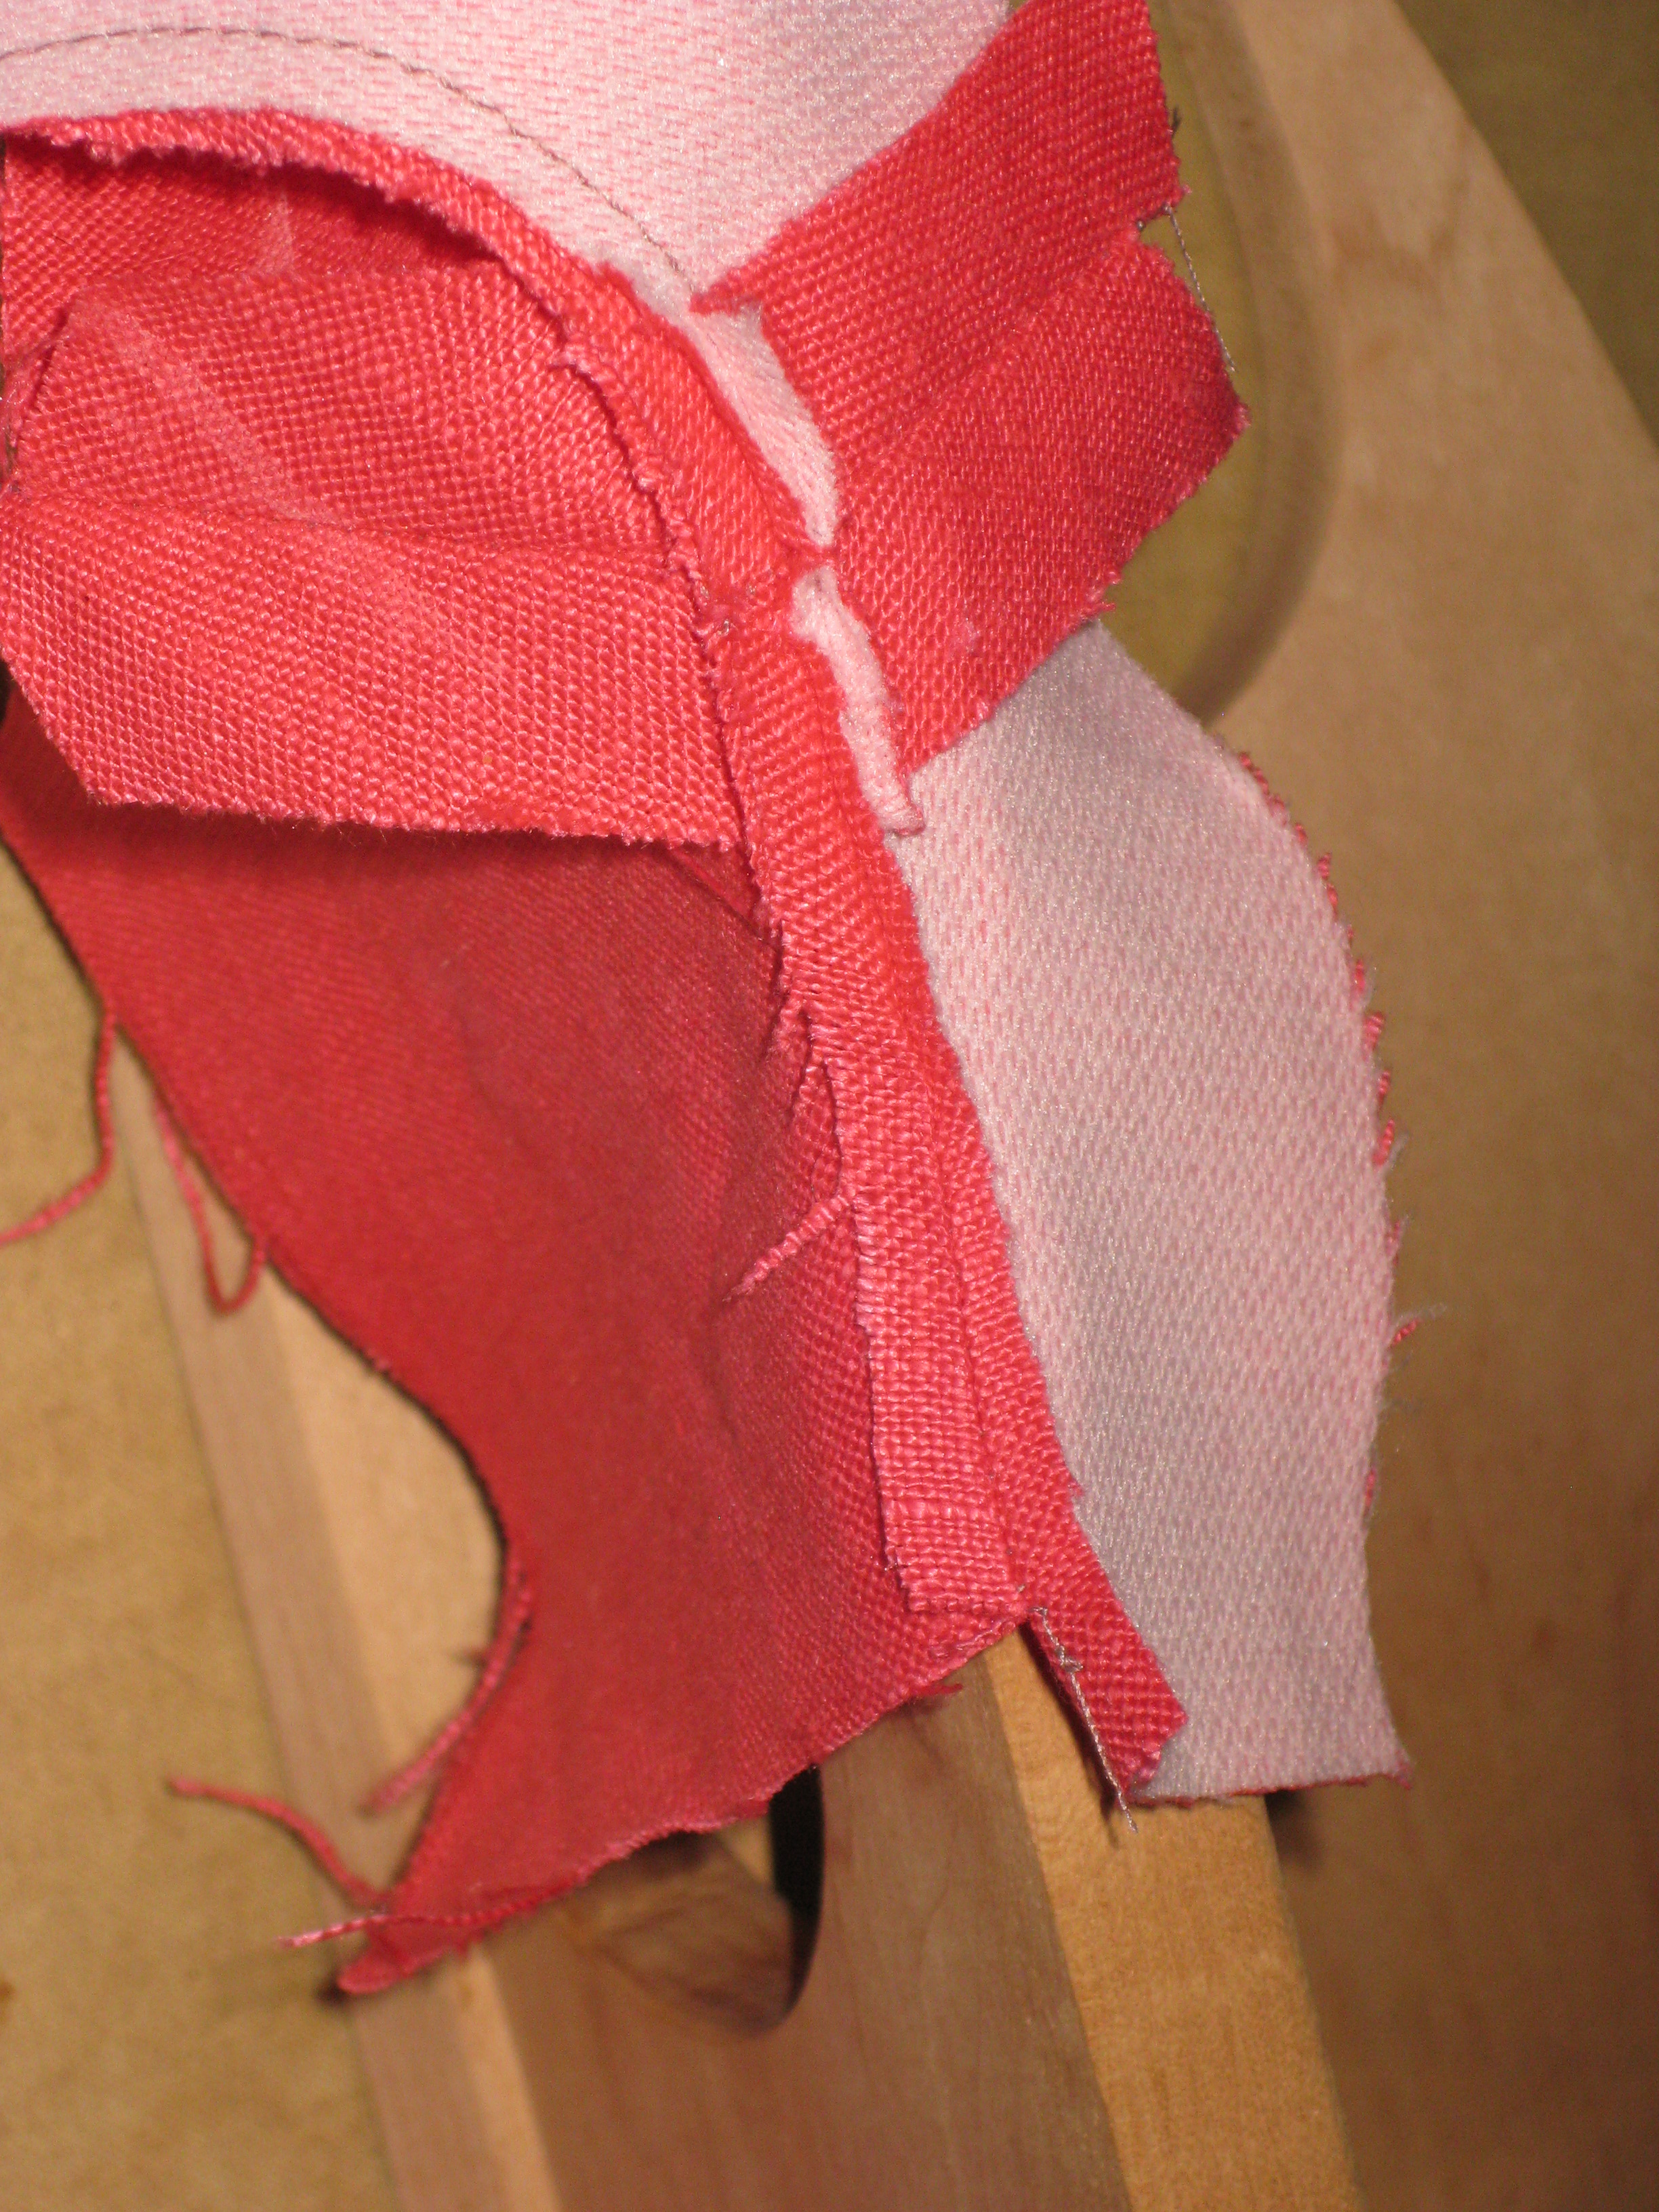
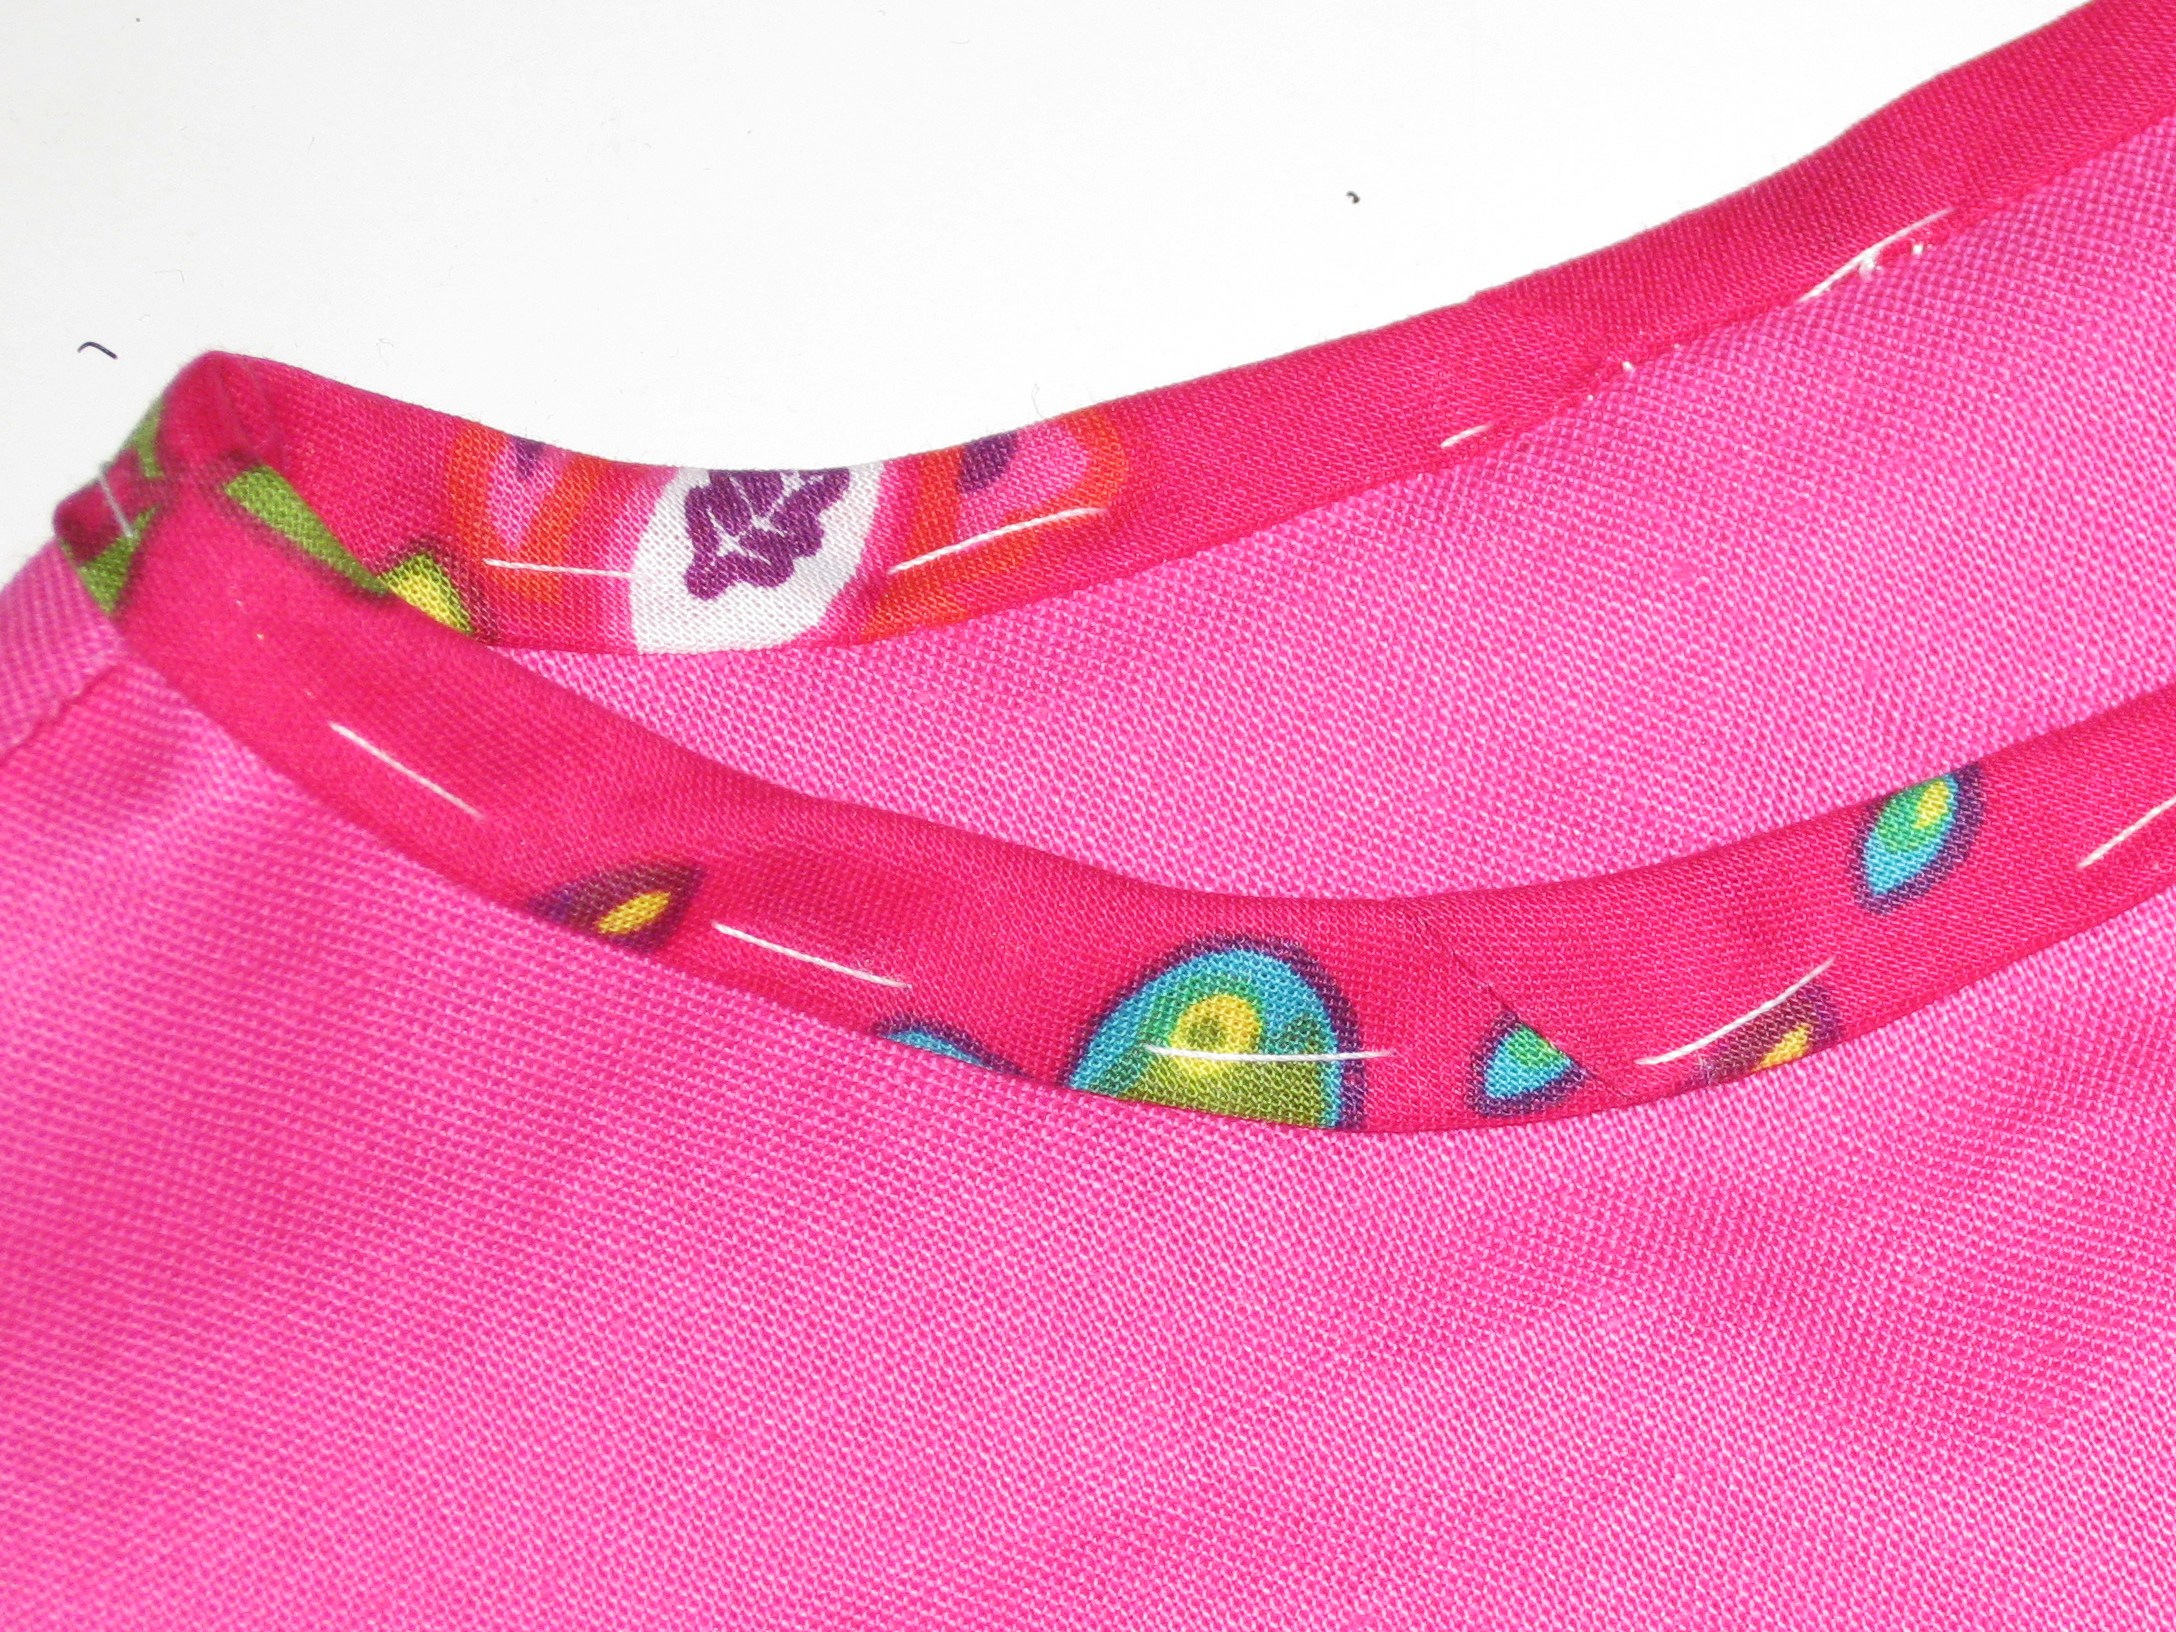
Press the seam allowance only and allow it to sit inside the sleeve. The result is a smooth sleeve which rolls nicely into the armhole with ease evenly distributed and no puckers.

Sleeve should roll nicely out of the armhole.
Sleeve Heads
Sleeve heads are strips of thick fabric or batting that lift and support the sleeve cap and enhance the sleeve’s drape. They are usually inserted in jackets and coats.
They are rarely used in dresses with today’s fashion but were quite prevalent in the era of the big gathered sleeve. This type of support was usually provided by a gathered tulle or silk organza sleeve head. Since the many past fashion elements often influence current fashion, we can probably expect to see these sleeves again at some future time.
Pre-made sleeve heads are available for purchase but often they do not fit the shape of a ladies’ sleeve.
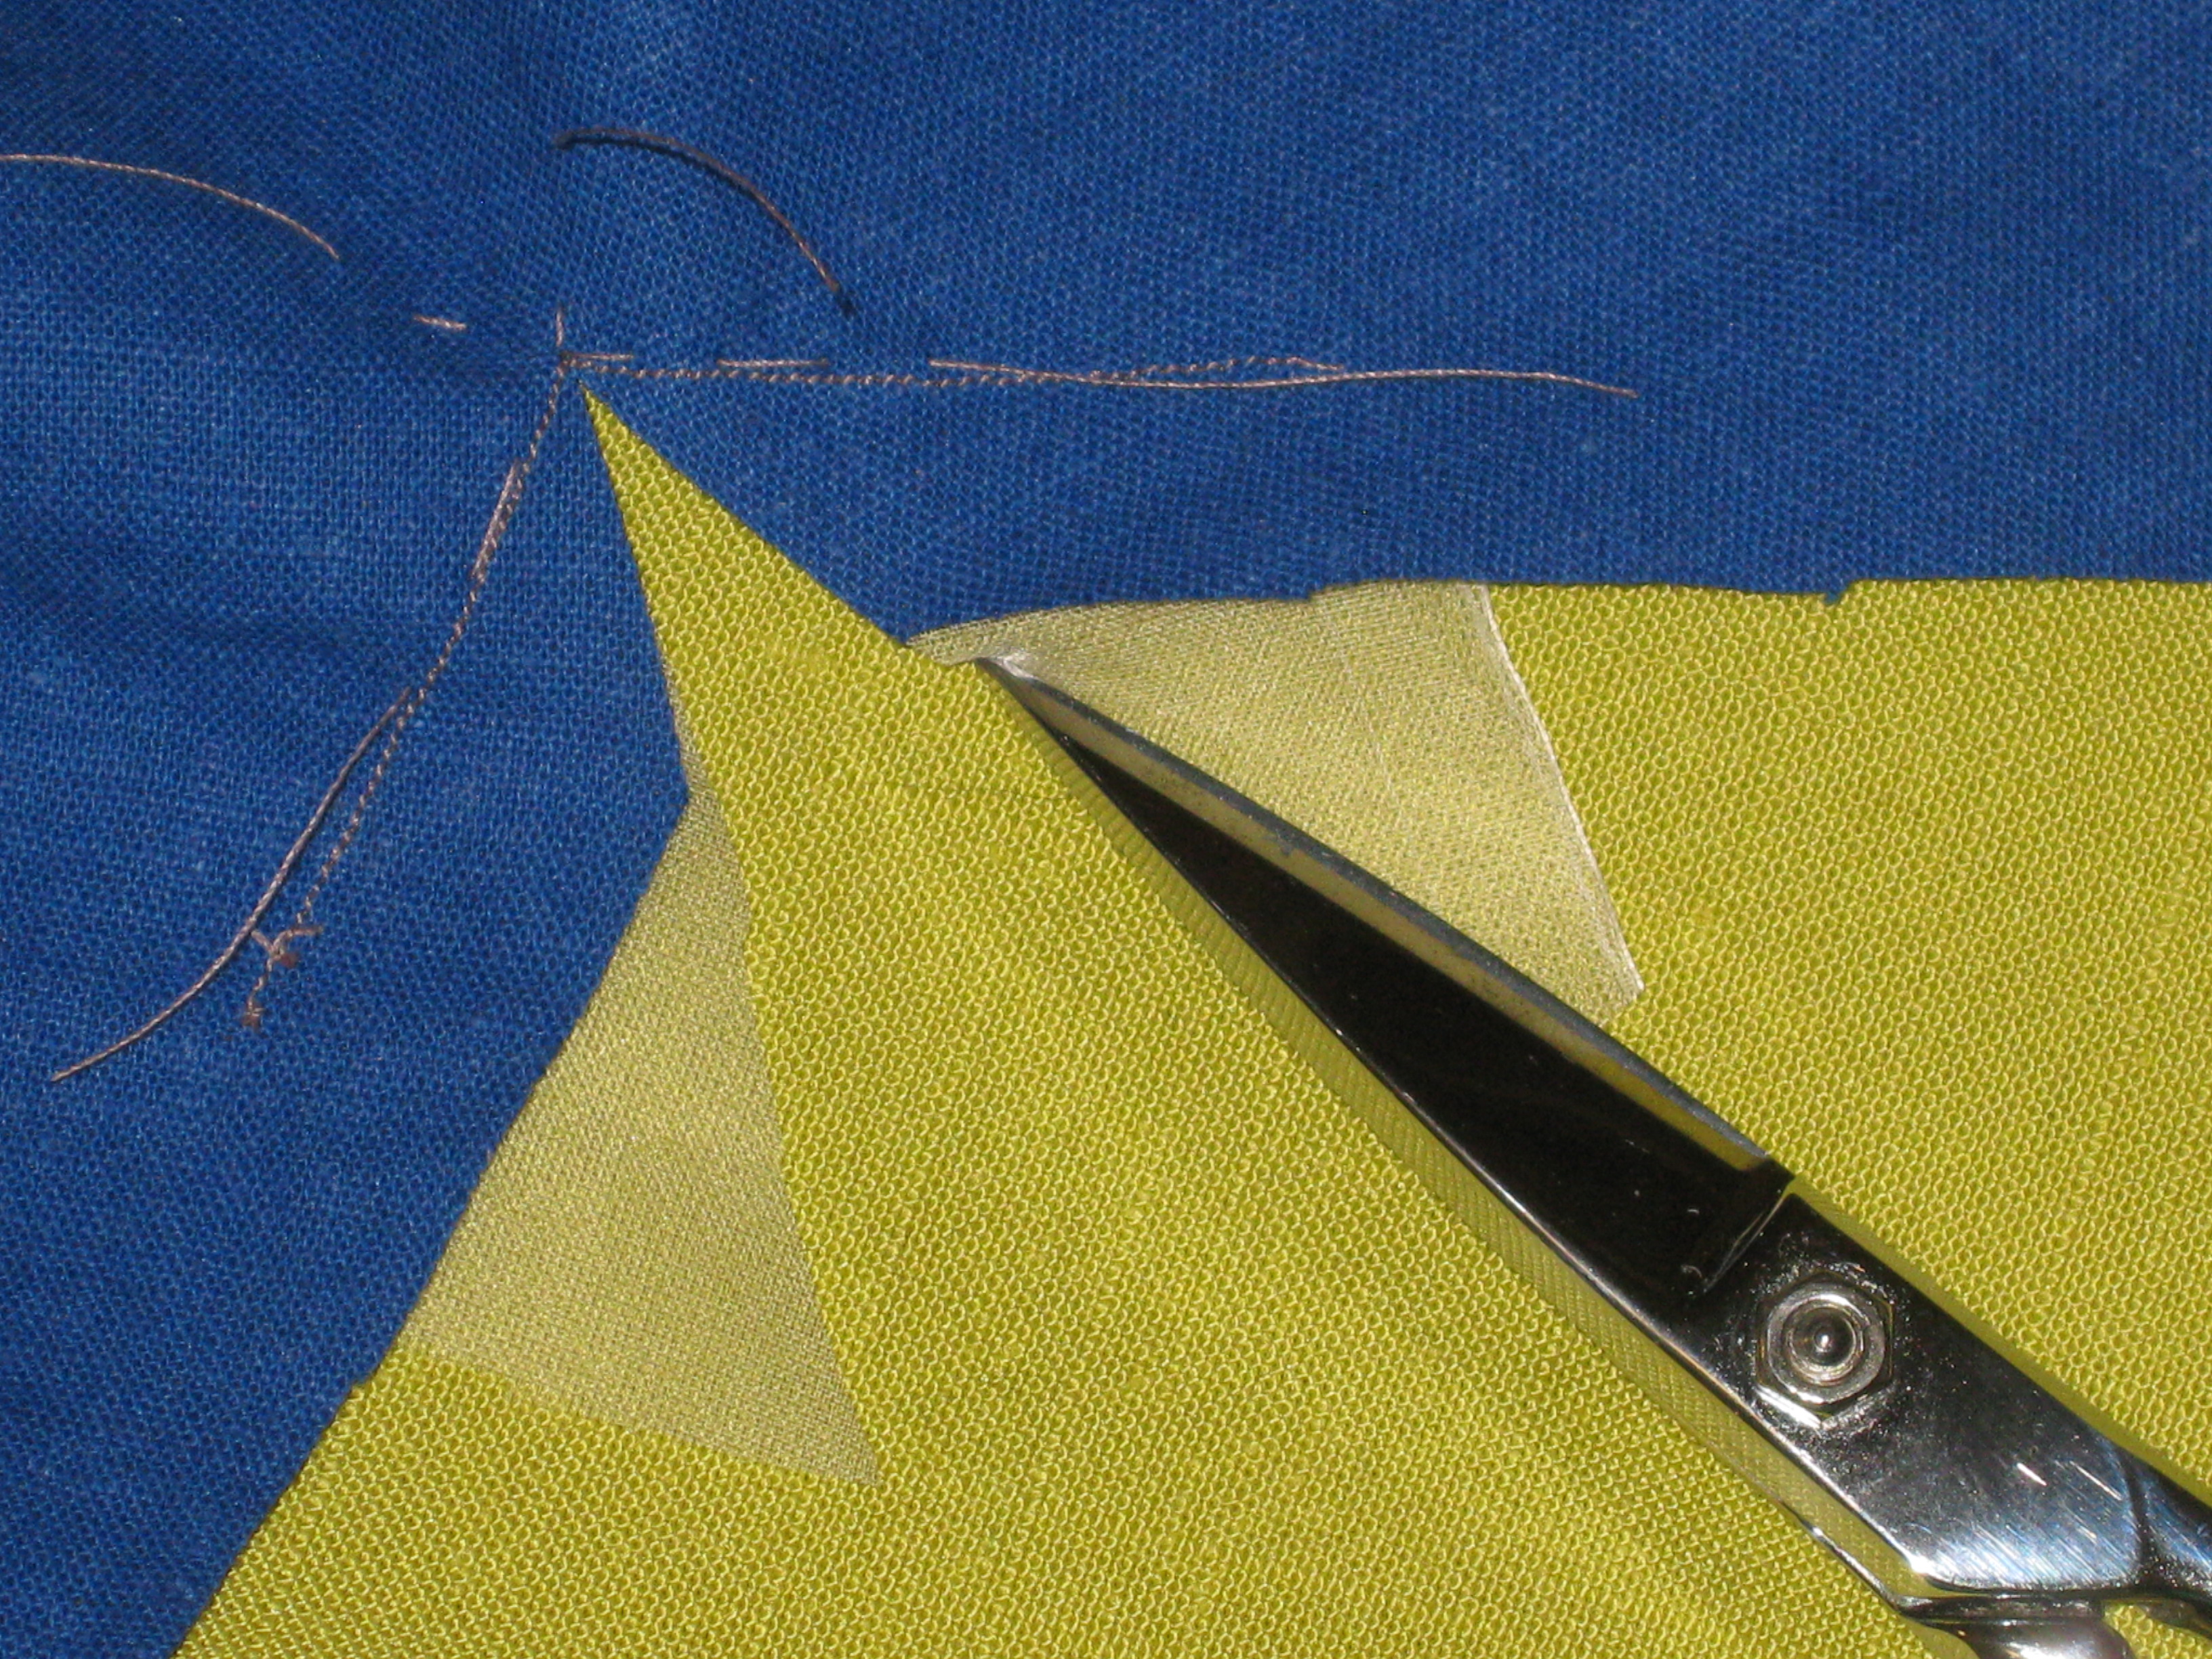
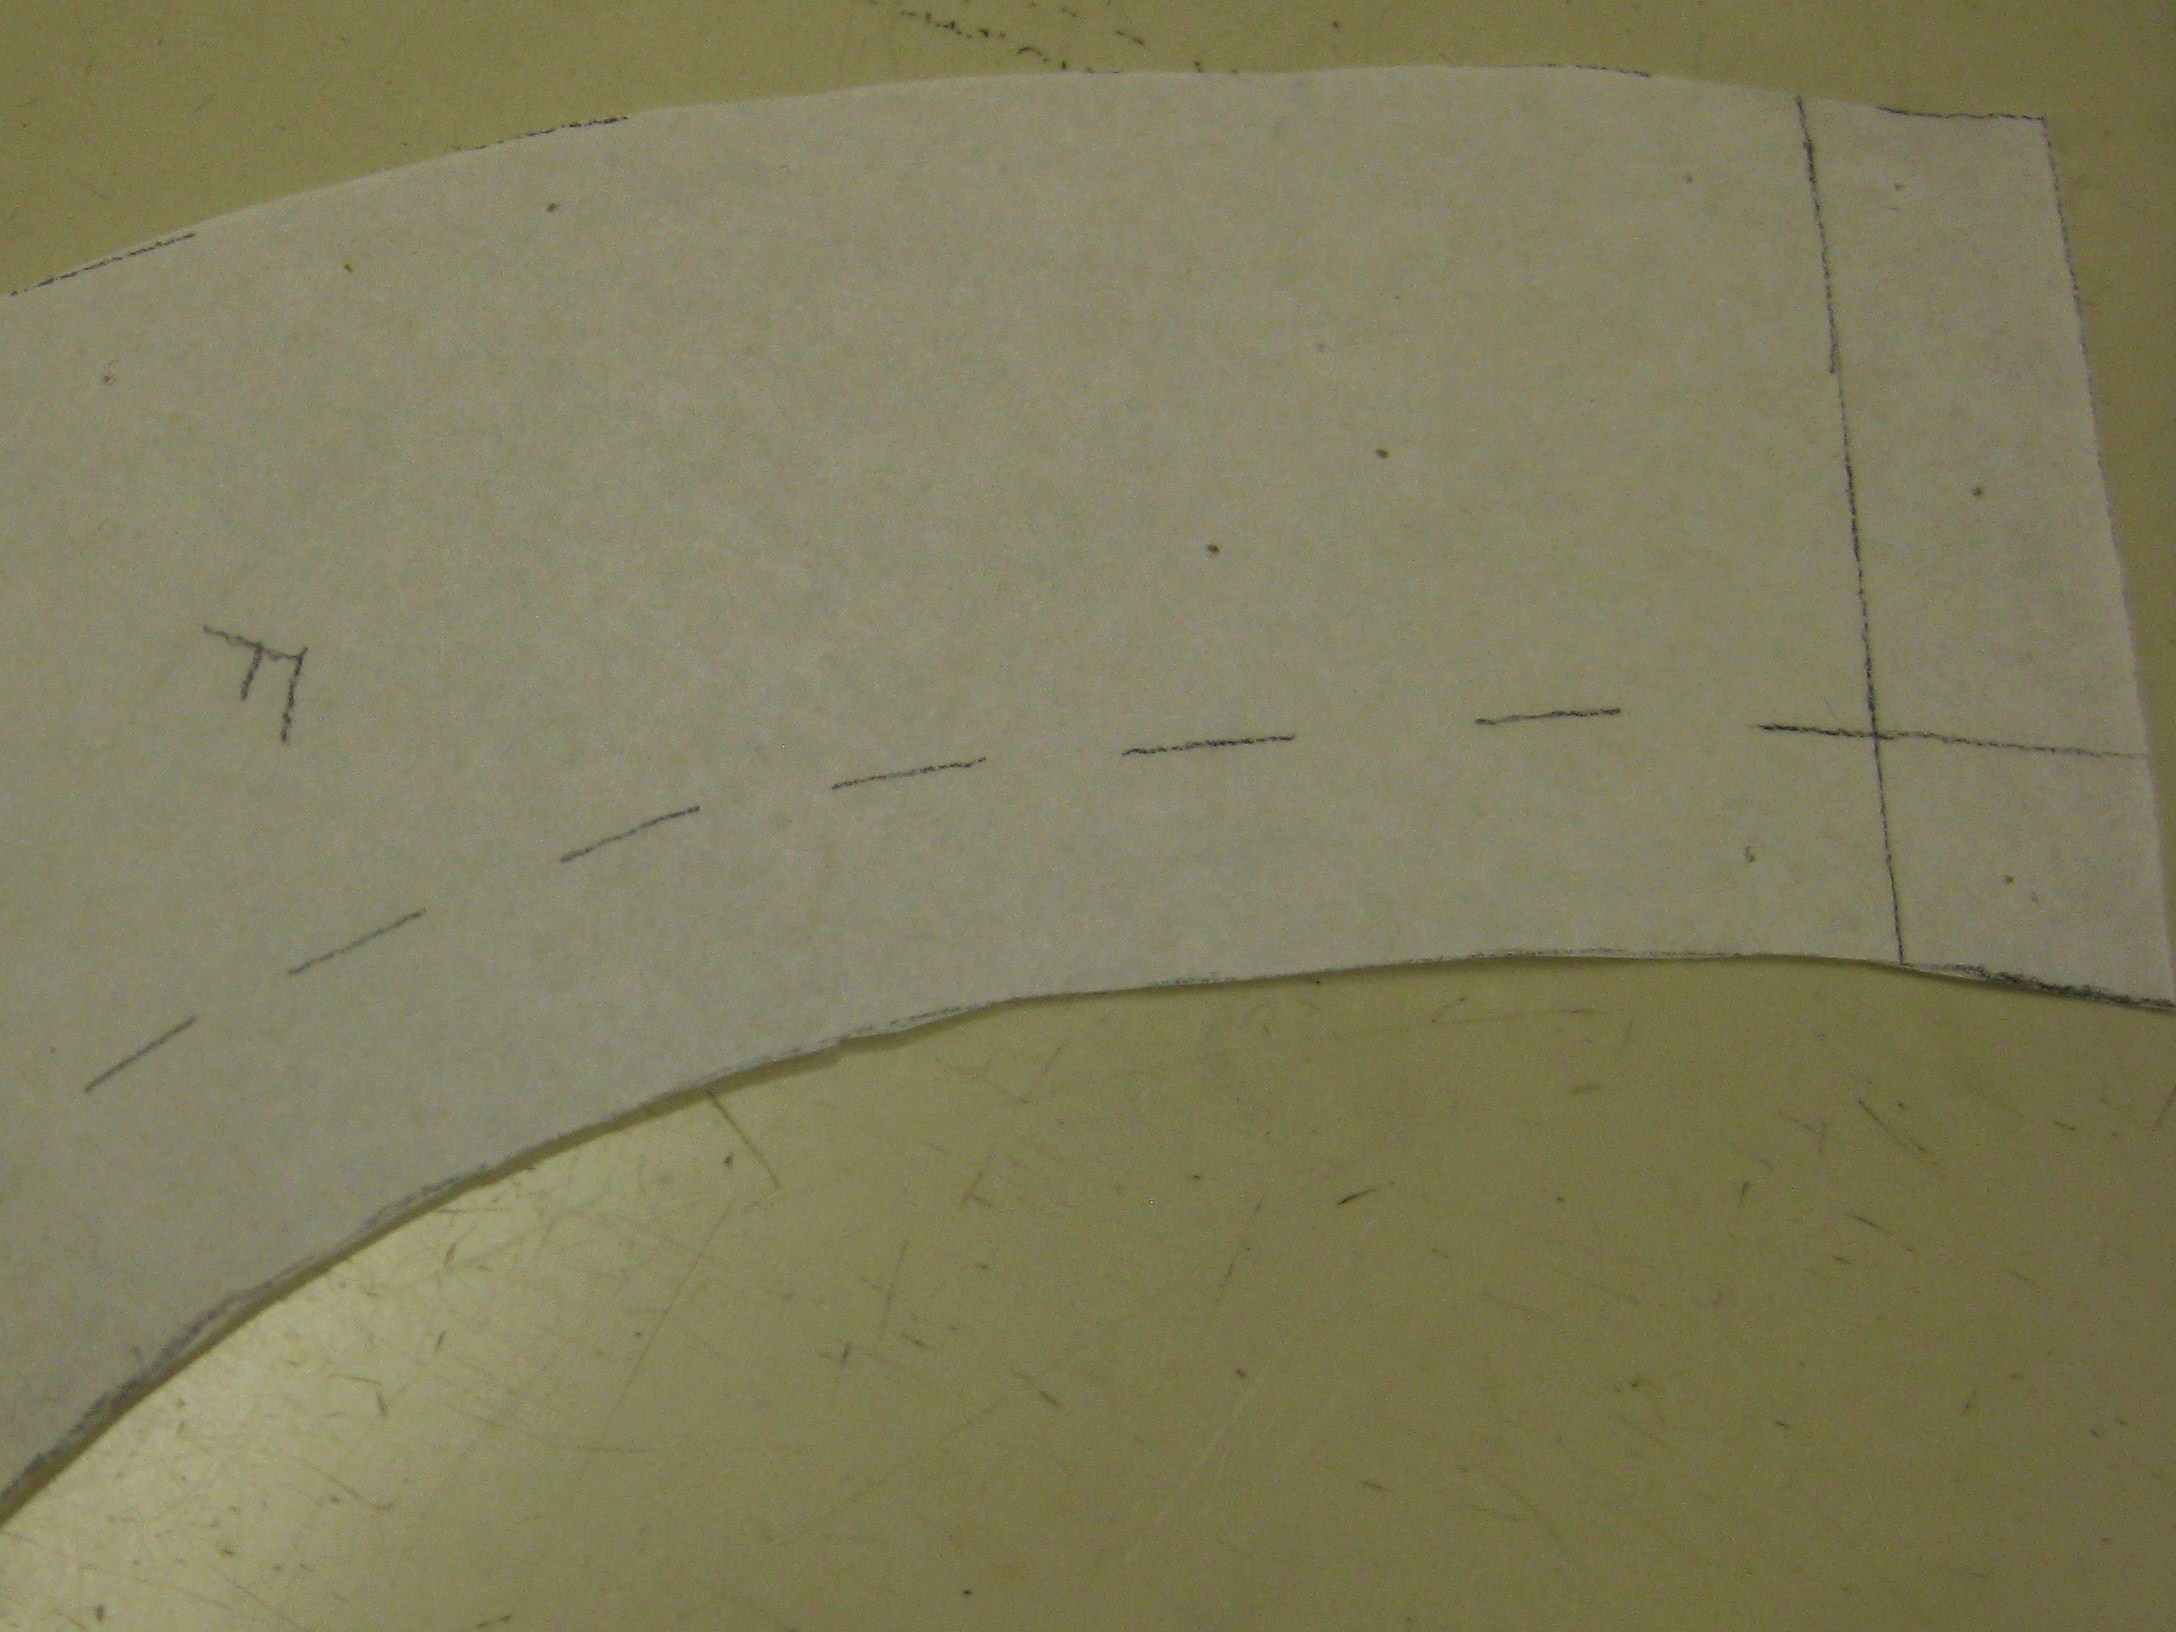
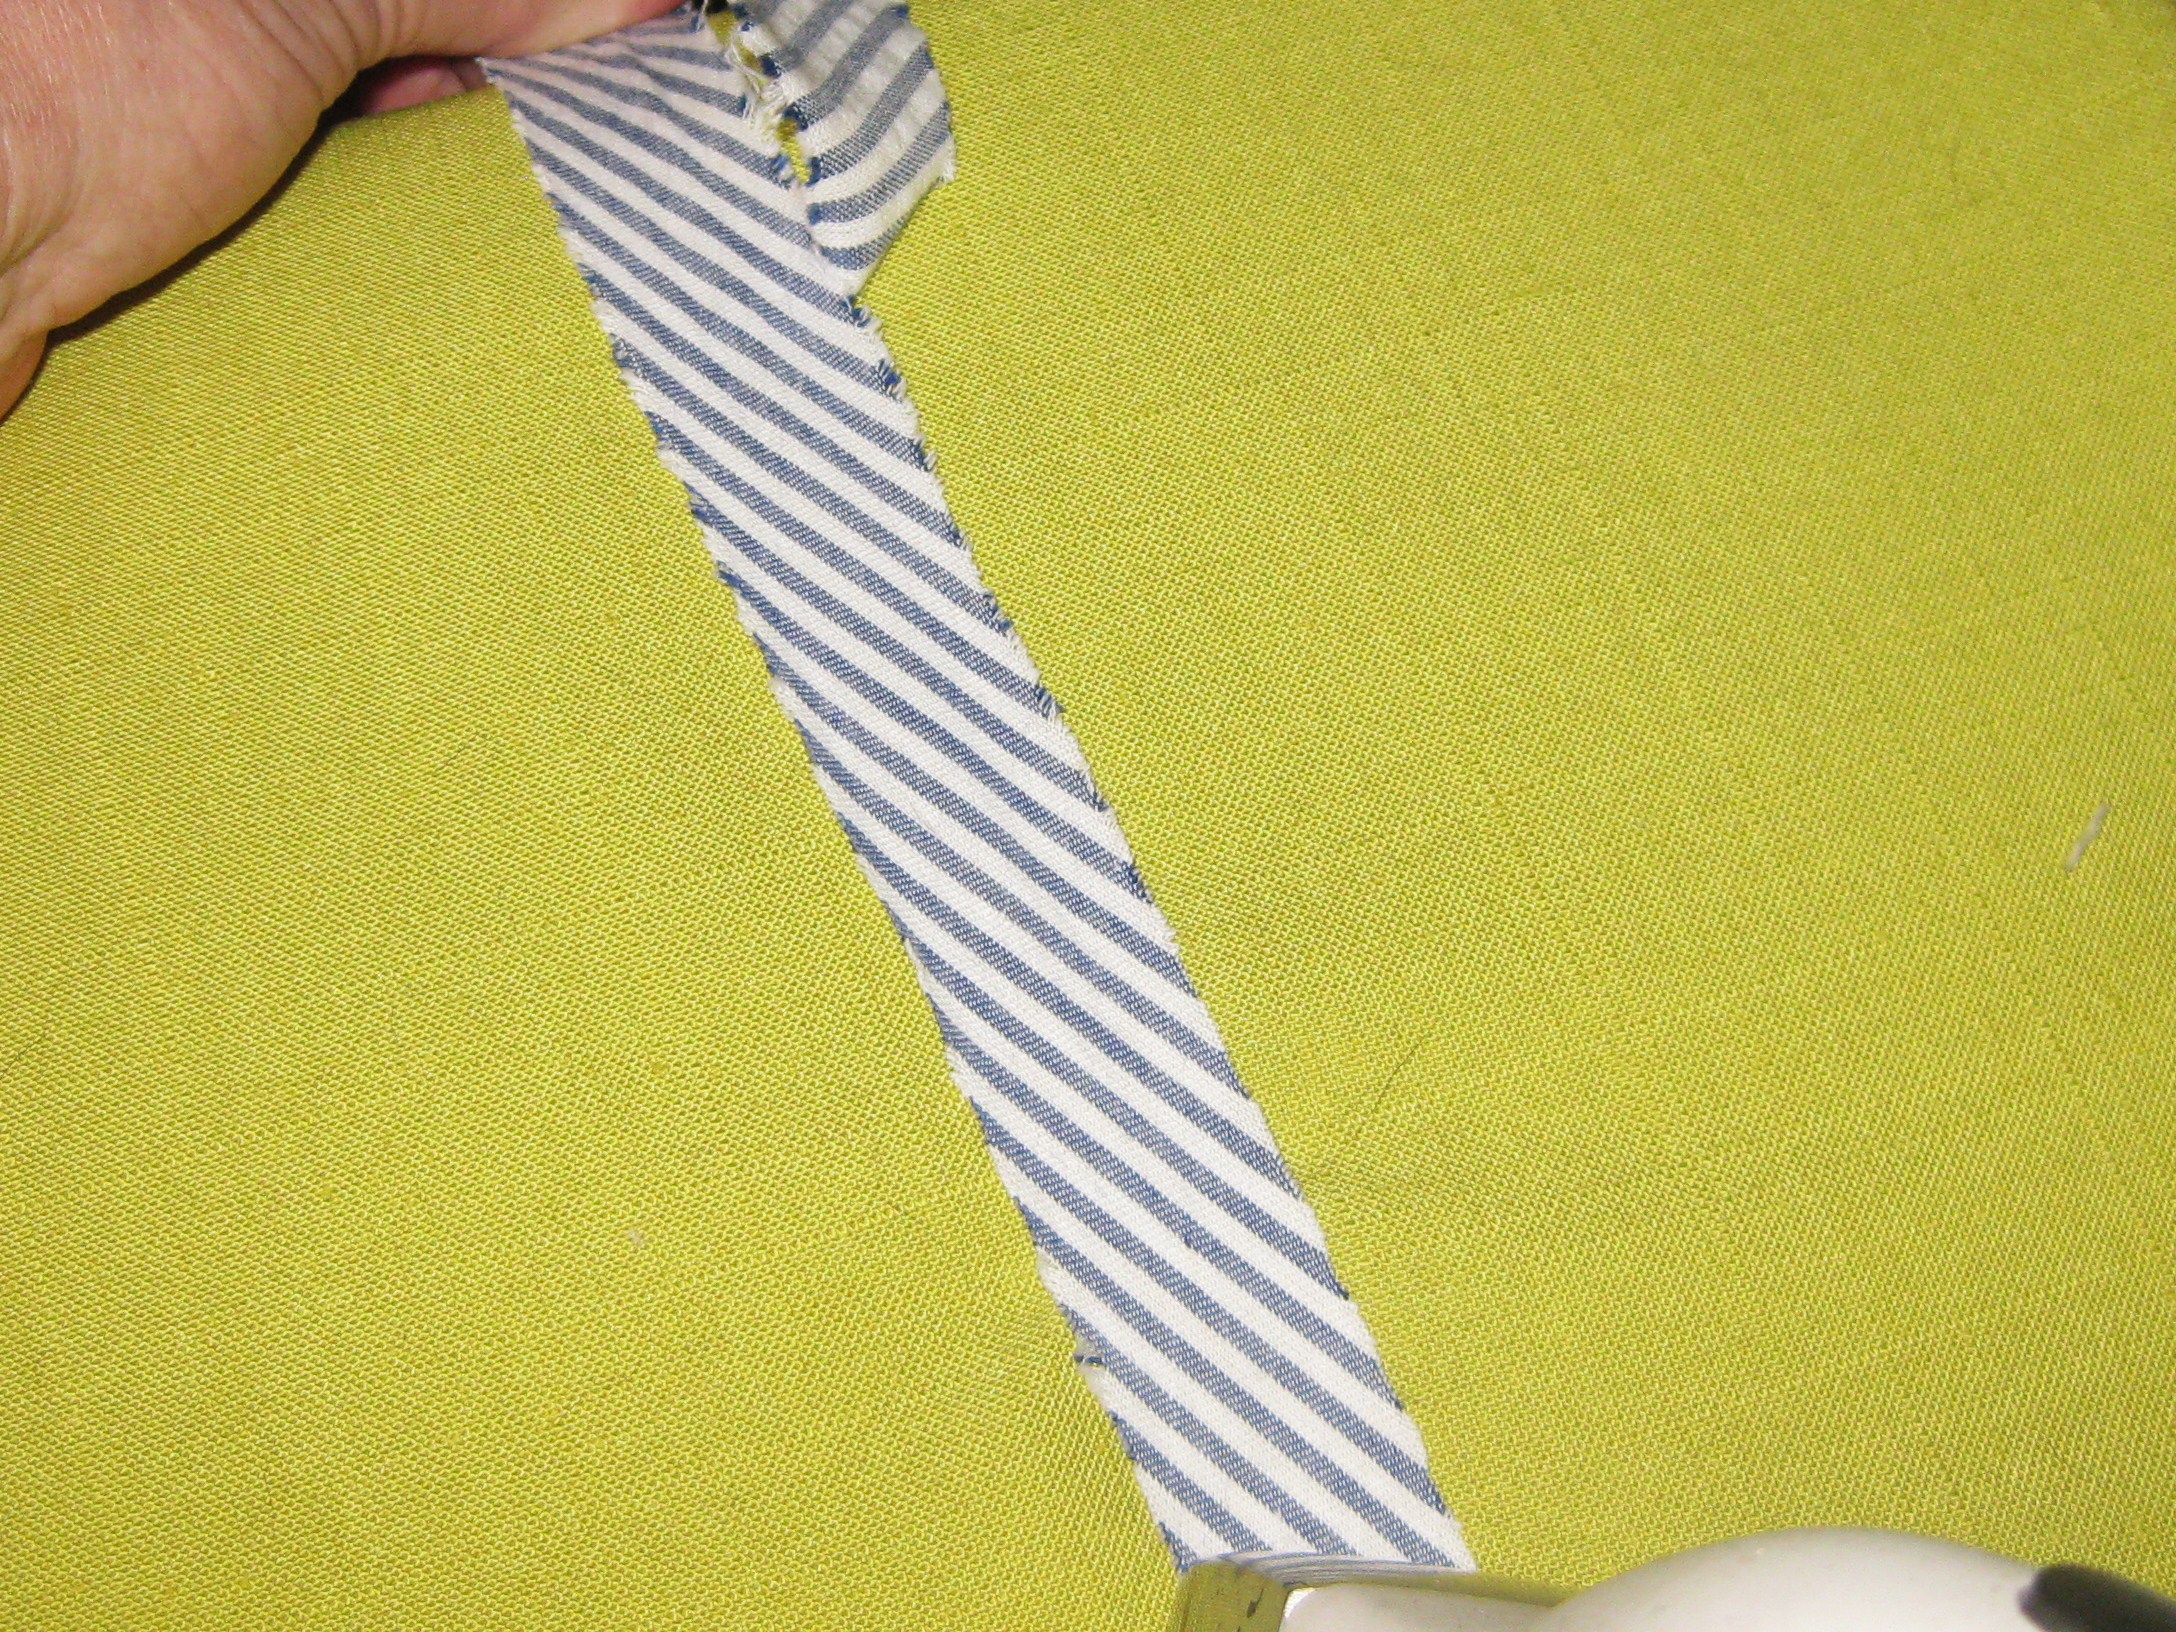
It is quite easy to make sleeve heads to exactly fit your garment. Use the top of your sleeve pattern and mark a bias grain line in the cap area. The bias grain makes the sleeve heads mould to the shape of the upper arm.
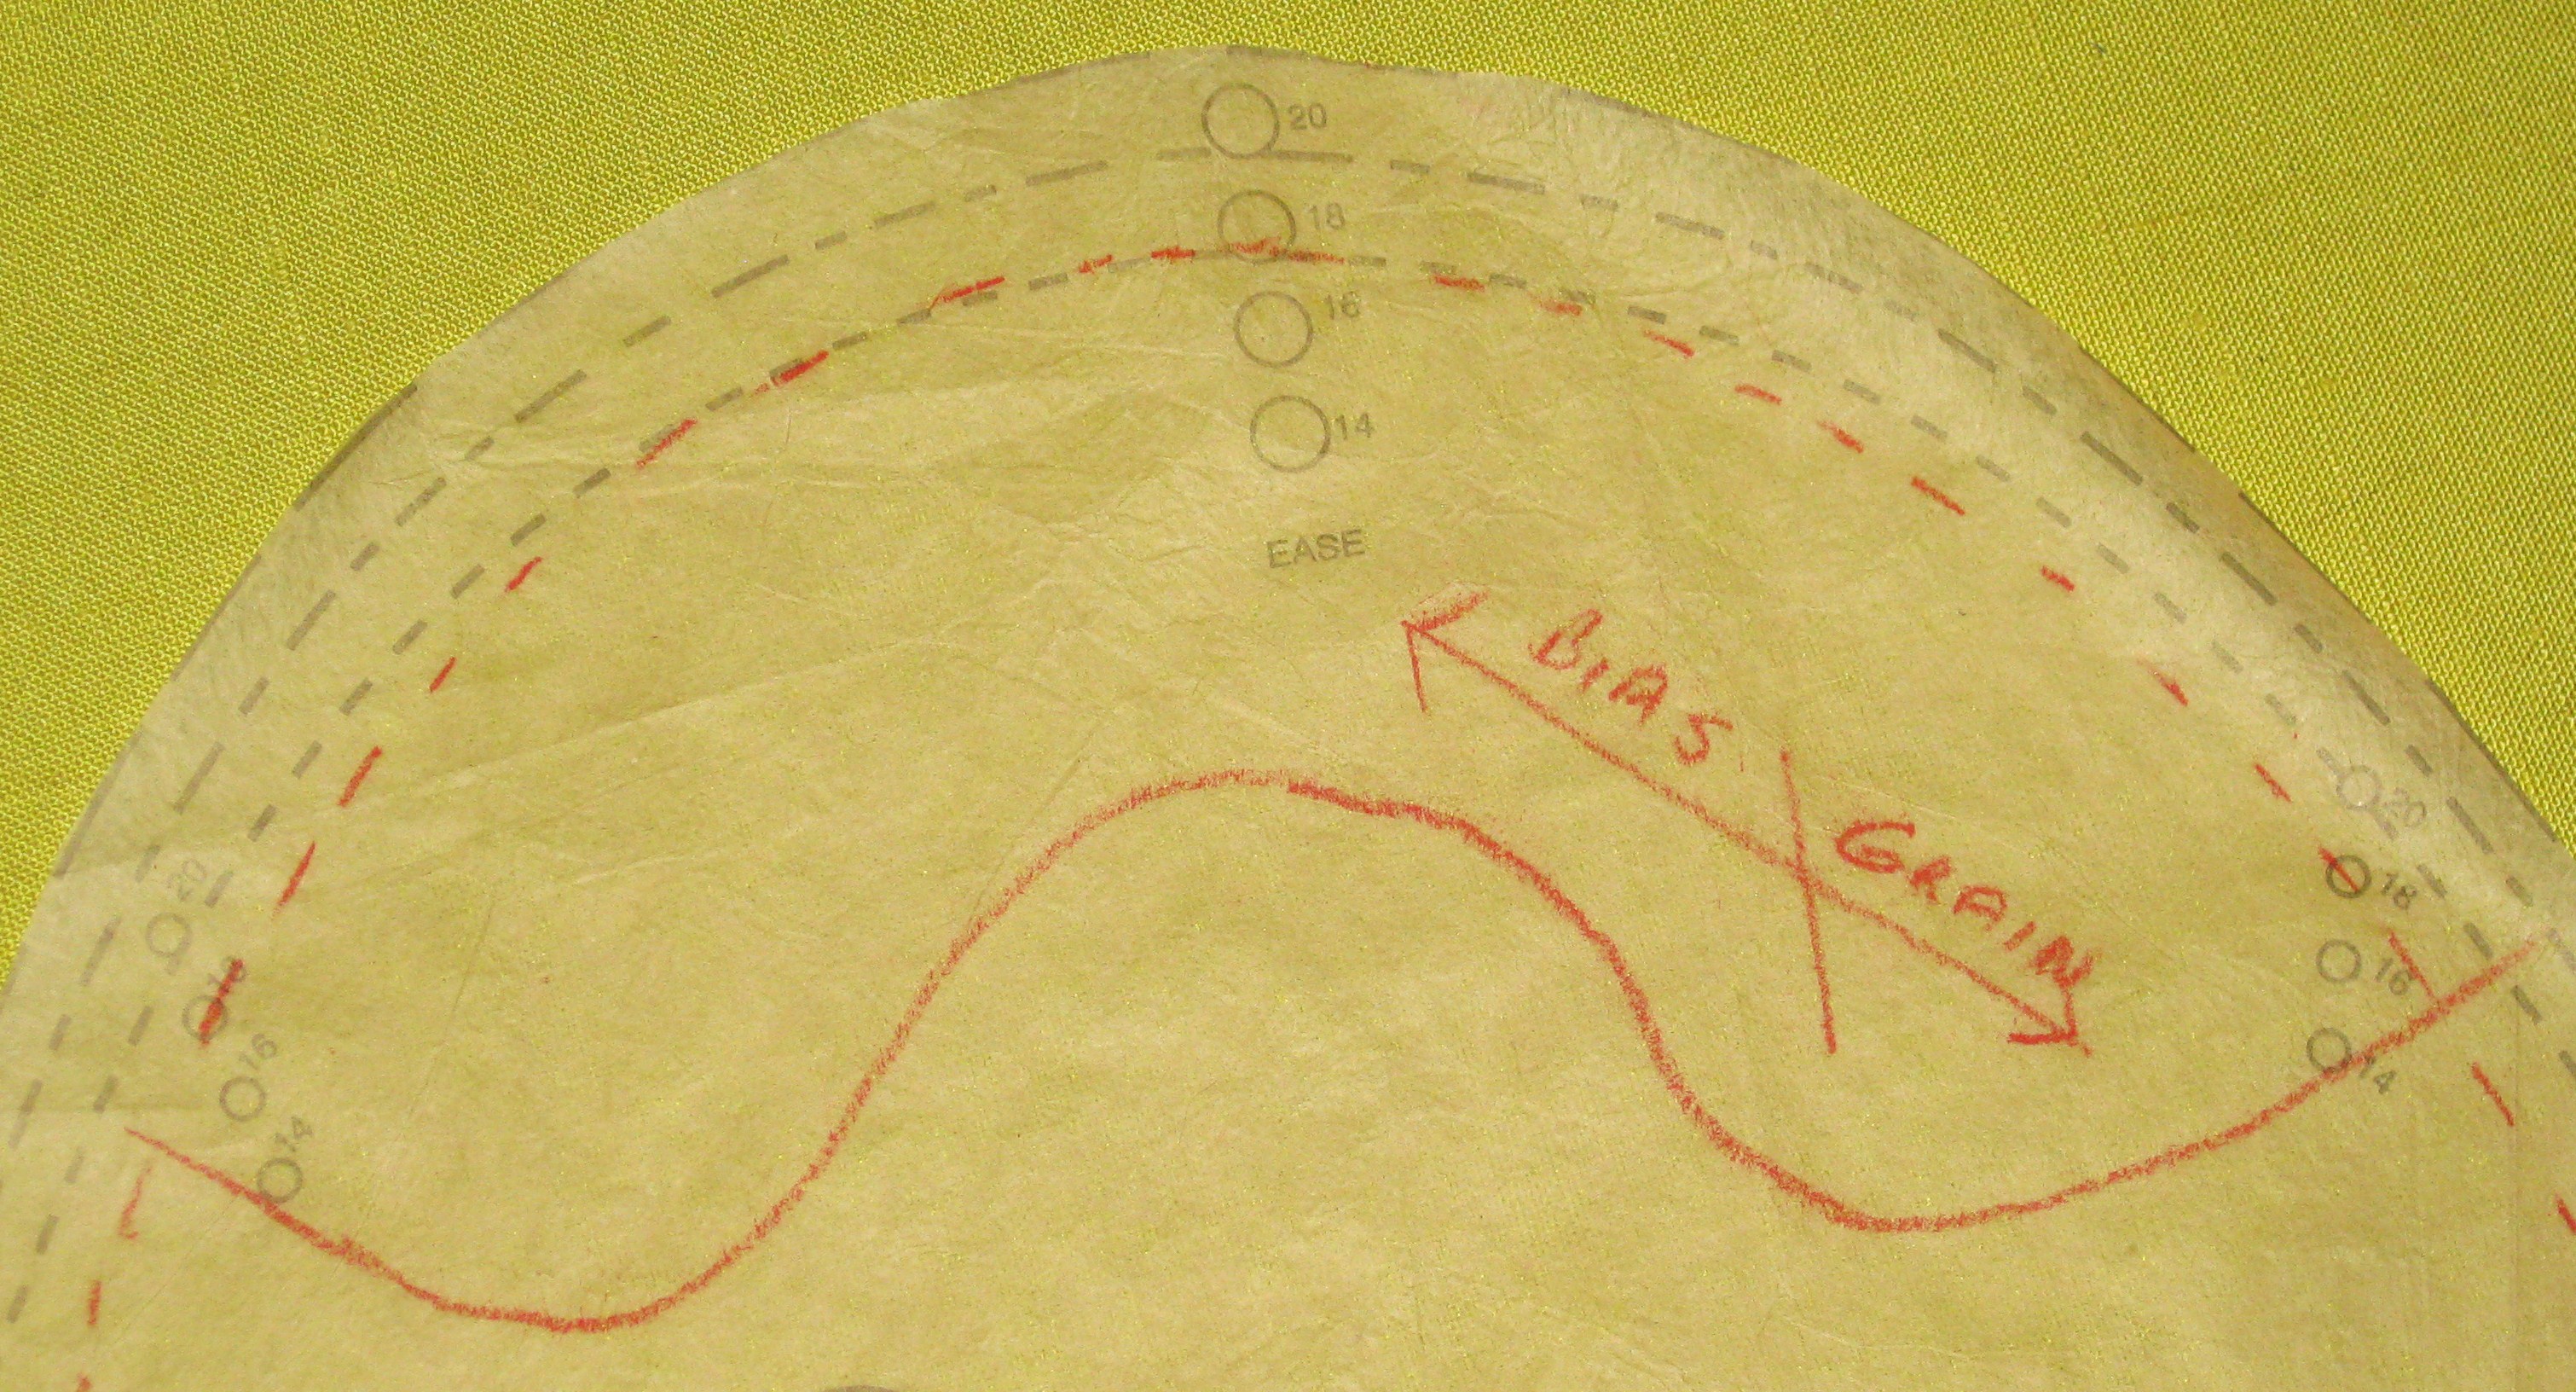
Mark cutting lines for sleeve head on sleeve pattern; trace off and cut from thin wadding/batting. Bias grain helps the sleeve head mould to the upper arm area.
Cut two pieces of thin batting in the shape of the sleeve cap, between dots. I prefer to use cotton or wool quilt batting for this purpose.
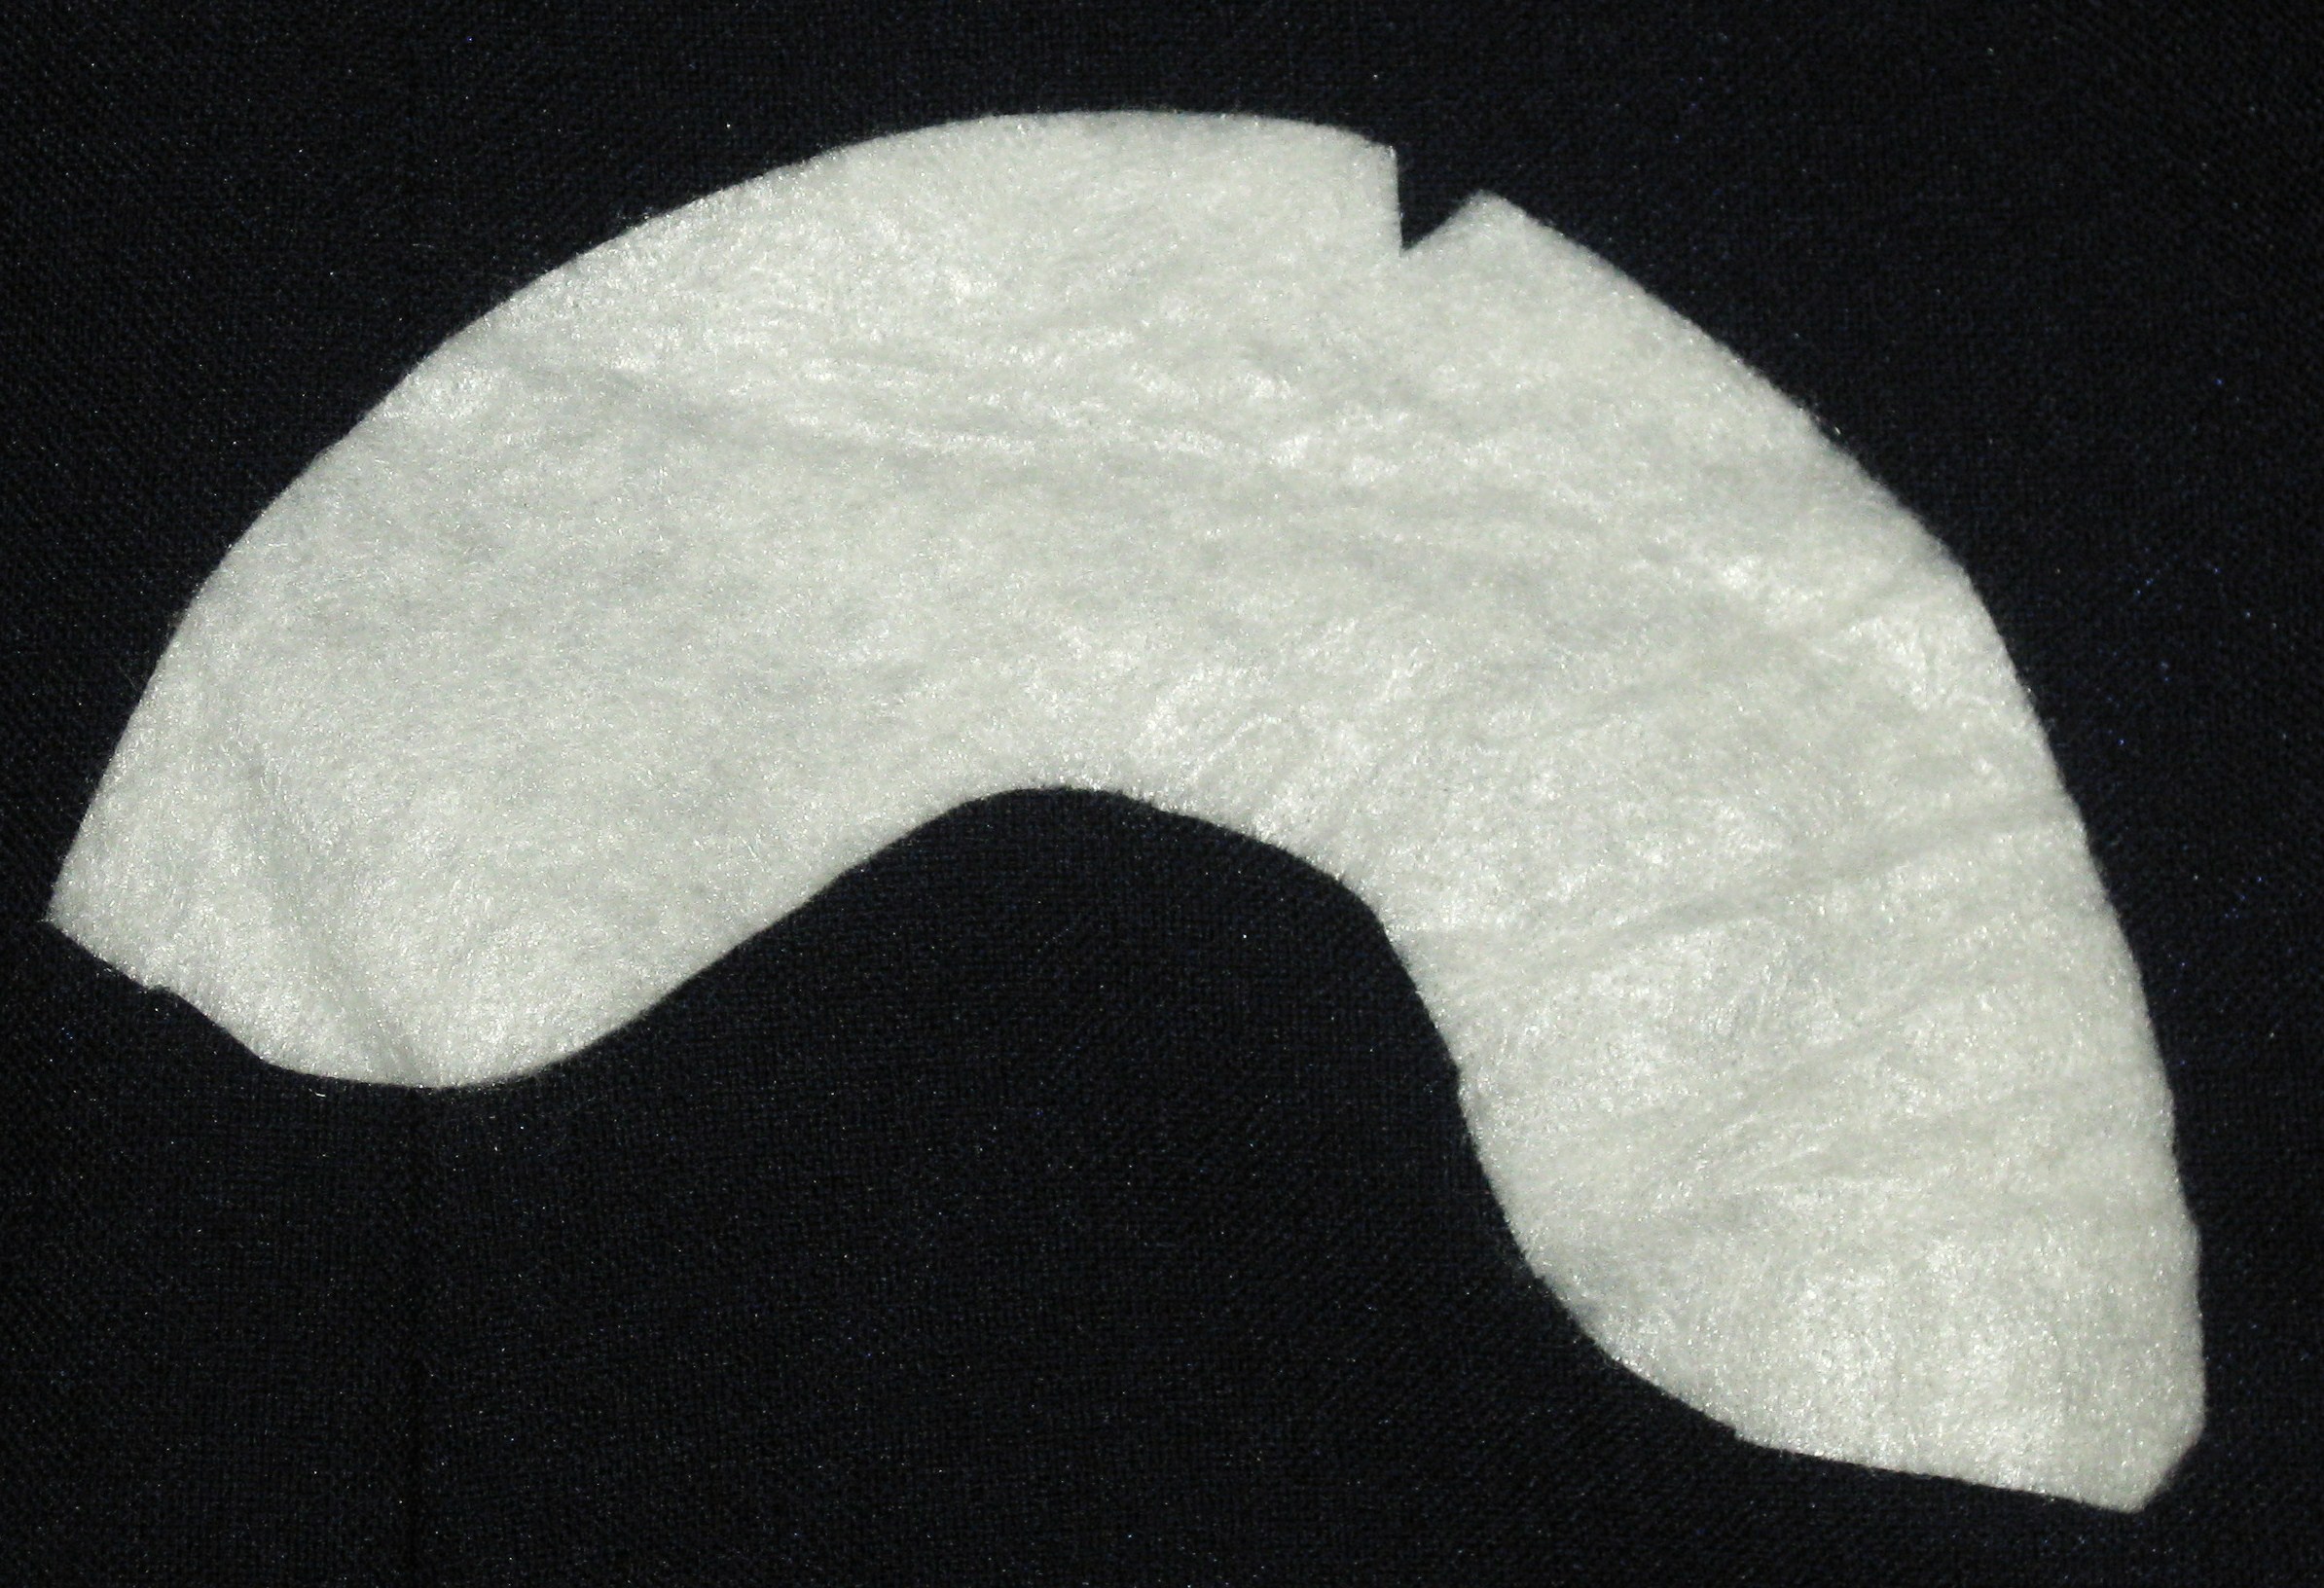
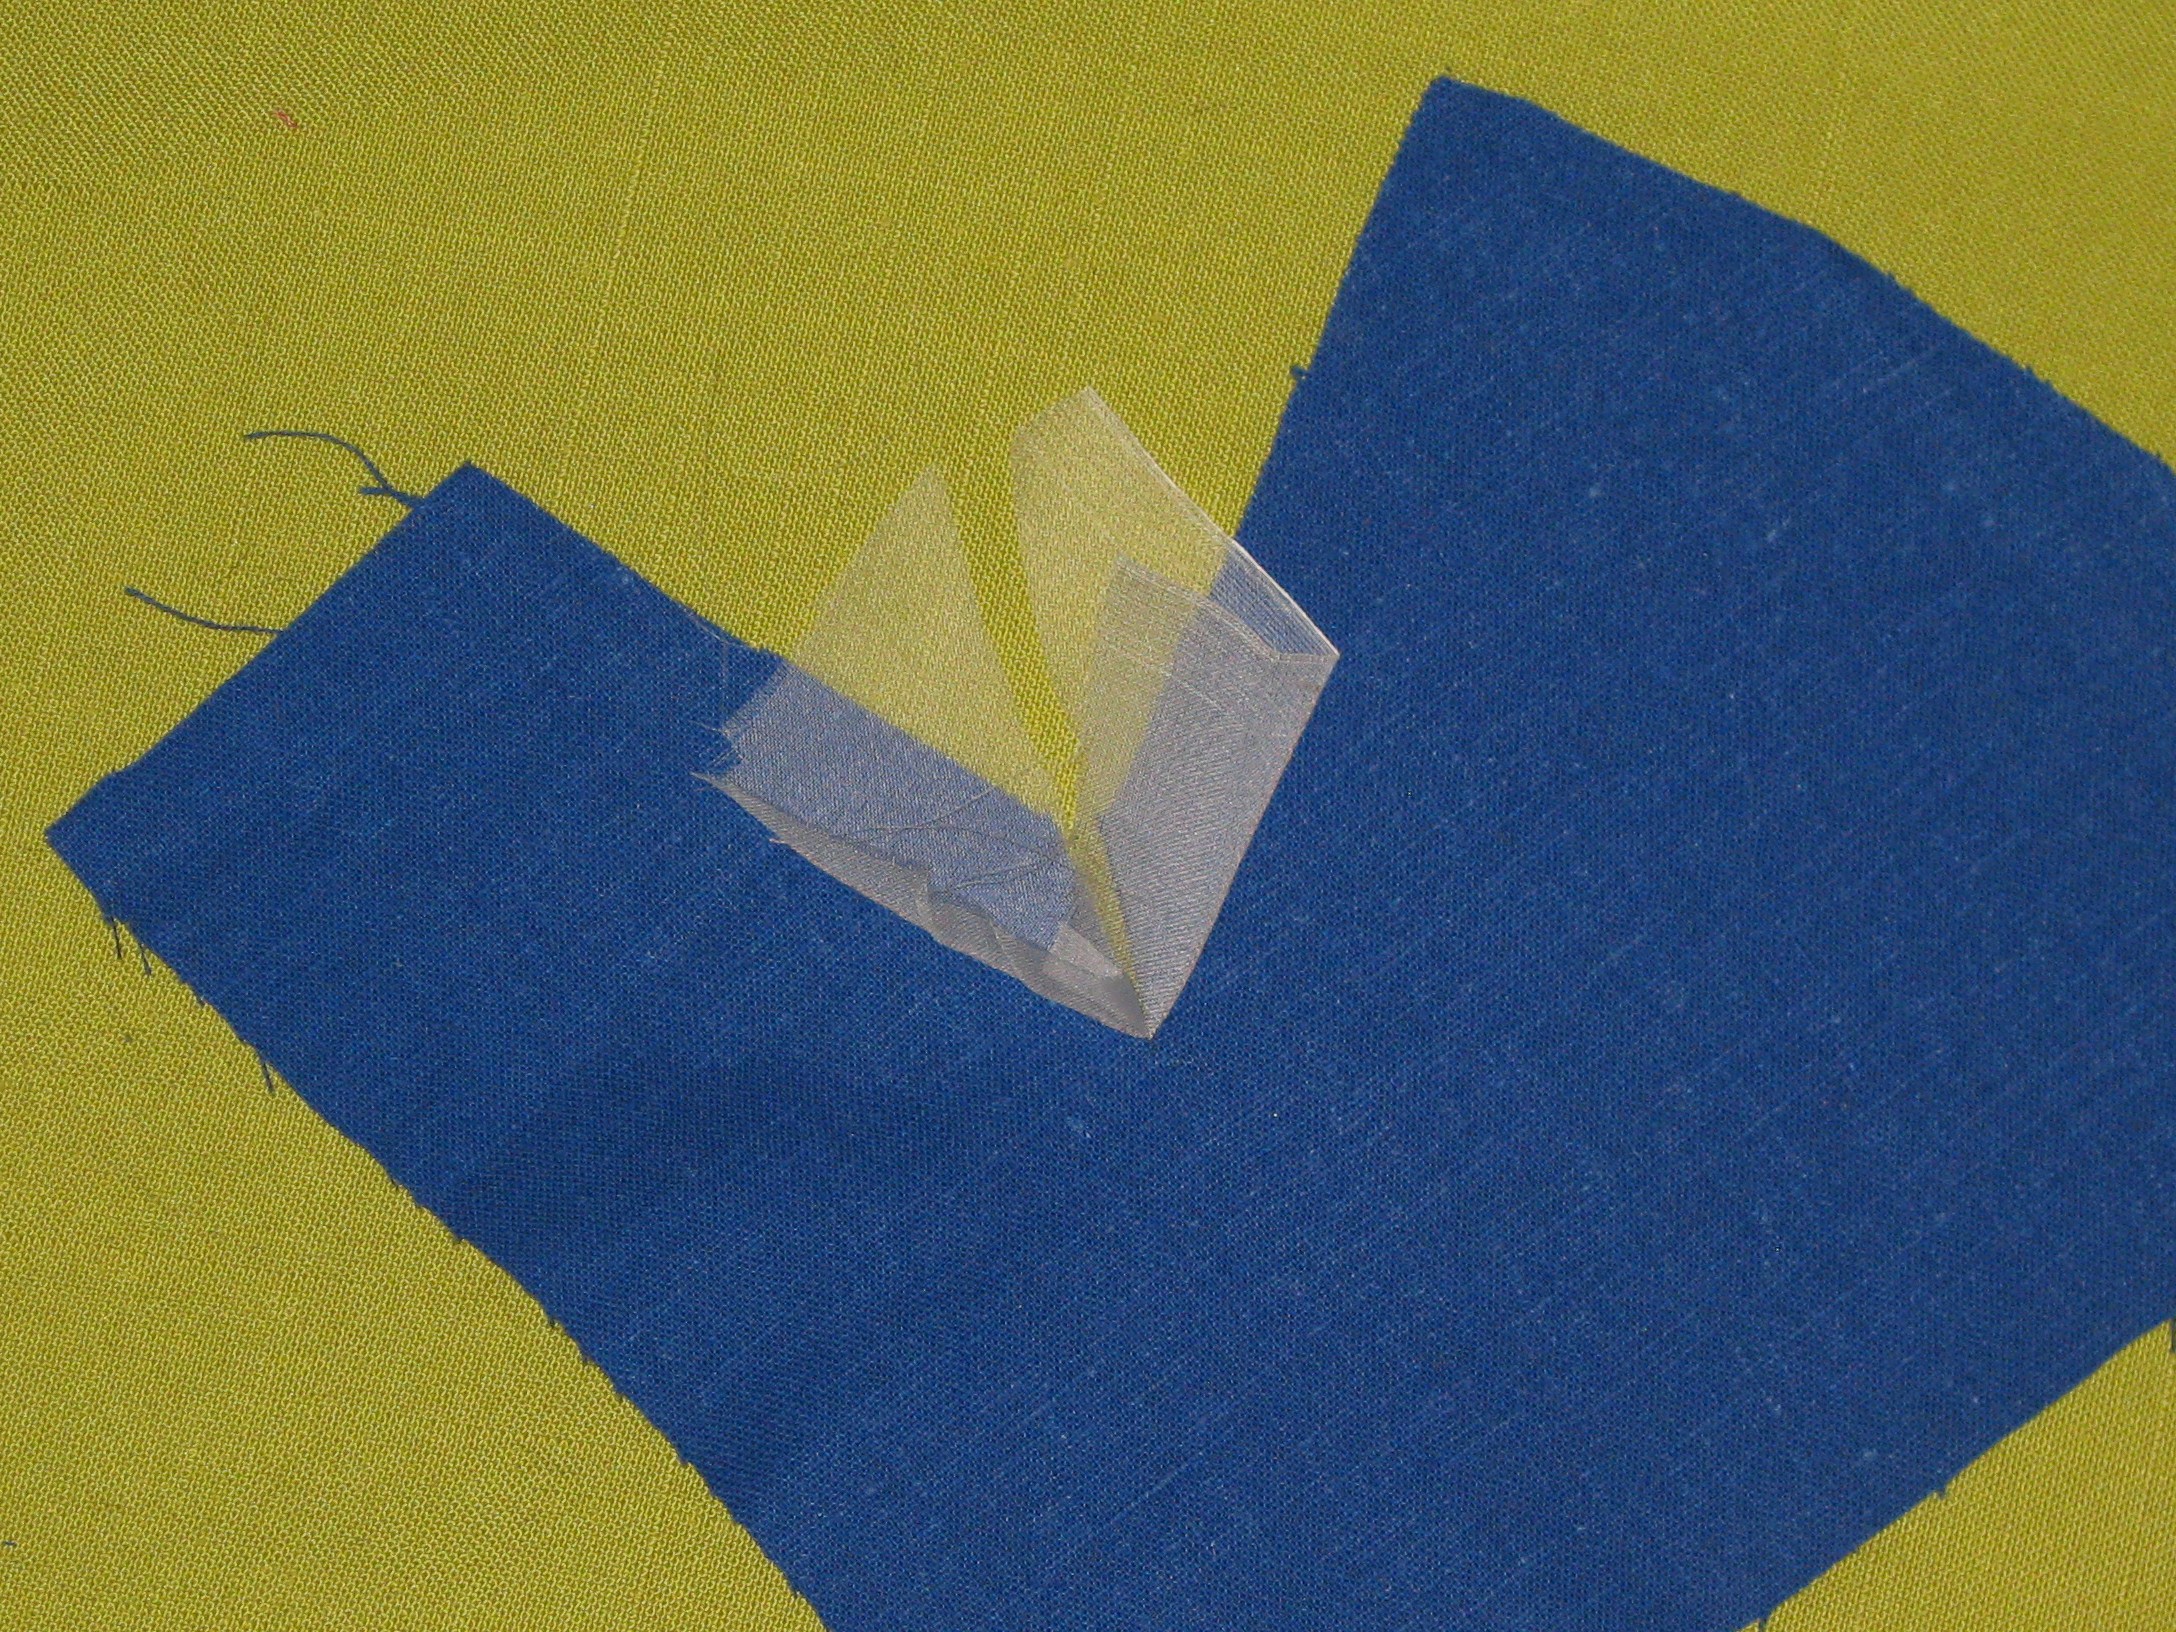
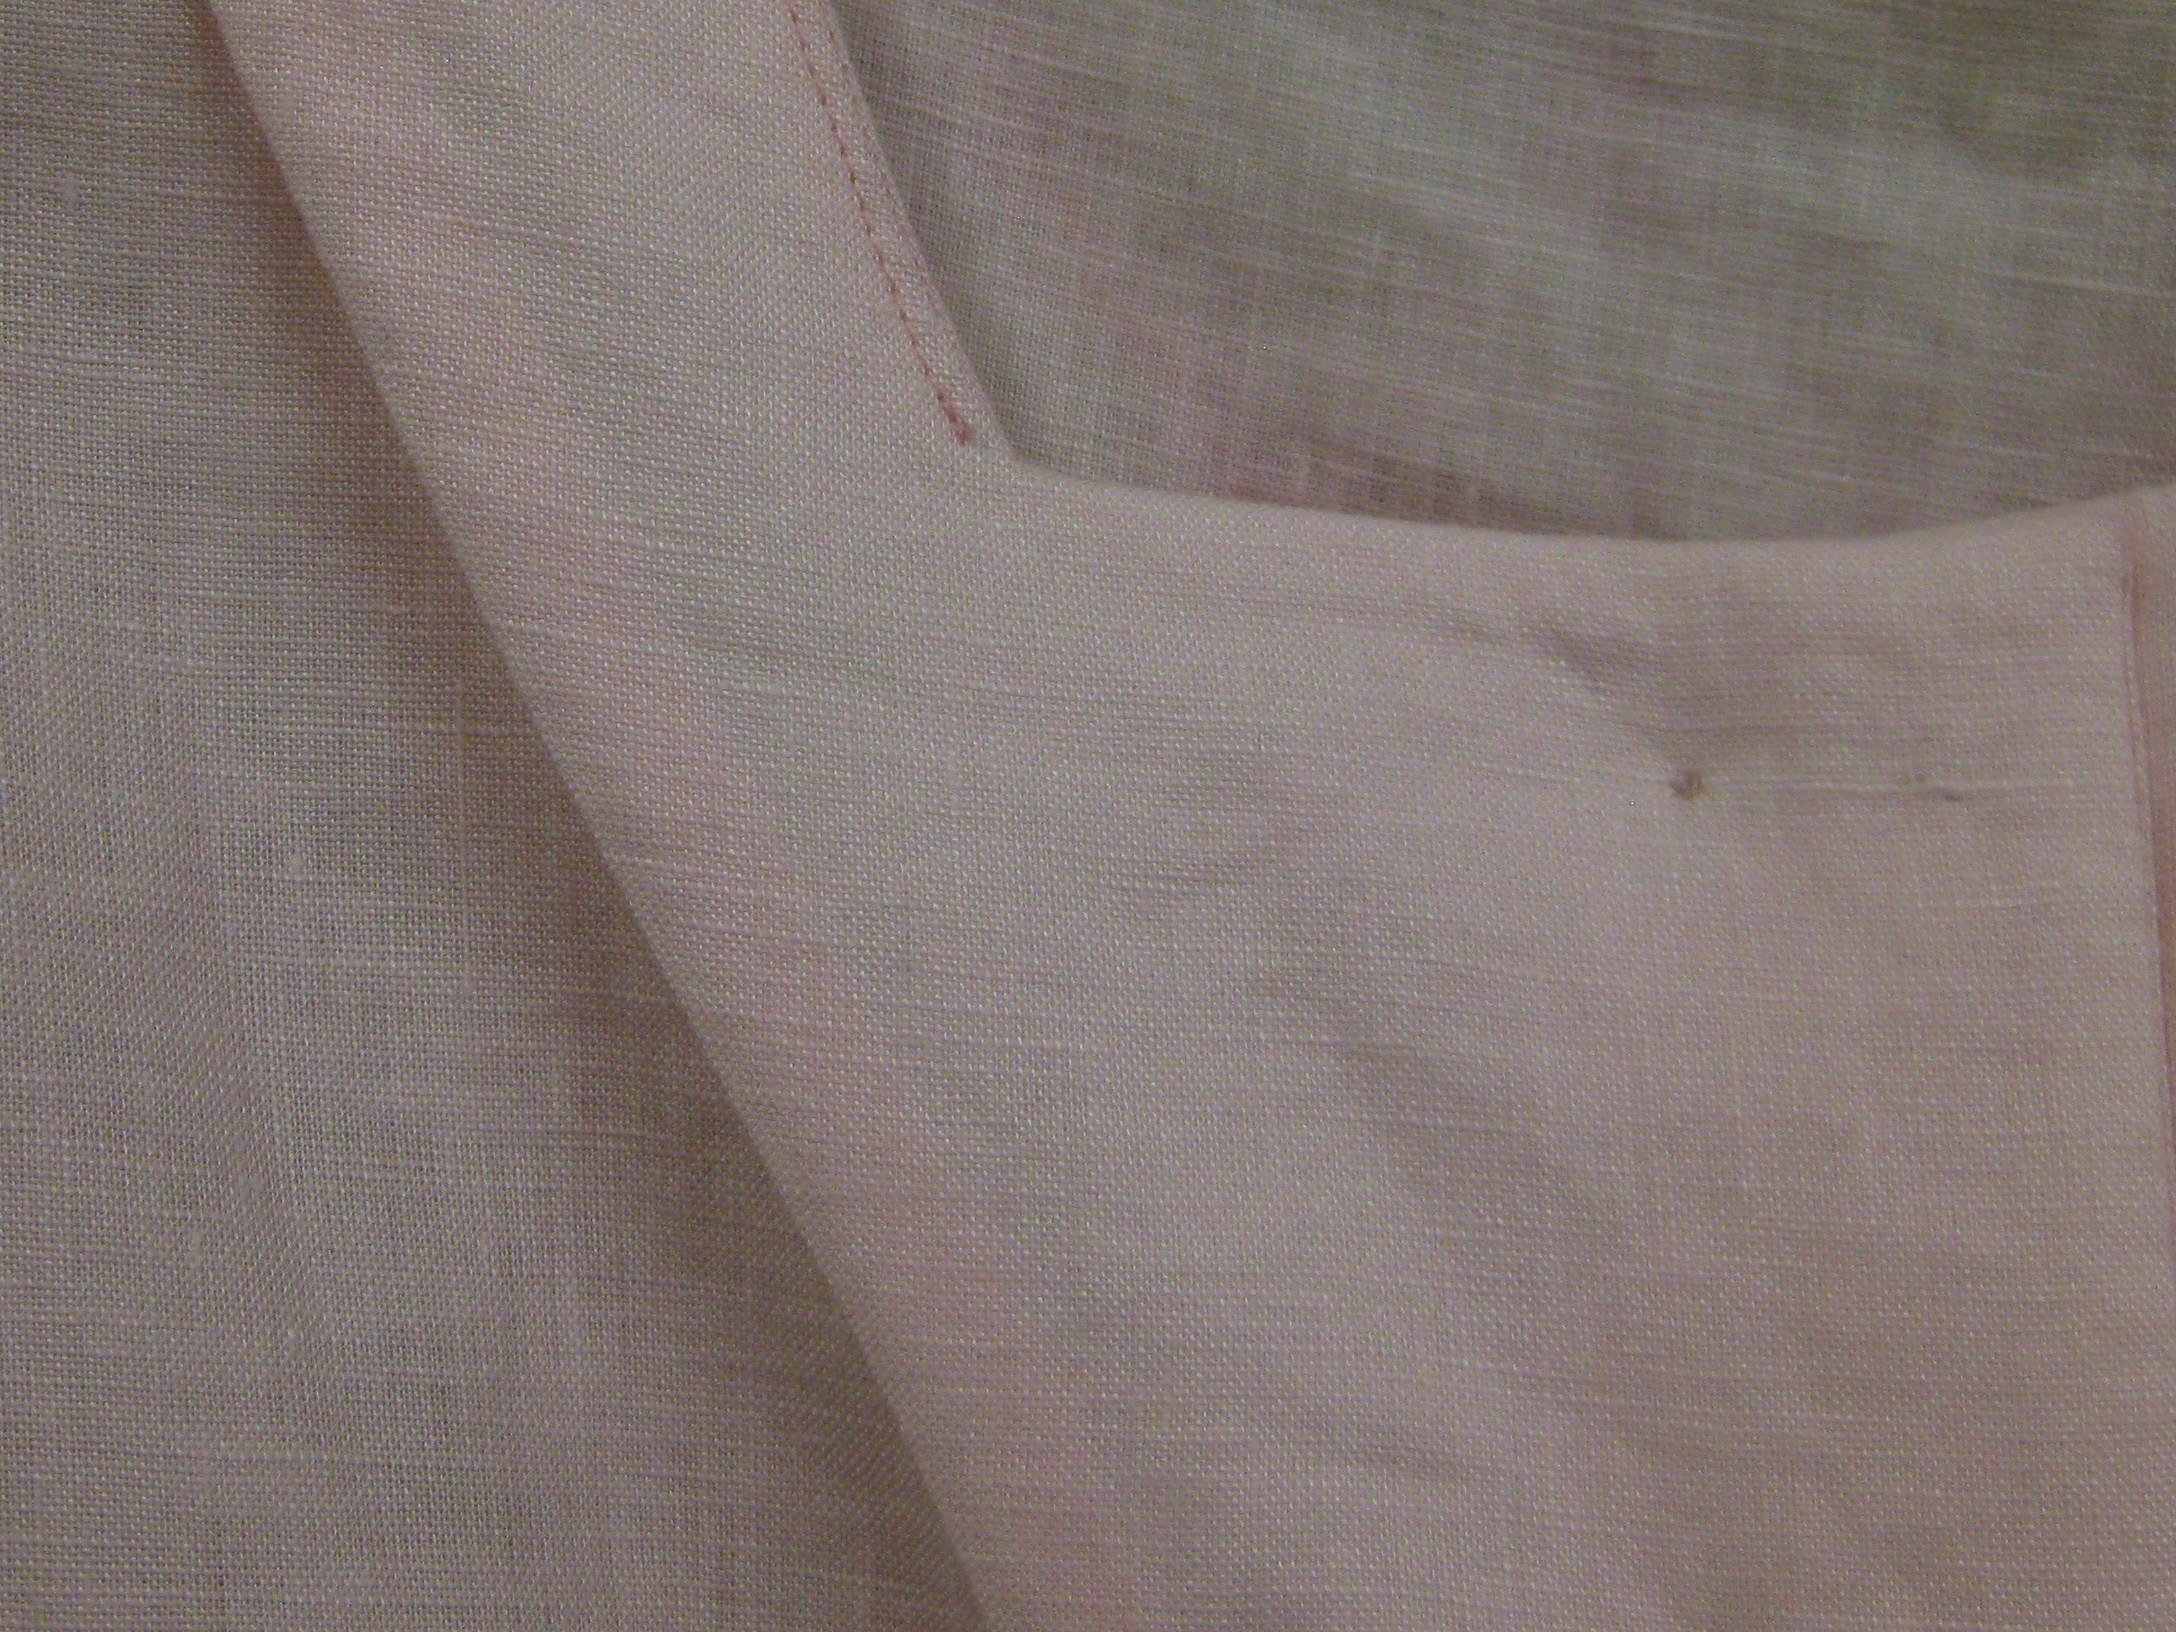
Custom fitting sleeve head with shoulder position marked with a snip and corners rounded.
Clearly mark front and back on each sleeve head.
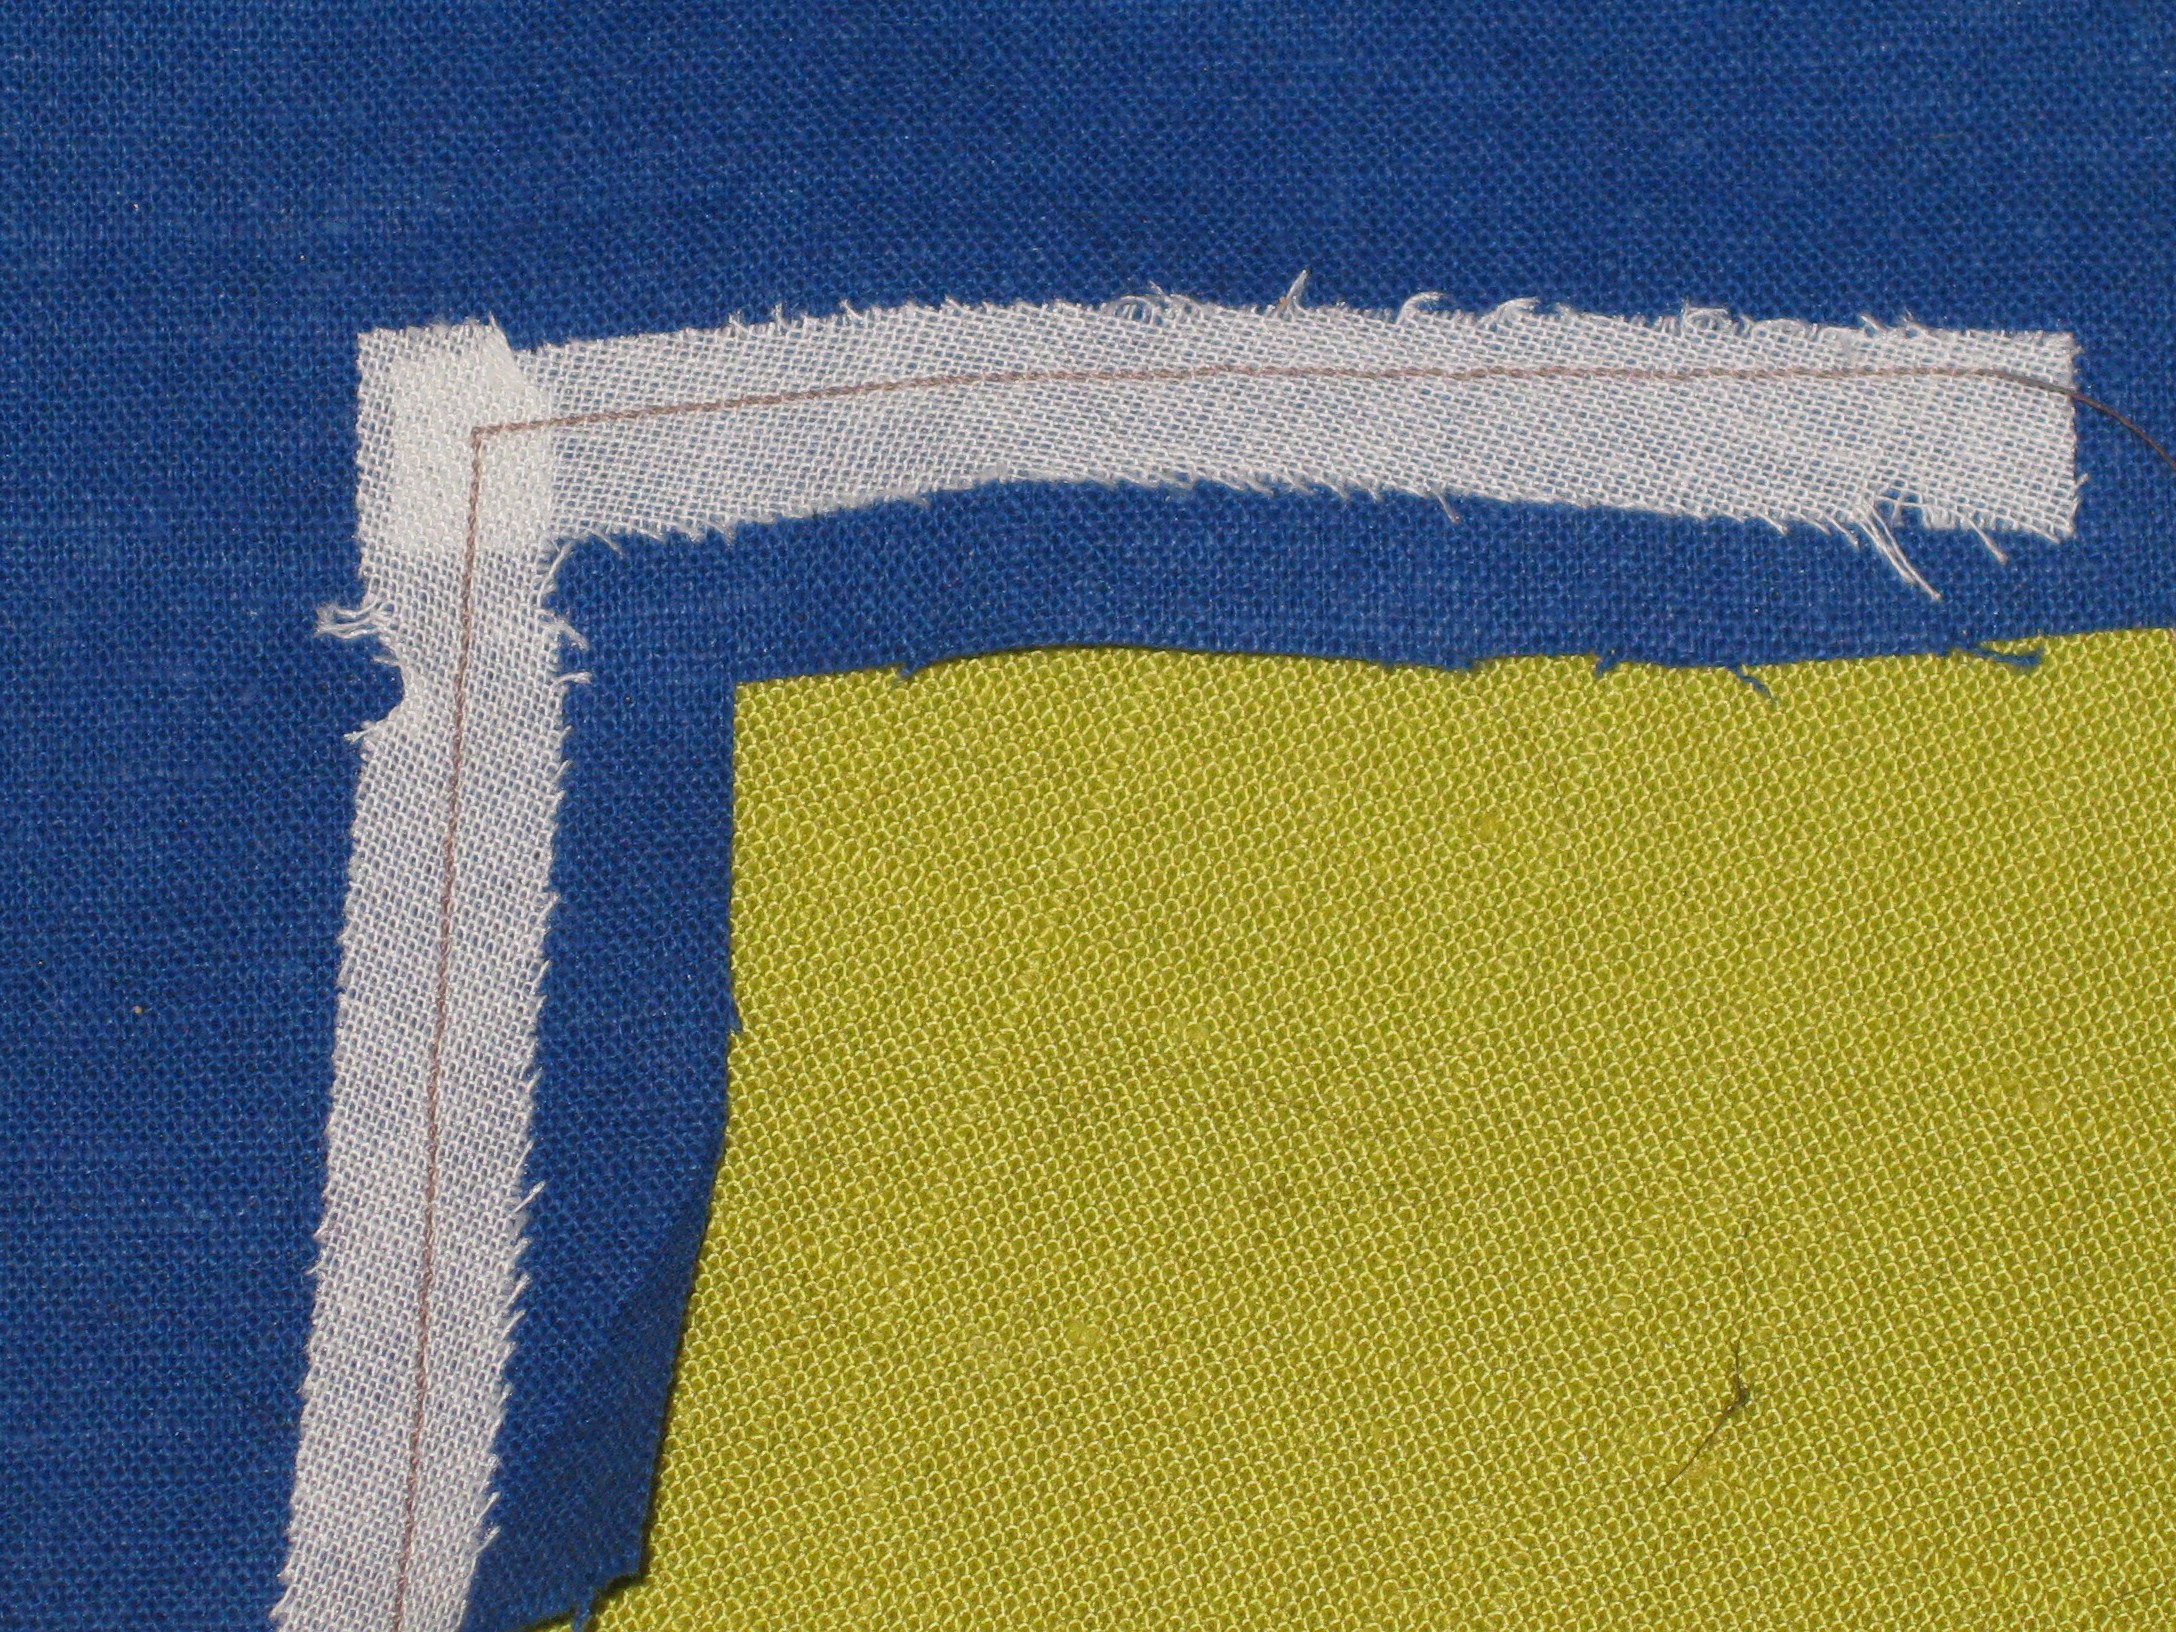
Find centre of the sleeve head and align it with shoulder seam – wider section of header should be against sleeve, narrower section on top. Either machine or hand stitch the heads just inside seam line. 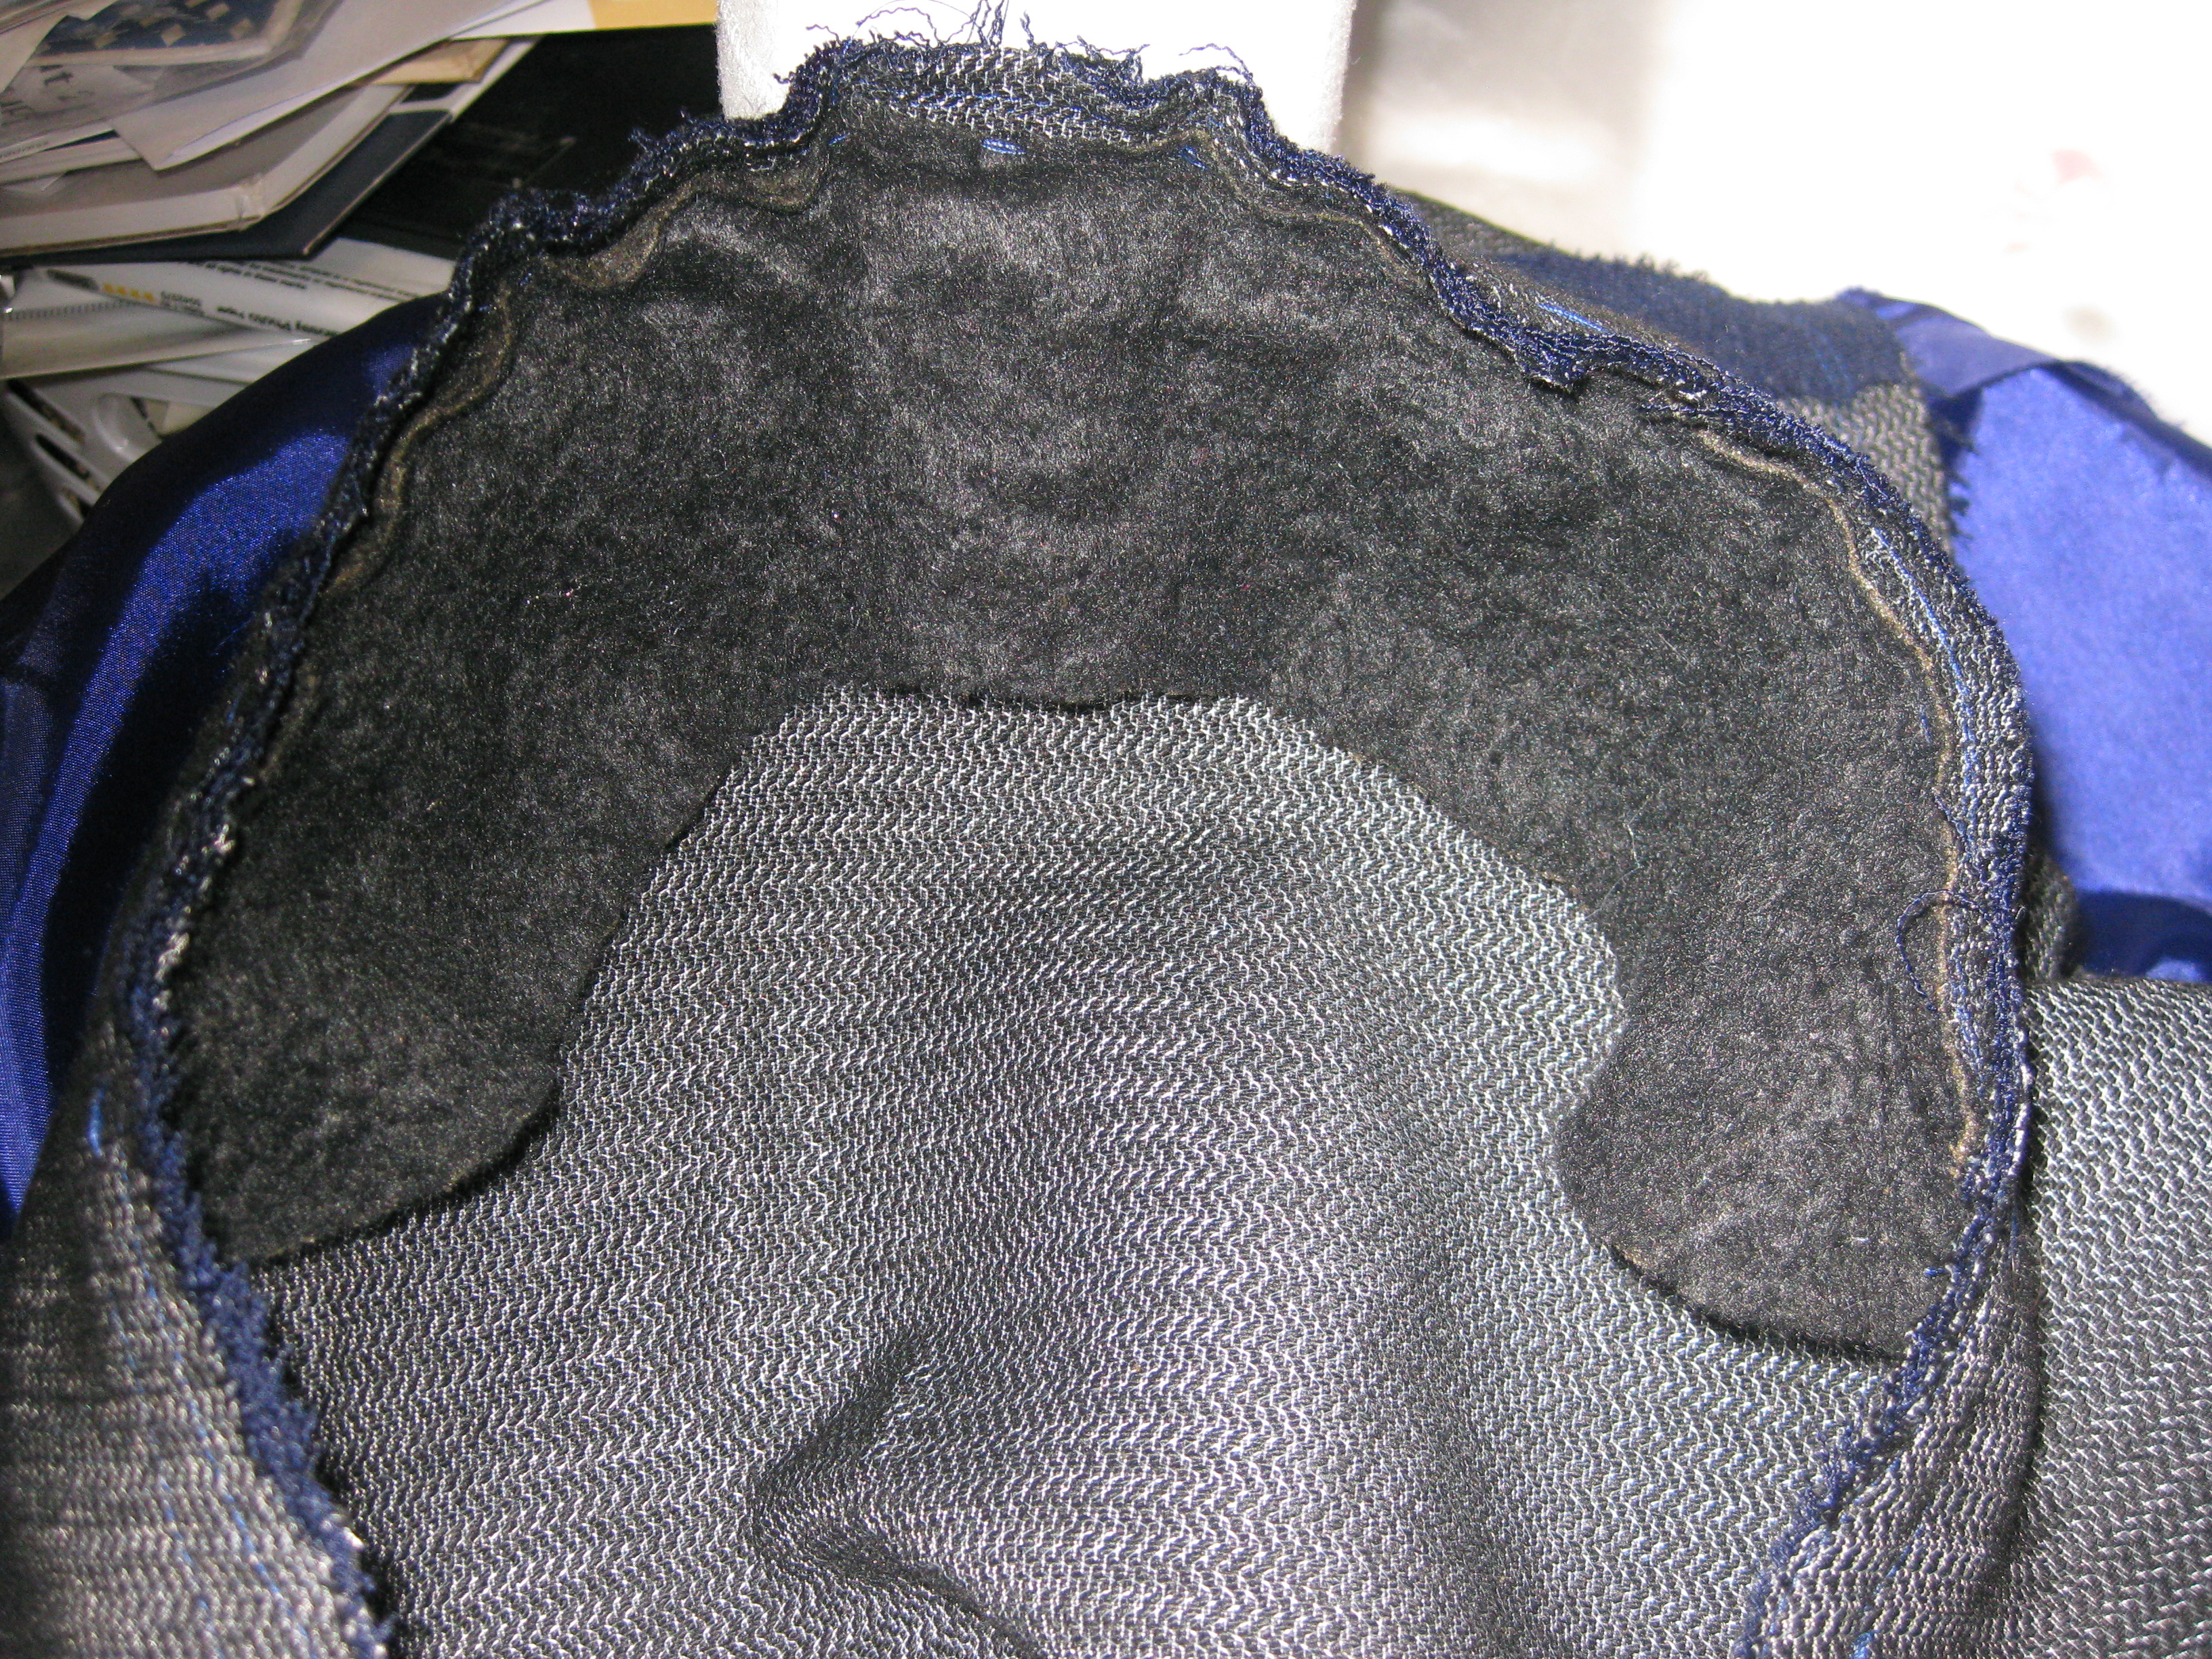 If machine stitching, loosen the thread tension and use a long stitch so that the sleeve head is not too tightly in place.