
The fabric is very soft and a little limp – the reason for the addition of the sew-in interfacing.
Collar before pad stitchiing – very floppy with no defined shape.
When using a sew-in interfacing, especially hair canvas, it is important not to add too much thickness when joining the outer seams. To avoid doing this, I cut a frame from the outer edges of the facing piece from black cotton muslin. The same grain line has been used and the frame trimmed to 1 ½” / 3cm wide.
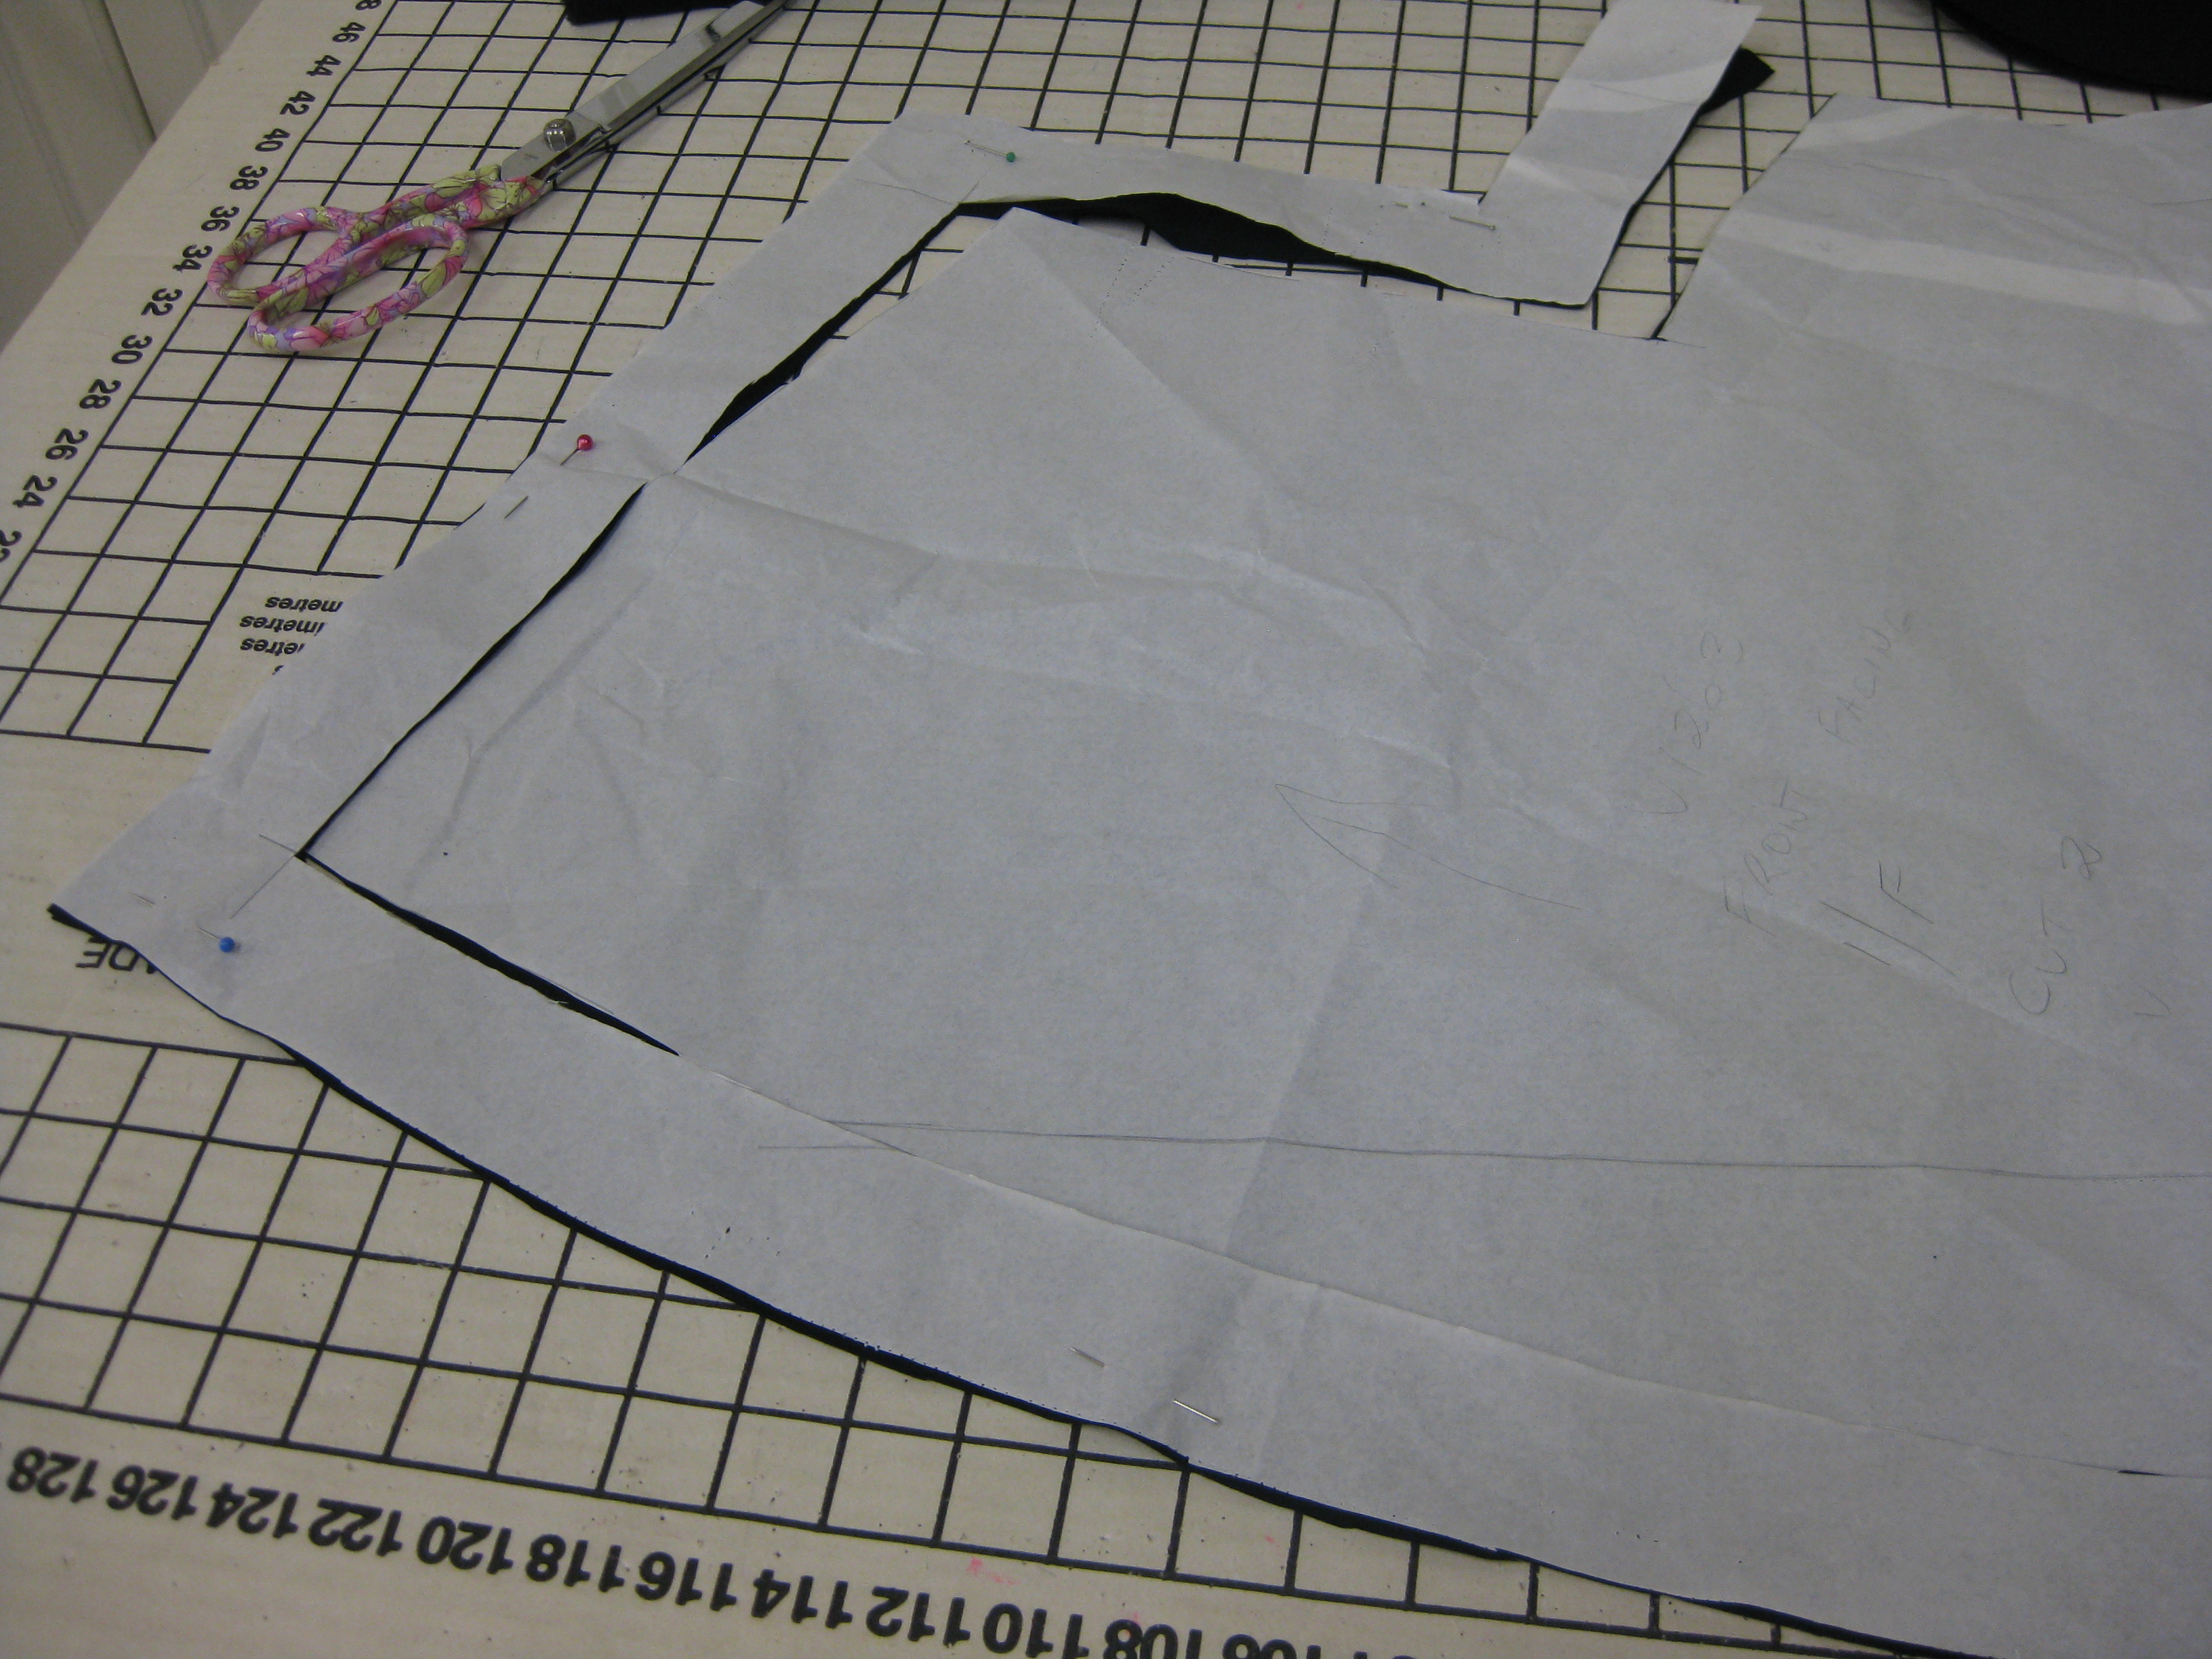
Muslin frame has been cut from the outer edges of the facing pattern piece.
The hair canvas was tacked and then stitched in place at the inside edge of the frame and machine stitched in place. Excess hair canvas has been trimmed back so that when the facing is applied to the garment, only the muslin will be included in the seam allowances.
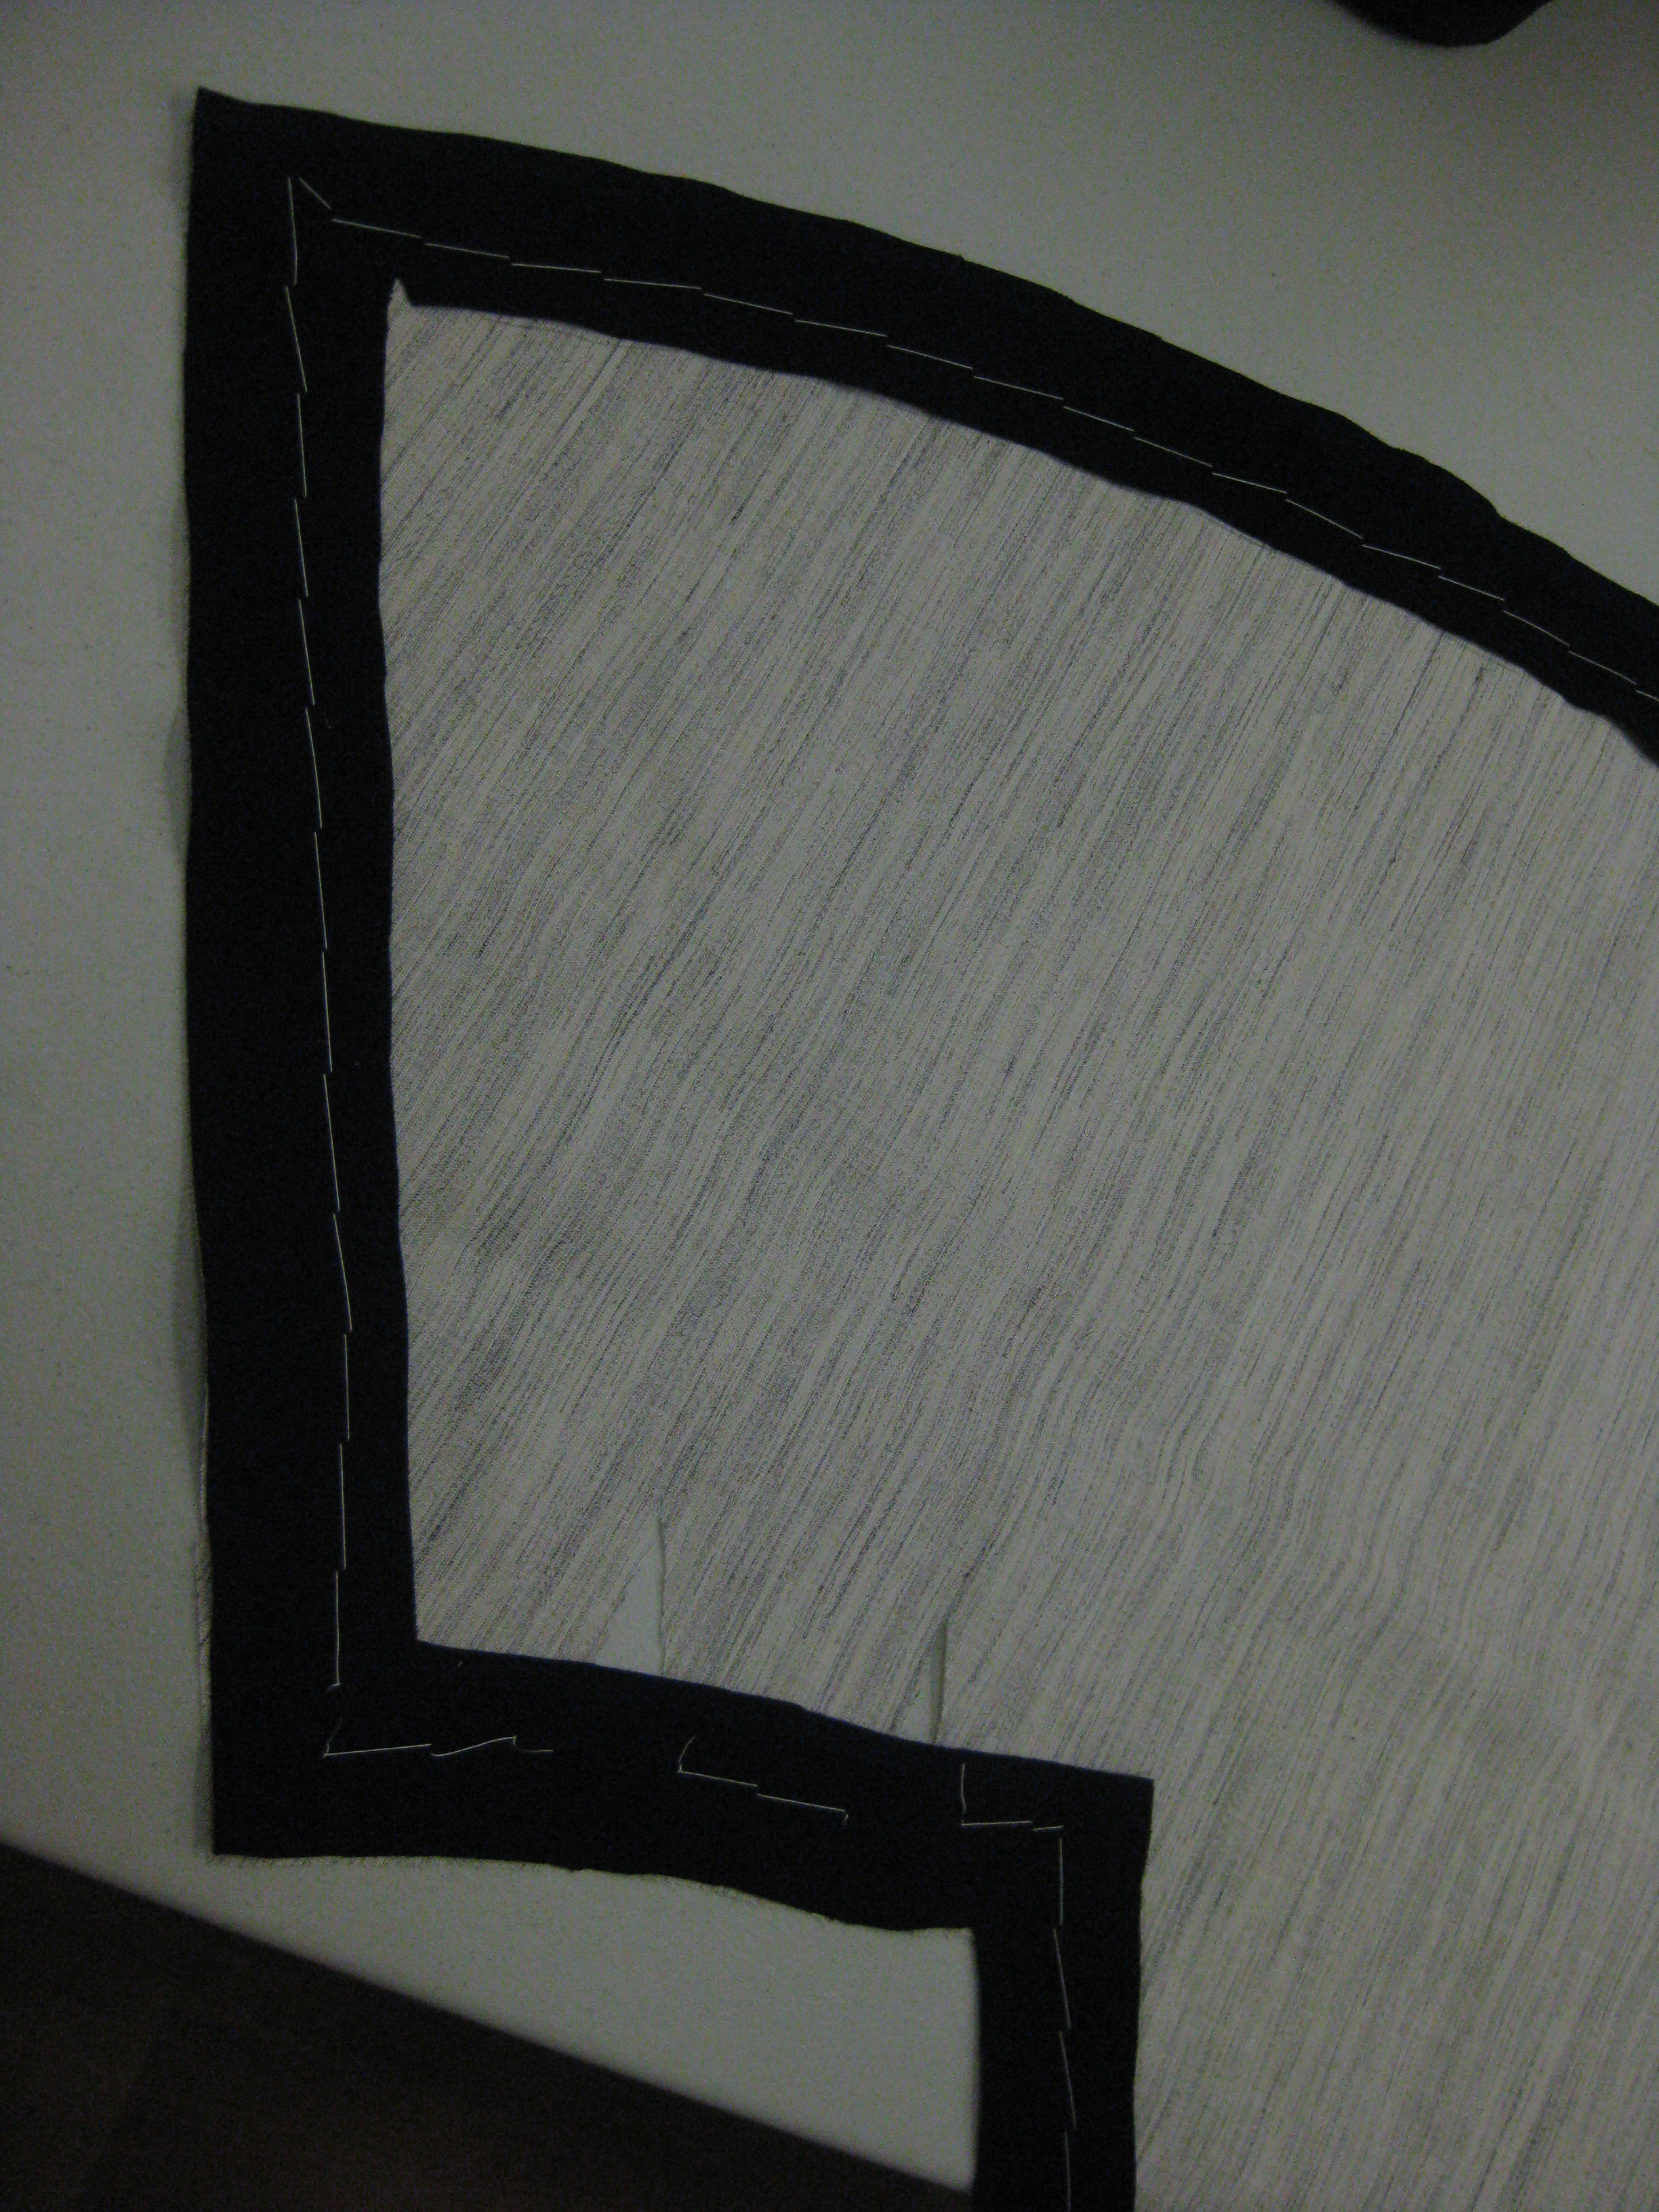
Frame tacked in place along the line marked at 3cm/ 1 1/2″ from the edge of the hair canvas.
Frame stitched in place and excess hair canvas trimmed away so it will not extend into the sewn seam.
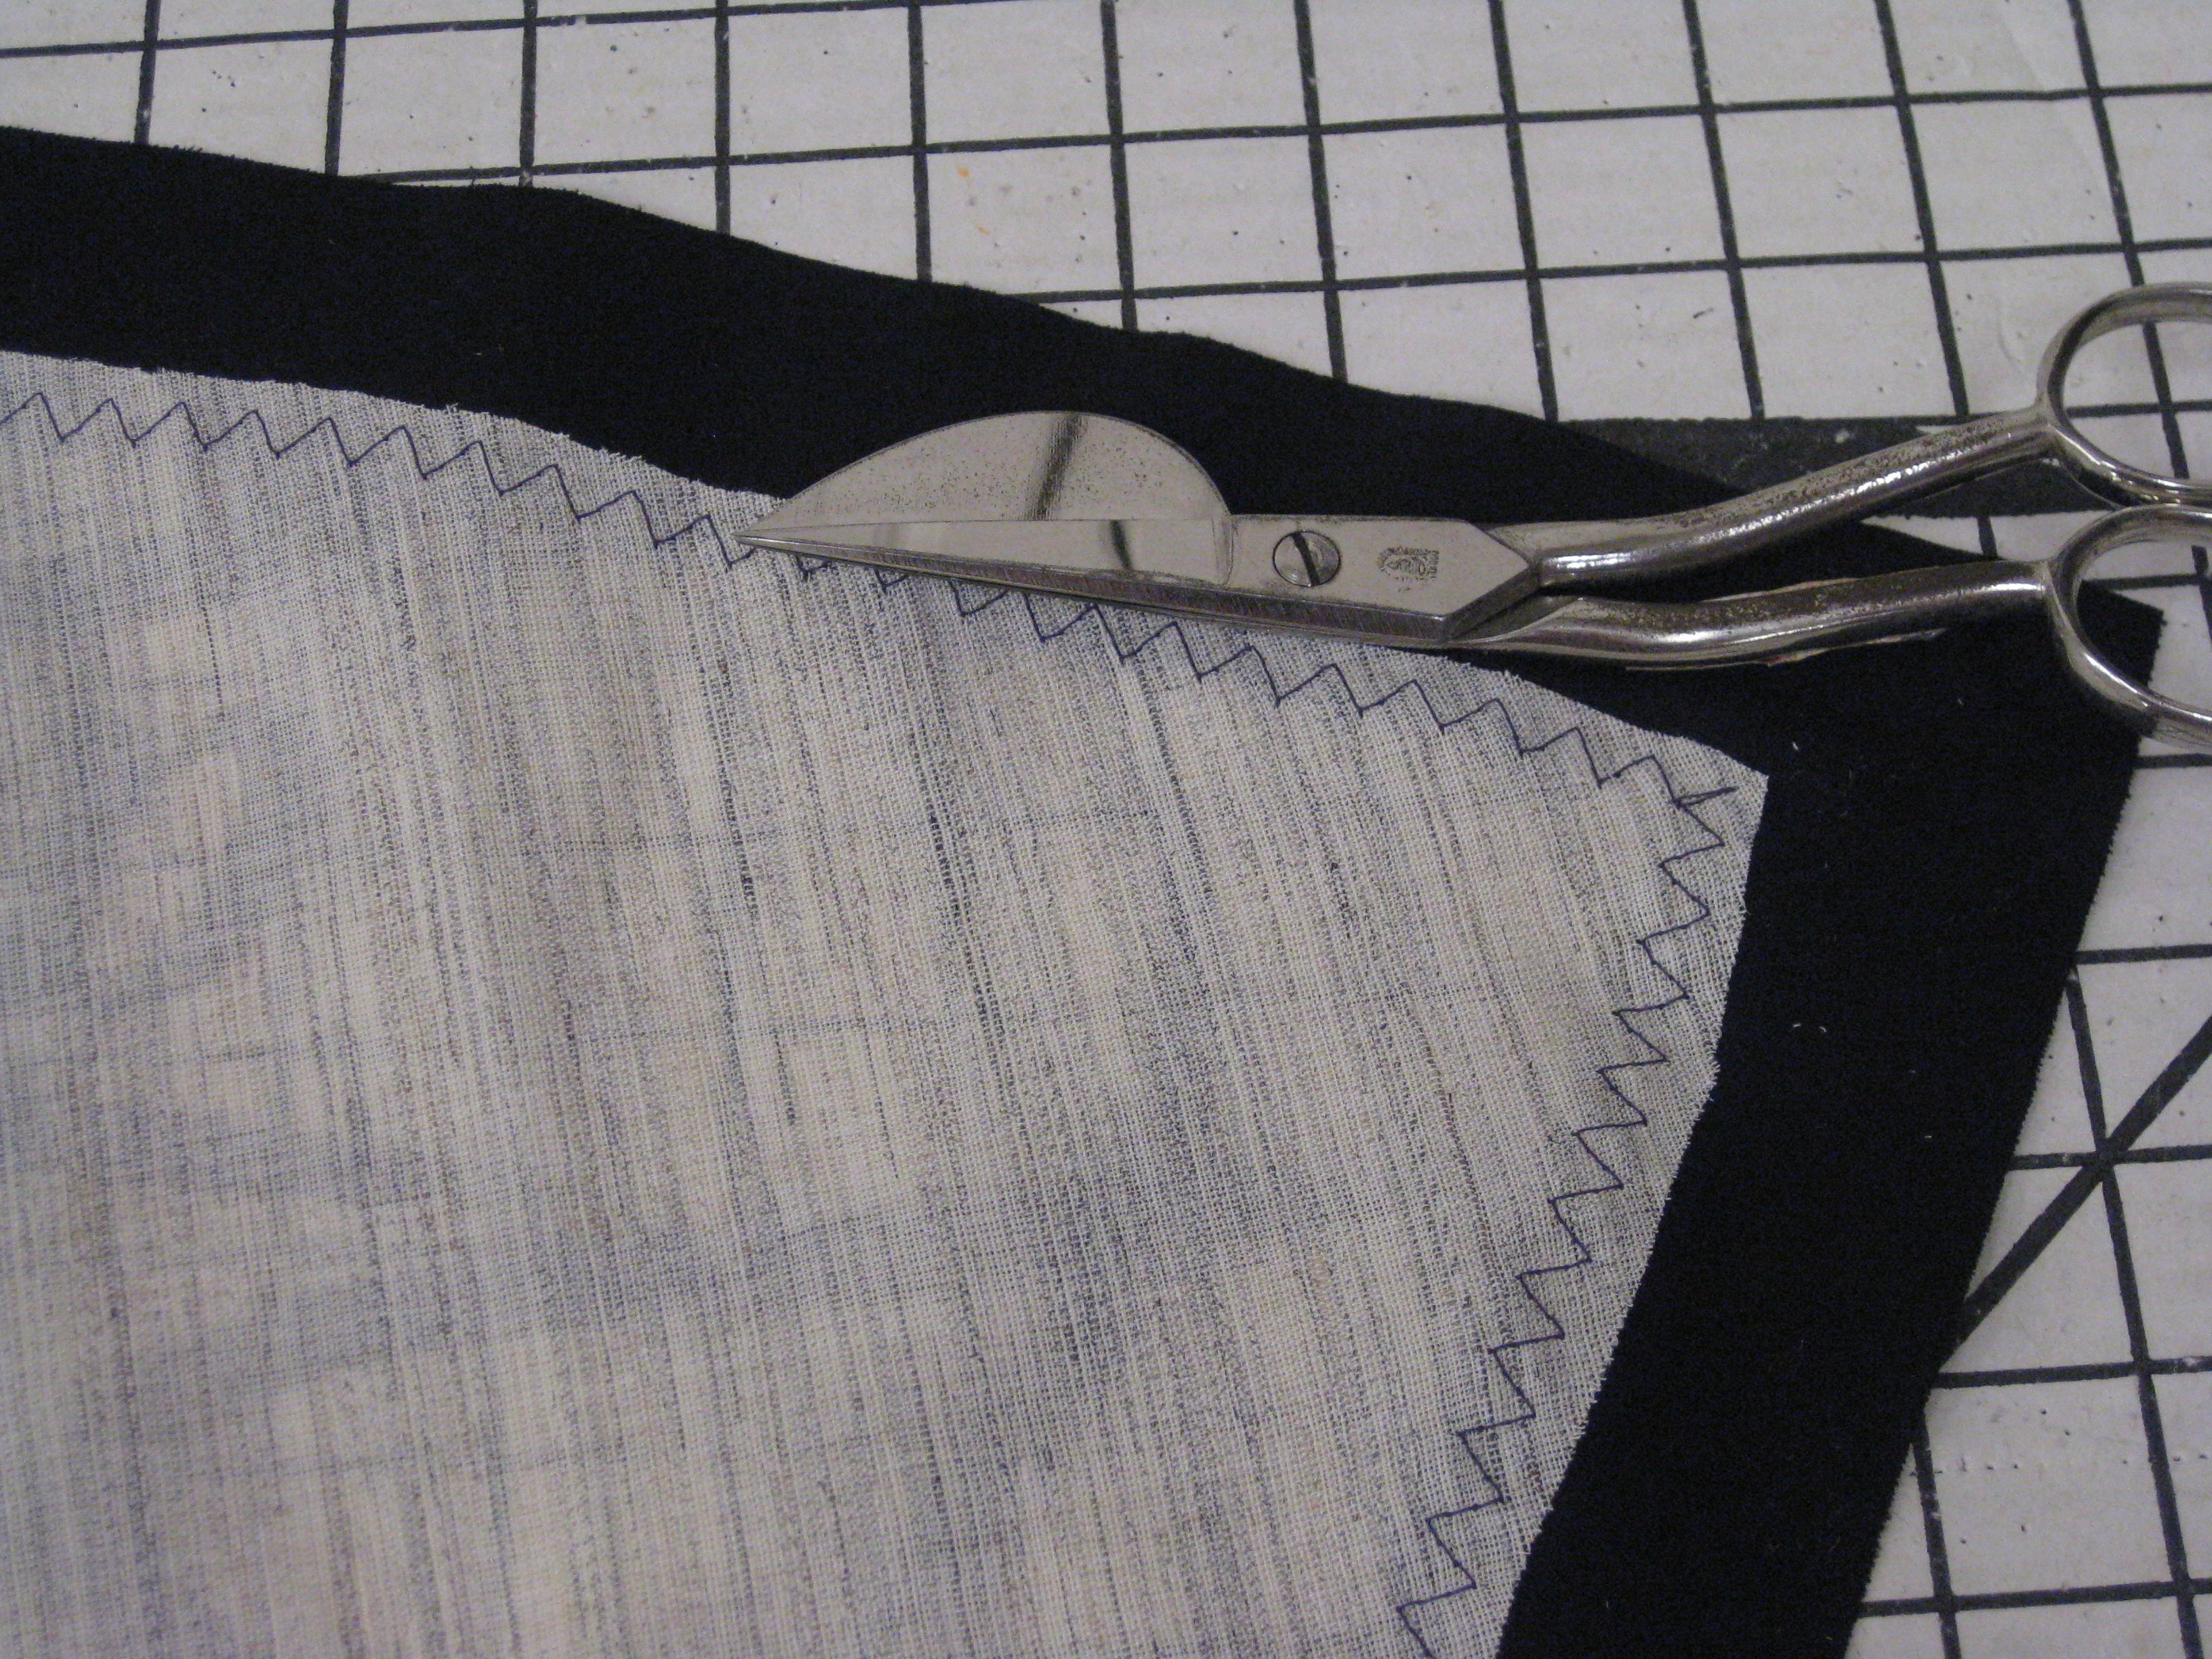
The dart take up has been trimmed away from the four neckline darts and the hair canvass has been butted together over the open darts and stitched in place using catch-stitching.
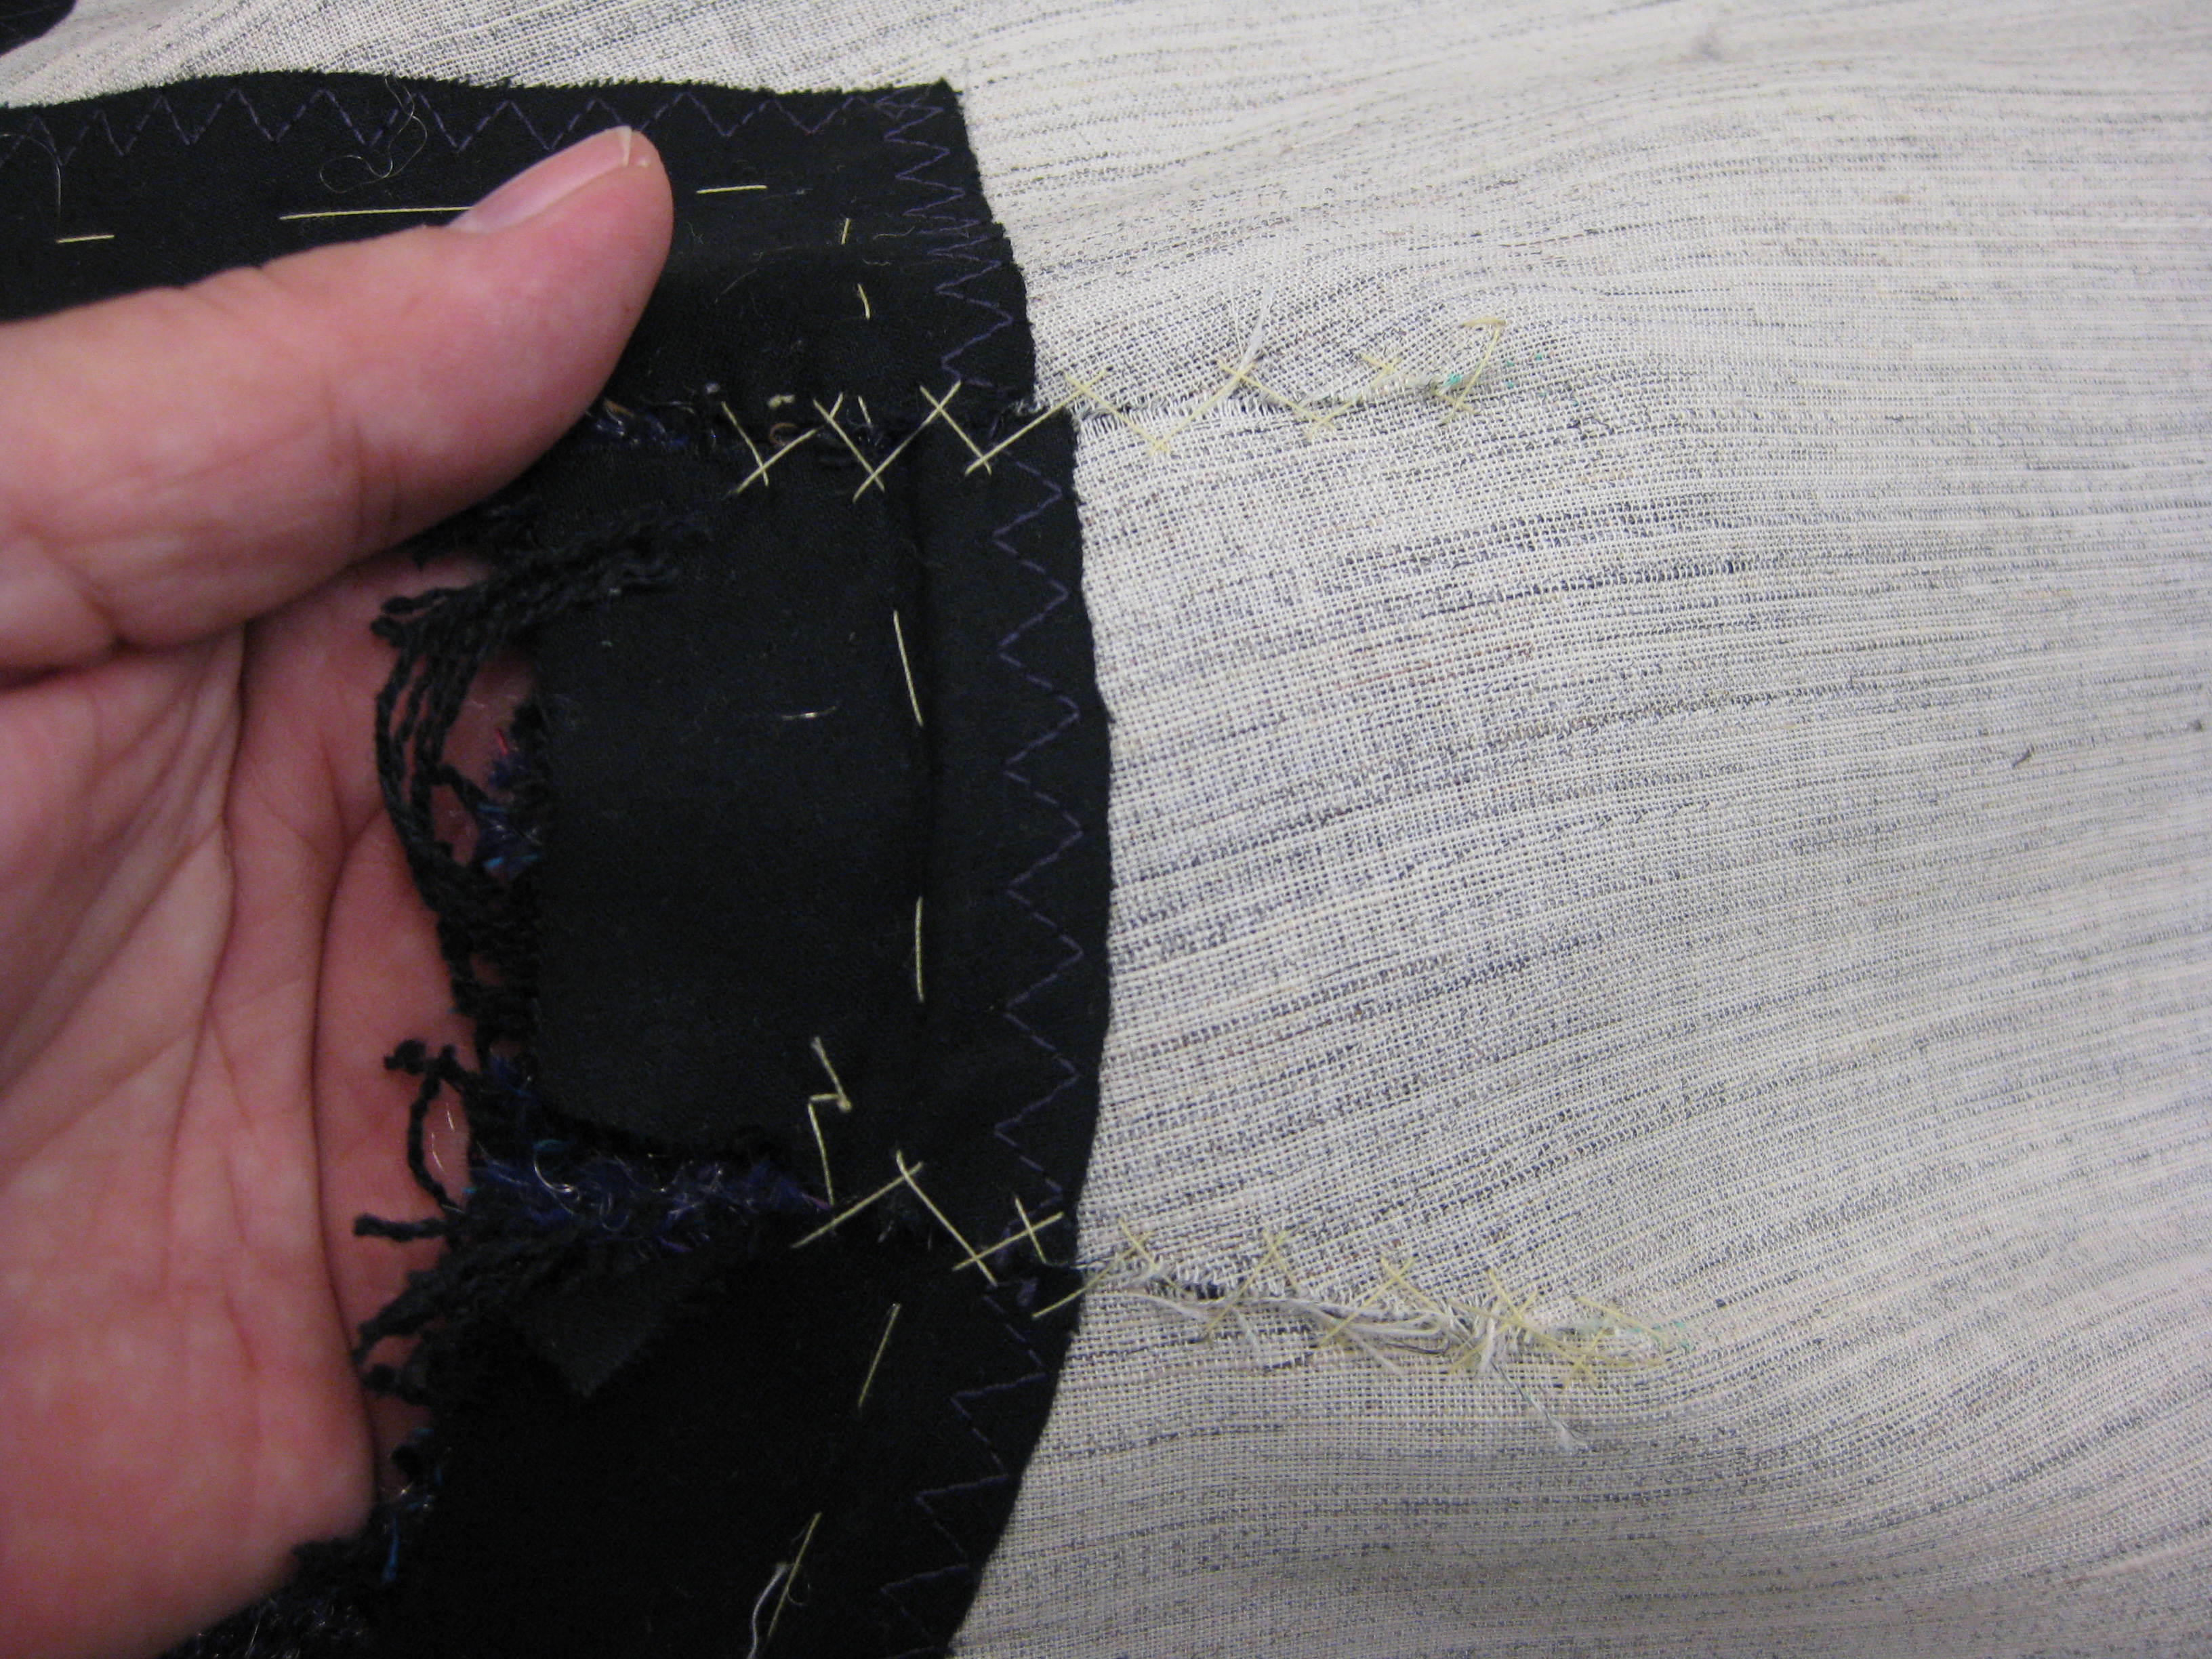
Dart take up fabric removed; hair canvass and fabric edges butted together and catch-stitched in place over opened fabric dart.
To support the back neckline area of the collar, I have included an overlay of hair canvass along the roll line. Dense pad-stitching has been applied within the collar stand area which will support the weight of the collar.
I created a pattern piece for the back neckline Dart take up sections will be removed when canvass has been cut. Once this is closely pad-stitched, it will provide support for the back upper collar.
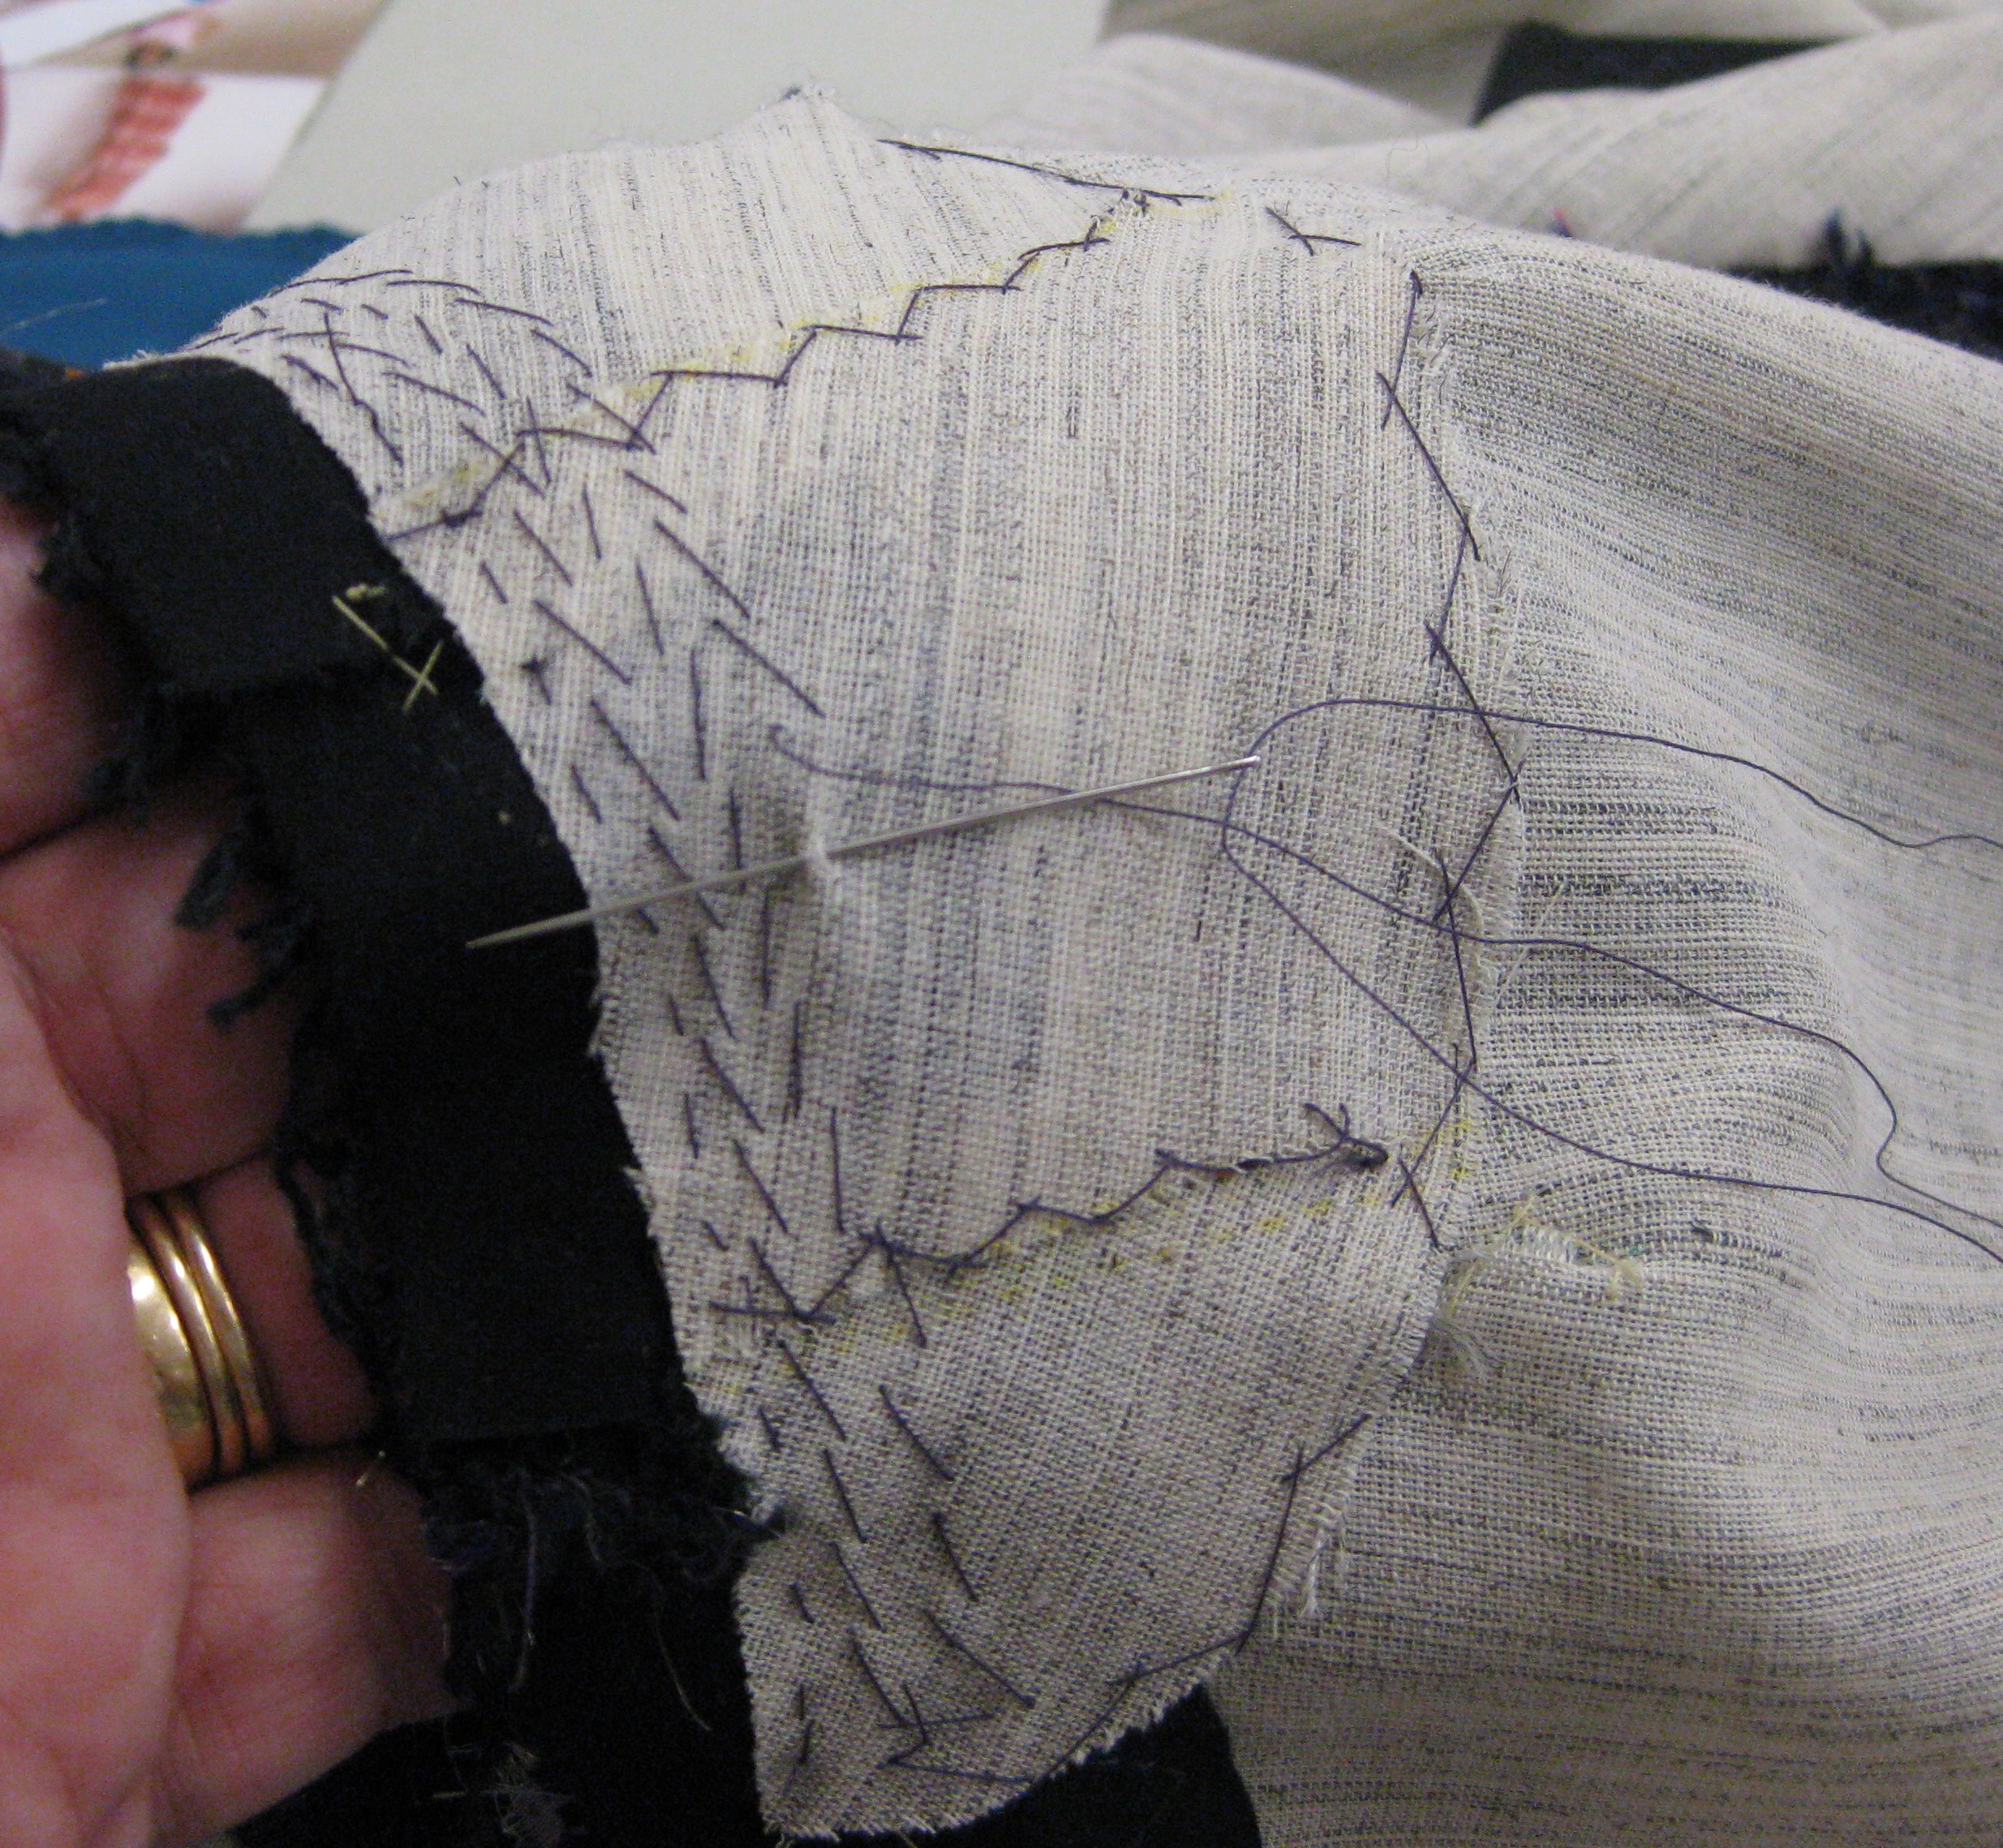
Back neckline support piece held over my hand to build in curved shape with small pad-stitches.
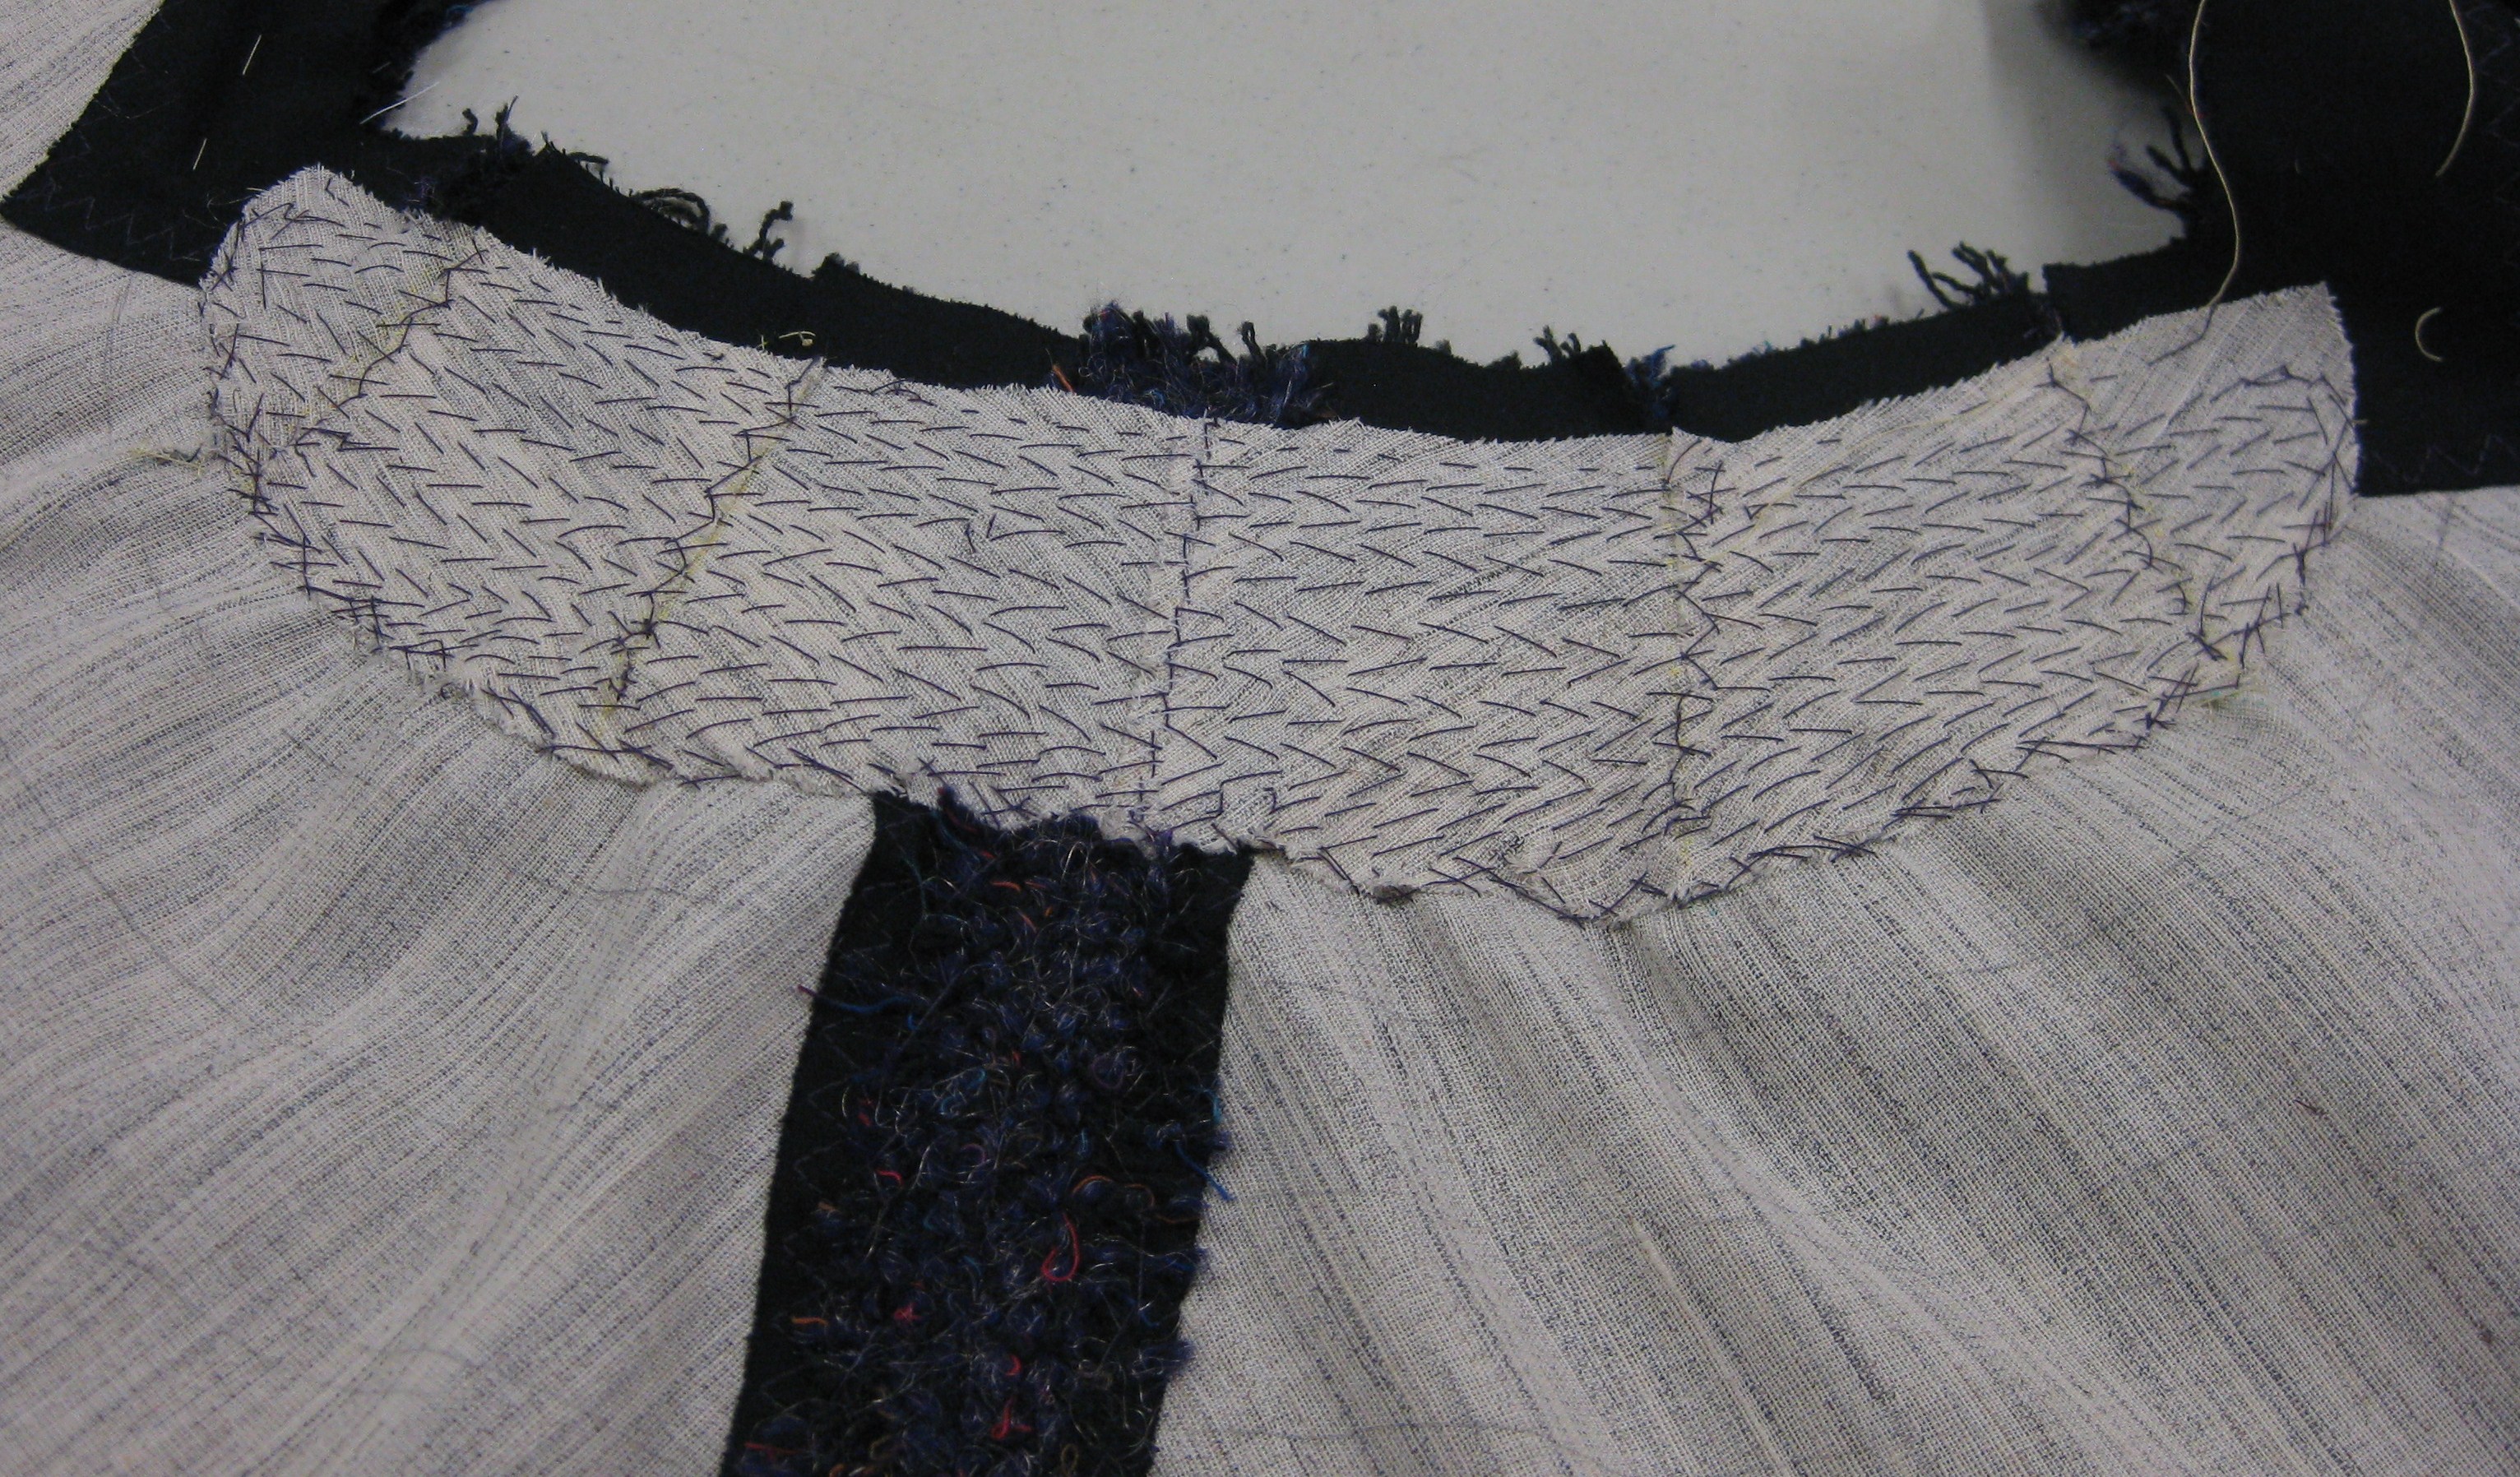
Finished neckline support.
I have also taped the roll line with cotton tape (fell stitched in place on either side on the lapel side of the roll line).
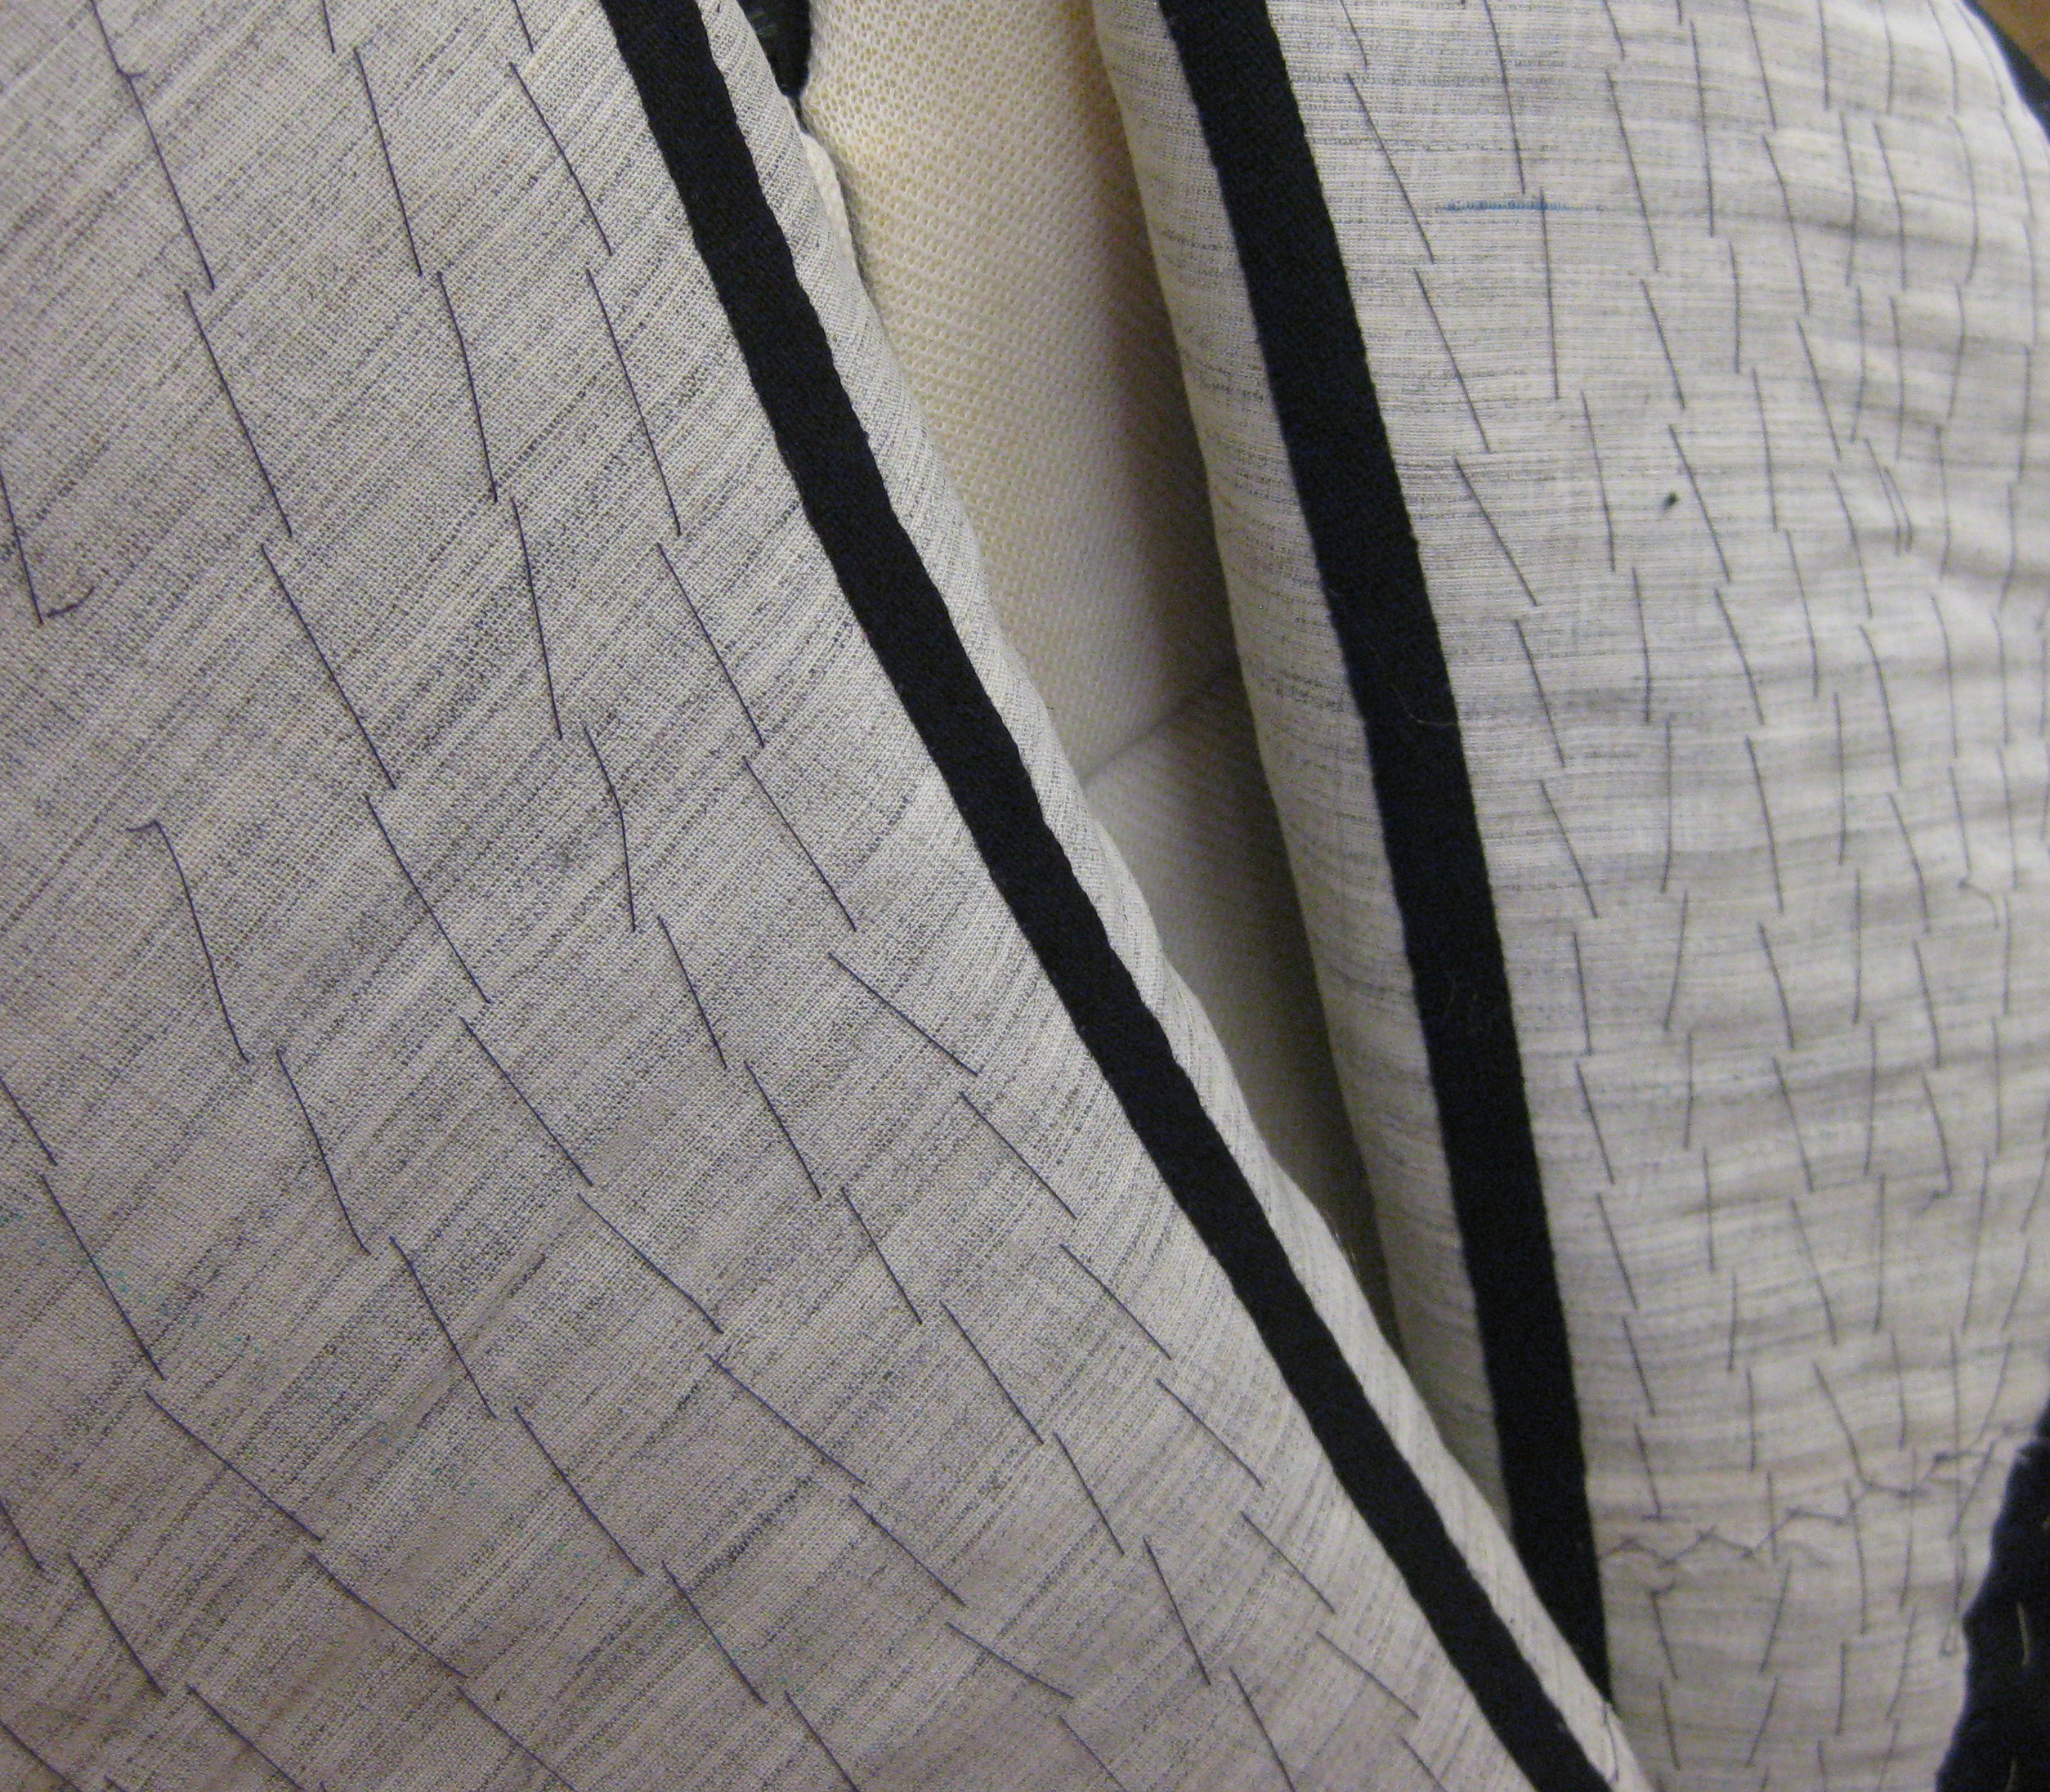
Taped roll line will keep lapels in place.
The remaining collar section of the interfacing has been lightly pad-stitched.
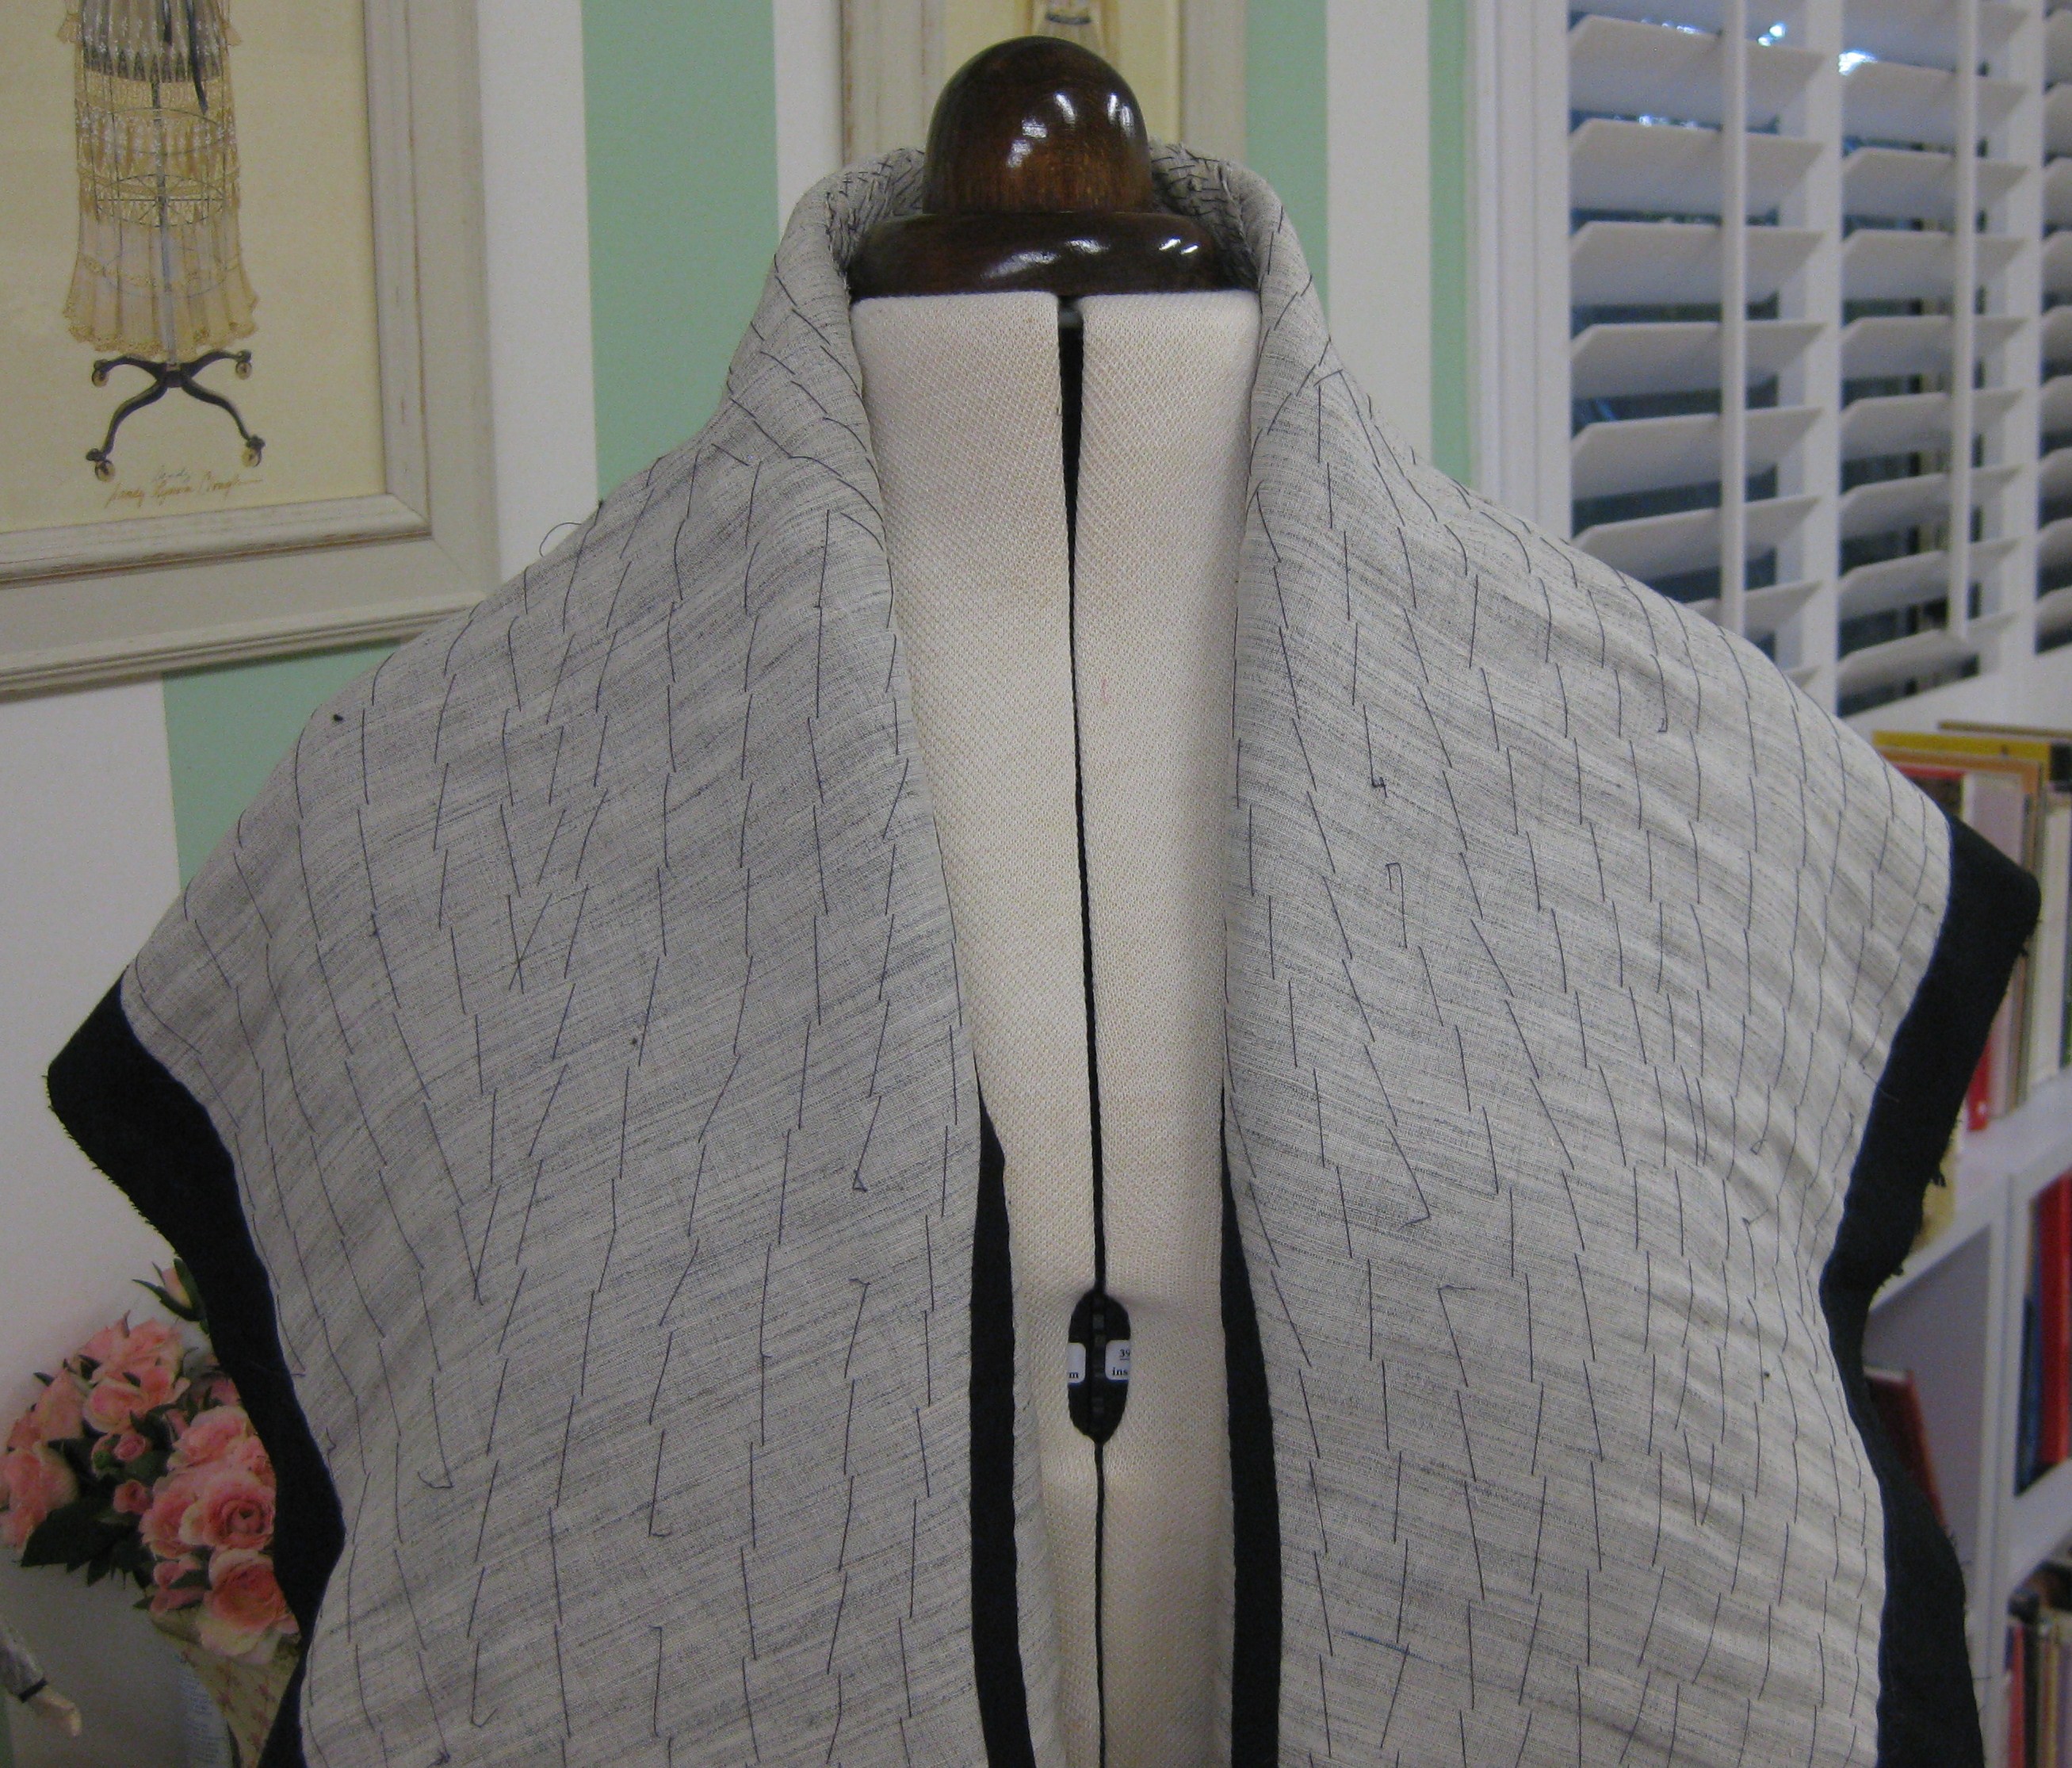
Remaining collar section has been loosely pad-stitched.
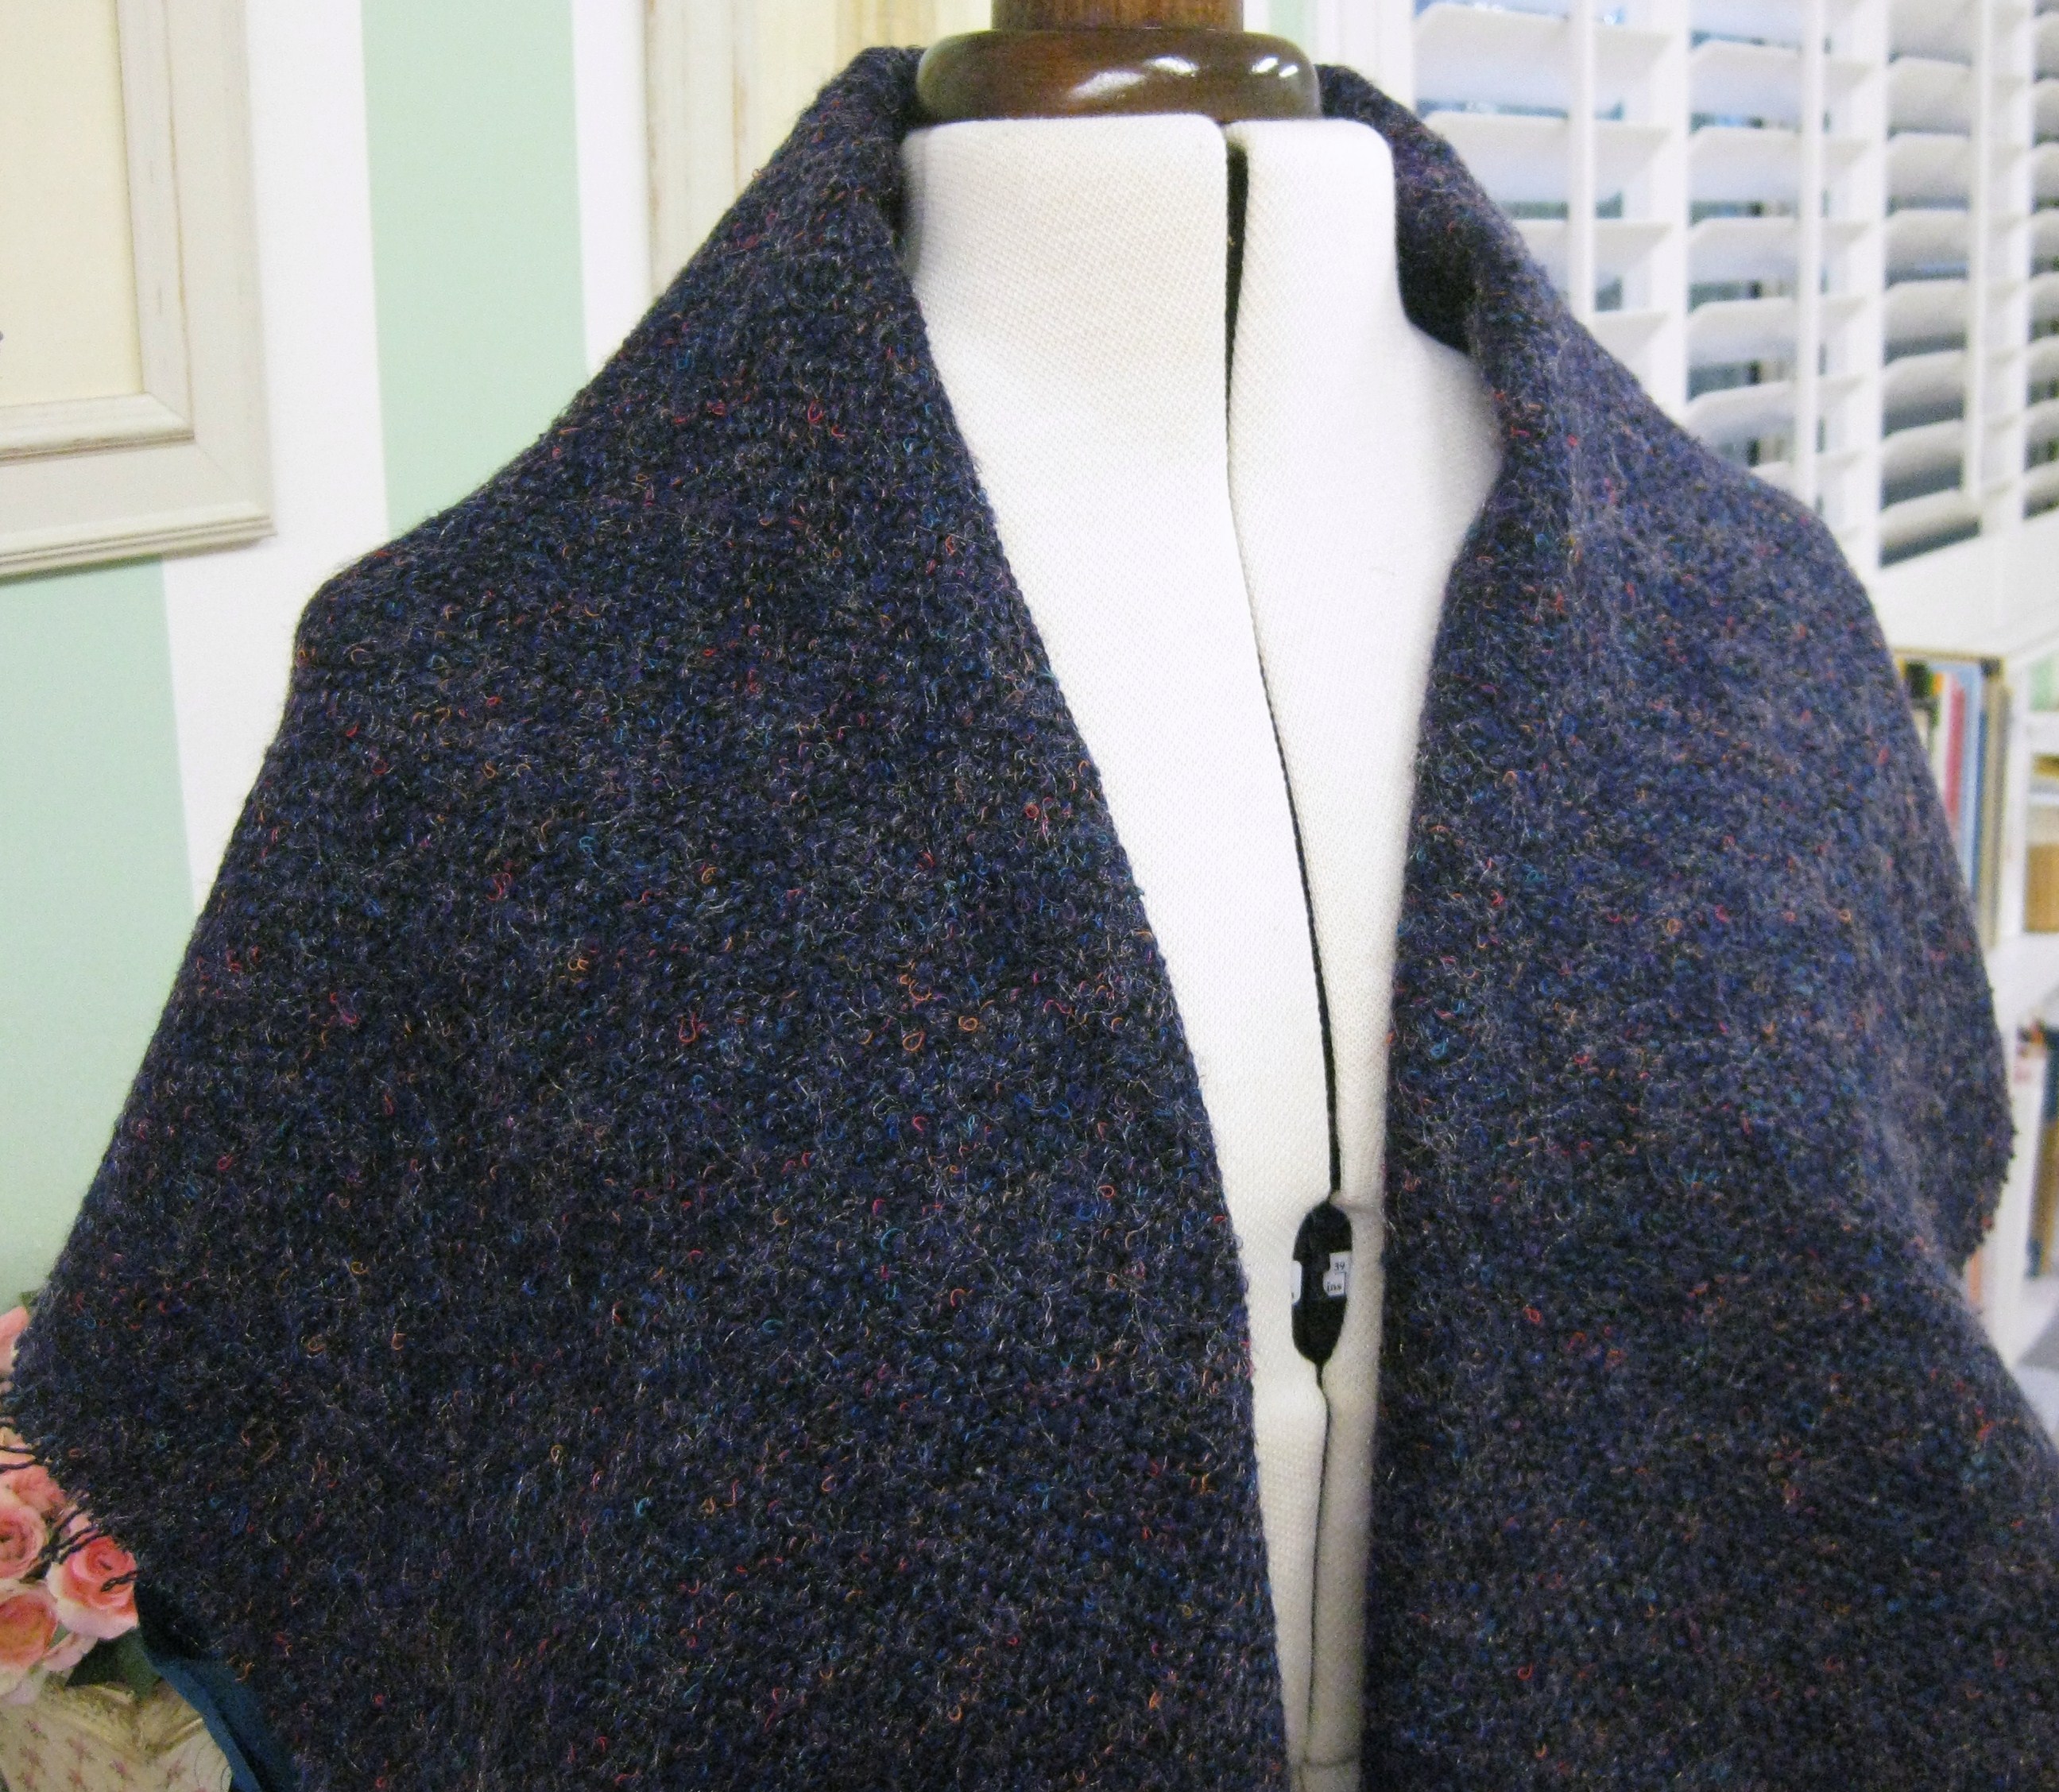
Upper collar placed over the pad-stitched under collar. It now has good structure and appears much more like the photo of the original design.
Strips of hair canvas have also been catch-stitched over the hem line on the garment and sleeve hems. This will keep the hem edges in shape during the life of the garment.
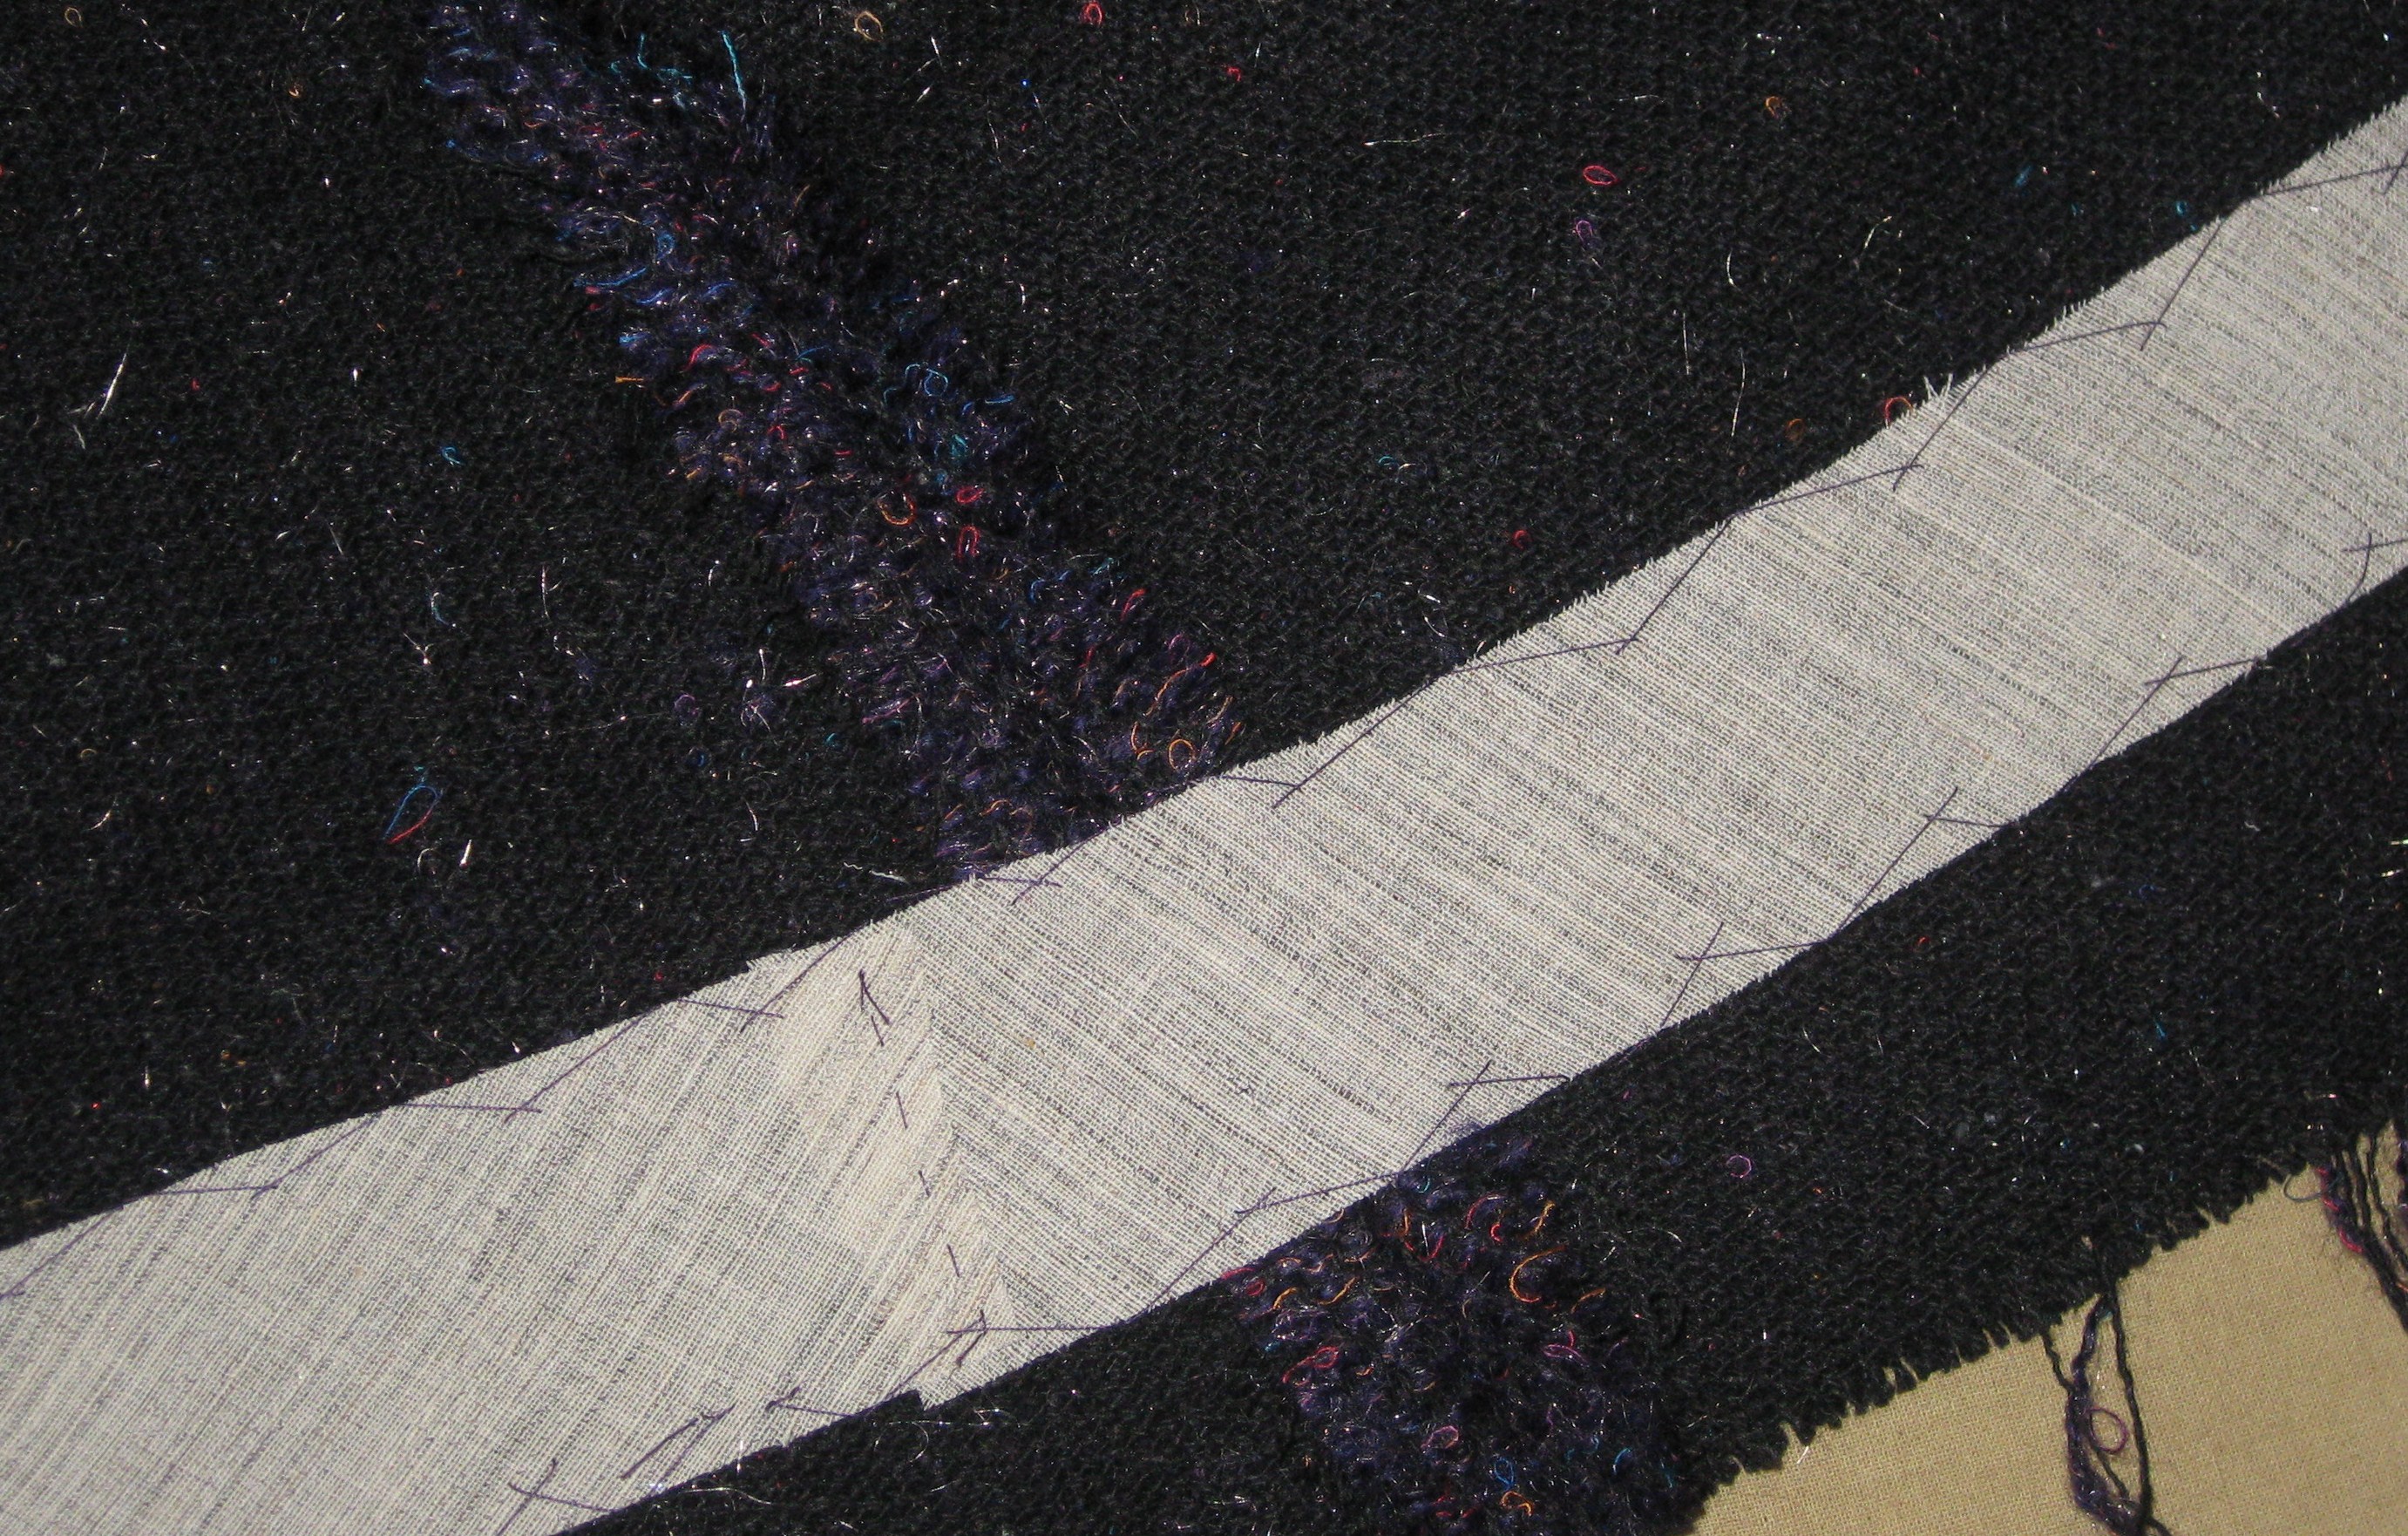
Hair canvass catch-stitched in the hem area of the jacket and sleeves.
During the next week I will be setting the sleeves, stitching the hems and applying the facing and lining.
Till next week.
