As mentioned in Part 1, the fabric used in a garment will always need underpinnings to support its structure. This blog covers which are mostly used in more complex, structured garments such as very fitted and/or strapless bodices, low or wide necklines, the hem on full skirts as well as in tailored jackets and coat.
Boning:
- Boning is used to support sections of the garment that cannot be held in place from above
- This includes bustiers for strapless and off the shoulder garments, but can include close fitting bodices as well
- Boning can also be used to support raised waistlines on skirts and pants and to keep waist details close to the body
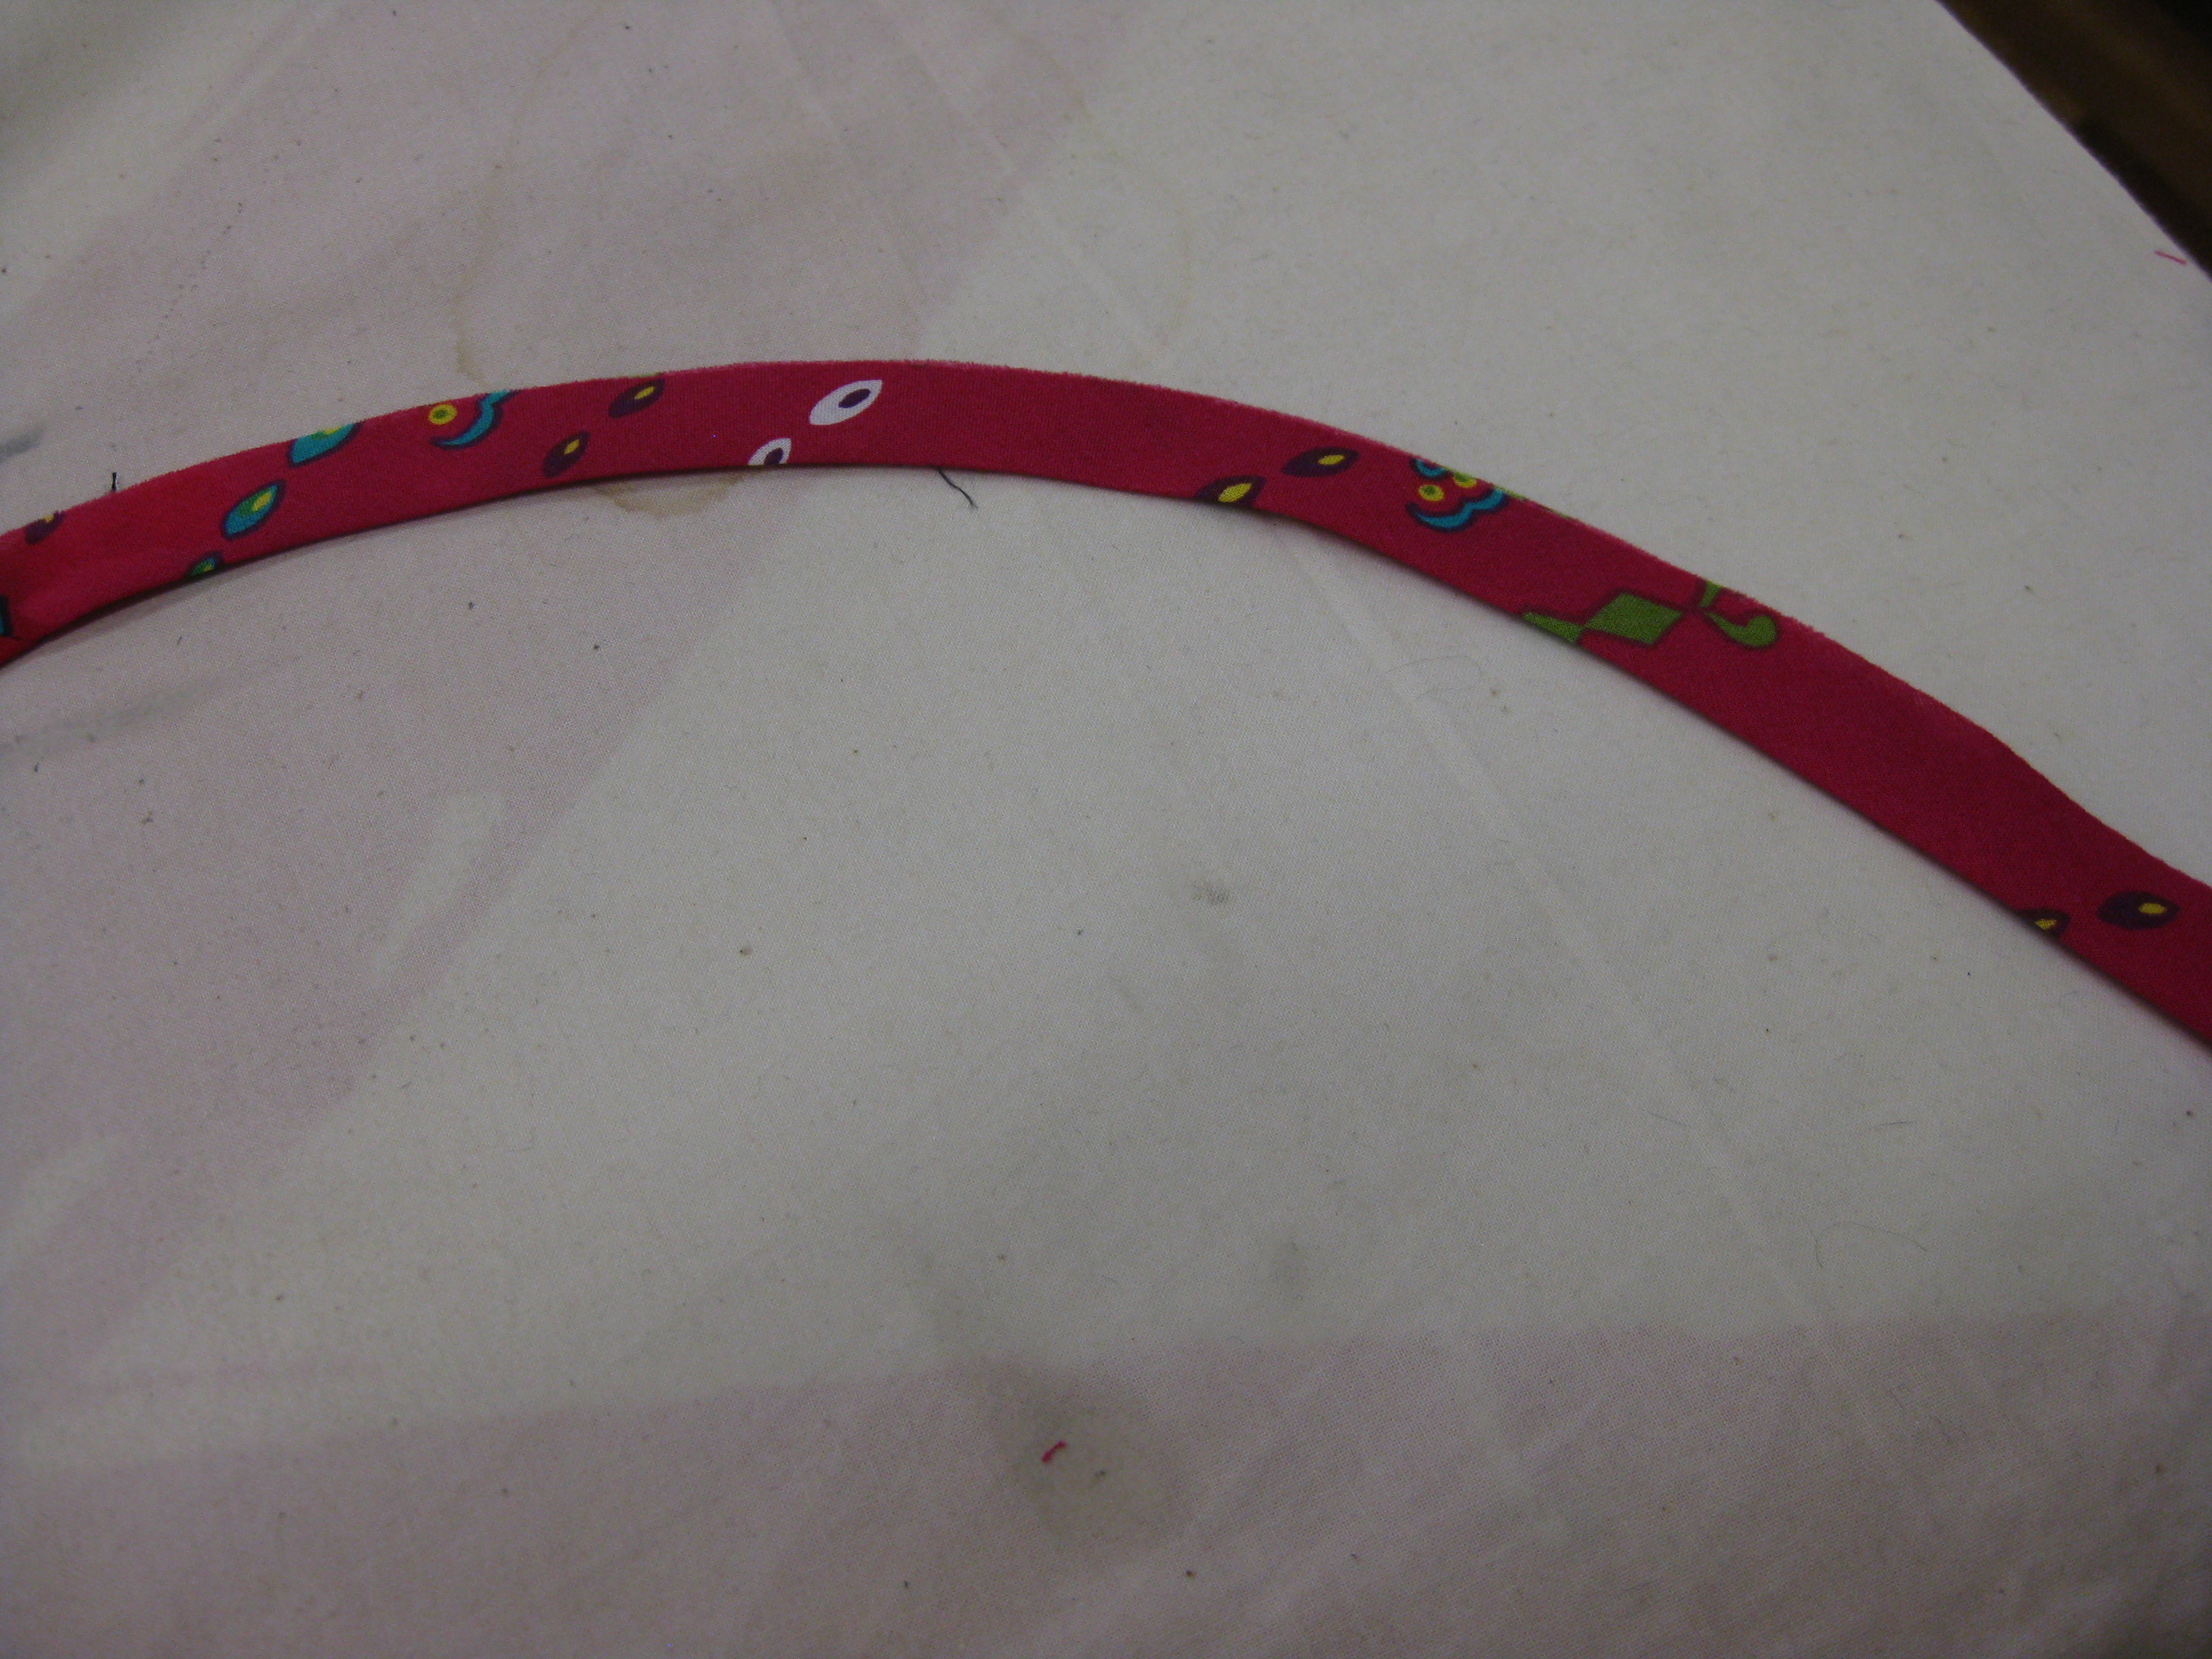
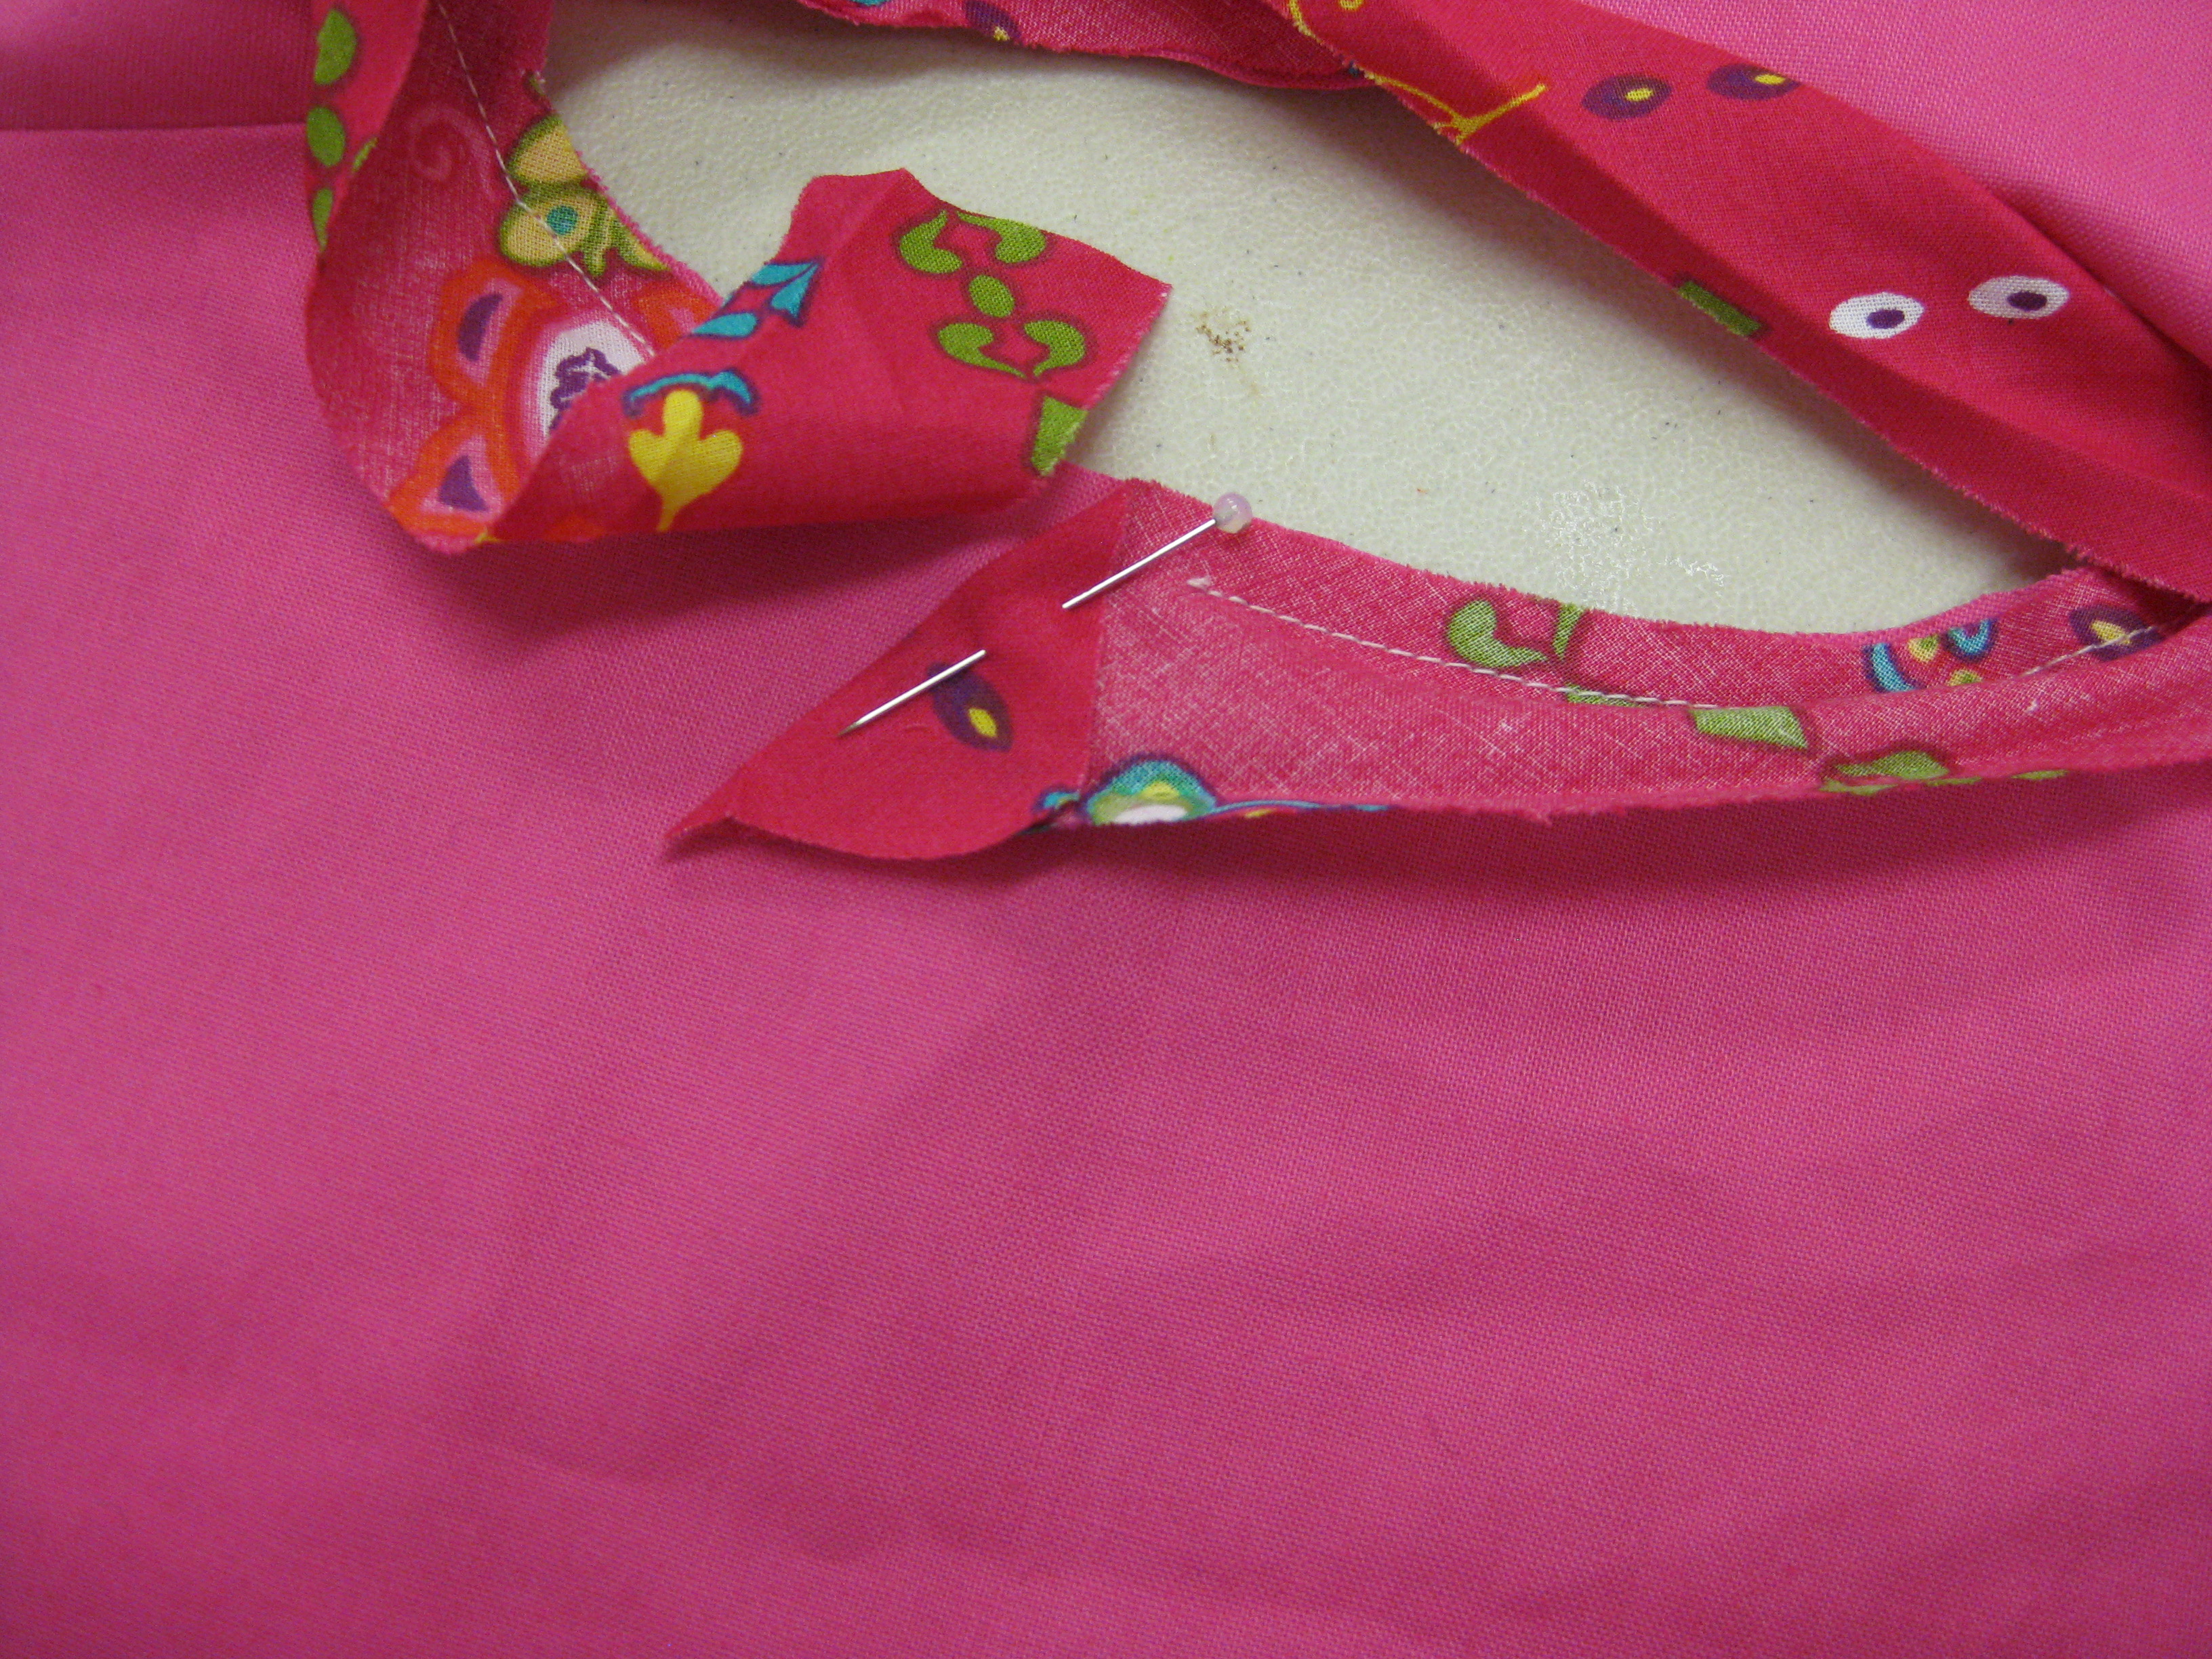
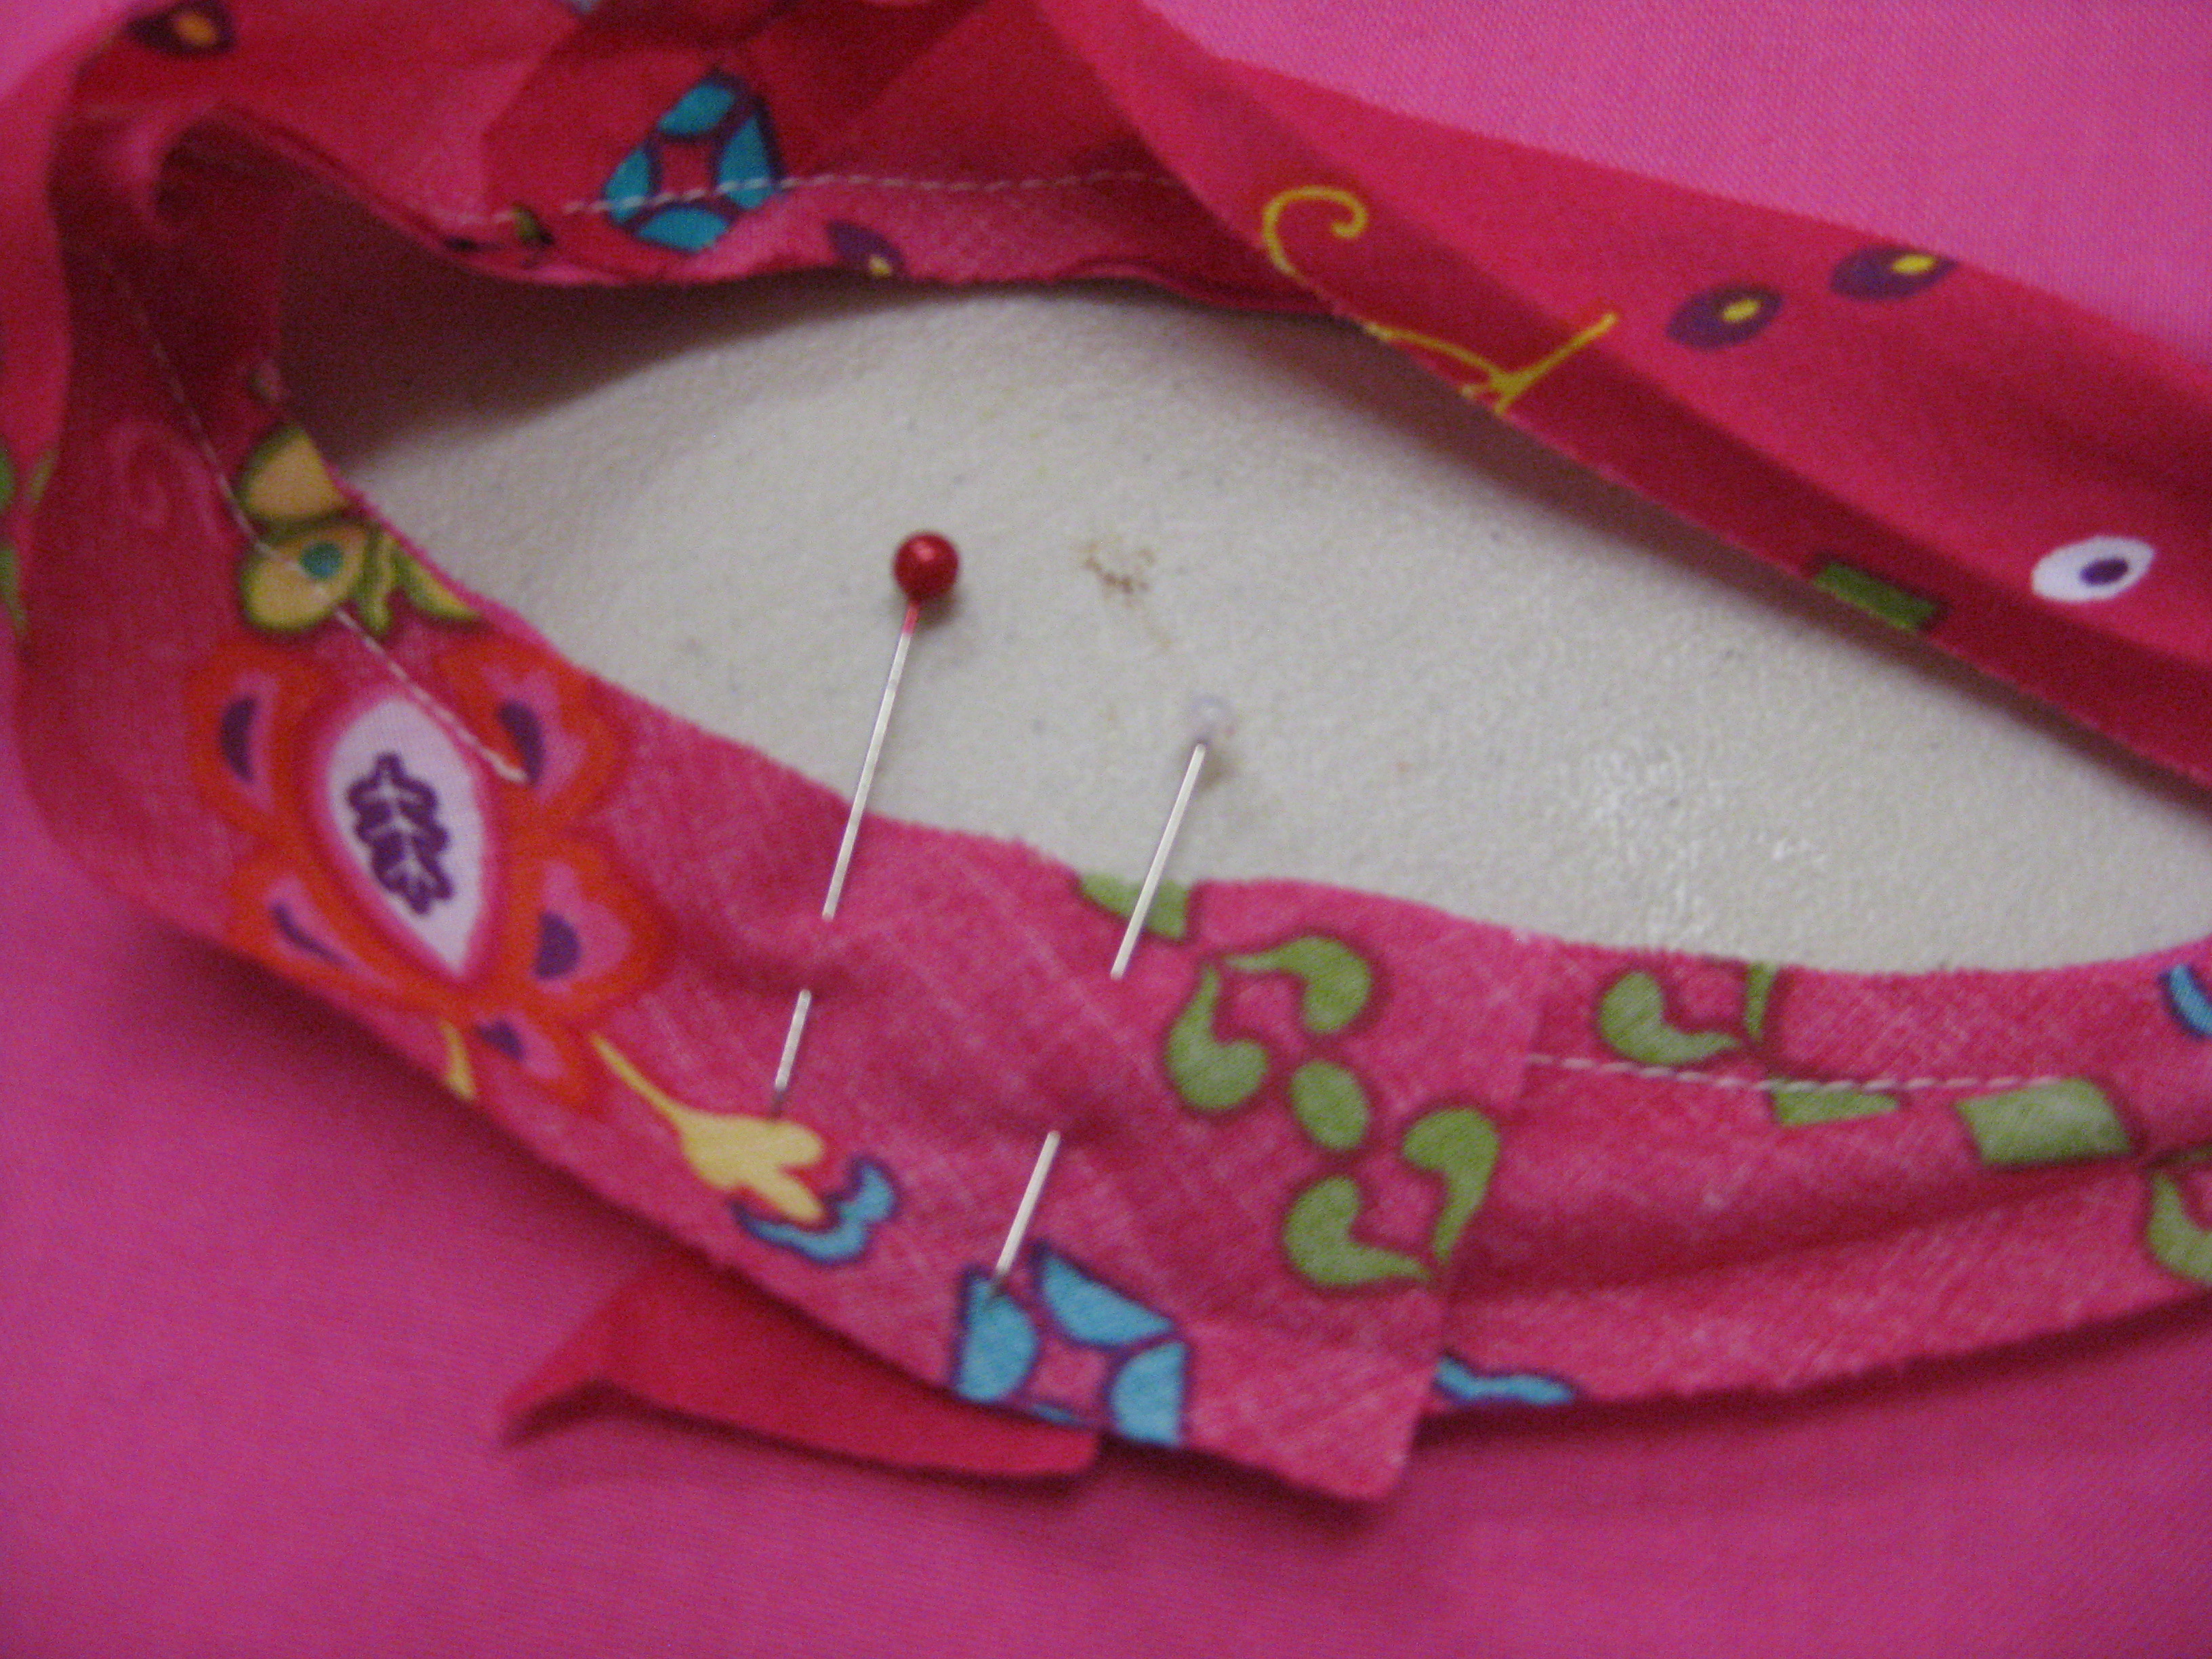
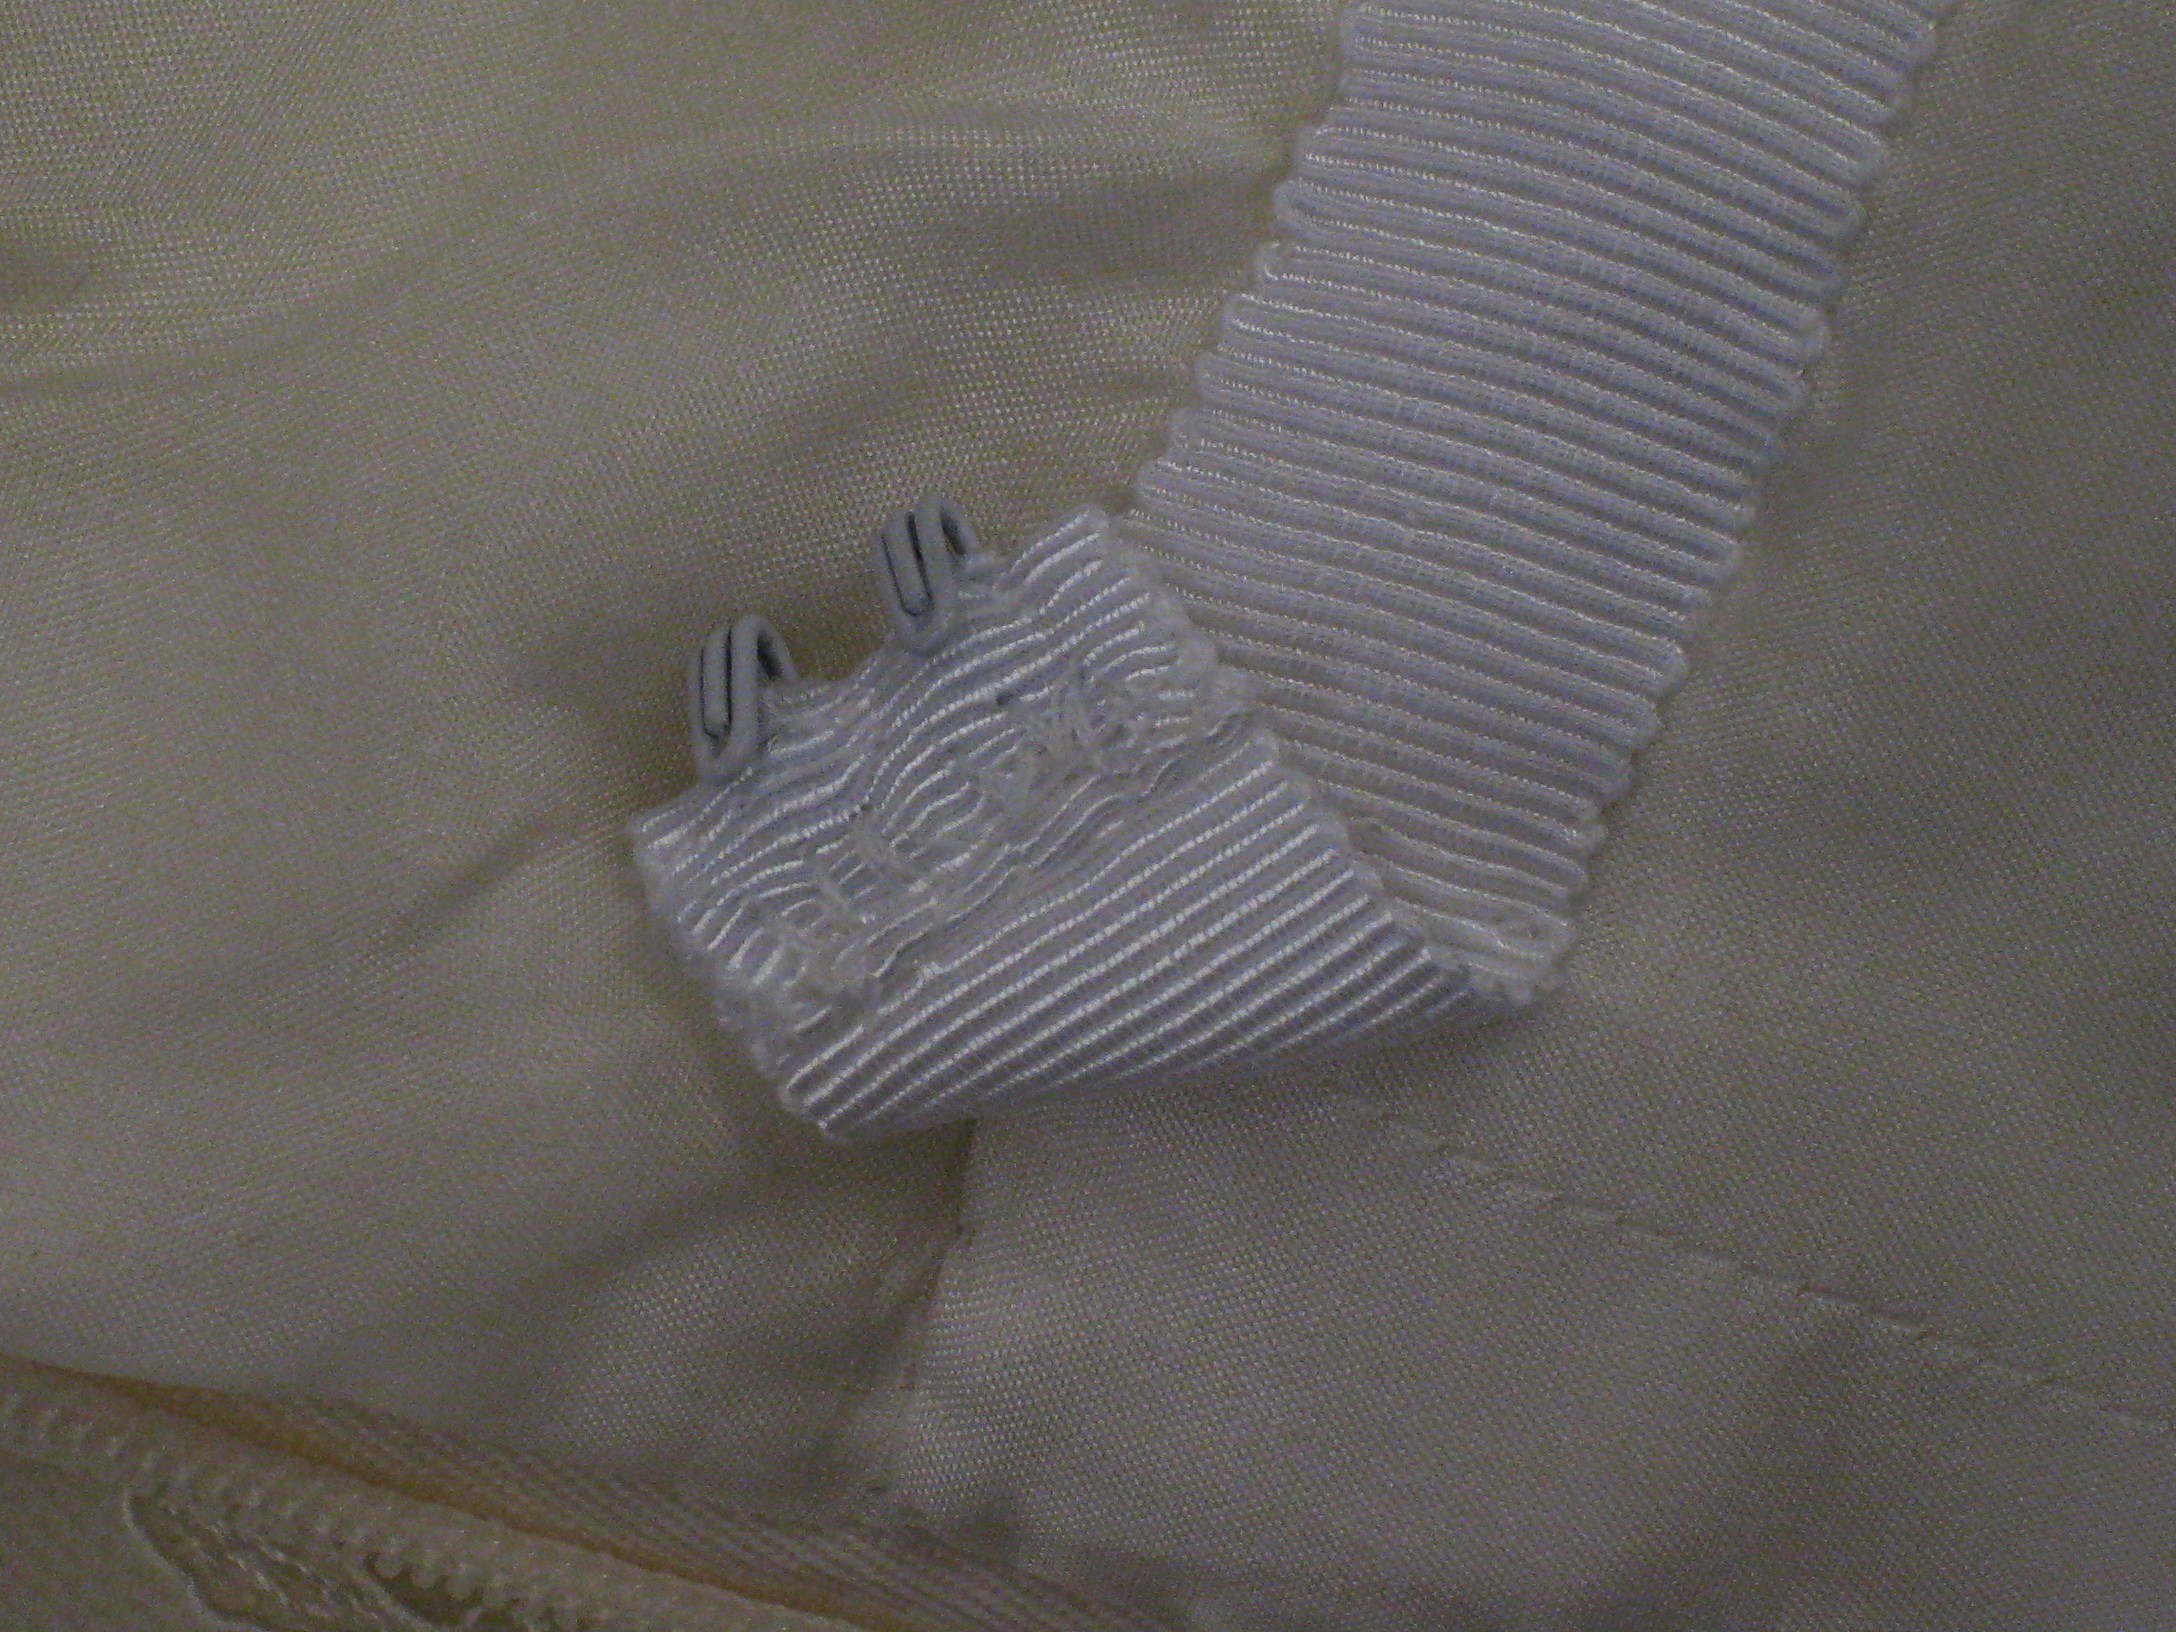
- Boning comes in covered and uncovered form – the ends of uncovered boning need to be covered (grosgrain ribbon is a good choice) so that the small tubes of polyester will not scratch the wearer or work through the fabric and make a hole

Ends of boning are covered for the comfort of the wearer.
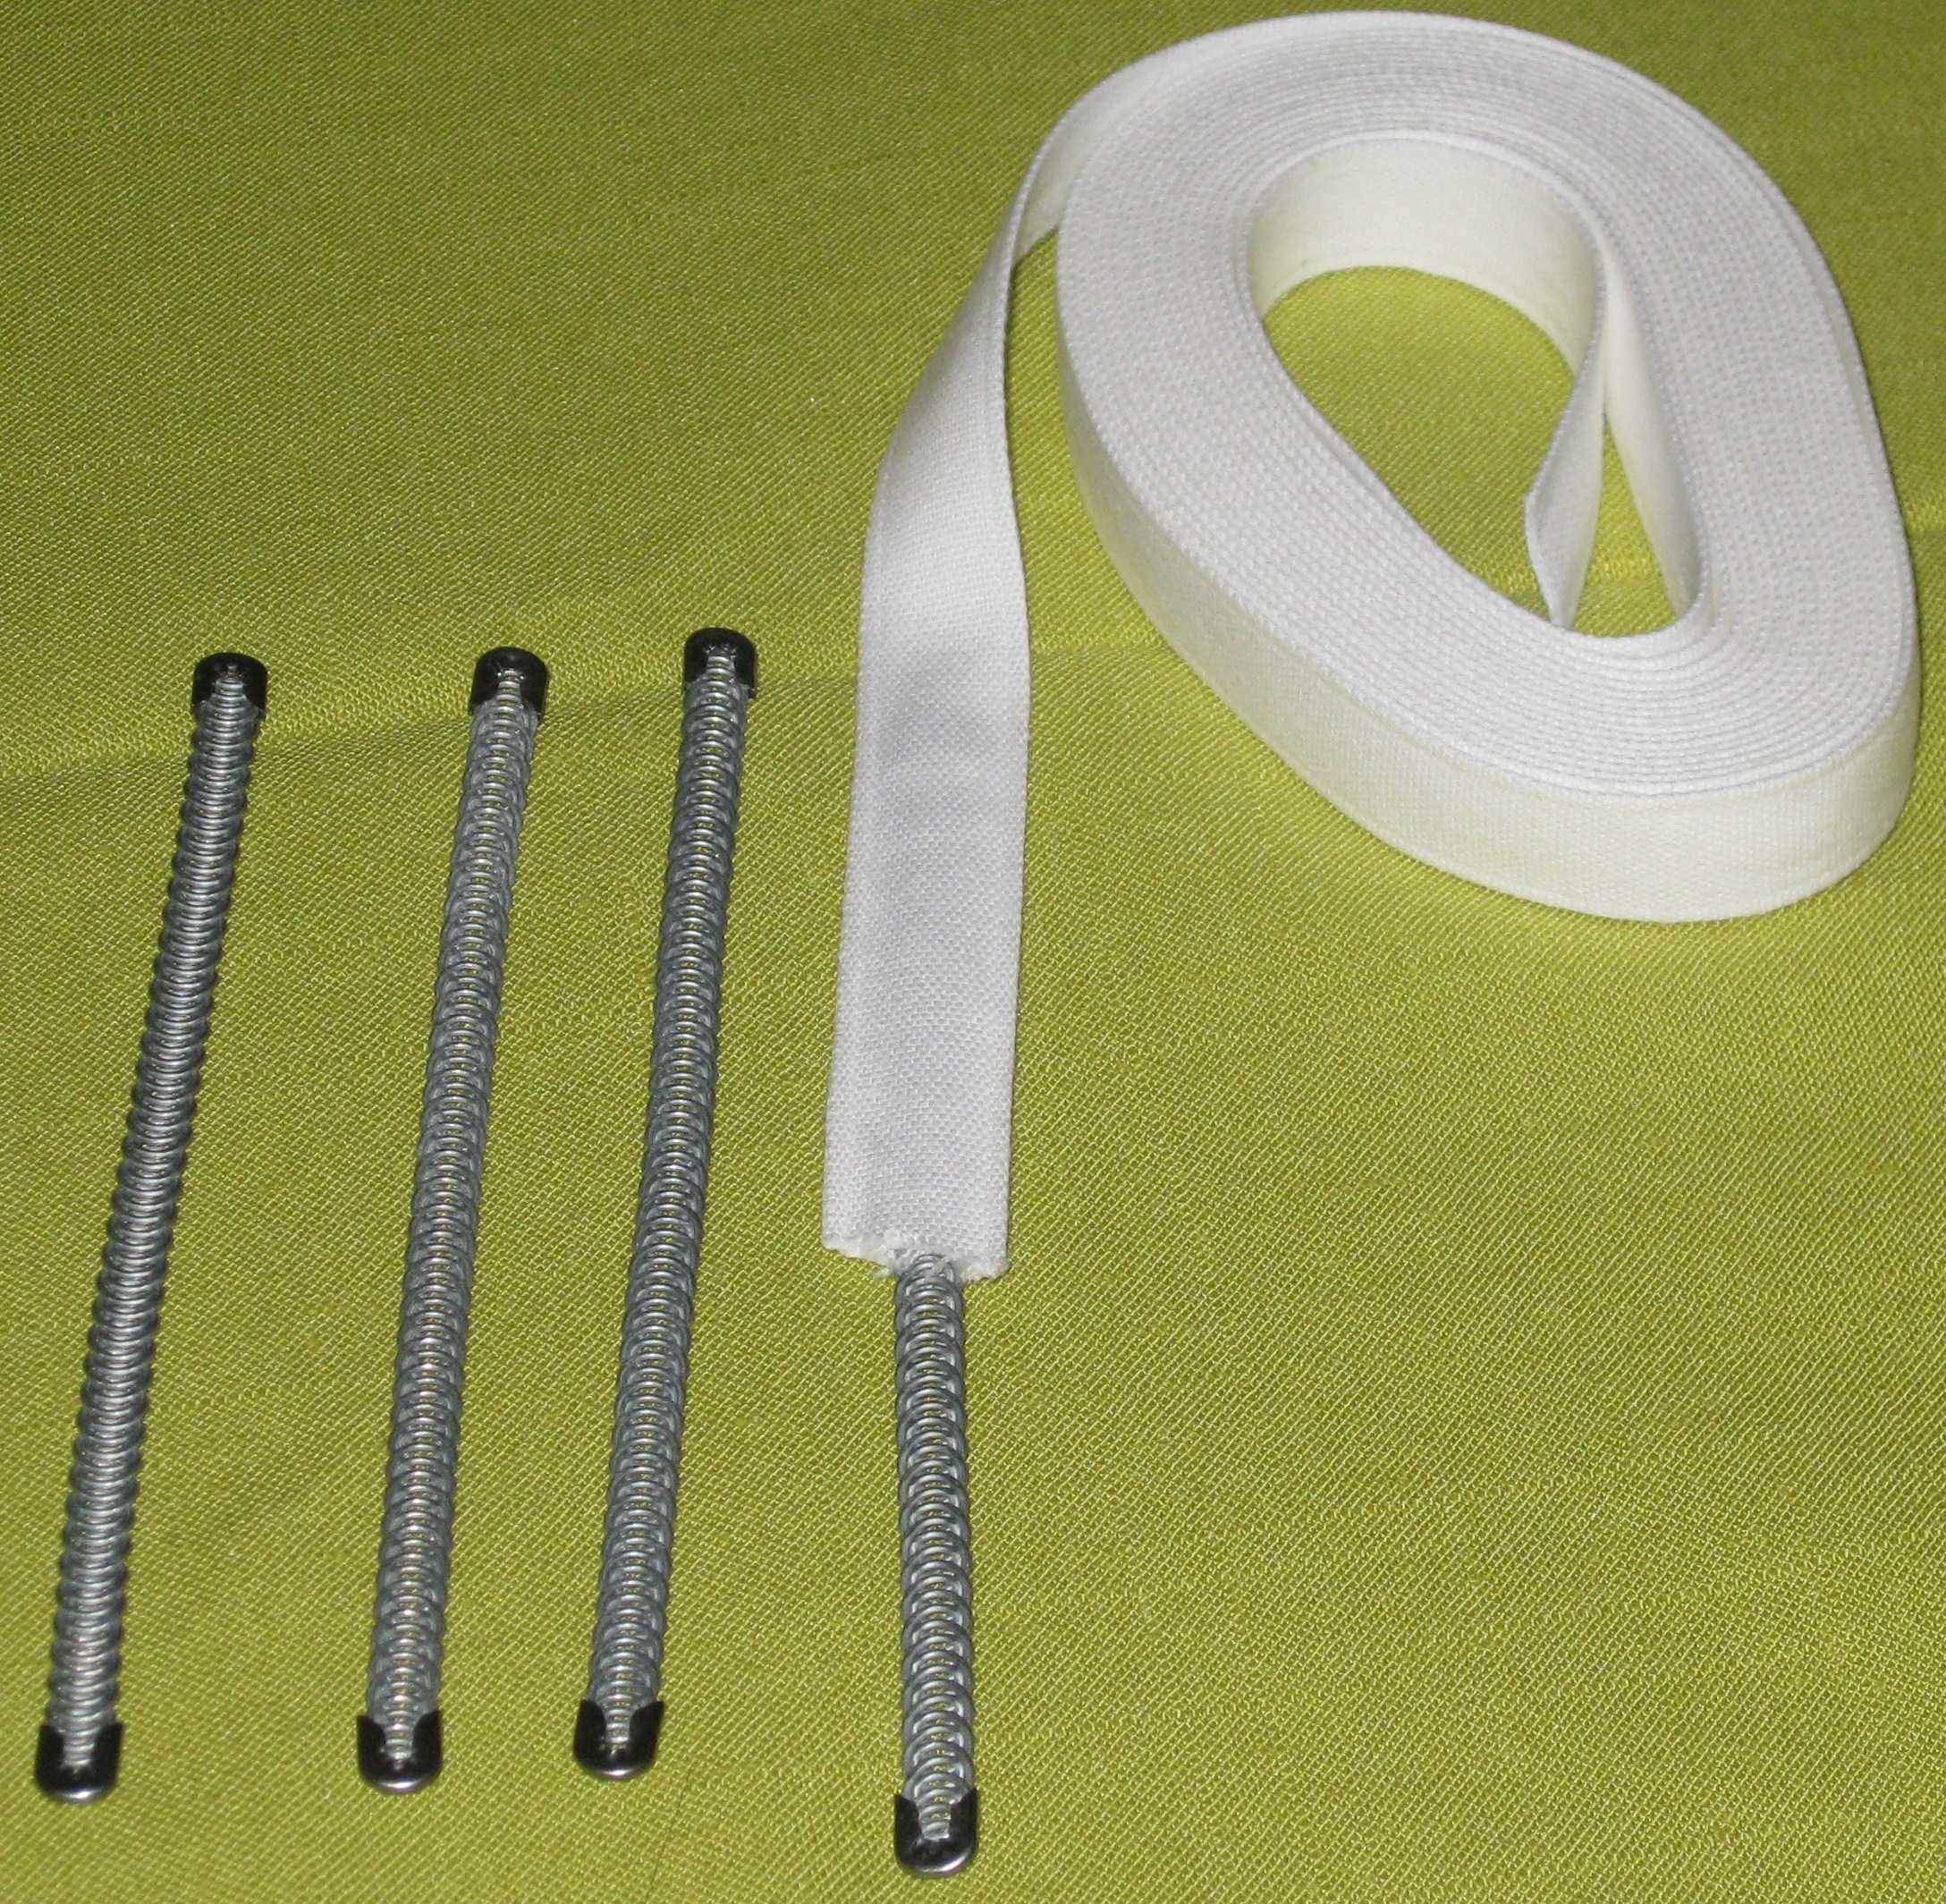
- Spiral steel boning, which moves with the body, is the most comfortable to wear with a very close fitting garment – cotton tubing is sewn to a foundation with capped steel pieces slid into place before the tubing is stitched closed.

Spiral boning with capped ends; insertion tape.
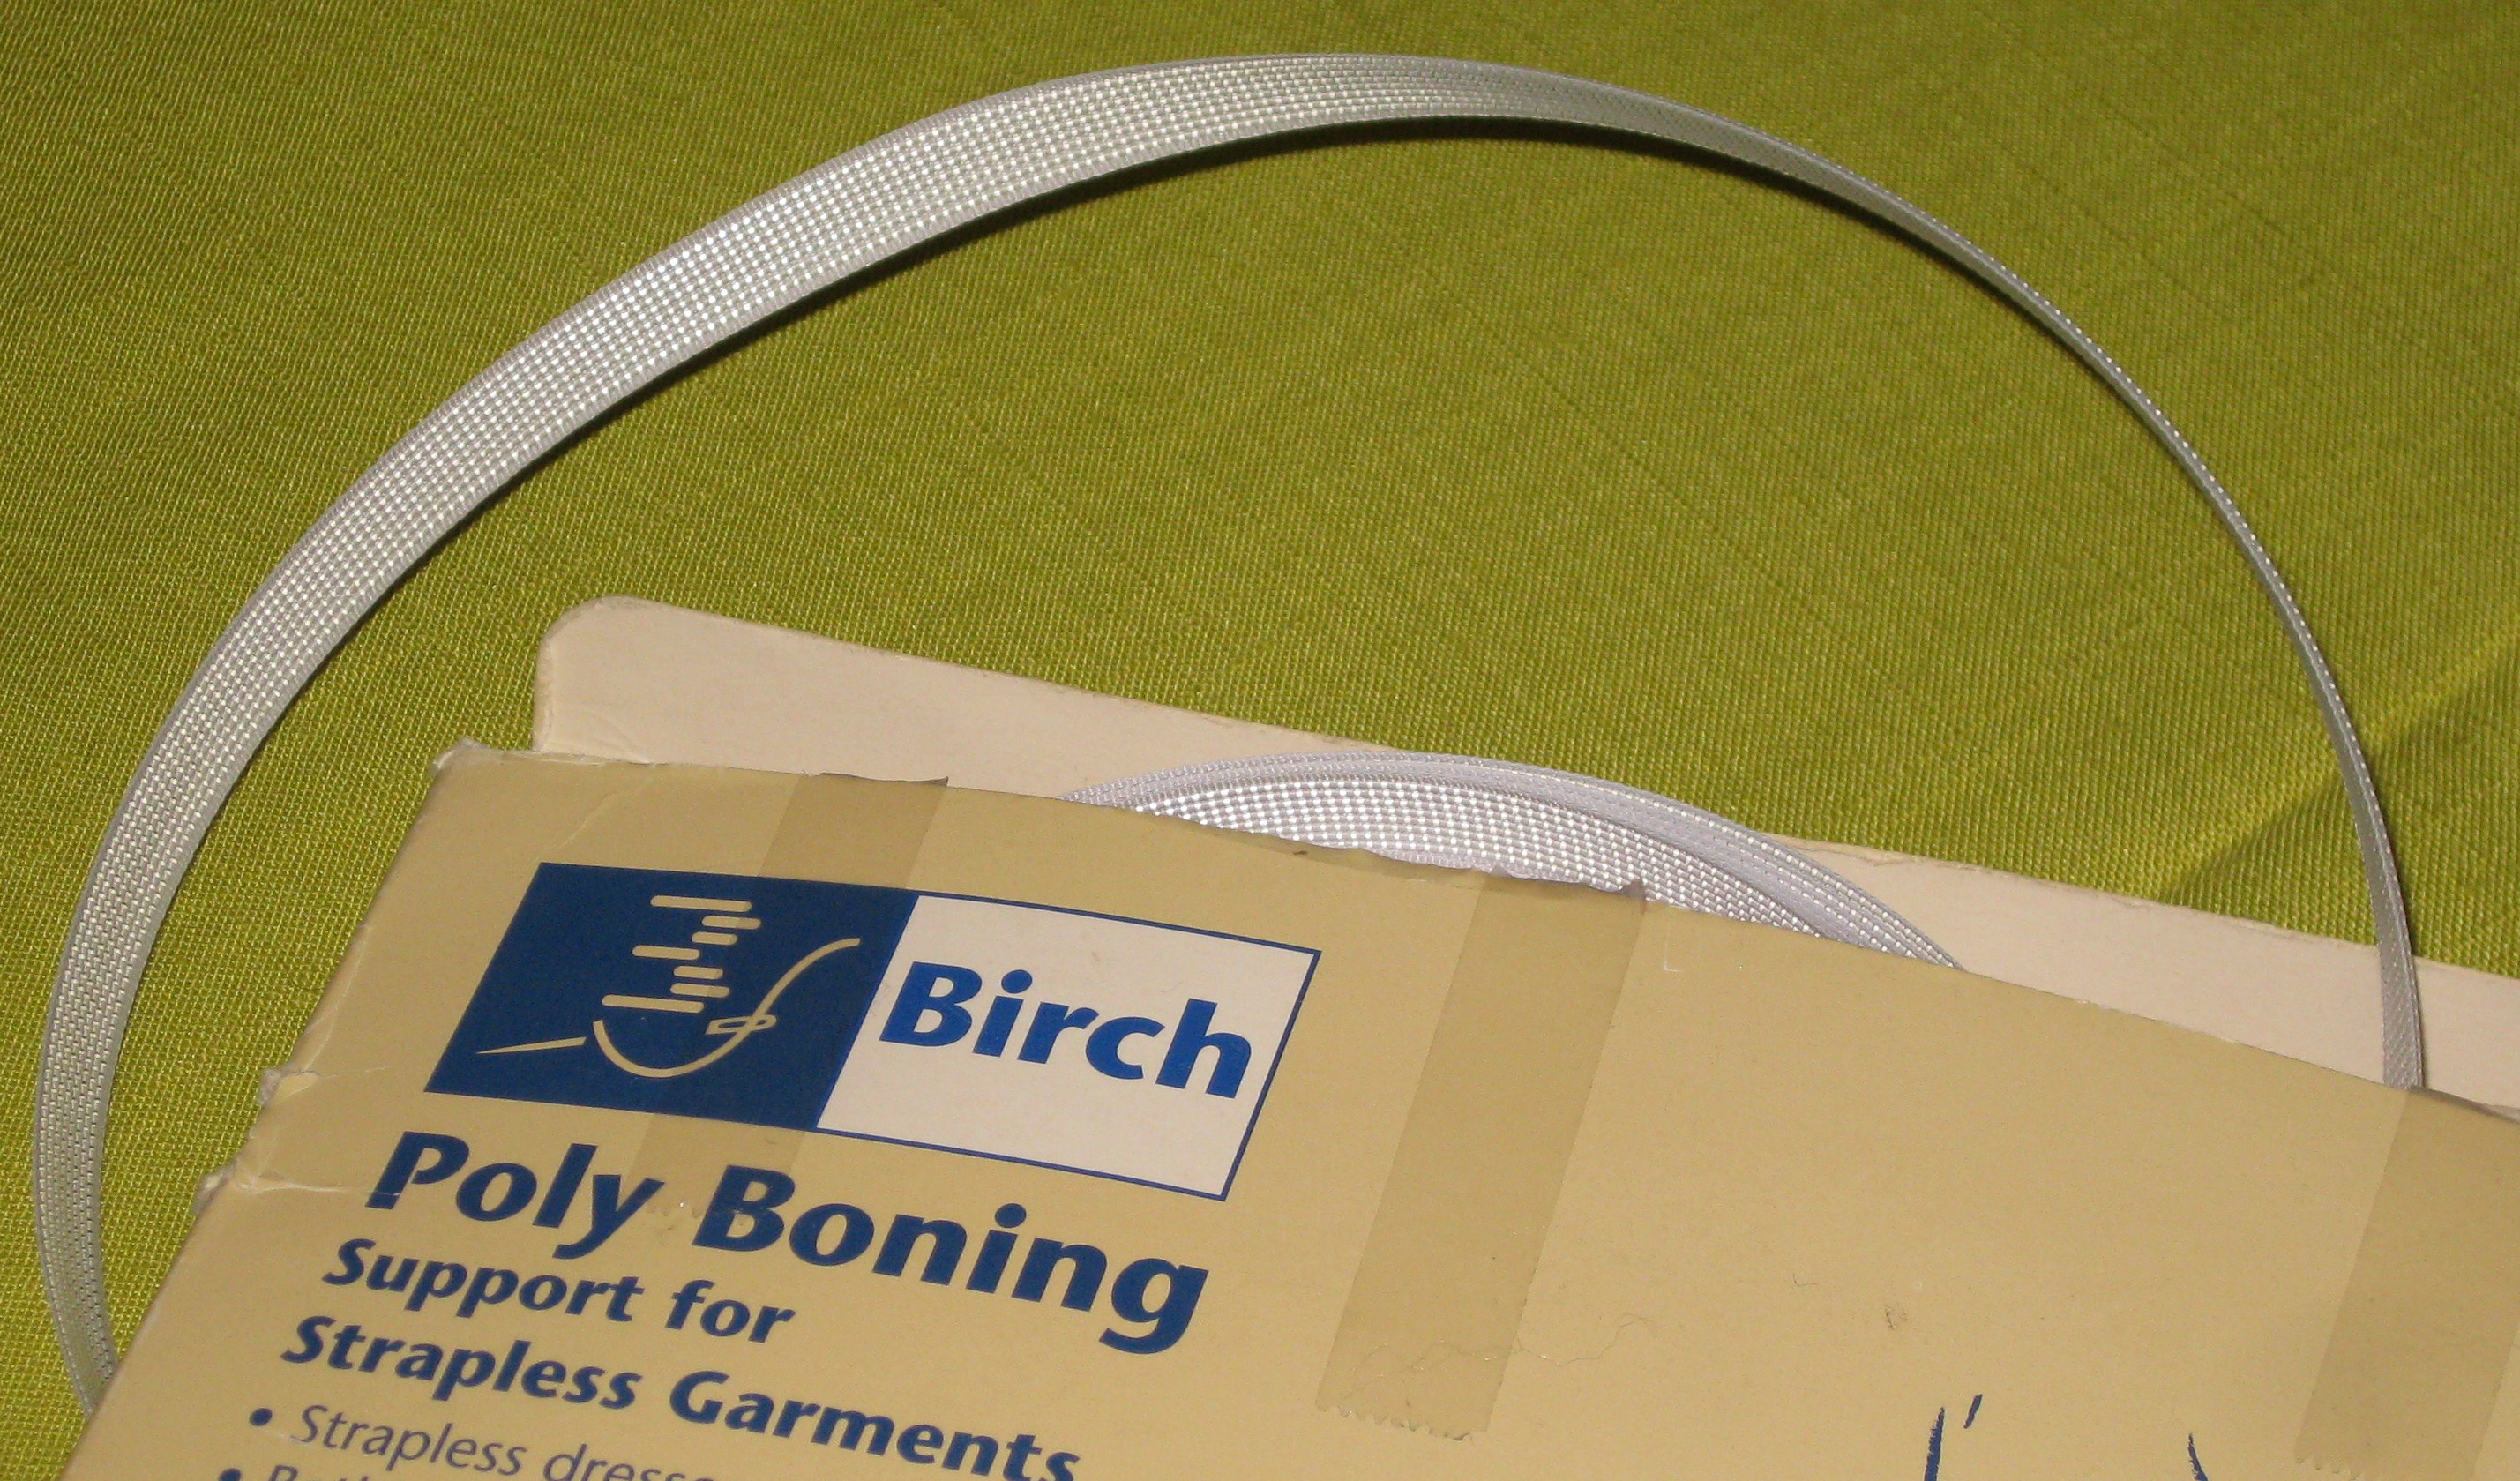
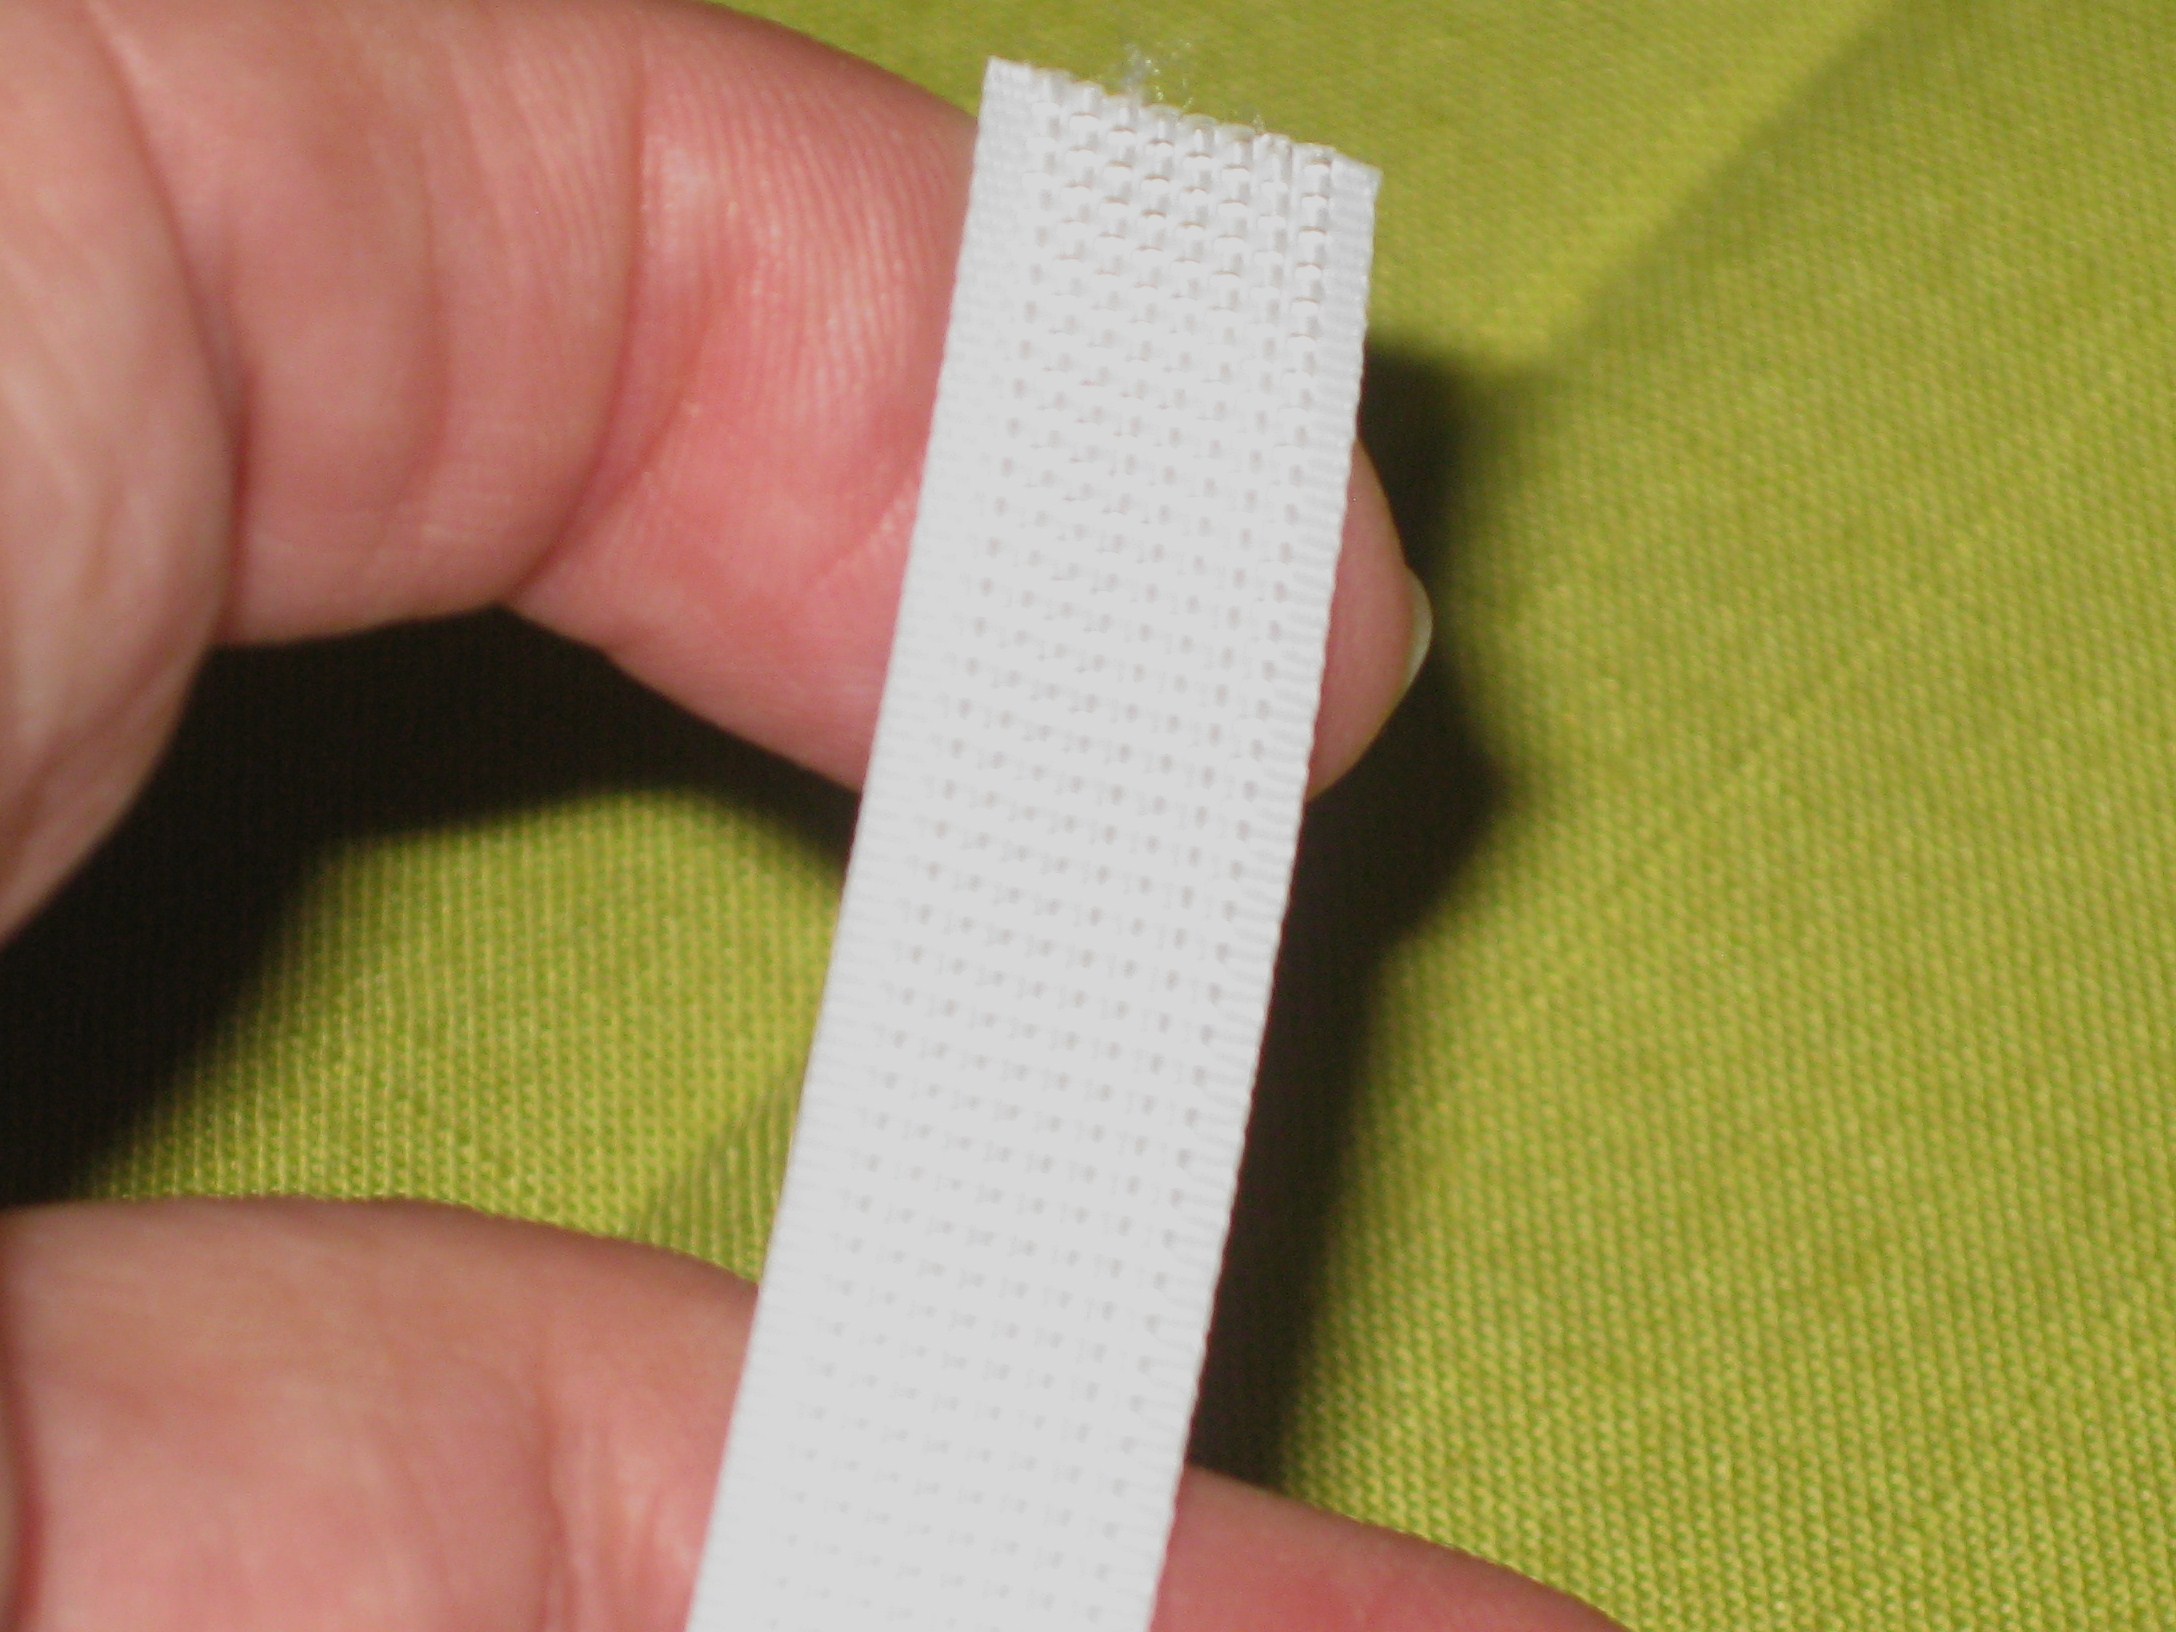
- Polyester boning can be stitched to a foundation which is incorporated into the garment or applied to seam allowances, or slid inside a fabric tube which is stitched in place first.

Polyester boning 12mm wide.

Smooth side lies against fabric; machine stitch in narrow lip on either side.
Horsehair Braid:
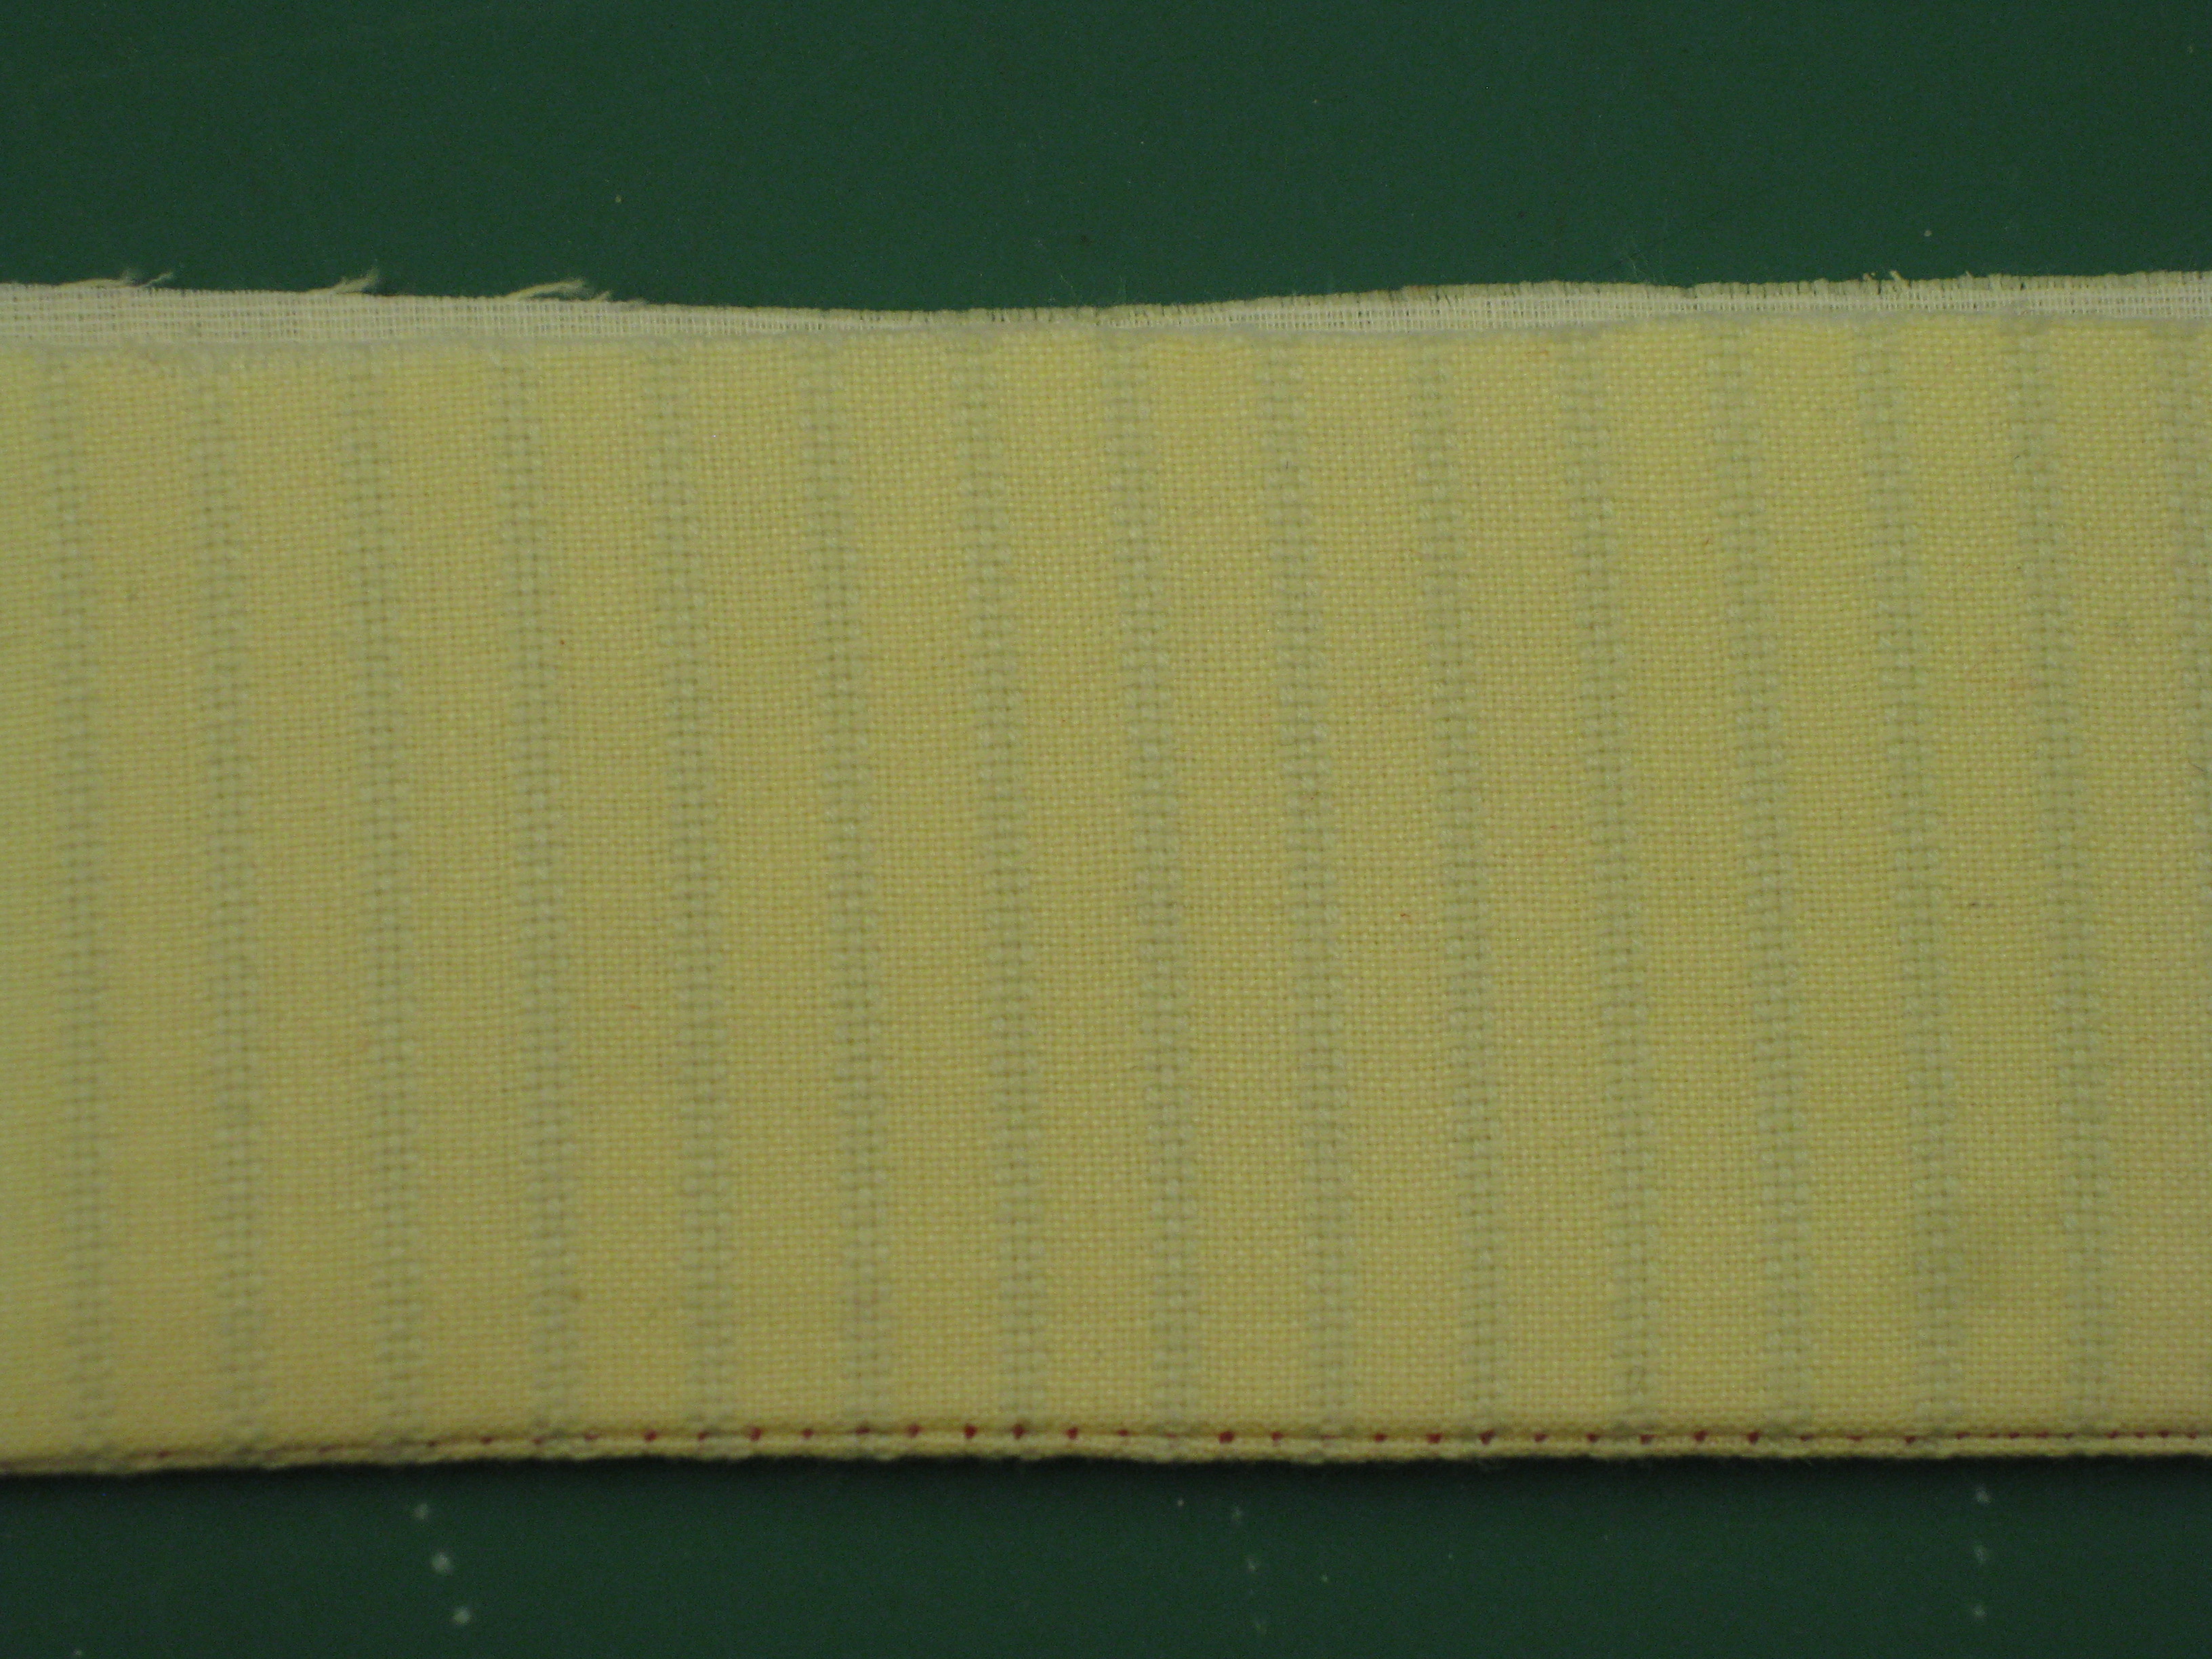
Made from polyester webbing, horsehair braid is a flexible tape which comes in various widths. It is used to stiffen and support hem edges on full skirts, helping them to stand away from the body.
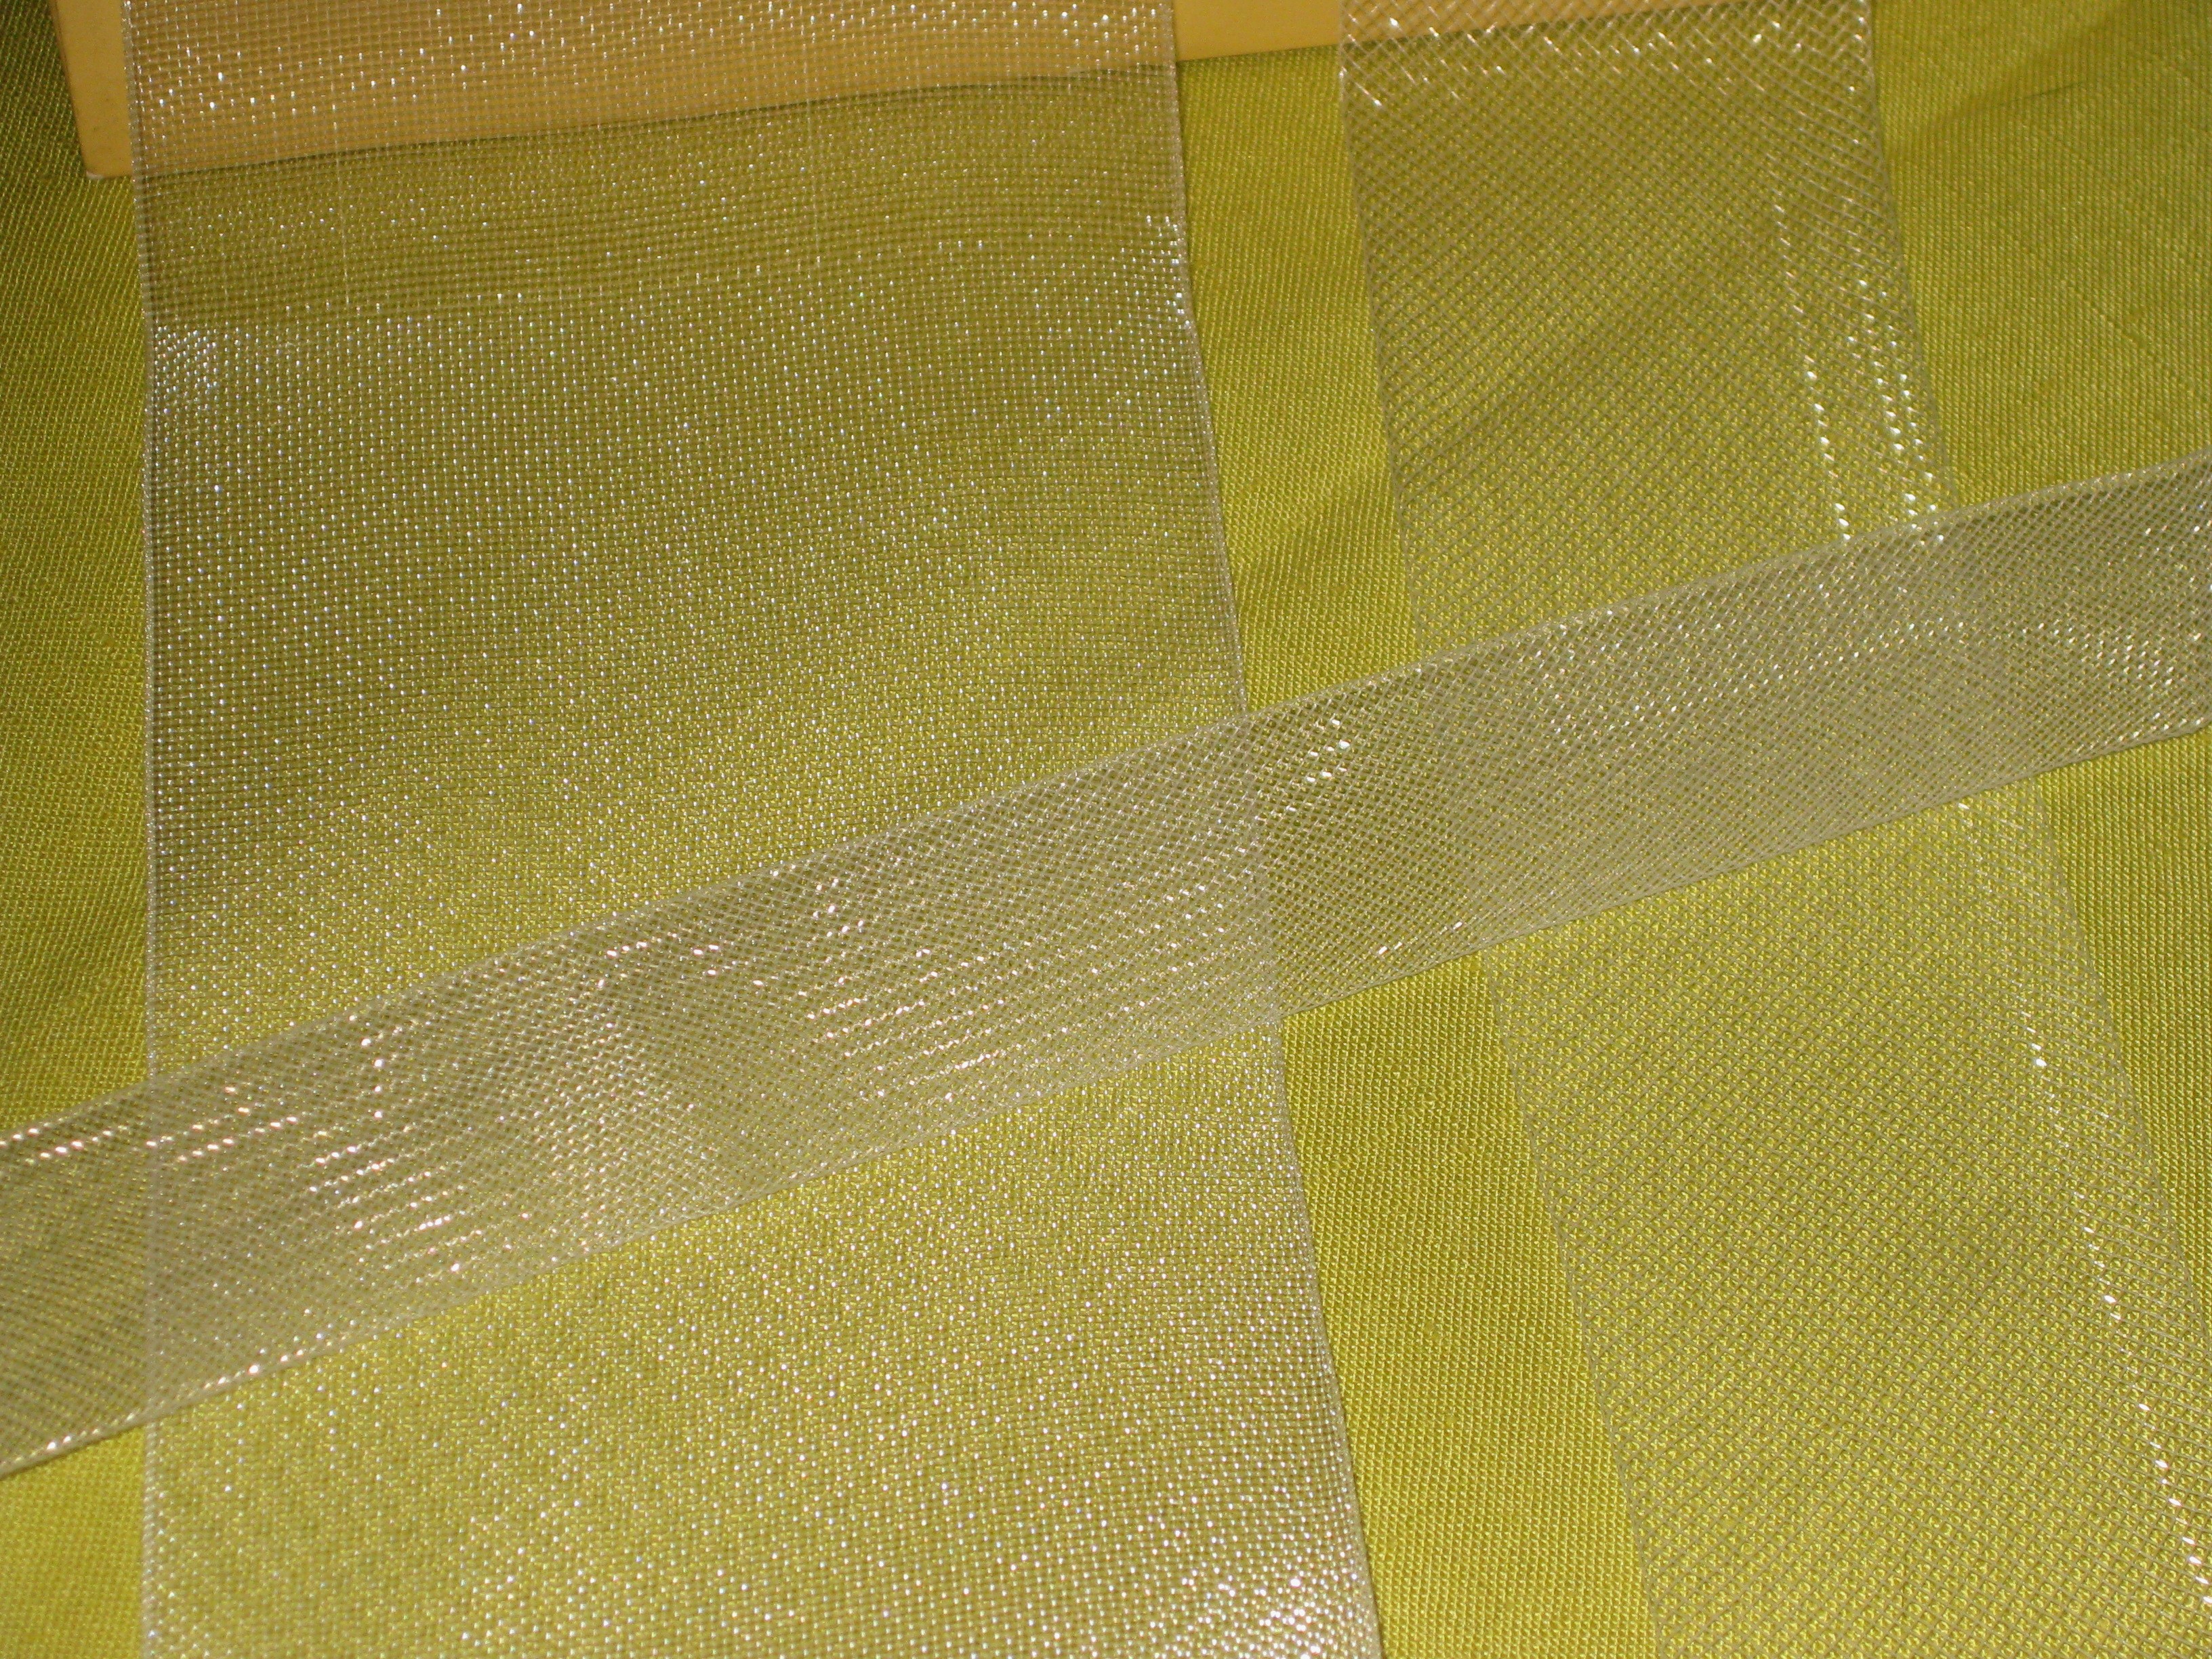
Polyester horsehair braid in various widths will support hem of full skirt. 5cm width can also be used to support top of strapless bodice.
It is quite malleable and soft and can also provide additional support at the top of strapless bodices.
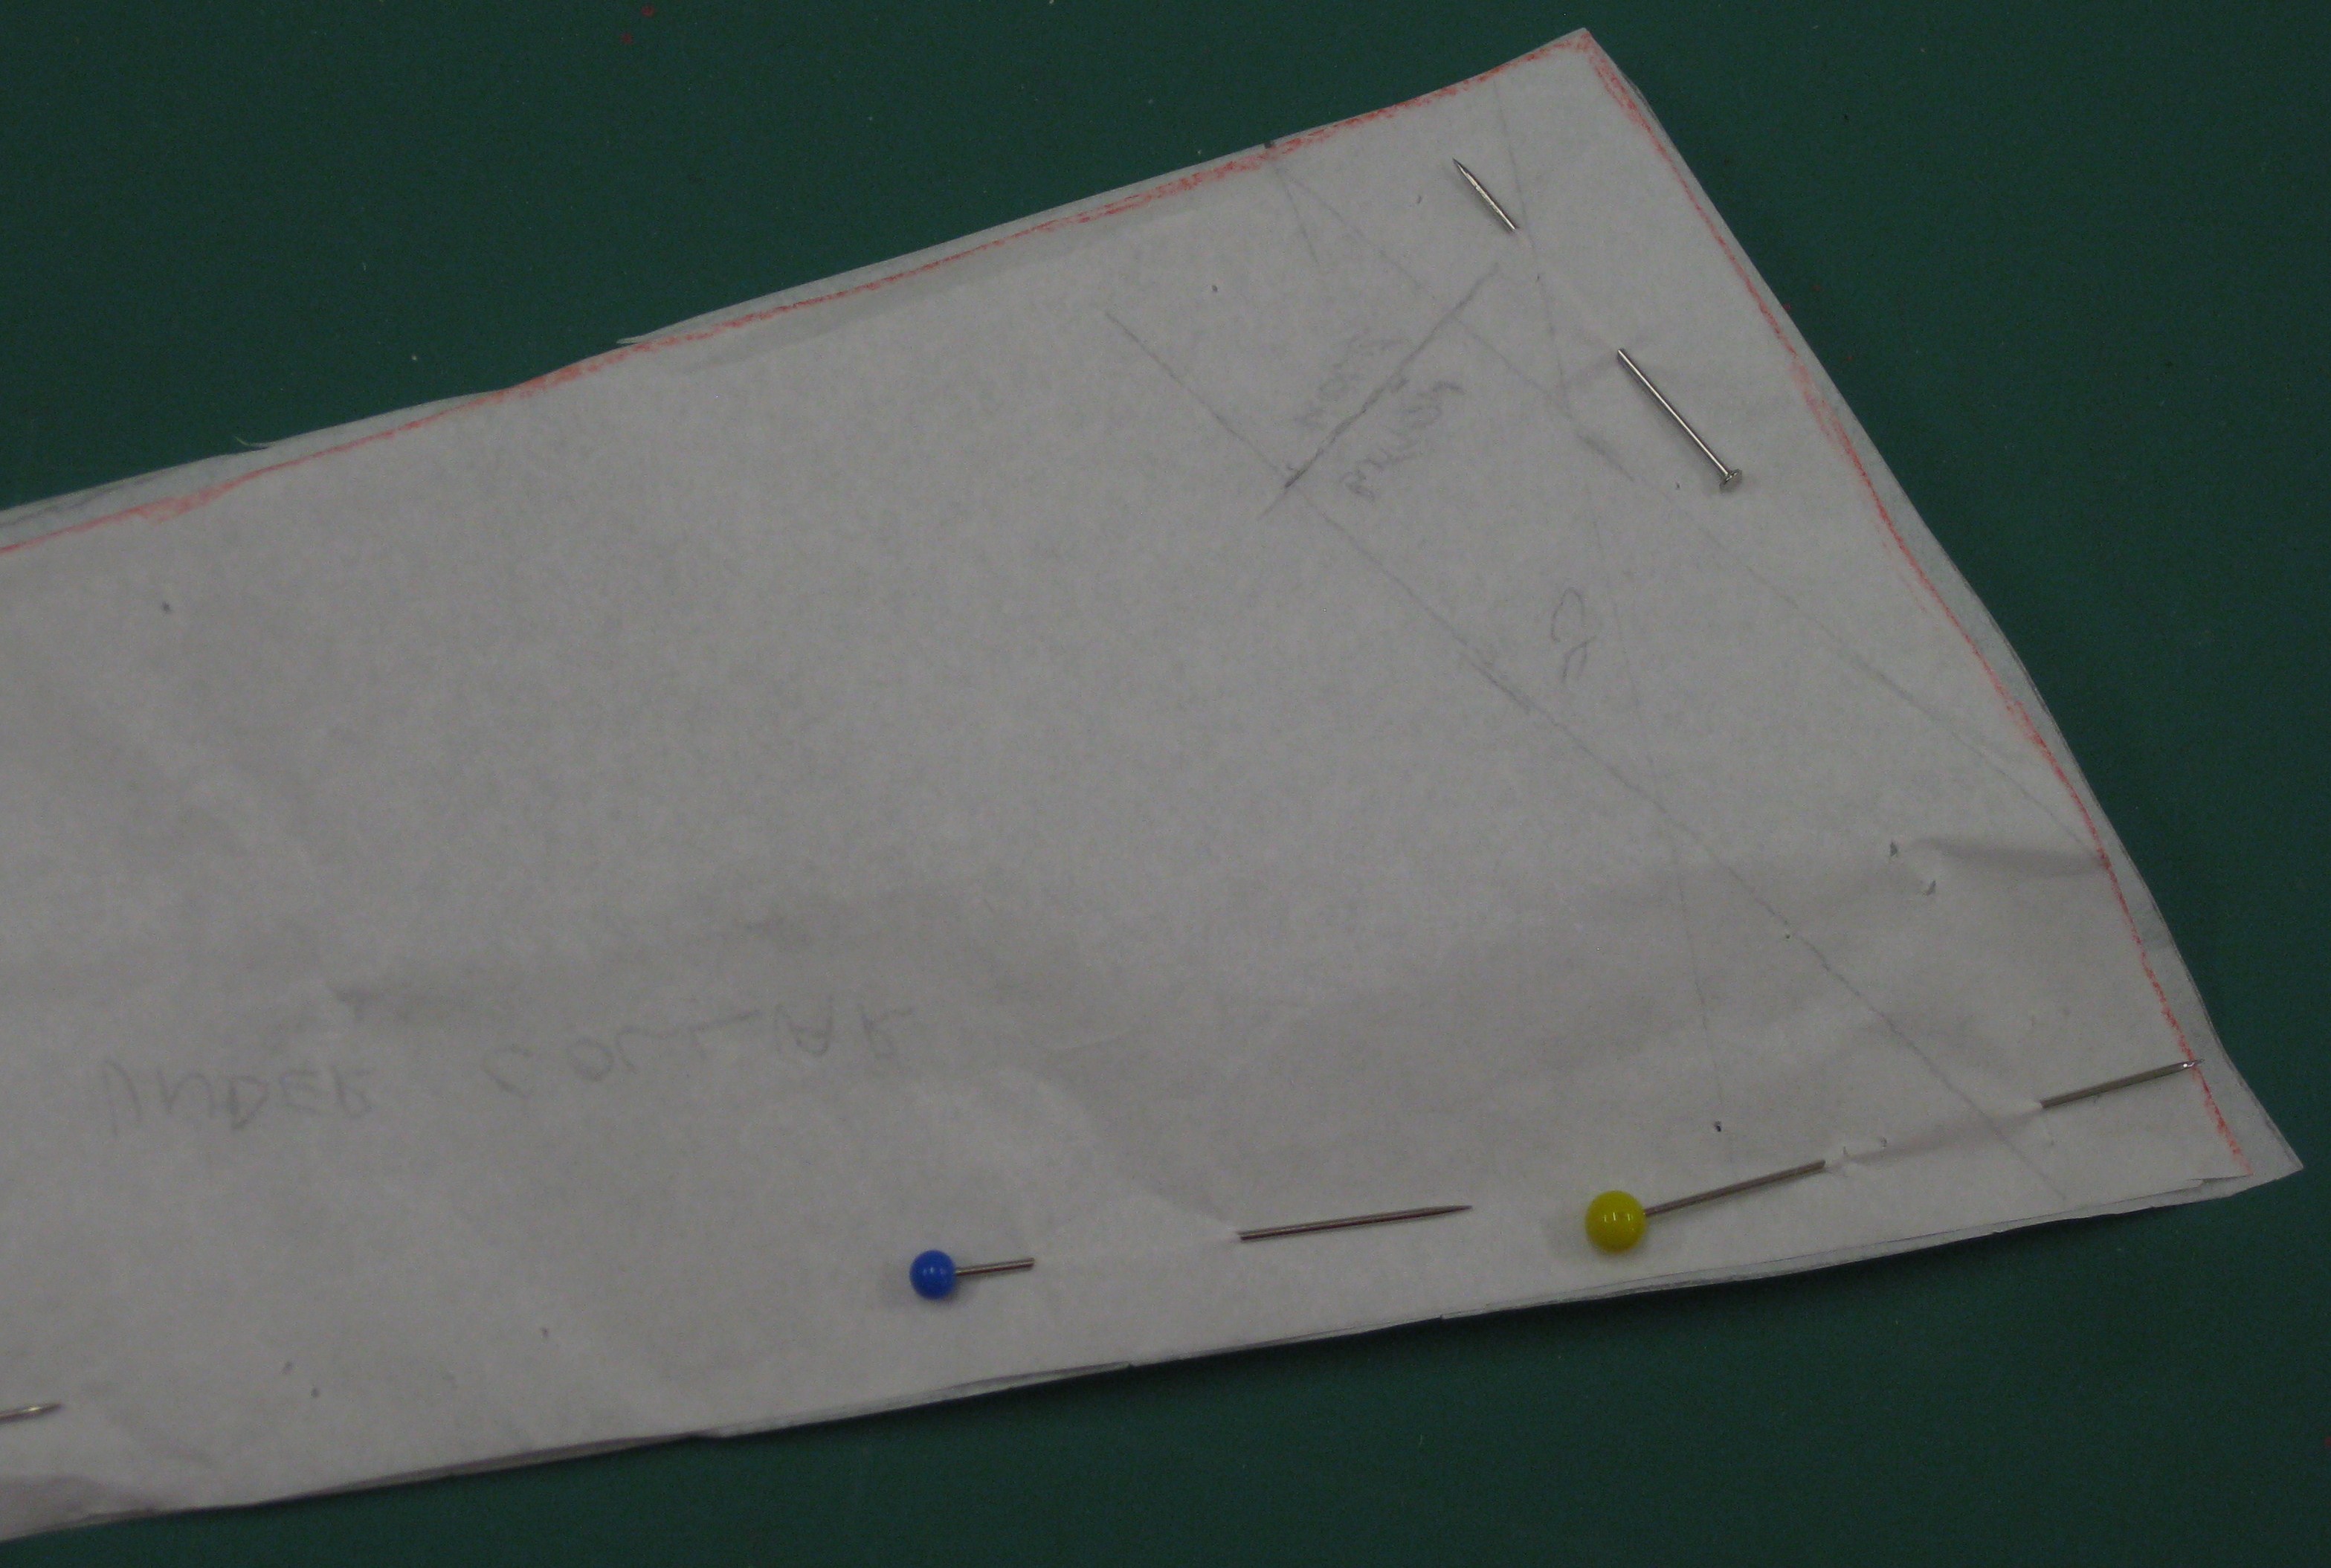
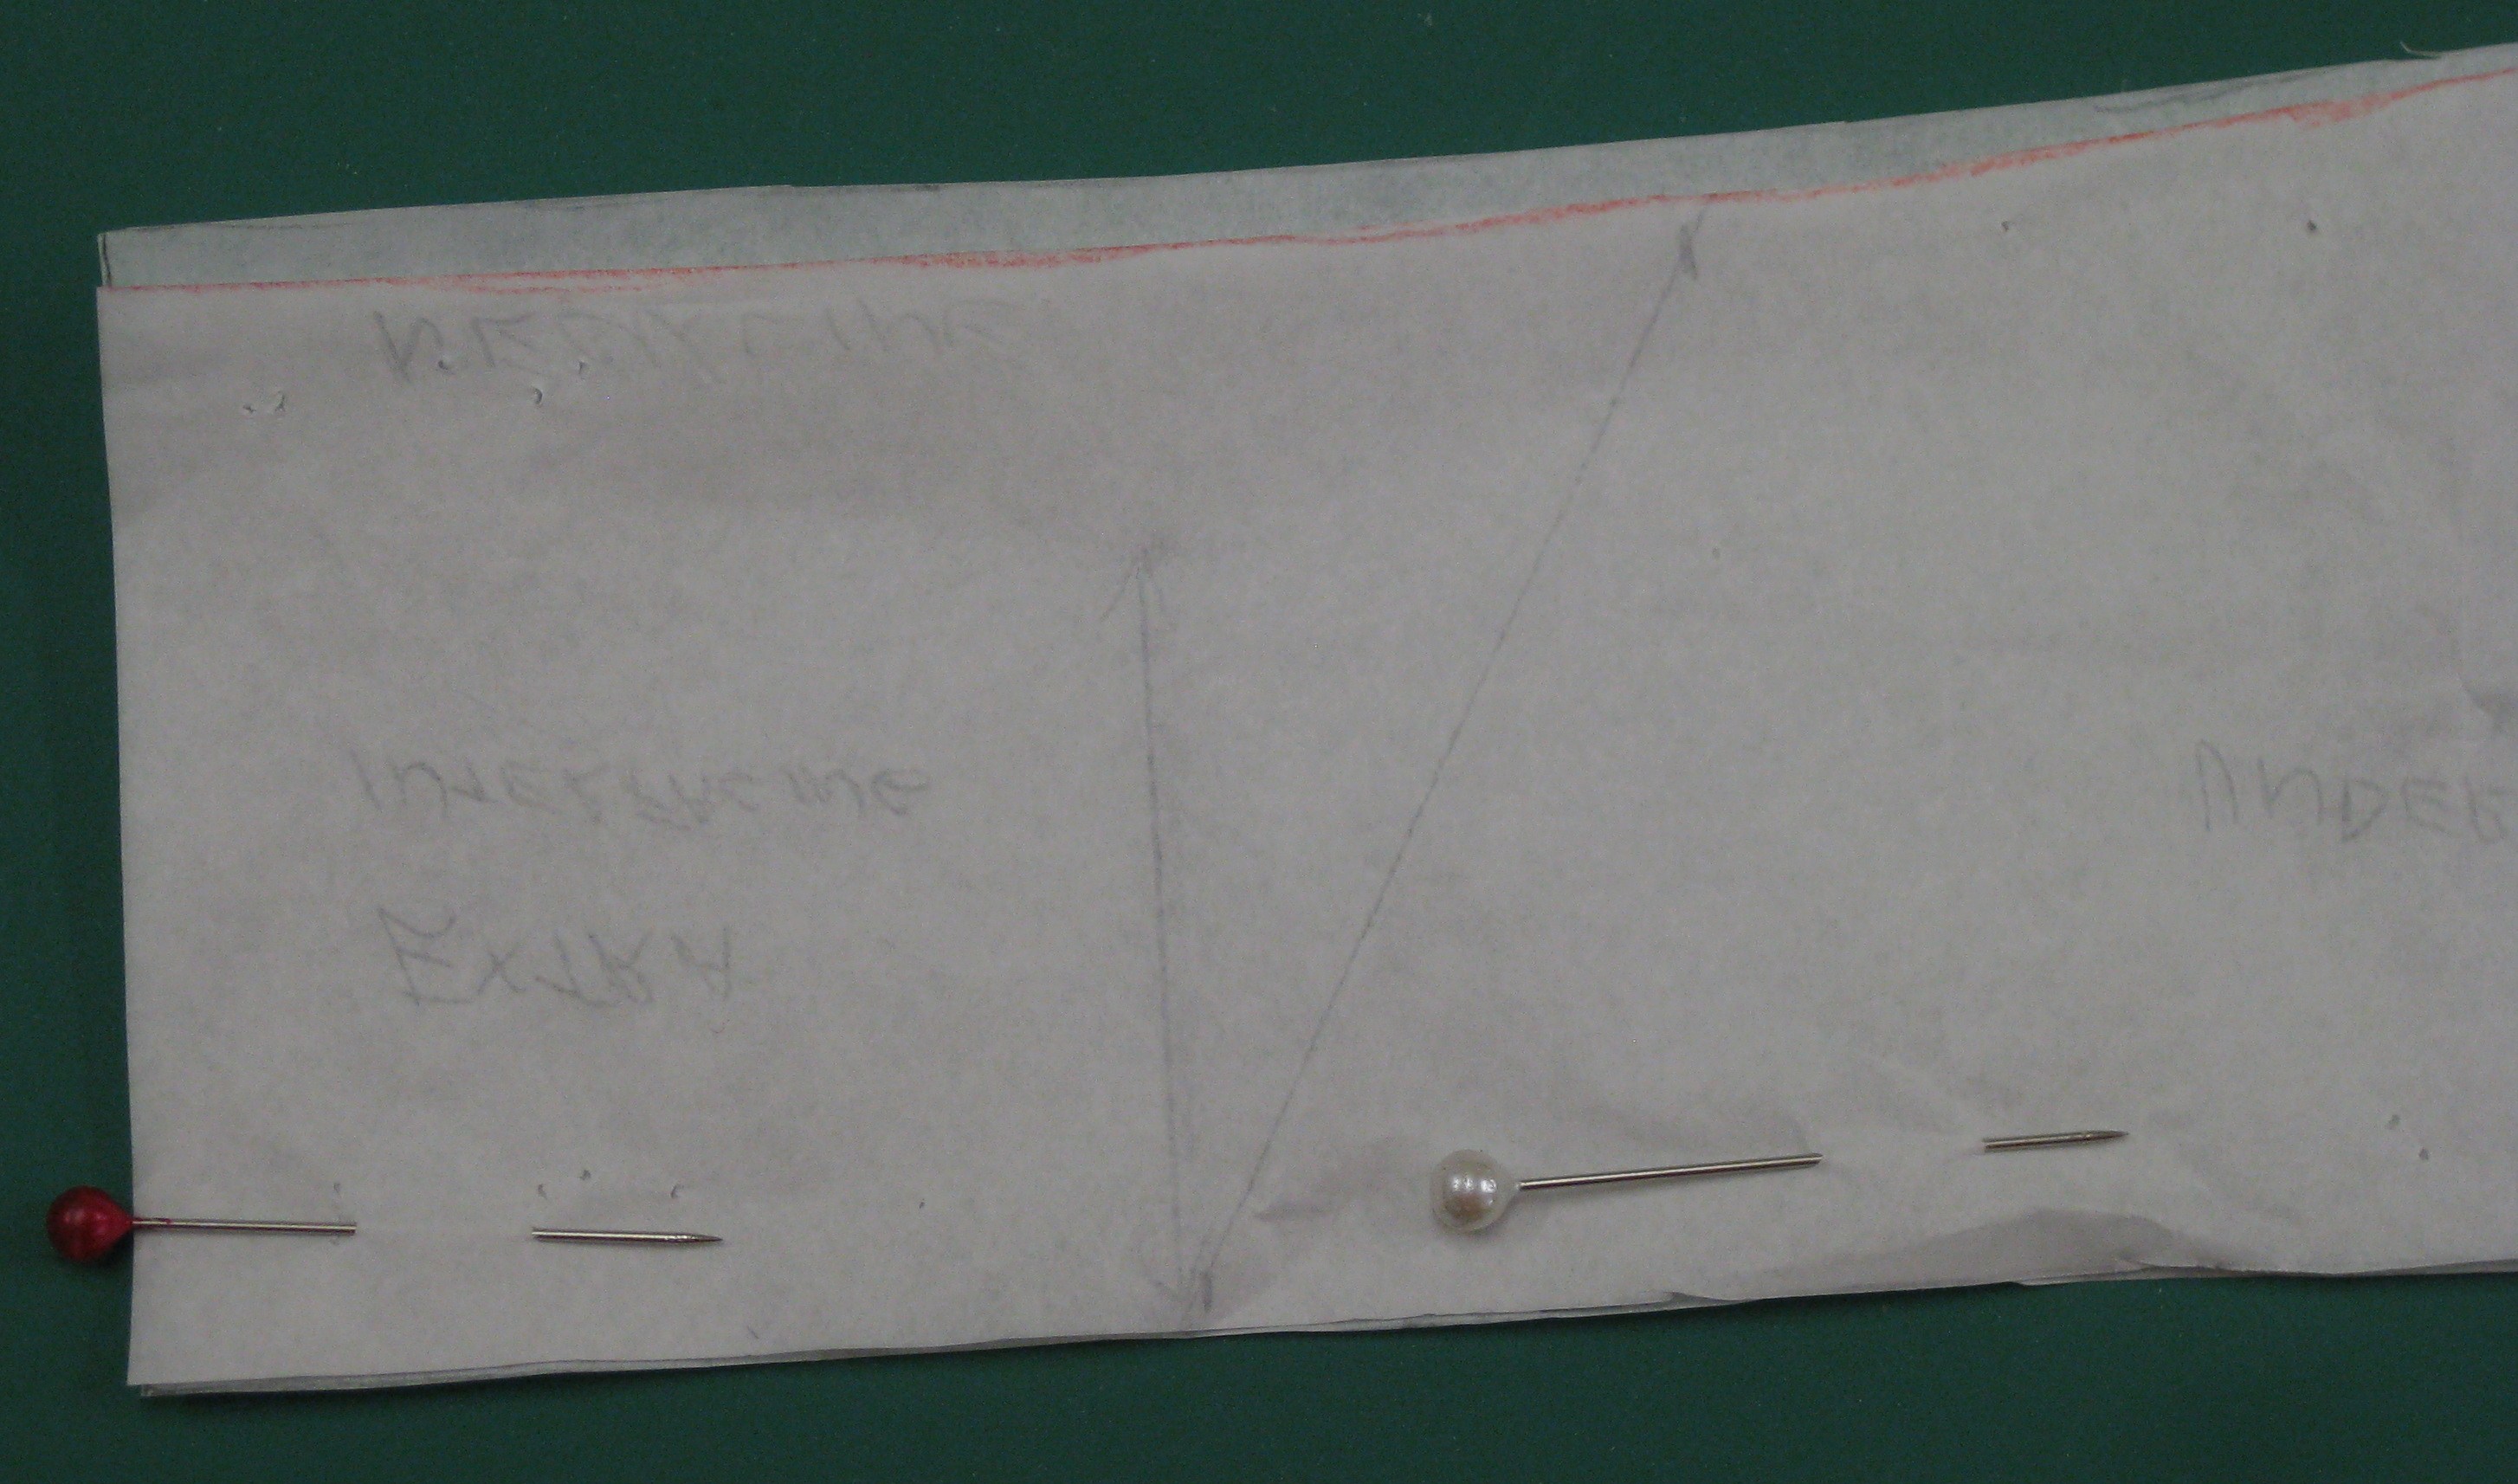
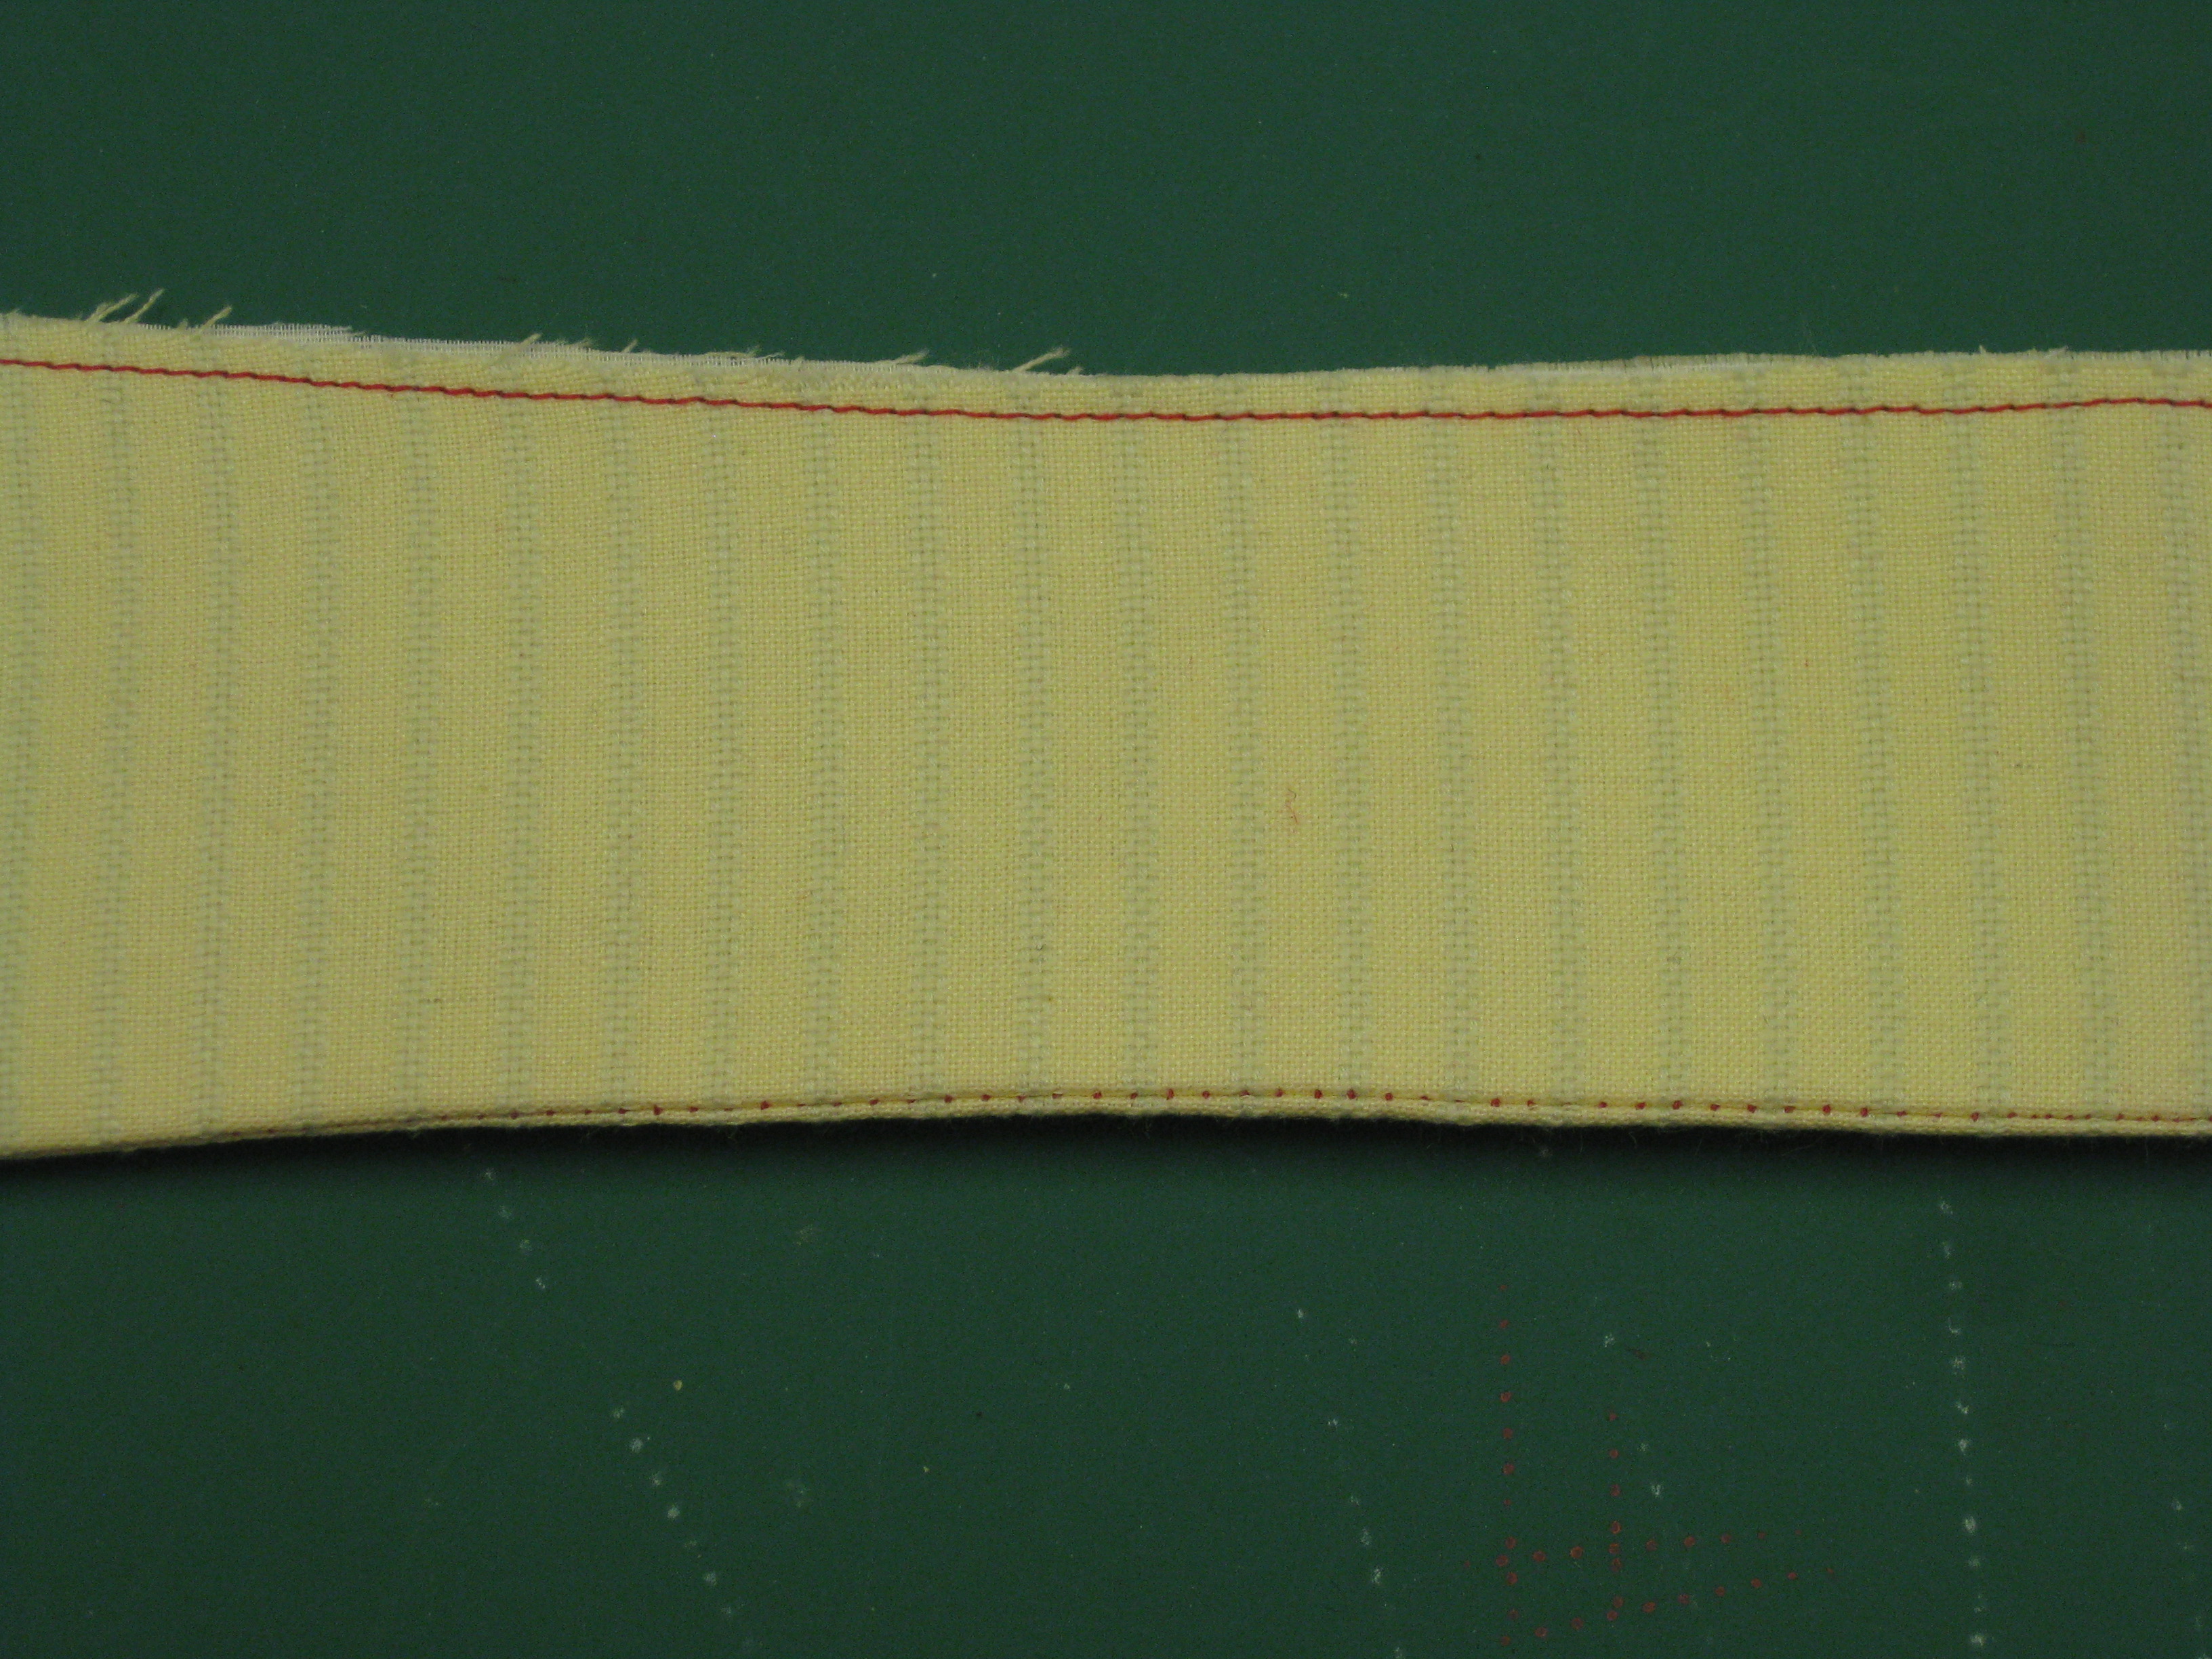
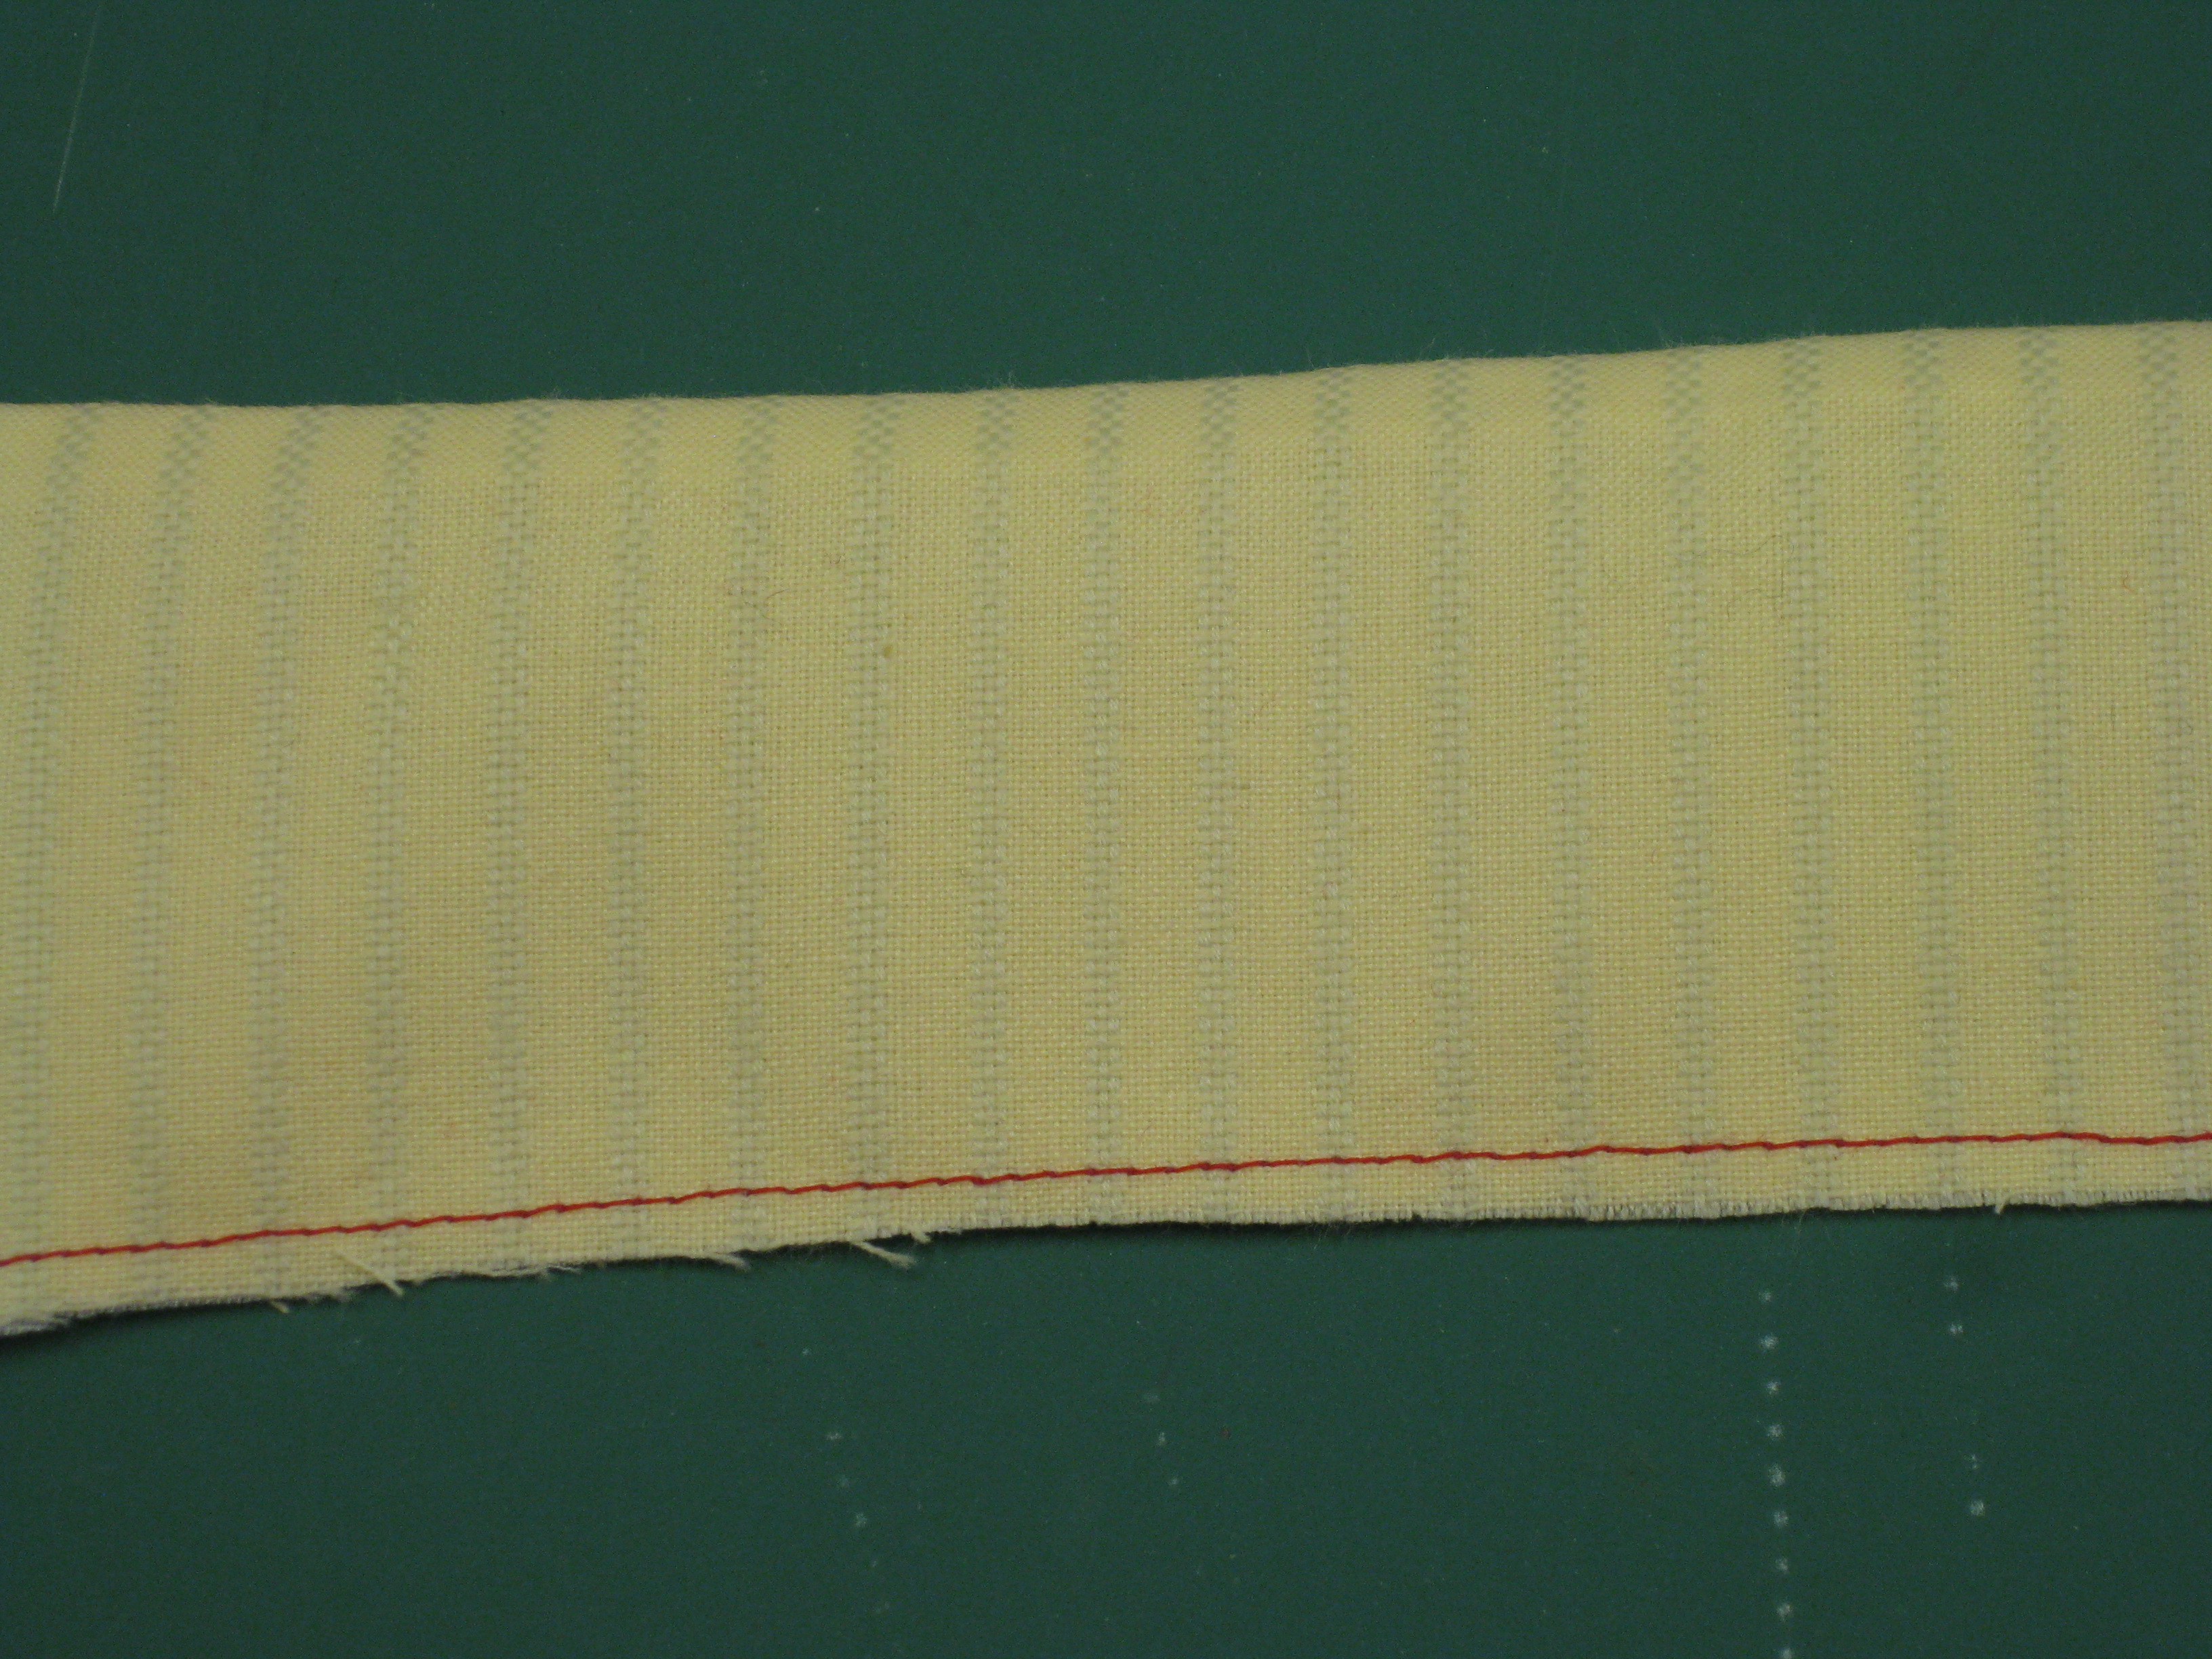
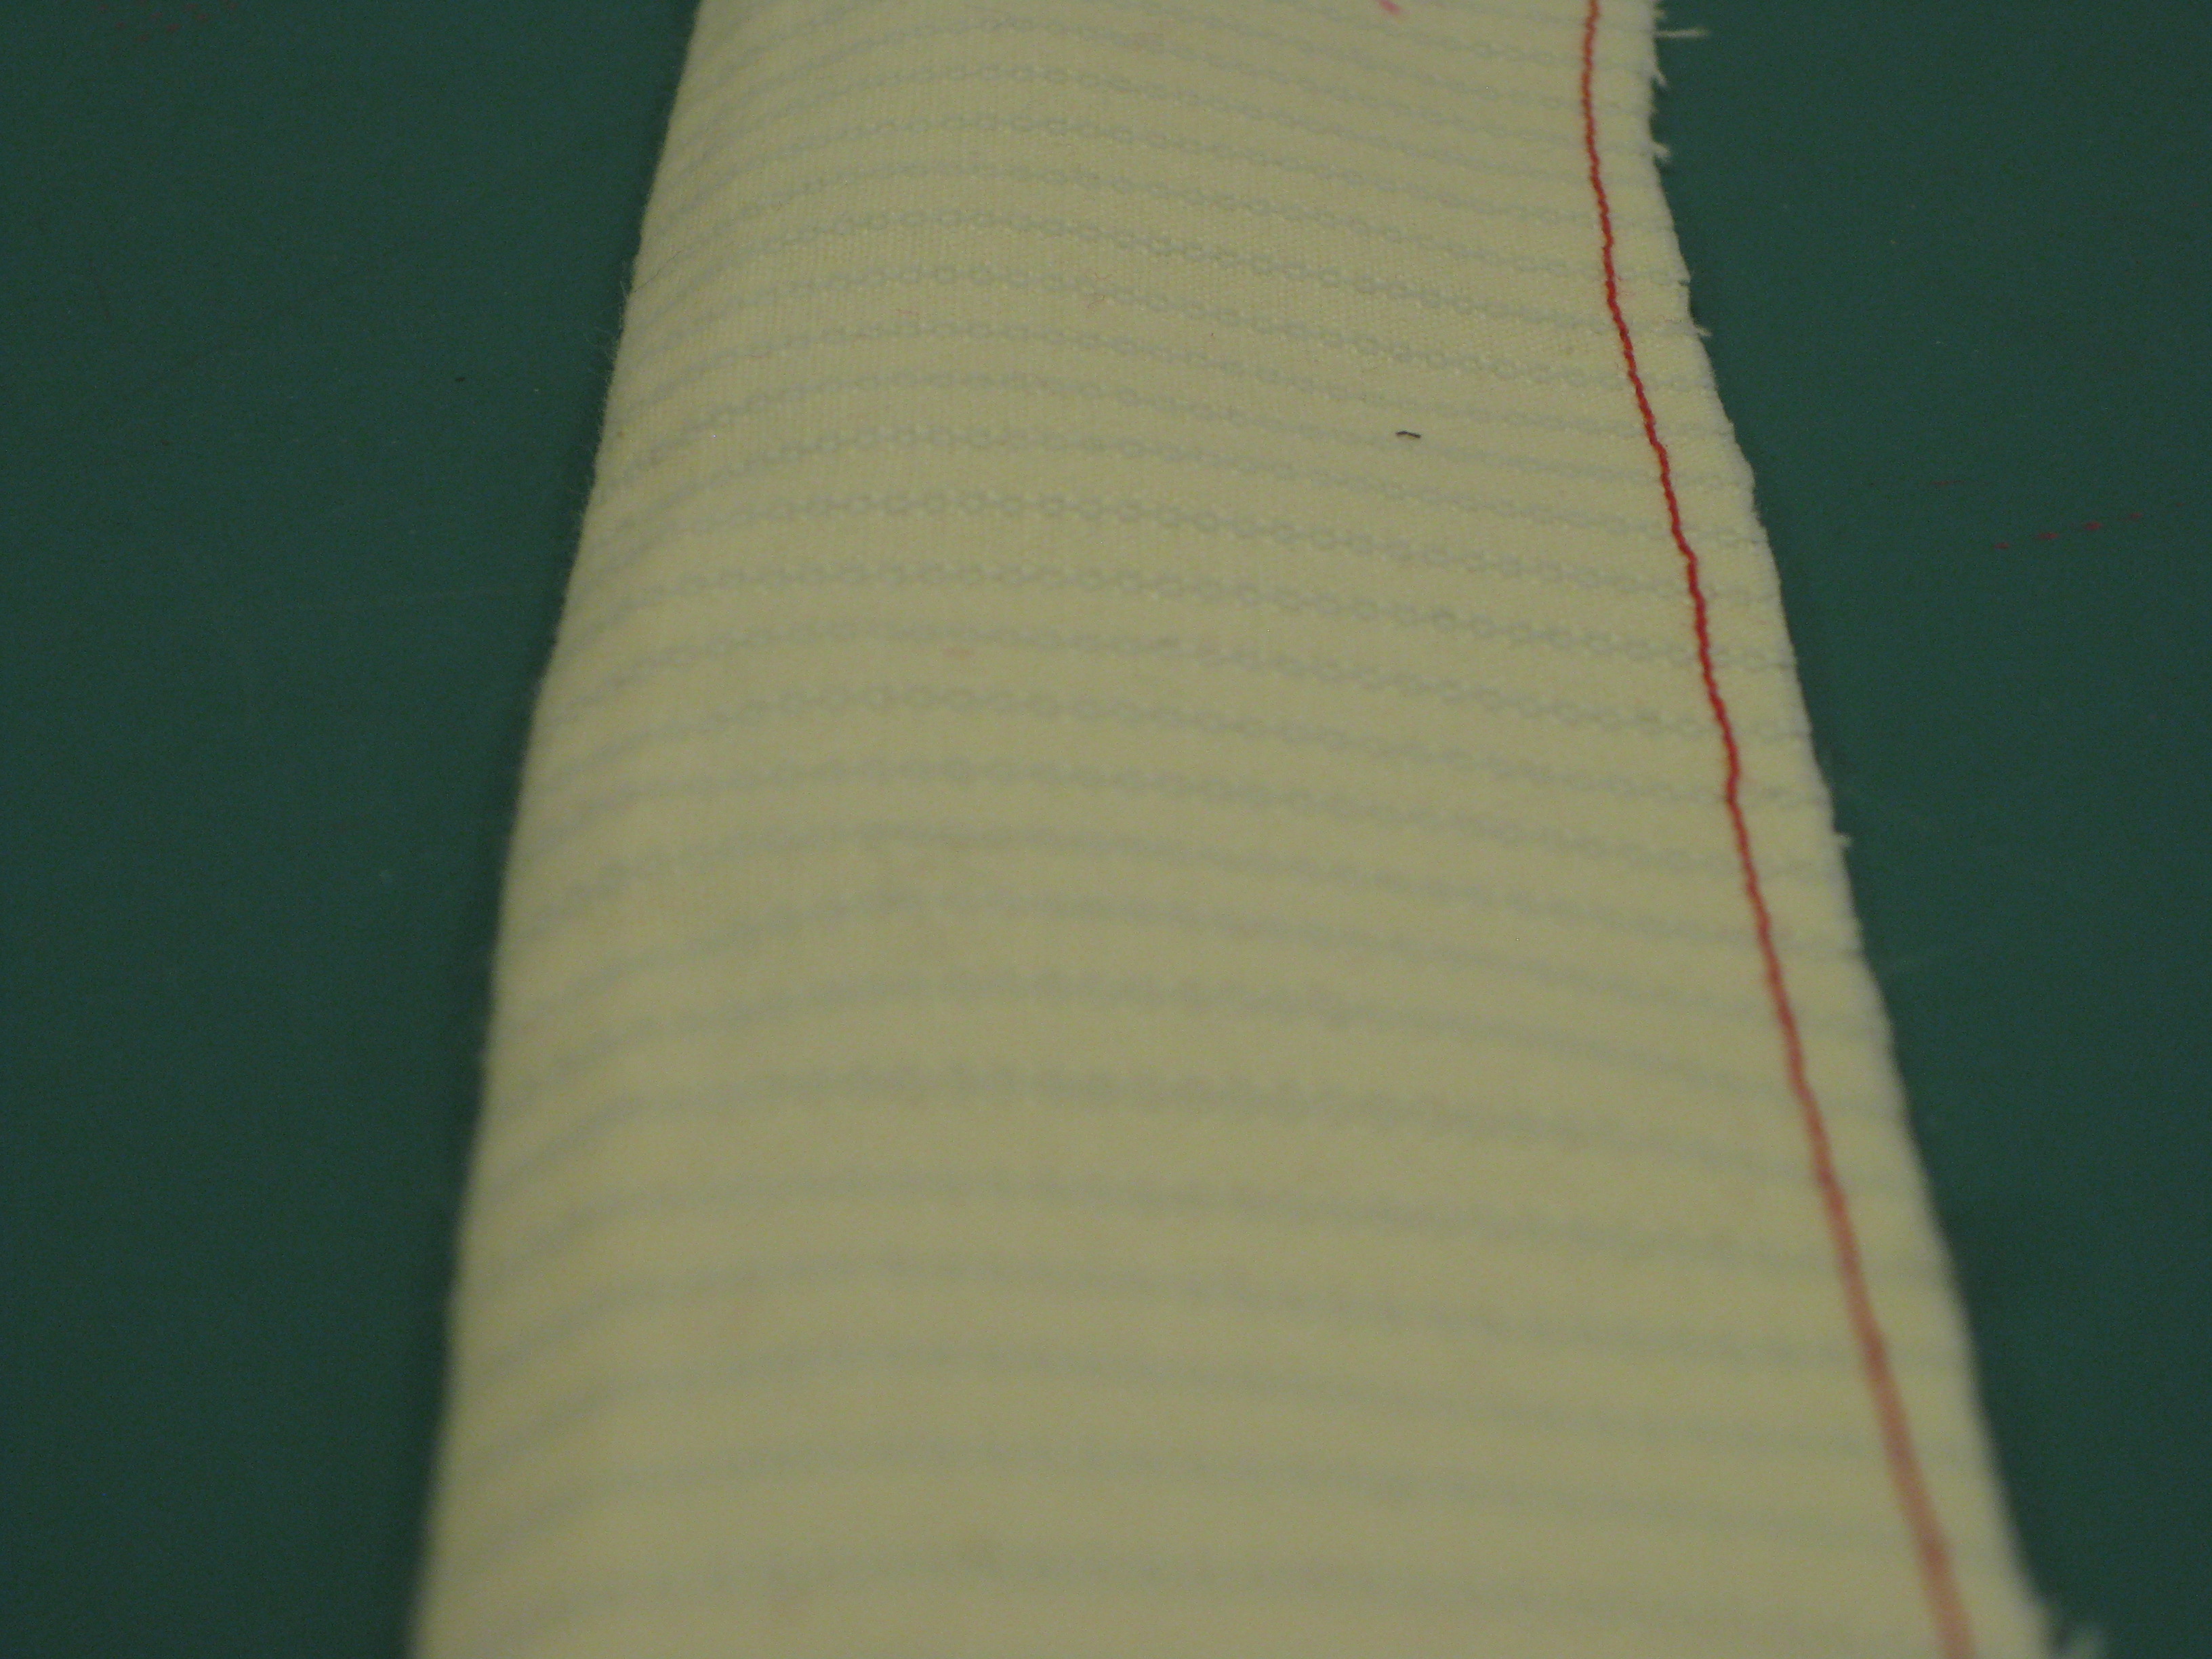
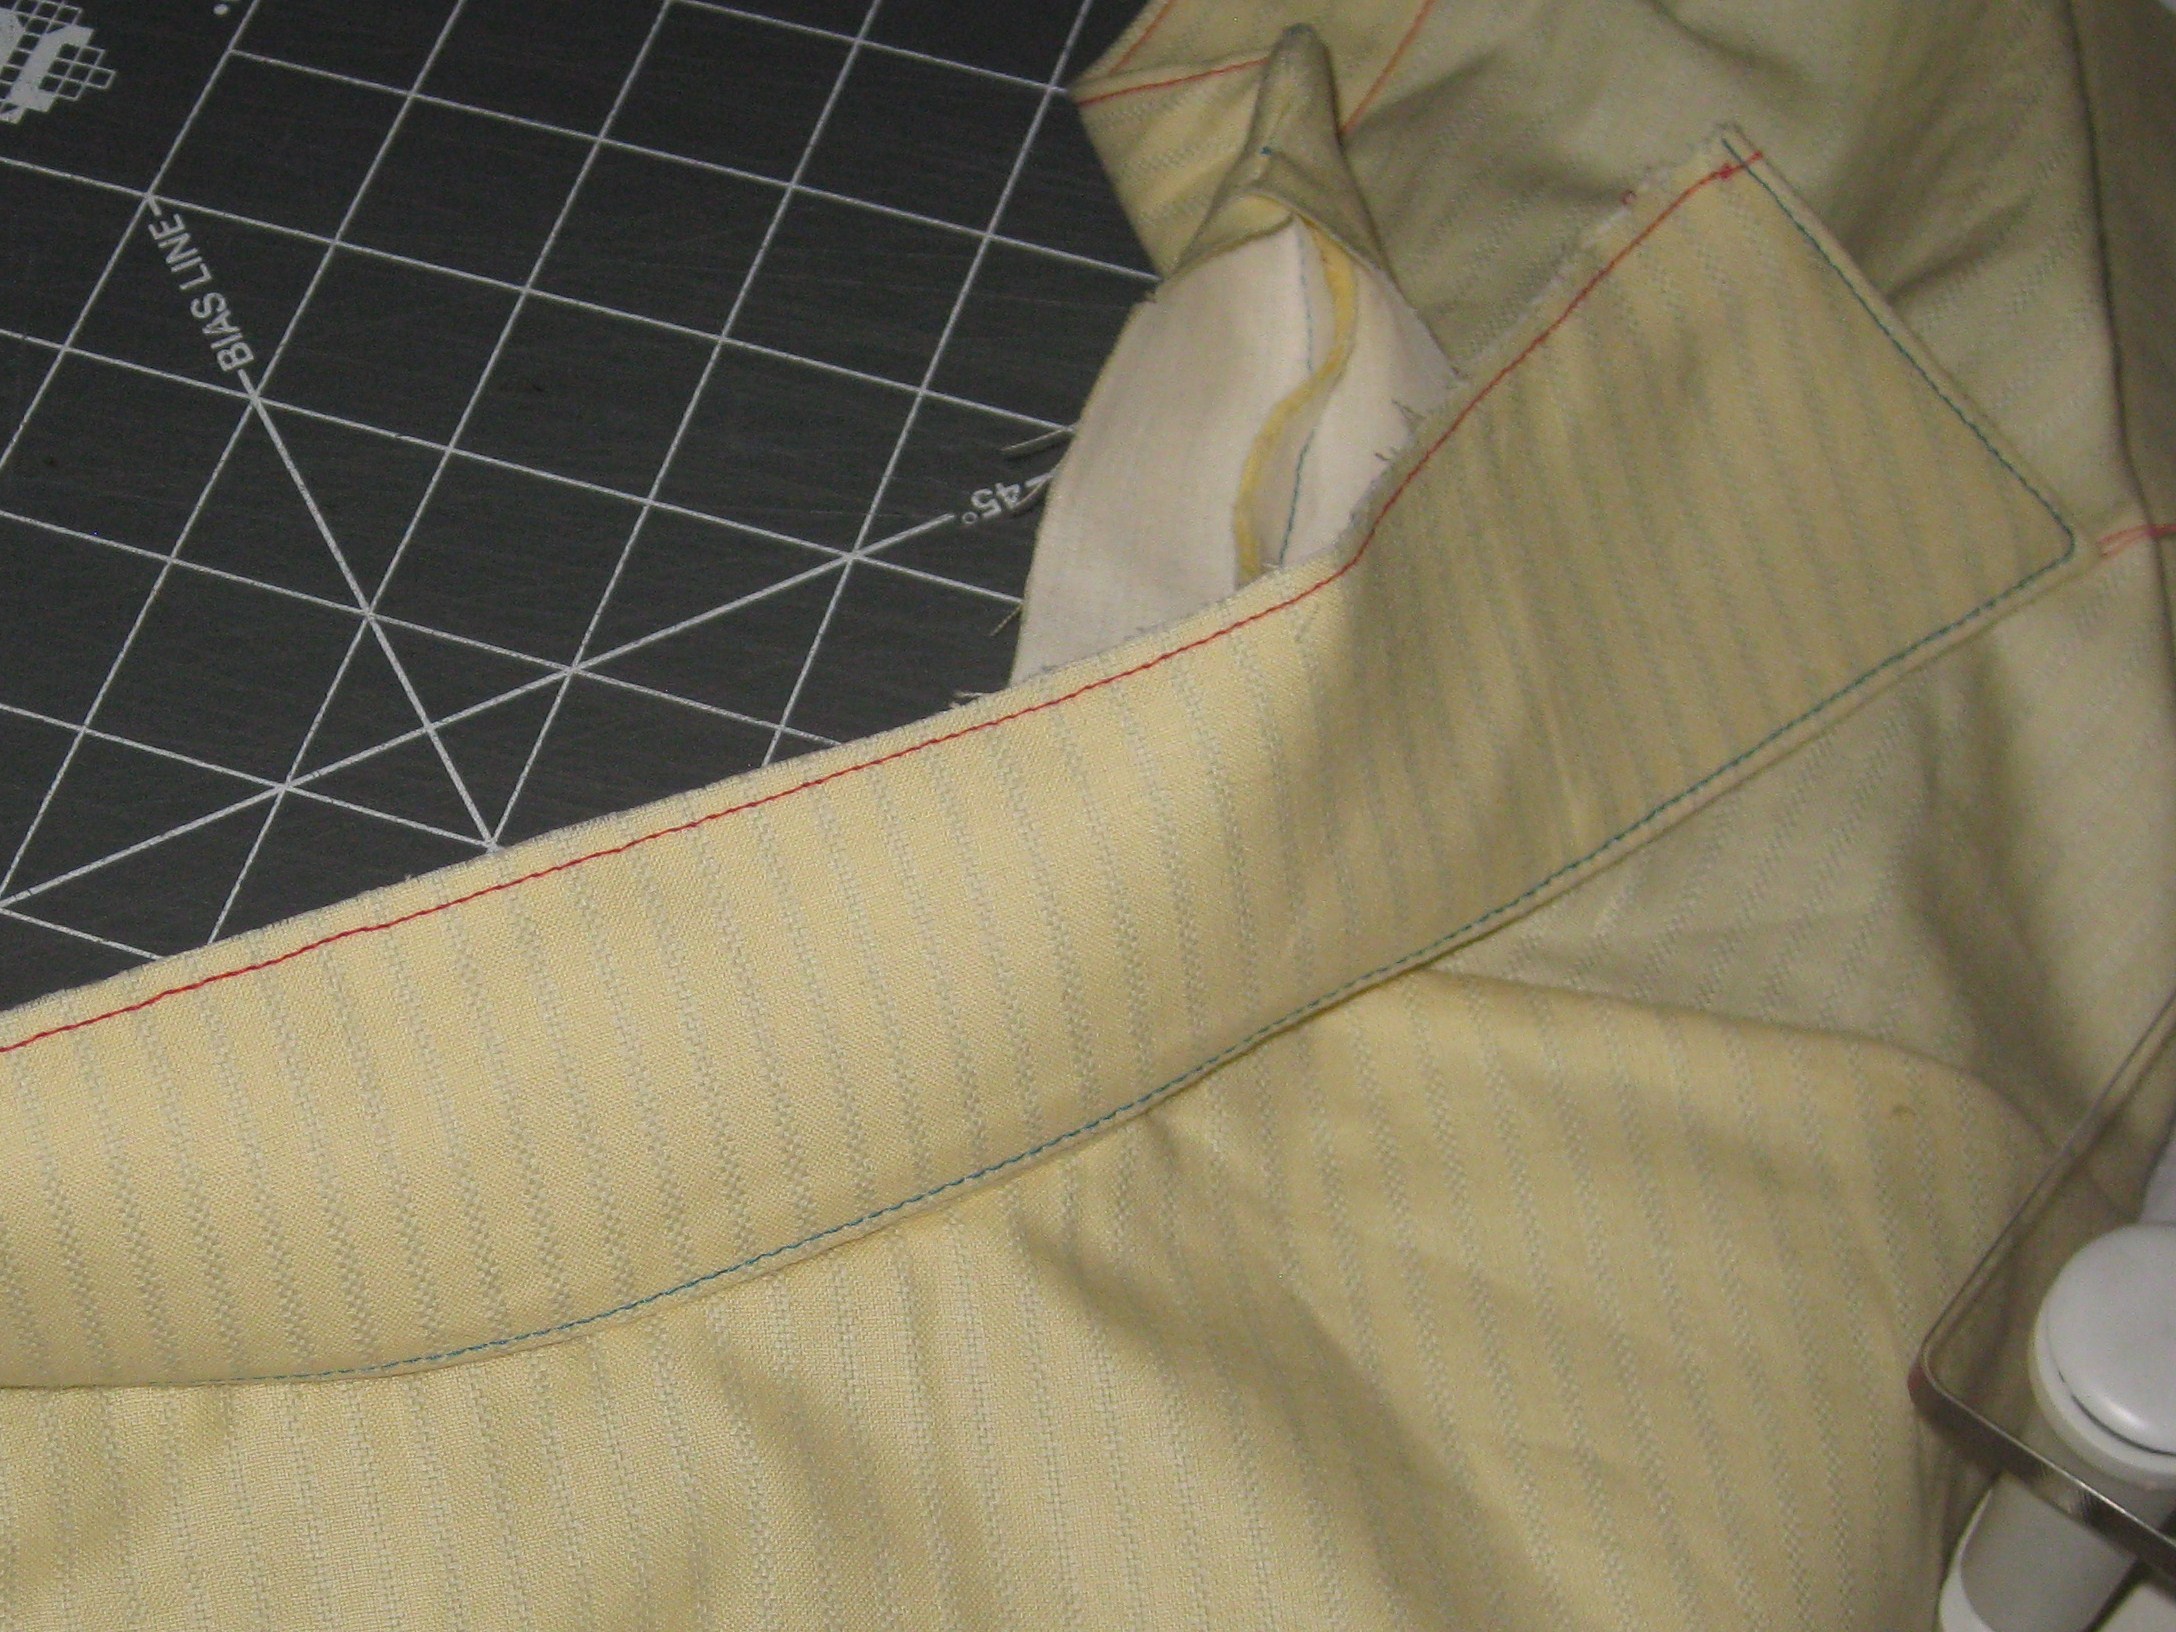
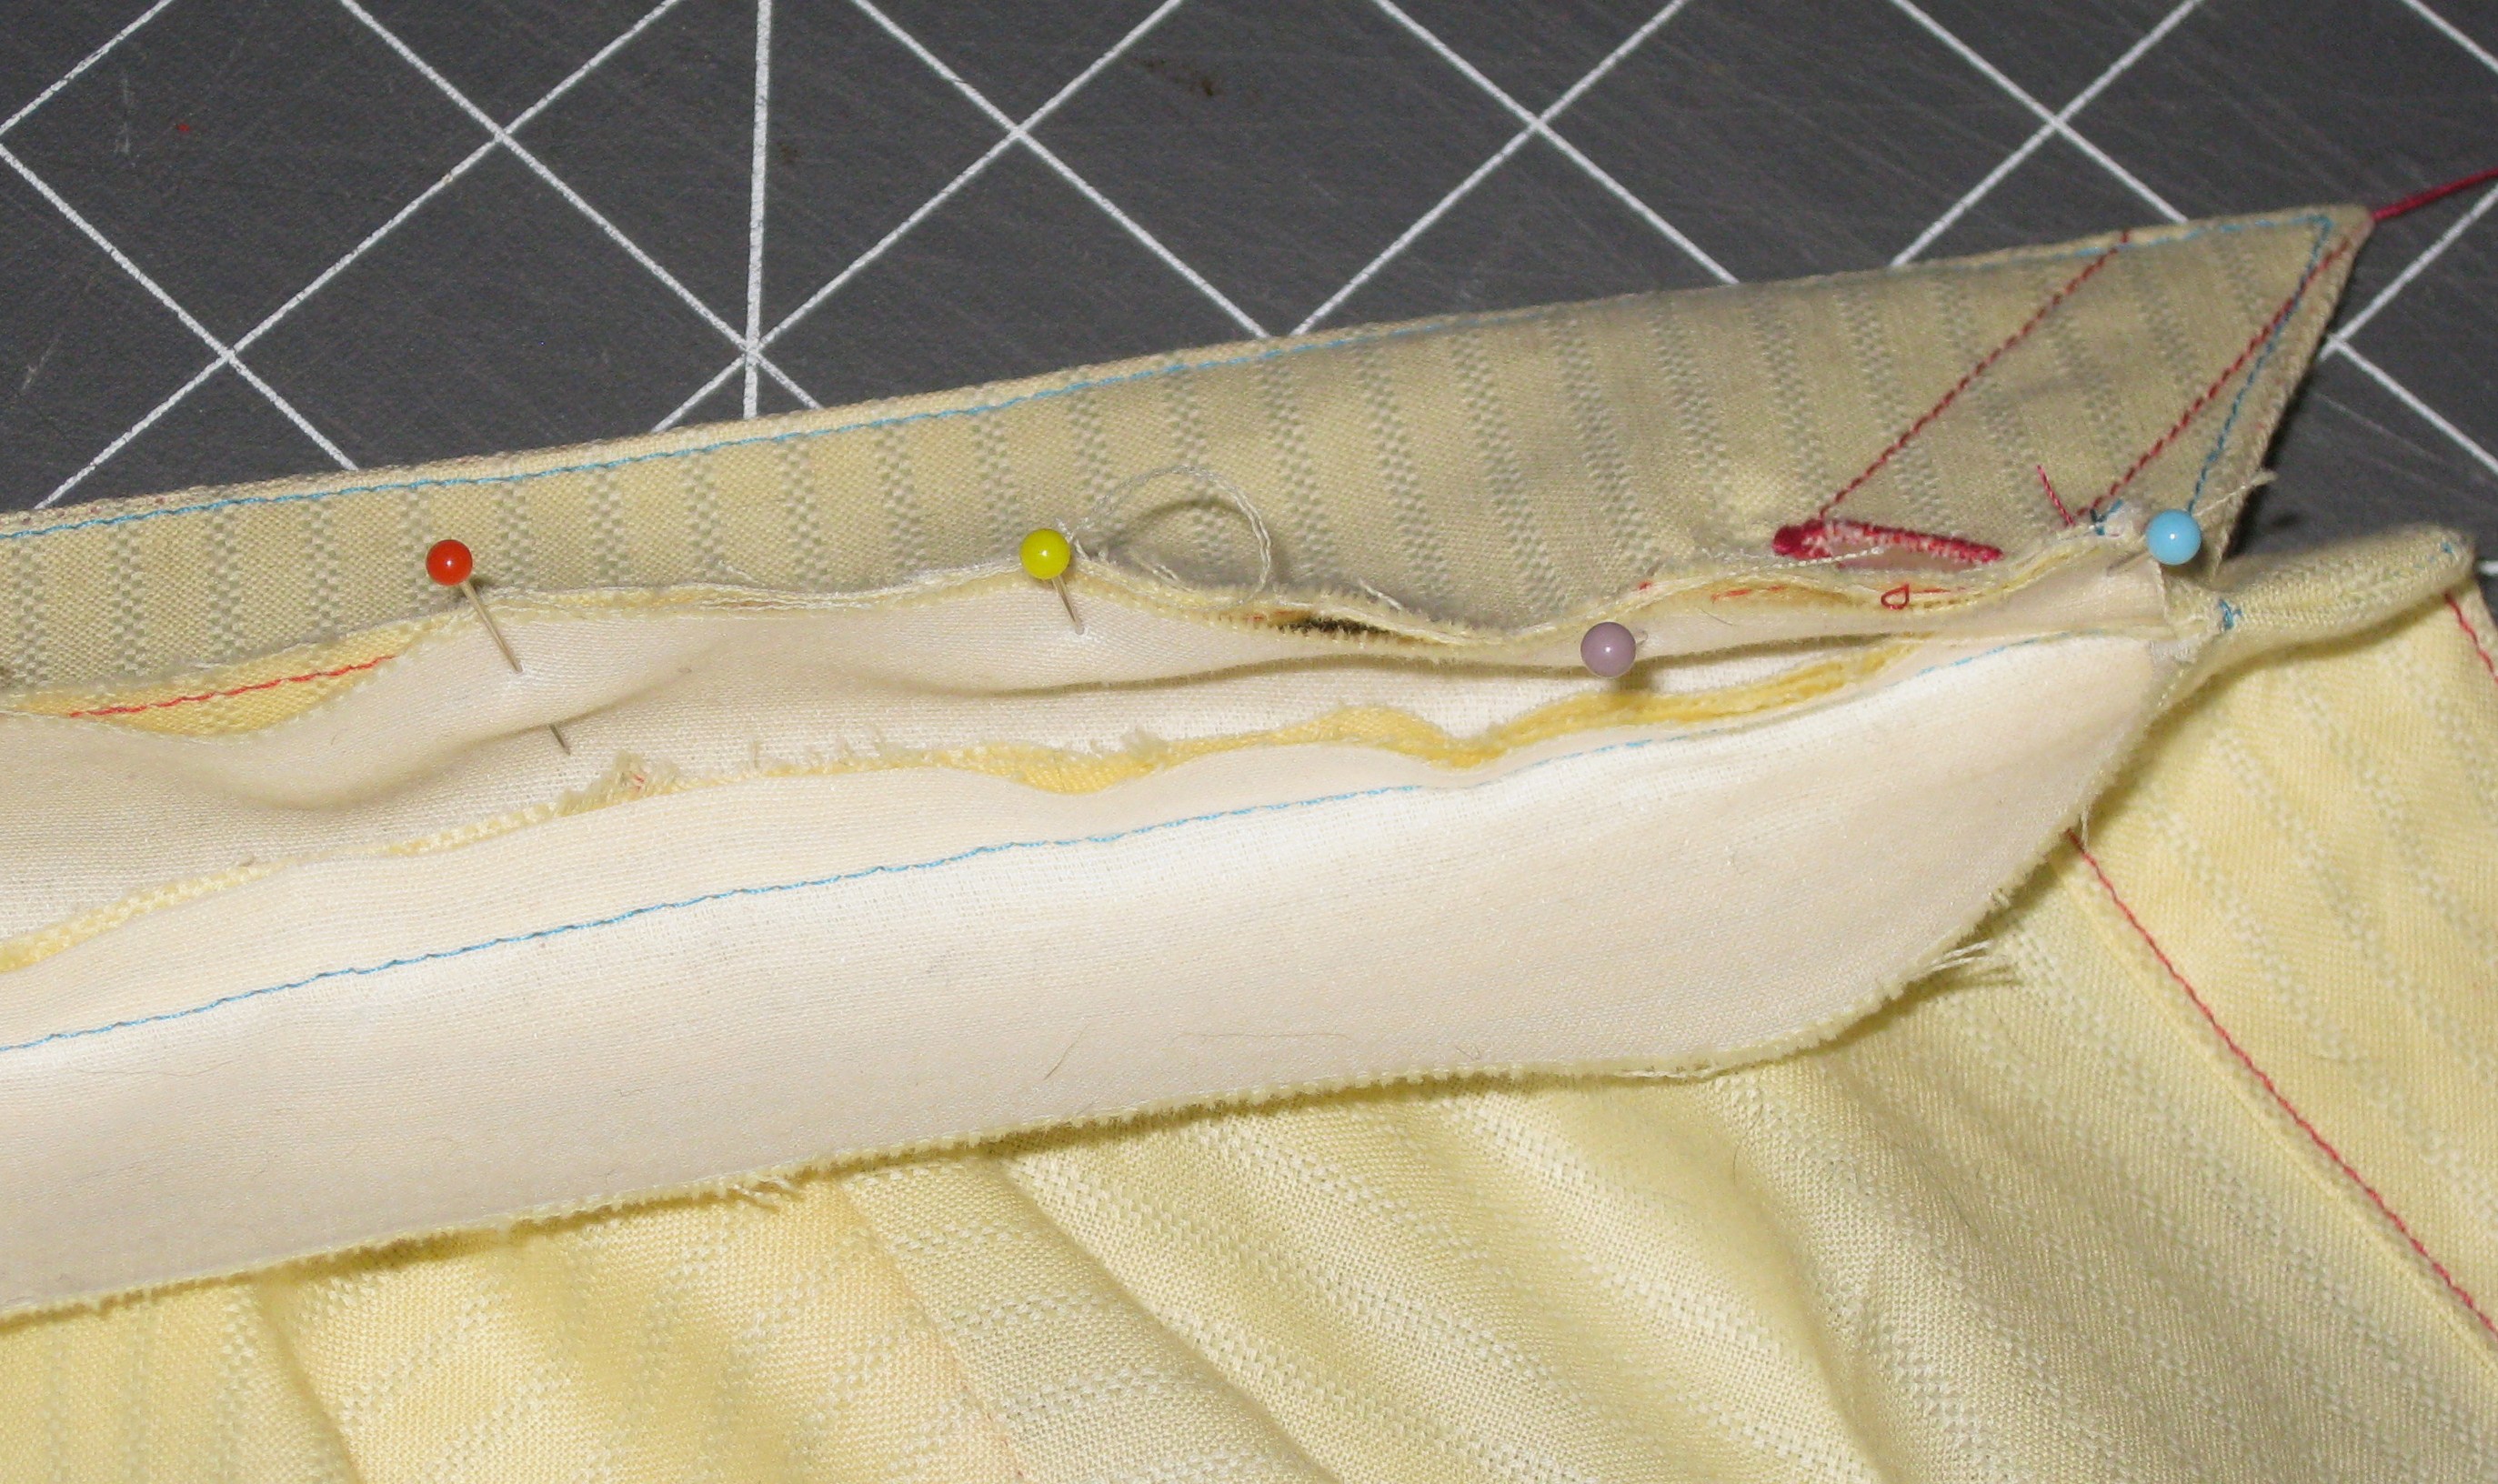
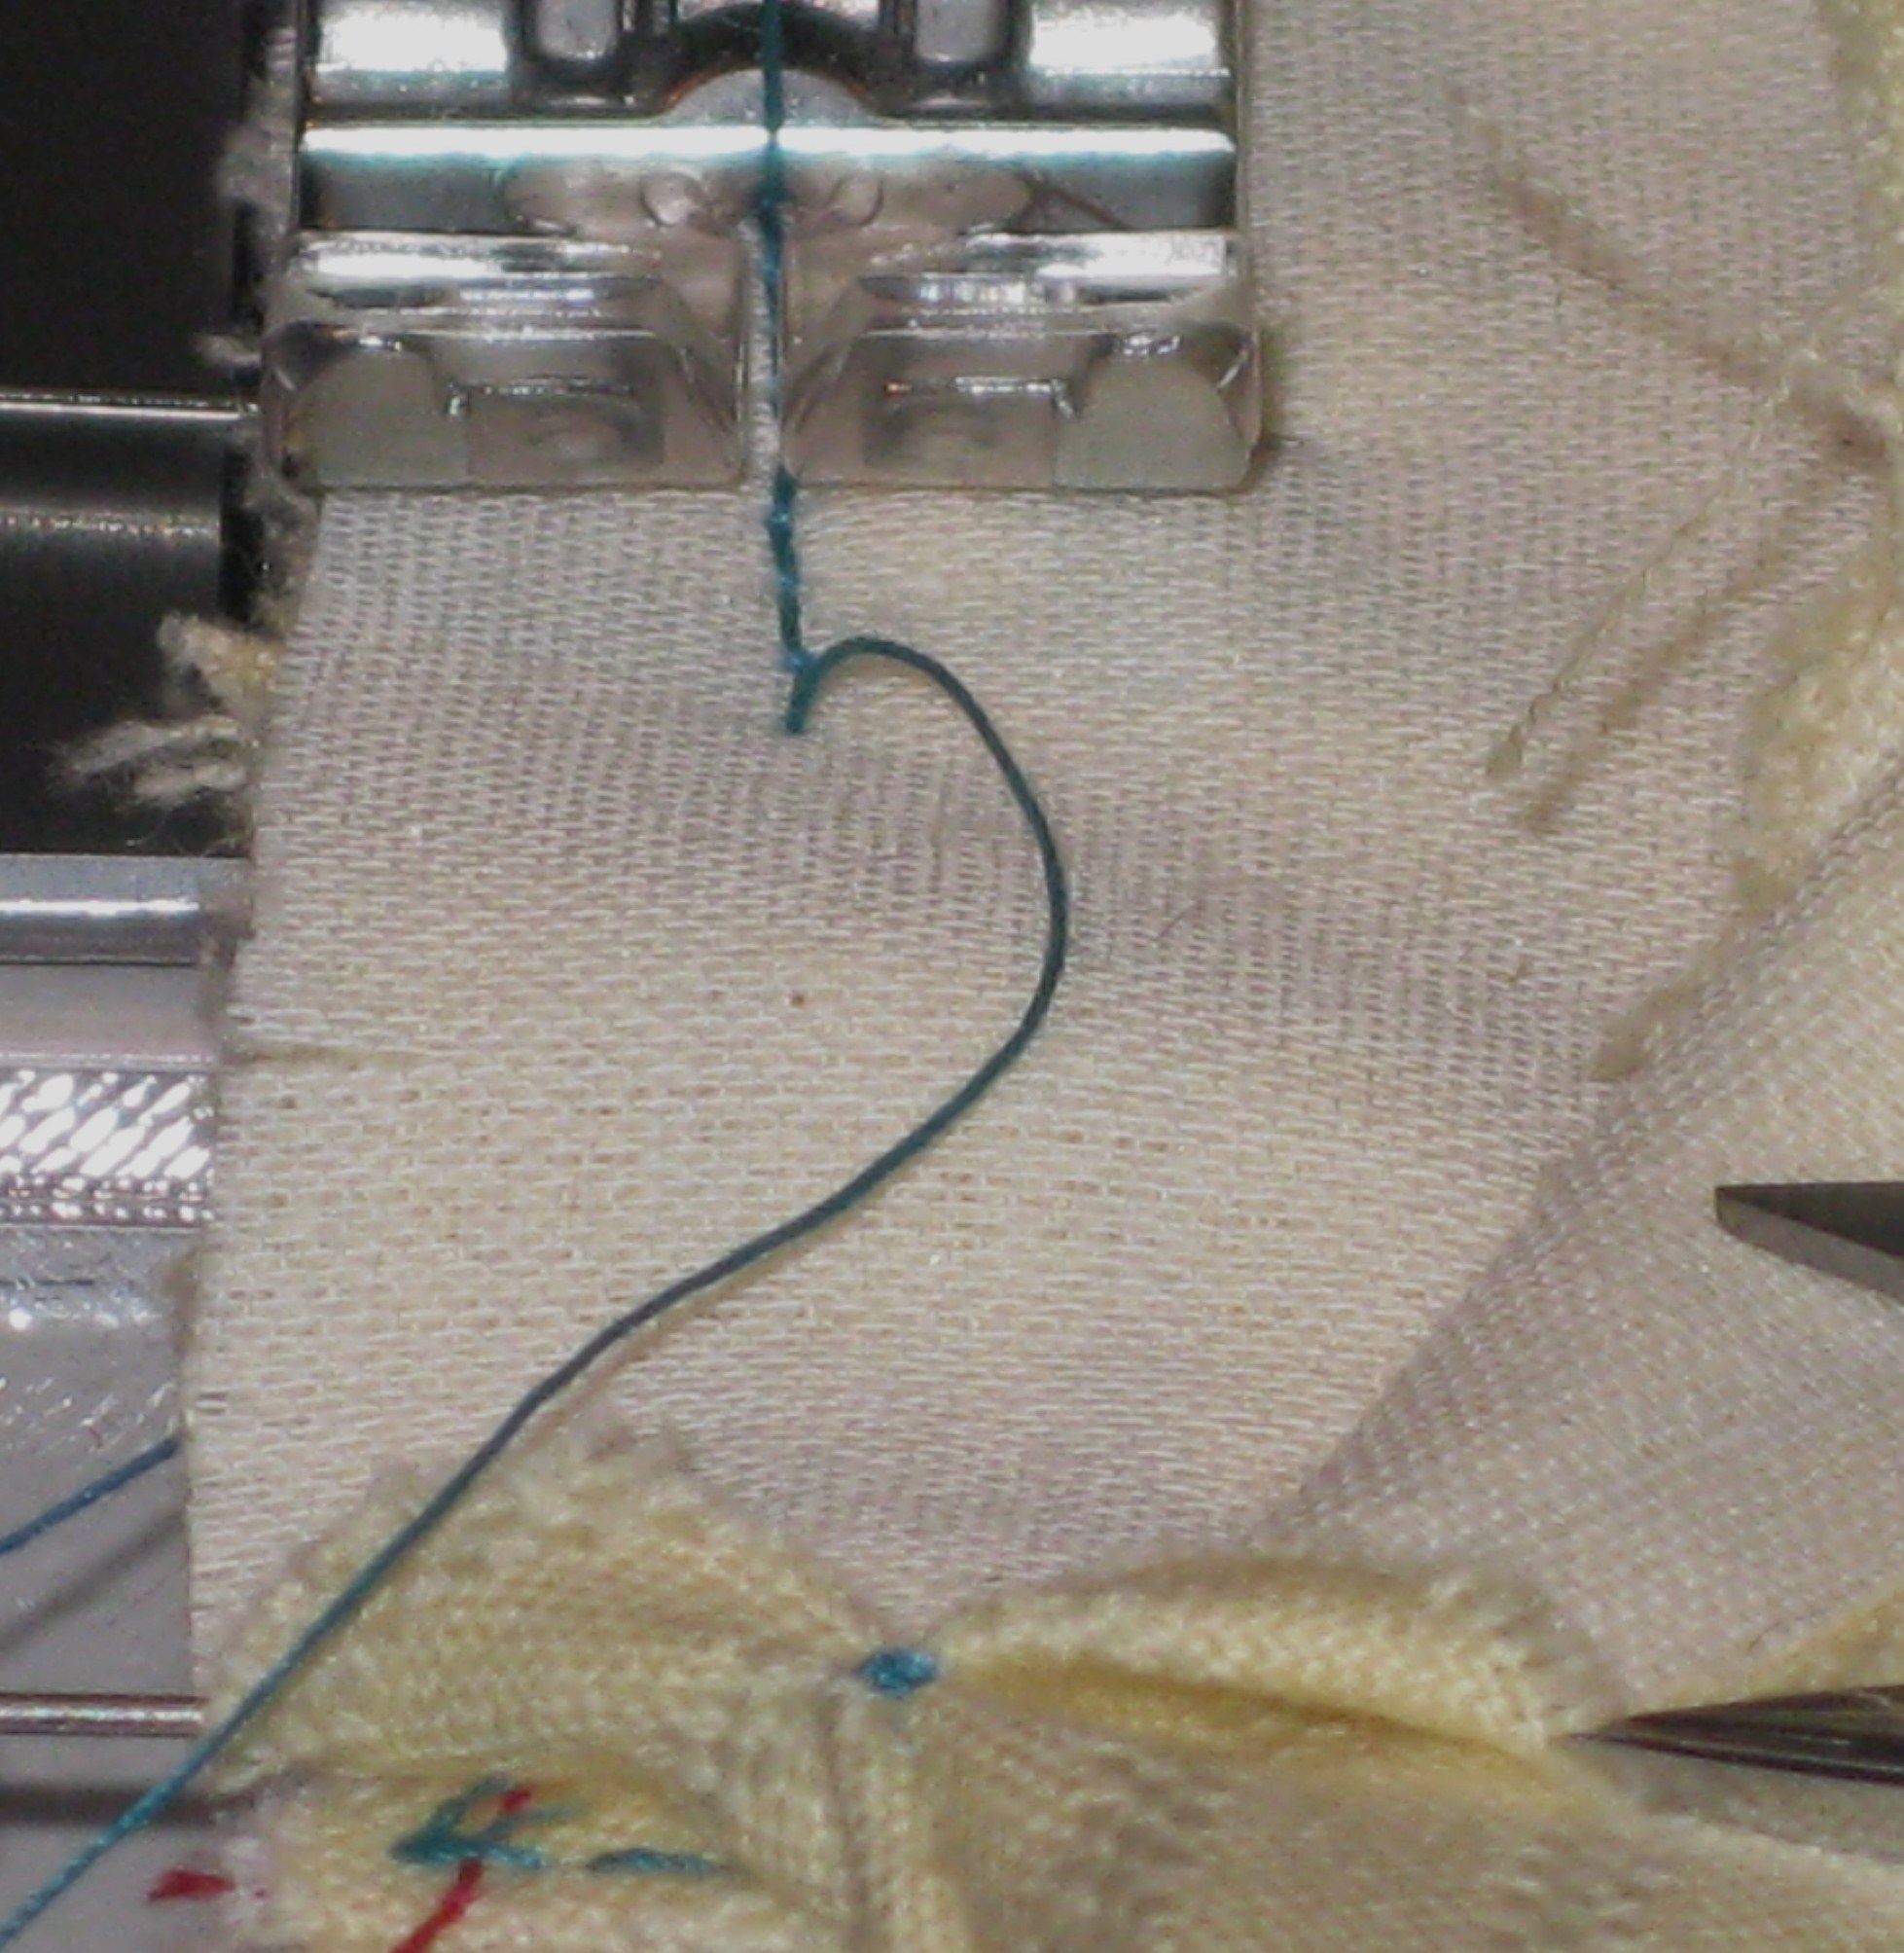
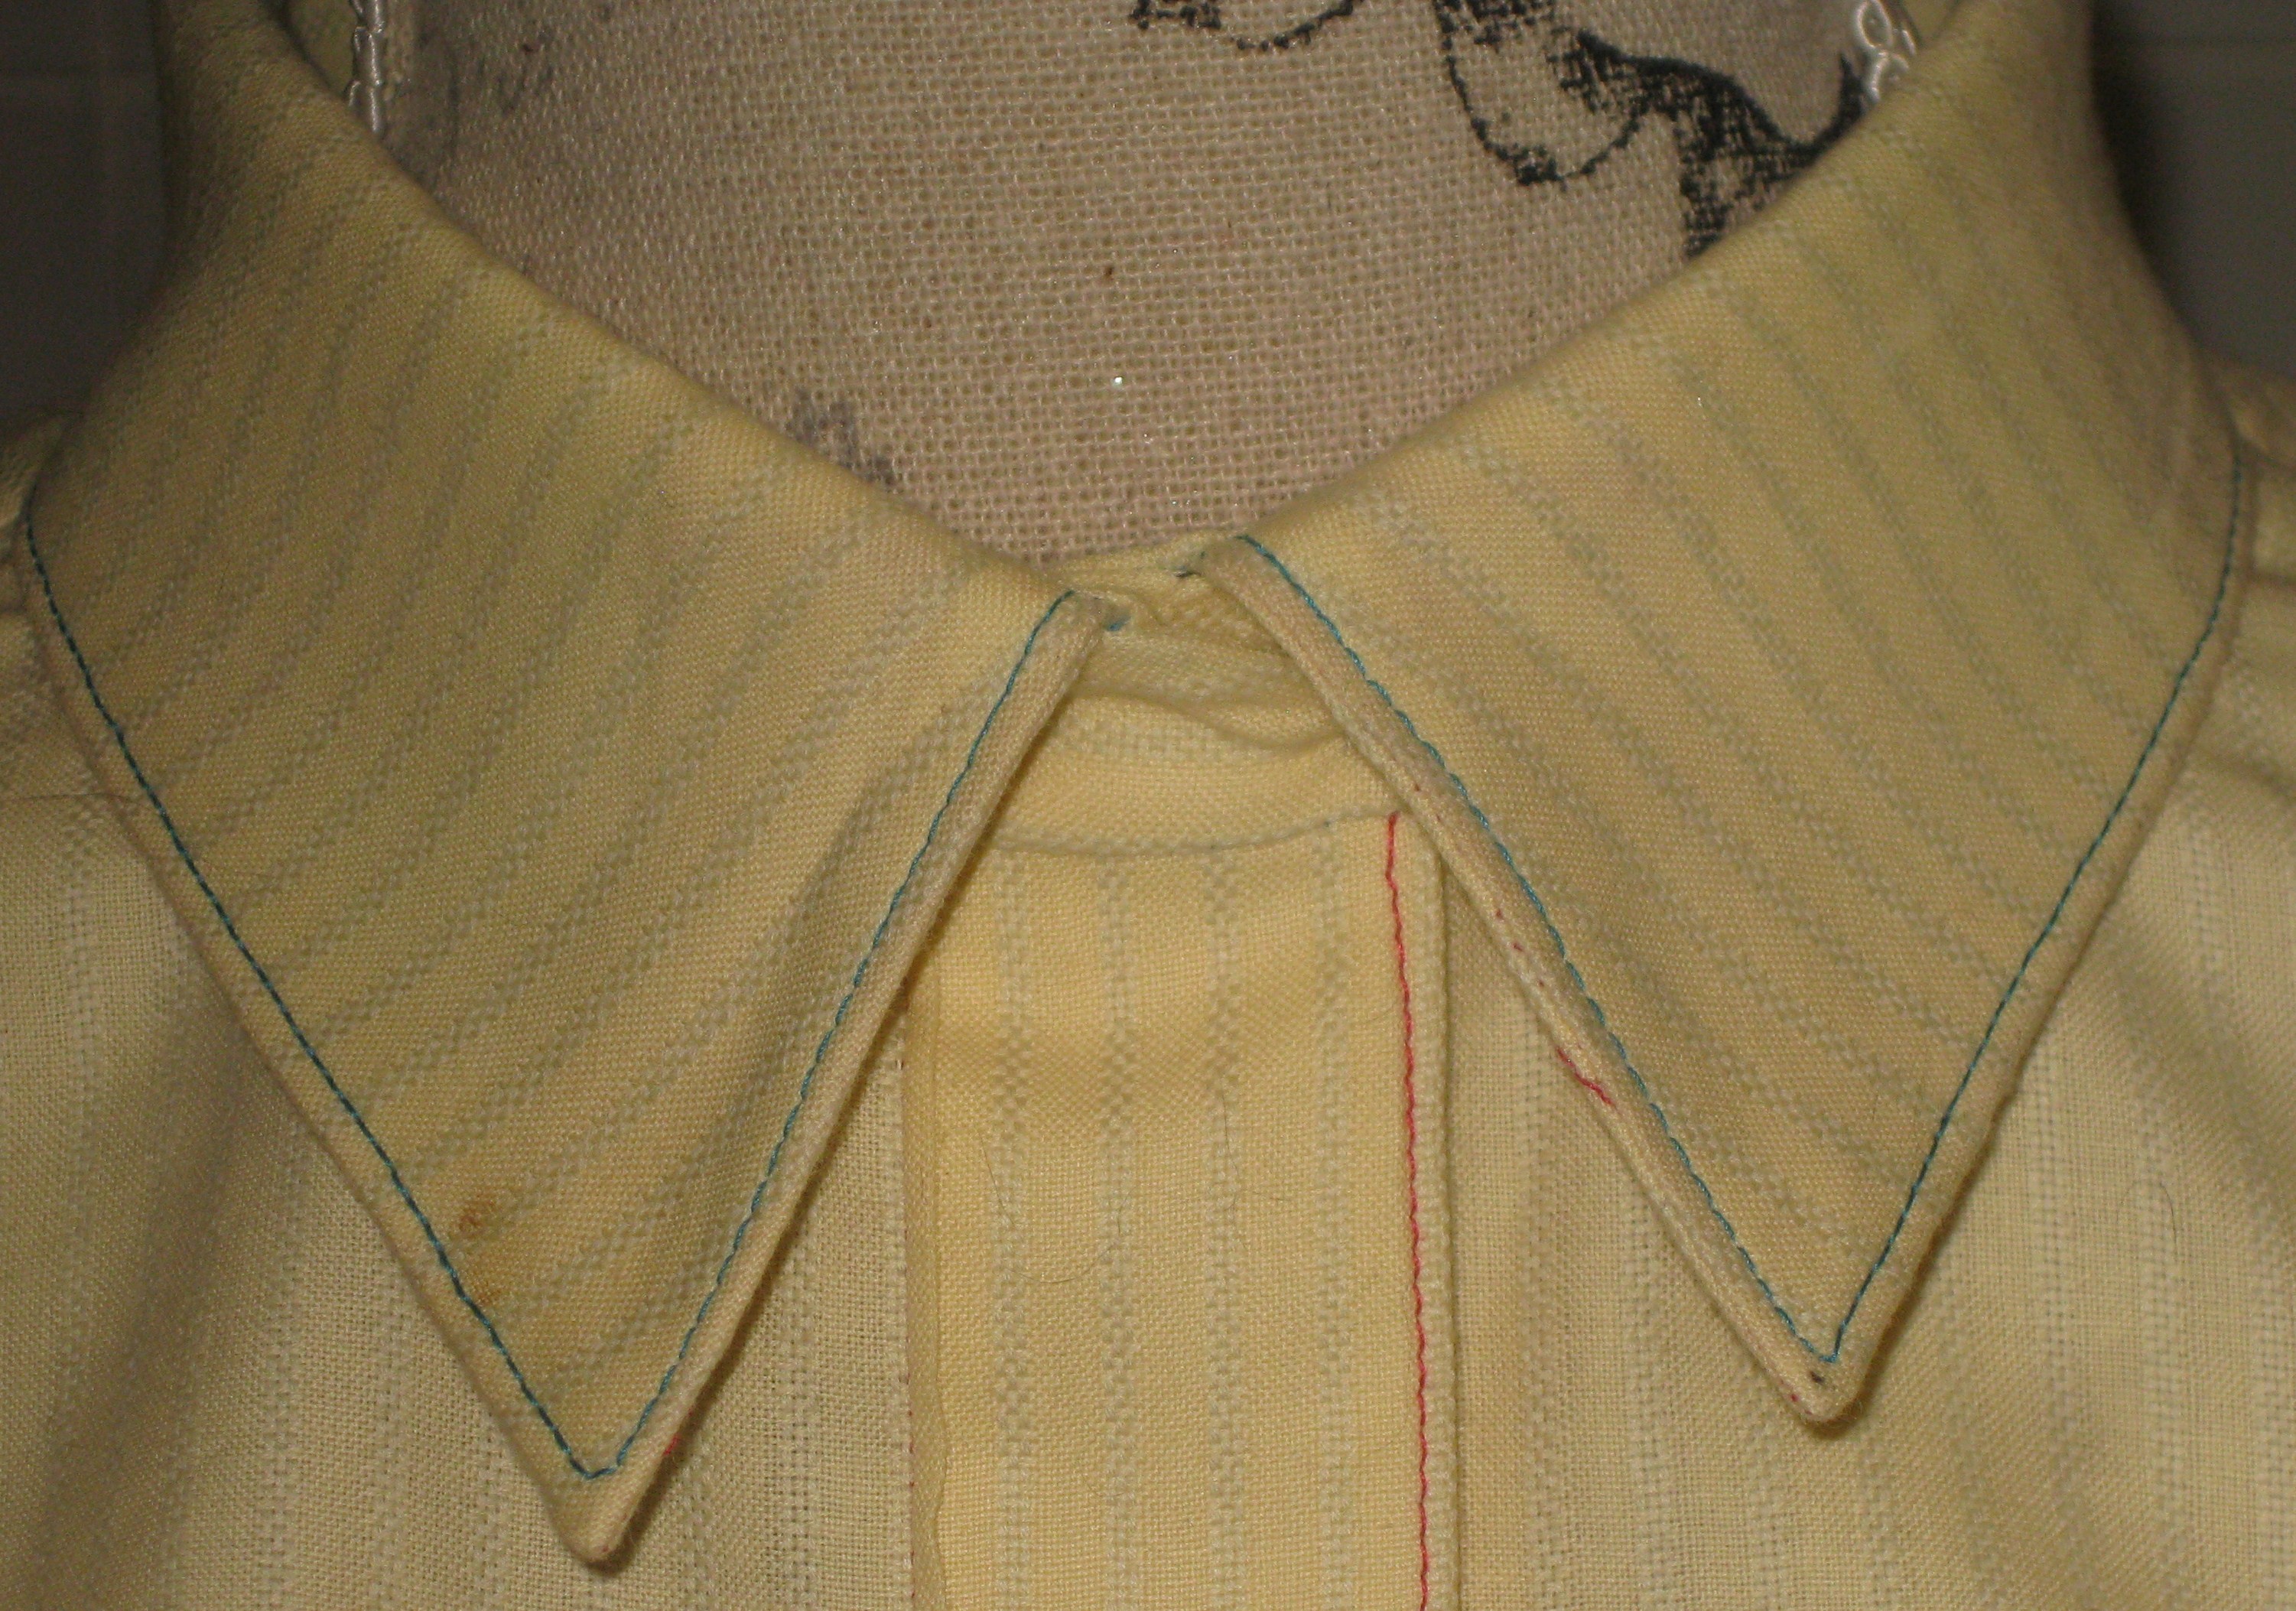
Basic instructions for its insertion follow; however, I prefer to use an additional piece of lining or garment fabric to cover the braid so that it is not able to be seen once the garment is completed. The top of this additional fabric can be handstitched in place to the underlining.

Basic instructions for using horesehair braid.
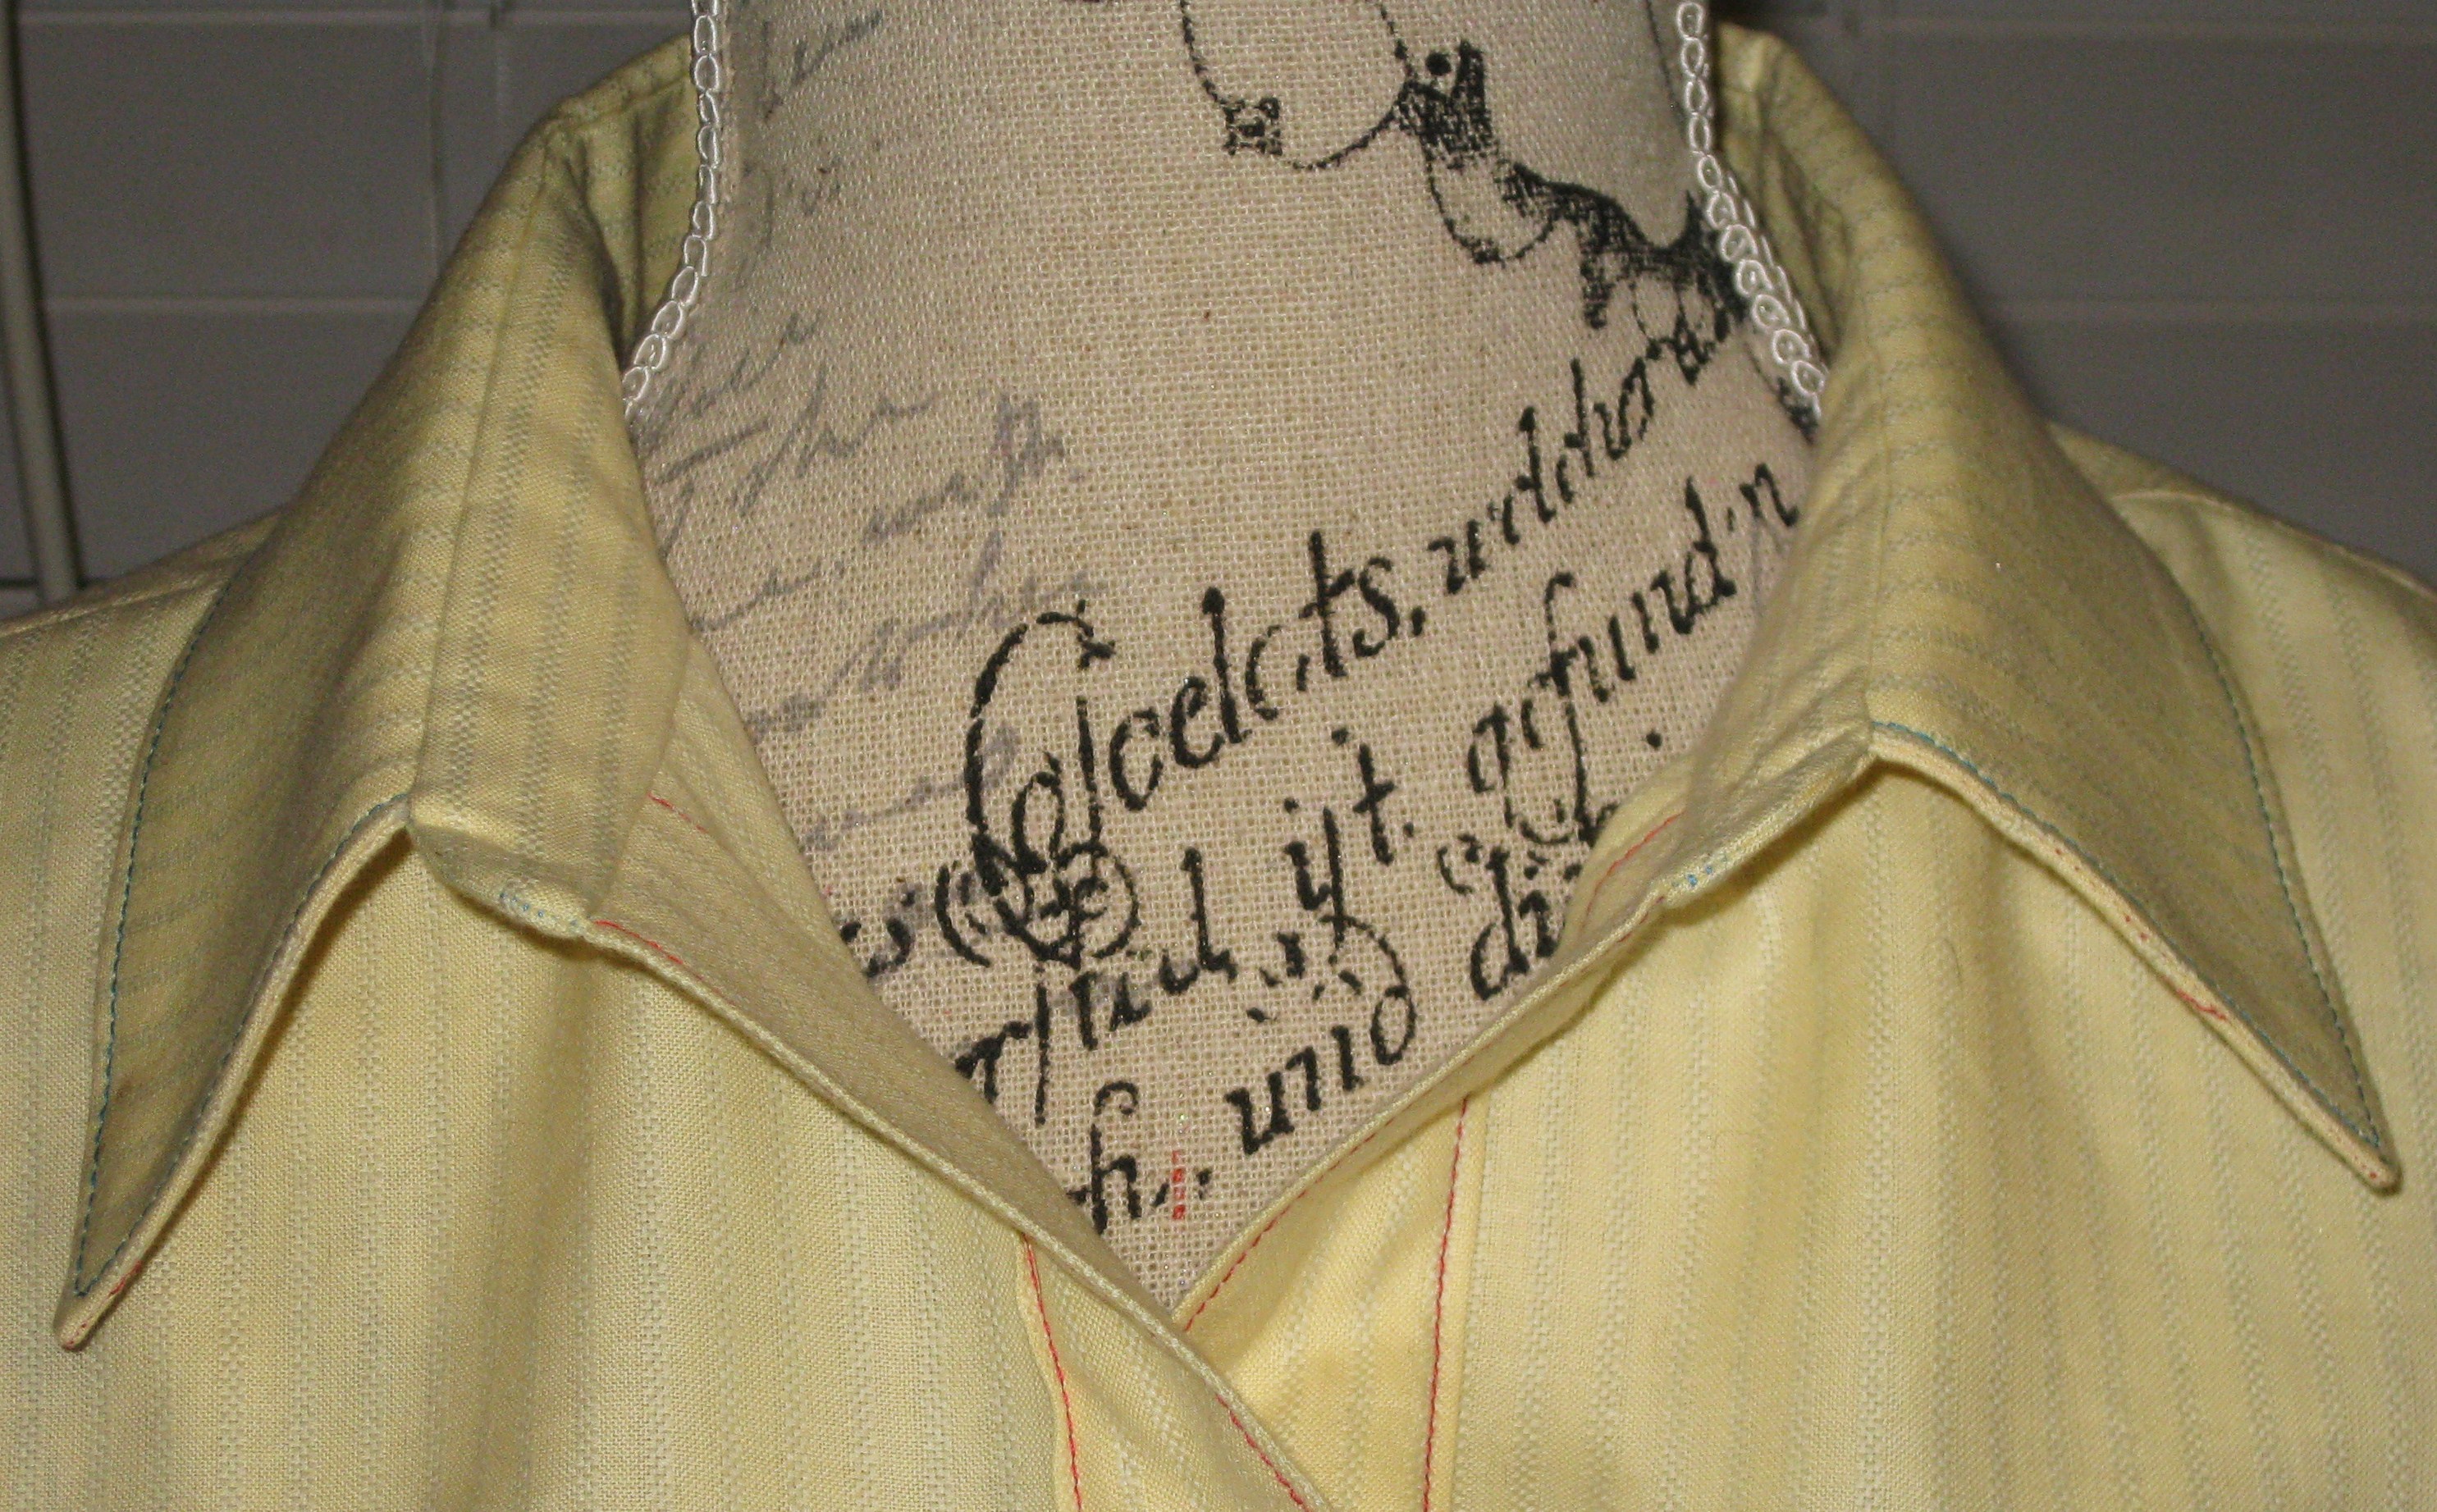
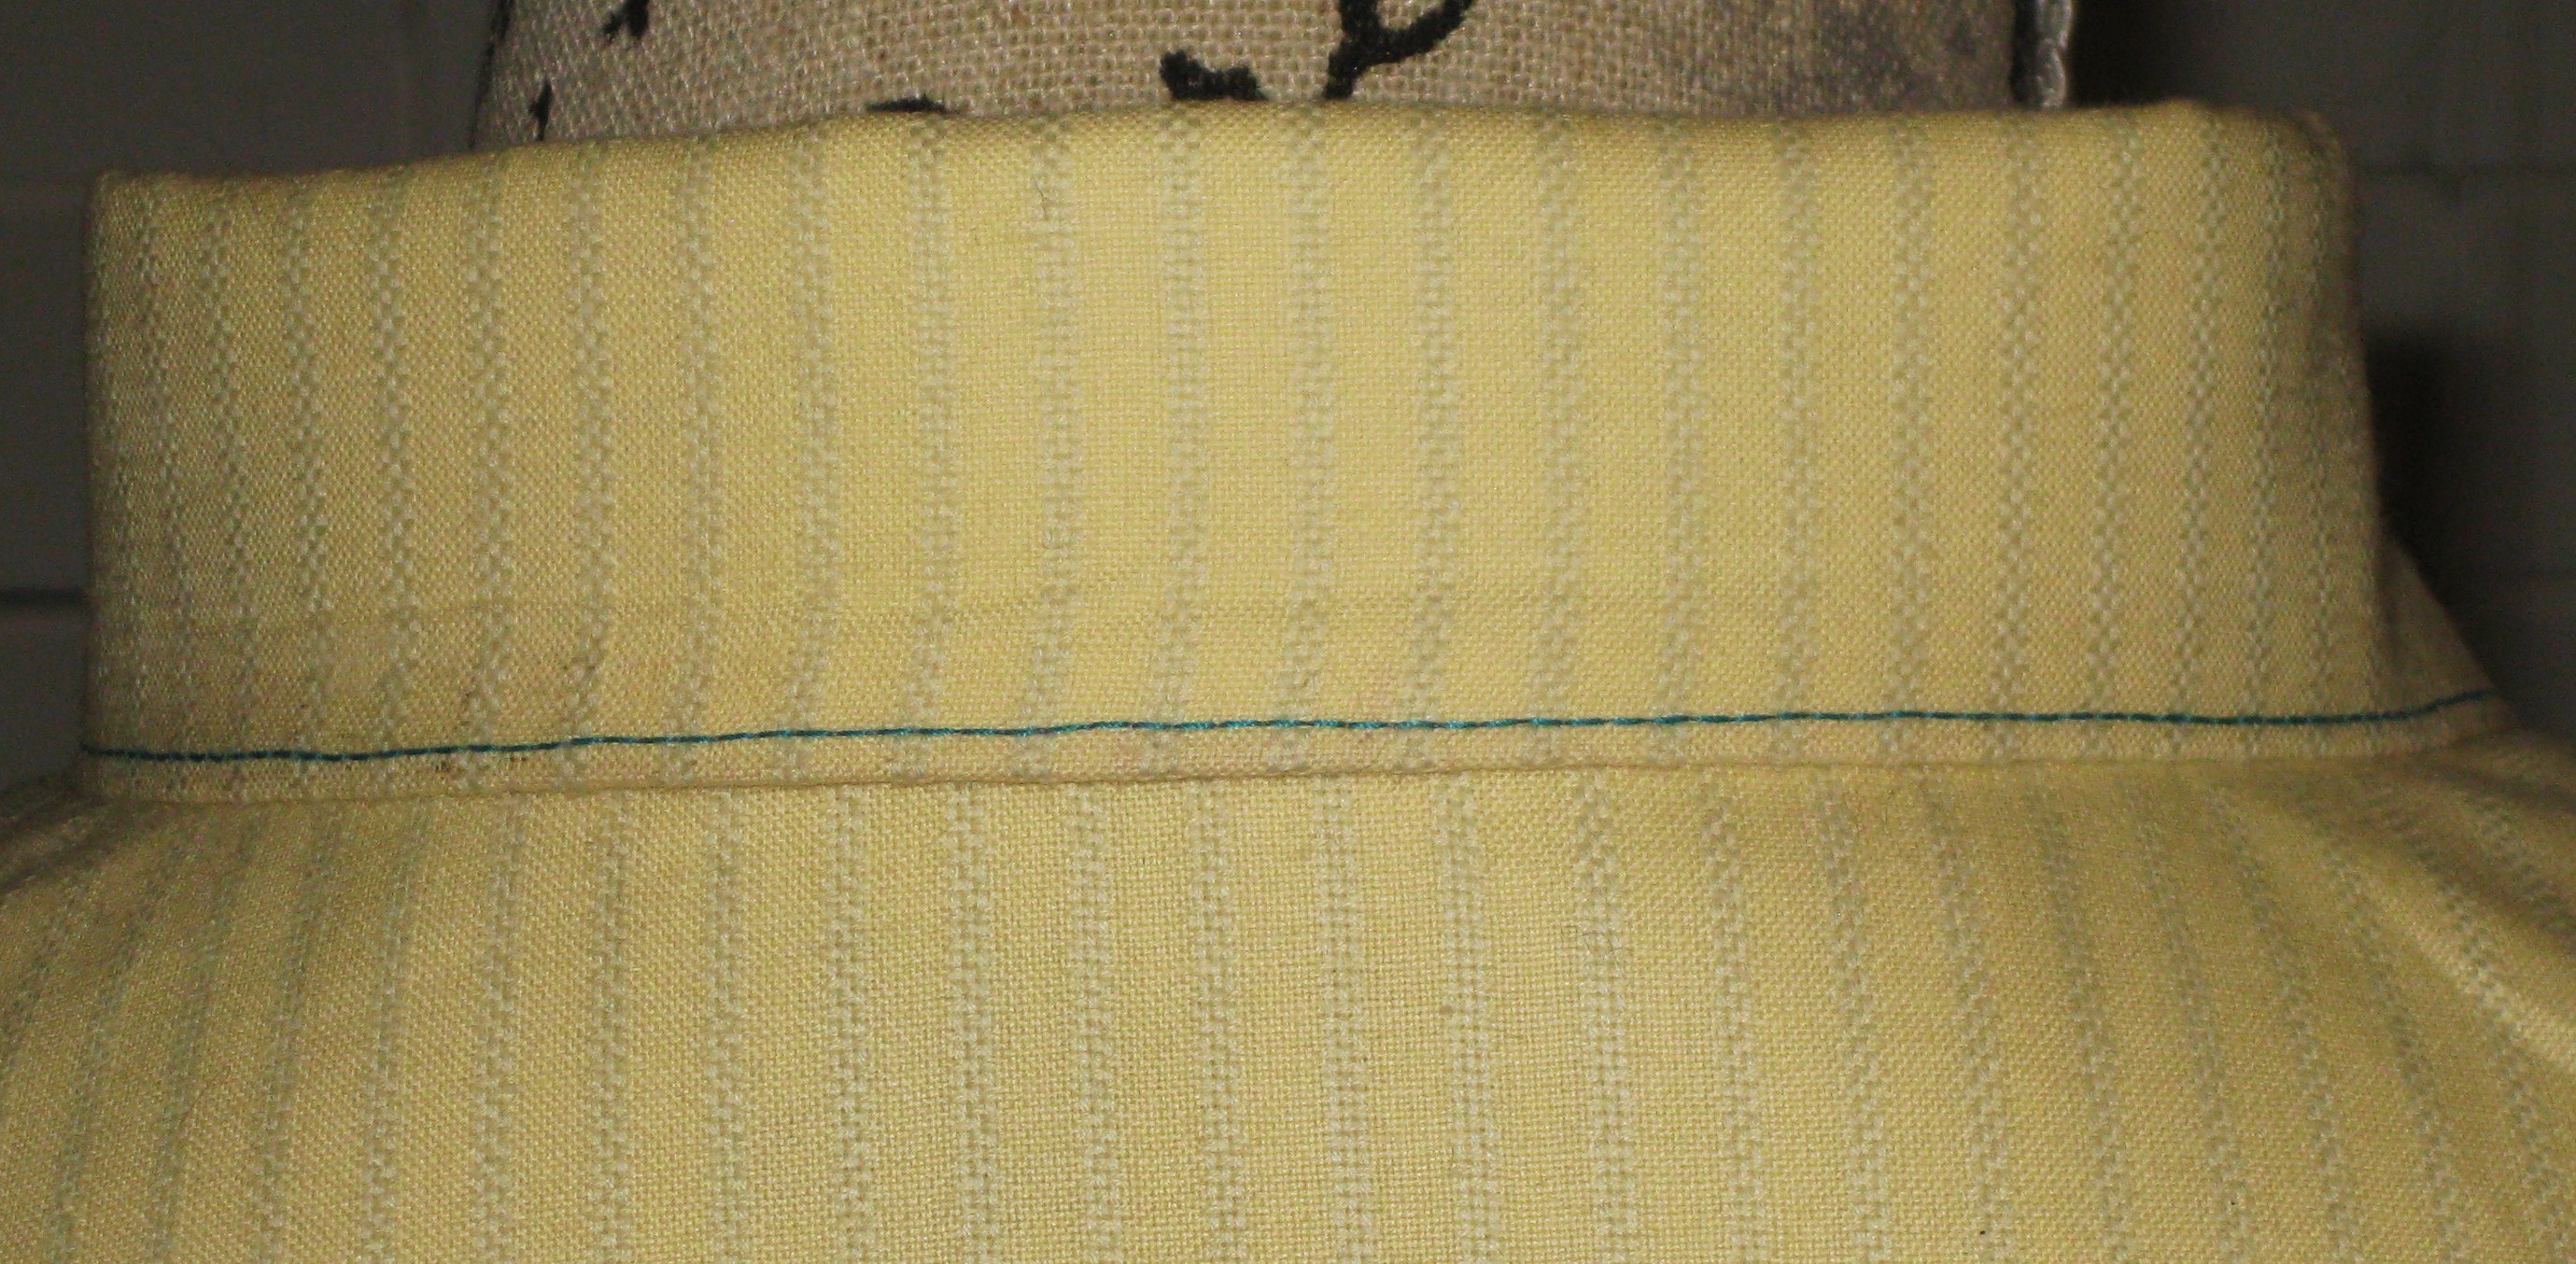
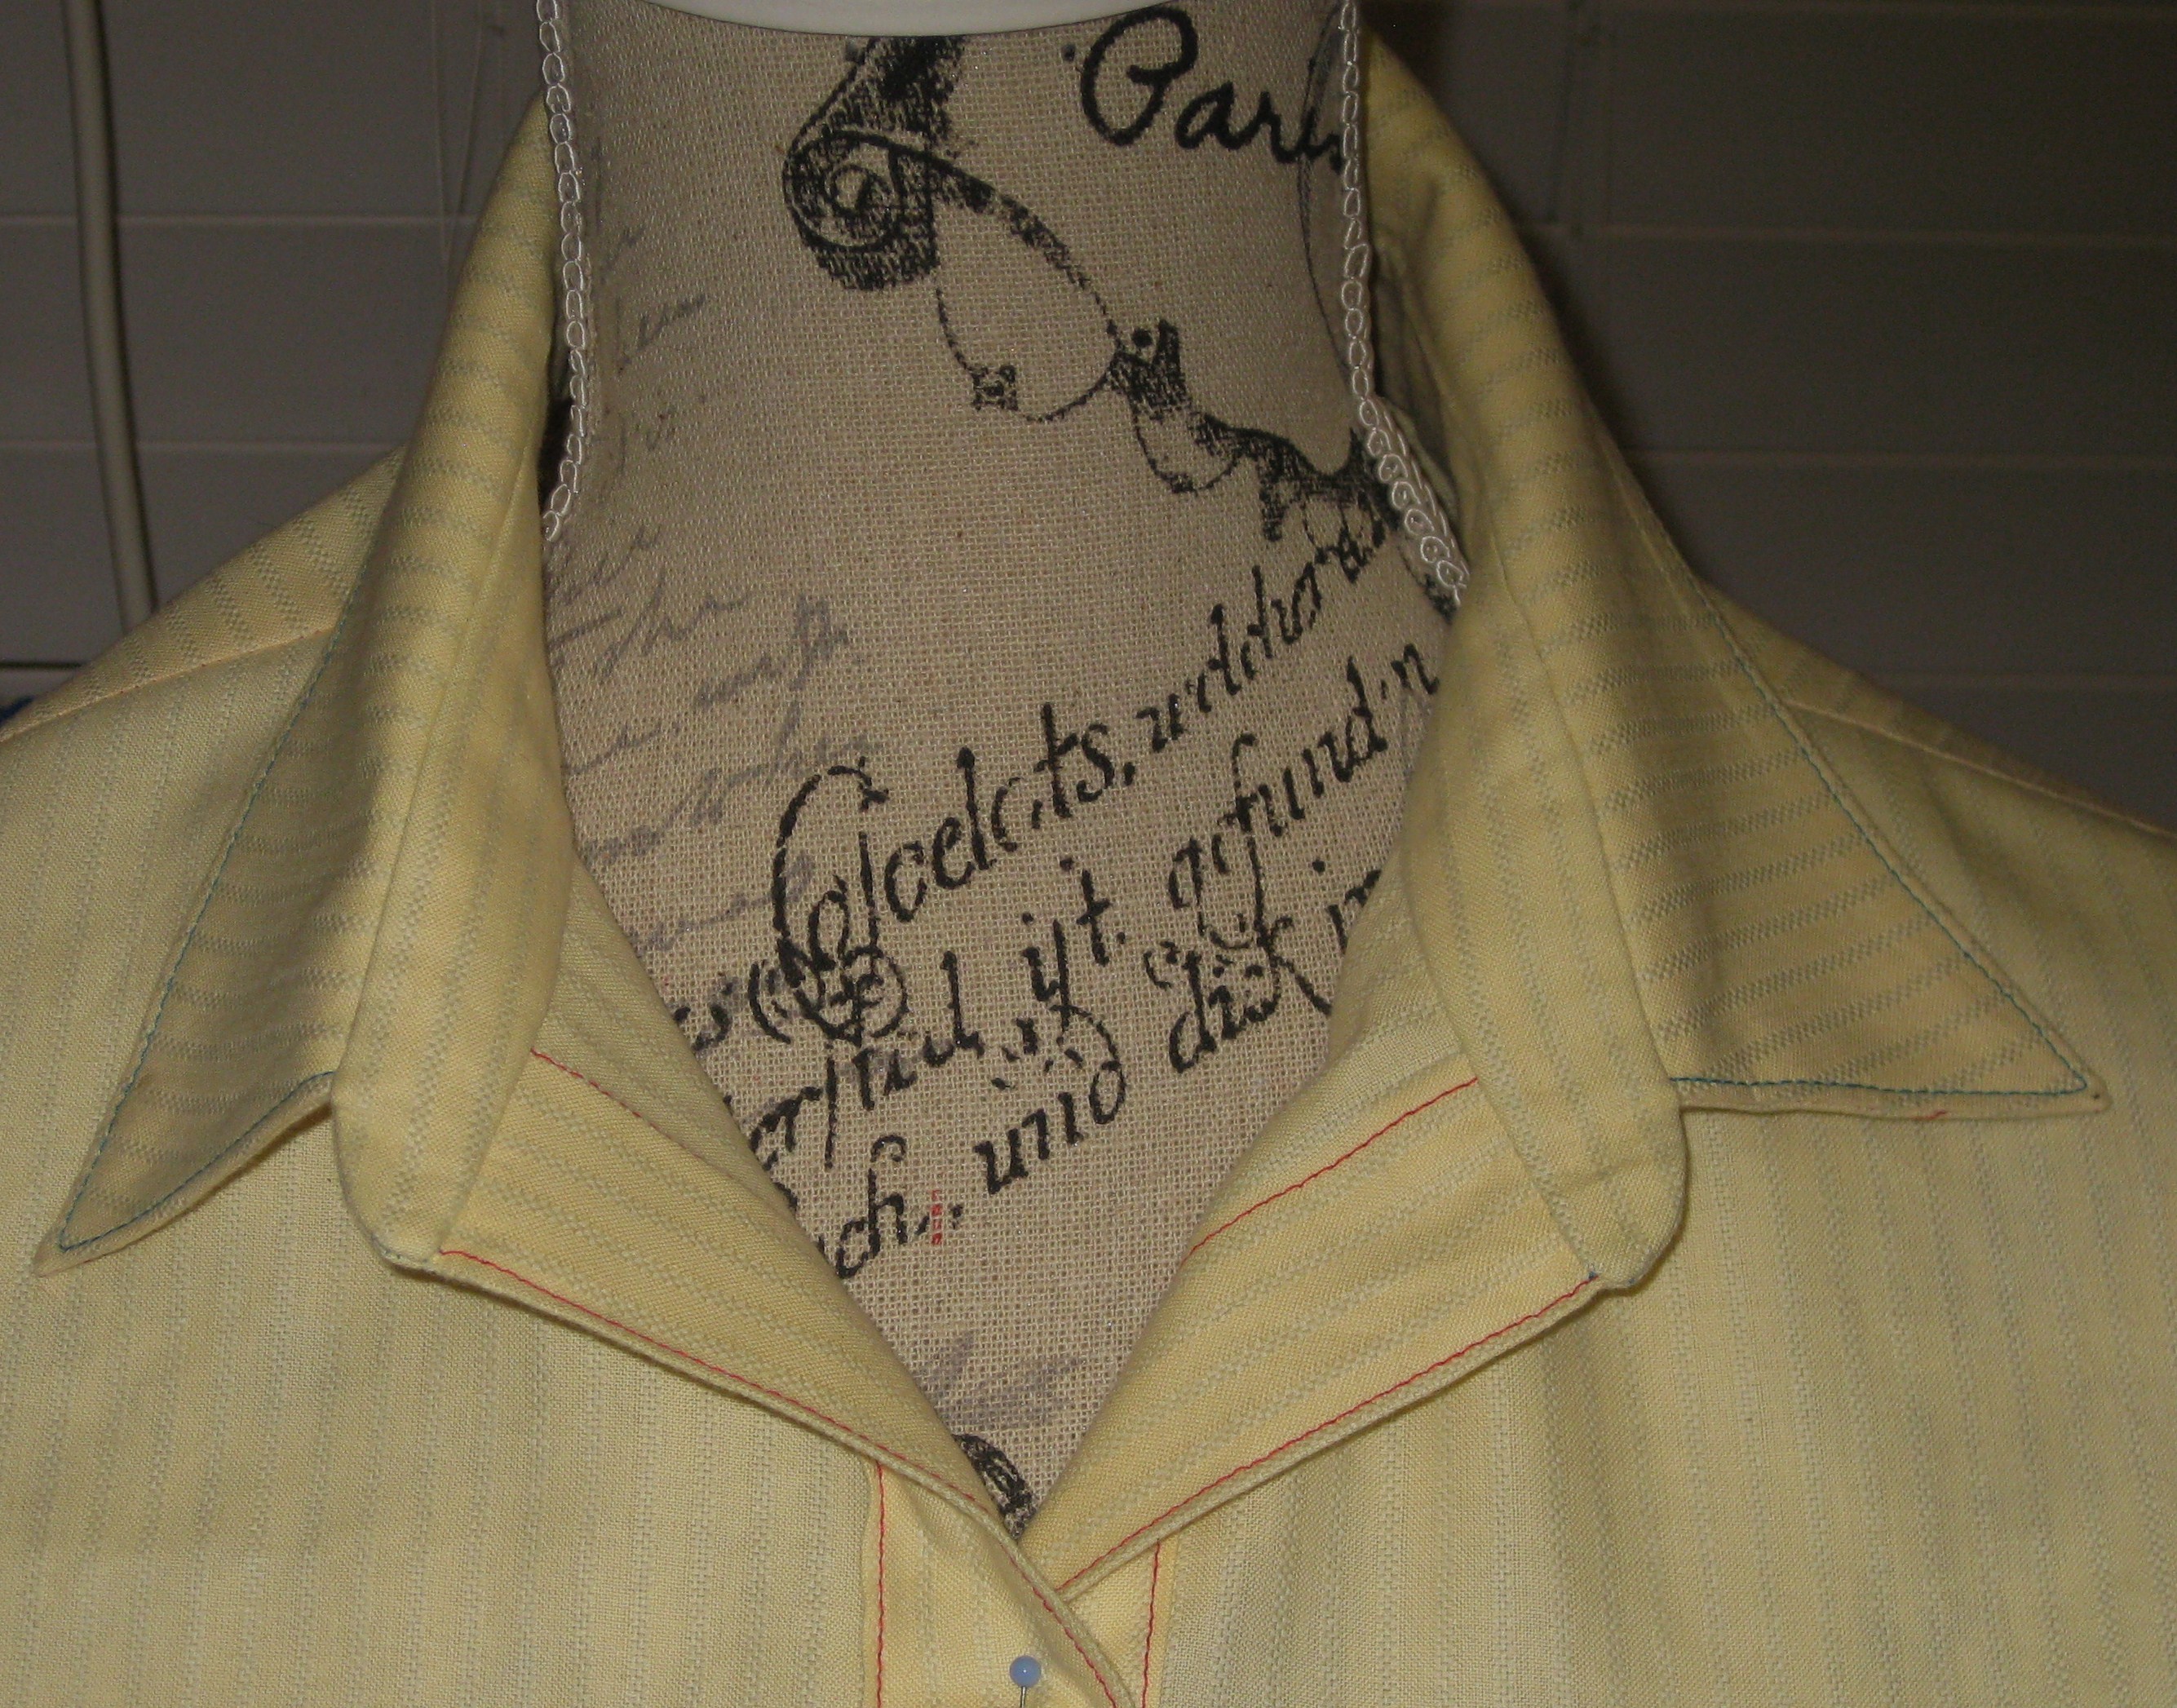
Staying Edges:
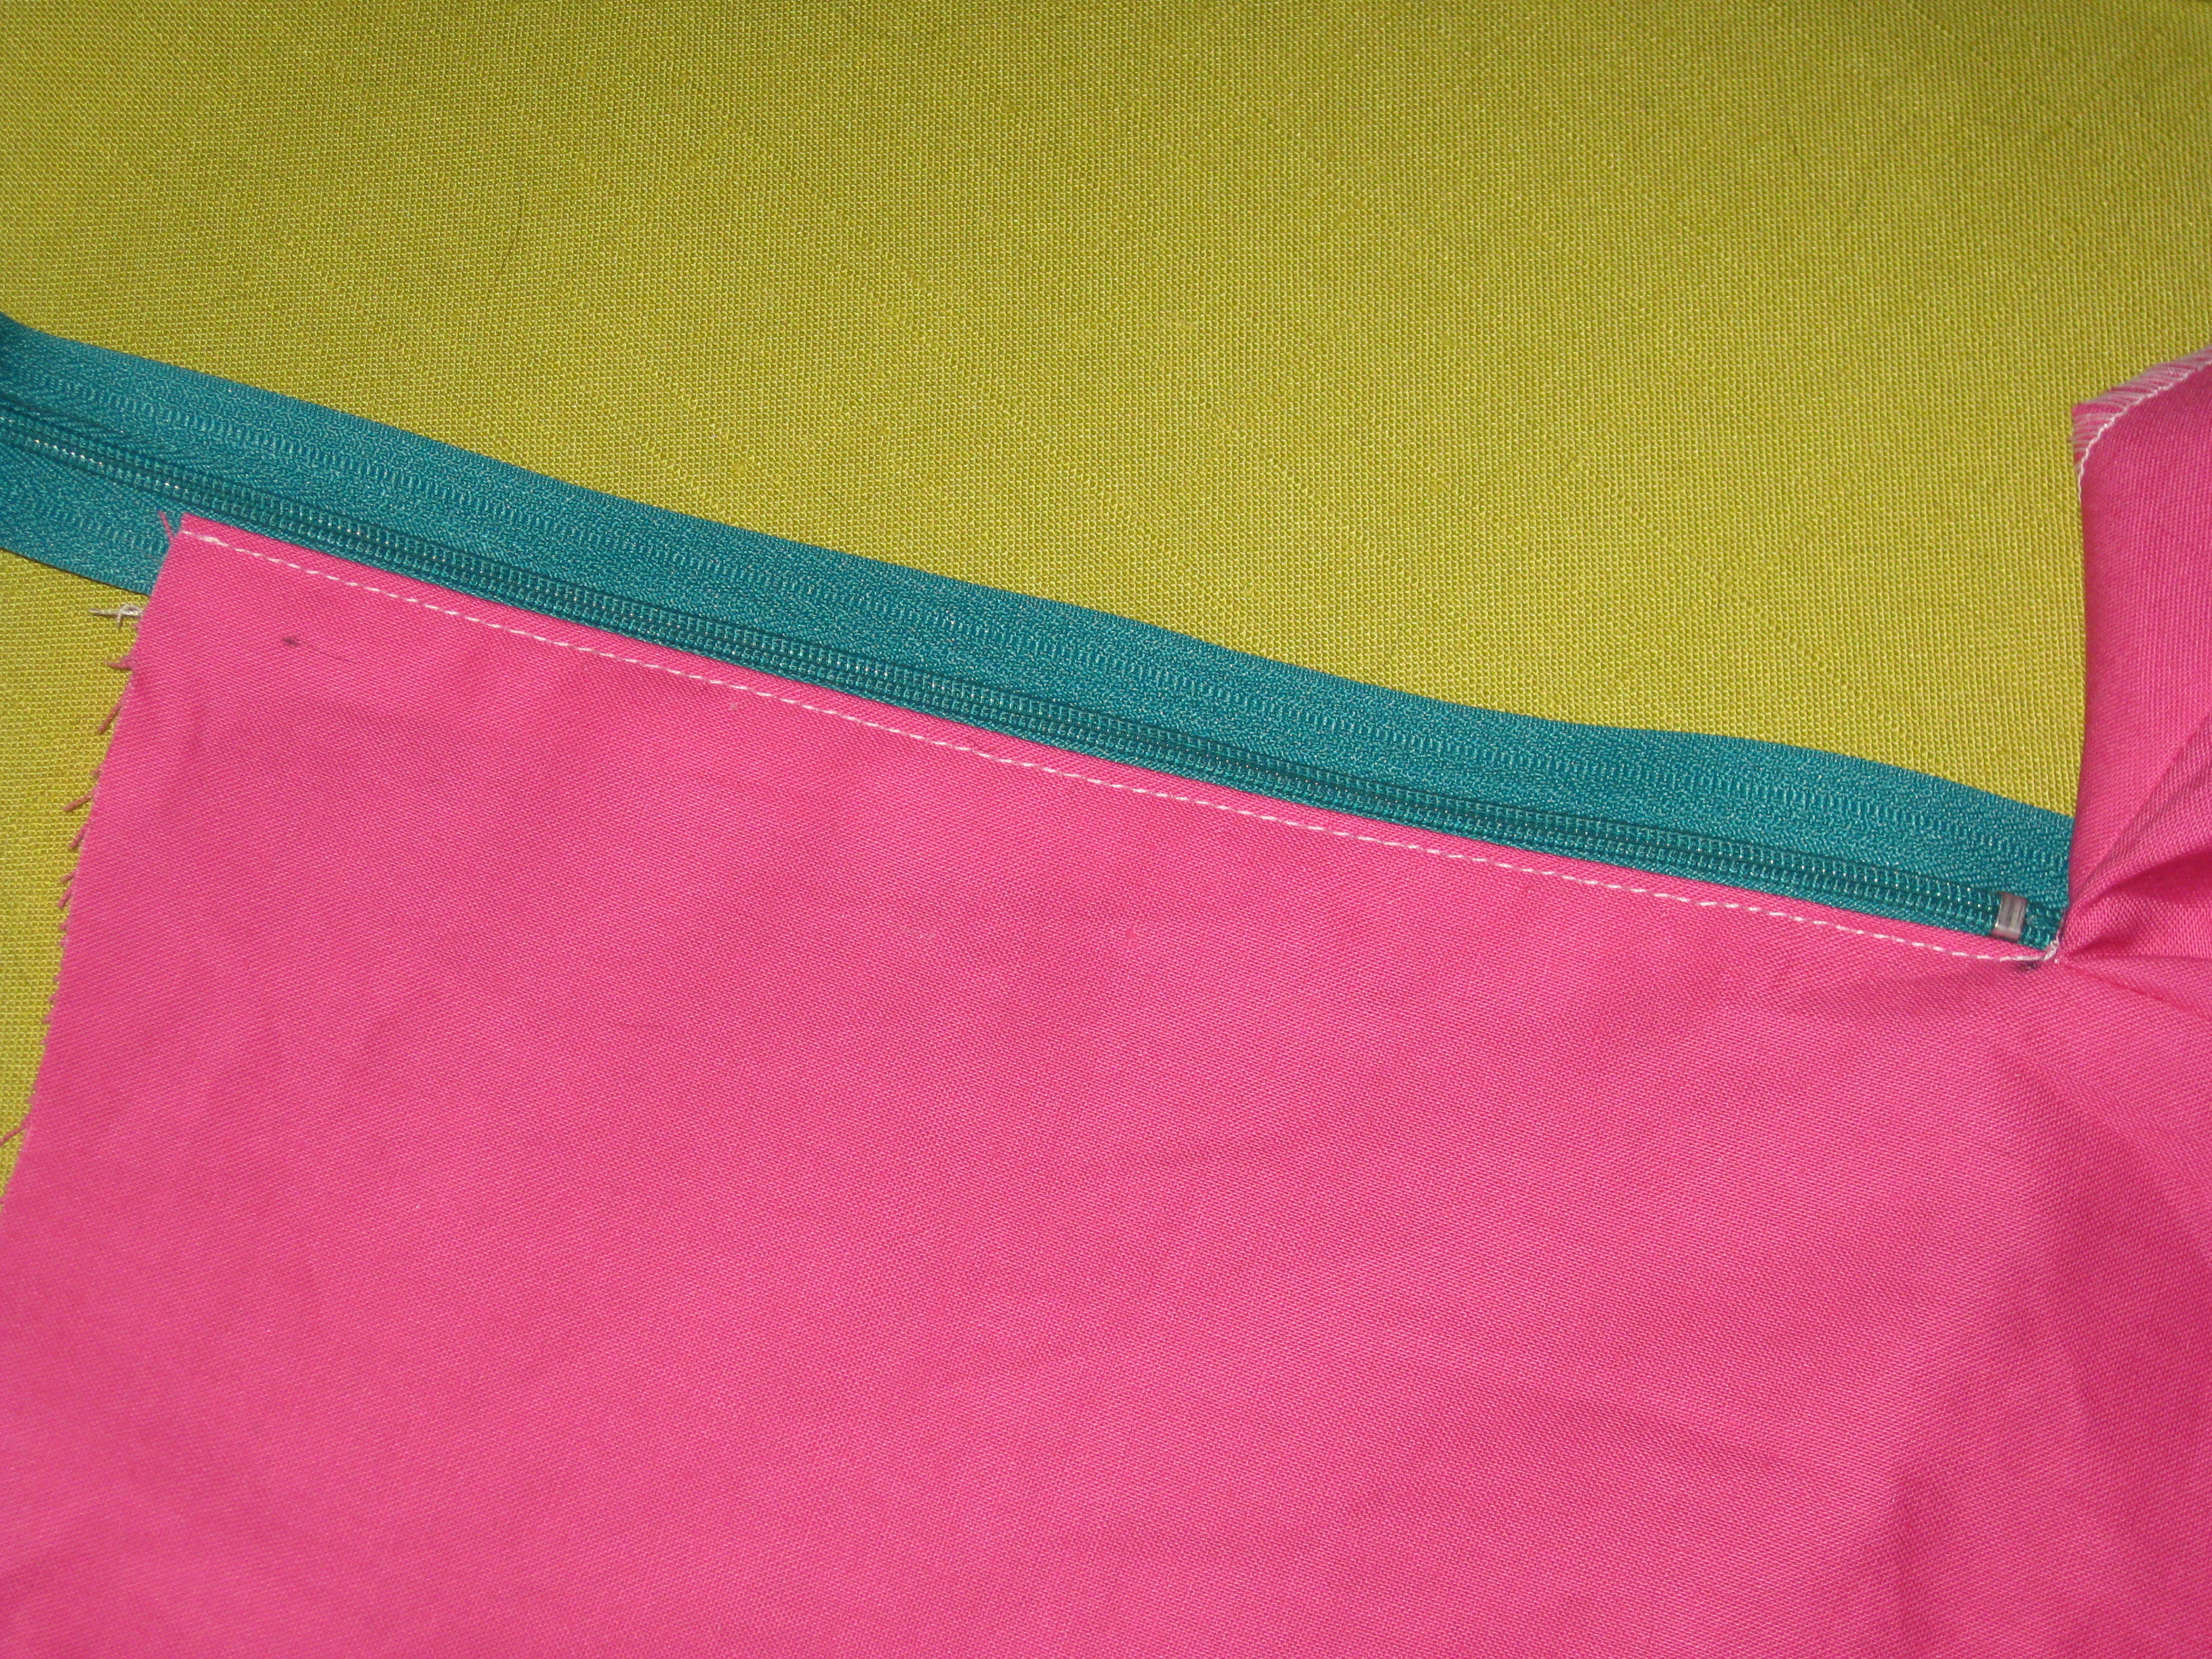
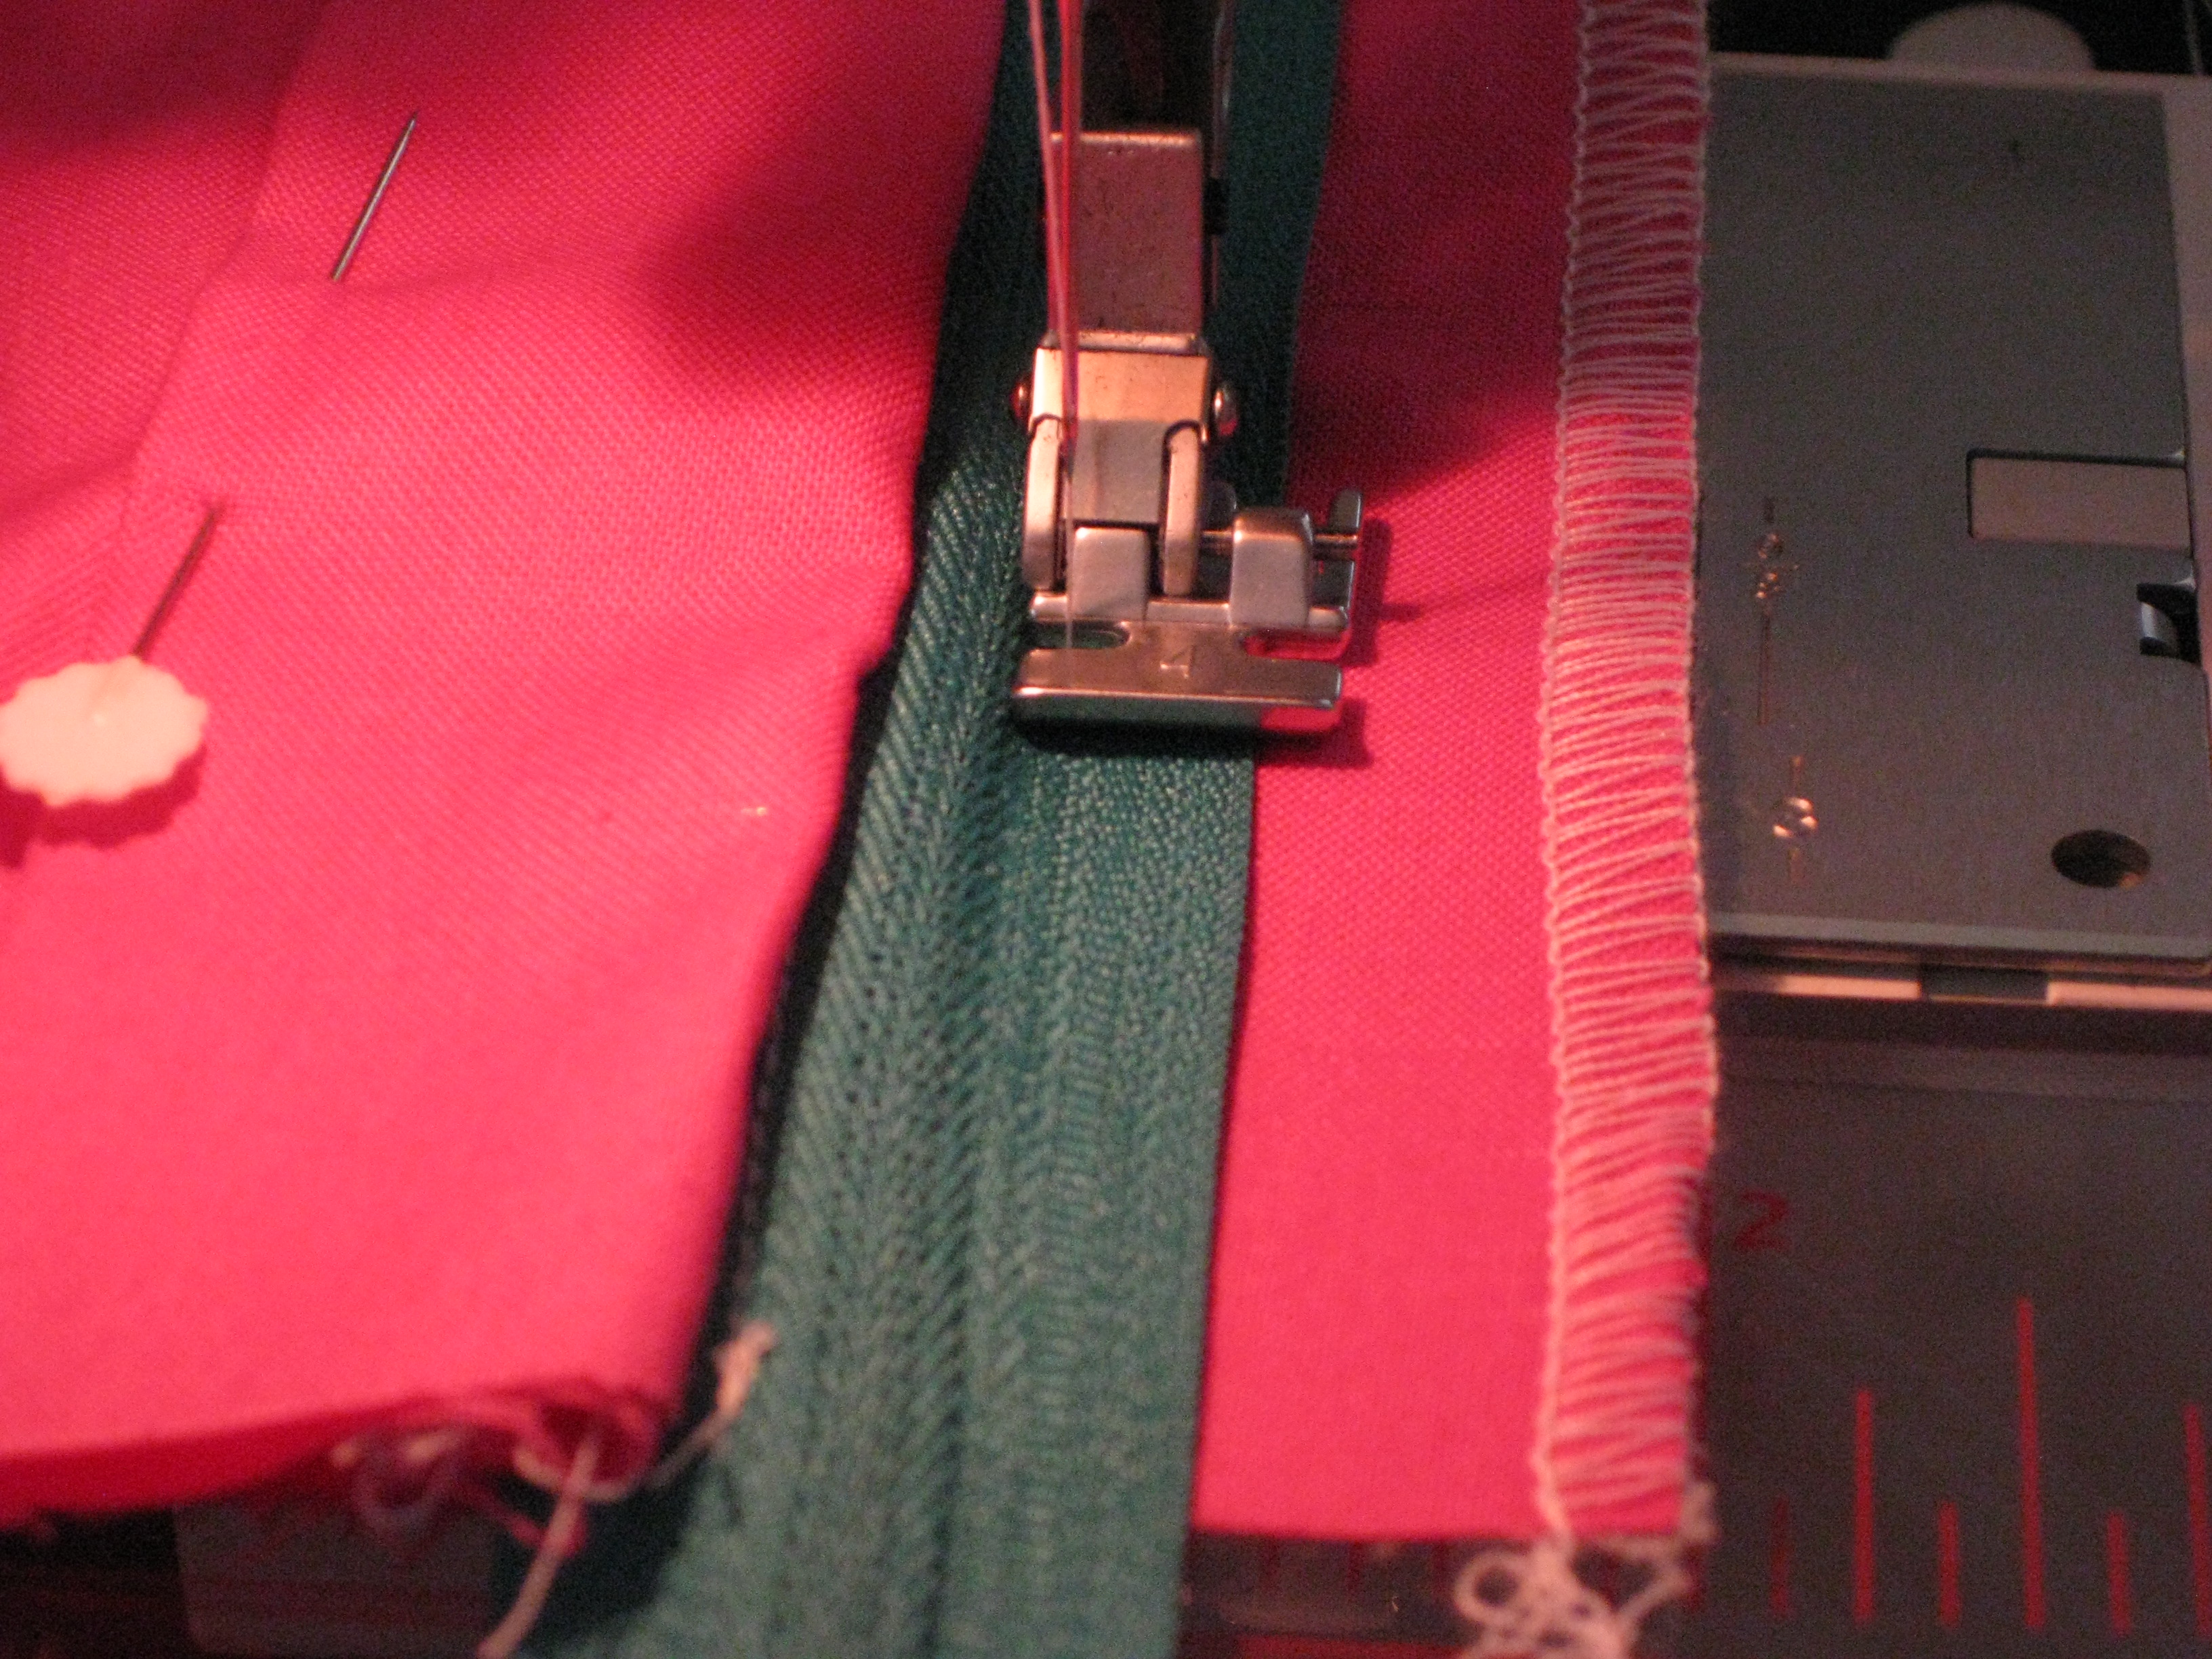
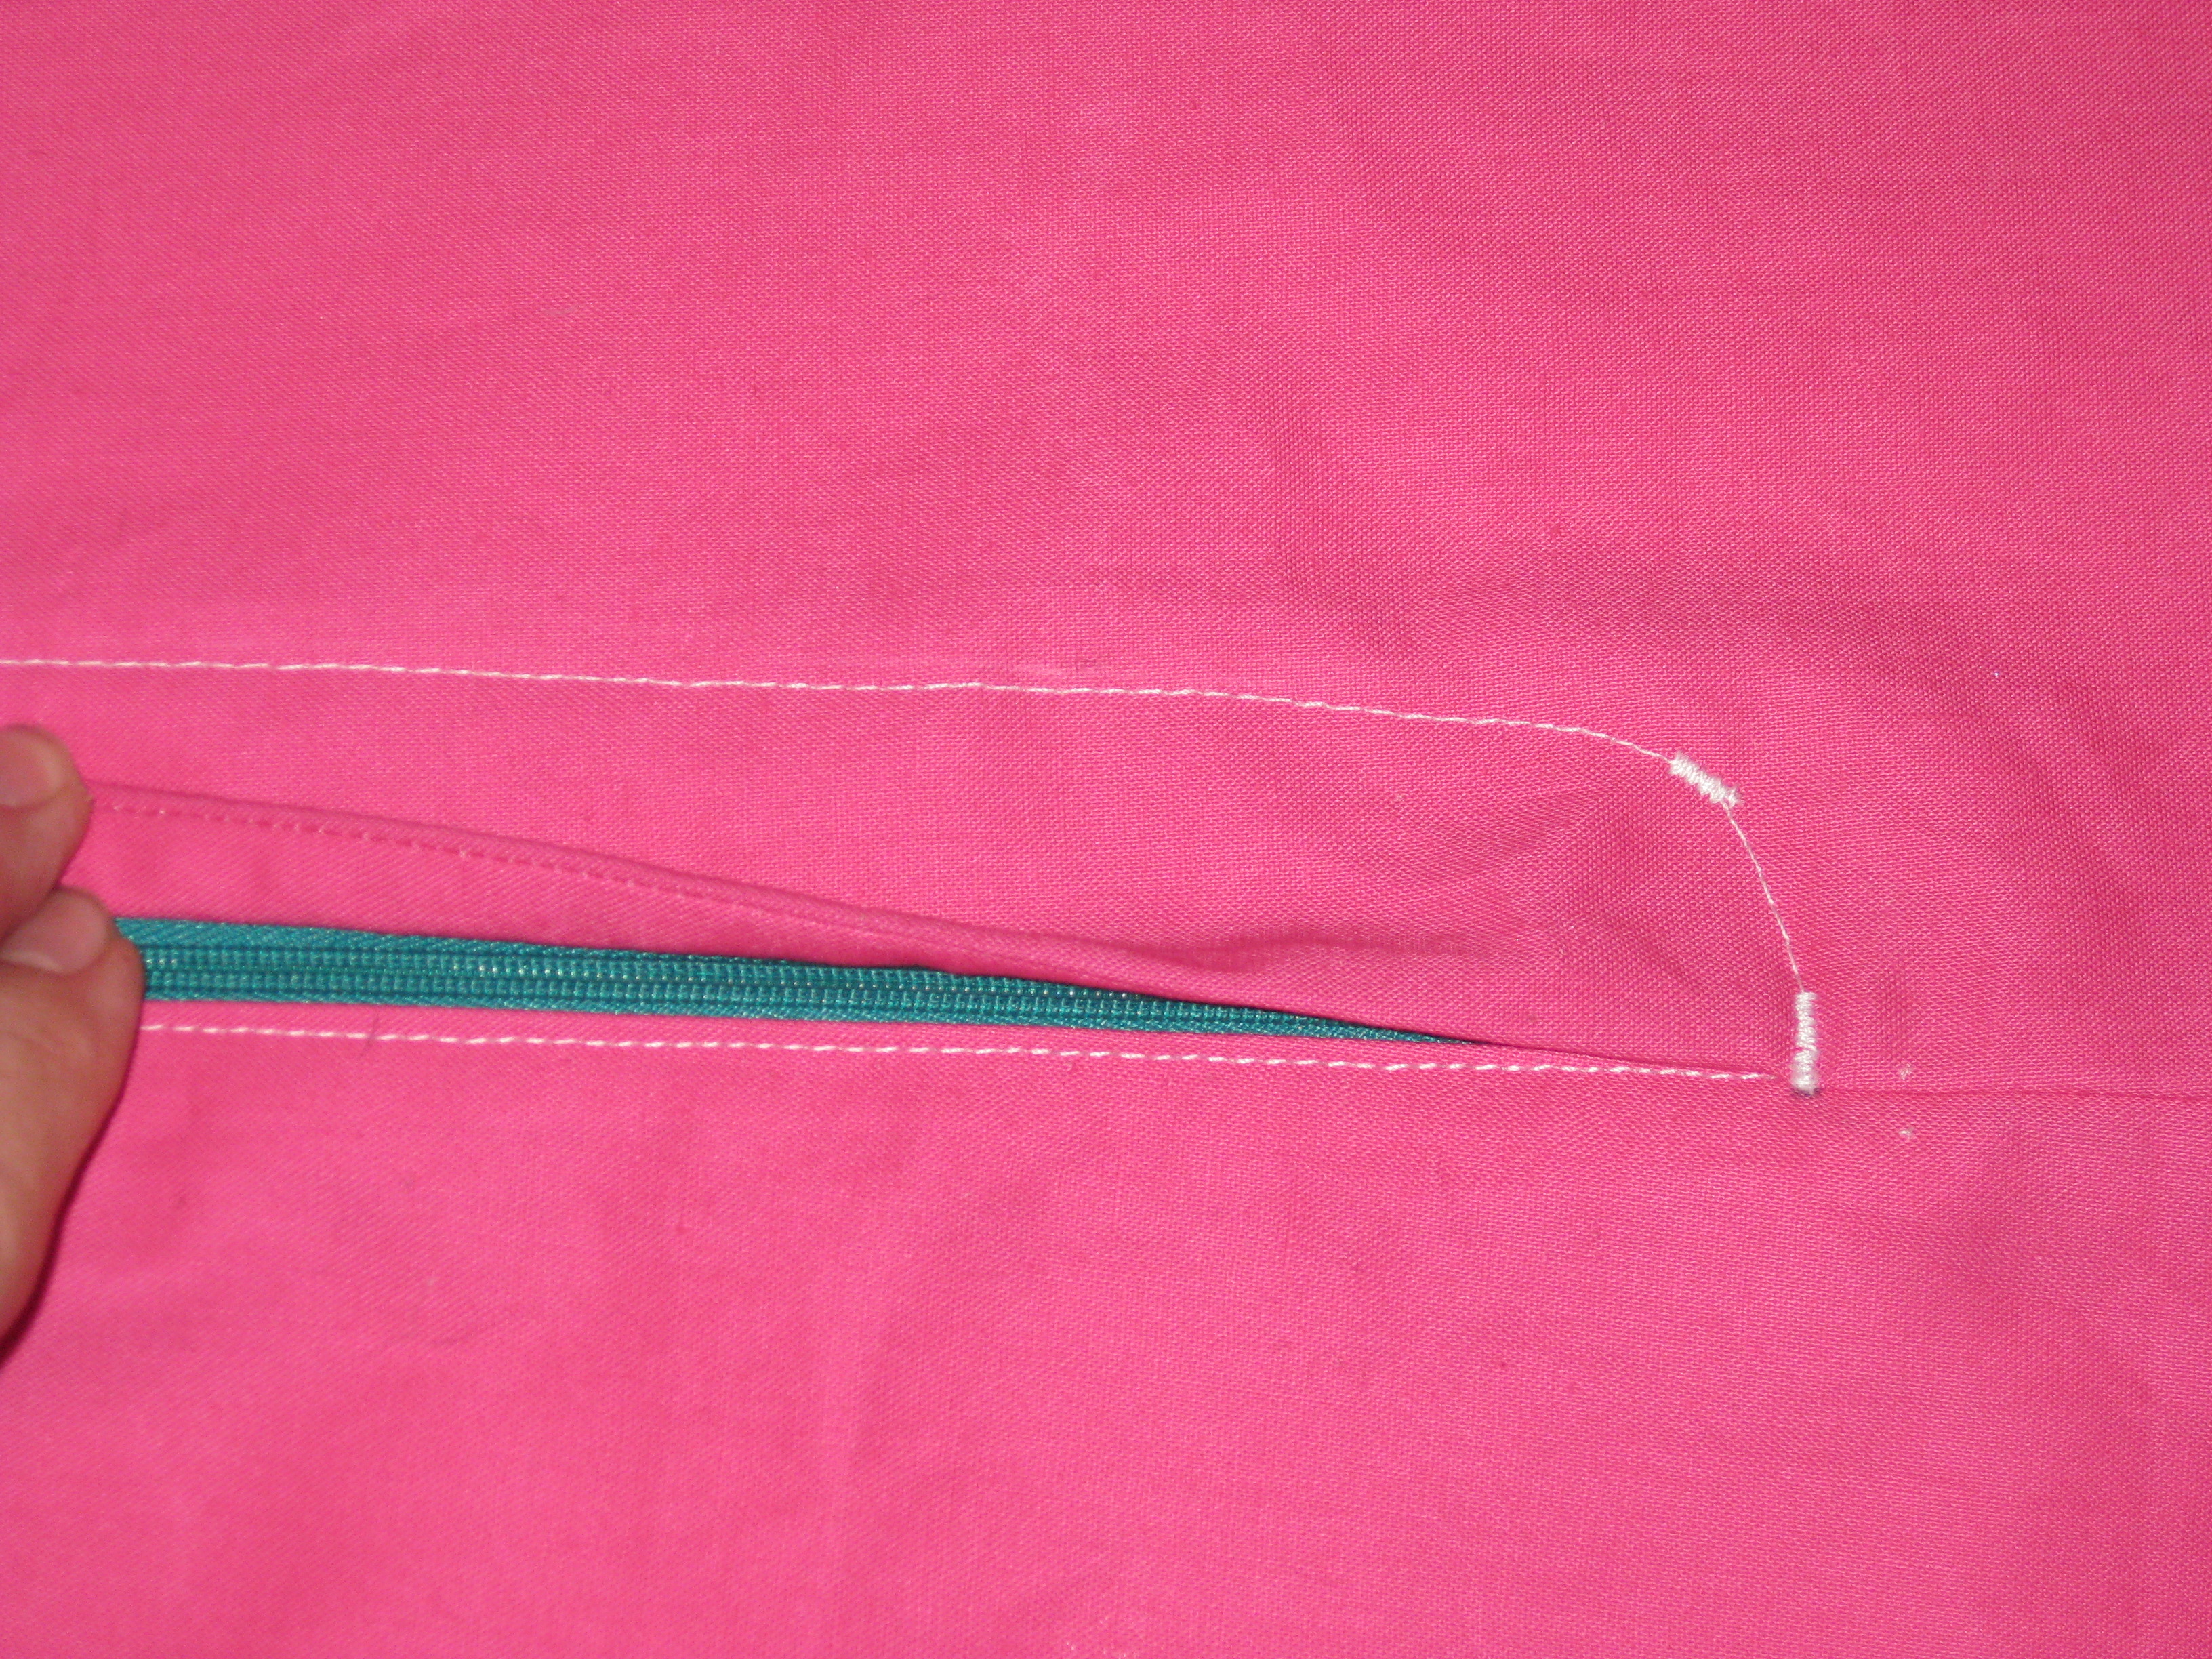
Garment edges need to be supported to prevent them from stretching out of shape during wear, for example necklines and armholes; jacket fronts and rolled lapels; at zipper openings. There are various methods to accomplish this:
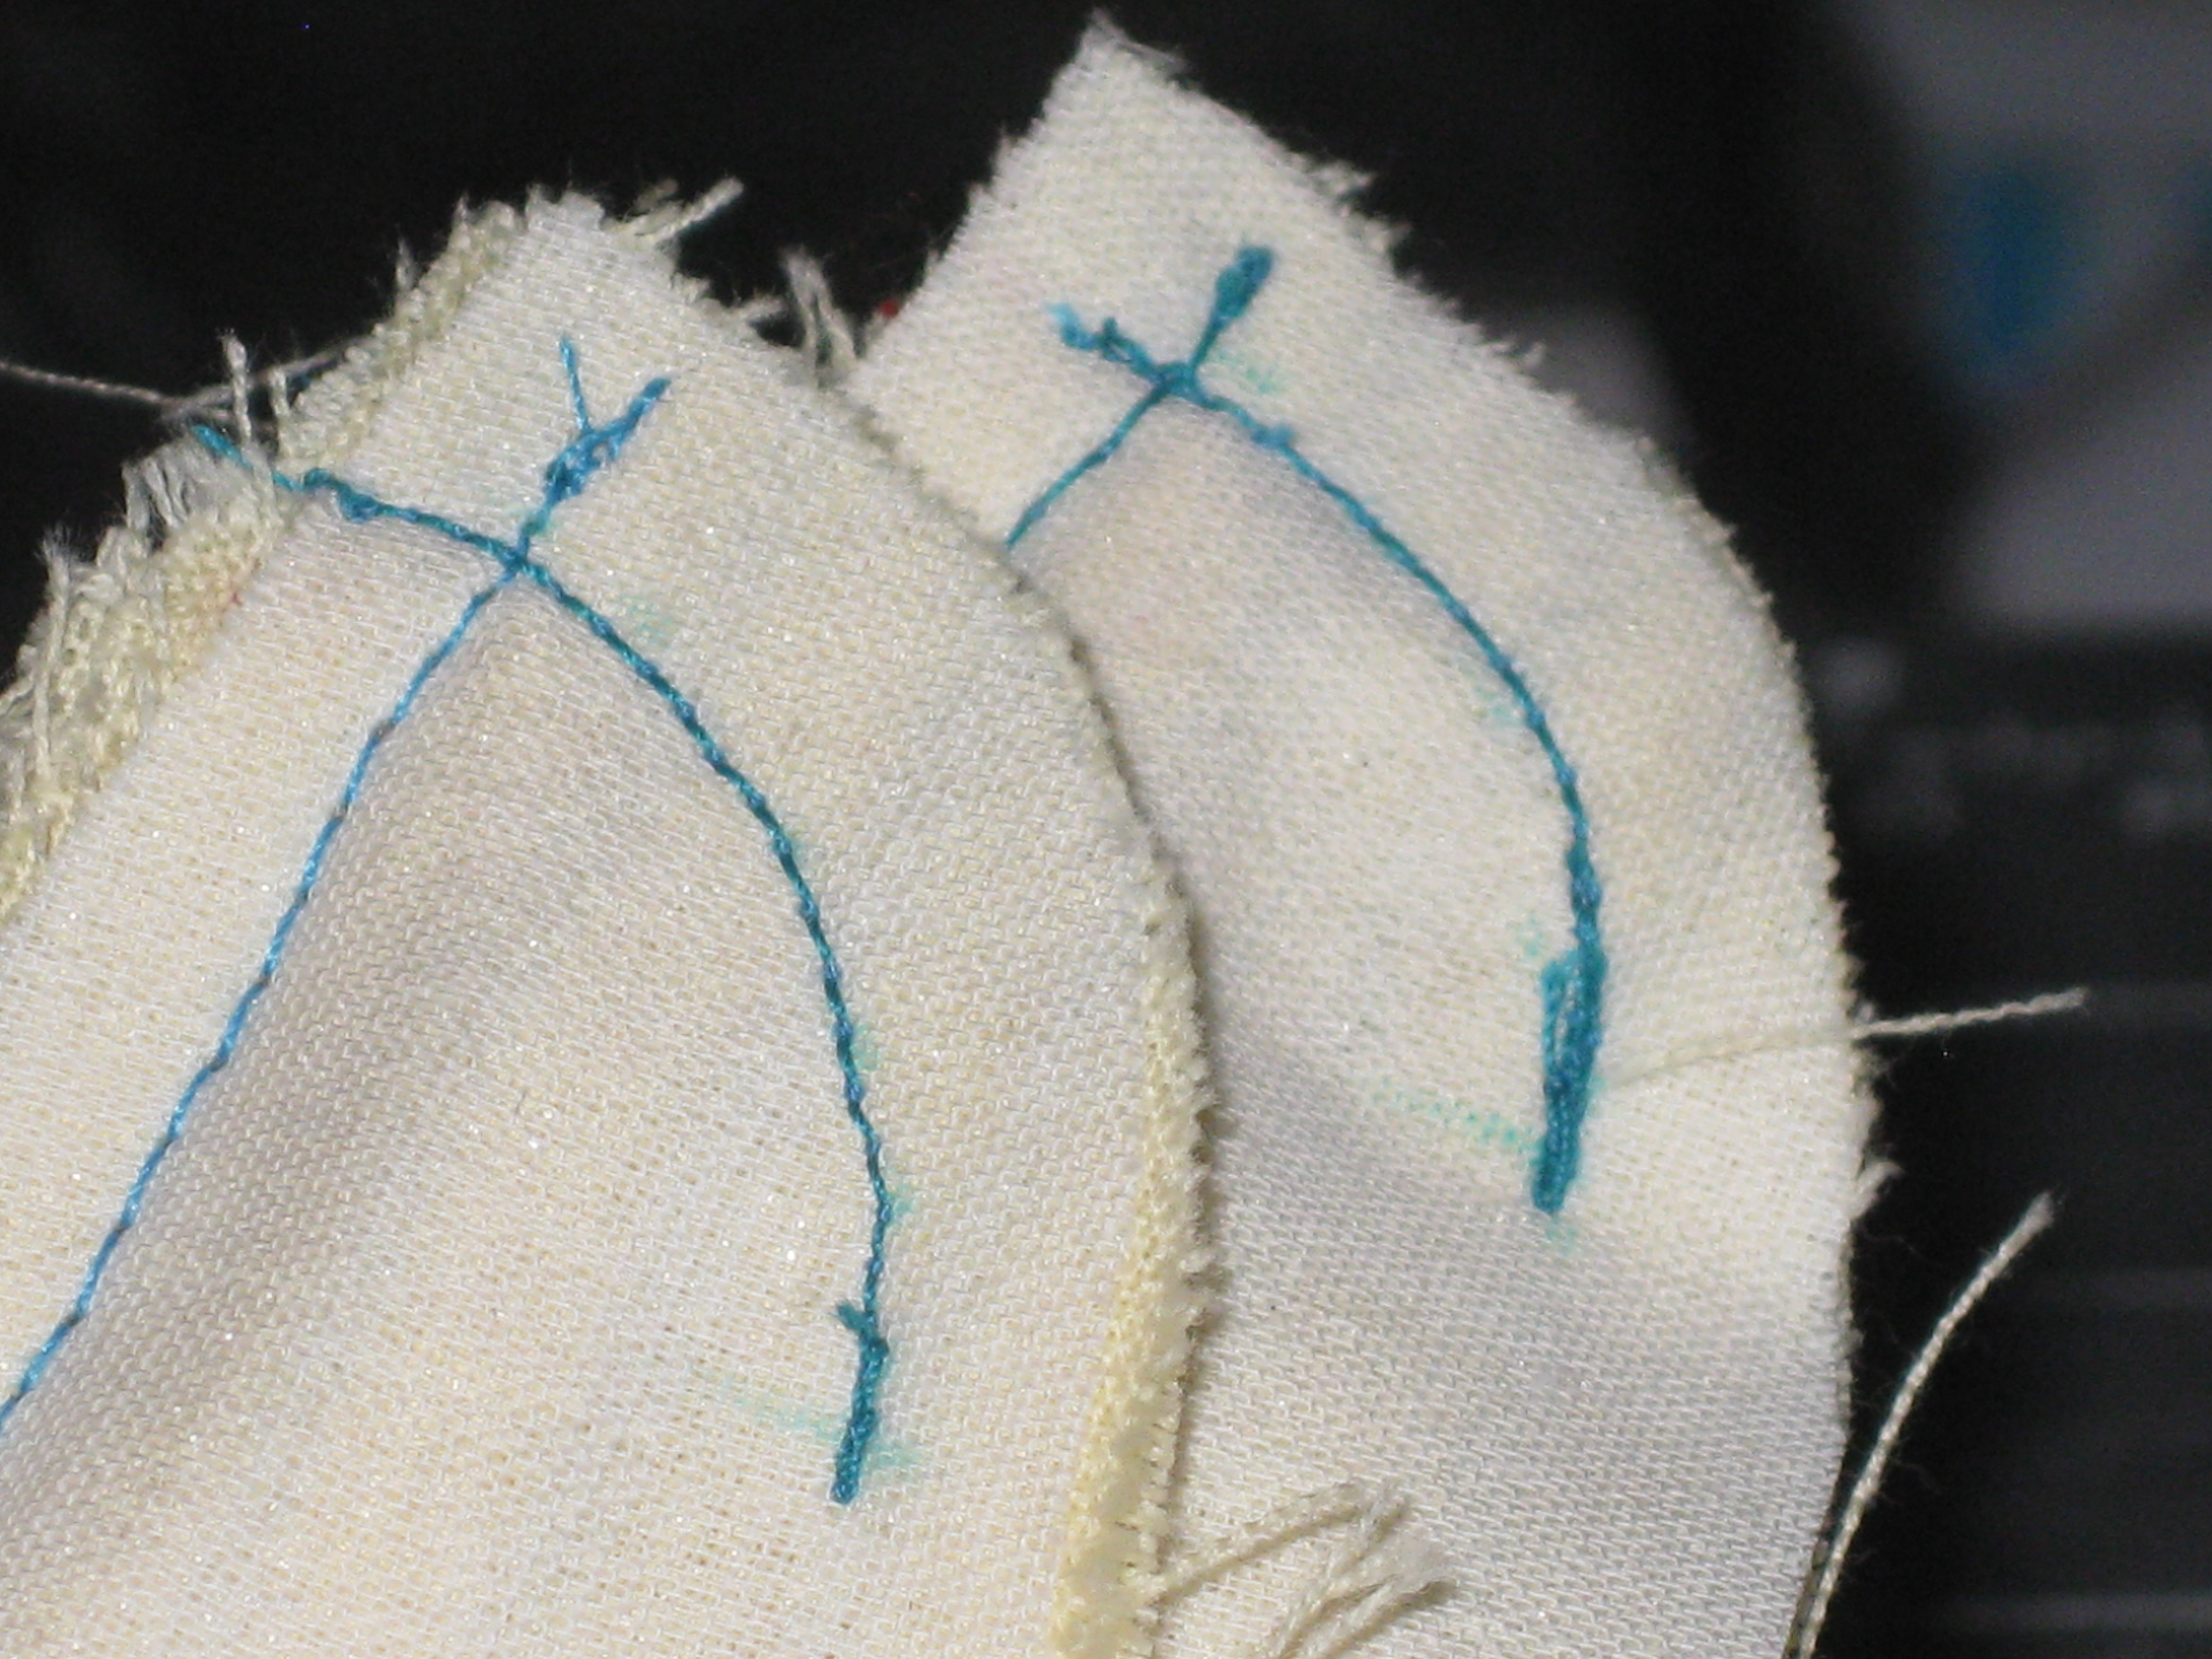
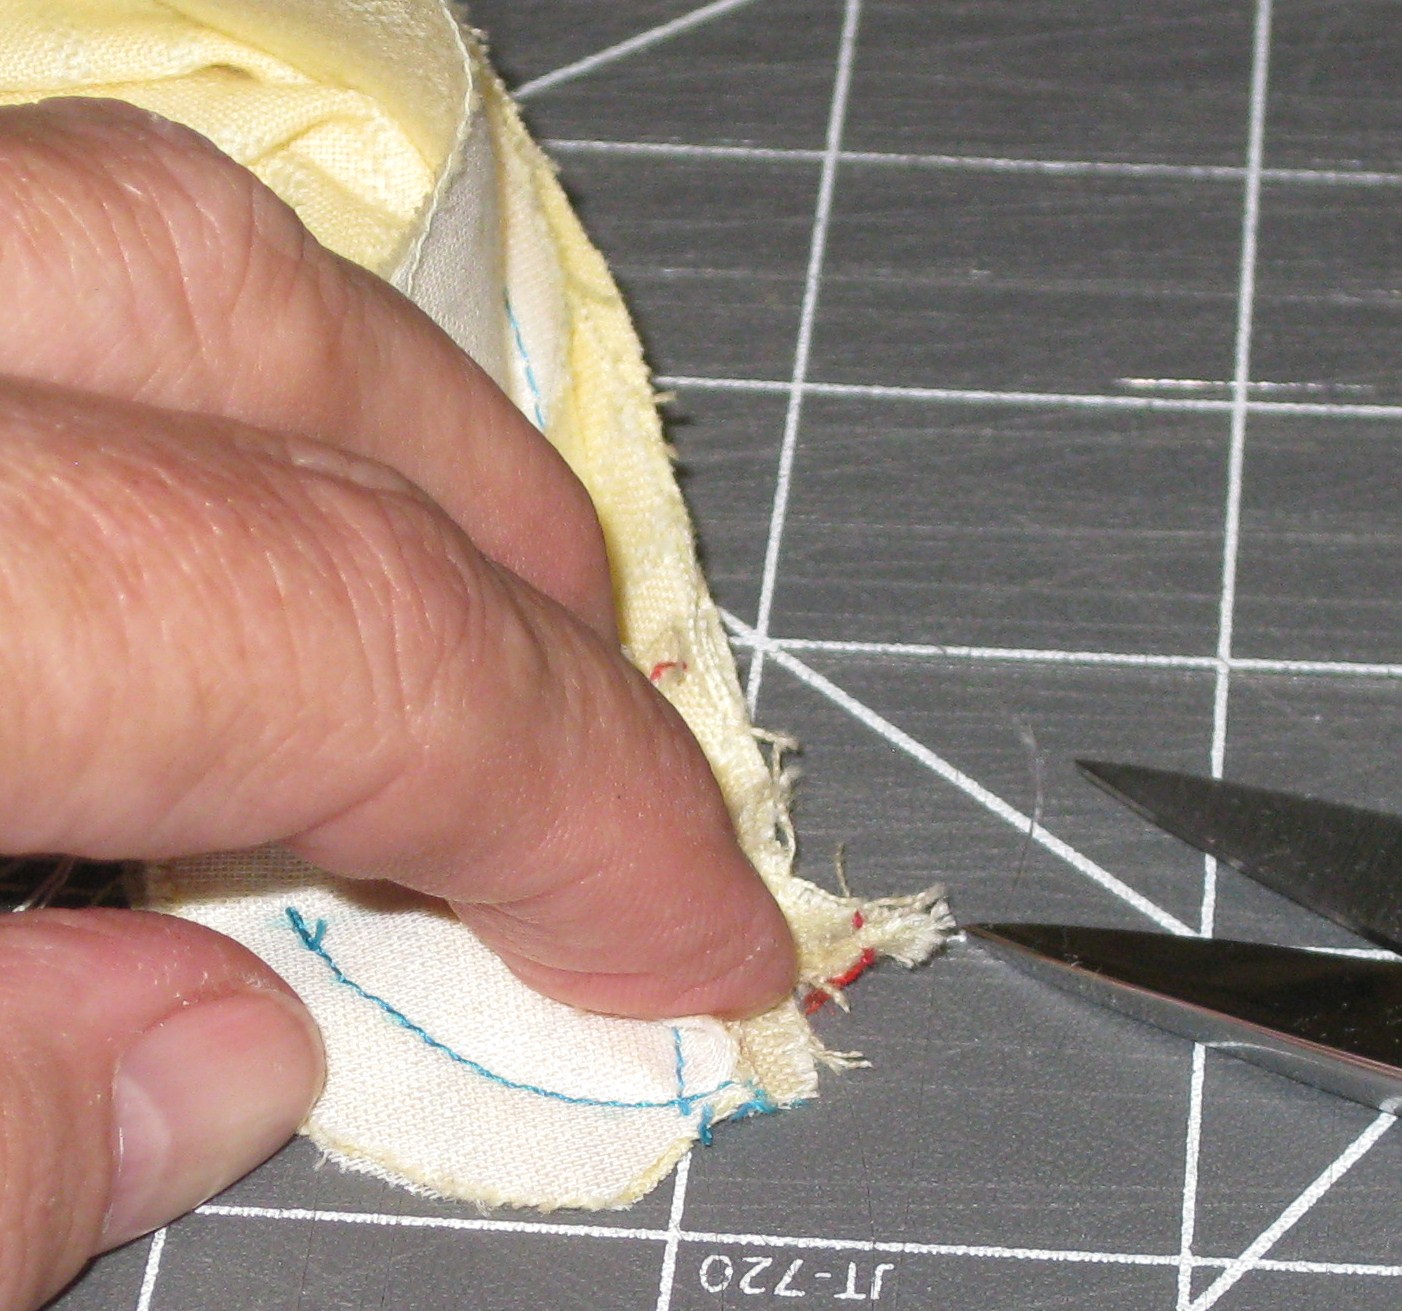
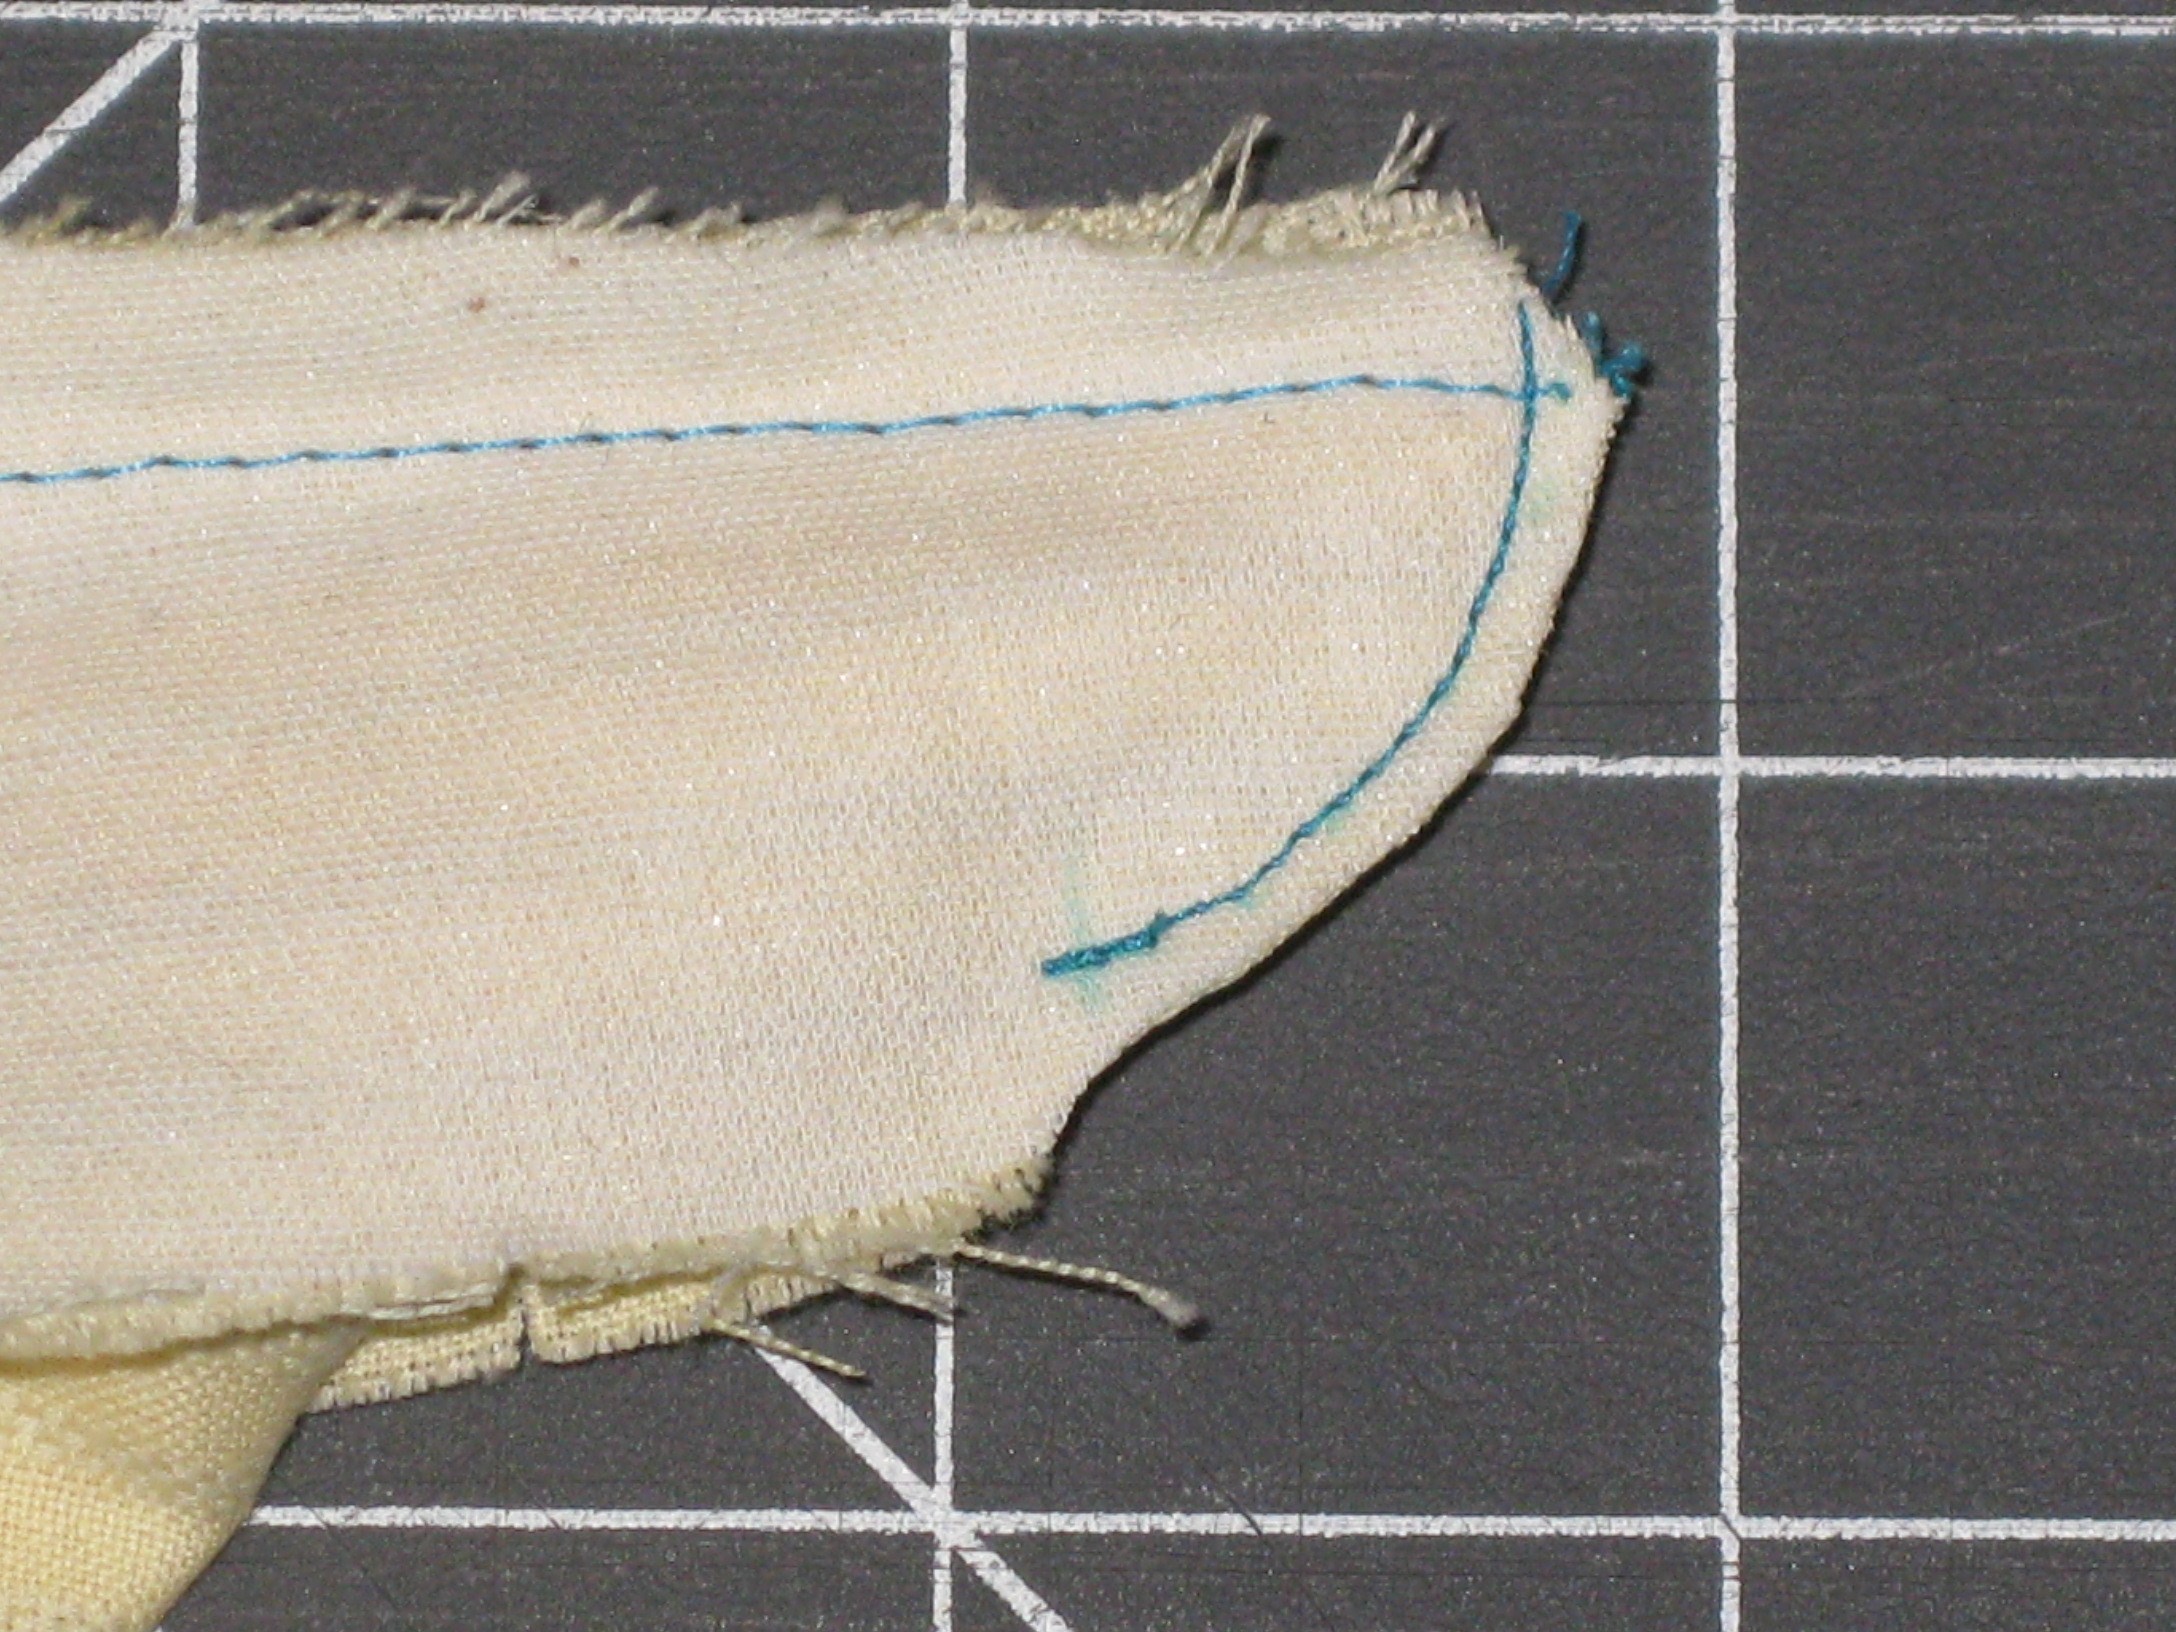
- Directional stay stitching – using a small straight stitch and widest to narrowest (see blog post 27th April “Staystitching and Understitching”):
- towards centre front and centre back for curved necklines
- from V to shoulder with V necklines
- from neck to shoulder
- on armholes from shoulder to armhole
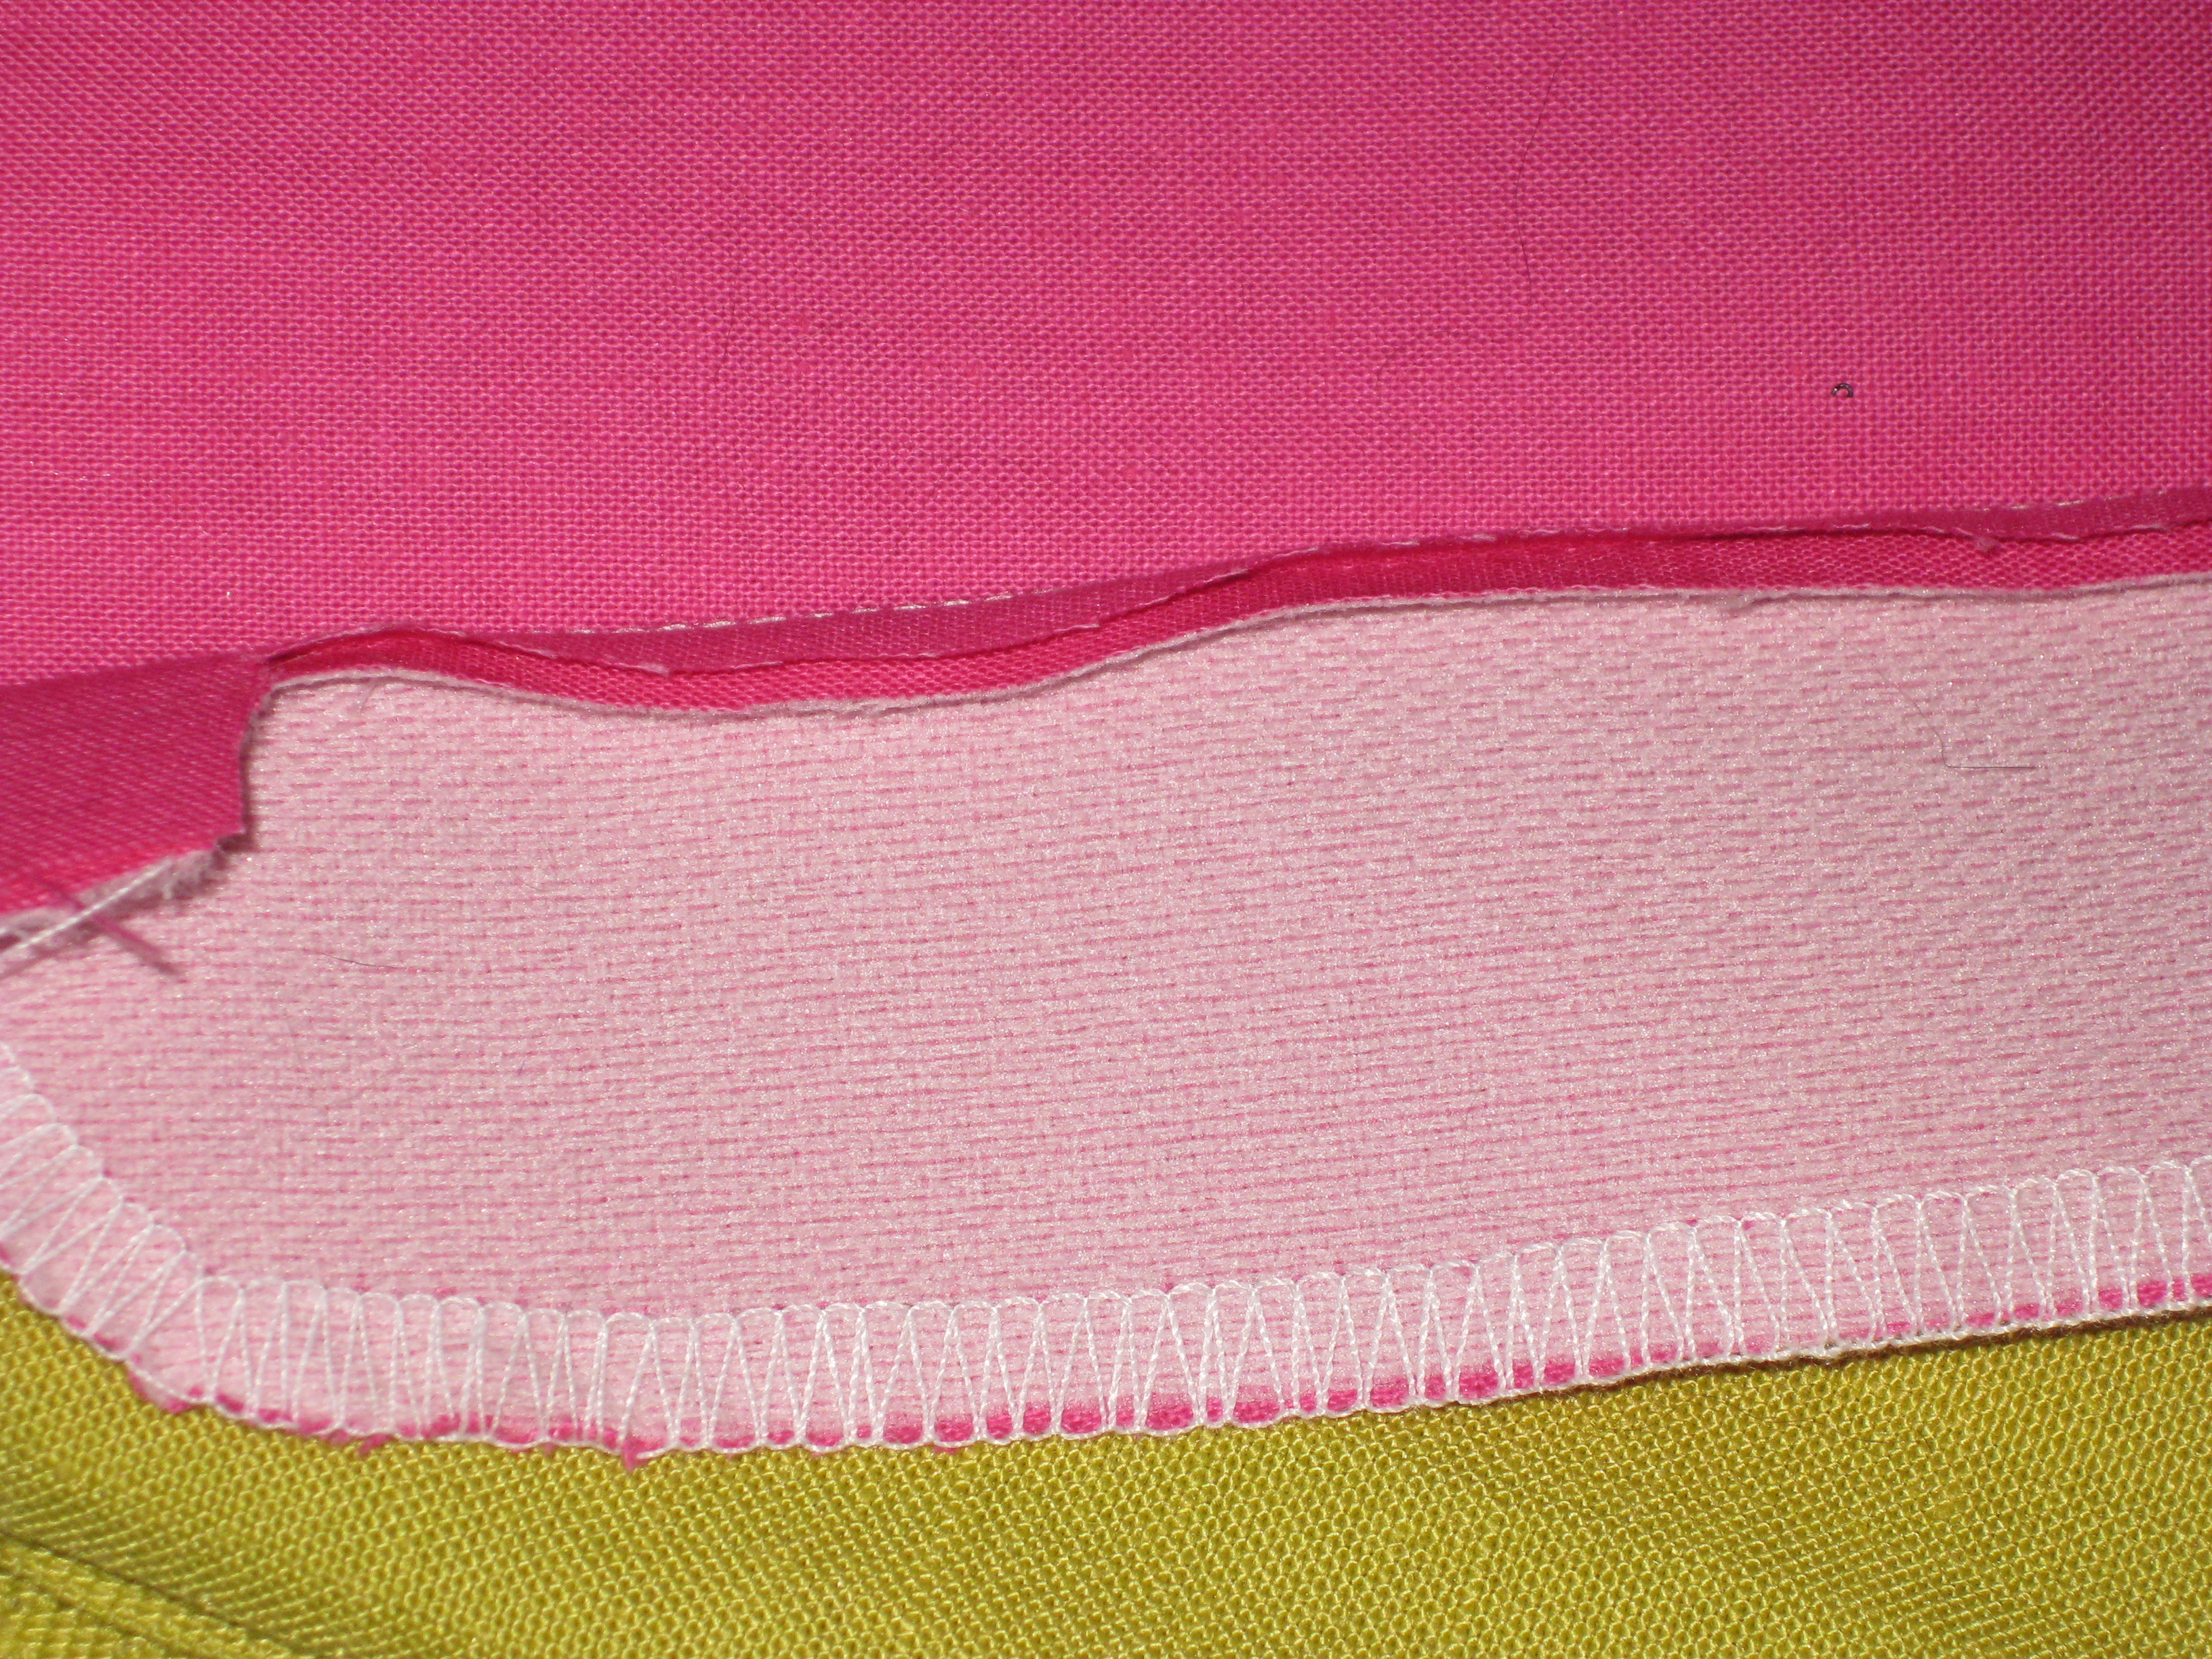
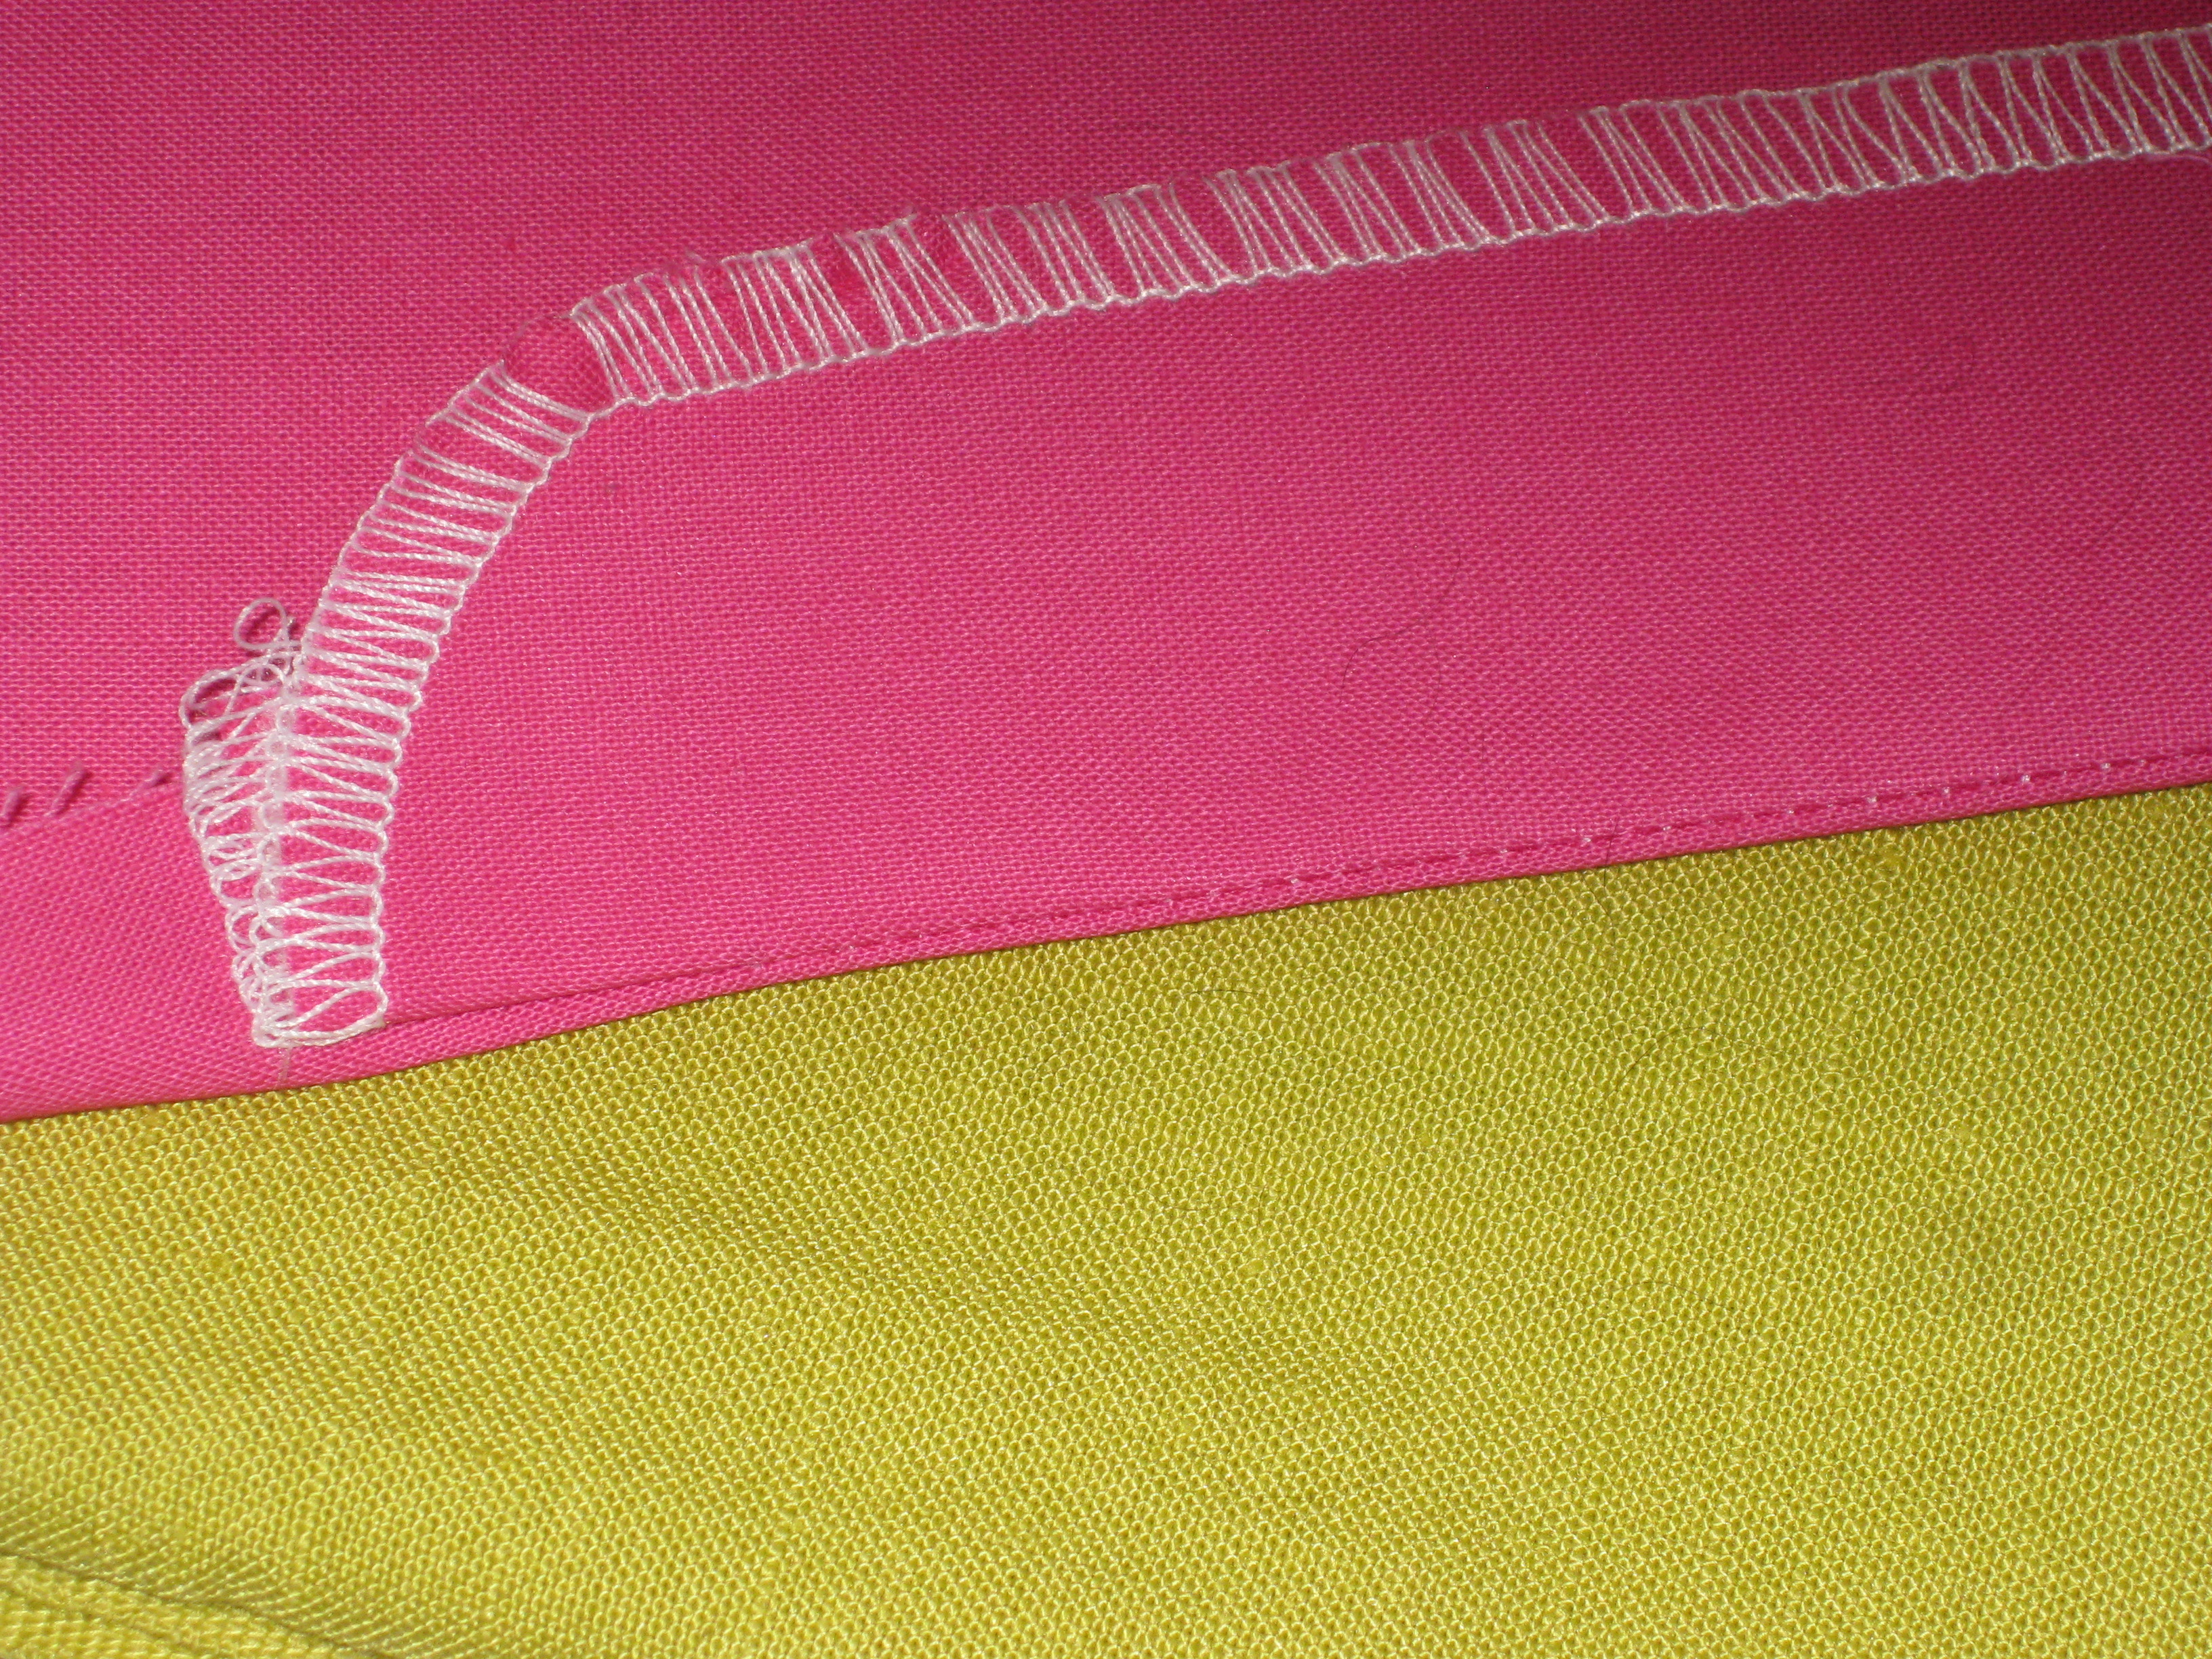
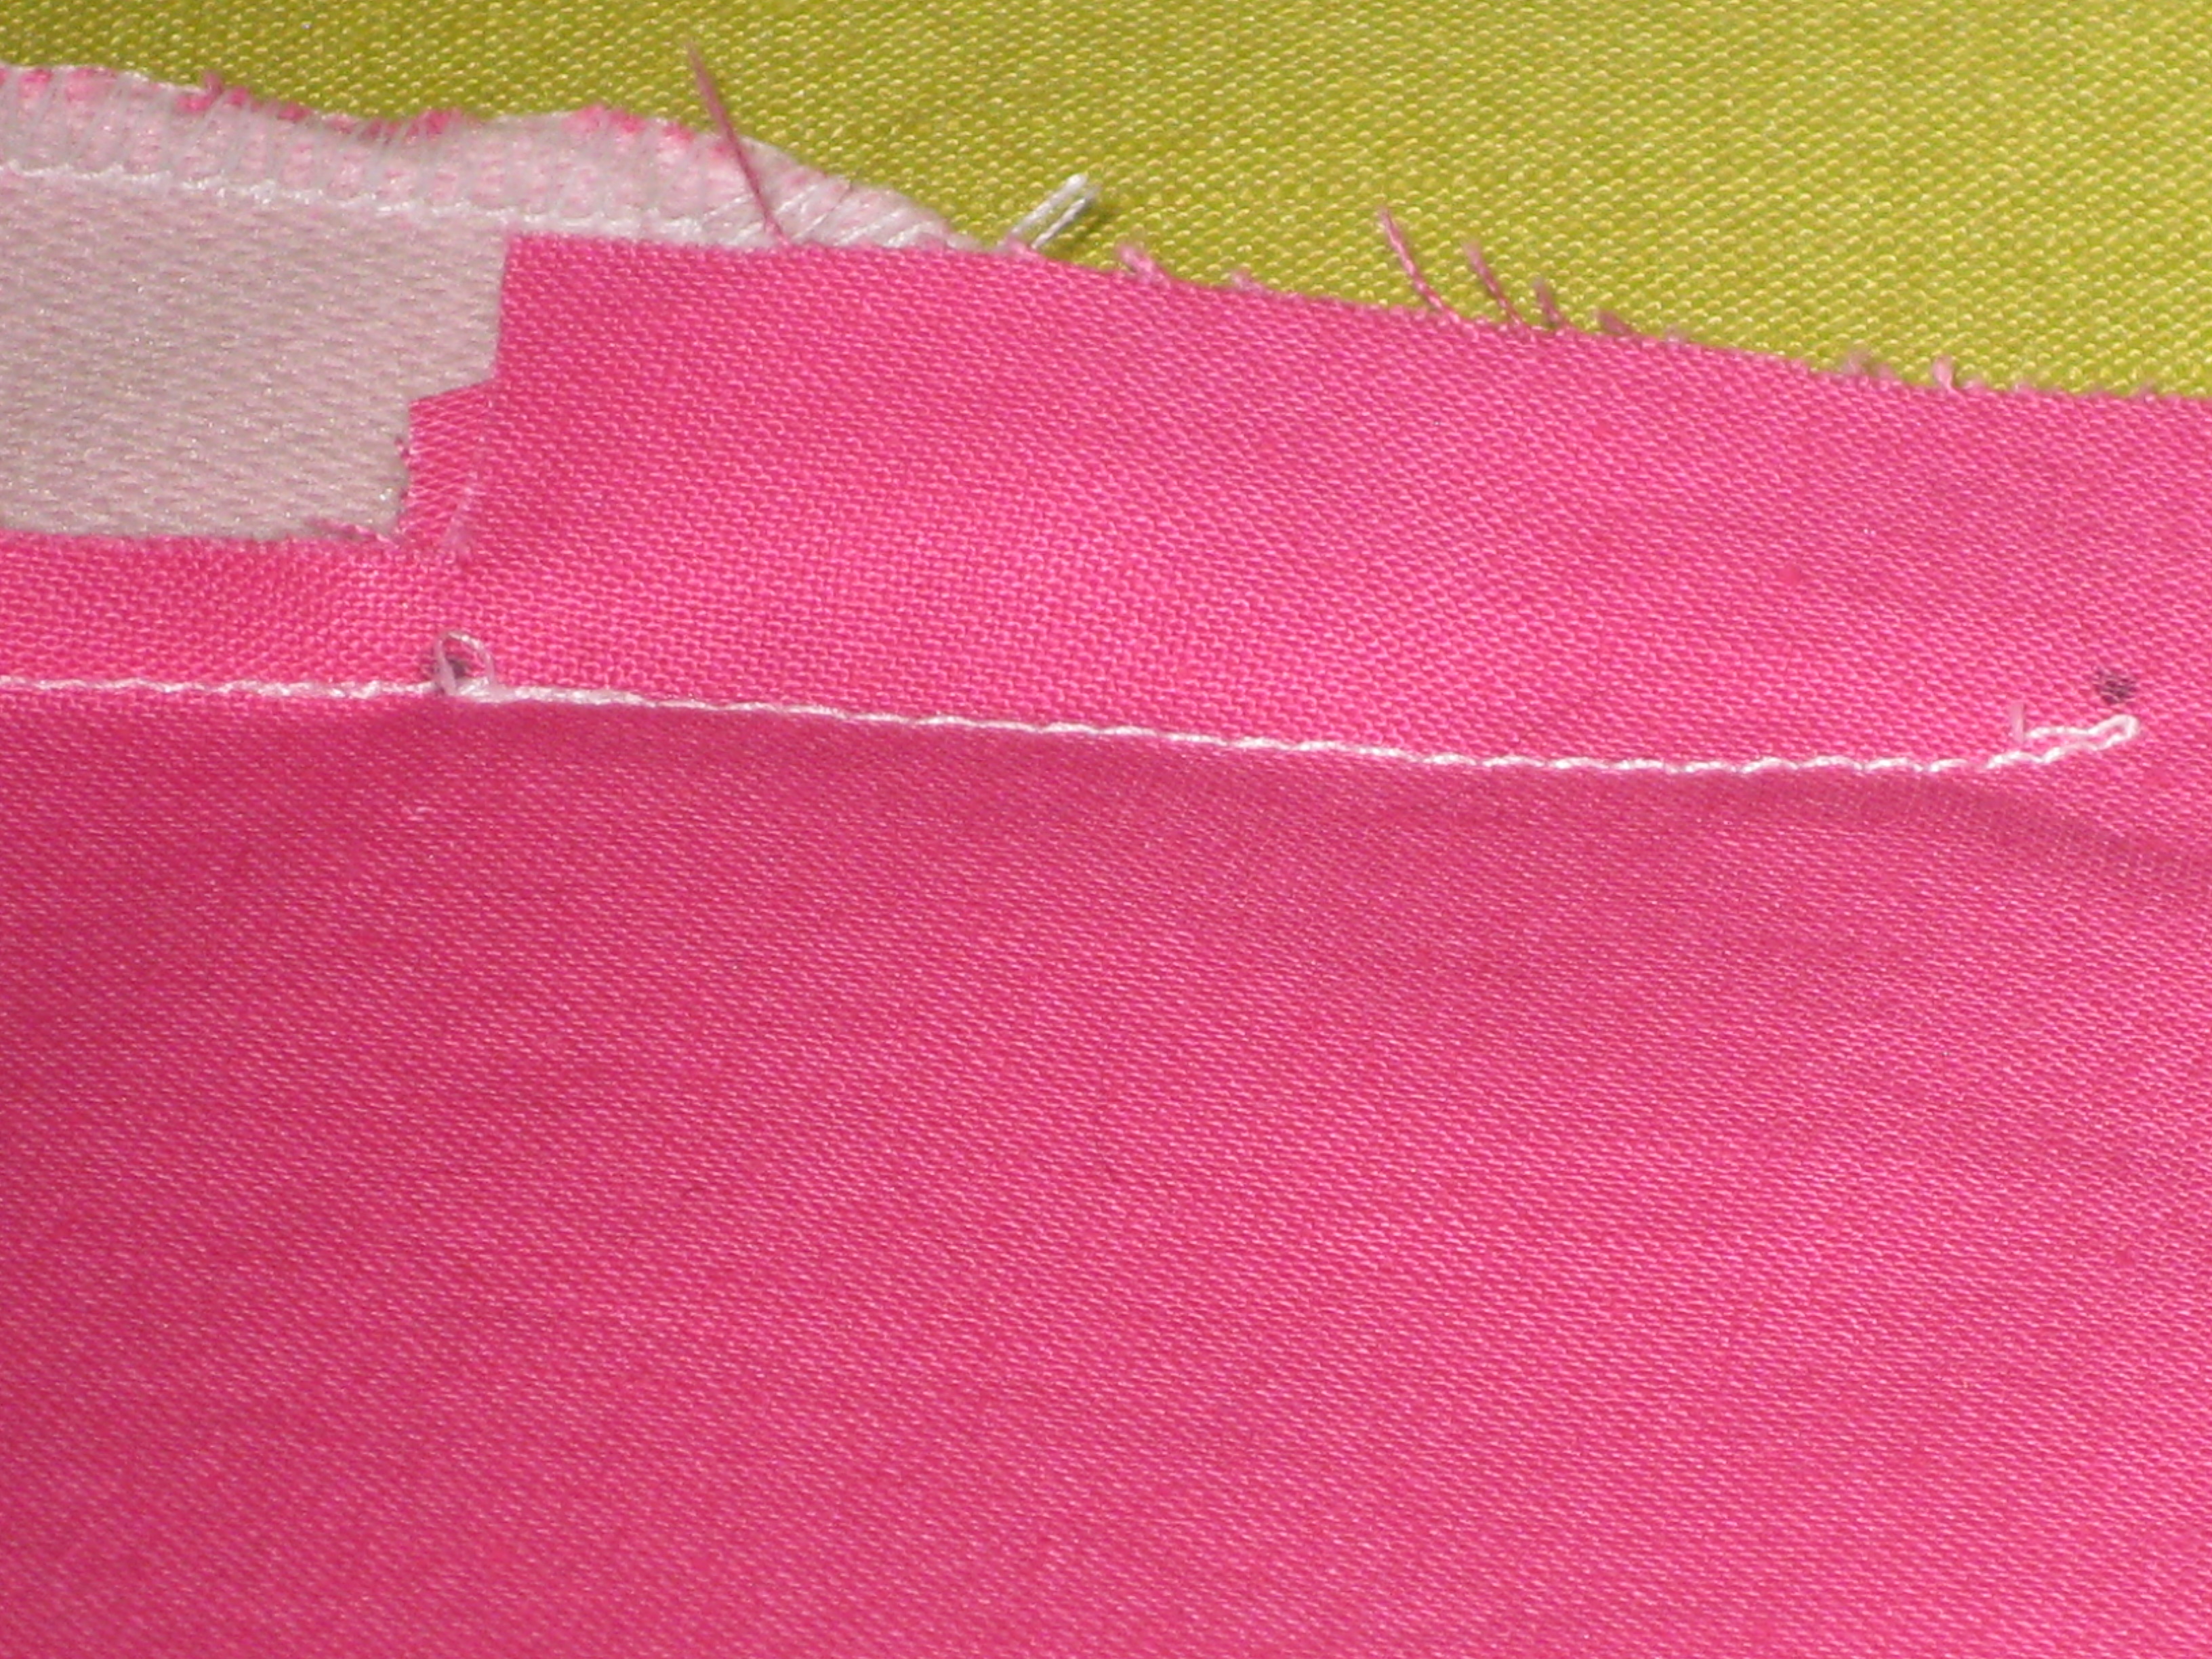
- Application of a fusible tape – cut on the straight grain – on the wrong side of the garment directly over the seam line
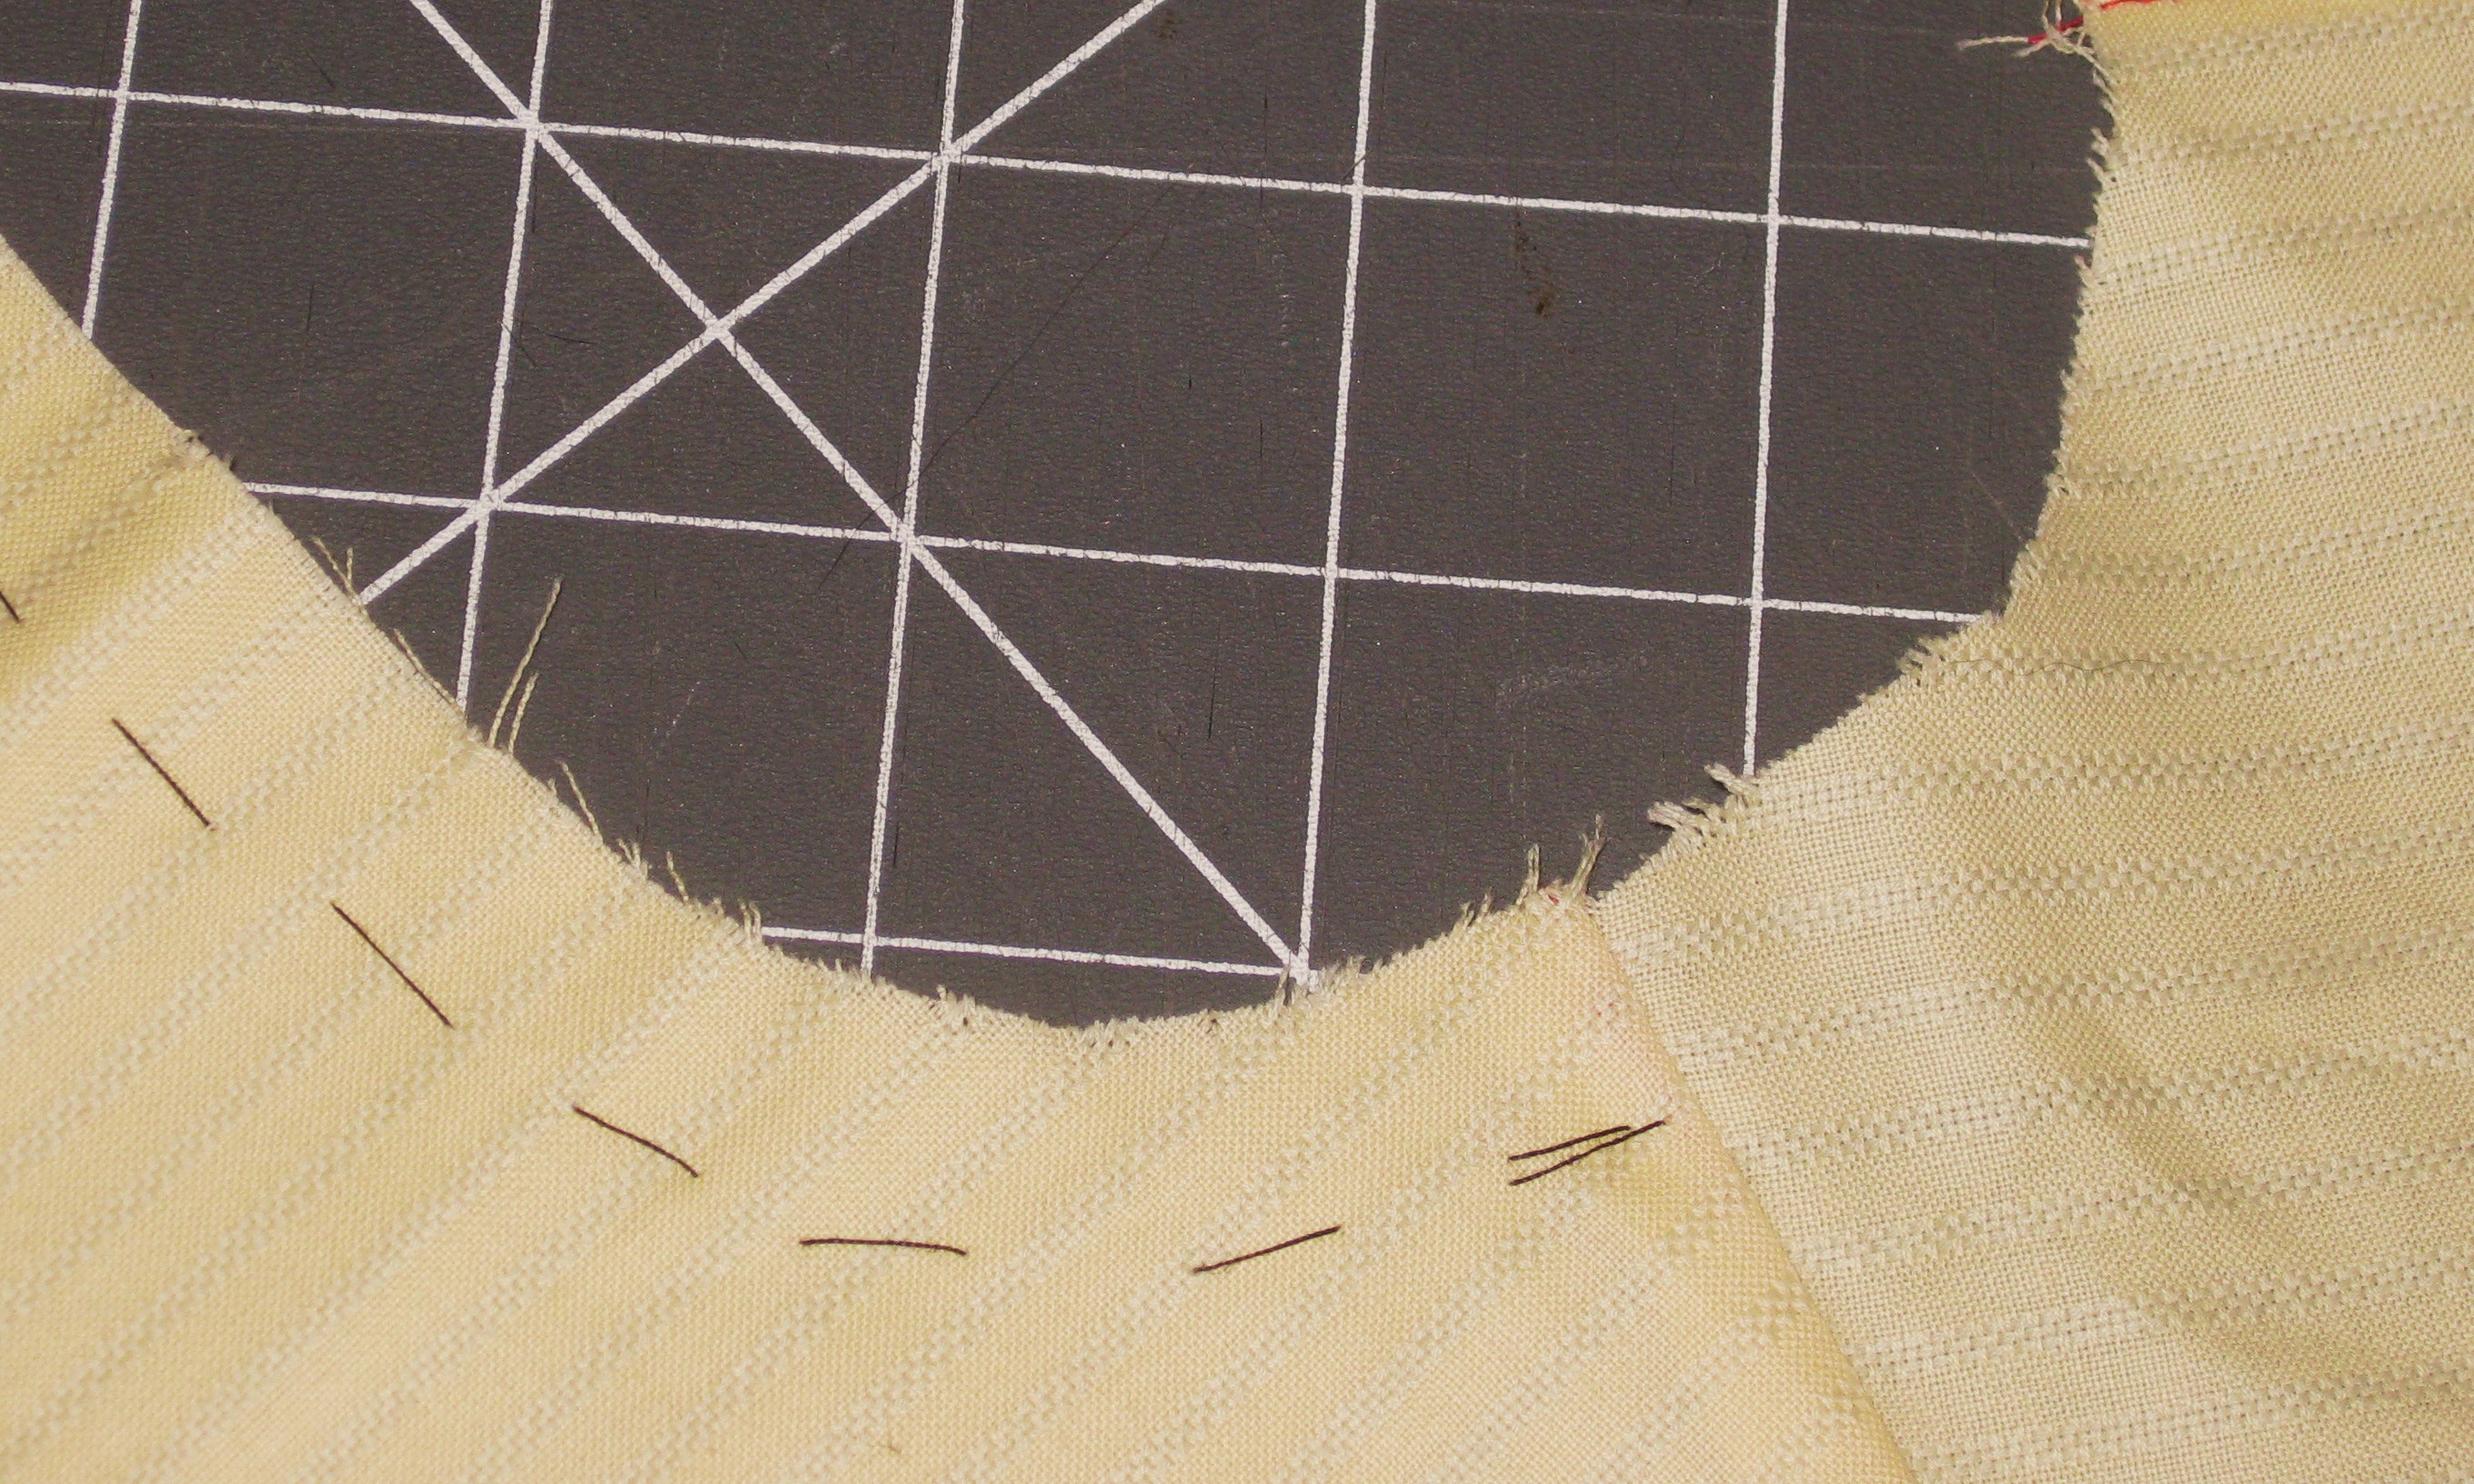
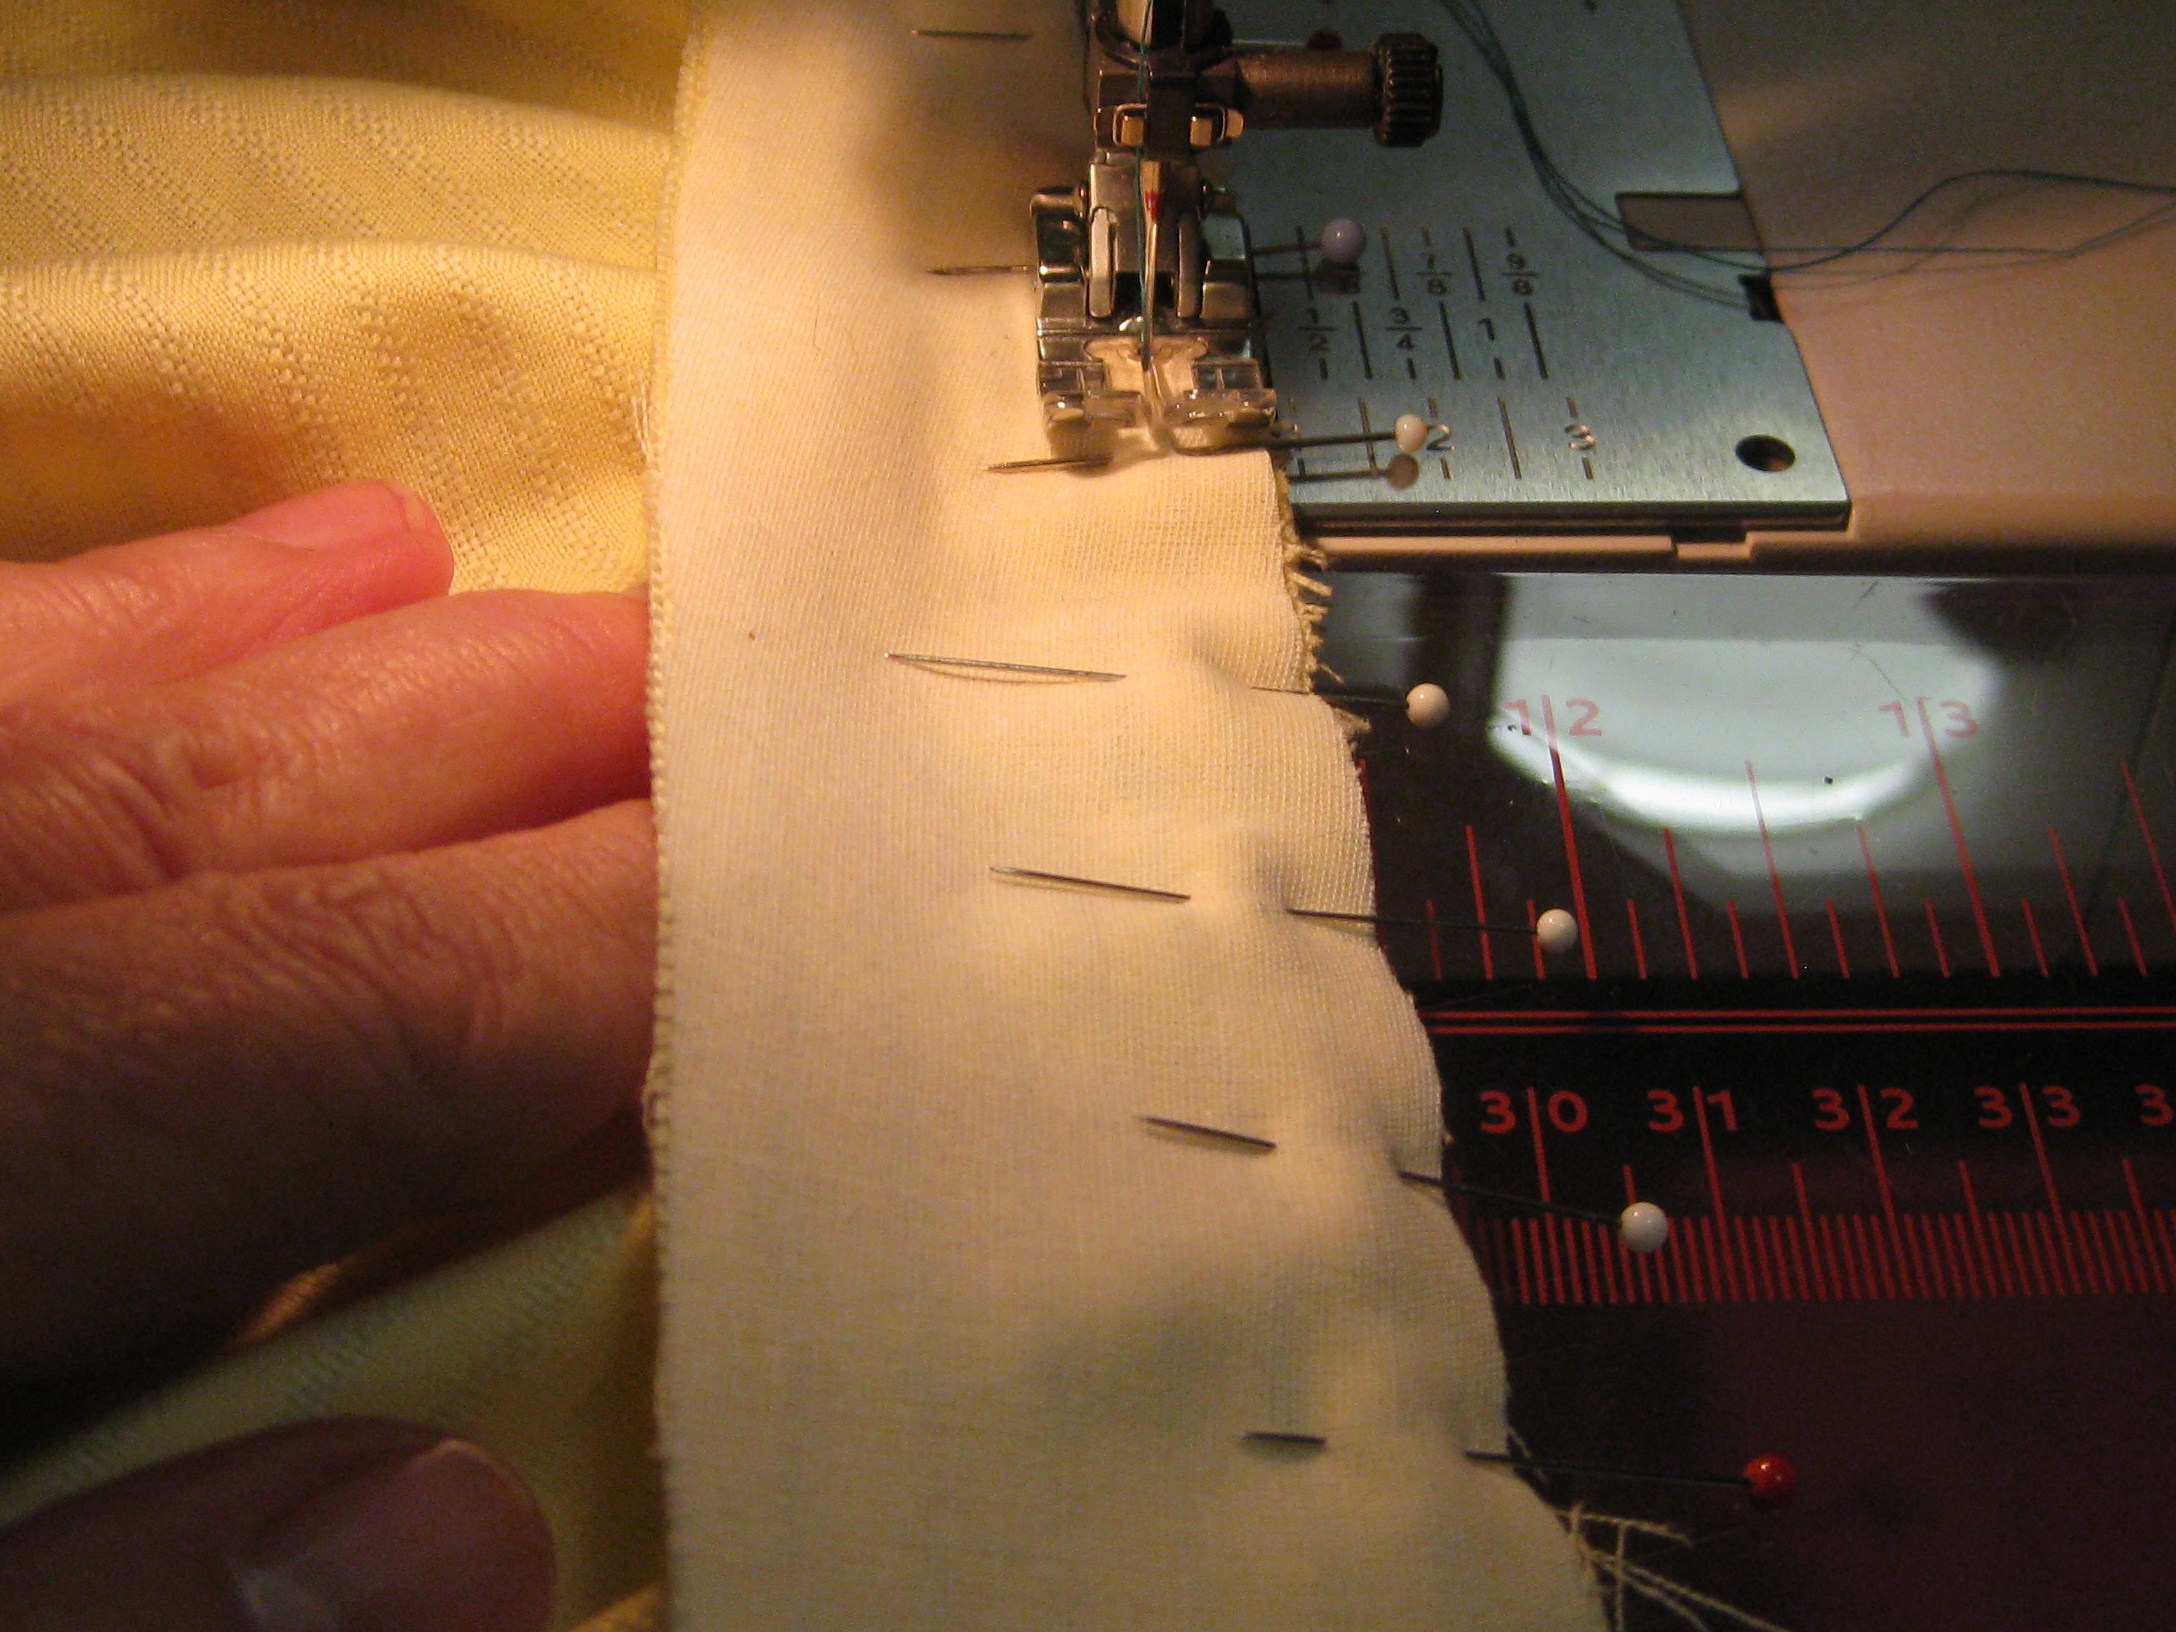
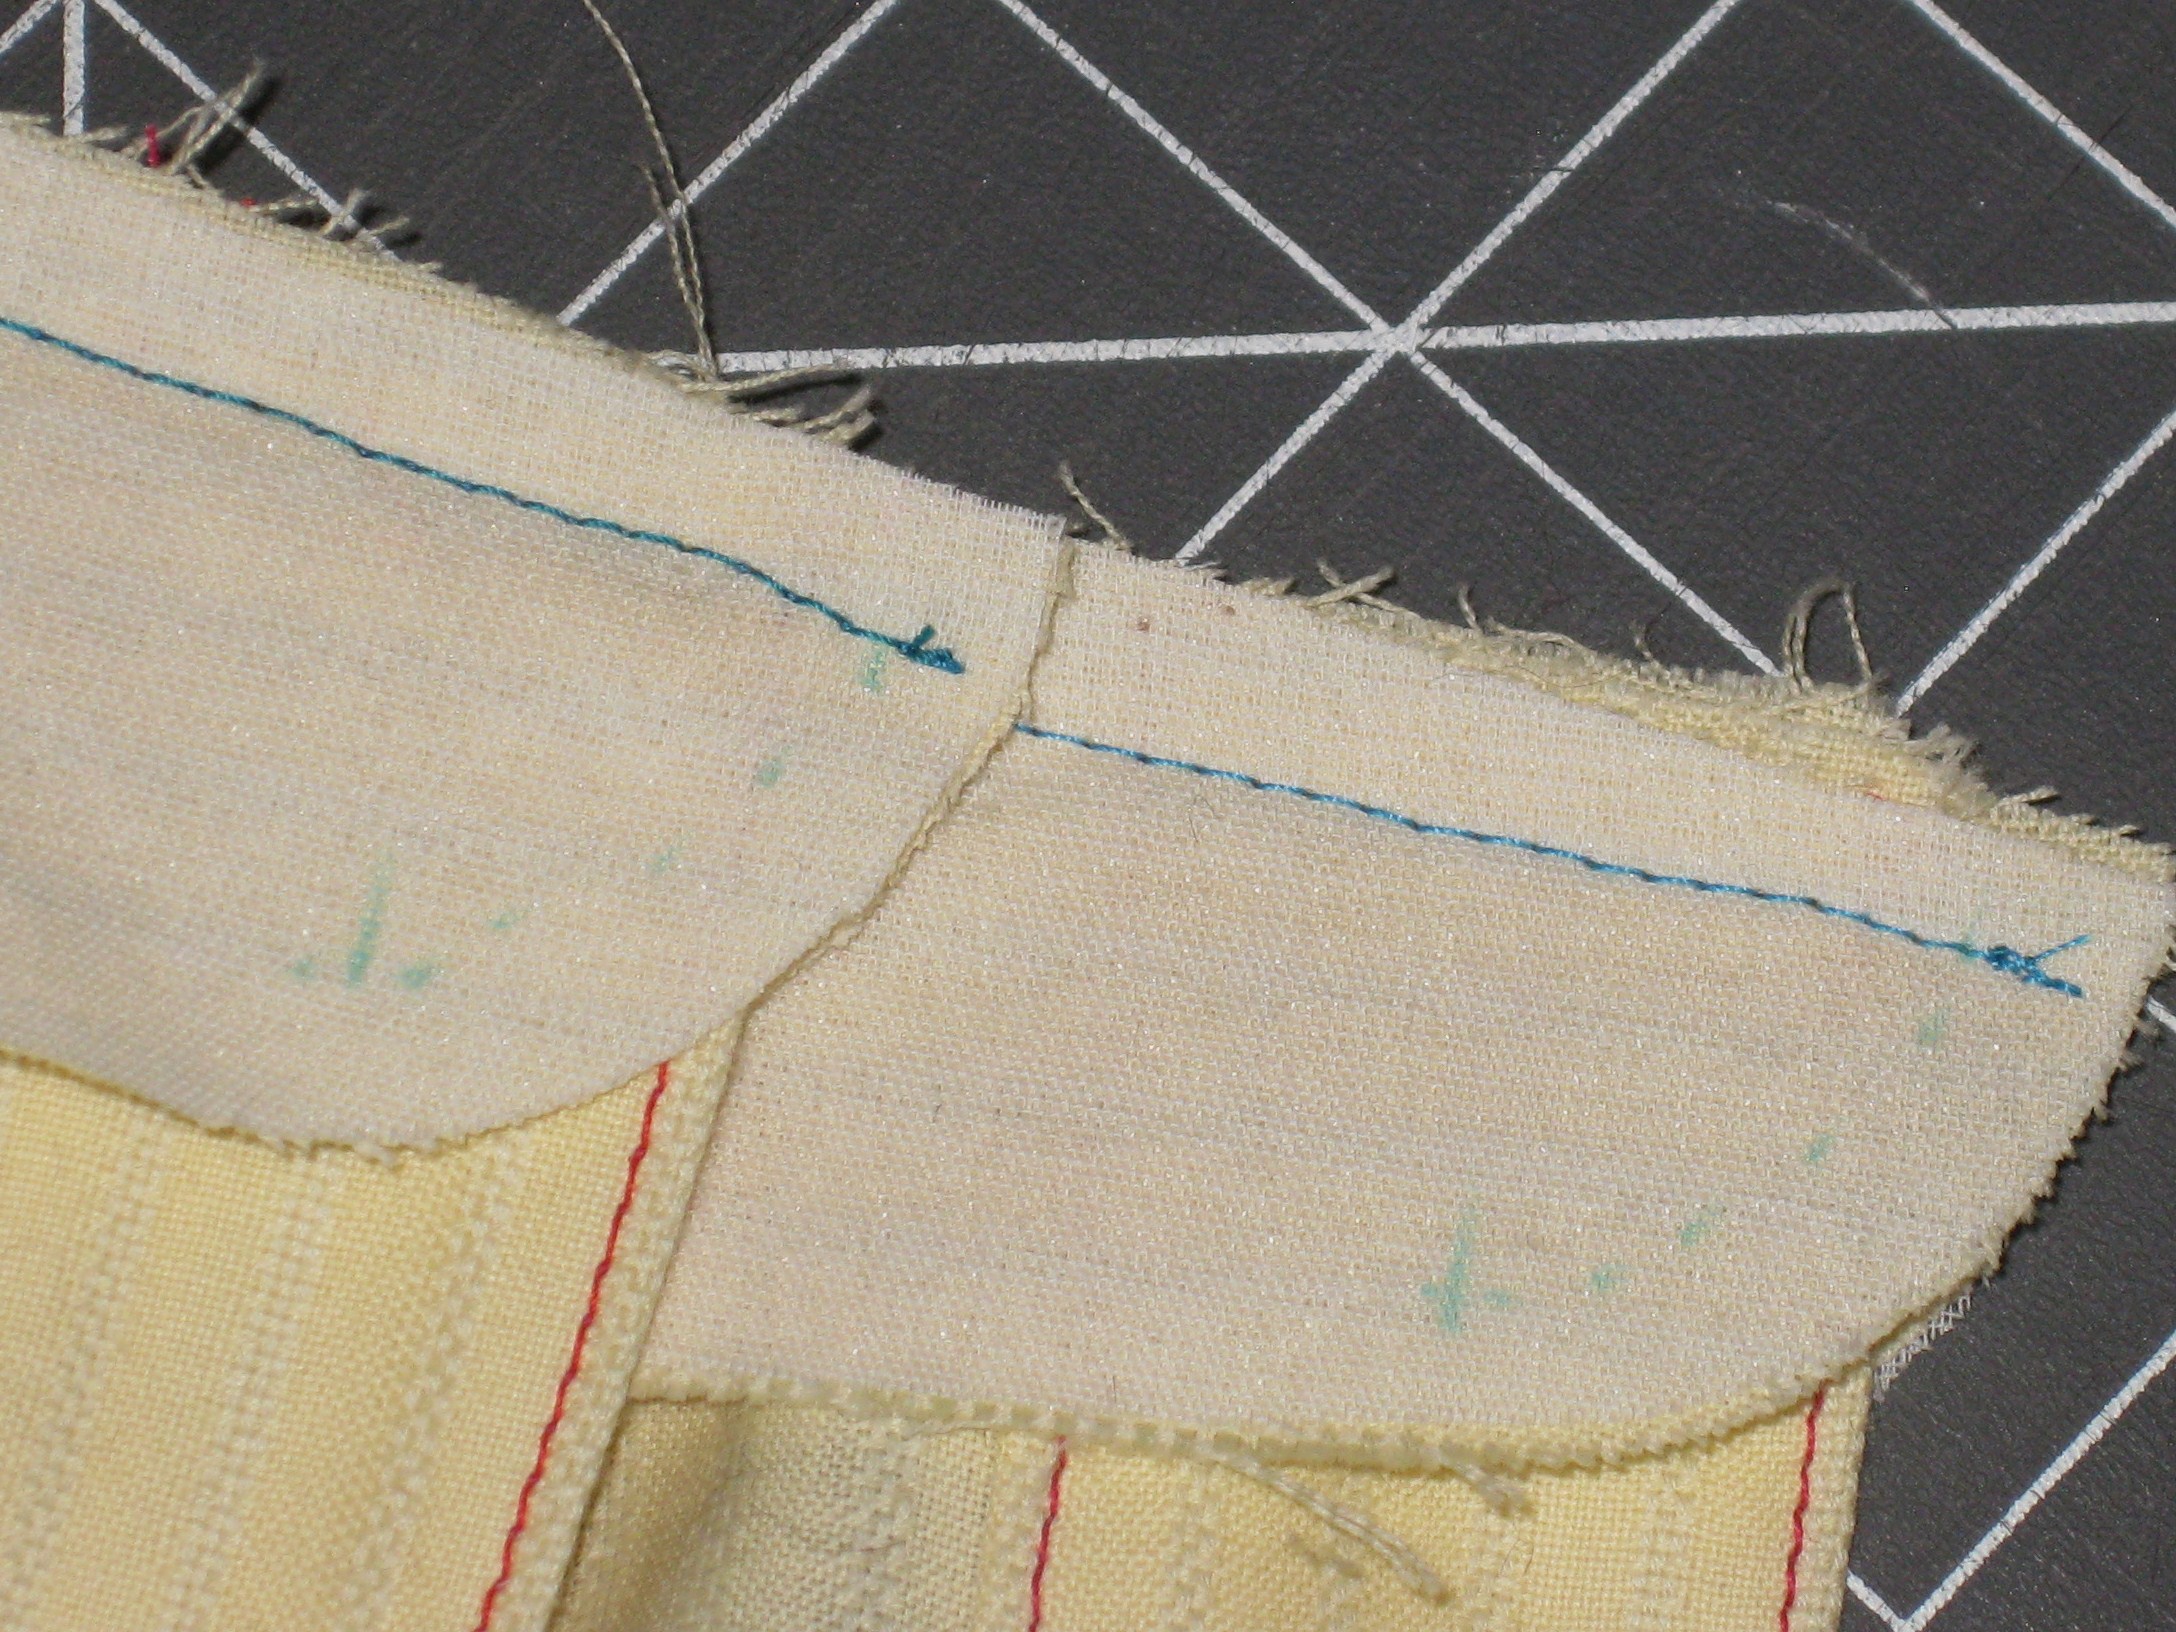
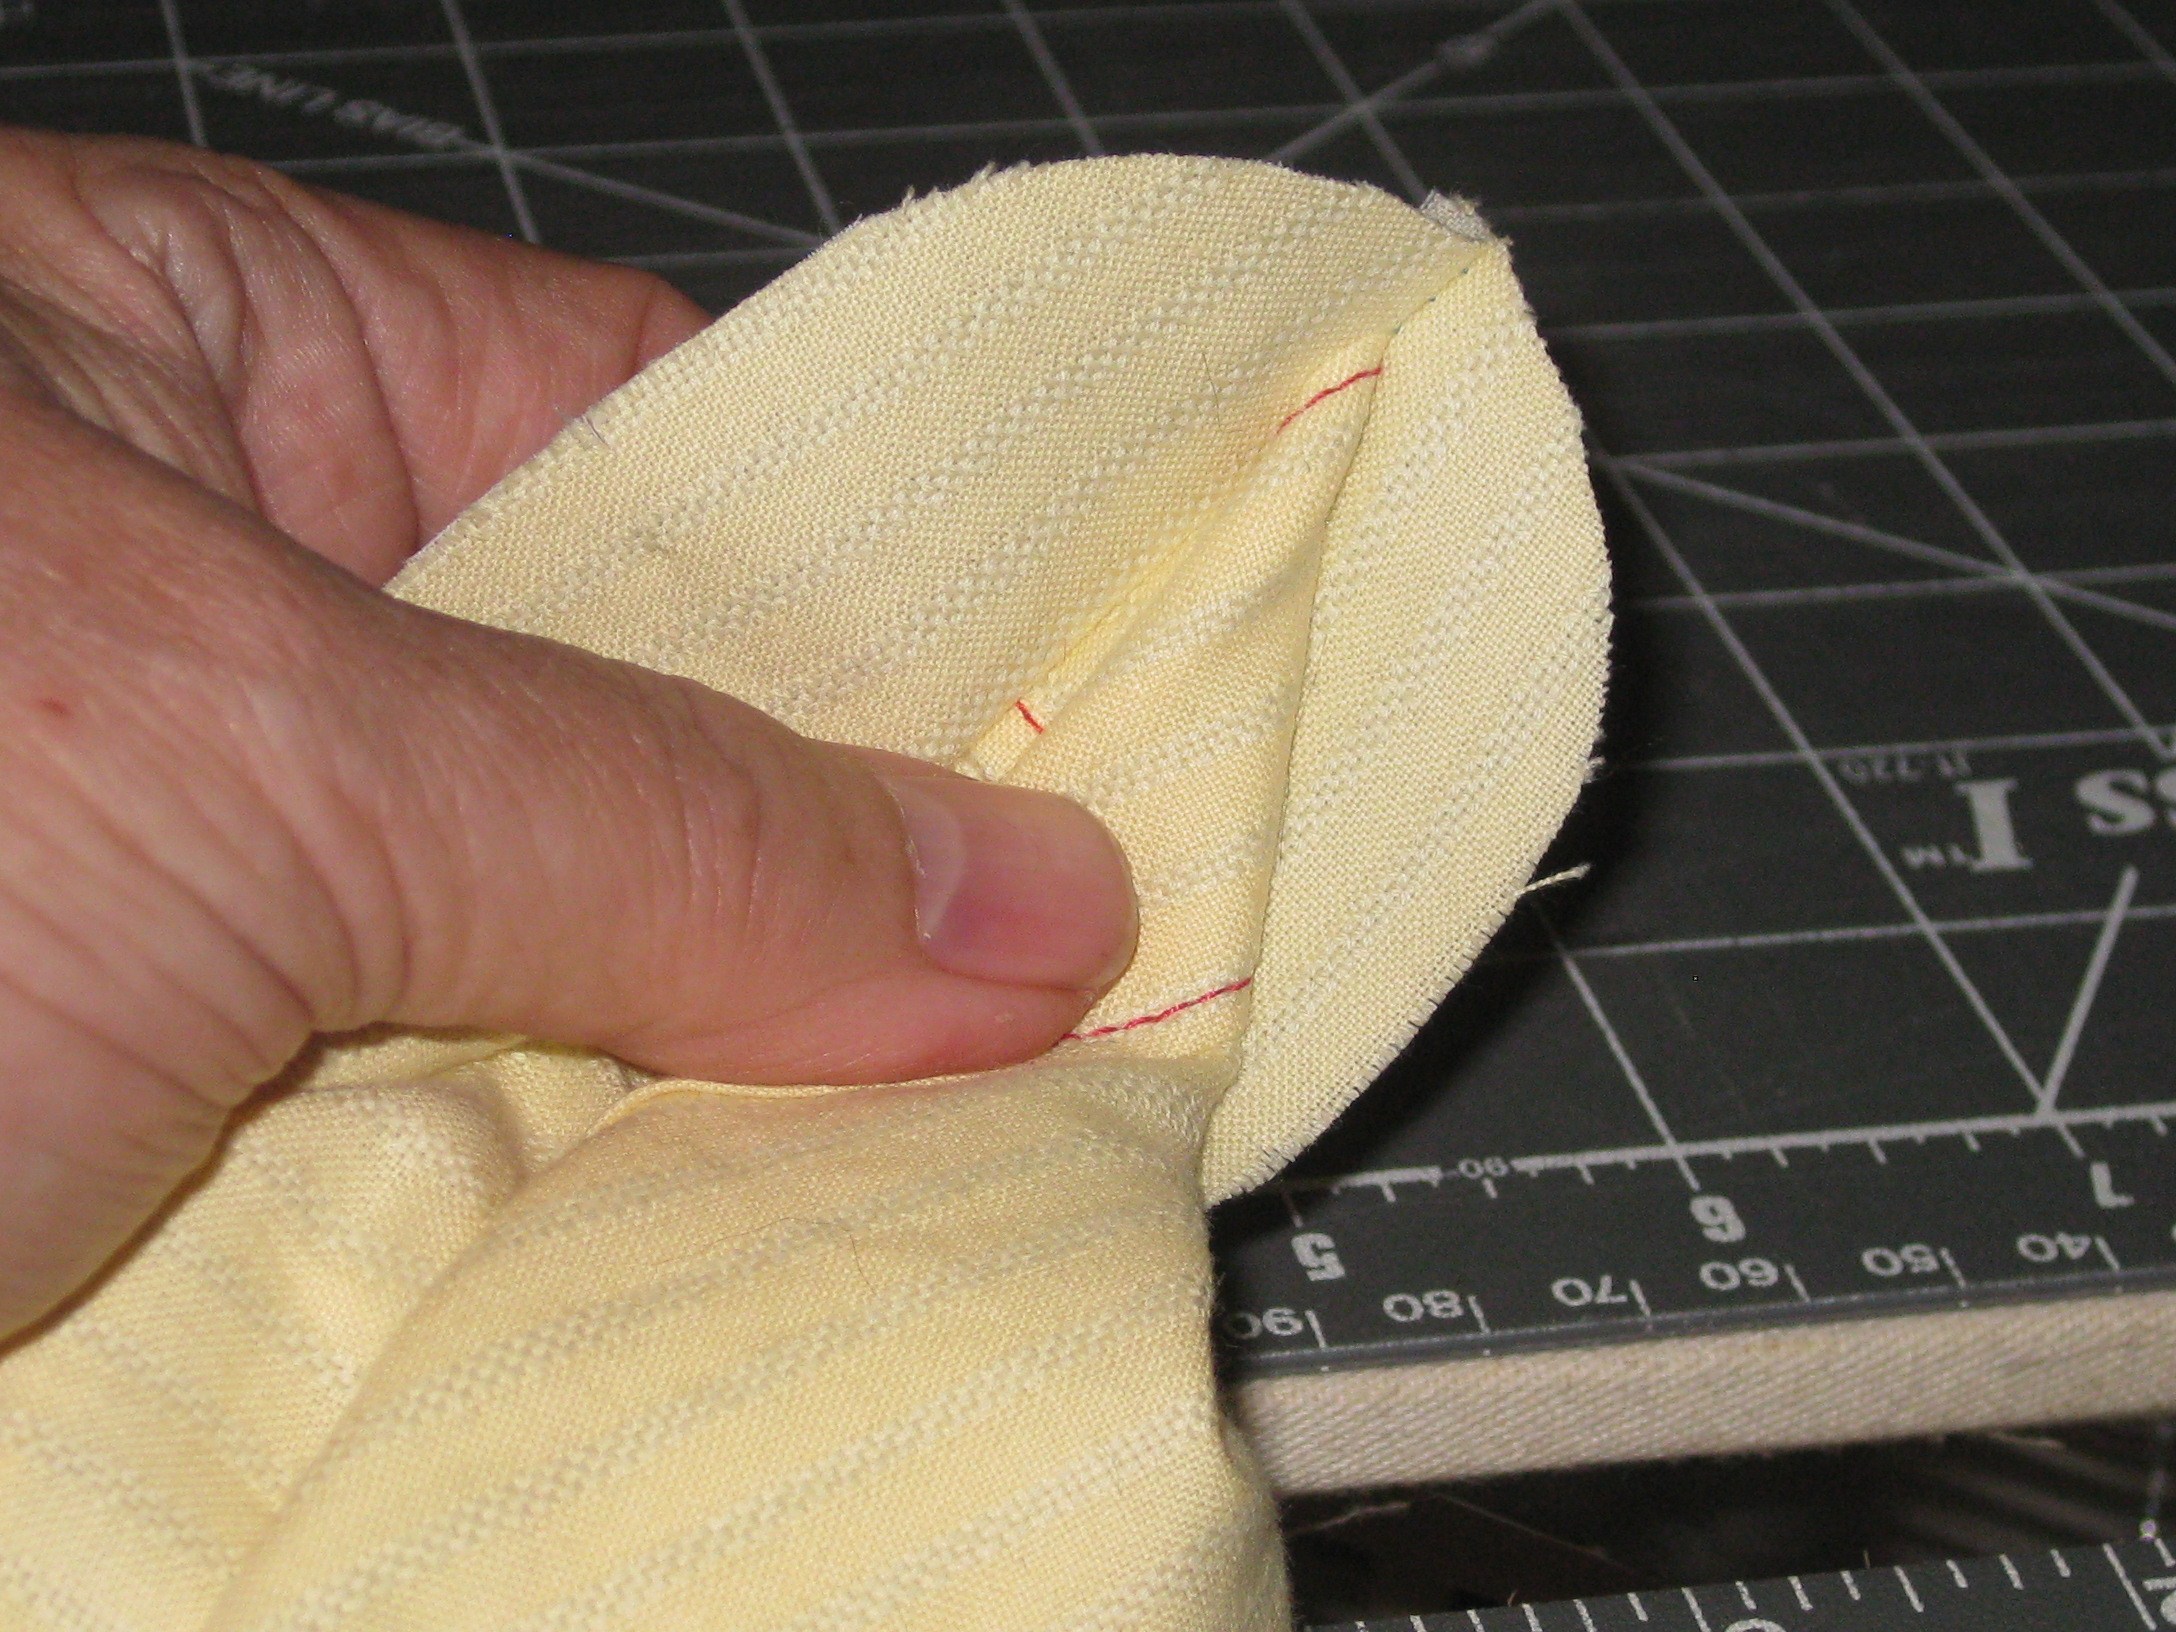
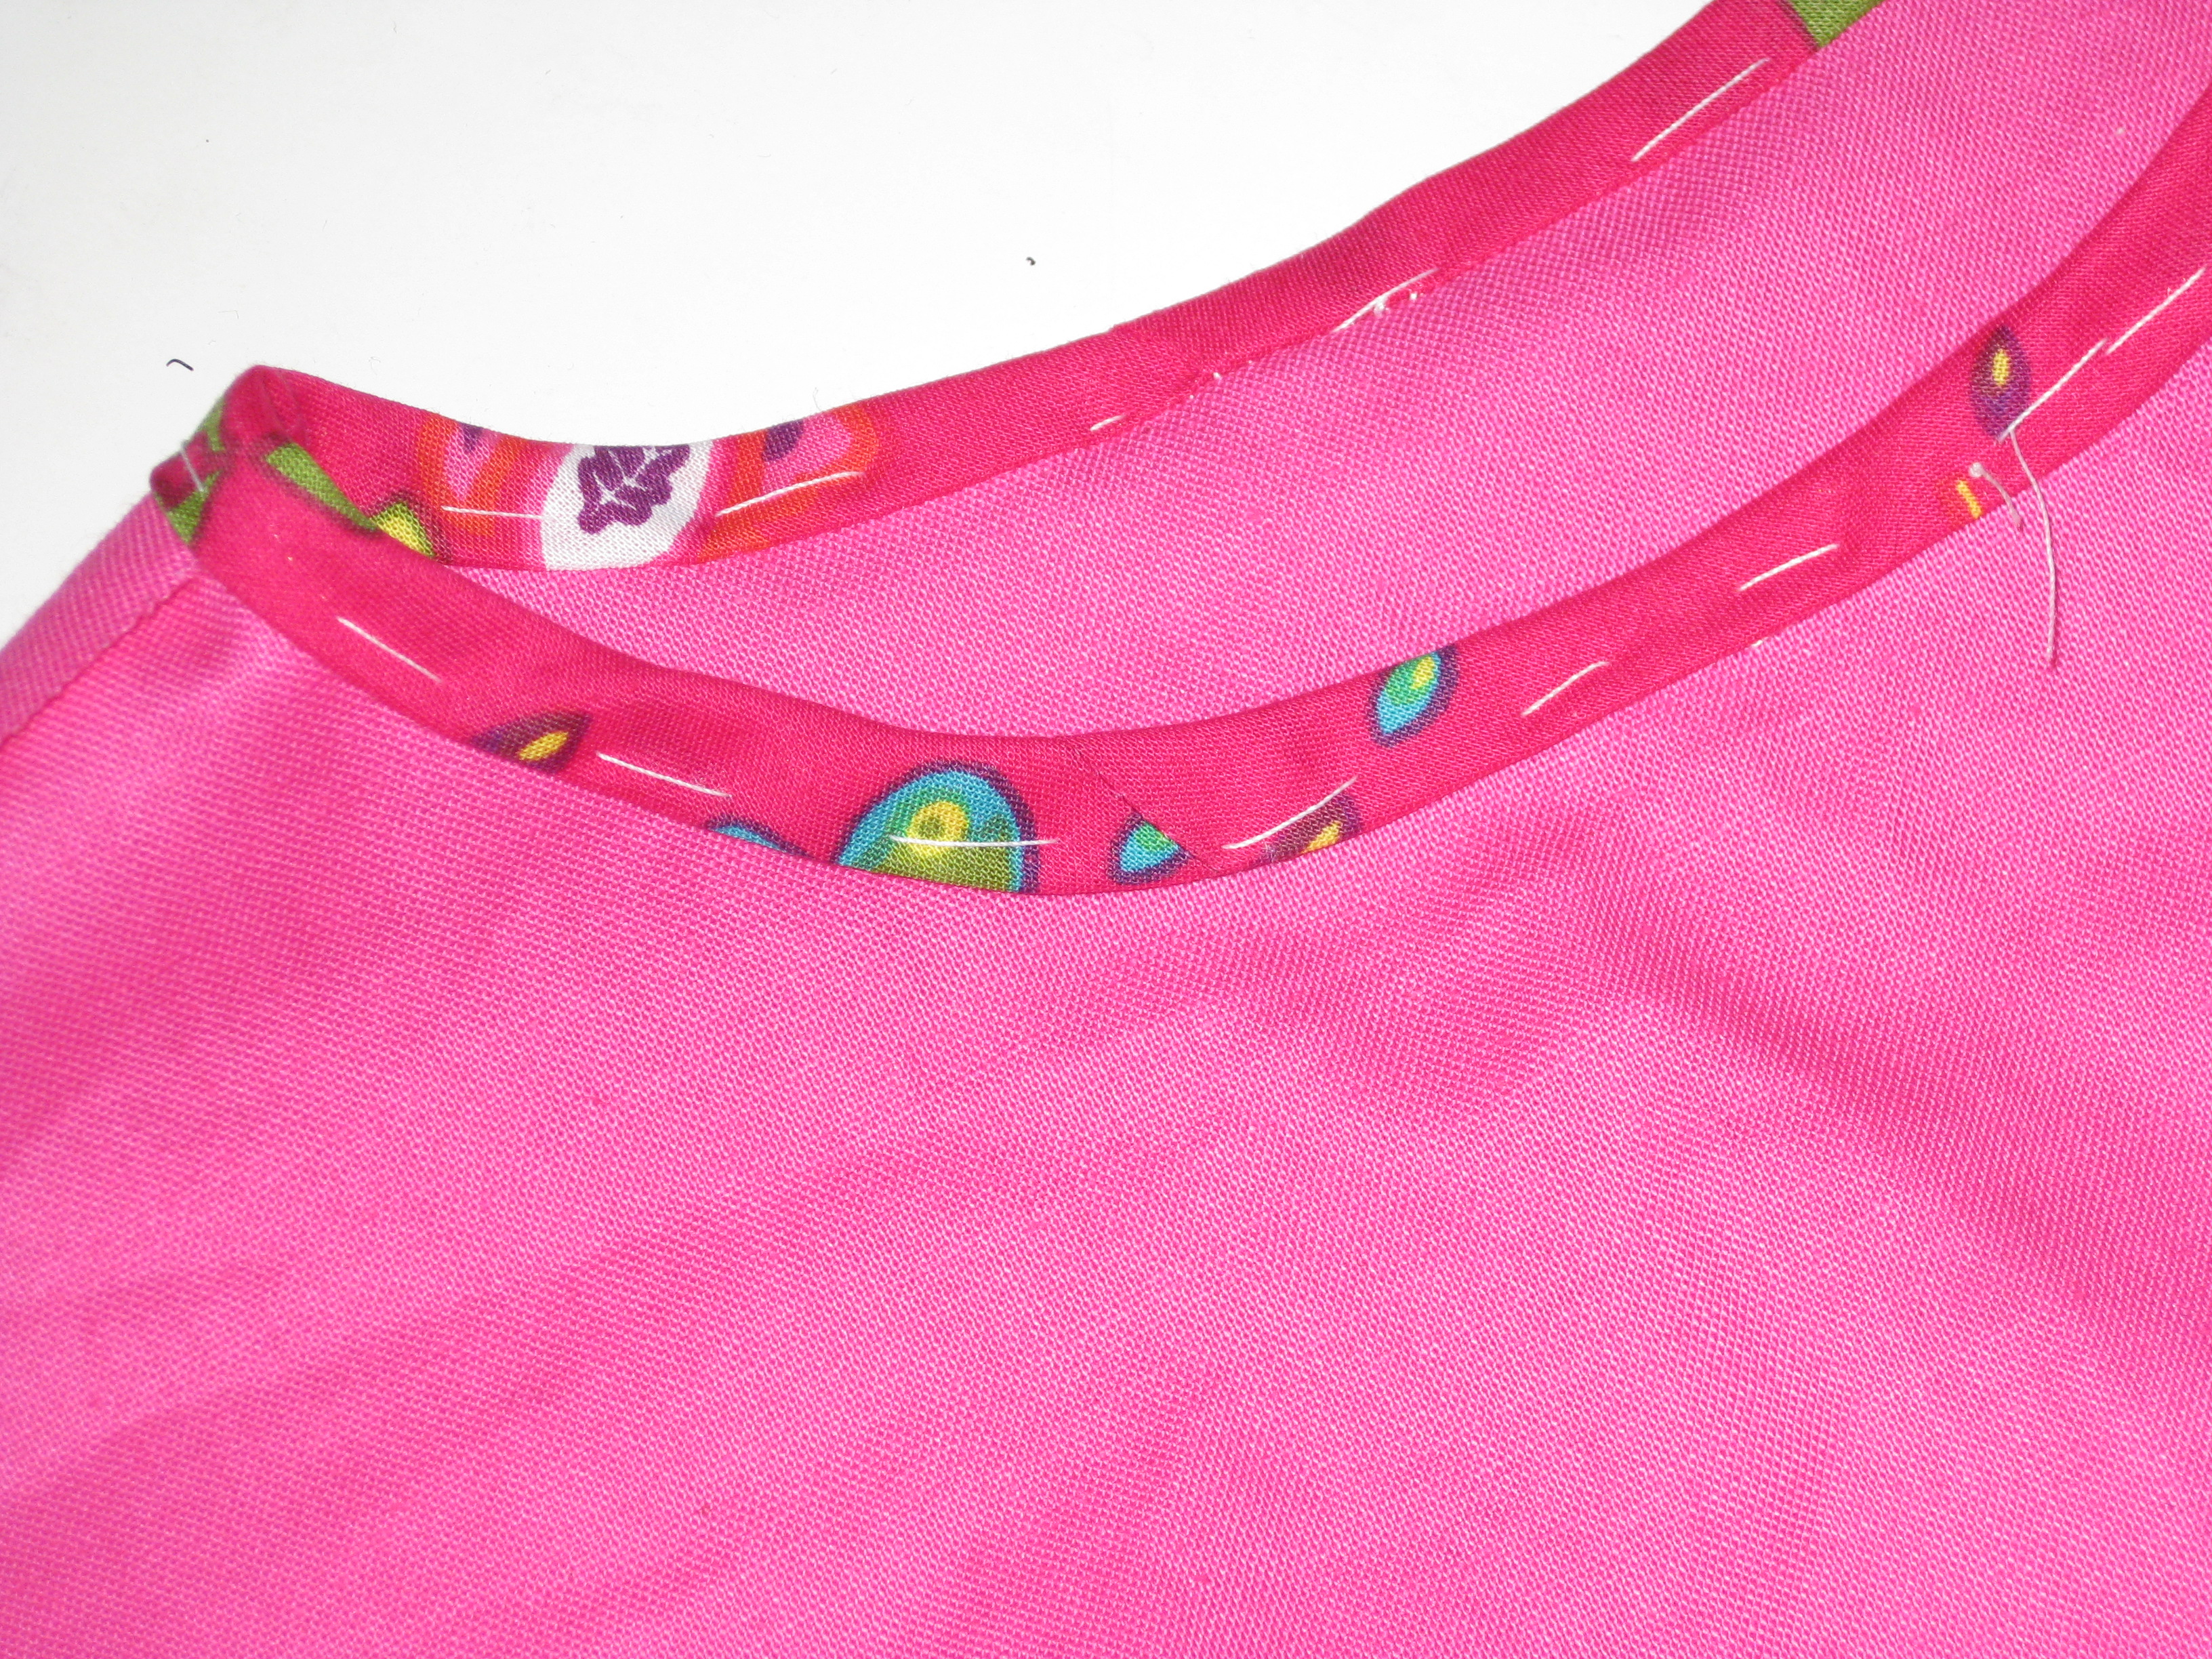
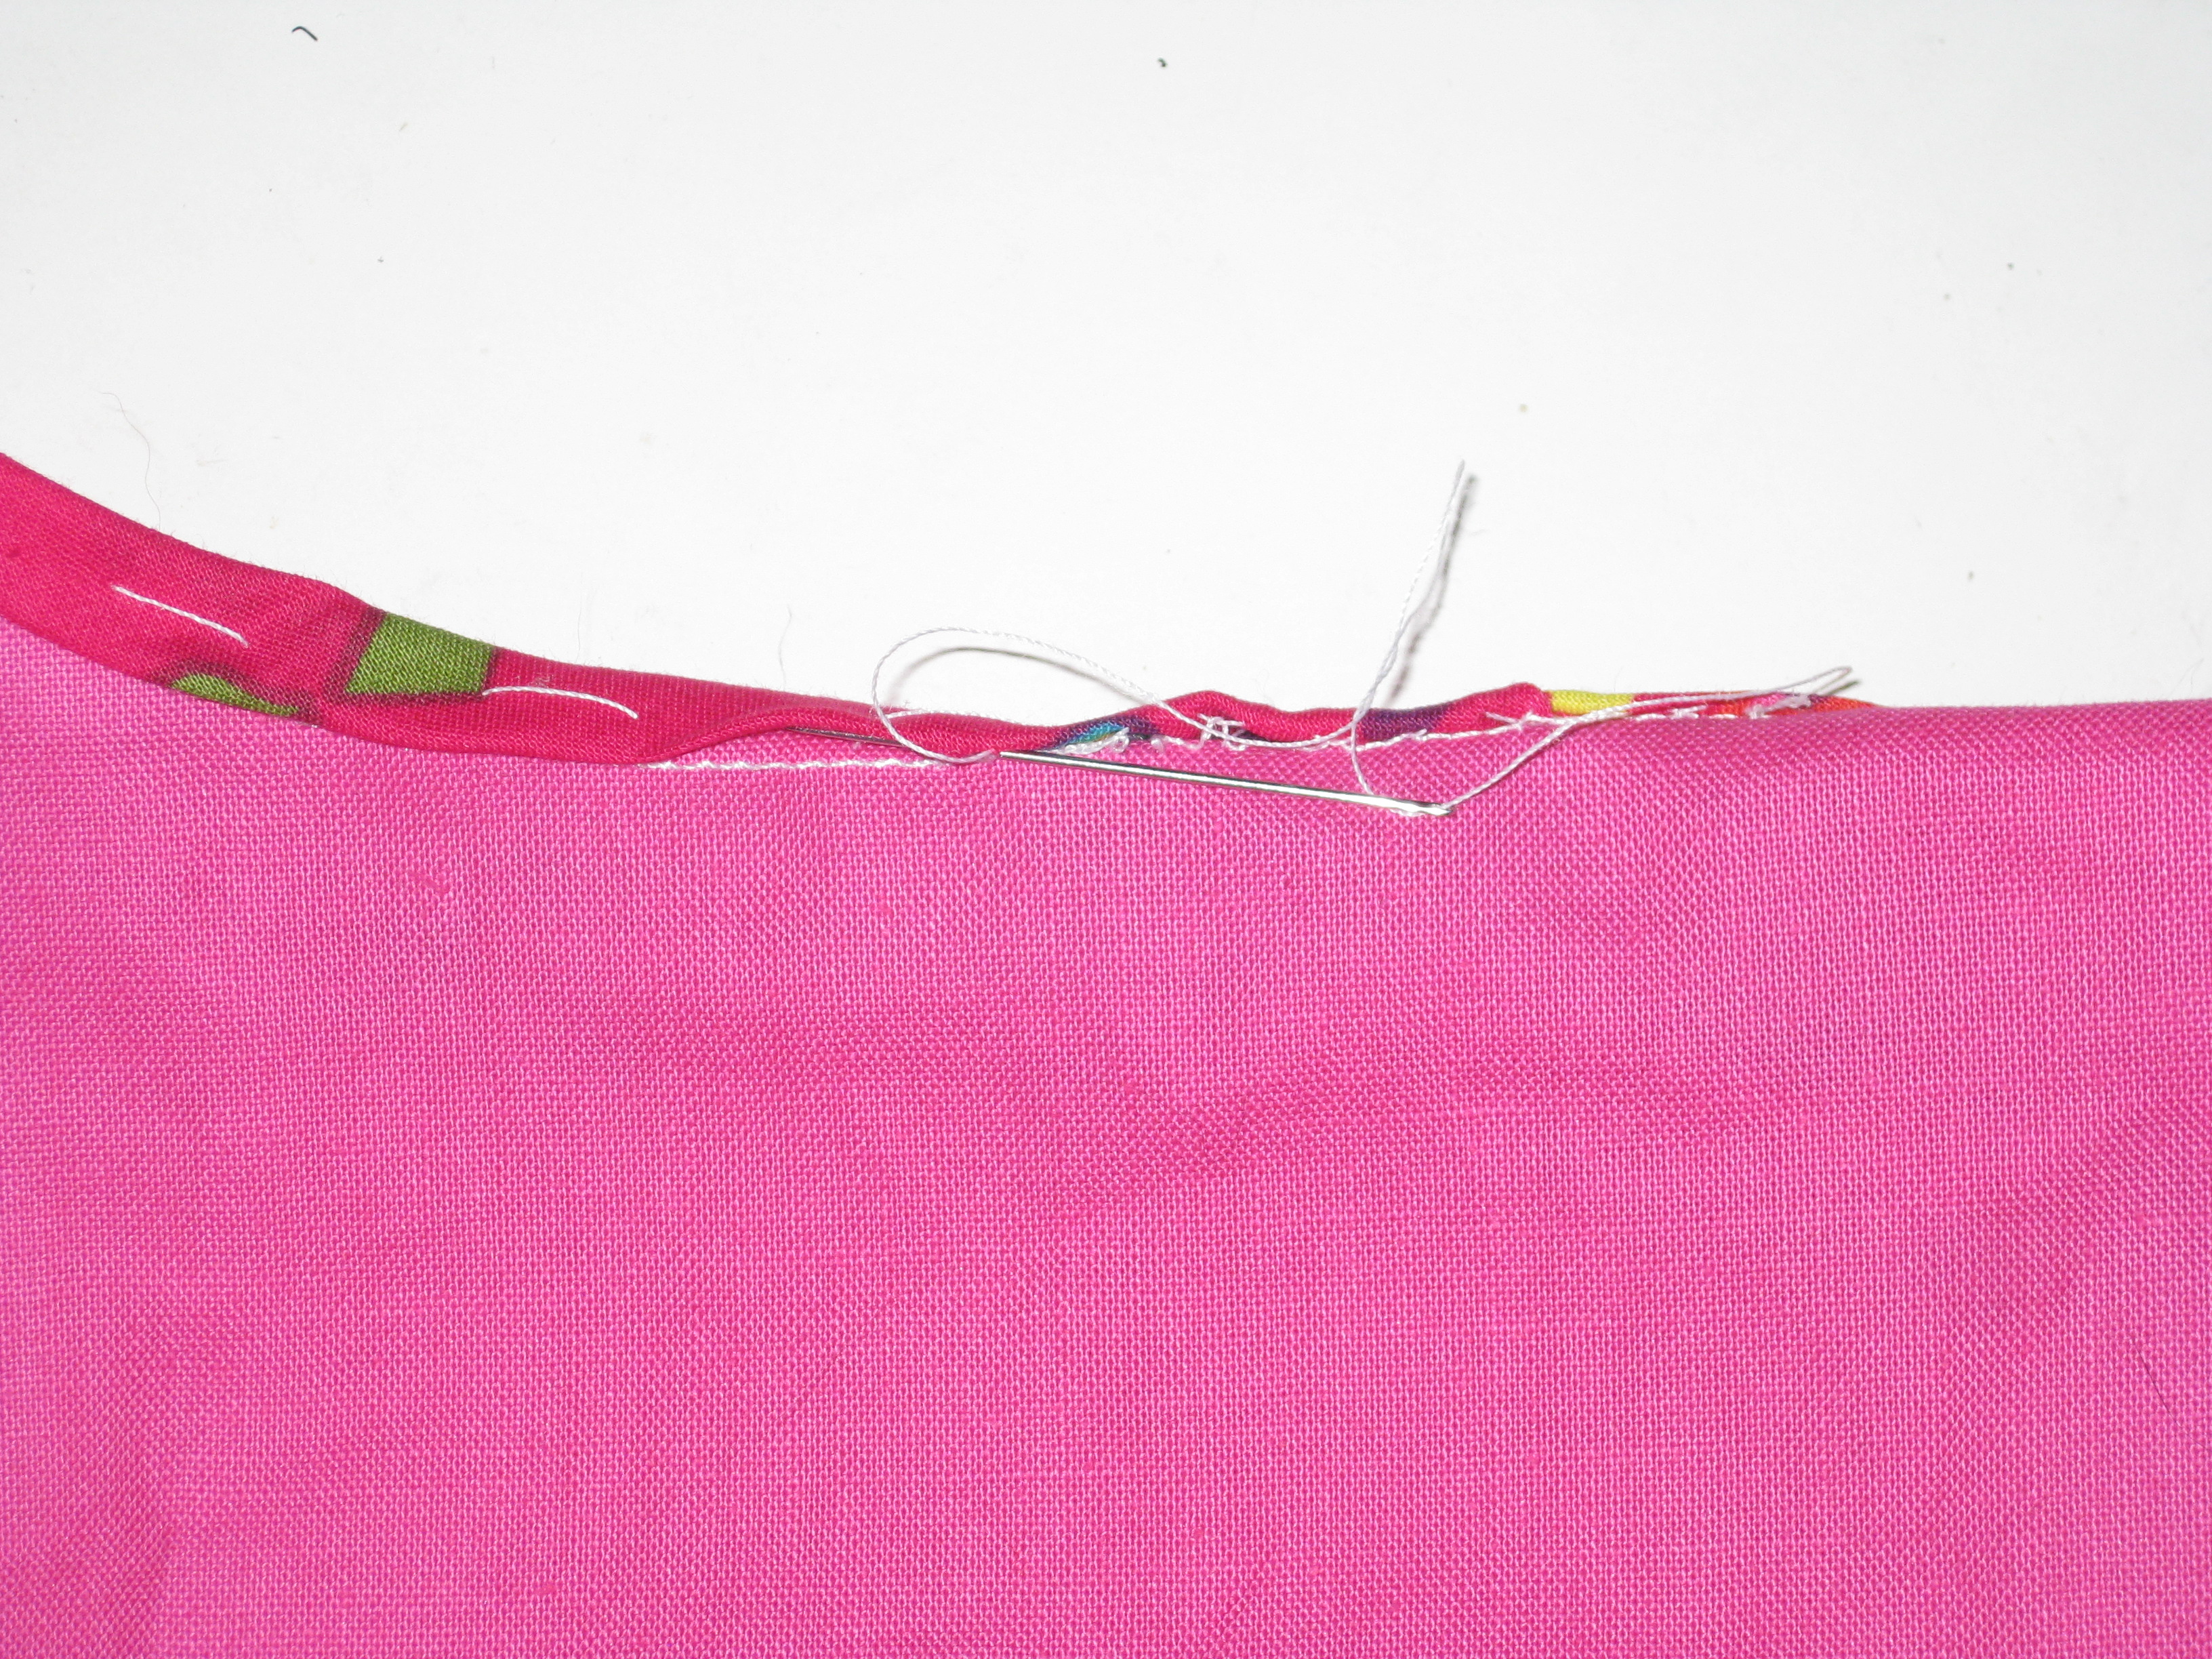
- Lightweight fabric selvage – silk organza is excellent – or narrow, soft grosgrain ribbon or cotton tape can be machine stitched just inside the seam line
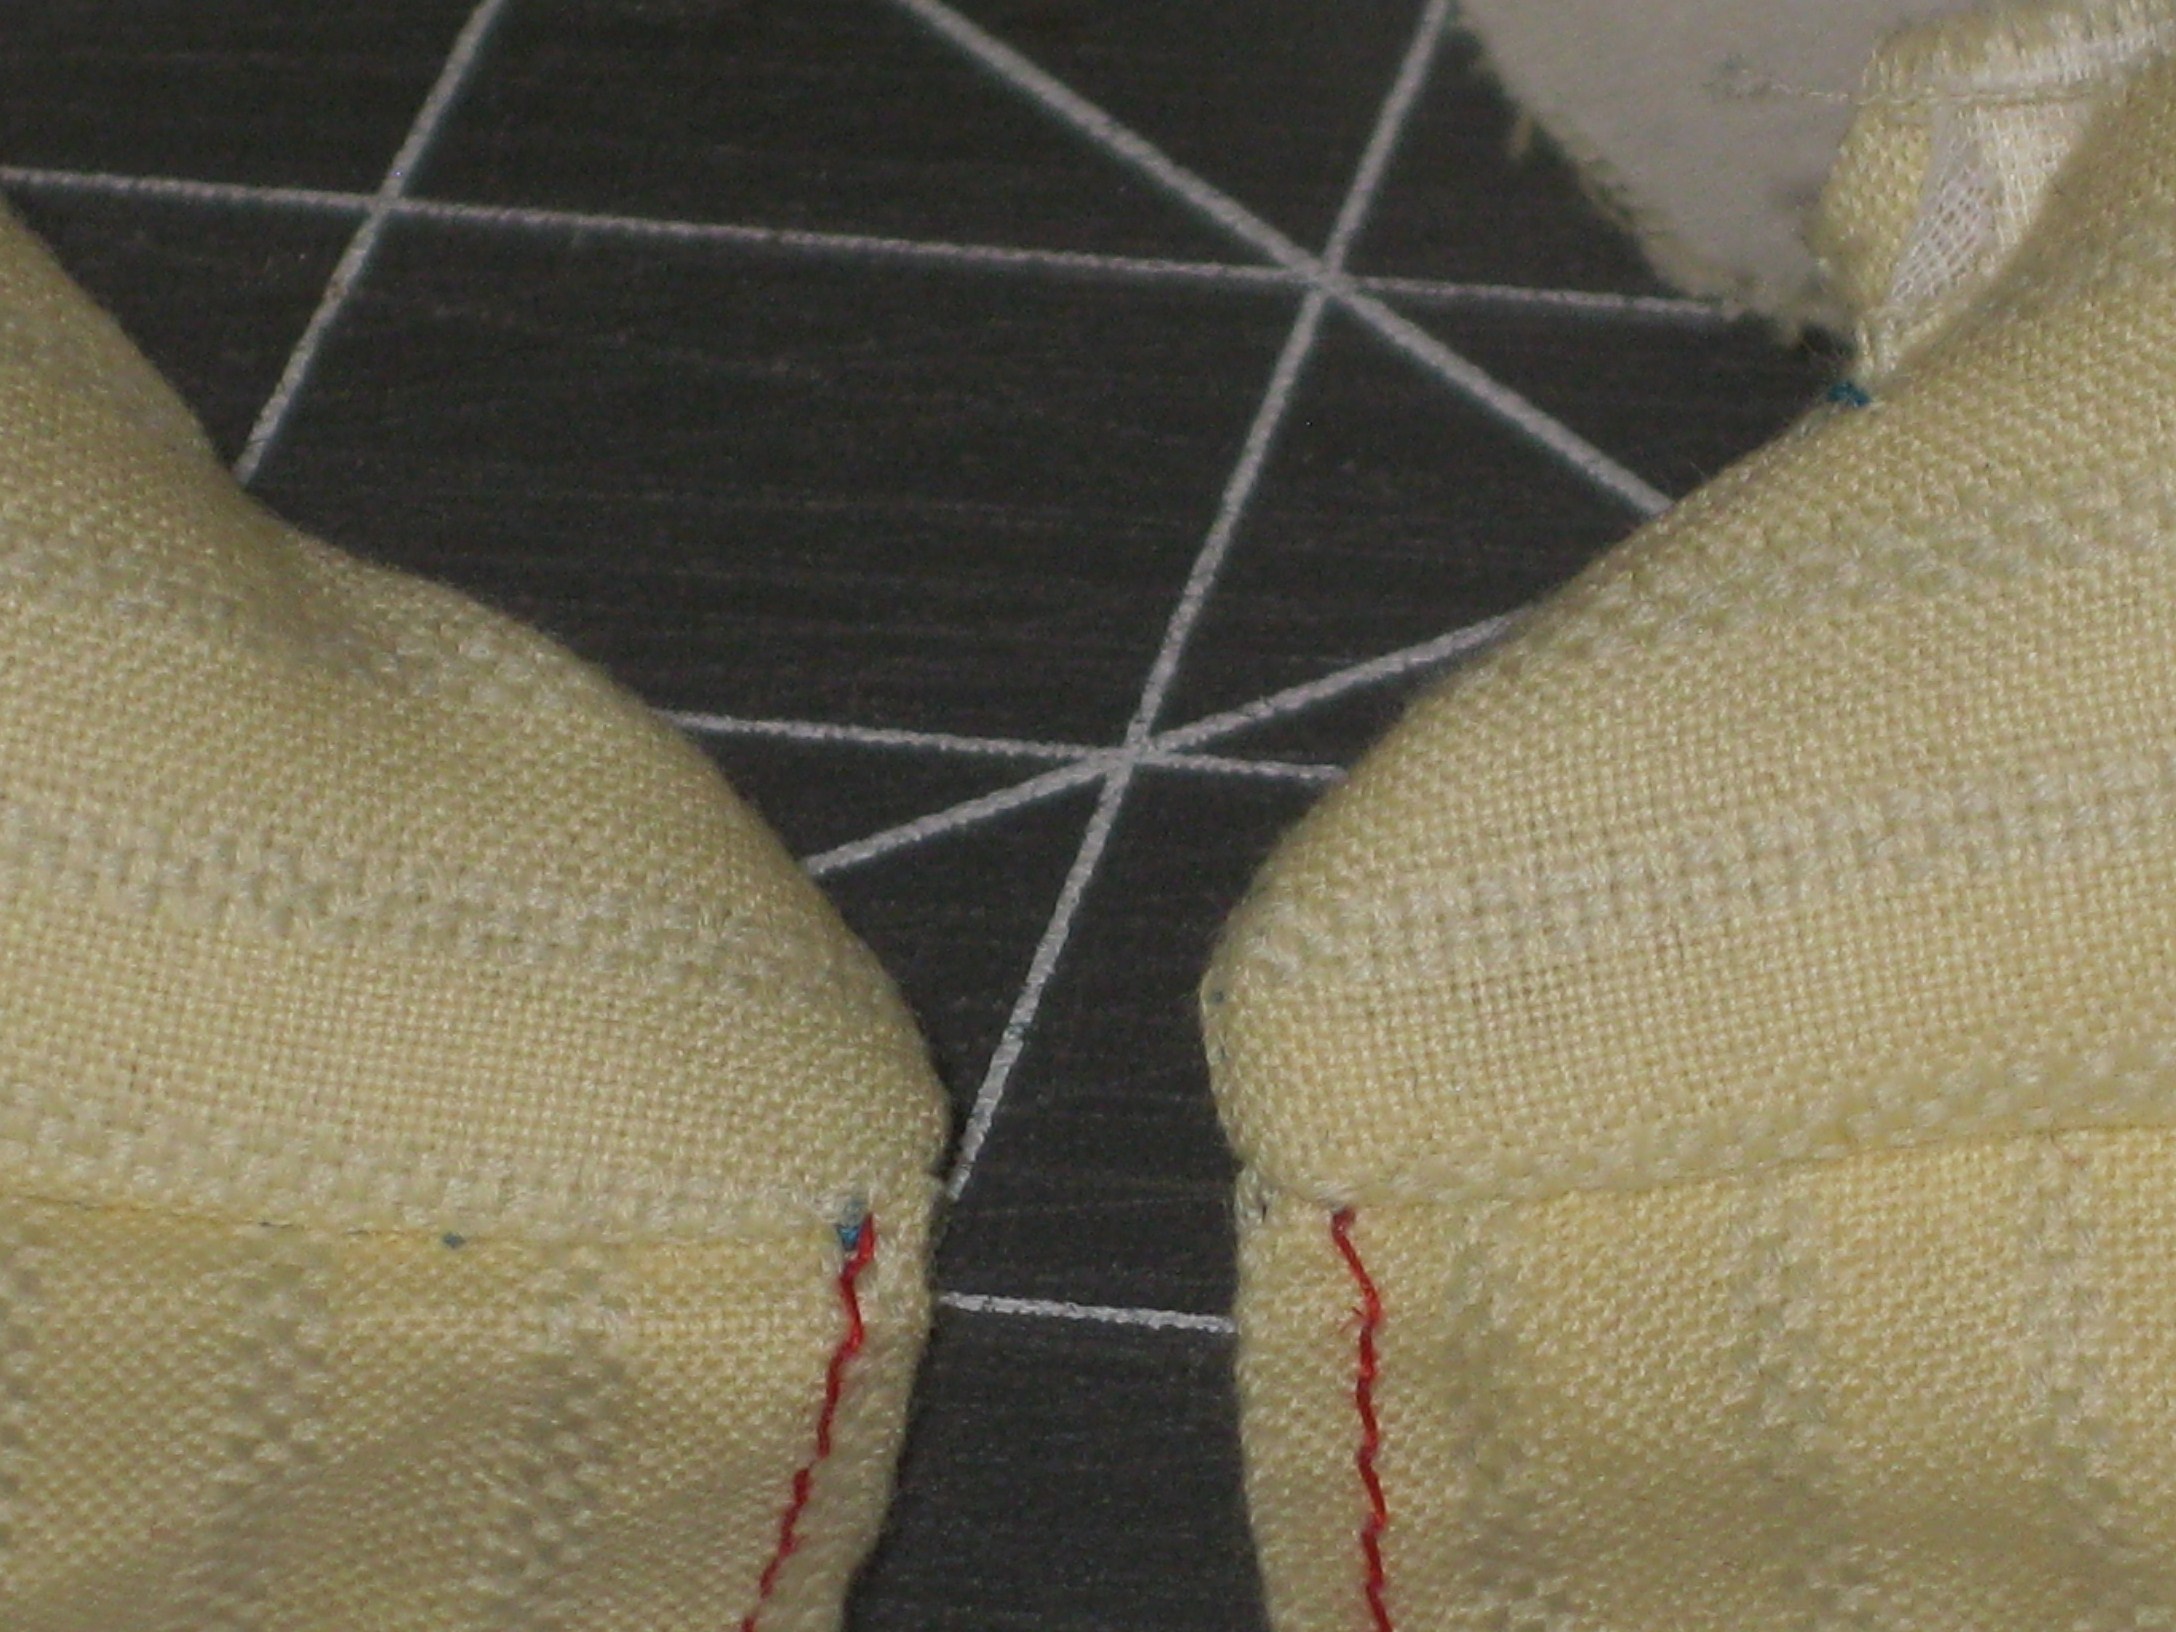
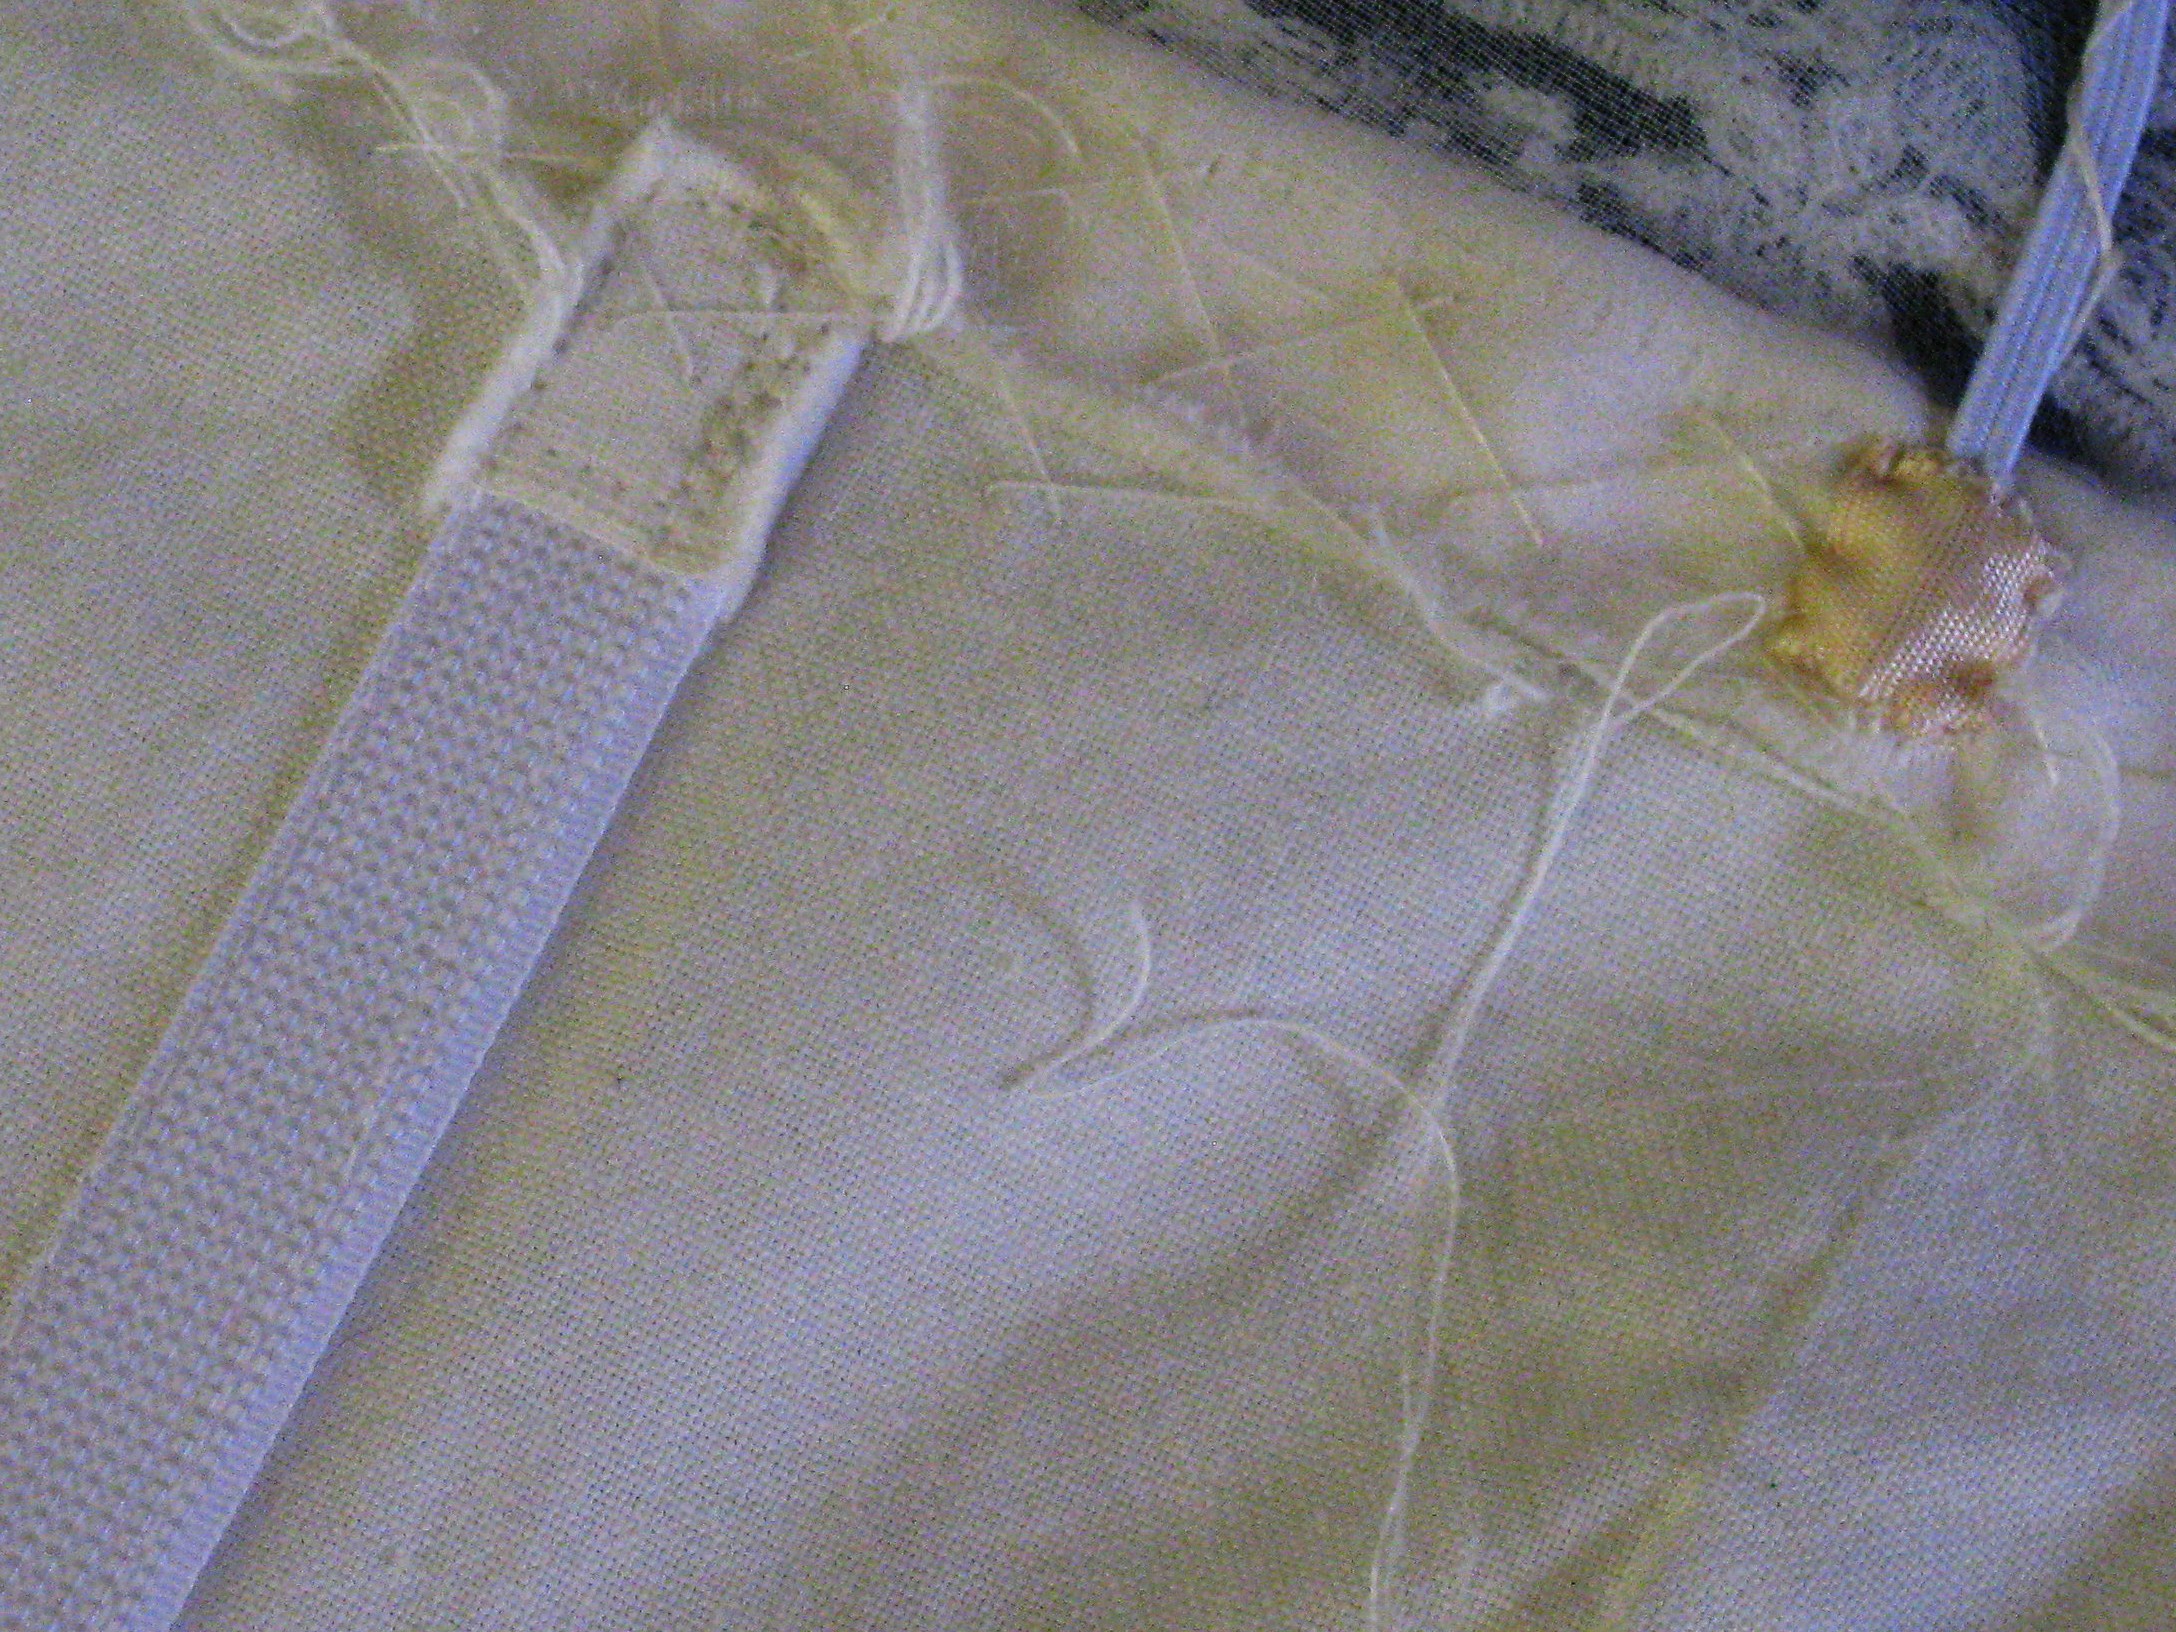
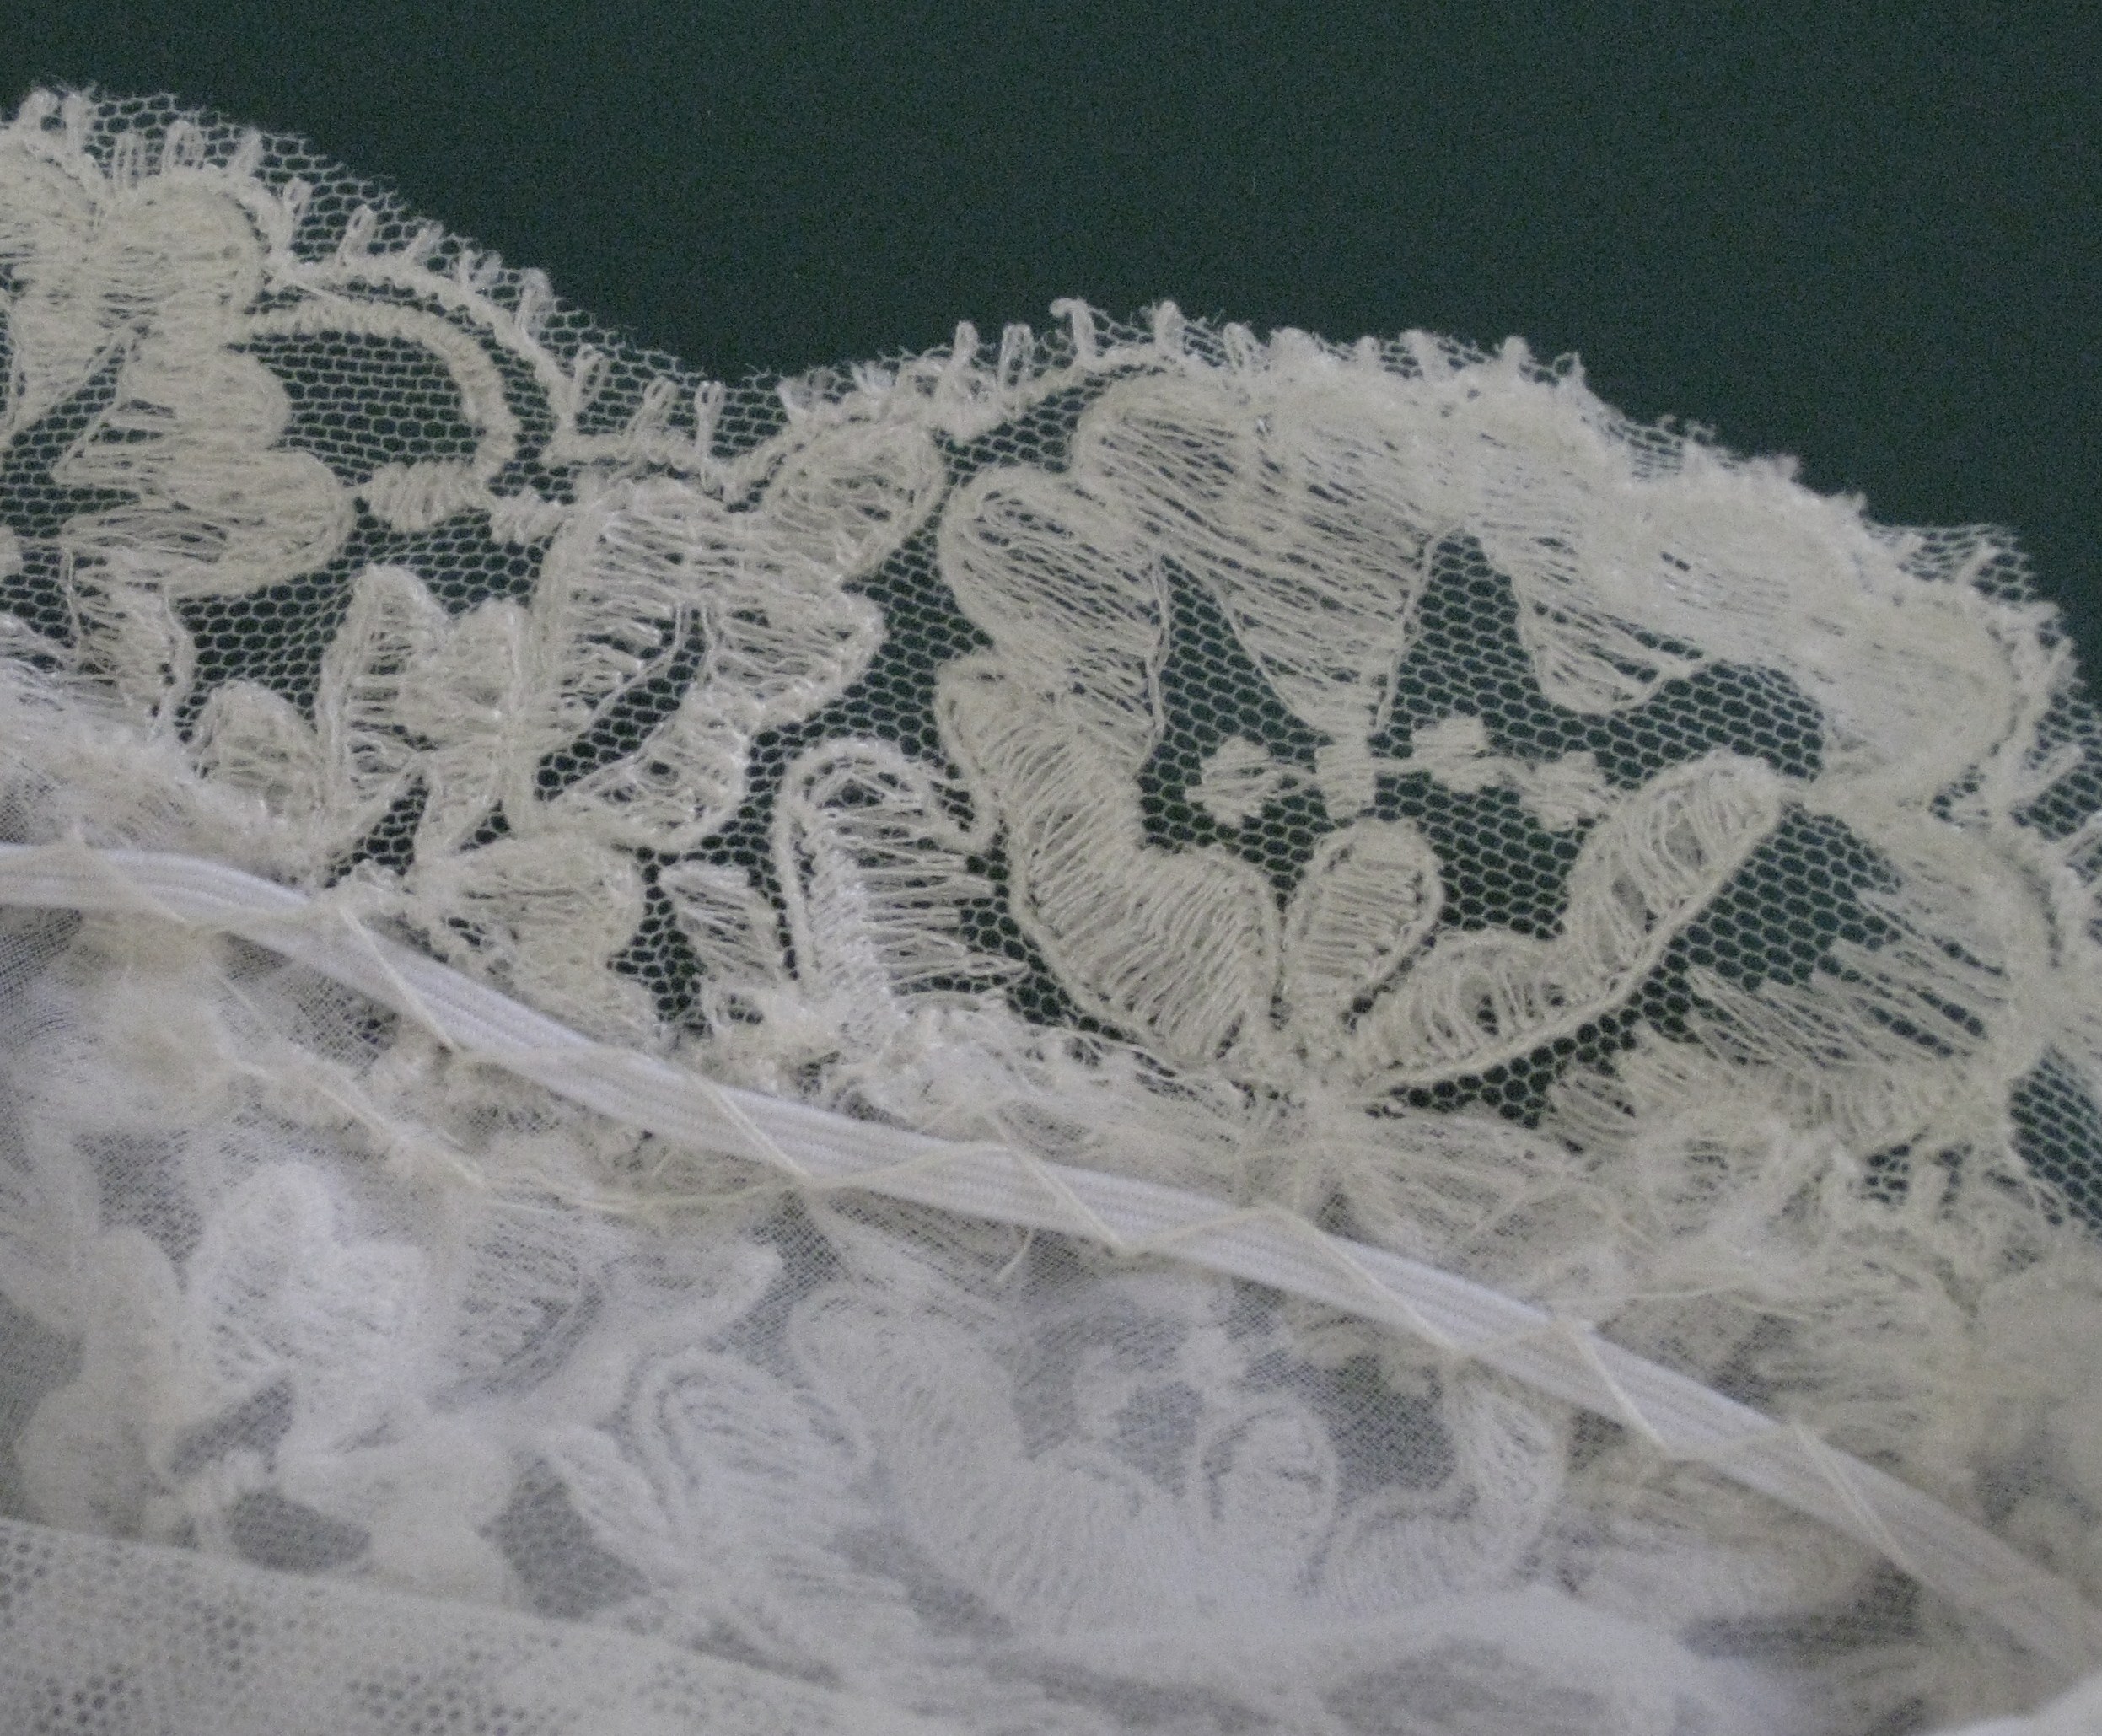
- To prevent gaping in deep or wide necklines, an elastic stay using 3mm elastic can be applied to the seam allowance between the garment and the facing – simply attach the elastic at one end and catchstitch over the elastic to form a casing; tighten the elastic without drawing up the neckline and finish the remaining elastic end with back stitches.

Neckline/shoulder stays hold the shoulder and sleeves in place with a wide deep neckline in the front and back. They are made from narrow braided elastic couched in place with catch stitch and fastened at each end.
- Stay tape can also be used to shrink and stabilise gaping areas, for example deep and V necklines, roll lines on lapels and the front edges of an unlined cardigan style jacket.
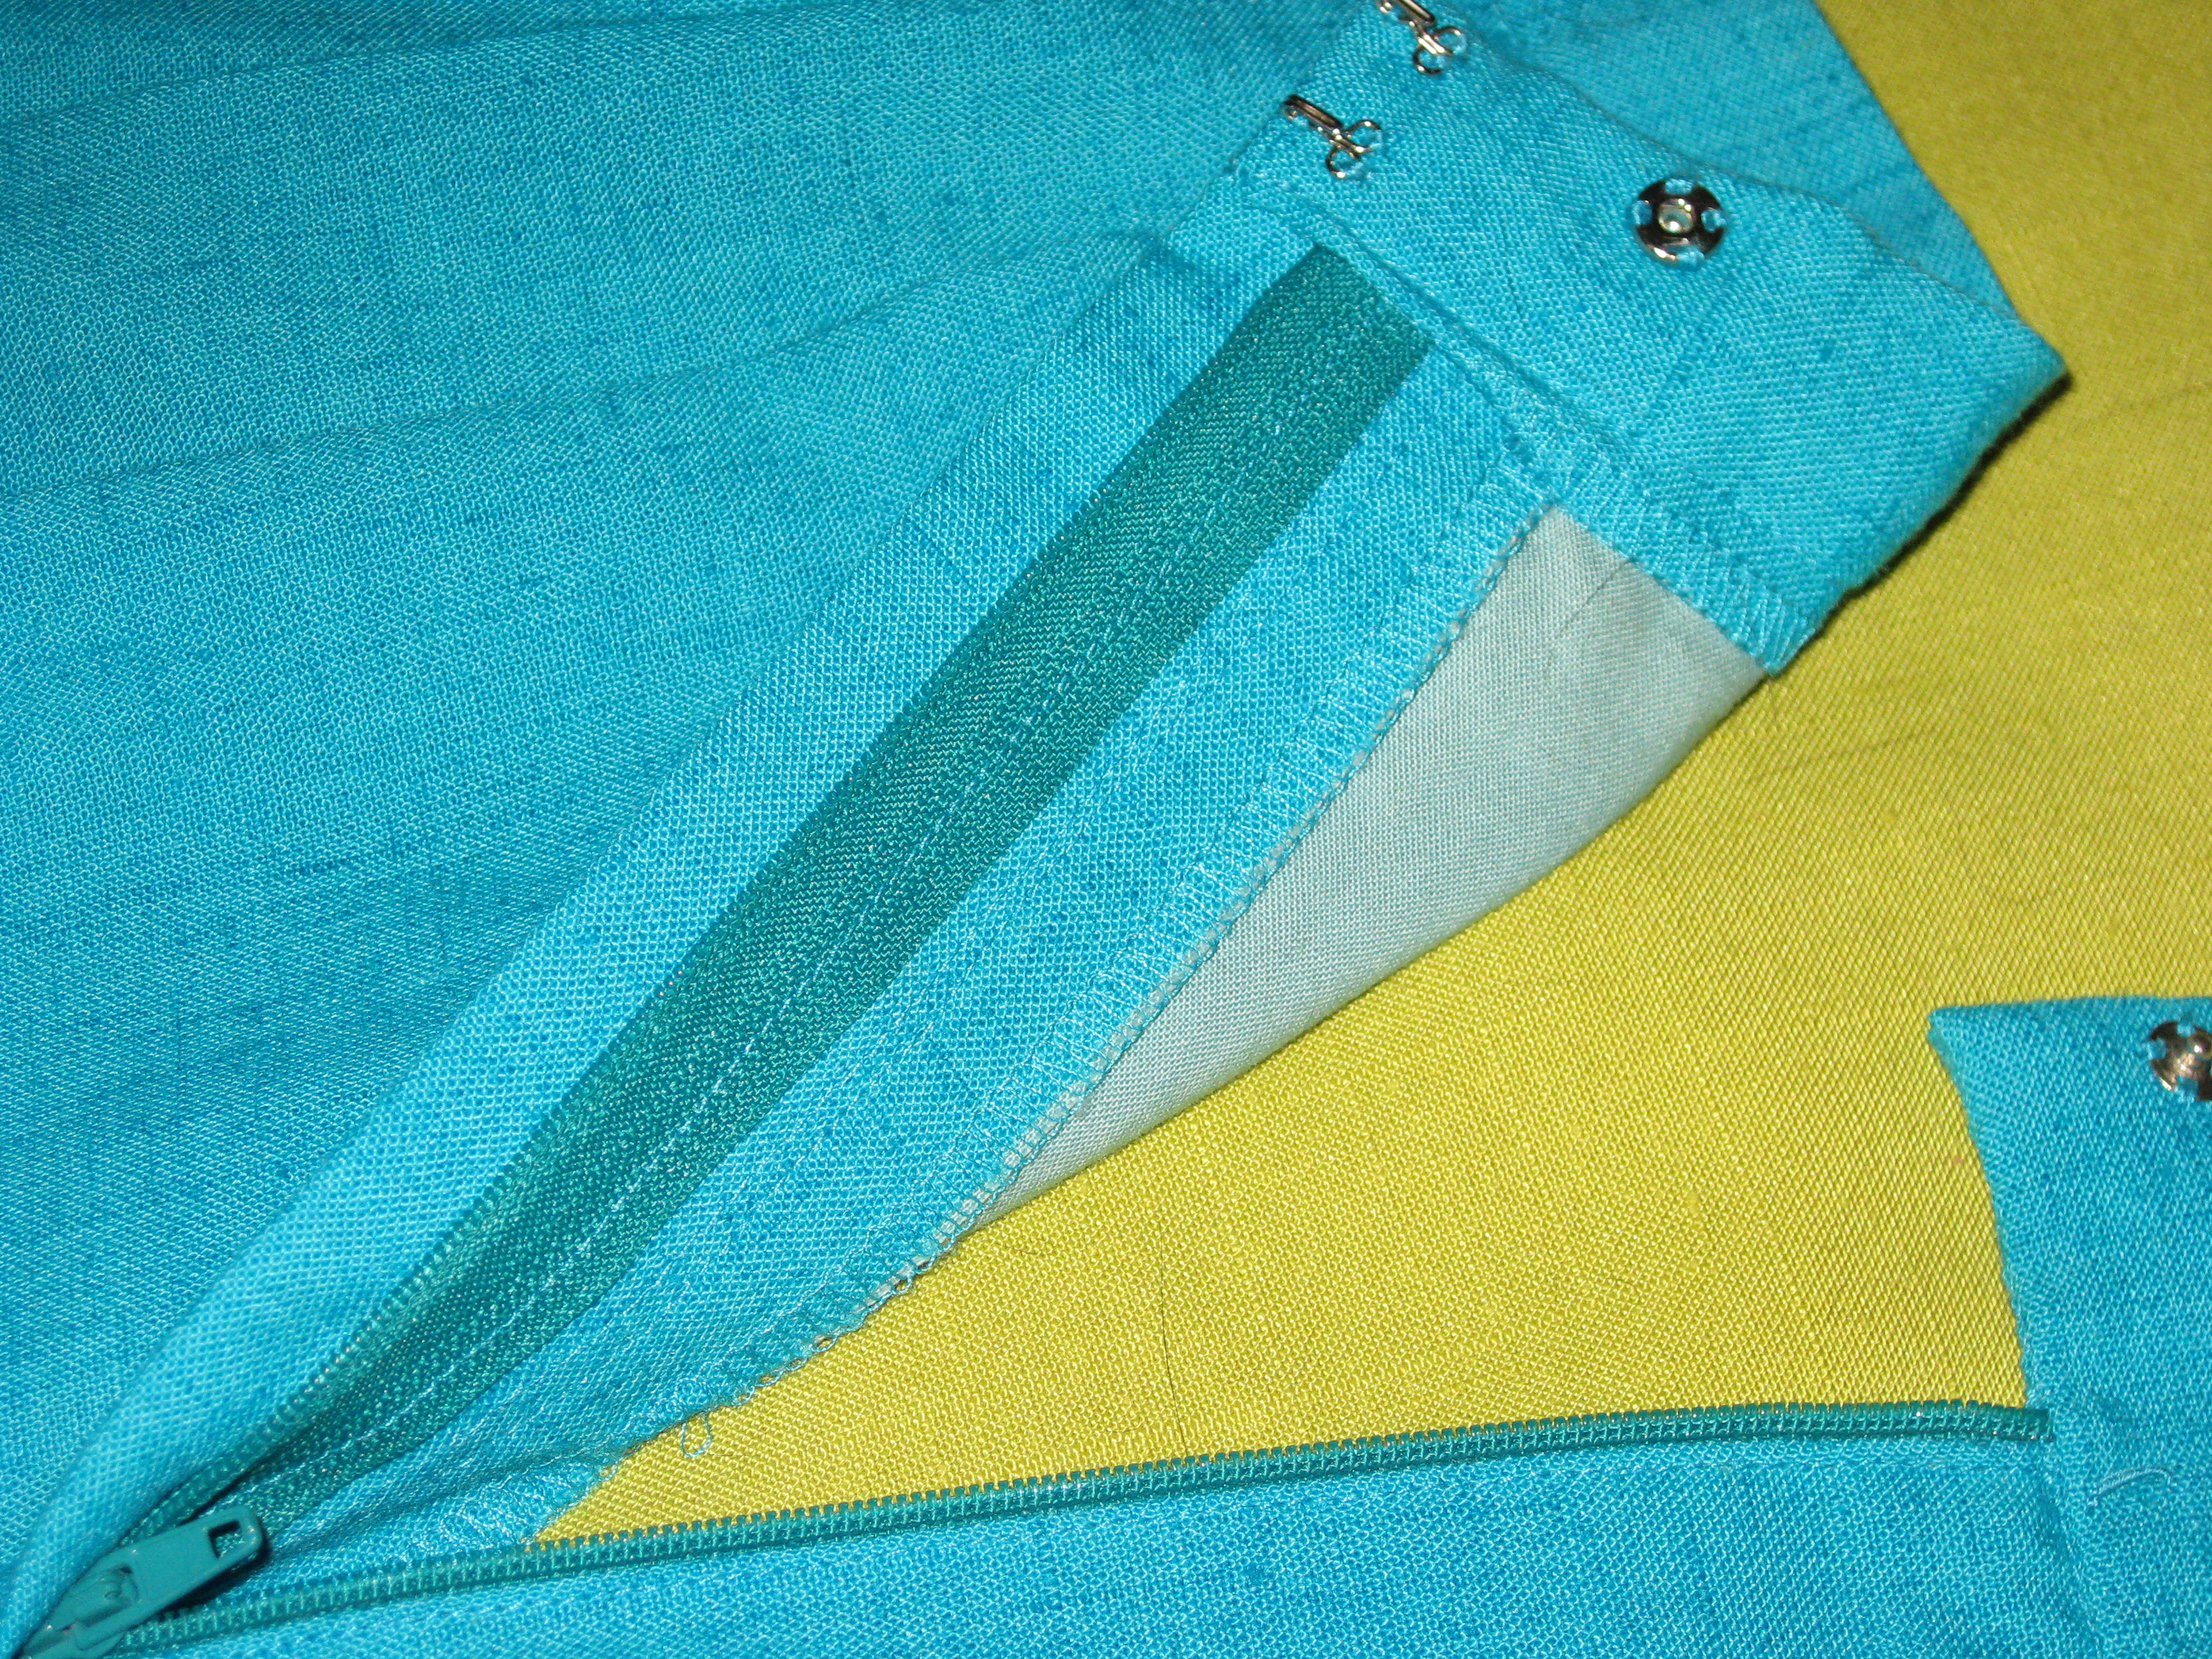
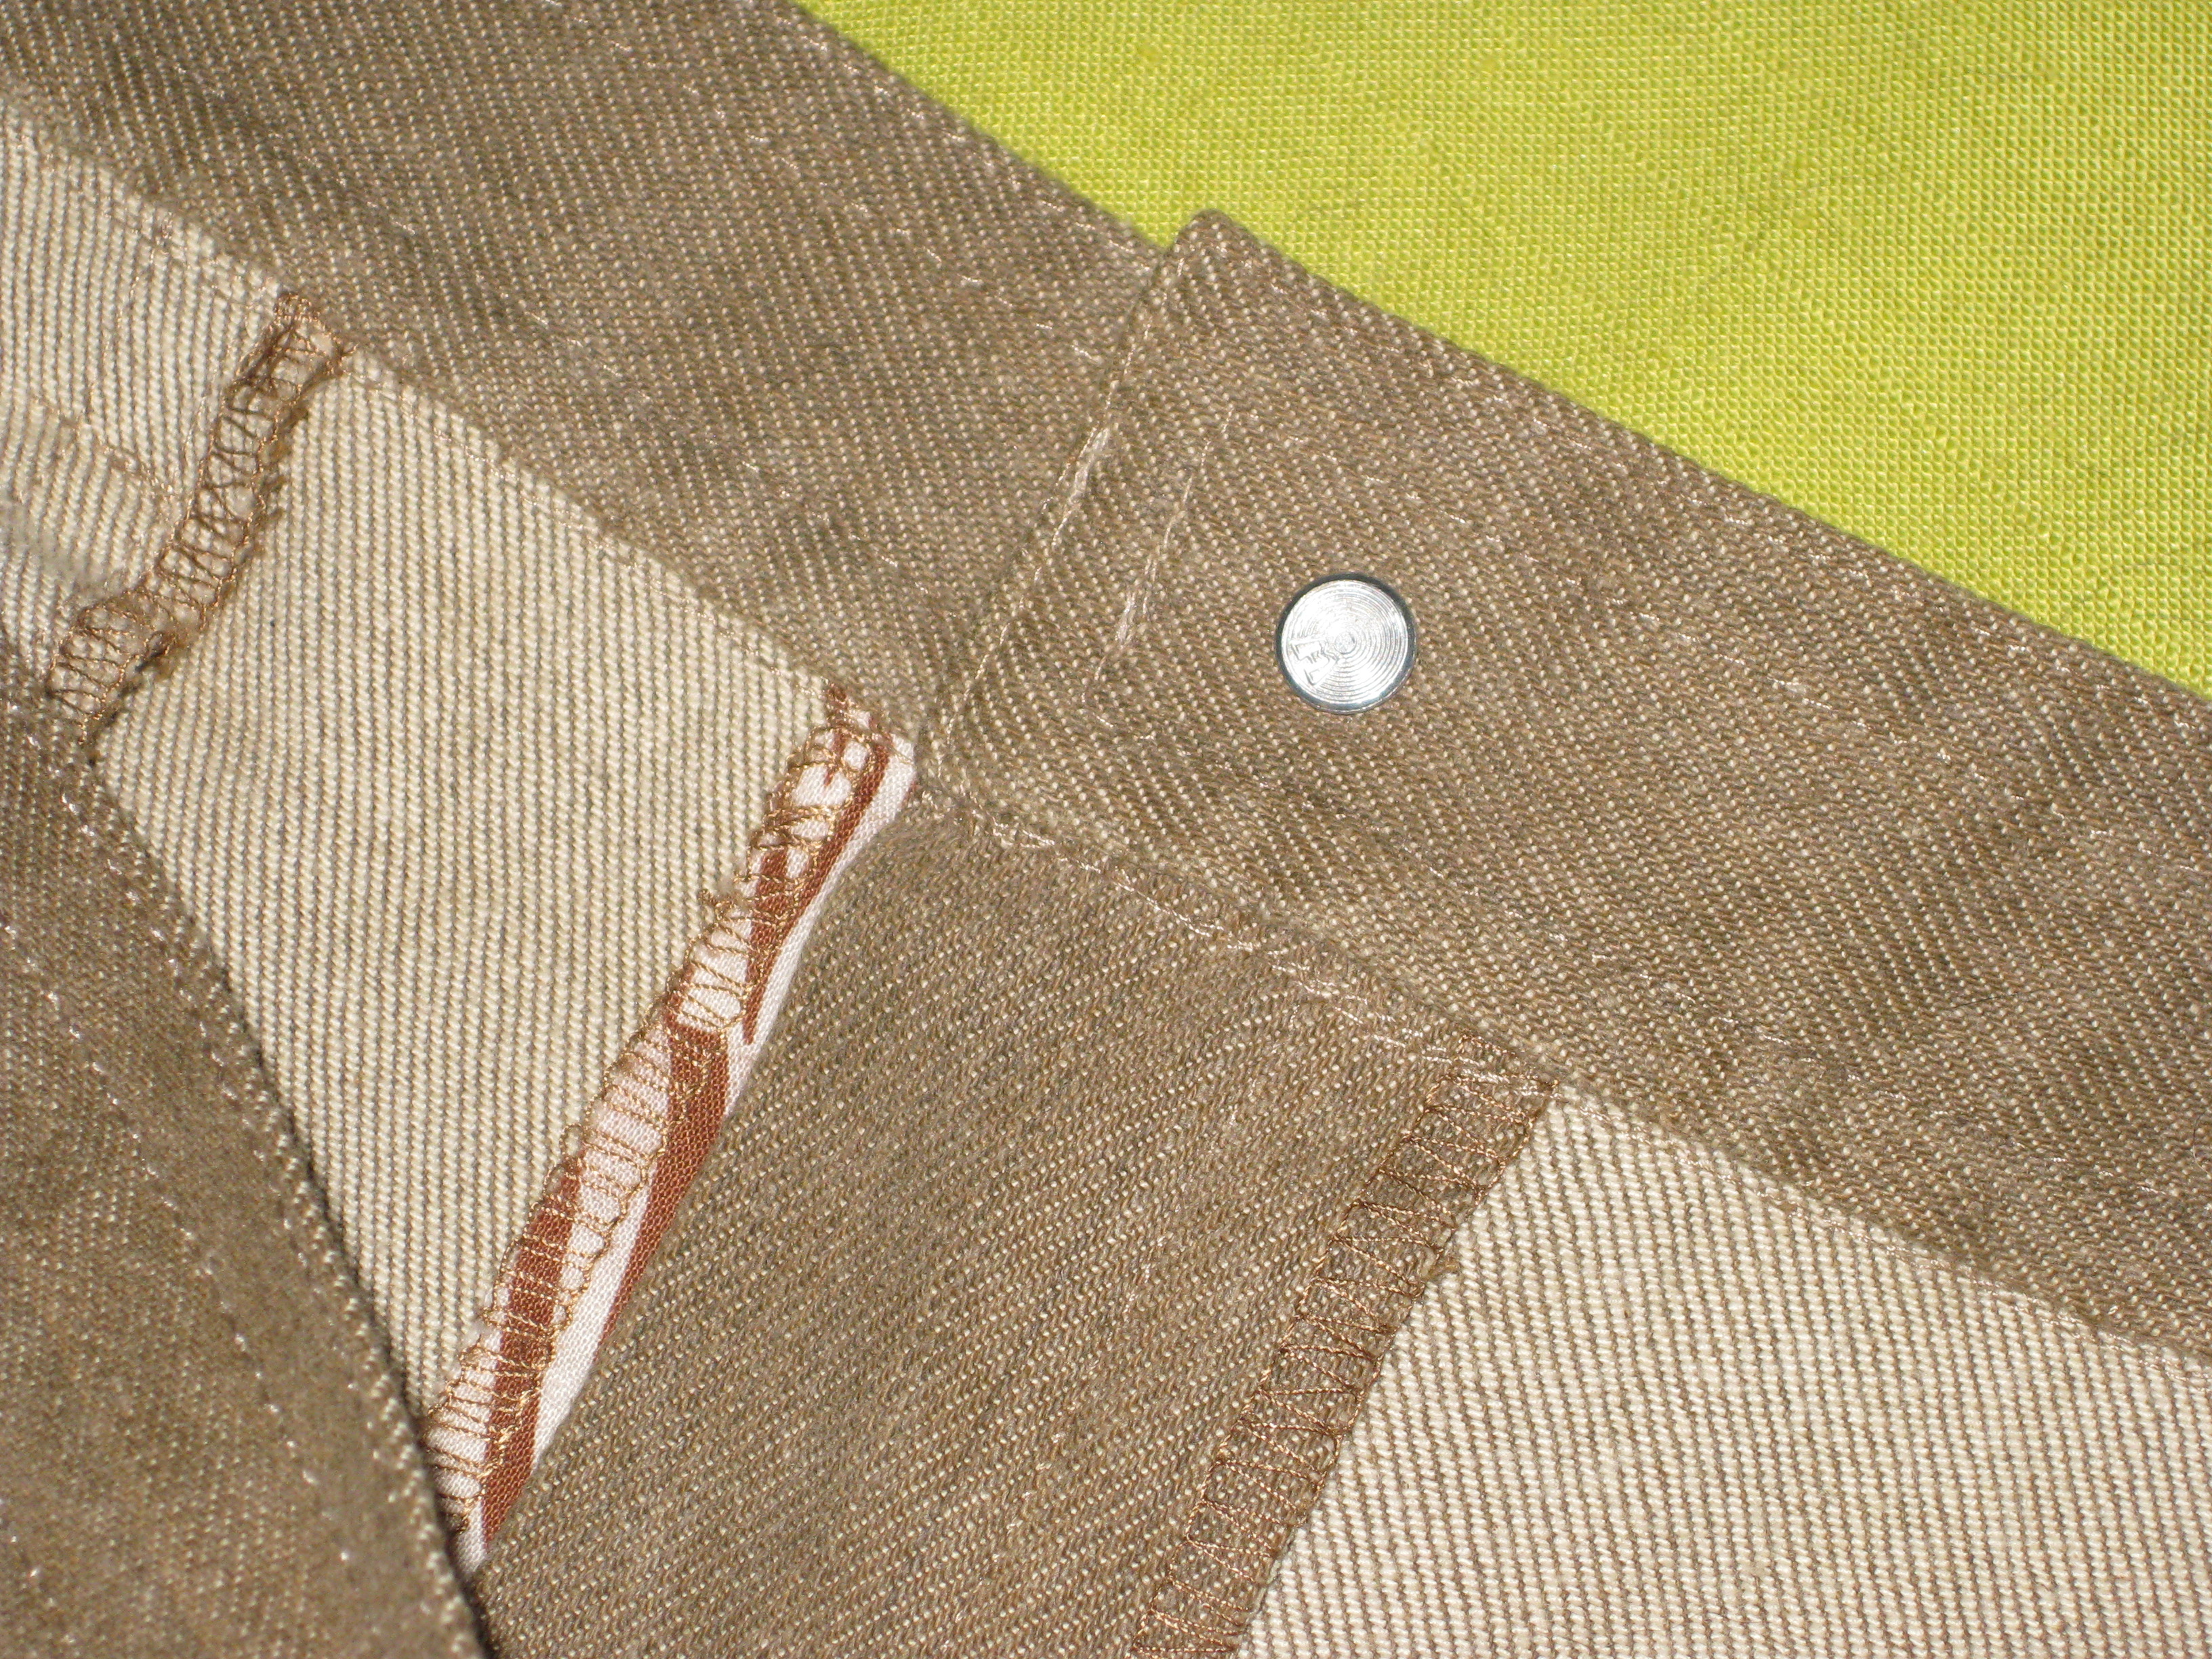
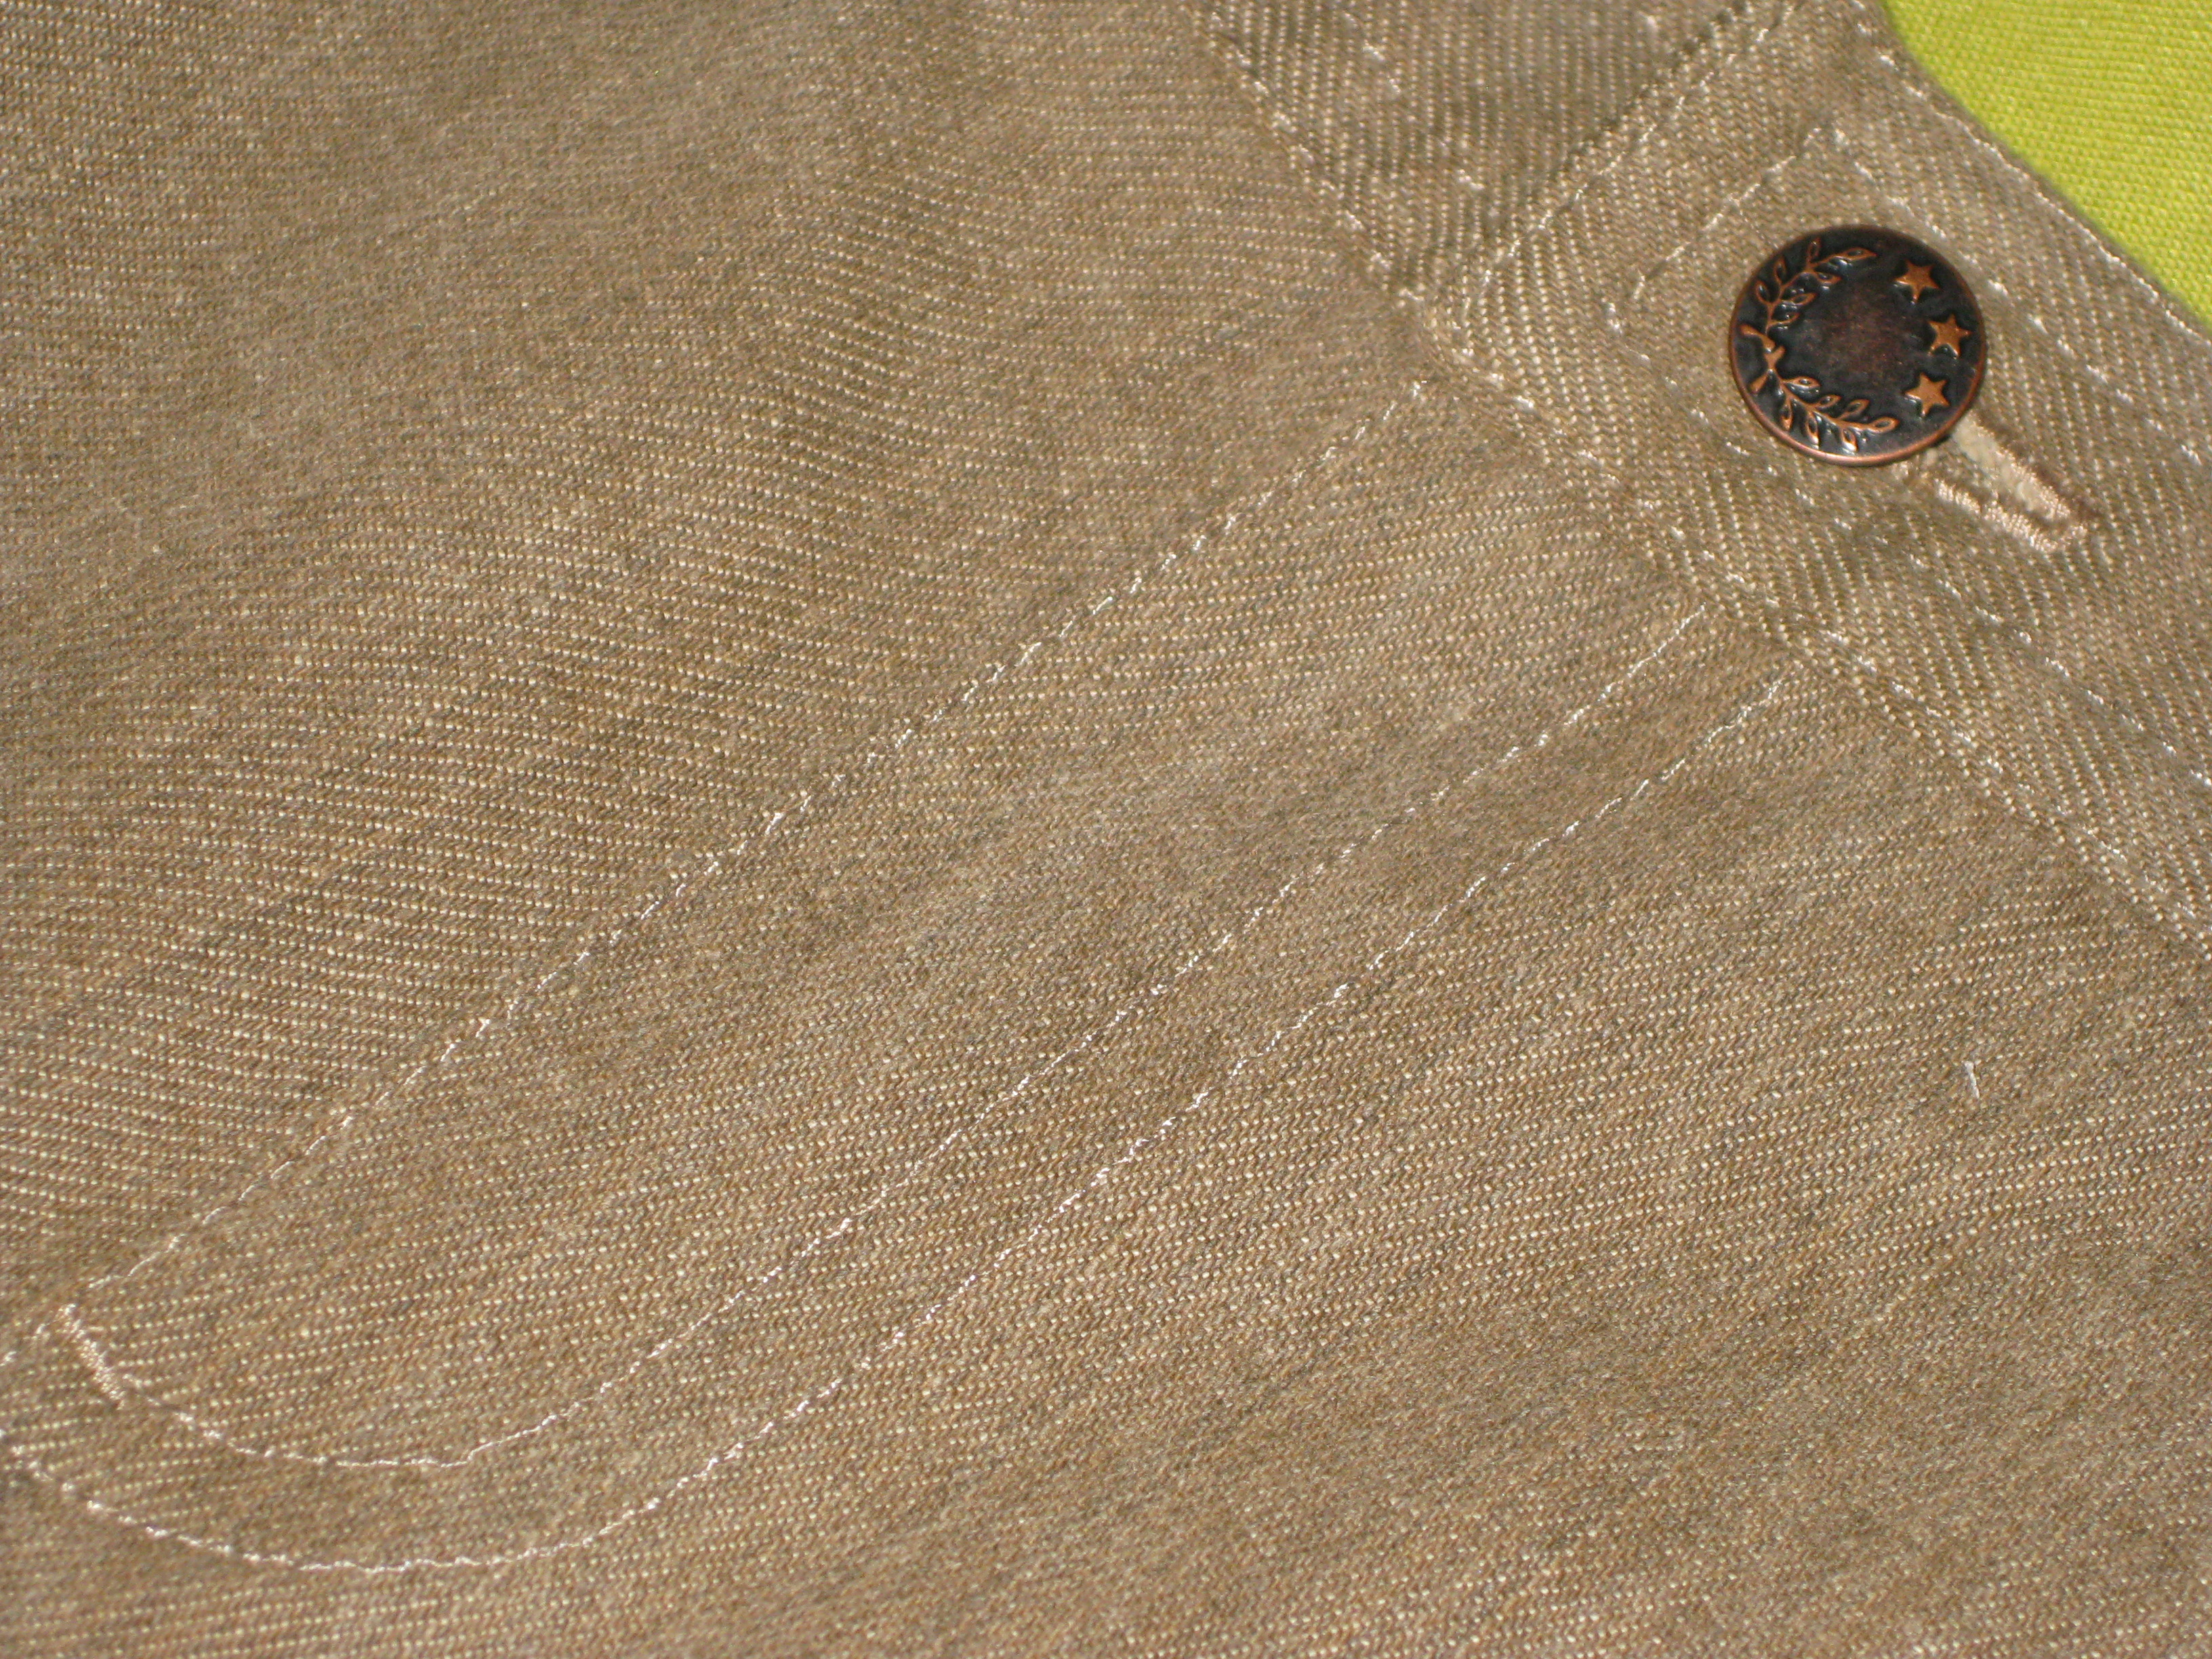
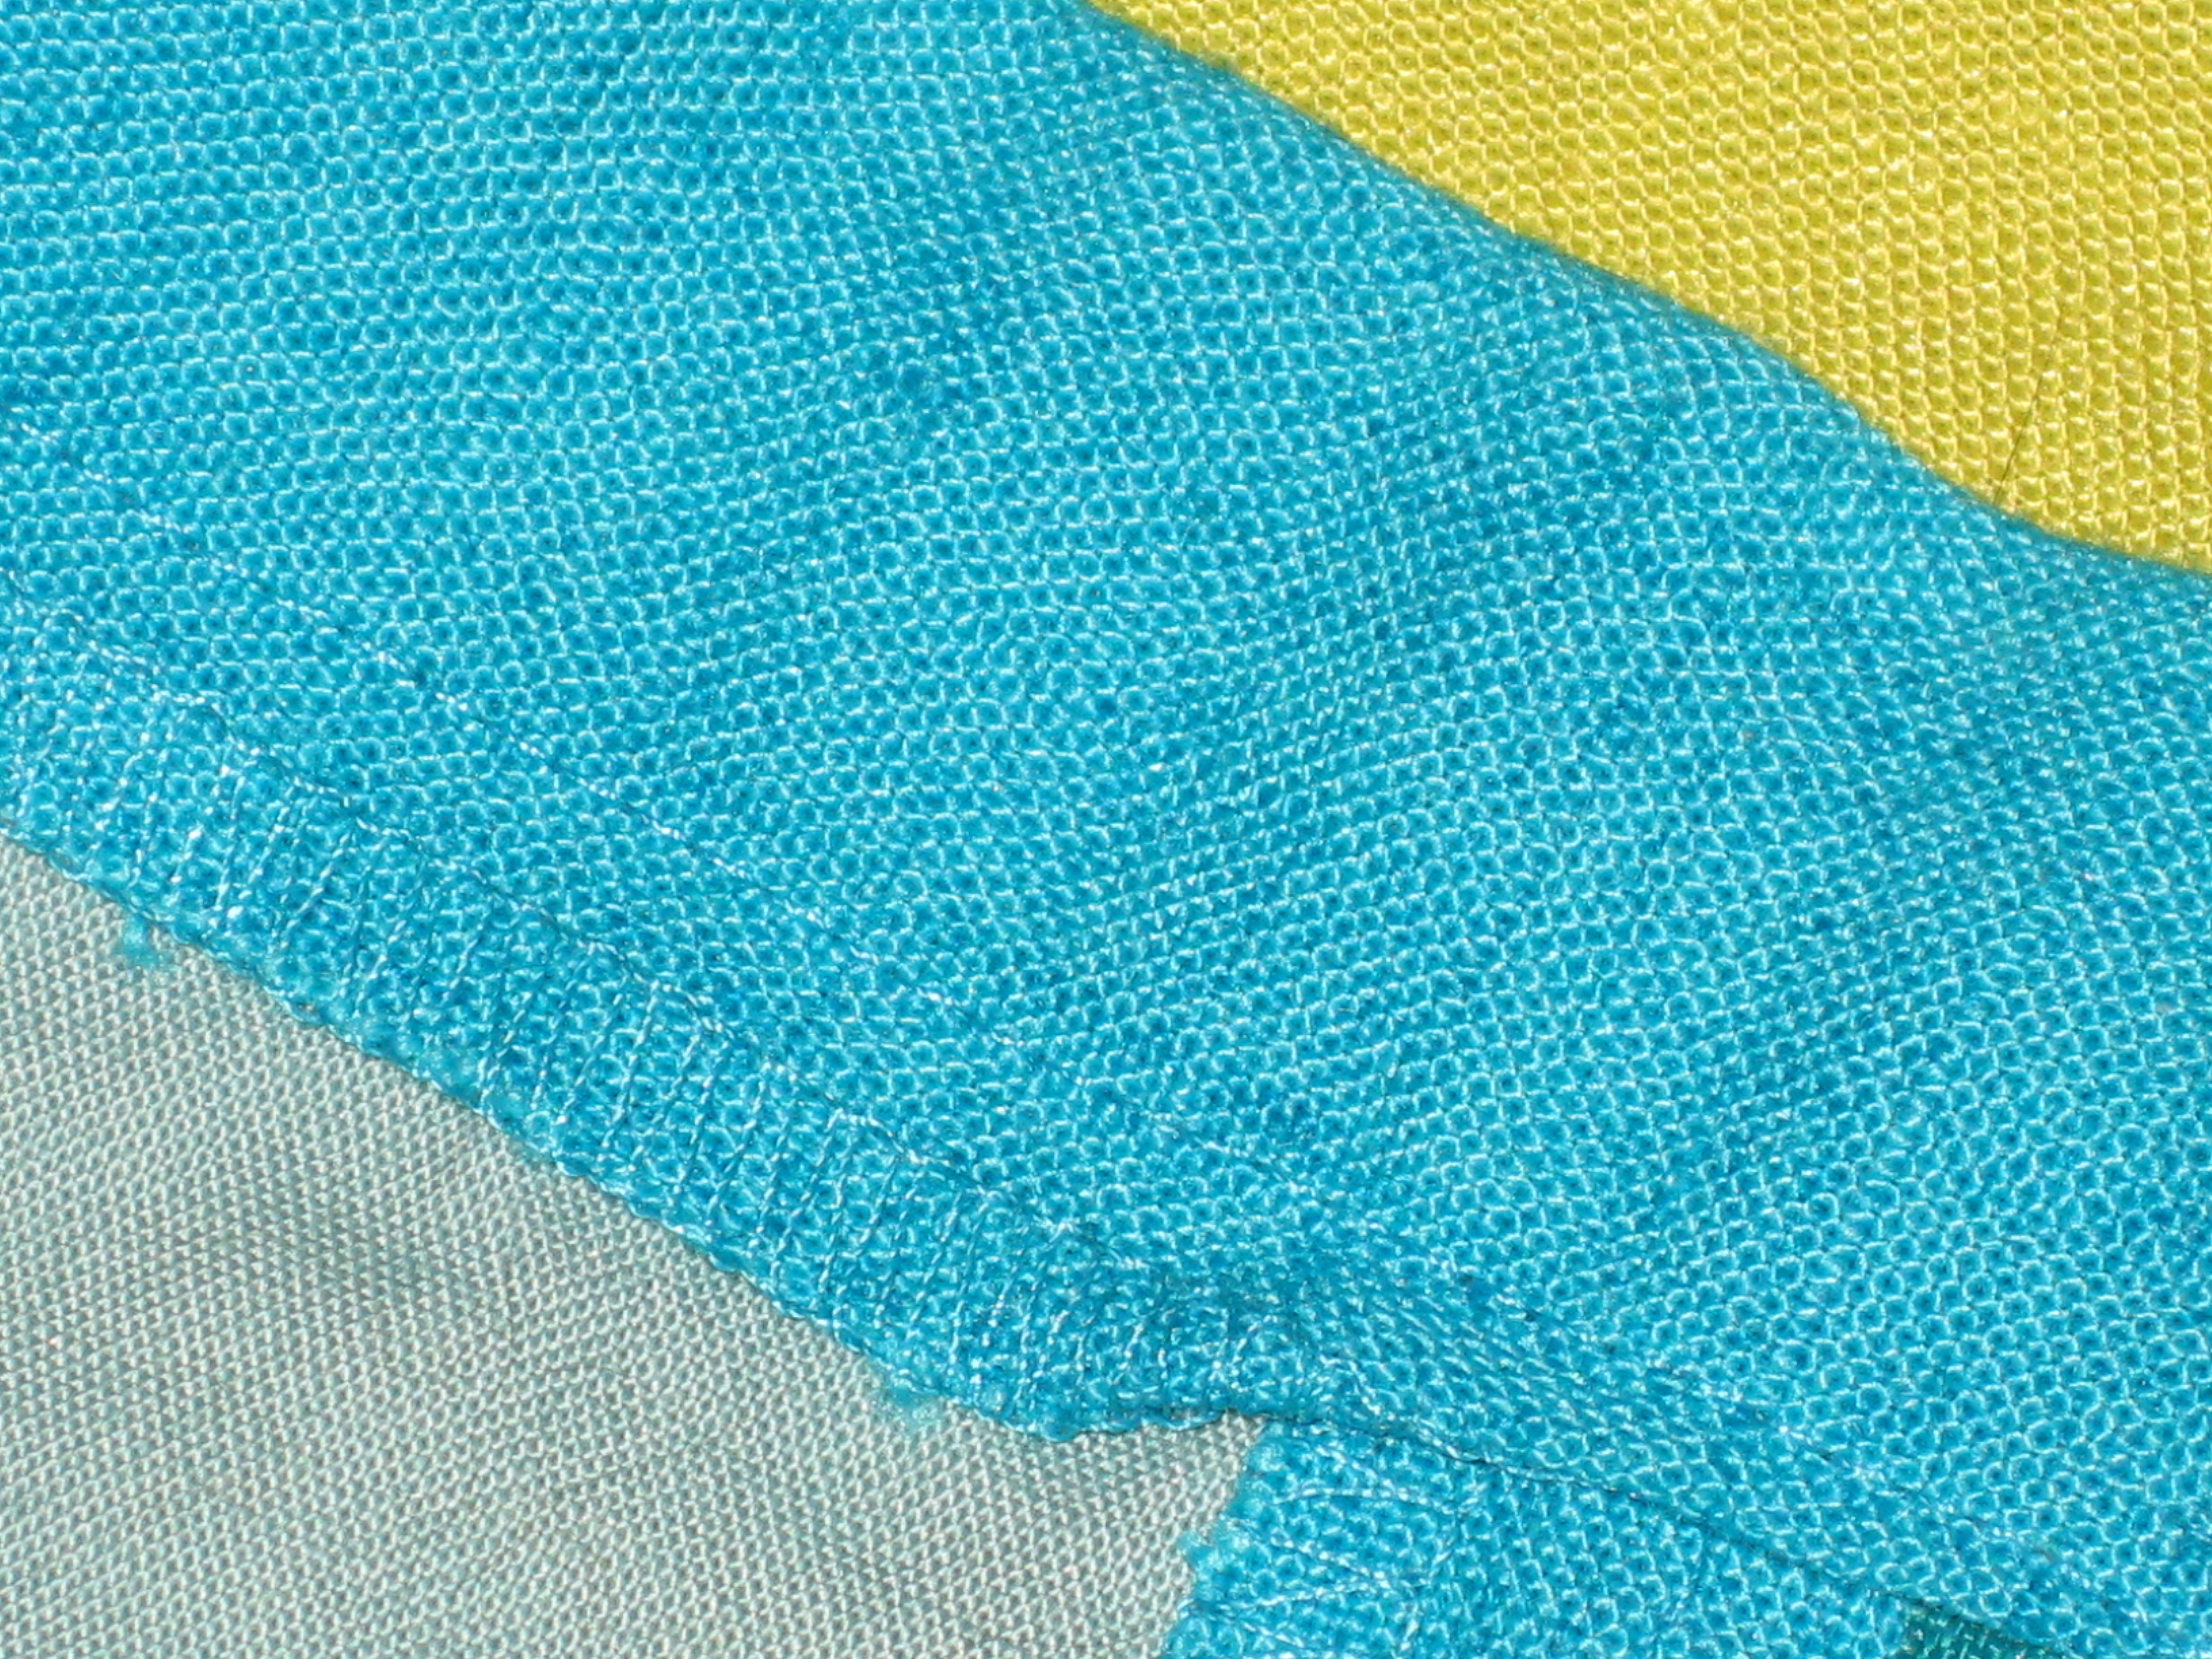
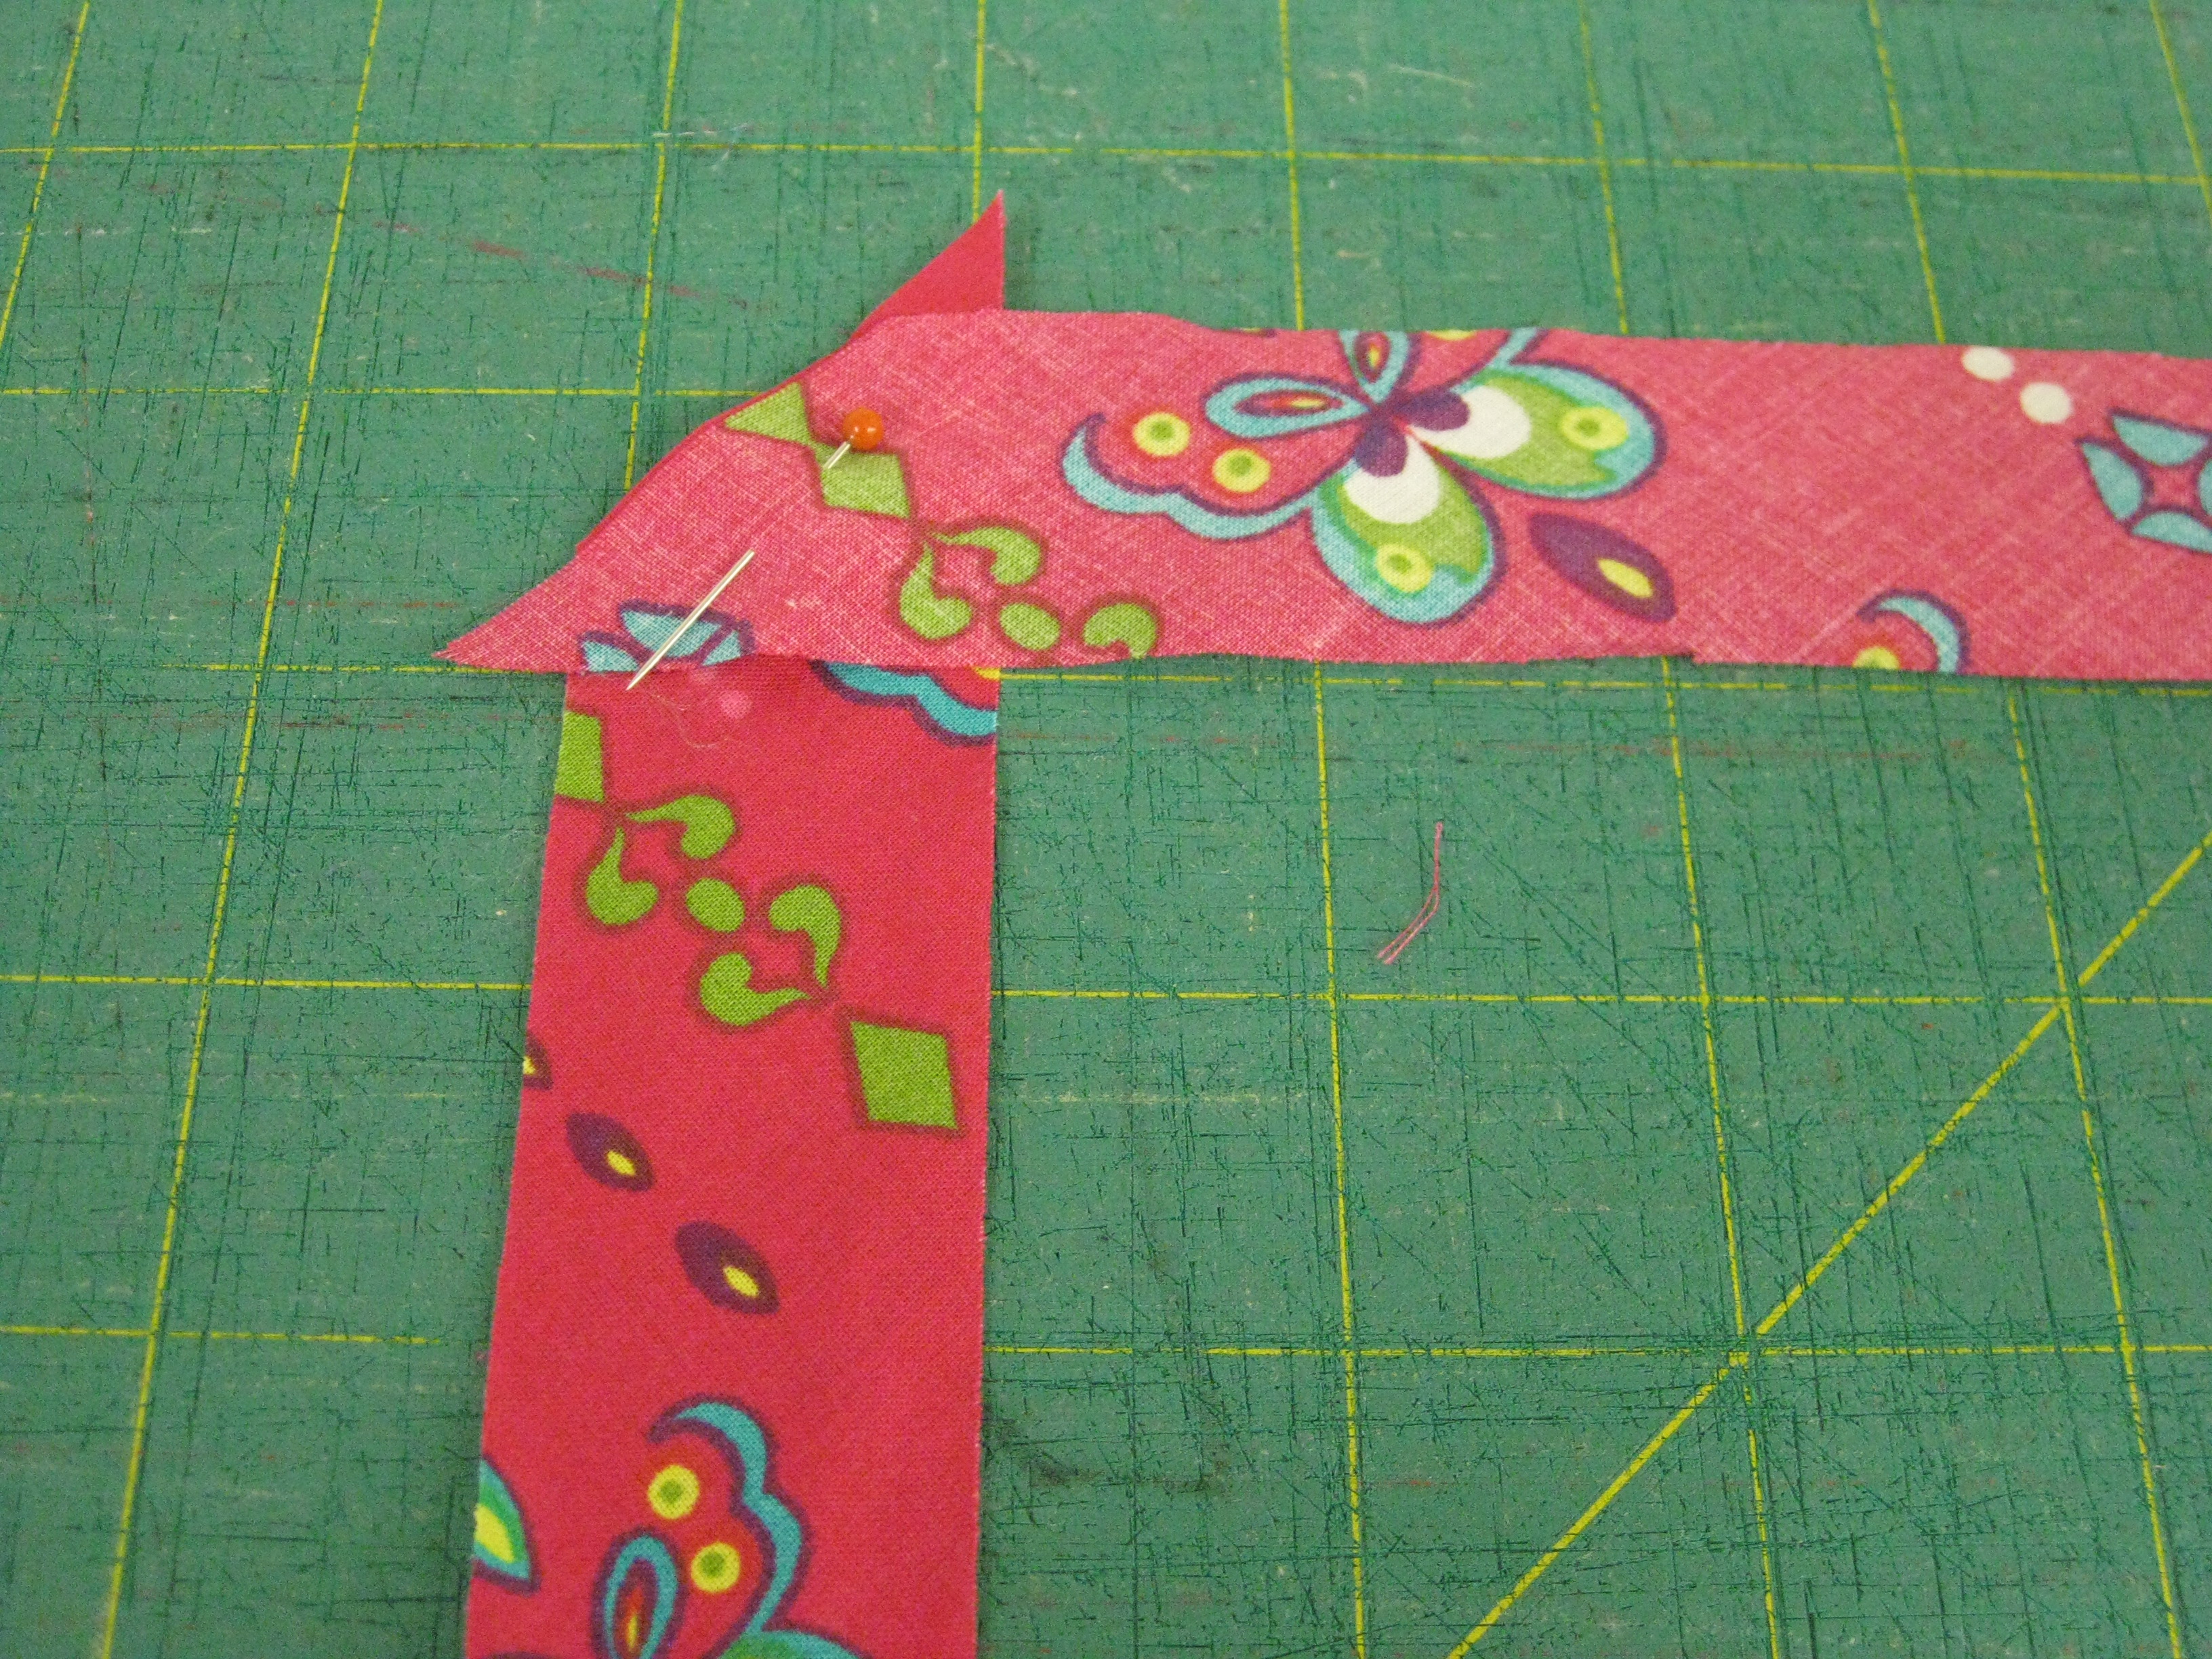
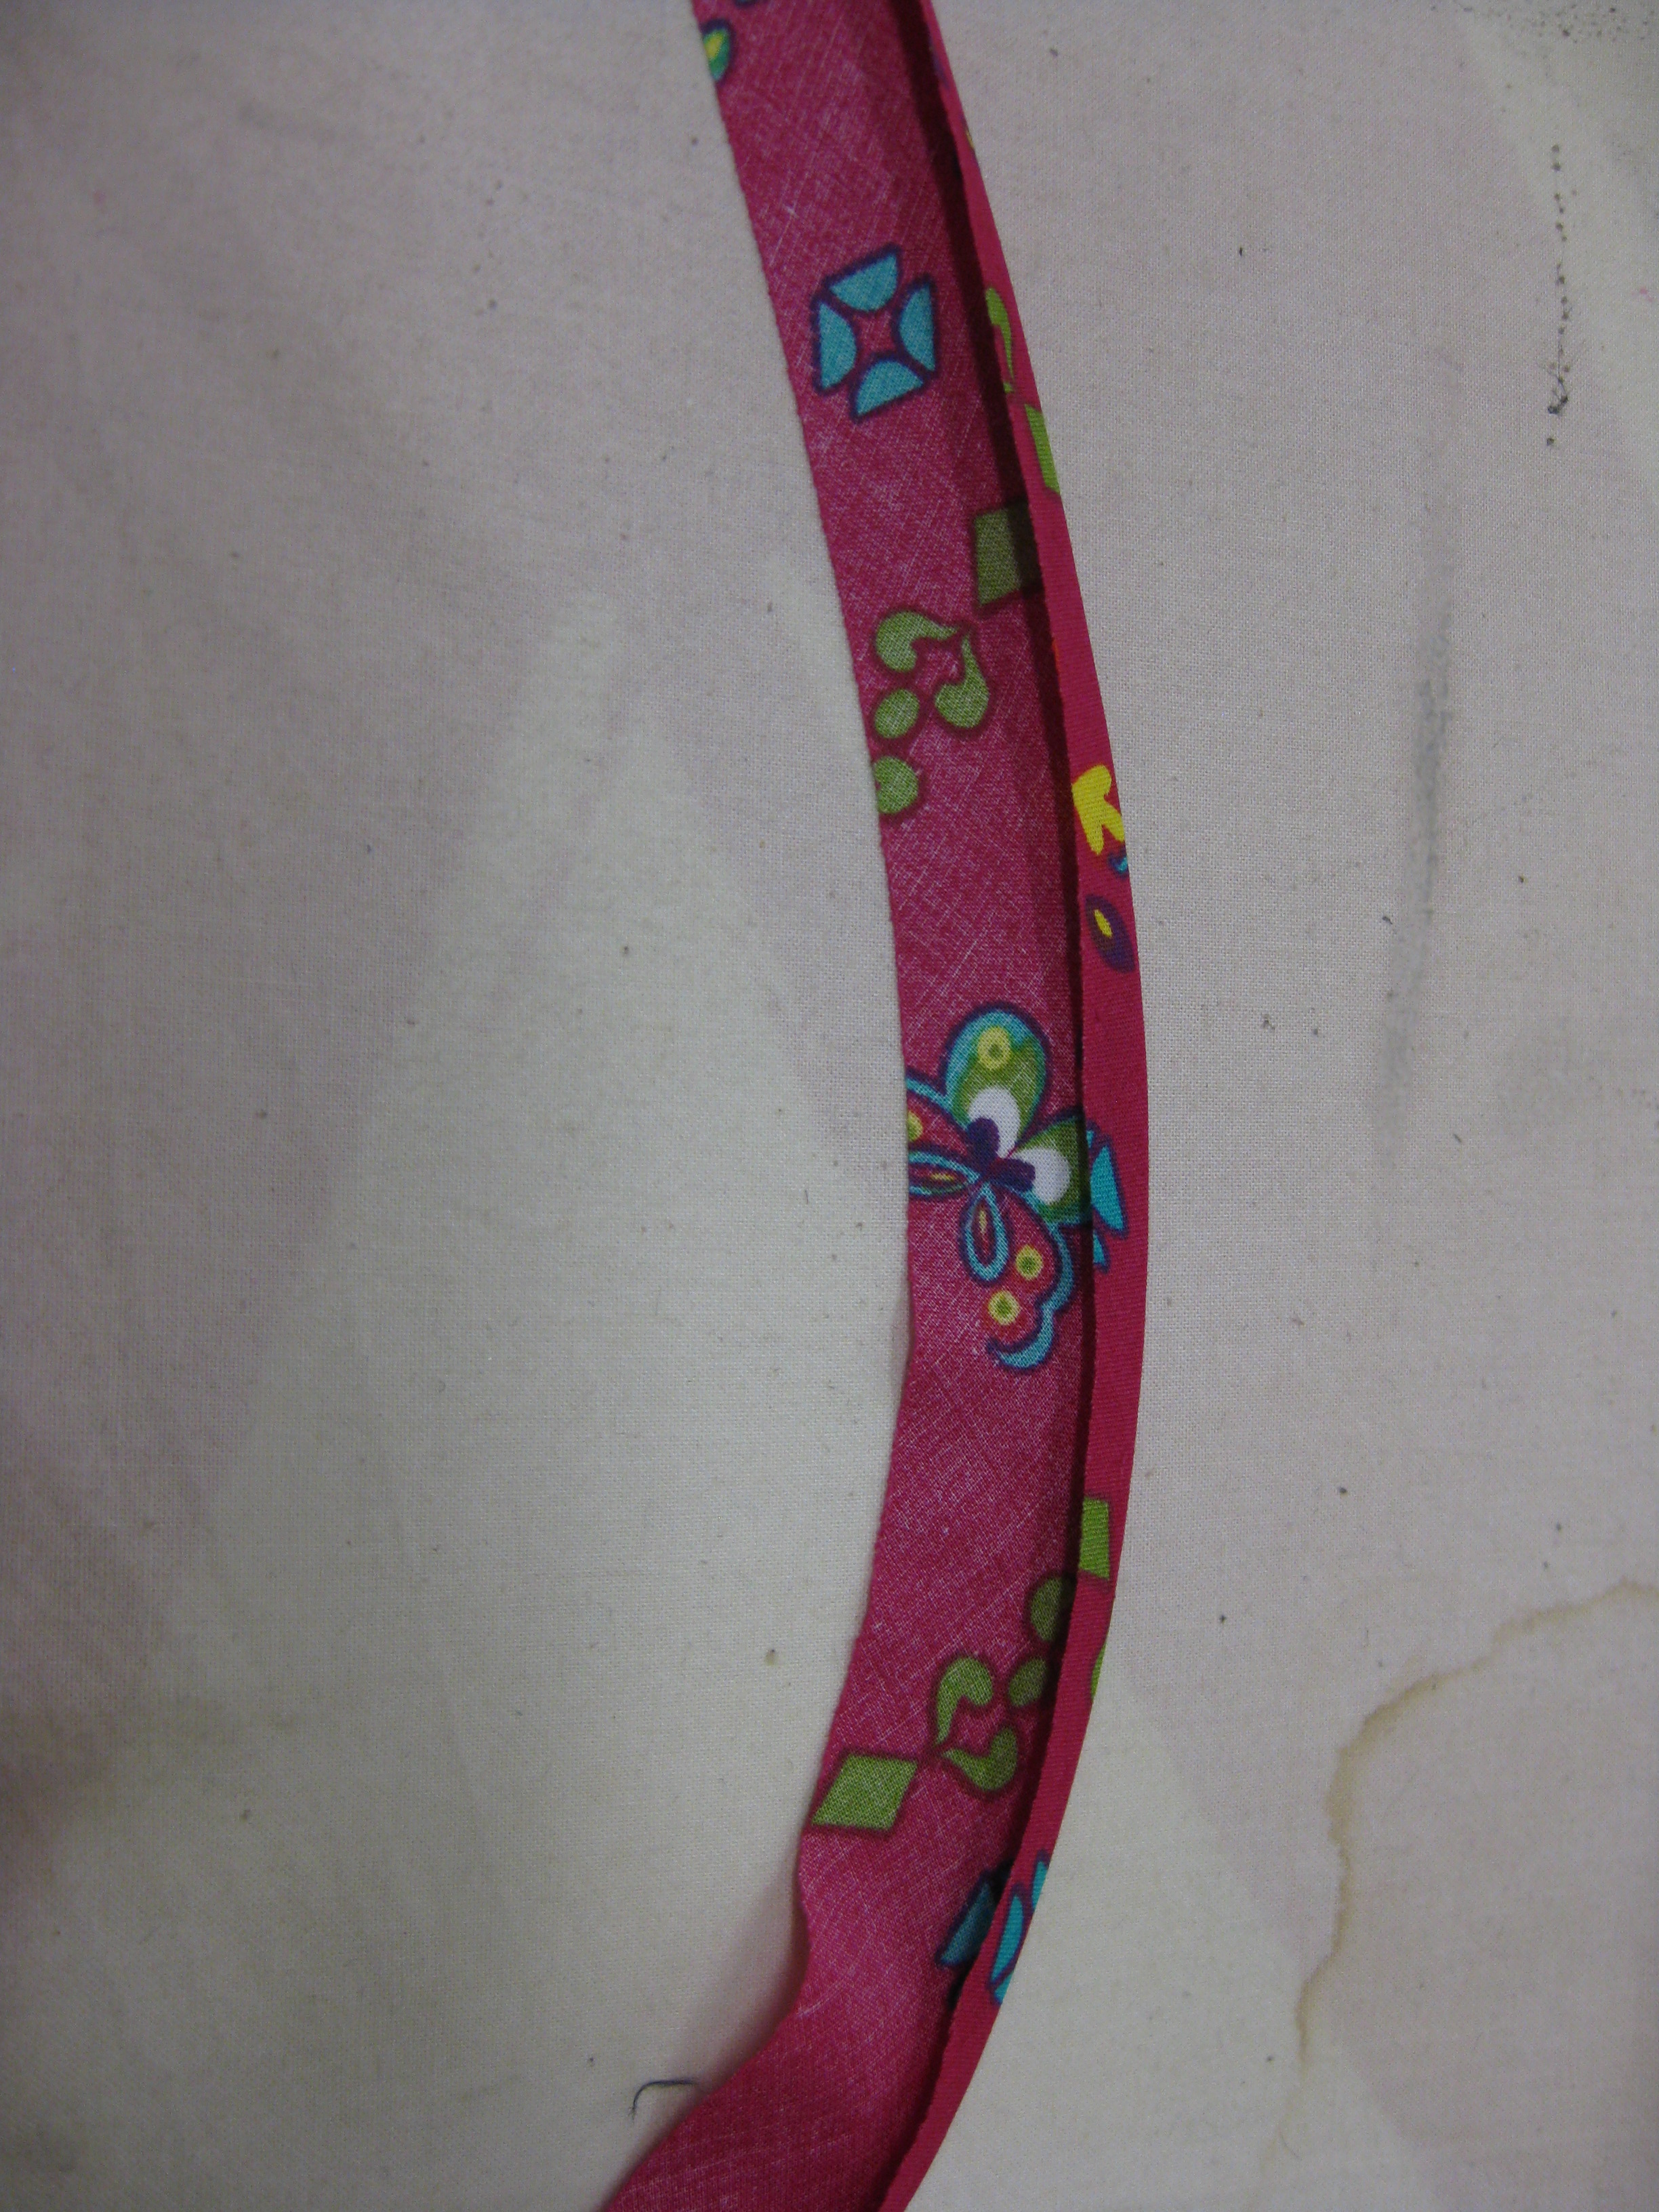
Waistline Stays:
- If a garment has no defined waistline seam, a grosgrain ribbon waistline stay can be applied to keep the garment in place during wear
- A grosgrain ribbon stay is also added to the lower edge of an inserted foundation
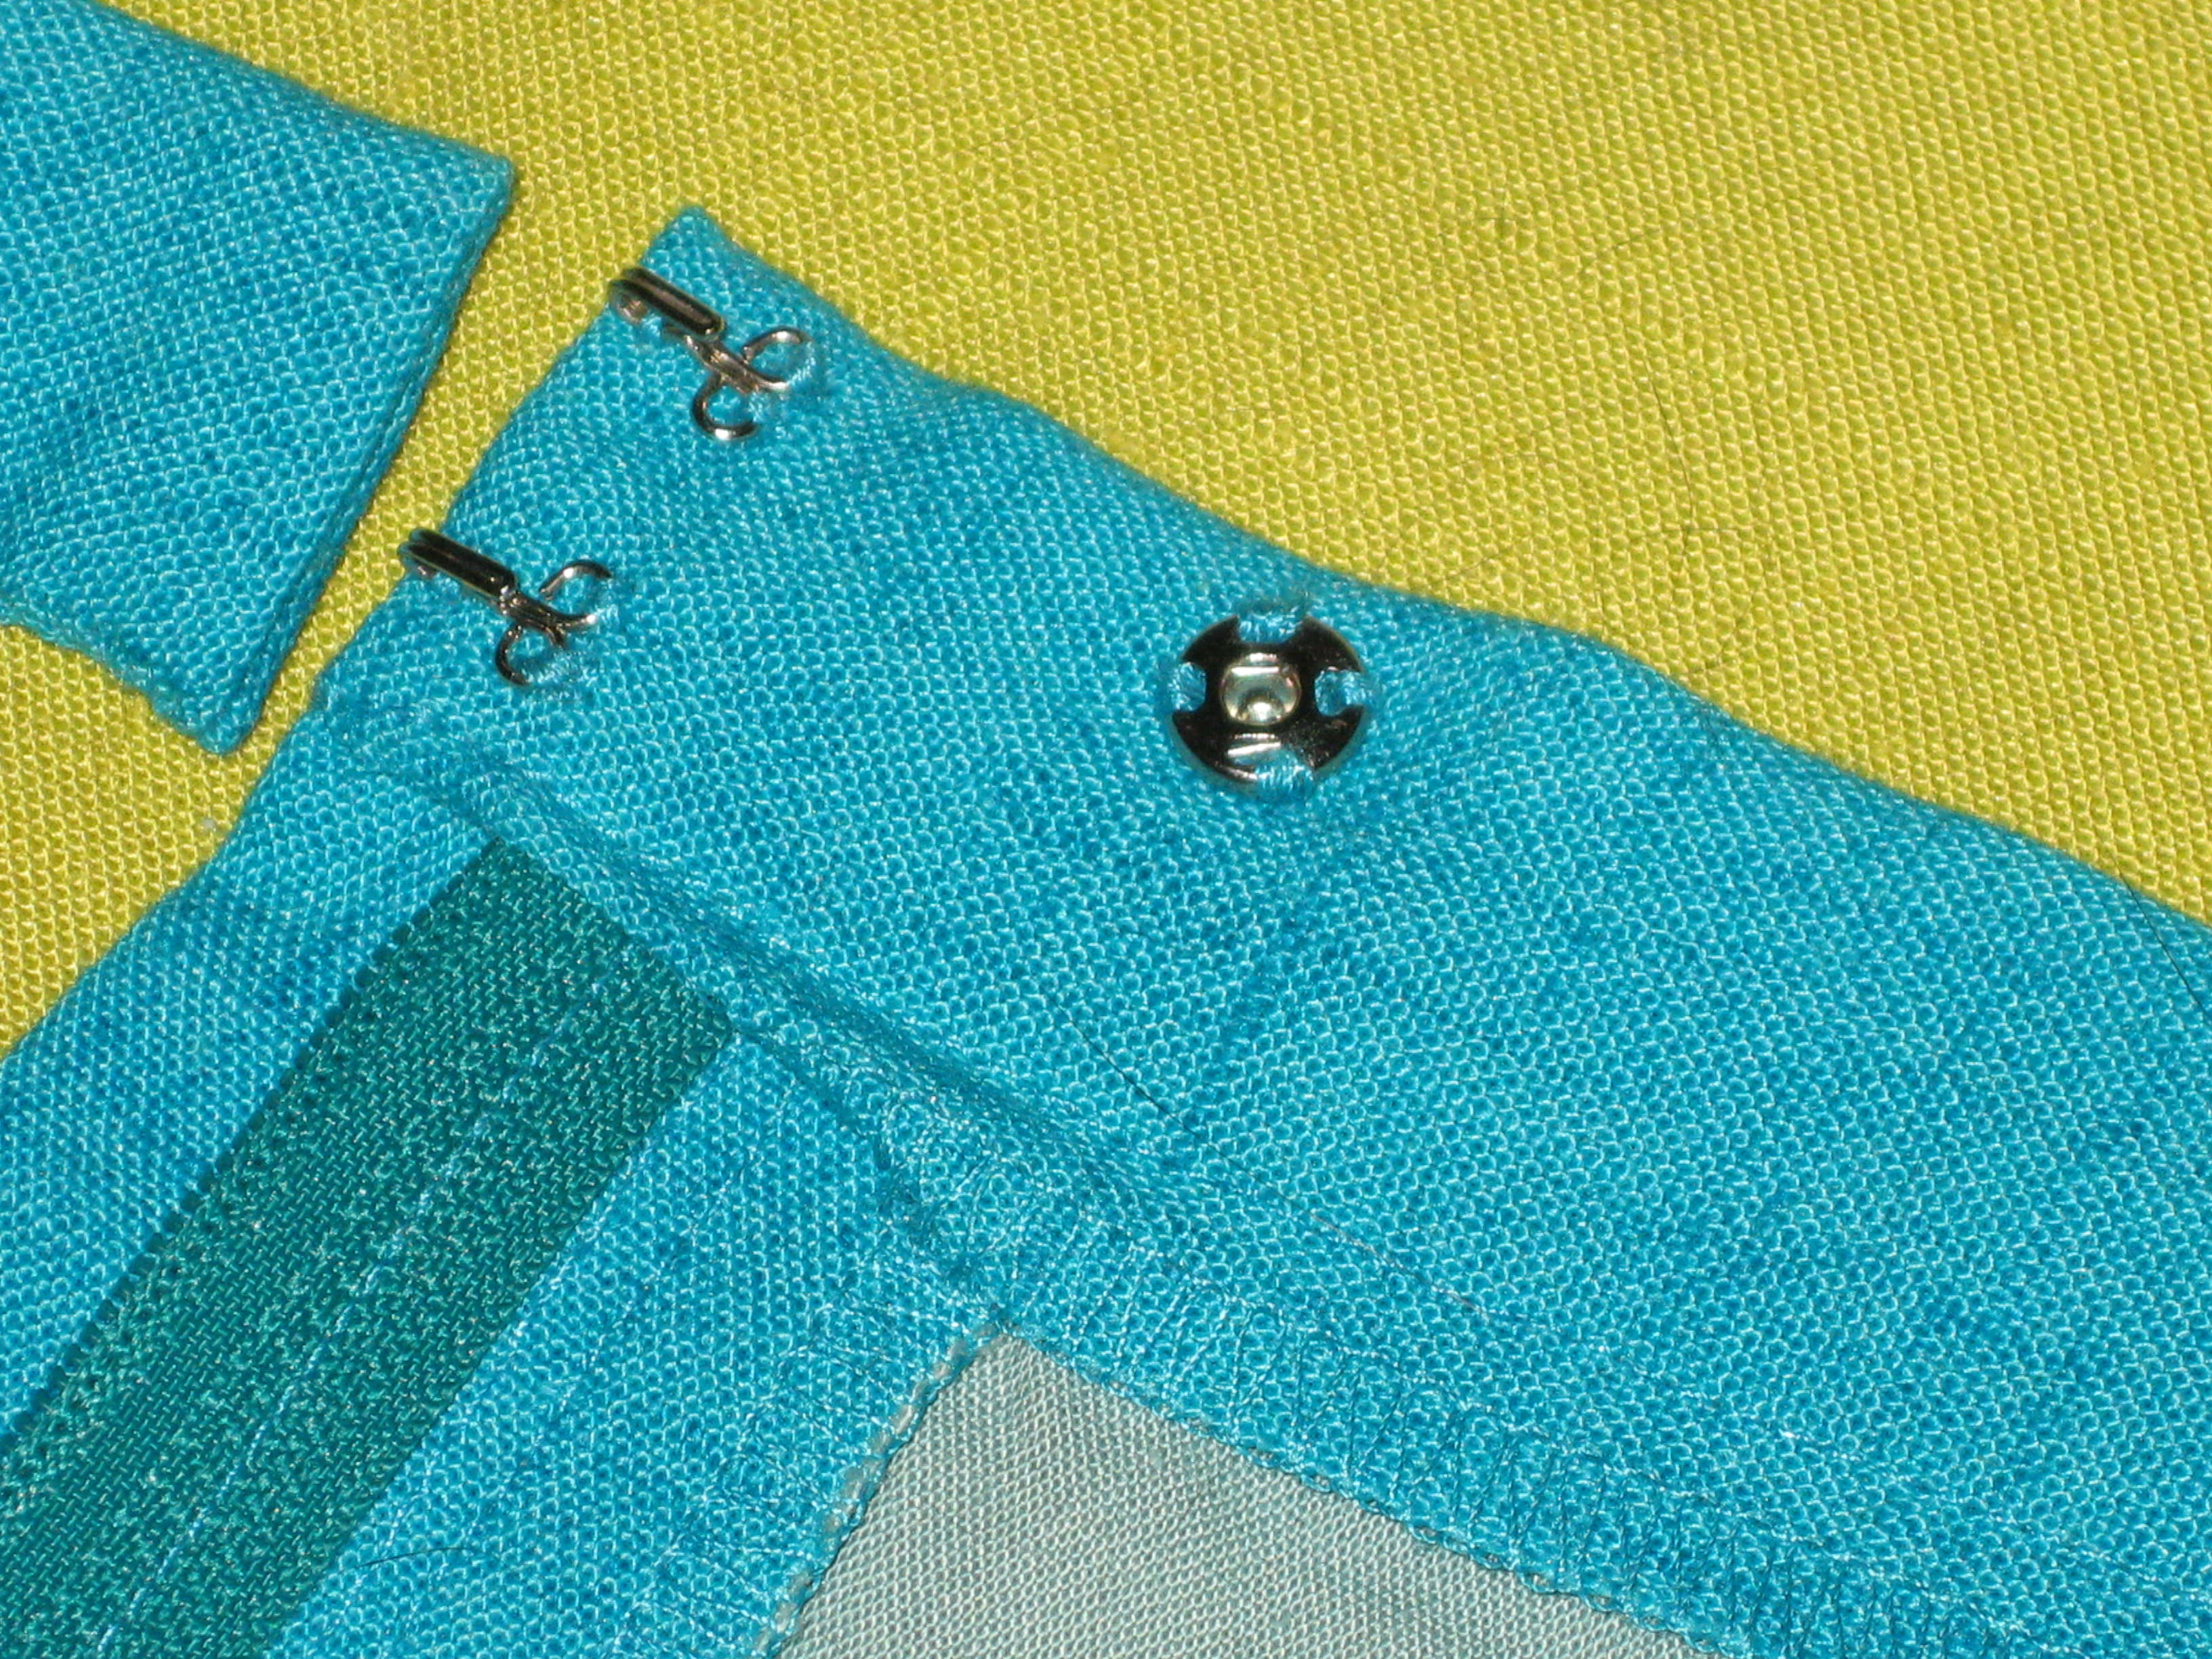
- The stay is hand stitched in place at seam allowances or along the bottom of a foundation and hooks and eyes are applied to each end (they should be positioned towards the garment and not the wearer)

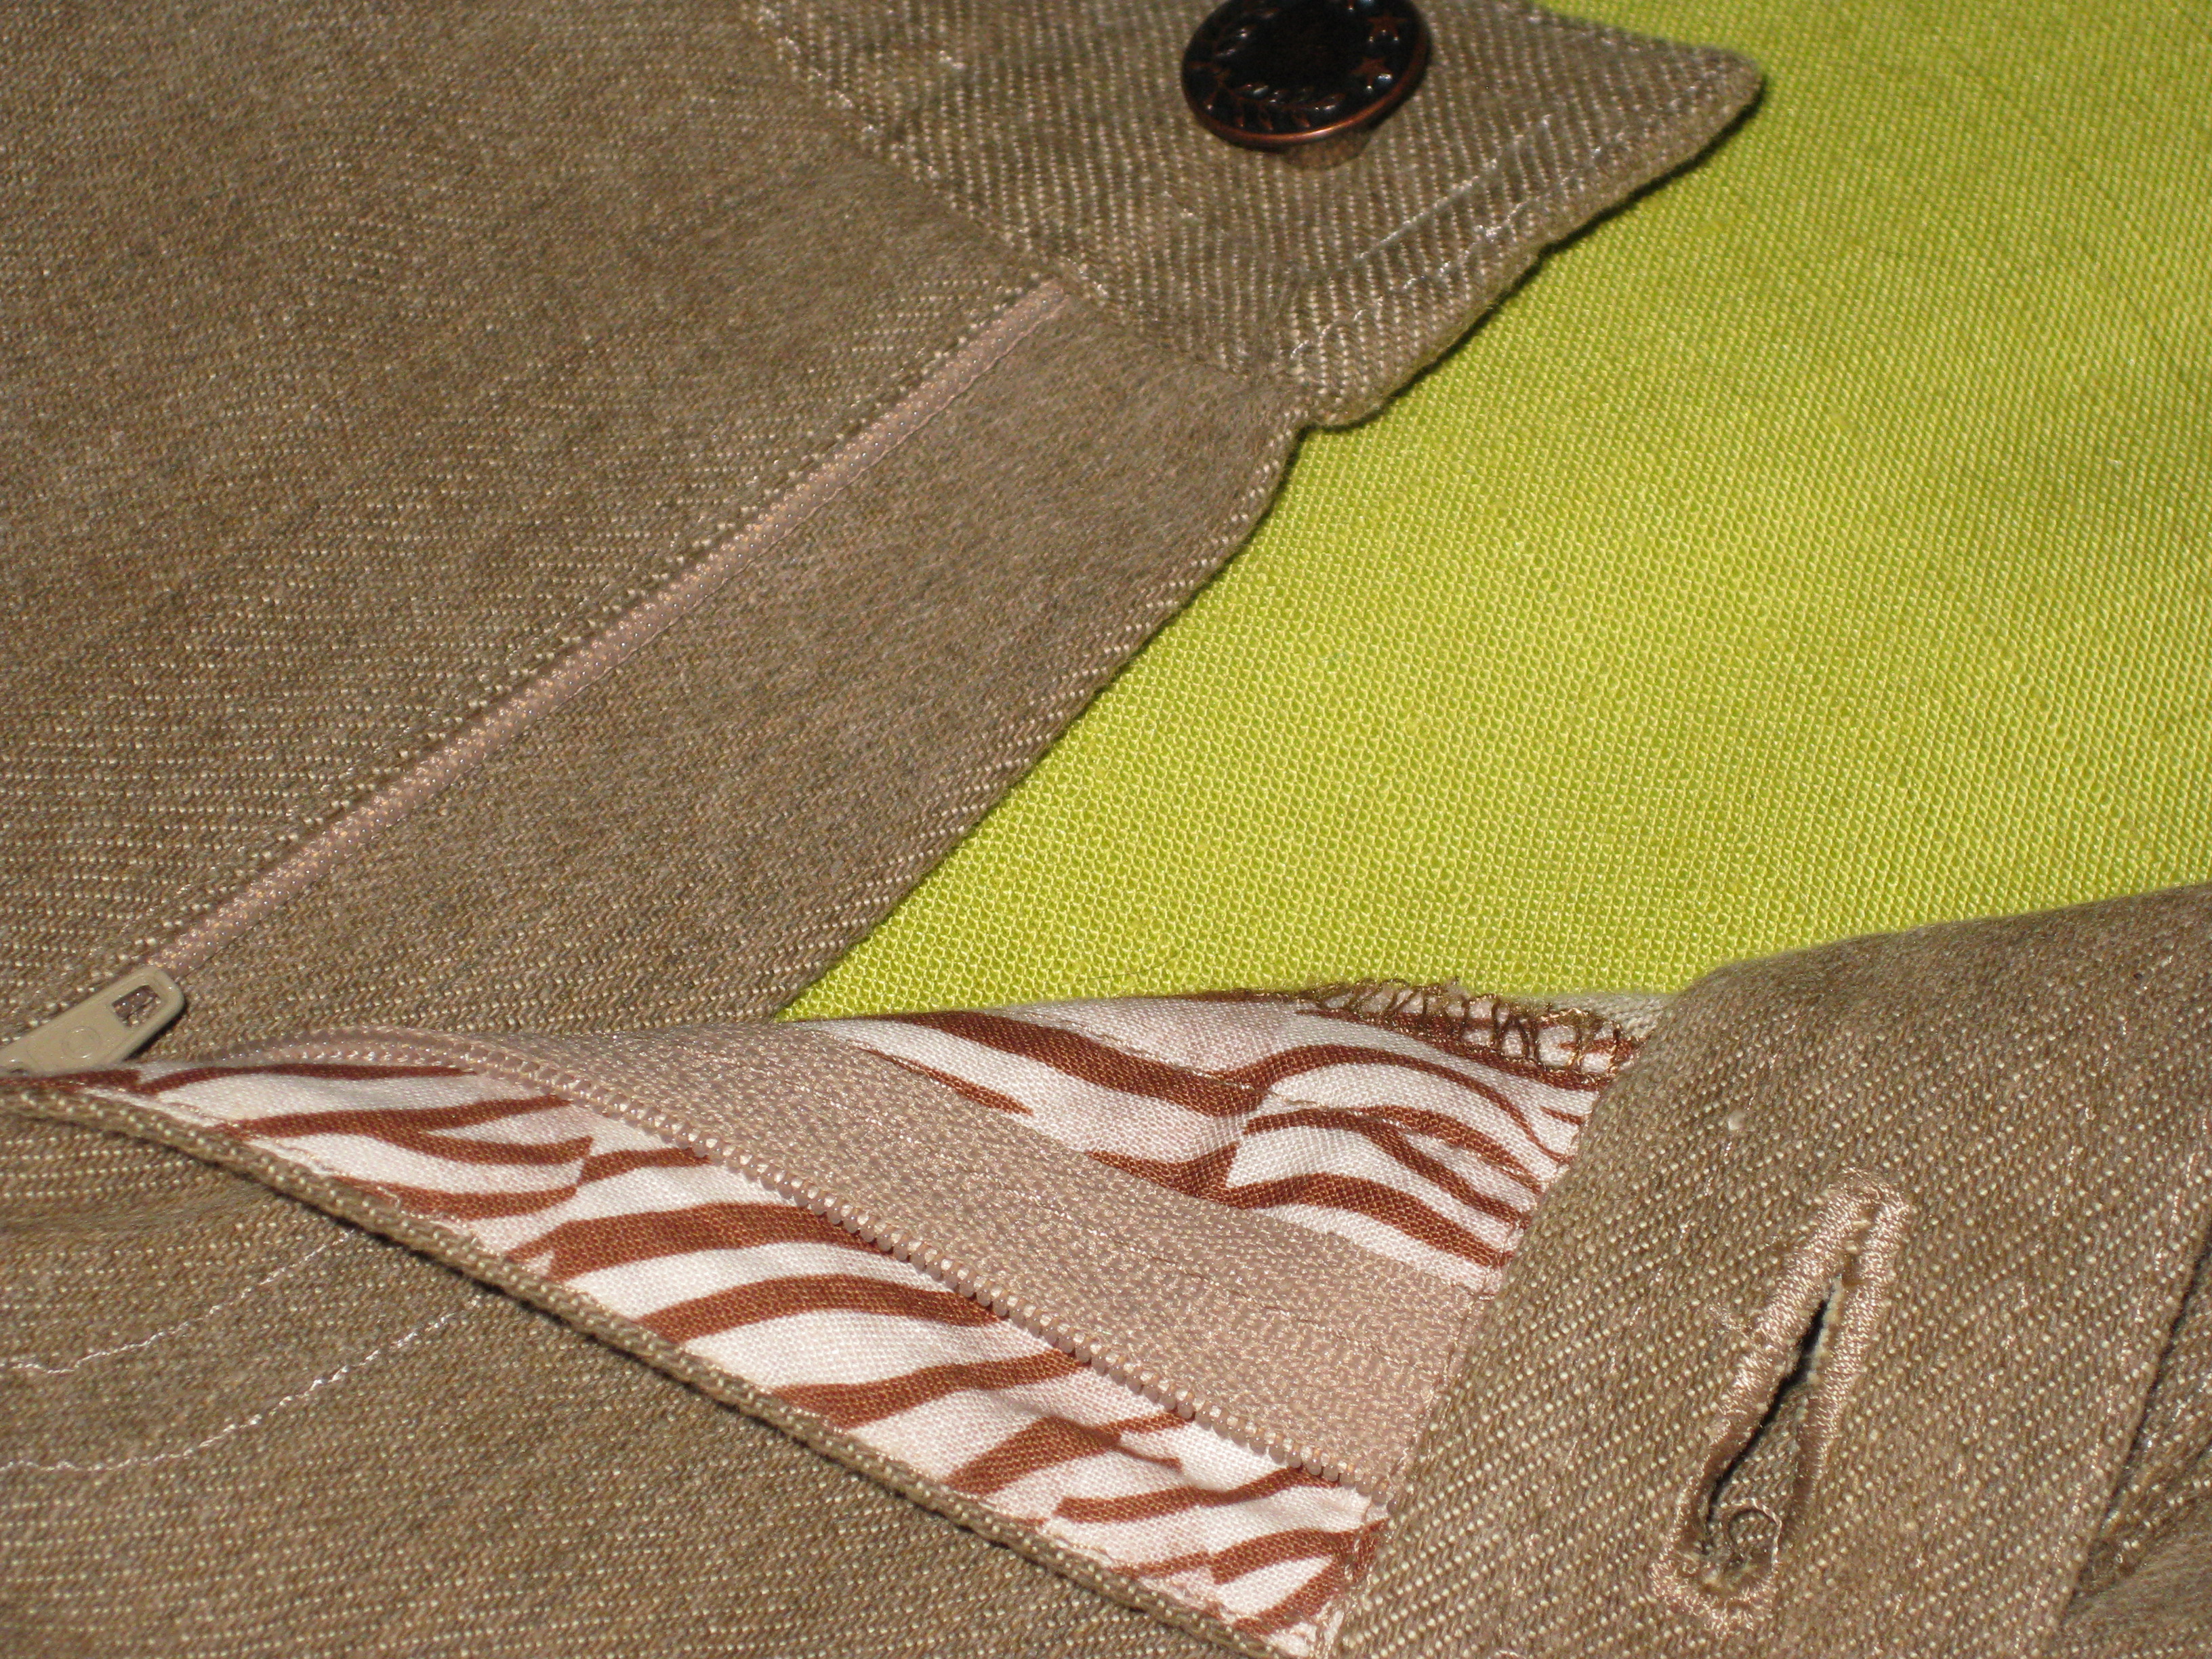
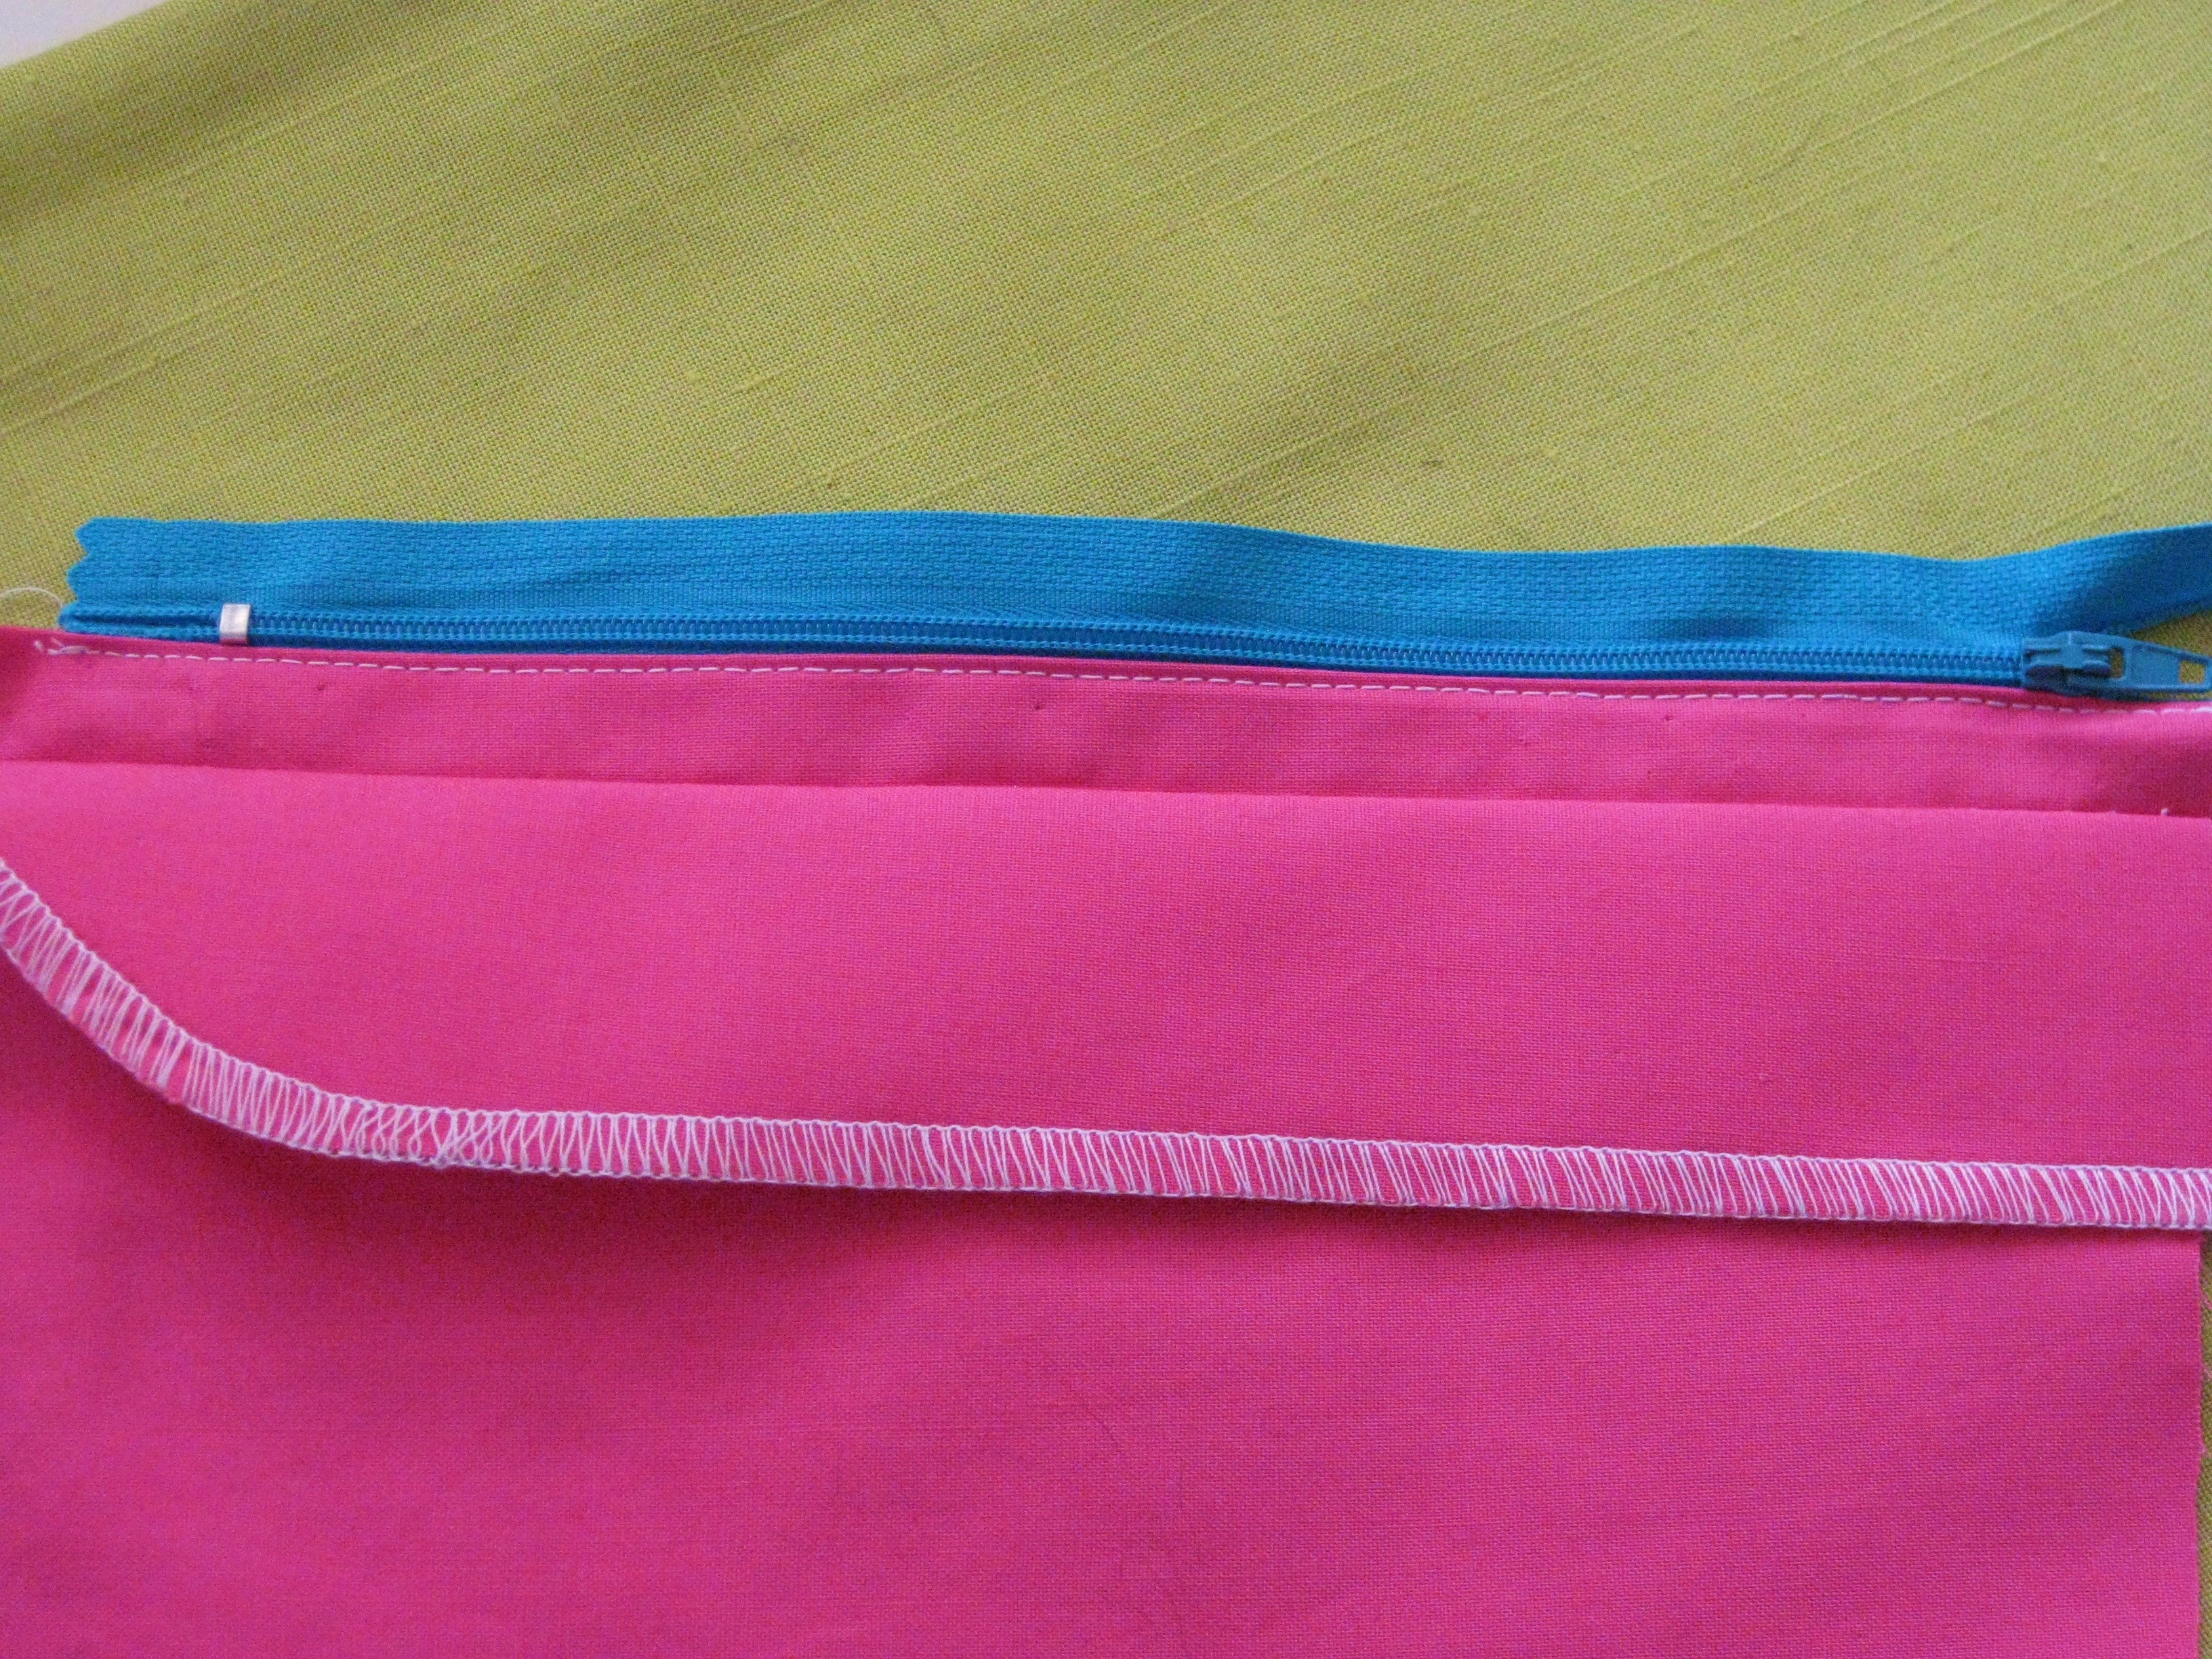
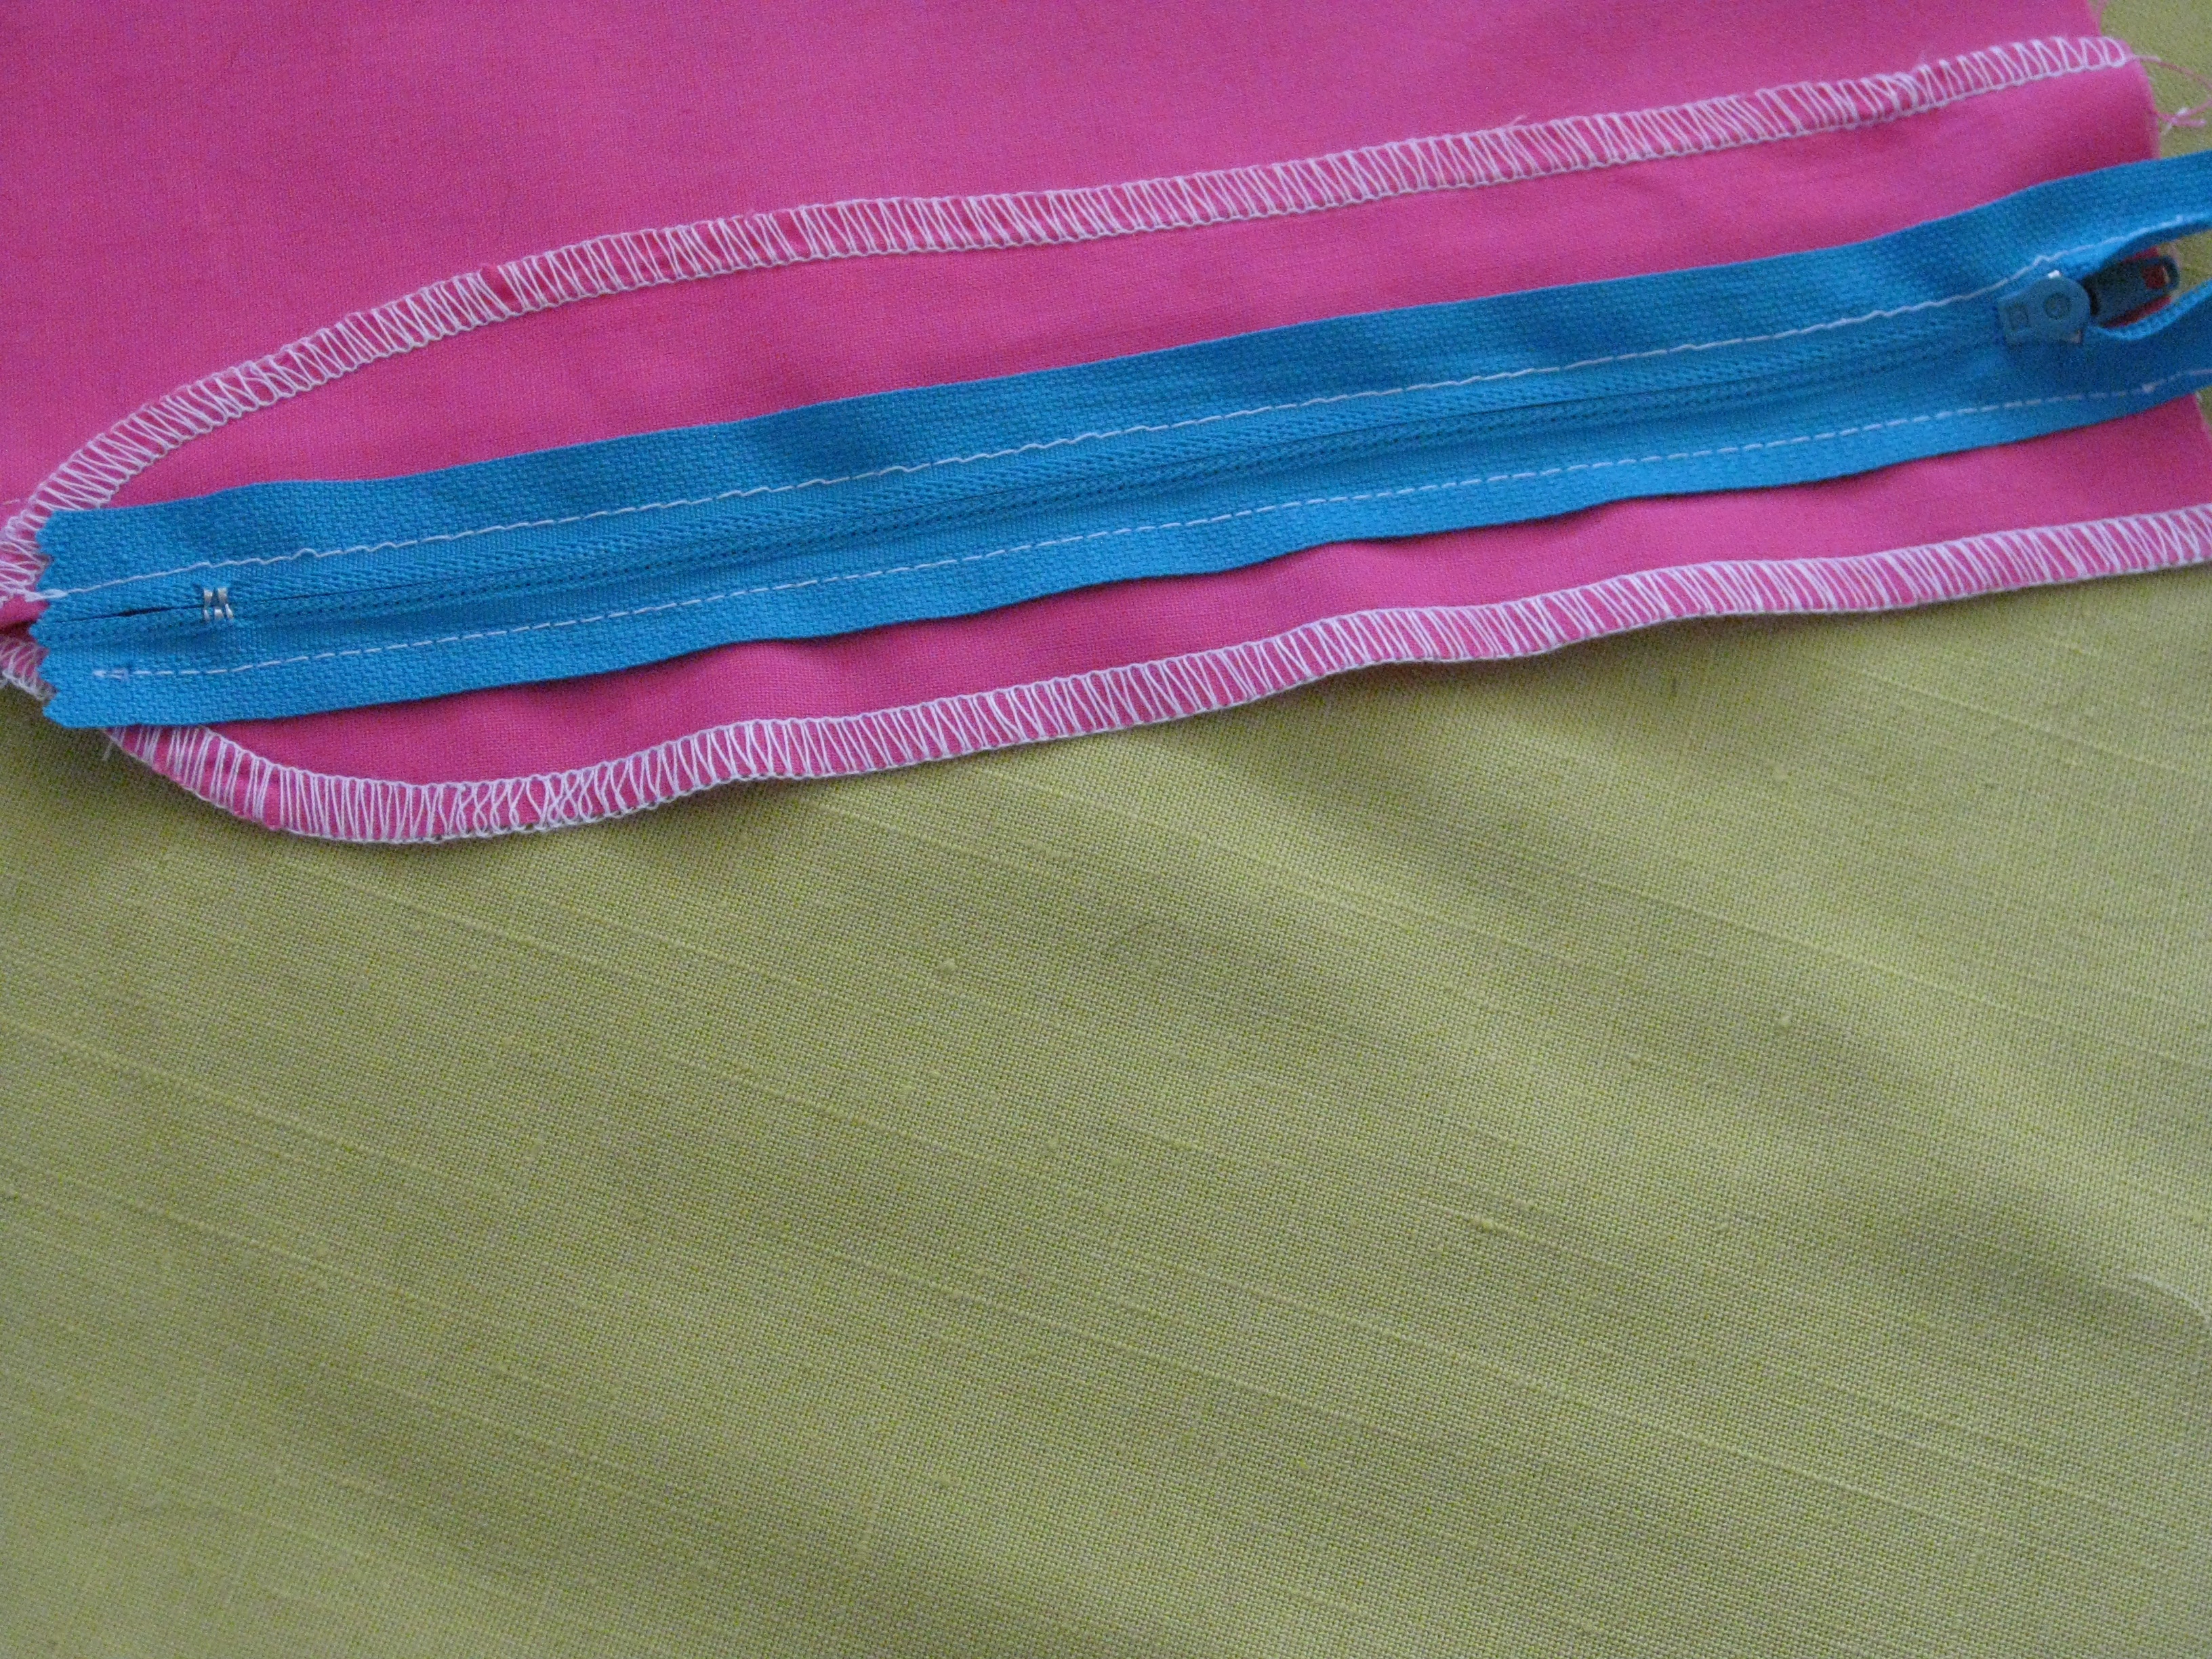
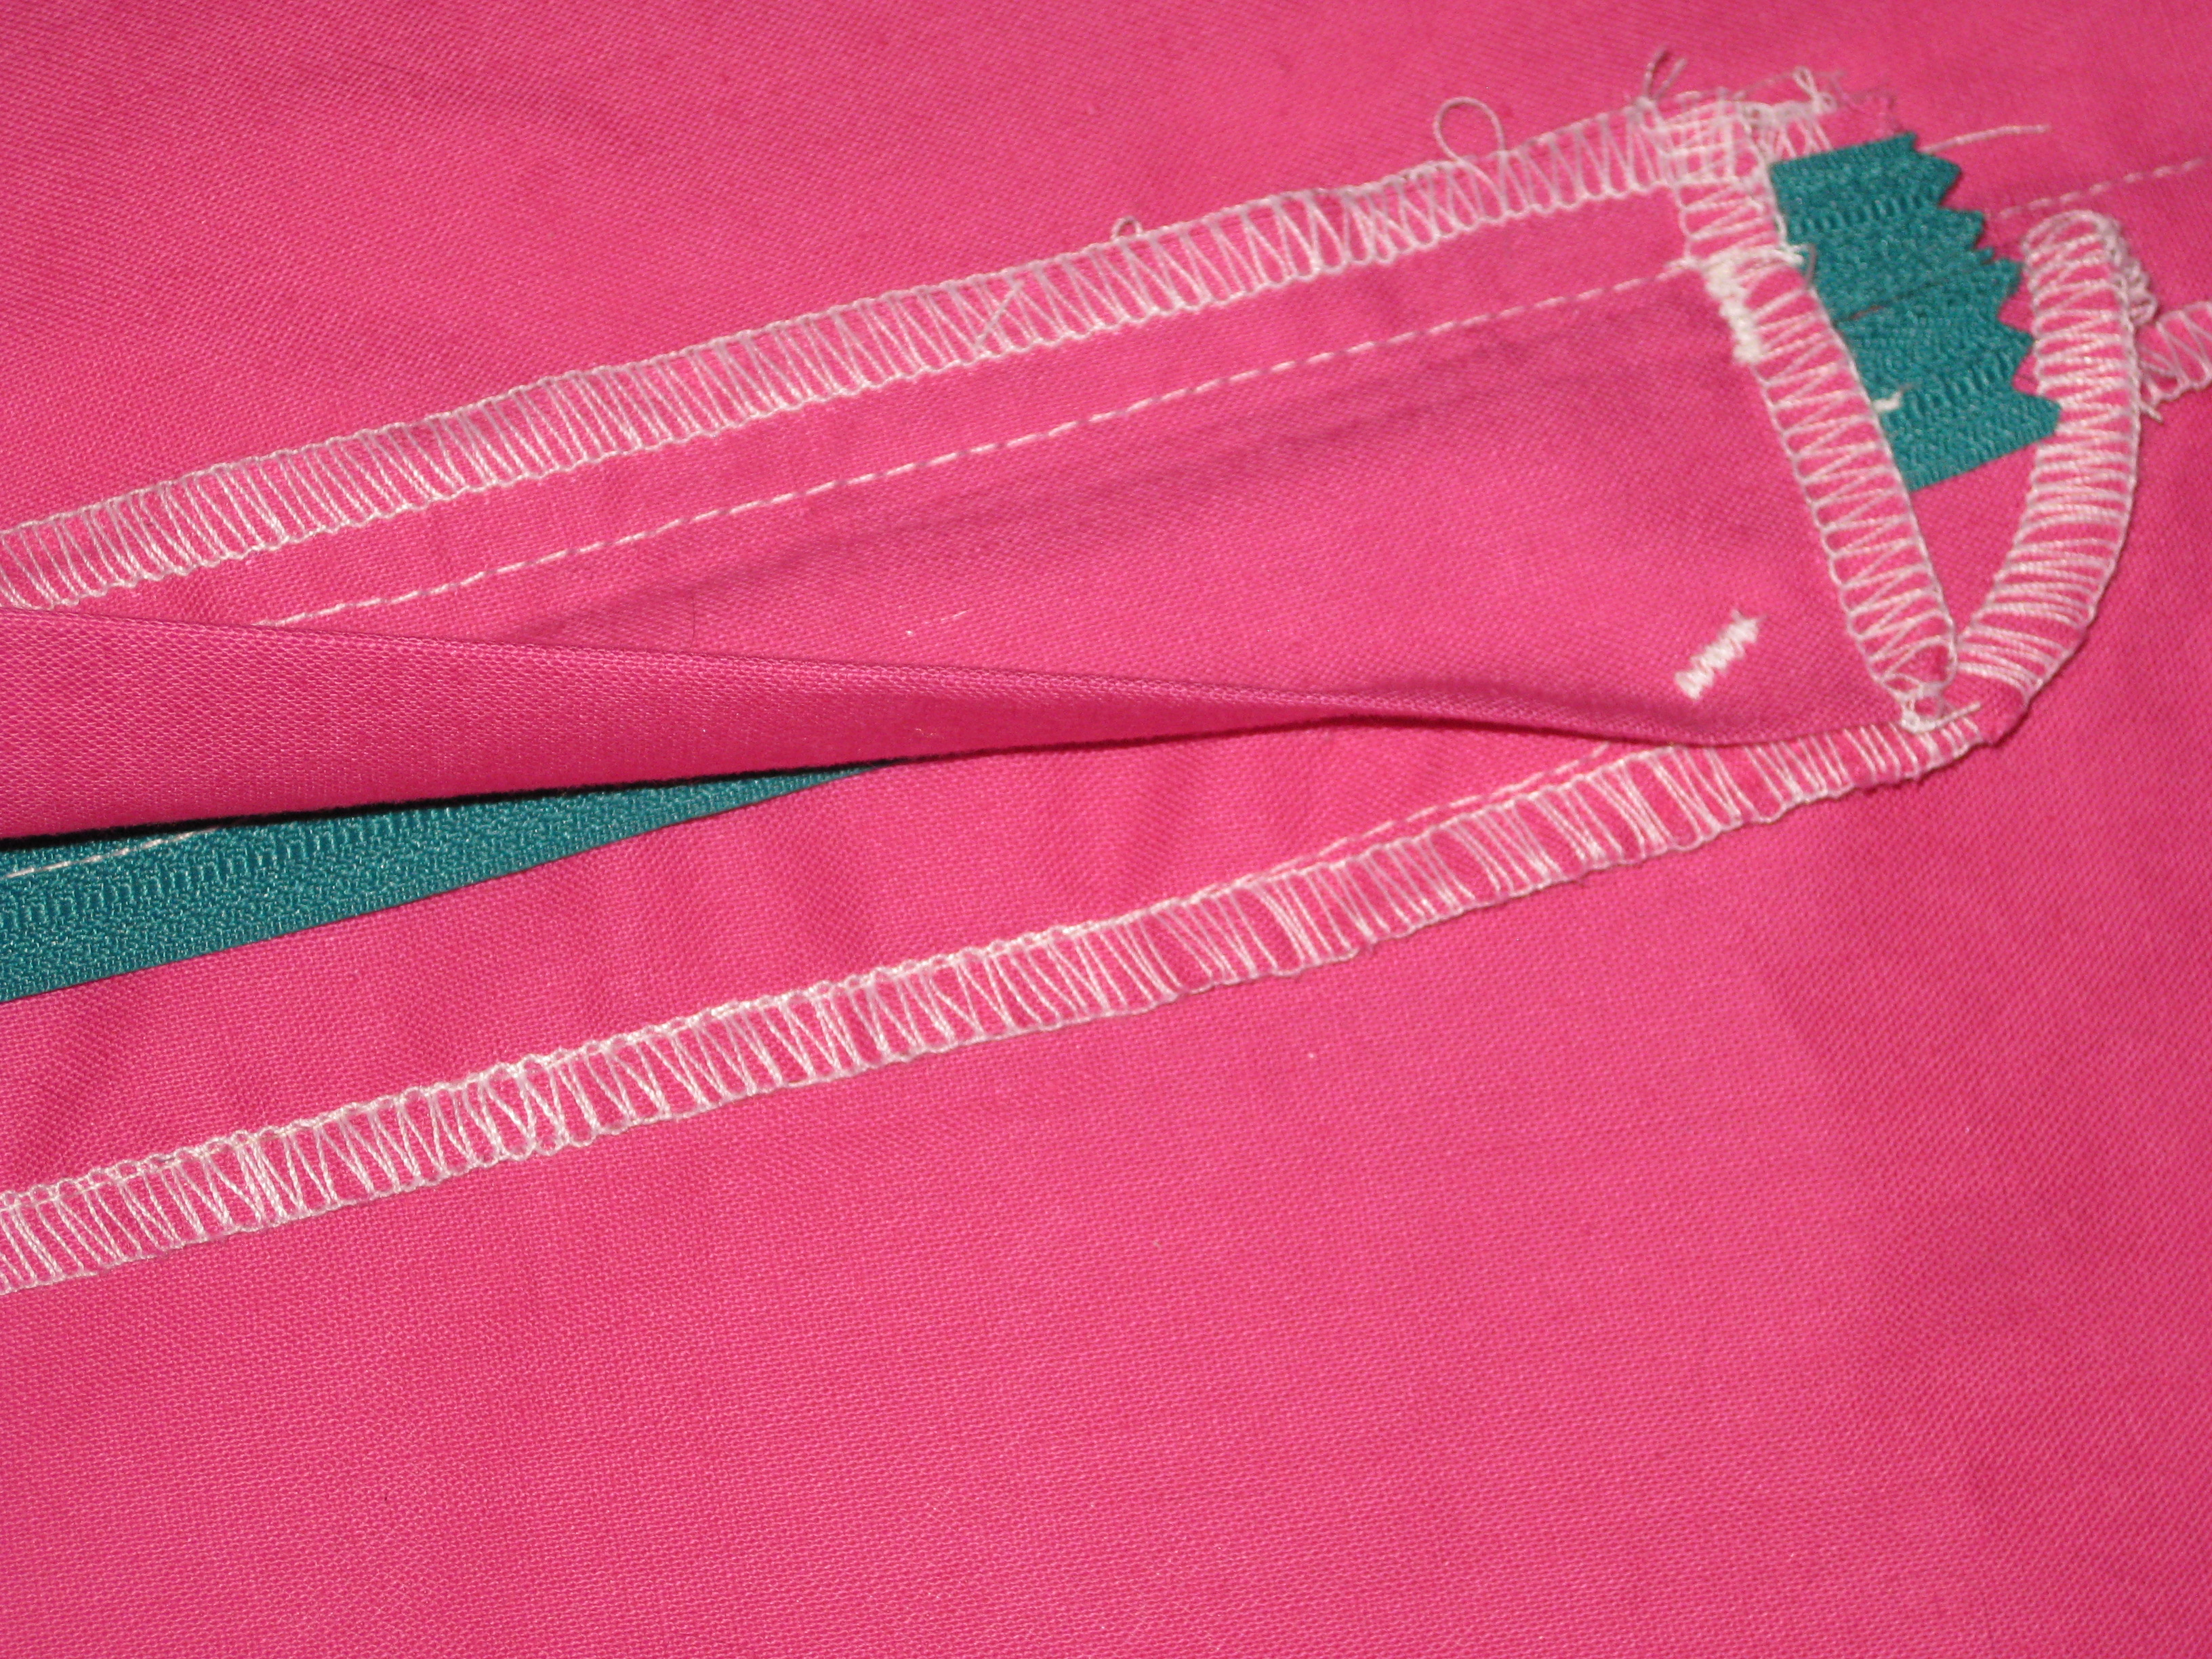
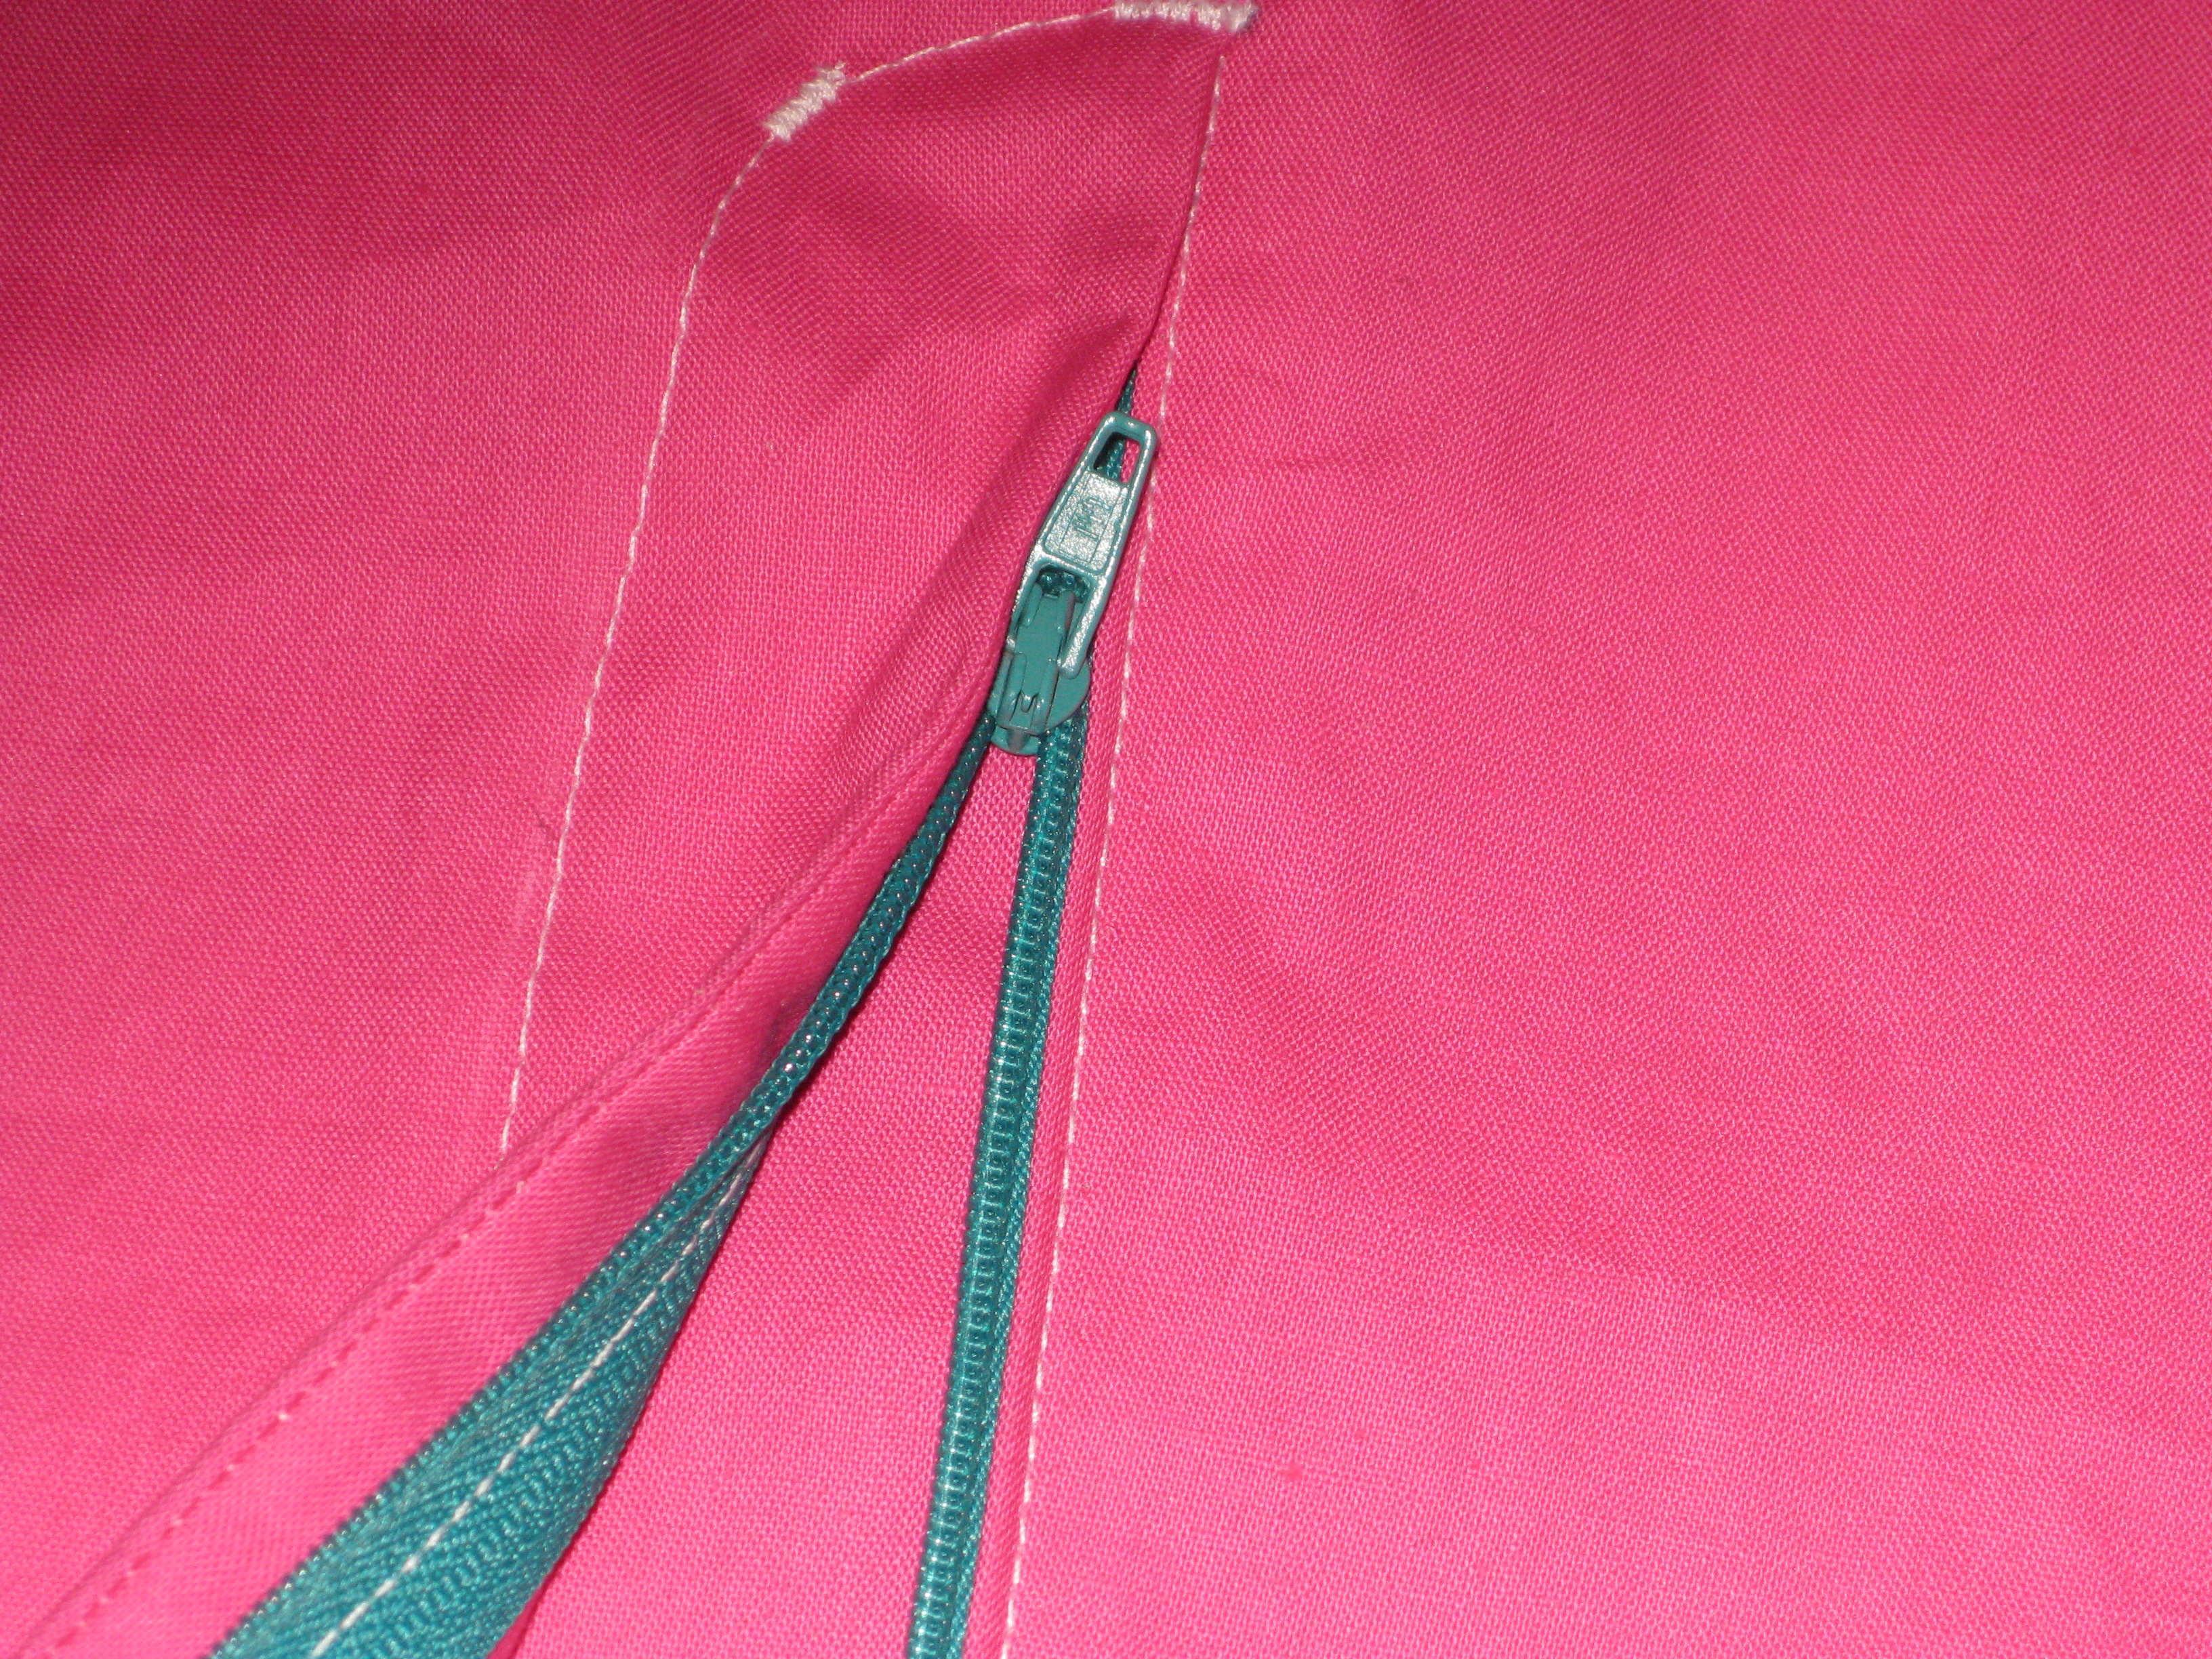
Rayon Petersham waist stay fastens around the waist to keep the skirt in place and take the strain of the zipper when it is being opened and closed.
- When fastening the garment, the stay hooks are fastened followed by the zipper or buttons
Shoulder Pads and Sleeve Heads:
Shoulder pads are used to support the shoulder area of garments – they are a must in jackets and coats
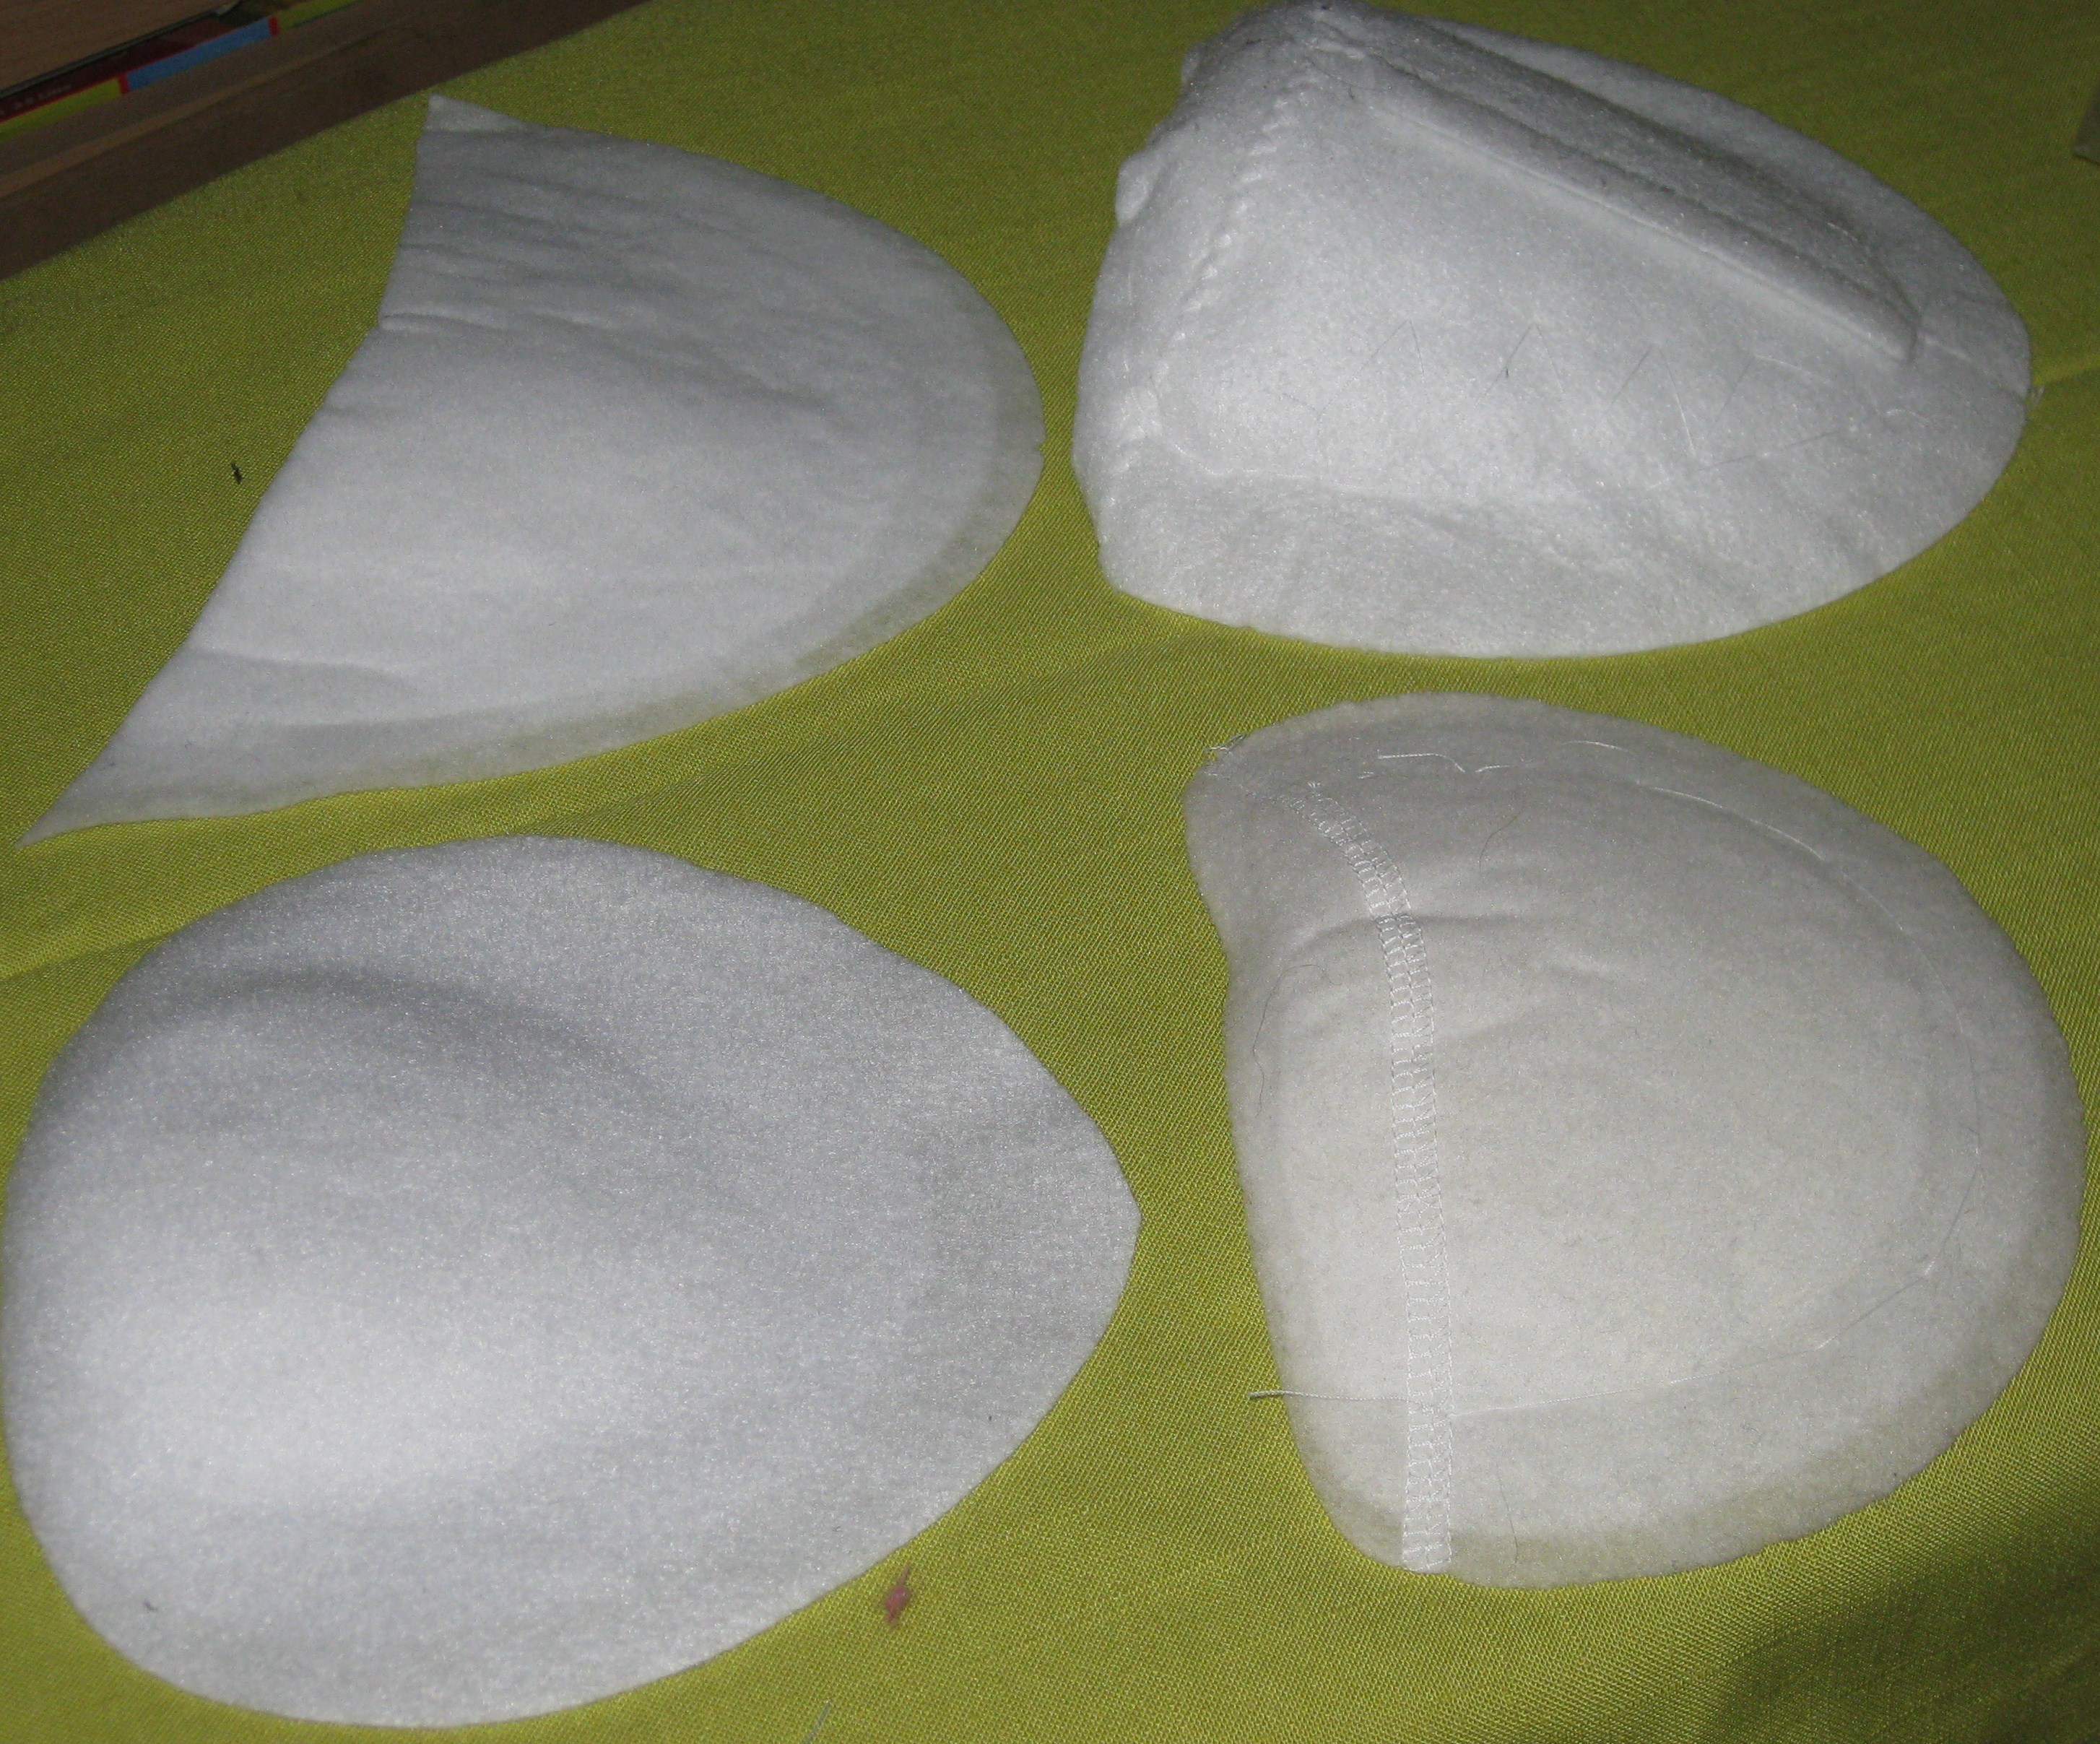
Shoulder pad styles:
Top left: straight shoulder edge
Top right: raglan shoulder with attachment tab
Bottom right: moulded raglan
Bottom left: moulded raglan
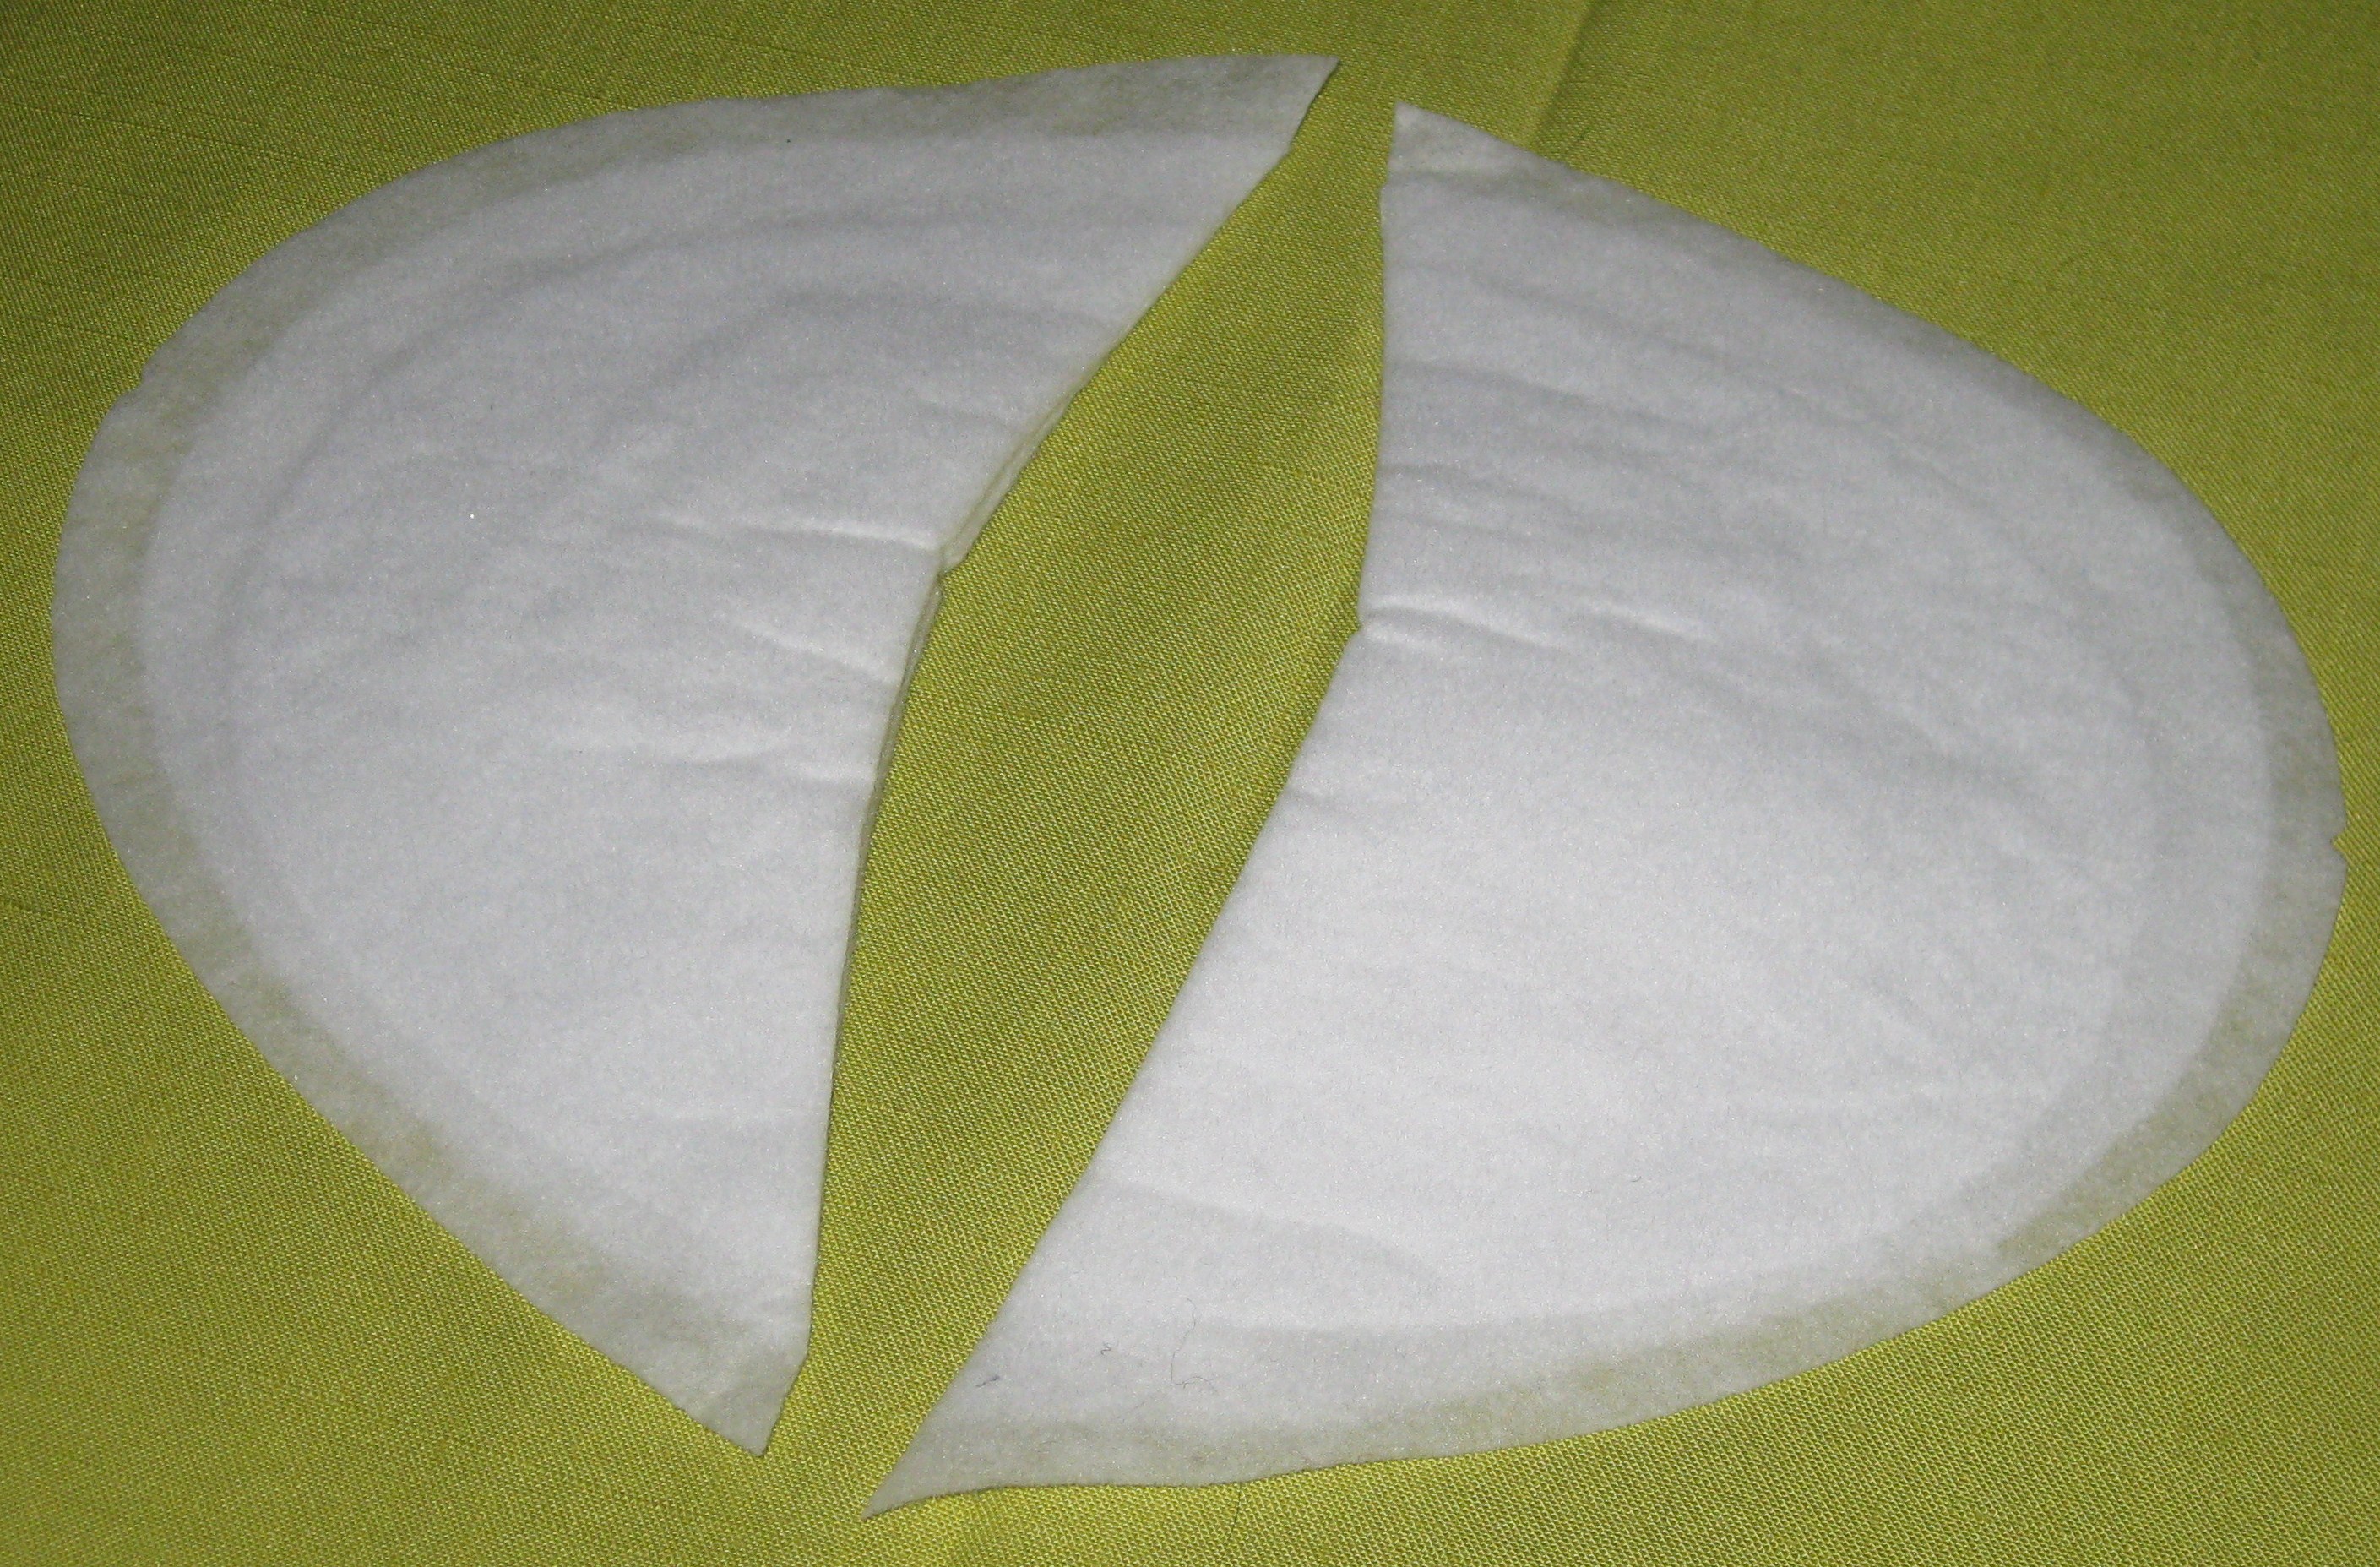
Straight shoulder edge pads – long end goes towards the front of the garment.
- Take note of the size pad that the pattern specifies and if using a smaller or larger shoulder pad, the garment shoulder seam will need to be altered
- If a pad is too long for the shoulder seam, it should be trimmed at the neckline edge so that it finishes 1cm from the neckline seam
- Pads are made mainly from polyester wadding or needle felted cotton and can contain a foam inner core – the foam will deteriorate with dry cleaning and pads will need to be replaced
- Pad shapes vary according to current fashion and can be shaped at the shoulder line over top of the arm or be straight cut at the armhole edge
- The shoulder point on the shoulder pad should extend 15mm into the sleeve and is attached along the shoulder seam
- Pads in unlined garments need to be covered using soft fabric with the bias grain running at right angles to the shoulder edge of the pad and the underside darted/tucked to accommodate the under curve of the pad
Sleeve heads prevent the top of the sleeve collapsing against the arm and give a smoother line
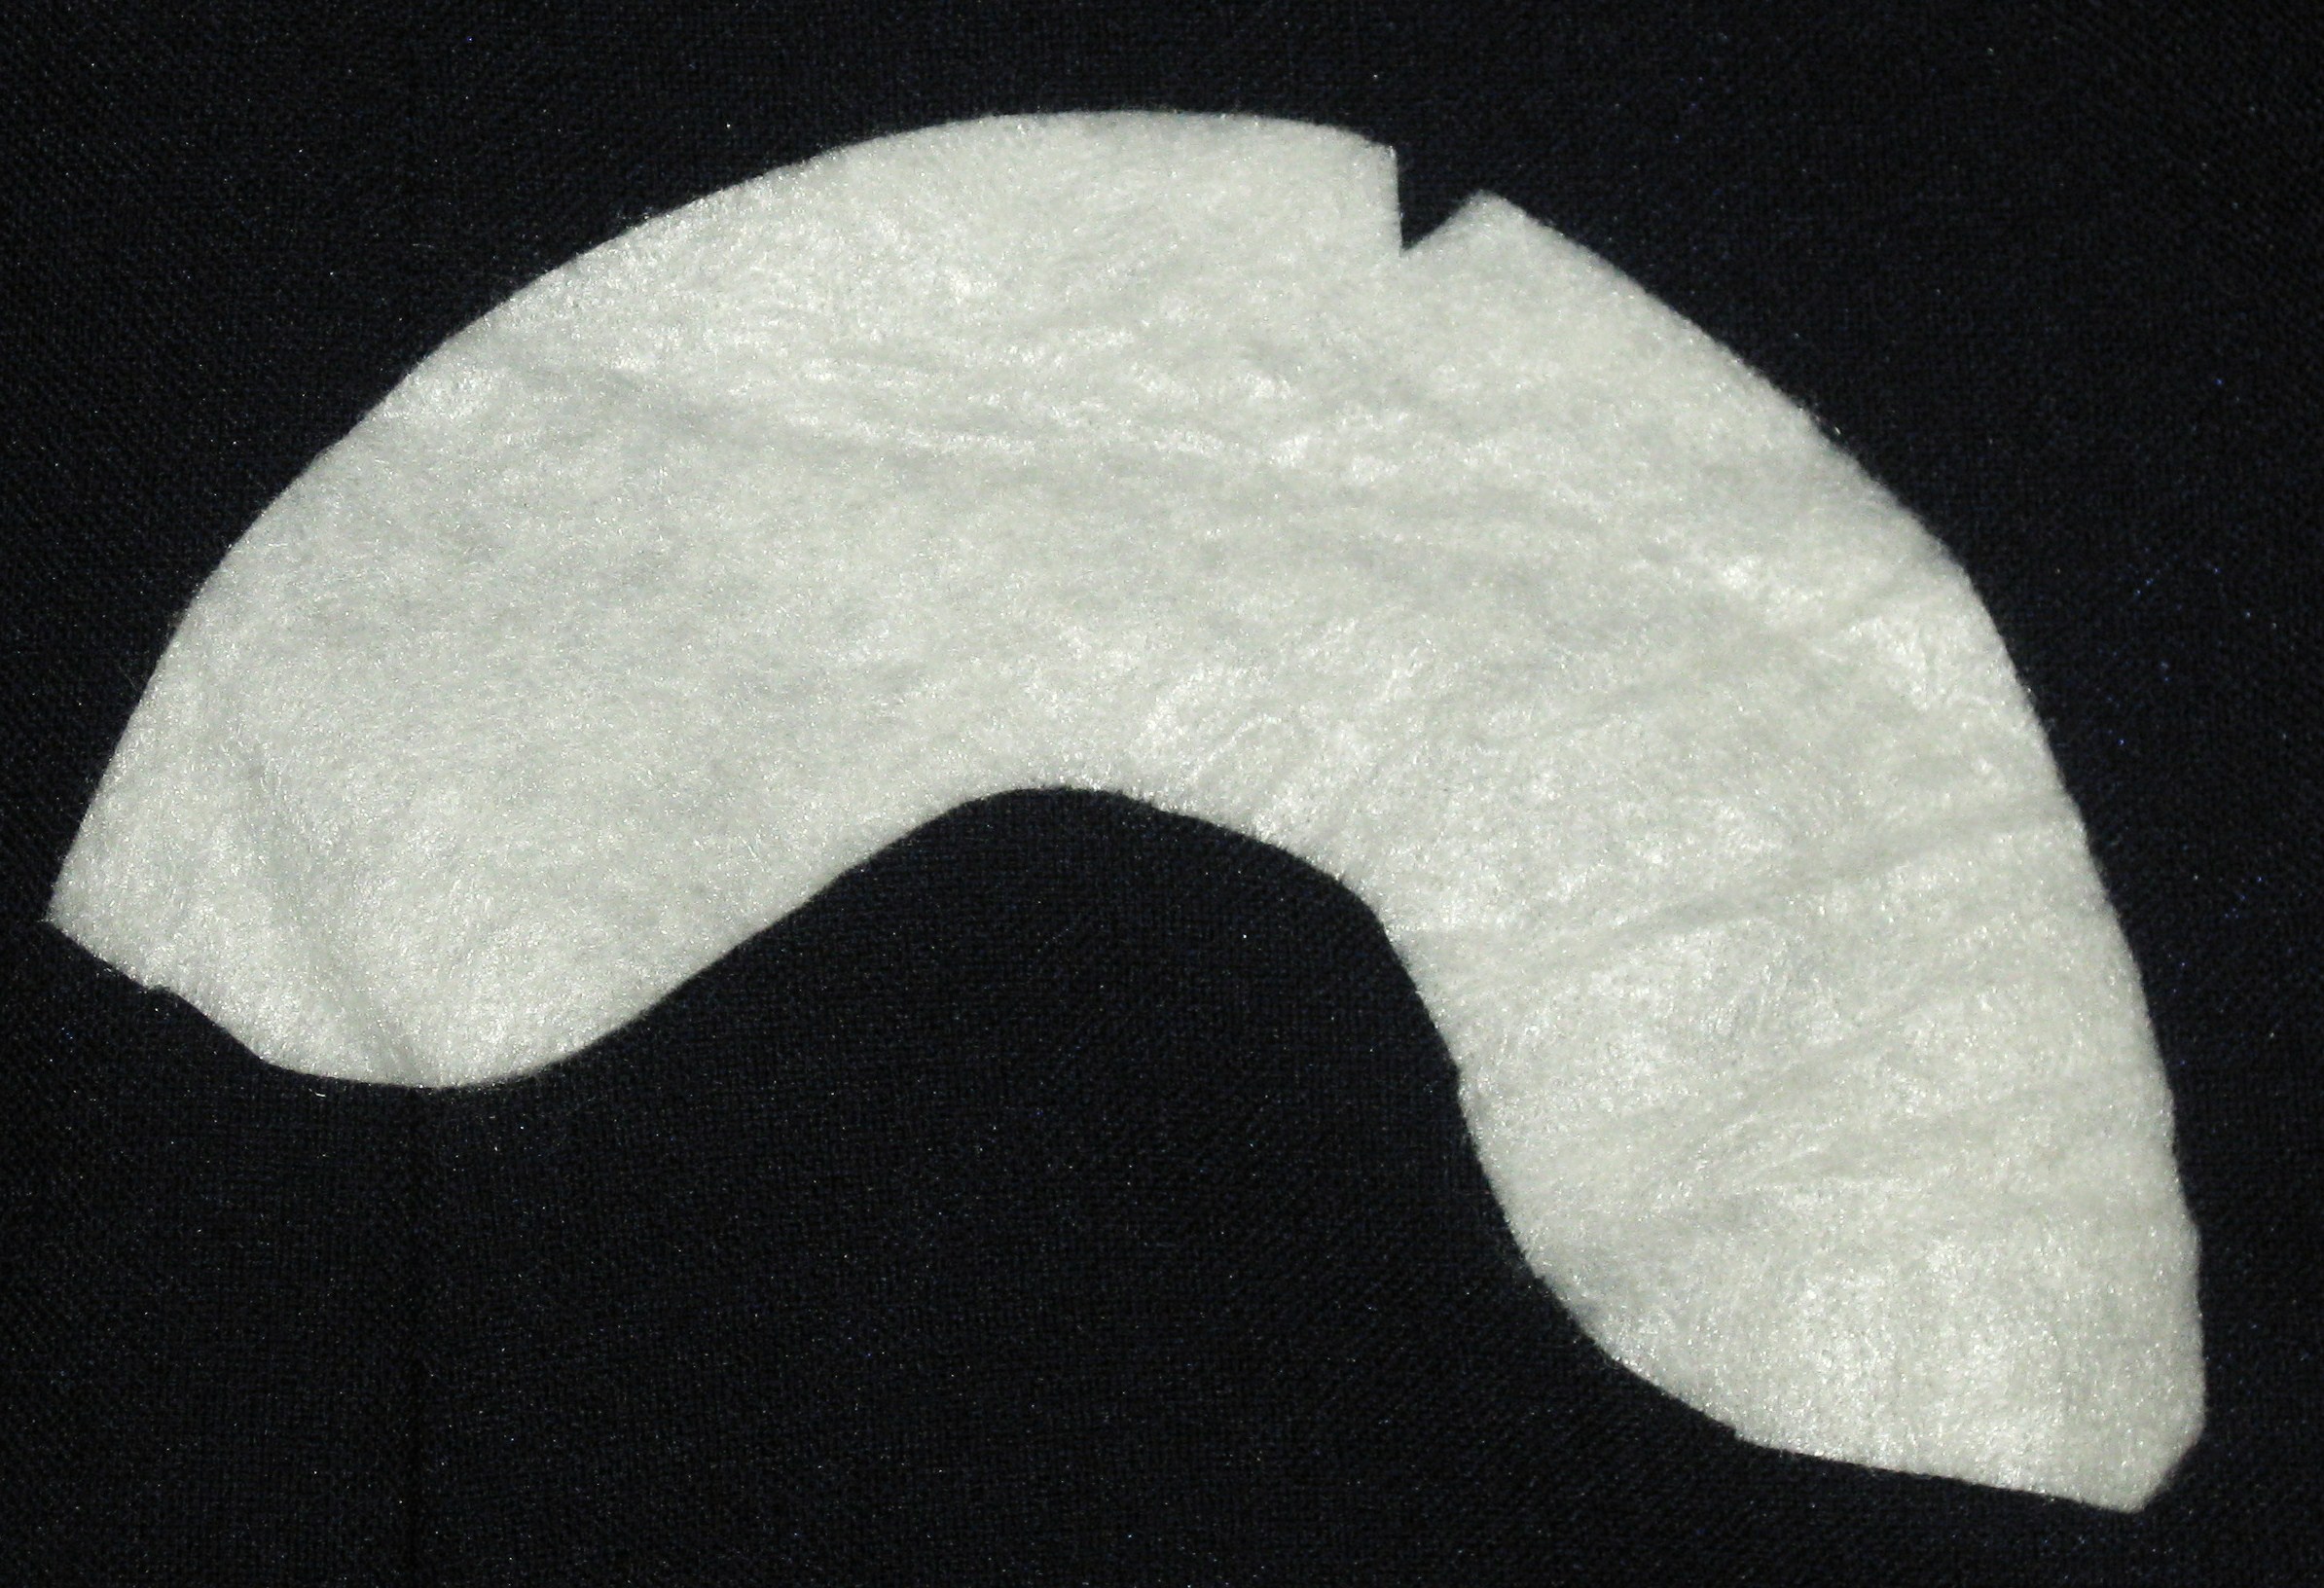
- Sleeve heads can be made either from a strip of wadding cut on the bias (2 inches by 7 inches) or to the shape of the garment sleeve – they are usually made from cotton or wool quilter’s wadding and are stitched into the sleeve by machine after the sleeve is inserted into the garment

Custom fitting sleeve head with shoulder position marked with a snip and corners rounded.
- In evening or daywear dresses or tops with full gathered top sleeves, sleeve heads are often made from silk organza or tulle
Linings:
- The purpose of using a lining to conceal the inner construction of the garment and allow it to glide over other garments without catching
- For this reason it is best to use a slippery fabric for jackets and coats
- Soft cotton lawn or batiste can be used for summer dresses but would catch on hosiery with winter garments when a slippery lining is needed
- Linings are cut to the finished length of the garment
- Jacket linings are attached to the garment at the hem – an exception to this is where the jacket has a pleat in the back or a pronounced swing back and the lining may impede the drape of this detail
- Linings in dresses, pants, skirts and coats are hemmed separately
- In dresses and coats a wider hem on the lining (at least 5-6cm) gives a better drape to the lining
- Small weights can be added within the hem allowance on linings which are left loose at the bottom of a garment
- French tacks can be used to attach the lining to the top of the hem of the garment
- If a garment is made in a heavy or very textured fabric, cut a strip of lining the depth of the desired hem (usually 5cm) plus seam allowances and apply this to the bottom of the garment to act as the hem
- If making an unlined jacket or coat, consider inserting lining into the sleeves and upper back to make it easier to wear over other garments