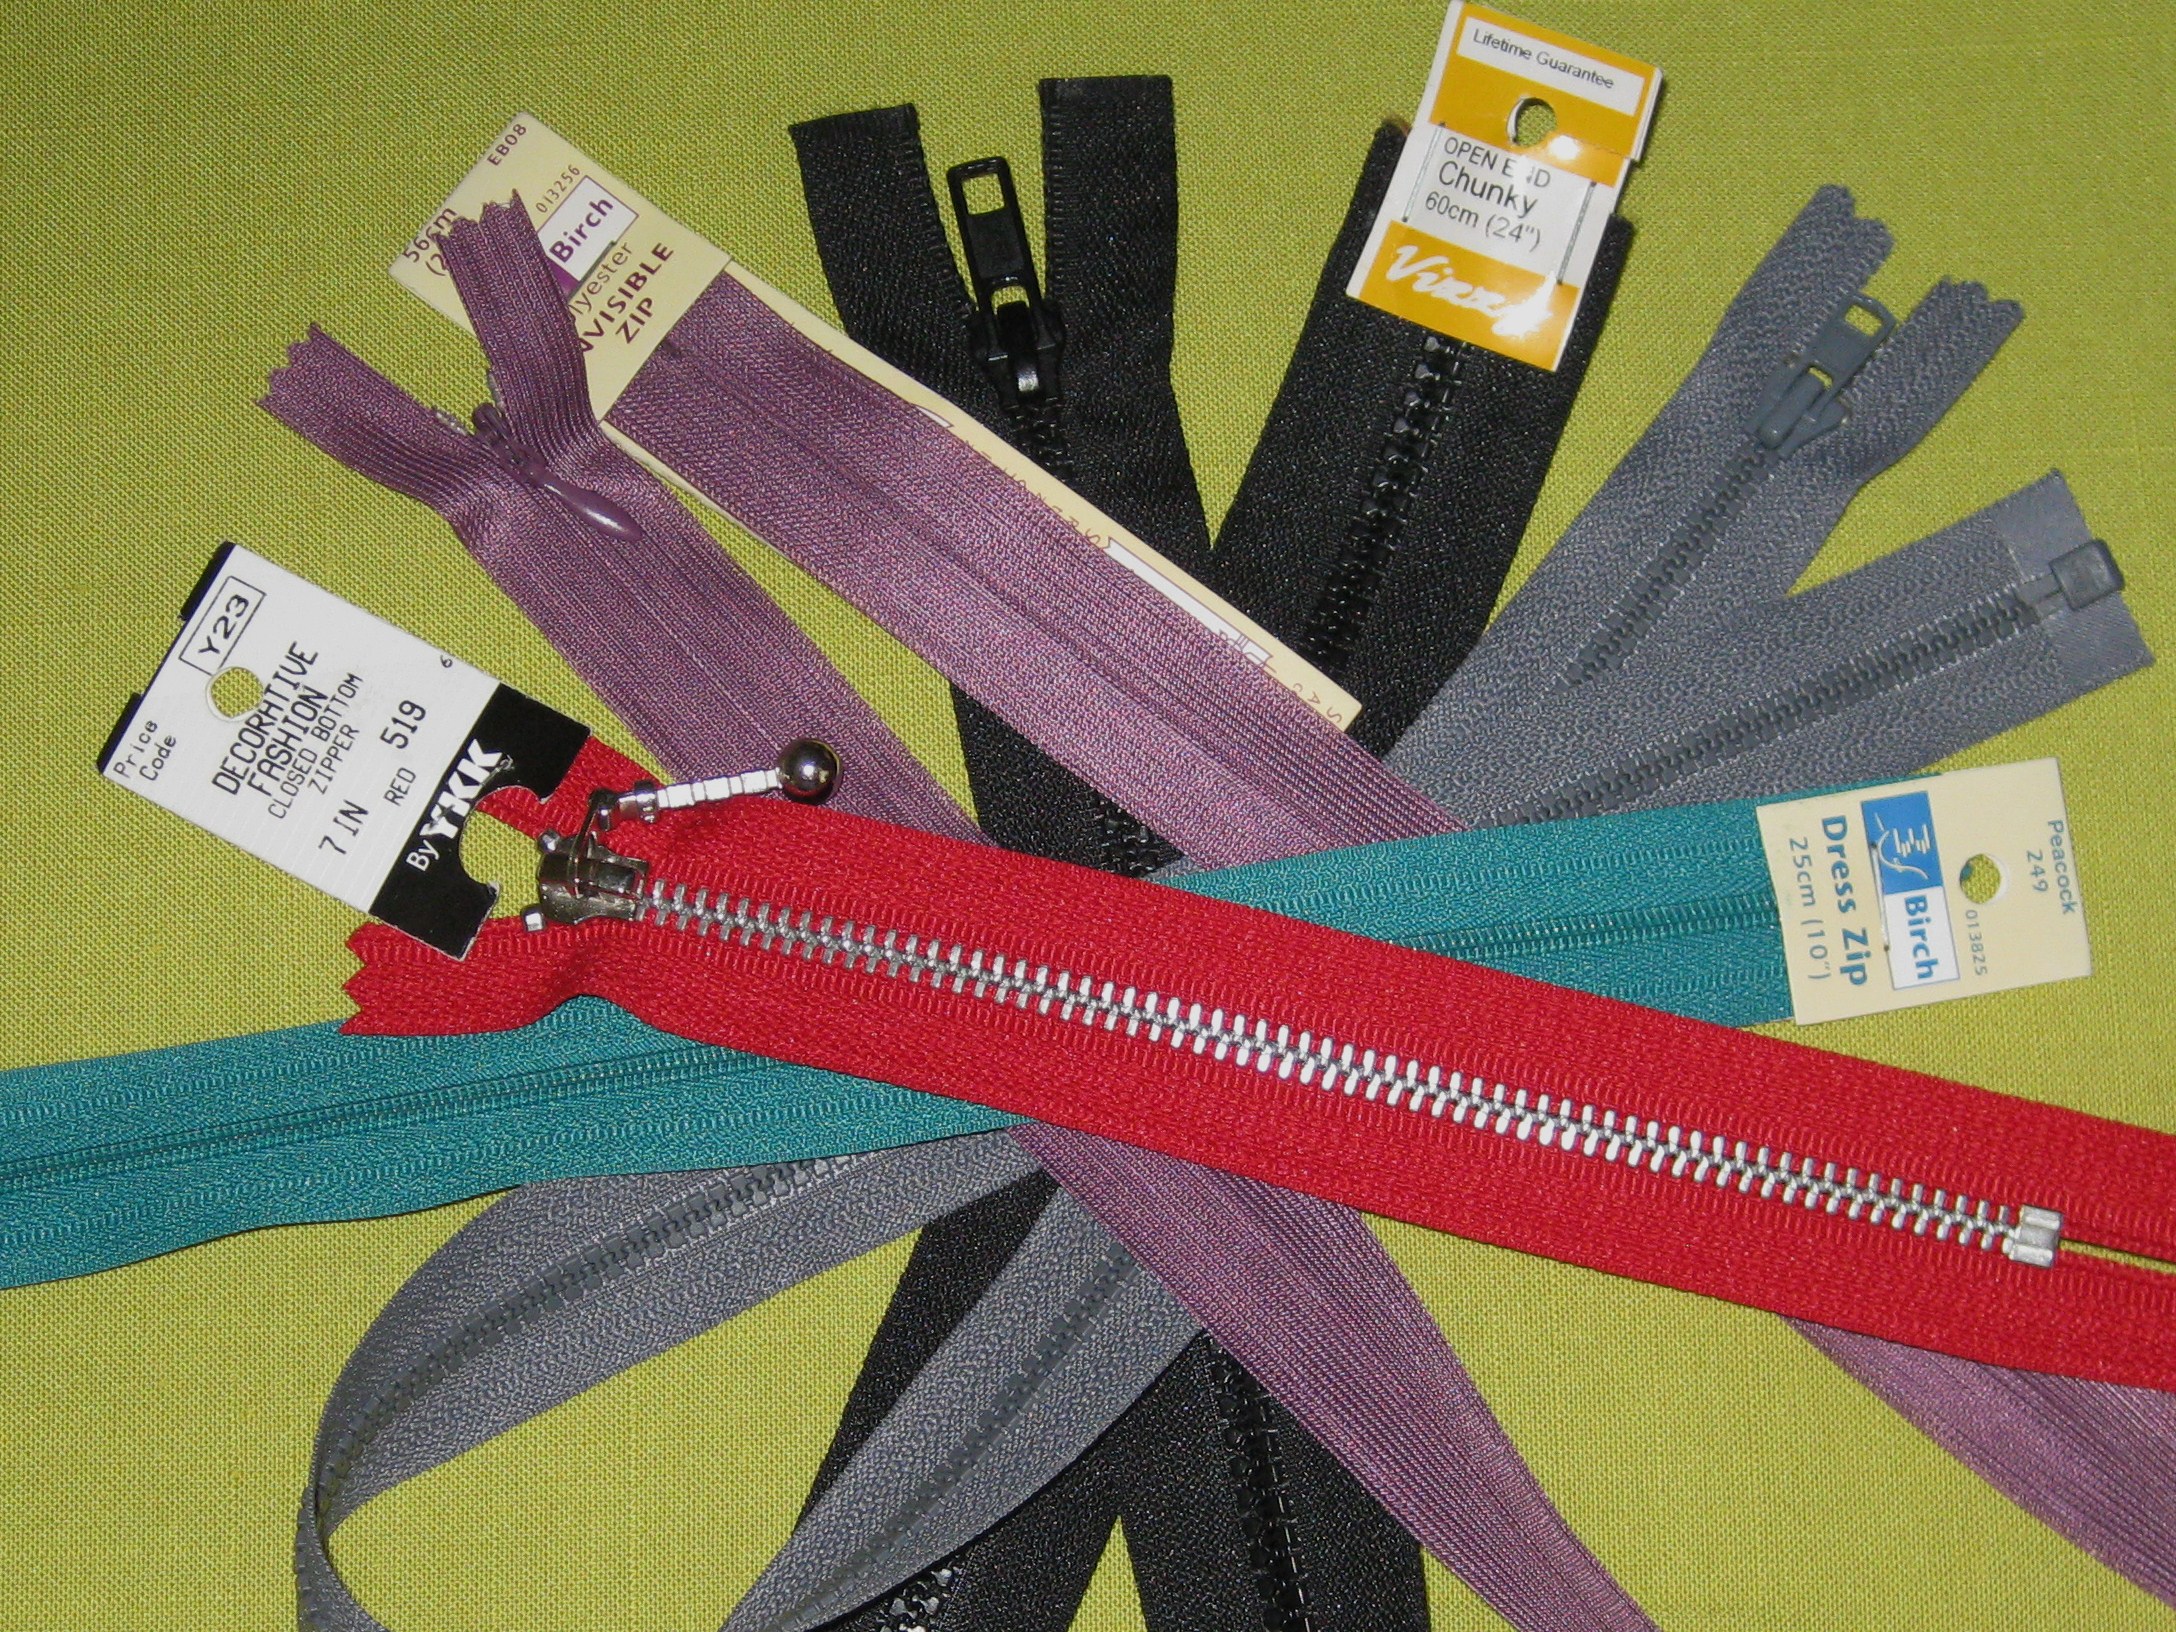
 Invisible zippers first appeared on the home sewing scene in the late 1960”s/early 1970’s when the shift dress was popular. The zipper tapes were cotton and the teeth larger. The whole zipper was much heavier than today’s lightweight polyester zips. In order to insert the zipper, it was necessary to purchase a universal plastic foot with various ankles to suit different brand machines.
They were later on very hard to find and it was not until they were extensively used in ready to wear garments that they reappeared in their lighter form. All machine brands now have an invisible foot available for individual machine models and these are much more suited to the lighter weight zips. The original generic foot which has not changed can be problematic with today’s zips.
How does an invisible zipper work? The pull slides up and down the tapes with the teeth invisible from the right side with all the action taking place on the underside. When the tapes are sewn to fabric, the teeth roll the fabric so that both fabric folds meet to hide the opening – hence “an invisible zipper”.
In my experience, most tutorials, articles and videos offering instruction on invisible zippers, recommend that the teeth be pressed back with an iron to make installation easier. If this is done and the teeth cool in the rolled back position, the zipper will no longer be invisible once it is installed.
When the old style zippers and generic zipper foot were used, this step had some value. Today’s zipper feet and lighter weight, smaller teeth make pressing the teeth back quite unnecessary – and avoids the possibility of melting the teeth with the iron!
Preparation:
An invisible zipper is set into an open seam which has been stabilised and to which the chosen seam finish has been applied (refer to blog posts Inserting Zippers Part 1 and Part 2).
Stabilise seam allowance.
Where the zipper opening crosses a seam, clip the seam allowance at the seam line and press it open to eliminate bulk when the zipper is closed.
Thread mark the seam line above the zipper (refer to blog posts Inserting Zippers Part 1 and Part 2).
To avoid a sharp fold where the fabric edges meet, I finger press the seam allowances in place which results in a more attractive soft roll over the zipper.
Staystitch to mark seam line and finger press along seam line.
Shorten the zipper as necessary by hand or machine to the desired length and, in need, cover the cut end (refer to blog posts Inserting Zippers Part 1 and Part 2).
Installing the Zipper:
Position the two garment pieces right side up on a flat surface. Place the zipper and between the garment pieces so you can see how it will fit together.
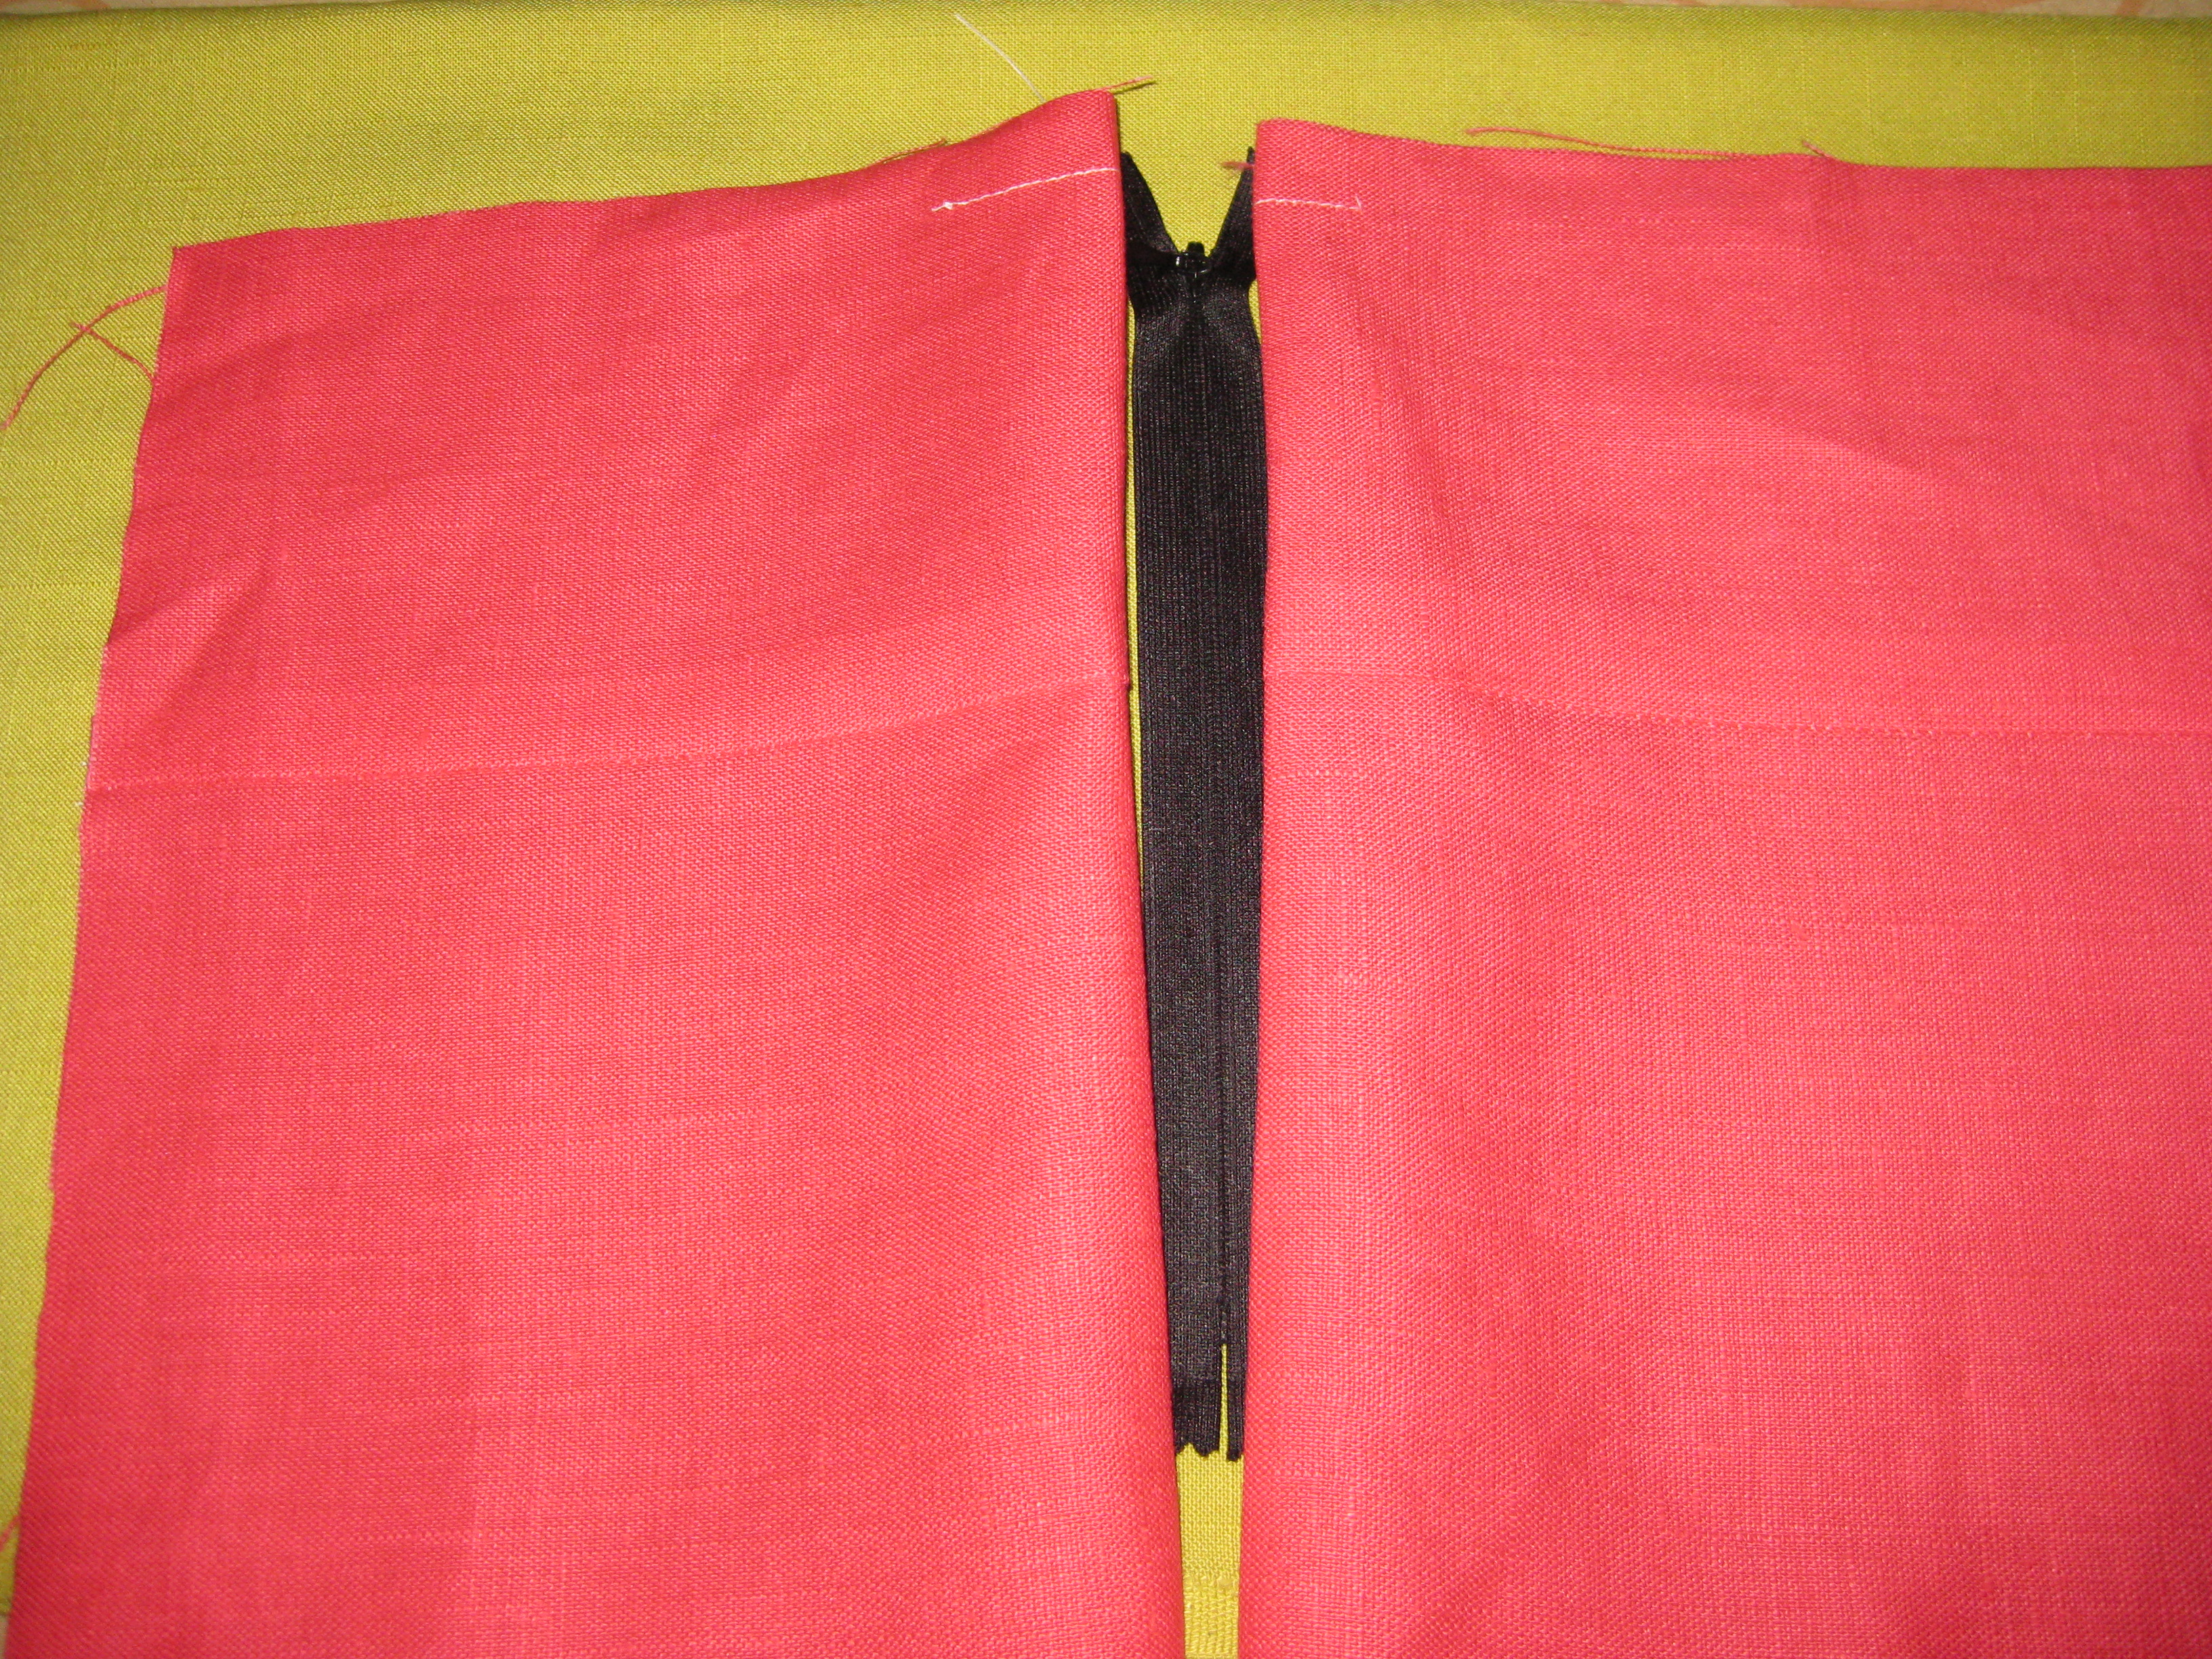
Place on a flat surface with right sides facing up and zipper in between. This makes it easier to determine where to sew.
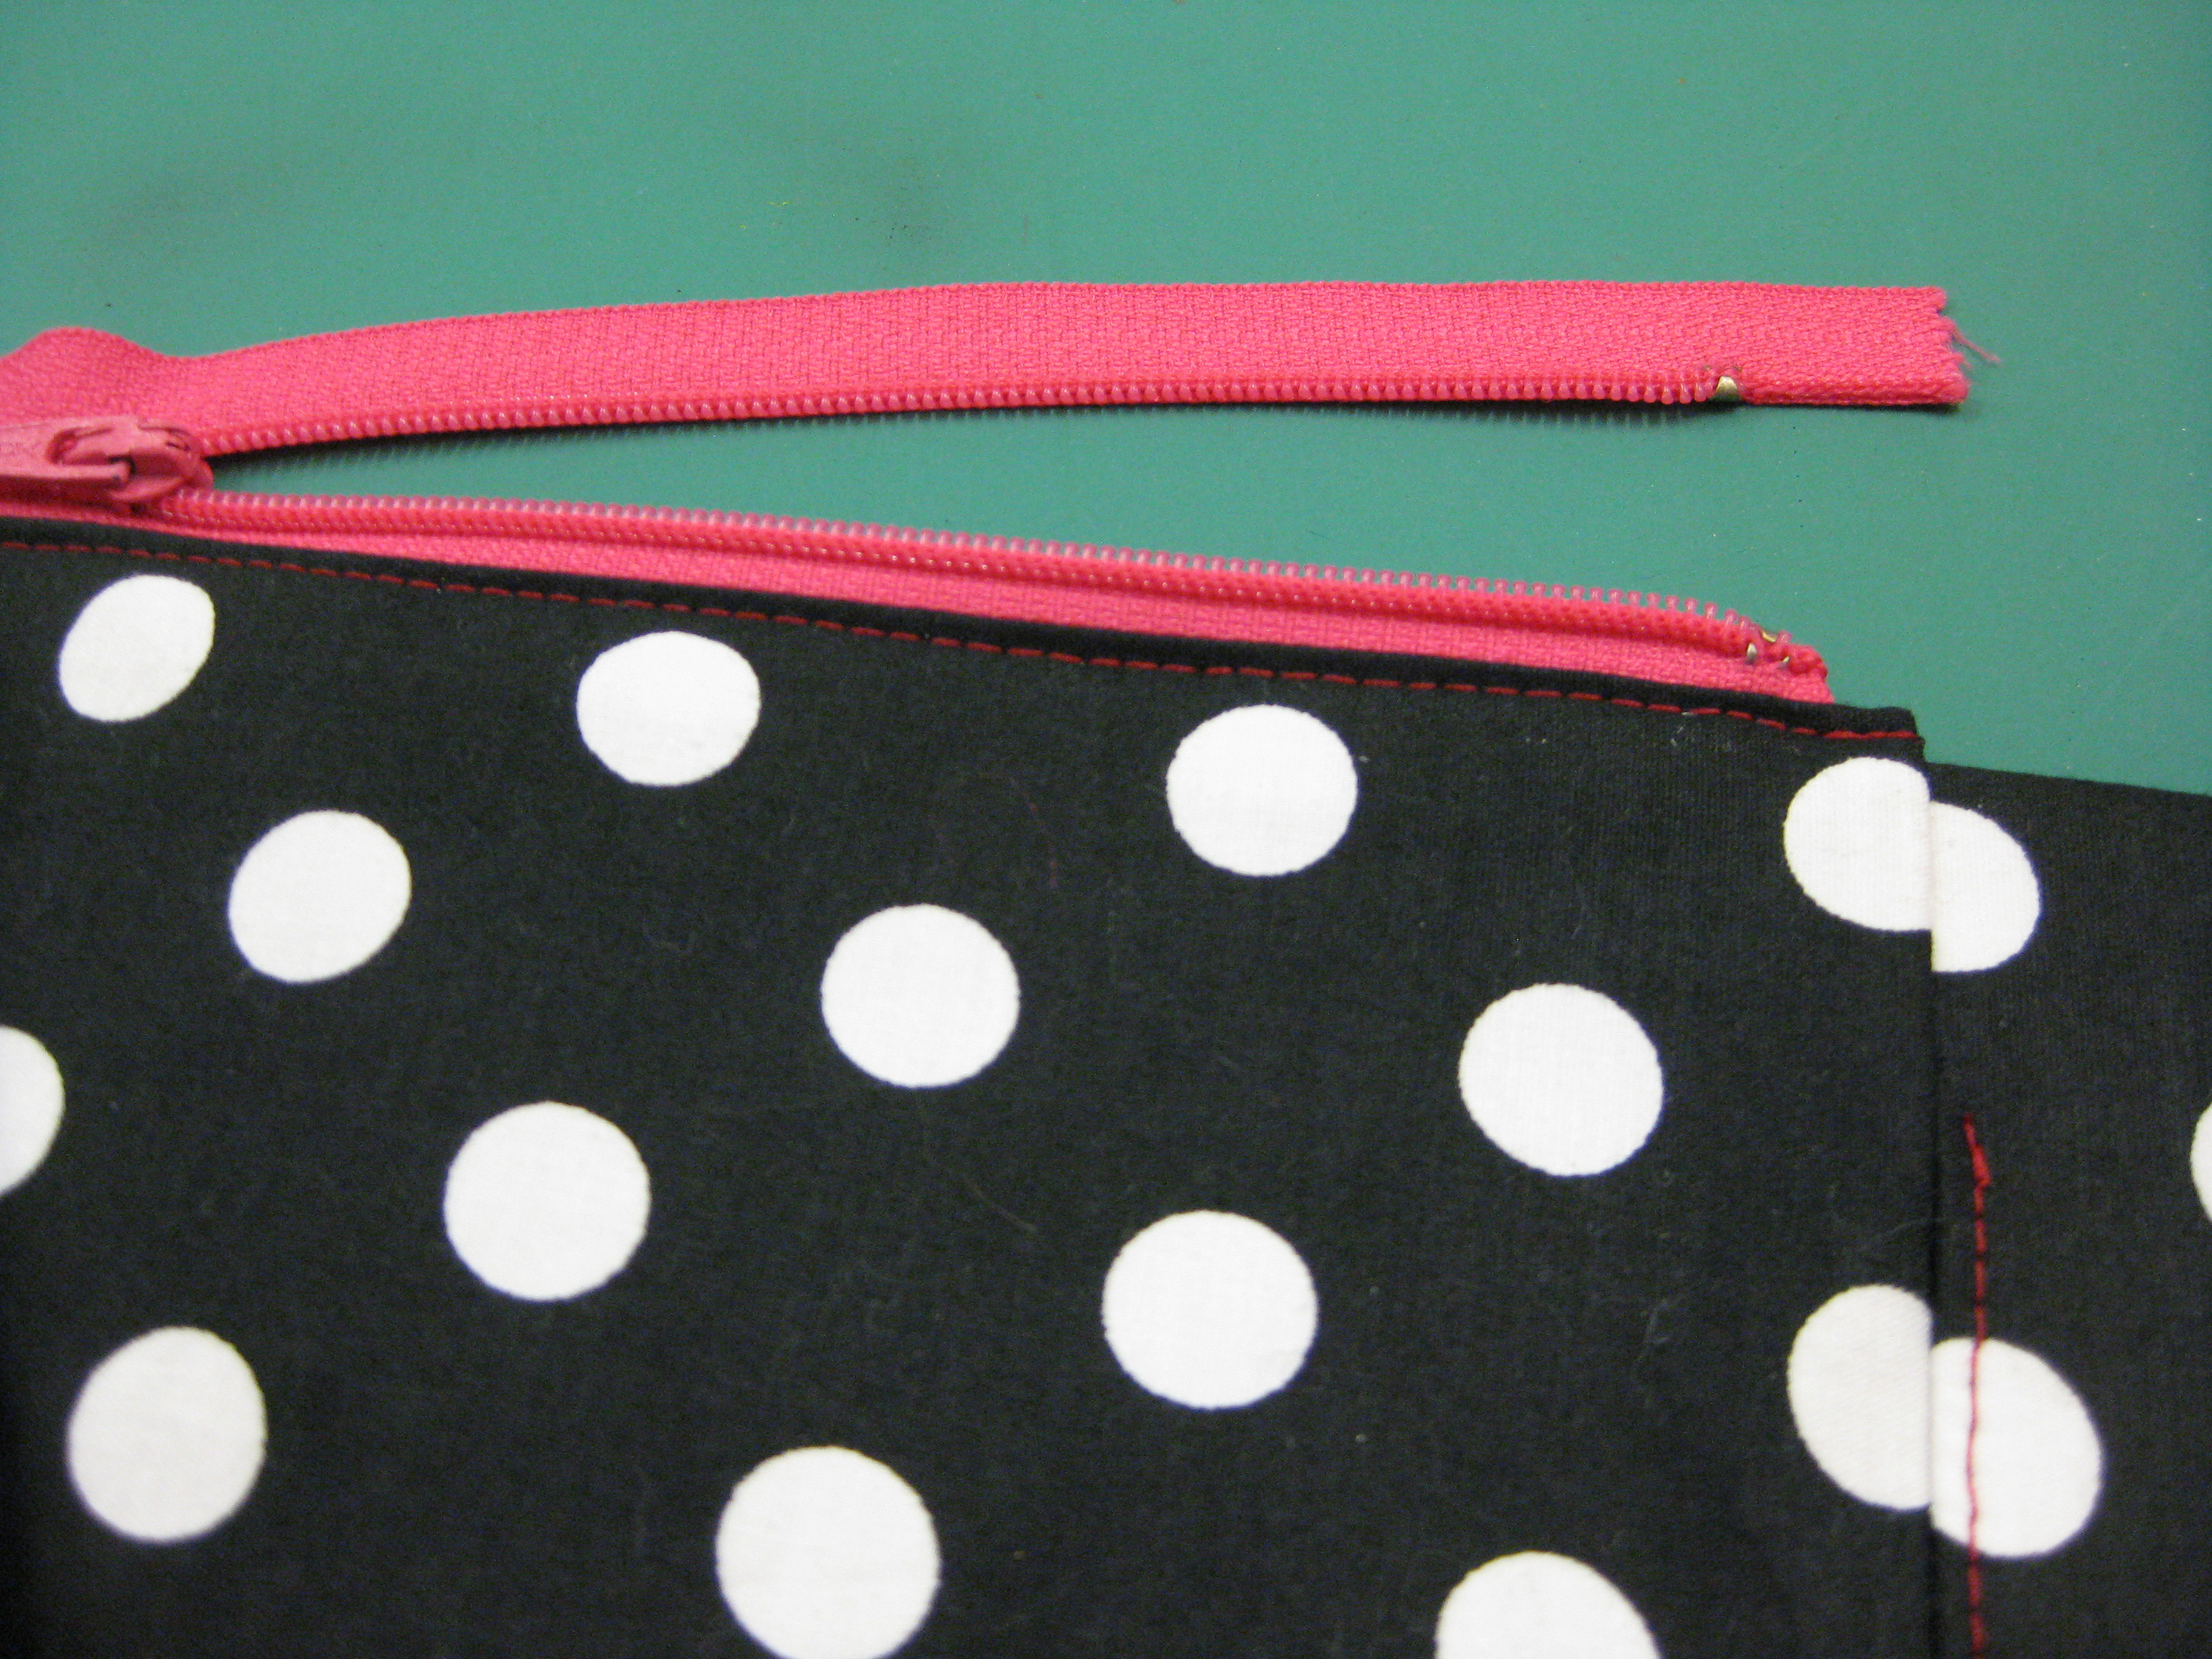
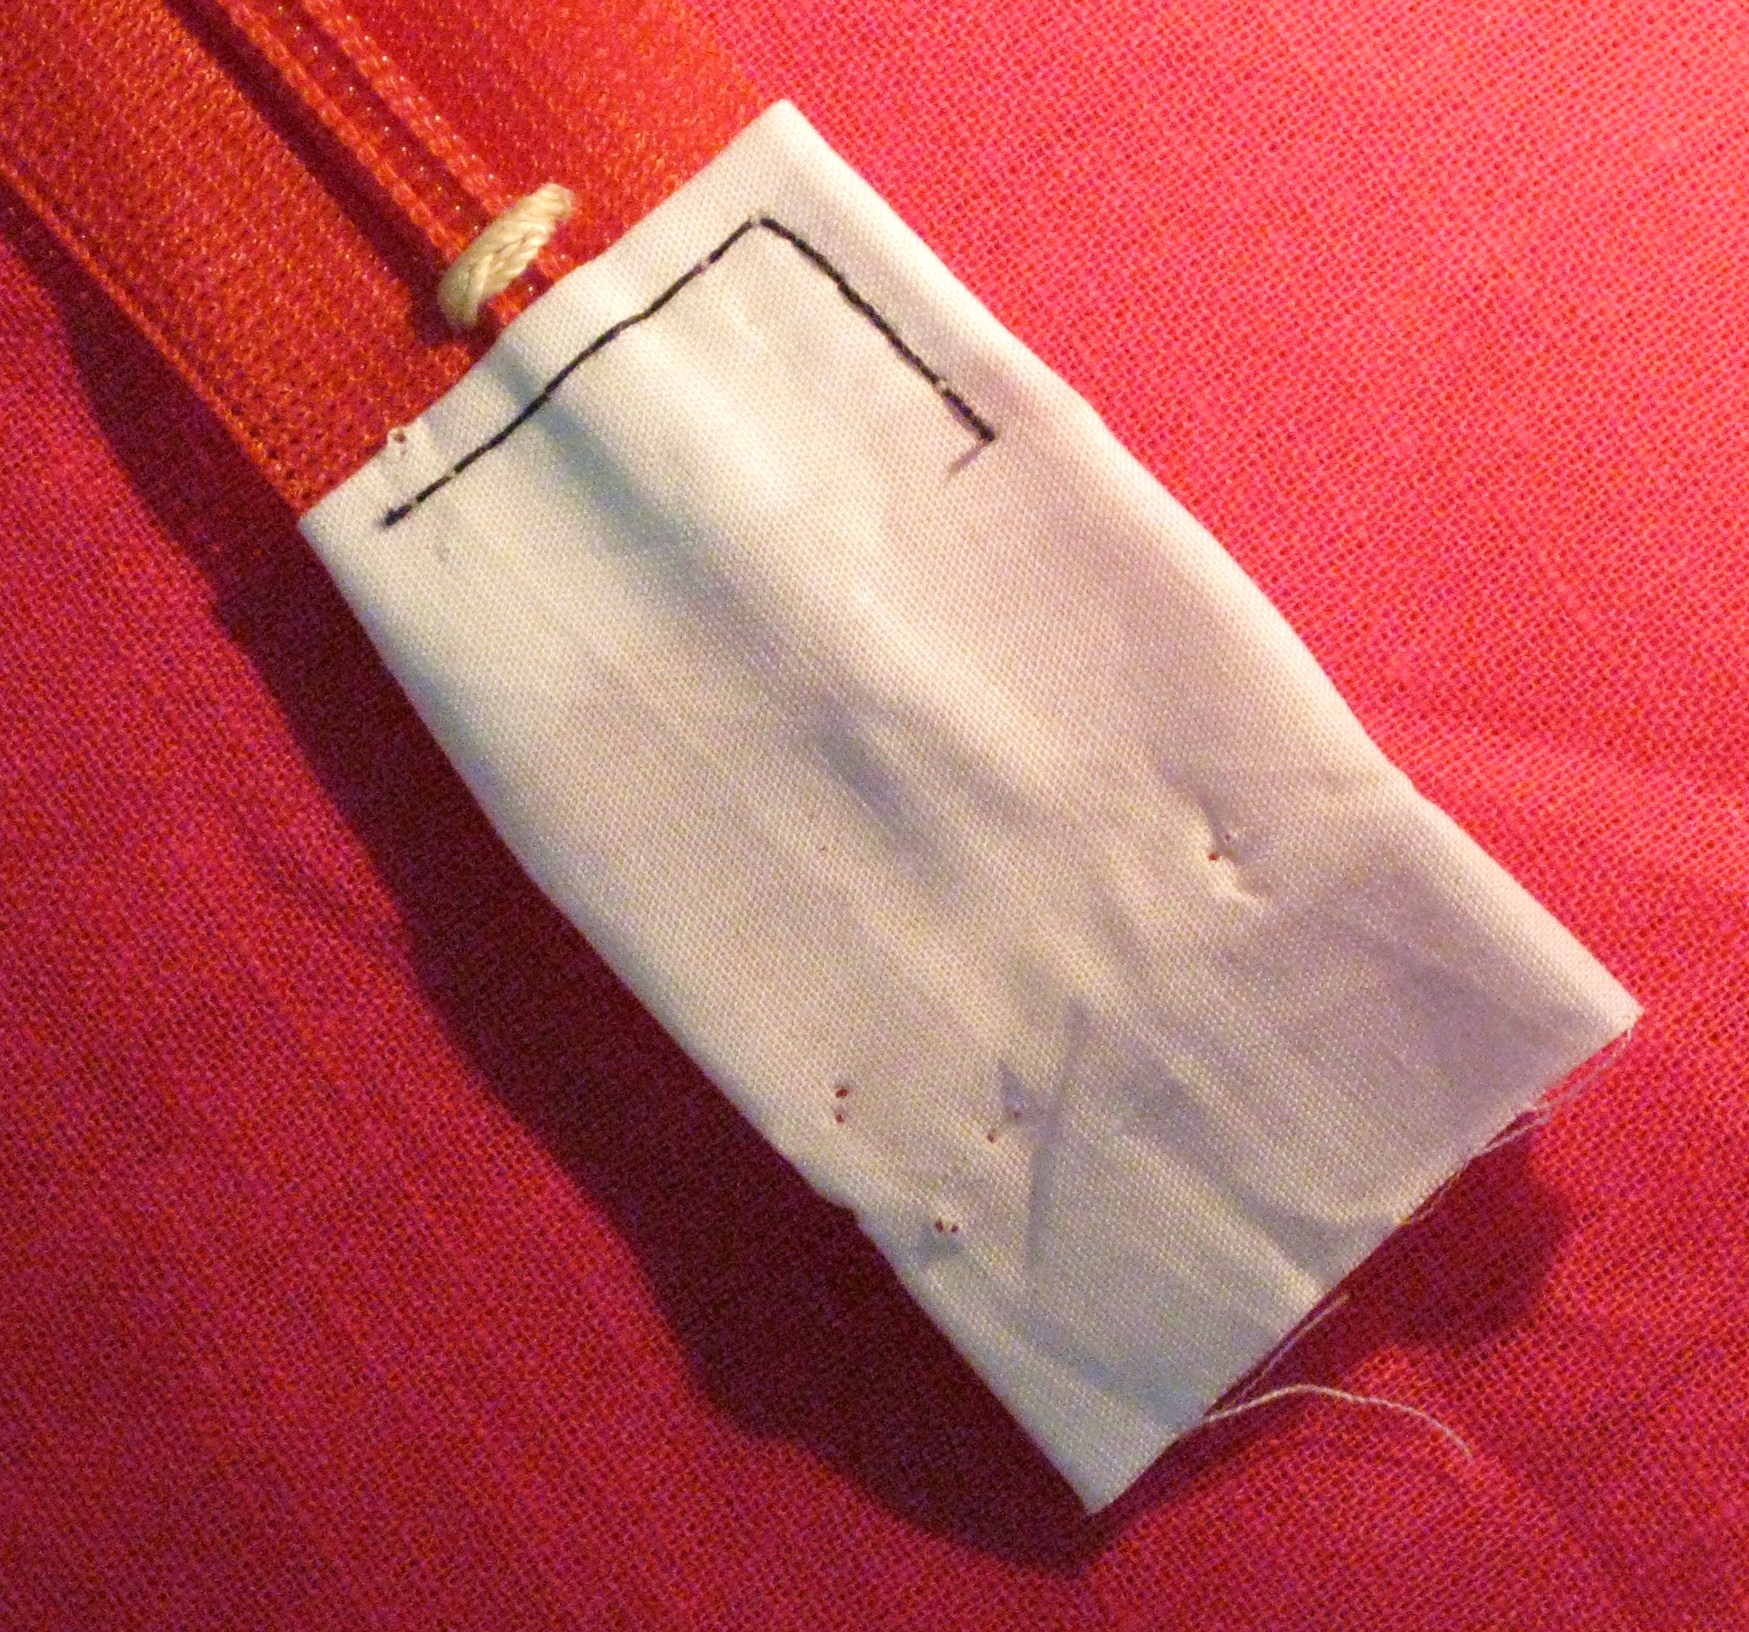
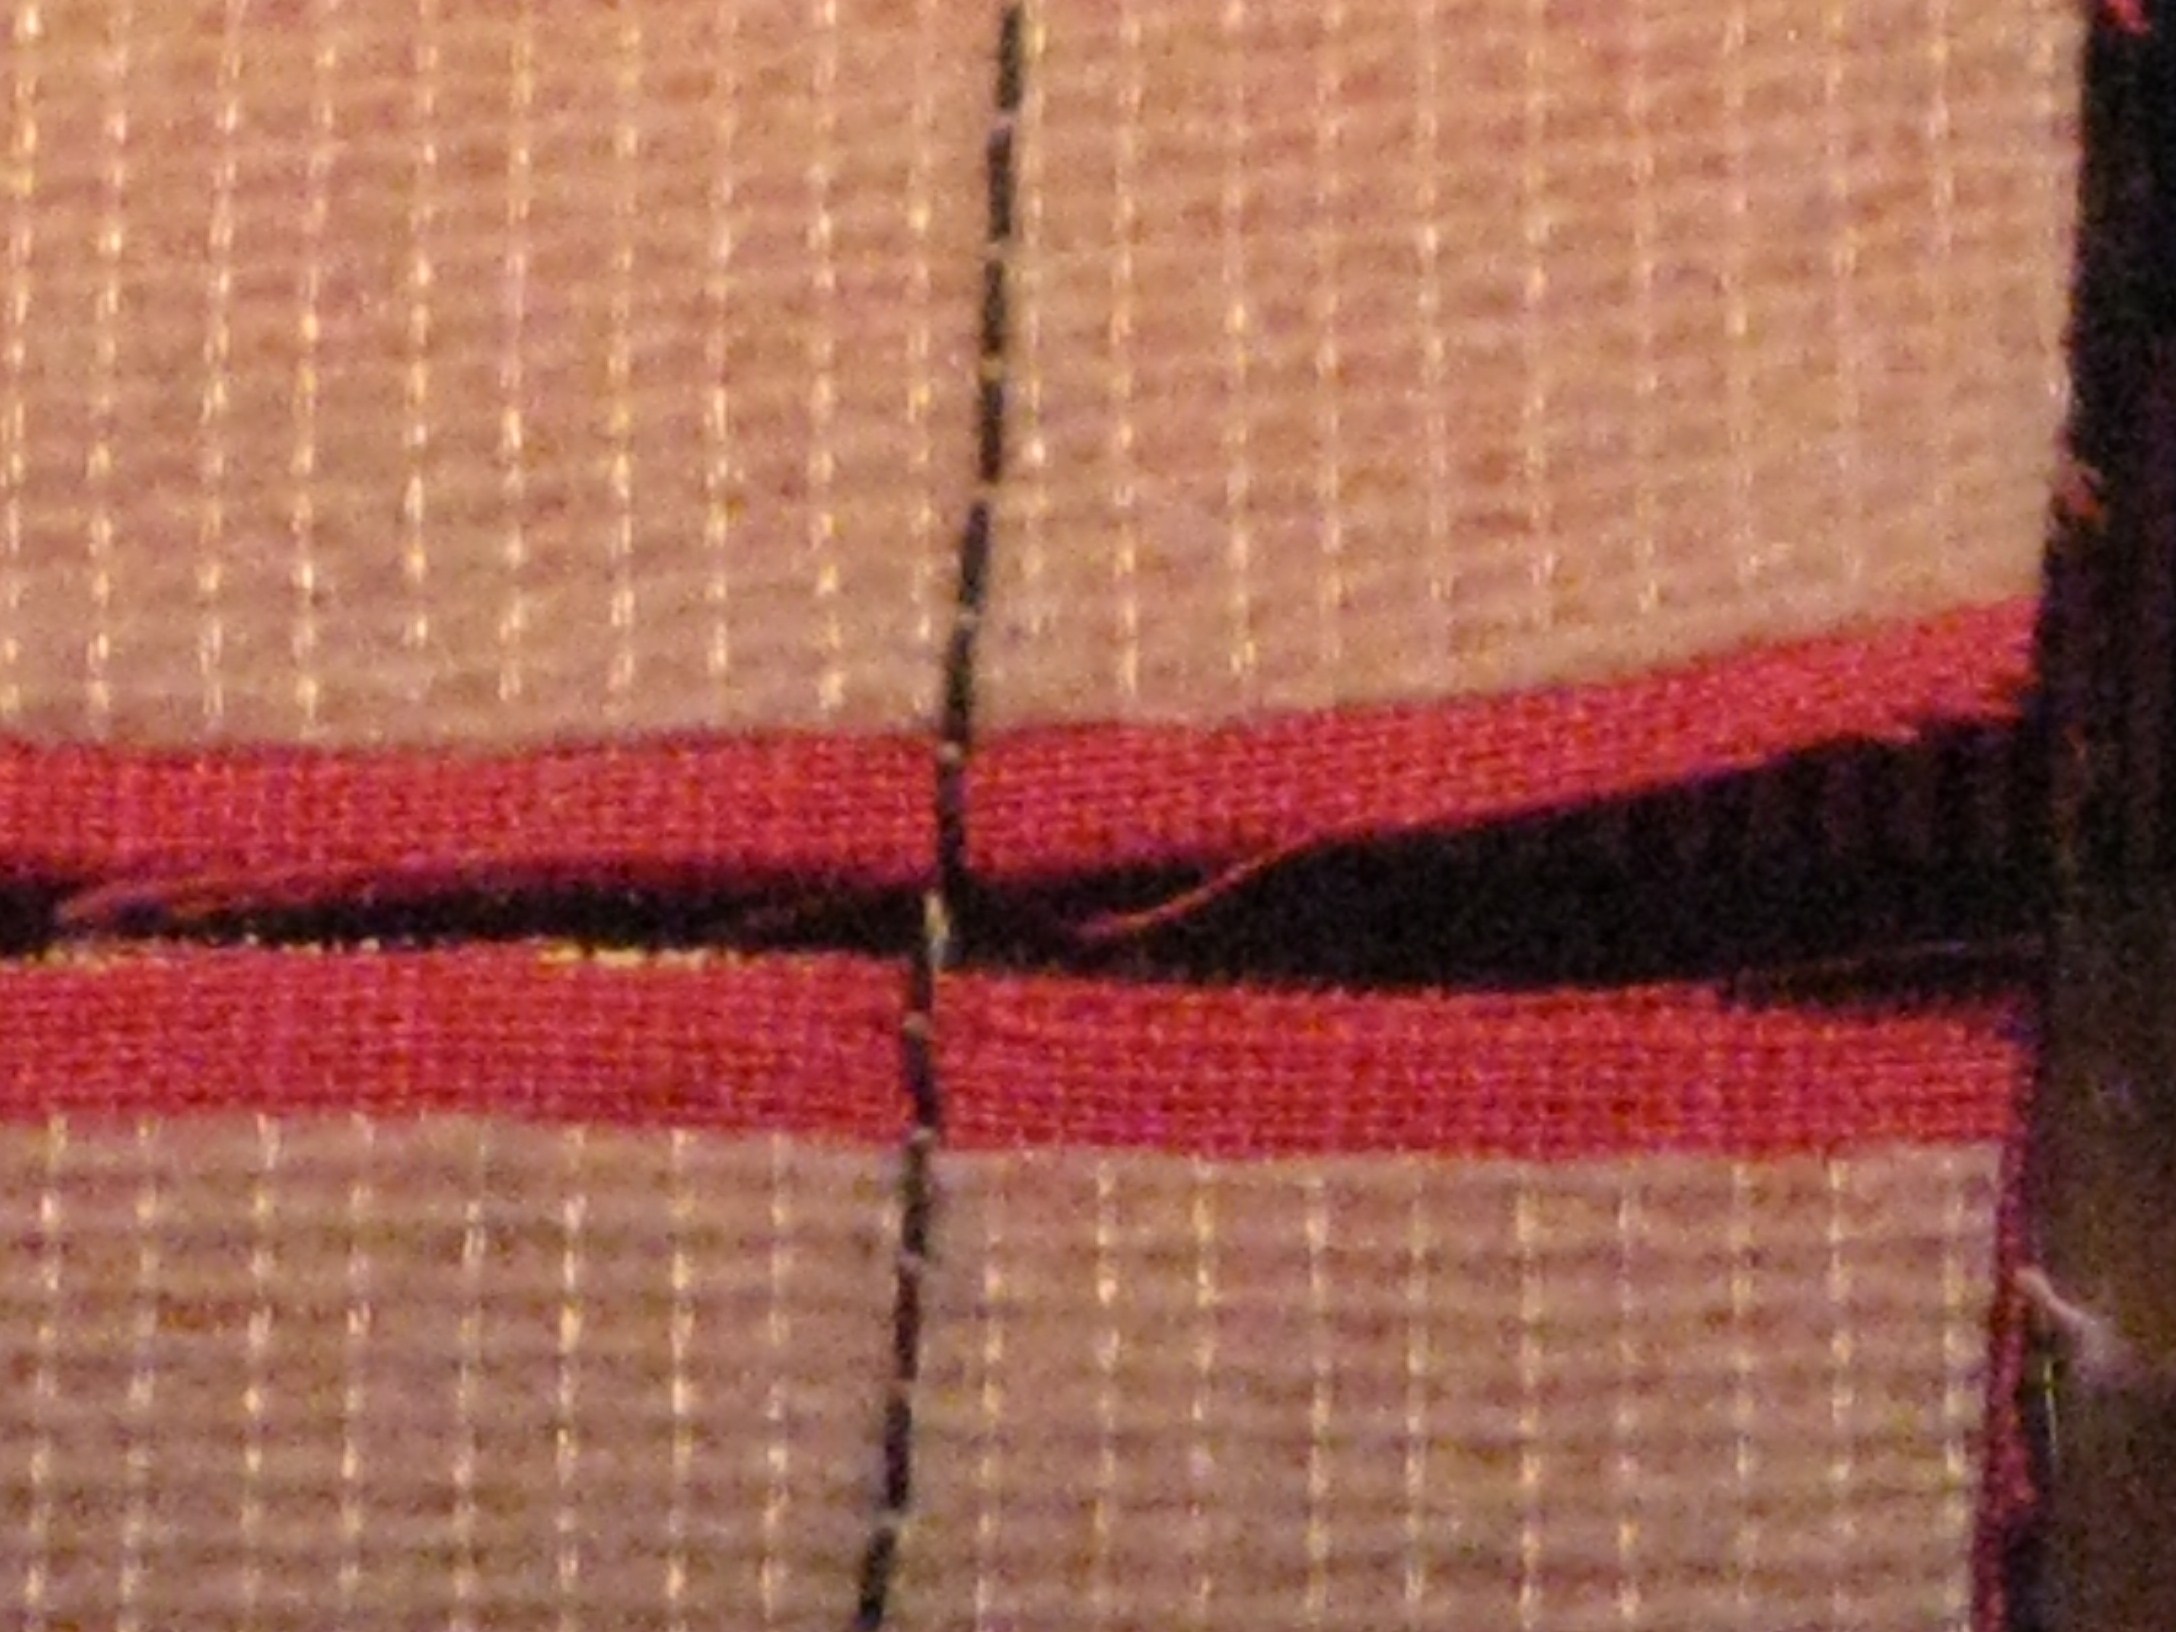
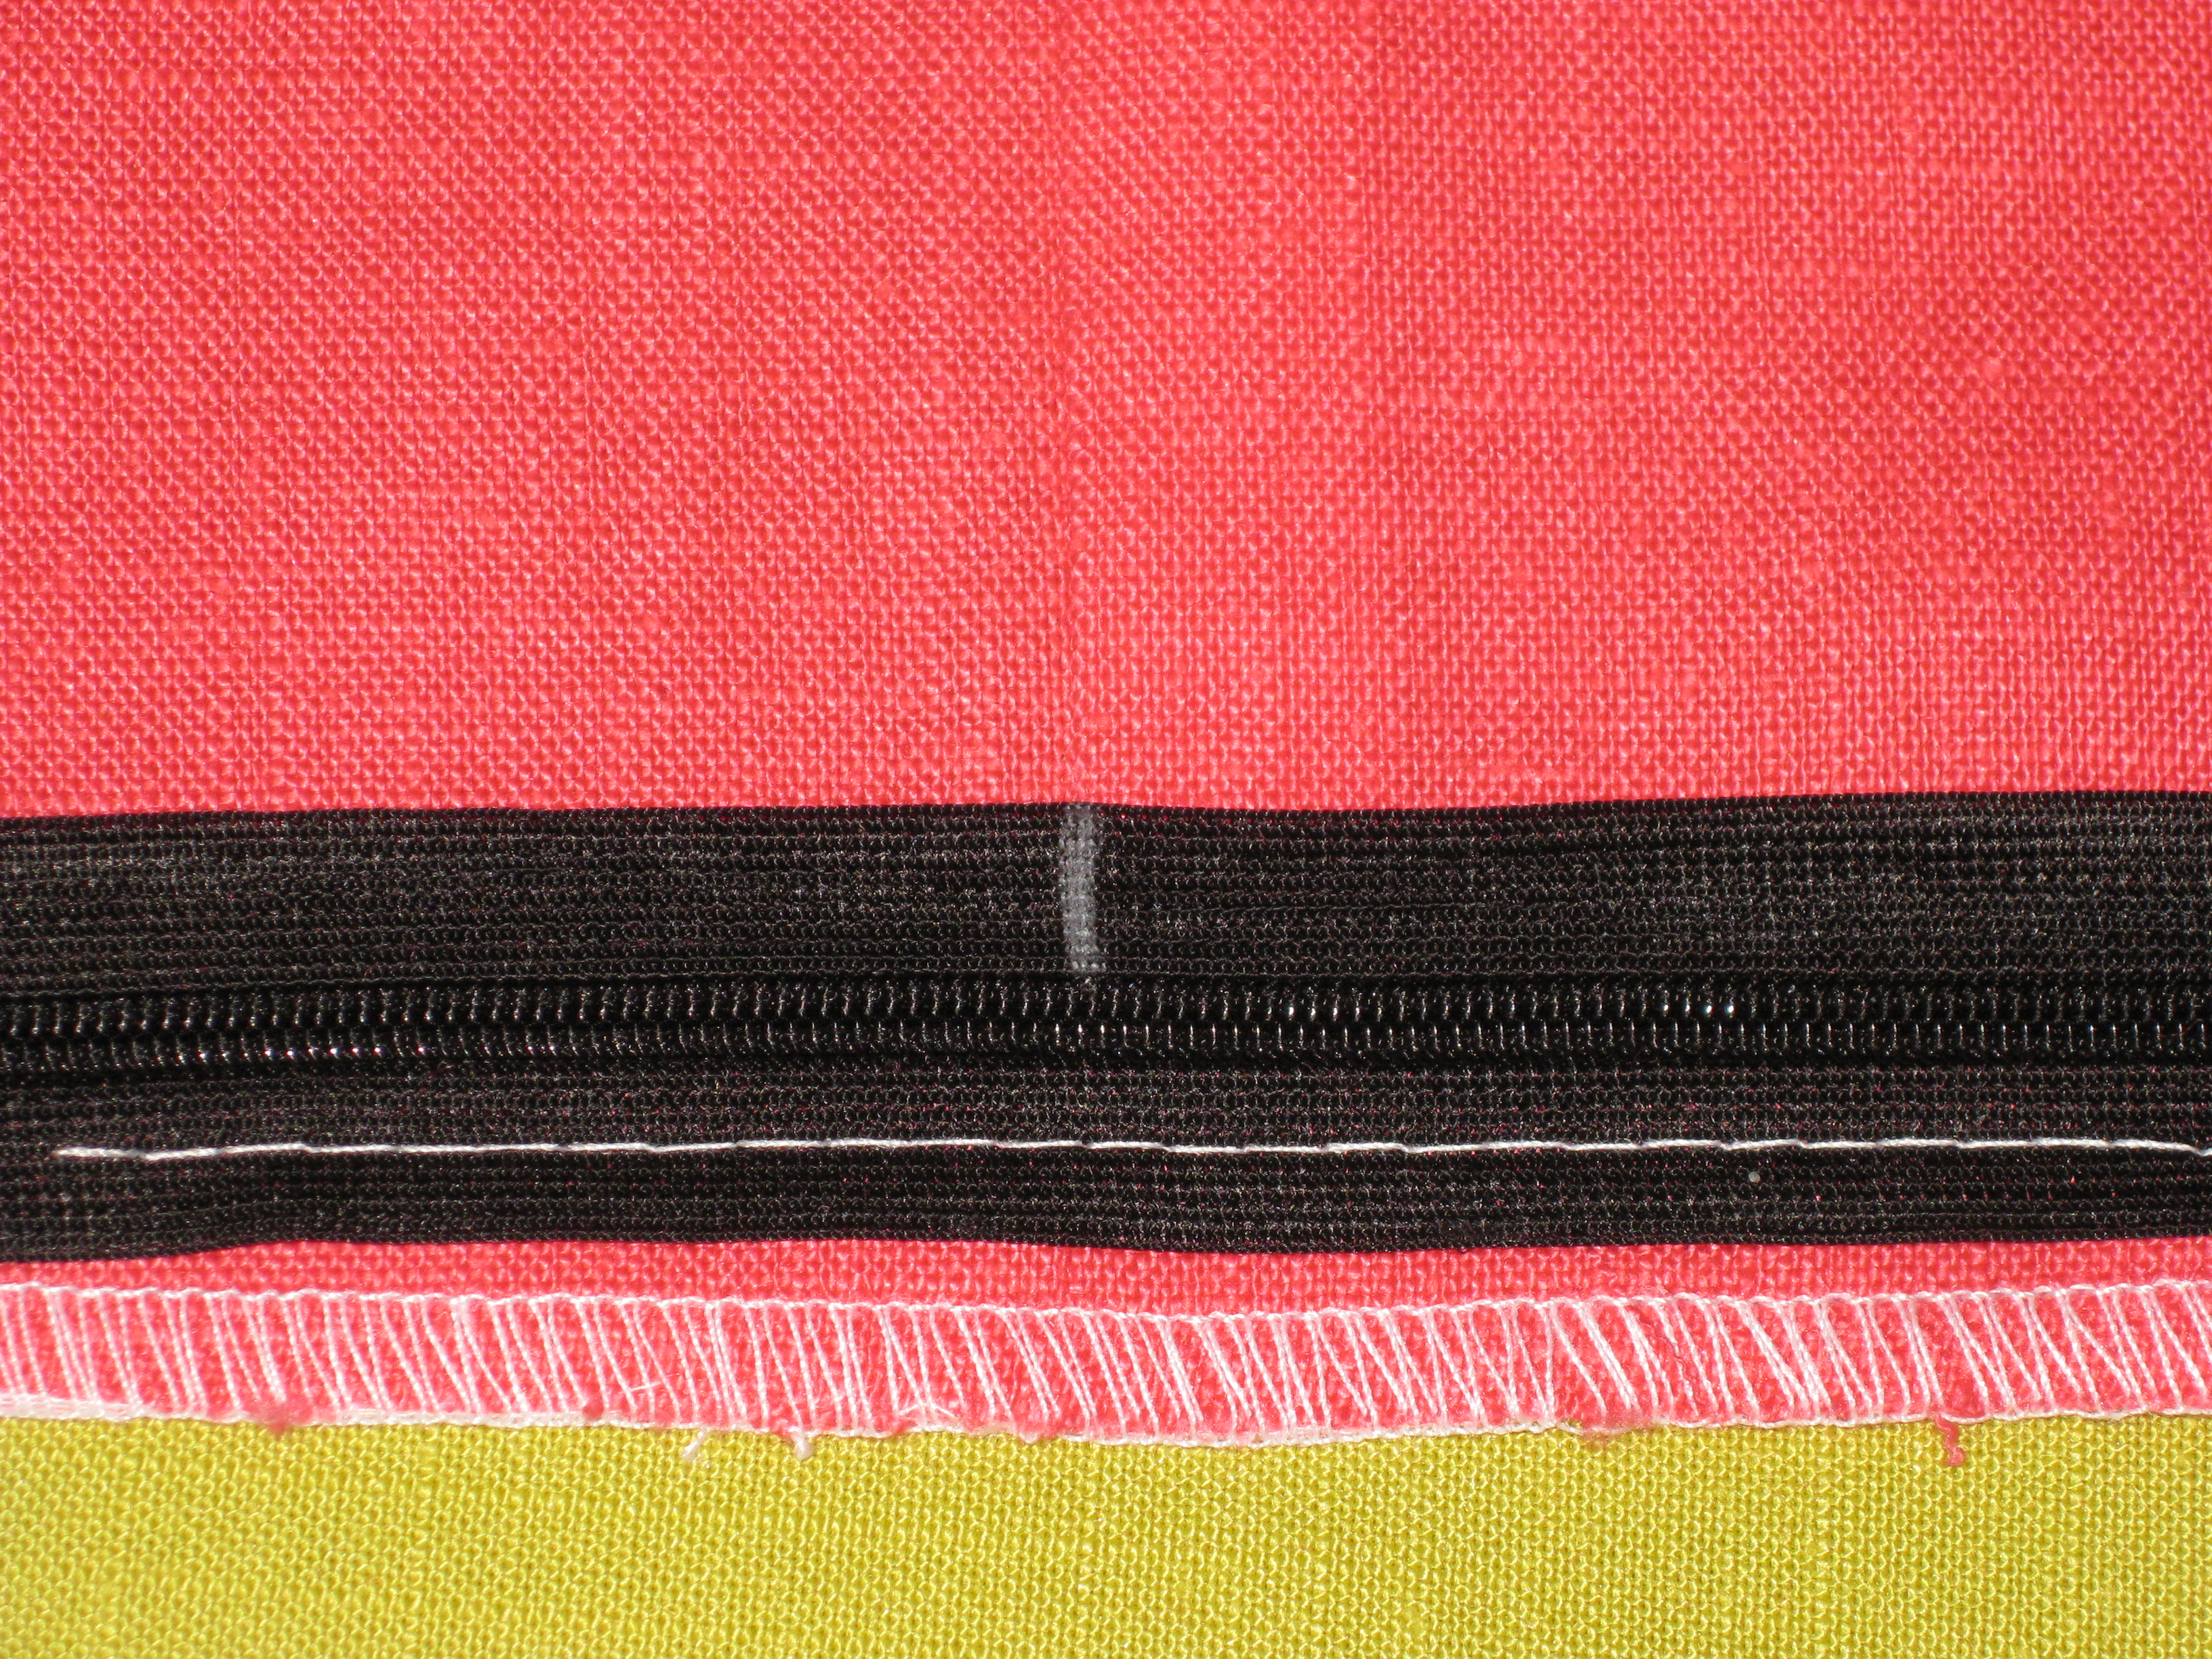
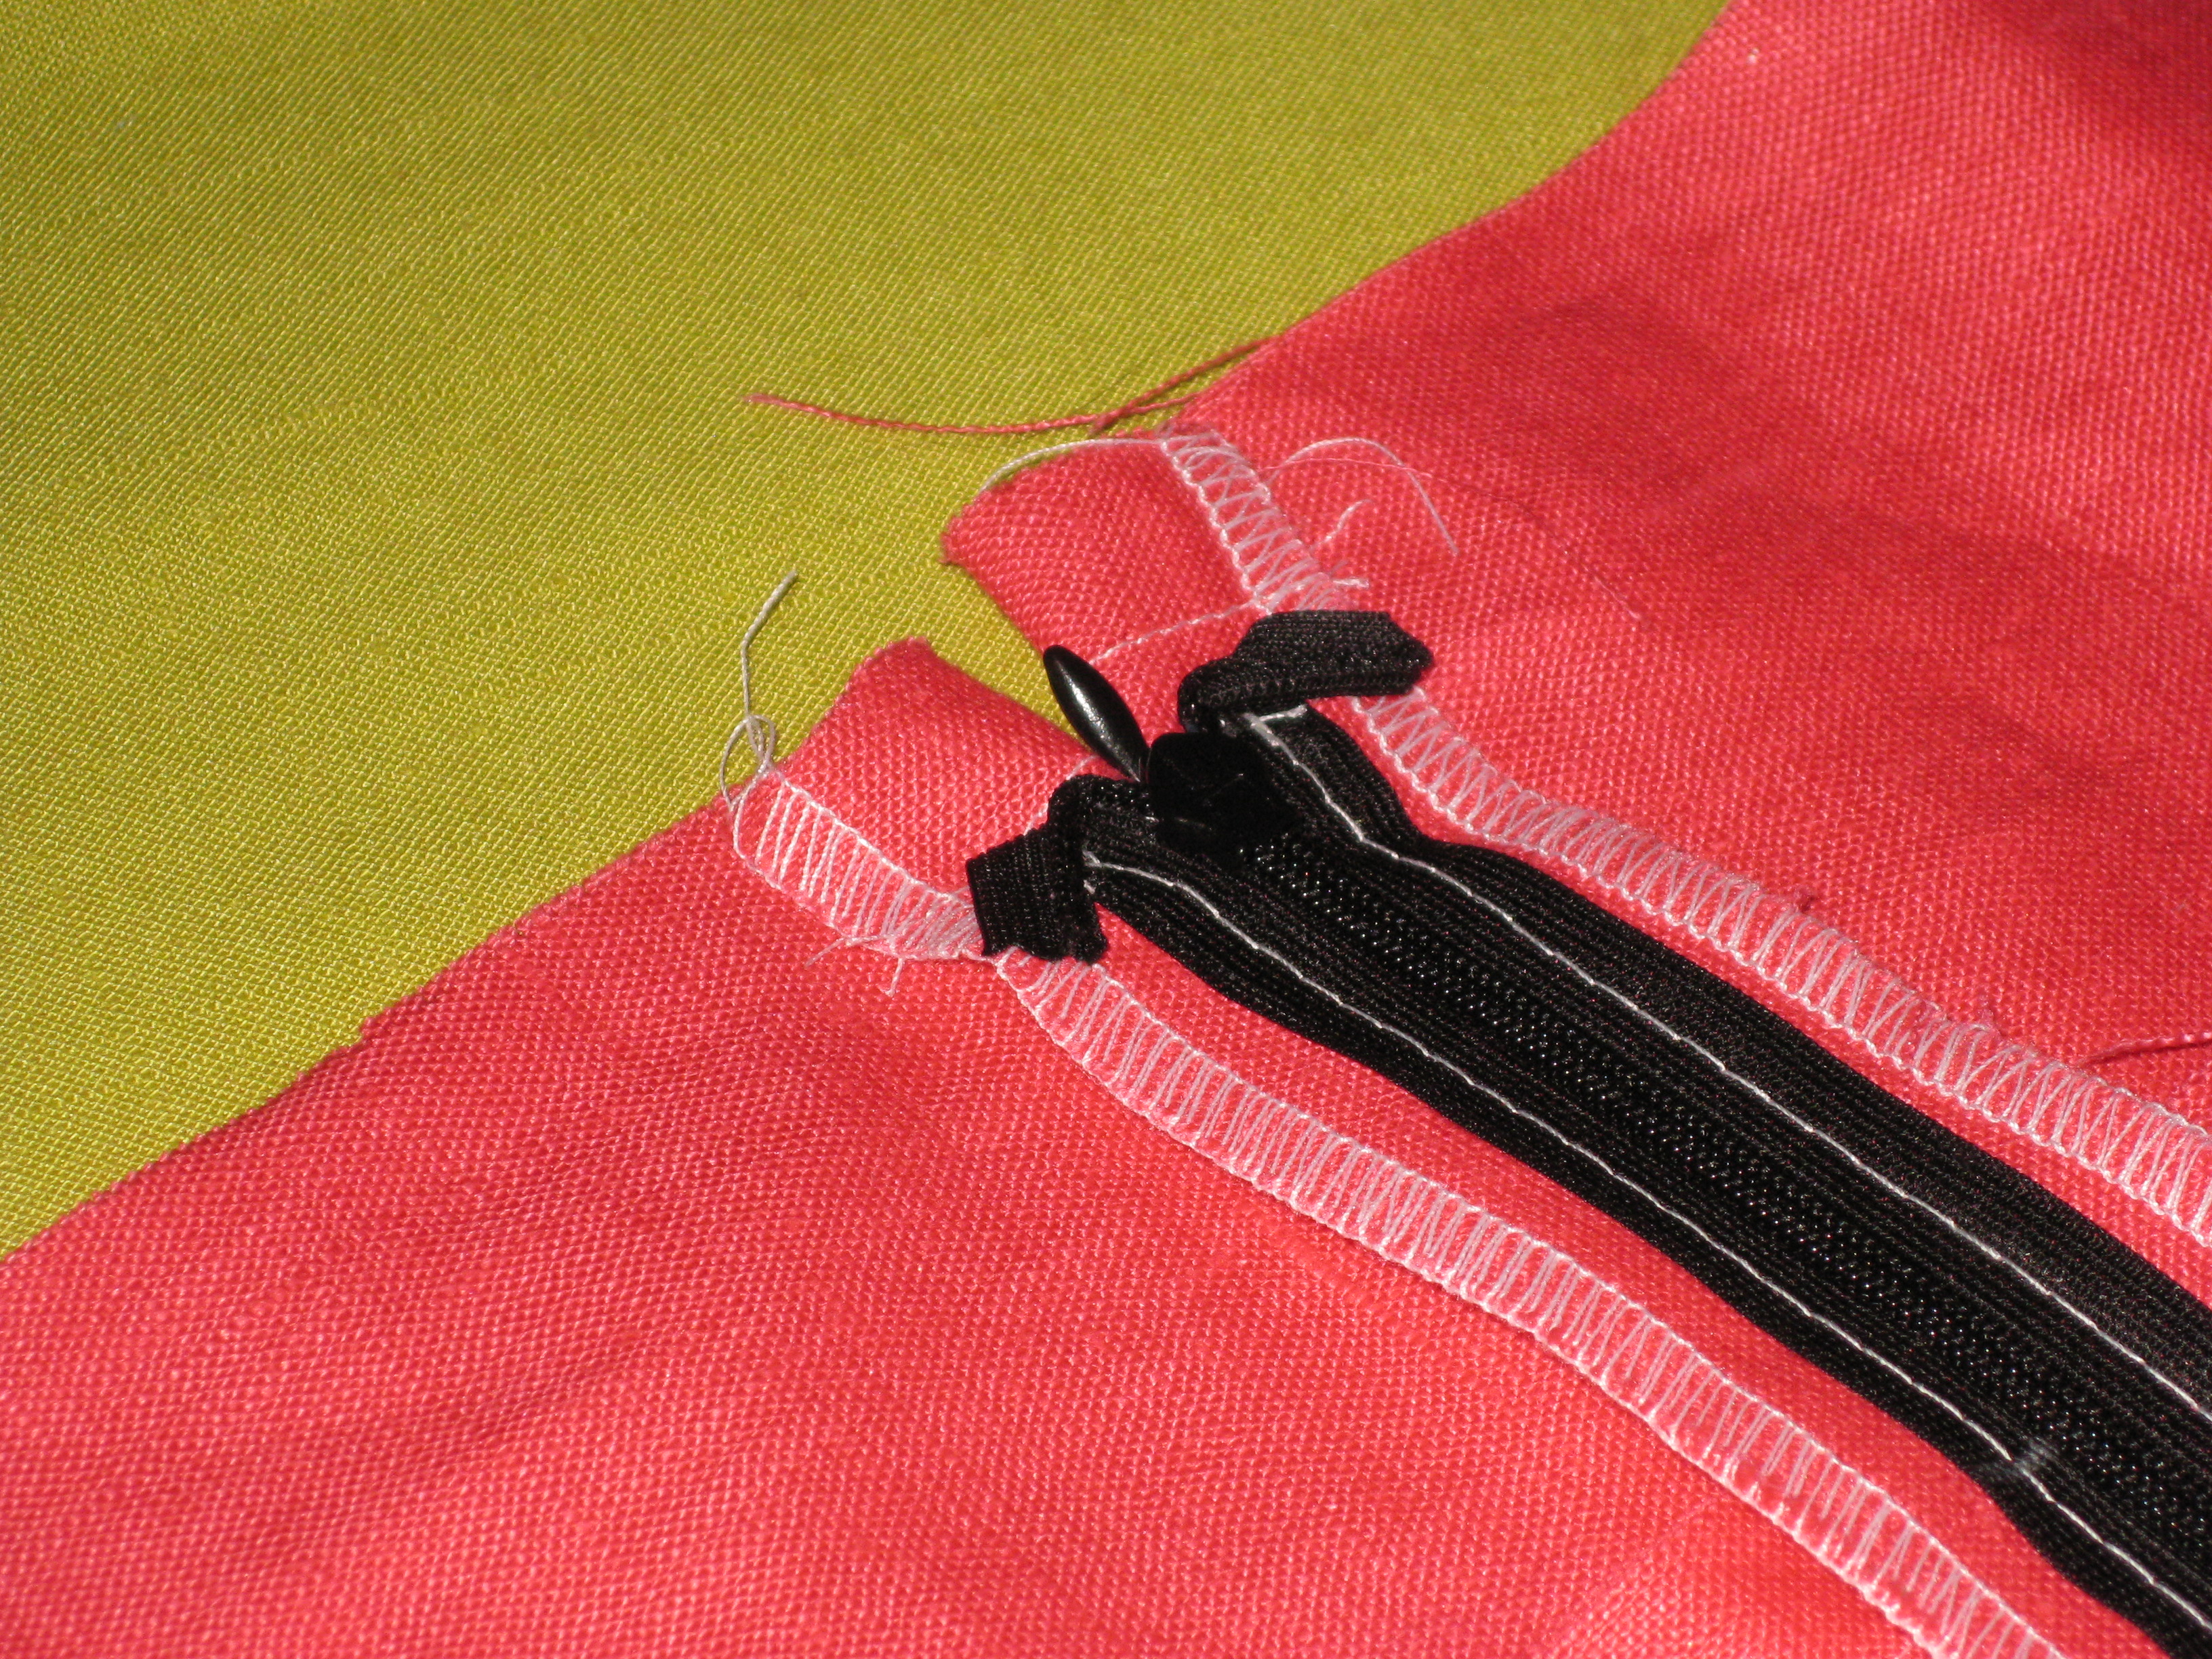
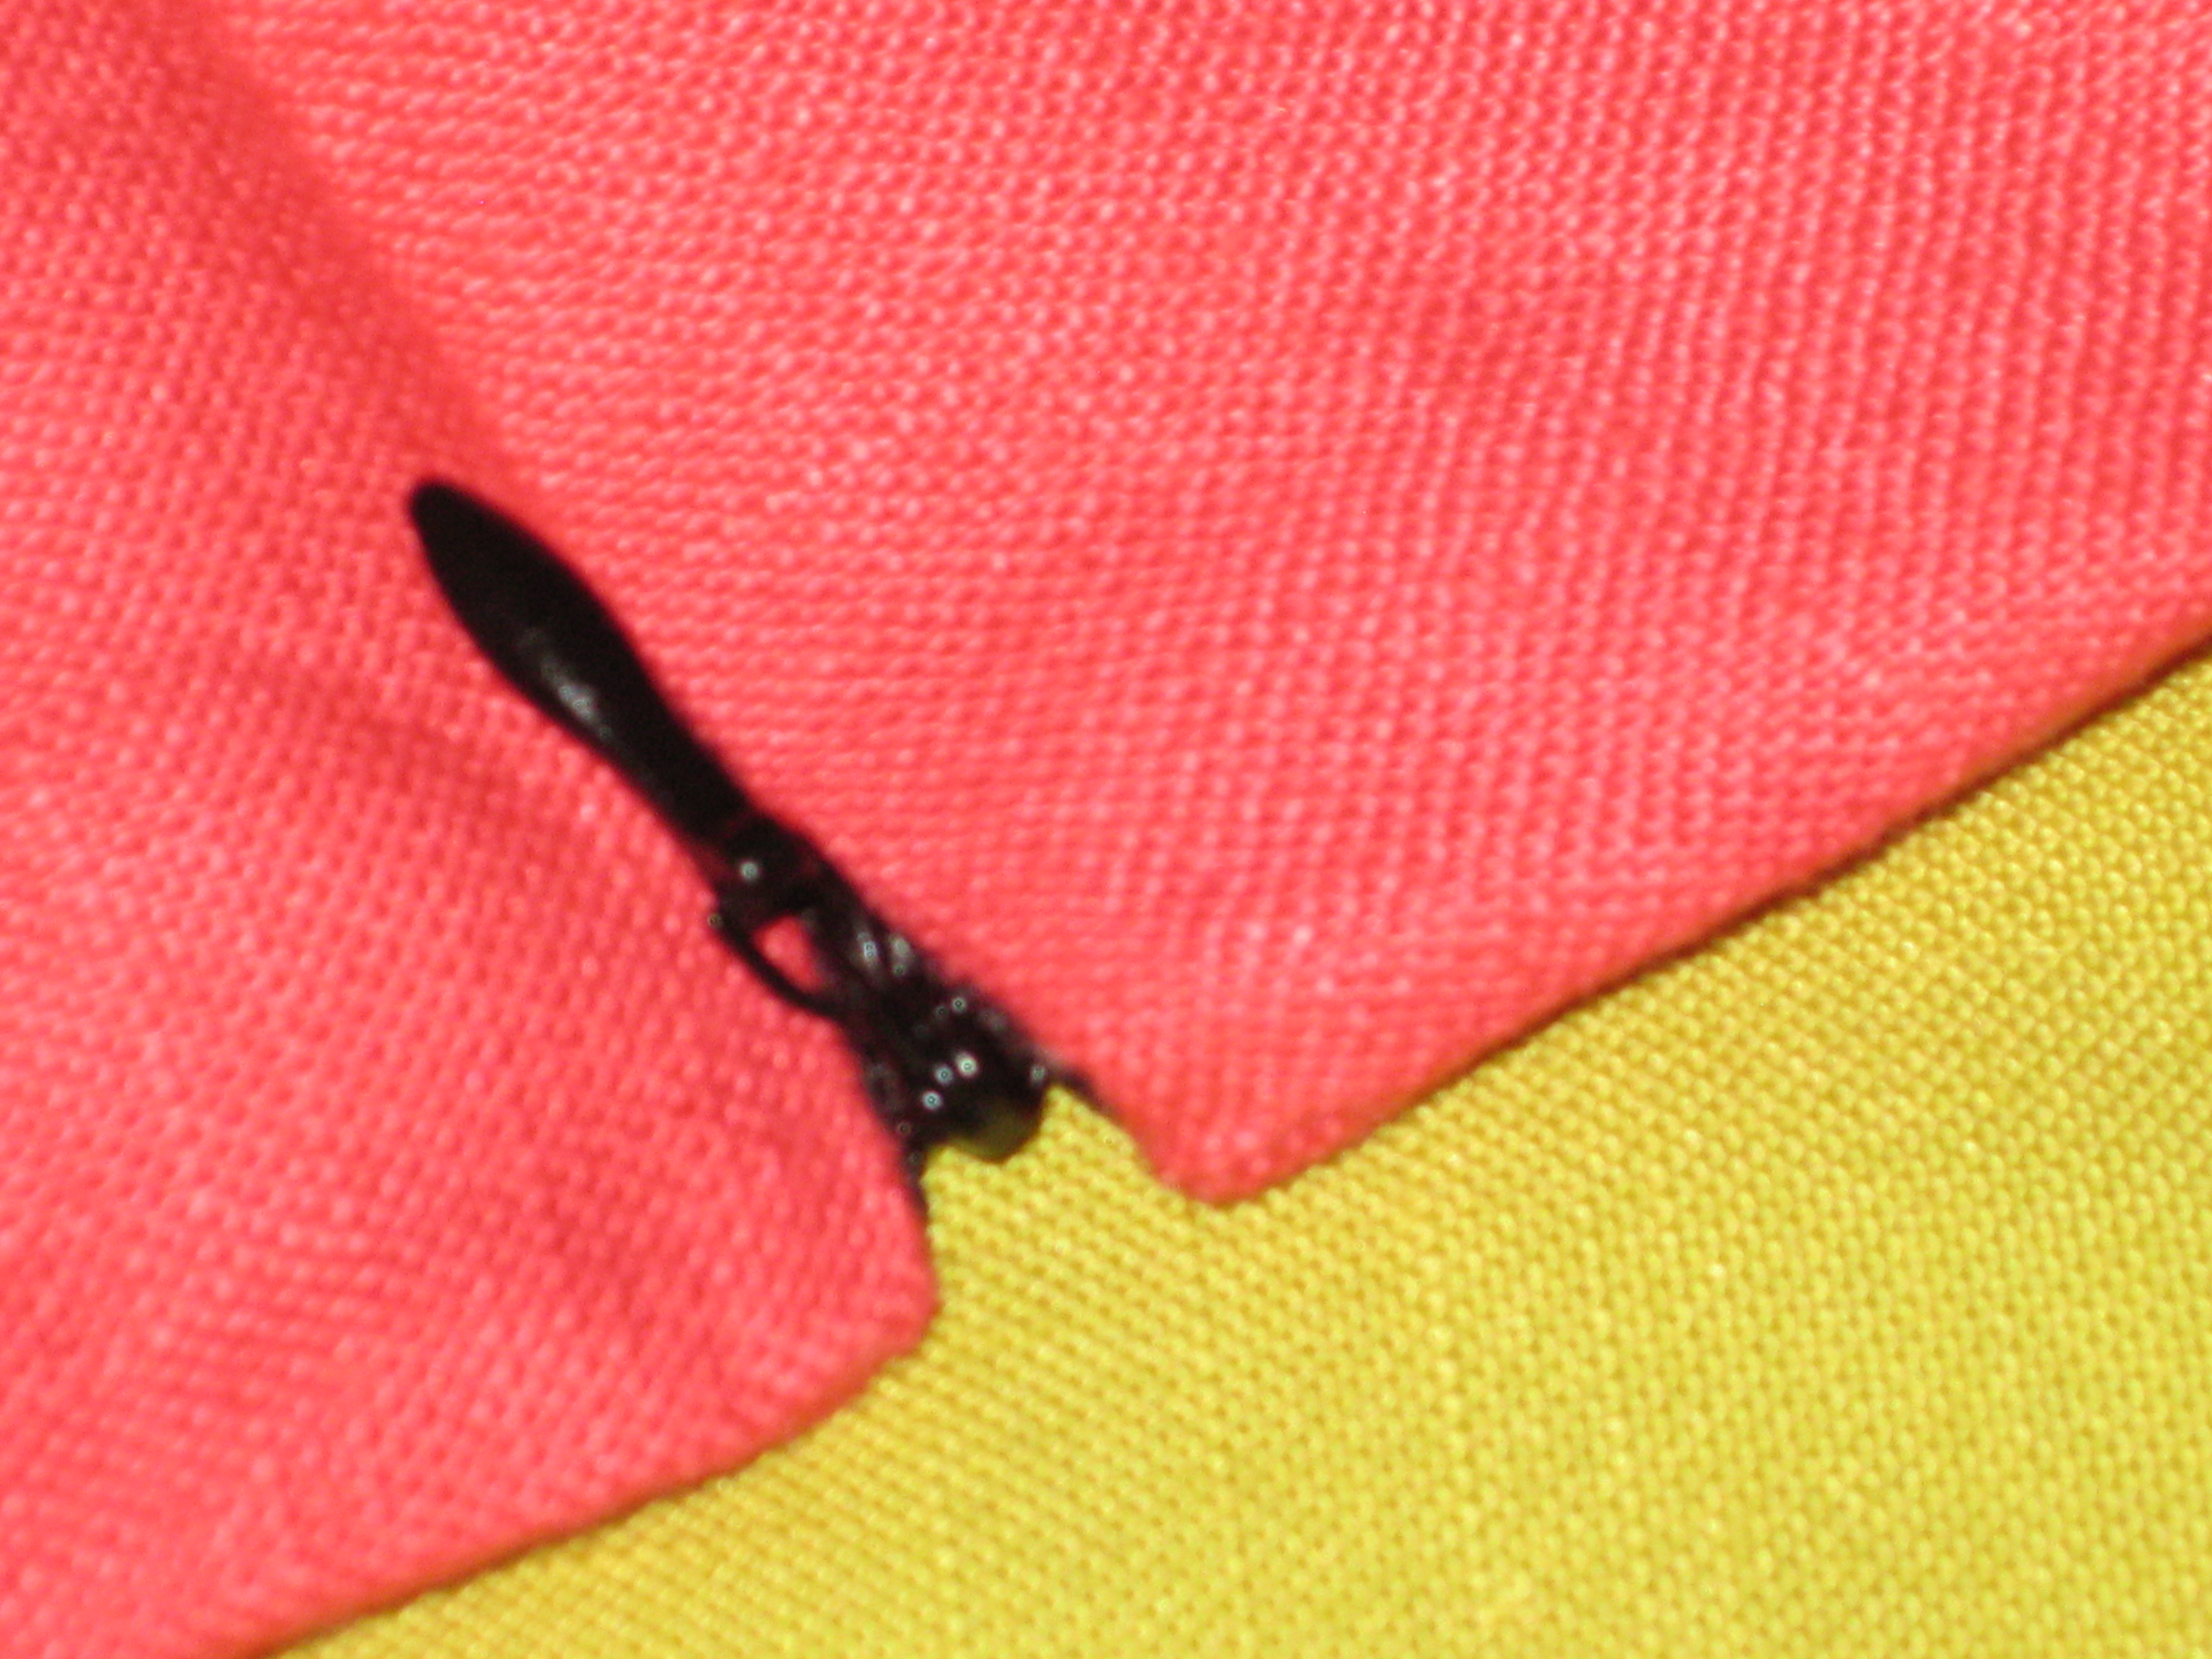
Open the zipper and, with the edge of the zipper teeth level with the seam line, match the plastic stopper at the top of the zipper with the keyed seam line. Move the stopper 3/8” / 7mm down to allow for a hook and eye and pin in place.
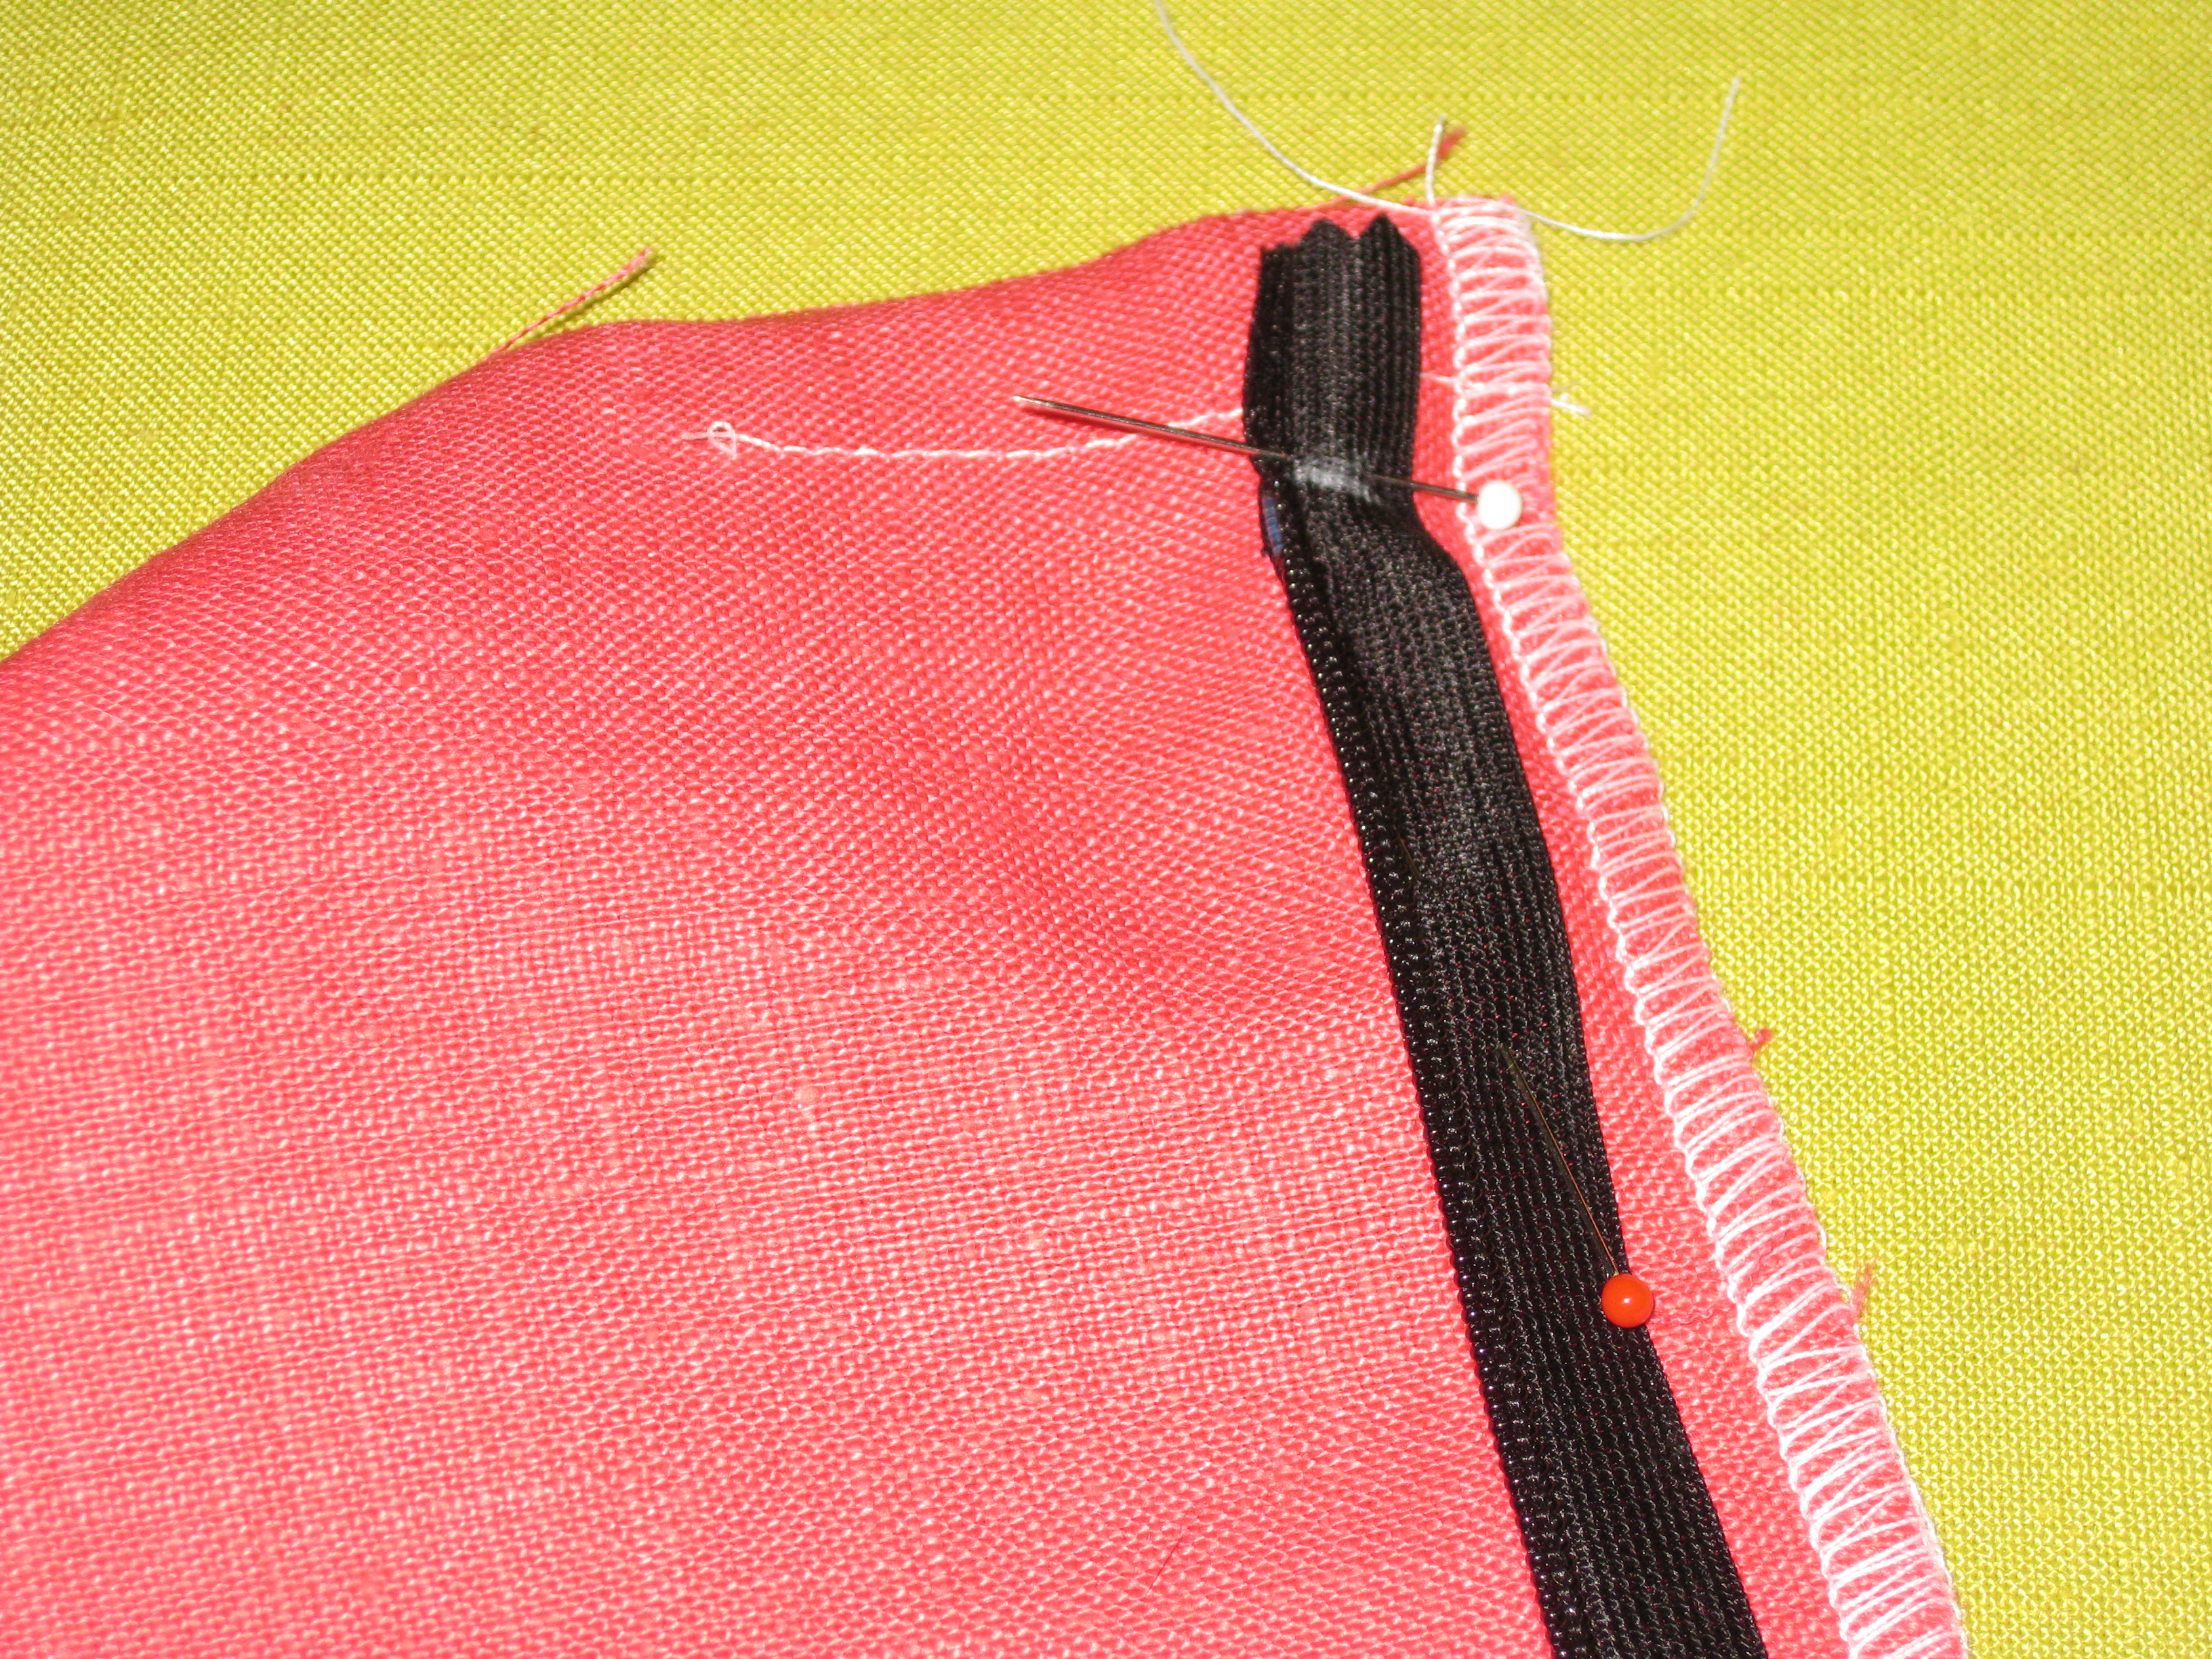
White mark indicates top of the plastic zipper stop. Teeth rest along the seam line with tape in the seam allowance.
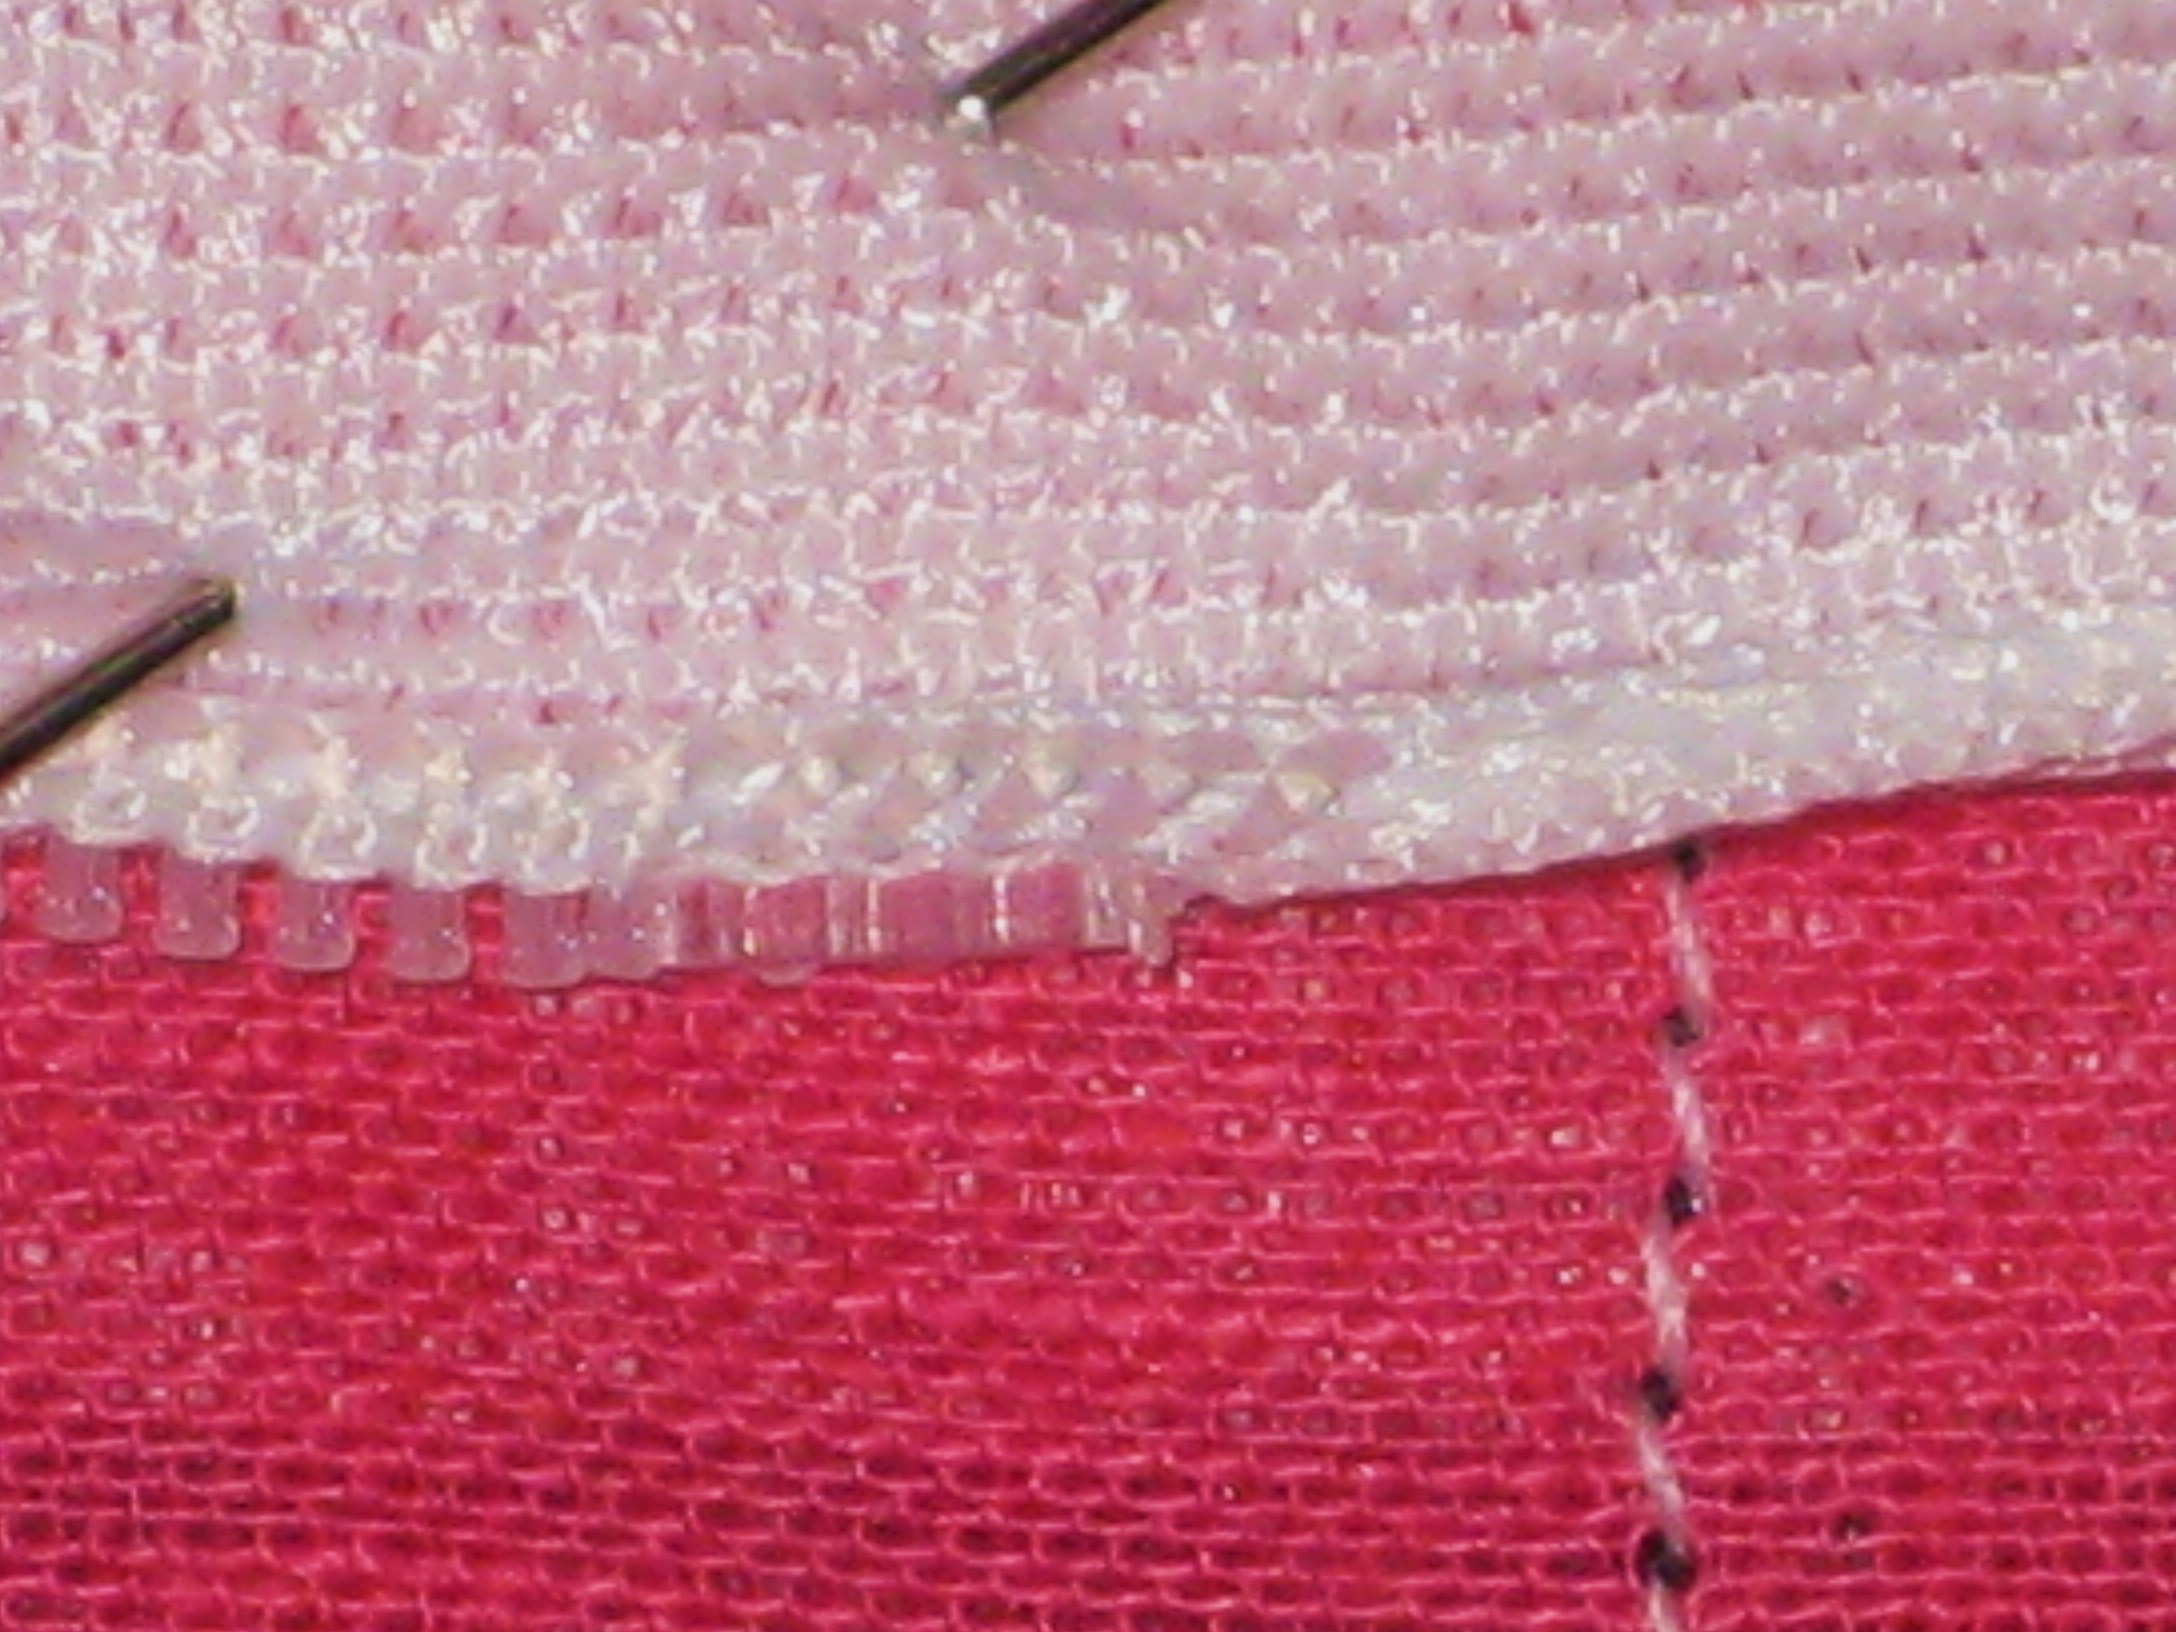
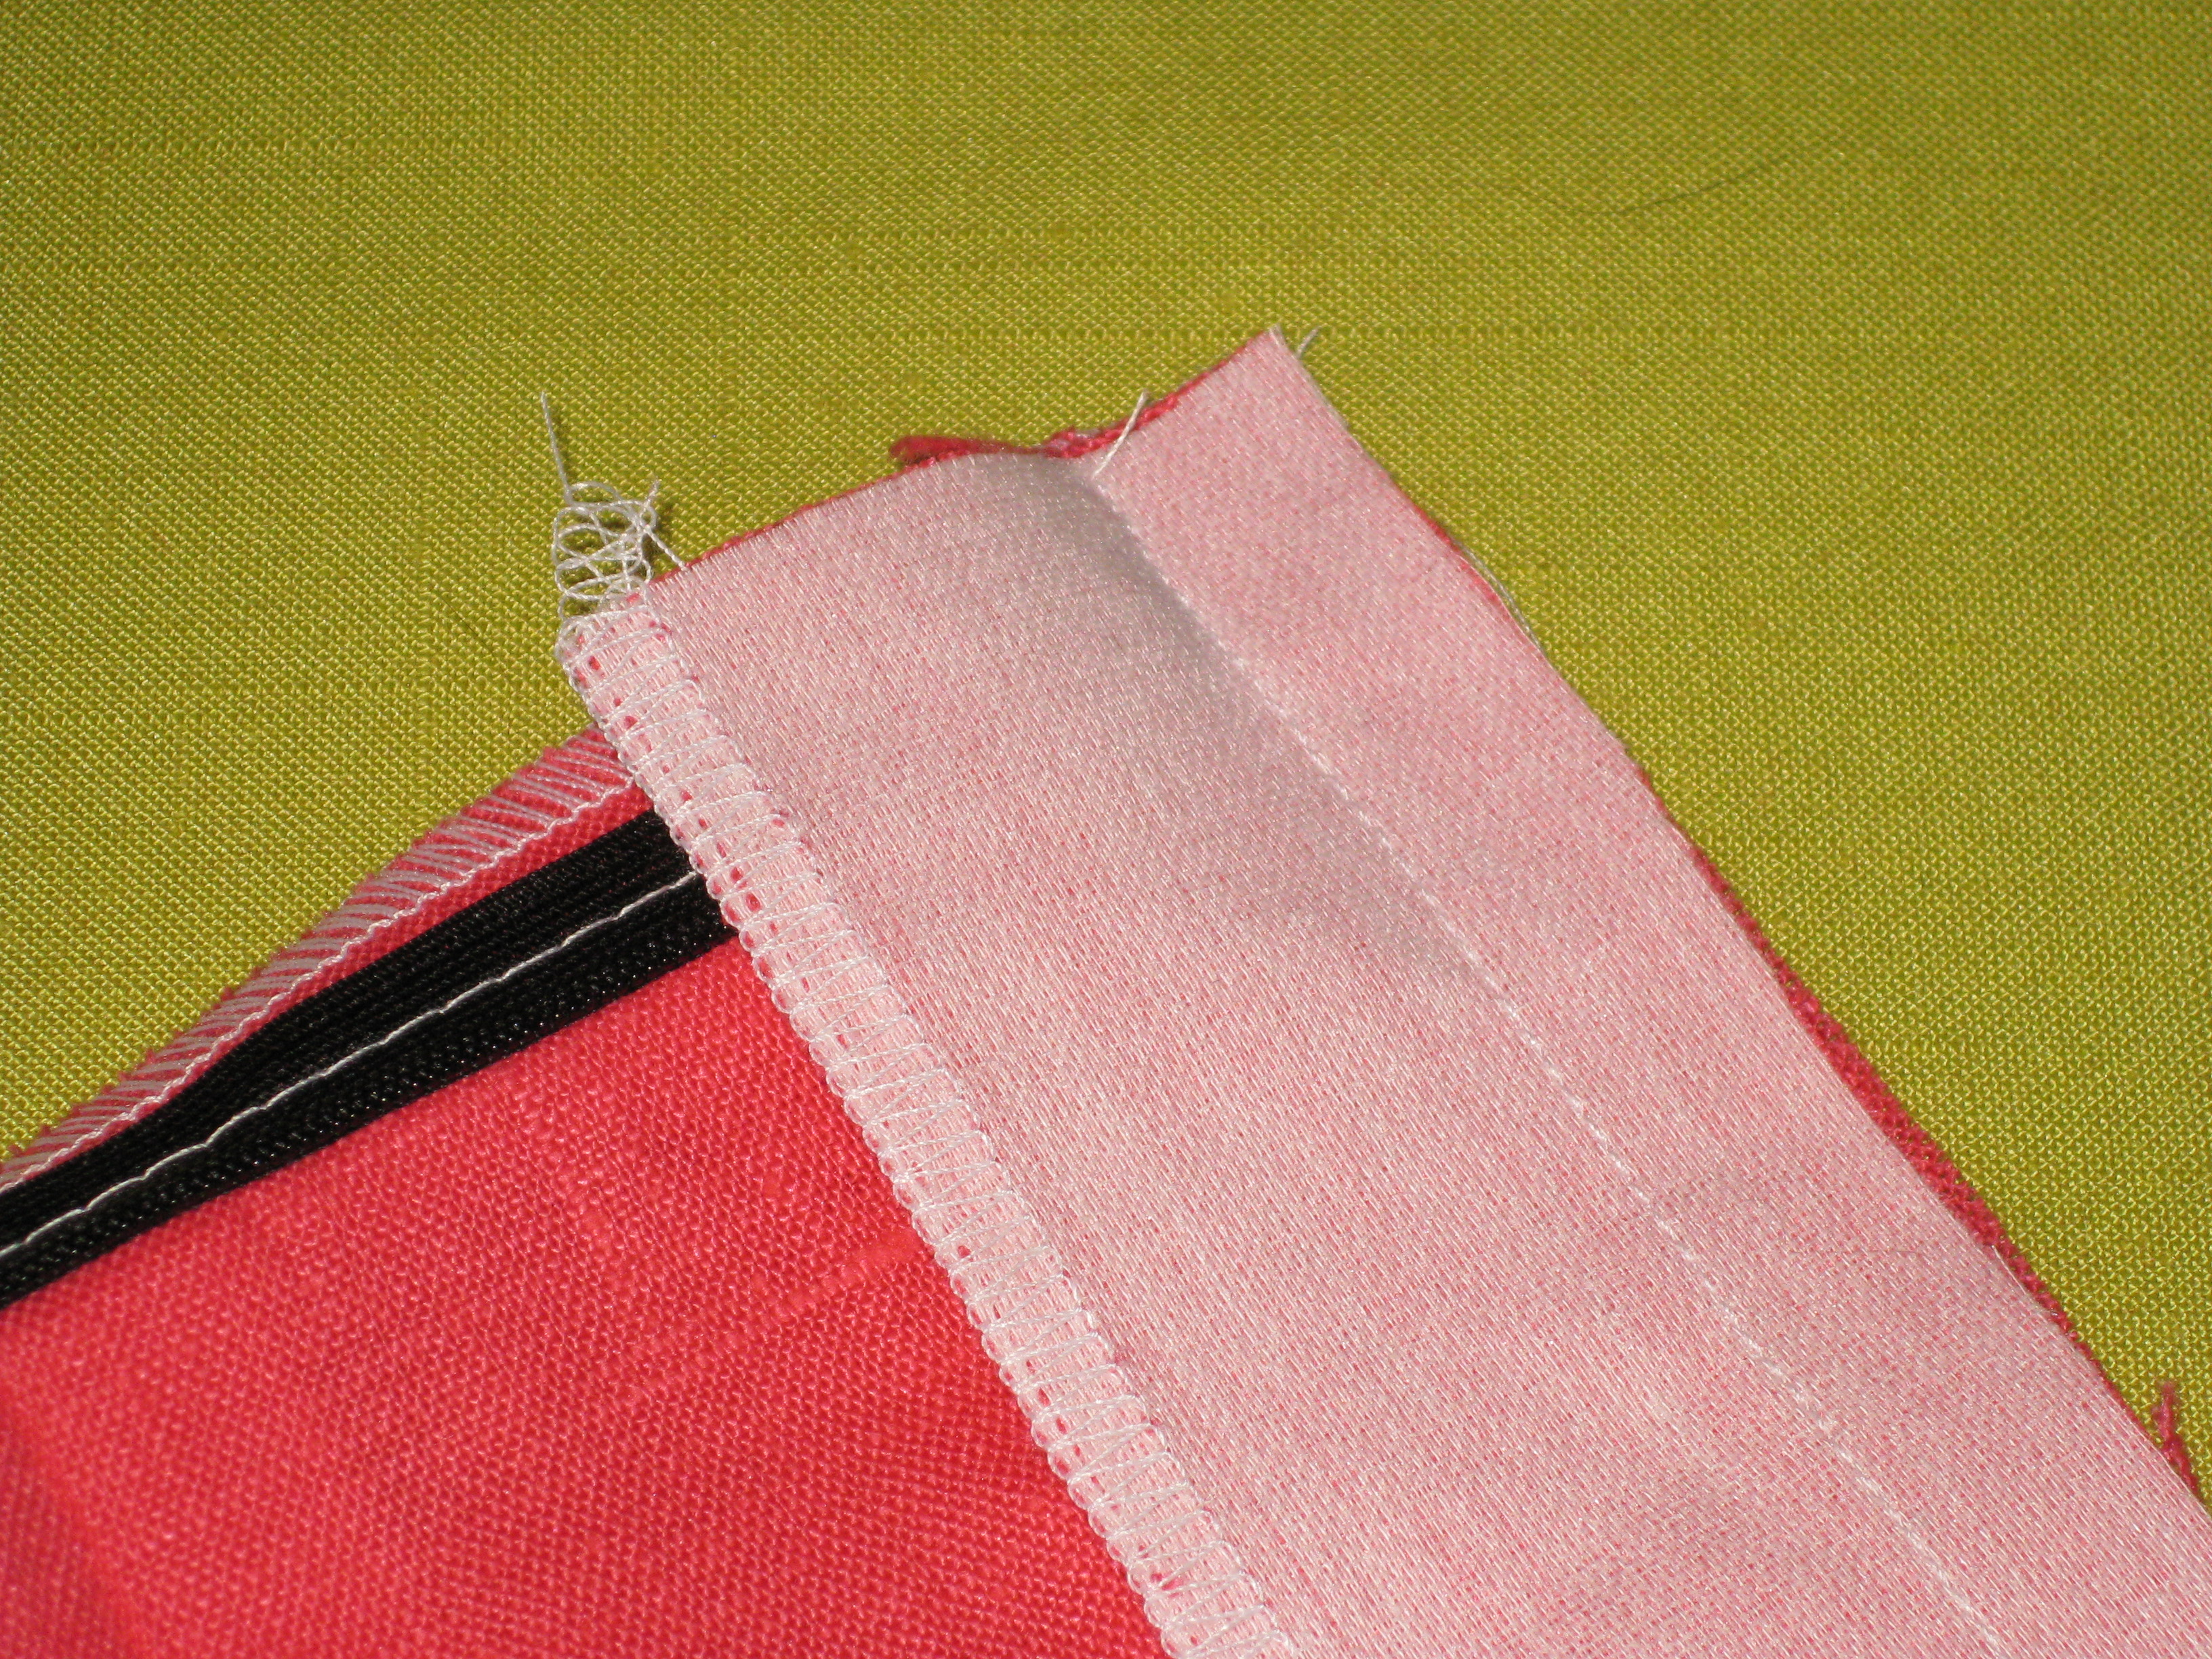
Position the regular machine foot at the top of the zipper and sew a basting line (stitch length 4.0) starting level with the top of the plastic stopper and finishing 2”/5cm from the bottom of the zipper to hold zipper in place.
Position sewing foot against the teeth and machine baste in place.
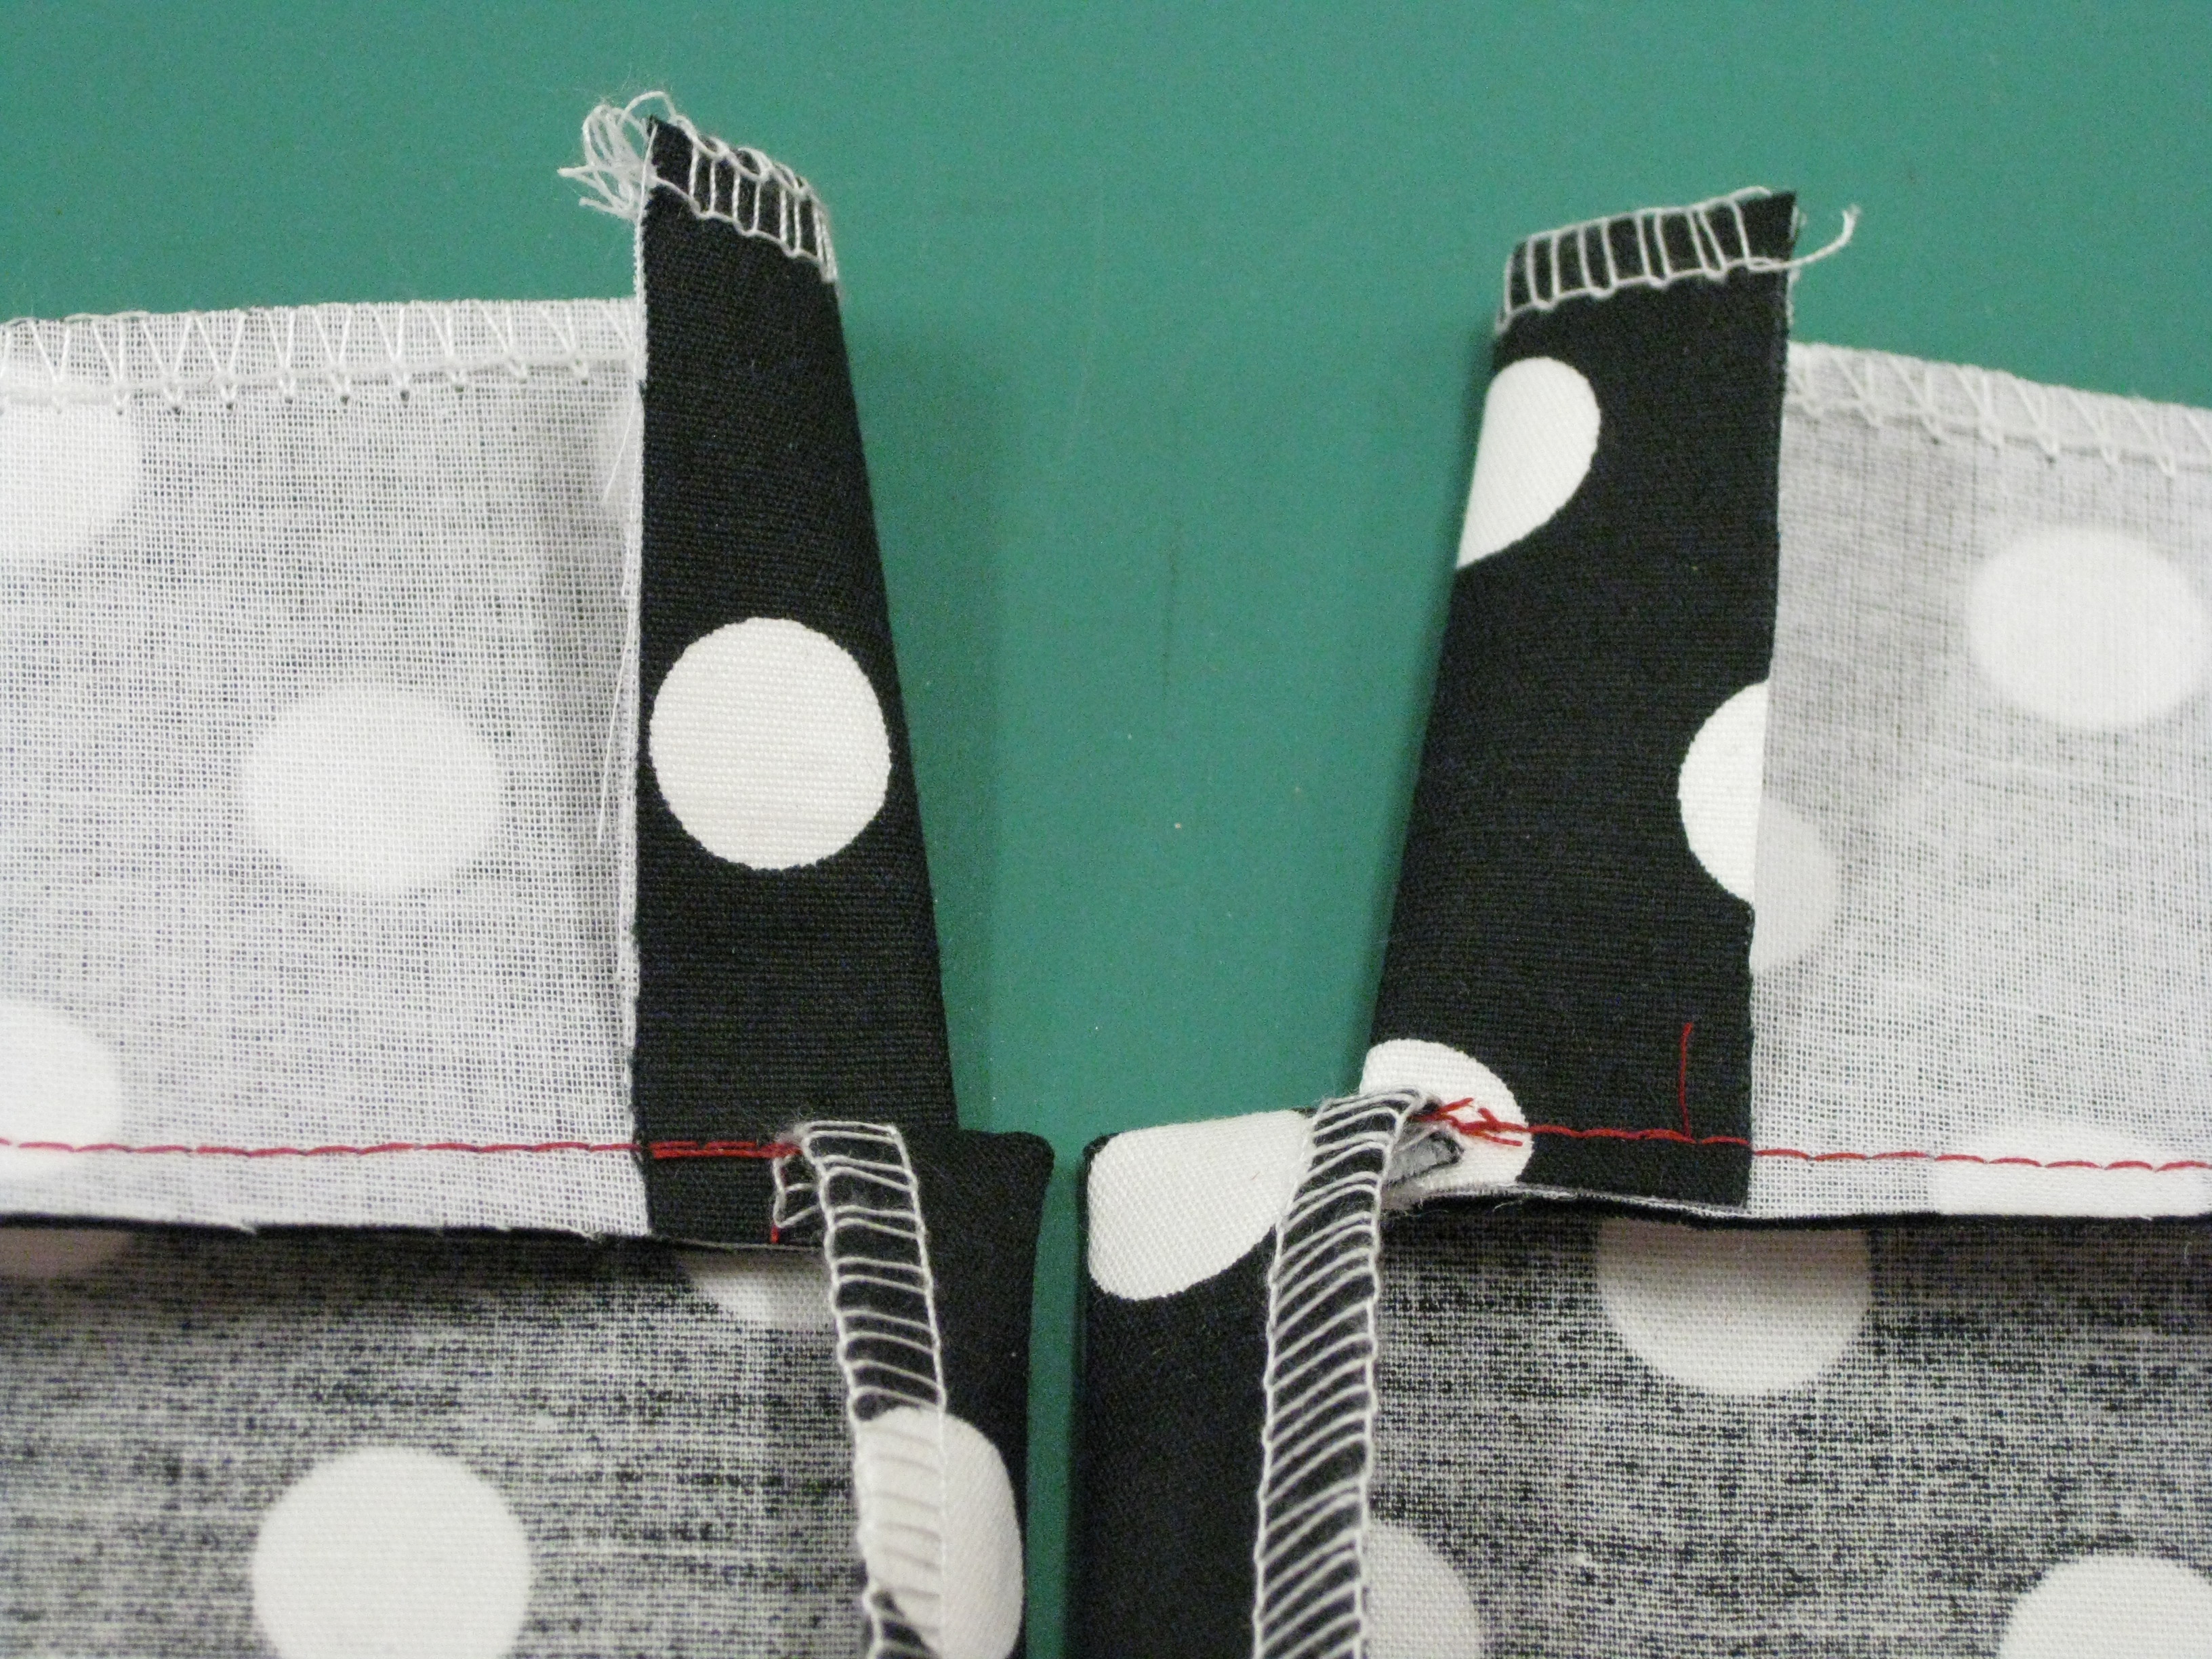
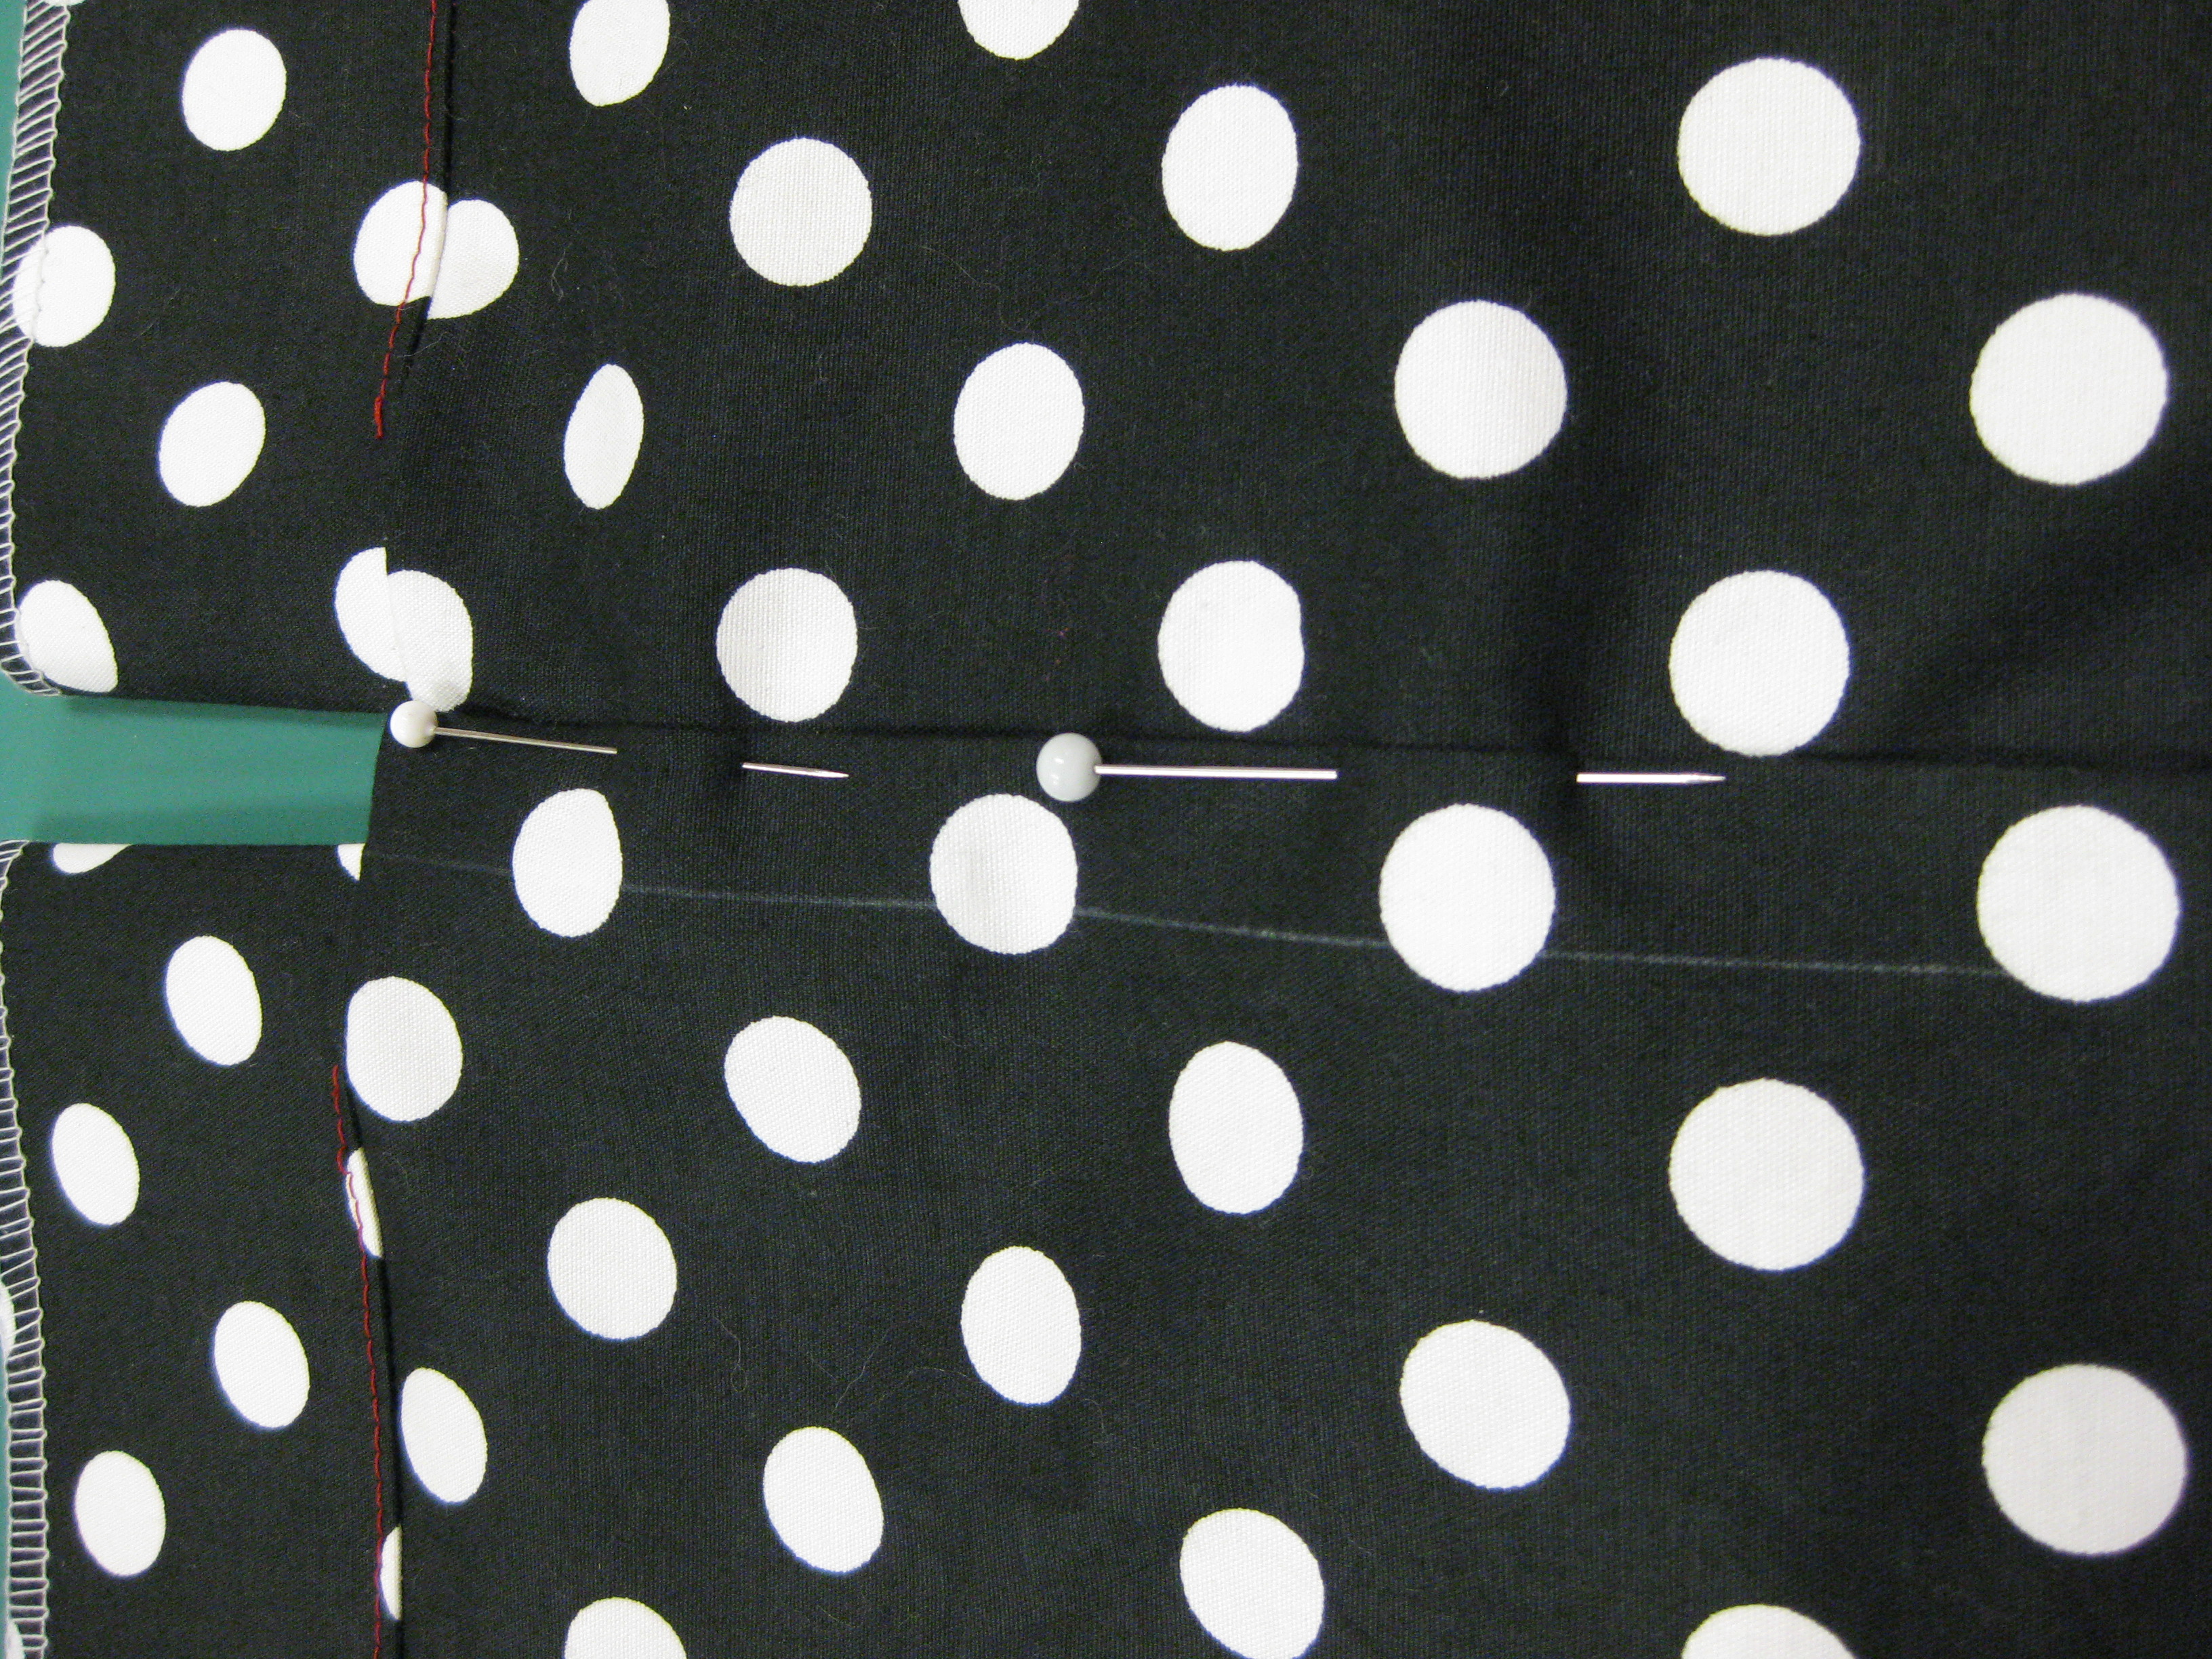
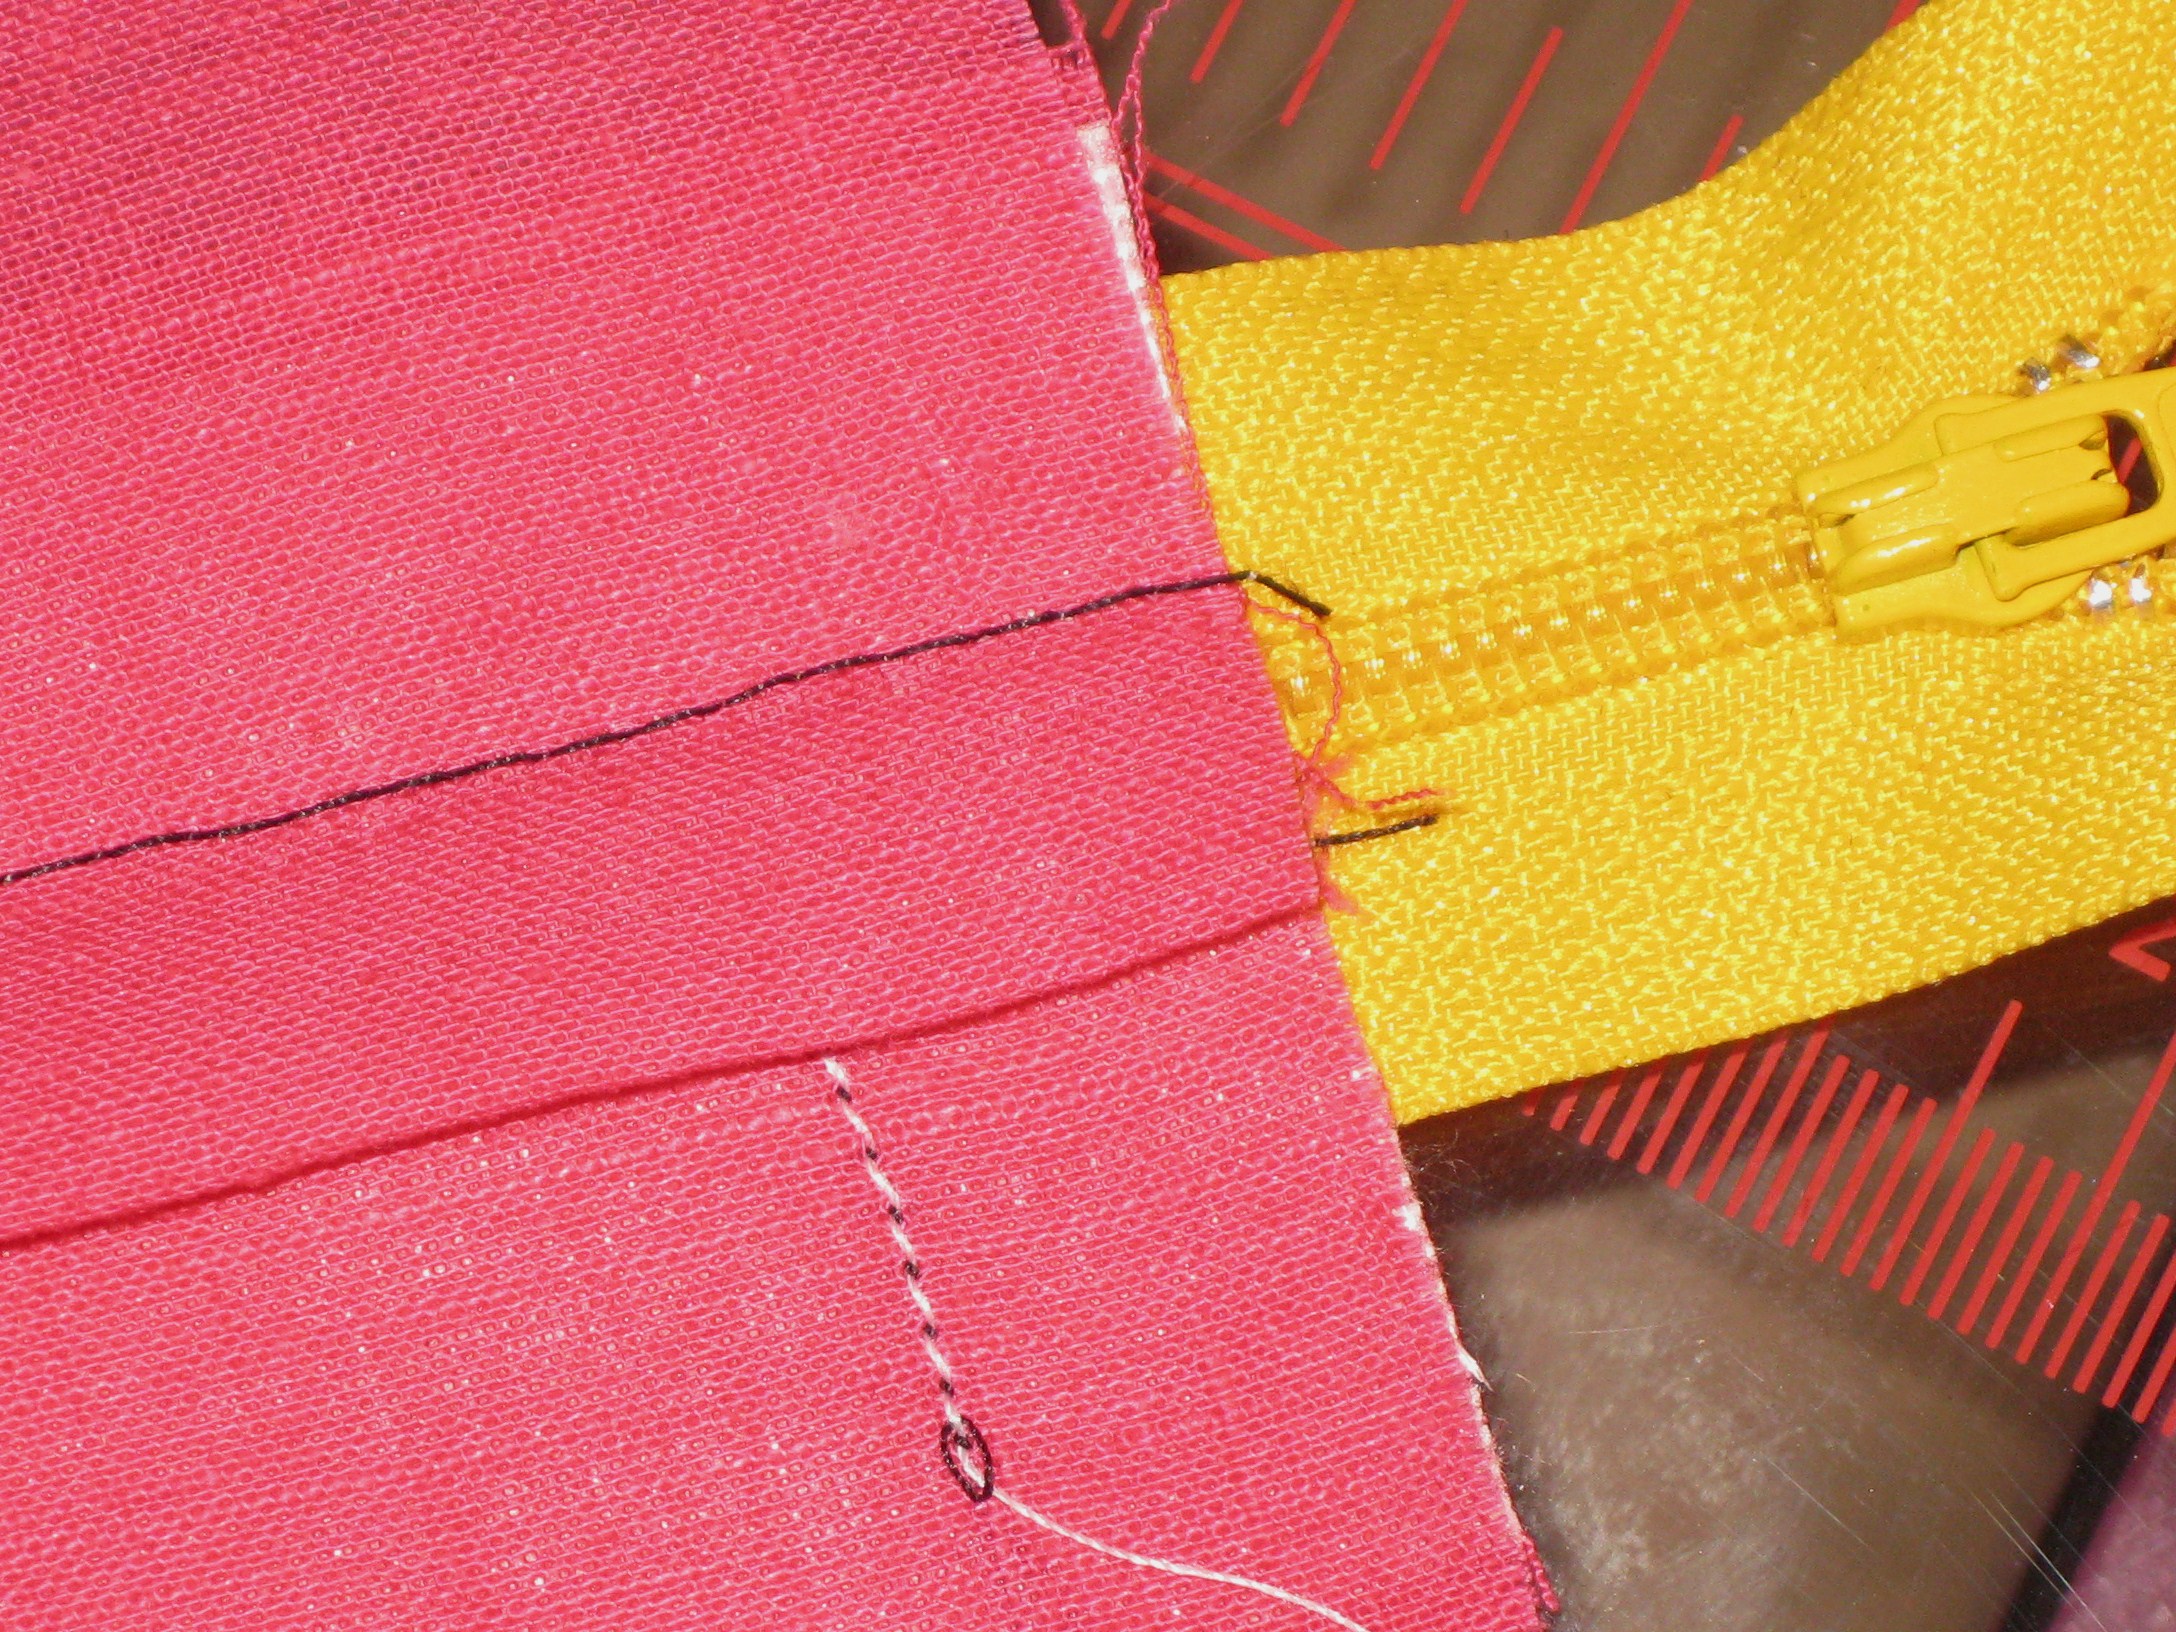
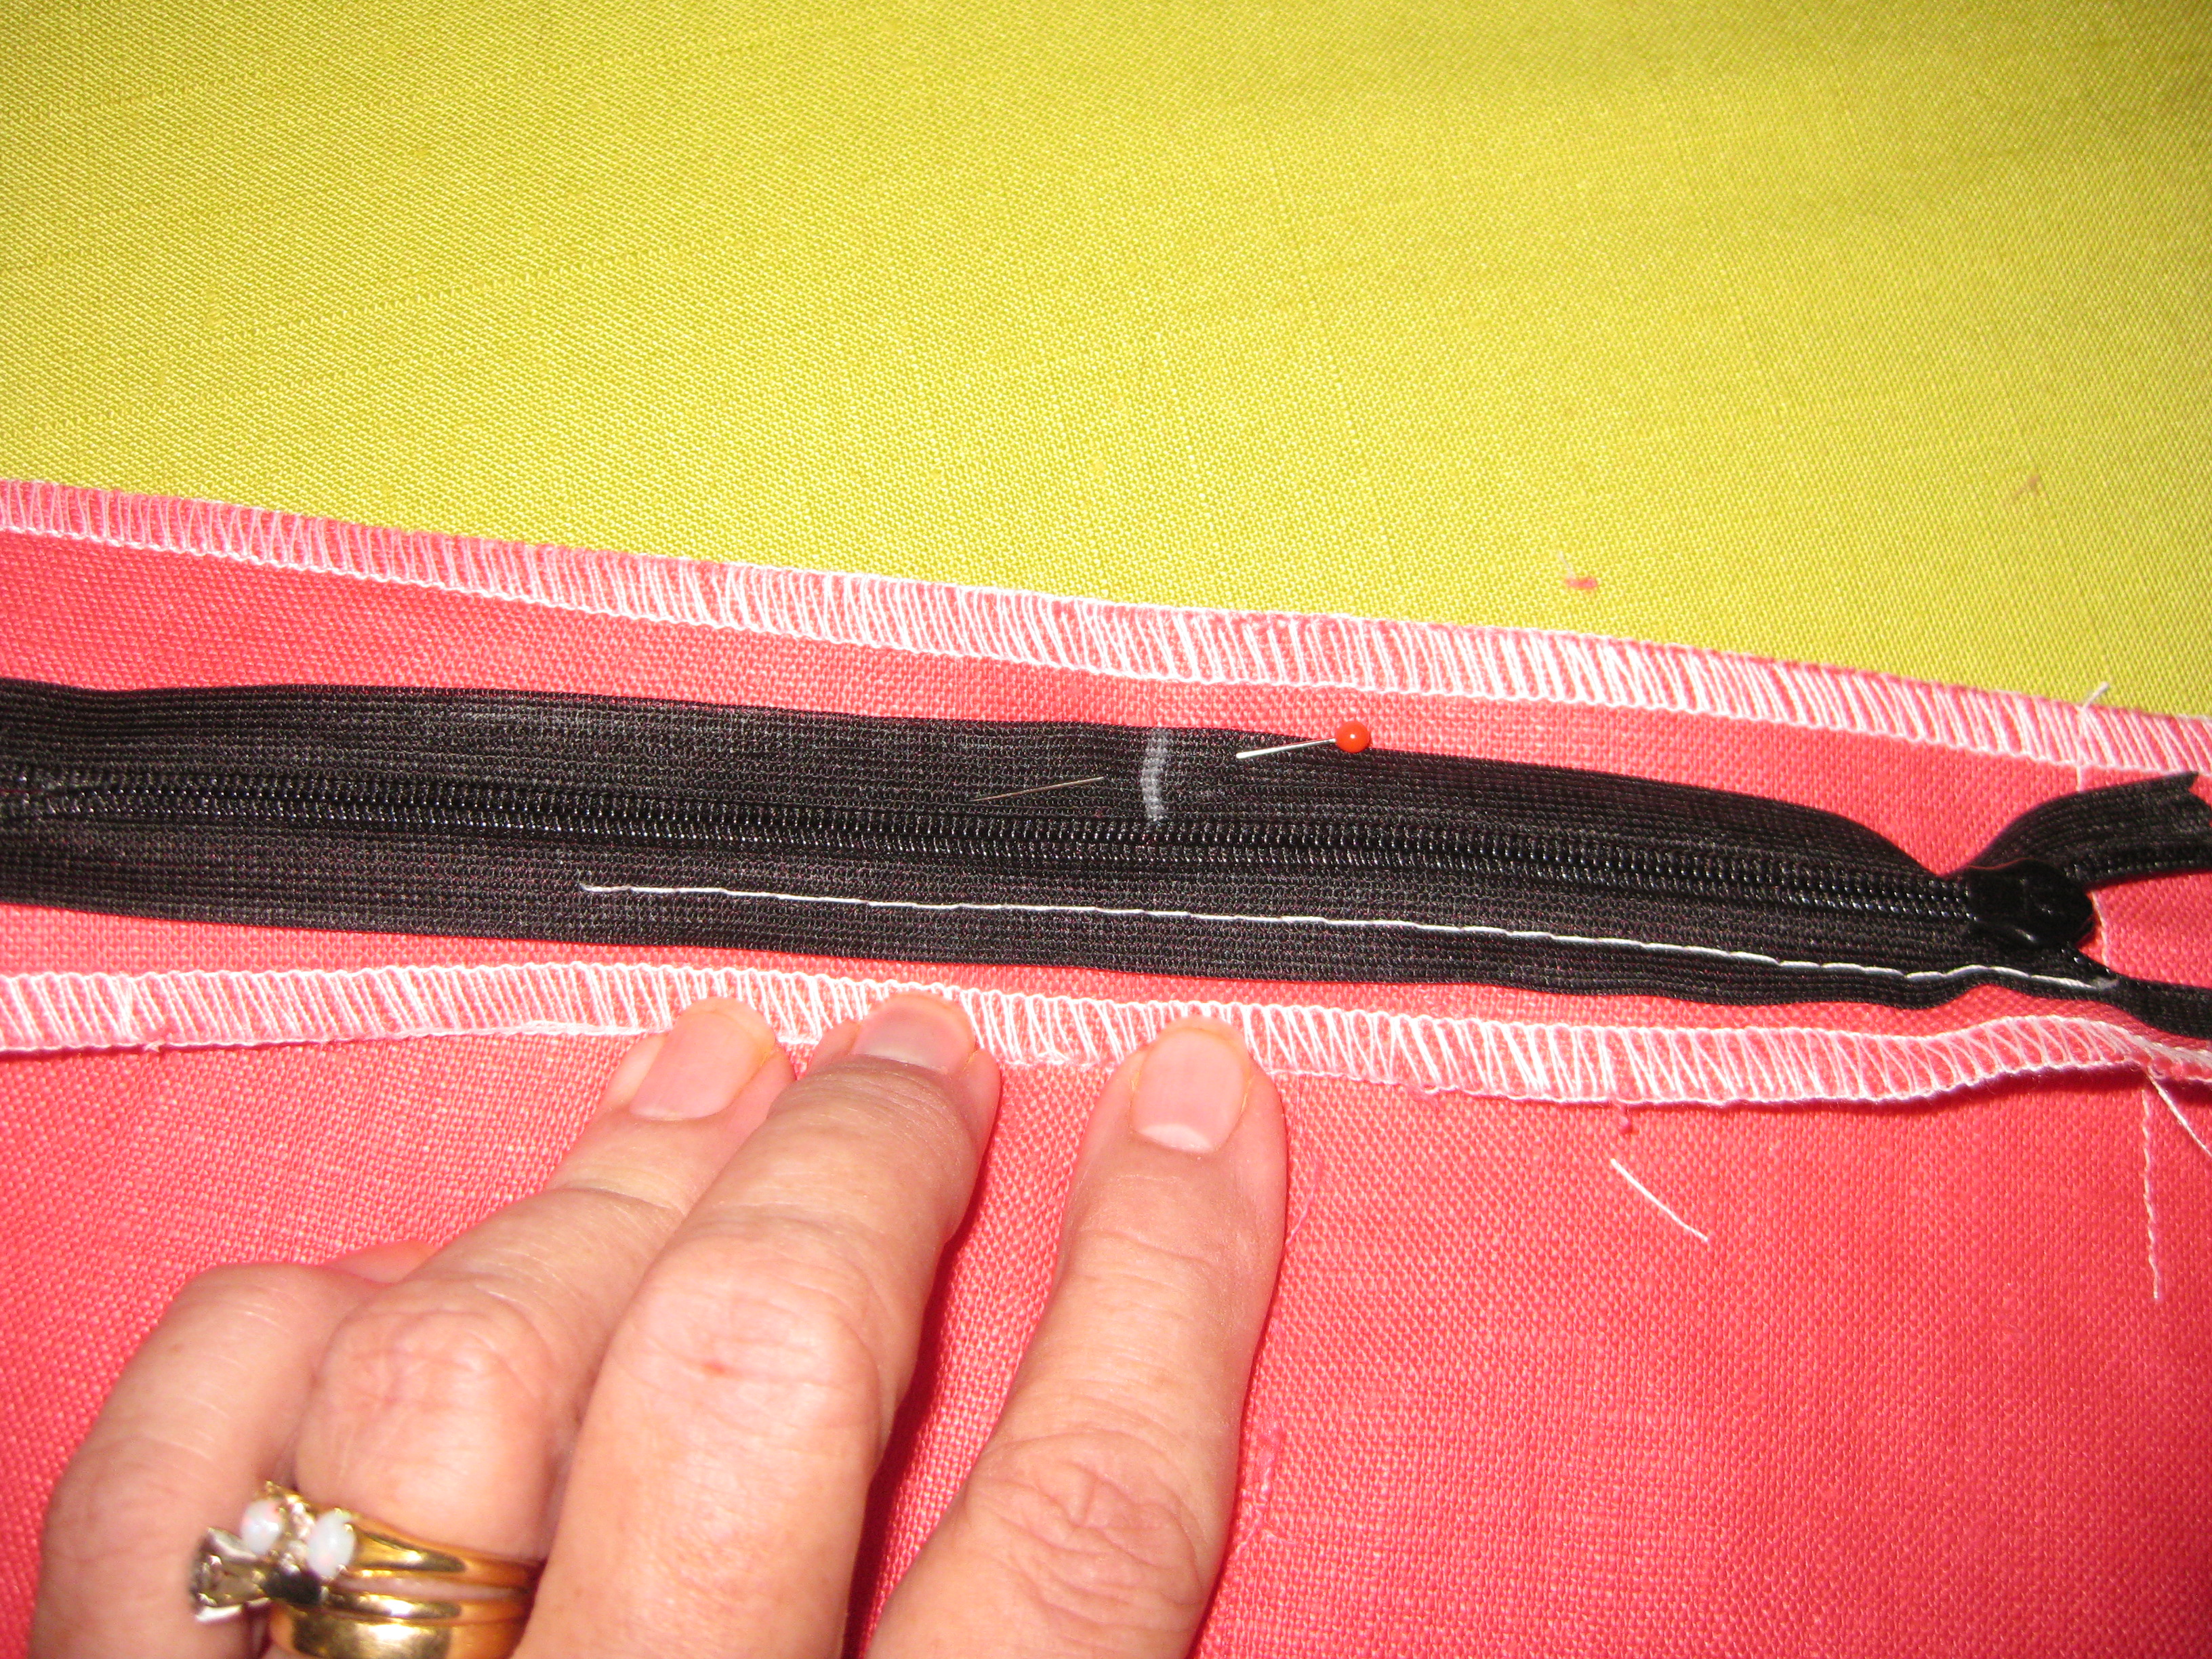
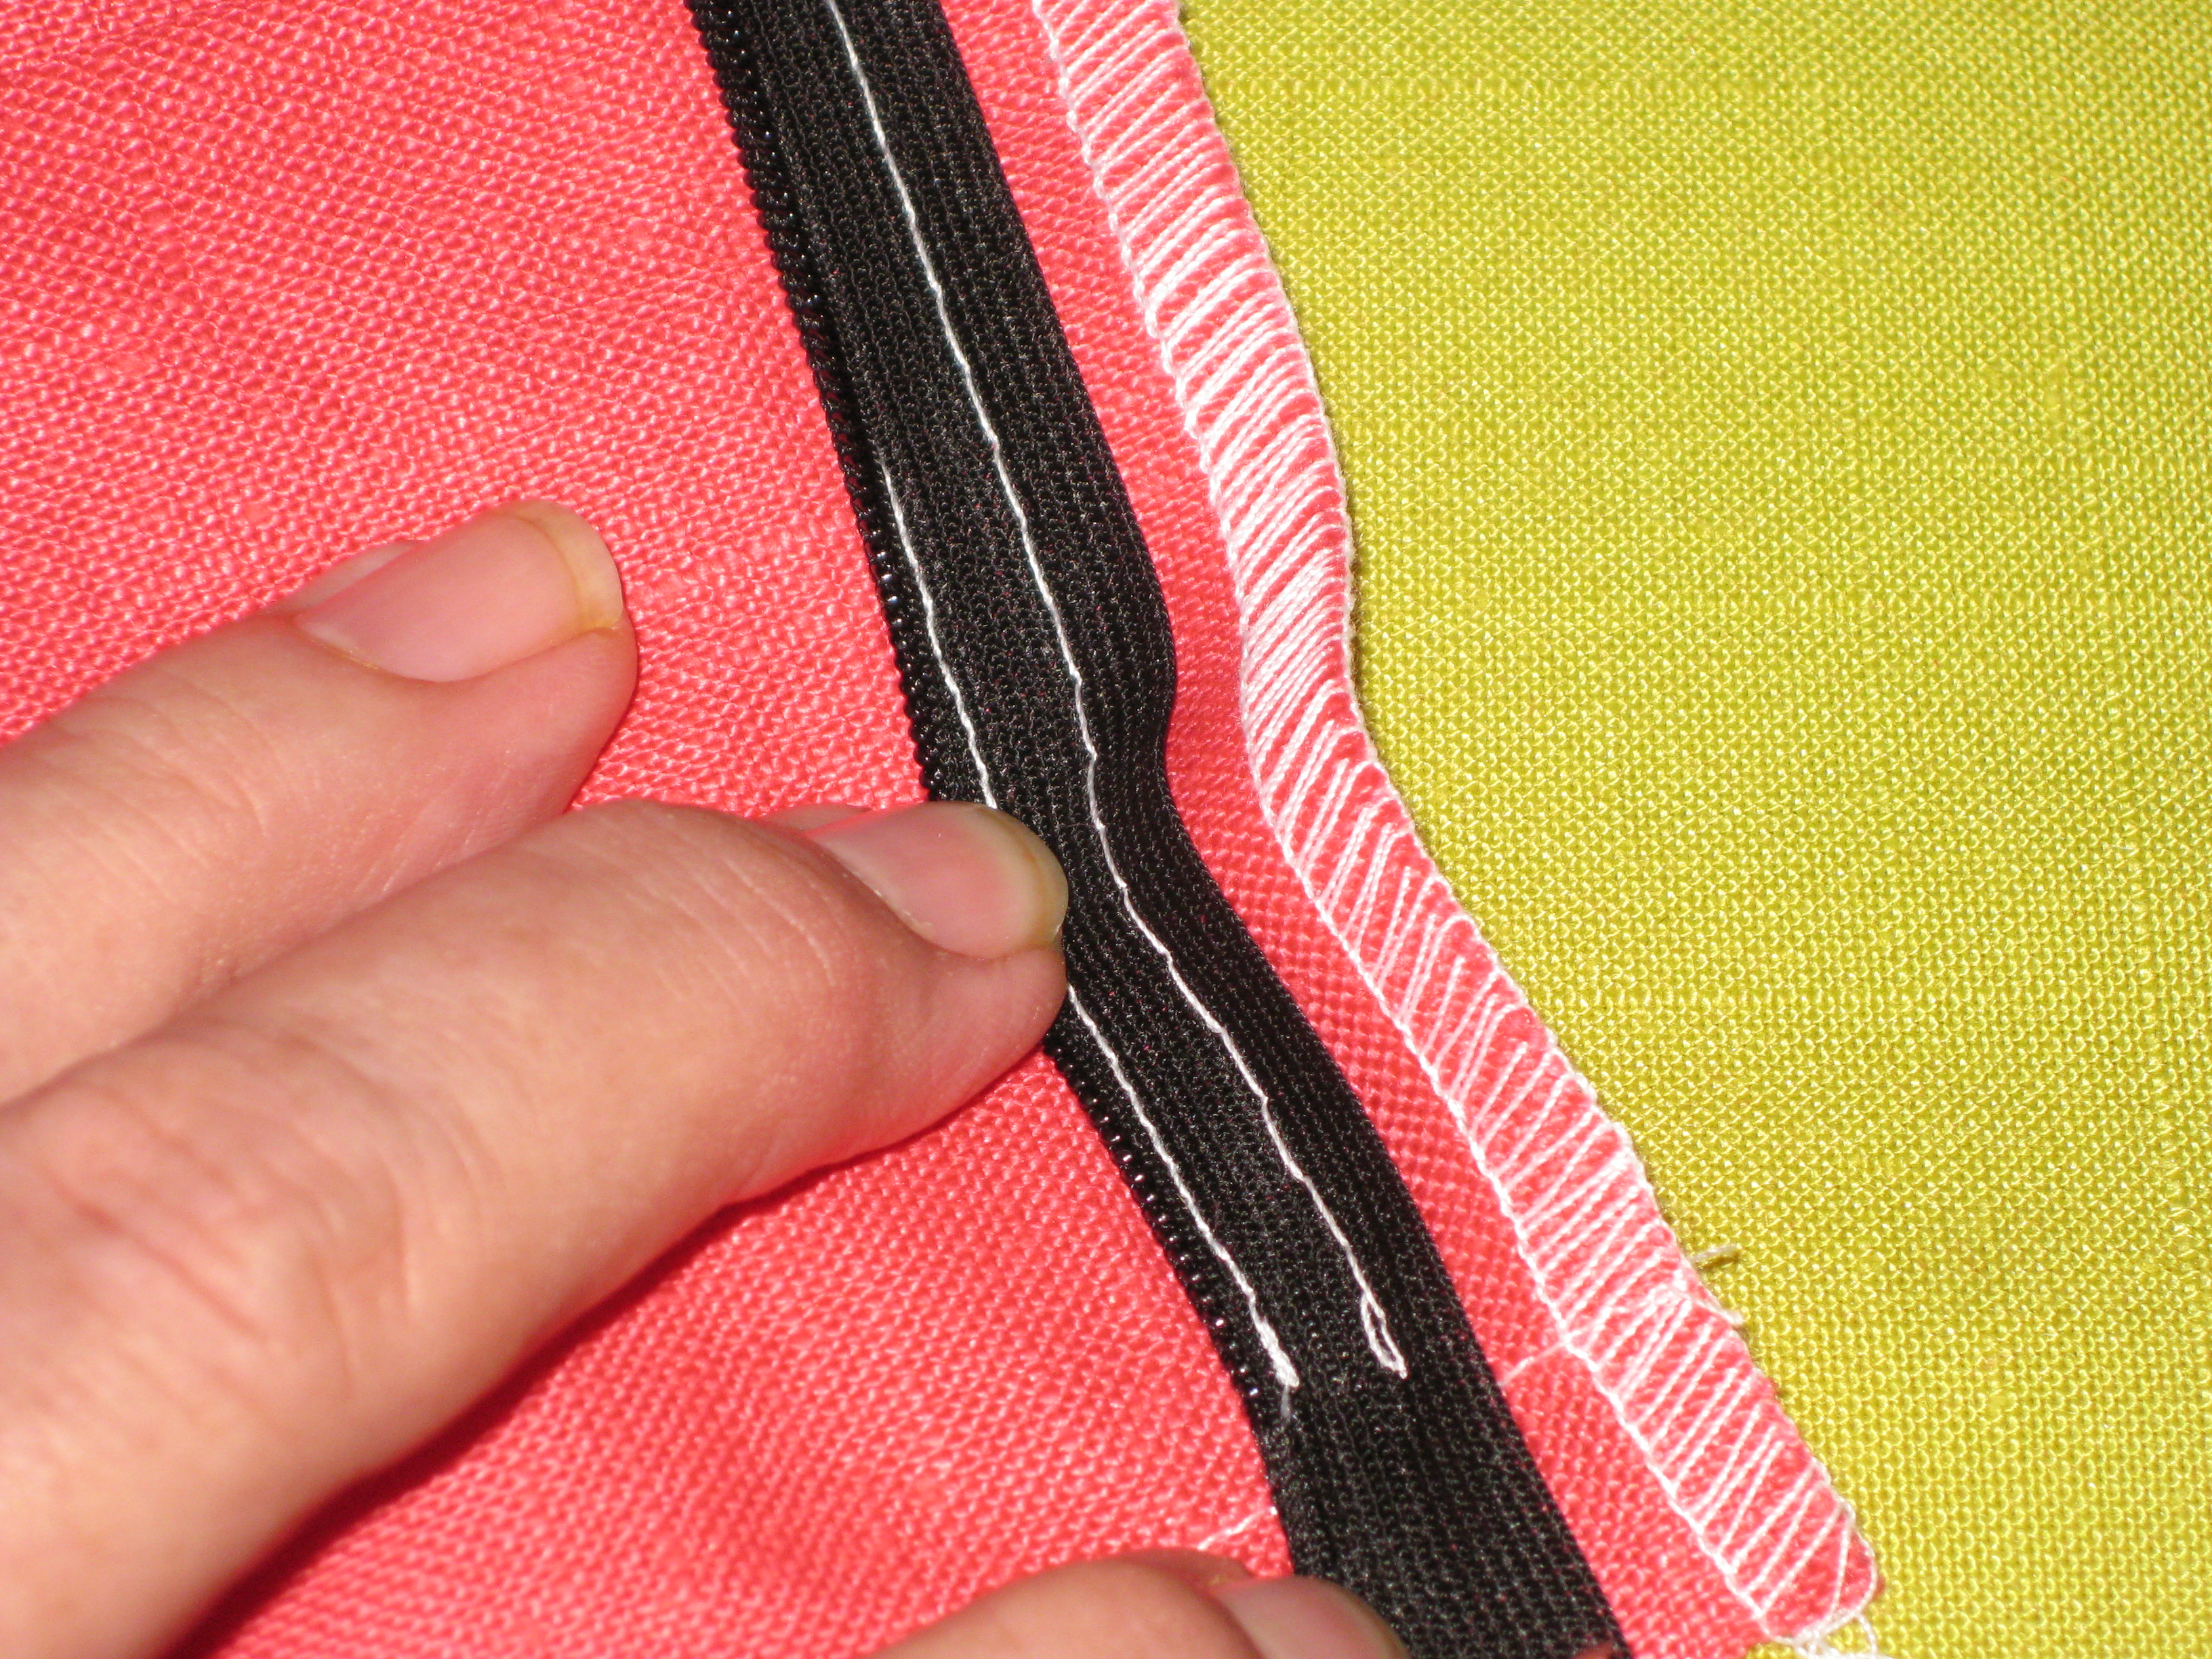
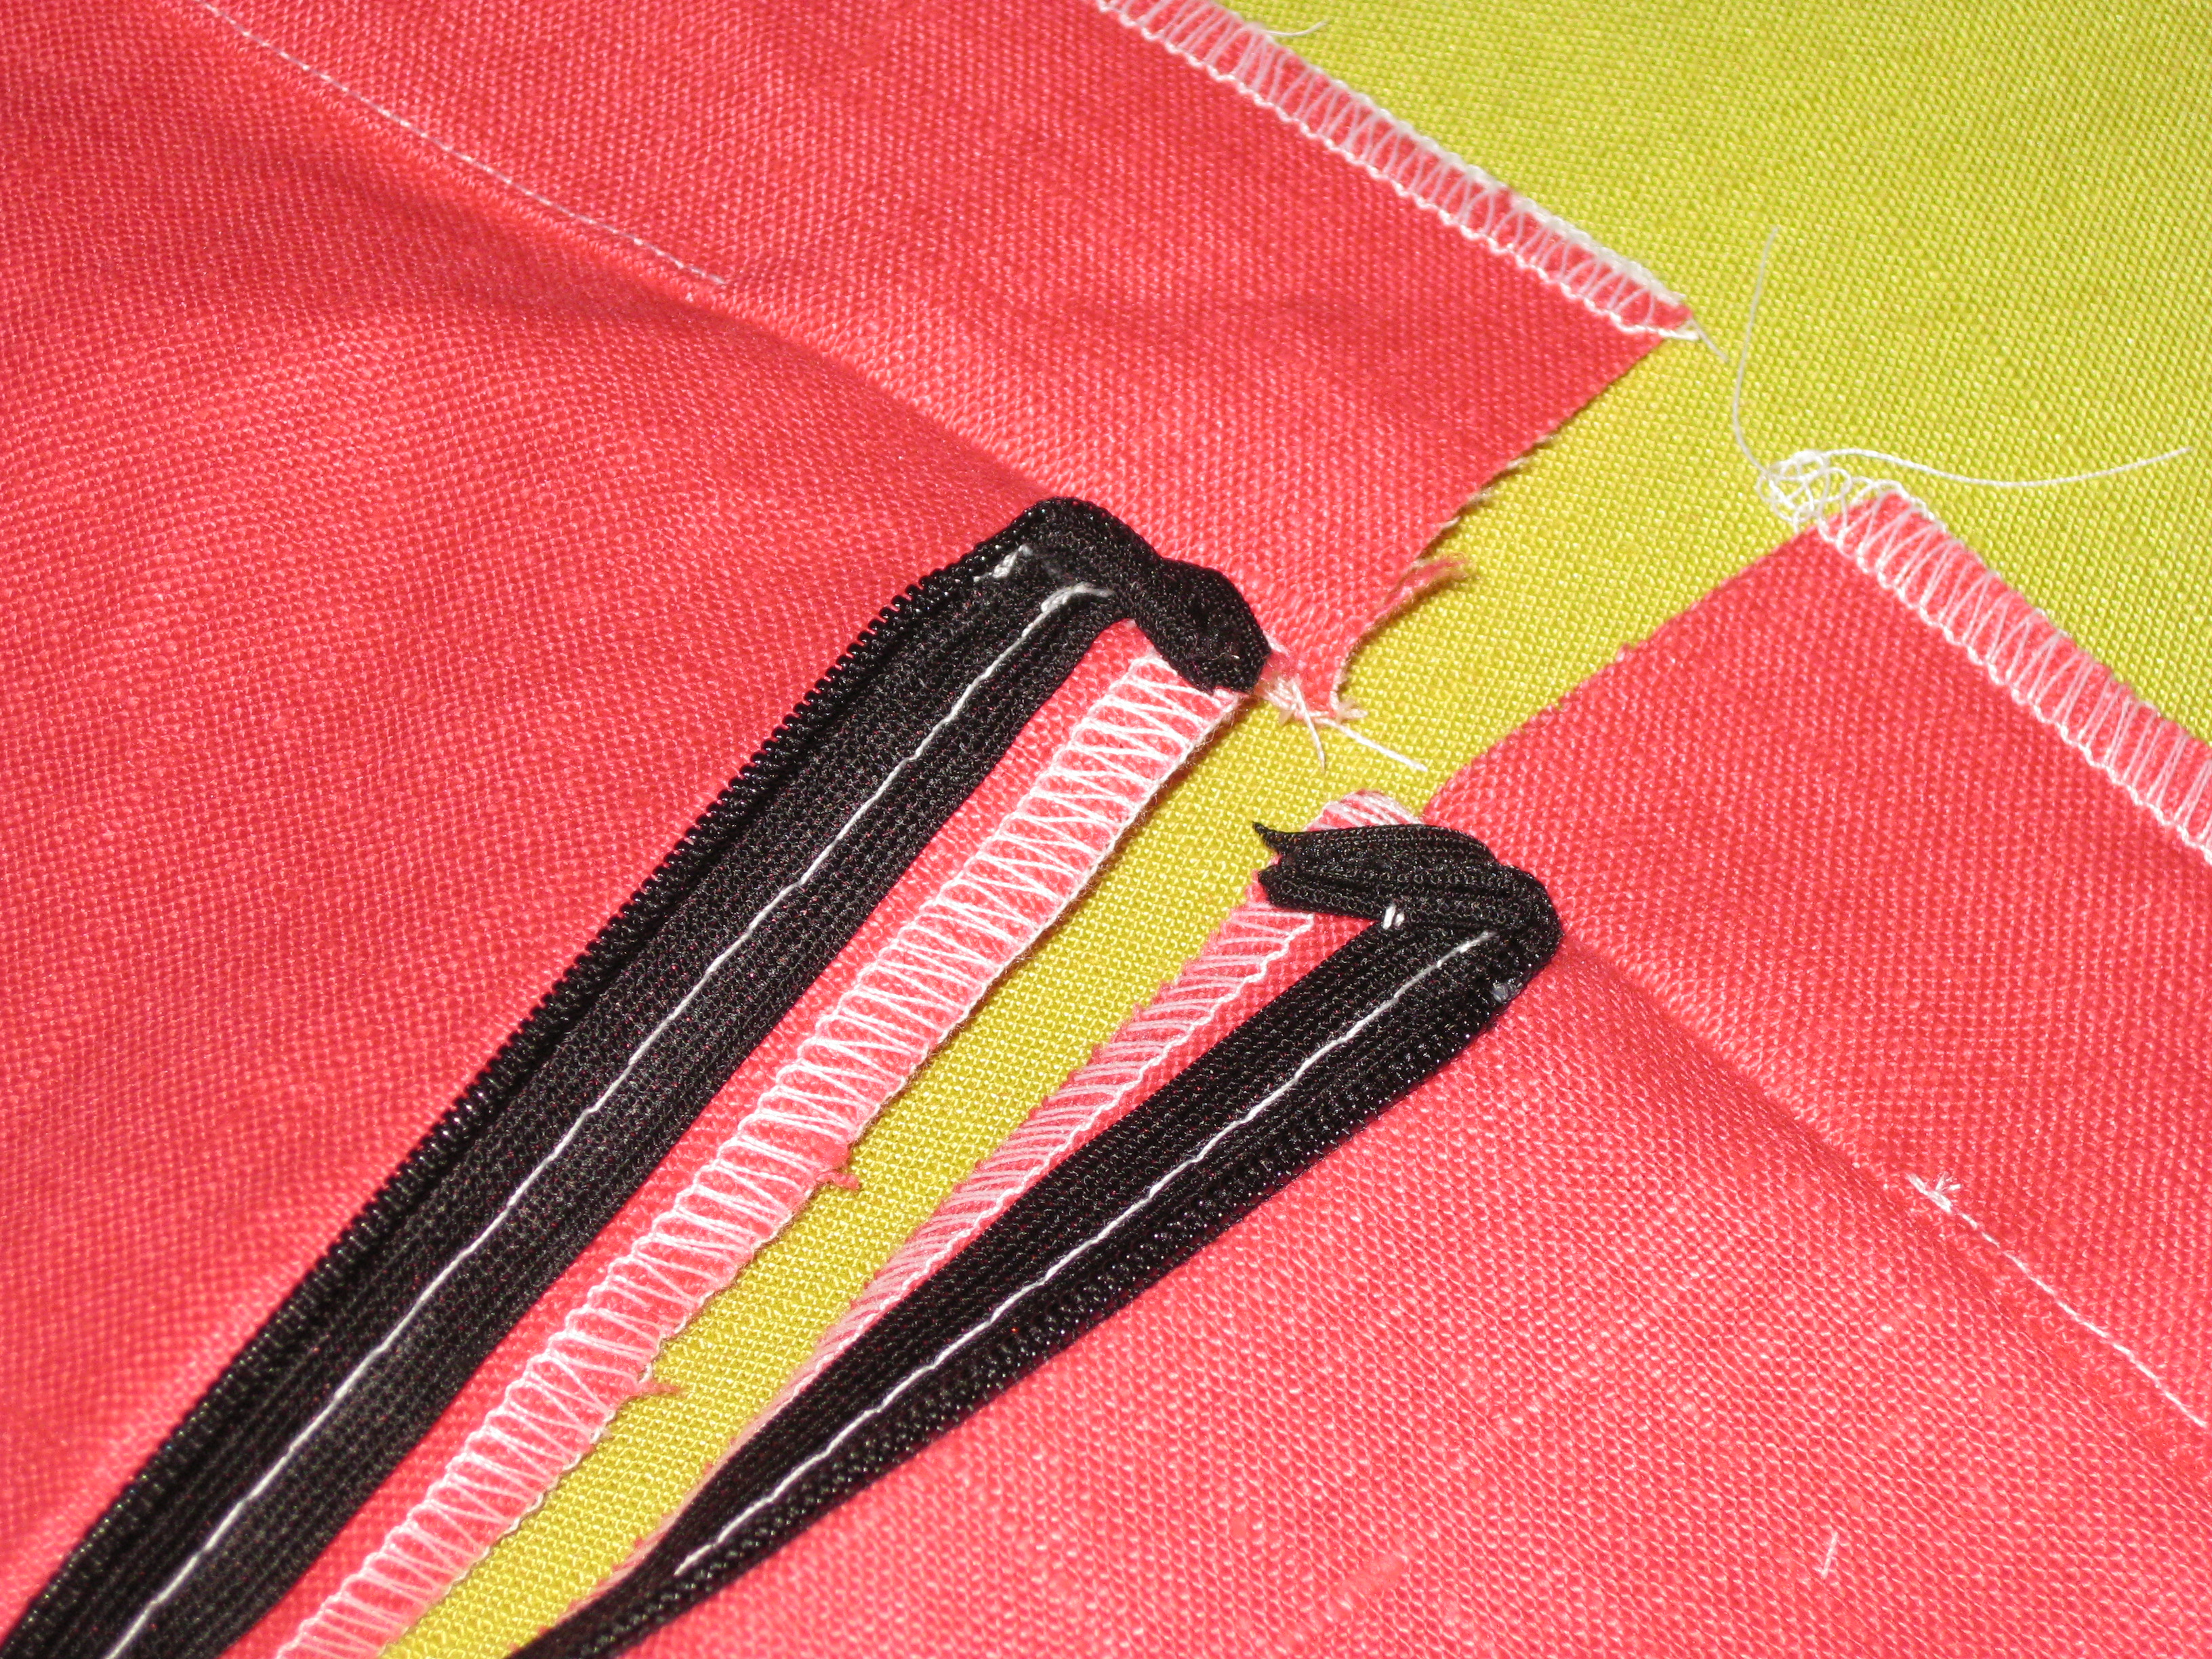
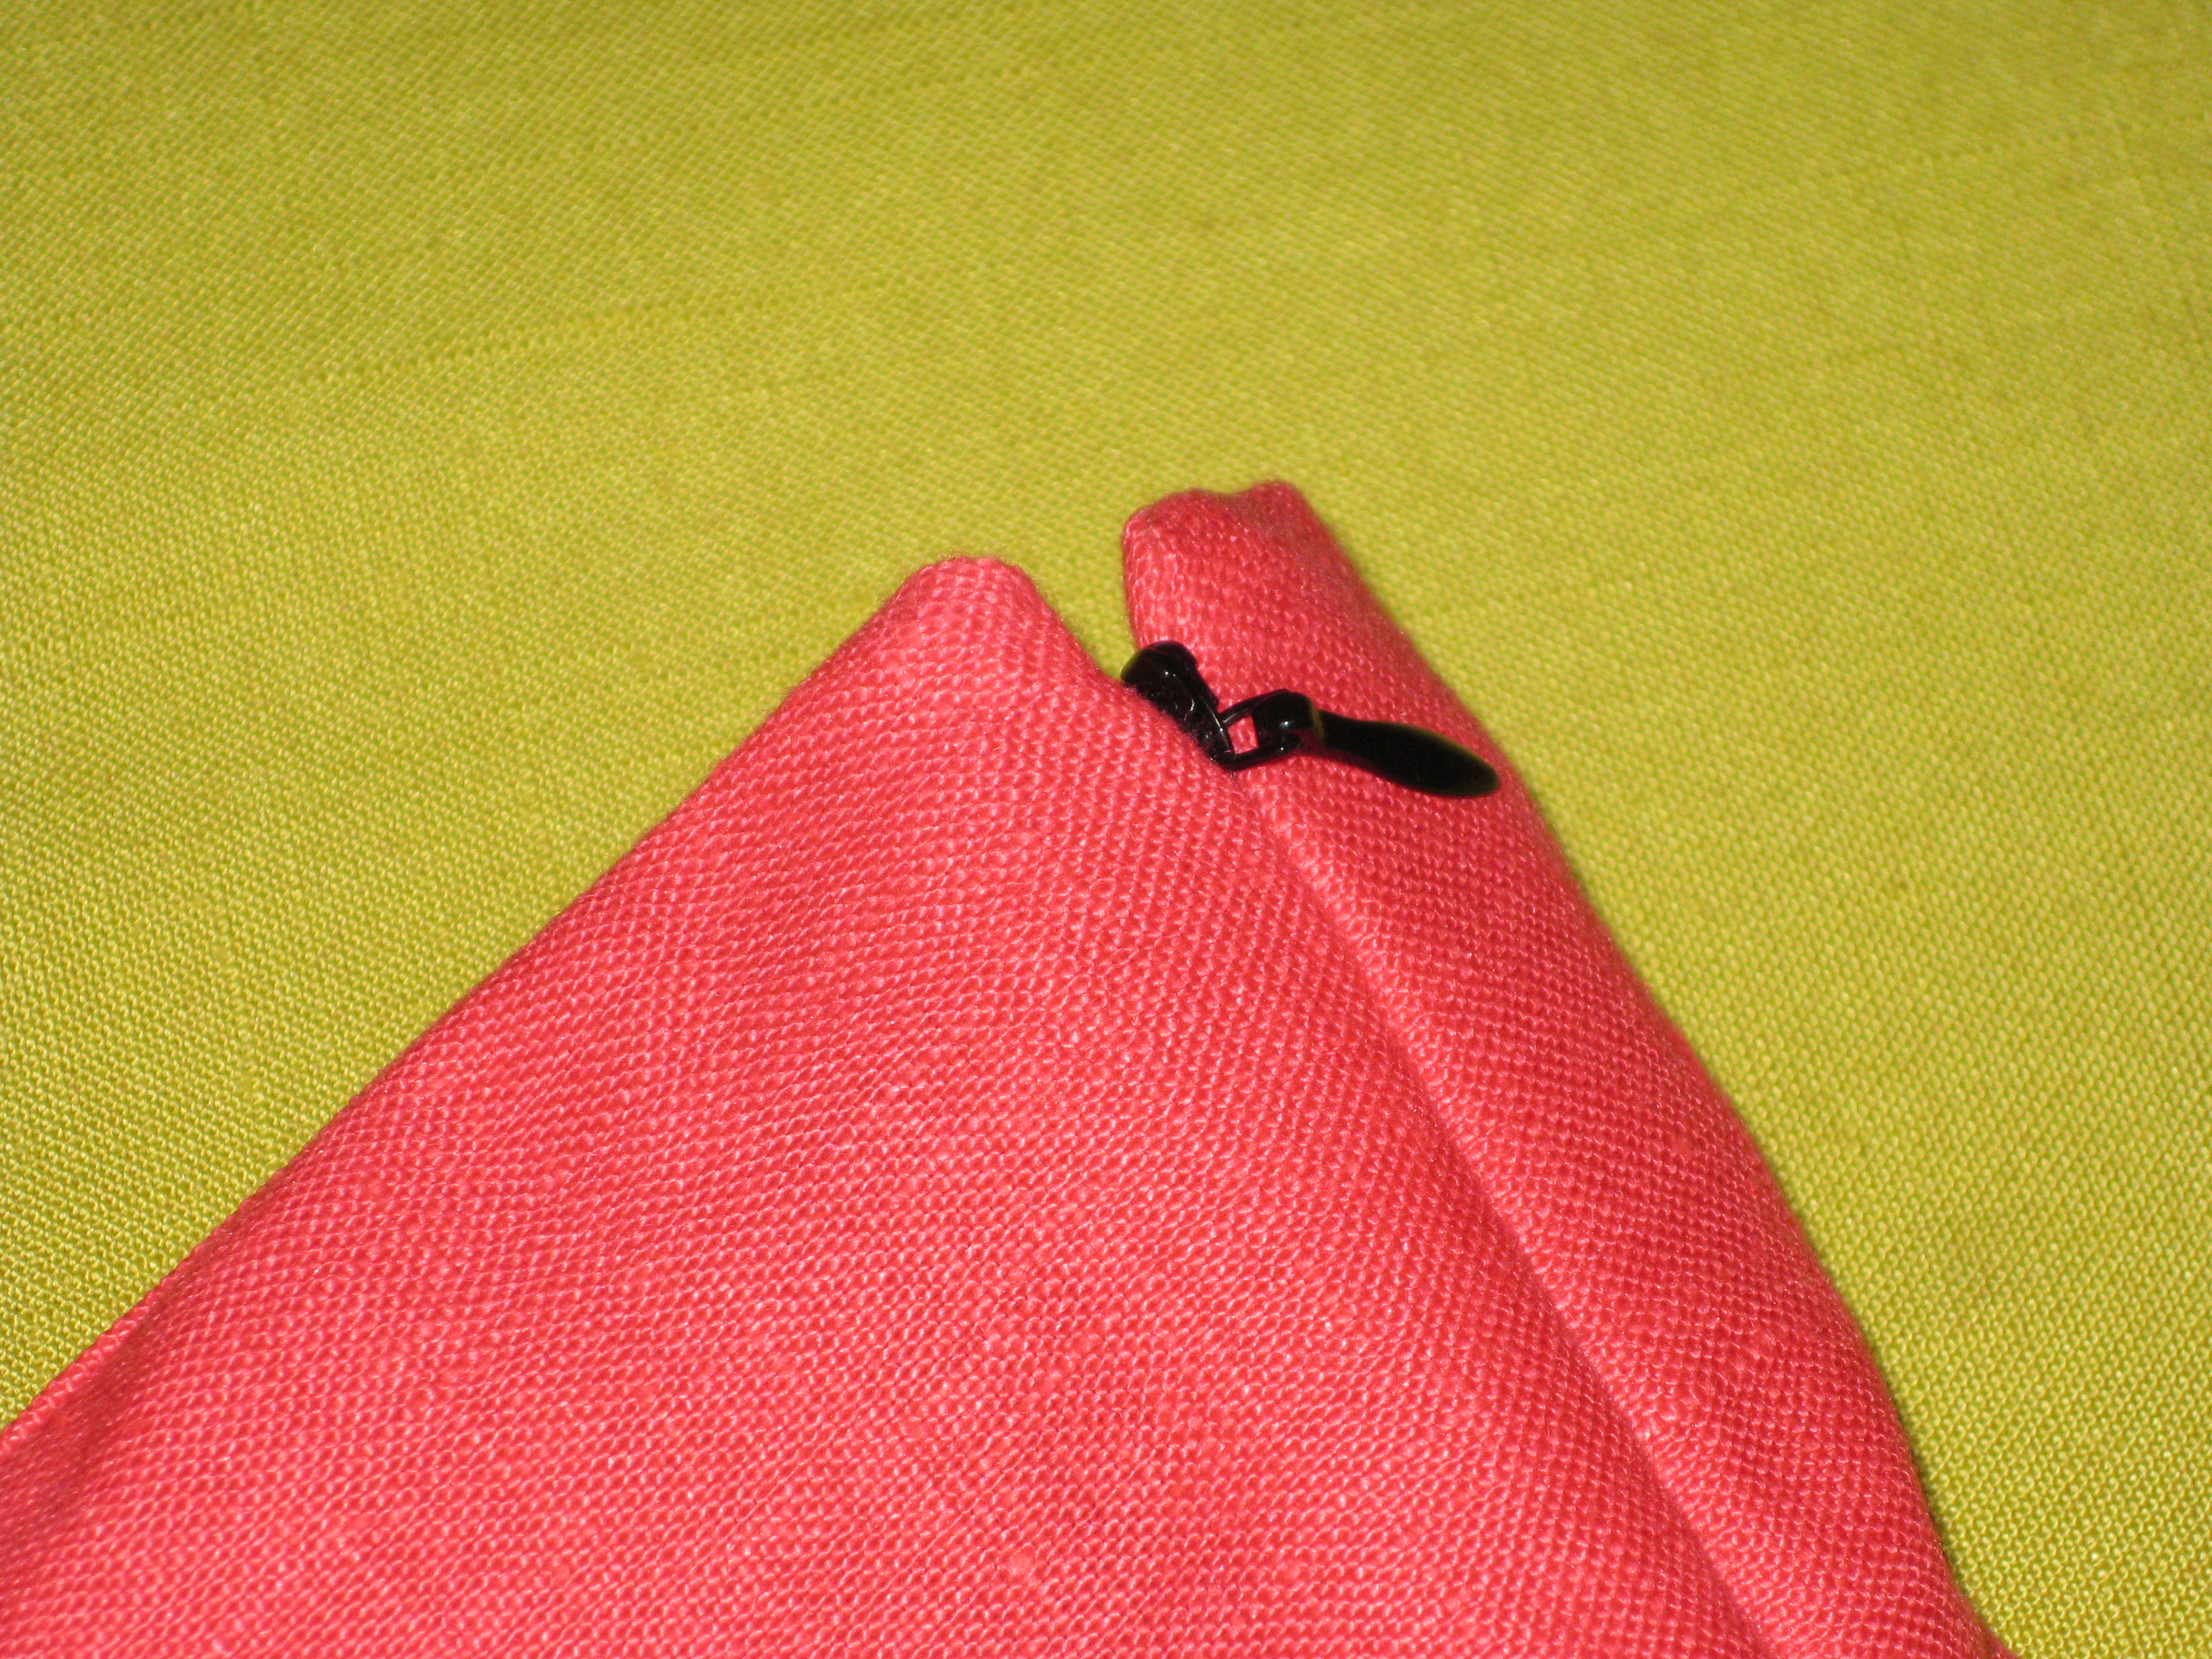
If there is a seam to be crossed by the zipper, close the zipper and allow it to sit flat against the right side of the garment. Mark the zipper tape on both sides to indicate the placement of the seam – this is also very useful when trying to match stripes, checks, etc.
Mark unsewn zipper tape where the seam line sits.
Reposition garment pieces right side up on a flat surface and position the remaining zipper tape with the edge of the zipper teeth level with the seam line (matching the first side).
Line up the mark on the tape with the seam line and pin in place.
Take care to check and make sure zipper tape has not twisted and pin the bottom of the zipper in place – and sew a basting line to hold zipper tape in place as previously done on the other side.
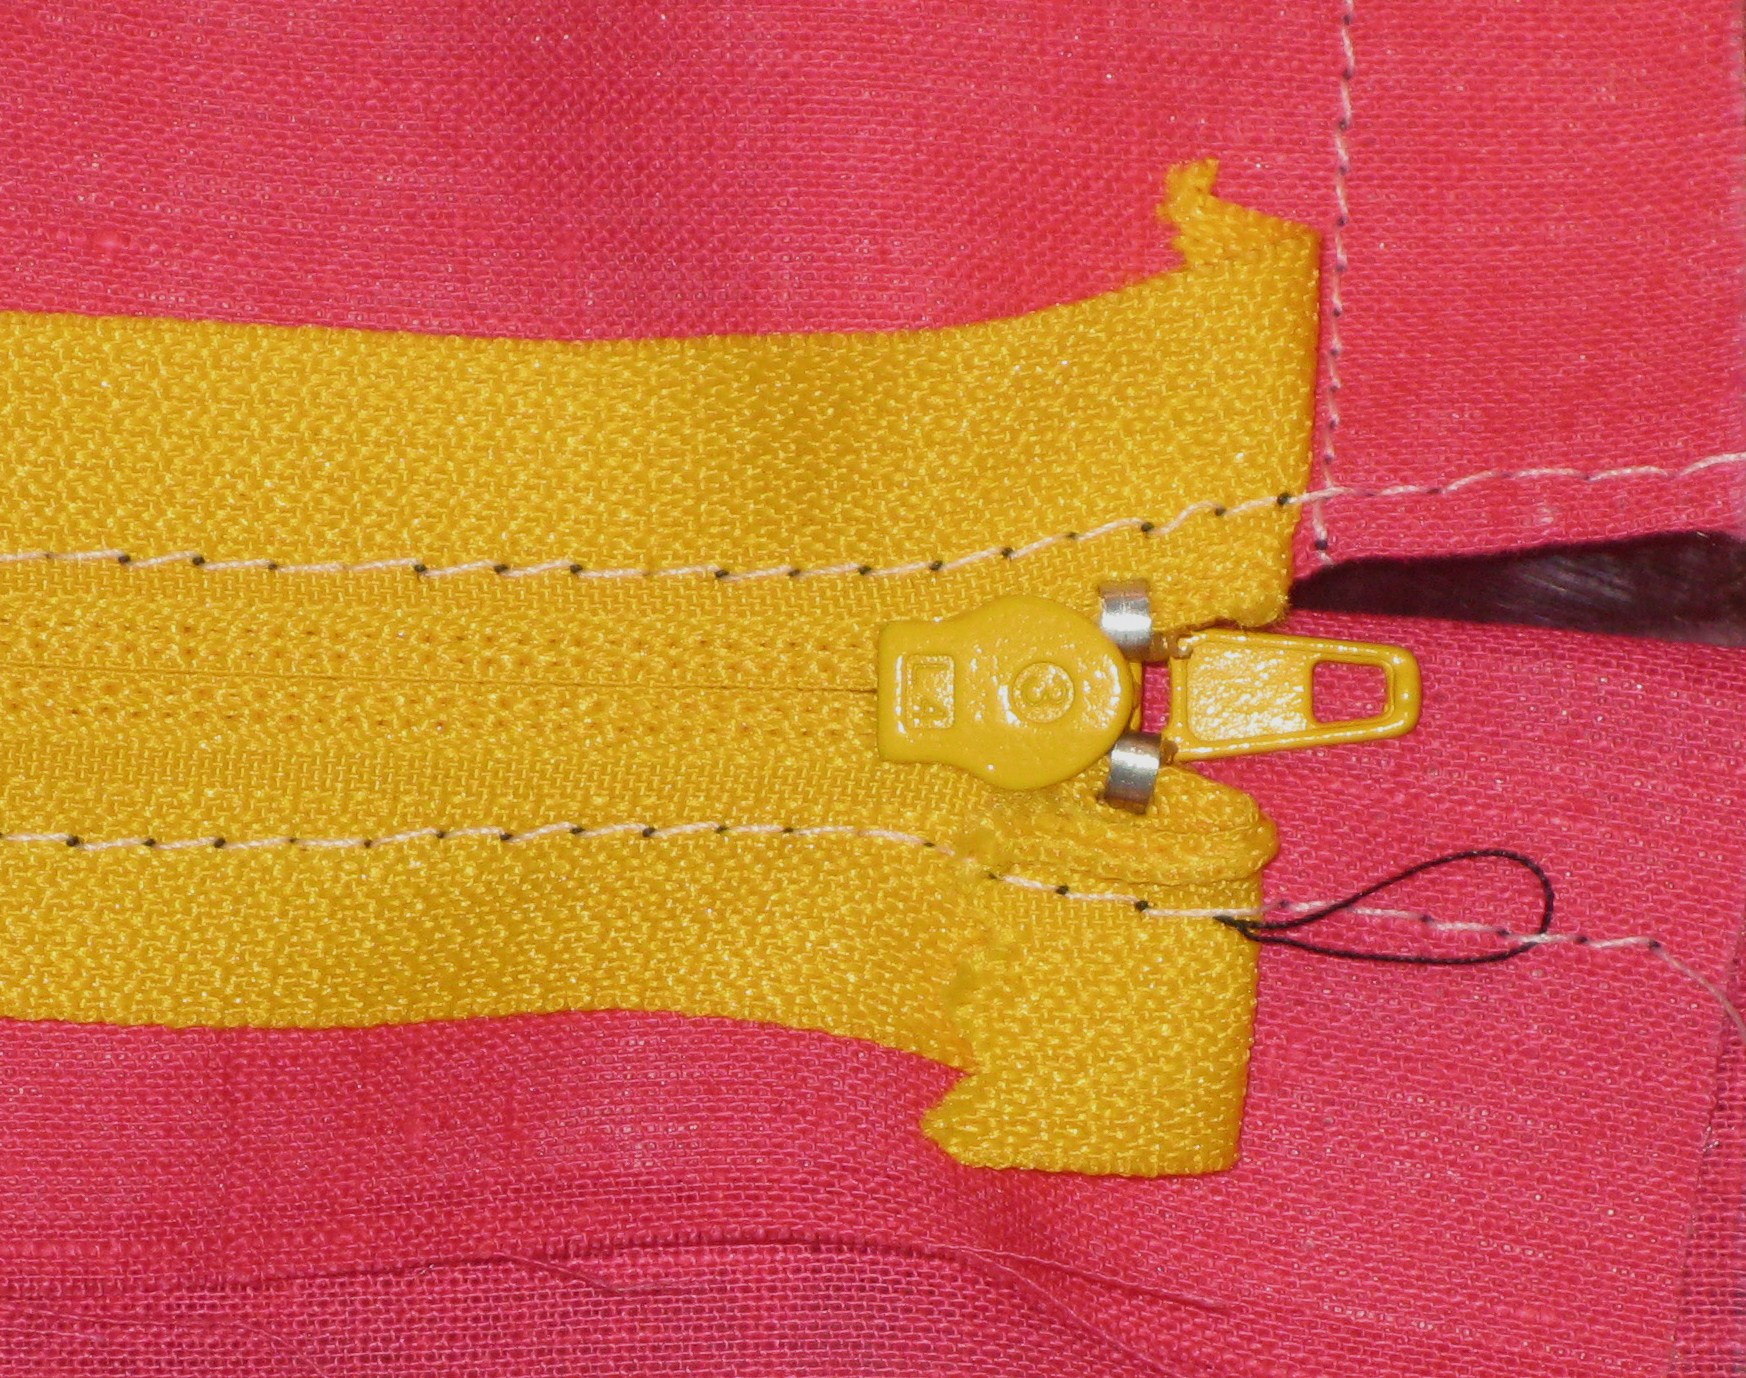
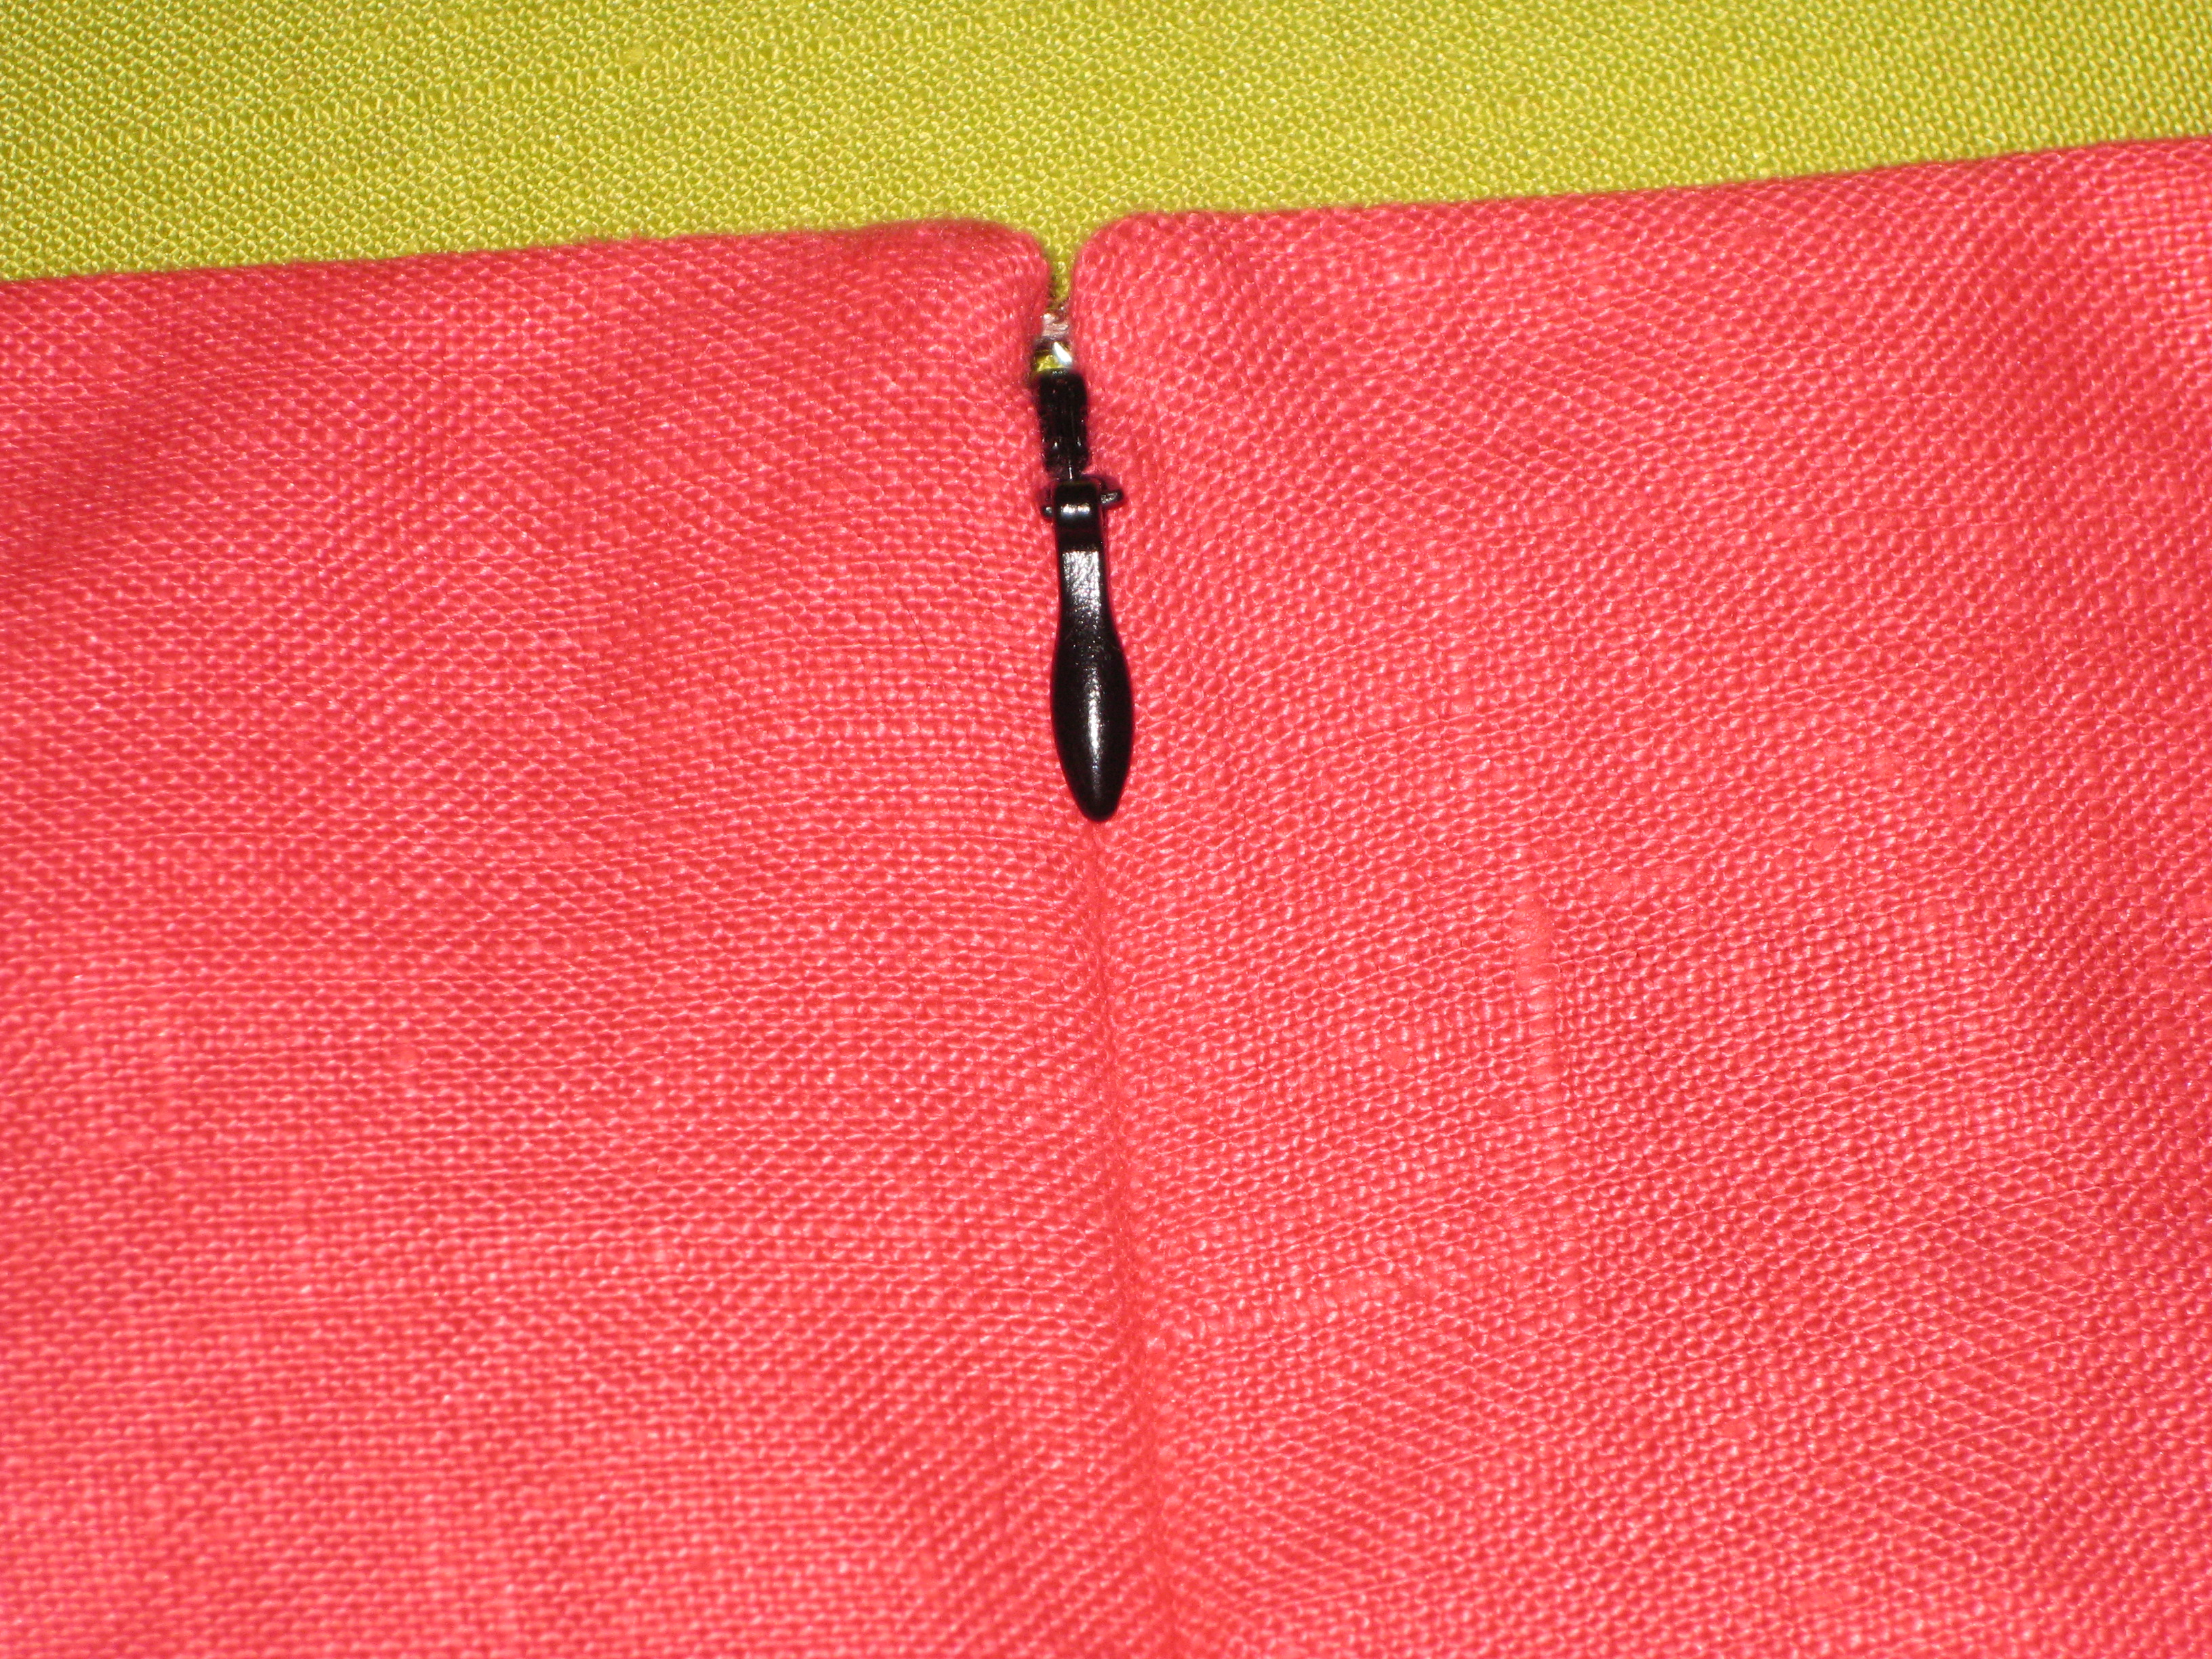
Close zipper to check that everything is in place. It is easy to remove the basting and reposition the zipper if necessary.
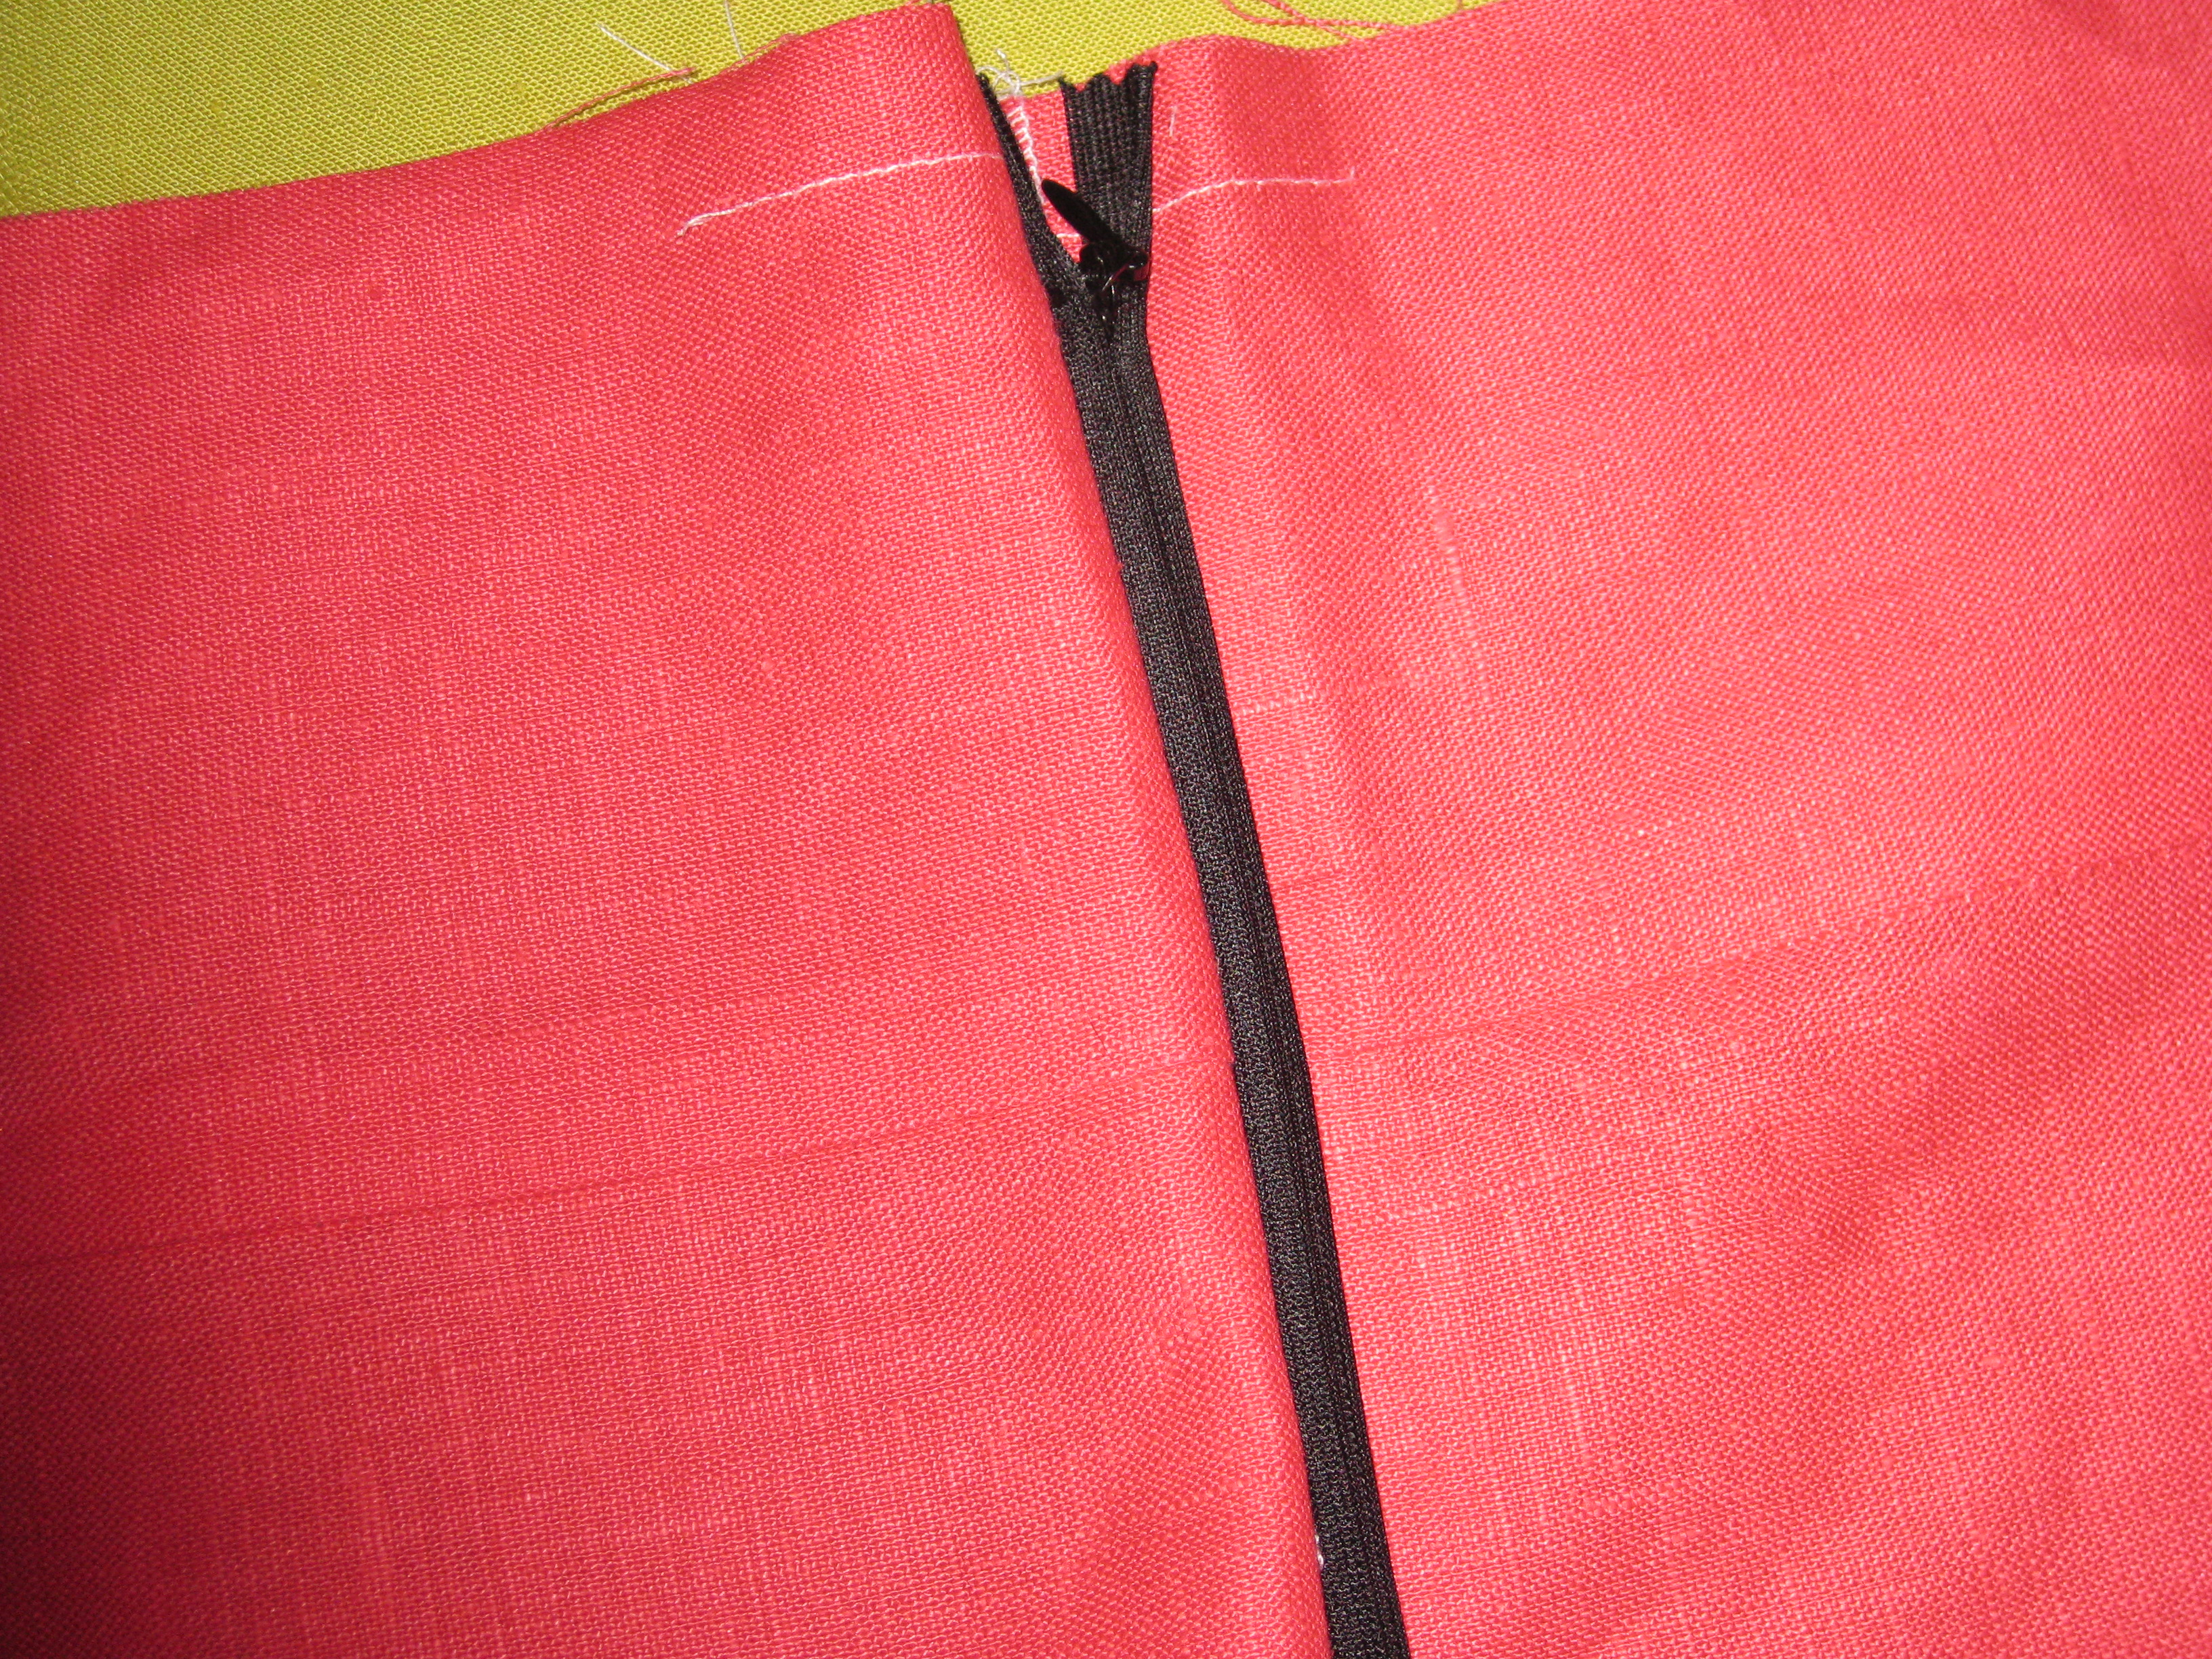
Close zipper and check position of seam.
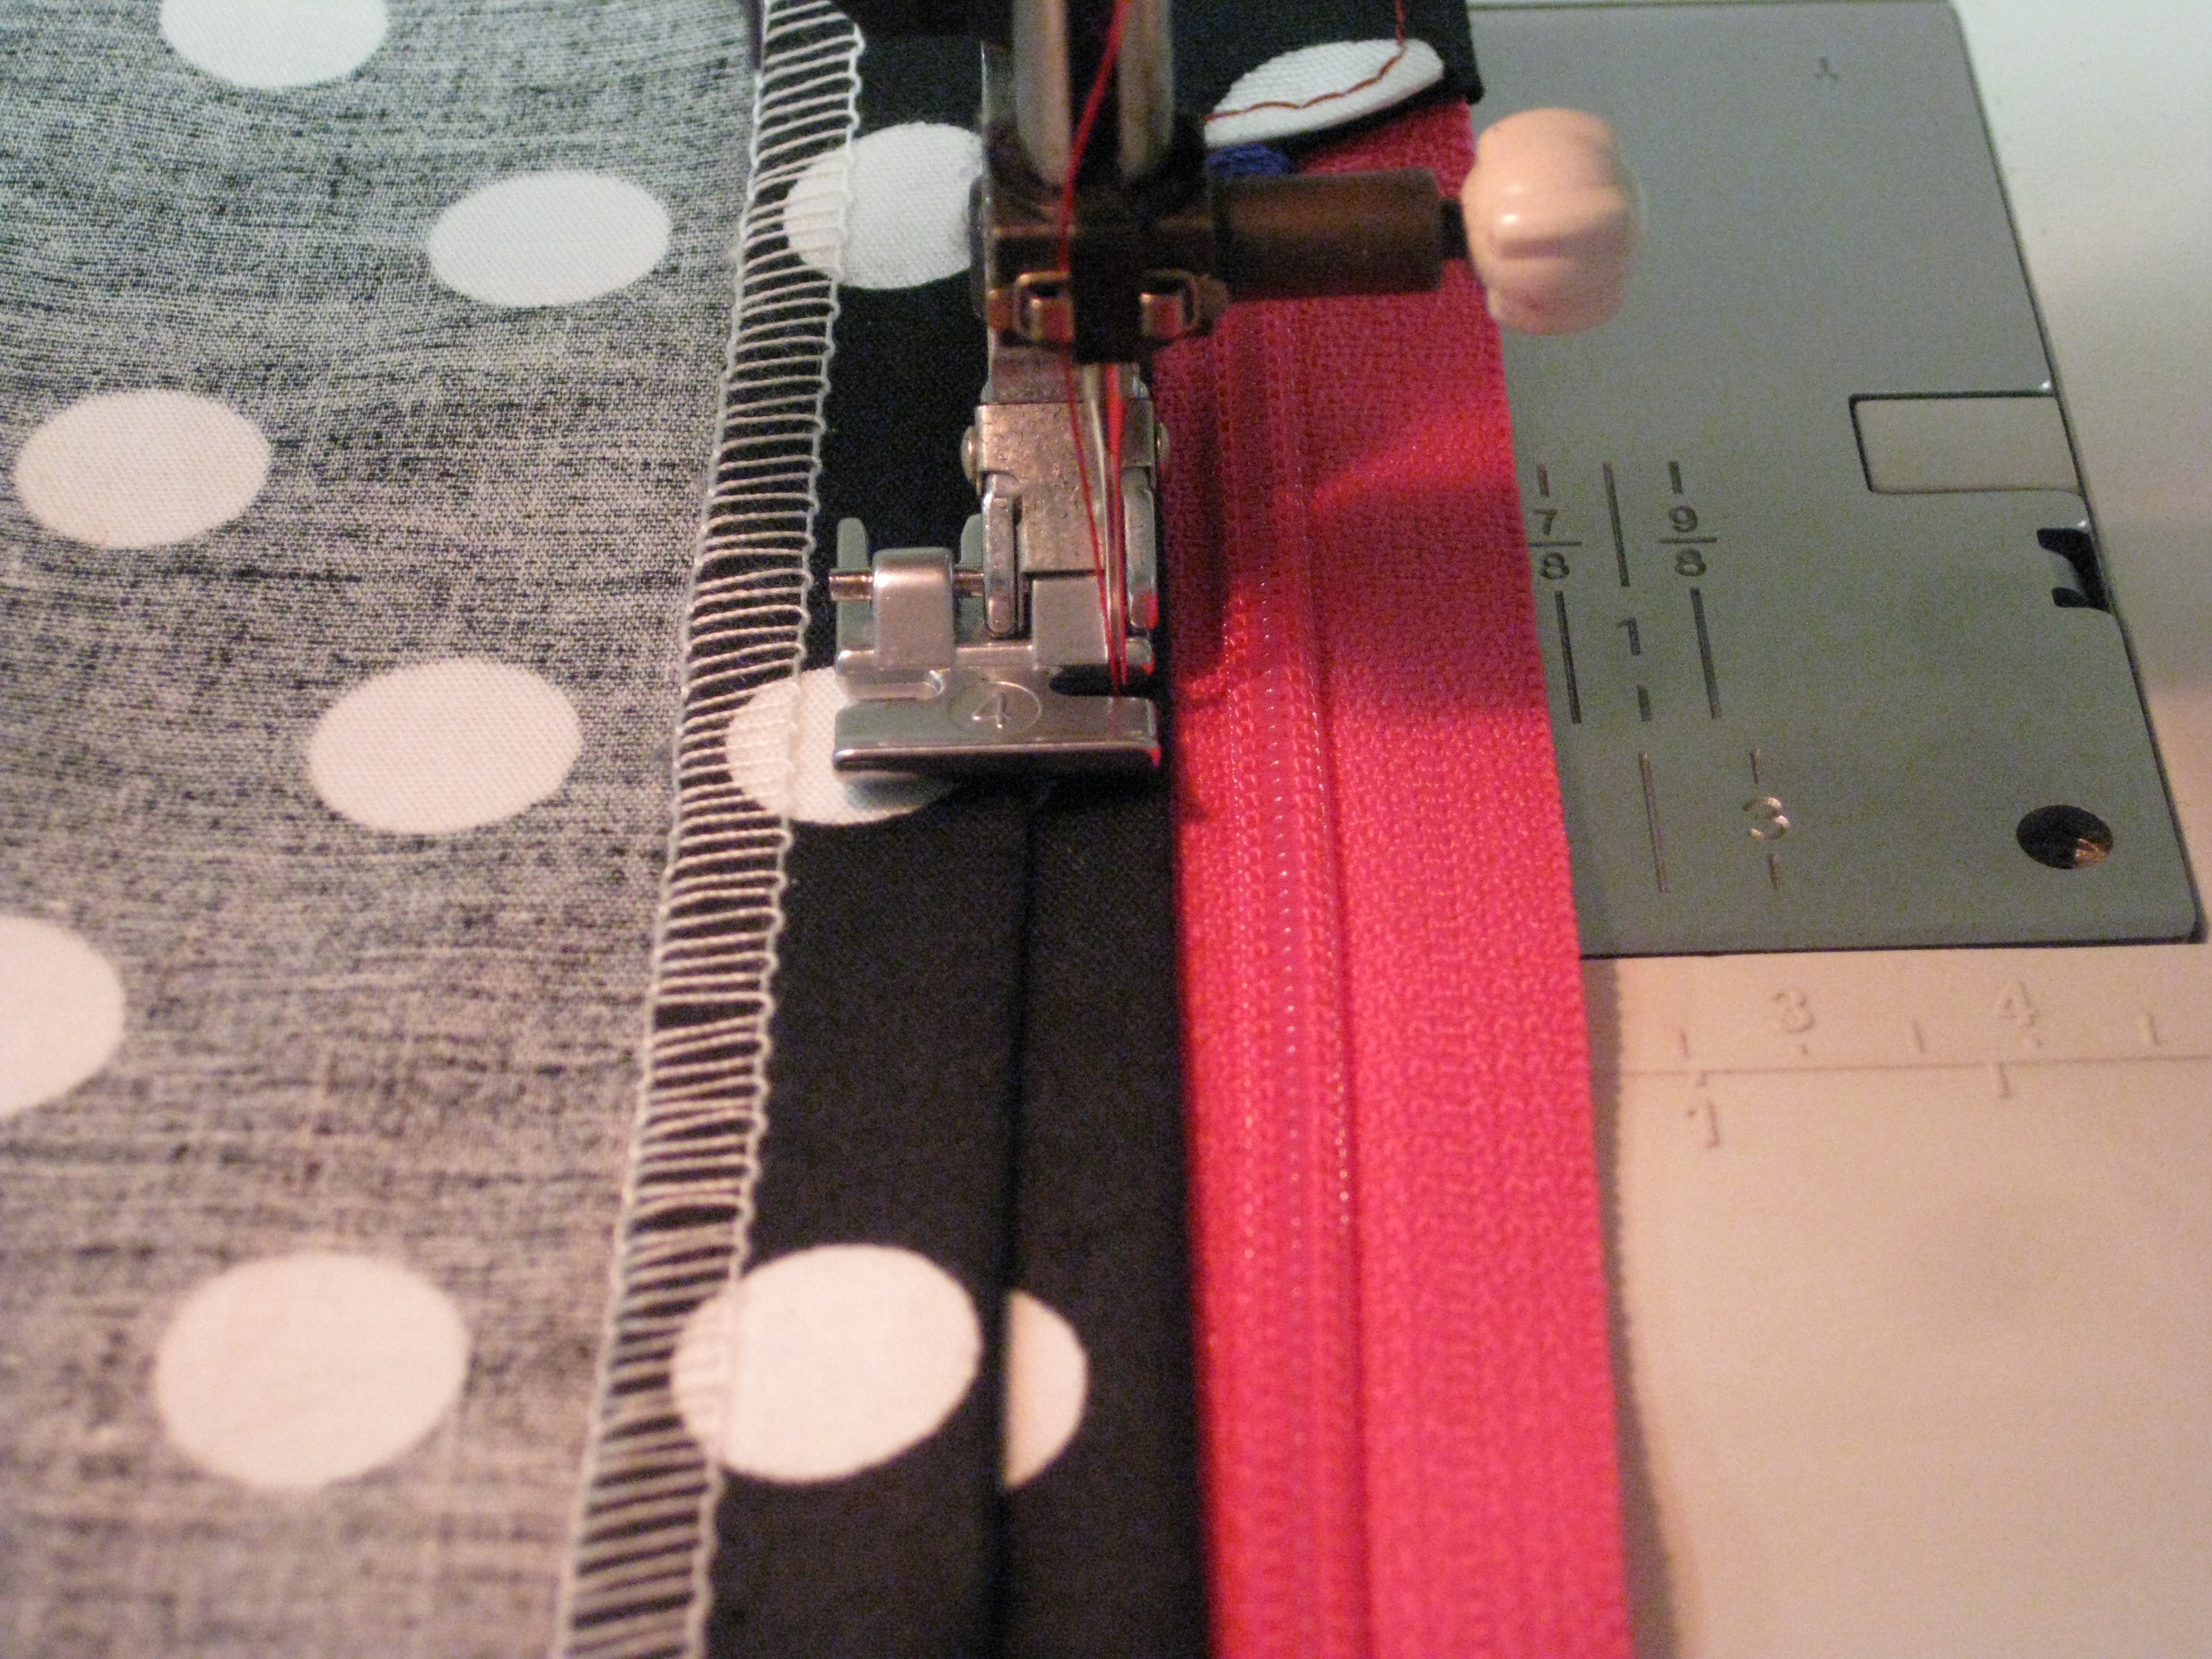
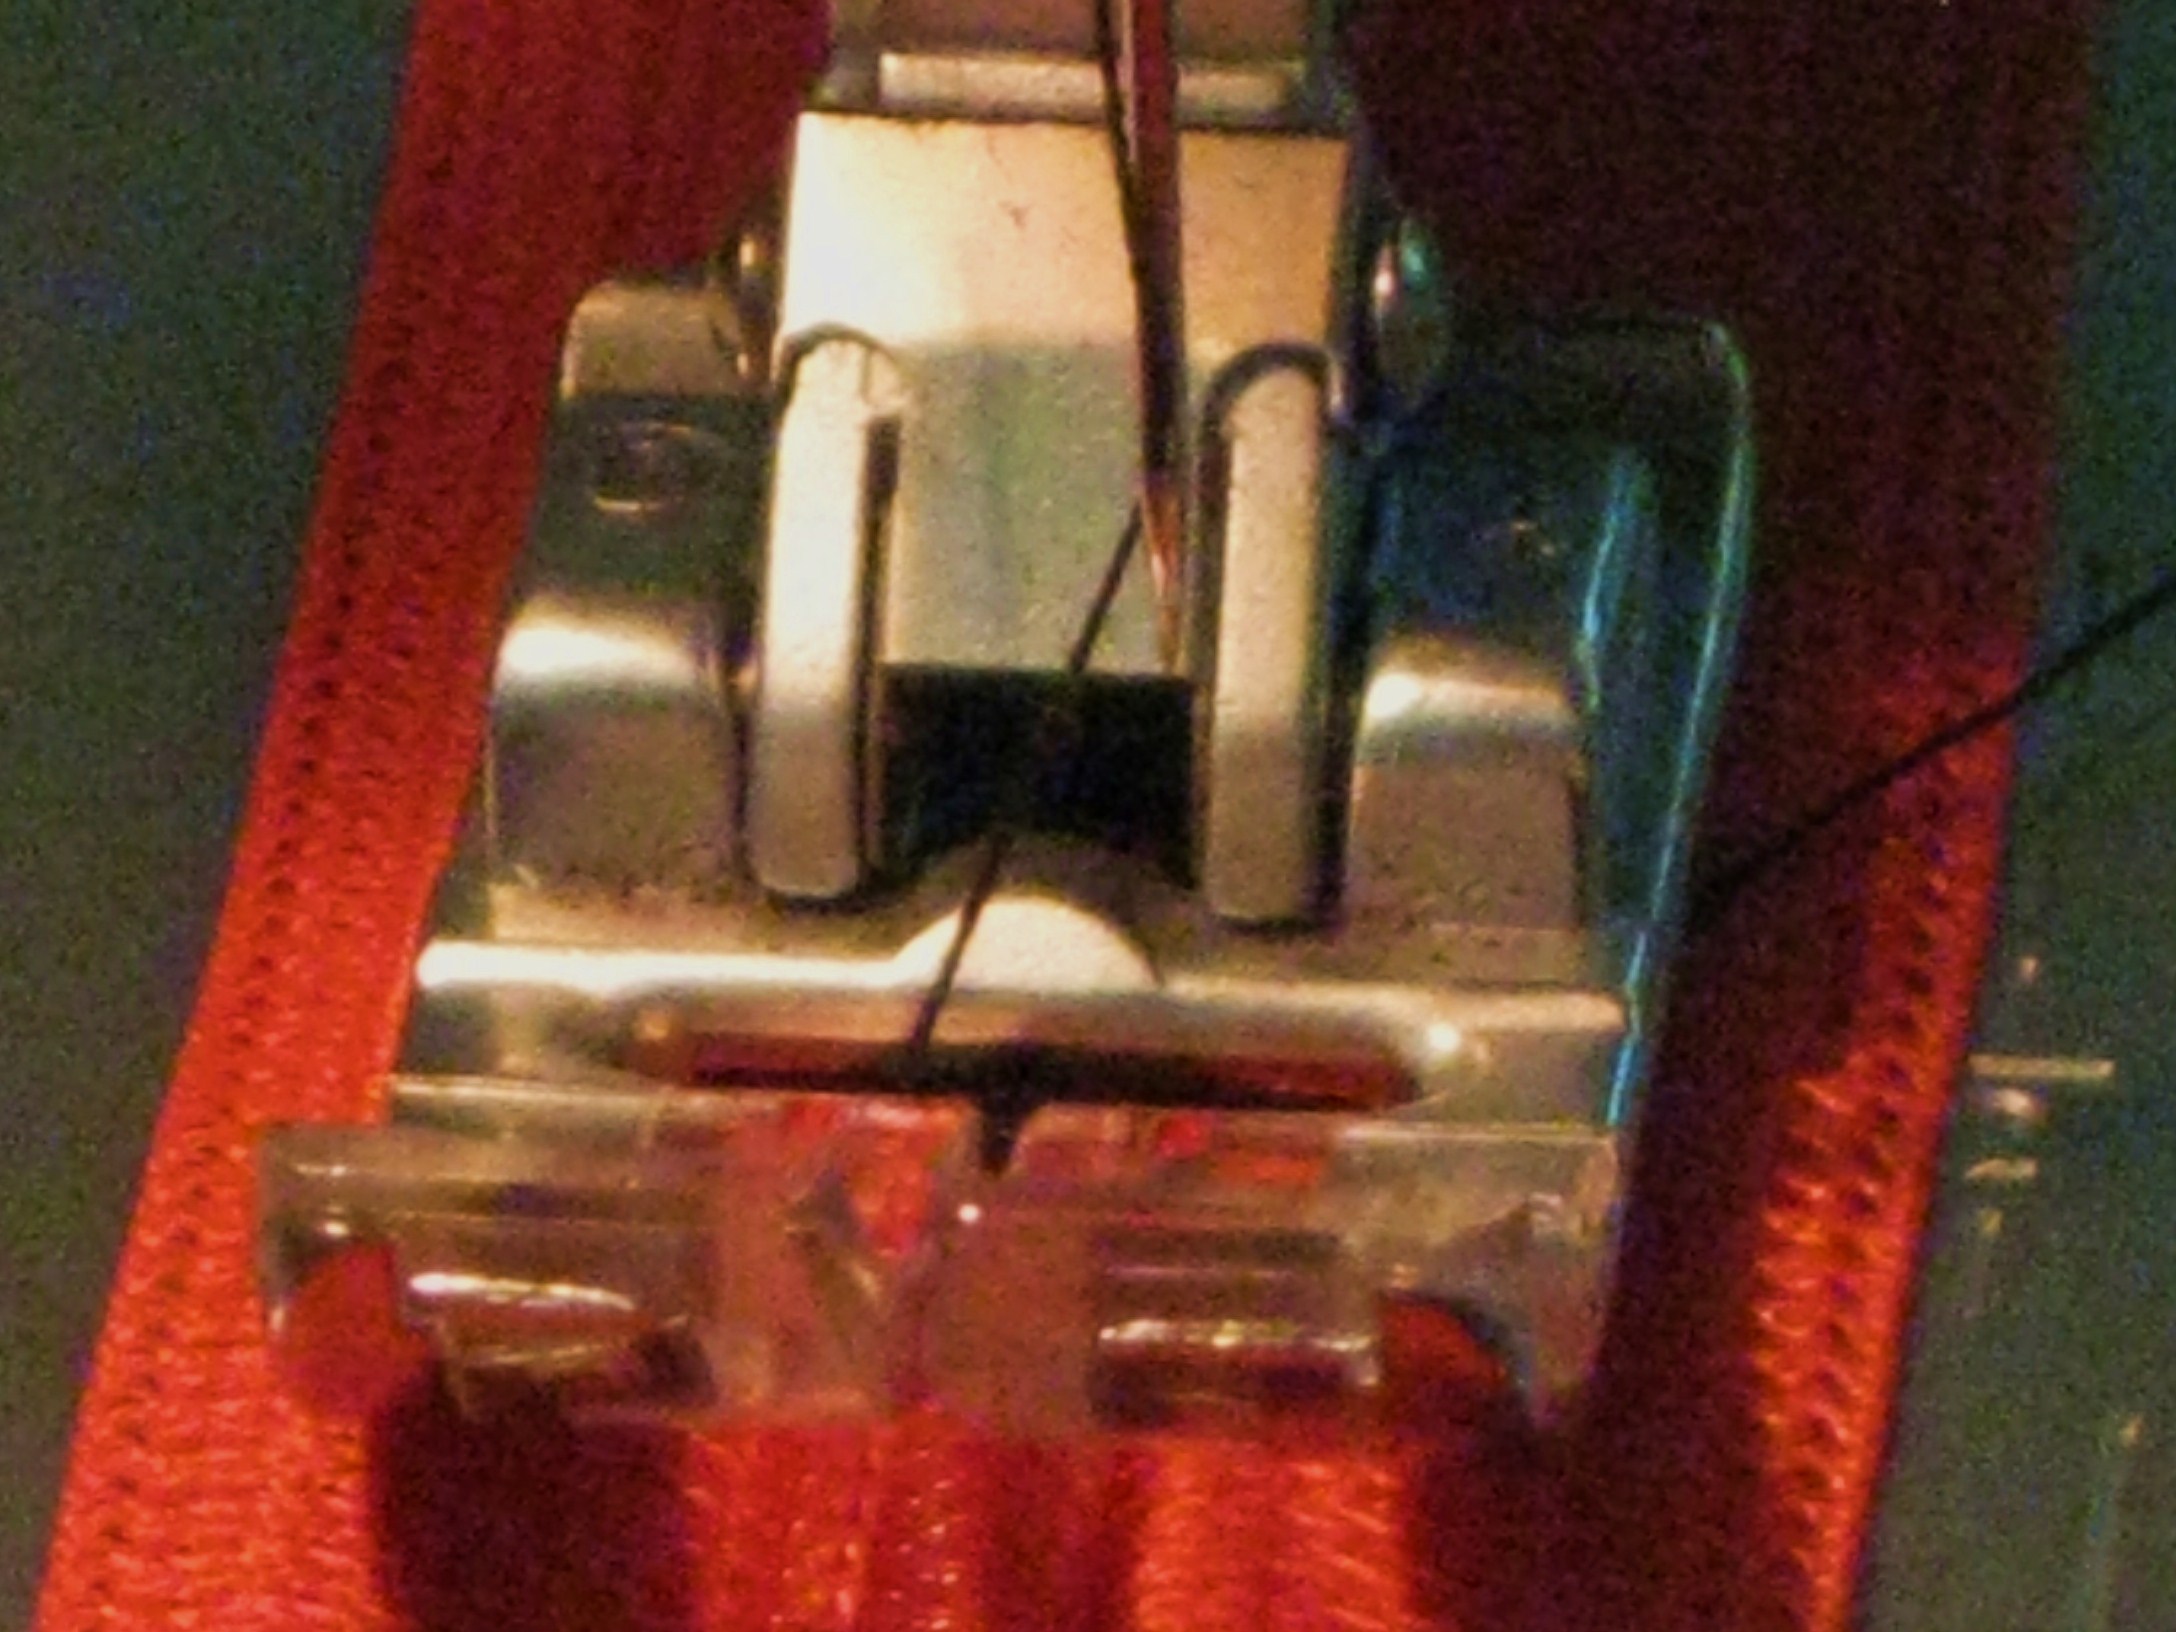
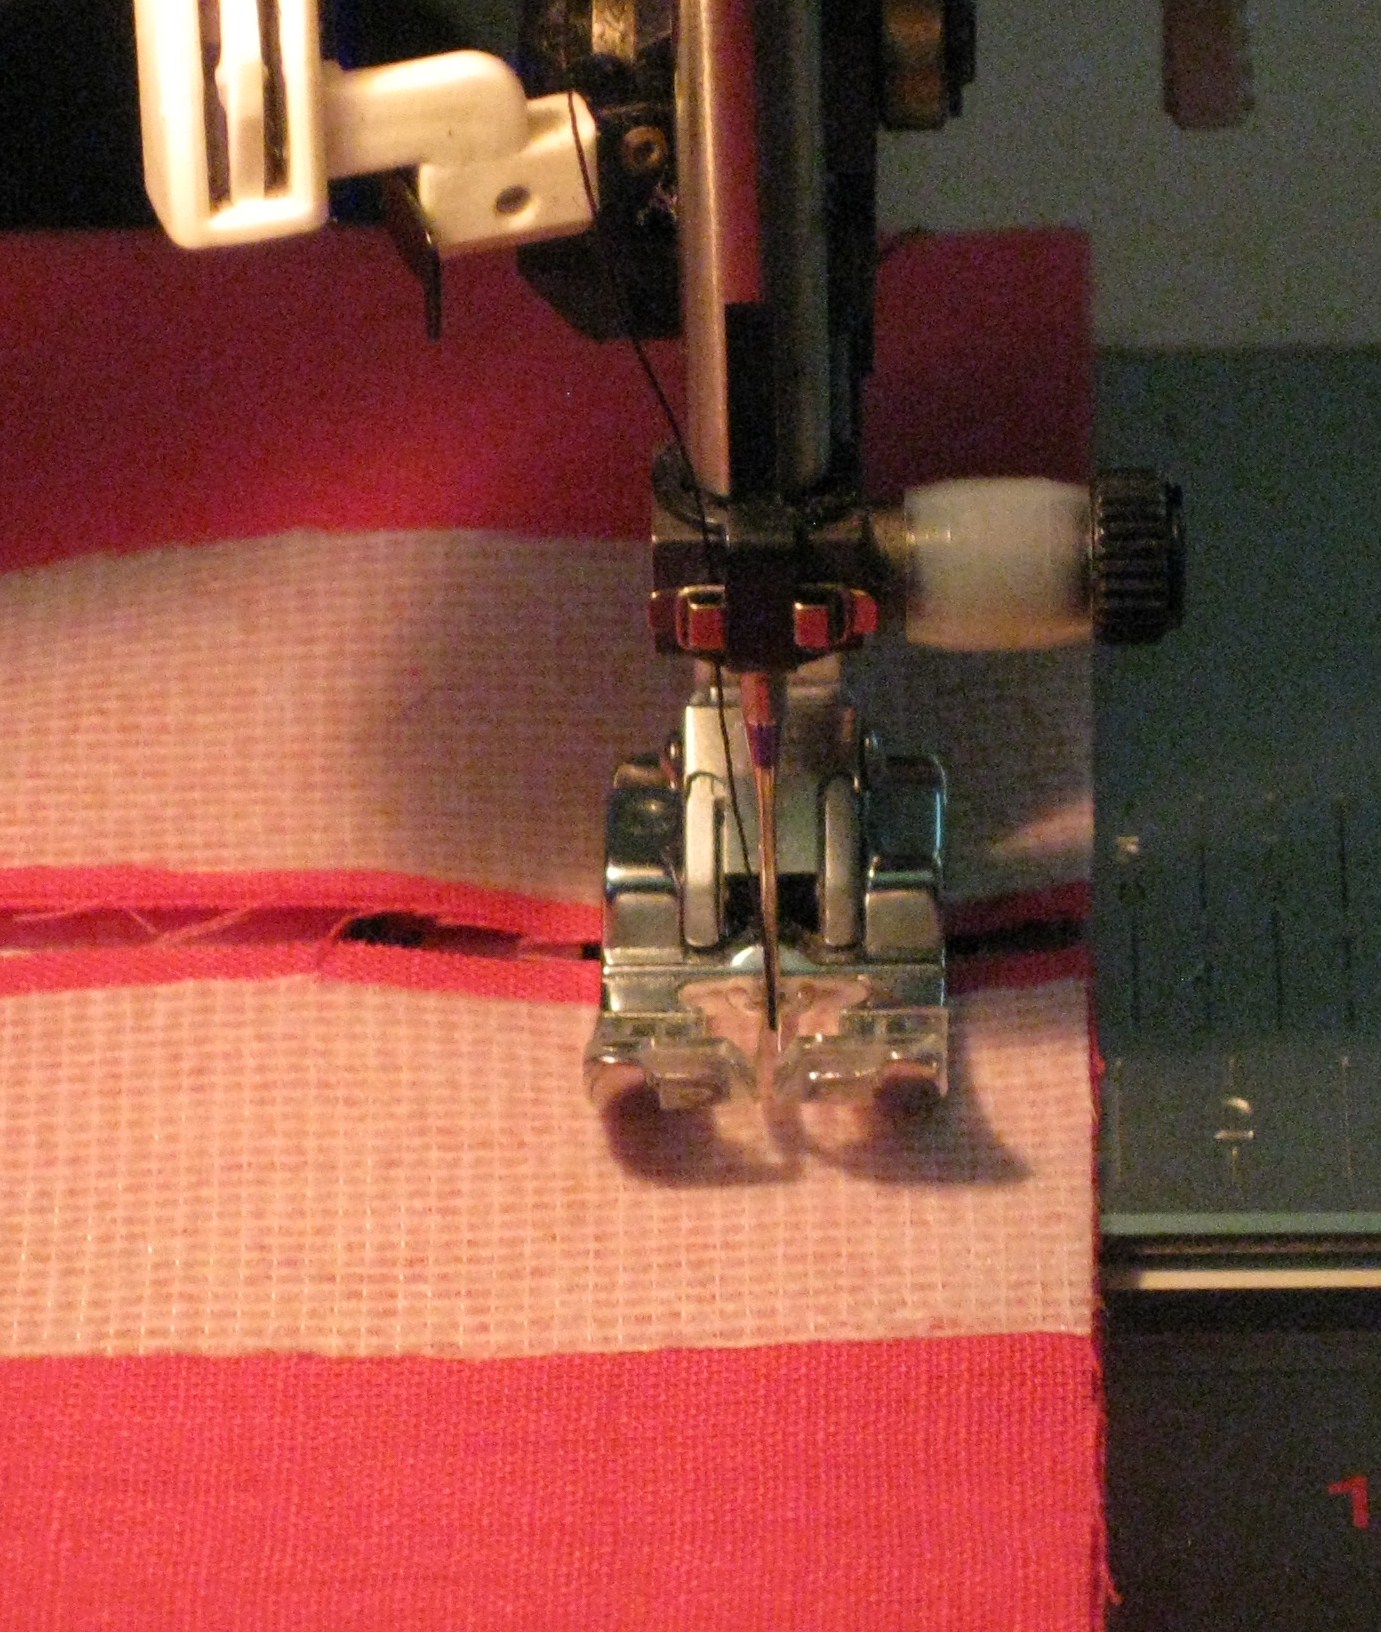
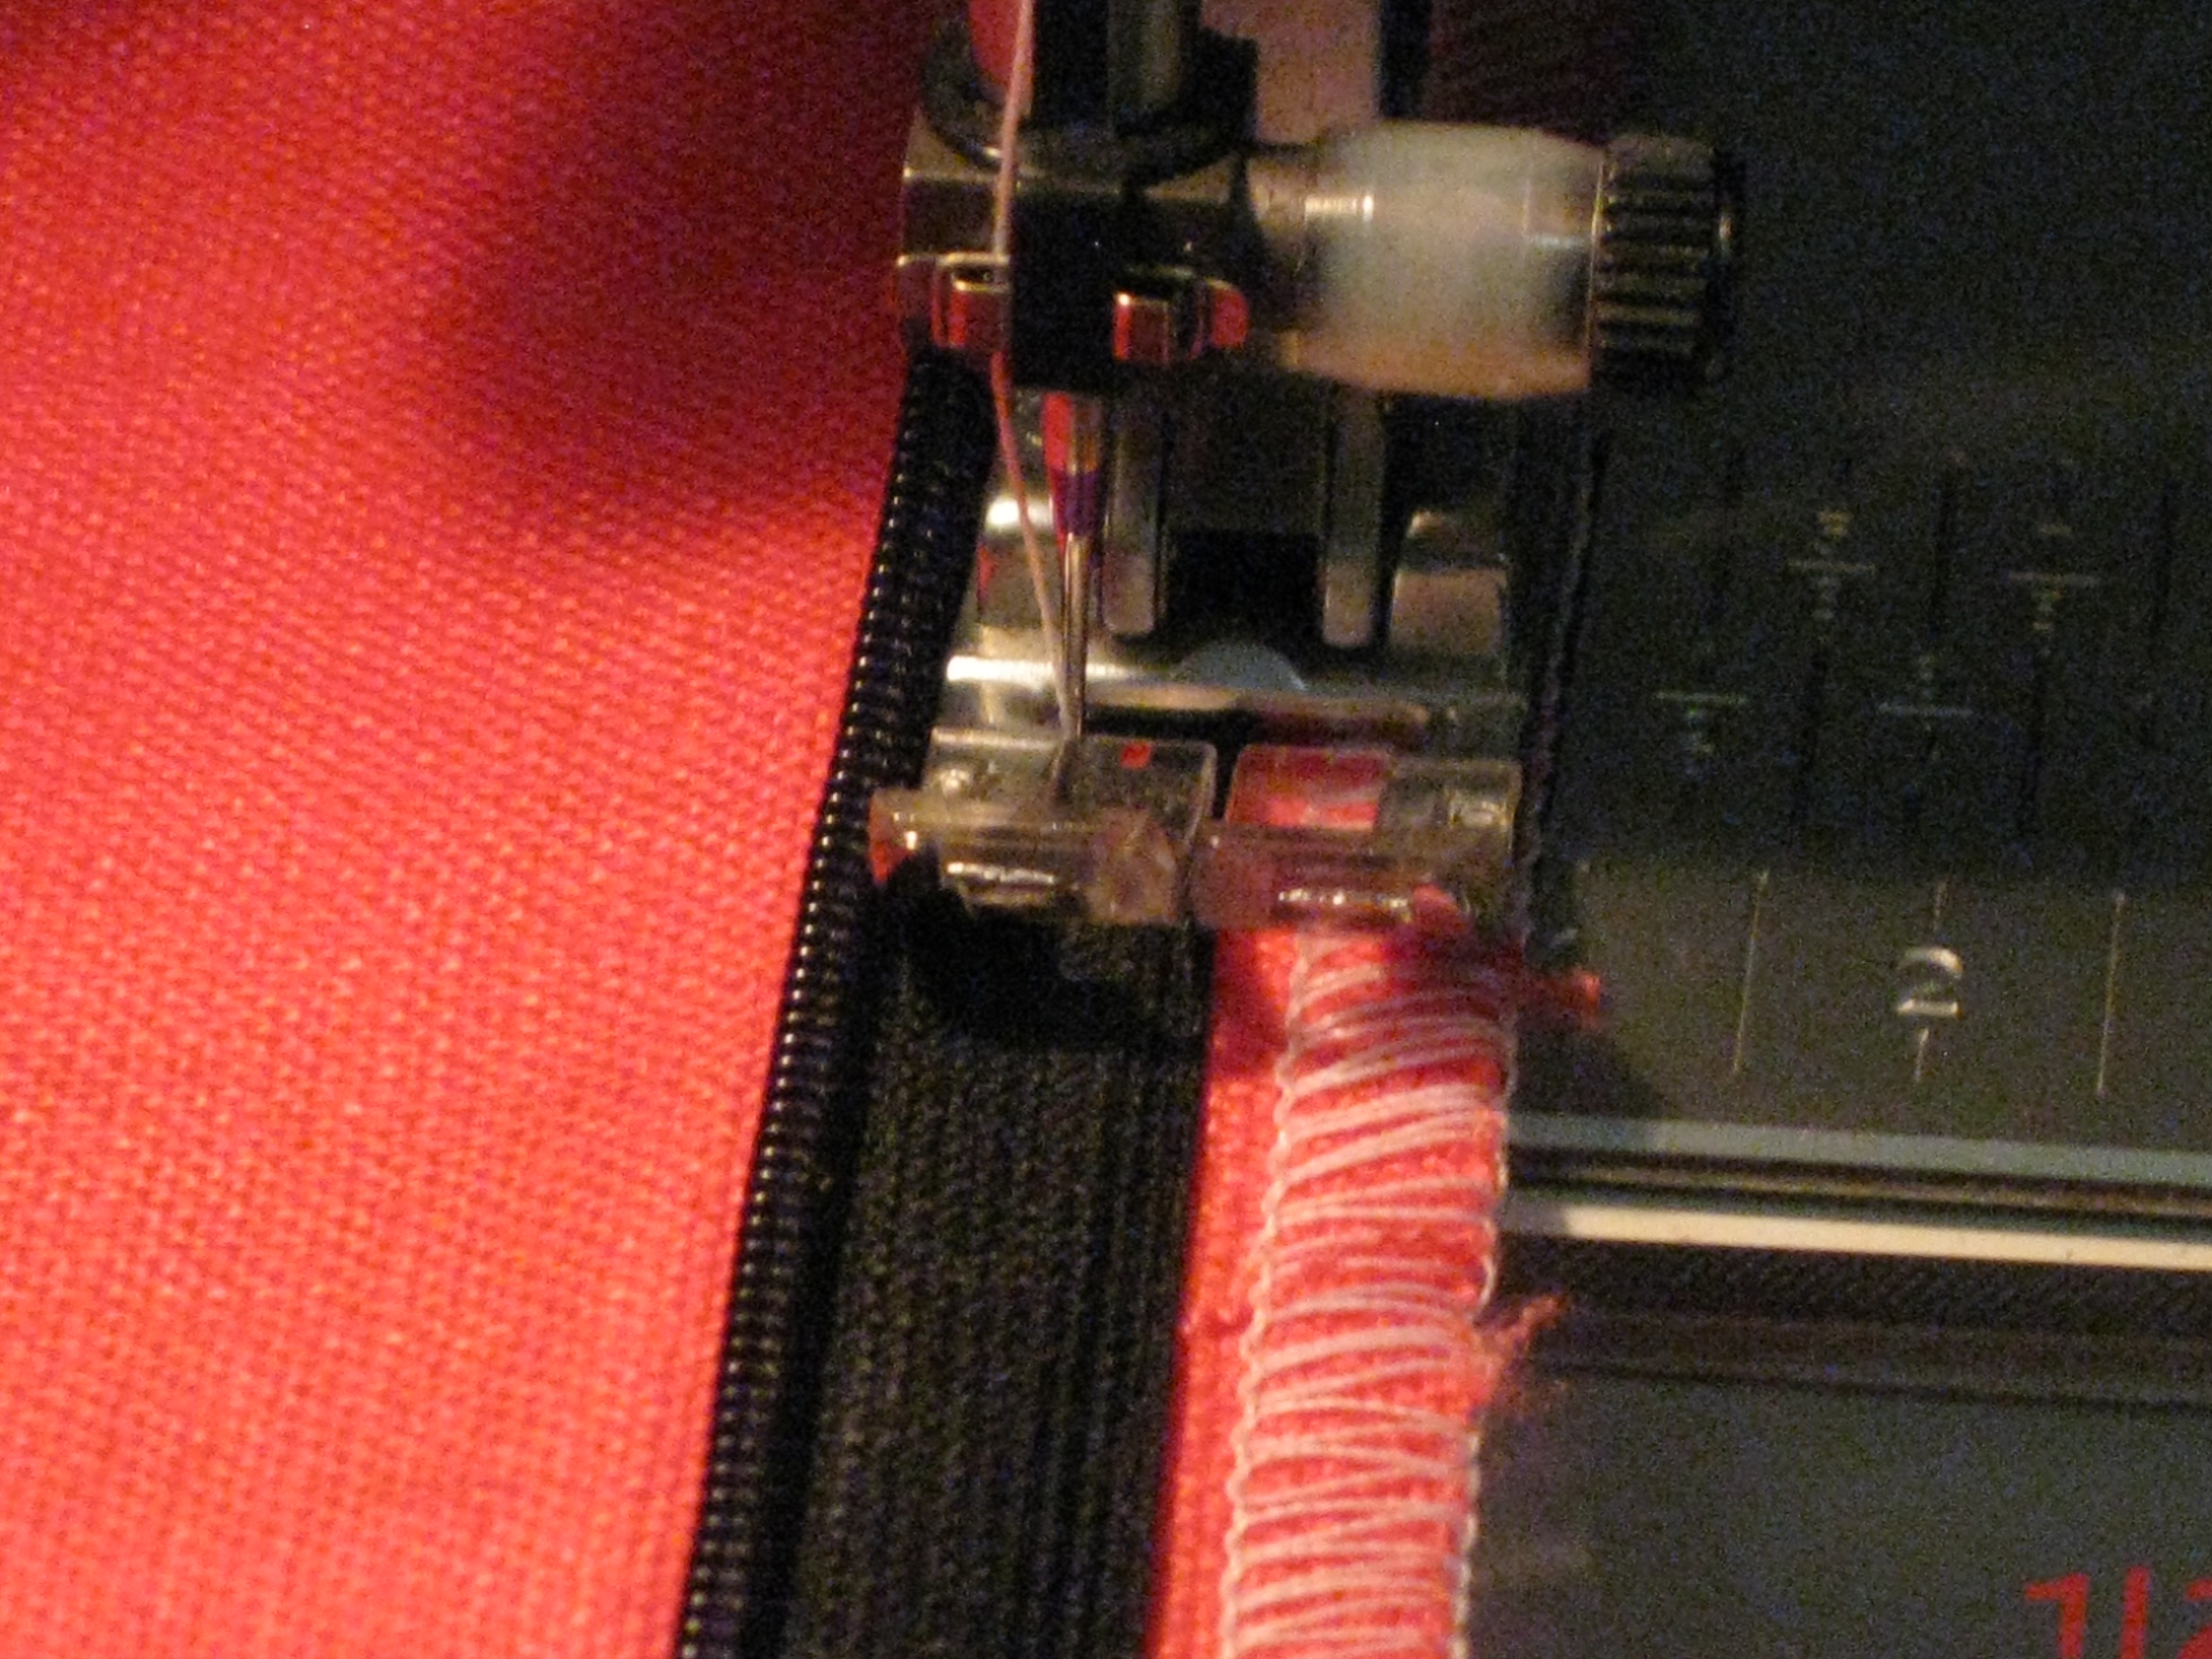
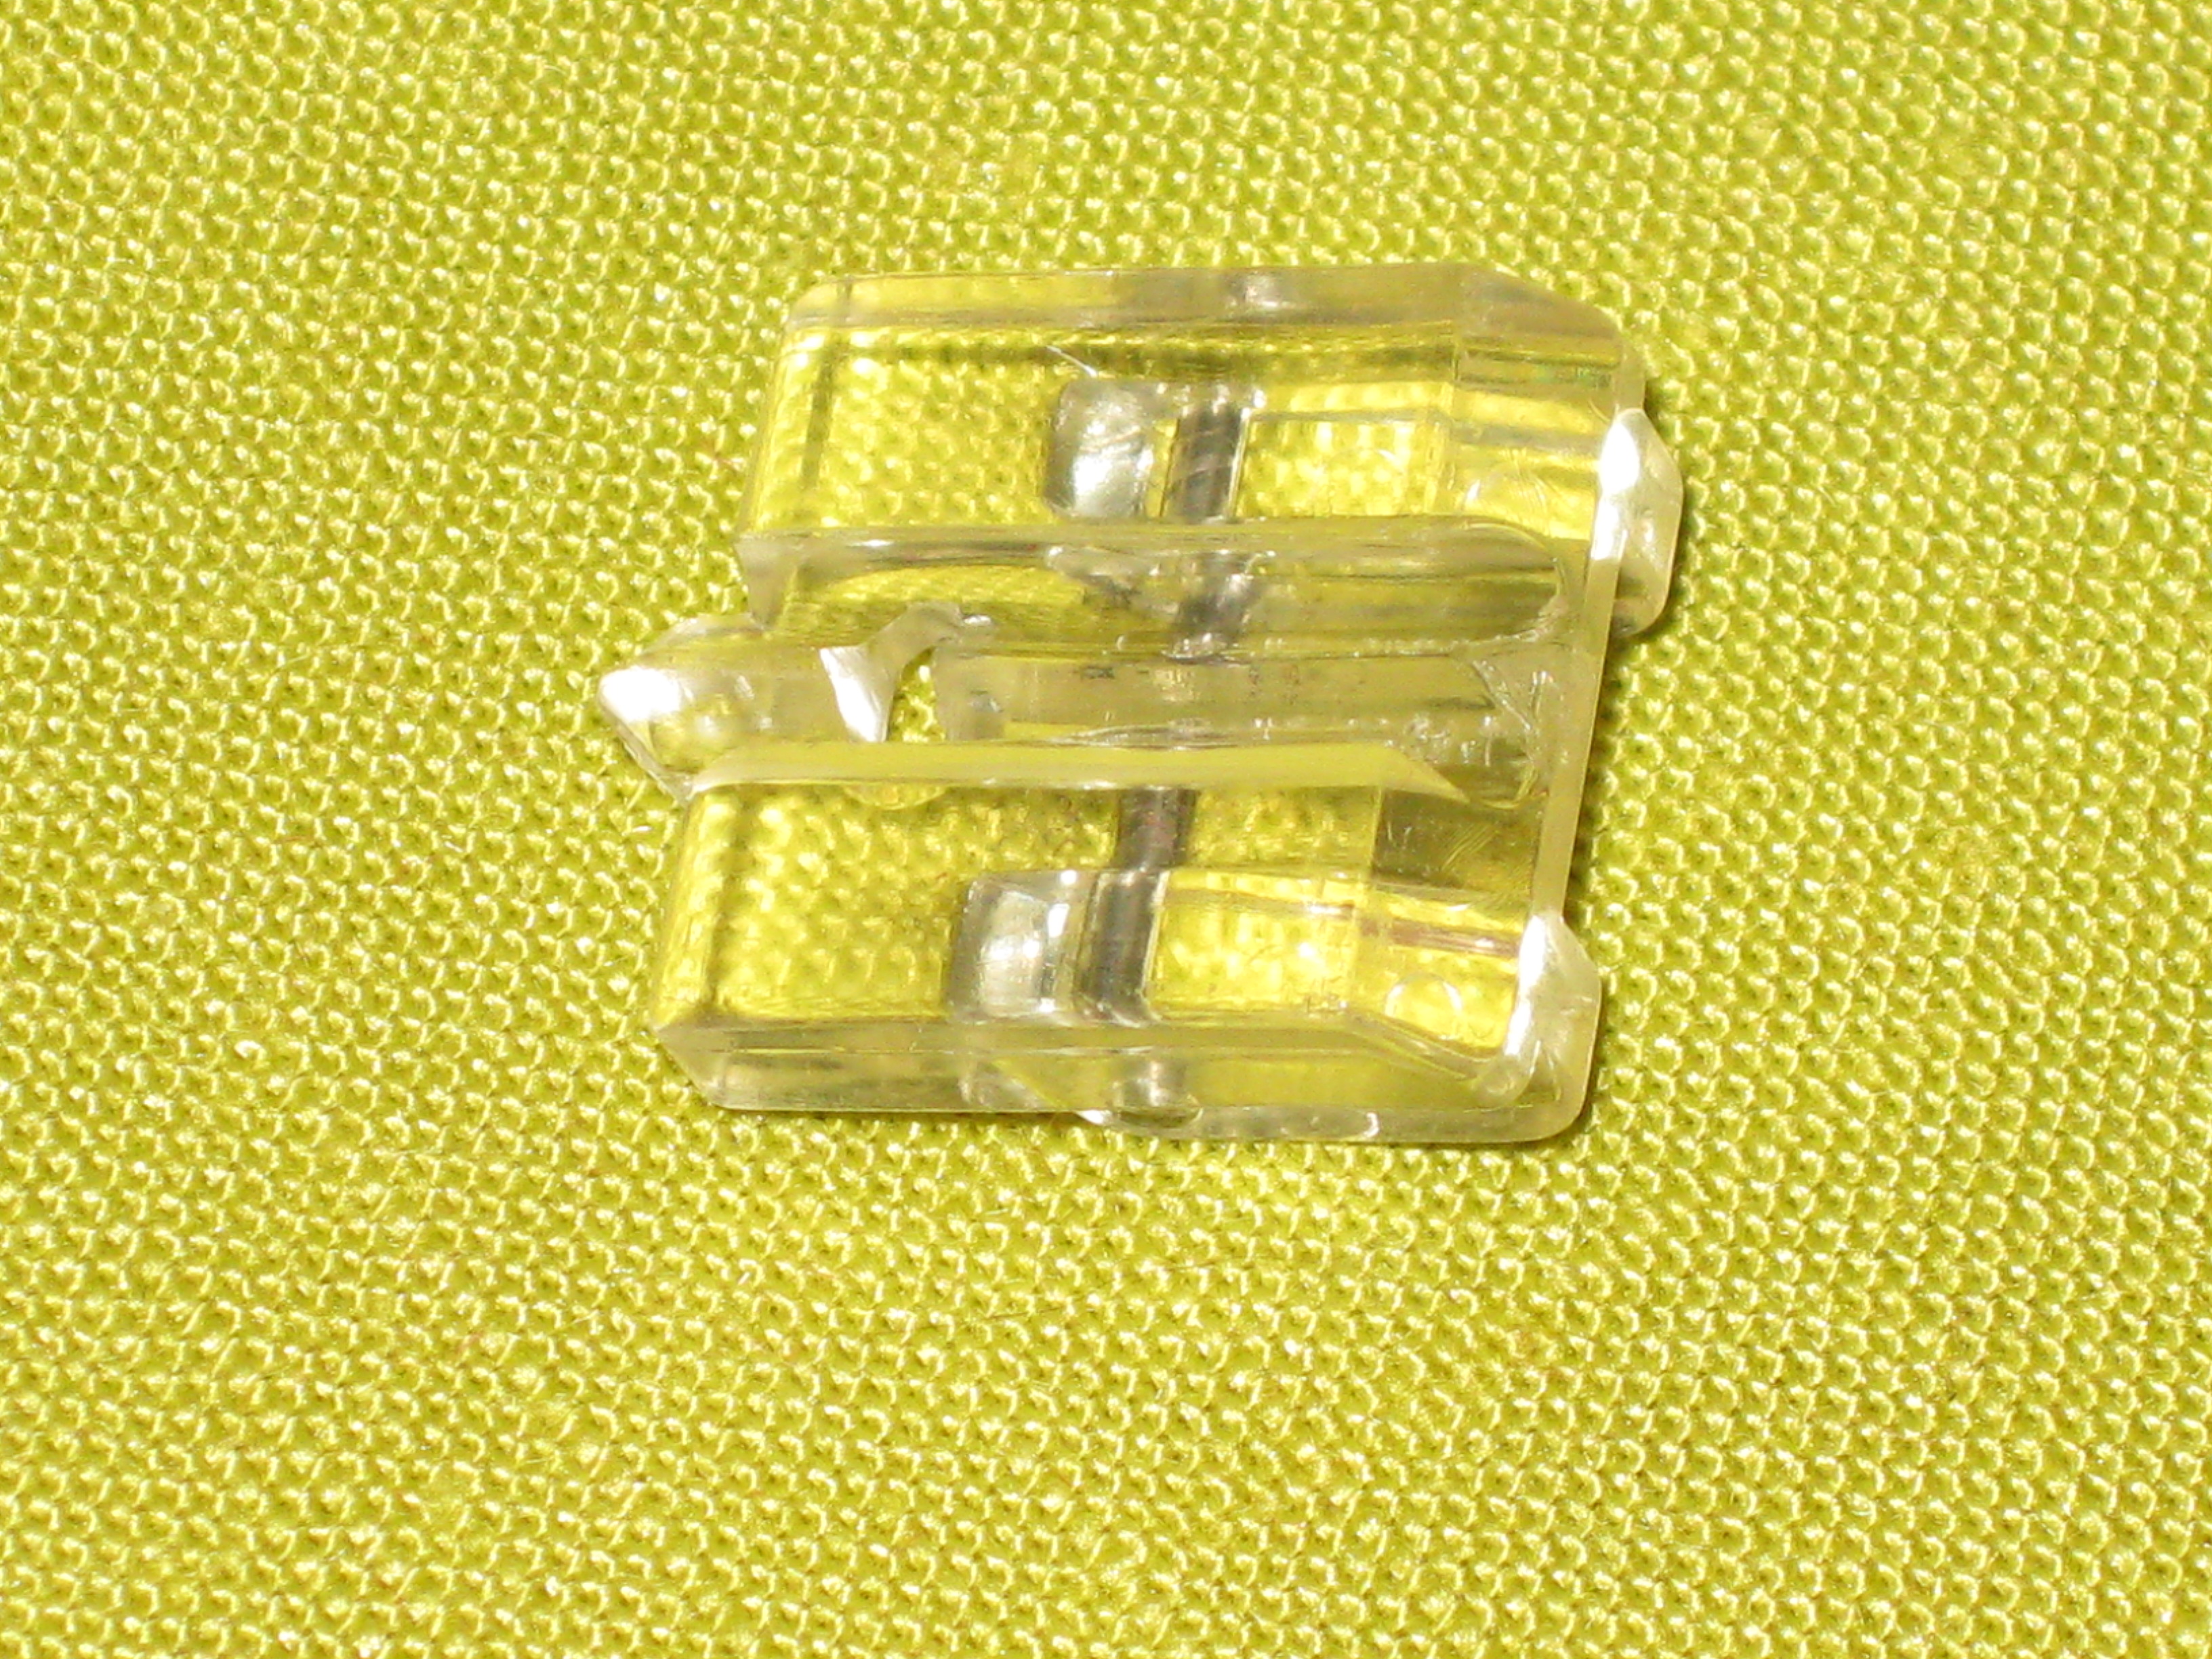
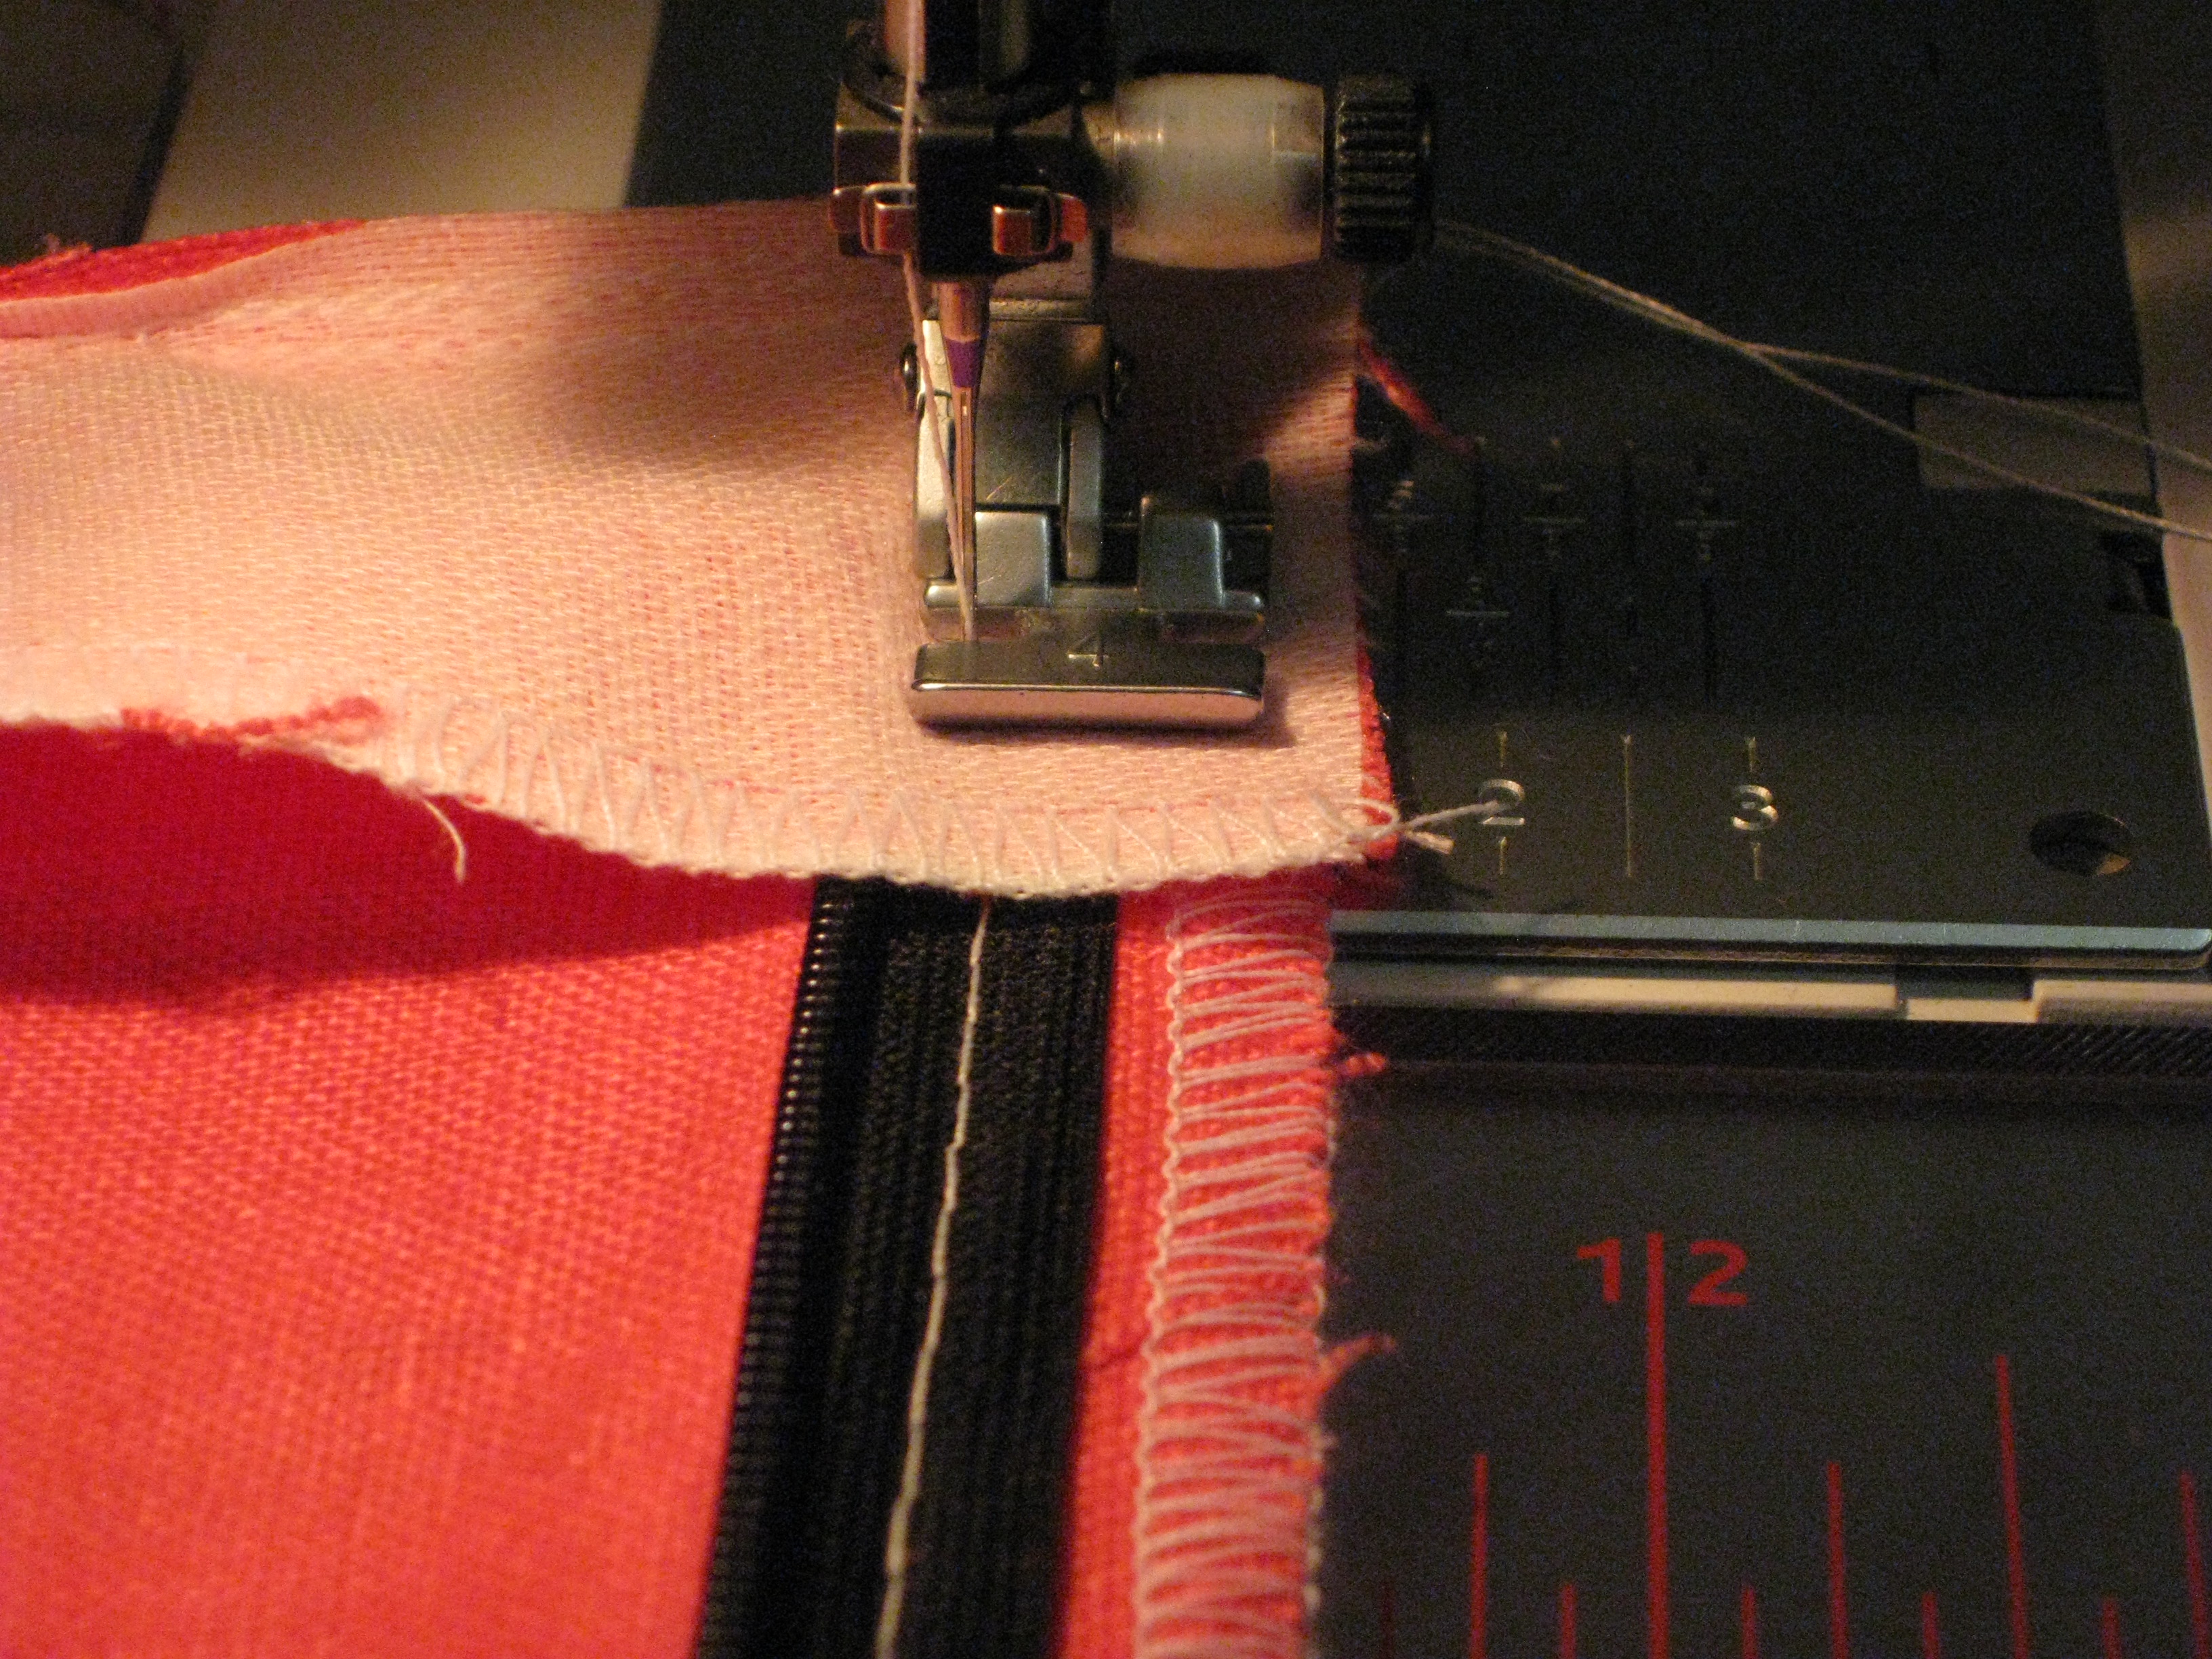
Invisible zipper feet have two grooves under the foot and a small prong at the front. When sewing the left hand side of the zipper, place teeth in the left groove and for the right hand side, use the right groove. Unless your fabric is very thick, it is not usually necessary to move the needle from the centre position.
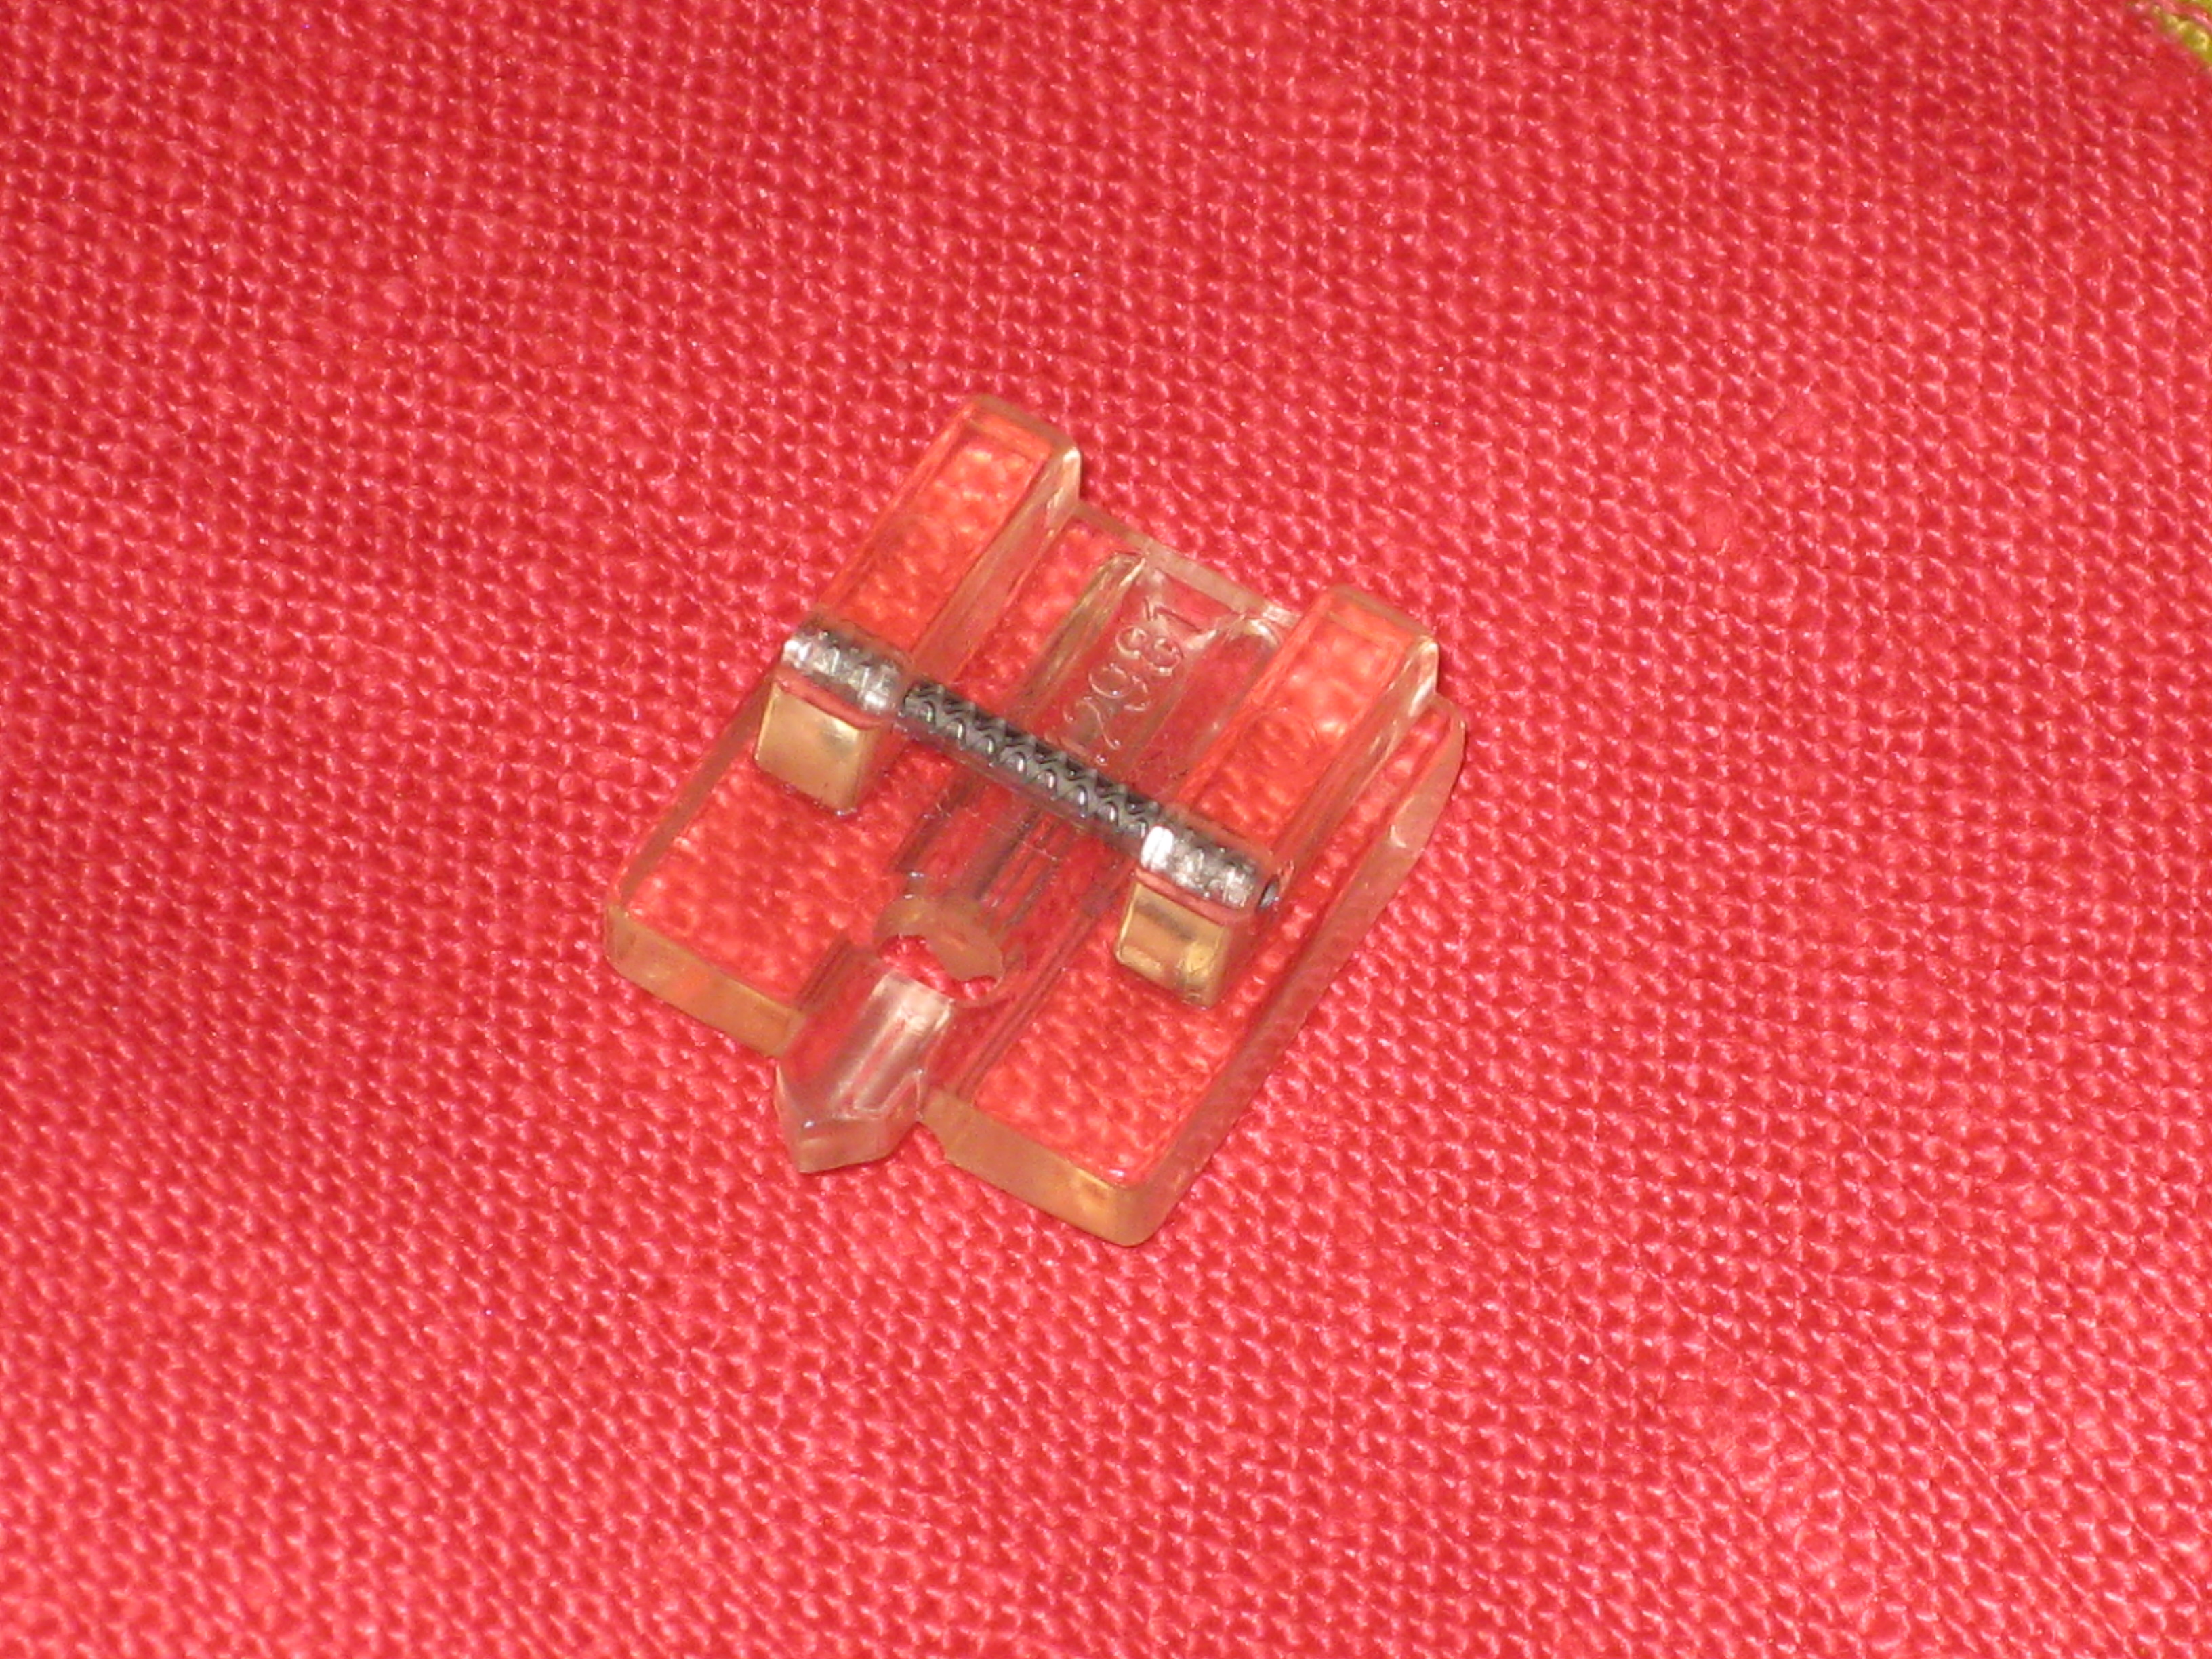
Invisible zipper foot from top and under side – note the grooves.
Make sure when stitching permanently in place, the machine stitching is close to the coil or zipper will show but, be careful not to stitch too close which would make zipper difficult to open and close. The distance away from the coil will depend on the thickness or loft of the fabric.
The stitching should begin right beside the top of the plastic stopper at the top of the zipper tape. If the stitching starts at the top of the tape, the tapes will be sewn into the seam allowance and when the facings are applied there will be an unattractive thick lump in the seam.
Before starting the permanent stitching, be sure to lower the zipper pull to its lowest point.
With the zipper open, position invisible zipper foot at the top of the zipper with coil under the left-hand groove of the zipper and stitch through the tape and seam allowance down to the zipper pull – backstitch.
Position foot with coil under the right-hand groove of the foot, aligned with the top of the plastic stopper, and stitch through the tape and seam allowance down to the zipper tab – backstitch
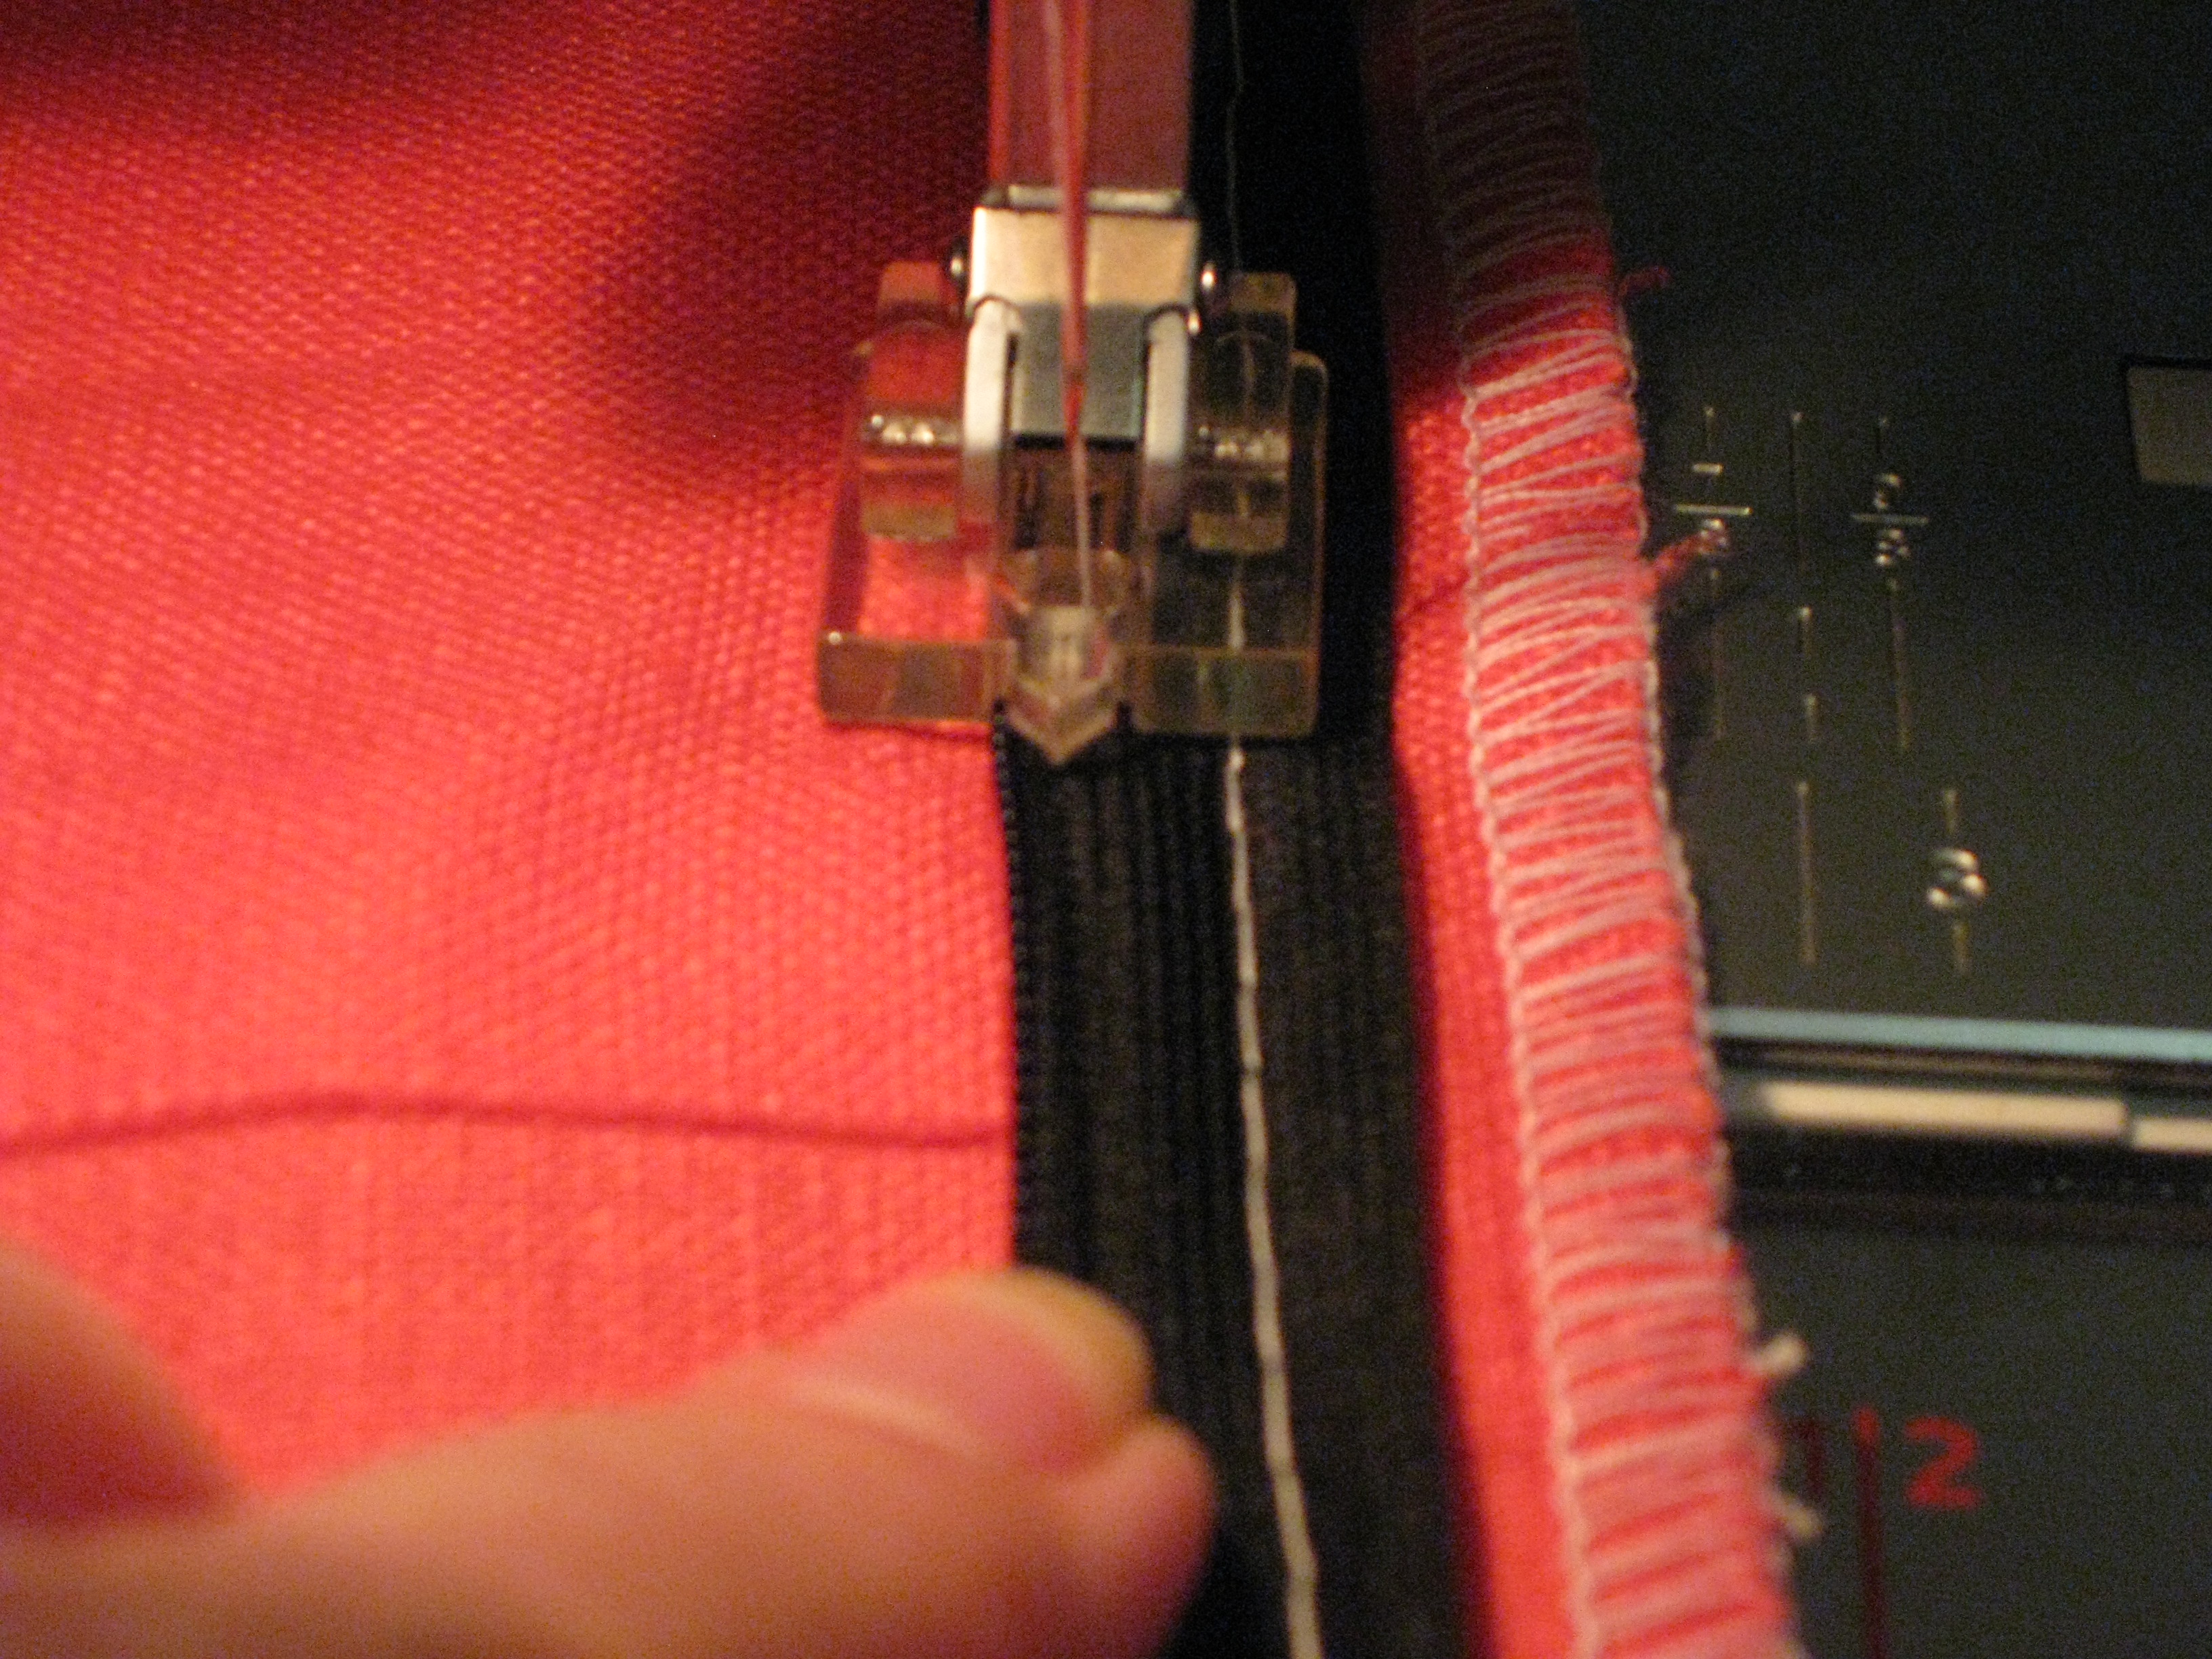
Position teeth inside groove – left hand side in left groove and right hand side in right groove. Sew from top down.
Stitching should be close to the zipper teeth. Move needle a little further from the teeth if fabric is thicker.
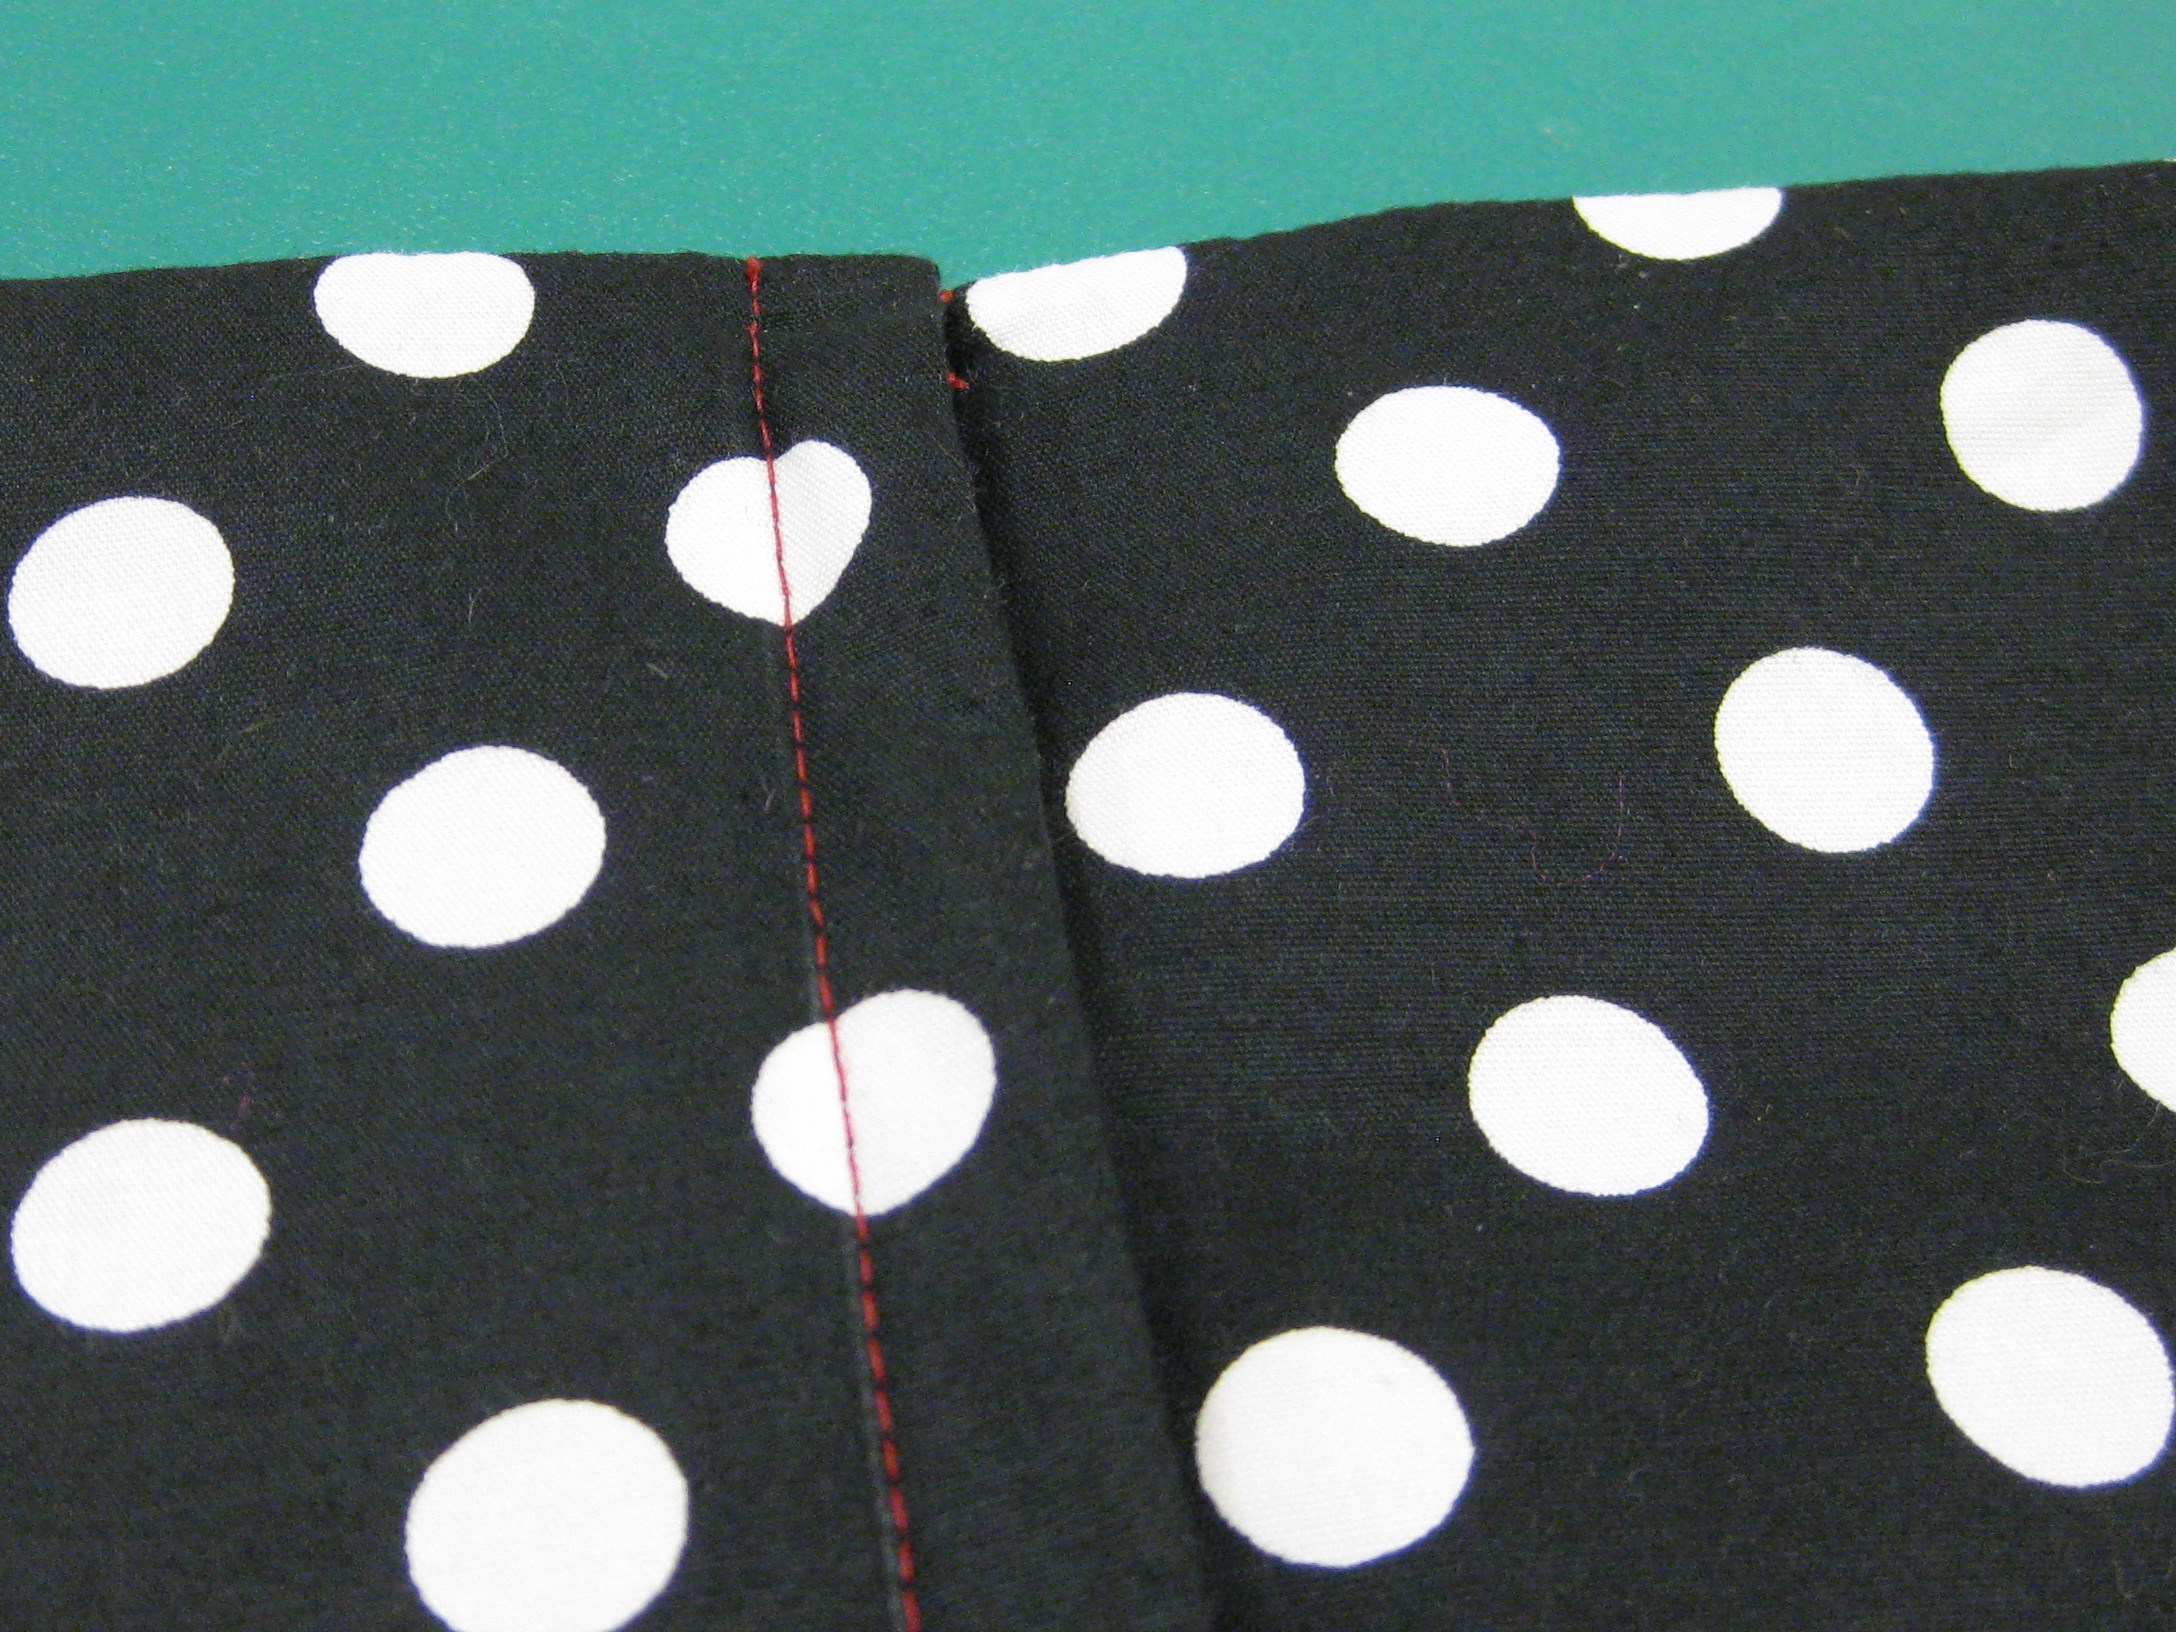
Close the zipper and turn to wrong side of garment piece. Usually I have seen instructions to sew from the exact place that the stitching finishes when closing the remainder of the seam. However, this does not allow the fabric to roll as it does along the length of the zipper and often leaves a small gap revealing the zipper teeth.
To avoid this, I use a technique I learned from Claire Shaeffer’s “High Fashion Sewing Secrets which gives an excellent result, making it difficult to see where the zipper ends on the face side of the garment.
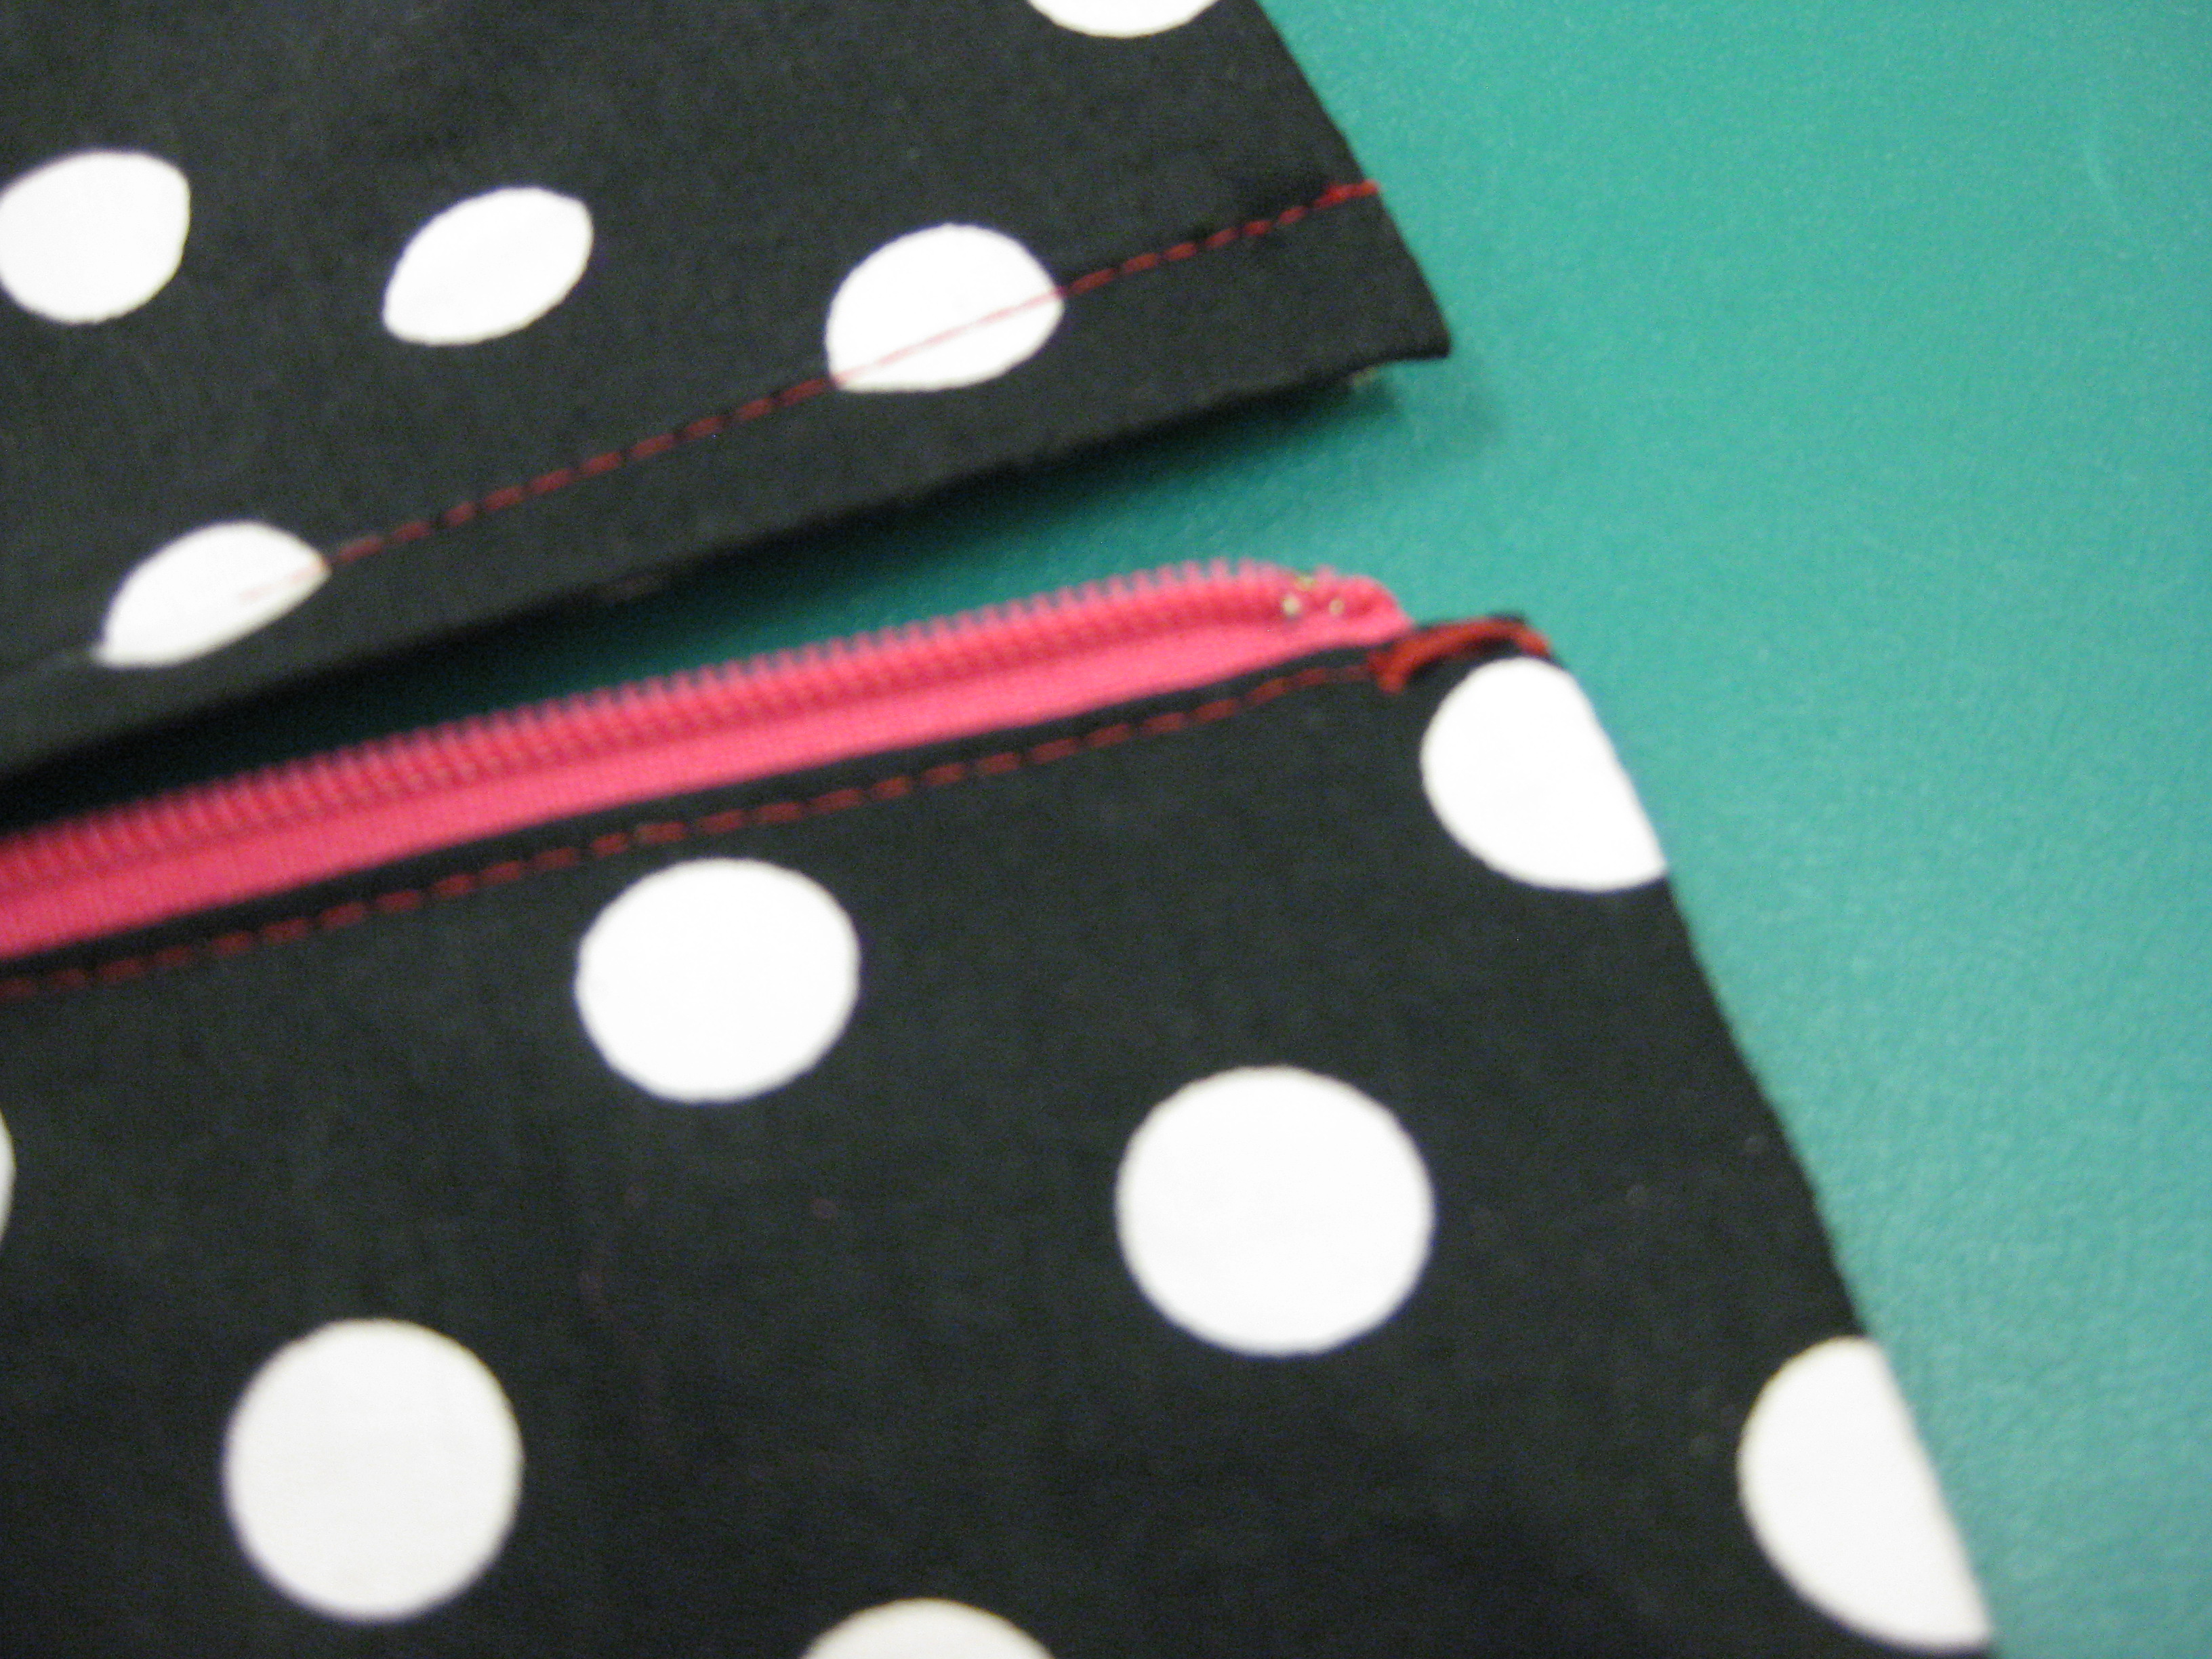
Place a pin beside the zipper stitching approximately ¼” /6mm above the end of the stitching.
Using regular zipper foot to the left, bed the needle in the point marked by the pin; remove the pin and lower the presser foot.
Stitch the seam, beginning just above the end of the zipper stitching for a distance of about 3mm – hold the ends of the zipper to the right for a smooth seam.

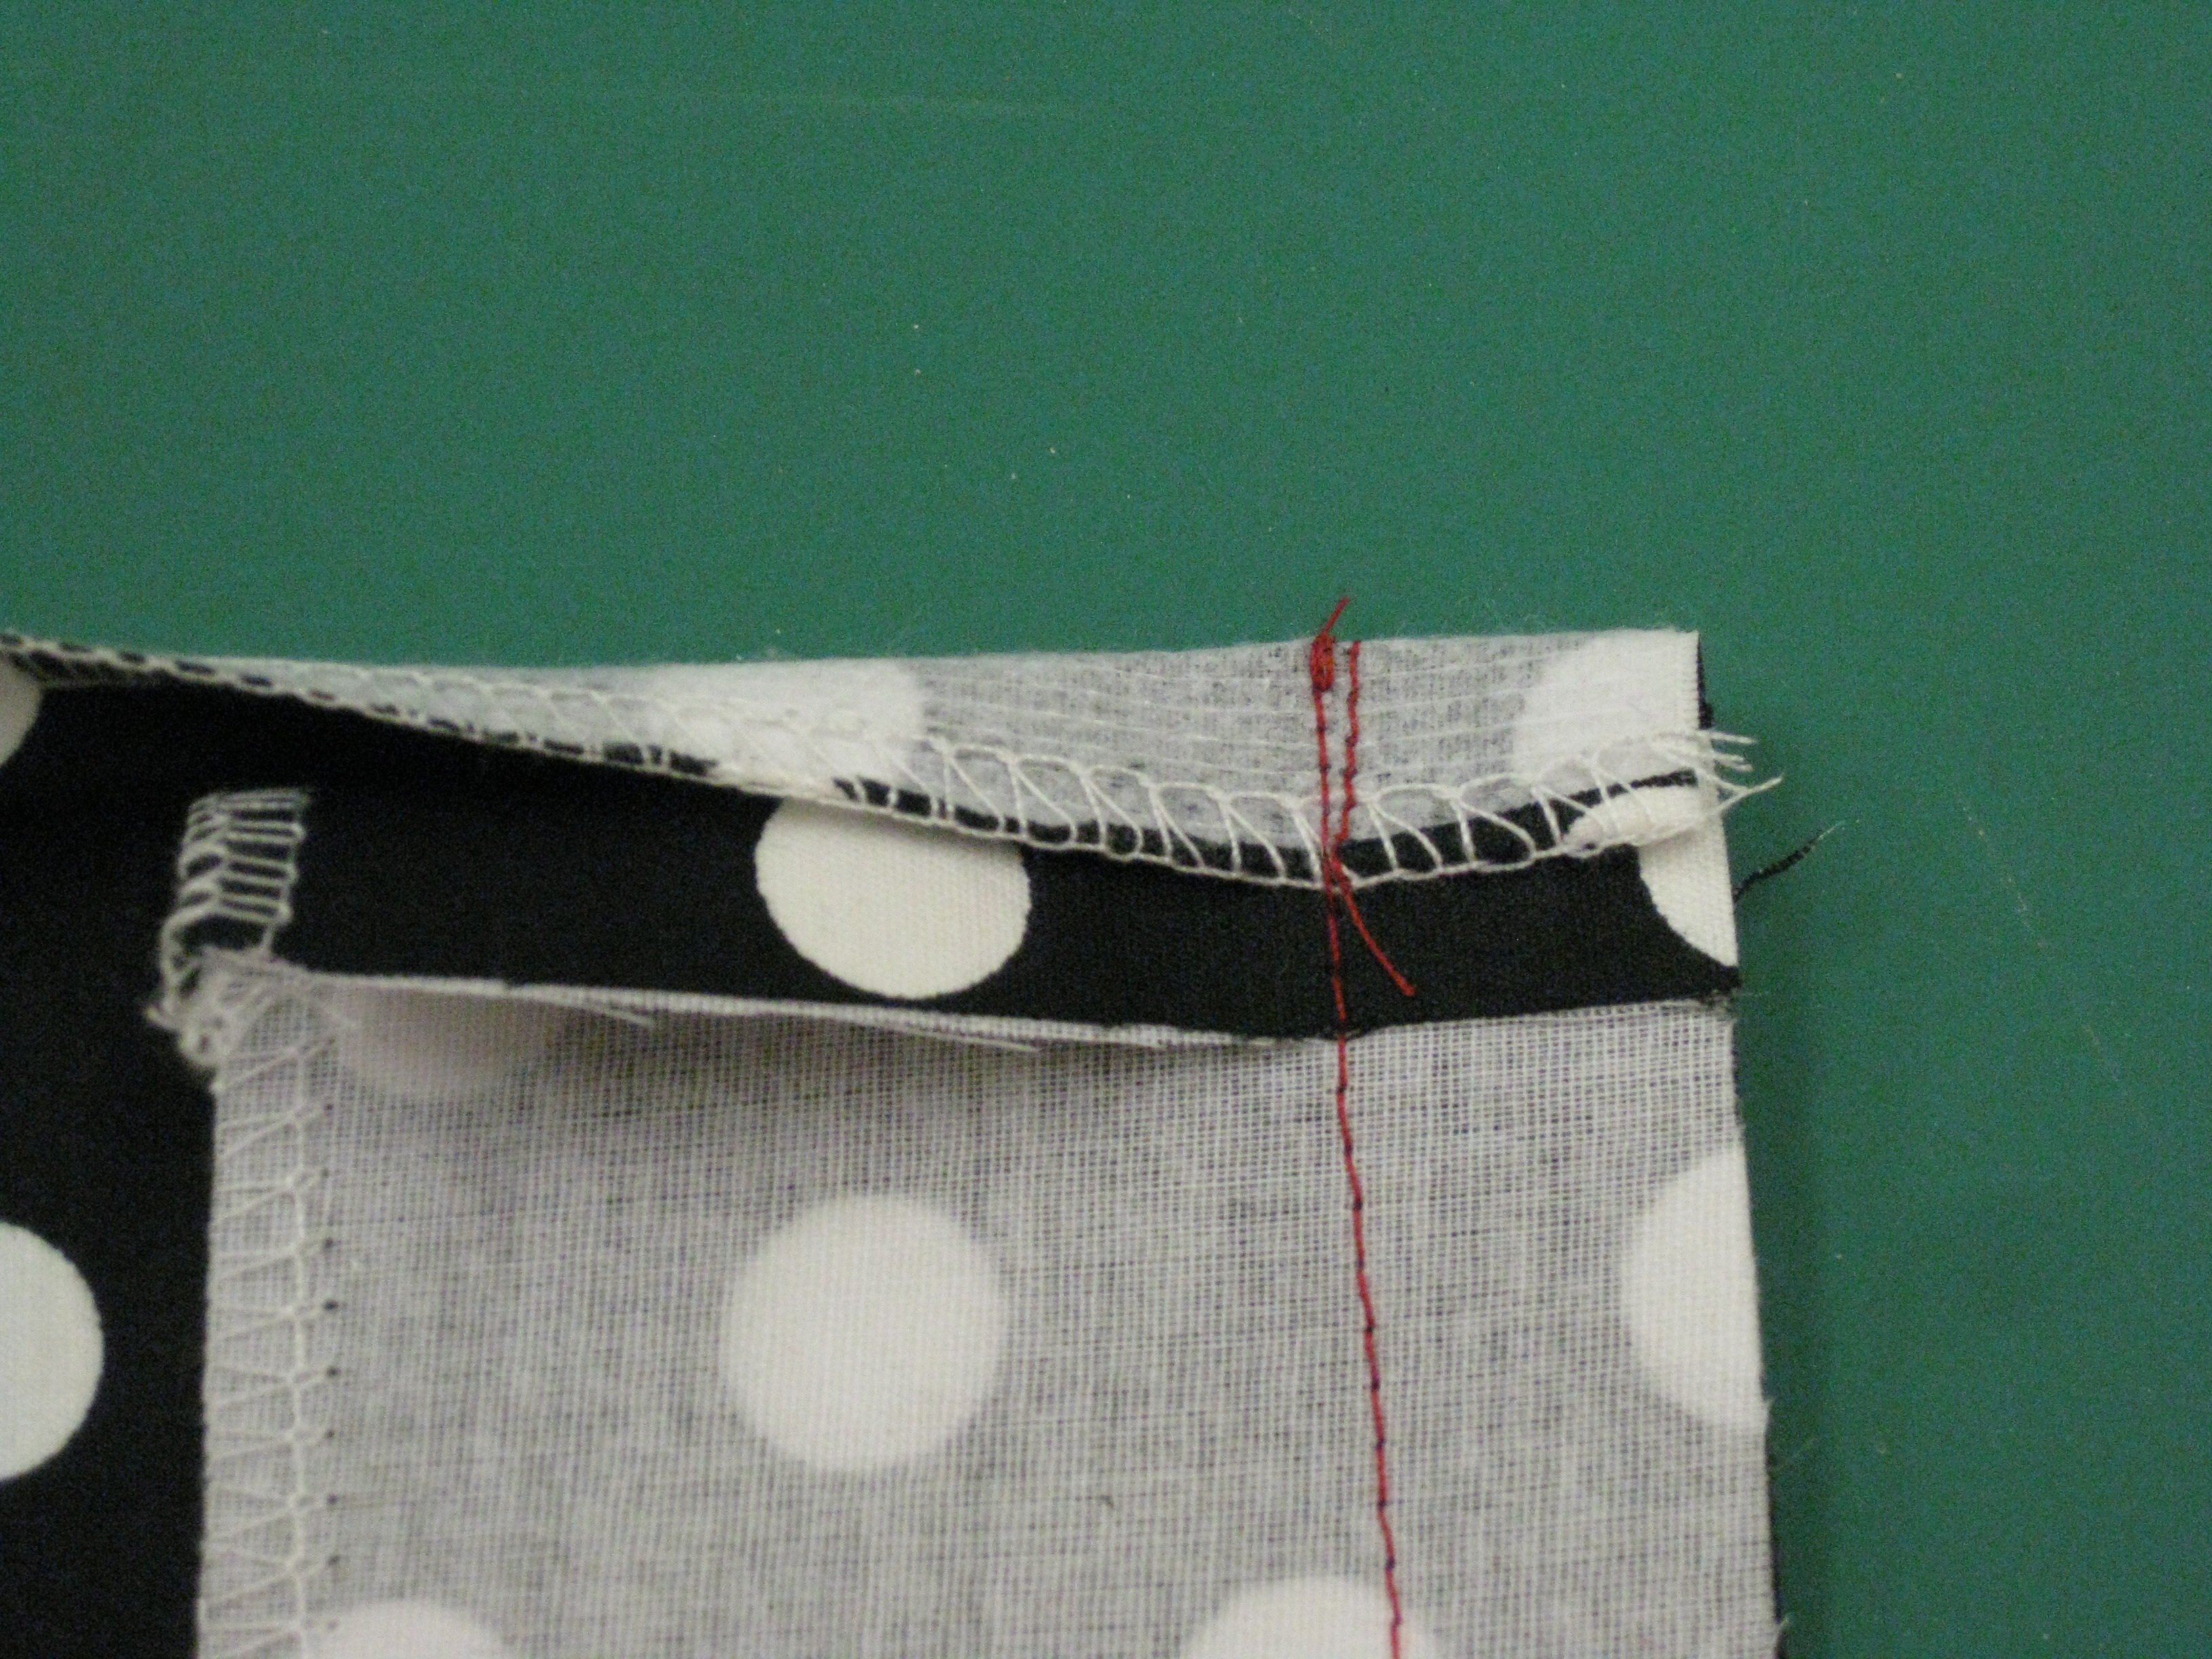
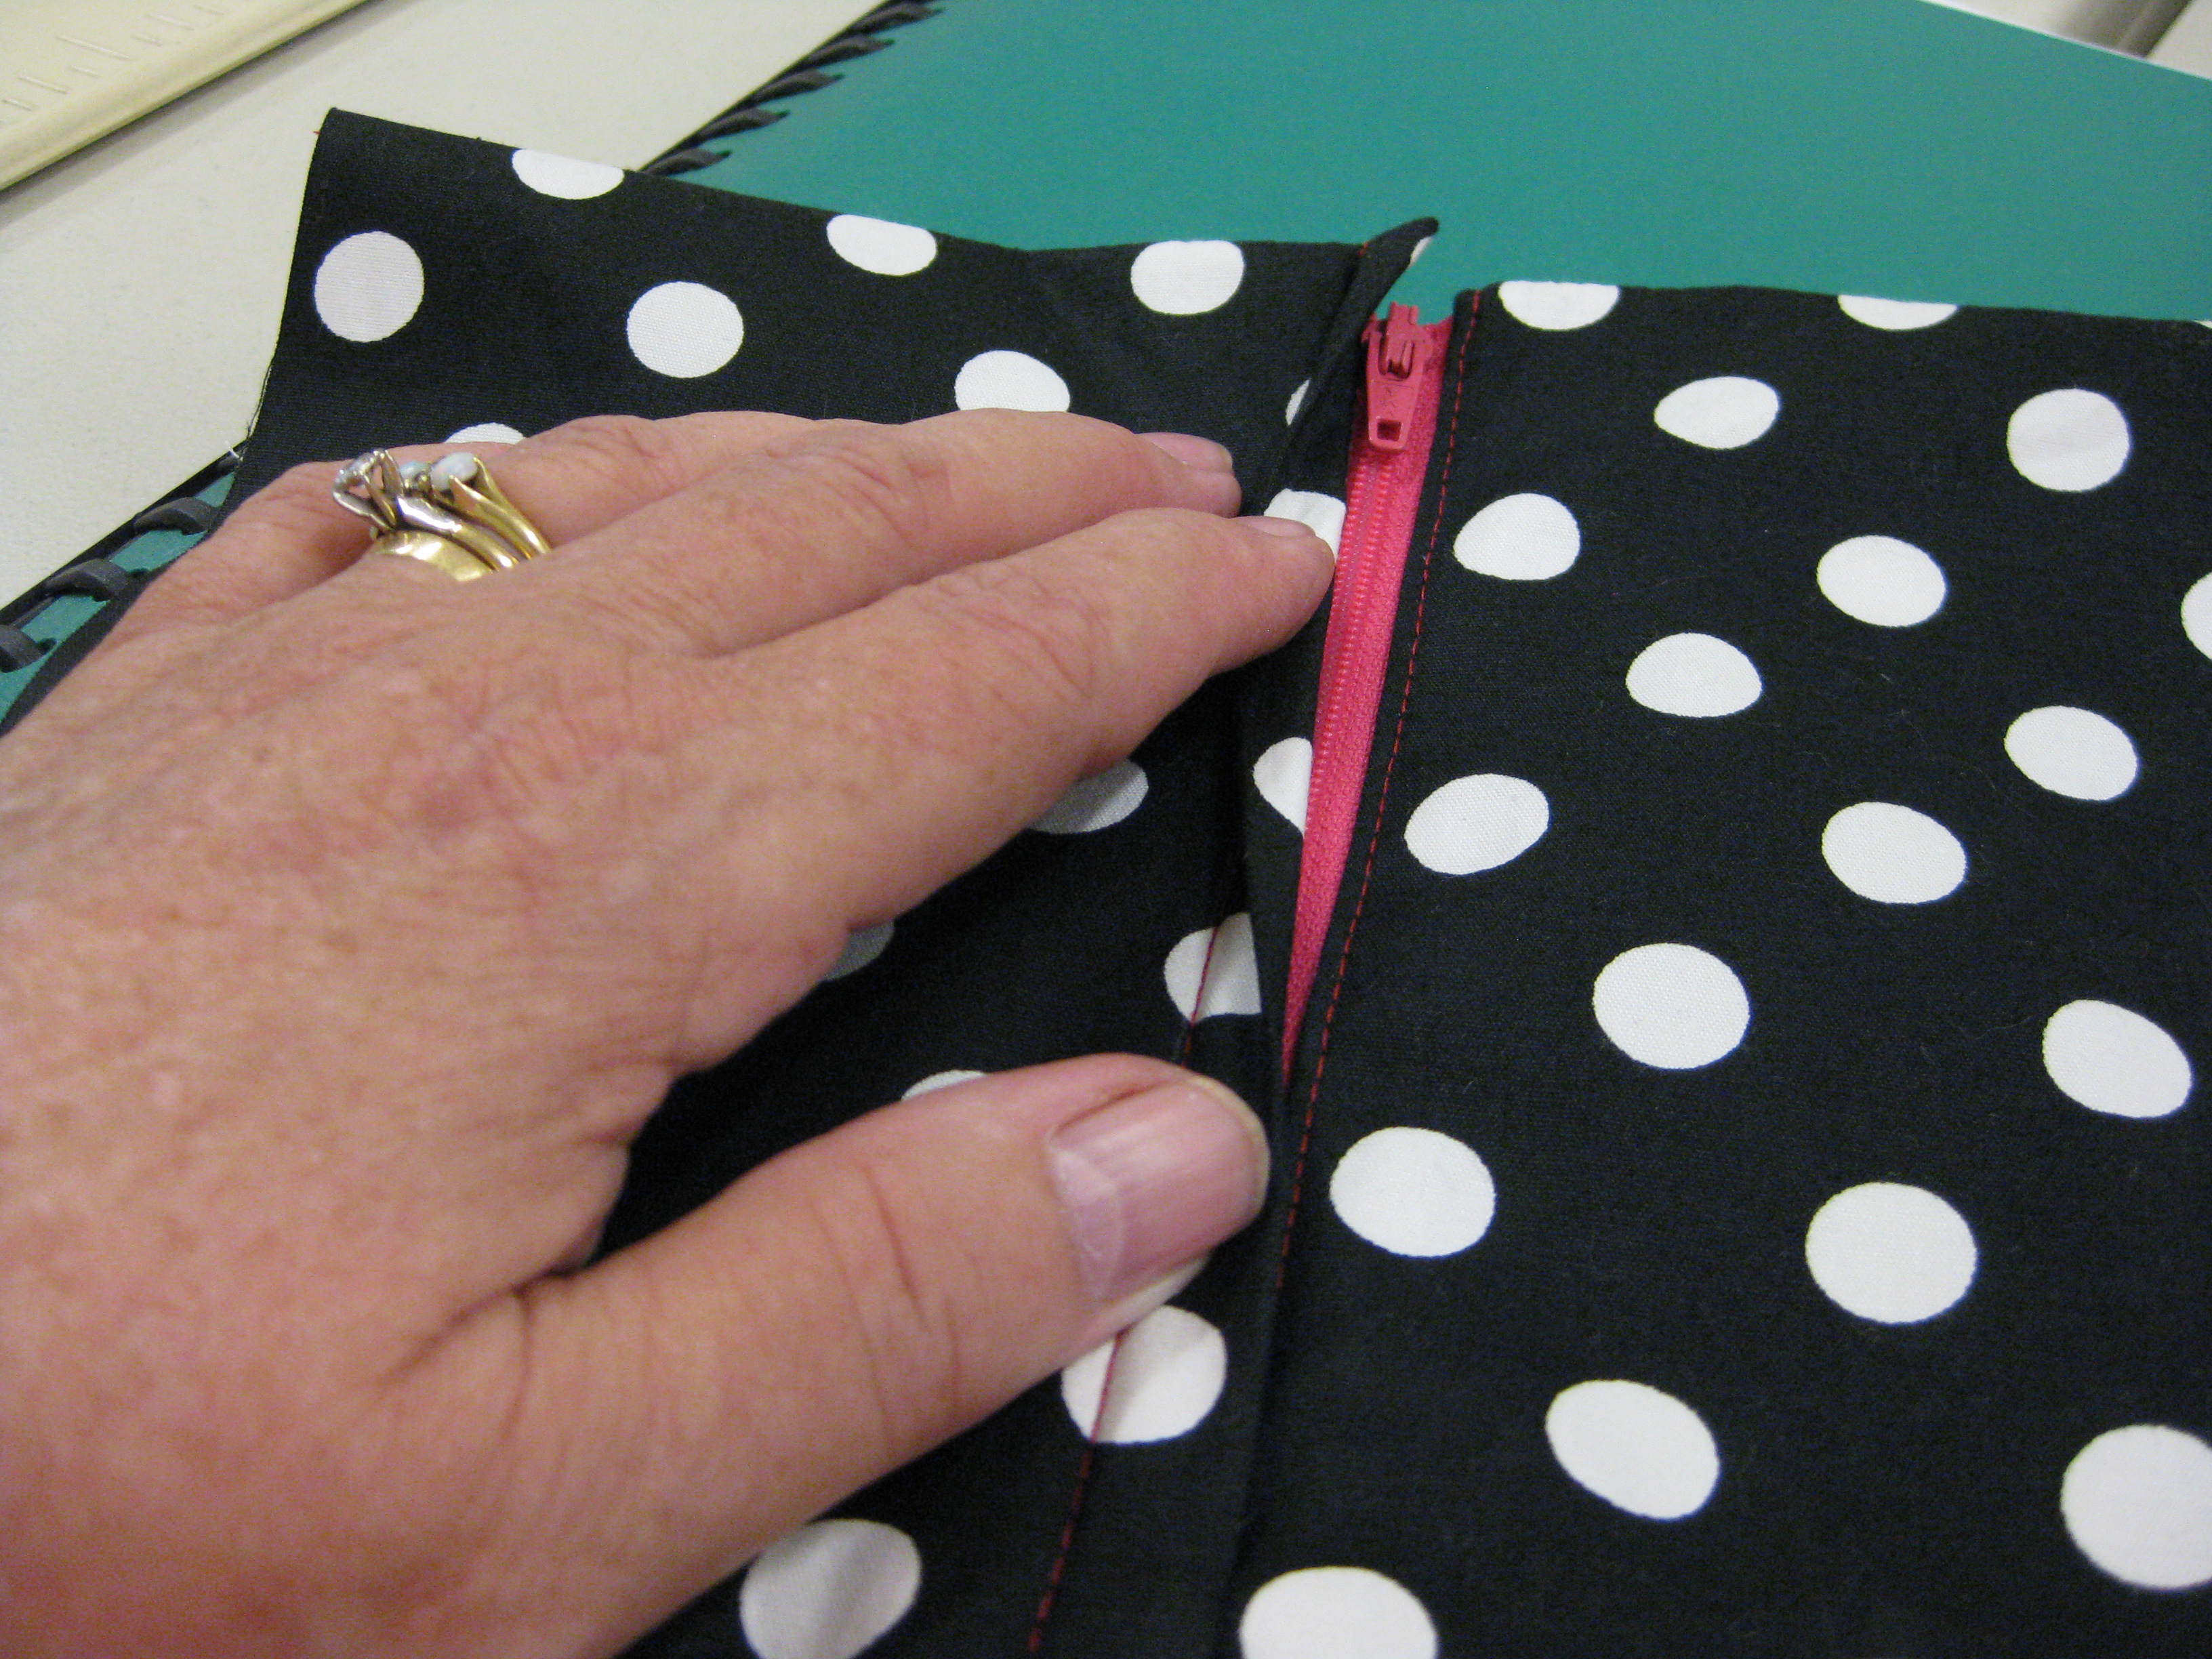
From the right side, the end of the zipper is difficult to detect.
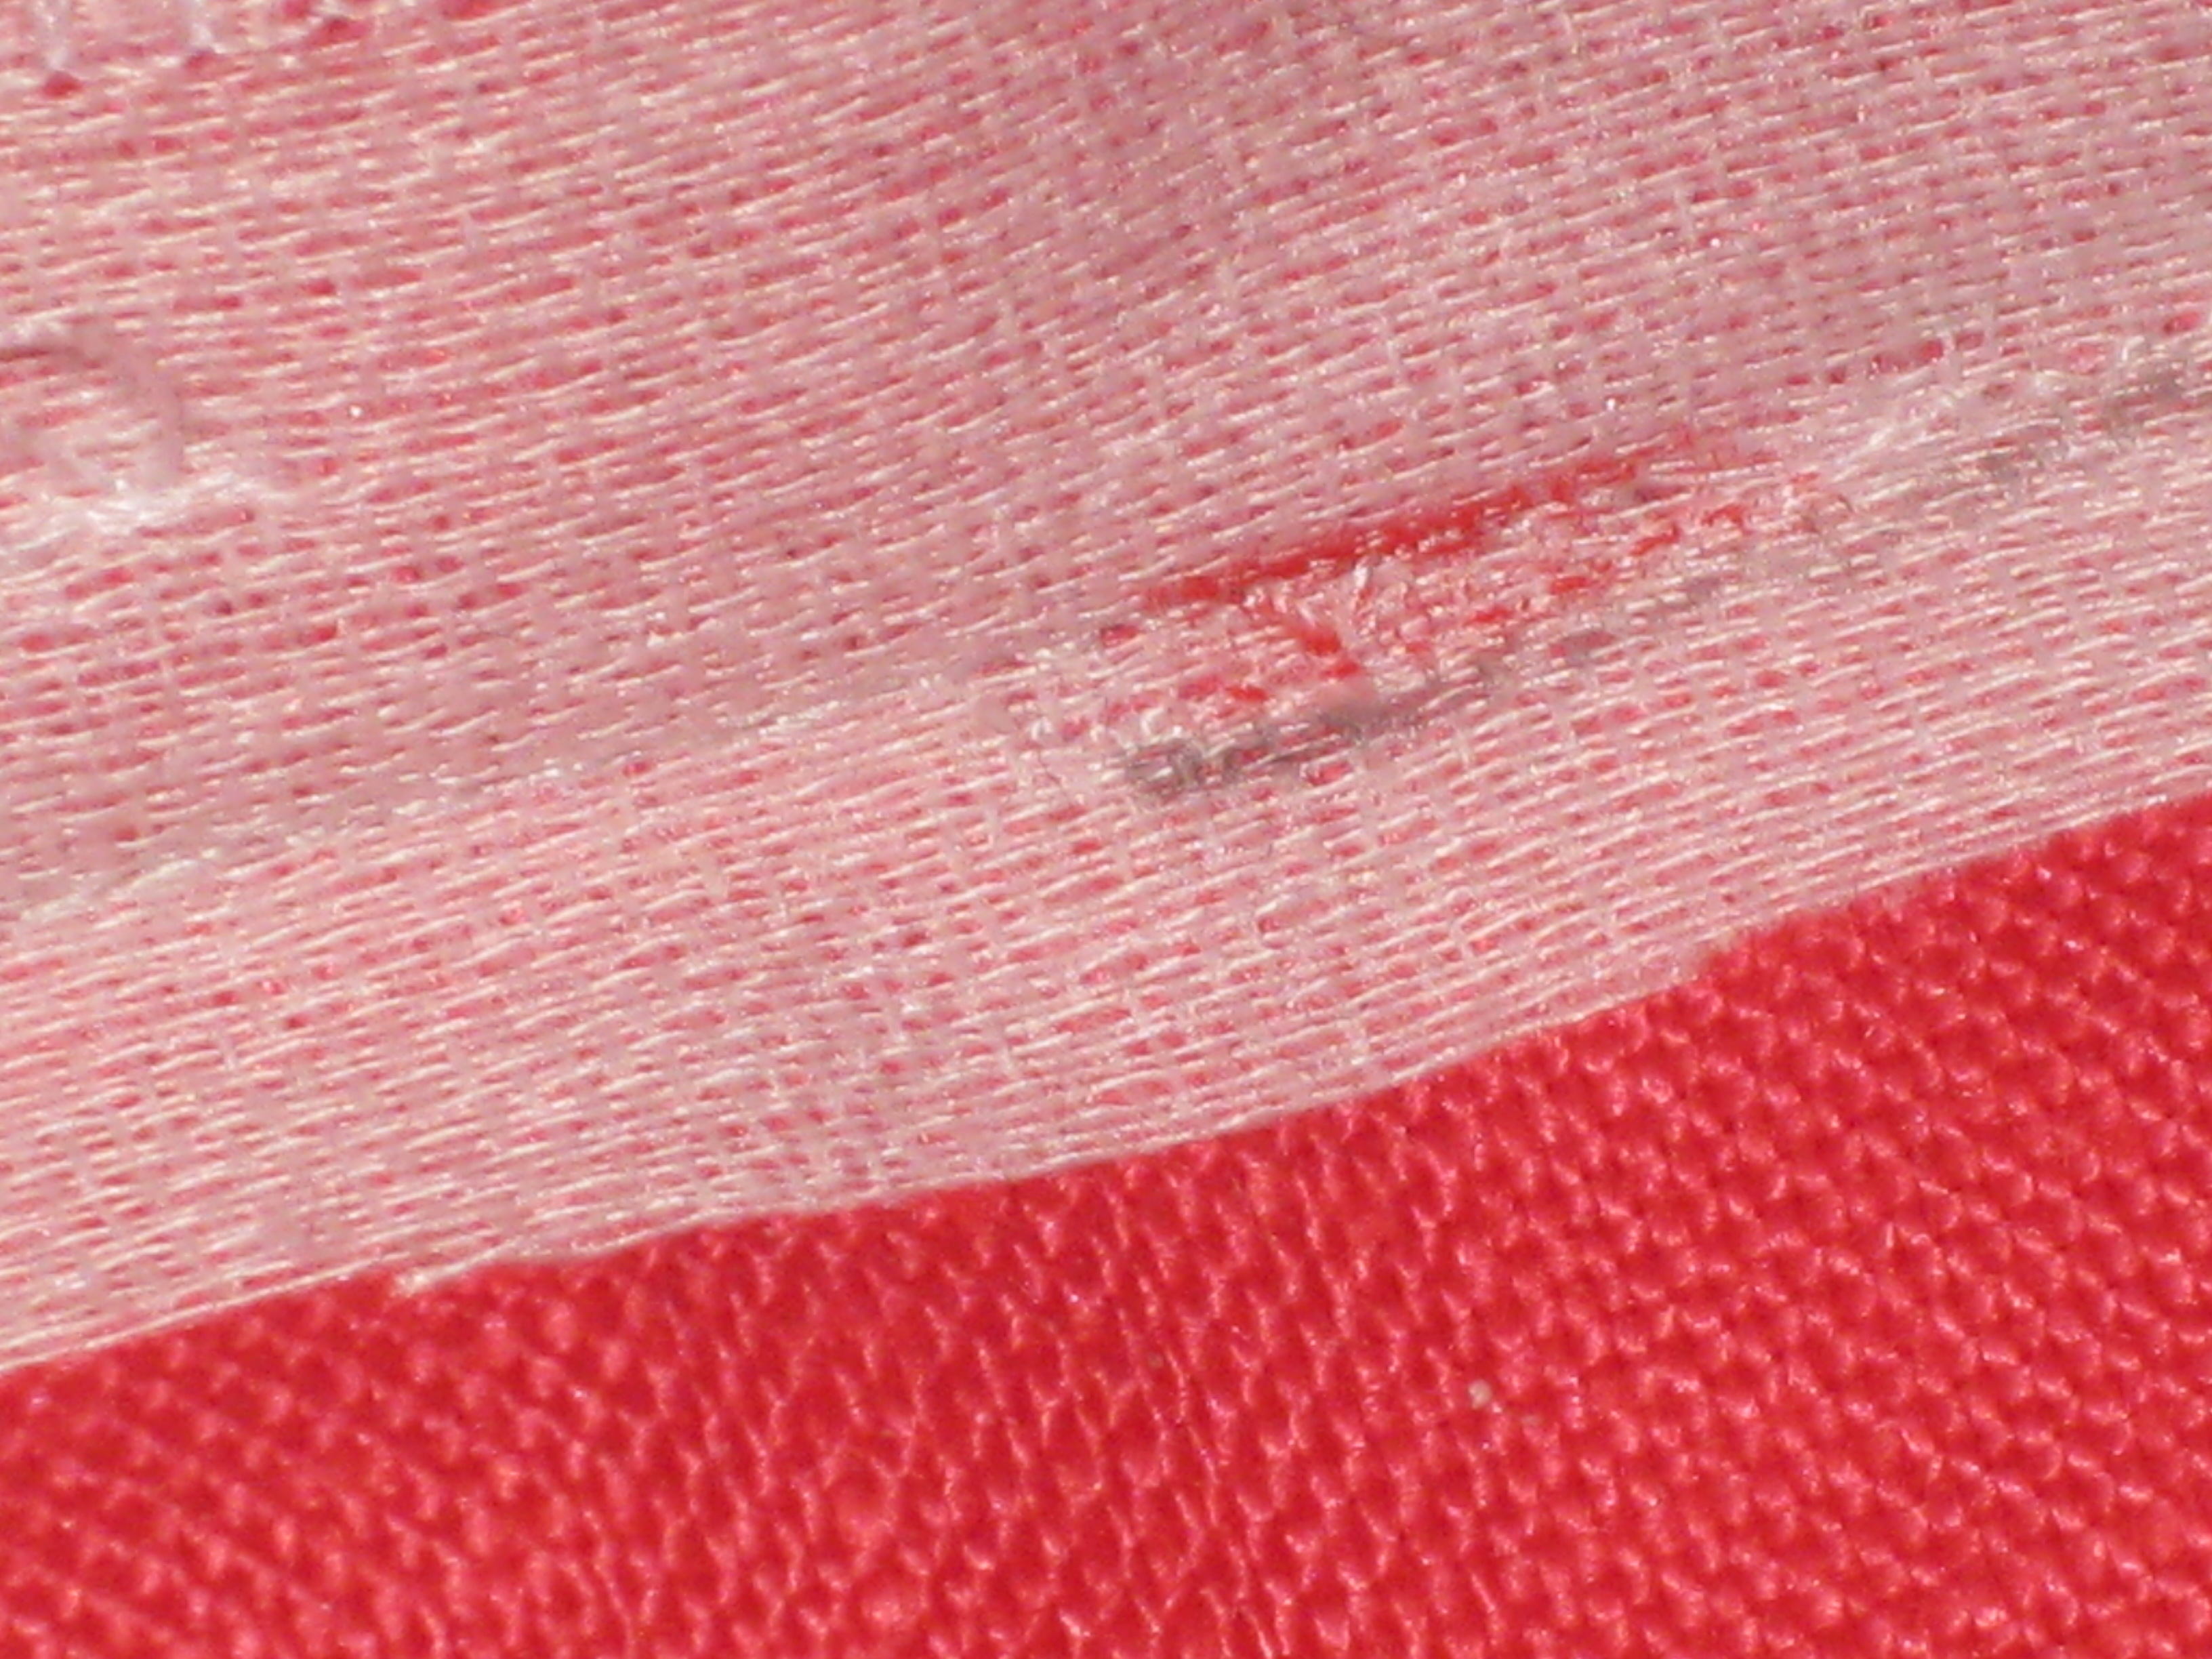
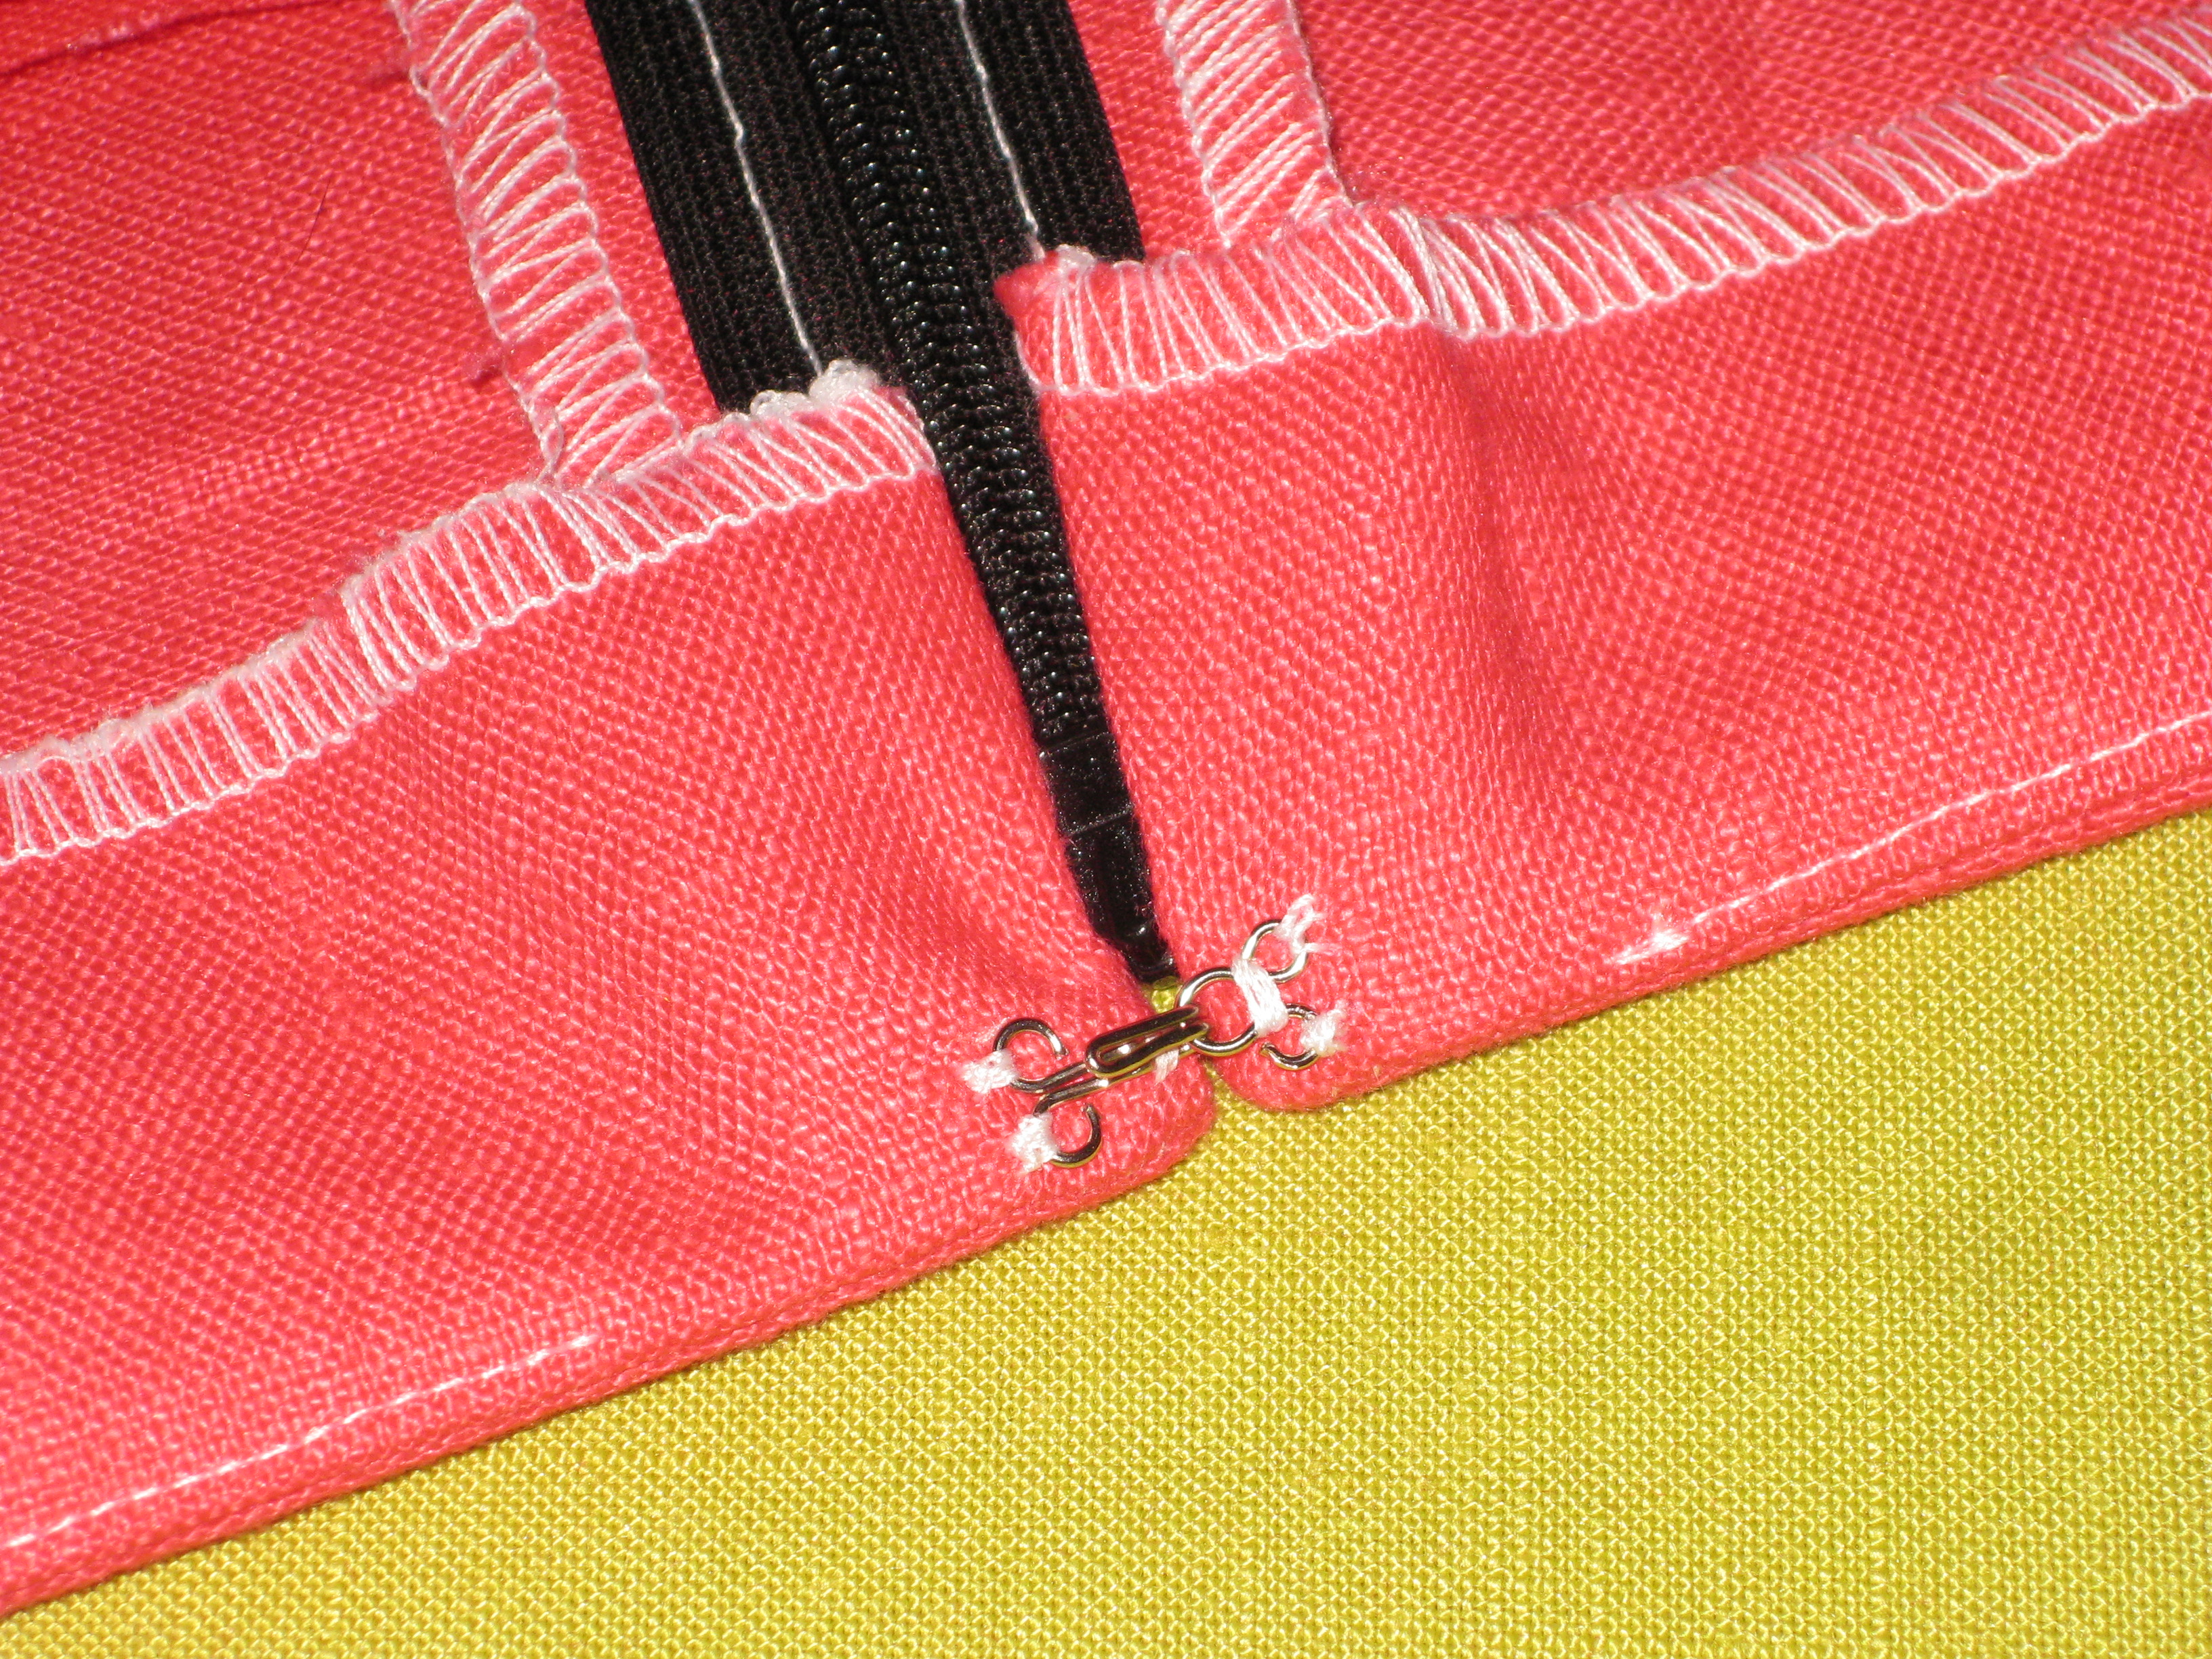
Red mark indicates the bottom of zipper stitching. Grey mark indicates start of stitching to close remaining seam.
Stitch remaining garment seam (direction should be hem towards neckline/waist).
Stitch tapes of zipper to seam allowance so they will not flap up.
Stitch ends of tapes to seam allowances so they will not flap up.
Fold down the tapes at the top of the zipper and stitch them in place by hand.
Facings with Invisible Zippers:
With an invisible zipper, facings can be applied after the zipper has been inserted.
Stitch the facings in place right to the cut edge at the centre back.
Facing stitched to the edge – zipper tapes are not caught in the seam.
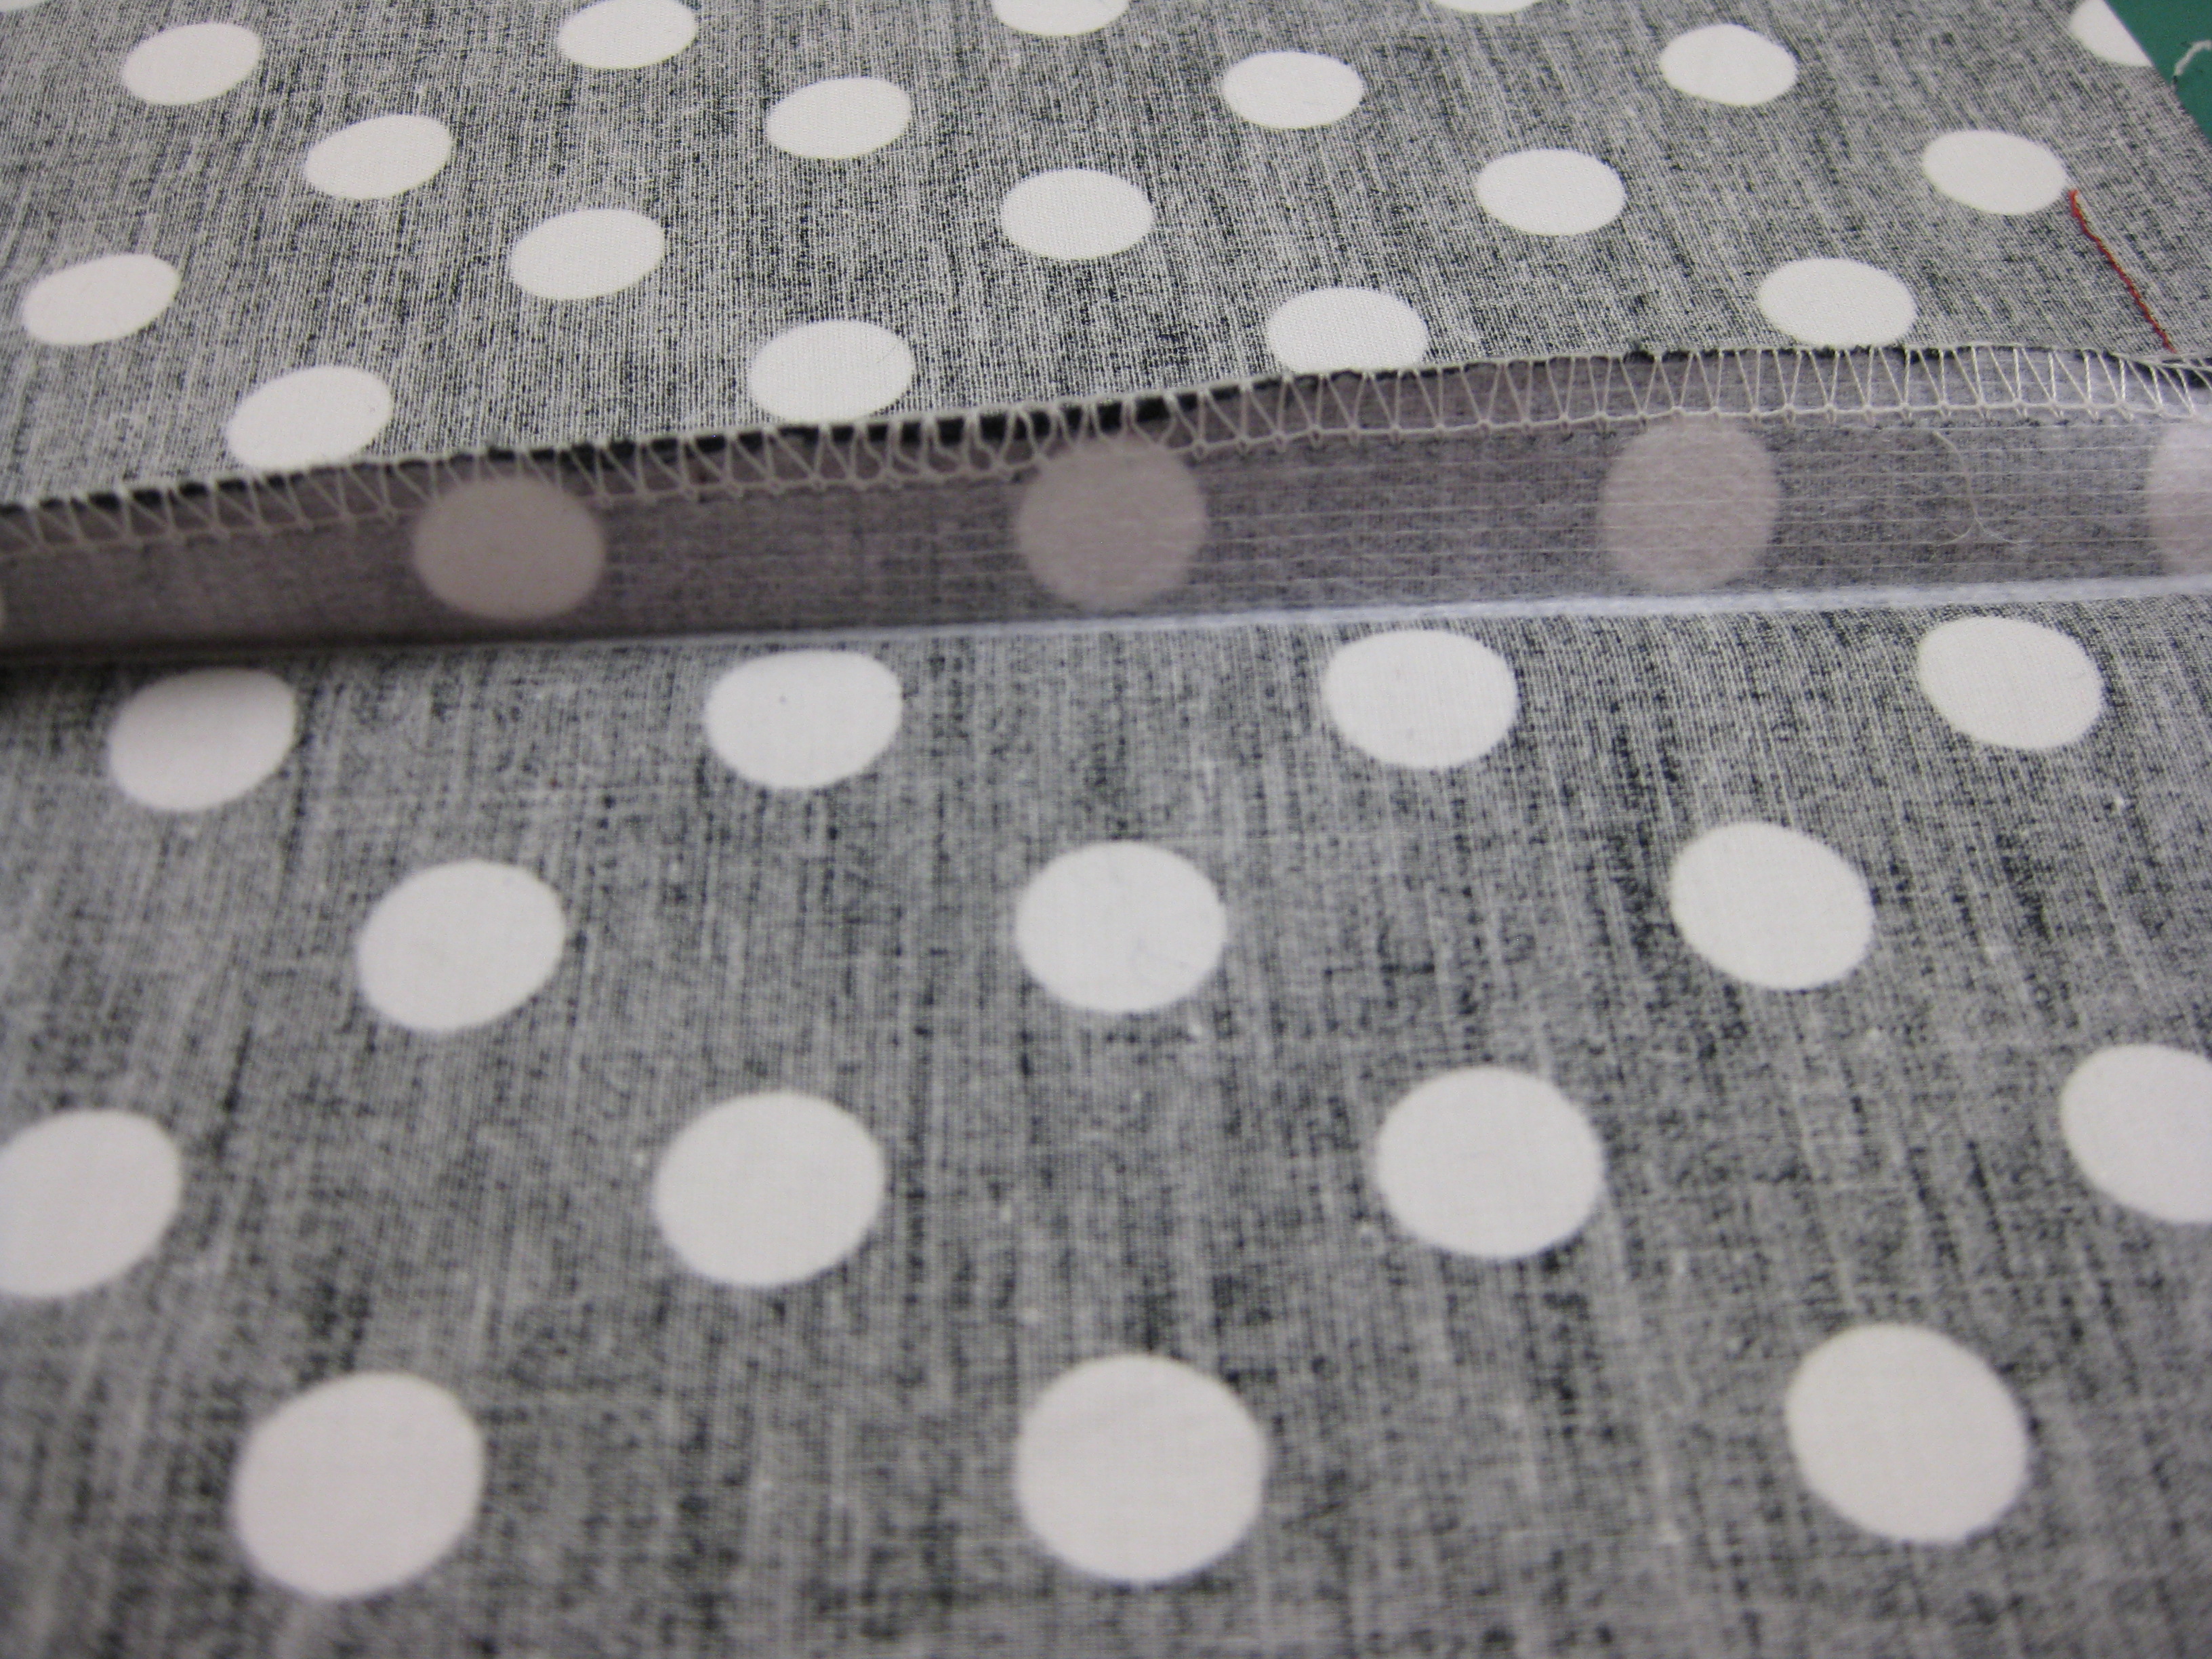
Trim seam allowance and understitch the facing, stopping about 5cm/2” from the edges.
Facing stitched to the edge – zipper tapes are not caught in the seam.
Place facing over the zipper and stitch beside the zipper teeth.
Attach zipper foot and stitch from the facing seam line along the inside of the seam allowance and close to the zipper teeth.
I have always been disappointed with the top of the zipper stops showing.
The edges of the zipper stop remain visible above the pull – a little disappointing.
To make a neater finish have come up with the following method.
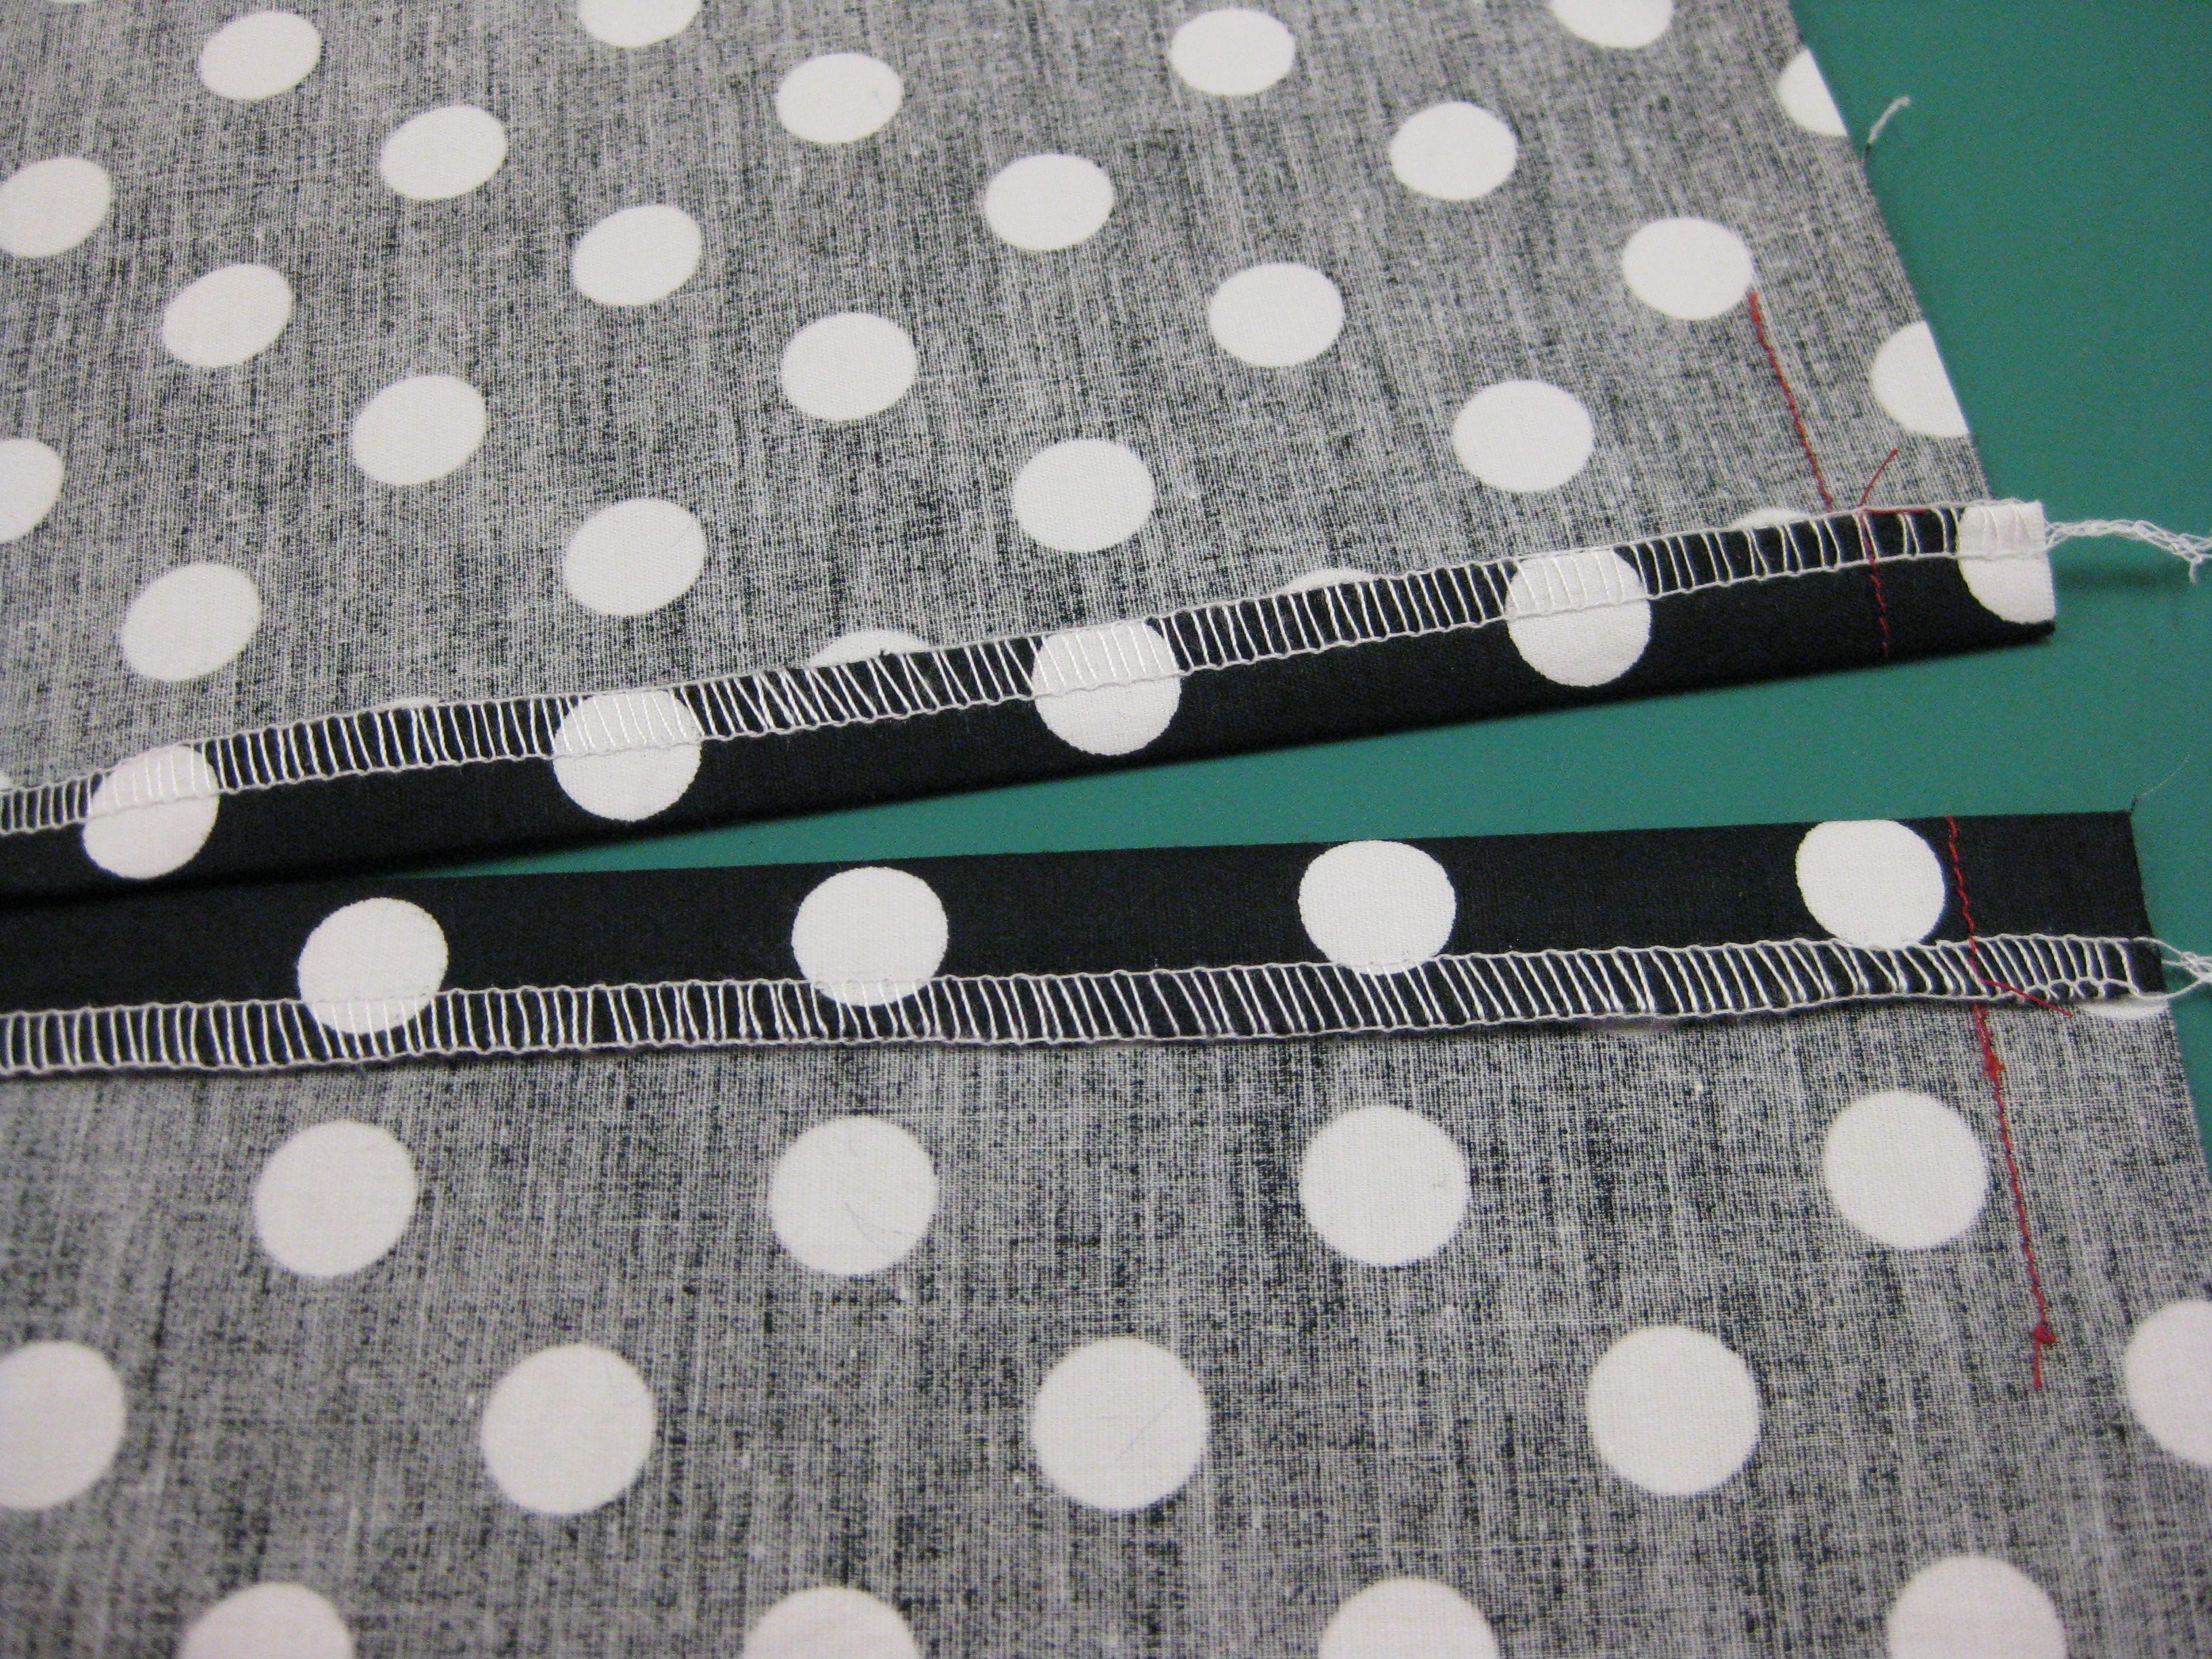
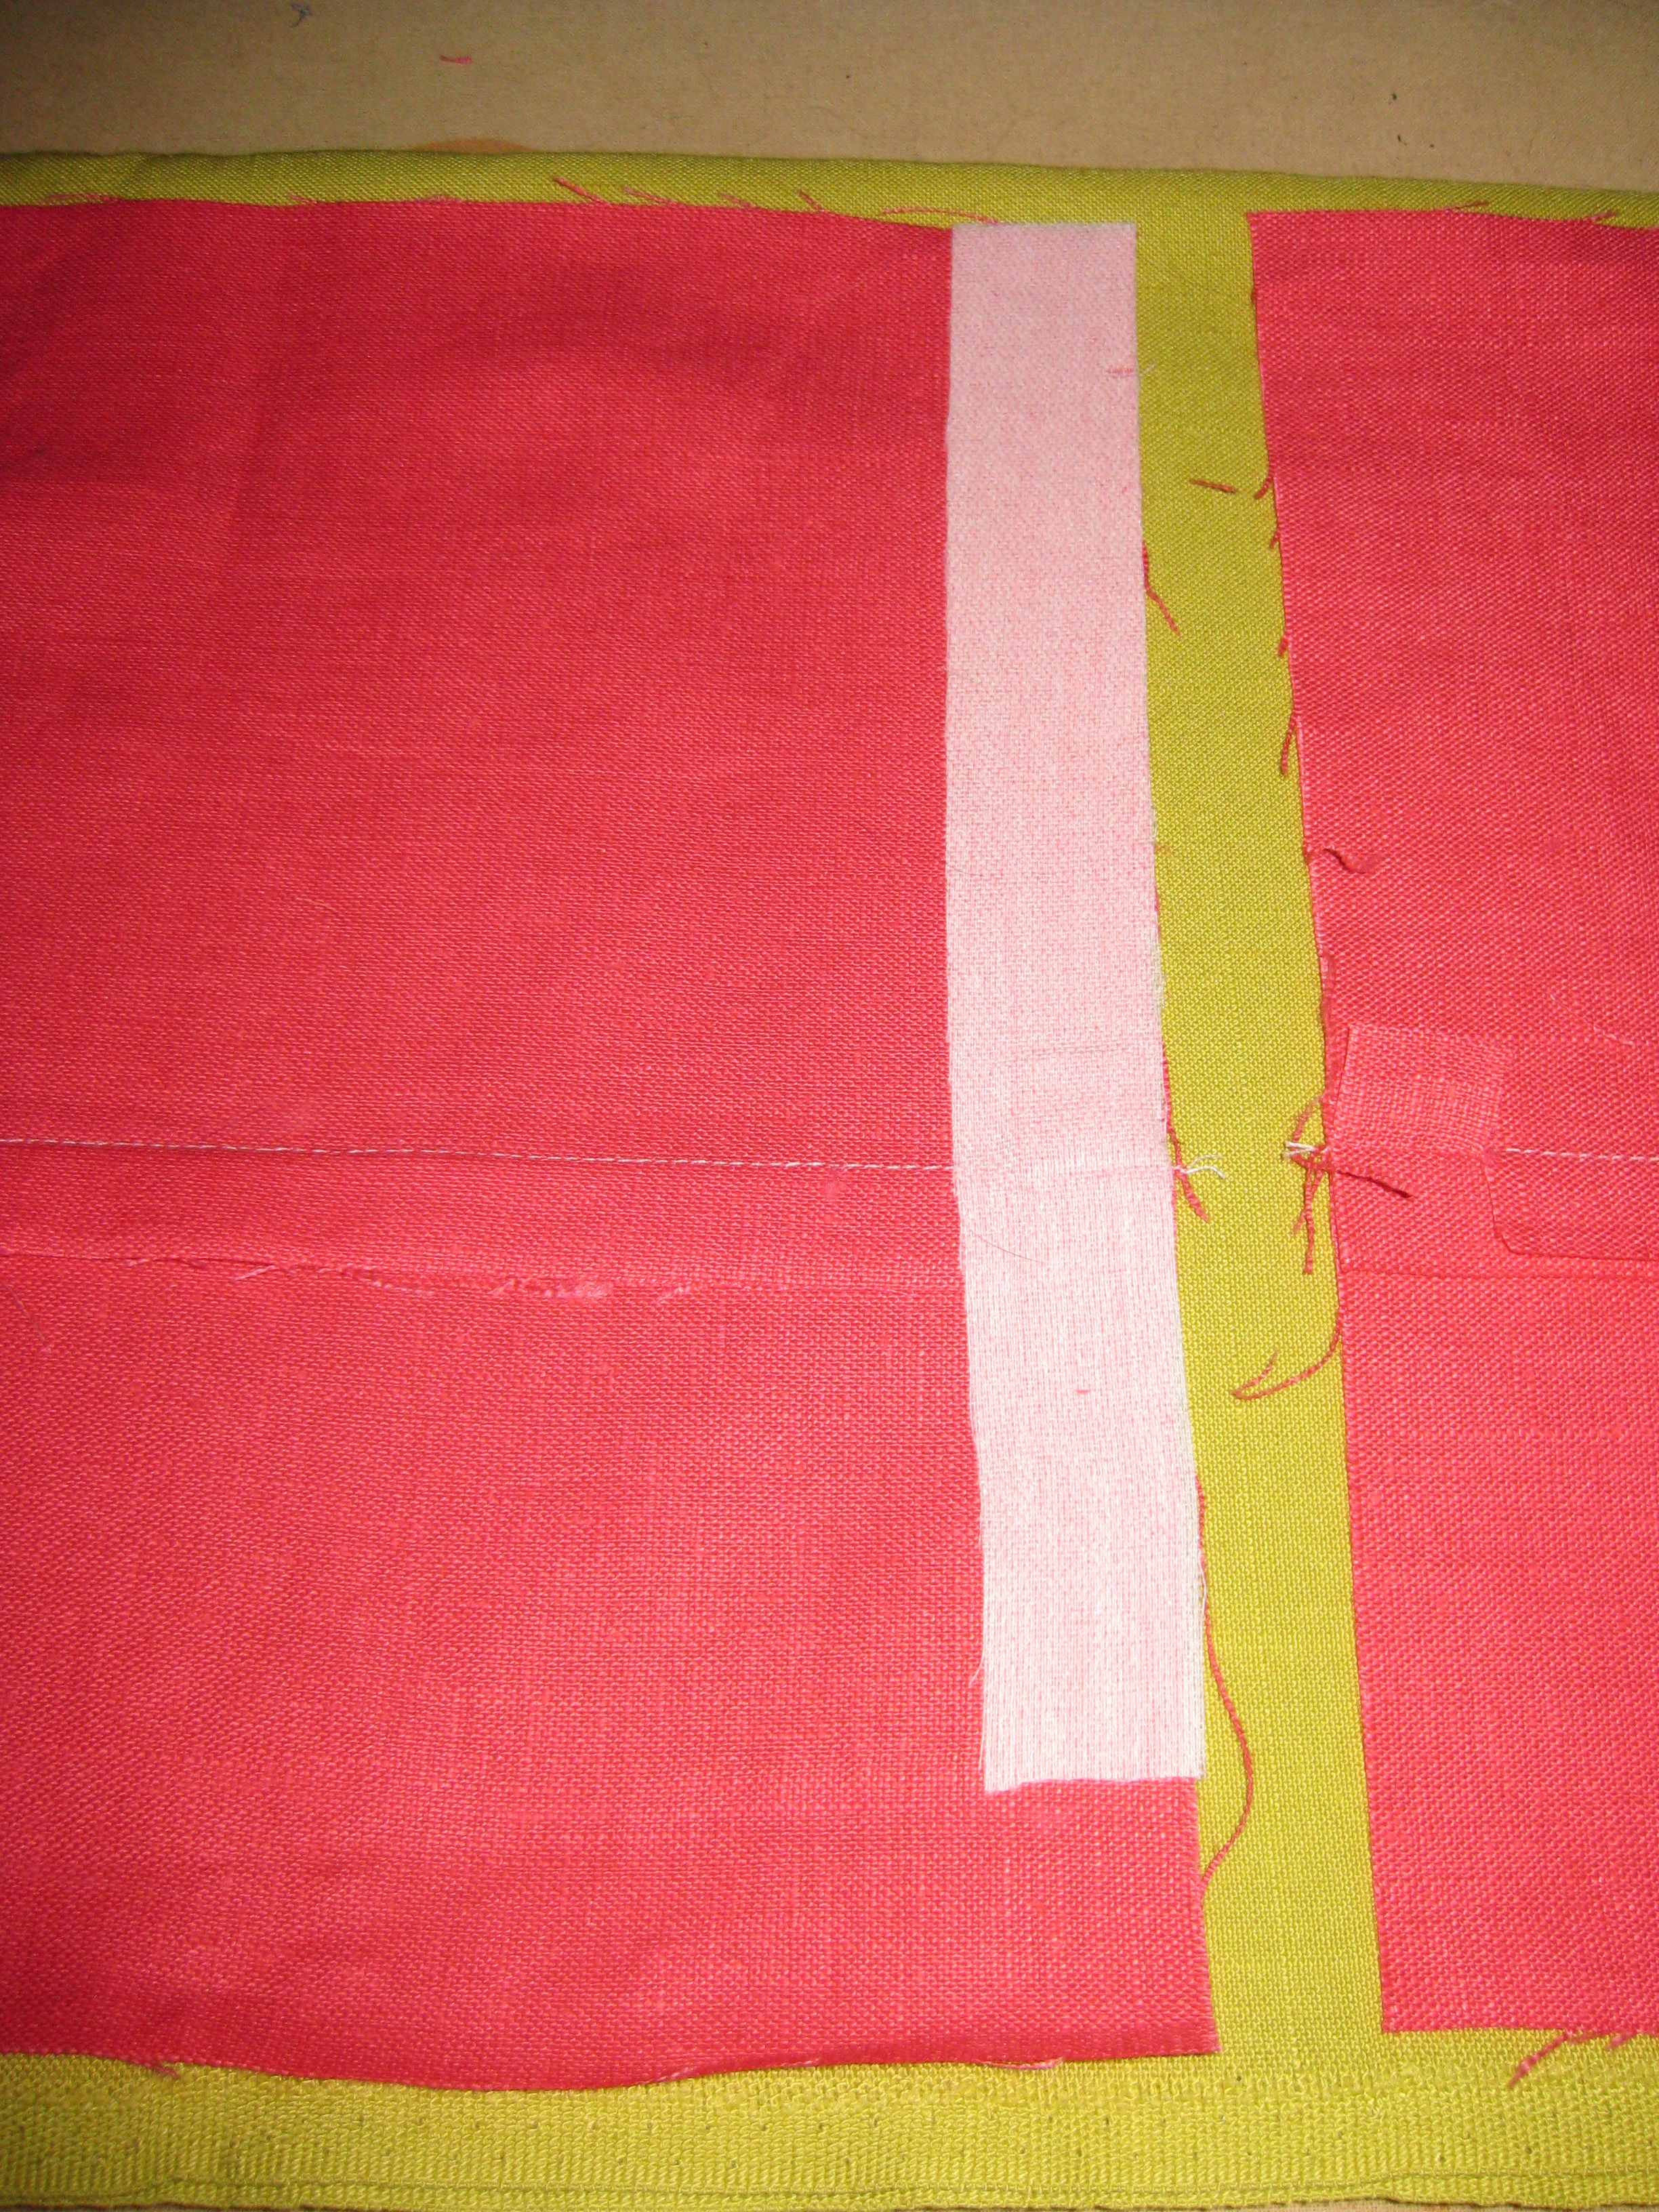
Once the facing has been stitched to the zipper tape and before turning the facing through, I make a small pocket on the garment side of the pull which will hide the plastic zipper stop. Stitch from just above the facing seam line to level with the bottom or the plastic zipper stop.
Stitching on the left is forming the pocket. Next stitching is attaching the zipper followed by stitching which attaches the facing and initial basting.
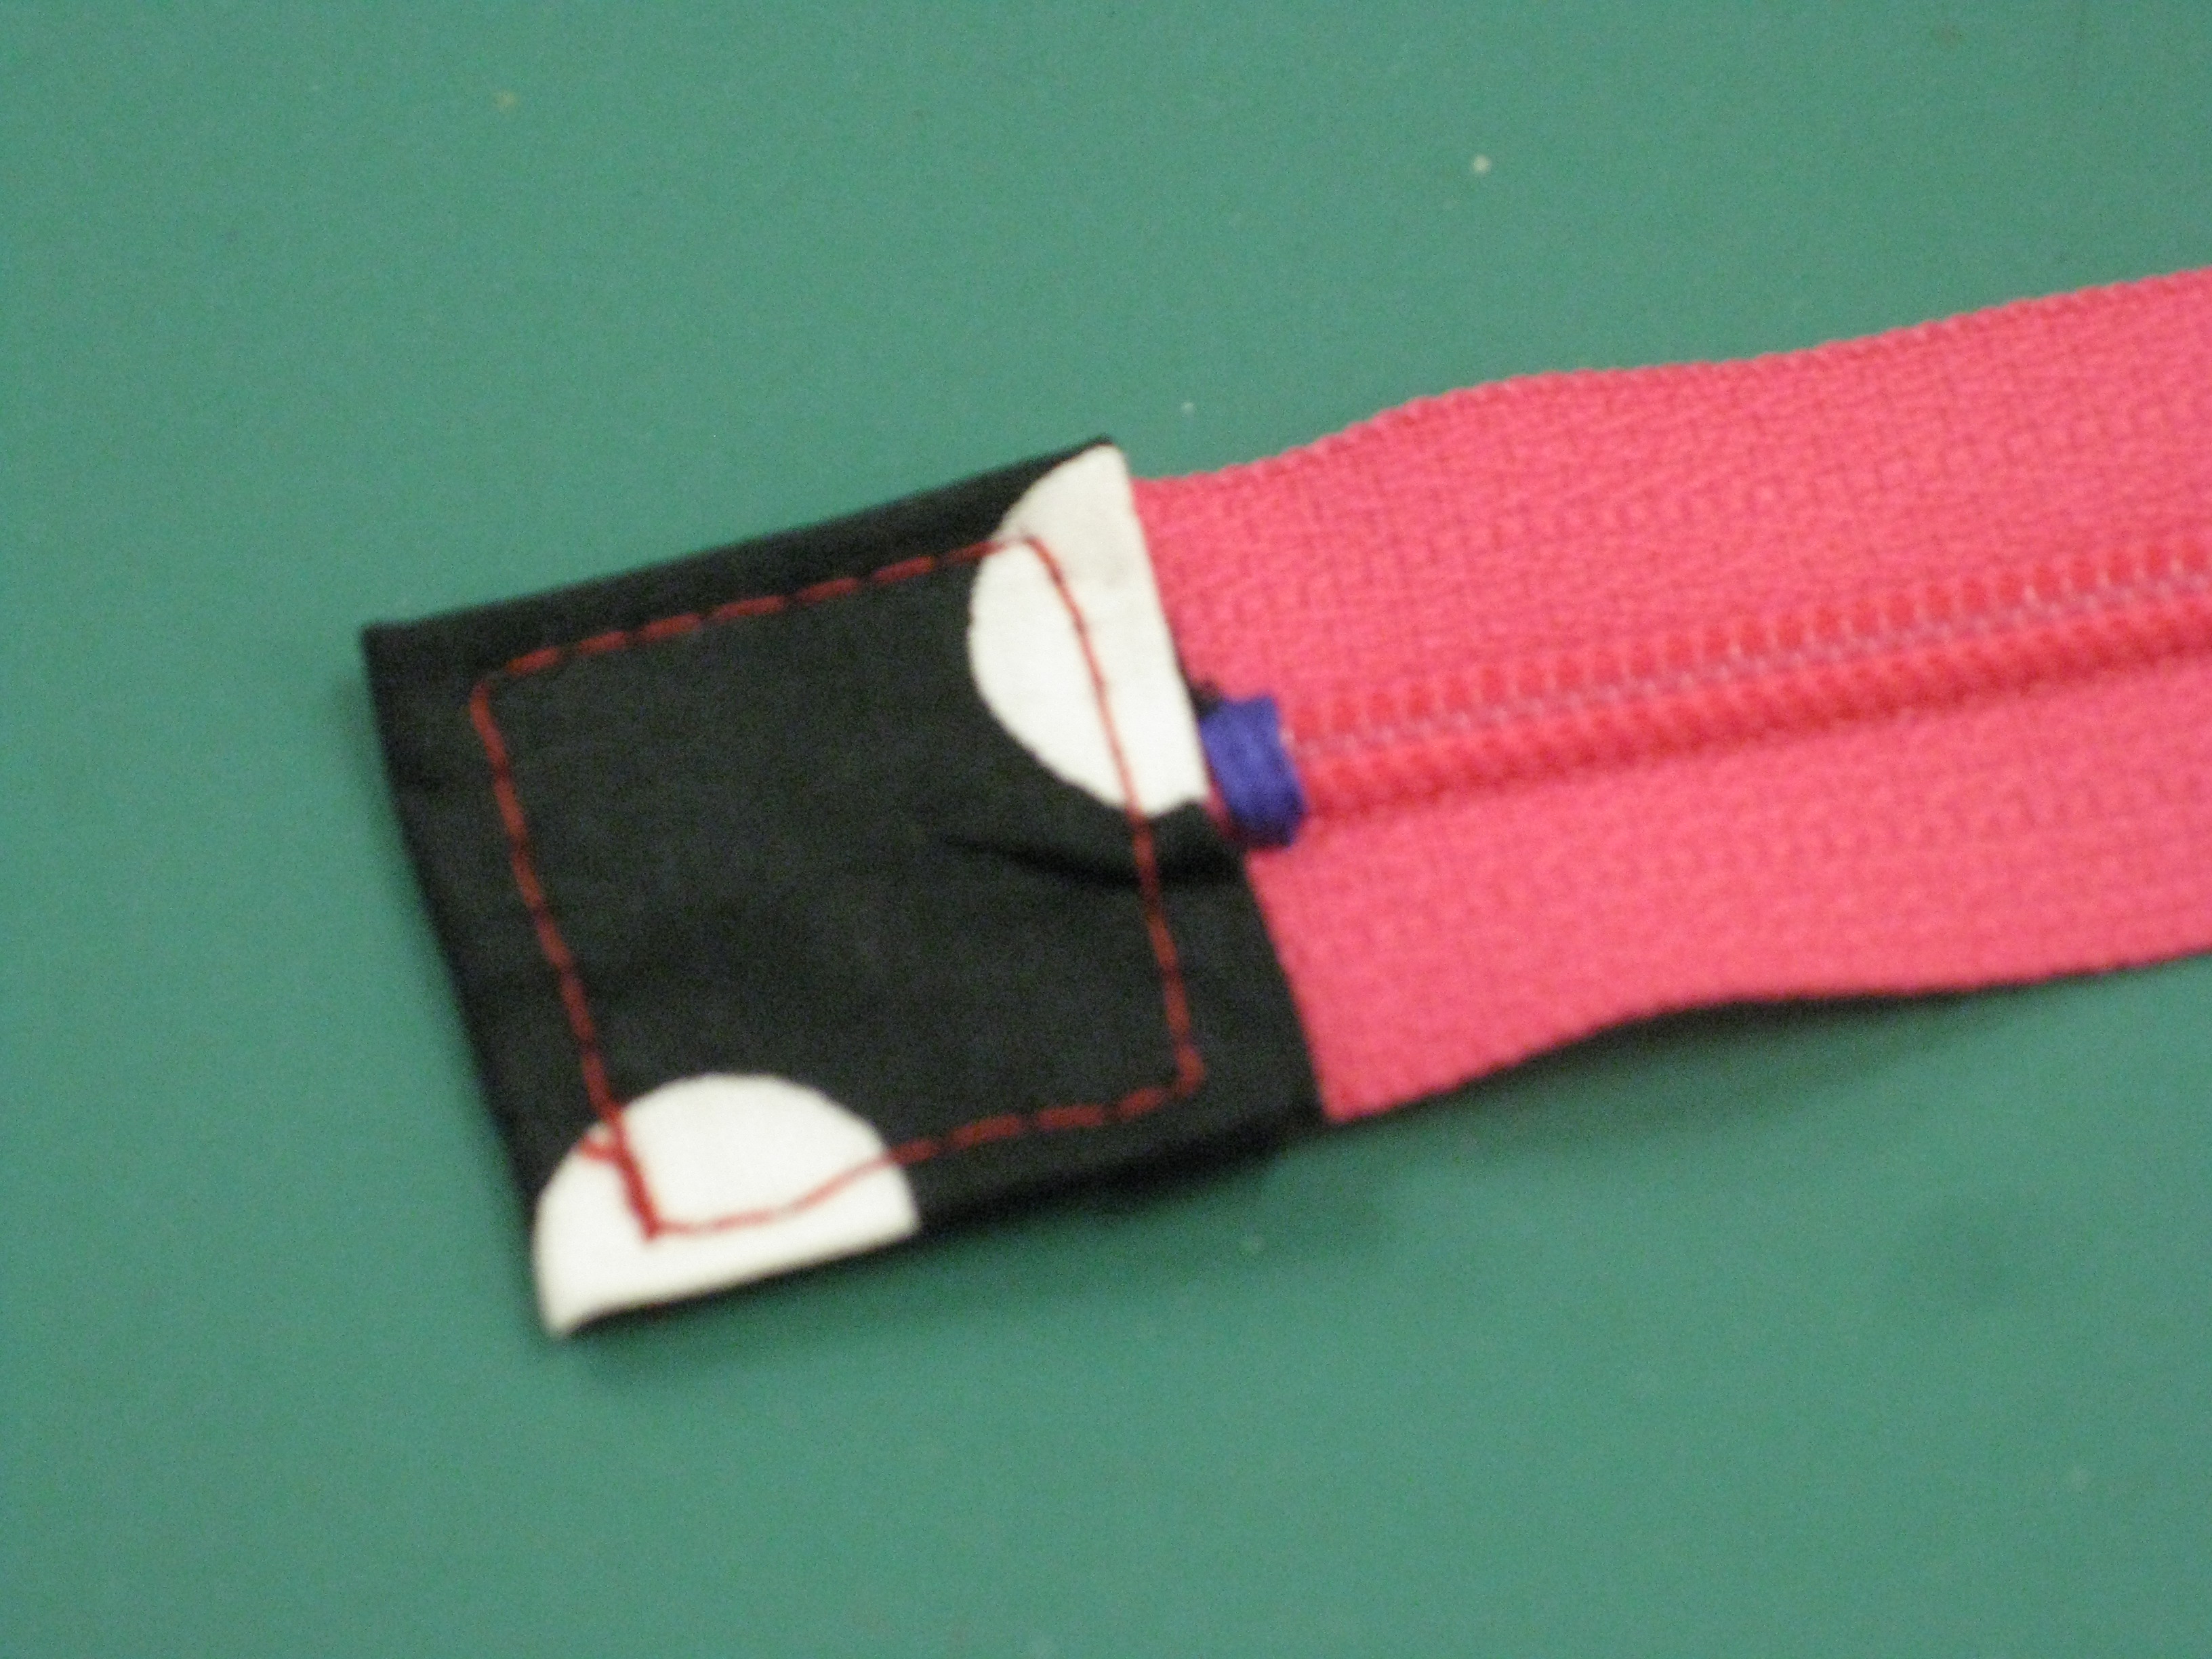
Clip the corner and turn through.
The zipper stops are hidden inside the pocket resulting in a much more polished finish.
Add a hook and eye and the installation of the zipper is complete.
Add hook and eye and hand stitch the bottom of the facing to the seam allowance.
As you can see, adding this last step means that your zipper opening features a soft roll of fabric covering the teeth along the whole length of the zipper.
The perfect result.
I hope you will give this method a try and let me know what you think.
Next week I will cover the insertion of a fly zipper.