Portions of this article were first seen in Dressmaking with Australian Stitches magazine – Volume 21 No 11.
Permission has been sought and granted for electronic use and the photos and text remain the property of Alison Wheeler – Sewing Lady.
When asked about how a garment is coming along, how many times have we said, “It all finished except for the hem!” This is probably because the hem is usually noted in the guide sheet as the last piece of the construction puzzle and we are nearly there! How often would we even think about how the garment is to be hemmed until we reach this step?
And yet, a poorly finished hem can mar an otherwise well constructed garment.
Things to consider:
- the design of the garment – is the hem a main feature or should it blend into the background?
- the weight, drape and transparency of the fabric – which method is appropriate to achieve the look you want?
- the fullness of the hem – is it straight or curved?
- the number of colours in a print and which is the most dominant – which thread colour which will be the least noticeable? Will the show through of a print spoil the look of the finished hem?
Some basics:
- a hem should not be too wide or heavy for the garment and should not pull the fabric tight or make puckers
- a hem should not be too narrow to provide support to the lower edge of the garment
- unless it is meant to be a feature, the hem should just blend into the overall garment
- as a general rule, the more curved the hem (for example in a circle skirt) the narrower it will be
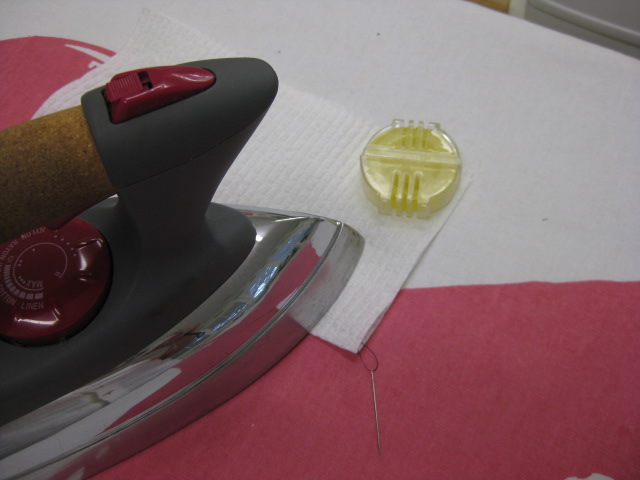
- using a press cloth, press the folded edge before stitching the hem in place and iron over the whole hem when completed.
Tip: Silk organza makes a wonderful see through press cloth.
Suggested Hem Widths:
Commercial patterns display the hem allowance included in the garment close to the hem finish on each appropriate pattern piece. These are a guide only and can be increased or decreased depending on the fabric being used and the desired hem finish.
As a guide, the hem allowances I most often use are:
Dresses, skirts, pants, jackets 2 inches/5cm
Blouses and shirts 5/8” /15mm
Skirts with curved hemline 5/8” /15mm
Jeans 1/1/2″ /4cm
So, having thought about what you want to achieve, what are the options? Will you stitch by hand or machine?
Machine Stitching Options:
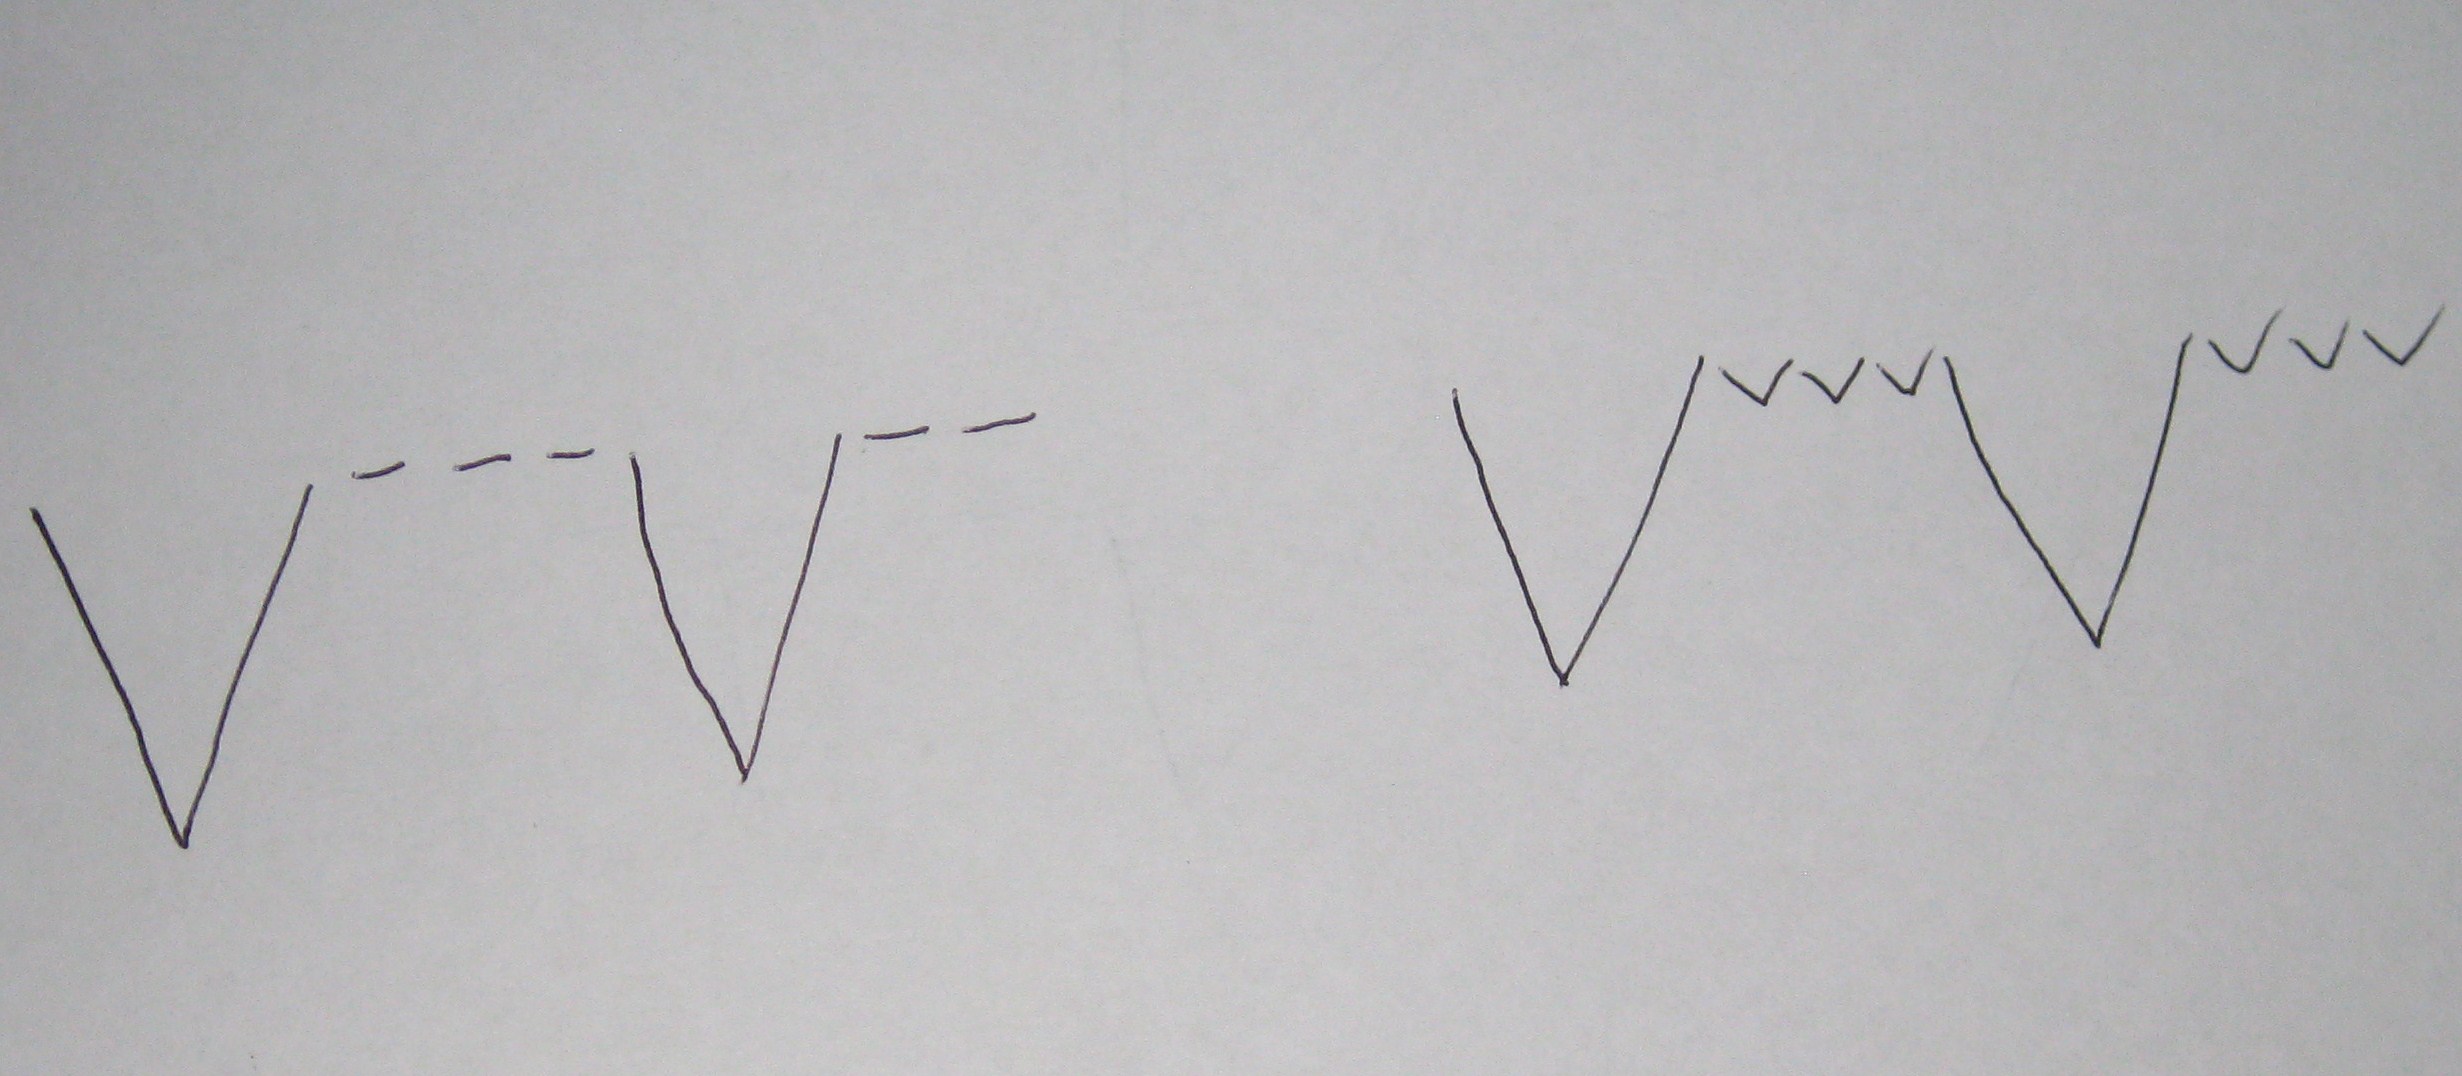
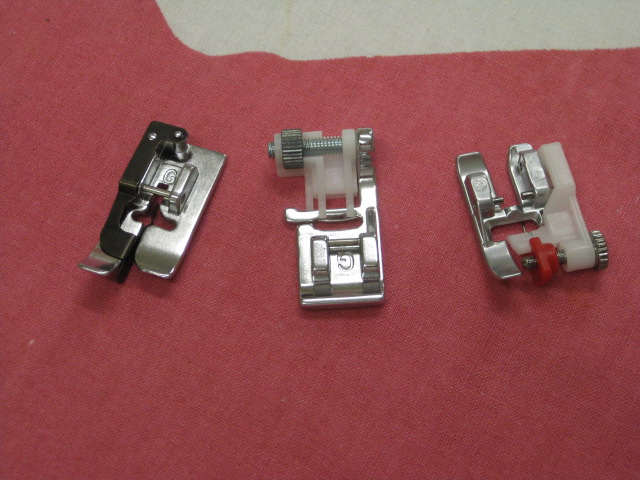
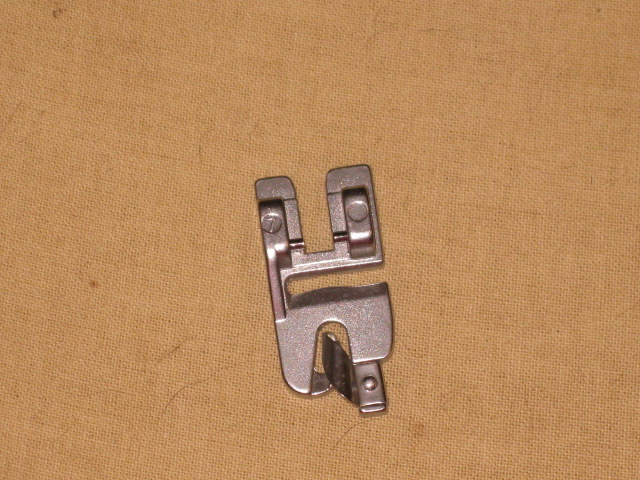
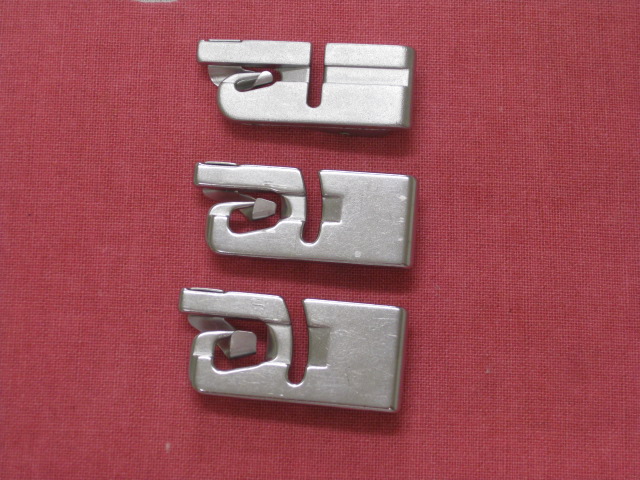
Most sewing machines provide at least one blind hem stitch which, when used with the appropriate presser foot, do quite a good job.

A selection of blind hem feet
A selection of blind hem feet

A selection of blind hem feet
However, any machine stitching will add a degree of stiffness to the fabric. Machines with automatic tension adjustment will lower the tension for the blind hem stitches. A machine blind hem is best suited to garments which are made of a more robust fabric will take more wear, for example children’s clothes and trouser hems.
Hems on these garments can also be stitched with a straight stitch along the top of the hem allowance. Again, loosening the tension slightly may be needed so the stitching will not pucker. Stitching which shows on the right side of the garment needs to be stitched on that side.
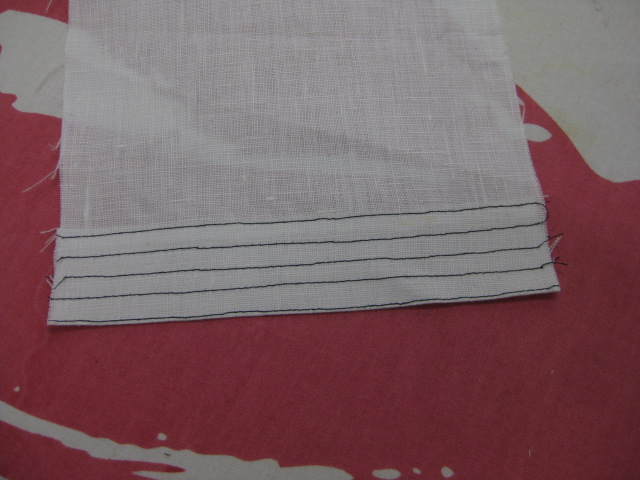
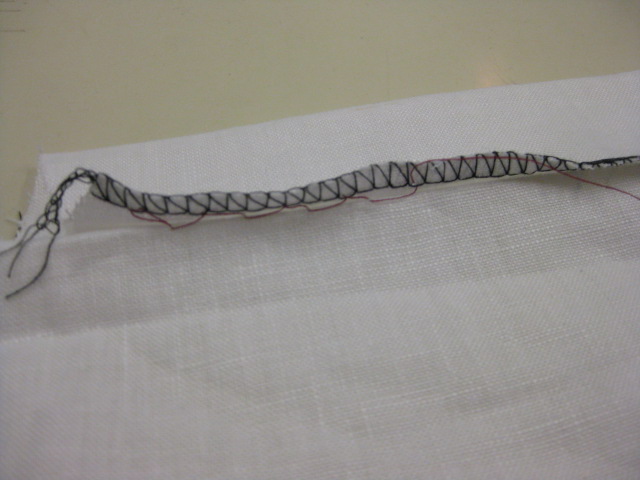
An interesting effect can also be achieved using multiple rows of straight stitch. This technique is called channel stitching.

Channel stitching
This method adds quite a lot of stiffness to the fabric and should only be used on stable fabrics such as linen, medium weight cotton or silk.
Care needs to be taken when machine stitching a garment made with a stretch woven fabric (that is a fabric which contains 3-5% Spandex, Elastene, etc). The hem is usually stitched along the crosswise grain which is the direction of greatest stretch in the fabric. Unless the fabric has very good recovery, this can cause problems. My advice when hemming these fabrics is to add a lightweight fusible interfacing with the most stable grain against the wrong side of the hem and/or to stitch the hem by hand.
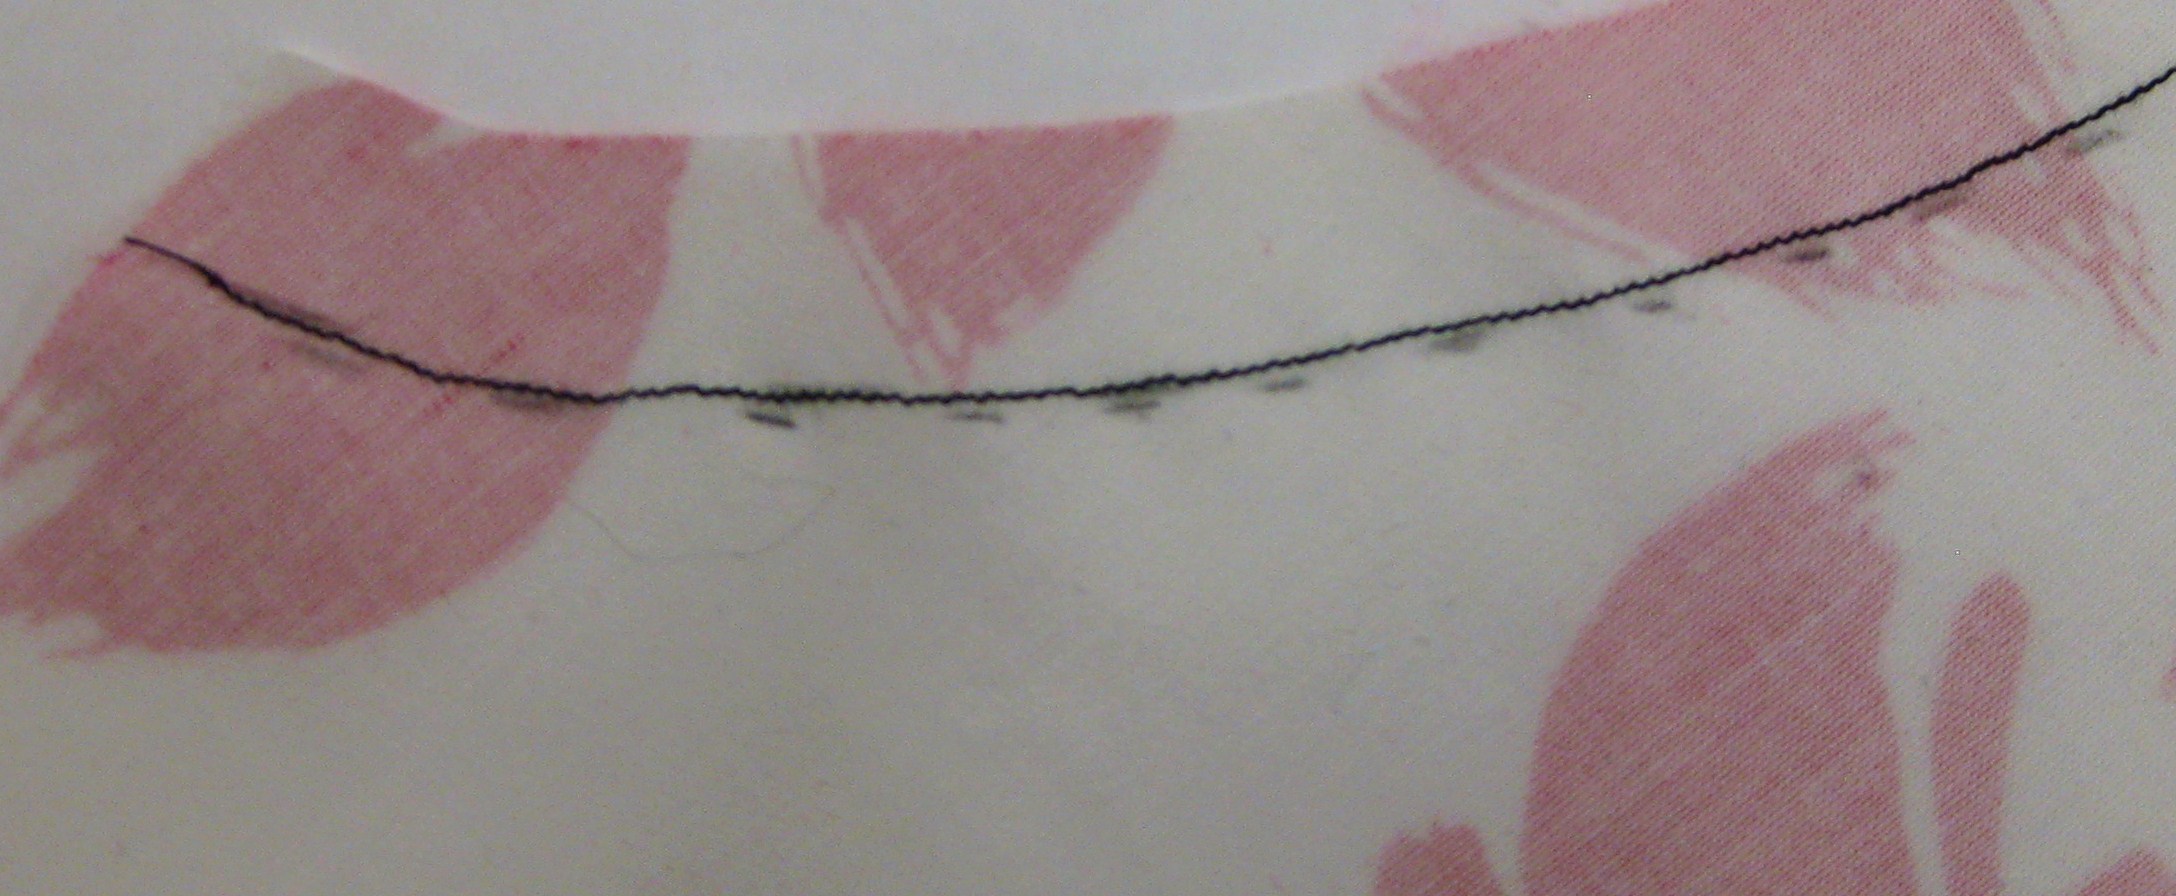
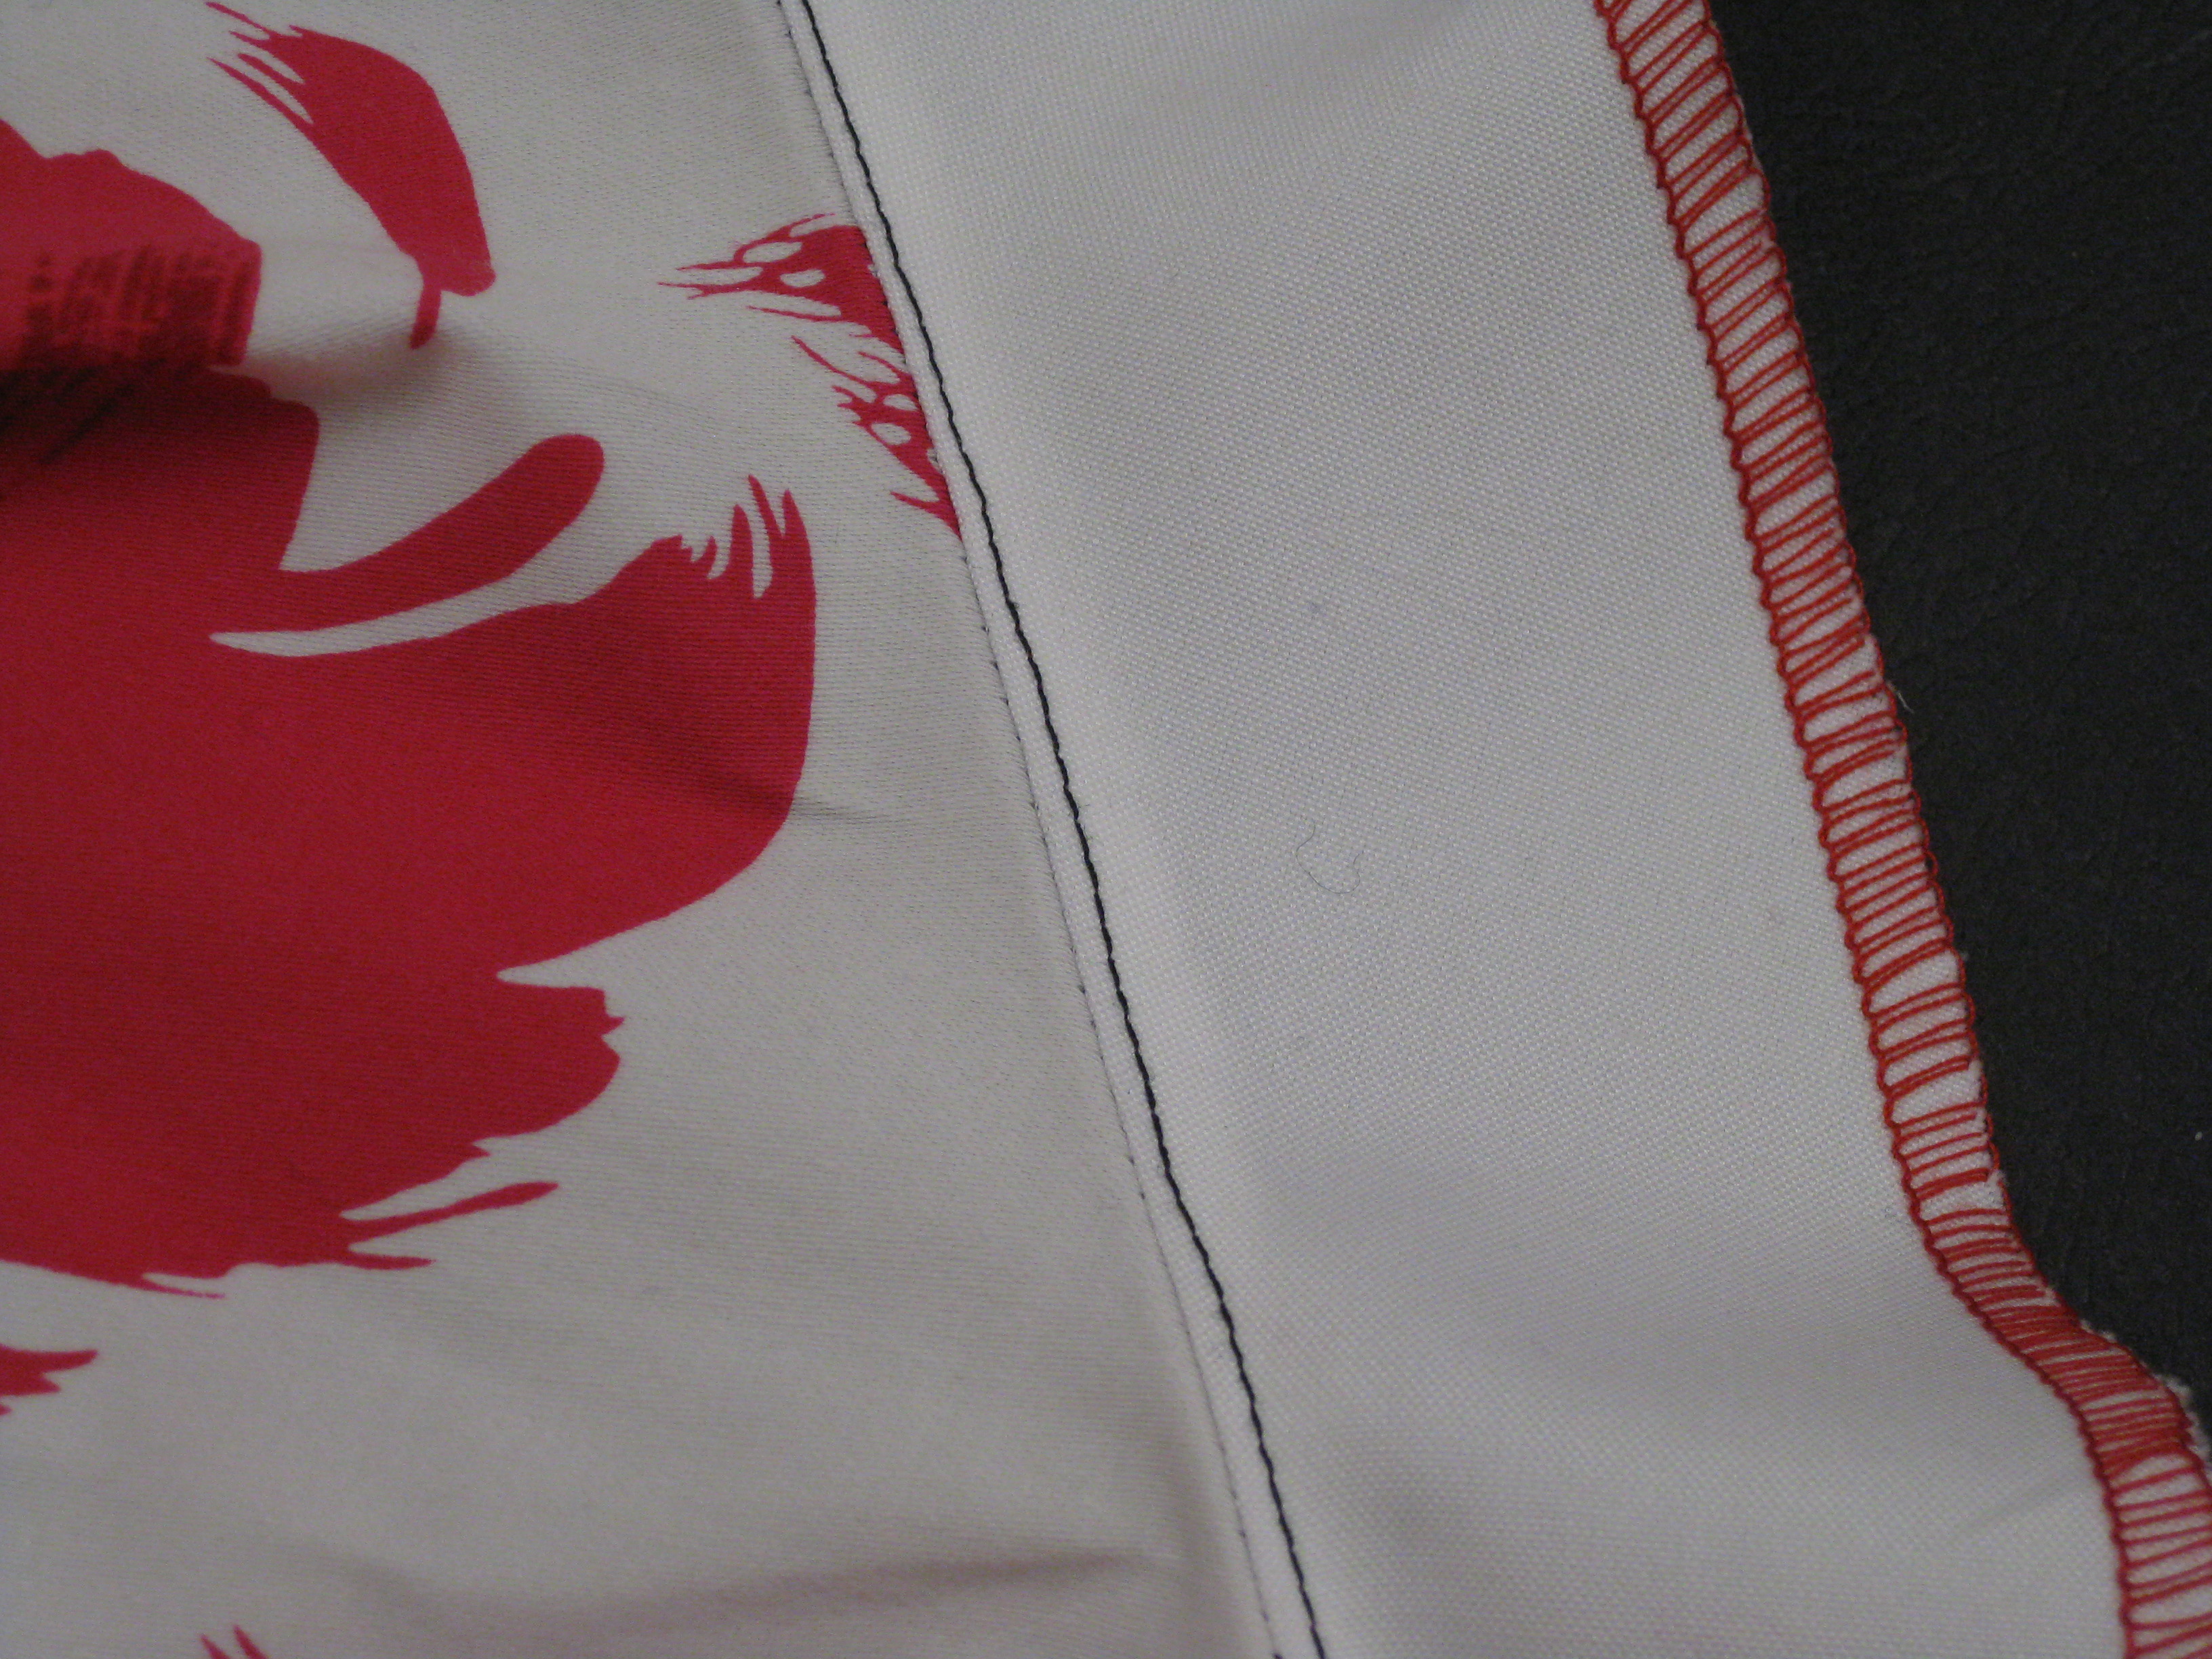
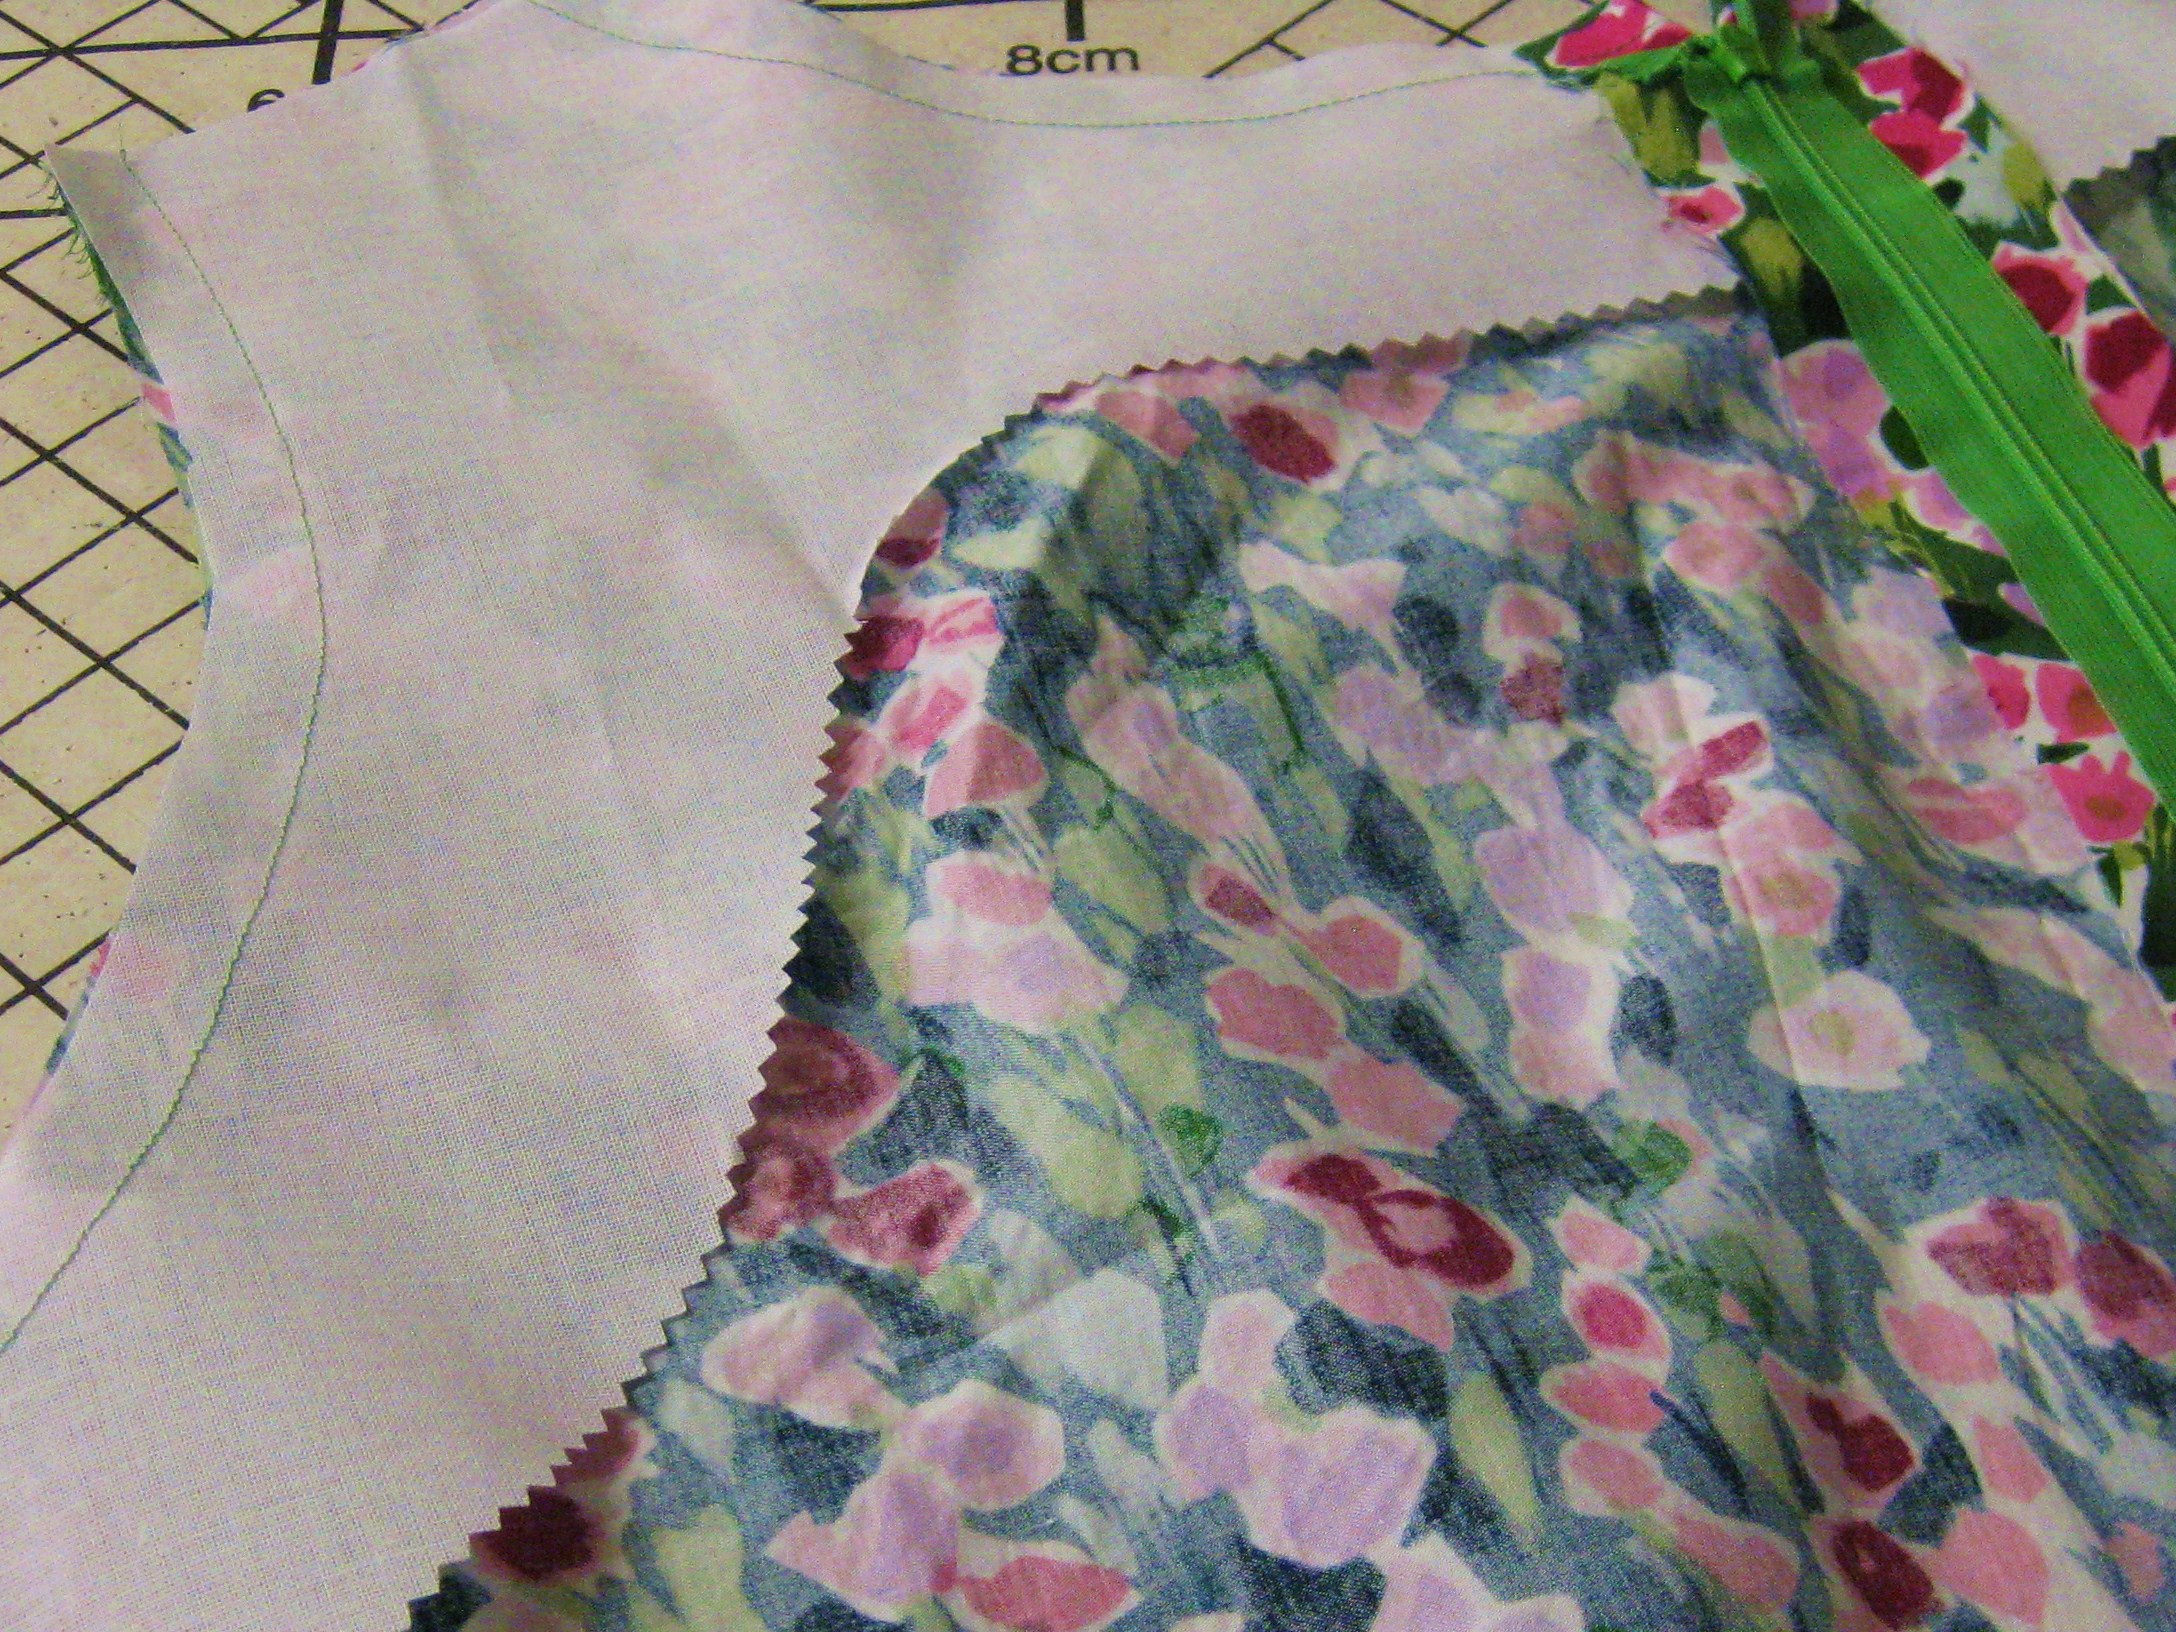
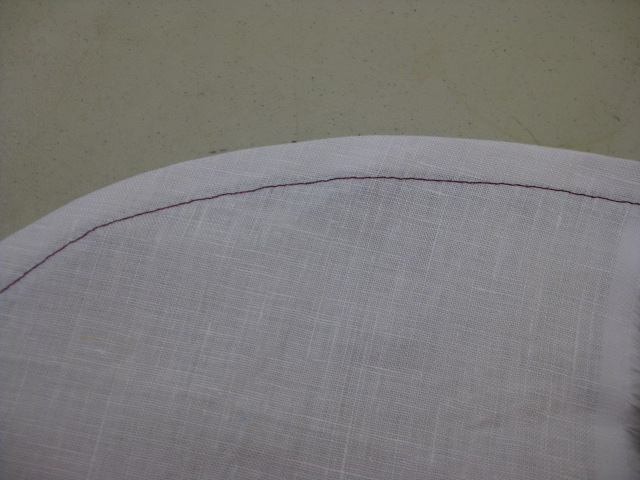
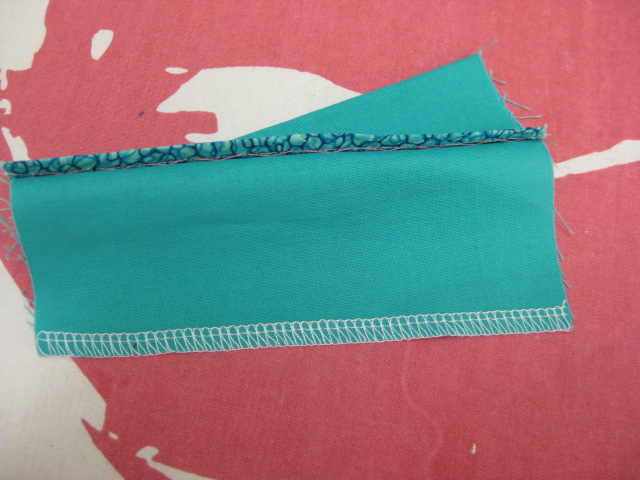
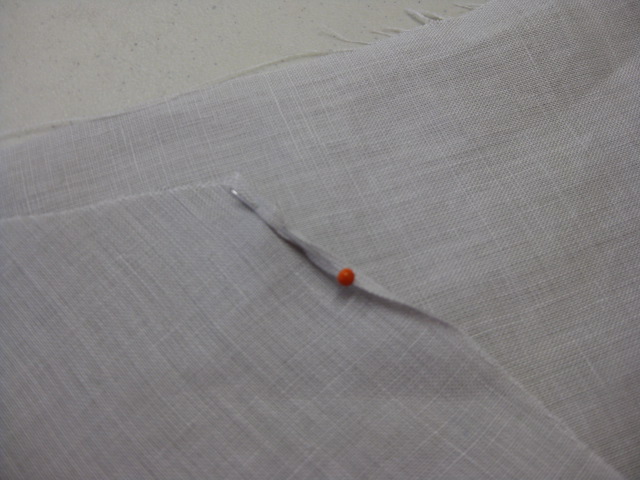
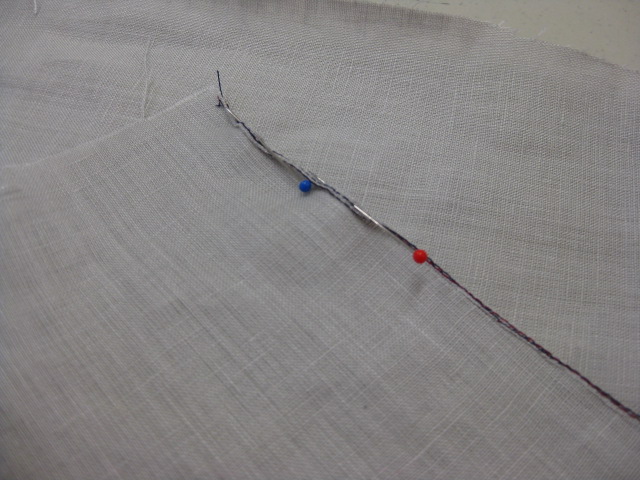
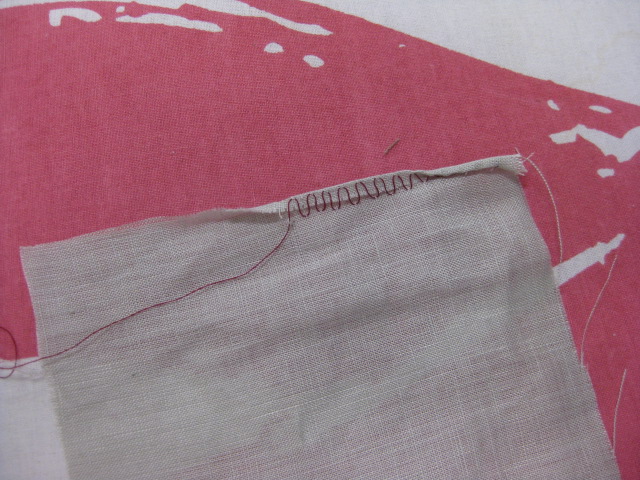
When hemming a curved edge, a narrower depth of hem is preferable. Simplyover lock the raw edge and using a long straight stitch with loosened tension (SL 3.5, Tension 2-3) stitch a guideline 5/8” /15mm from the finished edge (Photo 3). Press up the hem with this guideline just inside the fold. Stitch permanently from the right side of the garment at about 12mm from the folded edge. Press the finished hem and remove the guideline stitching.

Narrow curved hem which has been machine stitched
Hand Stitching Options:
To achieve a quality hem finish:

- use the finest needle that will do the job and take just one thread from the fabric which can be seen when the garment is worn
- keep some play in the stitches (do not pull them tight)

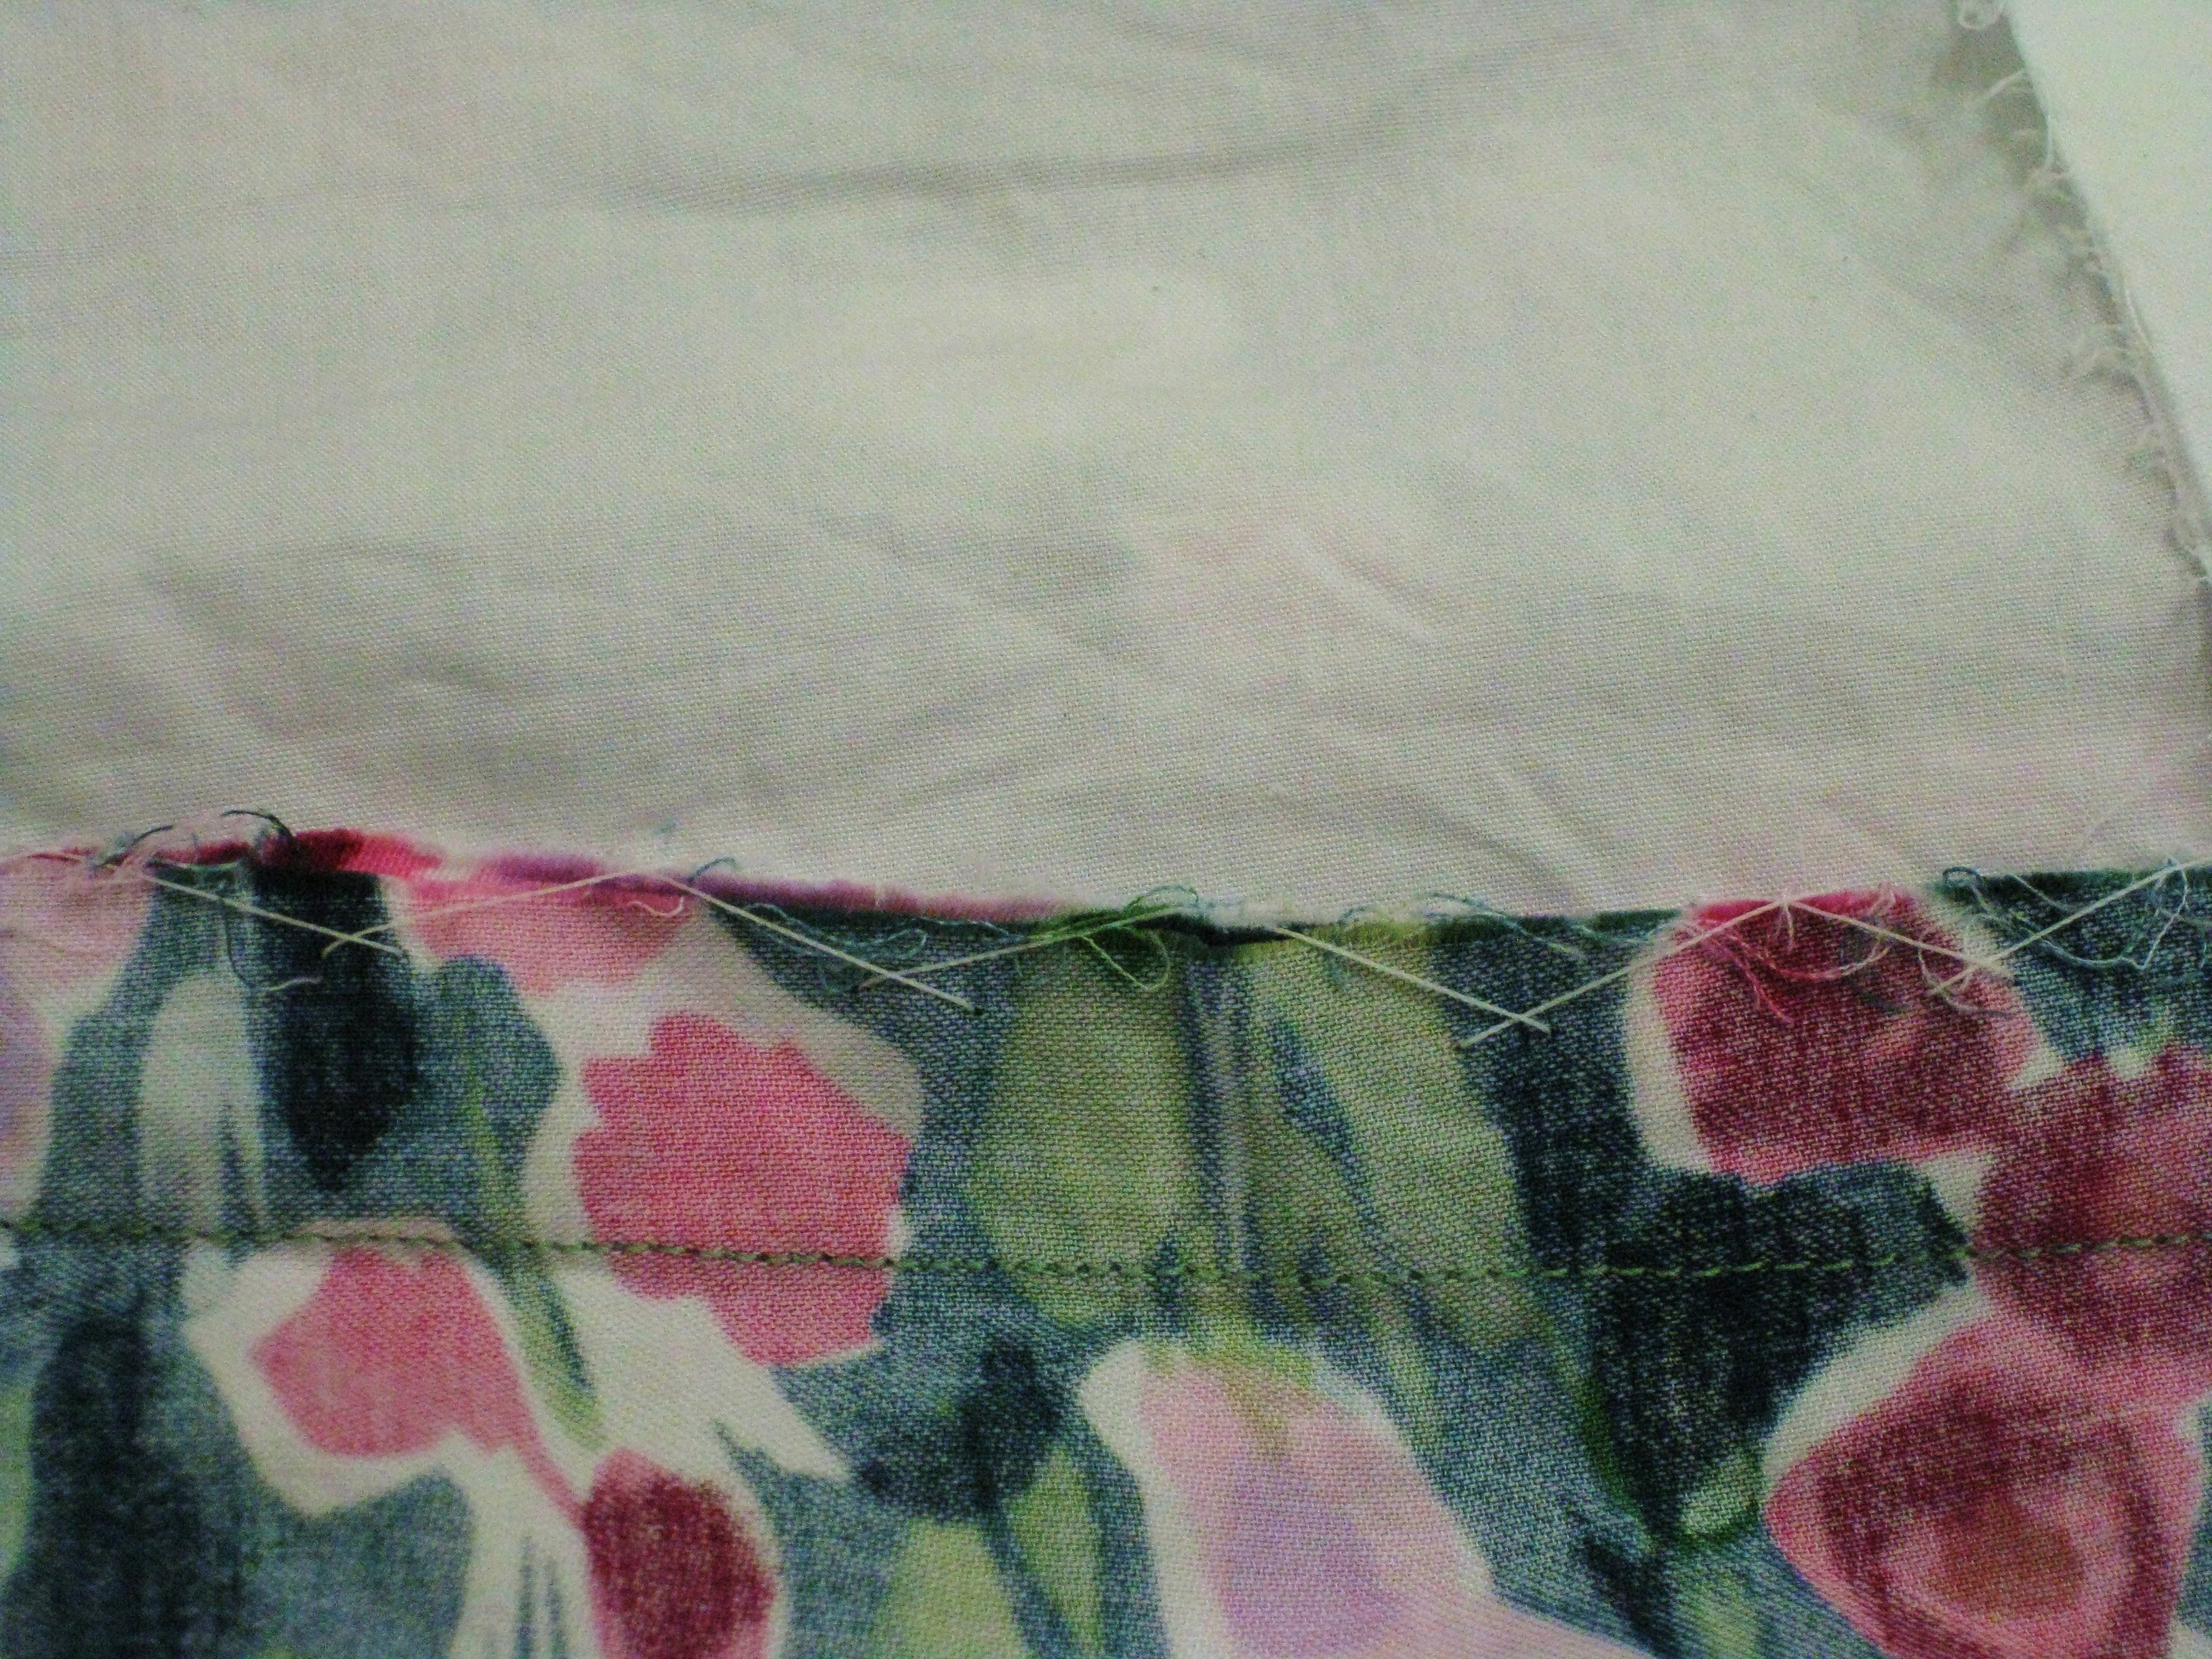
Hem edge finishes – Hong Kong finish, over locking, stitched and pinked – to neaten the cut edge and prevent fraying

Hem stitches between hem and garment and positioned just at the lower edge of overlocking.
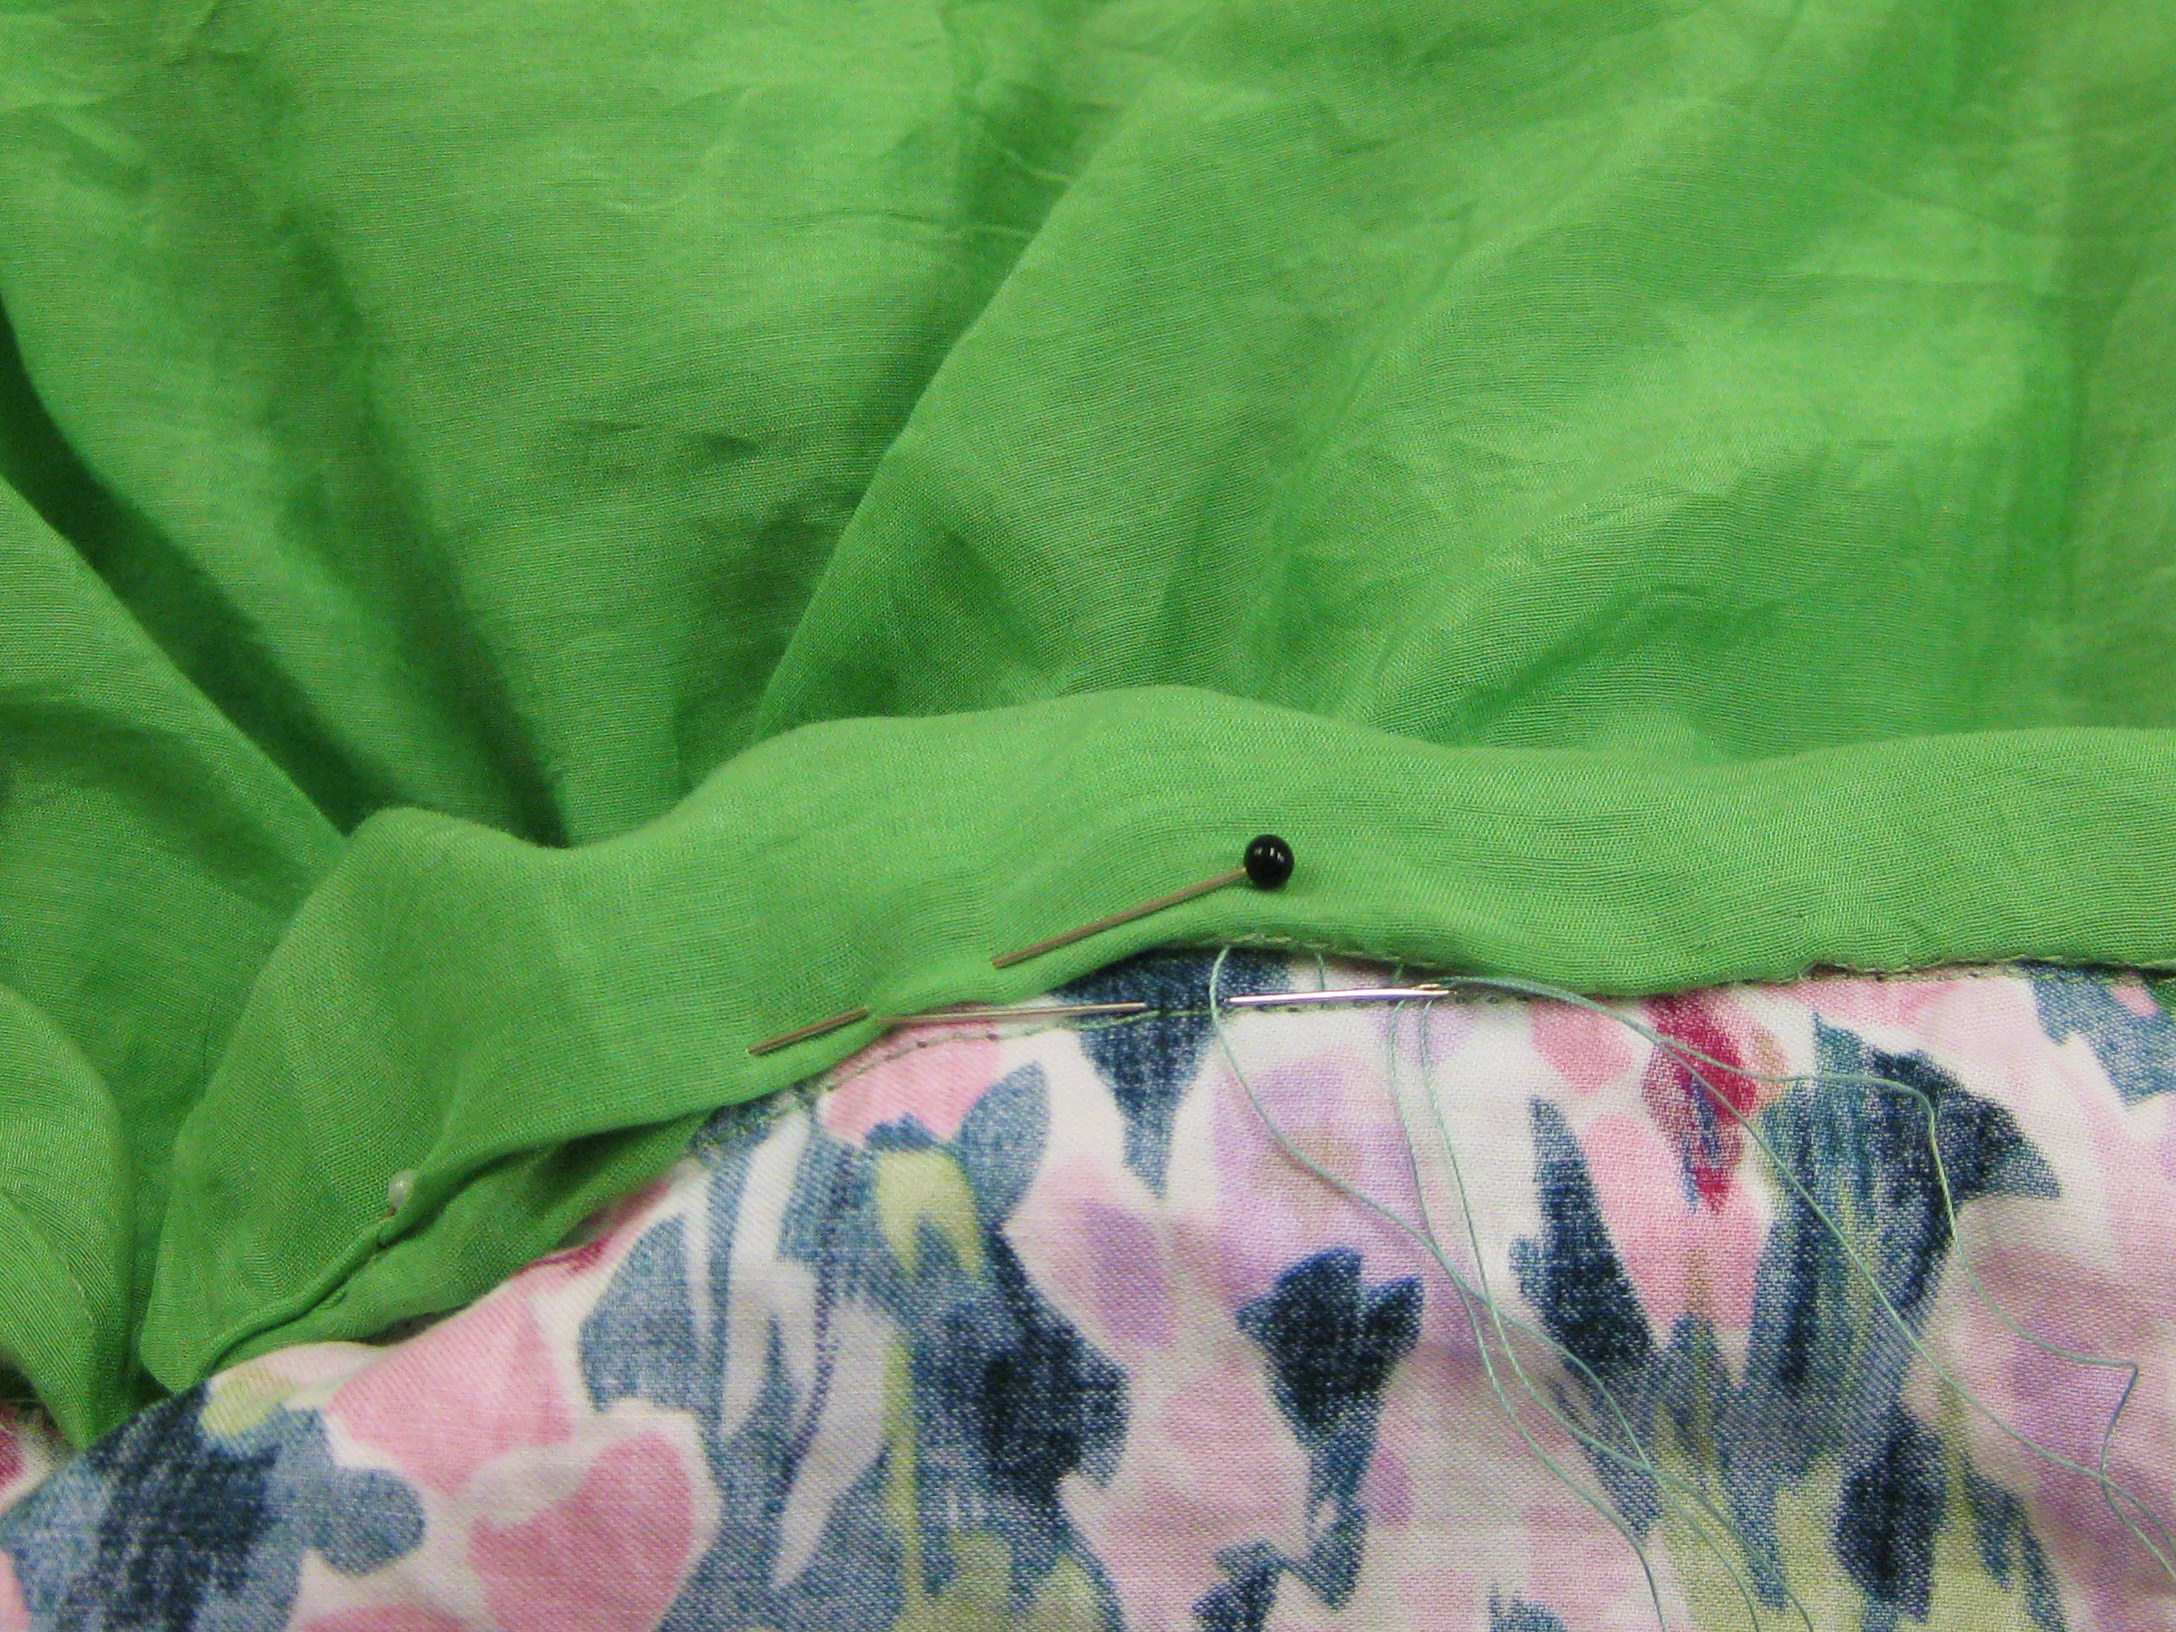
- using whichever hand stitch you prefer (catch stitch/herringbone, slip stitch), place stitches on the underside of the hem, between the hem and the garment
- if your fabric has definite blocks of solid colour, for example black and white, consider stitching the individual sections in their own matching colour.
Narrow Hem Techniques:
When hemming fine fabrics, especially with a full skirt or sleeve, the narrow hemmer foot

Rolled hem foot
which comes with most sewing machines these days can give a lovely finish. It does take a little practice to learn to use it effectively but well worth the effort. If your fabric is difficult to handle, either too soft or slippery, lightly spray the fabric with Crisp™ spray starch and, using a press cloth, iron it dry. If it needs The keys to success when using this foot are:
- use only on a hem that is not too sharply curved and test on a sample first to perfect the technique

Underside of the rolled hem foot – the width of the hem needs to match the width of the indentation on the underside of the foot.
- be sure the finished hem width matches the indent on the underside of the foot. These feet come in various sizes and the most common one provided with machines is 3mm
-

Pin the first couple of inches/centremetres in place and press the start of the hem.
start at an open seam edge and double fold the hem edge to the width which matches the foot; pin in place
- place the folded hem under the foot and stitch in place before leaving the needle in the fabric
-

Stitch the first section of the hem in place; leaving the needle in the hem, carefully roll the fabric into the curl of the foot – keeping the fabric pulled slightly to the right in the same direction as the marking on the foot.
fold the unfinished hem edge into the roll of the foot and hold the fabric off to the left, taking the angle of the groove at the front of the foot
- place the point of a small bamboo skewer where the fold of the fabric will sit and stitch slowly allowing the foot to curl the fabric under to form the rolled hem.
If you do not have a hemmer foot or the hem is very curved the following technique which I learned from an article written by Kenneth D King in the 1994 publication Vogue & Butterick’s Designer Sewing Techniques (I believe this is no longer published but may be available second hand on line or at a Lifeline Bookfest or similar event).
It is most useful on lightweight and sheer fabrics.
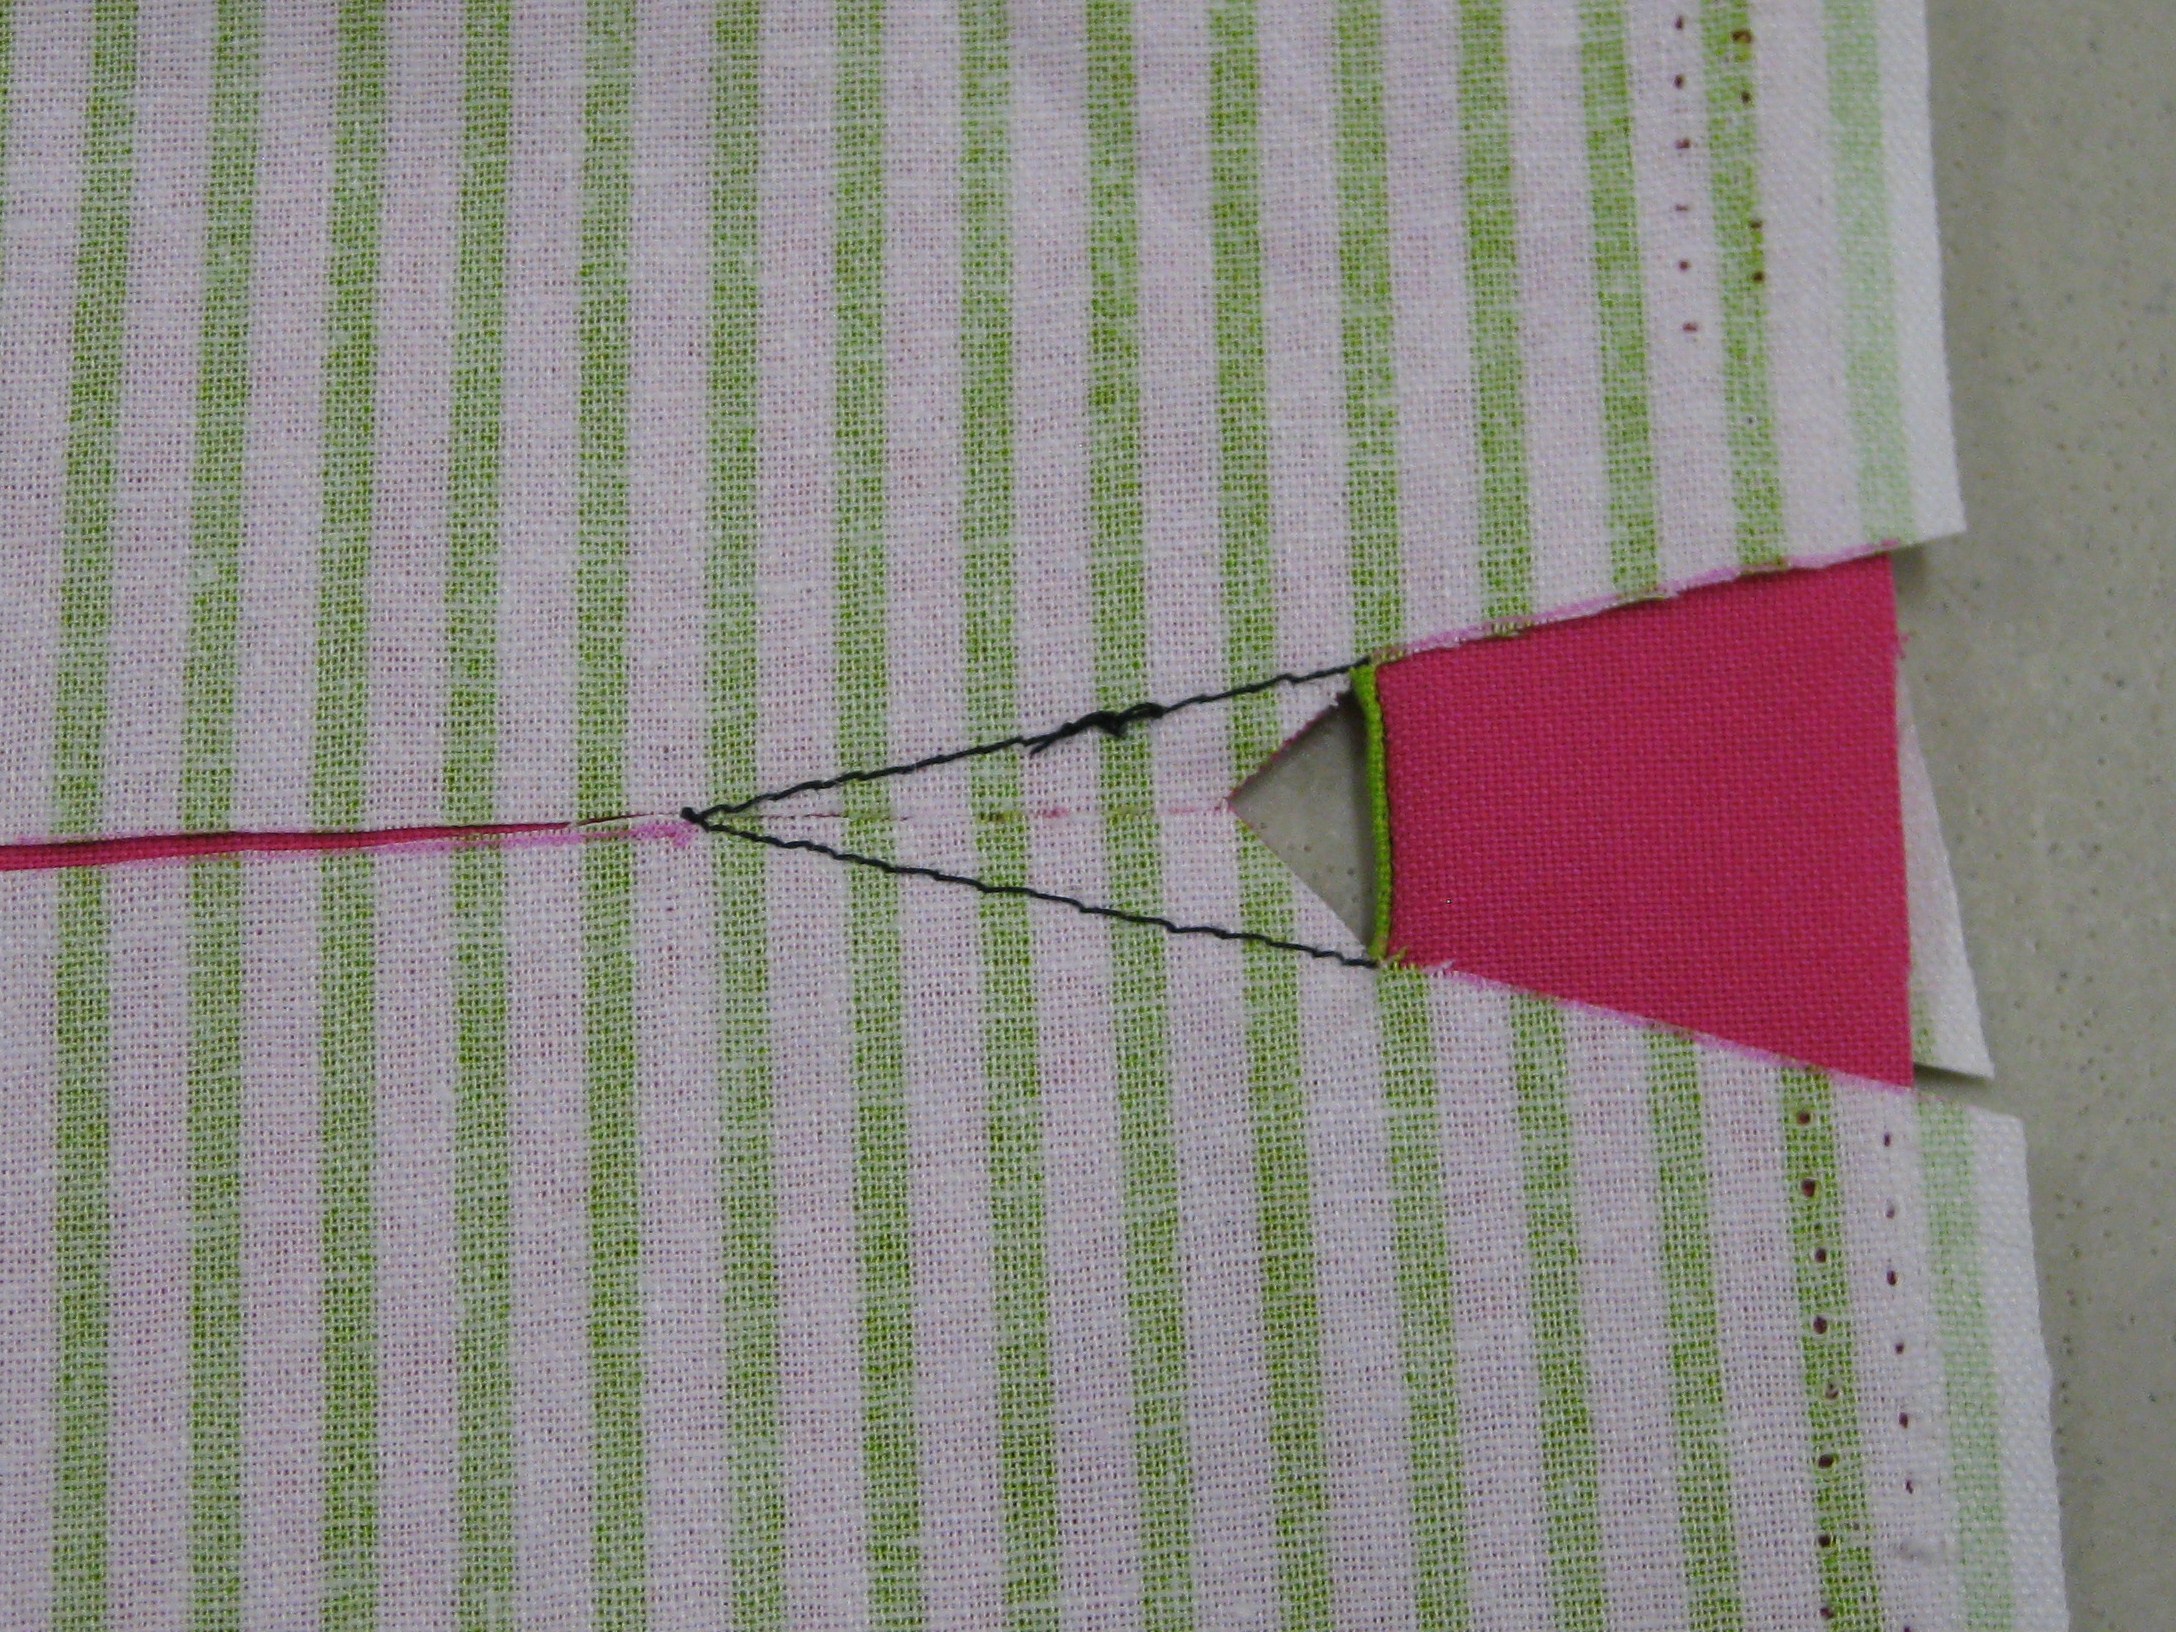
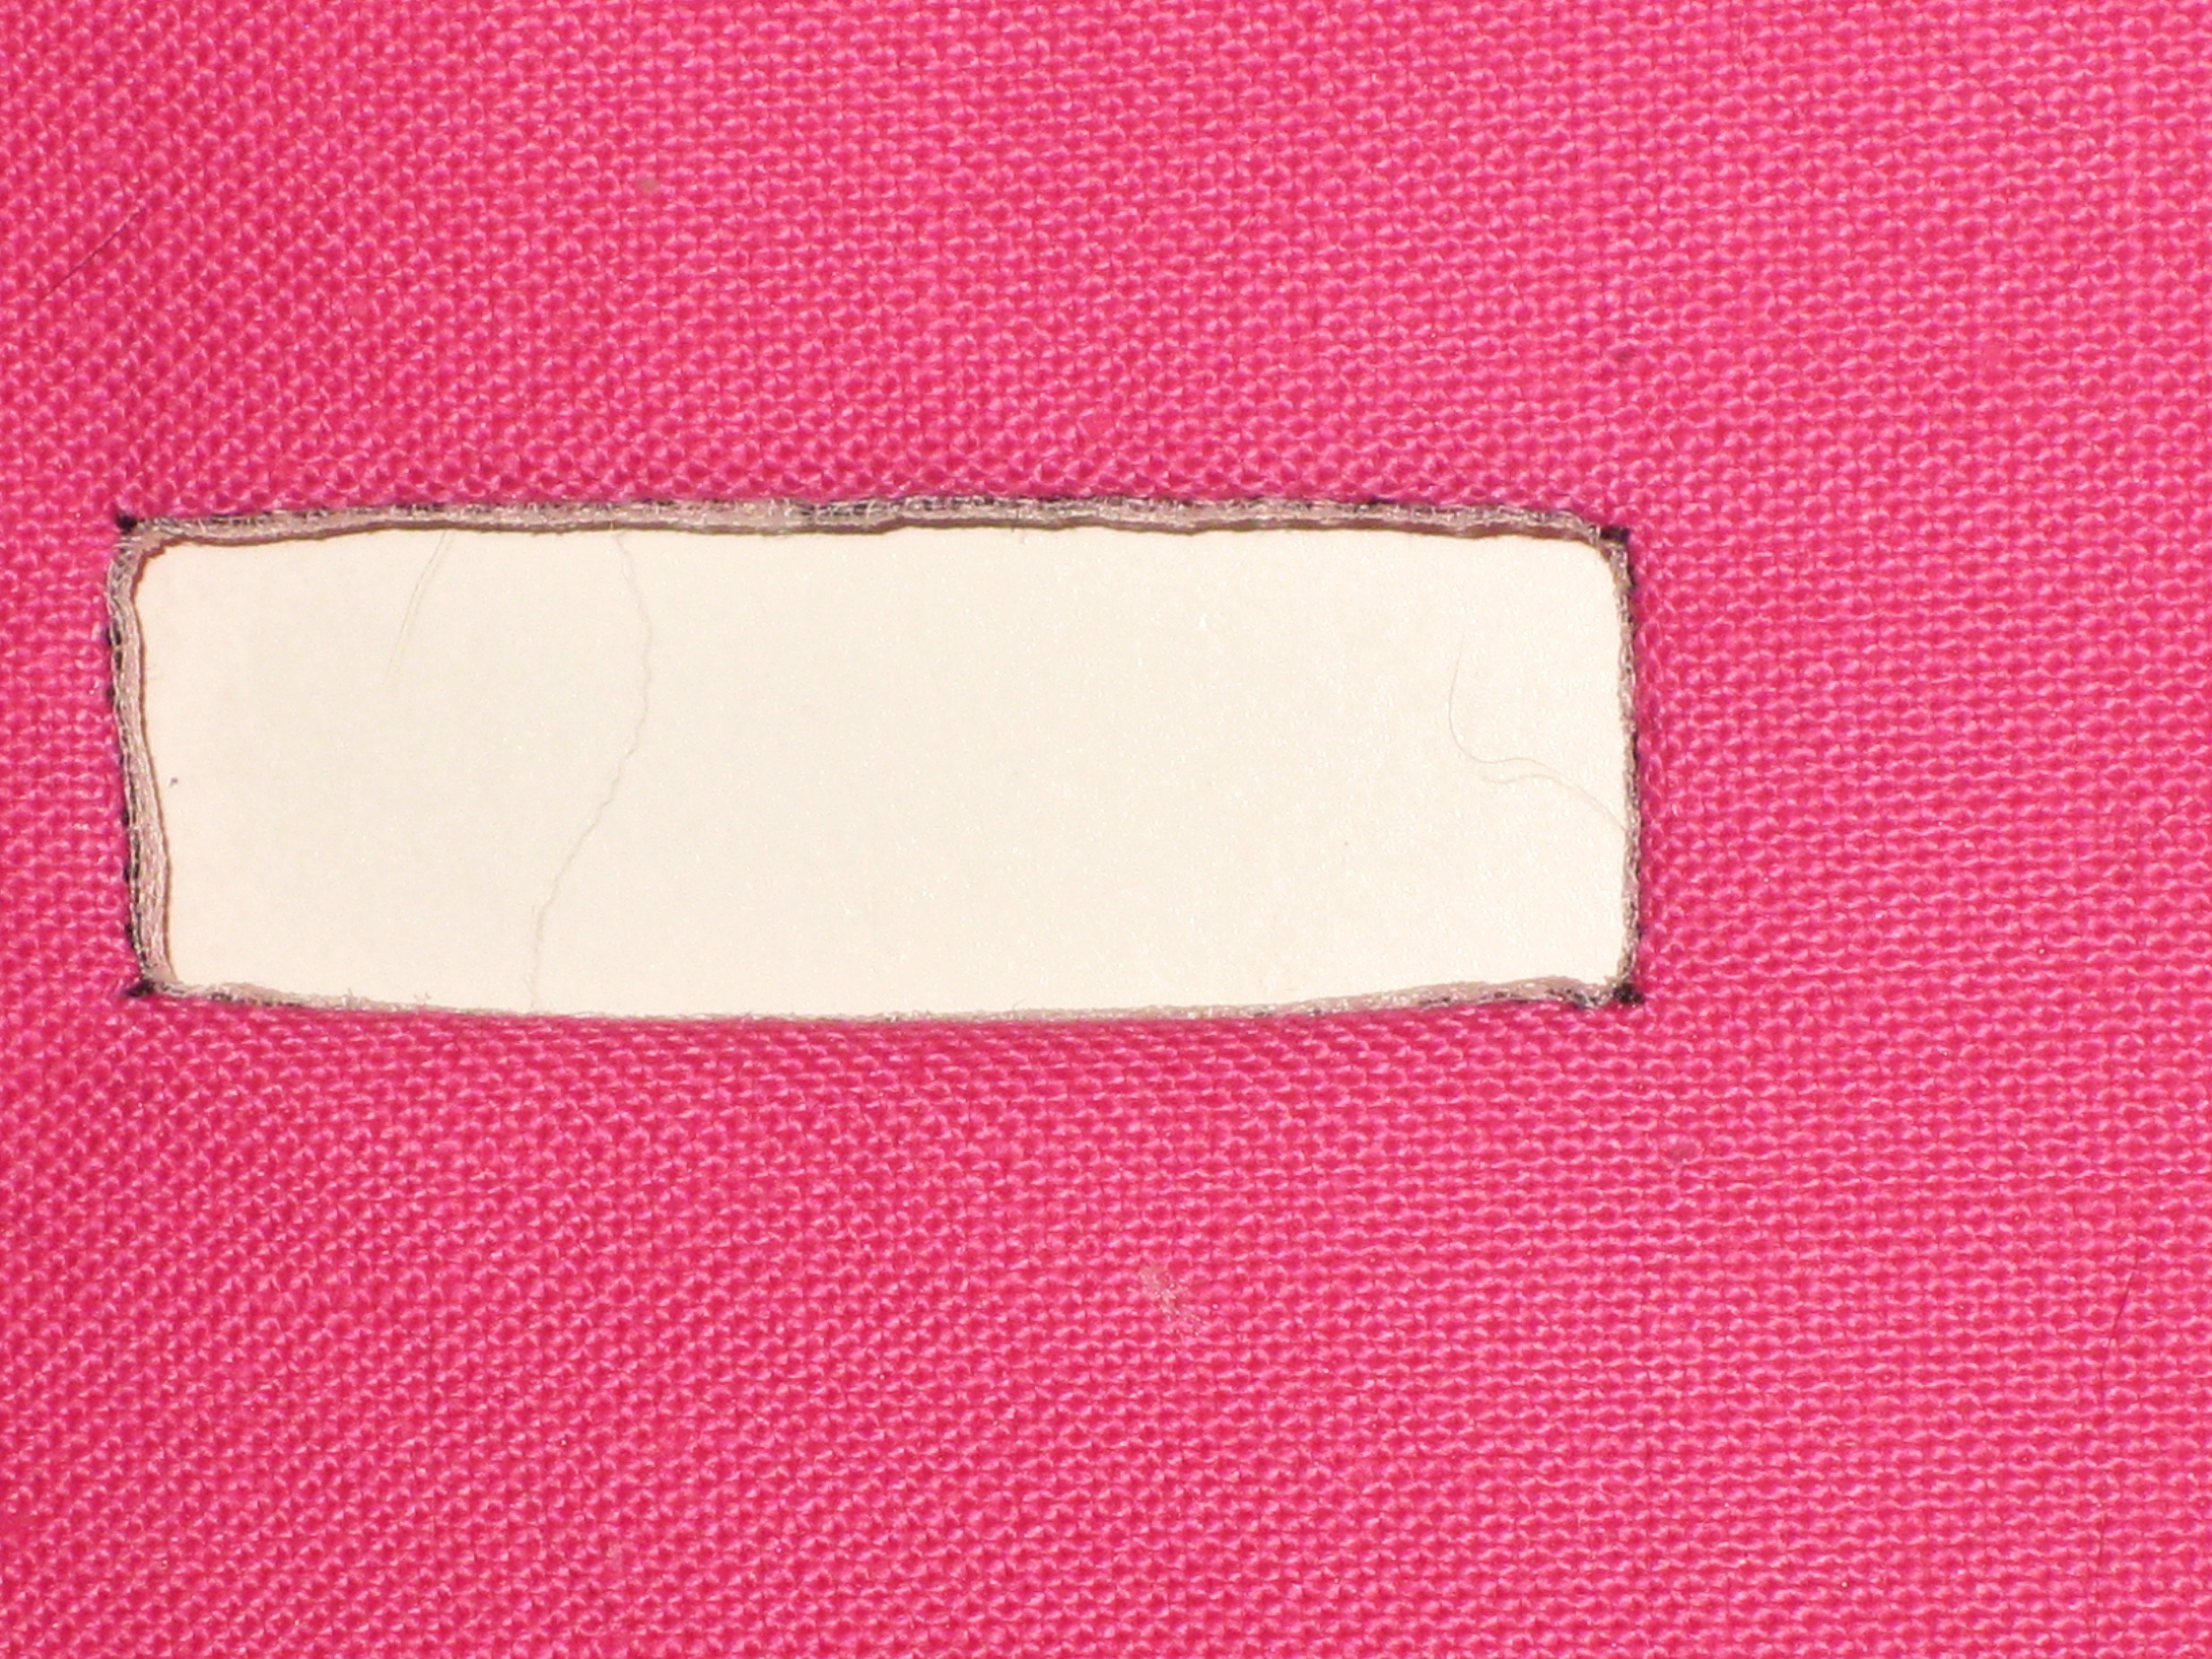
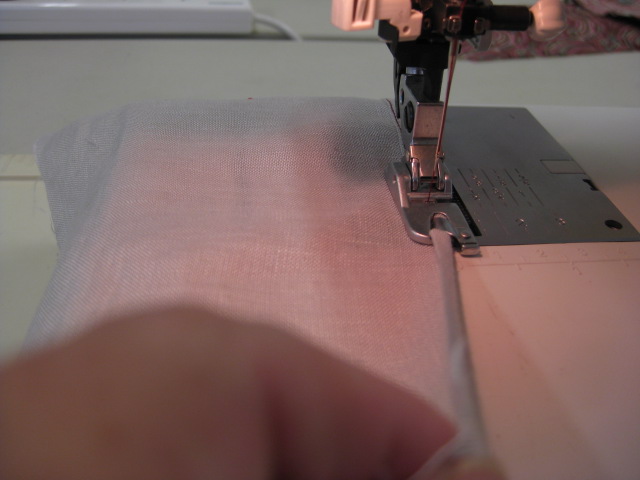
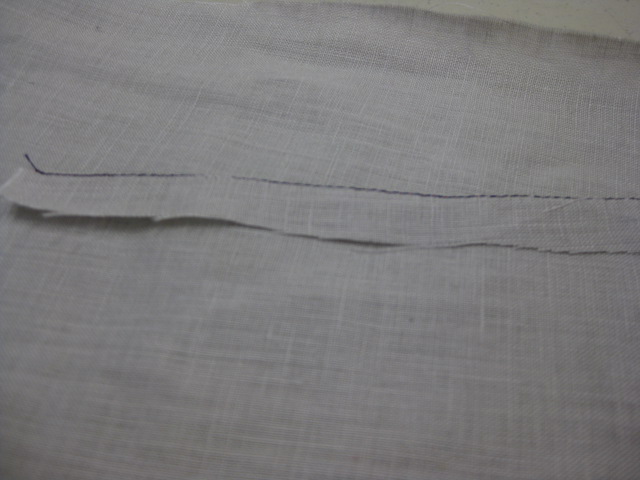
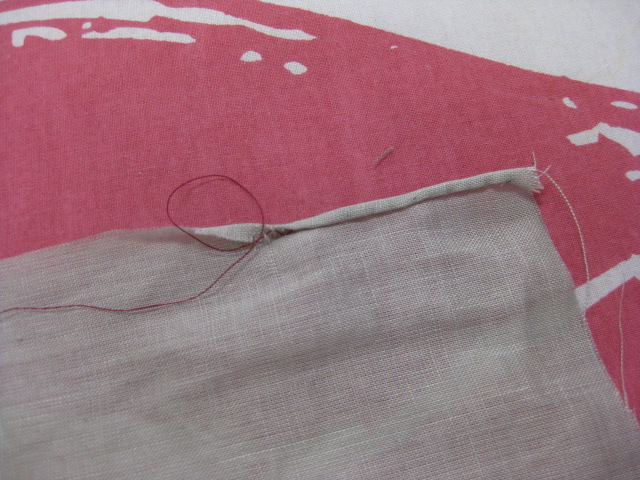
Using a small straight stitch (length 2.0-2.5) with slightly lowered tension, stitch alonghem line (usually 5/8” /15mm from cut edge).

Stitch along the hem at 5/8″/15mm from the cut edge.
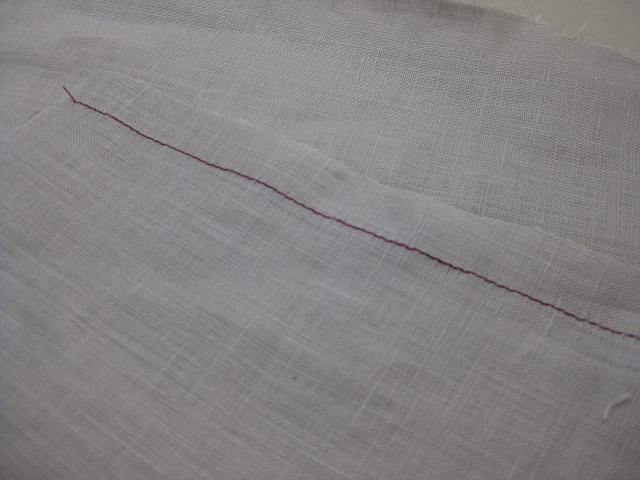
Fold fabric with hem allowance towards wrong side of garment and with stitched line just inside the fold. Press carefully and stitch second row just inside the fold, on top of the first row.

Press up the hem while favouring the stitched line just to the underside.
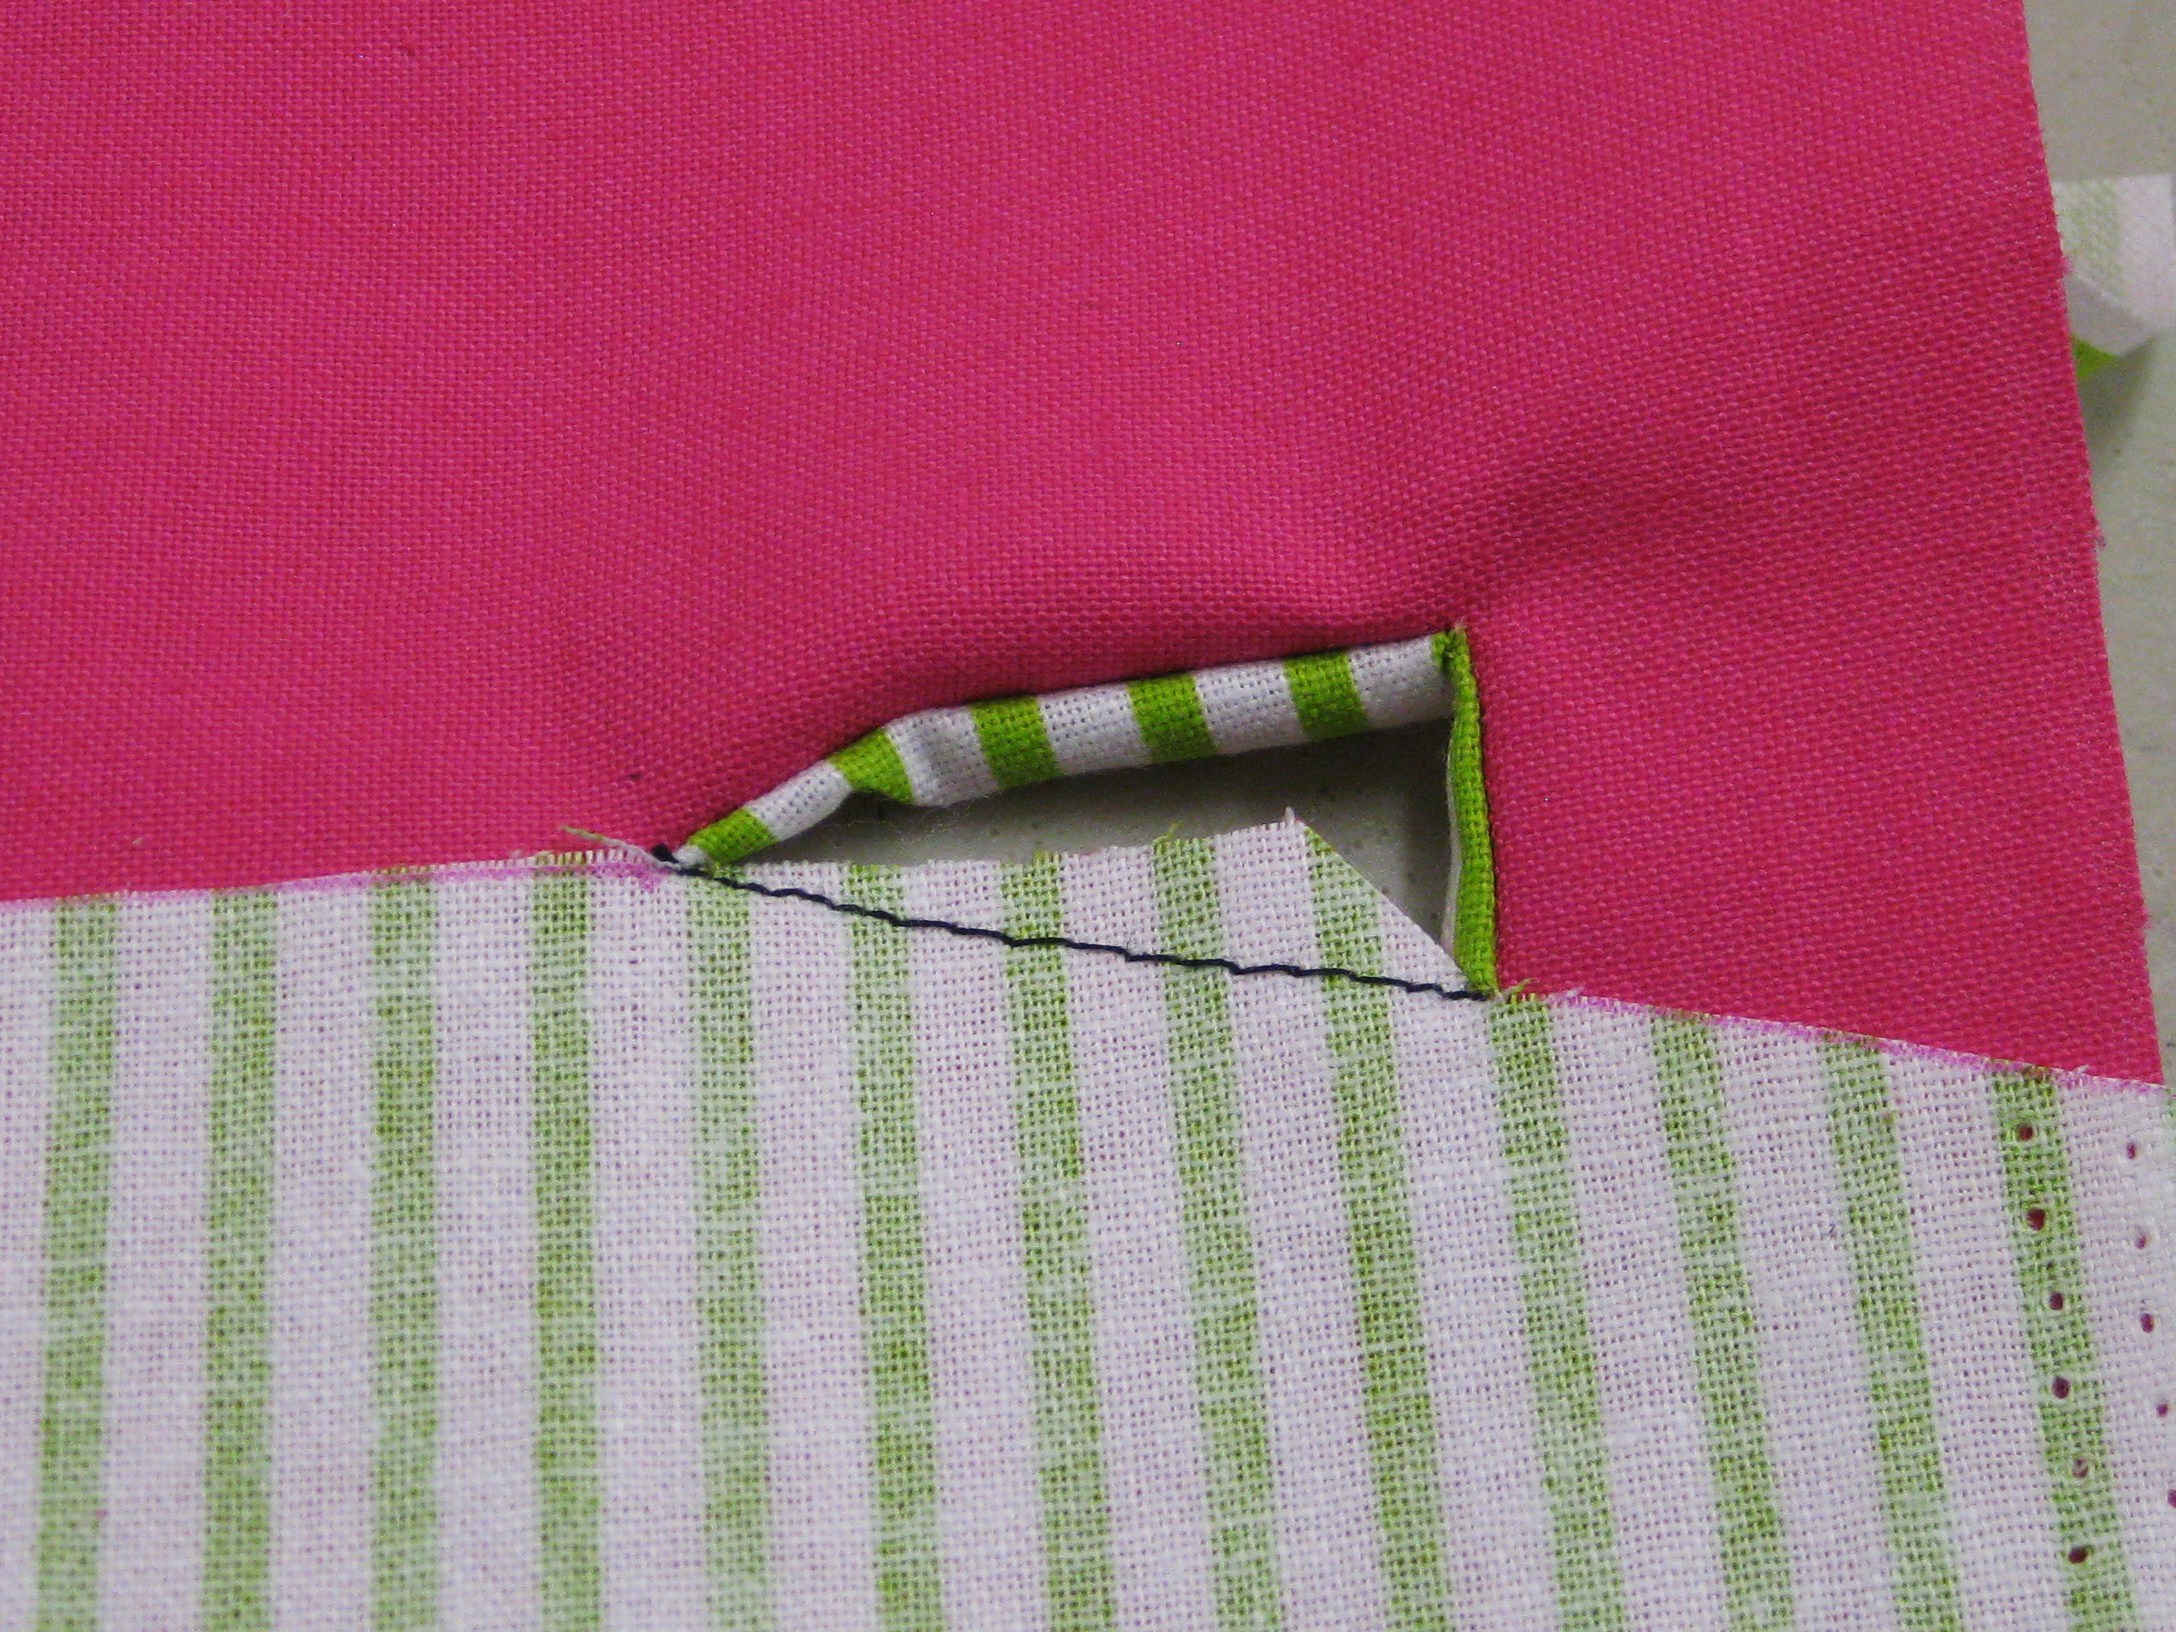
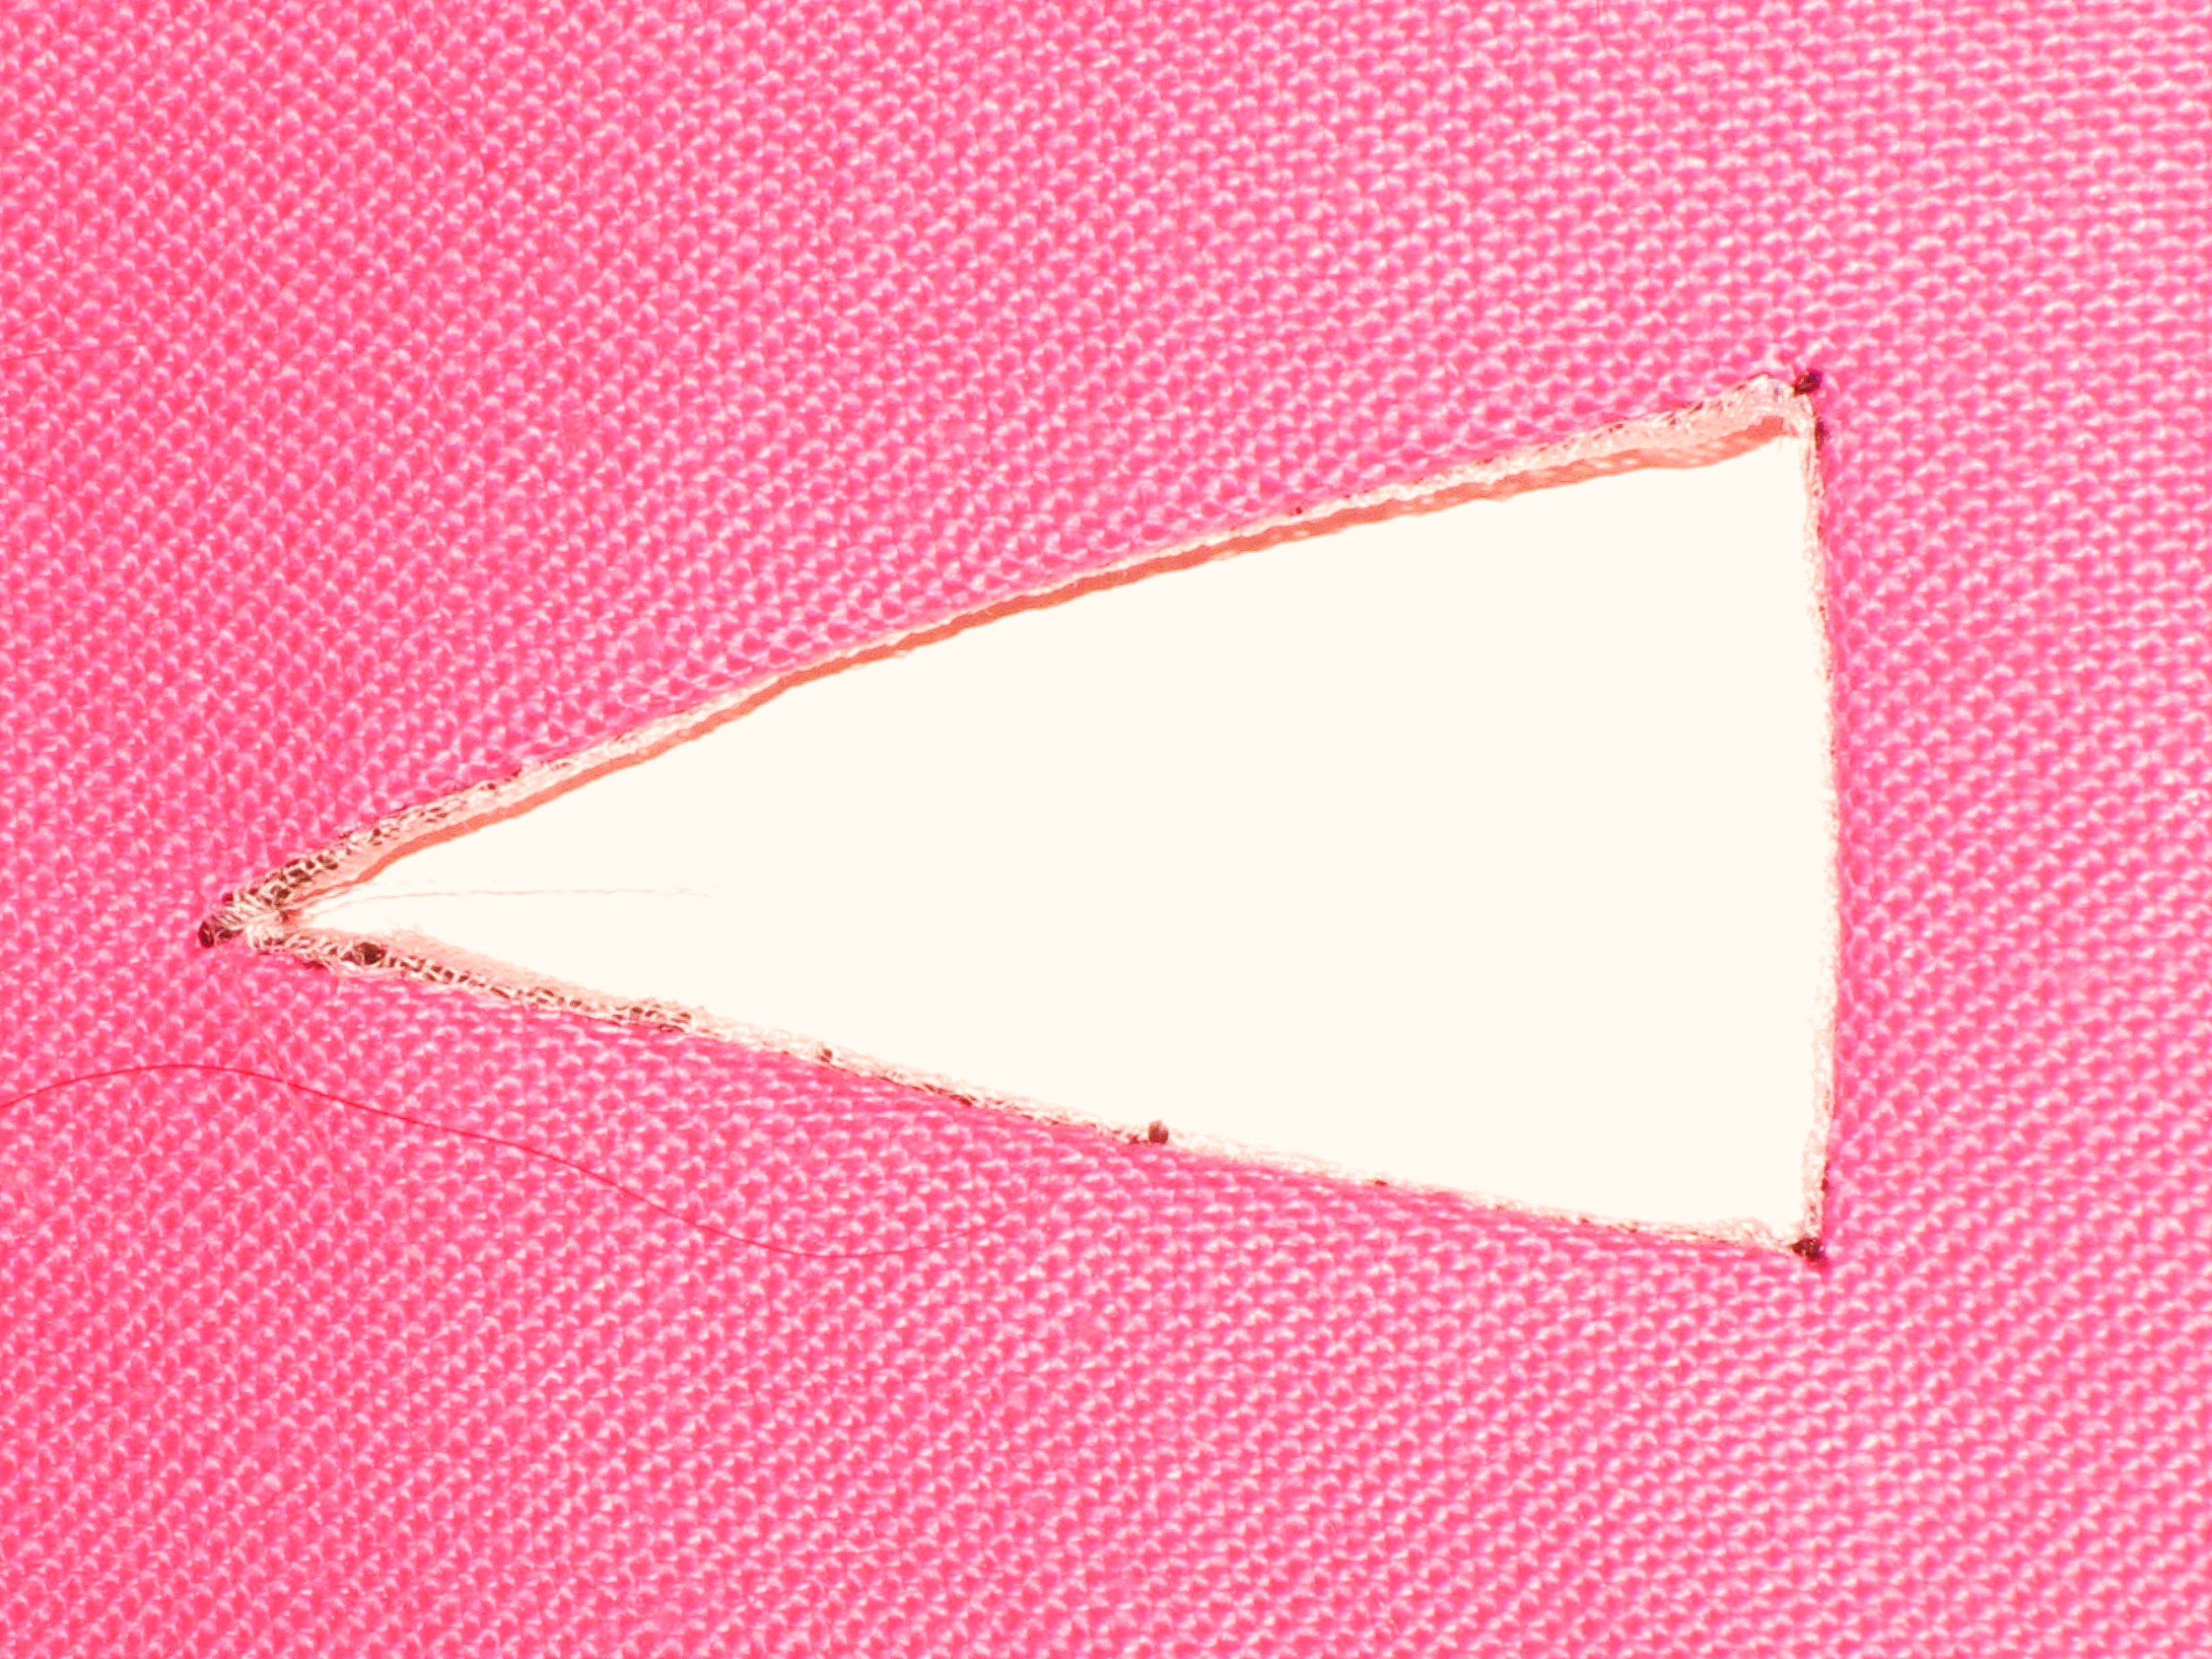
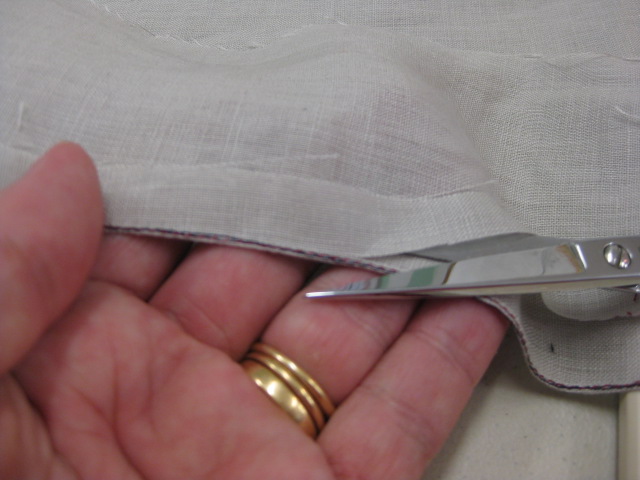
Using small, sharp scissors (preferably with a rounded tip) or duckbill scissors, trim remaining hem allowance fabric back to stitching.ip: Allow the weight of the garment to rest on a flat surface (not your lap) and keep one hand under the fabric while cutting with the other.

Resting fabric across your hand, carefully cut fabric right next to the stitching.
Working on a small section at a time, roll the stitched edge towards the wrong side of the garment. A very narrow hem will form. Stitch this in place from the right side of the garment.

Roll the hem to the underside; pin in place
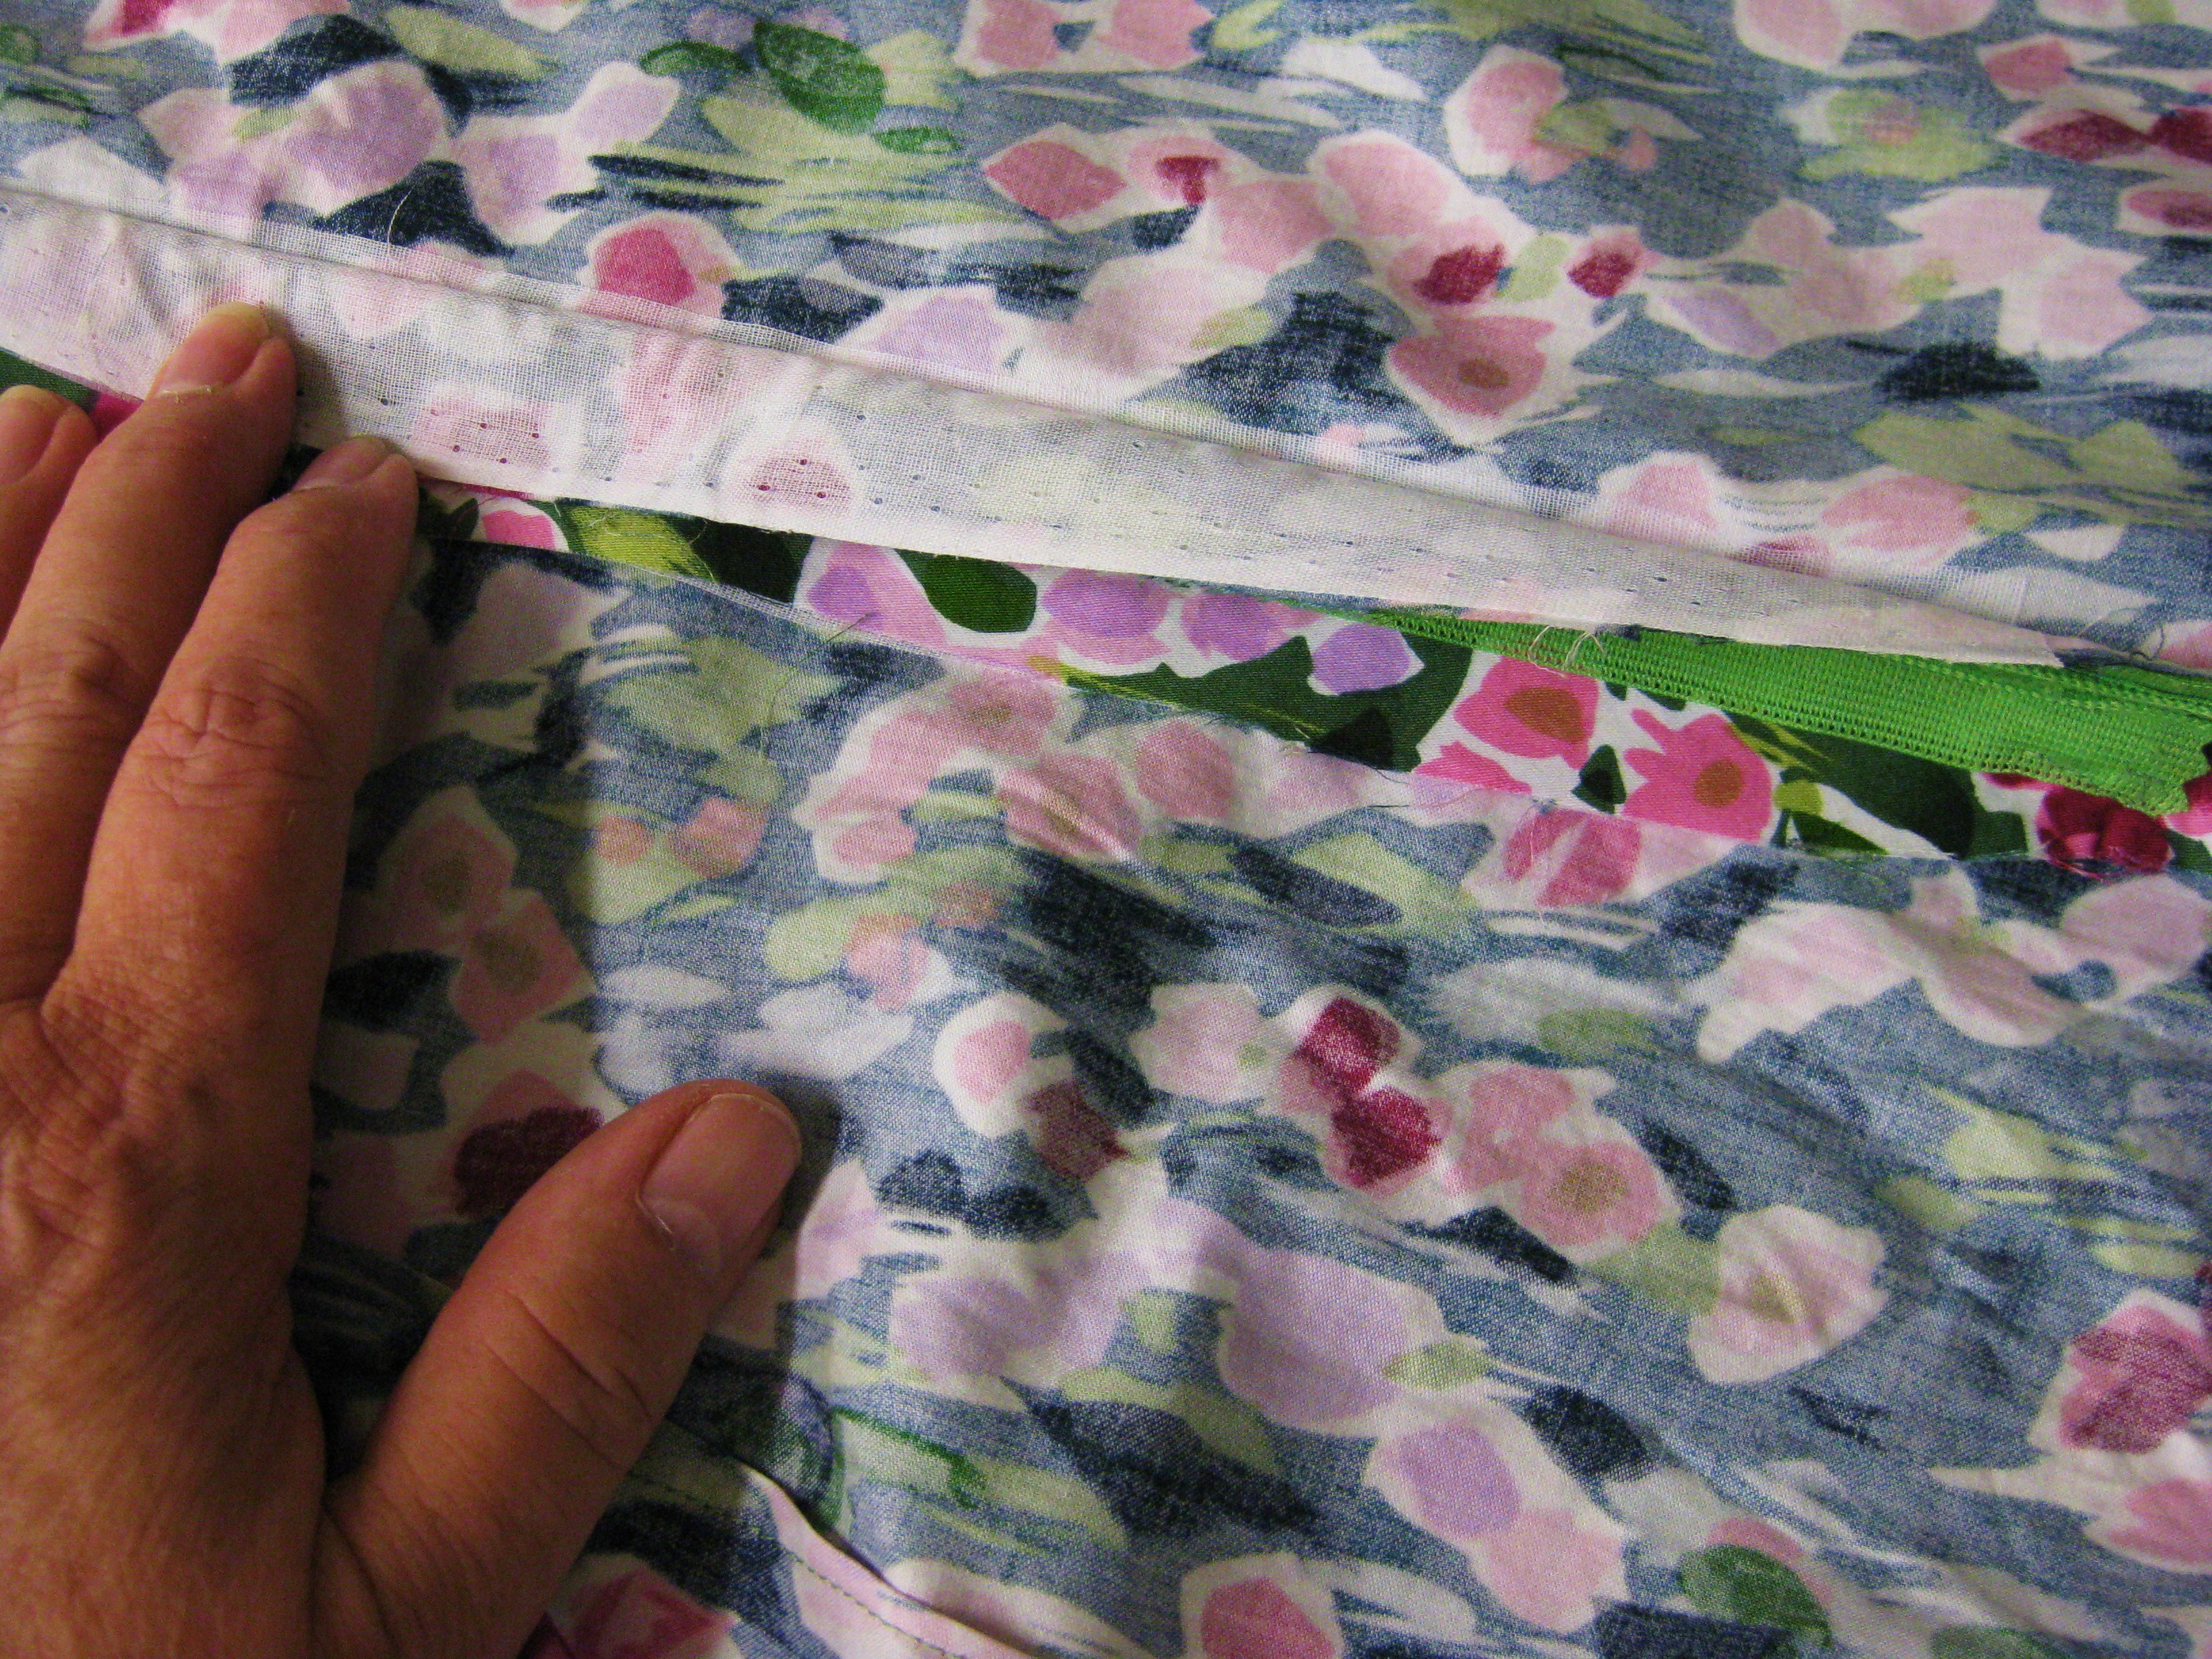
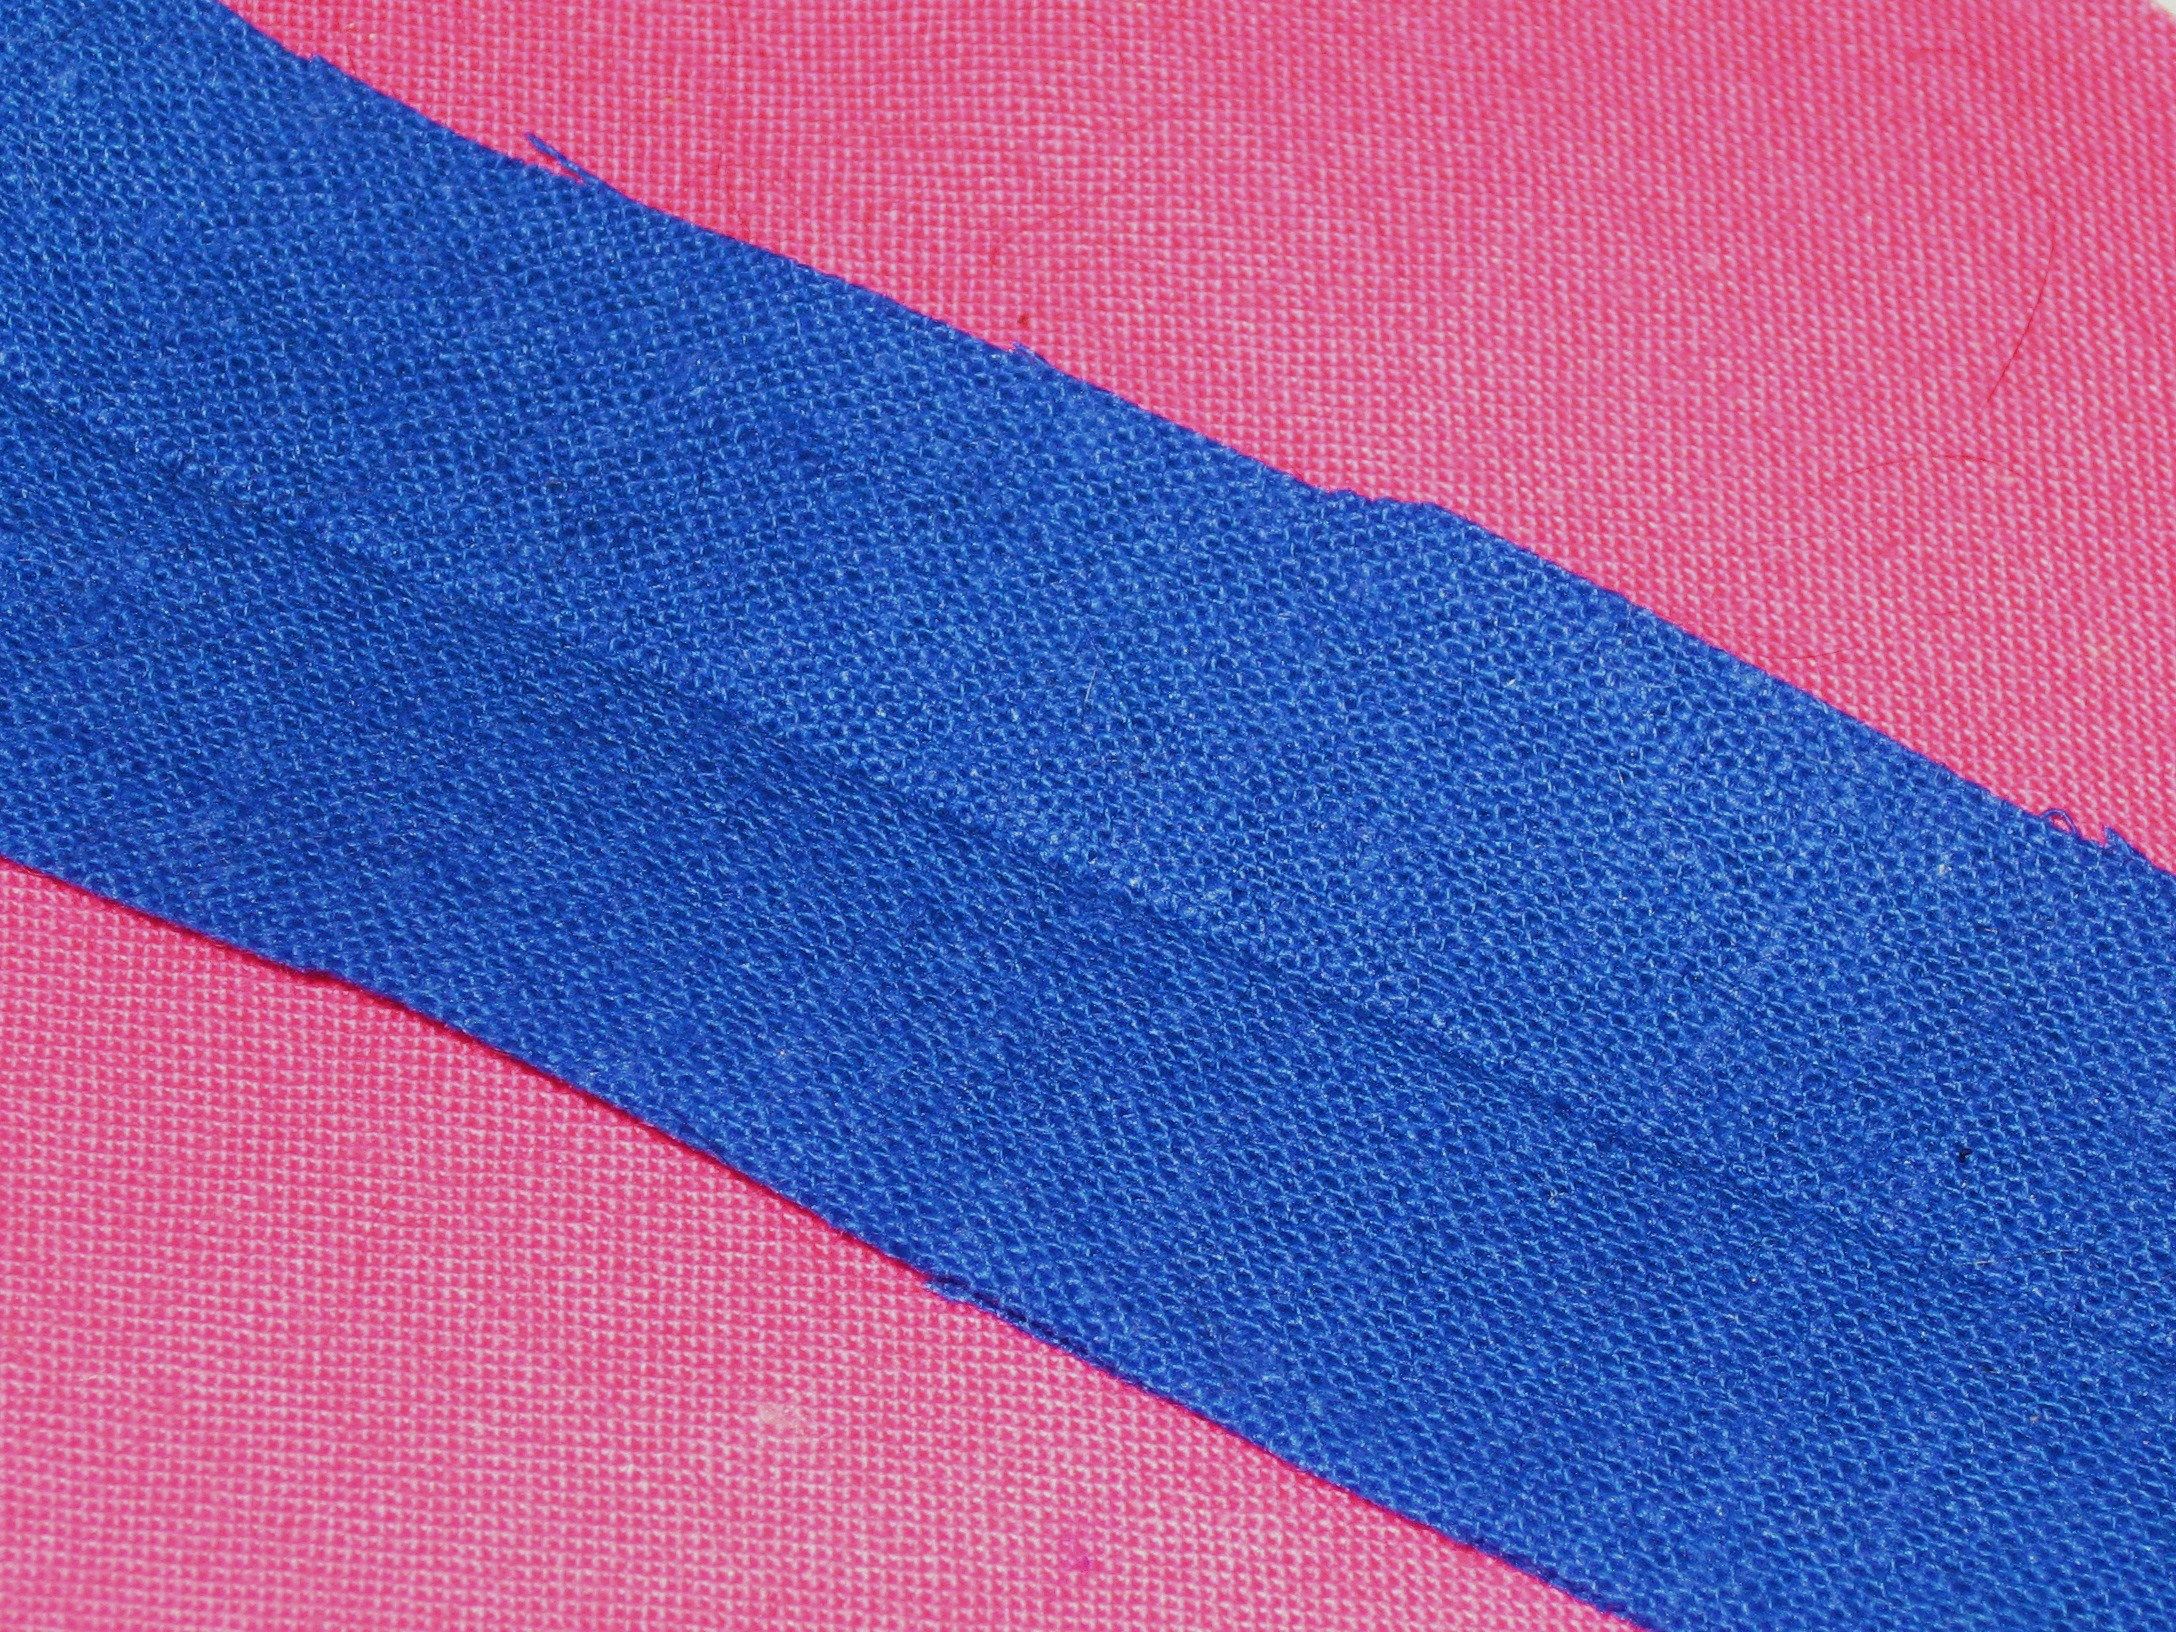
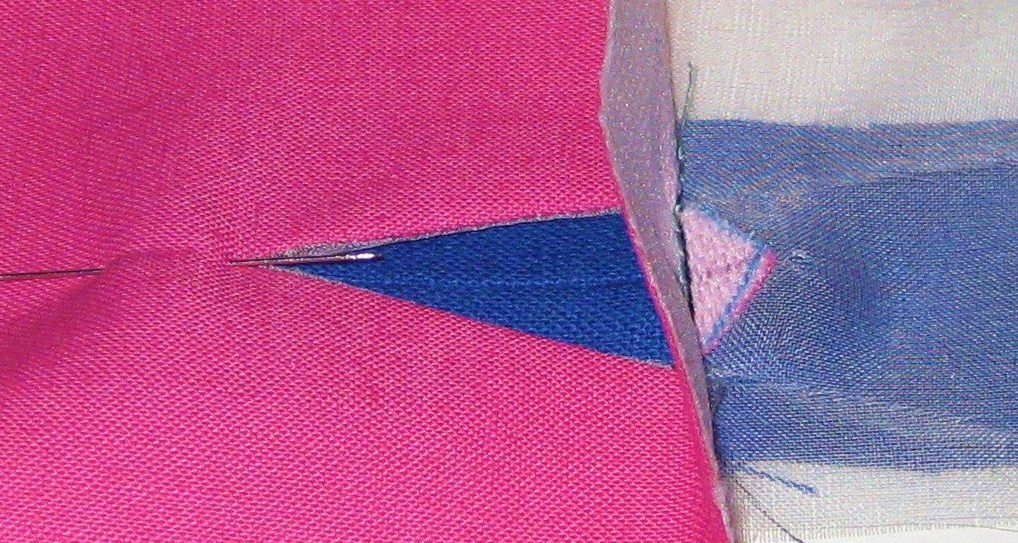
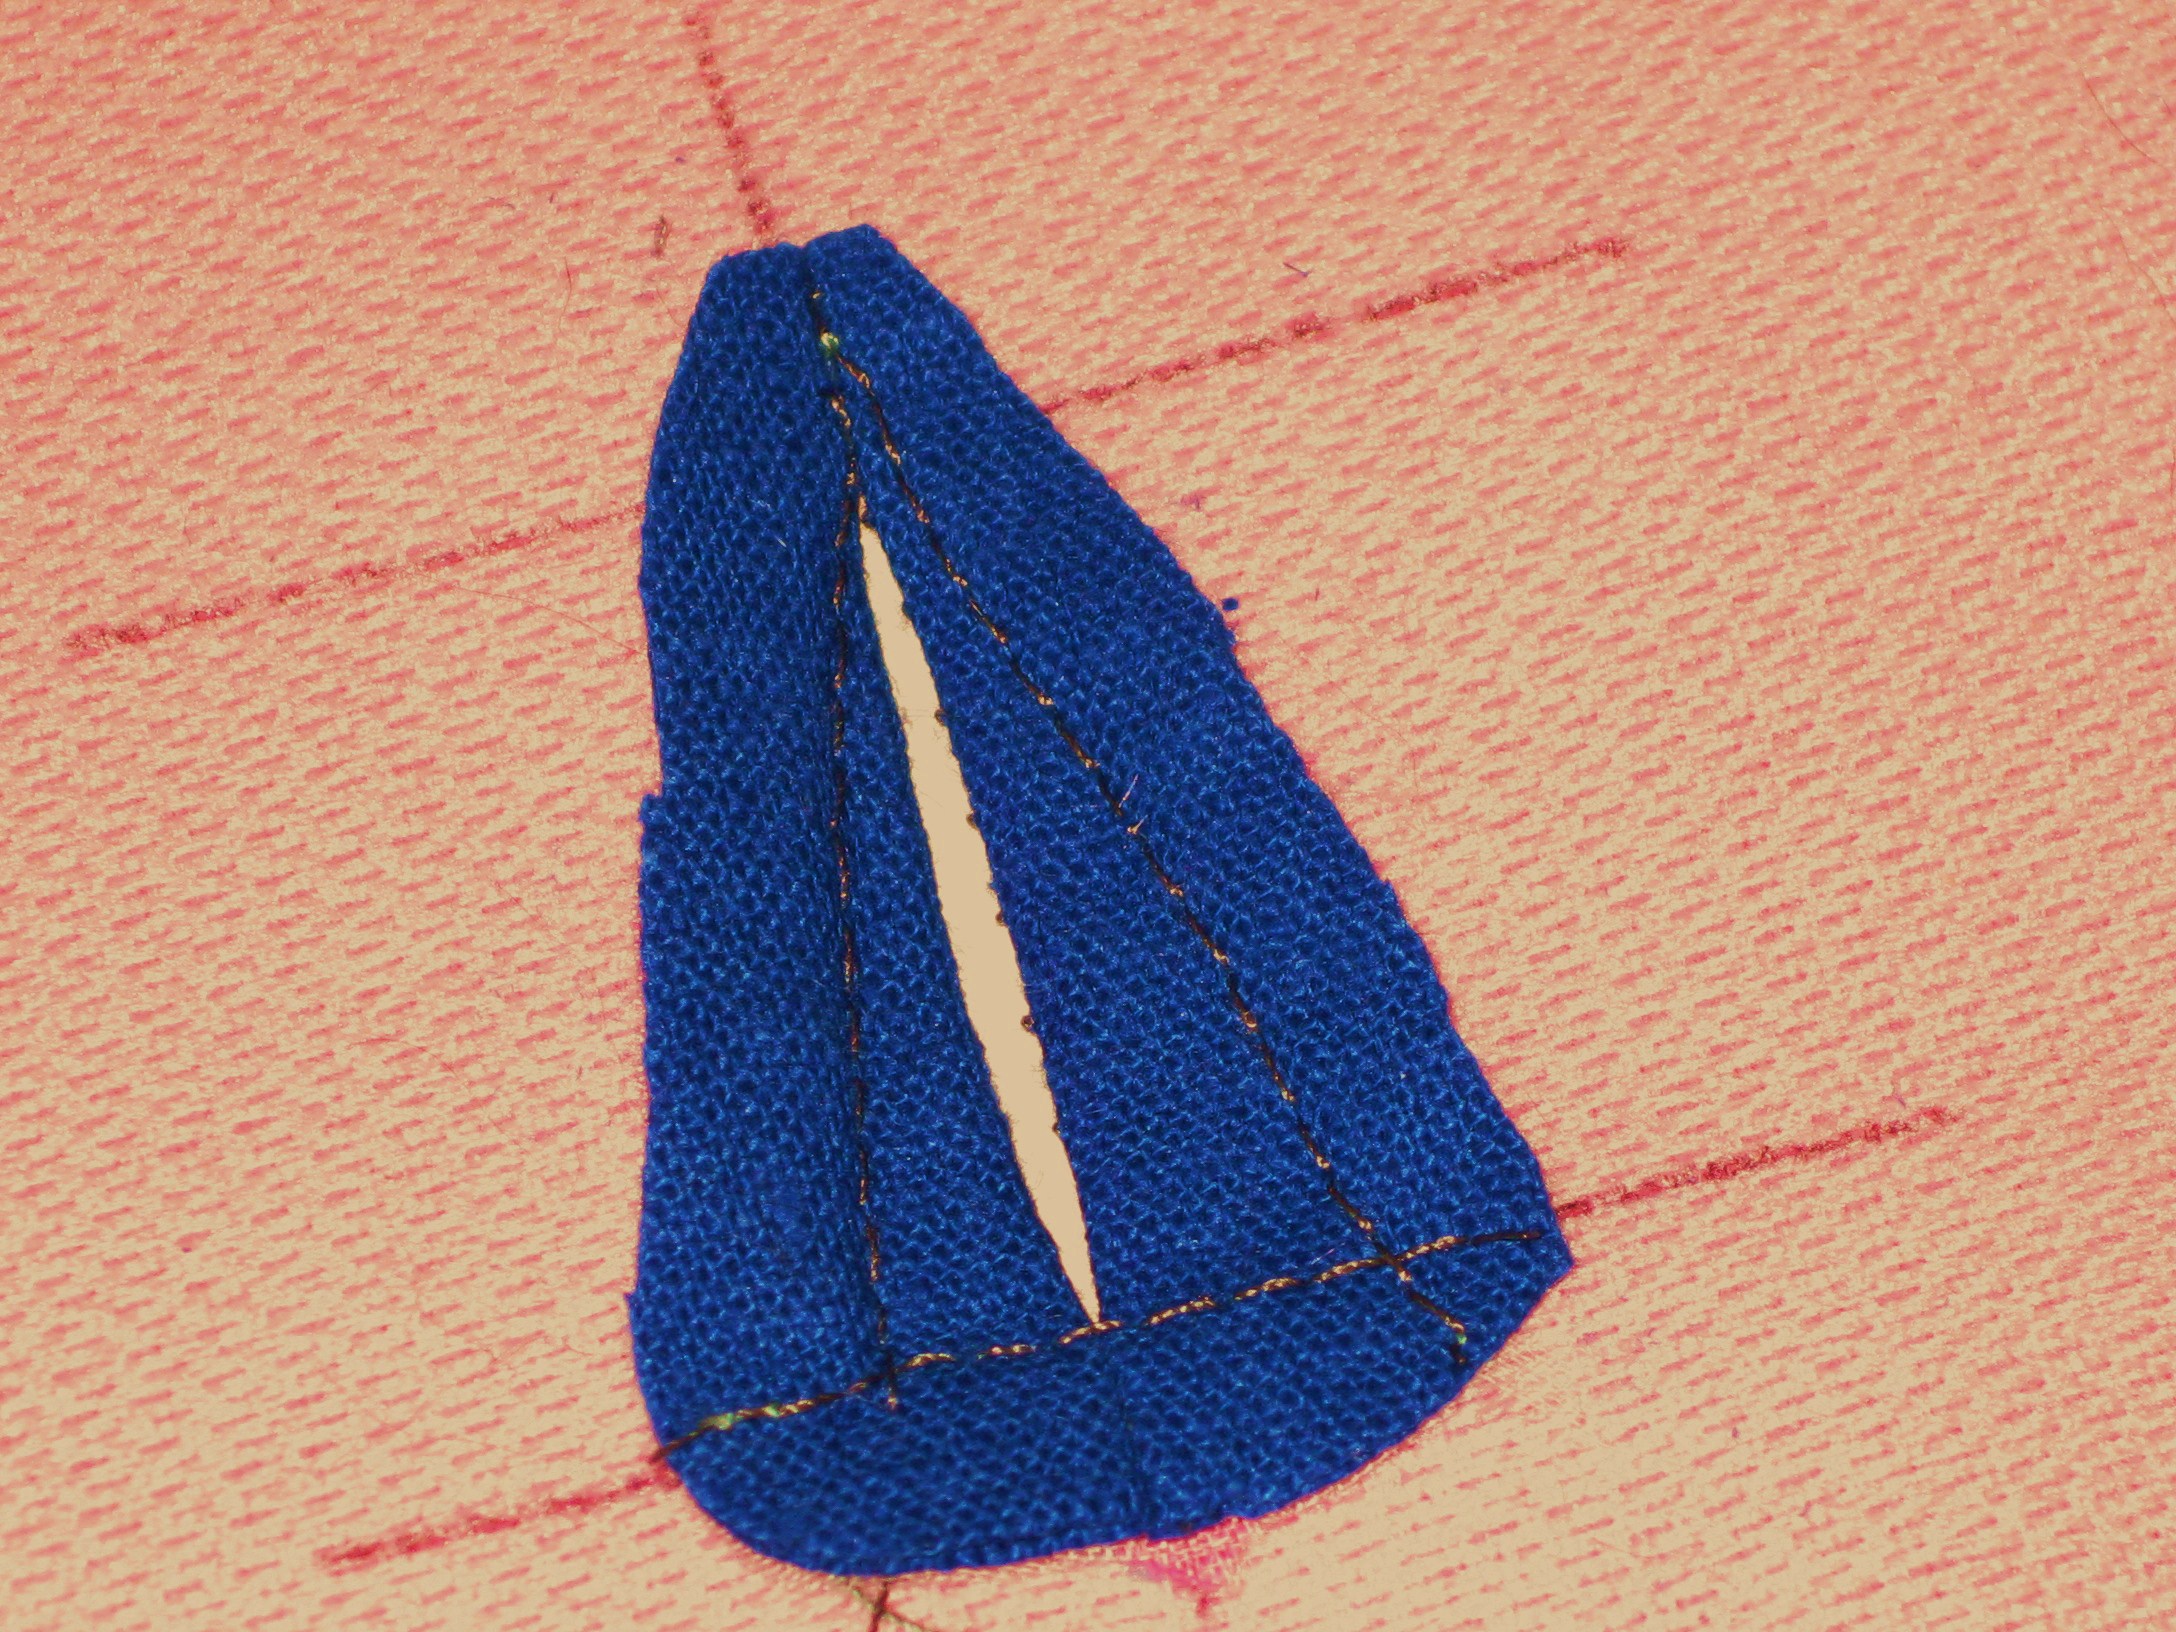
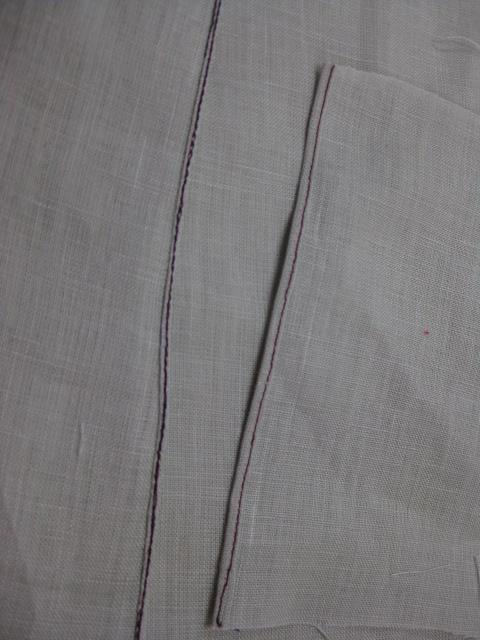
The latter technique can result in a very fine finished hem (on right); finer than the smallest hem (on left) which can be achieved using the hemmer foot .

Hem using manual method on the left; hem using rolled hem foot on the right.
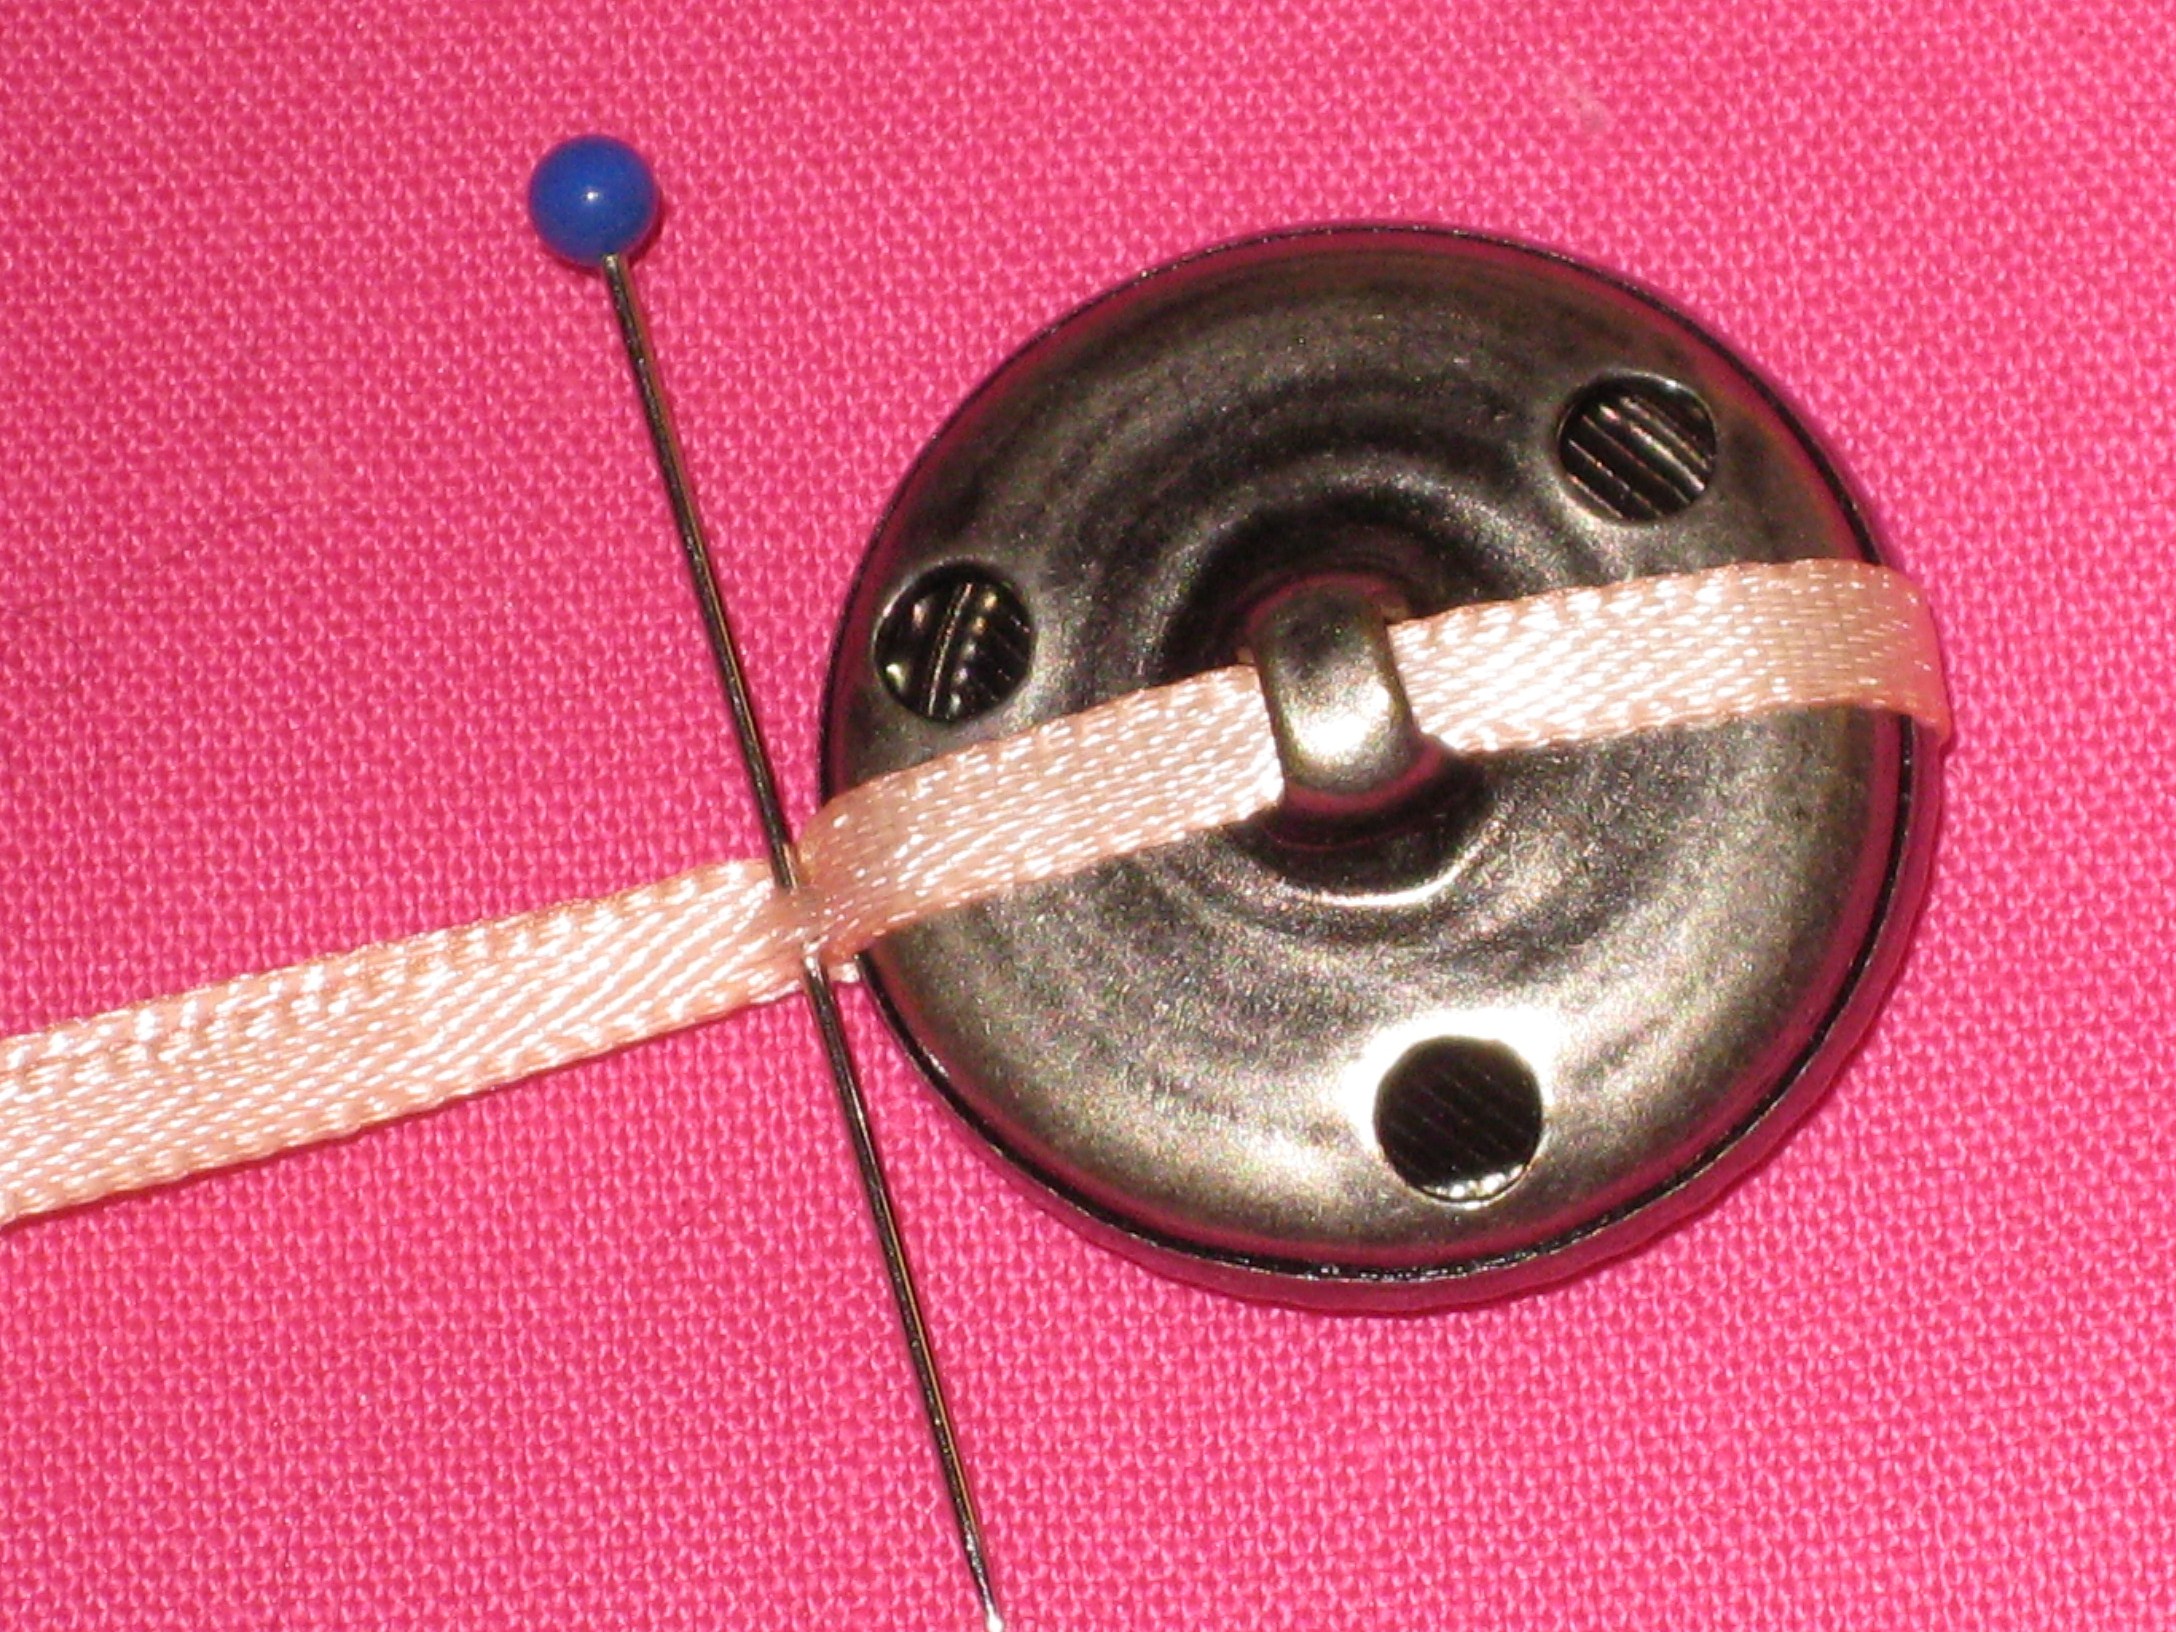
Hand Rolled Hem:
For occasions when a very lightweight hem is needed, a hand rolled hem gives a beautifully light and fine finish.
Thread the finest needle that works with your fabric and use fine cotton (60/3 weight) or silk thread (#100 weight). Wax the thread to minimise tangles and do not have your thread too long.p: If you have a long hem distance,
If you have allowed a 3/8” /9mm hem, fold over1/8” /3mm of fabric and take a tiny stitch in the fold. Take the needle forward 1/8” /3mm from that stitch and take a tiny stitch in your fabric 1/8” / 3mm below the cut edge. Take another stitch in the fold, directly above the previous stitch. Slide the needle forward 1/8” /3mm inside the fold. Continue for approximately 3” /10cm keeping the thread loose. Gently pull the thread until the hem rolls to the wrong side. Continue in this way to the end of the hem.

Roll under one third of hem width. Hand stitch in the fold and another third below the cut edge.

Carefully pull thread which will cause the hem to roll.
Do not press this hem or the roll will be lost. Simply cover with a press cloth and use an ironing motion to finish.
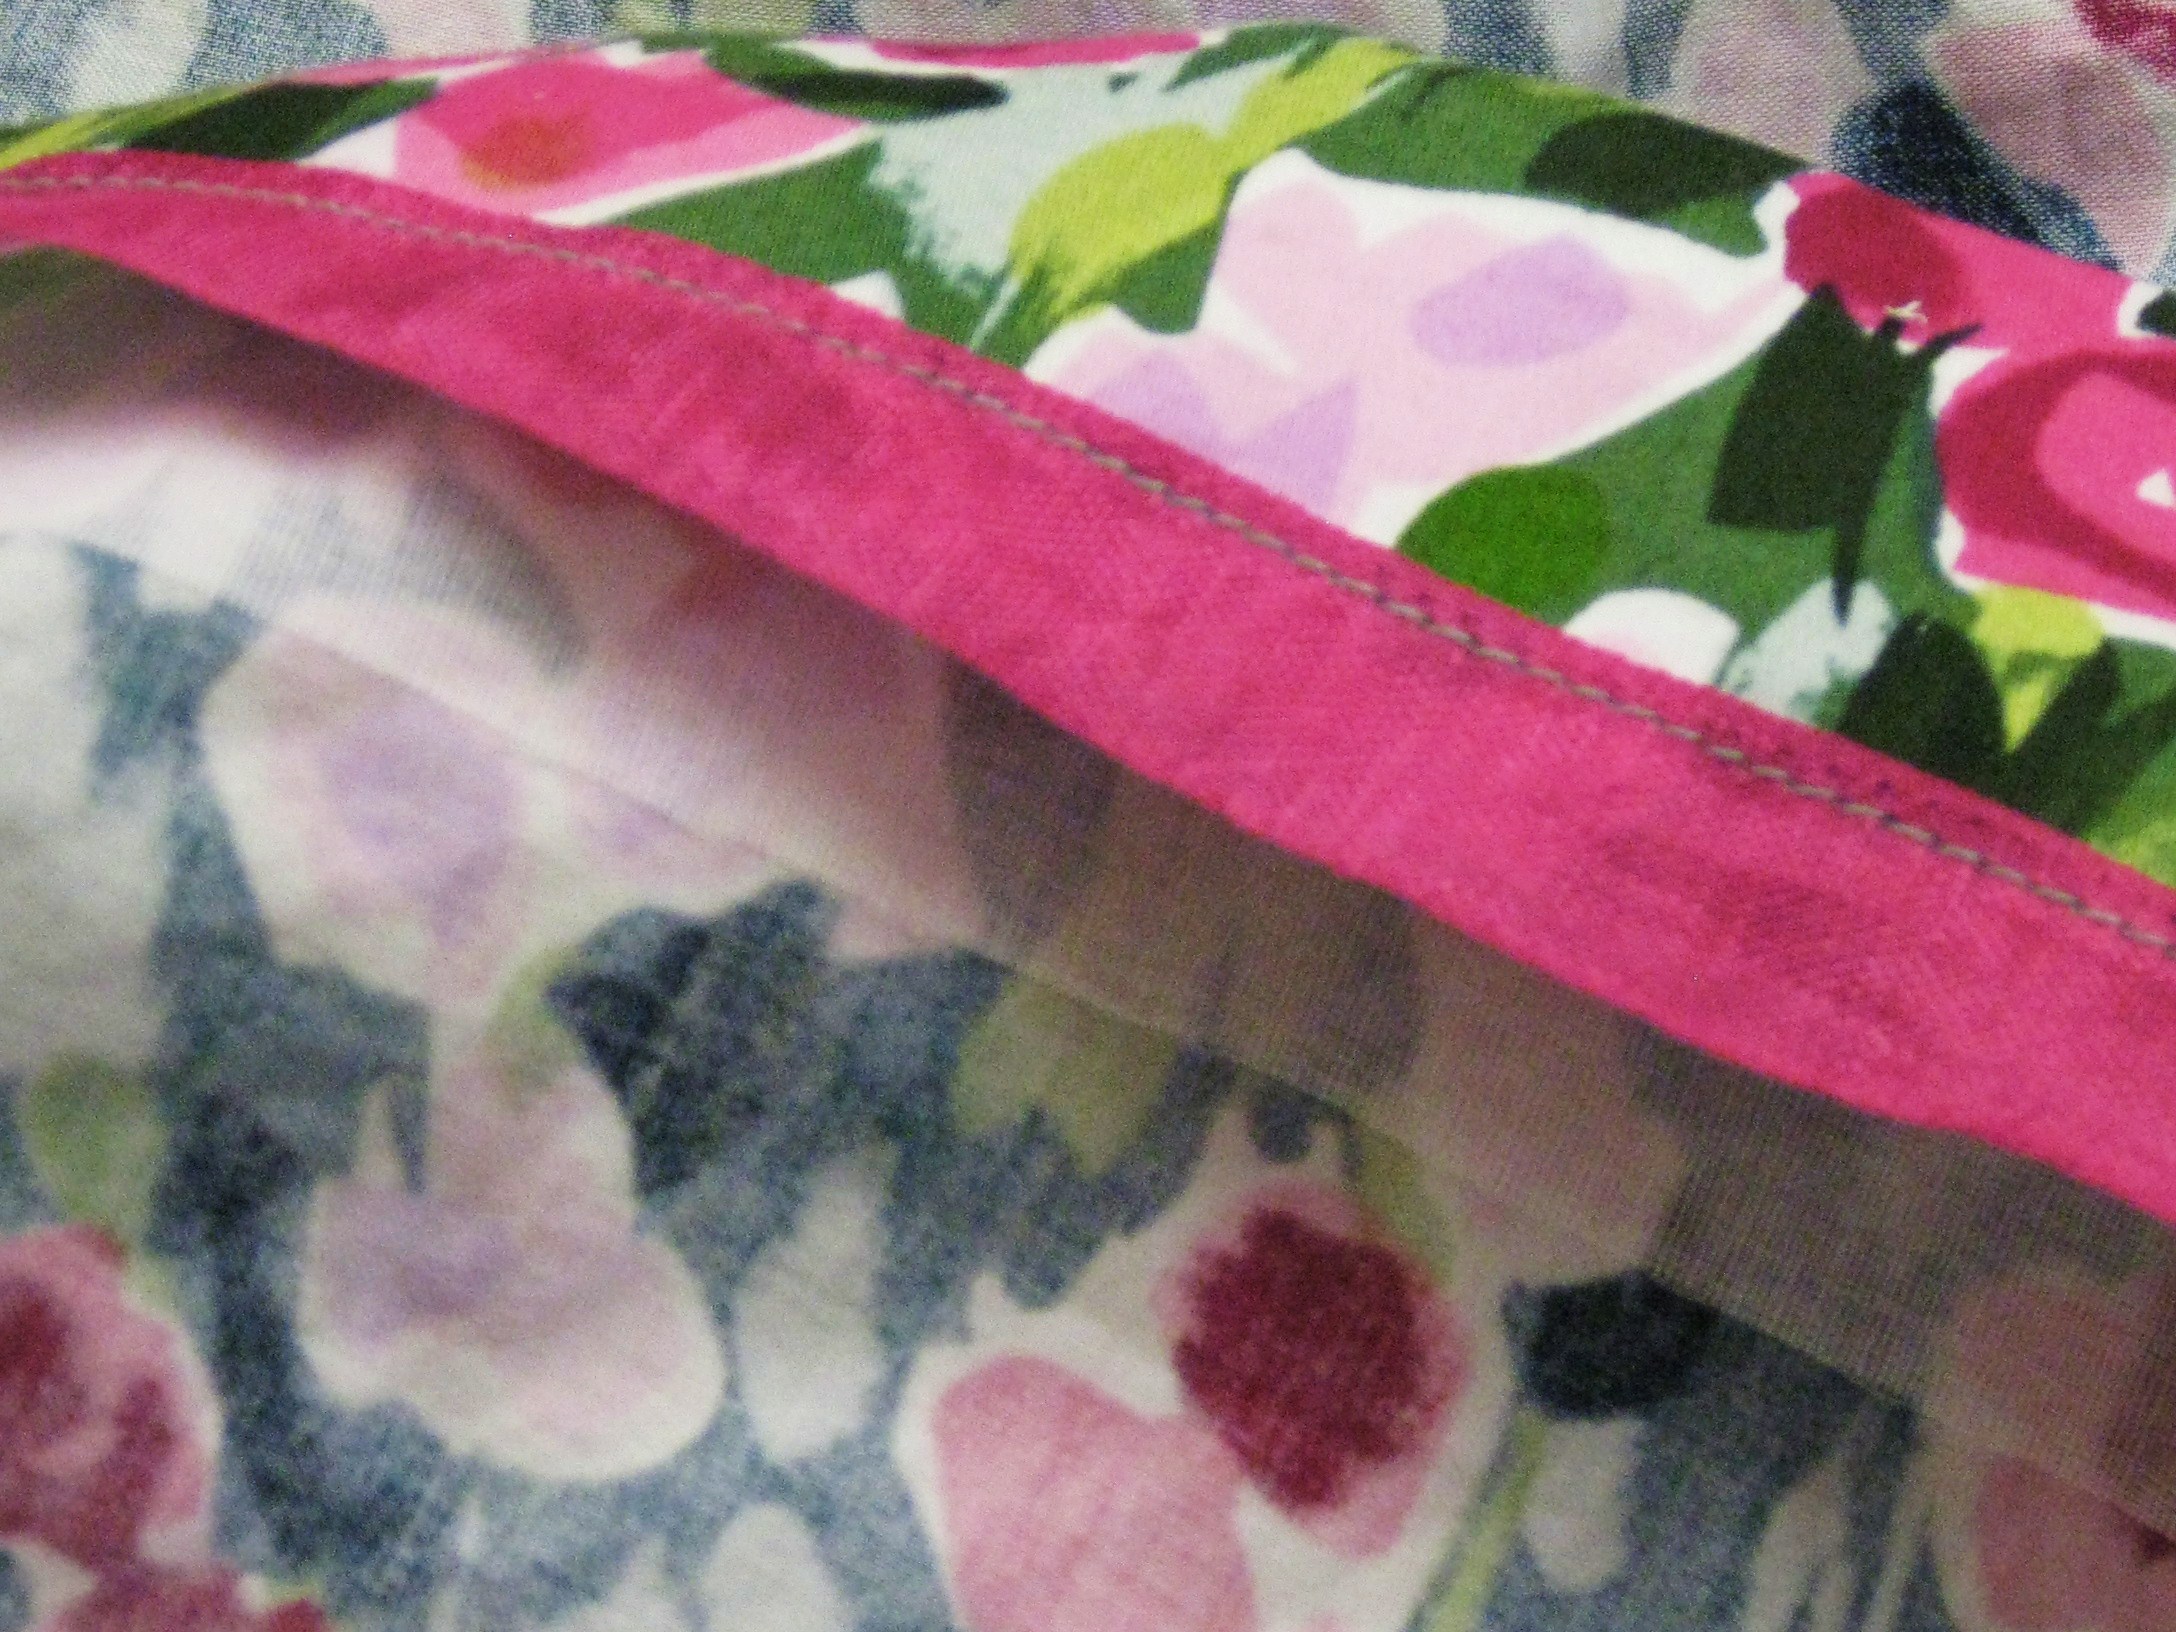
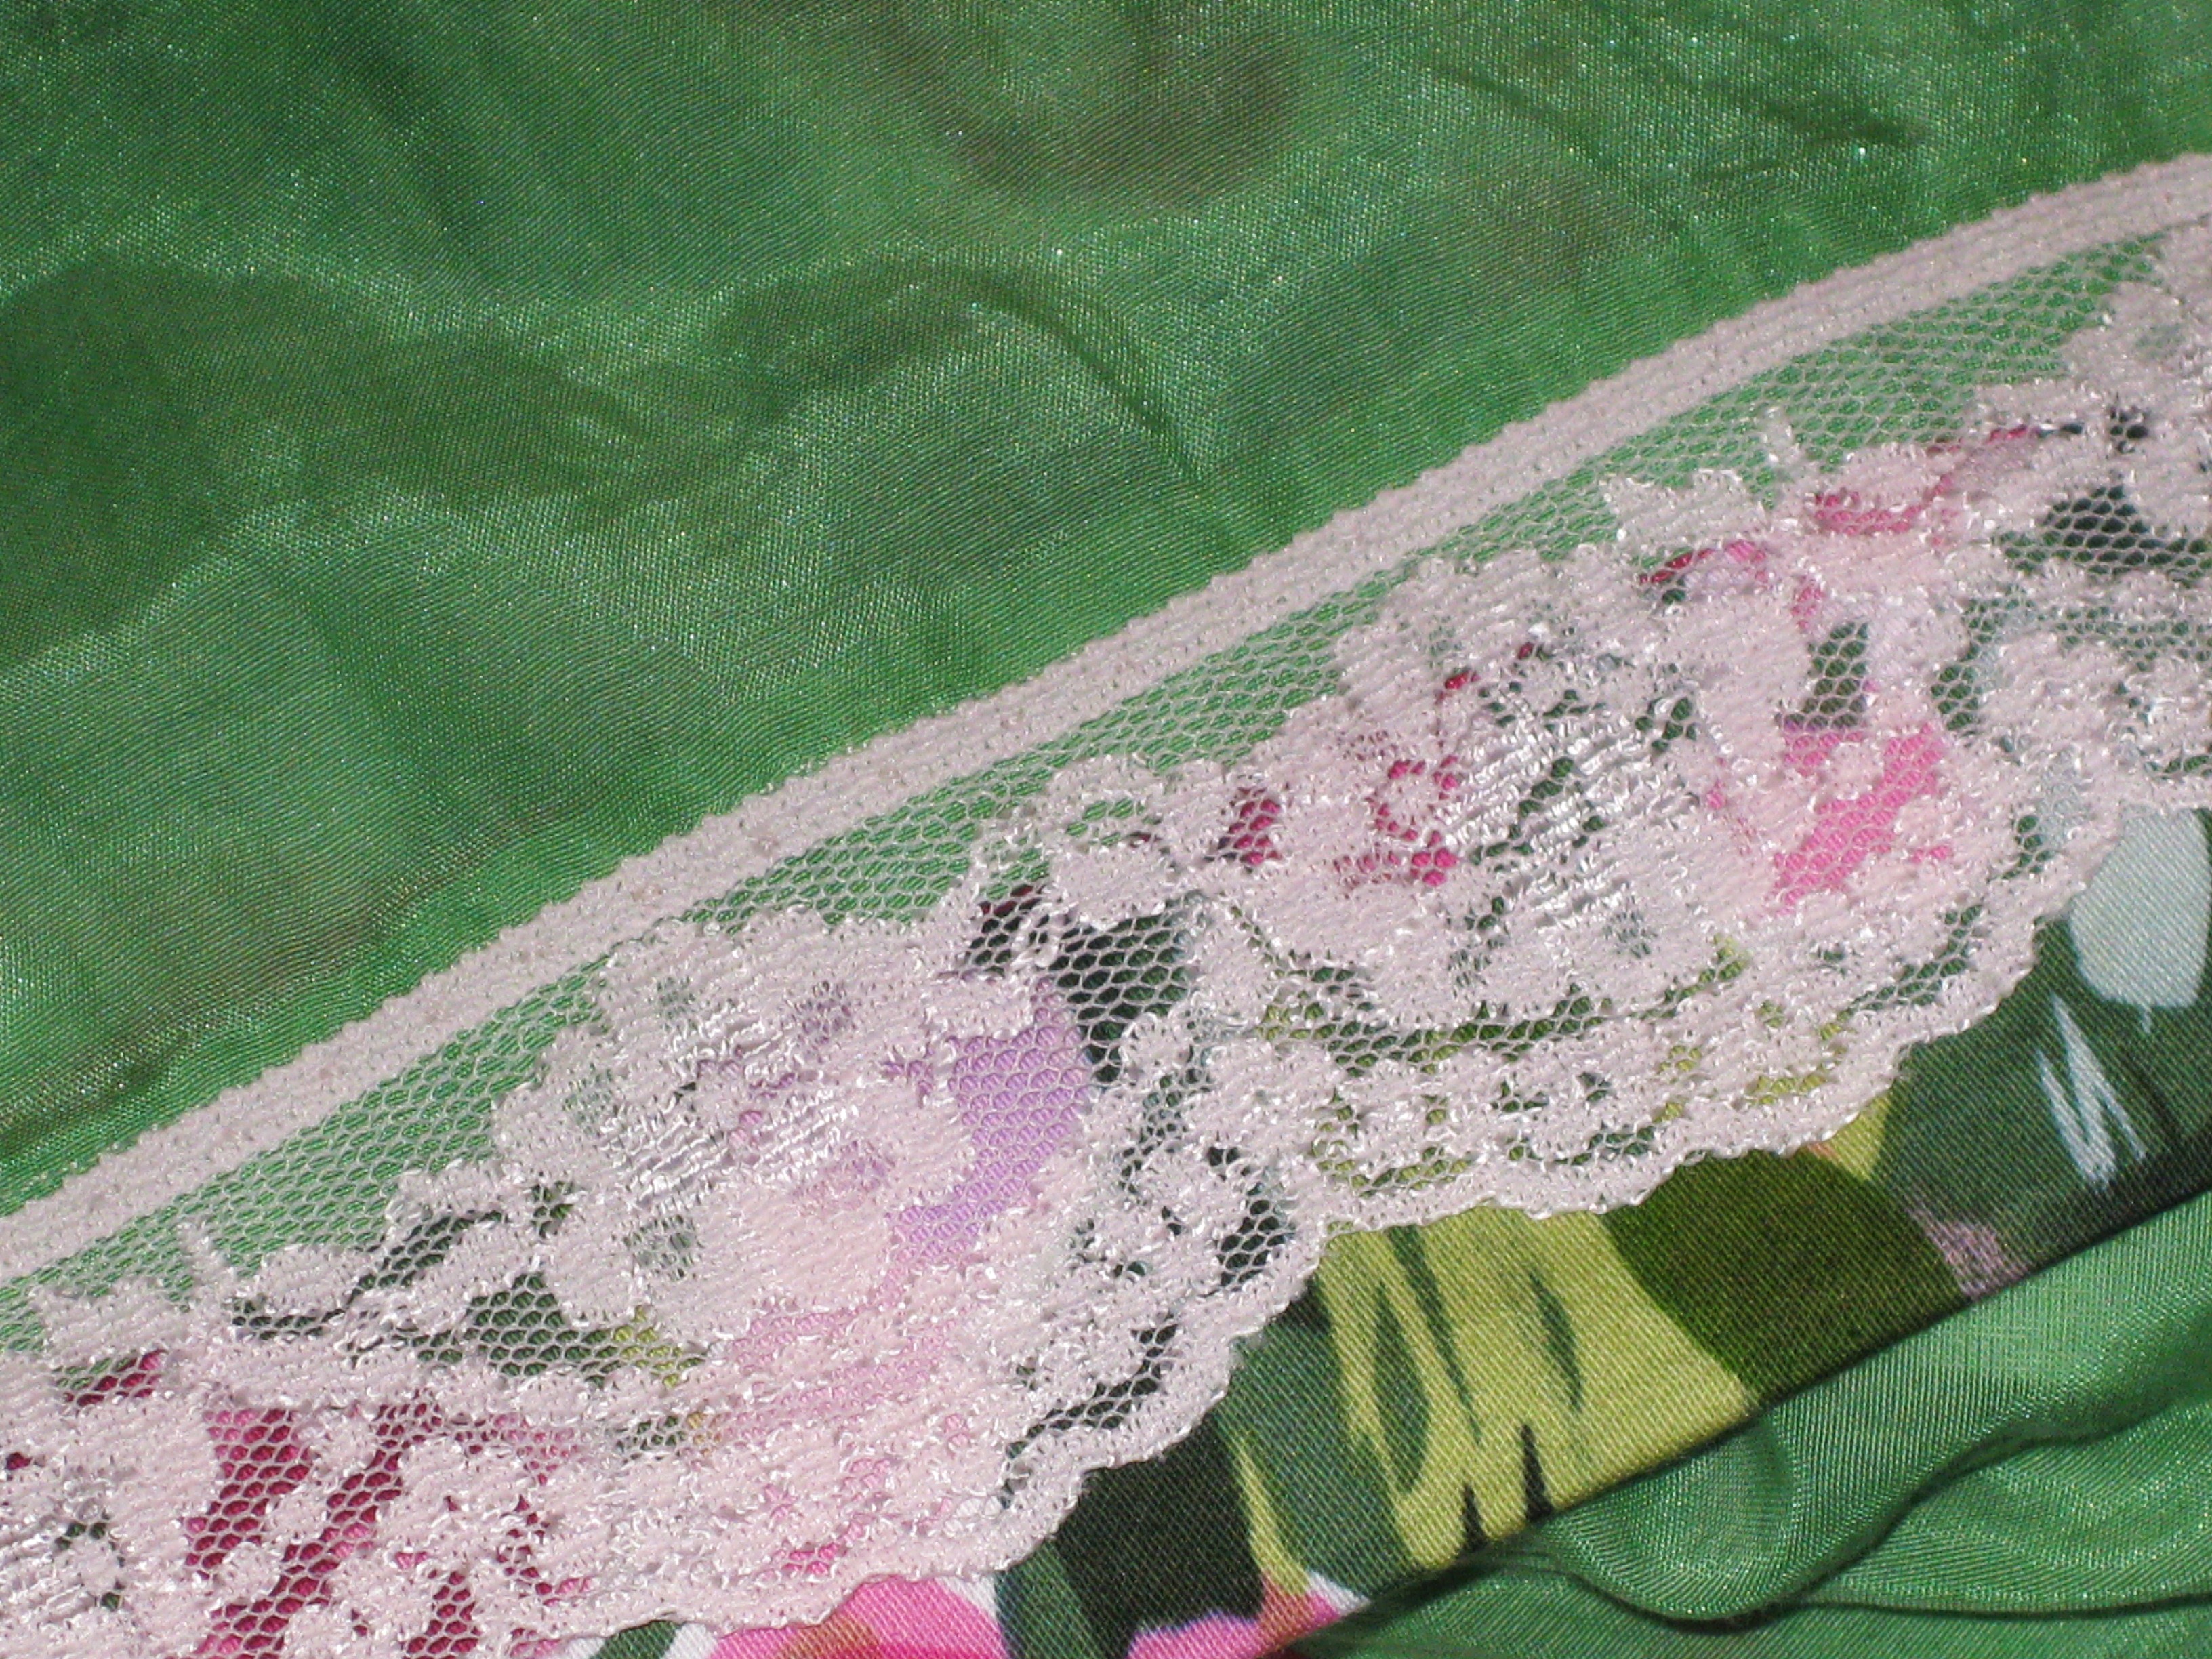
Hem Bands:
This technique is useful in a number of different circumstances:
- where design detail or contrast at the hem is desired
- to add weight to the bottom of a hem
- when a garment needs to be lengthened
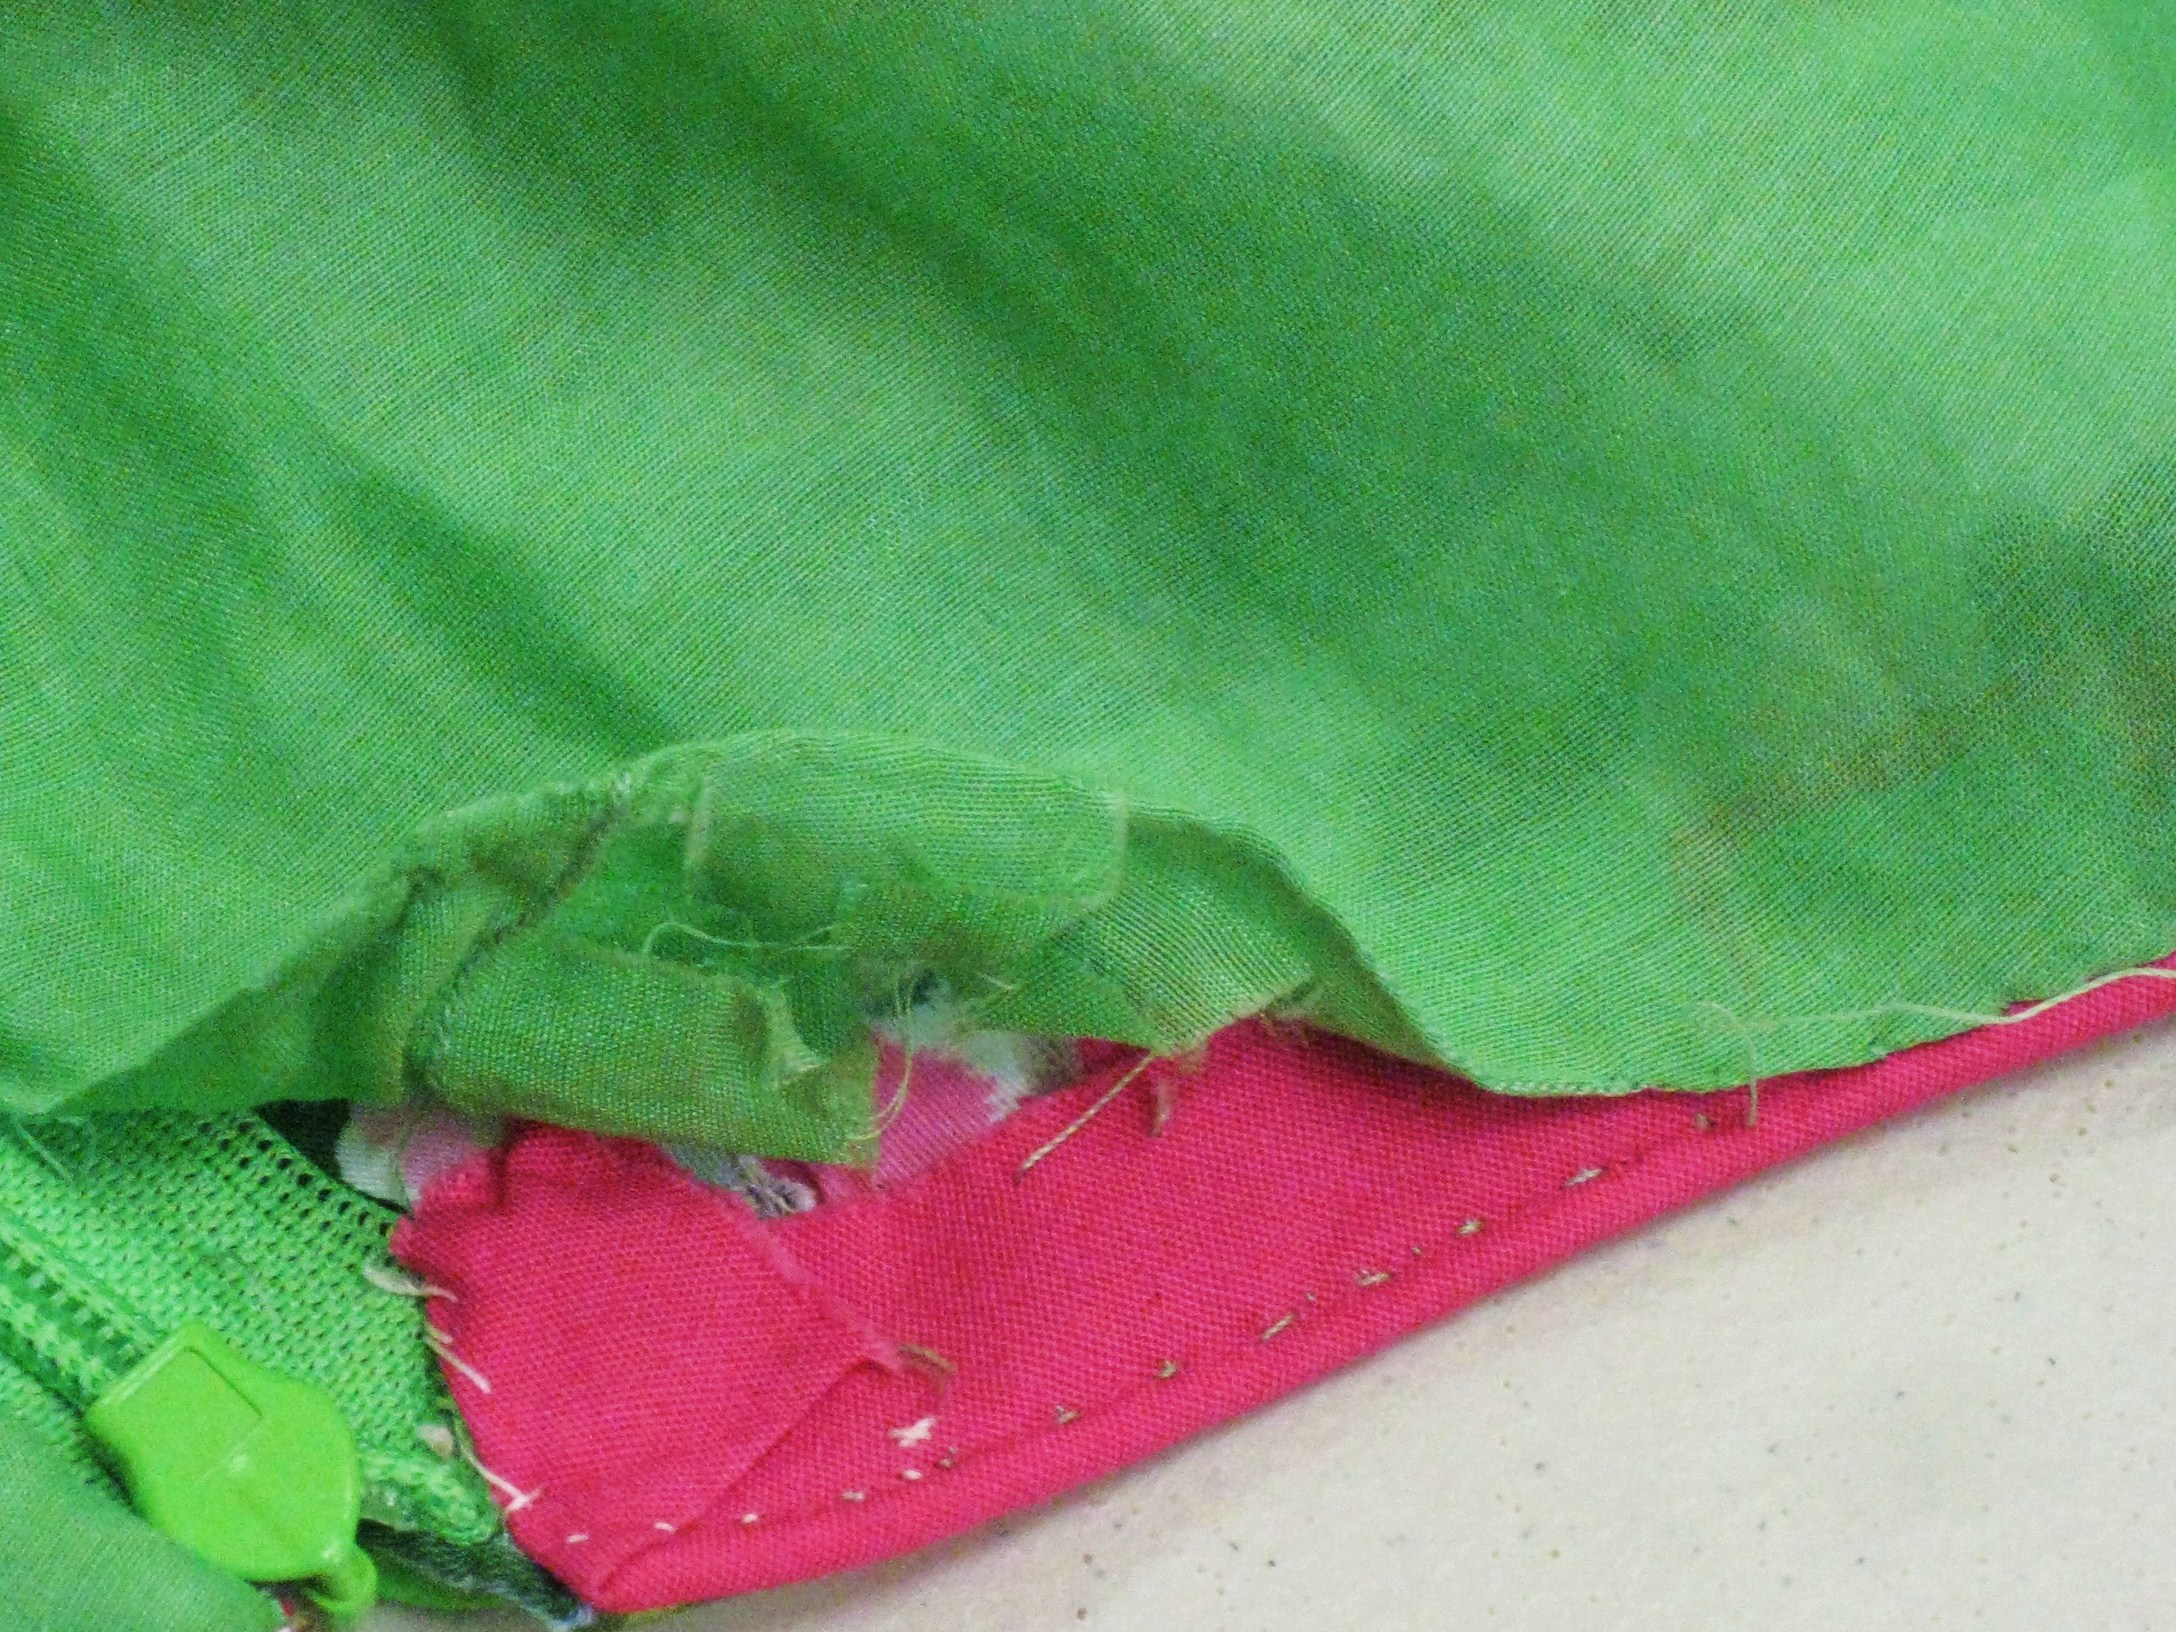
- when using crisp, sheer fabrics (eg silk organza) – often seen on vintage 1950’s garments
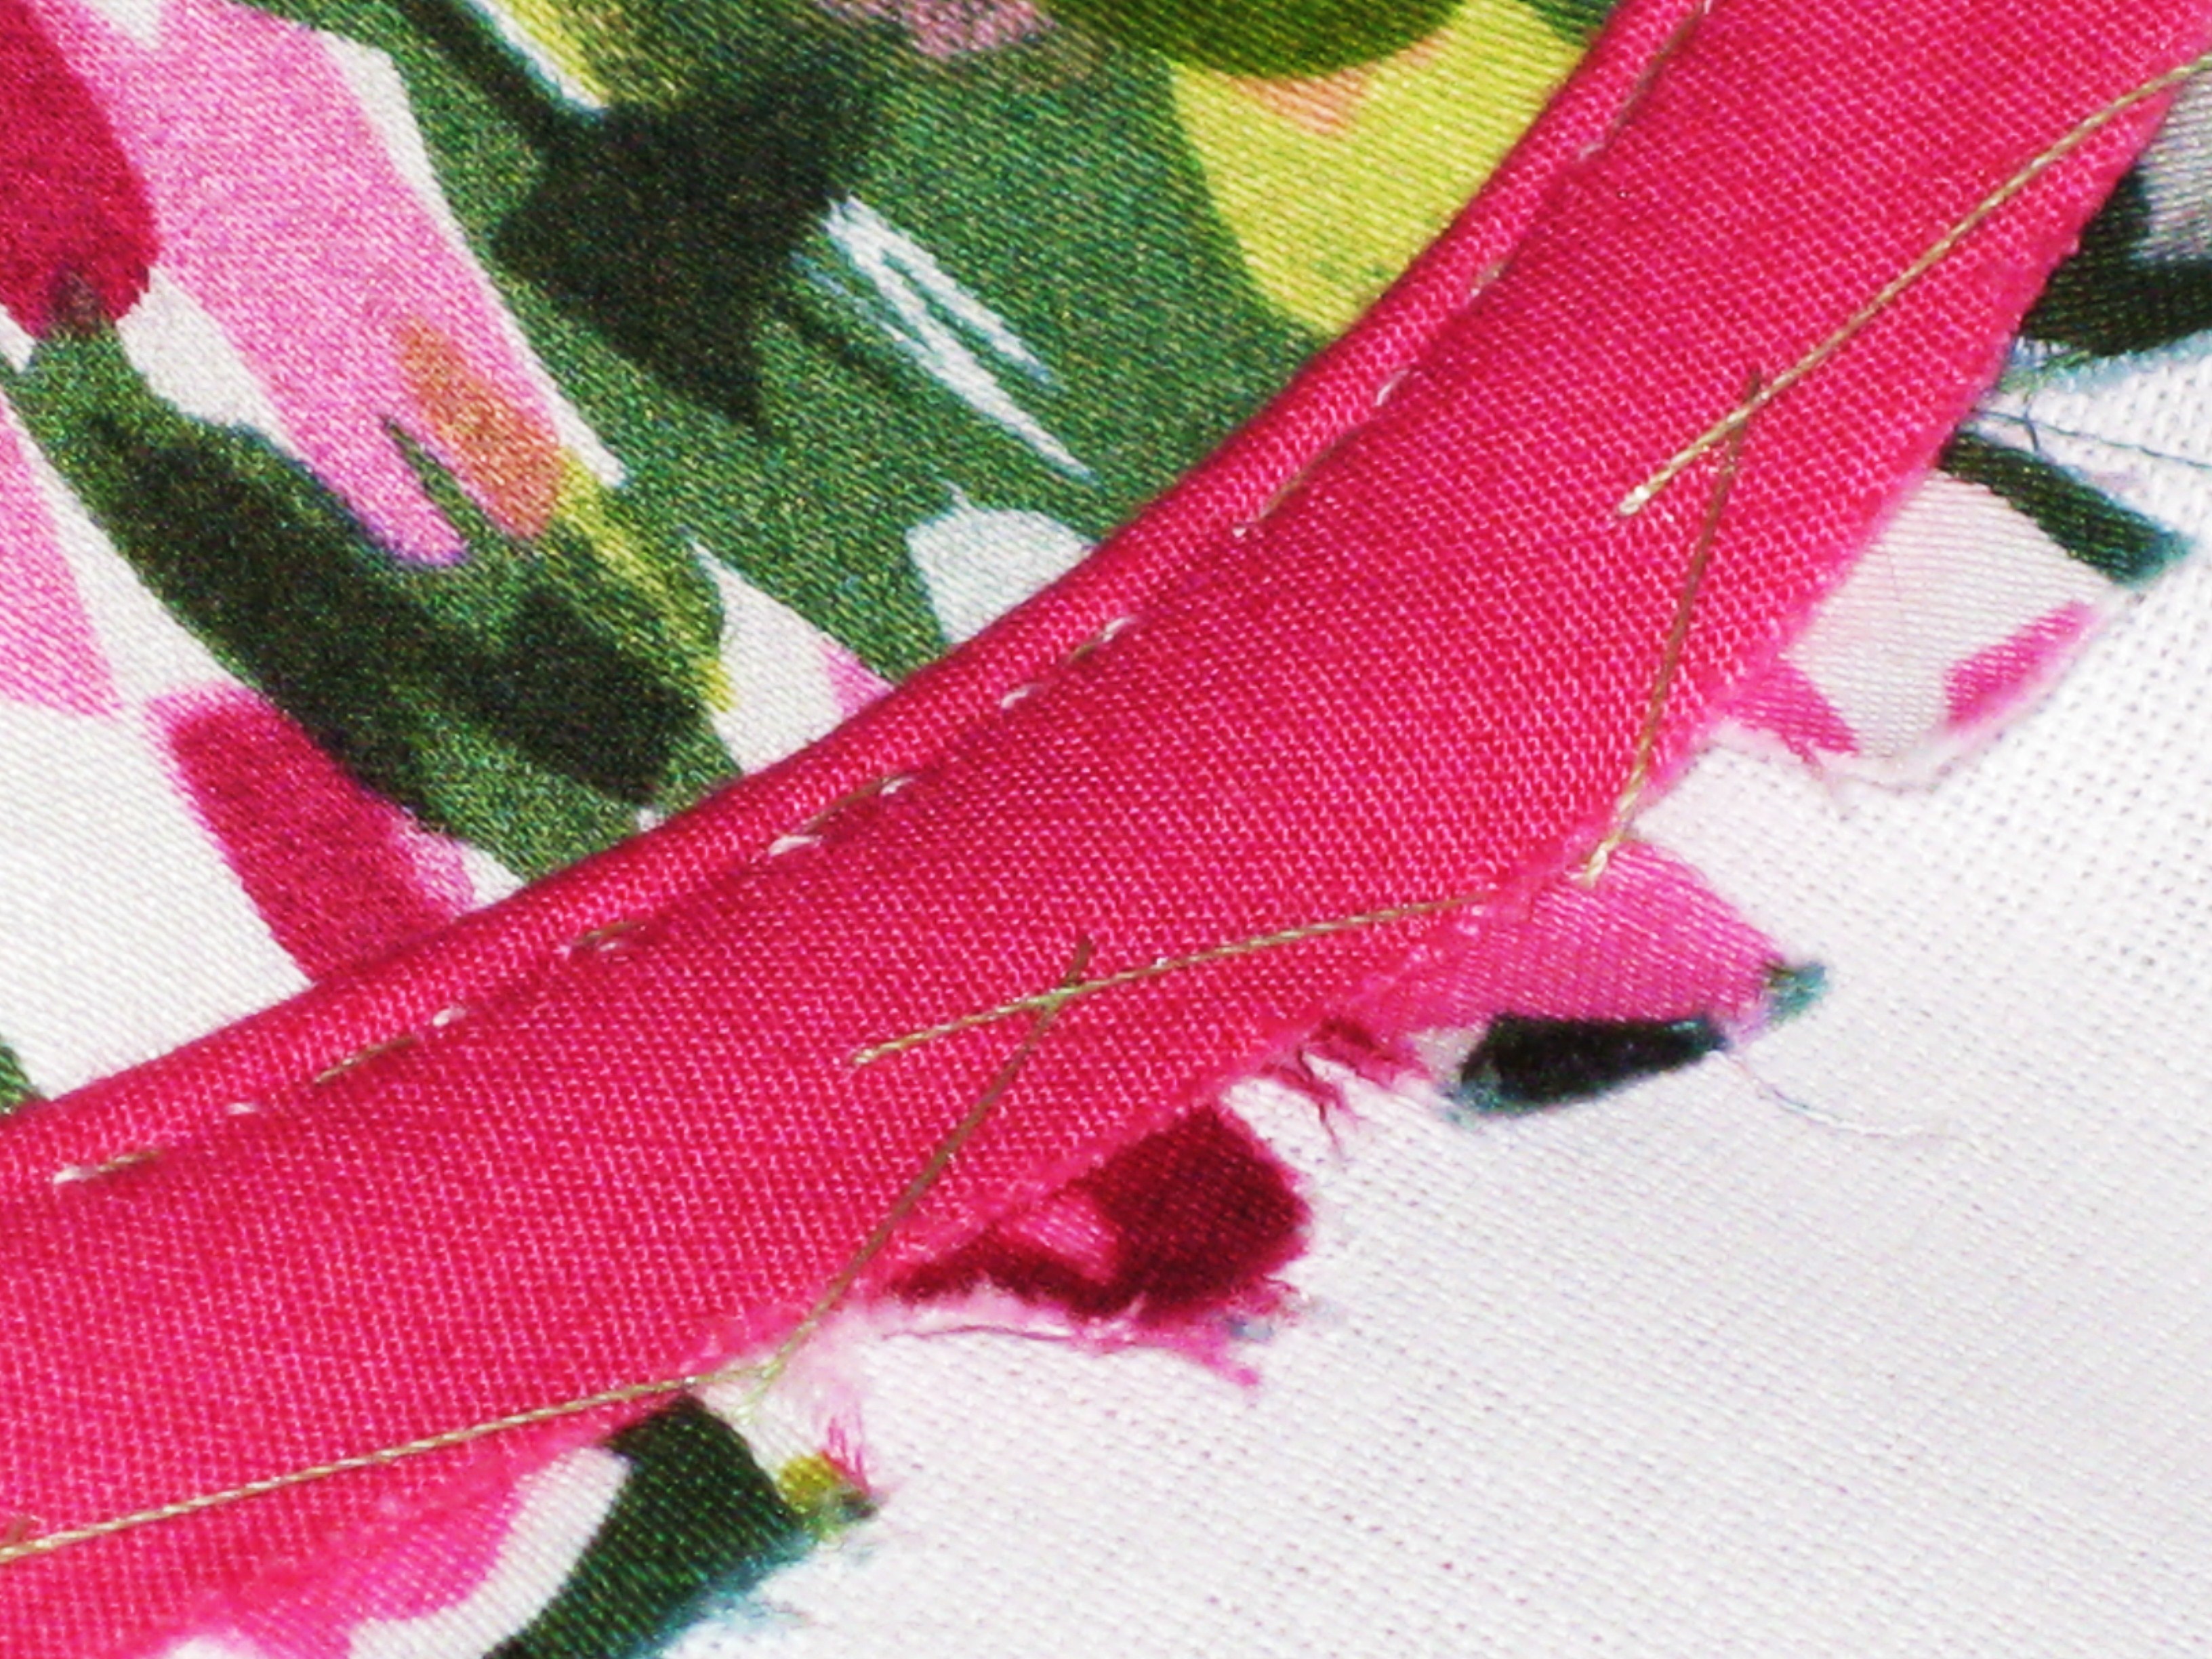
Measure the circumference of the finished hem and cut a piece of fabric twice the desired finished width plus 2 seam allowances by the circumference of the hem plus 2 seam allowances.
Fold the cut band in half lengthwise with wrong sides together. Open out the band and, with right sides together, join to make a circle. Stitch a line along the seam allowance on one edge of the band and use this stitching line as a guide to press the seam allowance towards the wrong side of the band.
Pin the right side of the band to the right side of the garment and stitch in place. Bring the folded inside edge to just cover this stitching line and invisibly stitch the folded edge in place.
It is always important to make a sample of various techniques so you can assess the results and decide on what suits best.
I hope you will enjoy trying some of these methods to build a repertoire of sewing techniques which will serve you well in future projects.