Inset corners are used in garments withcut on collars, forexample stand up or shawl collars, as well as those with panel insertions, godets and gussets.
Vogue 8931

Style Arc Issy Top with back collar stand and inset corner where shoulder seam joins the neck. Designed for thin and very stretchy knits.

Style Arc Issy Top with back collar stand and inset corner where shoulder seam joins the neck.

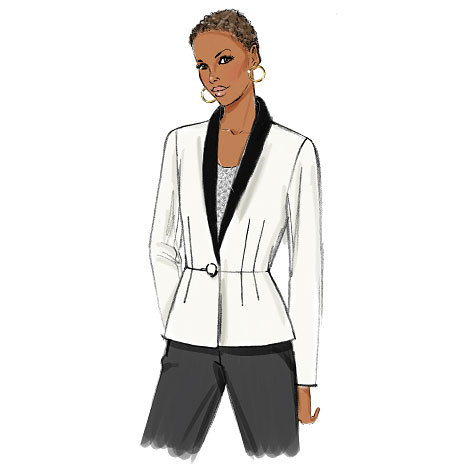
Vogue 9039 Jacket with lots of inset panels and inset collar.

Vogue 9039 Jacket with lots of inset panels and inset collar.

This Marfy pattern has godet inserts.
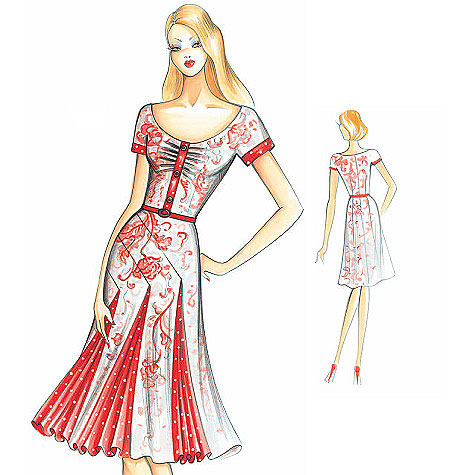
This Marfy pattern has godet inserts.
Typically this feature is used with stable, medium weight woven fabrics. However, these garment features are also included in patterns for knit garments and often in blouses made in softer fabrics. The pattern guide sheet method requires stay stitching and clipping the inset corner before joining the pieces right sides together which, when stretchy or loose weave fabrics are used, makes it almost impossible to achieve a clean, sharp corner.
The key to achieving a sharp corner is stabilising the corner.
In this method fusible interfacing will stop the seam stretching and a silk organza patch placed at right angles to the pivot point will help achieve and maintain a sharp pivot point. The addition of the fusible interfacing strips will depend on the garment fabric. It is particularly useful when using knits and unstable fabrics.
When using stable woven fabrics:
- Cut an on grain 5cm/2” square of silk organza
- Pin the organza in place (again centred over the exact pivot point) against the right side of the fabric

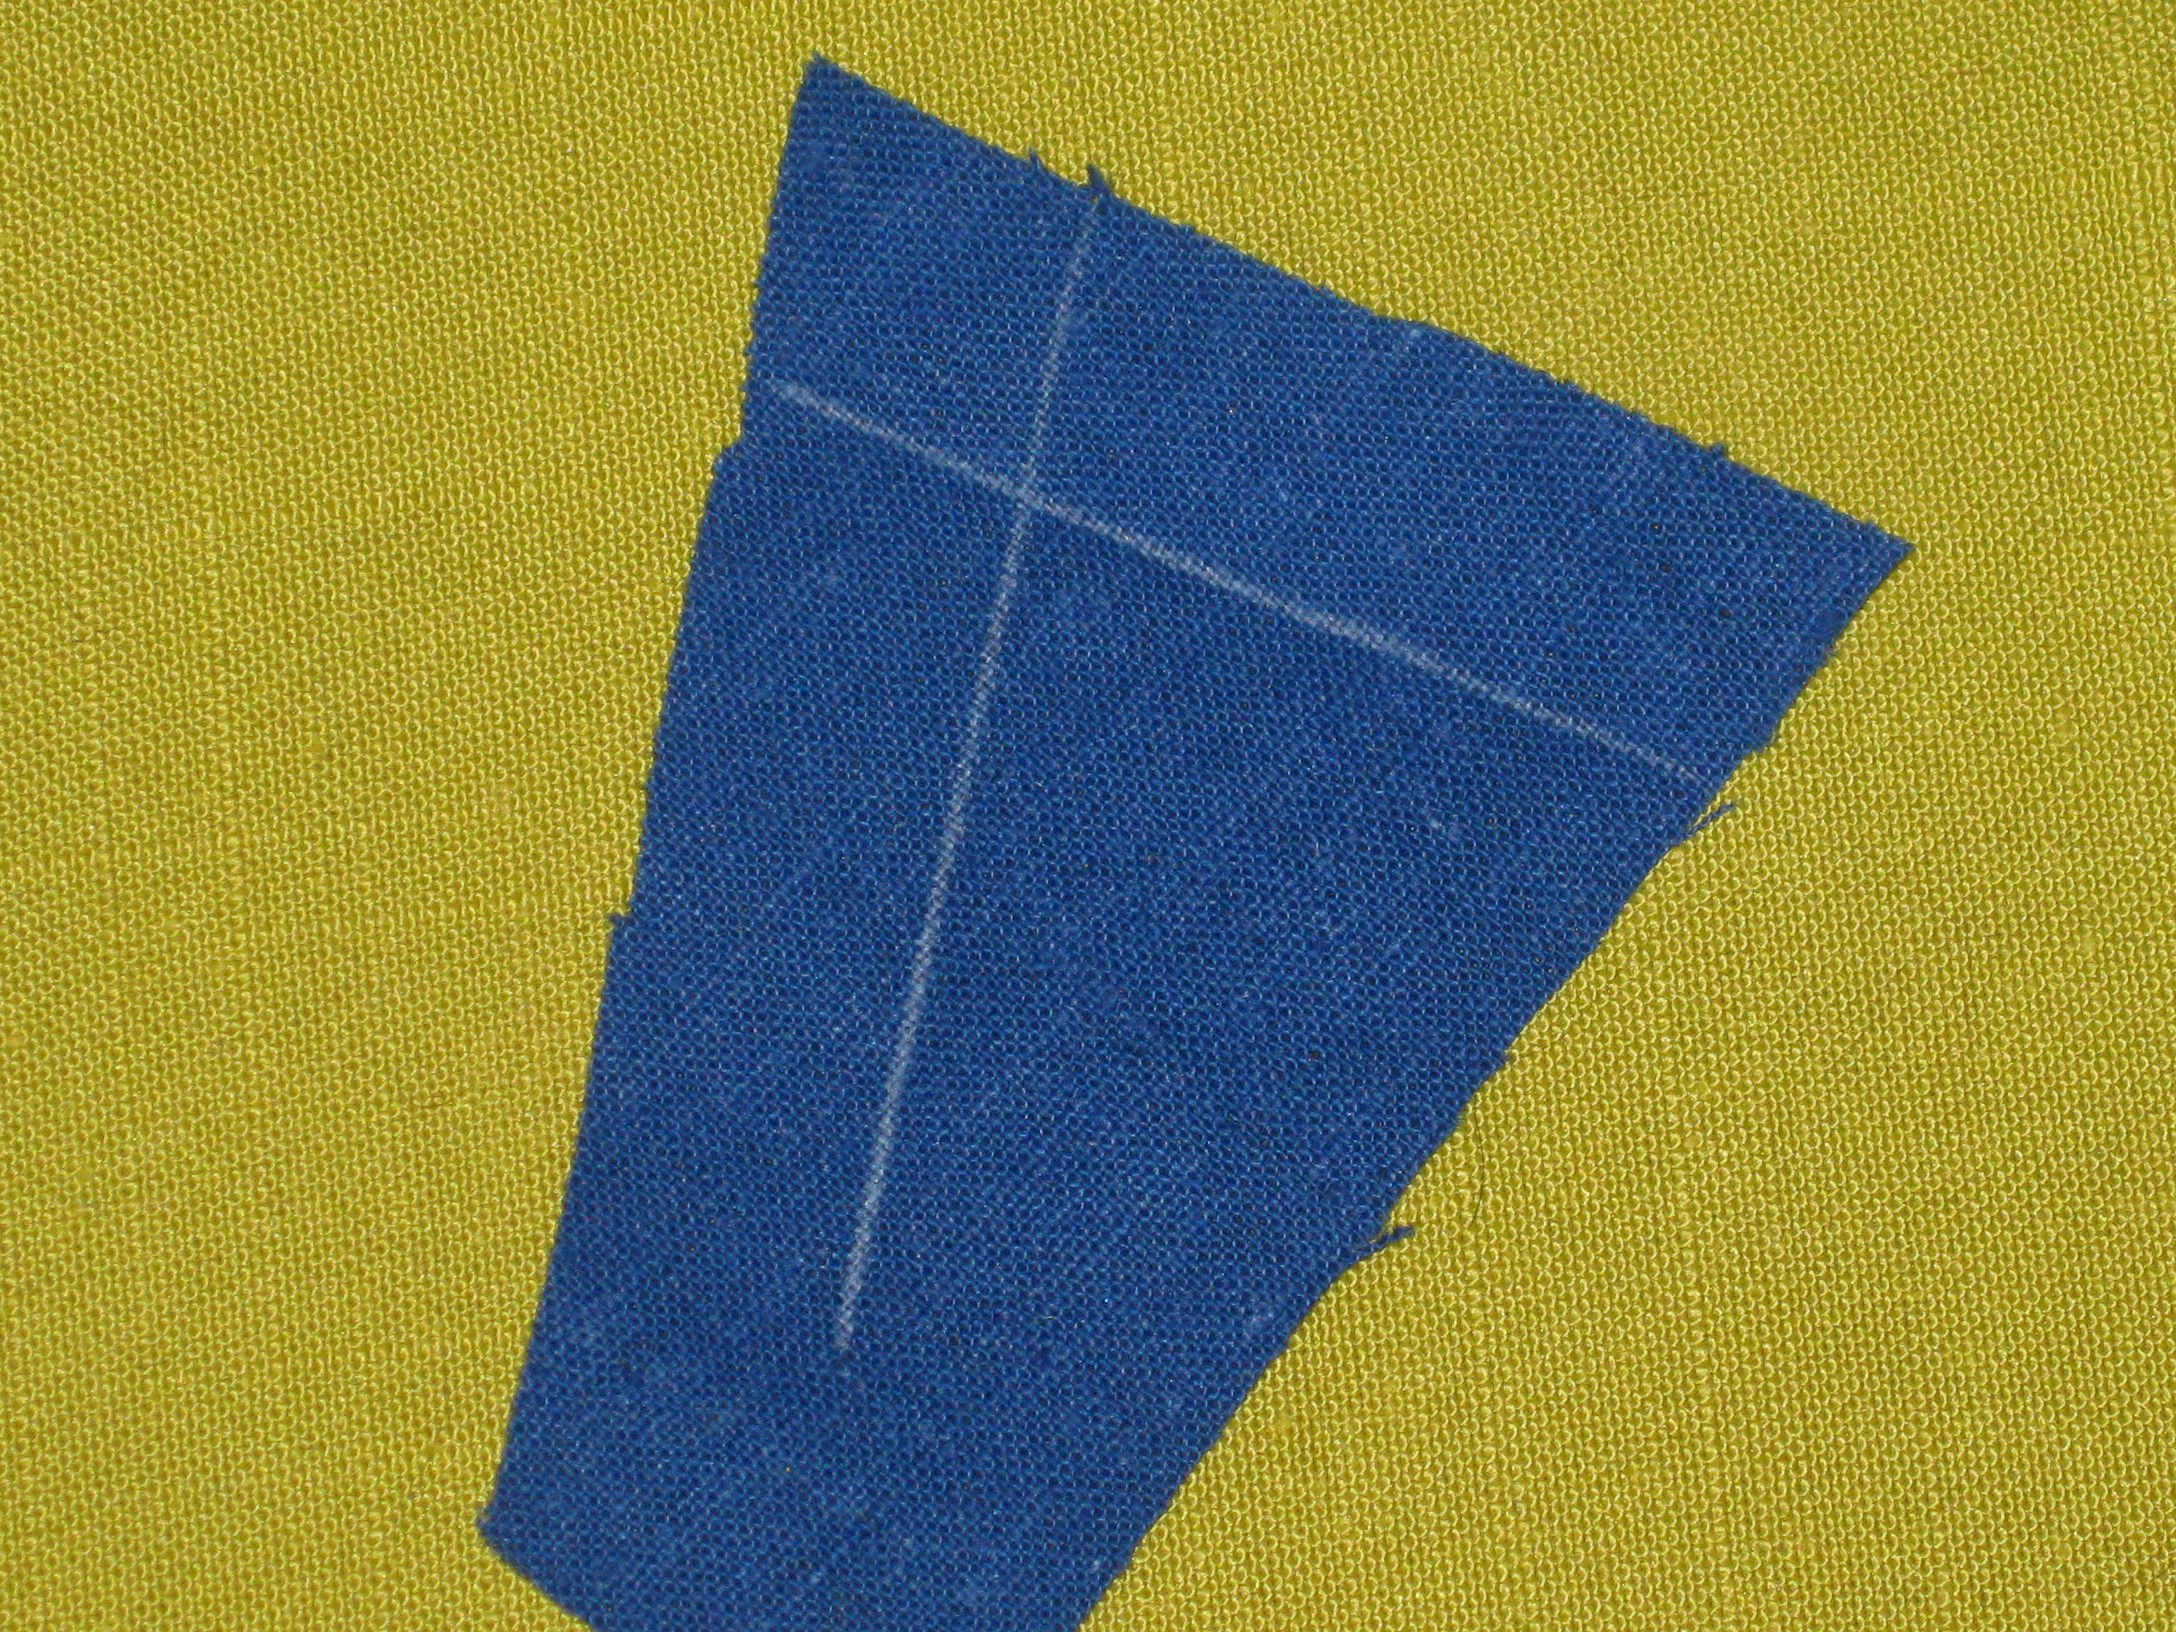
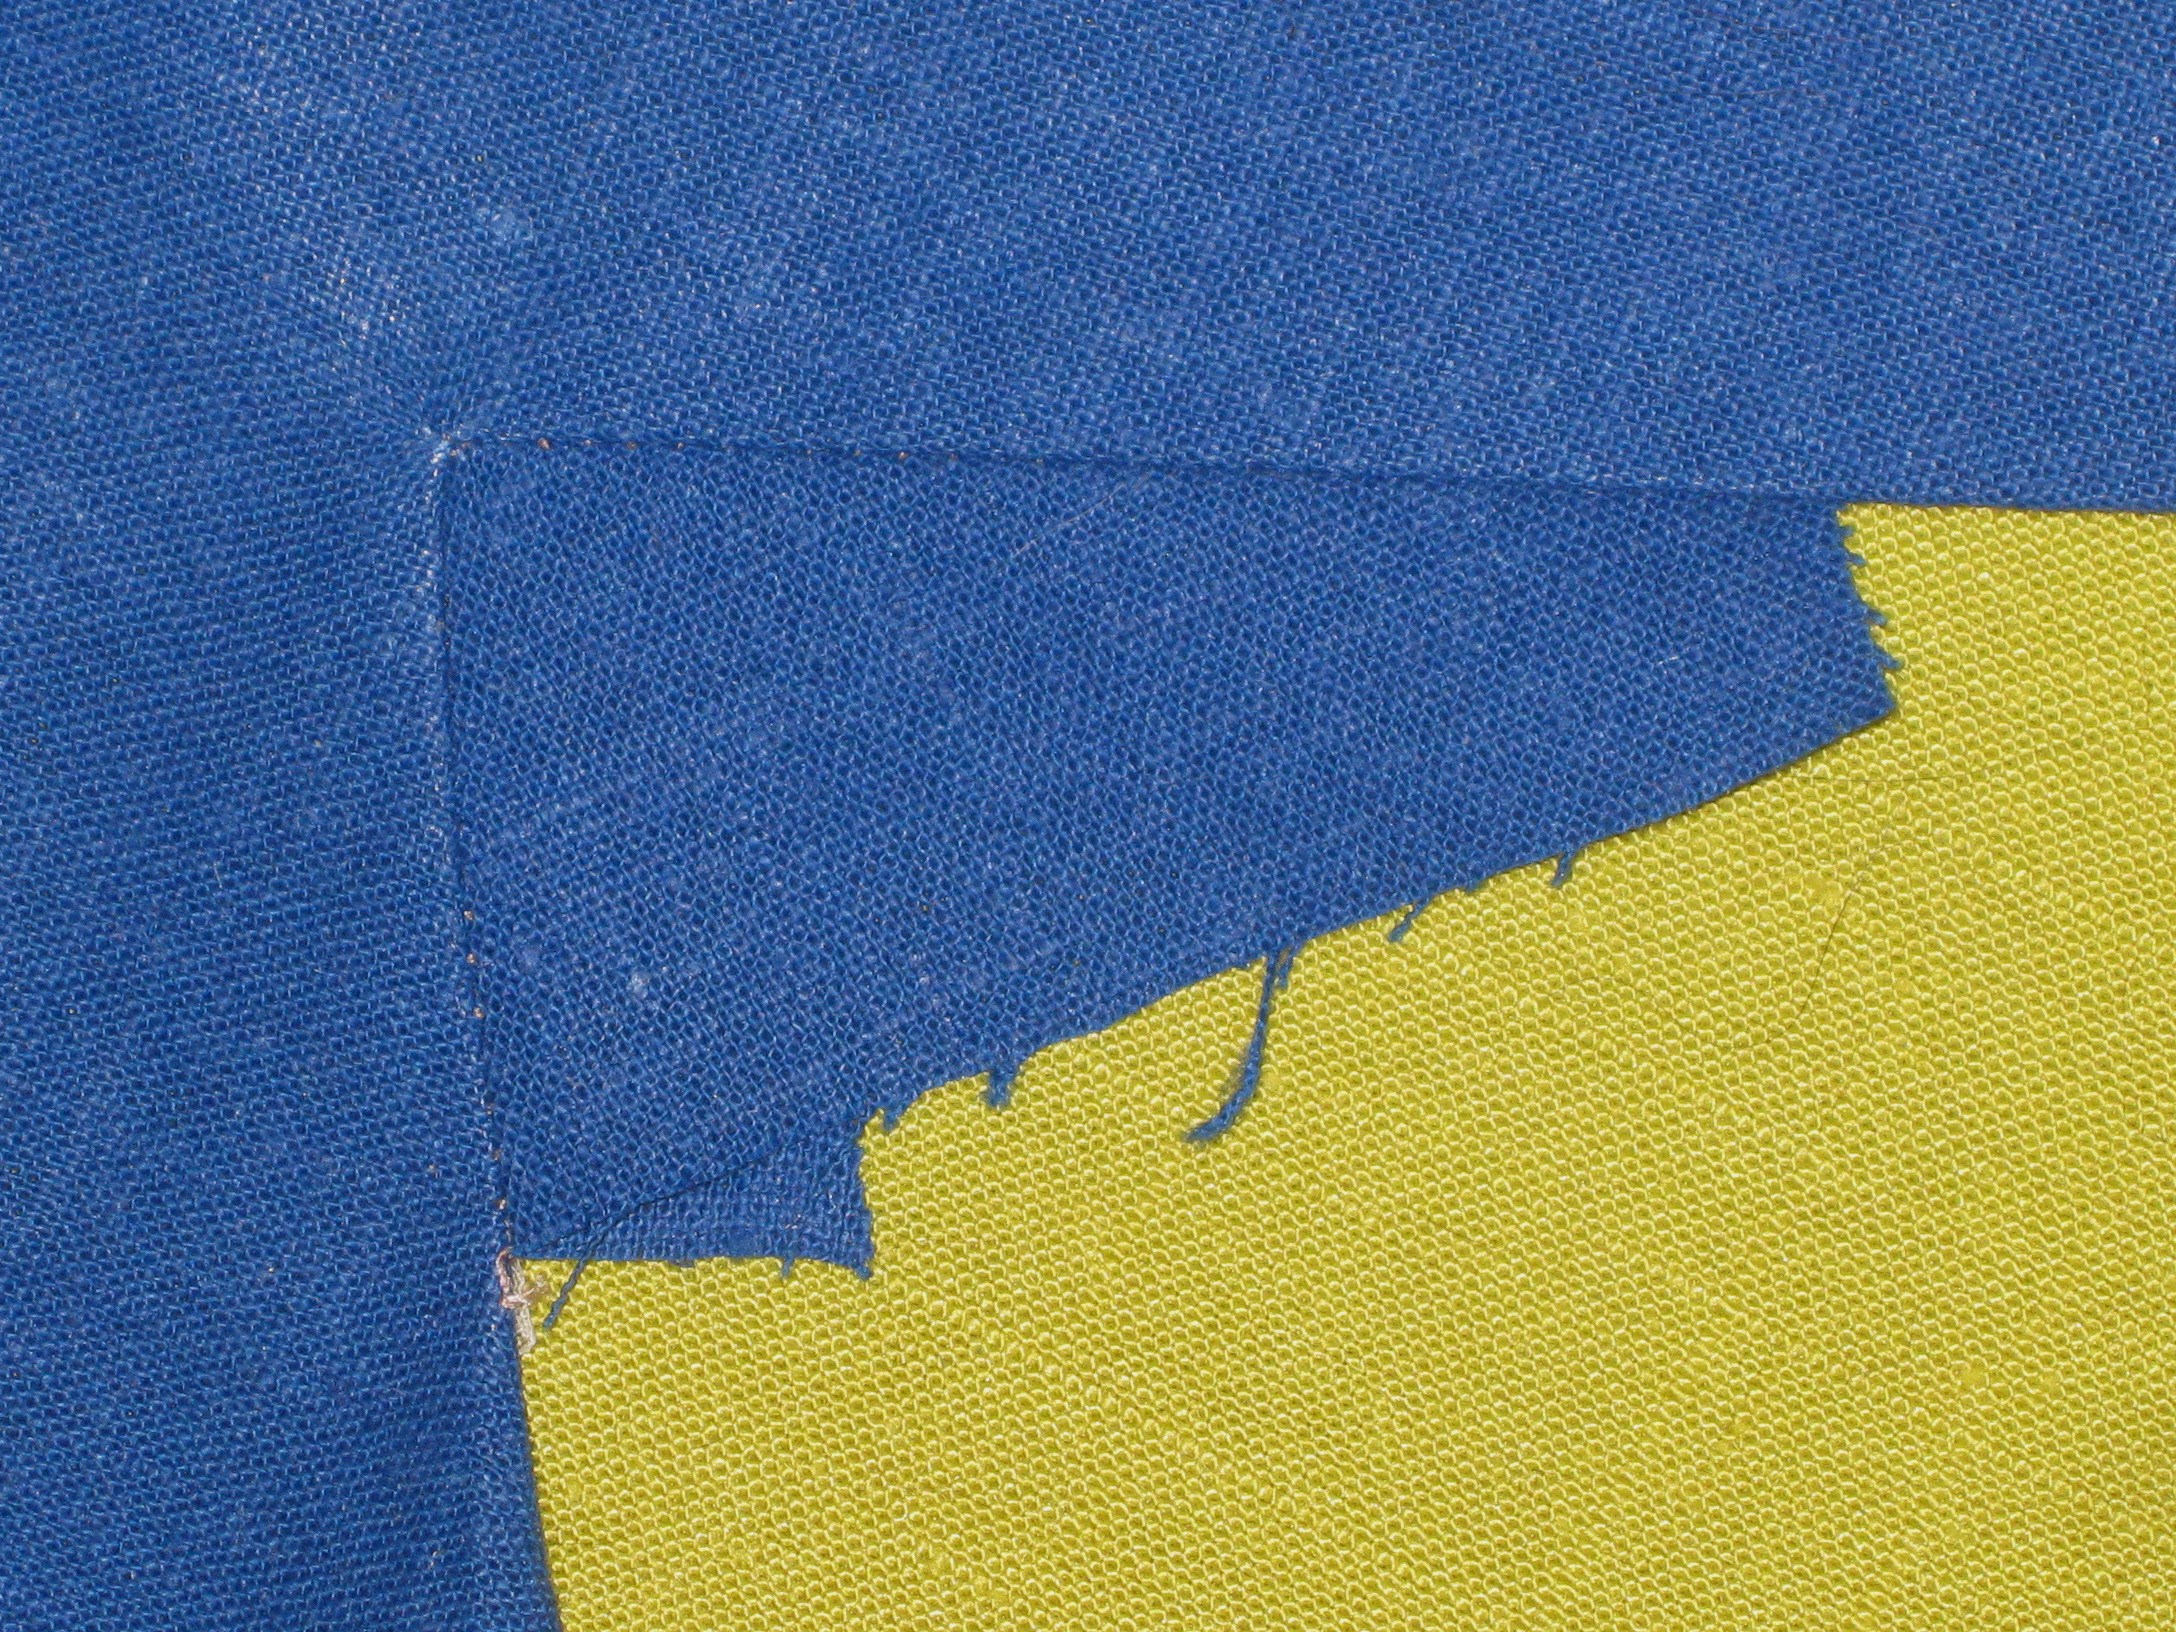
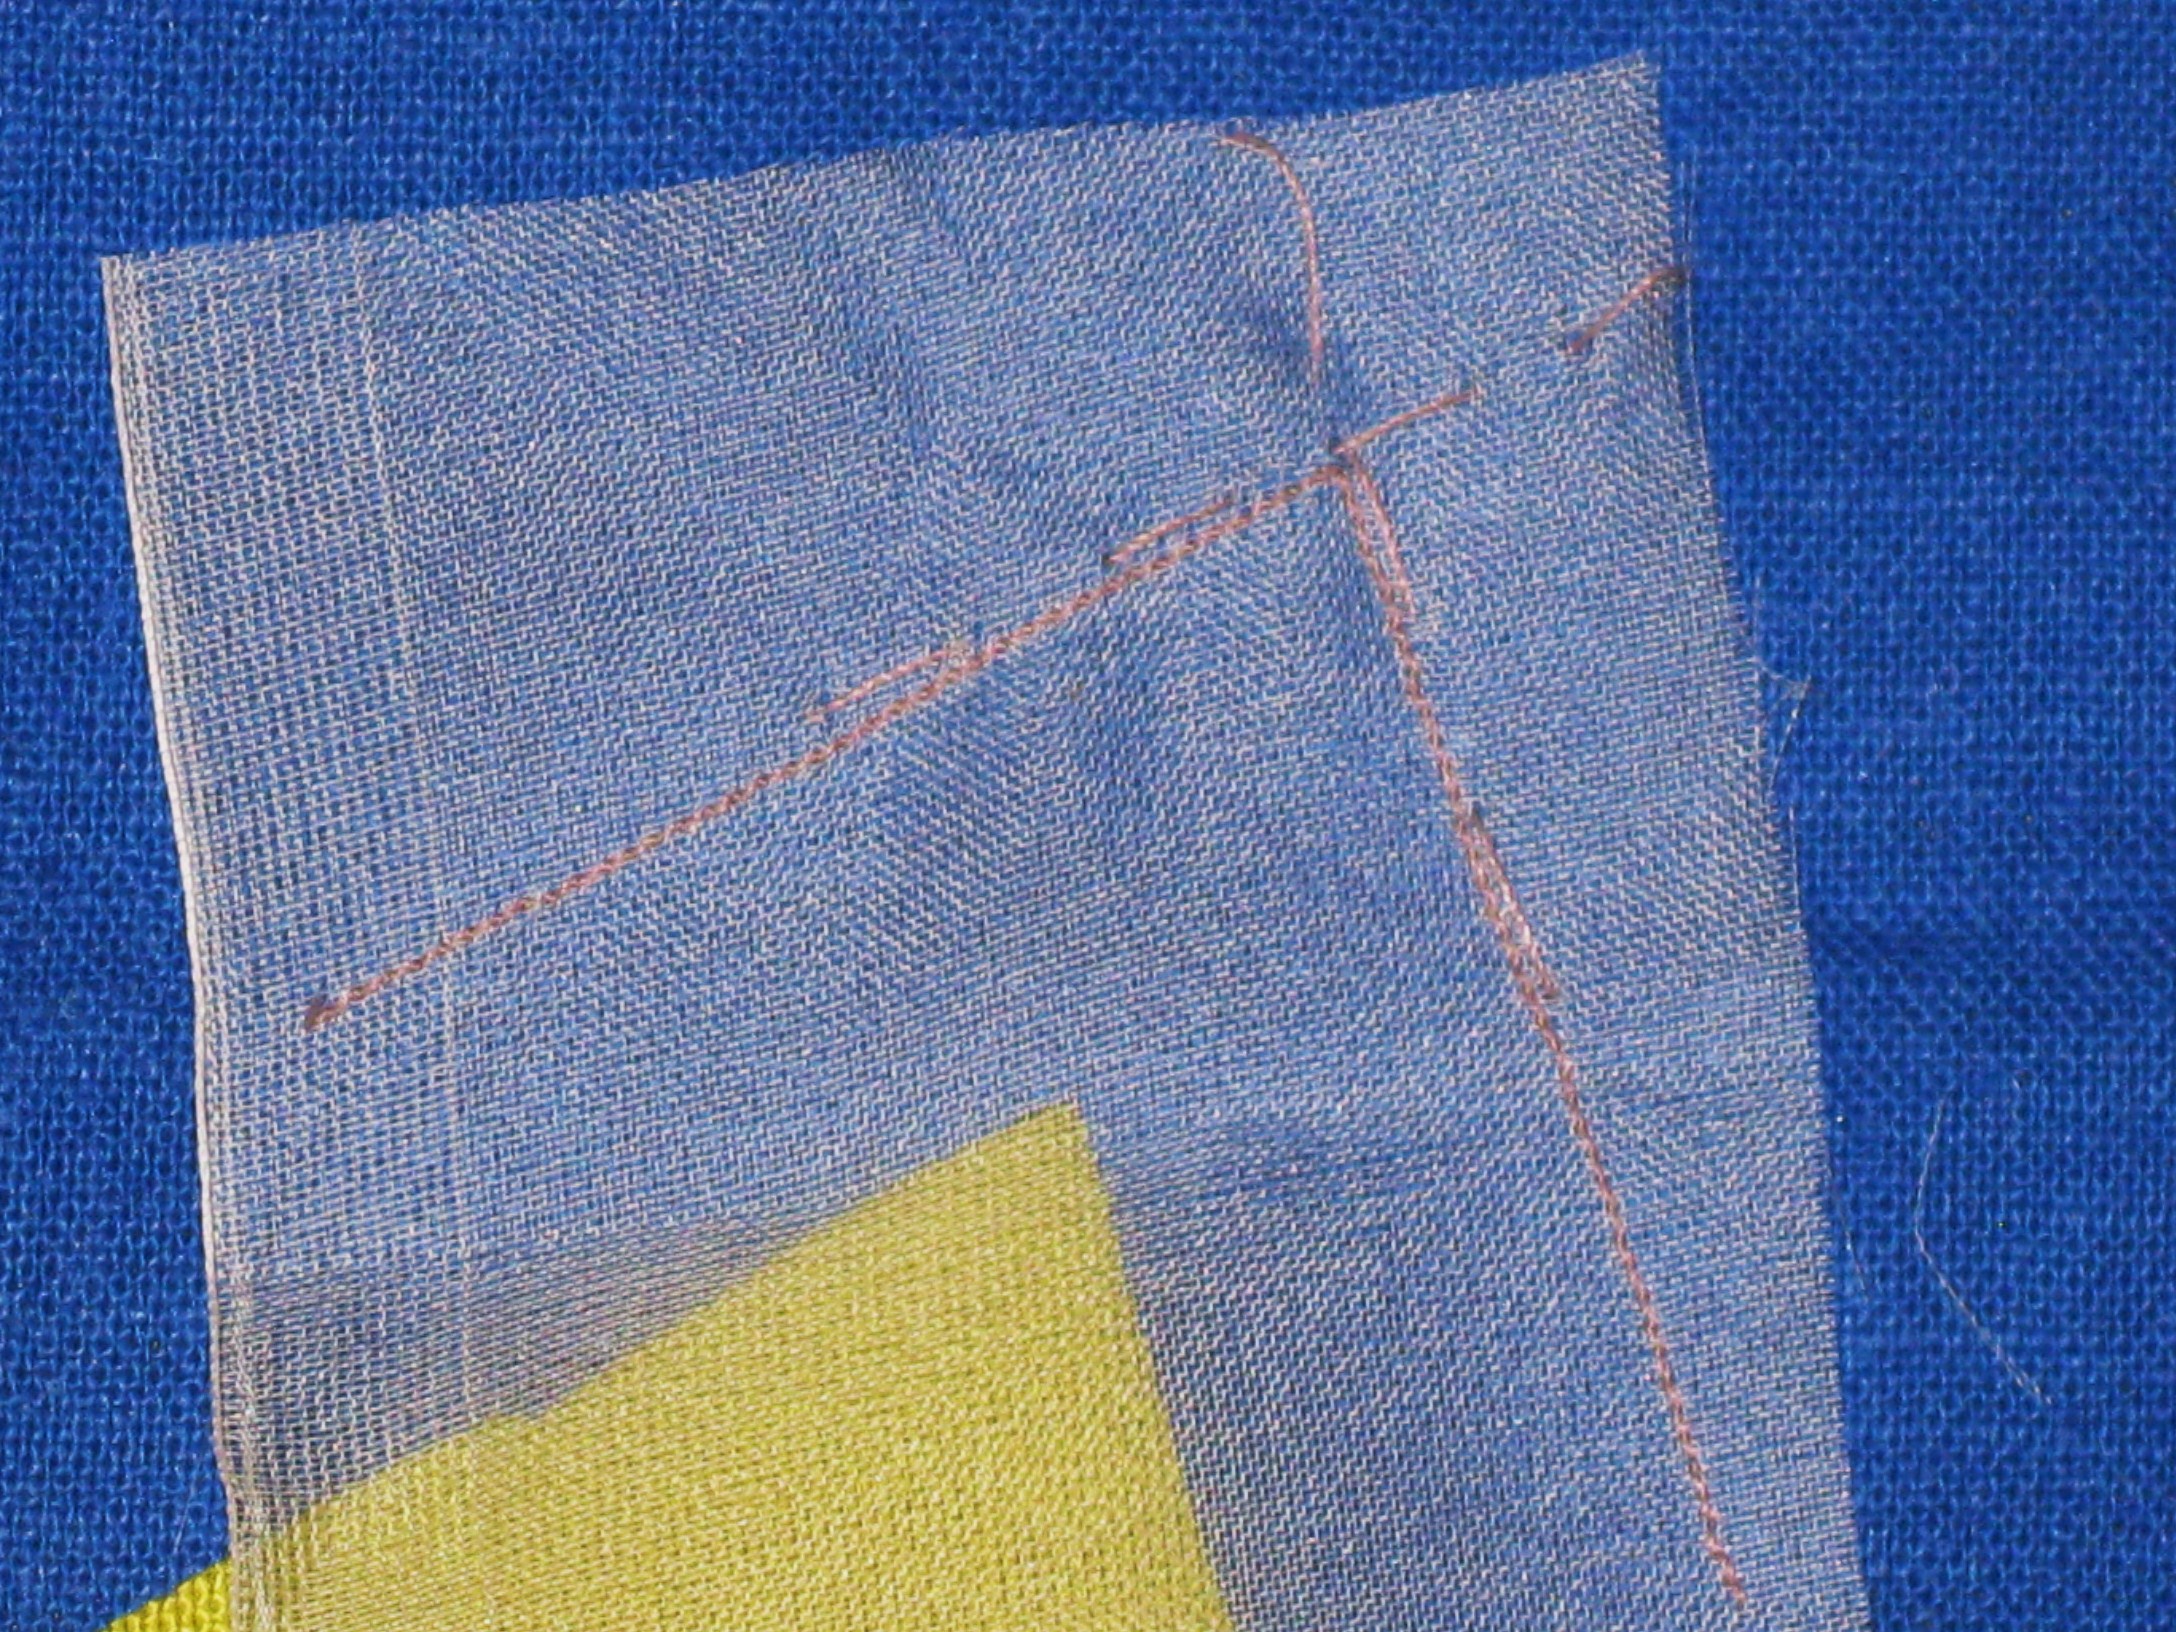
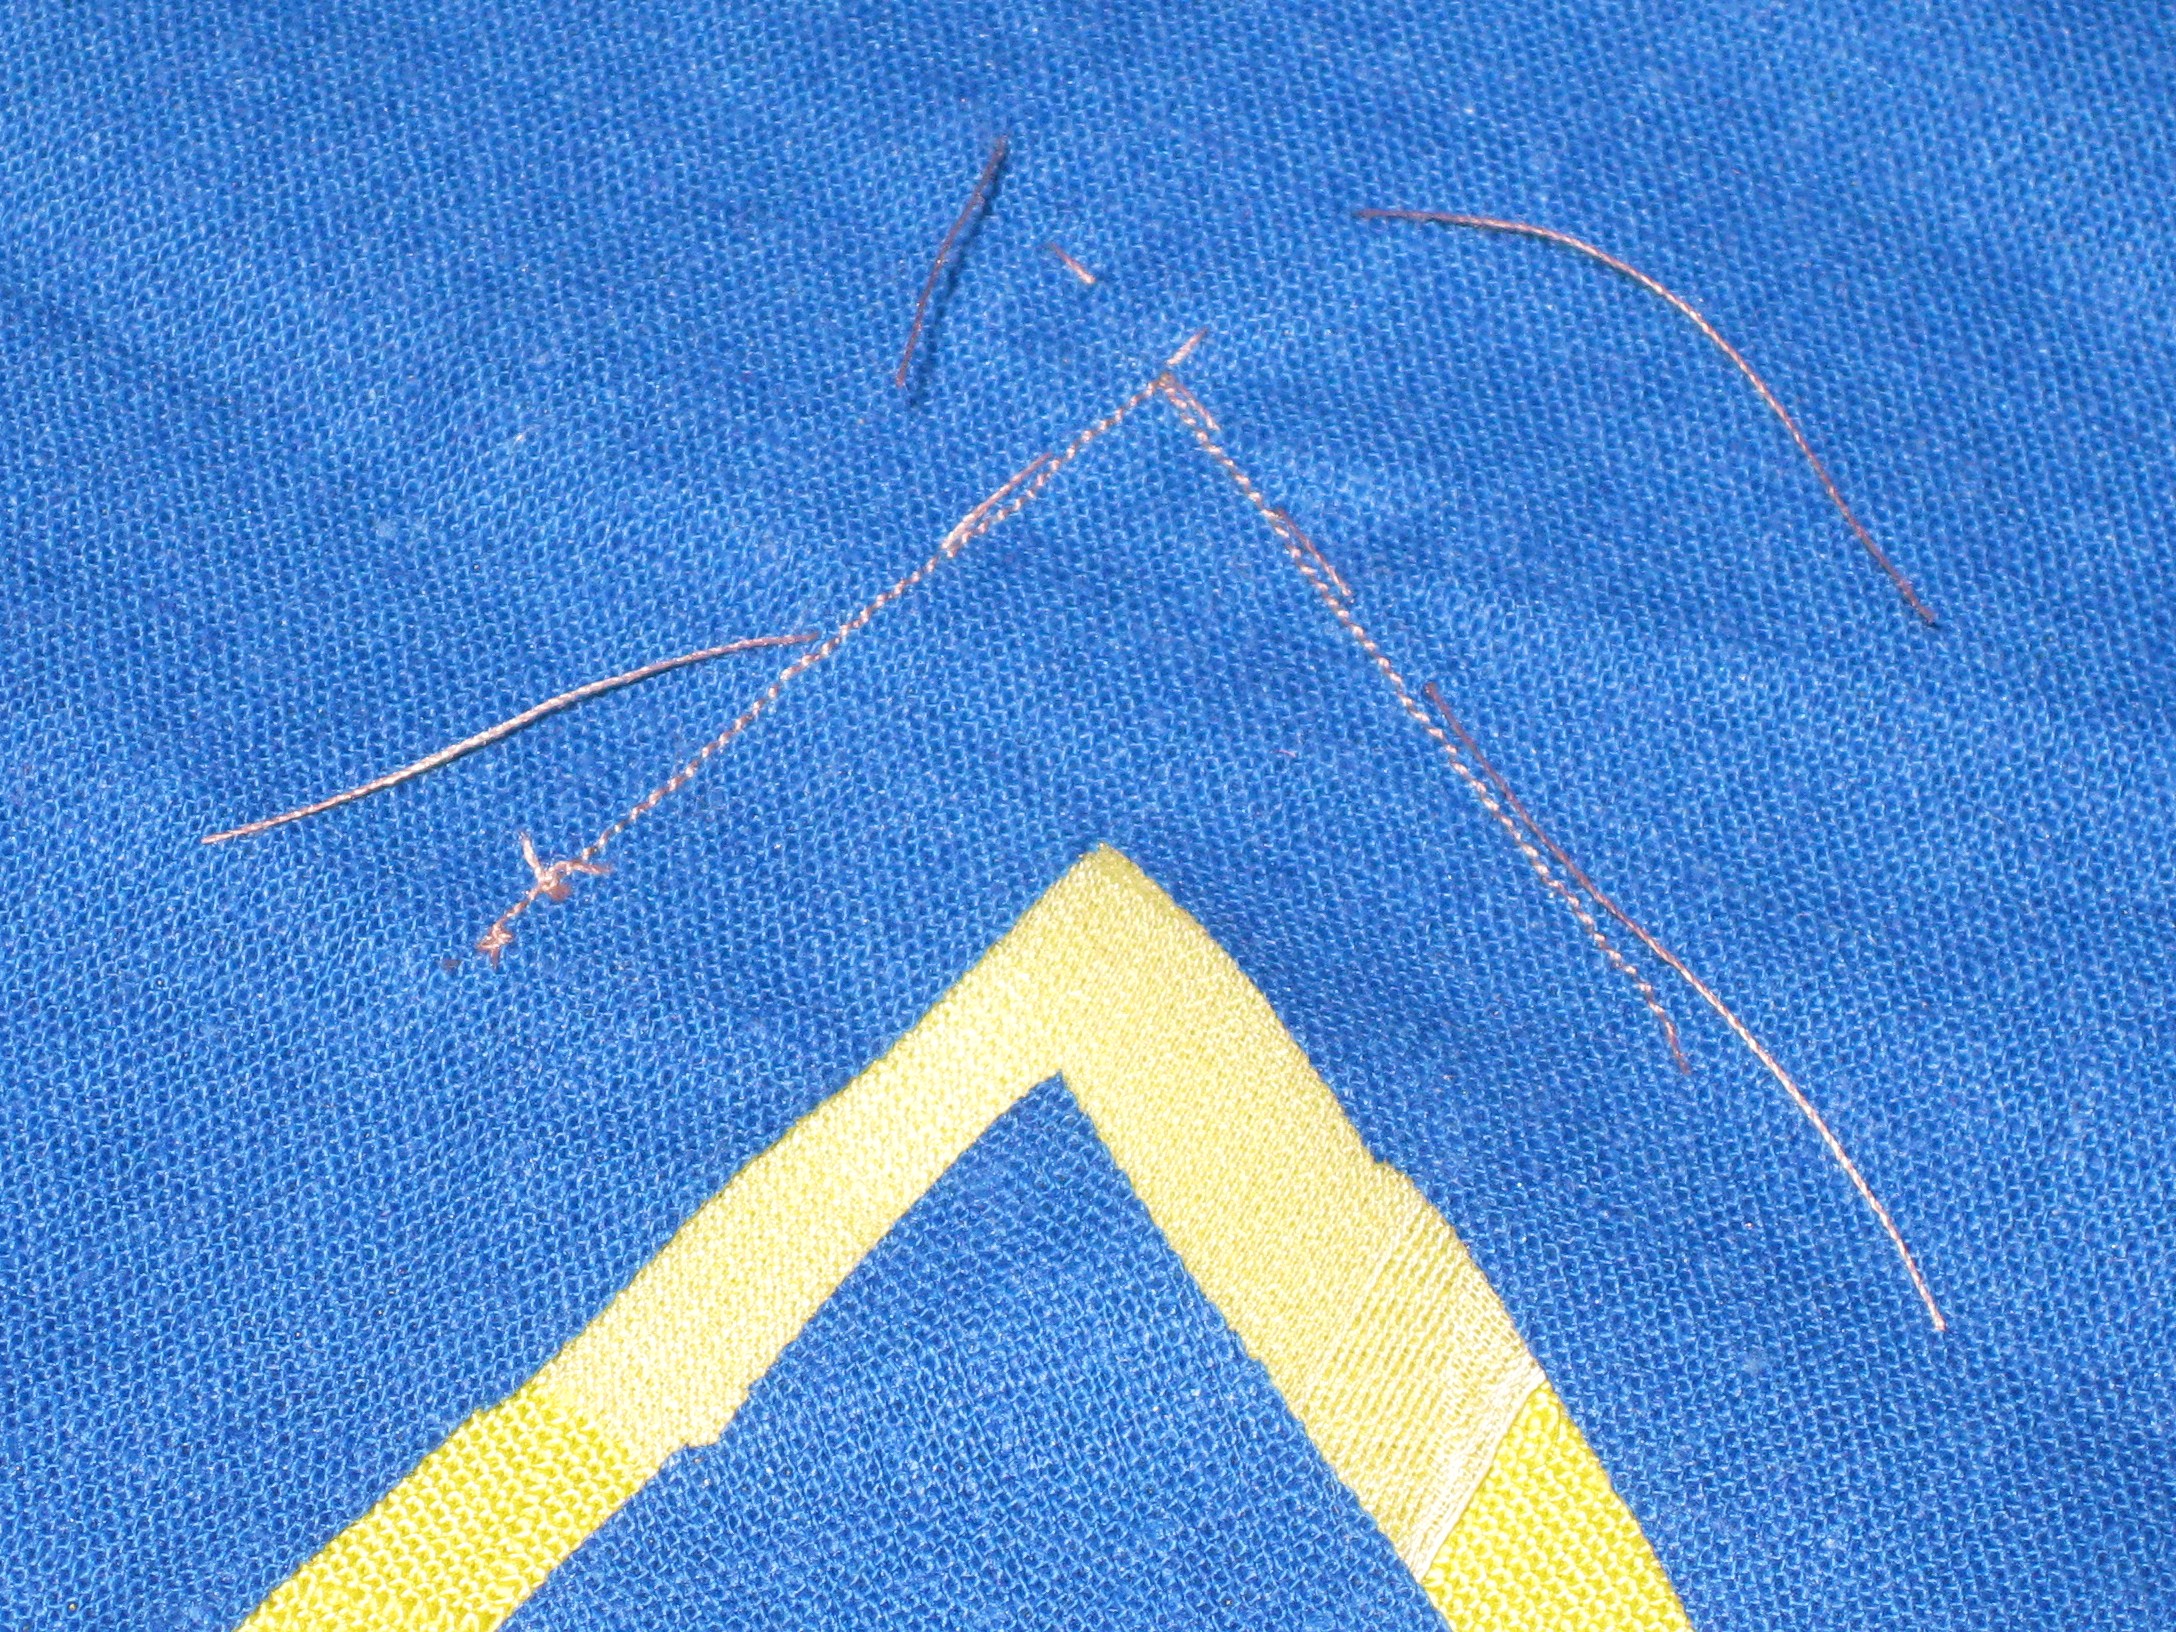
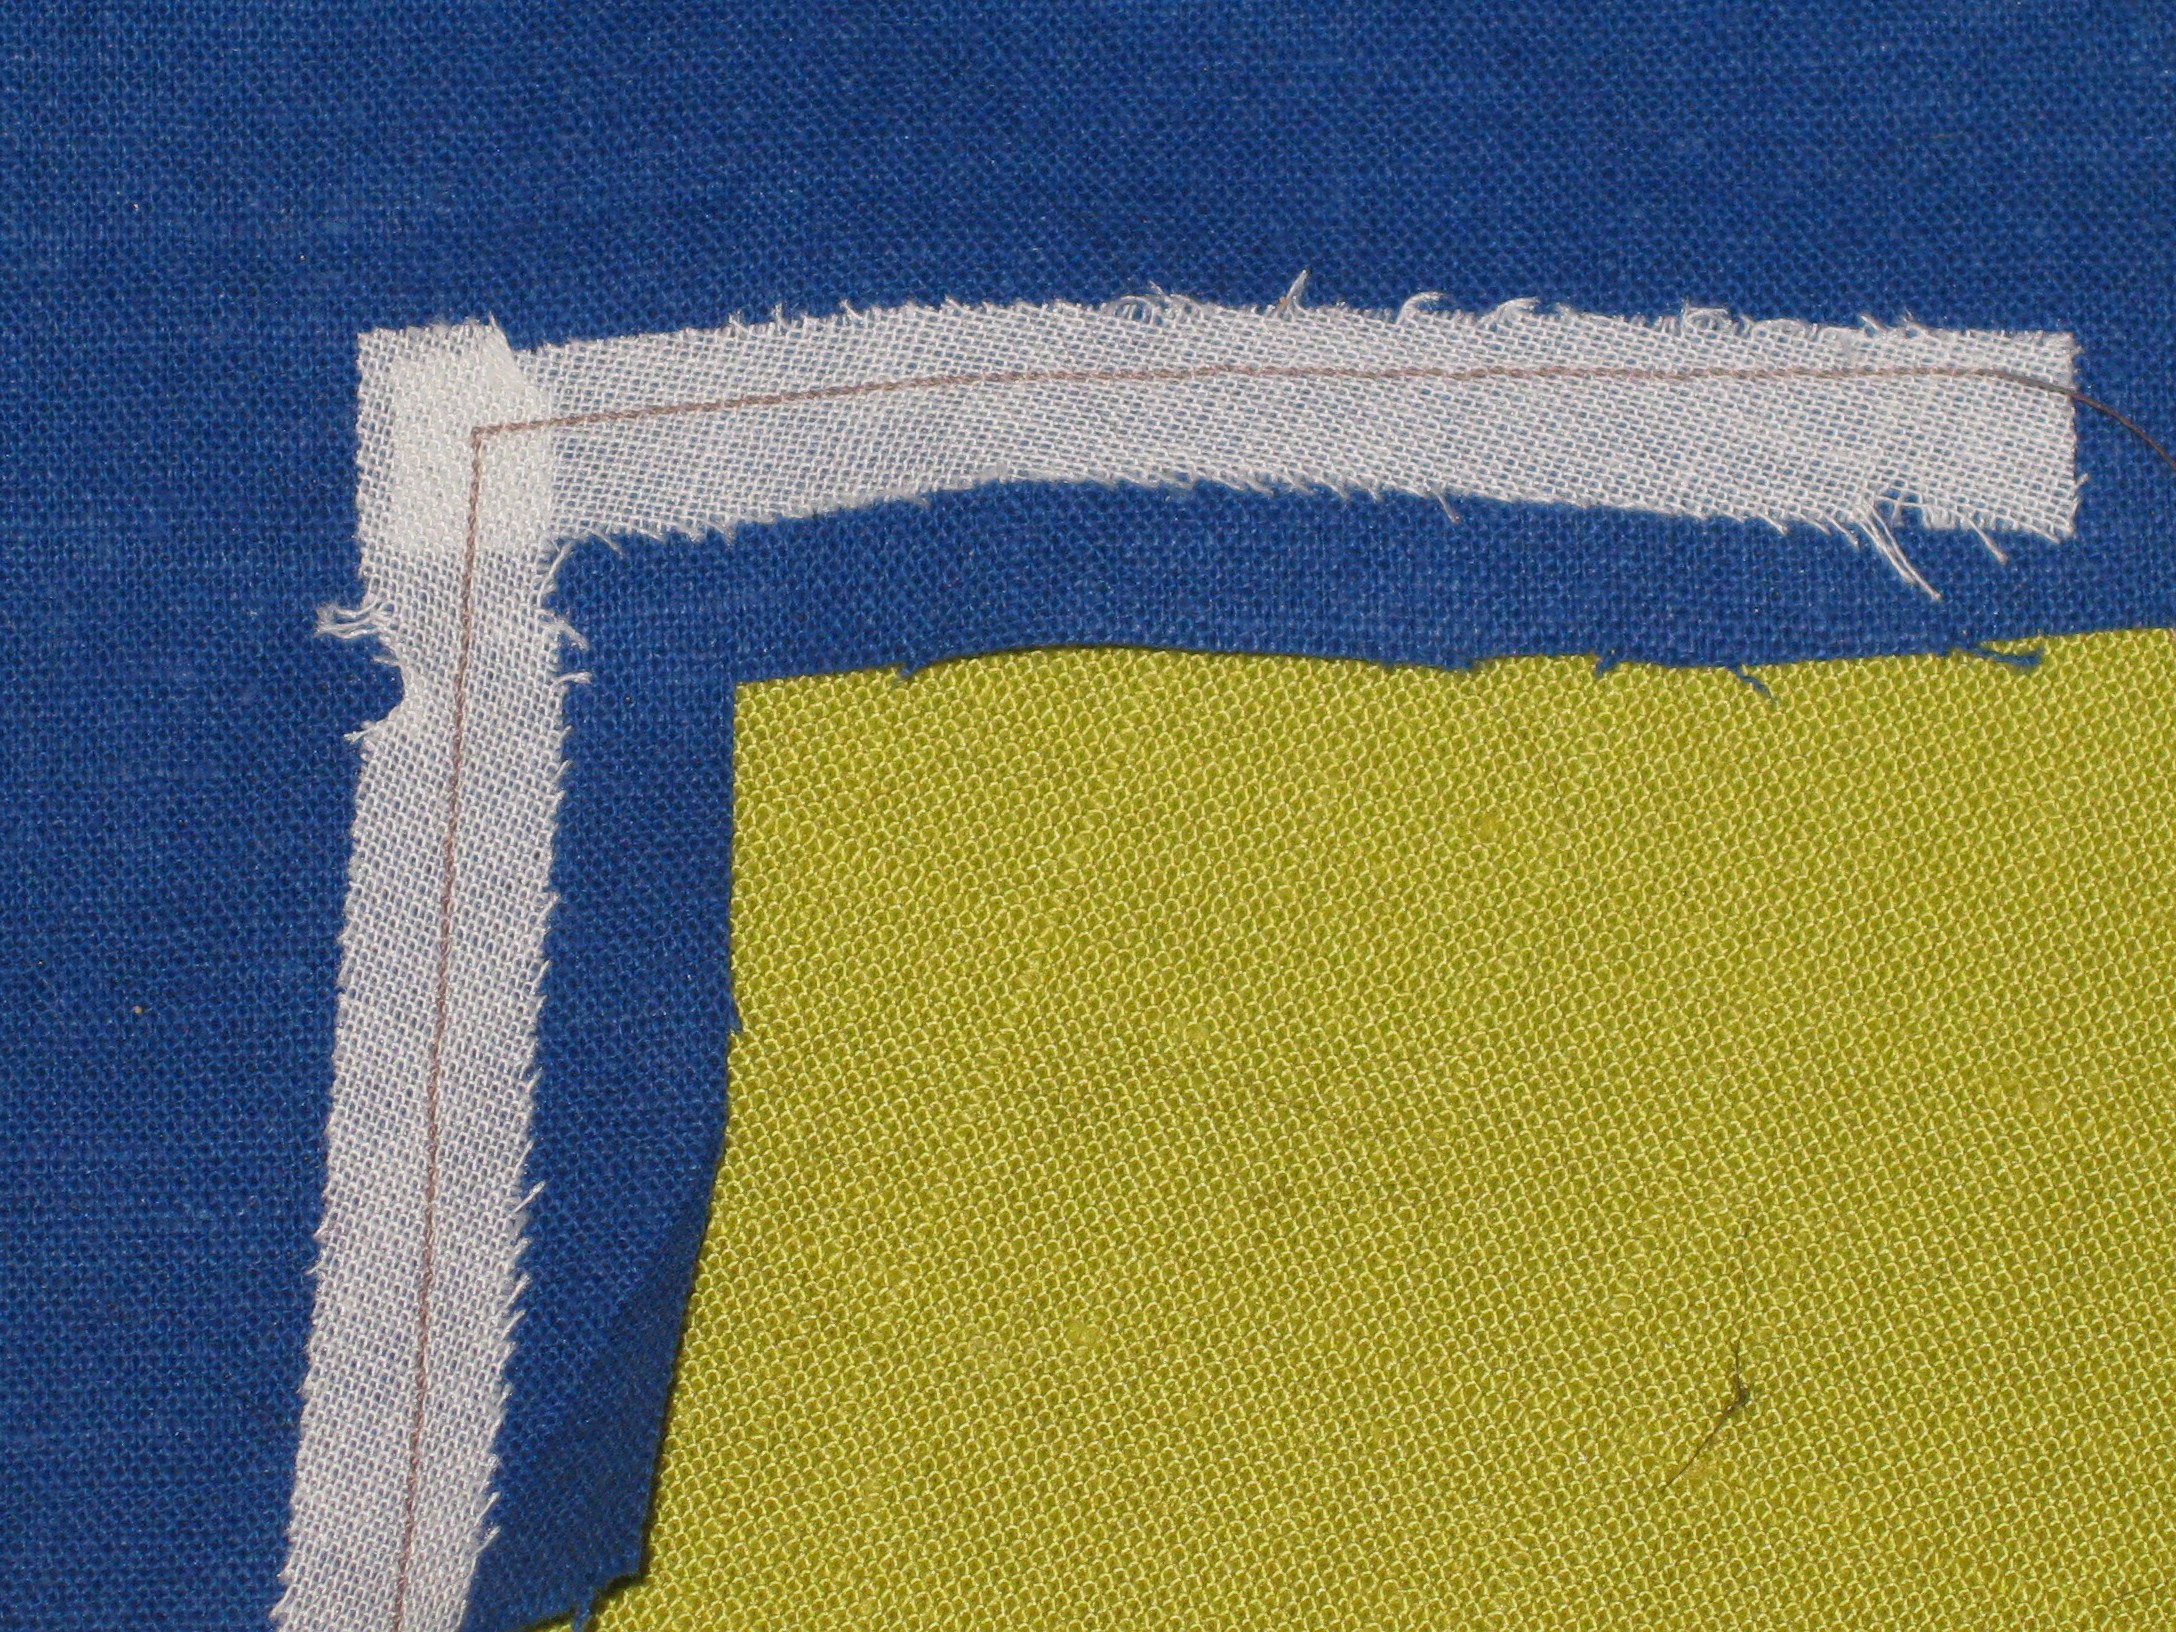
Place silk organza centred over pivot point keeping the straight grain of theorganza at a 90 degree angle to the pivot point.
- Stay stitch using a stitch length of 1.0-1.5 on the seam line of the corner

Staystitch corner from point out on each side
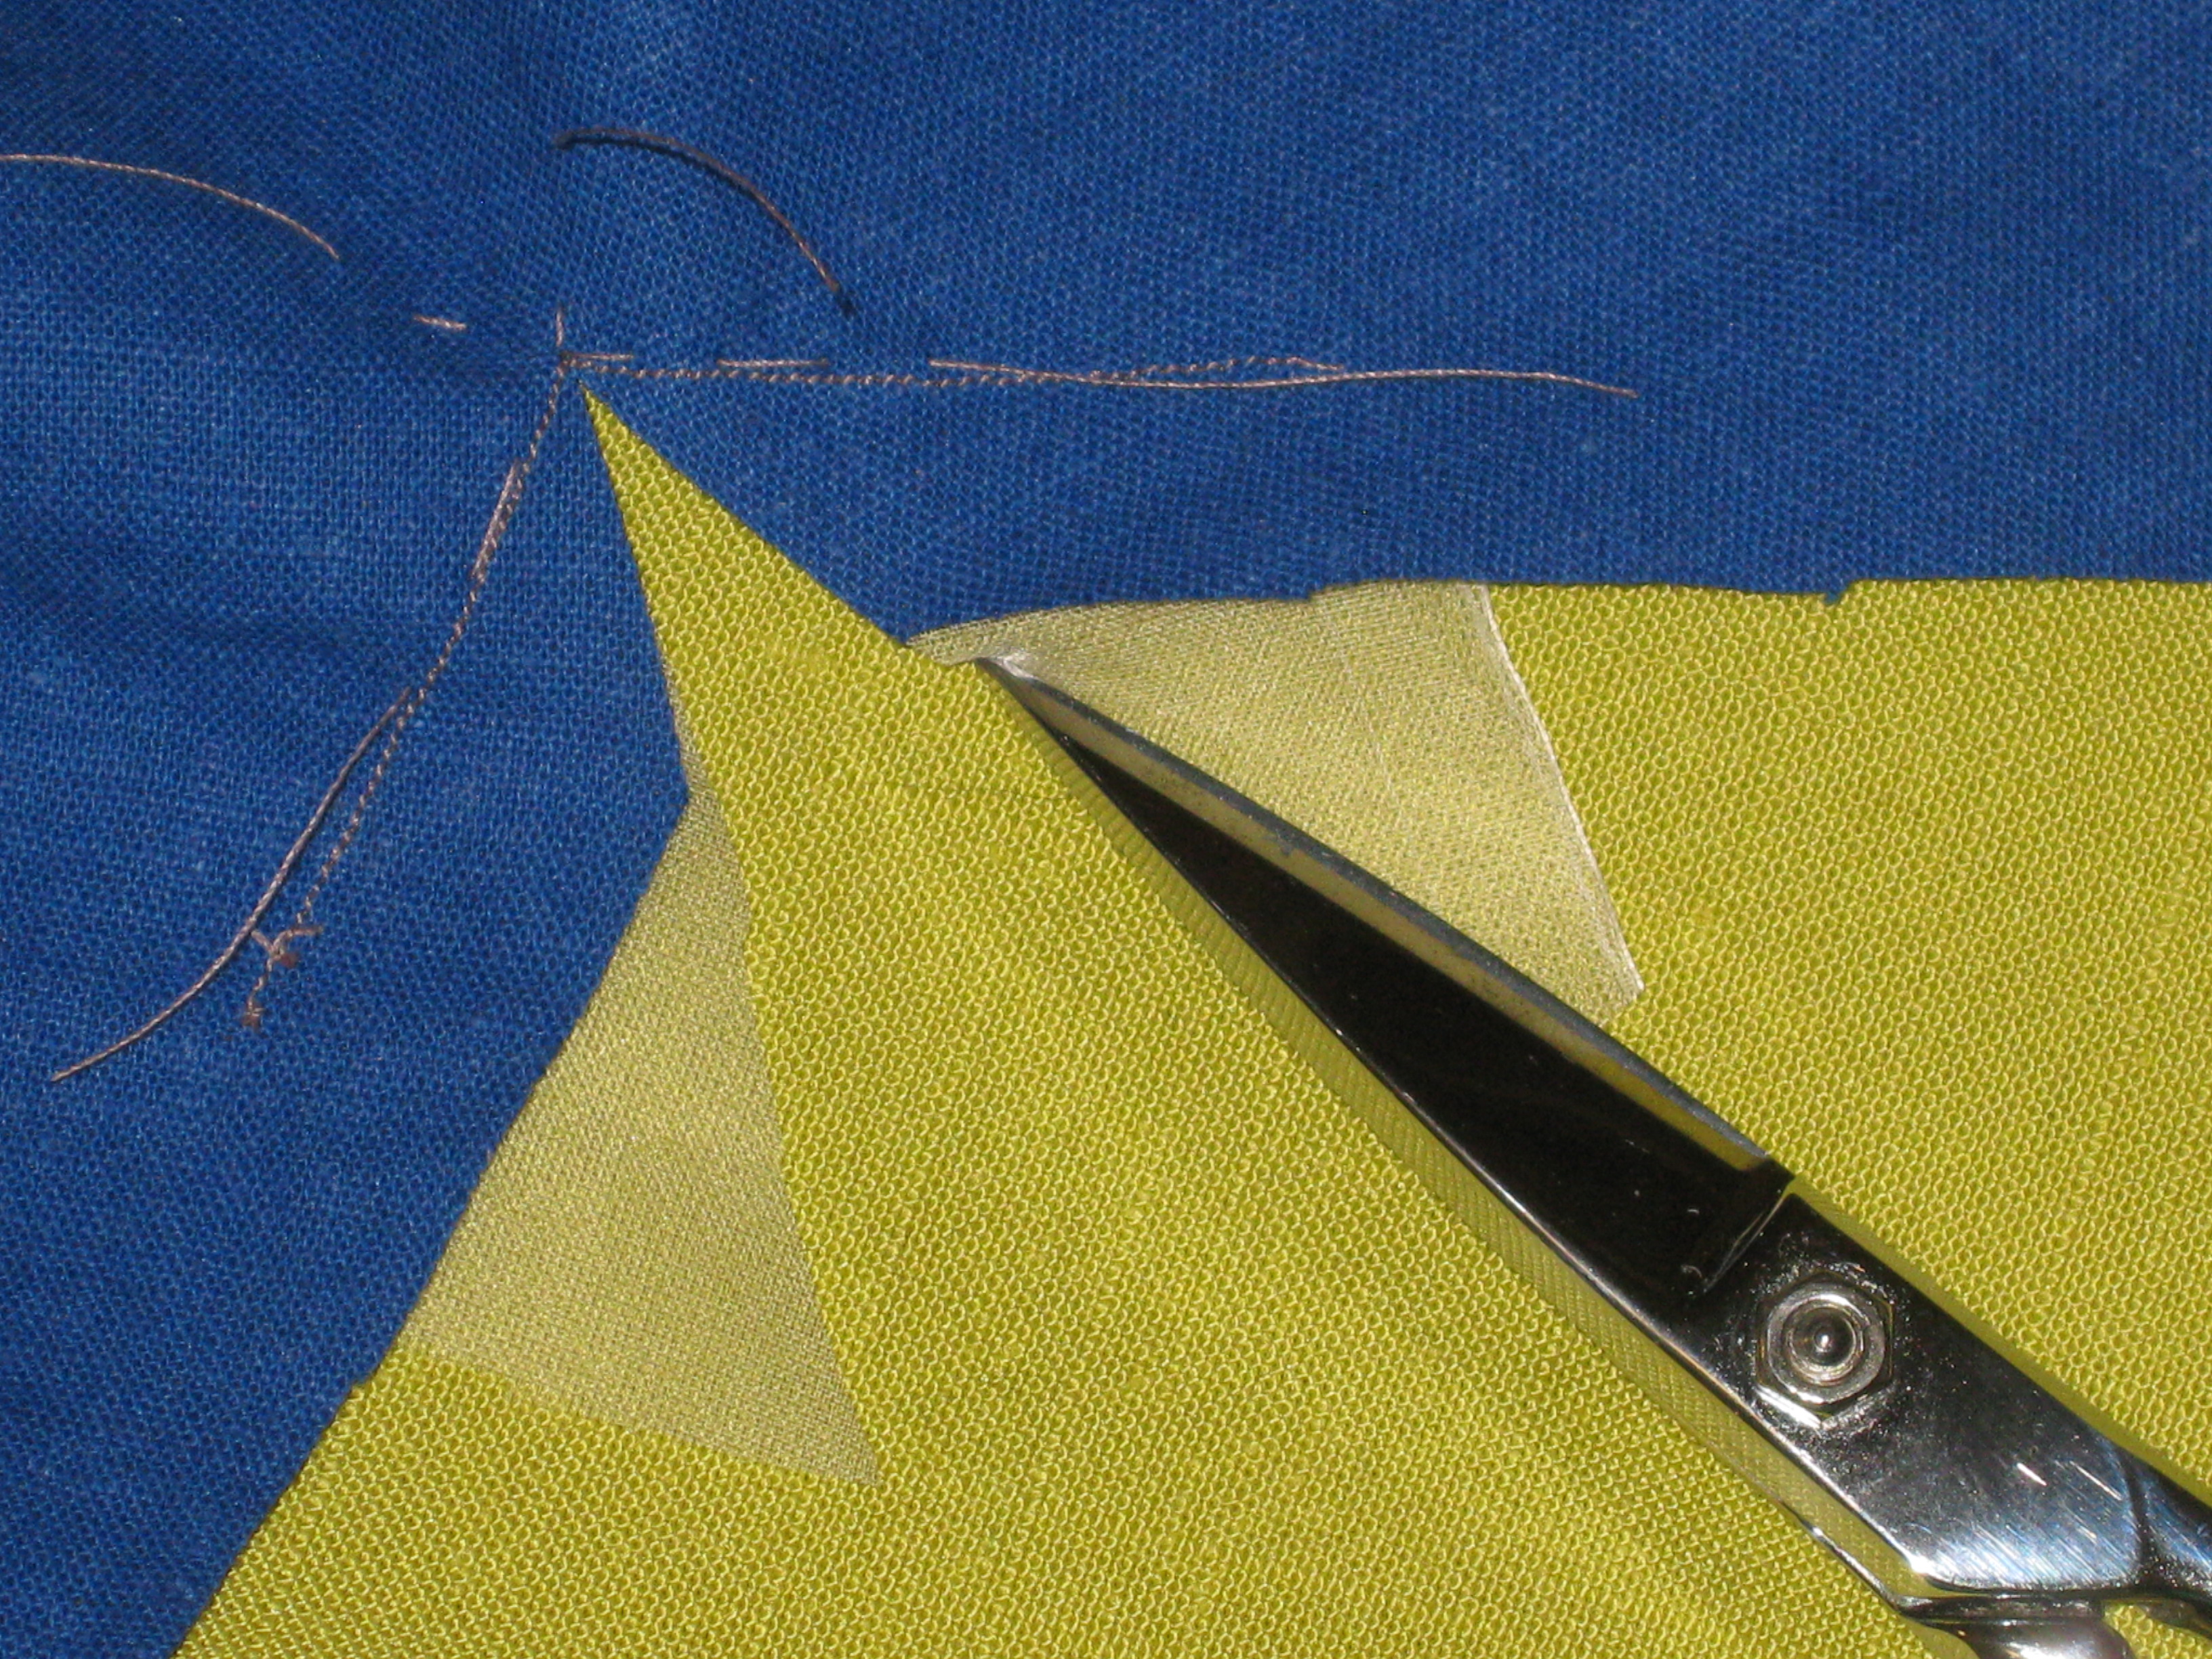
- Using very sharp scissors, clip through the organza and fabric right to the pivot point

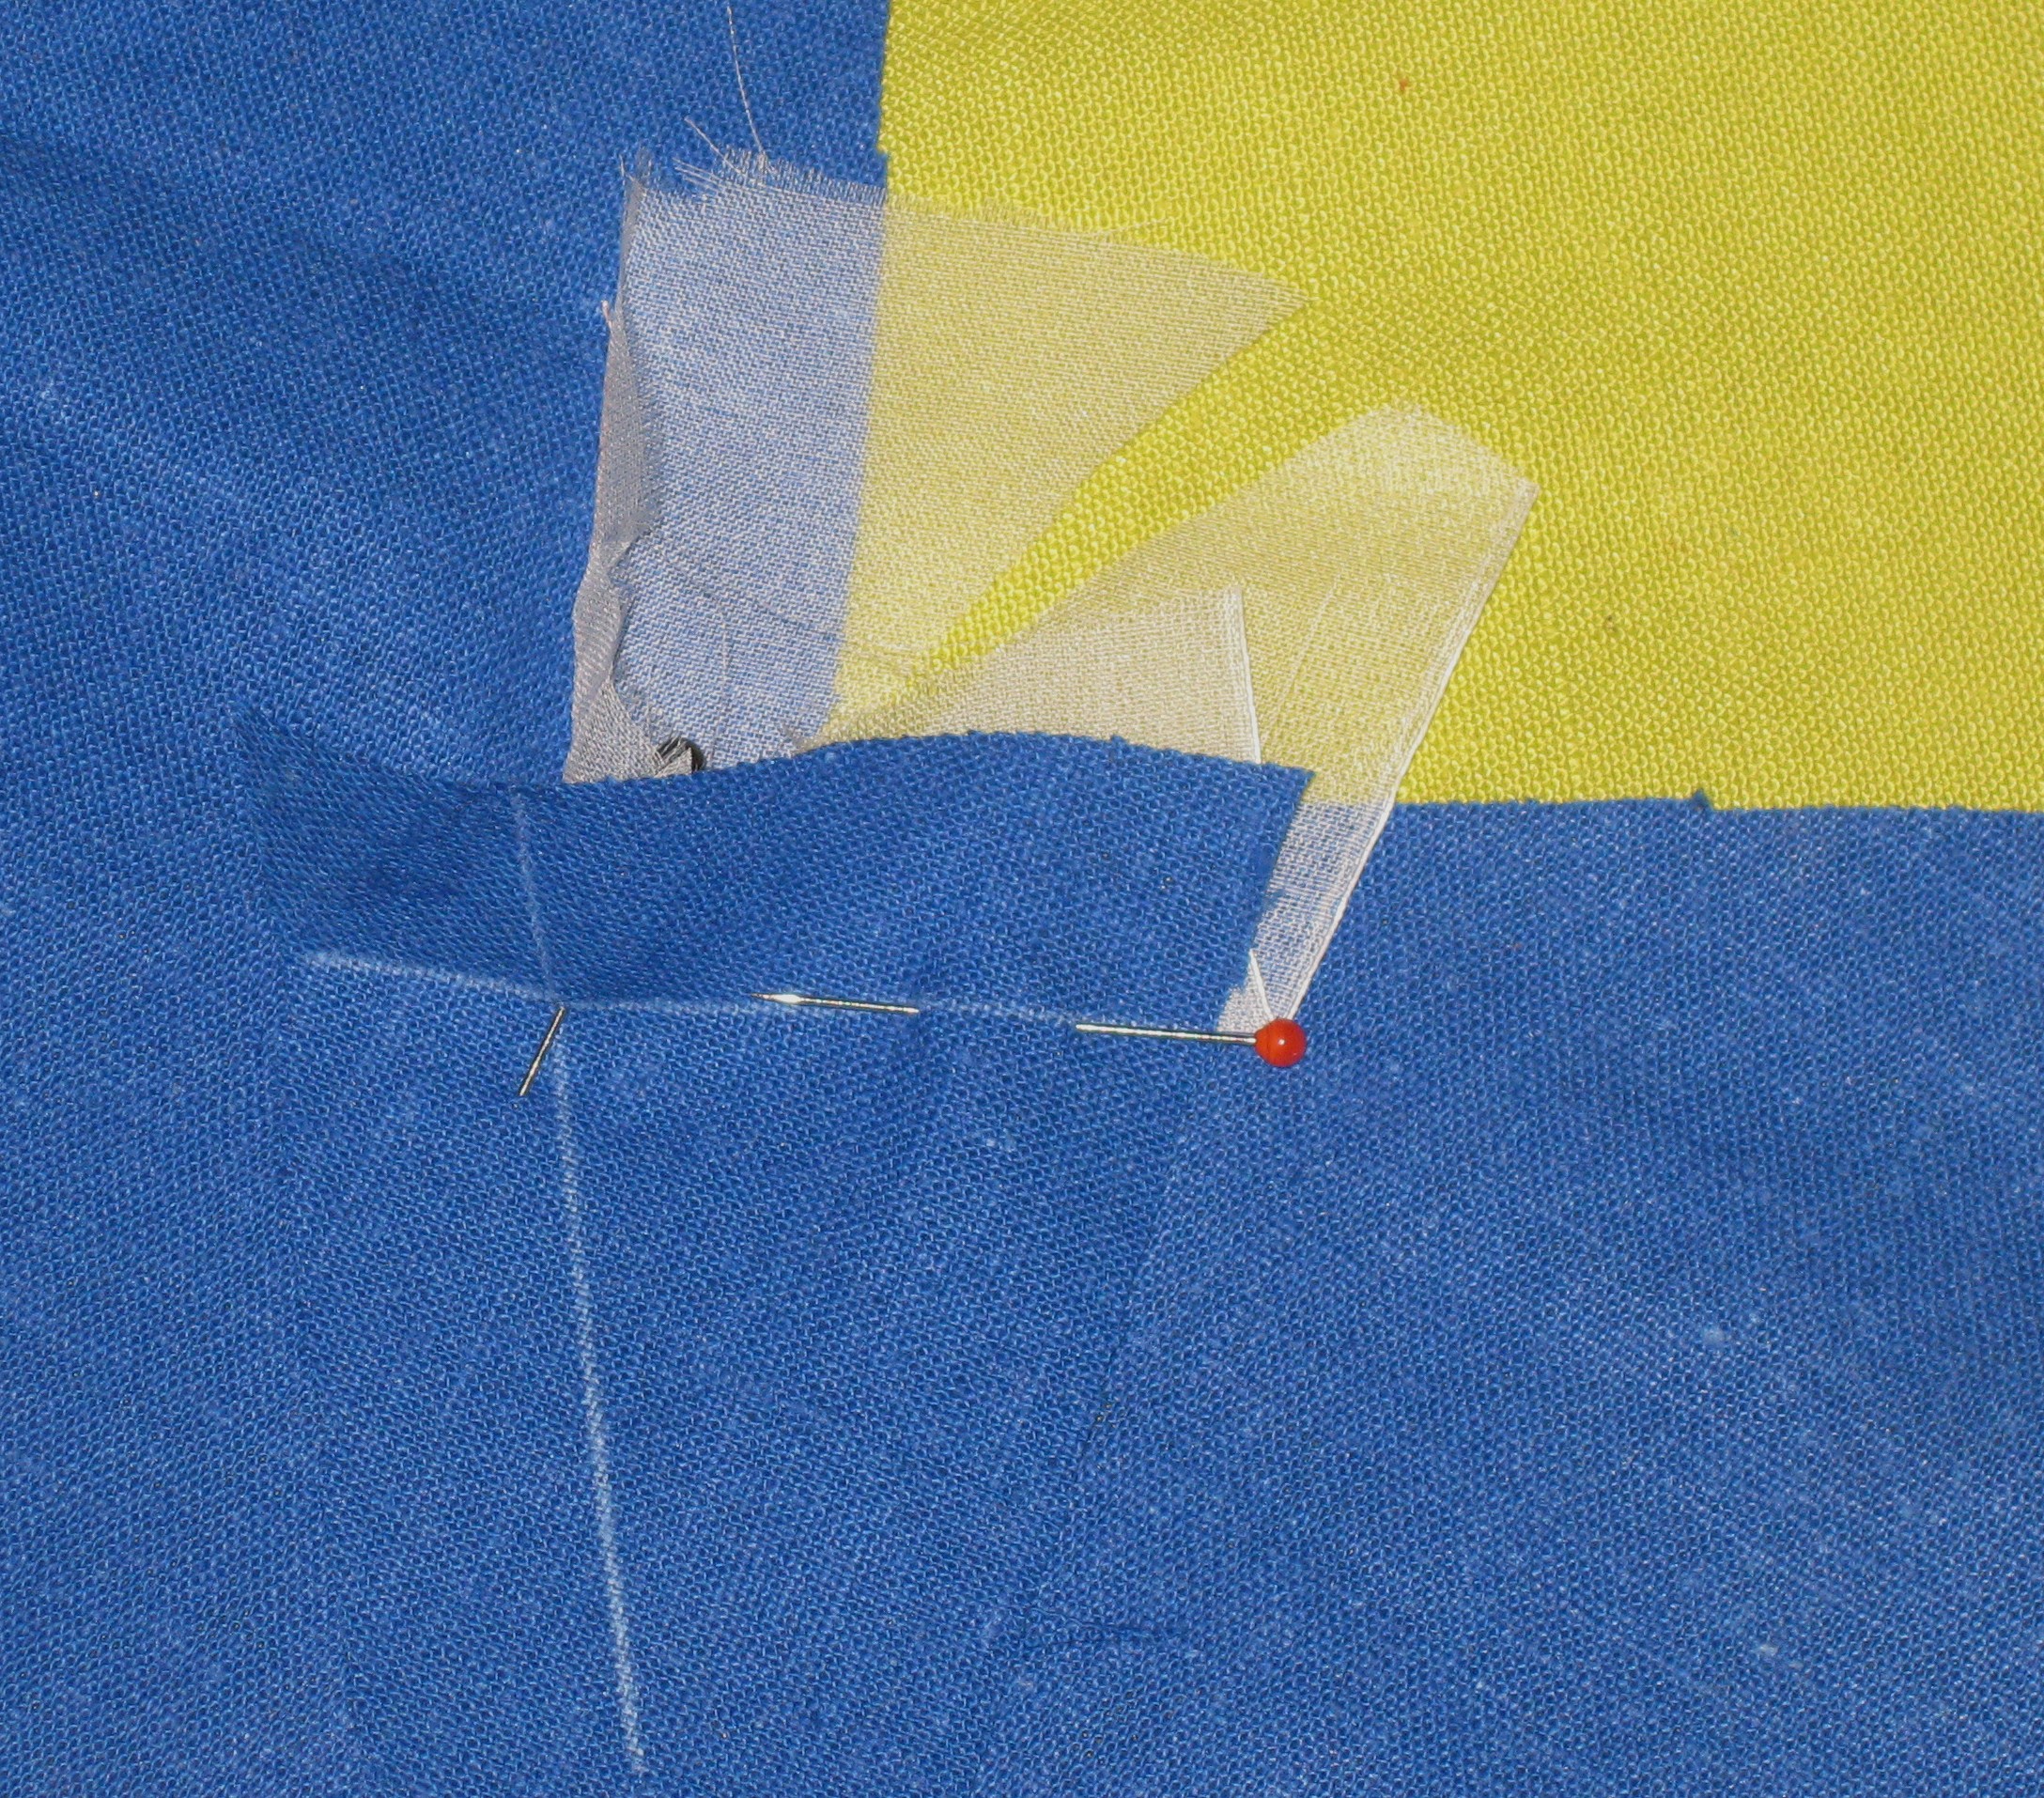
Use small very sharp scissors to clip through both fabric layers to the pivot point.
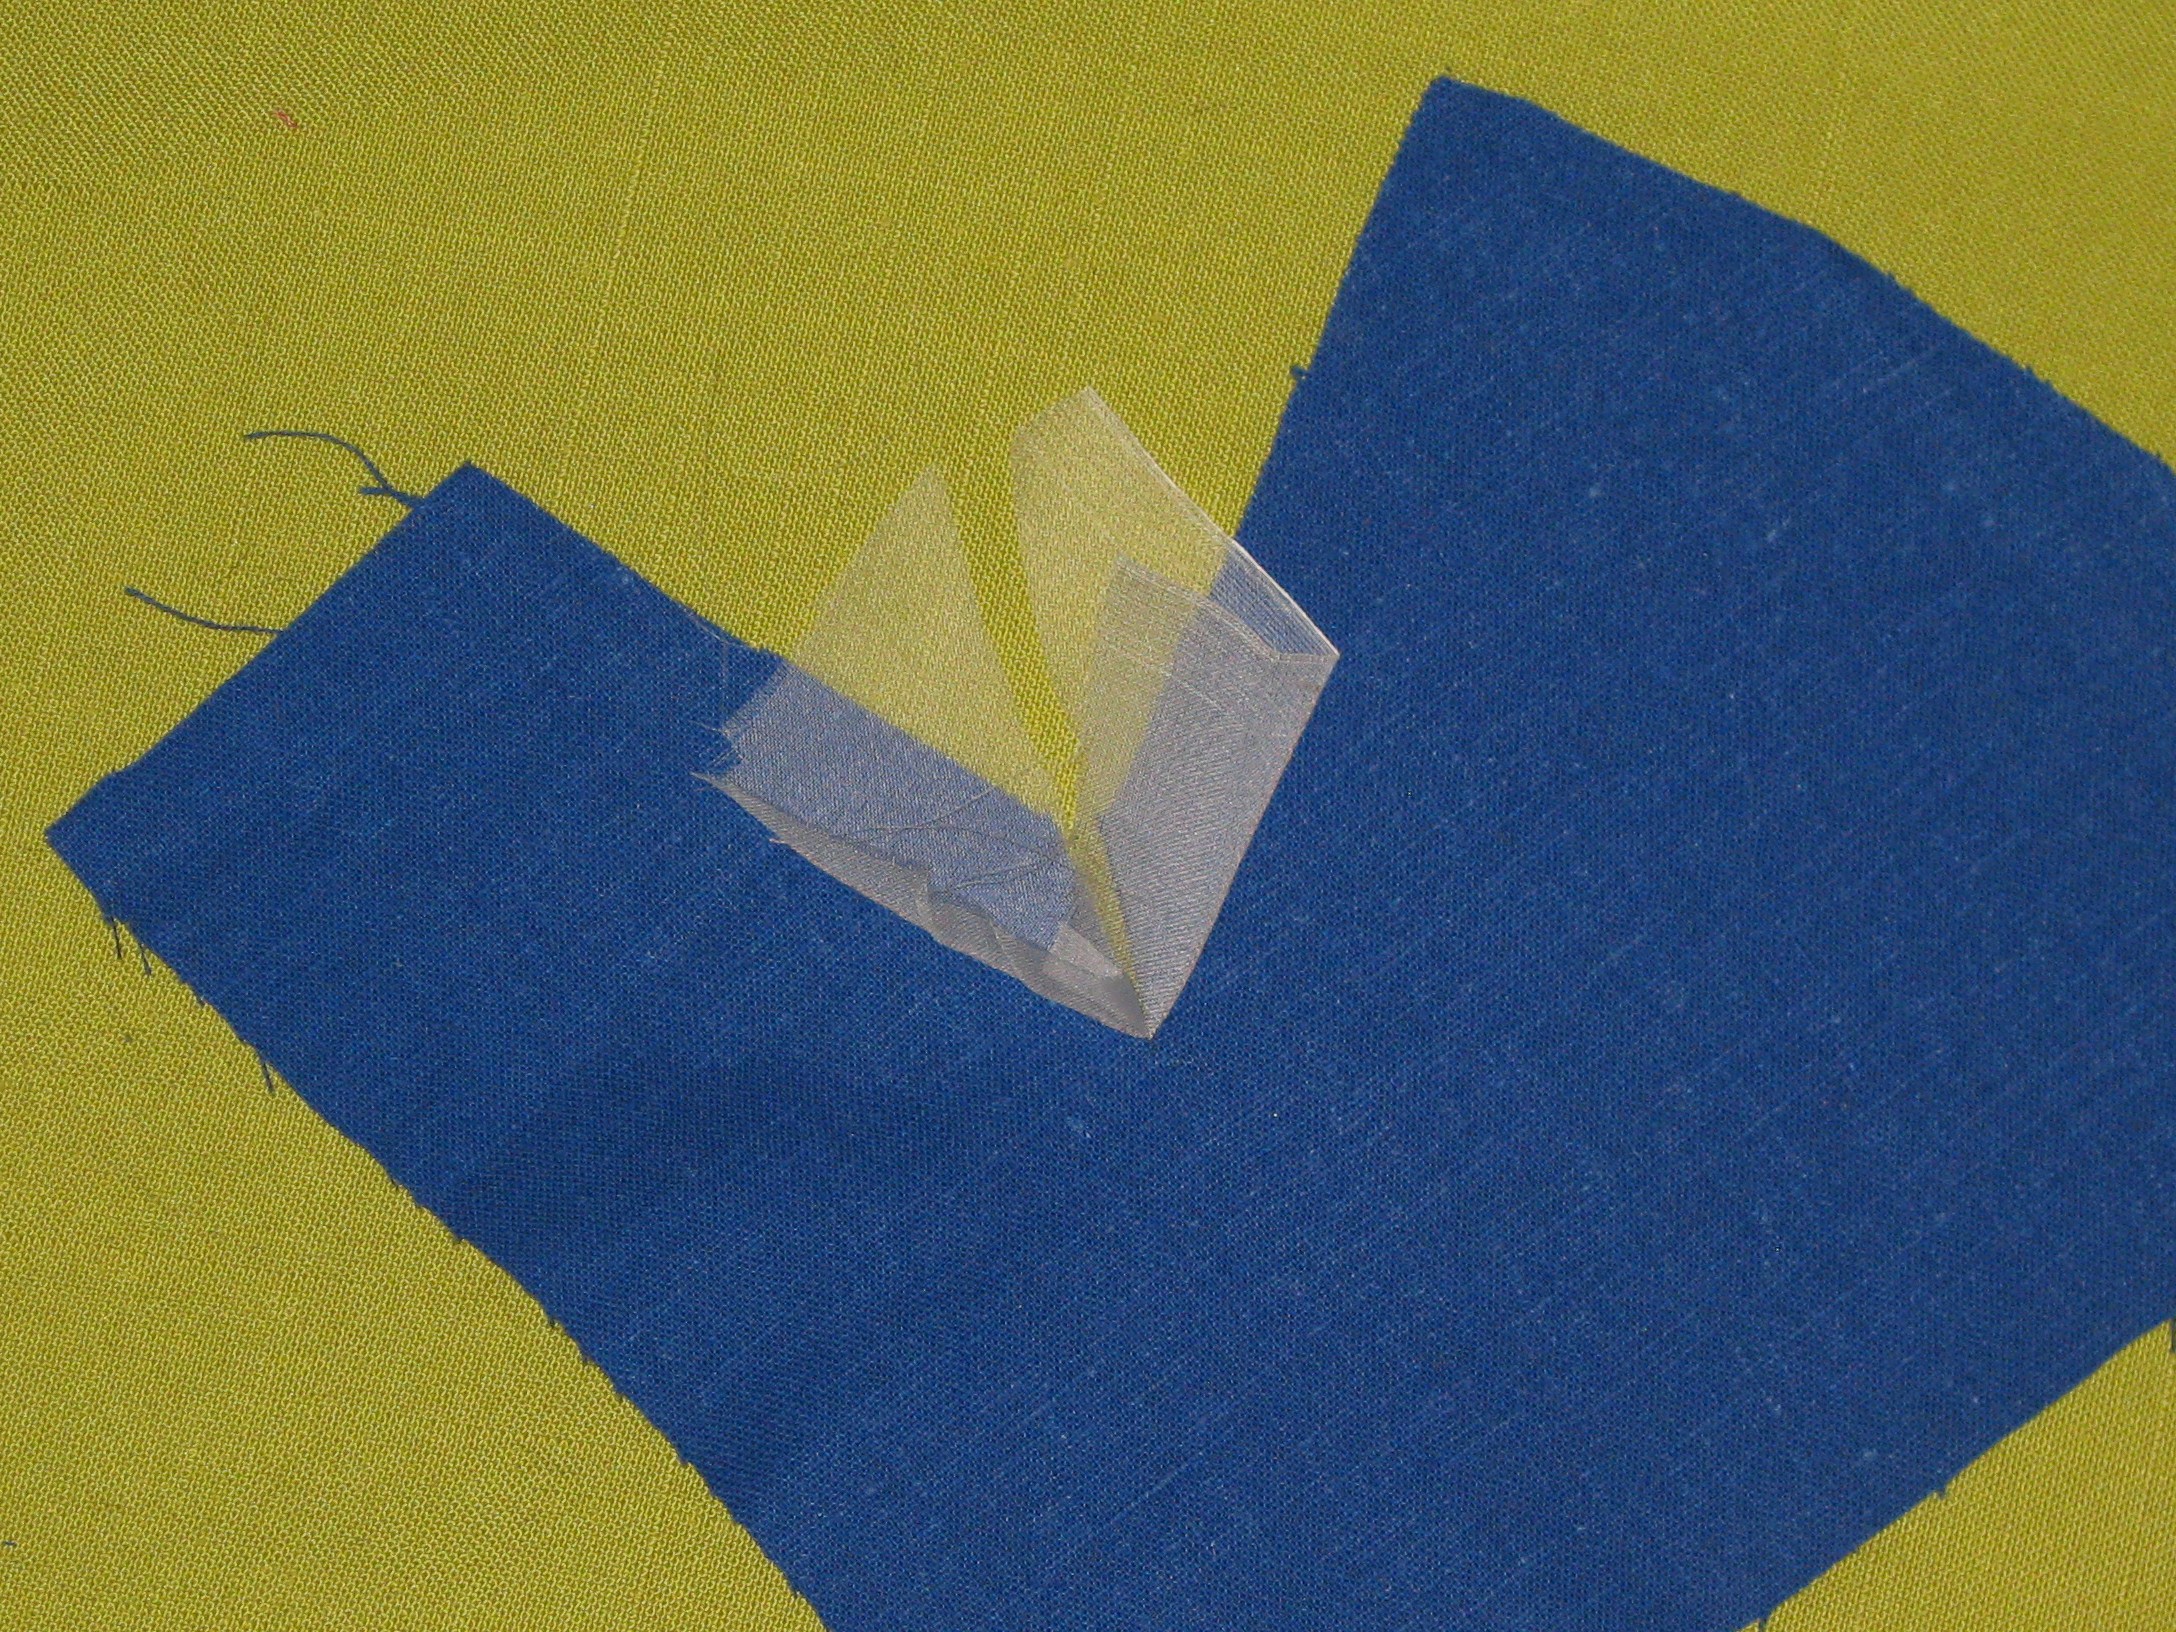
- Fold the organza towards the seam allowance and press in place

Press the silk organza away from the seam lines.
When using loose weave woven fabrics, stretch woven fabrics or knits:
- Cut an on grain 5cm/2” square of silk organza
- Cut an on grain 1cm/ ½” strip of fusible interfacing
- On the wrong side of the fabric, position the strip of interfacing centred over the seam lines on either side of the pivot point (usually marked with a small dot)
- Cover with organza press cloth and carefully press to fuse interfacing in place

Strips of fusible interfacing will protect the pivot point when it is clipped and prevent the stretching of seams.
- Pin the organza in place (again centred over the exact pivot point) against the right side of the fabric
- Stay stitch using a stitch length of 1.0-1.5 on the seam line of the corner
- If the fabric frays easily, use a toothpick to place a tiny drop of FrayCheck© on the wrong side of the fabric exactly over the pivot point – allow to dry thoroughly
- Continue as above
Attaching the inset fabric:
The key to success is to stitch the seams on either side of the pivot point, one at a time.
- Mark the sewing line on the piece to be inserted

Mark sewing lines on piece to be inserted.
- Matching the pivot points on both sections, pin with right sides together and organza inside the seam allowance, with the stay stitched side of the fabric upwards

Position fabric pieces with right sides together and the pivot point and seam lines aligned.
-

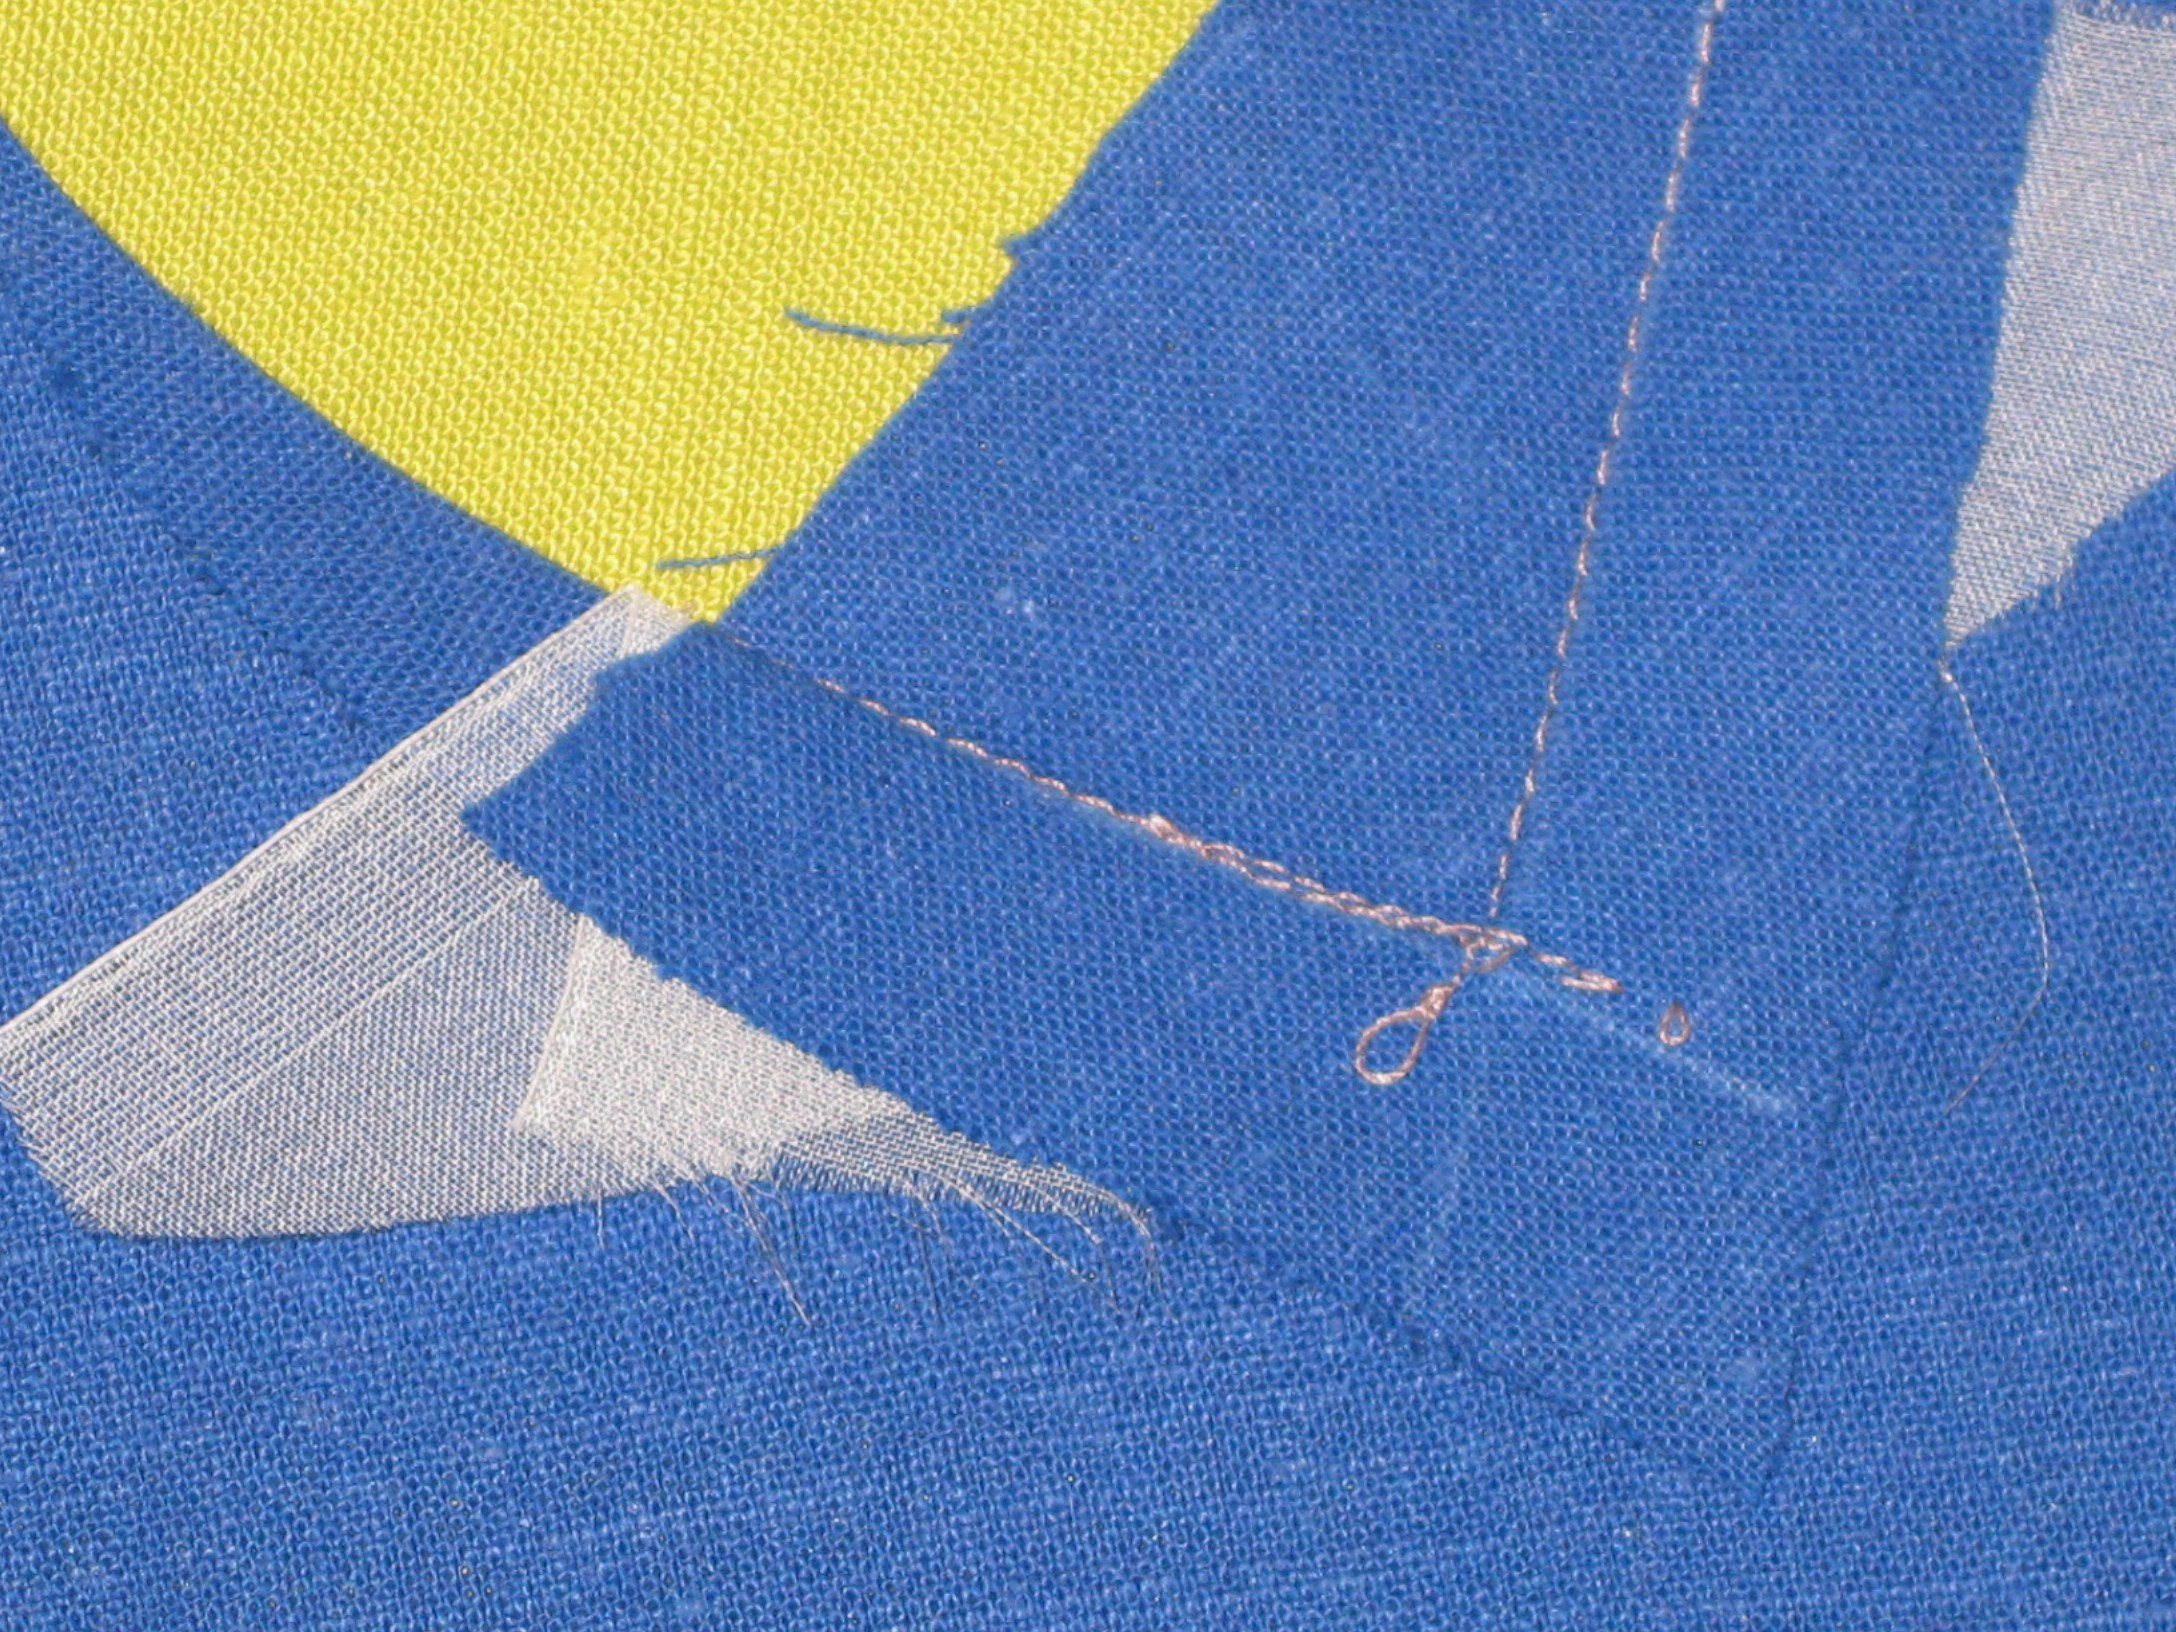
Stitch through the point on one side – keeping the stay stitching in view.
Start stitching approximately 6mm/ ¼” before the pivot point and continue just on the garment side of the stay stitching
- Flip the fabric and repeat on the other side – the stitching will be in the opposite direction but it is more important to see the stay stitching line in both steps
- The finished seam can be pressed towards away from the inset corner or seam allowances can be pressed open for a smoother finish on both sides of the seam line.


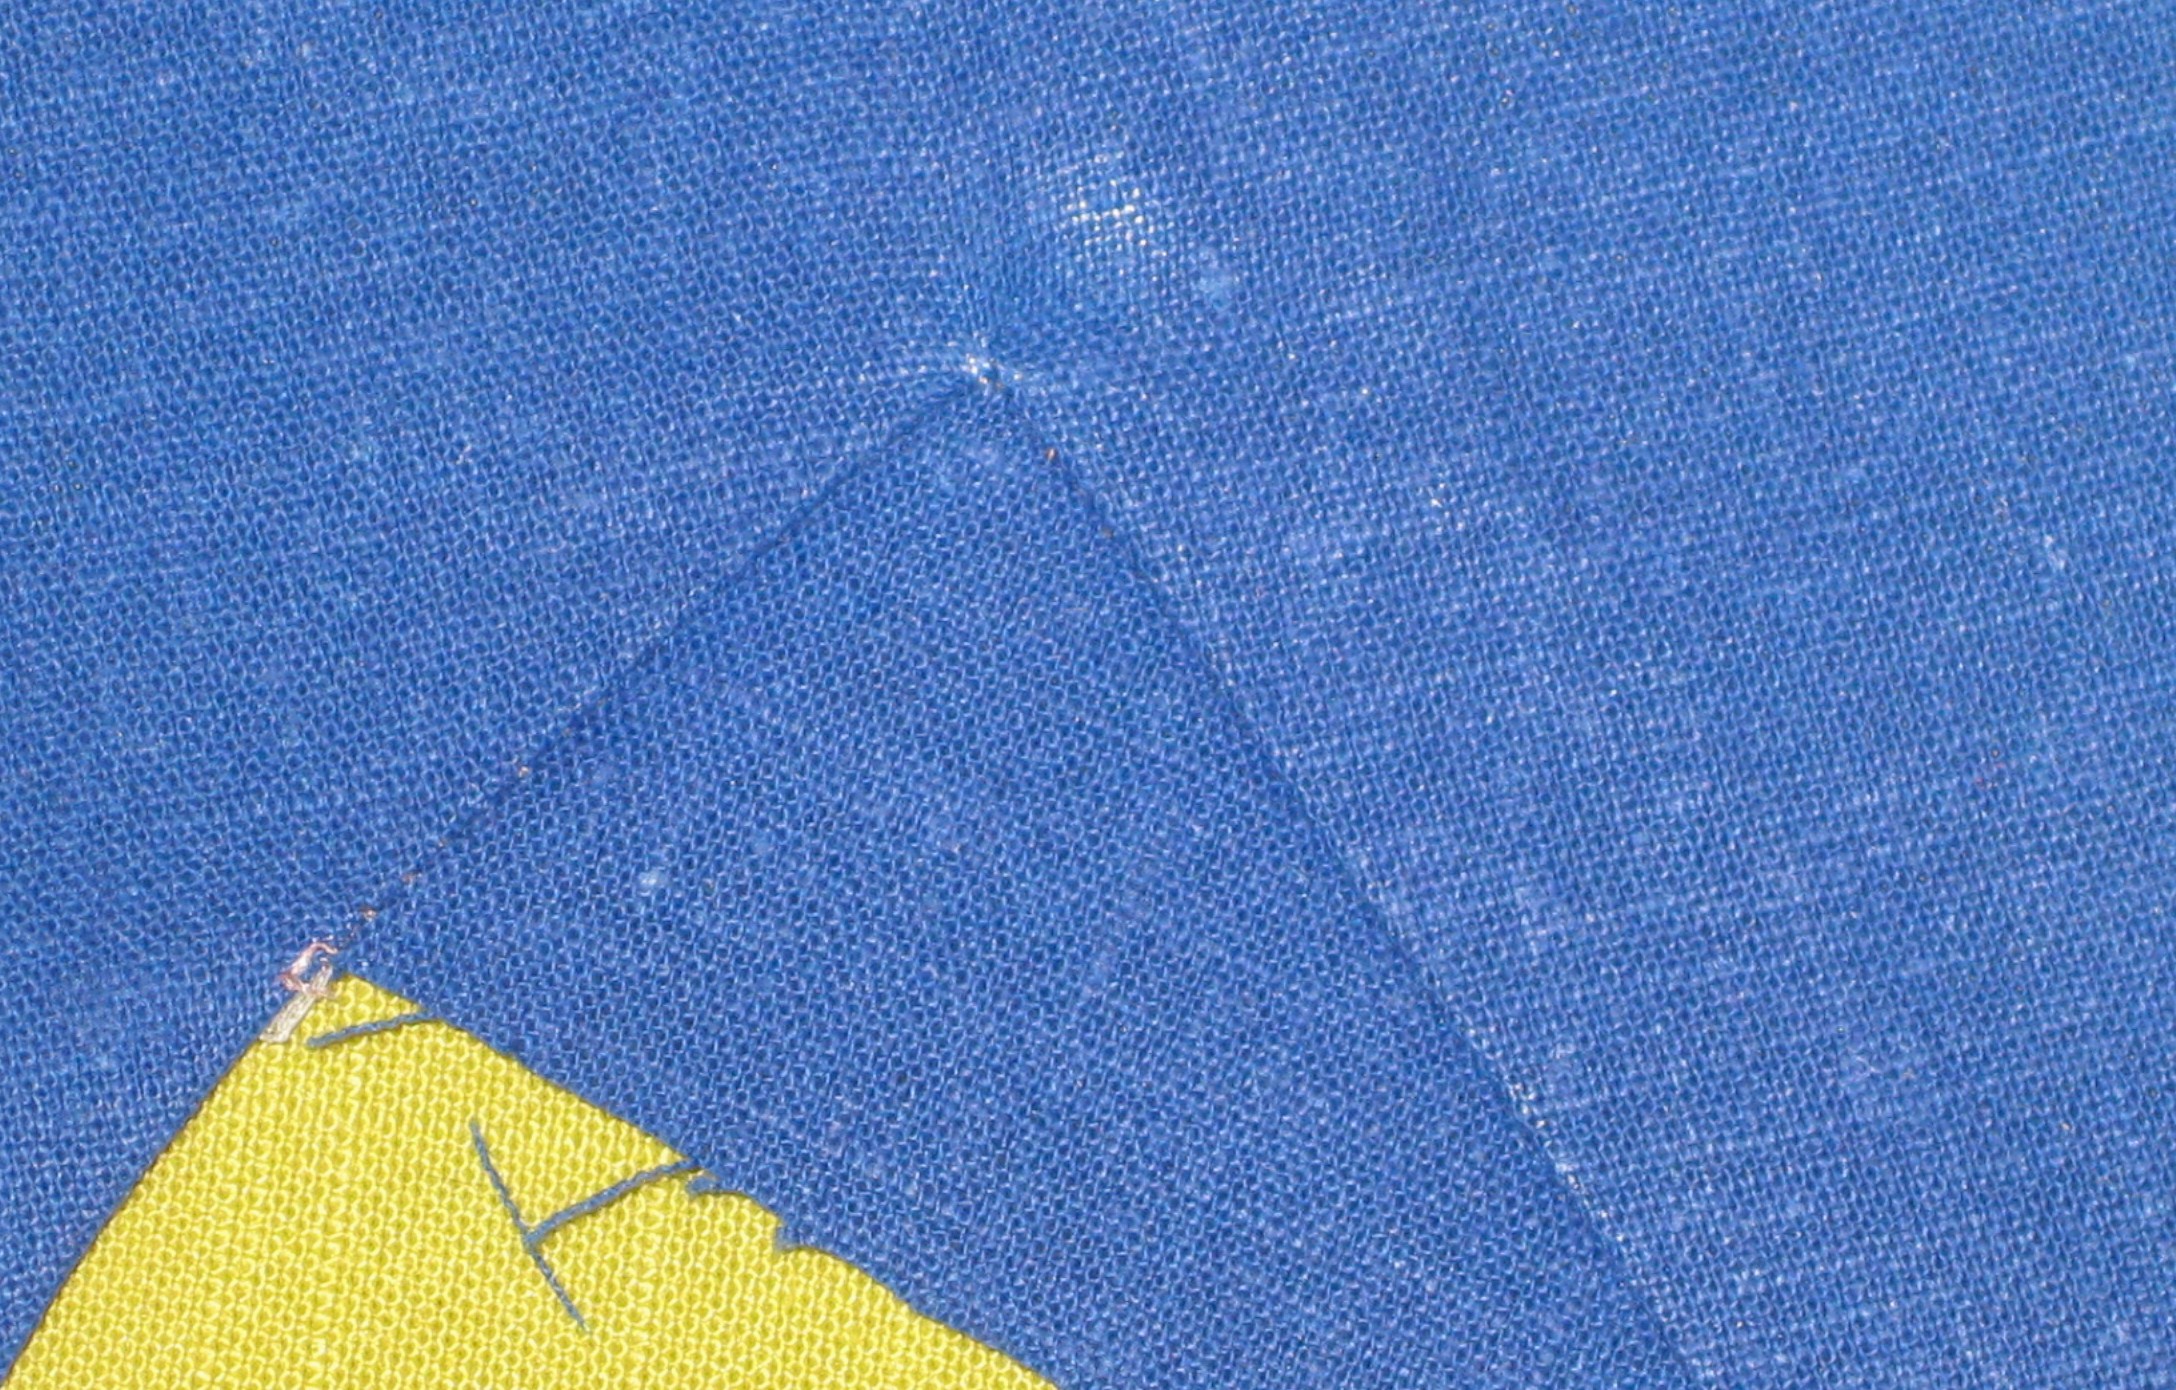
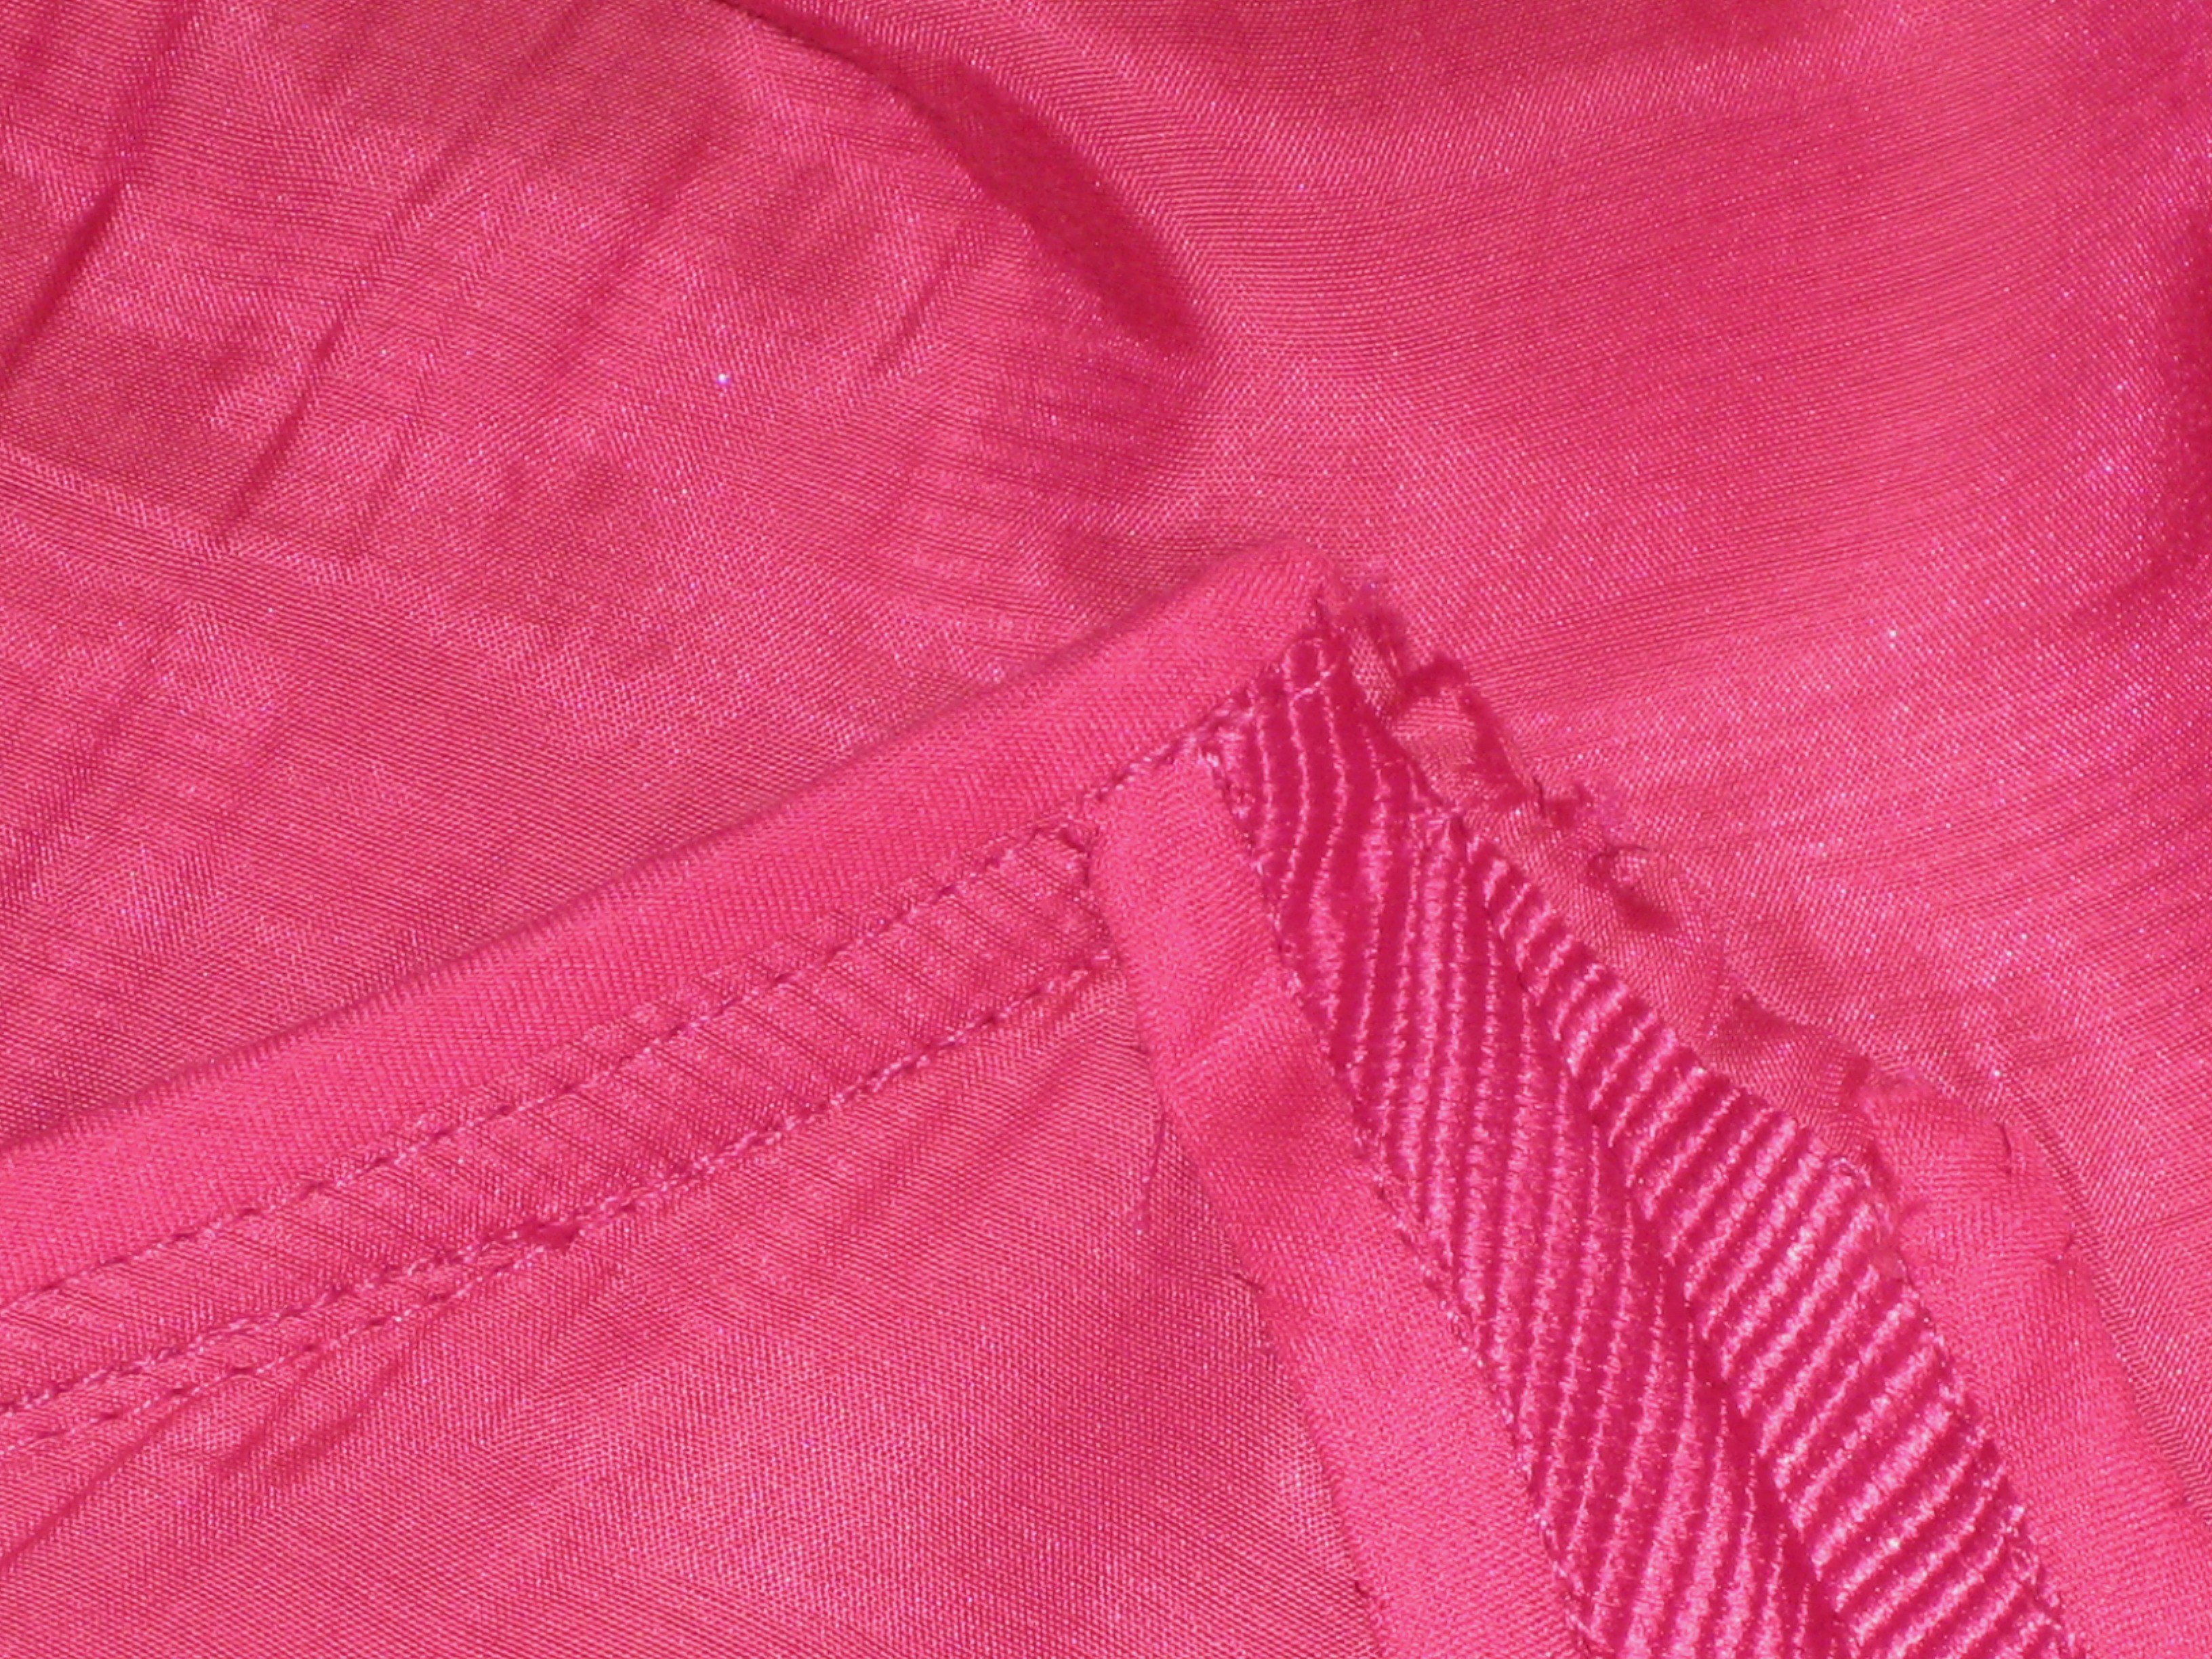
Face side with seam allowances pressed away from corner.

Face side with seams pressed open – surface is smoother.
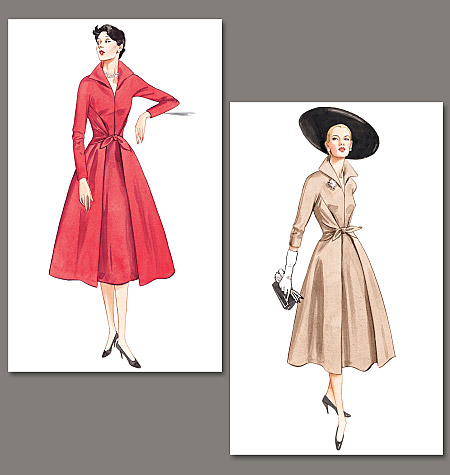
A very common feature in vintage patterns from the 1950’s is an extended sleeve with an inbuilt gusset to allow the maximum range of arm movement. I made this dress a year ago. The original pattern has the gusset section on the front bodice but not the back. When I made my initial toile, I discovered that this was not very comfortable and I added the same feature on the back bodice. It has been extremely comfortable to wear.

Vintage Vogue 2401

Vintage Vogue 2401

Vintage Vogue 2401

Seam allowances pressed open at side seams and away from armhole seam in underarm area.