In this blog I am sharing some things you may not know about threads, needles and pins.
Much of this information was in an article which I wrote for Dressmaking with Australian Stitches. This article was first seen in Australian Stitches magazine Volume 22 Number 11. Permission has been sought and granted for Electronic use and the photos and text remain the property of Alison Wheeler – Sewing Lady.
Threads:
Selecting the most suitable thread for a project is not just about the best colour match. Threads vary in composition and thickness. Using a thread that is not compatible with the fabric (too weak or too thick) can spoil the finished result as the thread will not do its job of holding the garment together while remaining an invisible part of the construction.
There will be times when thread is used in a decorative context but, for the main construction, the thread’s smoothness, strength and ability to blend and meld into the fabric are the most important requirements.
Types of thread:
Most threads intended for general construction are either polyester or a polyester wrapped cotton thread. They are usually very strong and suit the majority of fabrics. Cotton thread is readily available and gives seams a softer feel making it ideal for heirloom sewing and quilting. Silk thread is extremely fine and very strong – and threading needles is a breeze with such fine thread!
The main things to consider are the thickness and strength of the thread.
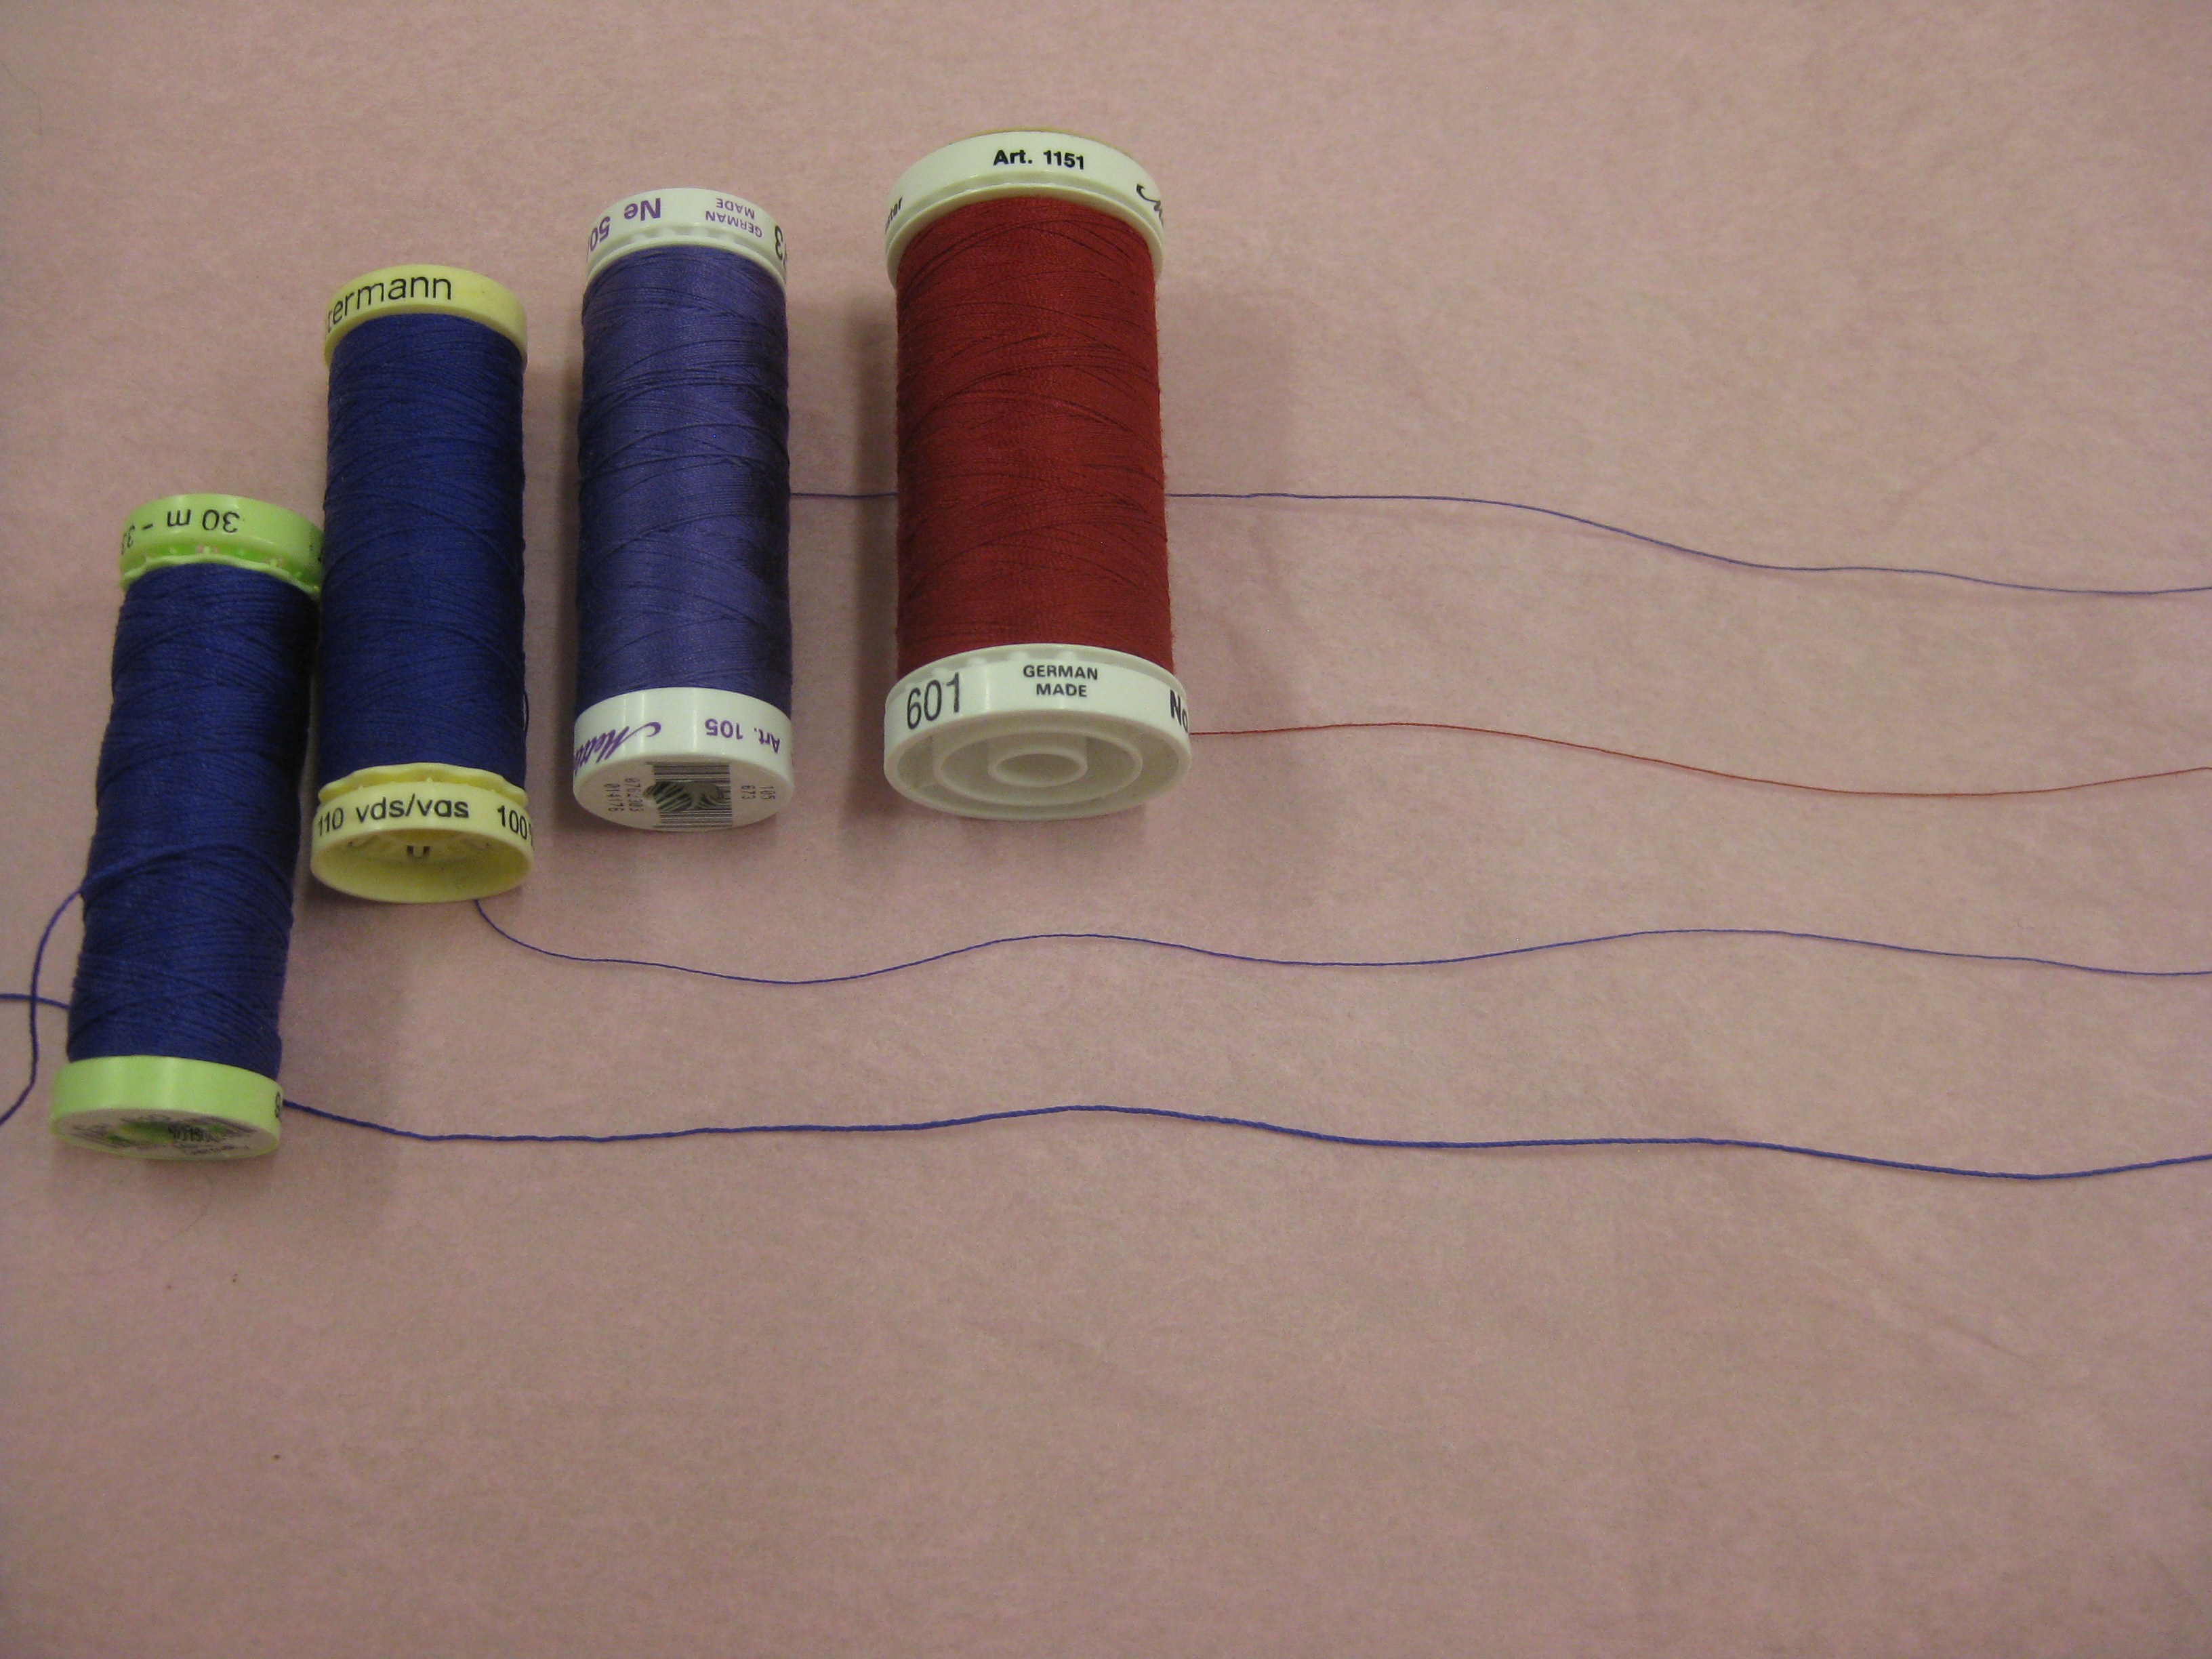
It is interesting to compare threads as the thickness can vary widely

Threads arranged according to thickness – finest to heaviest.
From left:
Gutermann polyester topstitching
Gutermann polyester all purpose
Metrosene poly sheen embroidery
Metrosene polyester all purpose
.
If you are sewing a fine, lightweight fabric it is best to use a finer thread. Thicker threads are more suitable for heavier fabrics.
Threads are identified by numbers indicating thickness– #100 very fine, #50 fine, #40 medium, #30 thick. Most common machine sewing thread is #40. When you see a thread marked for example #50/3, the first number indicates the thickness of the thread and the second number is the number of filaments wrapped together to make up the thickness. A thread with 3 filaments is not necessarily thicker but will be stronger.
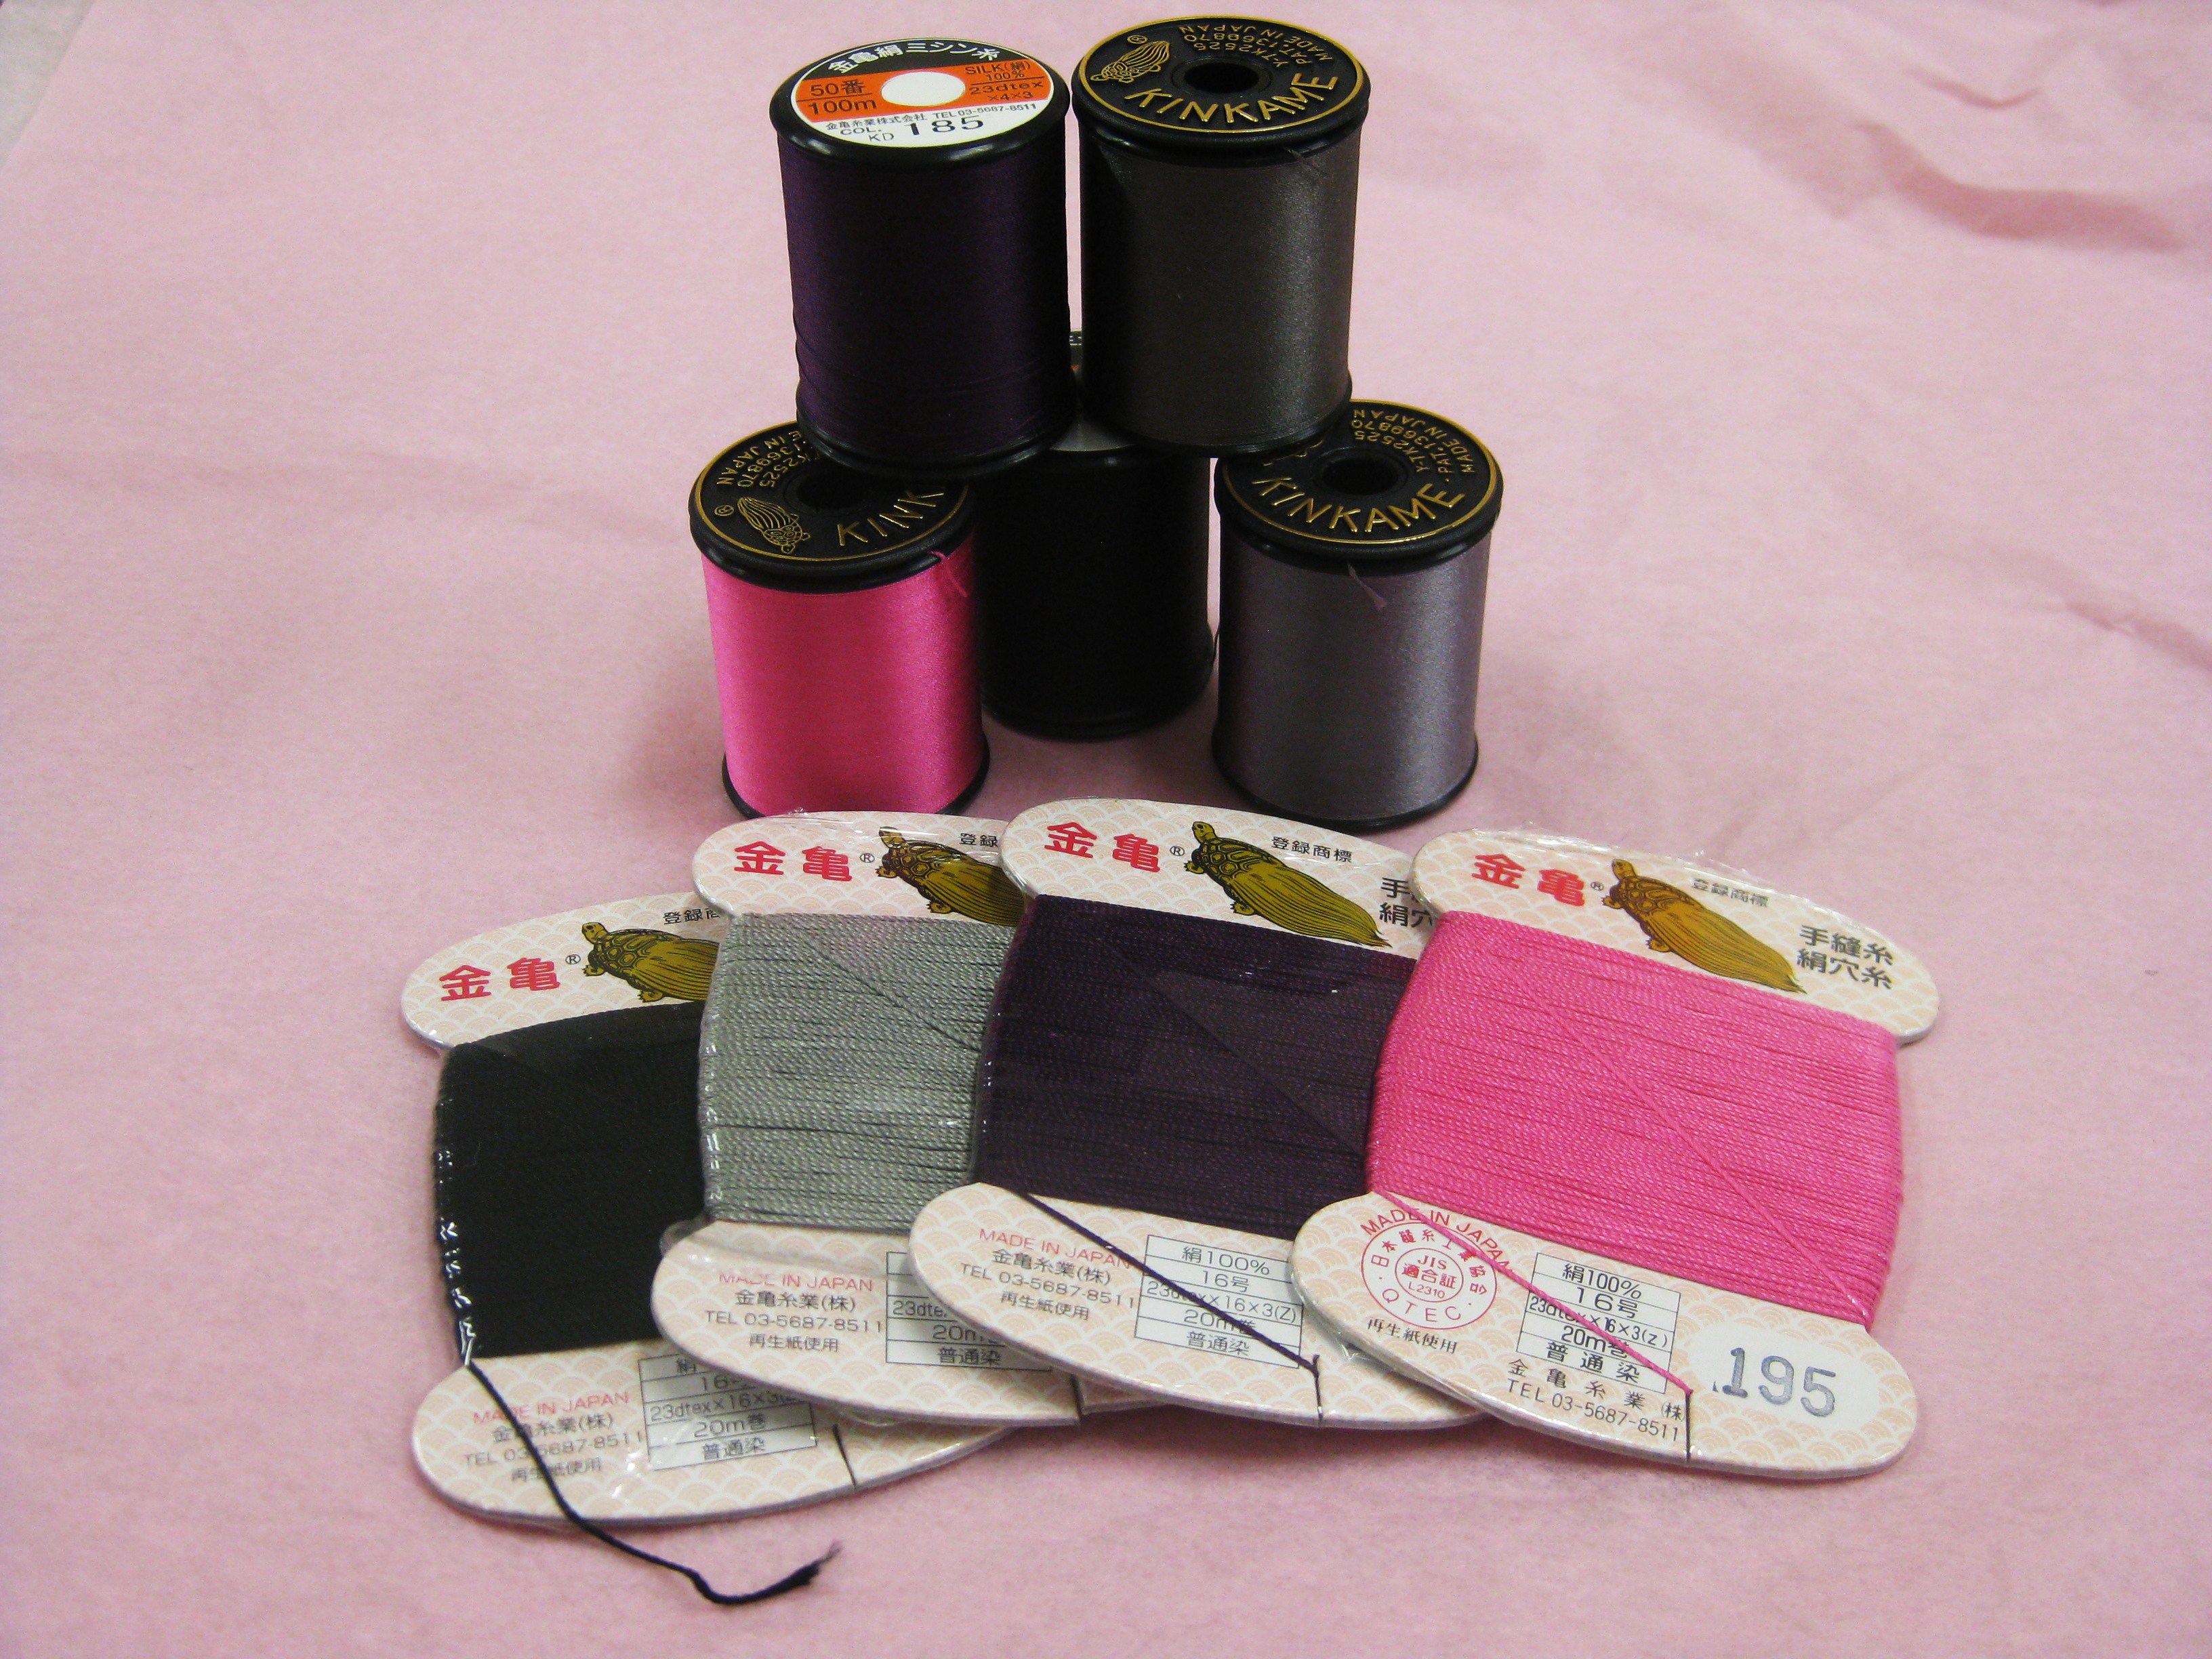
Silk thread comes in a variety of thicknesses from #100which is wonderful for hand-sewing hems – it is so fine that hemstitching is not visible from the right side of a garment (provided of course that a very small stitch and fine needle are used!). #50 weight silk thread blends into the fabric beautifully with machine sewing.

Left – 50 weight silk for hand or machine stitching
Right – 100 weight silk for hand stitching
Decorative and specialty threads are available for specific purposes – fine rayon machine embroidery thread, topstitching thread, fine cotton heirloom thread, #50 quilting cotton.
Tips for Usage:
- Always use a good quality thread.
- The thread colour looks darker on a reel than when it is unwound so choosing a slightly darker thread to match the project will give a better match.
- If you are unable to match a colour in topstitching thread, you can use two regular threads through one needle to add the required thickness – just be sure to use a needle with a larger eye to accommodate the extra width and do not use your machine’s needle threader. The two threads can be blending colours for multi-coloured garments.
- Use fine thread for buttonholes – heirloom or #50 cotton work well for machine buttonholes; use silk buttonhole thread if making hand-worked buttonholes.

Top – #50 silk thread – all purpose
Bottom – silk hand buttonhole thread
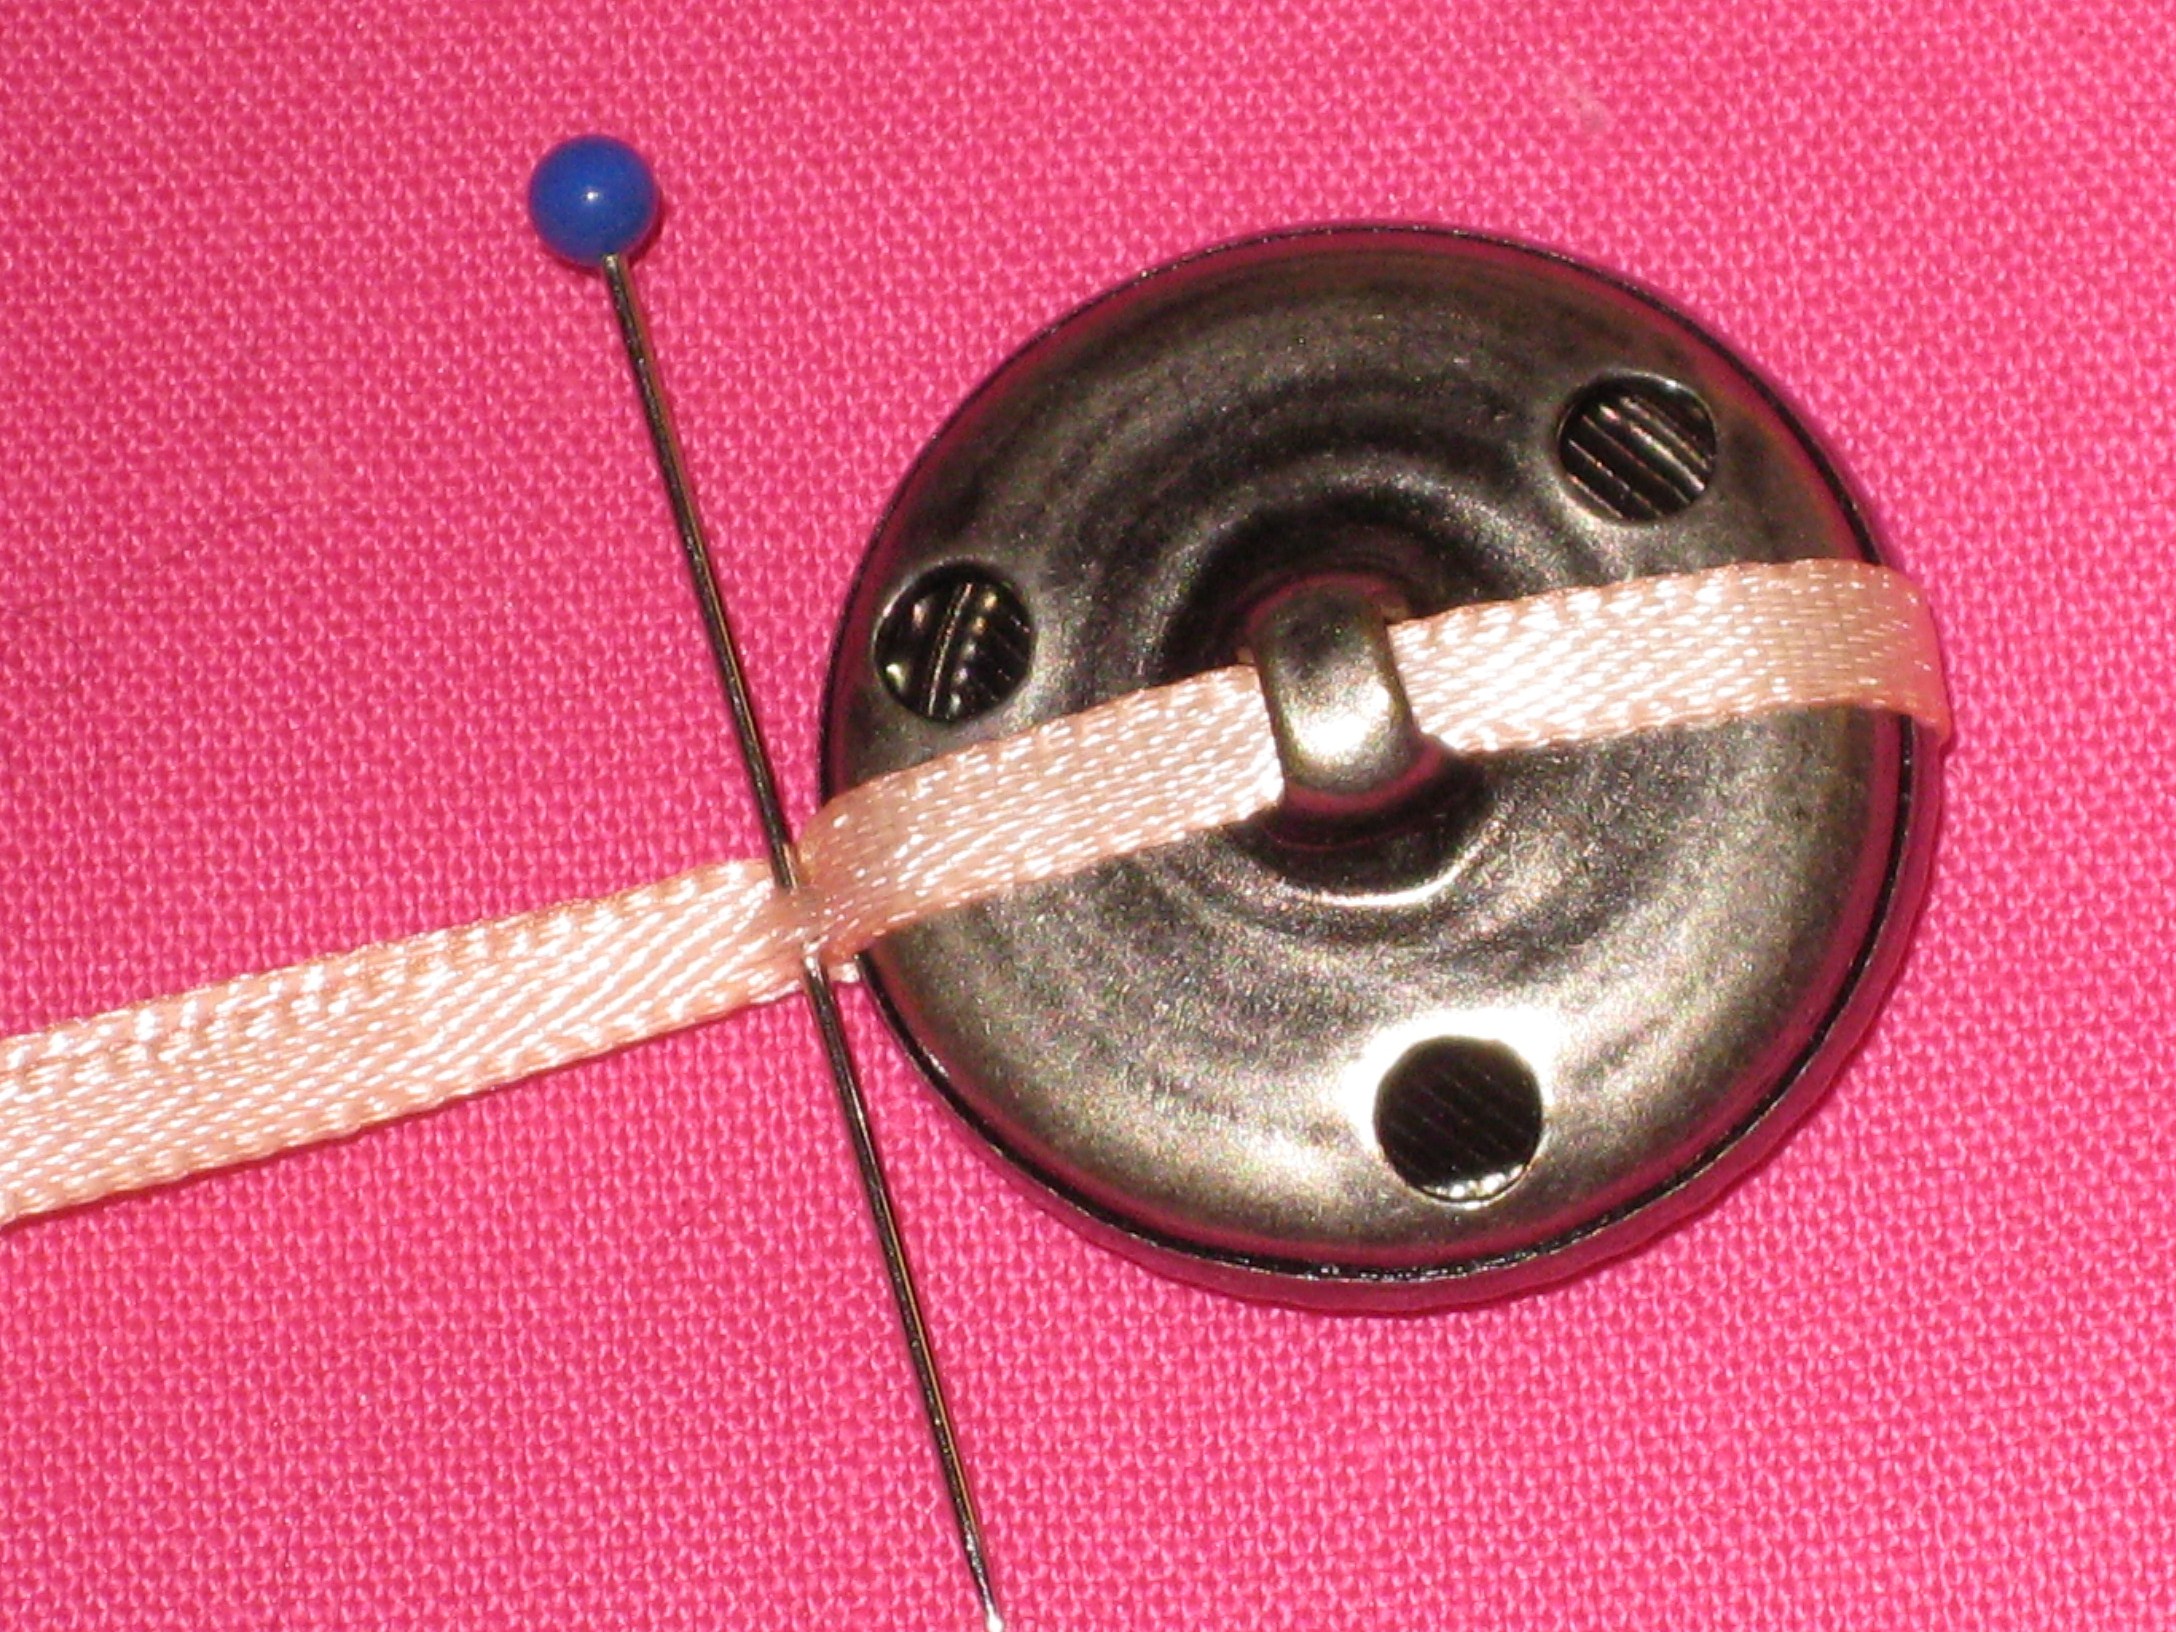
- Use topstitching thread to sew high use buttons in place e.g. coat or jacket buttons.
- Most general purpose threads are cross-wound and work well with horizontal feed.
- Some specialty threads are not cross wound and will work better with vertical feed.
- If your machine does not have provision for two spools feeding in the same direction, there are separate thread guides available for a reasonable cost – these can also be a great sanity saver when using twin needles or two threads in one needle.
- If you have difficulty threading a machine needle, place a small piece of white paper directly behind the needle and the hole will be more visible.
- Cutting thread on an angle also helps with easier threading.
- If bobbins are wound at high speed, there can be problems with the thread stretching as it is wound on to the bobbin, resulting in puckered stitches – slow down to around three quarter speed to avoid possible problems.
- Make sure the thread is securely in the bobbin tension as you are winding a bobbin – it should be loose between the thread reel and the tension mechanism and taut from the tension mechanism to the bobbin. If you end up with a “squishy” bobbin, failure to do this is the most likely cause.
- “Squishy” bobbins can be rewound from the thread spool to a new bobbin.
- Avoid adding thread to a bobbin which is already wound
- Always make sure the thread type being used in the needle is exactly the same as the thread wound on to the bobbin. Different colours can be used but, for perfect stitching, the thread brand and weight needs to be the same – unless of course you are using decorative techniques.
- Press seams and darts flat as sewn to blend the thread into the fabric.
A few words about thread tension:
Many sewers are wary of thread tension, often resulting from “never touch the tension dial!” warnings in their early sewing experiences.
I hope that an explanation of how thread tension works will help your understanding.
All machines have tension discs (some times visible, sometimes not) to control the speed at which the needle thread passes through to make a stitch. Basically, it is about the needle and bobbin threads being in perfect balance so there are no loops on either side of the stitched seam and the fabric pieces are lying exactly on top of each other with no gap forming when they are exposed to the pressure of wear.
If the tension is too tight, bobbin threads can be pulled through to the opposite surface of the fabric and, if the tension is too loose, needle thread will show on the underside of the seam. Tension which is too tight will result in puckering of the fabric and tension which is too loose will allow gaps between the layers.
The tension is adjusted using numbers either with a lever, dial or button on an LED screen:
- small number = looser stitches/lighter tension = no puckers
- larger number = tighter stitches/heavier tension = no gaps between layers
Universal tension (the automatic setting) is 4 and this works well on the majority of medium weight fabrics. When using fine, lightweight fabrics, a lower tension (looser stitch) is required and setting is around 3. If sewing heavy fabrics (for example some heavyweight denims), the stitches need to be tighter so that the layers are held firmly together – a setting of 5+ may be needed.
When sewing buttonholes, lower the tension to 3.
All of this is a guide and making a test seam before starting a project is essential. Take two pieces of fabric approximately 30cm/15″ long and cut on the same grain as your seam. Stitch the strips together, press to meld the stitches and inspect the result. Make any necessary adjustments (using the information above) and test again.
Needles:
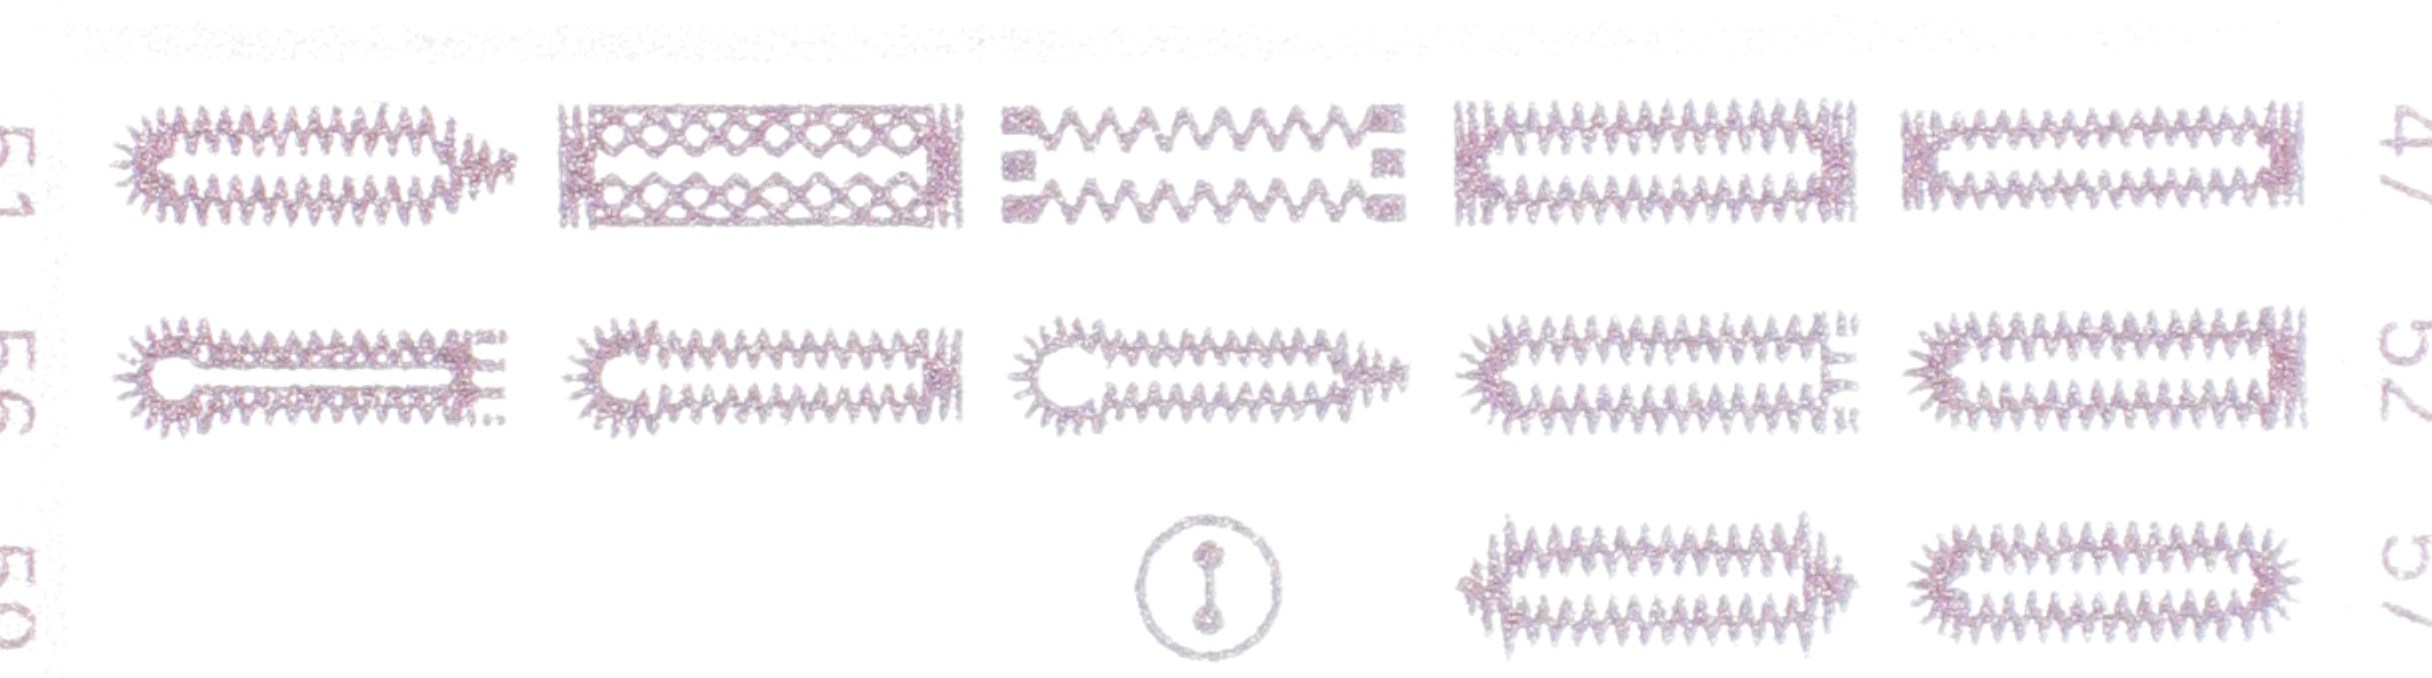
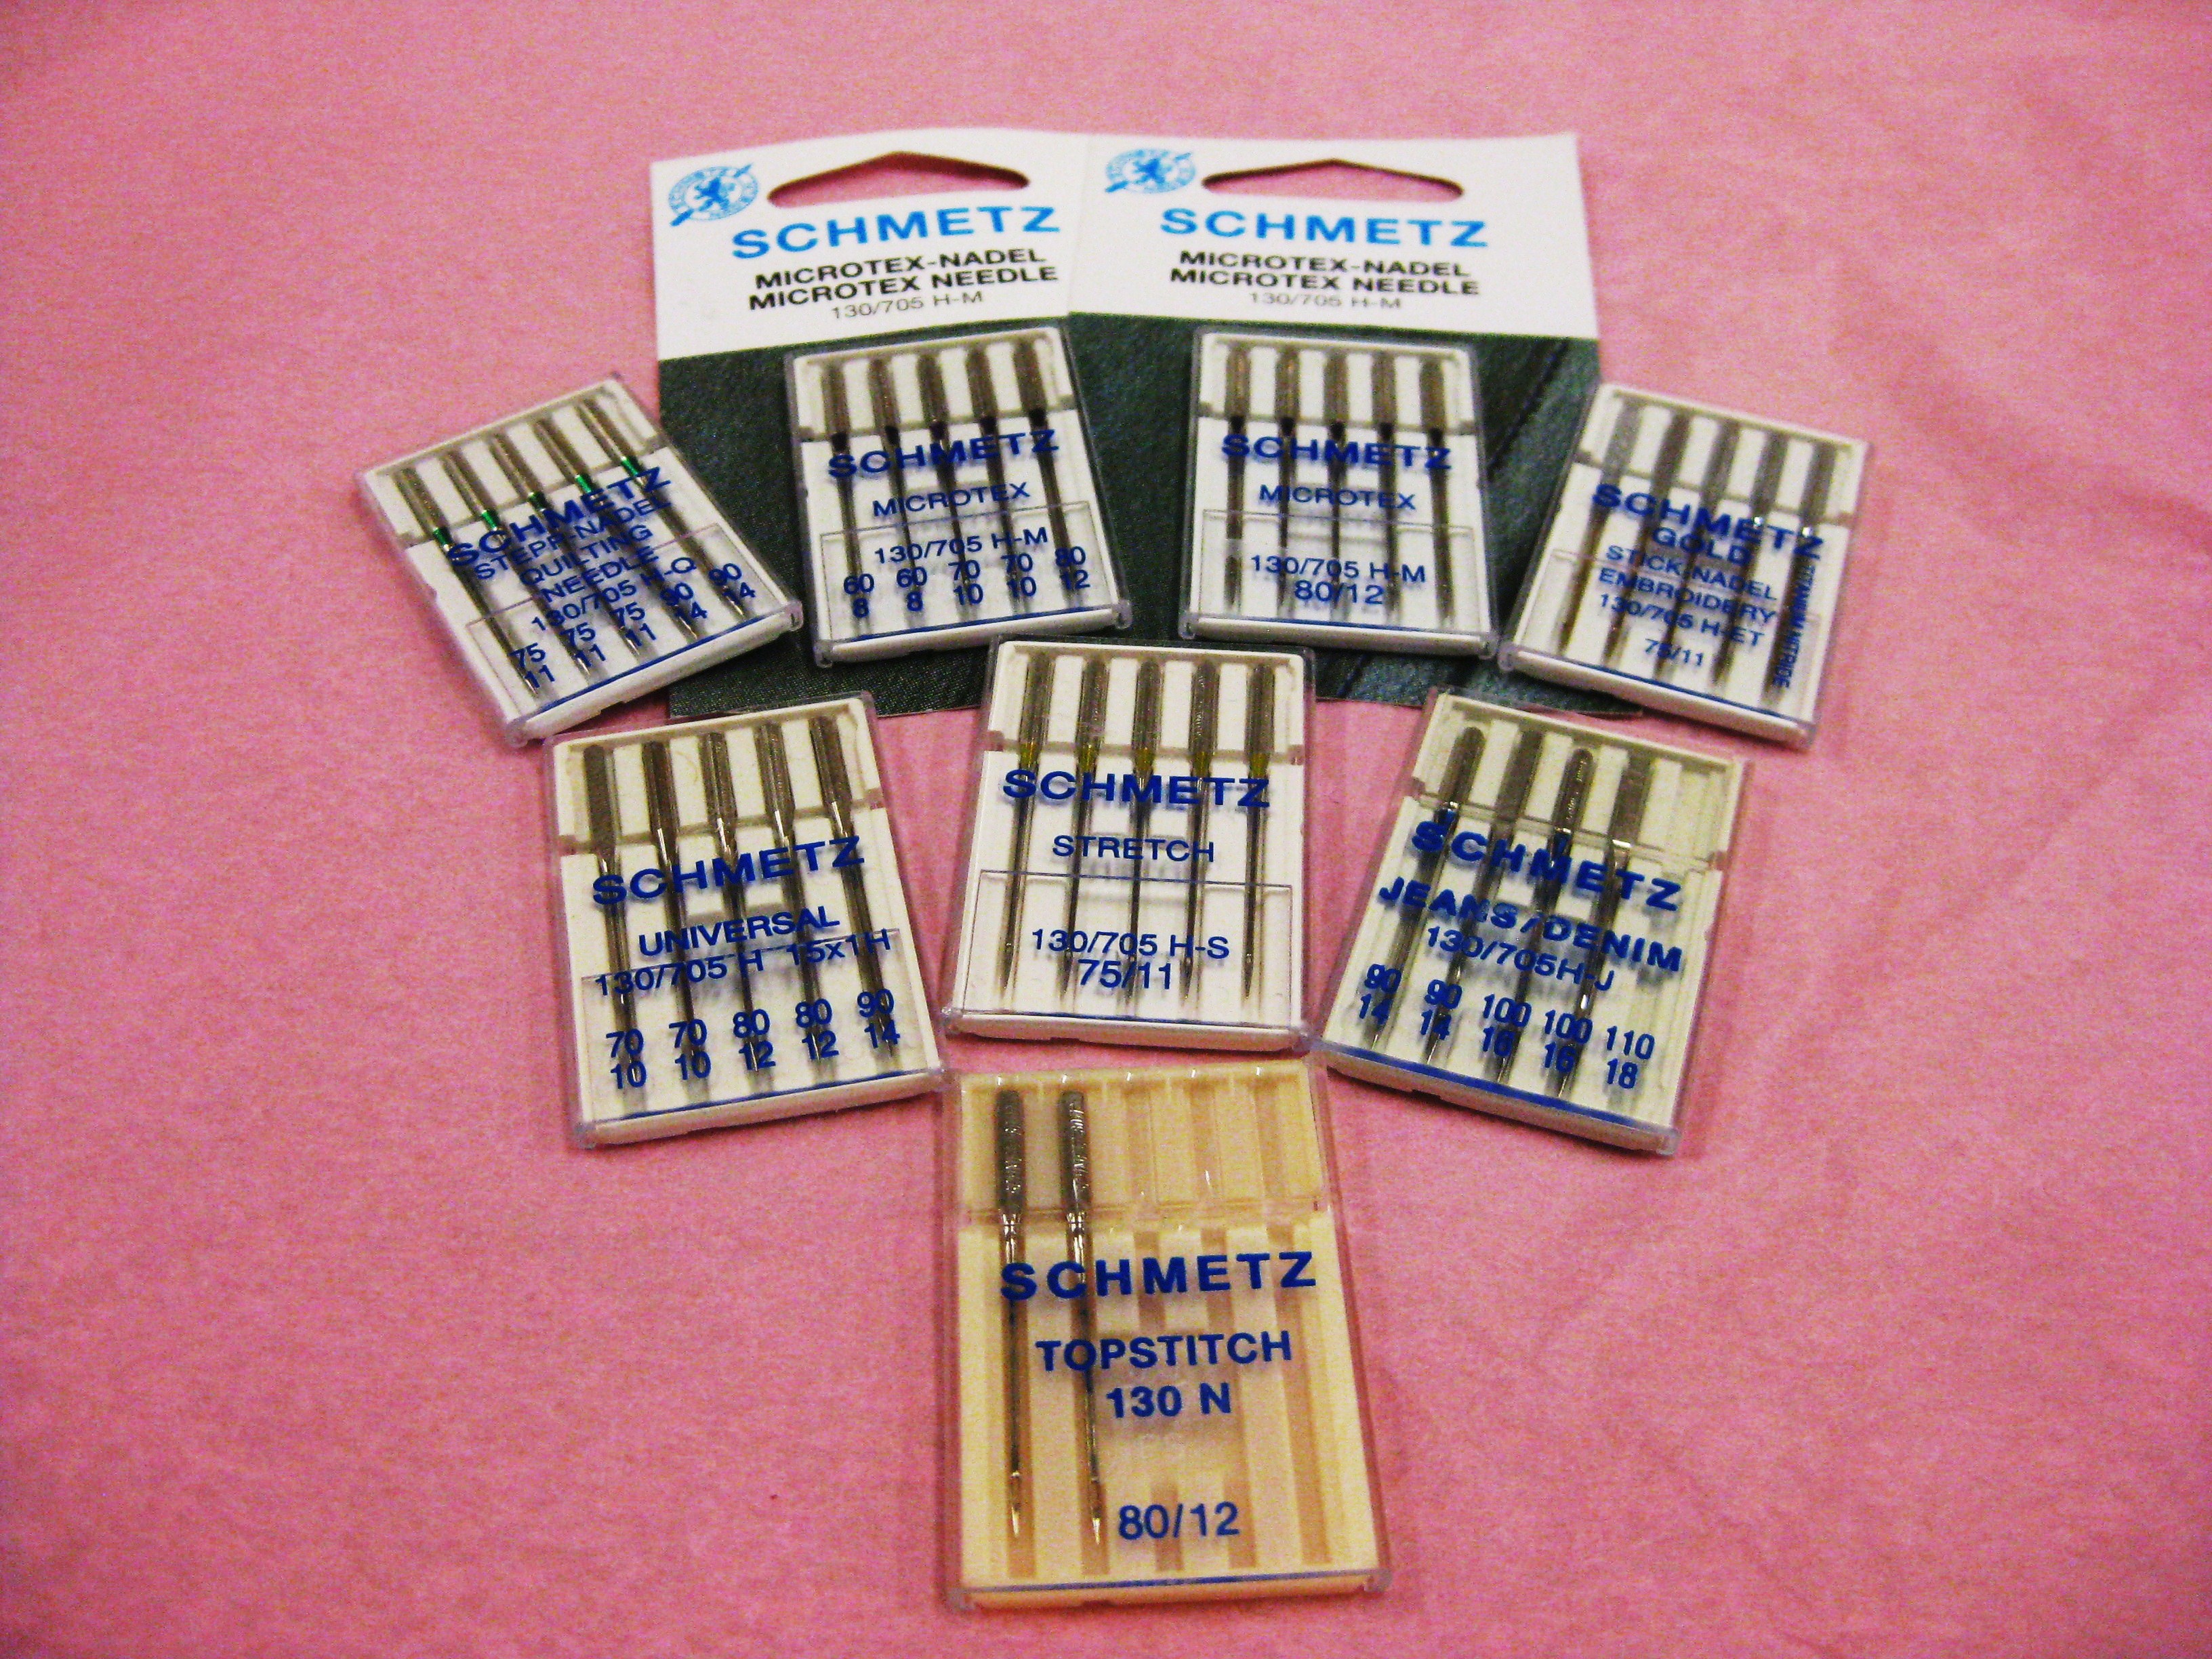
Machine needles are identified by type on the package by both their type name and a type number which is common to all brands. The needle size is also marked on the package.

An assortment of machine needle types and sizes.
An excellent resource to learn about machine needles is the Schmetz Needles website –http://schmetzneedles.com which provides an wonderful illustration of their colour coding system for download as a PDF as well as the following diagrams and information for which they give permission to reproduce in blogs.
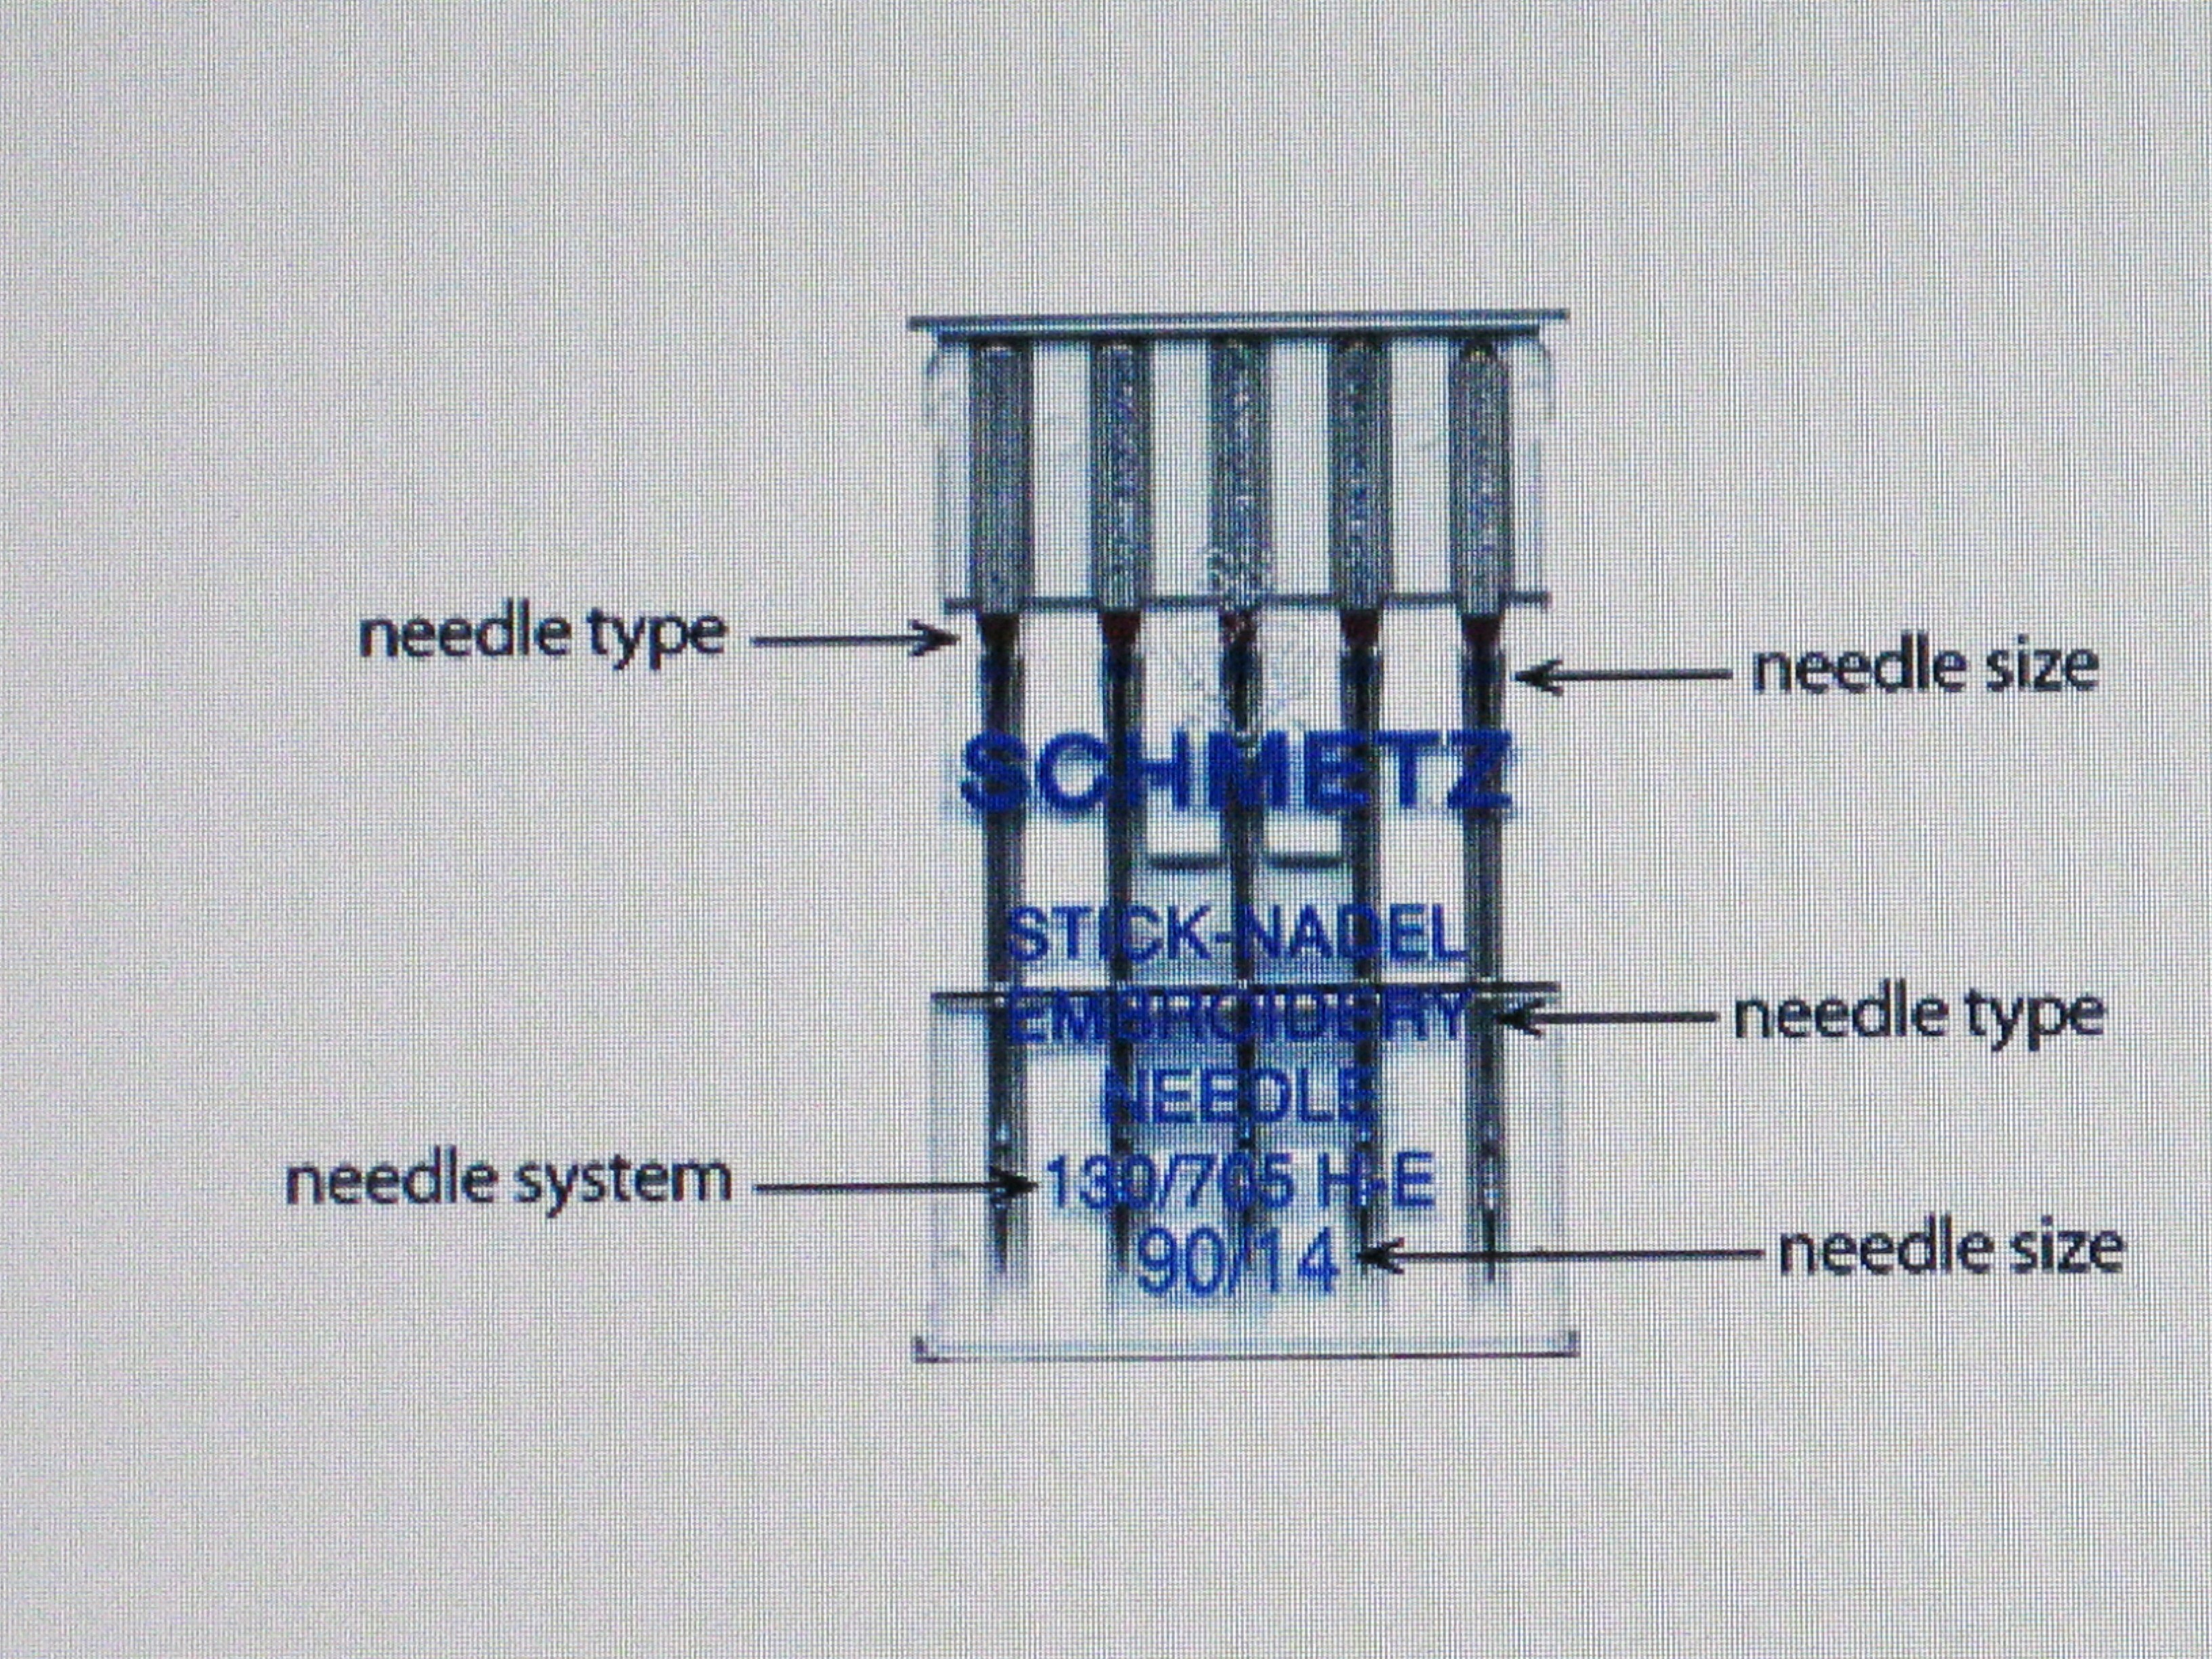
How to Read the Needle Package
Home sewing machines require a flat shank needle with a scarf. These characteristics are known as needle system 130/705 H. All needles in system 130/705 H have a scarf and a flattened shank for perfect positioning in the needle bar in relation to the hook.

How to read the needle package.

The anatomy of a machine needle.
With machine needles, the smaller the number, the finer the needle.
Schmetz also have an app for iPads/iPhones which would make needle choice when shopping for notions very convenient.
Tips for machine needles:

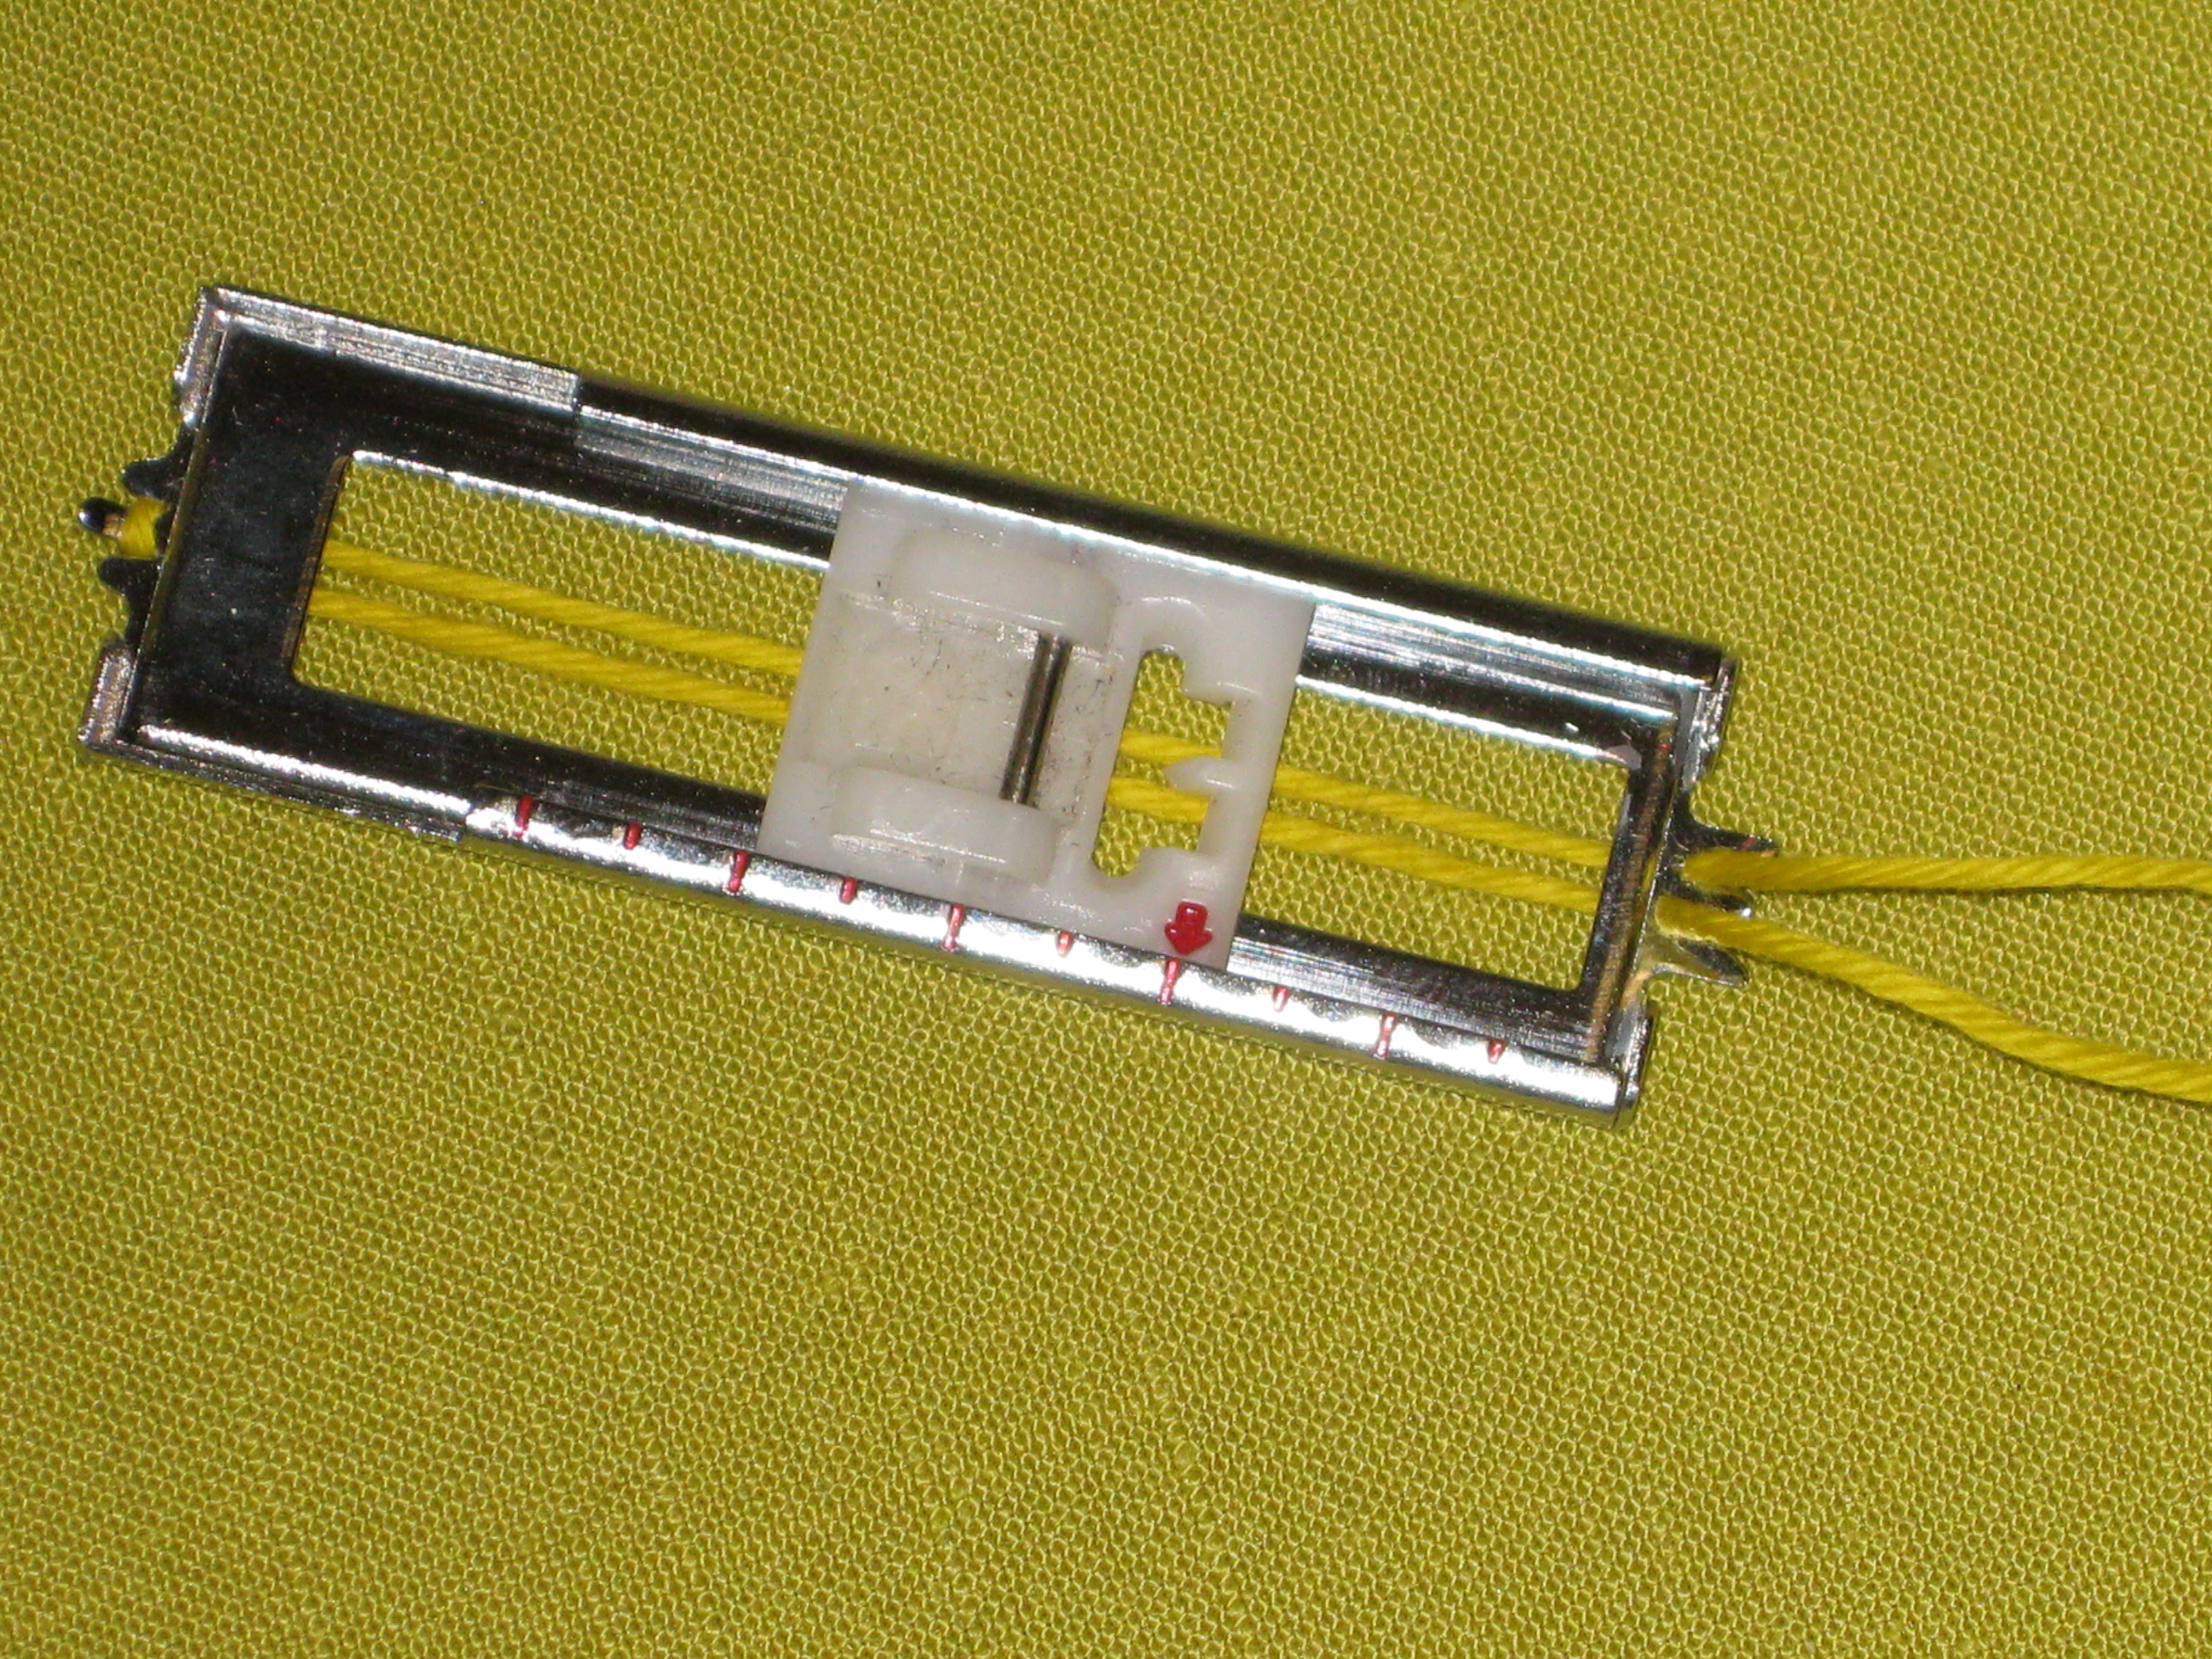
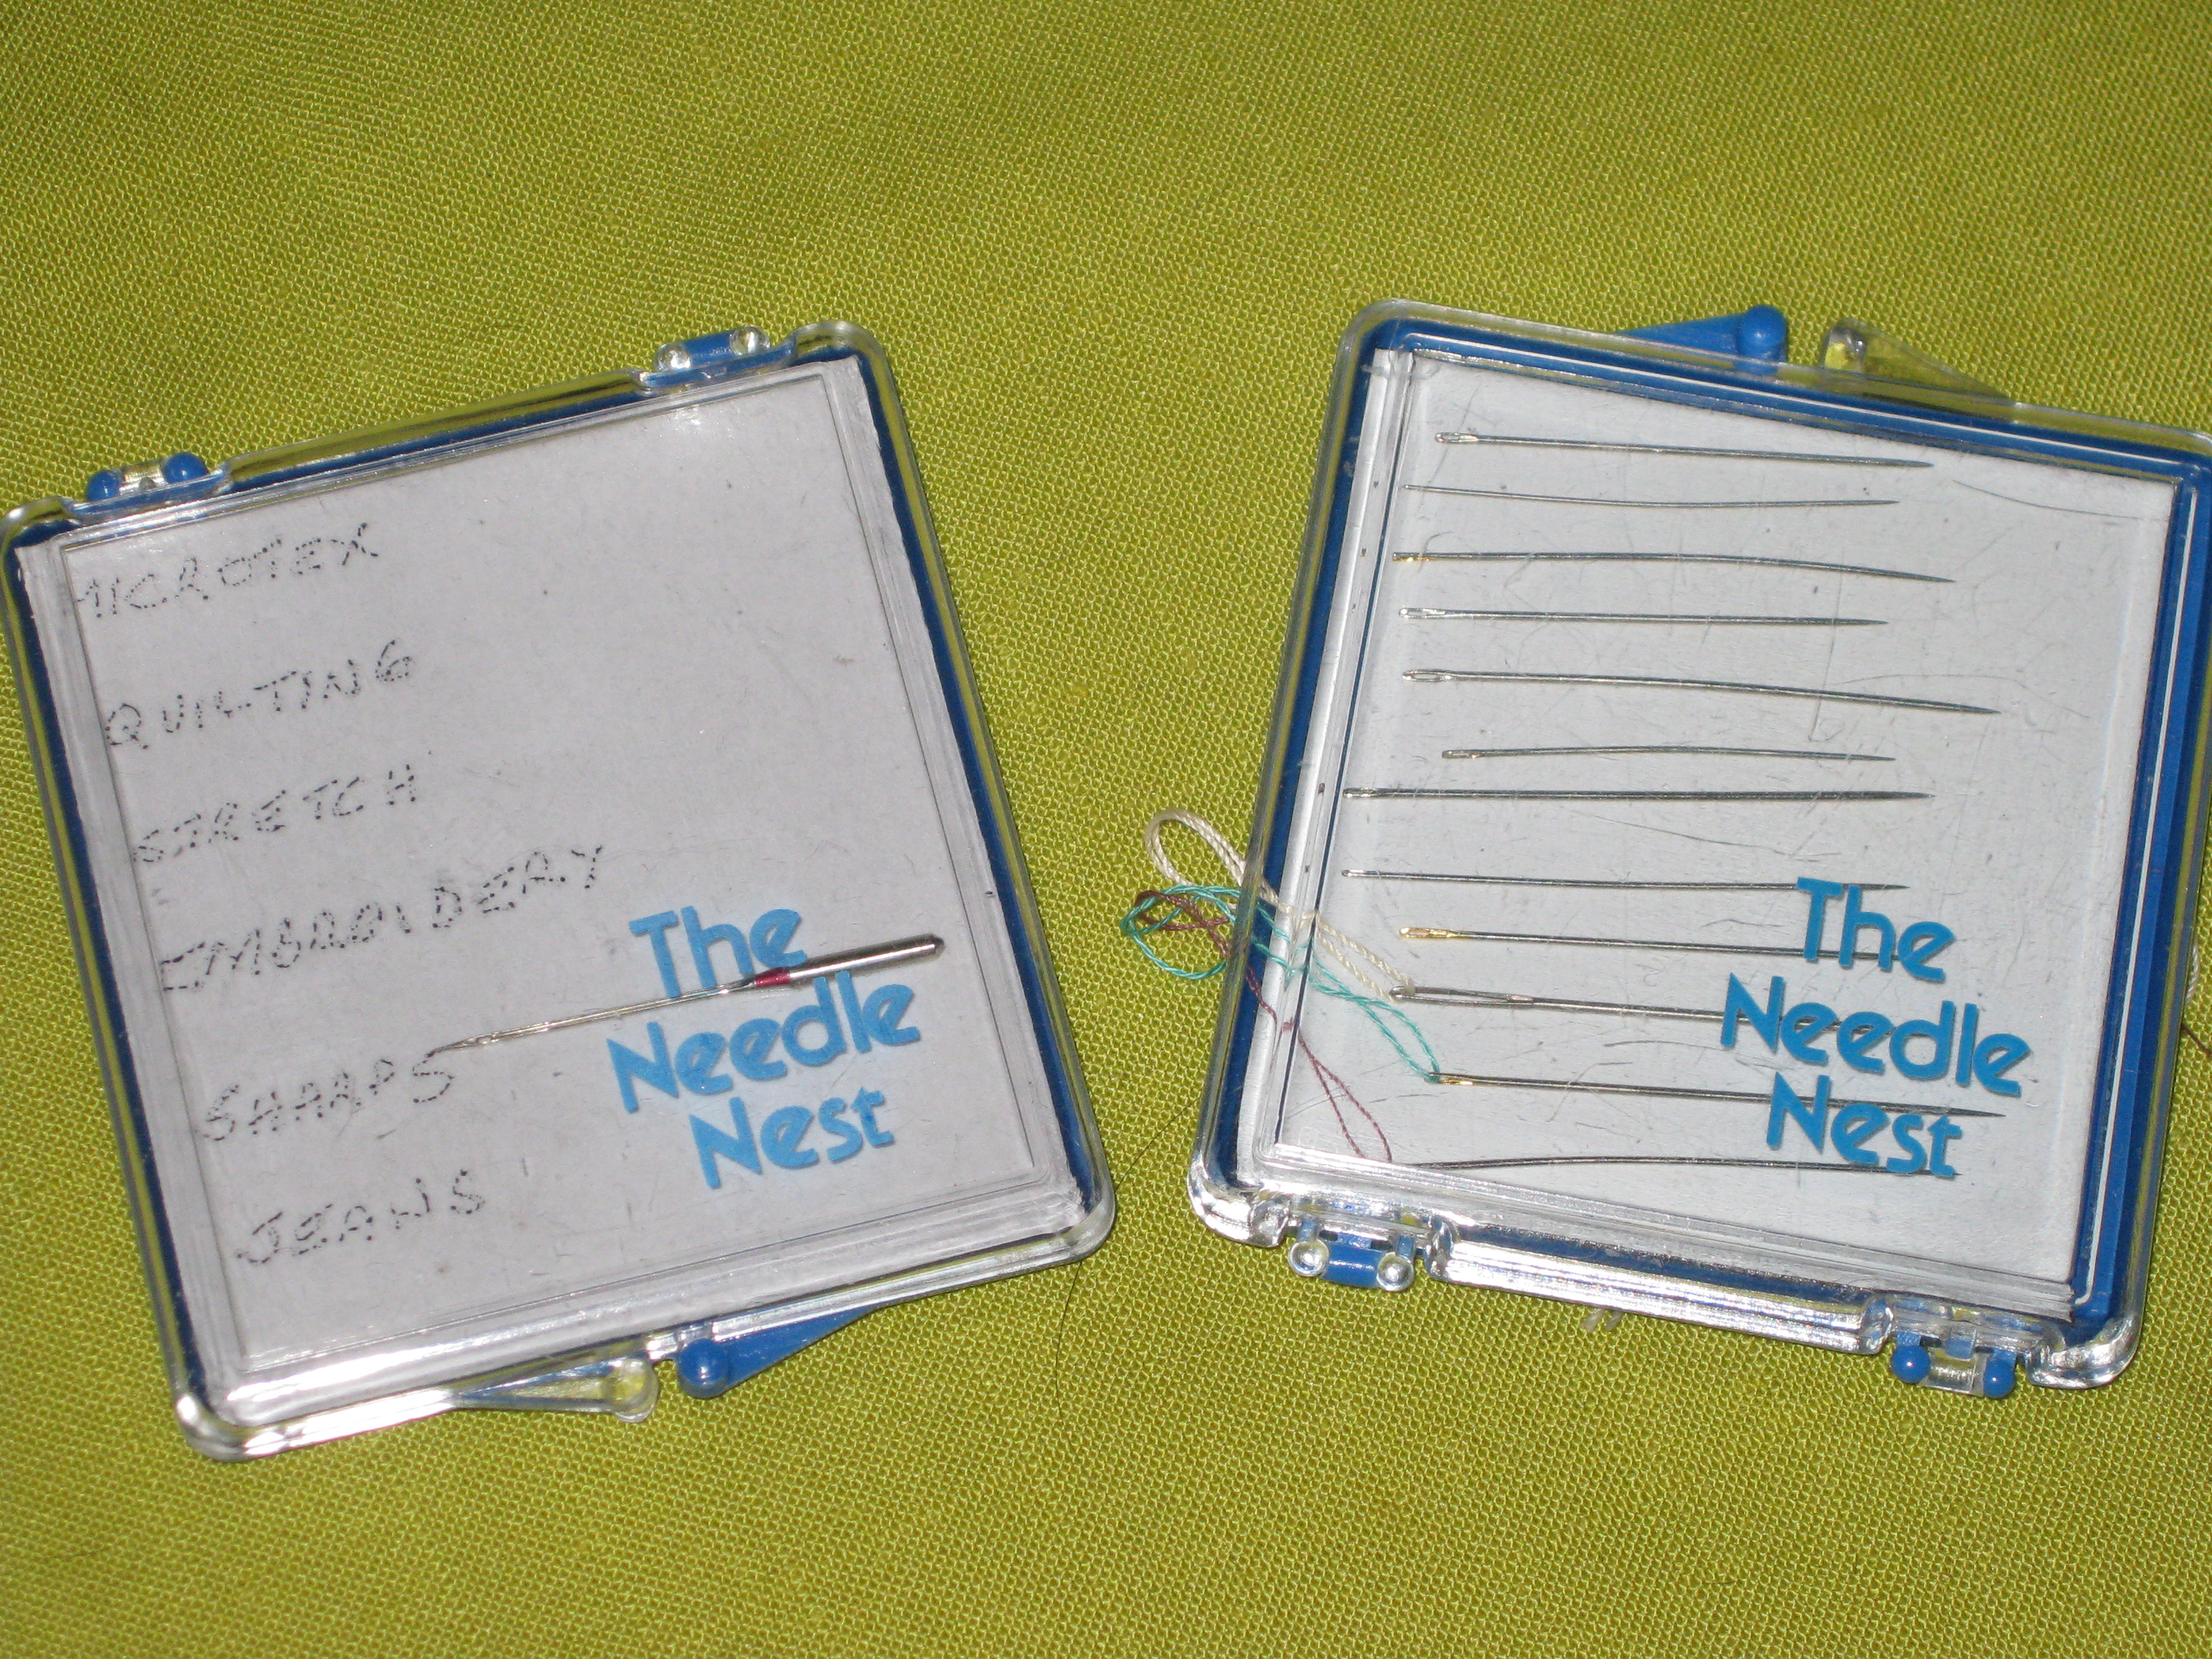
Needle storage options – I have added needle types for machine needles.

Needle storage idea
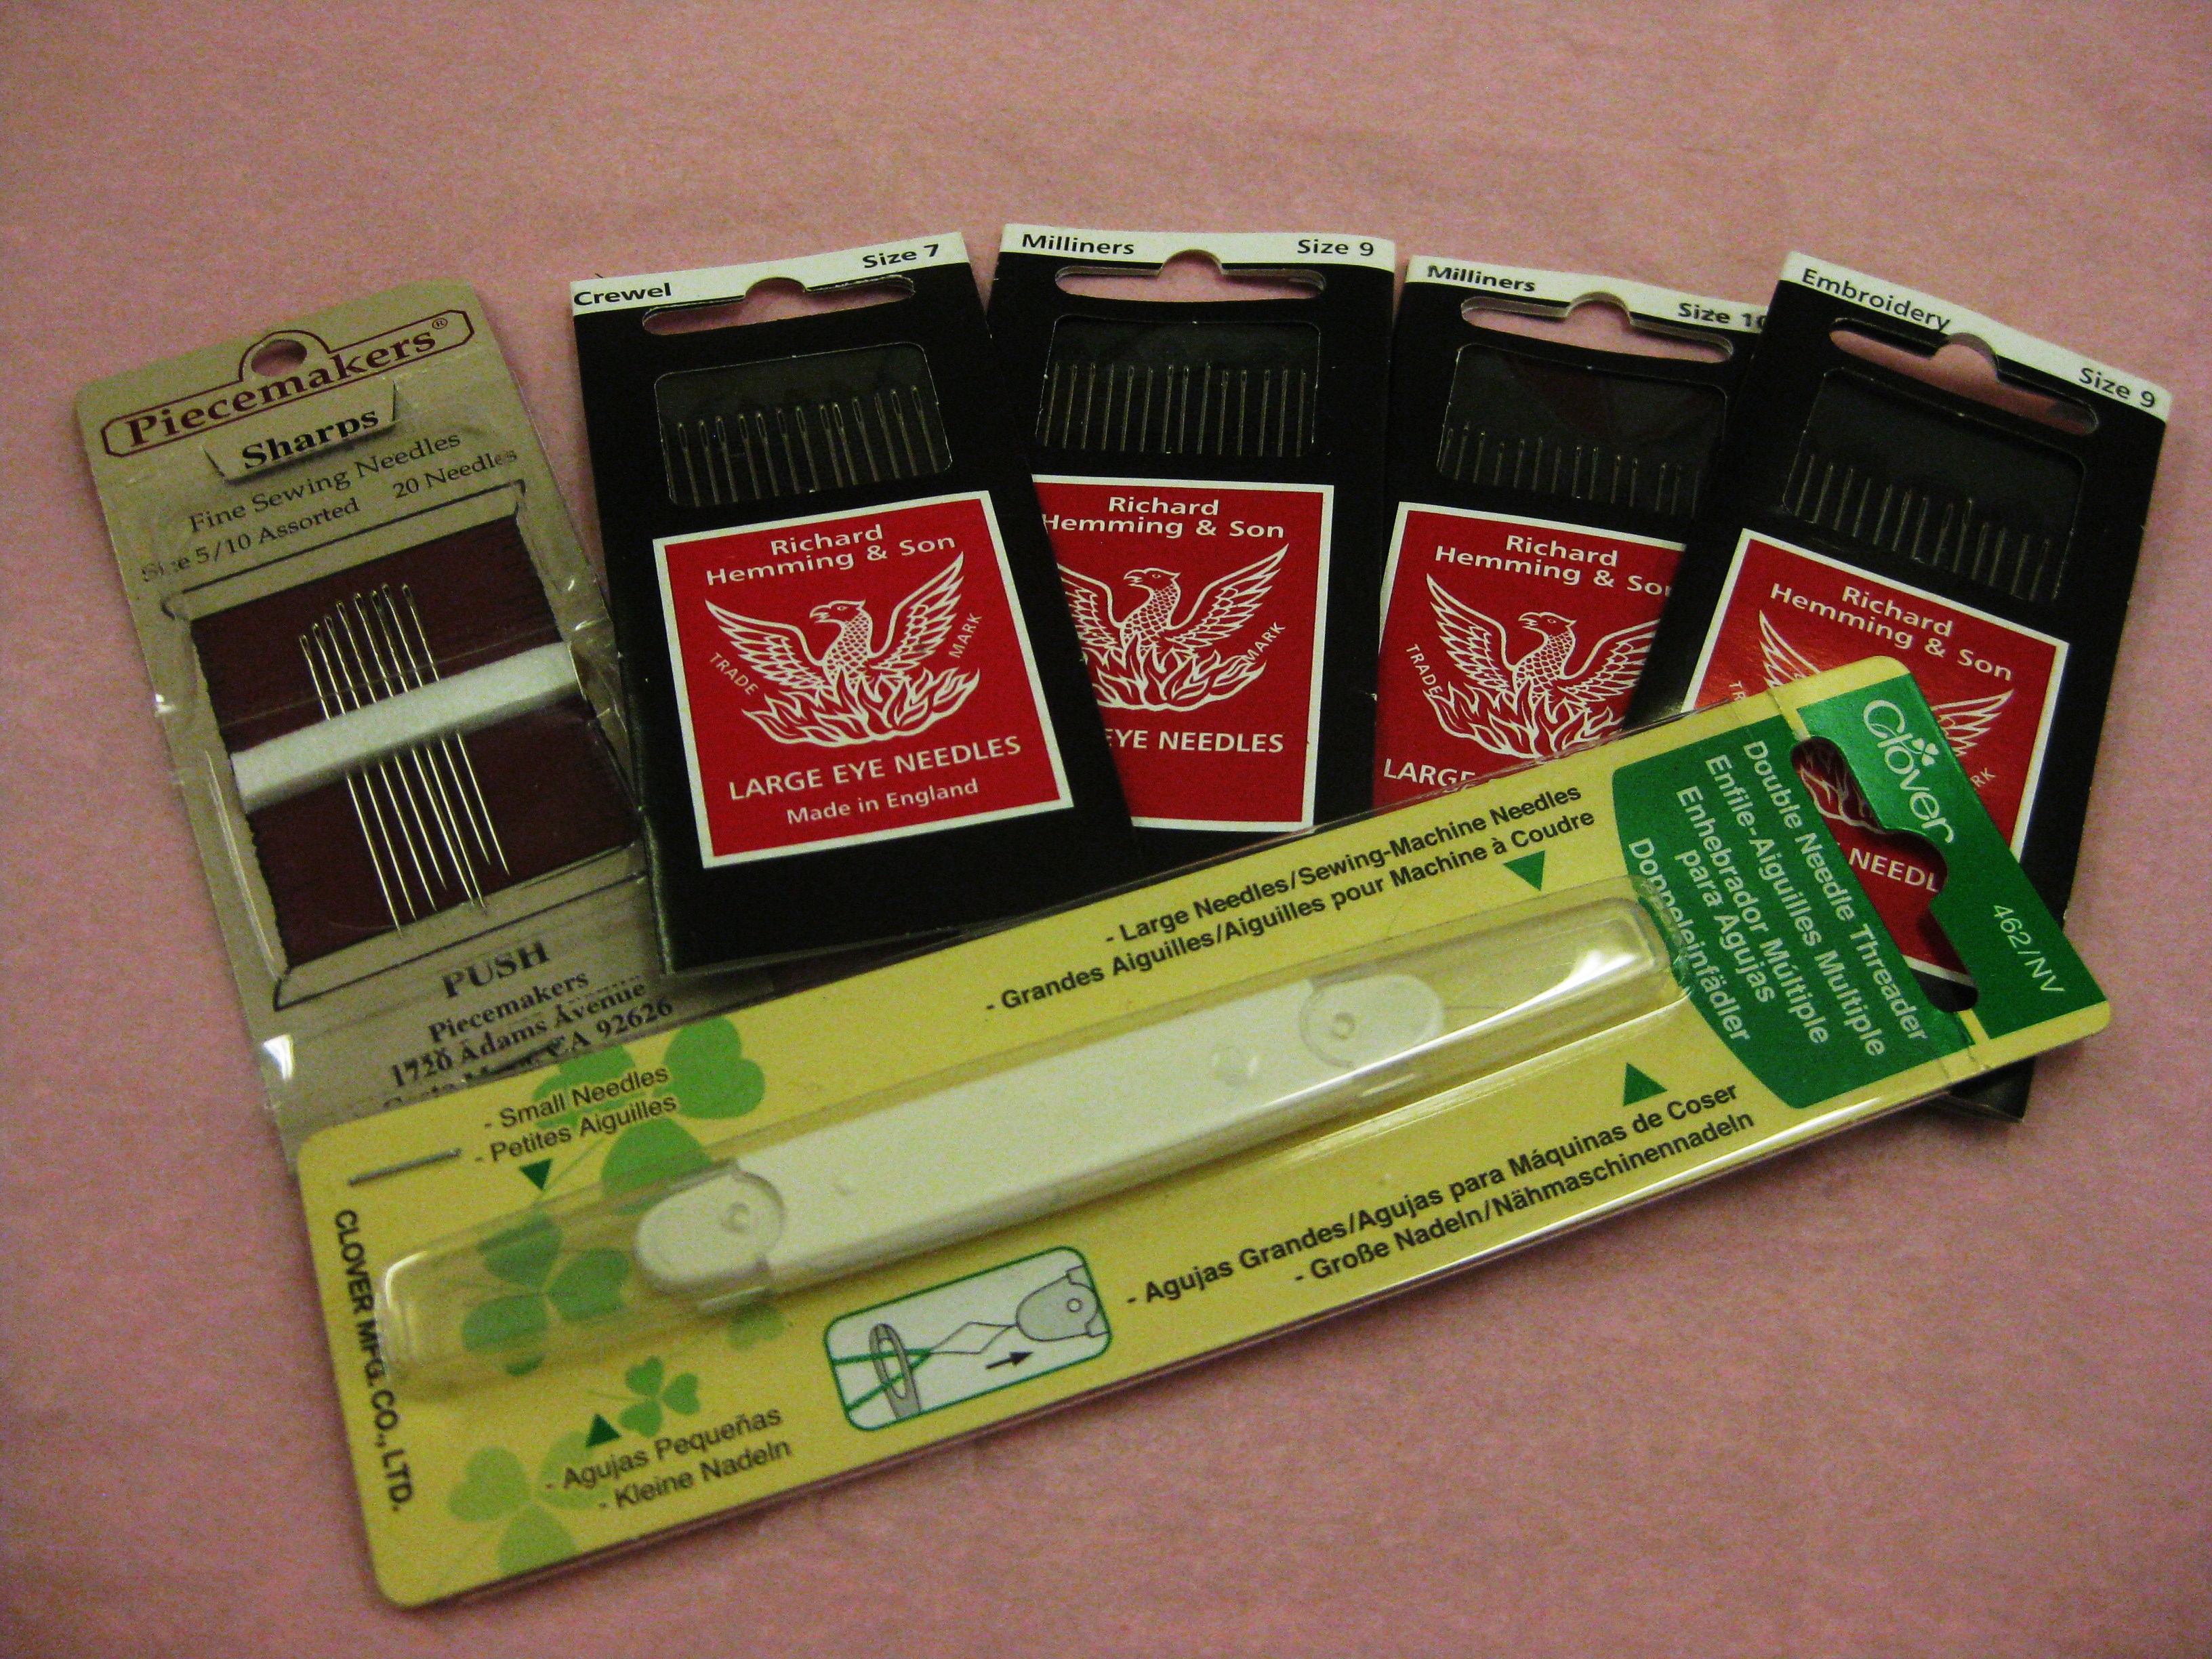
Hand needles:
The sizing system for hand needles is the opposite of that for machine needles (why this was done I have no idea! Doubtless there was a good reason which has been lost in the mists of time).

Assorted hand needles and needle threader
#3 is a large needle; #6-7 is medium and #9-12 fine to very fine.
When selecting needle size, match the size of the needle to the thickness of the thread and type of fabric being sewn. Most hand needles (except Milliner’s) have a thicker width at the eye.
Needles come in different types for different techniques
- Sharps are general sewing needles
- Crewel are intended for embroidery
- Milliner’s needles (formerly called straw needles) are used for making bullion stitch but are also wonderful for dressmaking purposes because they are an even width from end to end and therefore pull very easily through the fabric
- Quilters/Betweens are used for stitching in smaller spaces.
Tips for using hand needles:
- Use the finest needles that will suit the thread and fabric and do the job – no big holes when using fine thread and it is much easier to pull thicker thread through a larger hole.
- Long needles are best for basting/tacking and running stitches.
- Short needles are best for fell-stitch and slip-stitch, especially in tight spaces.
- Sharps have a small eye so if you have a problem threading them, use a Crewel needle of the same size as it has a longer eye and similar tip.
- Keep your needles in a needle case or piece of wool flannel – the lanolin in the flannel will reduce the risk of needles rusting.
- The emery strawberry can be used to sharpen hand-needles.
- Discard bent needles and always store them separately from pins.
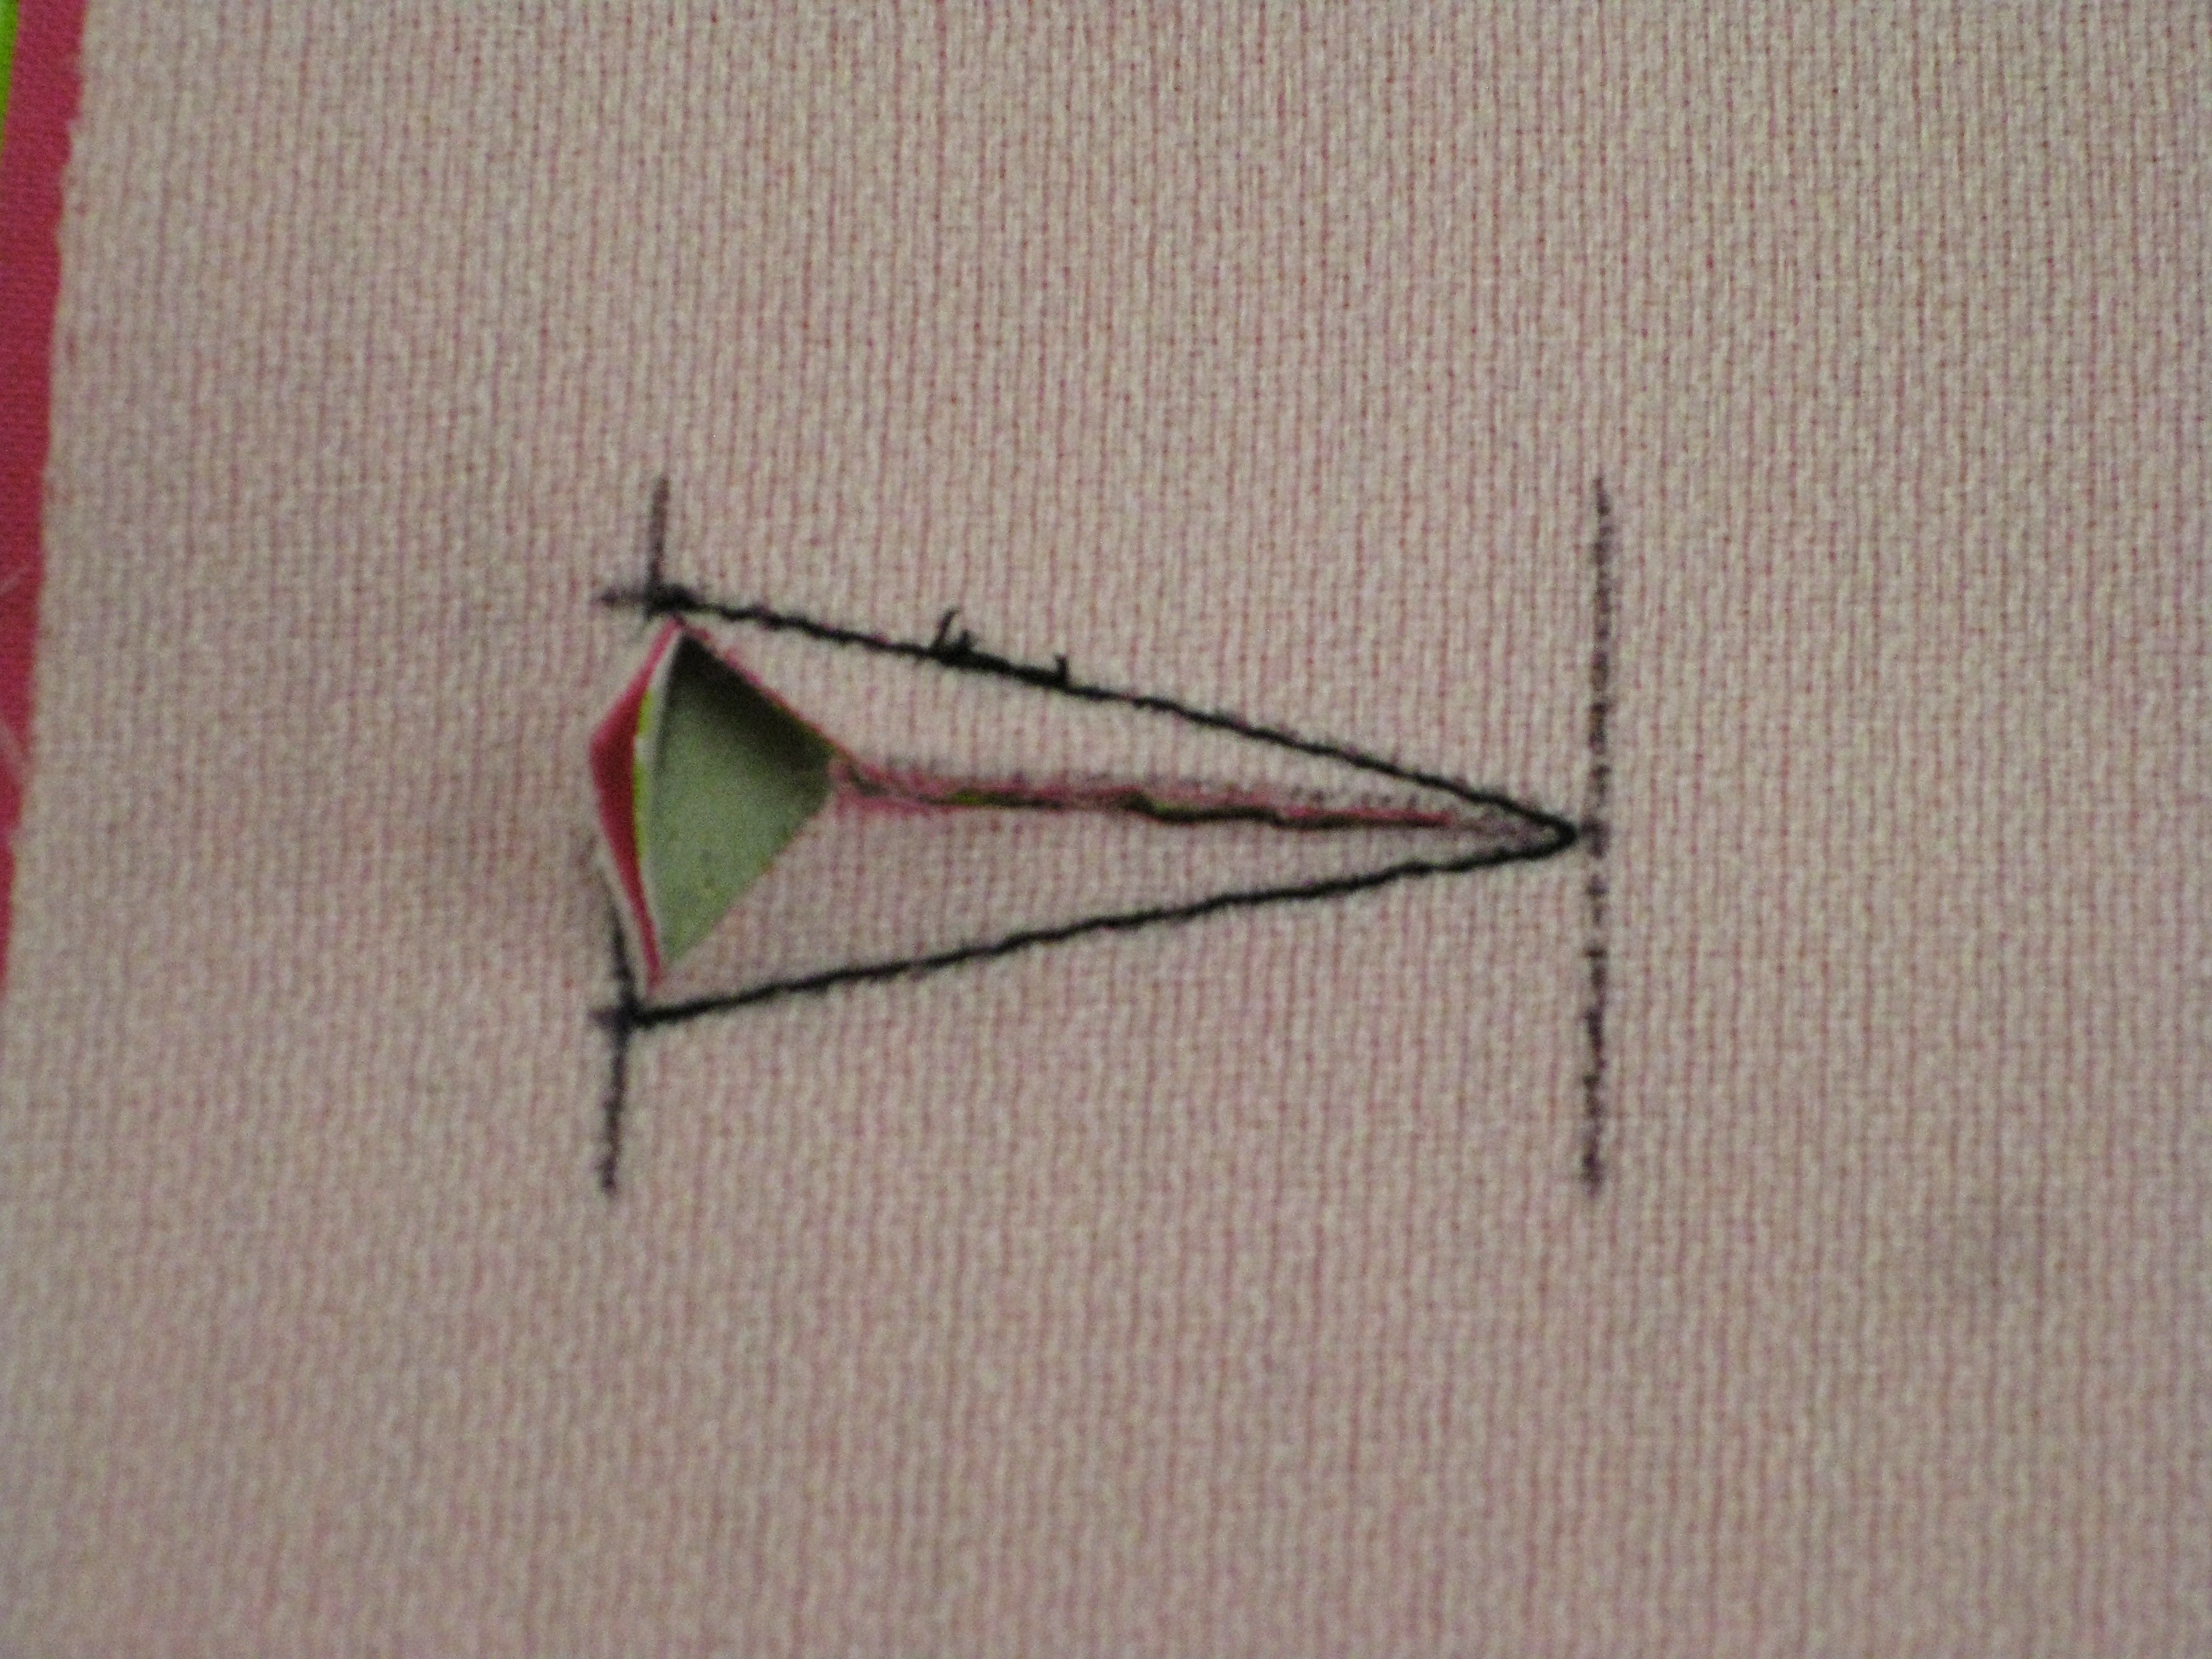
Hand-stitching Technique:
There are many resources available to assist in learning hand stitches and their uses and I will cover my favourites in a future post.
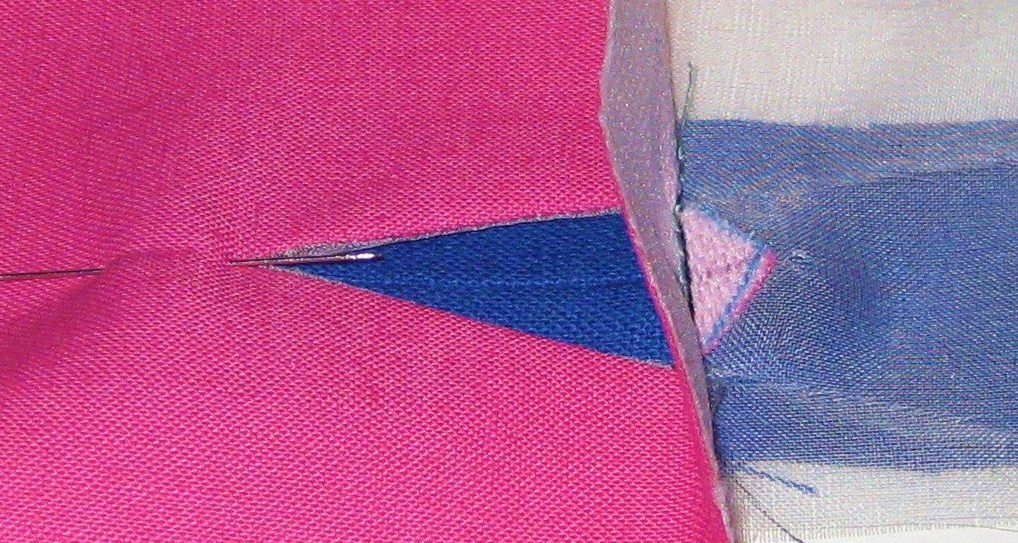
Twisting thread is one of the most common problems encountered when hand-stitching.
To minimise twisting:
- cut thread on an angle.
- when using thread from a reel, thread the end through the eye of the needle and cut off the required length.
- when using thread from a bobbin, cut the required length and thread the cut end through the eye of the needle.
- thread the needle and then iron the thread before stitching.
Technically Speaking:
- Use a single thread for all handstitching except when attaching fastenings (e.g. hooks and eyes, press studs, etc.).
- Keep thread length to approximately 50cm (20ins).
- If you need to do a lot of hand-stitching, prepare several threaded needles before starting.
- To increase thread strength for permanent stitches only, wax the thread – thread the needle and run the thread through beeswax; place between two pieces of paper towel. Place iron over the towel and pull the threads through and iron while pulling the thread – this melts the wax and embeds it into the thread.
Pins:
There are many schools of thought about the direction of pinning and the comments I am offering are methods I have found work well for me.
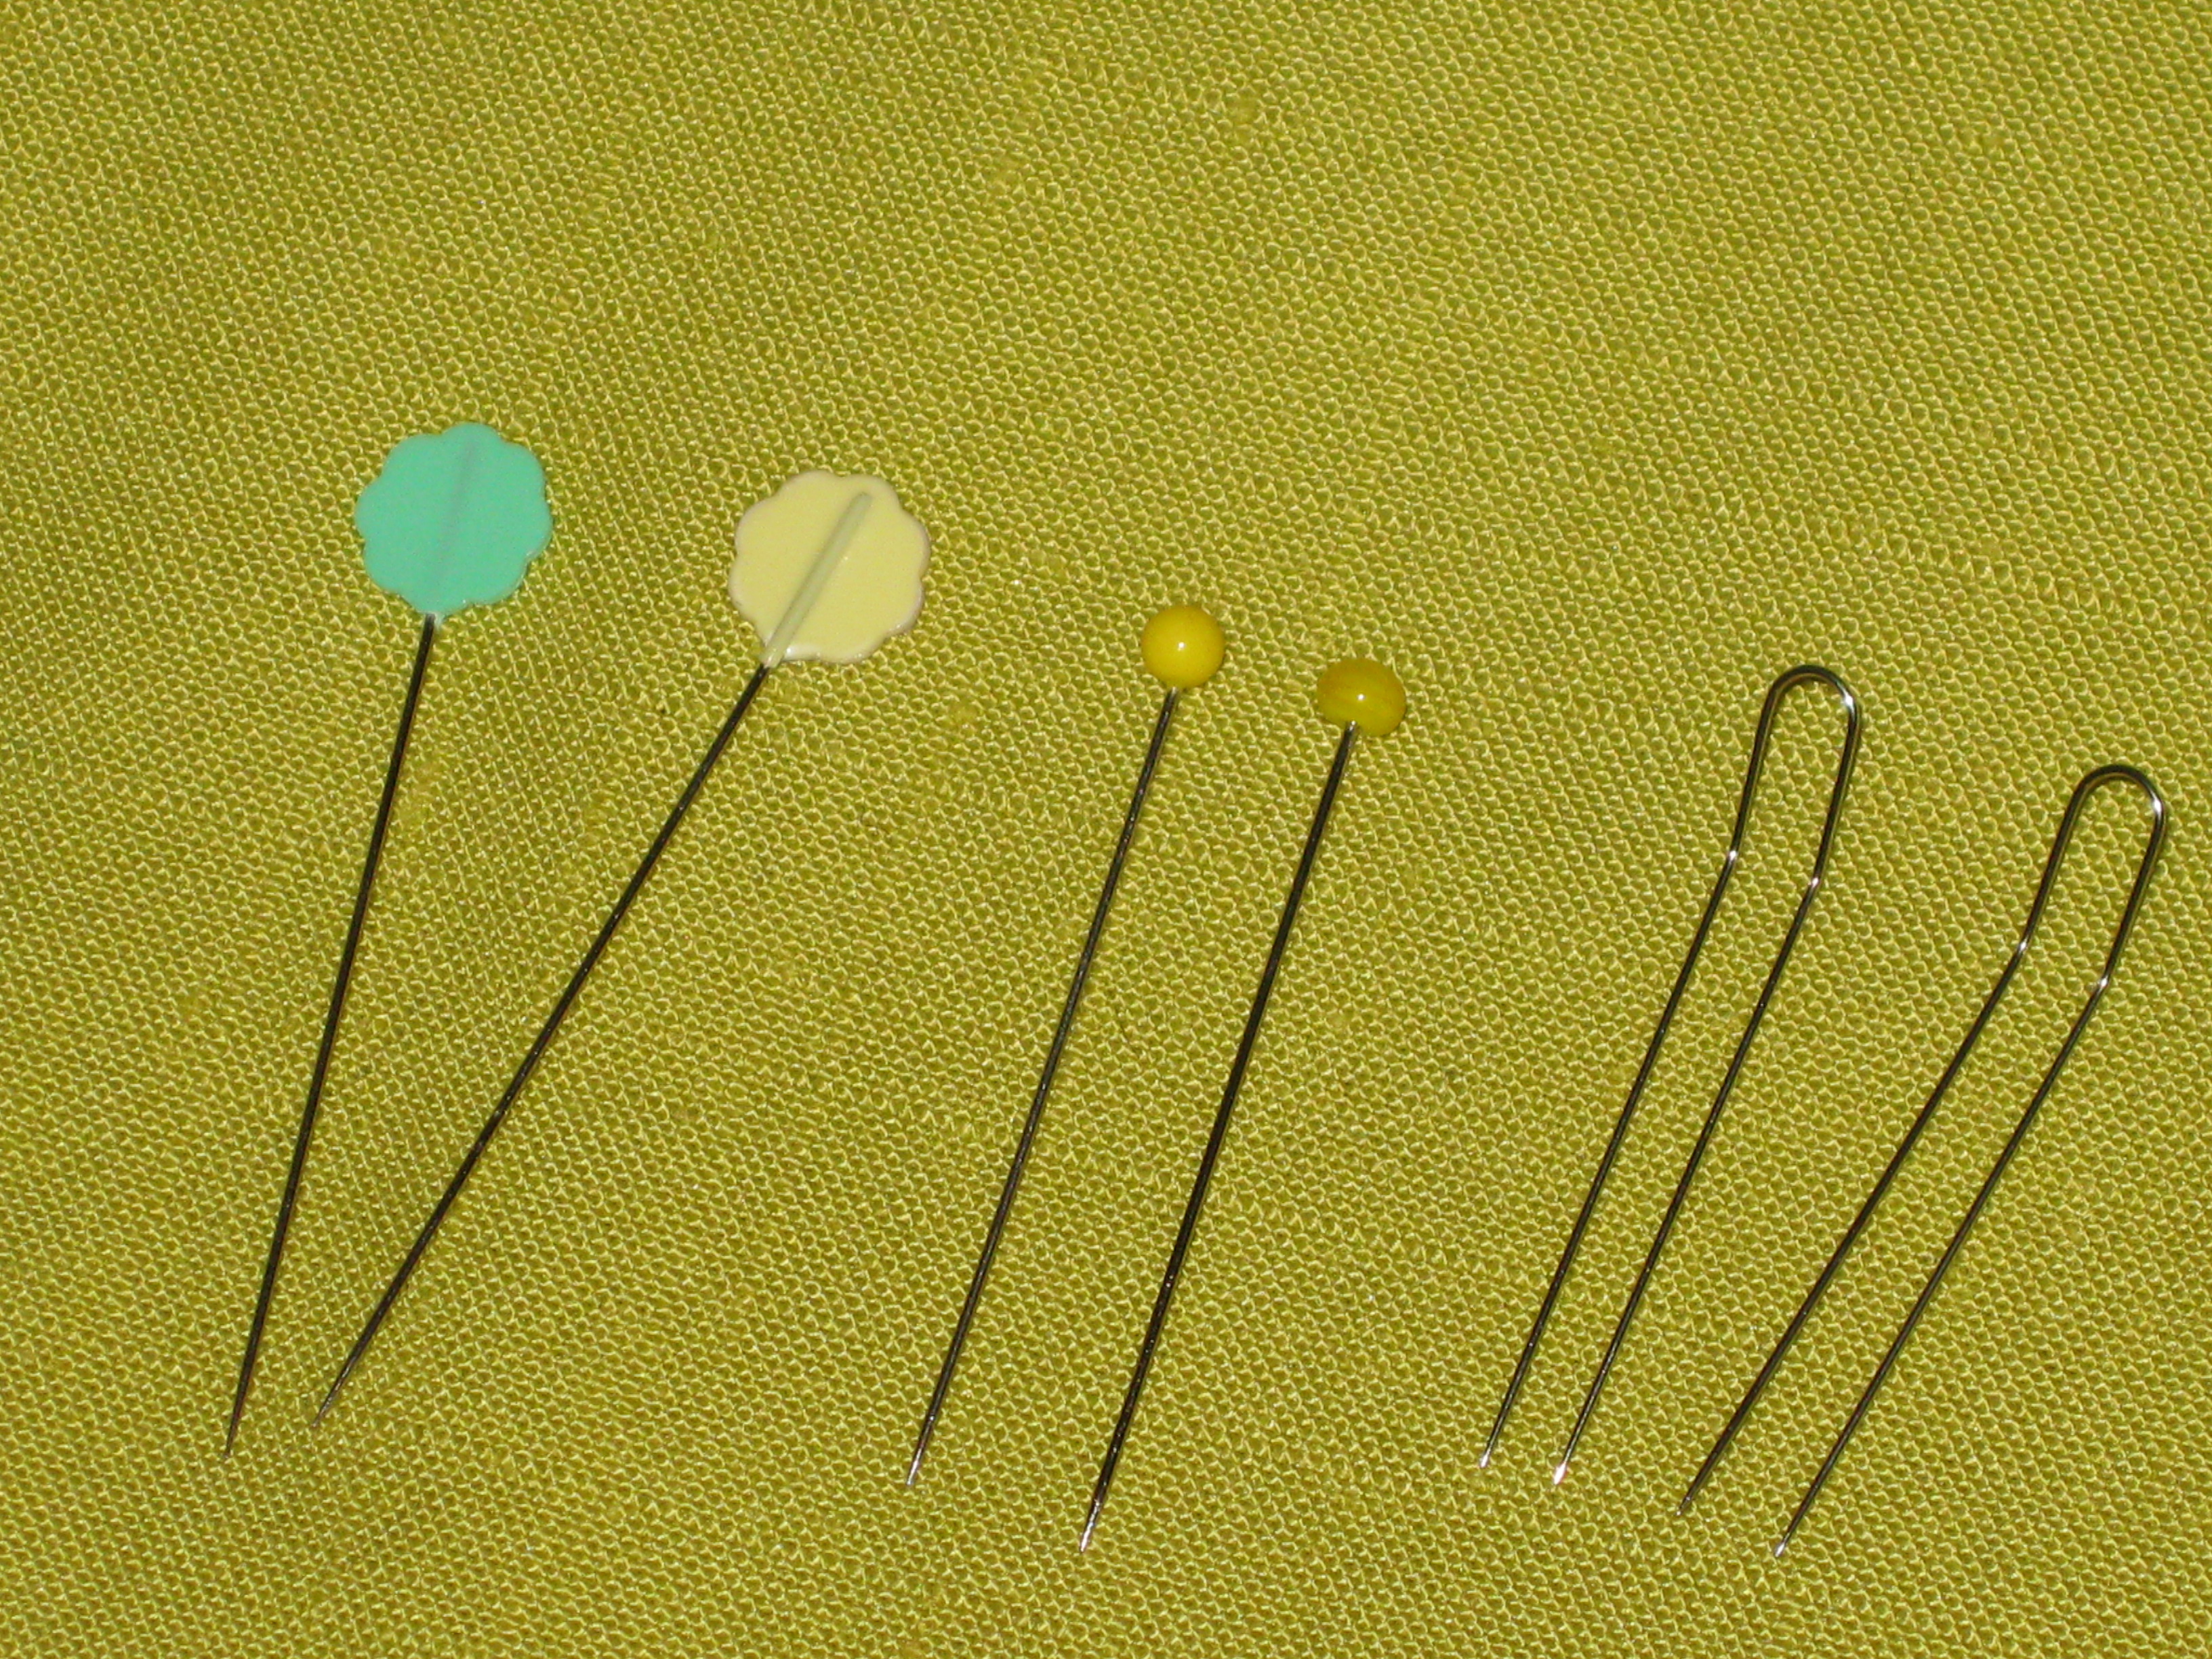
As with needles, there are numerous types and sizes (in both thickness and length) of pins available.
I prefer to use glass head pins because they are generally quite fine and sharp and not too long. The heads do not melt if I am pressing around pins. They work well for most general dressmaking.

L – Stretch glass head pins
R – magnetic pin dish
If using fine silk, I prefer to use silk pins. Flower (or novelty) head pins are very fine but they are also quite long and care is needed where they are used as it is very easy to catch the fabric with them. They bend very easily so they are not suitable for use in the fitting process.
Ball point pins are available for use with fine knits.
Fork pins are excellent in helping to prevent slippage of layers when sewing fabrics with nap (for example, velvet) or matching patterns (for example, plaids or stripes) or previously sewn seams.
For pinning thicker garment sections together, it is necessary to use longer, thicker pins which are usually stronger and less likely to bend.

L to R:
Flower head pins
Extra long glass head pins
Fork pins
Small gold safety pins can be useful to indicate wrong side of fabric or to pin garment pieces between sewing sessions as they will not catch on other pieces.
Tips for Using Pins:
- As with needles, do not use bent or blunt pins – dispose of them immediately you find them. It is a good idea to “sort” pins every now and then, removing any that are blunt, marked, bent or burred.
- If using different types of pins, keep them in separate containers so they do not become all mixed together.
- Never store fabric which is pinned together for long periods – a recipe for rust marks in a humid climate! – as this can leave permanent marks or holes in some fabrics.
- When pinning seams ready for machine stitching, I prefer to pin at right angles to the seam line – especially in curved seams.
- From the side of the fabric to be sewn, pin both the beginning and end of the seam; pin match points or centre point; pin in the middle of each remaining section.
- Take a small bite of fabric right at the position of the sewing line to control the fabric.
- To pin a garment ready for fitting, pin parallel to the cut edges right along the seam line and have the pins pointing towards the floor to avoid injury.
- When machine stitching, try not to sew over pins. Simply sew up to the pins and remove them as you go.
- If working with delicate fabrics or lace, be sure to use glass head pins as it is very easy to lose track of metal head pins which can be left in the garment.
- I like to use a magnetic pincushion or dish because I find it easier to grasp and quicker to use the pins as I am working.
- When preparing to hand stitch, pin the fabric in place and hand tack so the pins can be removed. This saves lots of frustration from hand thread getting caught around pins.
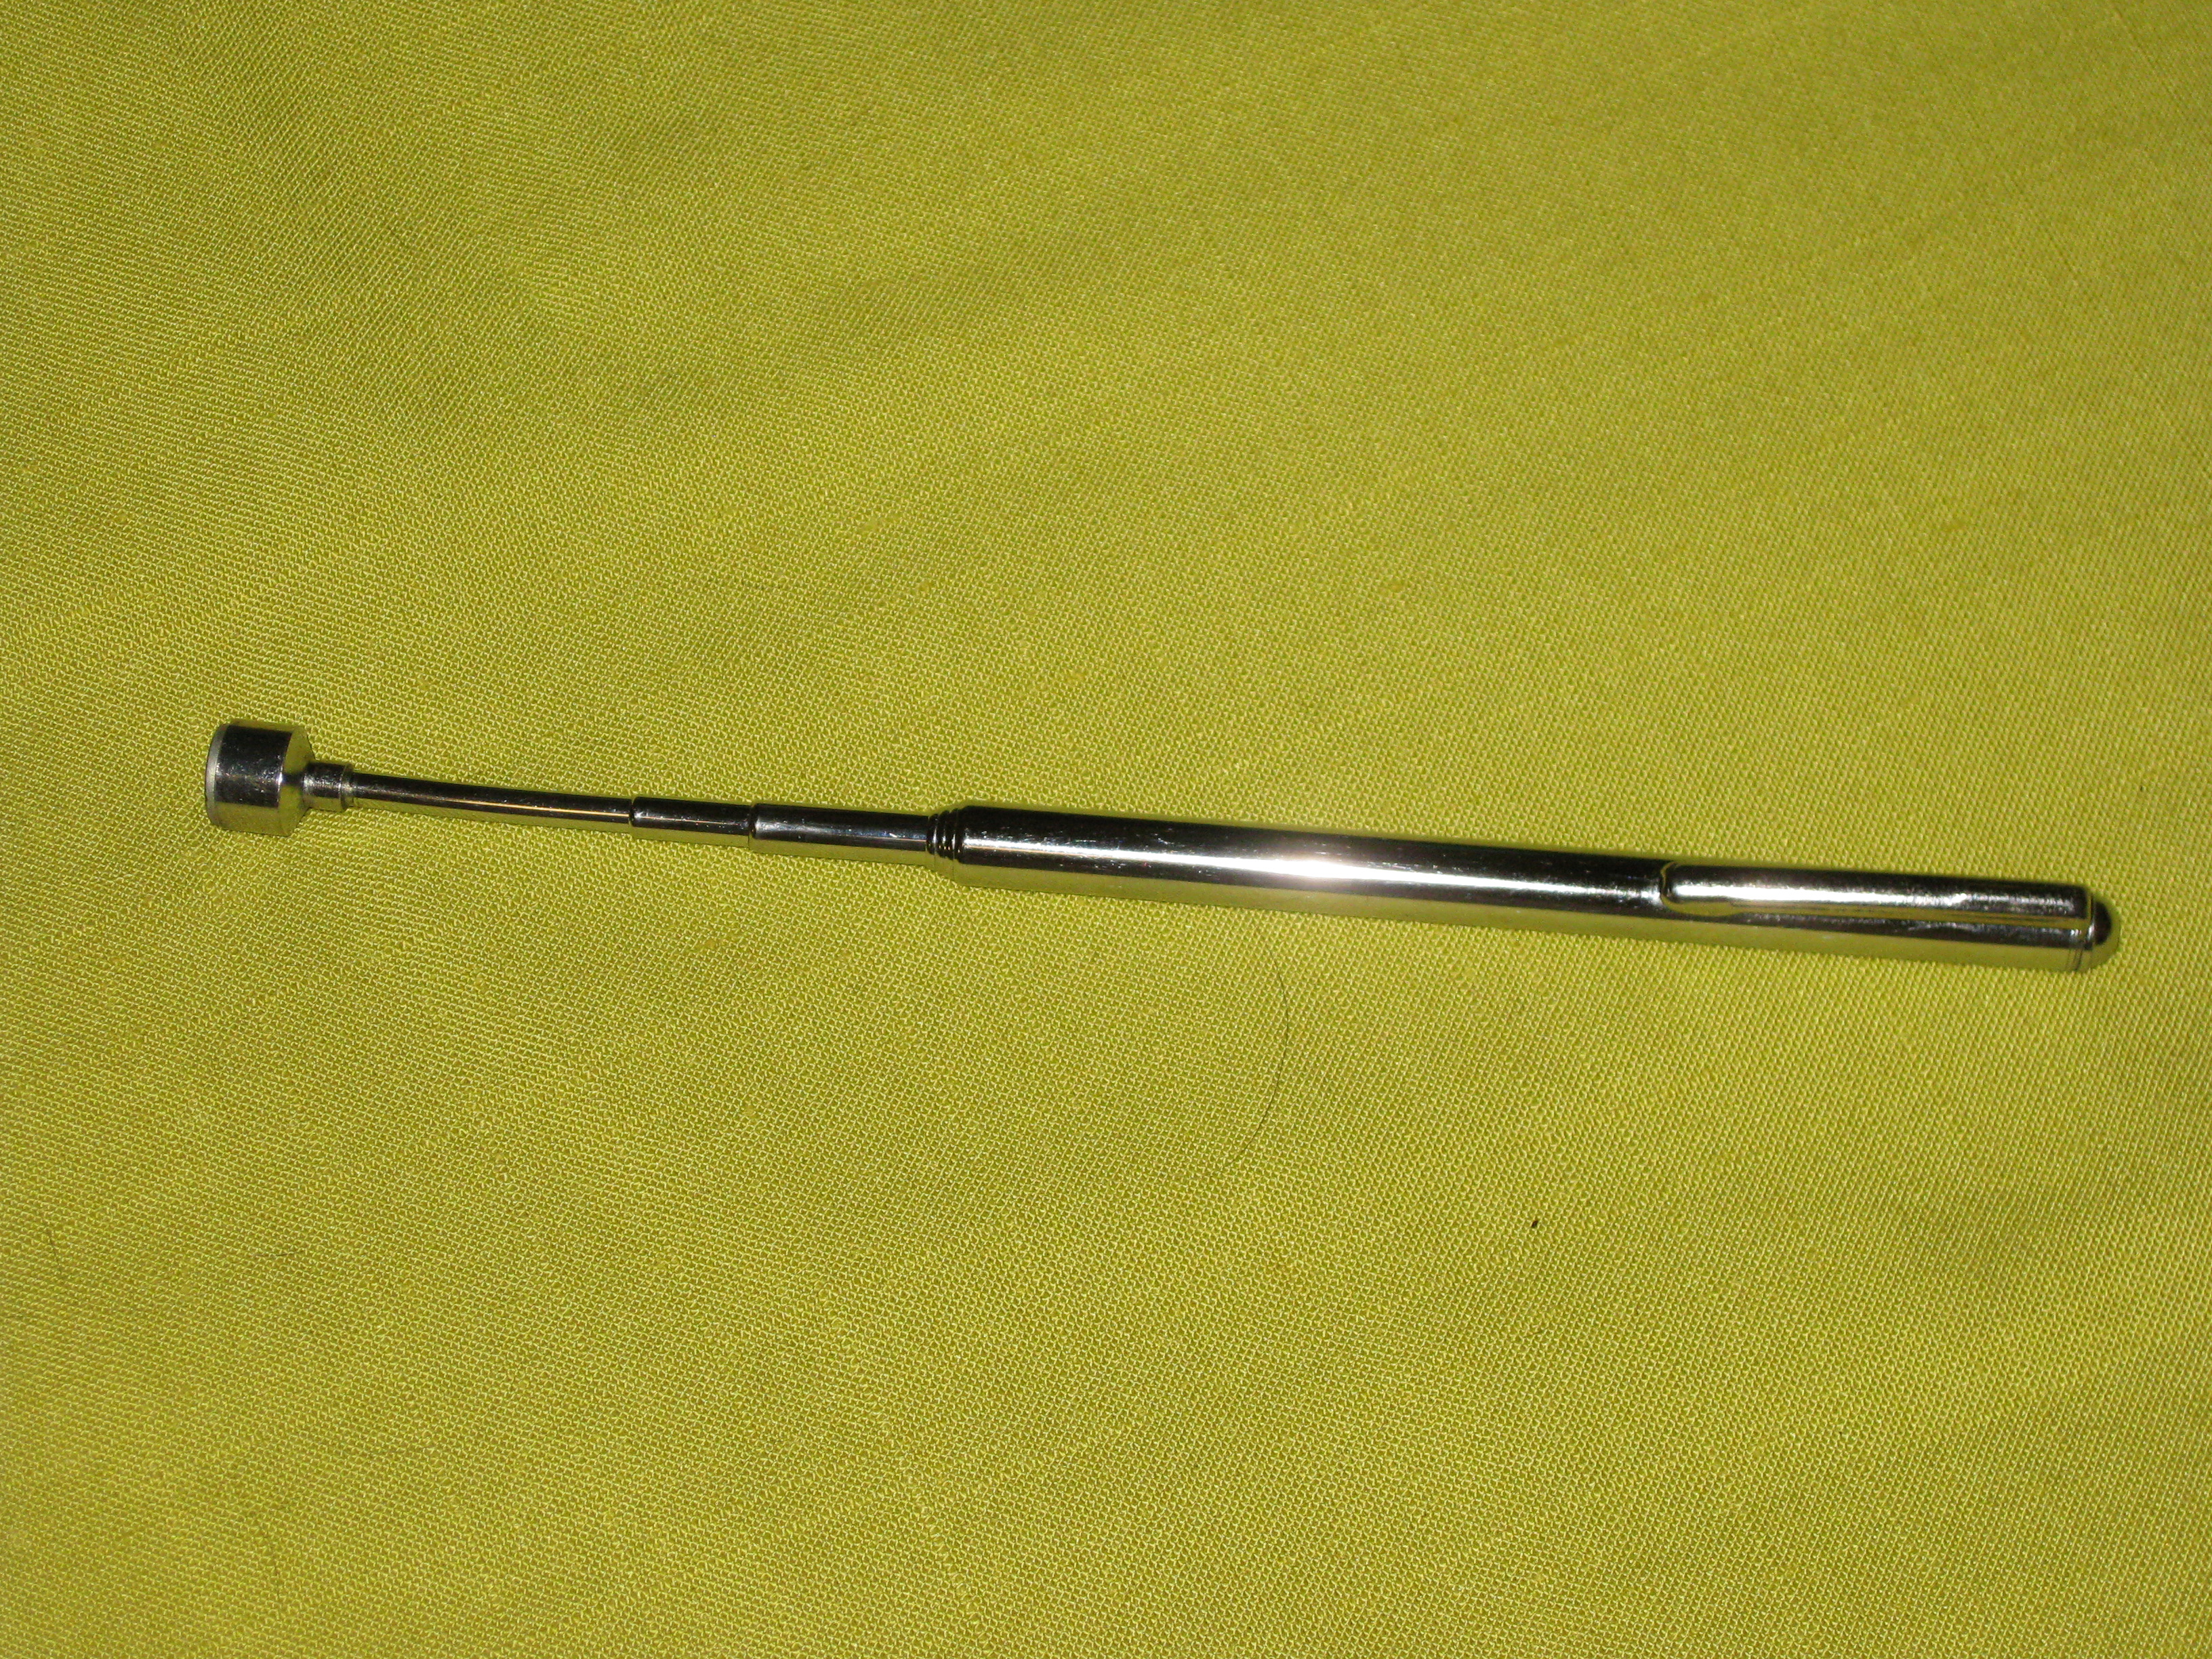
One last tip, invest in a magnetic pin wand! – great when accidents happen and for finding that “lost” pin or needle.

Telescopic magnetic wand – great for finding and picking up needles and pins.
Hope this information will encourage you to explore the wonderful range of threads, needles and pins to make sewing more pleasurable and achieve the great result you are seeking.