
The choice of buttons can greatly affect the impact of a garment and, with such a wonderful selection available, we are spoiled for choice.
I believe that Sckafs Fabrics at Indooroopilly Shoppingtown have the best range of buttons that I have found in Australia and if you are visiting Brisbane, well worth a visit.
Buttons make a great memento of a holiday visit – and they don’t add much weight to your luggage!
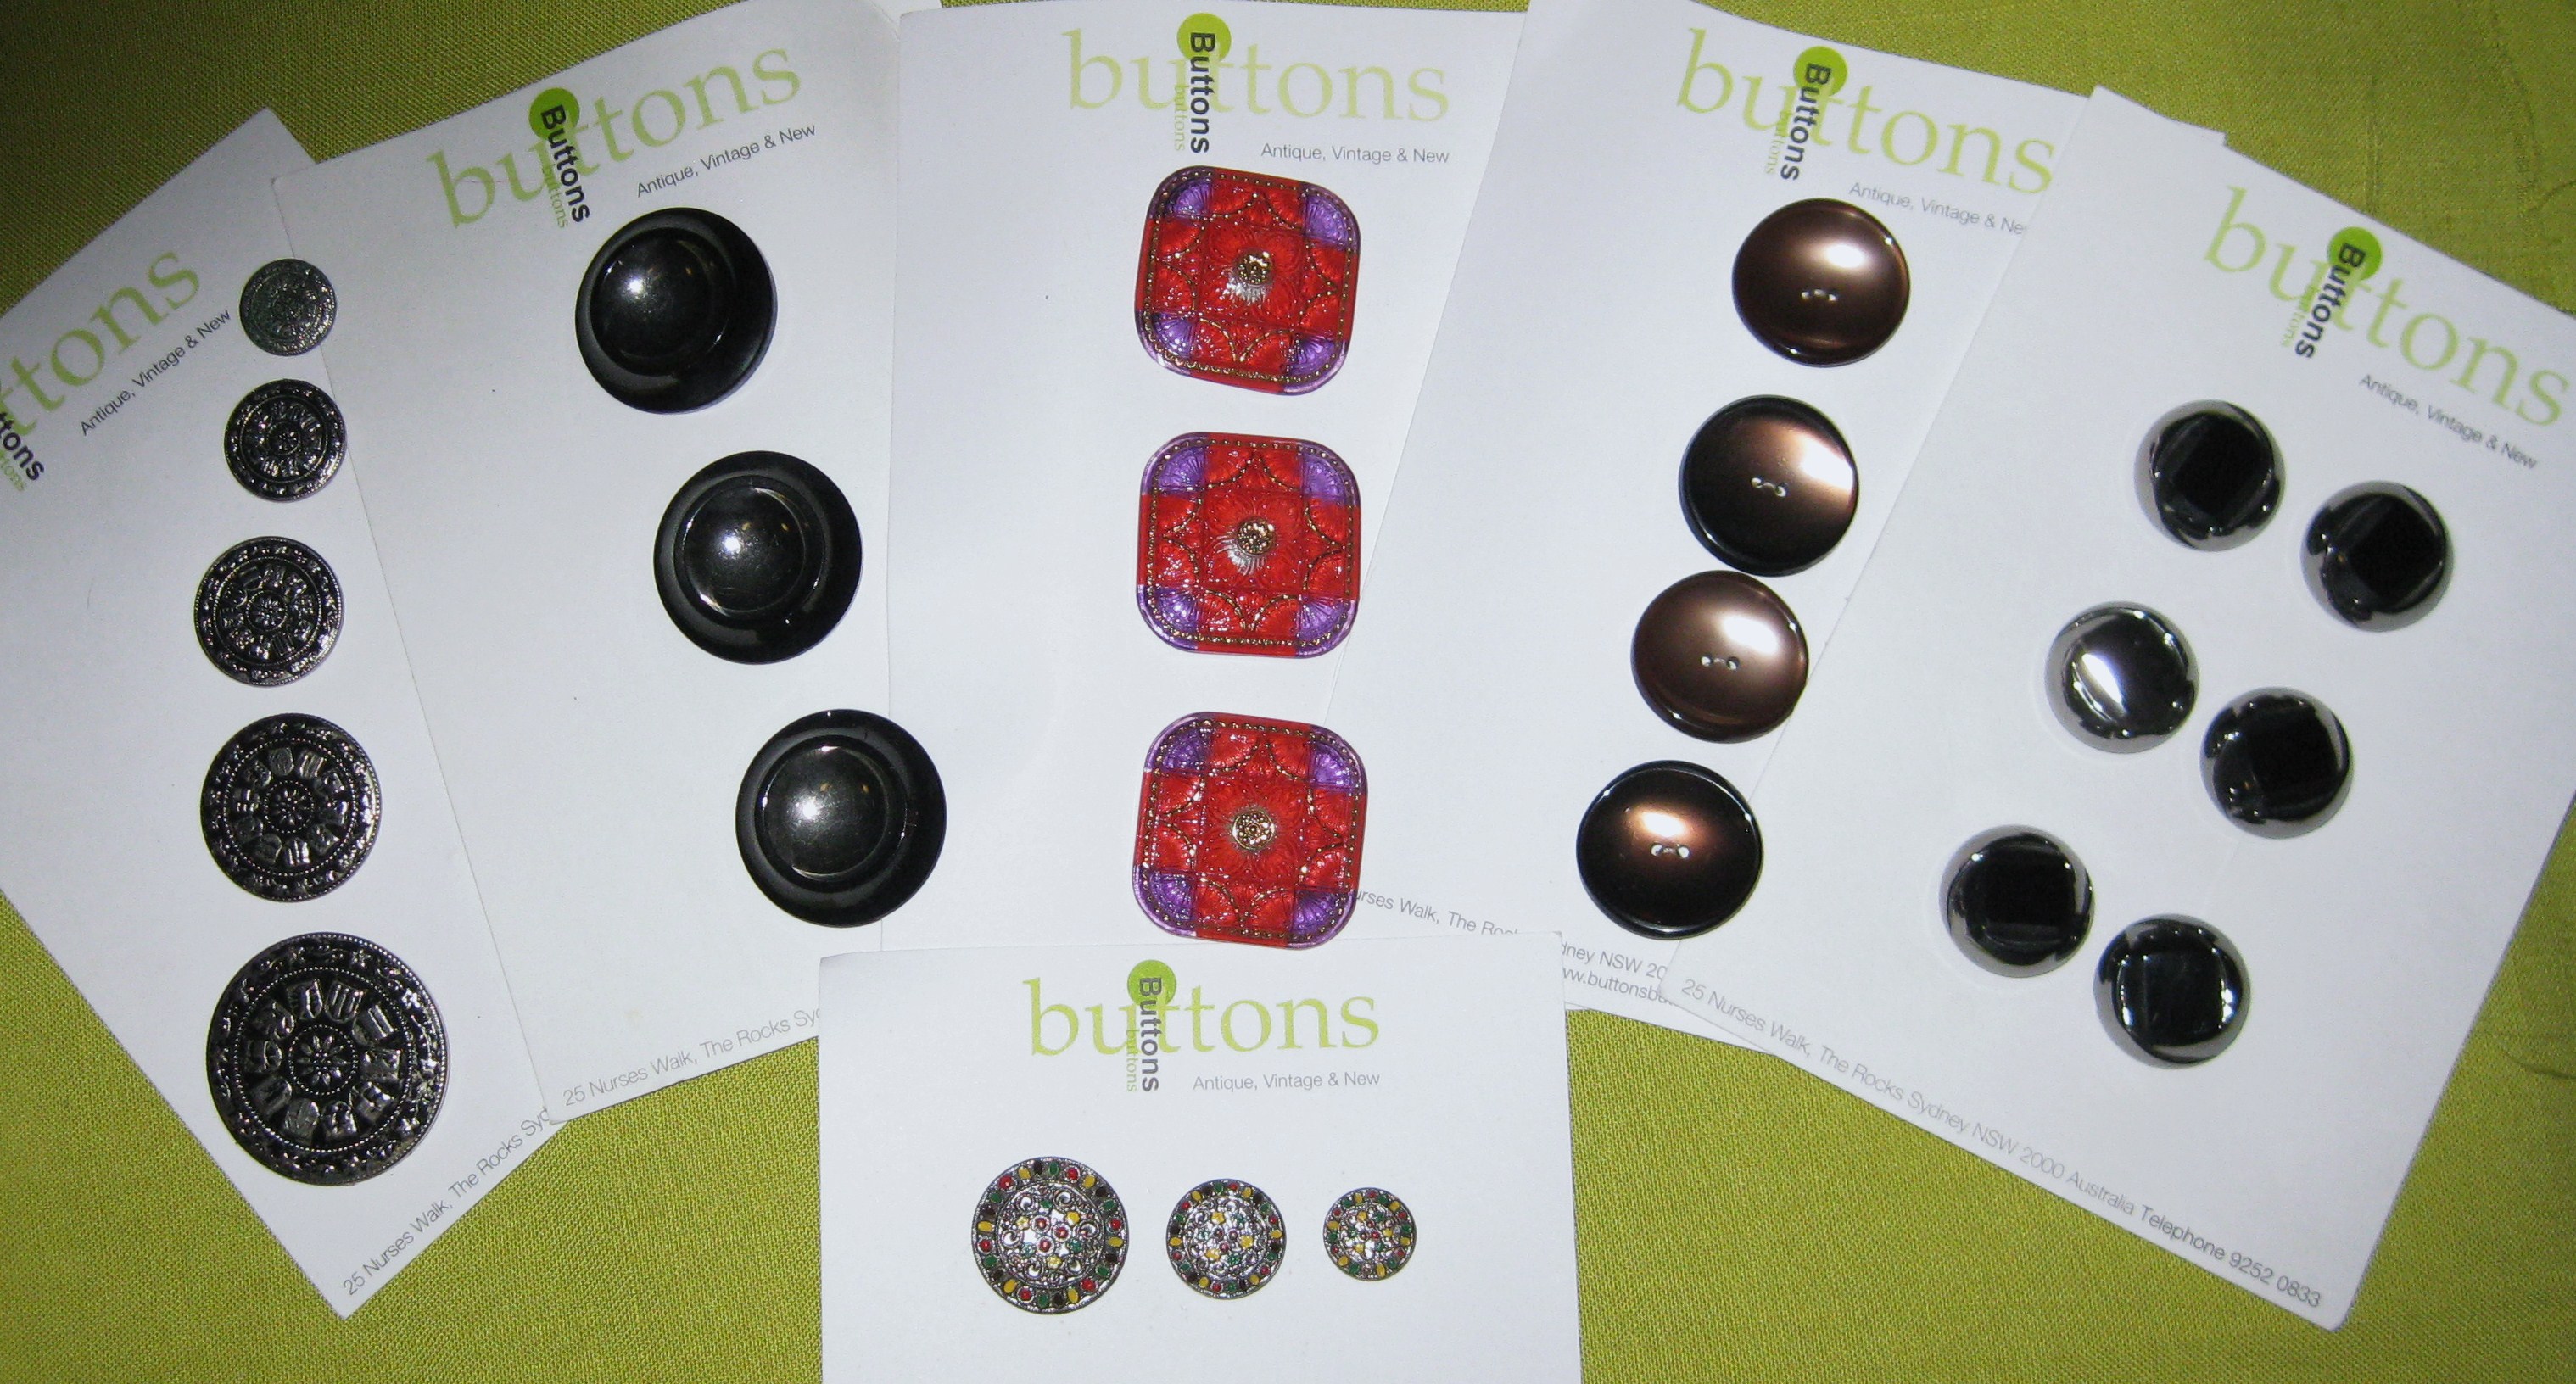
An assortment of my souvenirs from the button shop in Nurses Walk, The Rocks, Sydney.
Buttons:
There are a few things to consider when selecting buttons for a garment and I hope this information will be a helpful guide:
- If using a commercial pattern, check for size of buttons

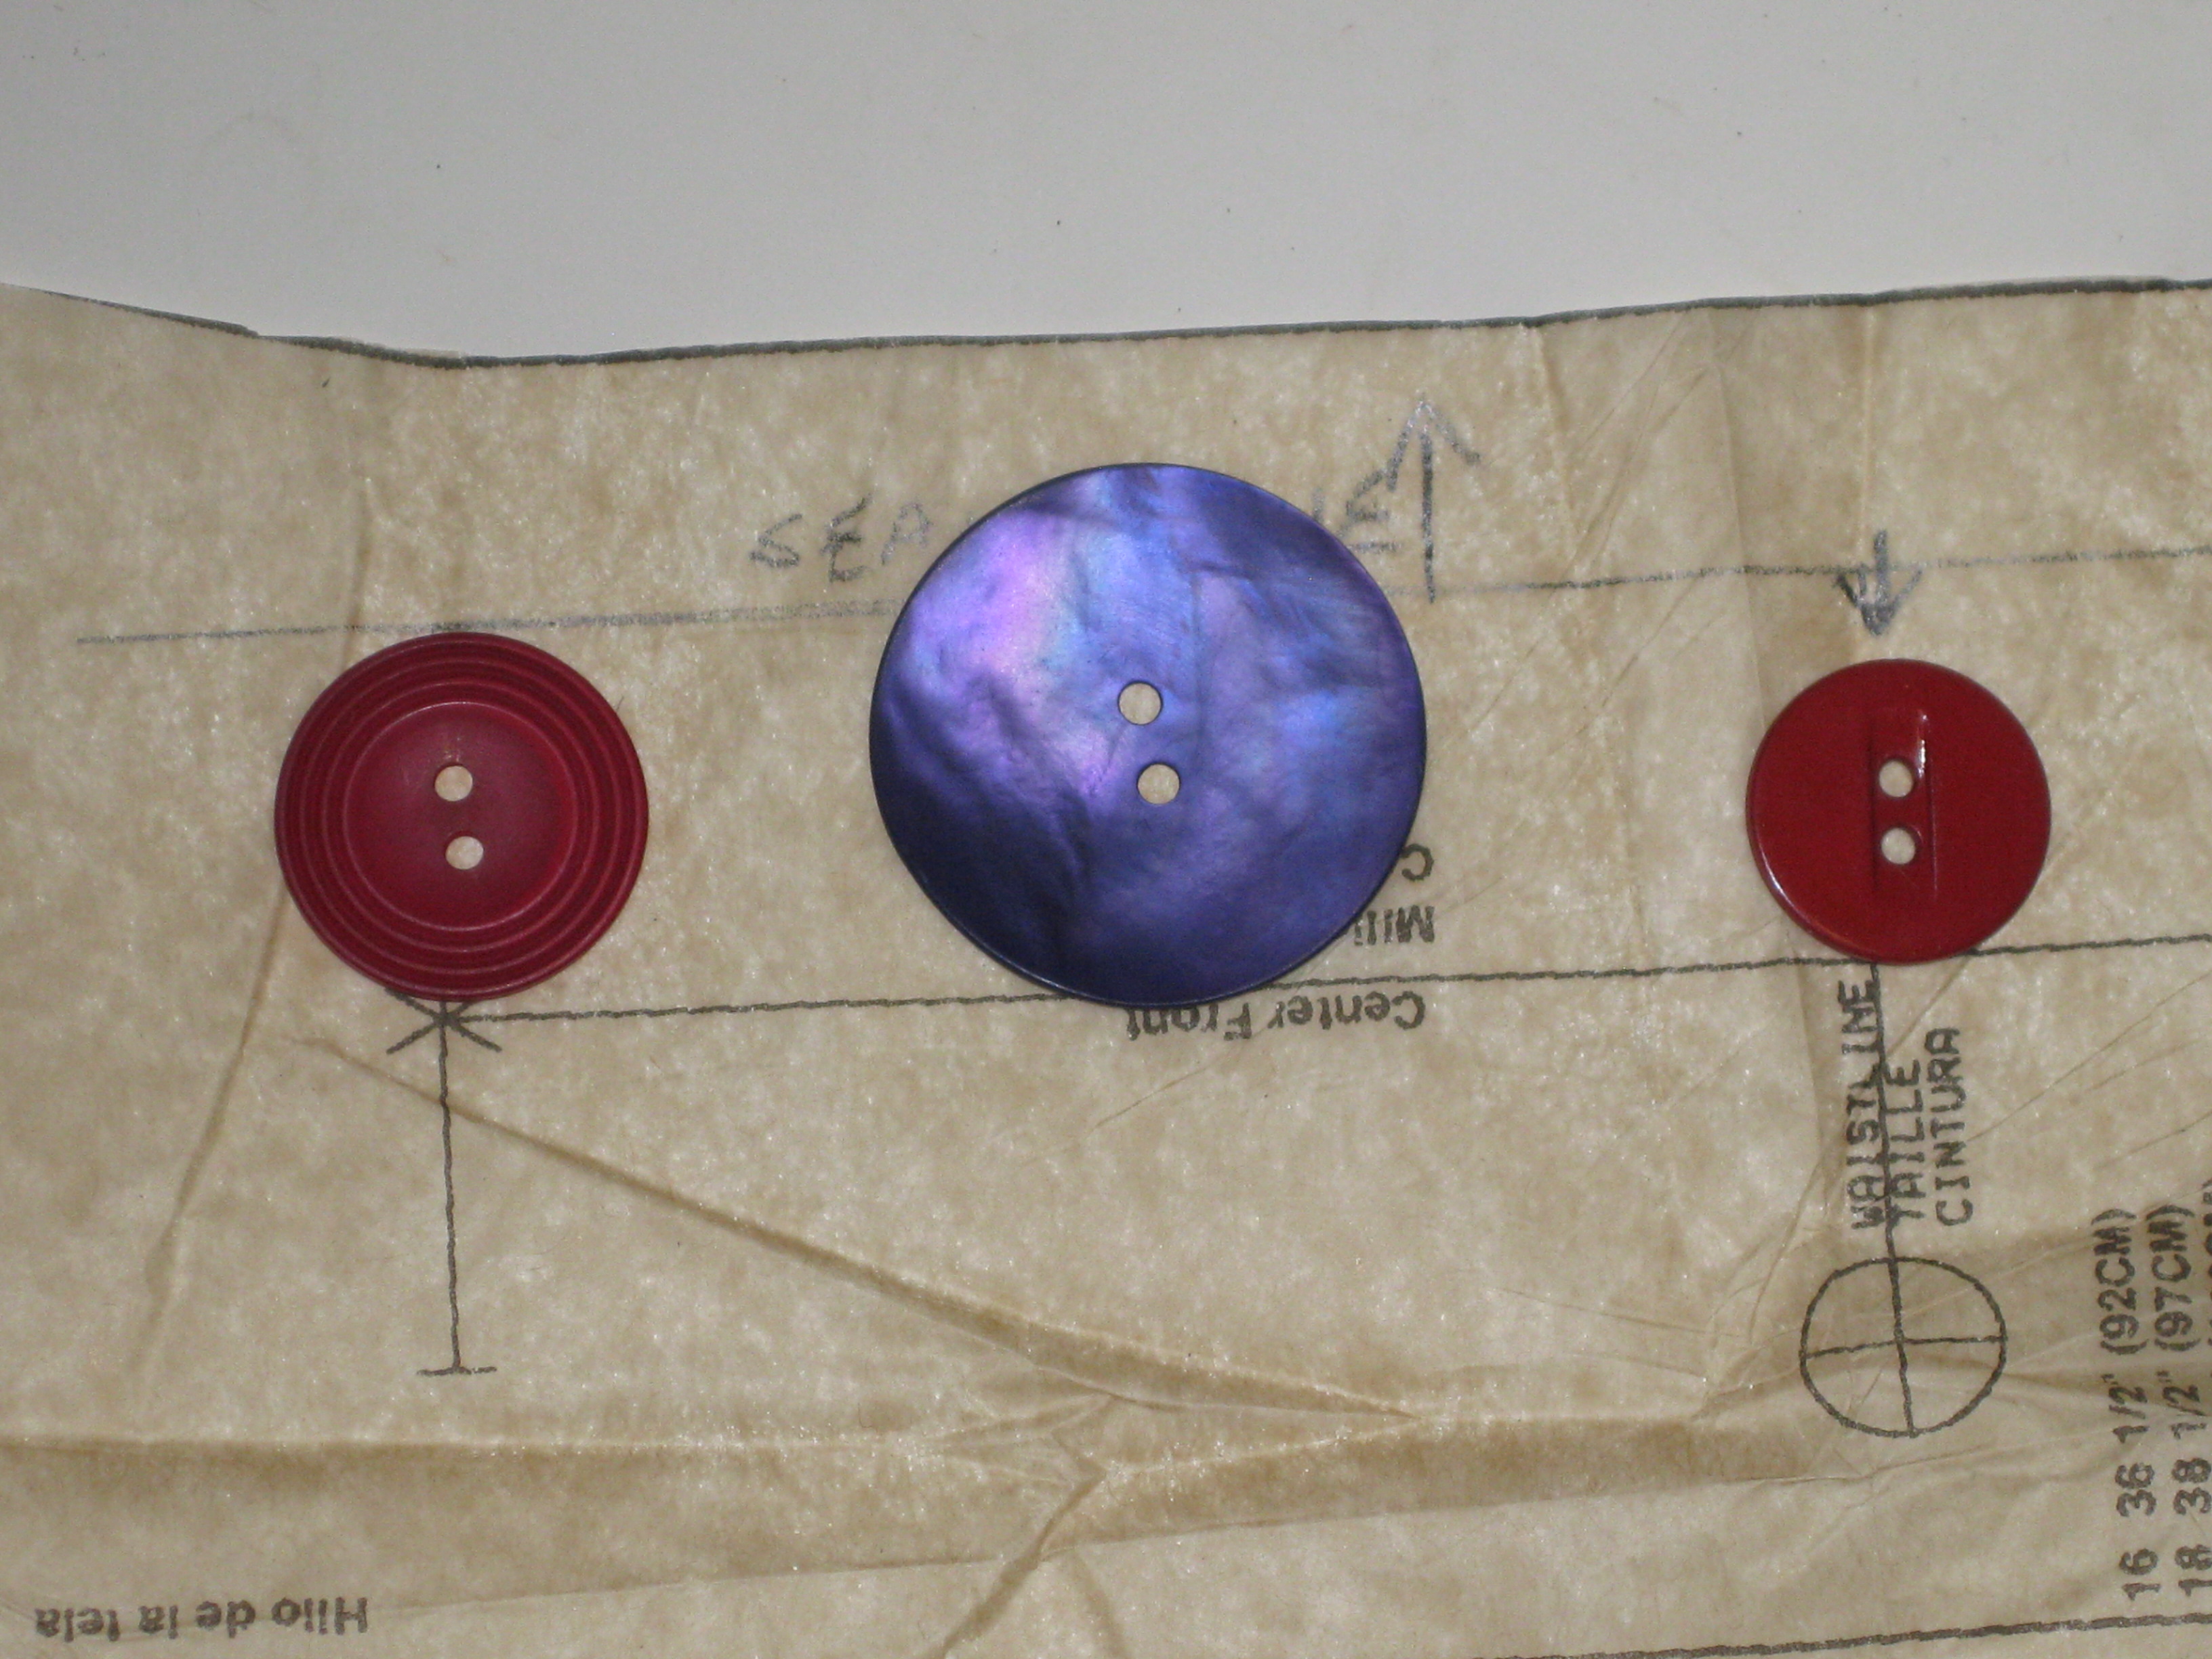
Left – correct size
Middle – larger – seam line needs to be moved out
Right – smaller – seam line needs to be moved inrequired – detailed on back of pattern envelope in the Notions section. If you wish to use a larger or smaller button, the pattern will need to be altered to accommodate the different size.

Button extension should be the button width so that when garment is buttoned, button sits at centre front and there is a space half the width of the button between the edge of the button and the edge of the garment.
- If you are creating the pattern, the button extension will need to equal the width of the button.
- The suitability of button style for the intended garment:
- shank versus holes – if the fabric is bulky or thick, a shank button will better accommodate this thickness of the two sides of the garment under the button. A thread shank can be added under a flat button but for thinner fabrics, flat buttons are a better choice as shank buttons tend to hang down.flat versus dome or rounded shaped – if making a shirt, it is often better to use flat buttons if the shirt will be work under a fine wool pullover

Top row – rounded shape
Bottom row – angular shape
- round, square, triangular or oblong style – if using a graphic print, match the dominant shape in the print to the button shape. For swirls and curves – a round button; for angular patterns – a square, oblong or triangular shape.
- How to care for them during the life of the garment – do buttons need to be removed before washing or dry cleaning, for example glass and antique buttons?
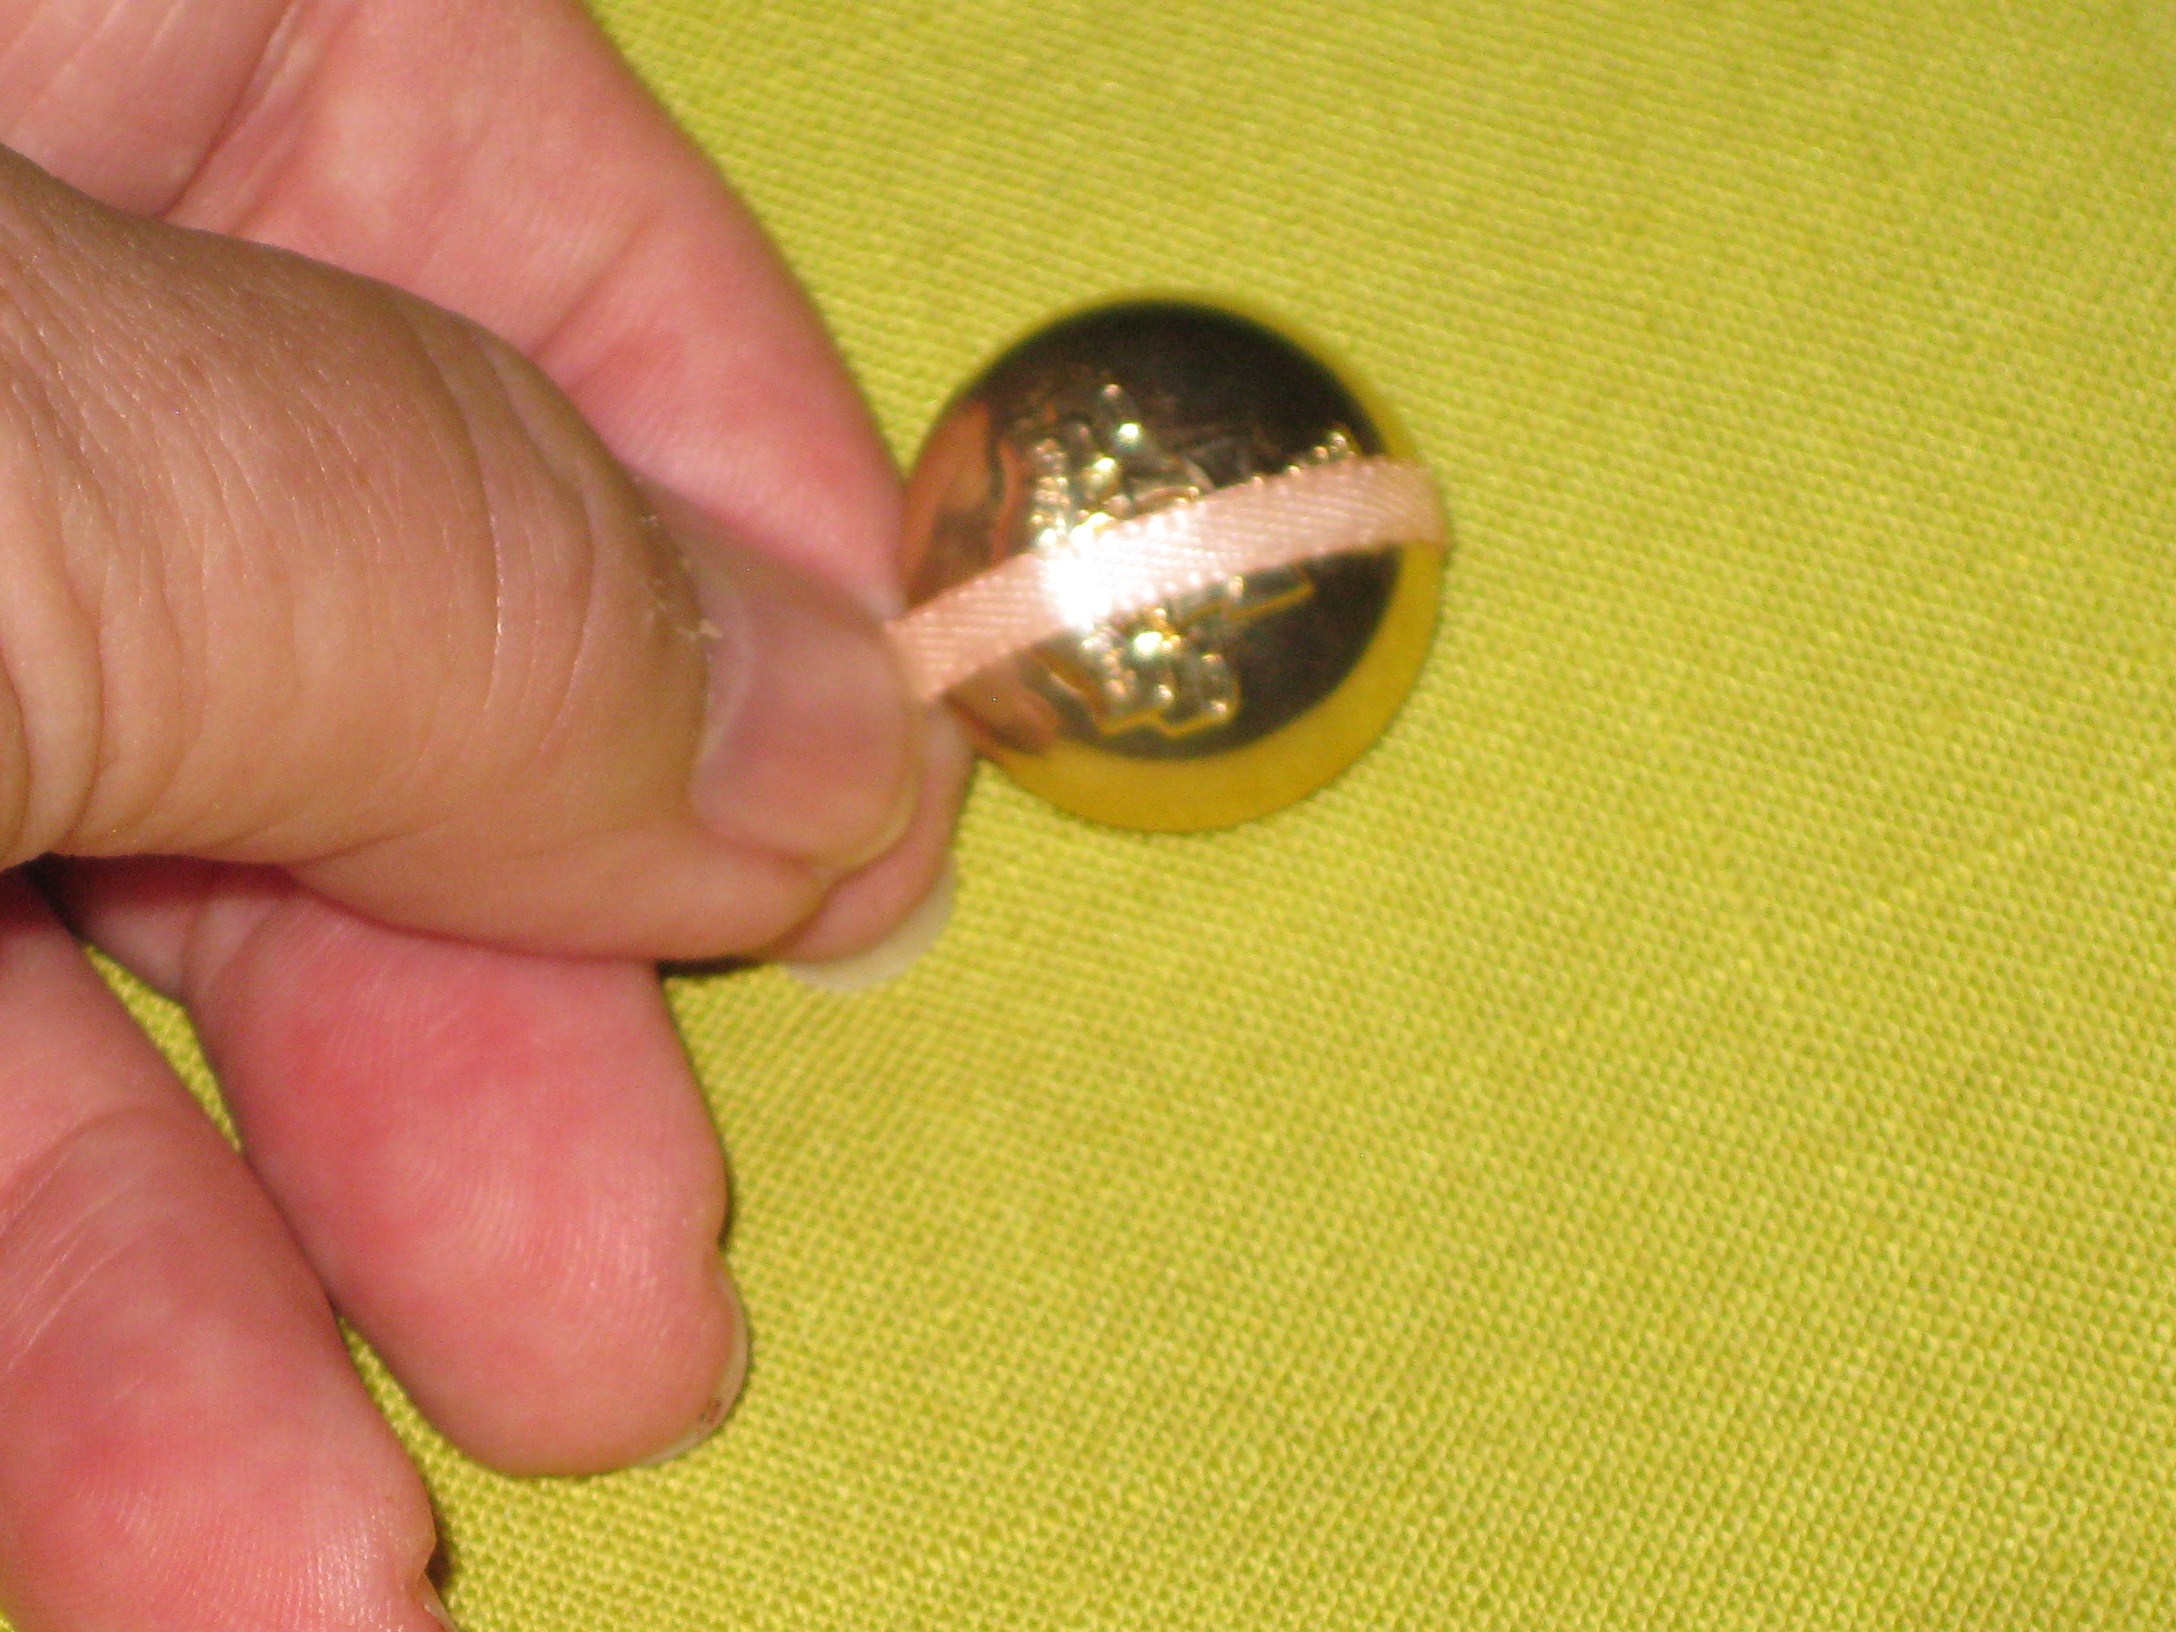
- To properly assess the actual measurement of the button, measure the circumference of button use narrow tape or ribbon. Wrap the tape around the centre of the button (just to the side of a shank) and pinch tape together. Slide button out and flatten the tape – this is the required length for the button to pass through the buttonhole.

Measuring dome button.

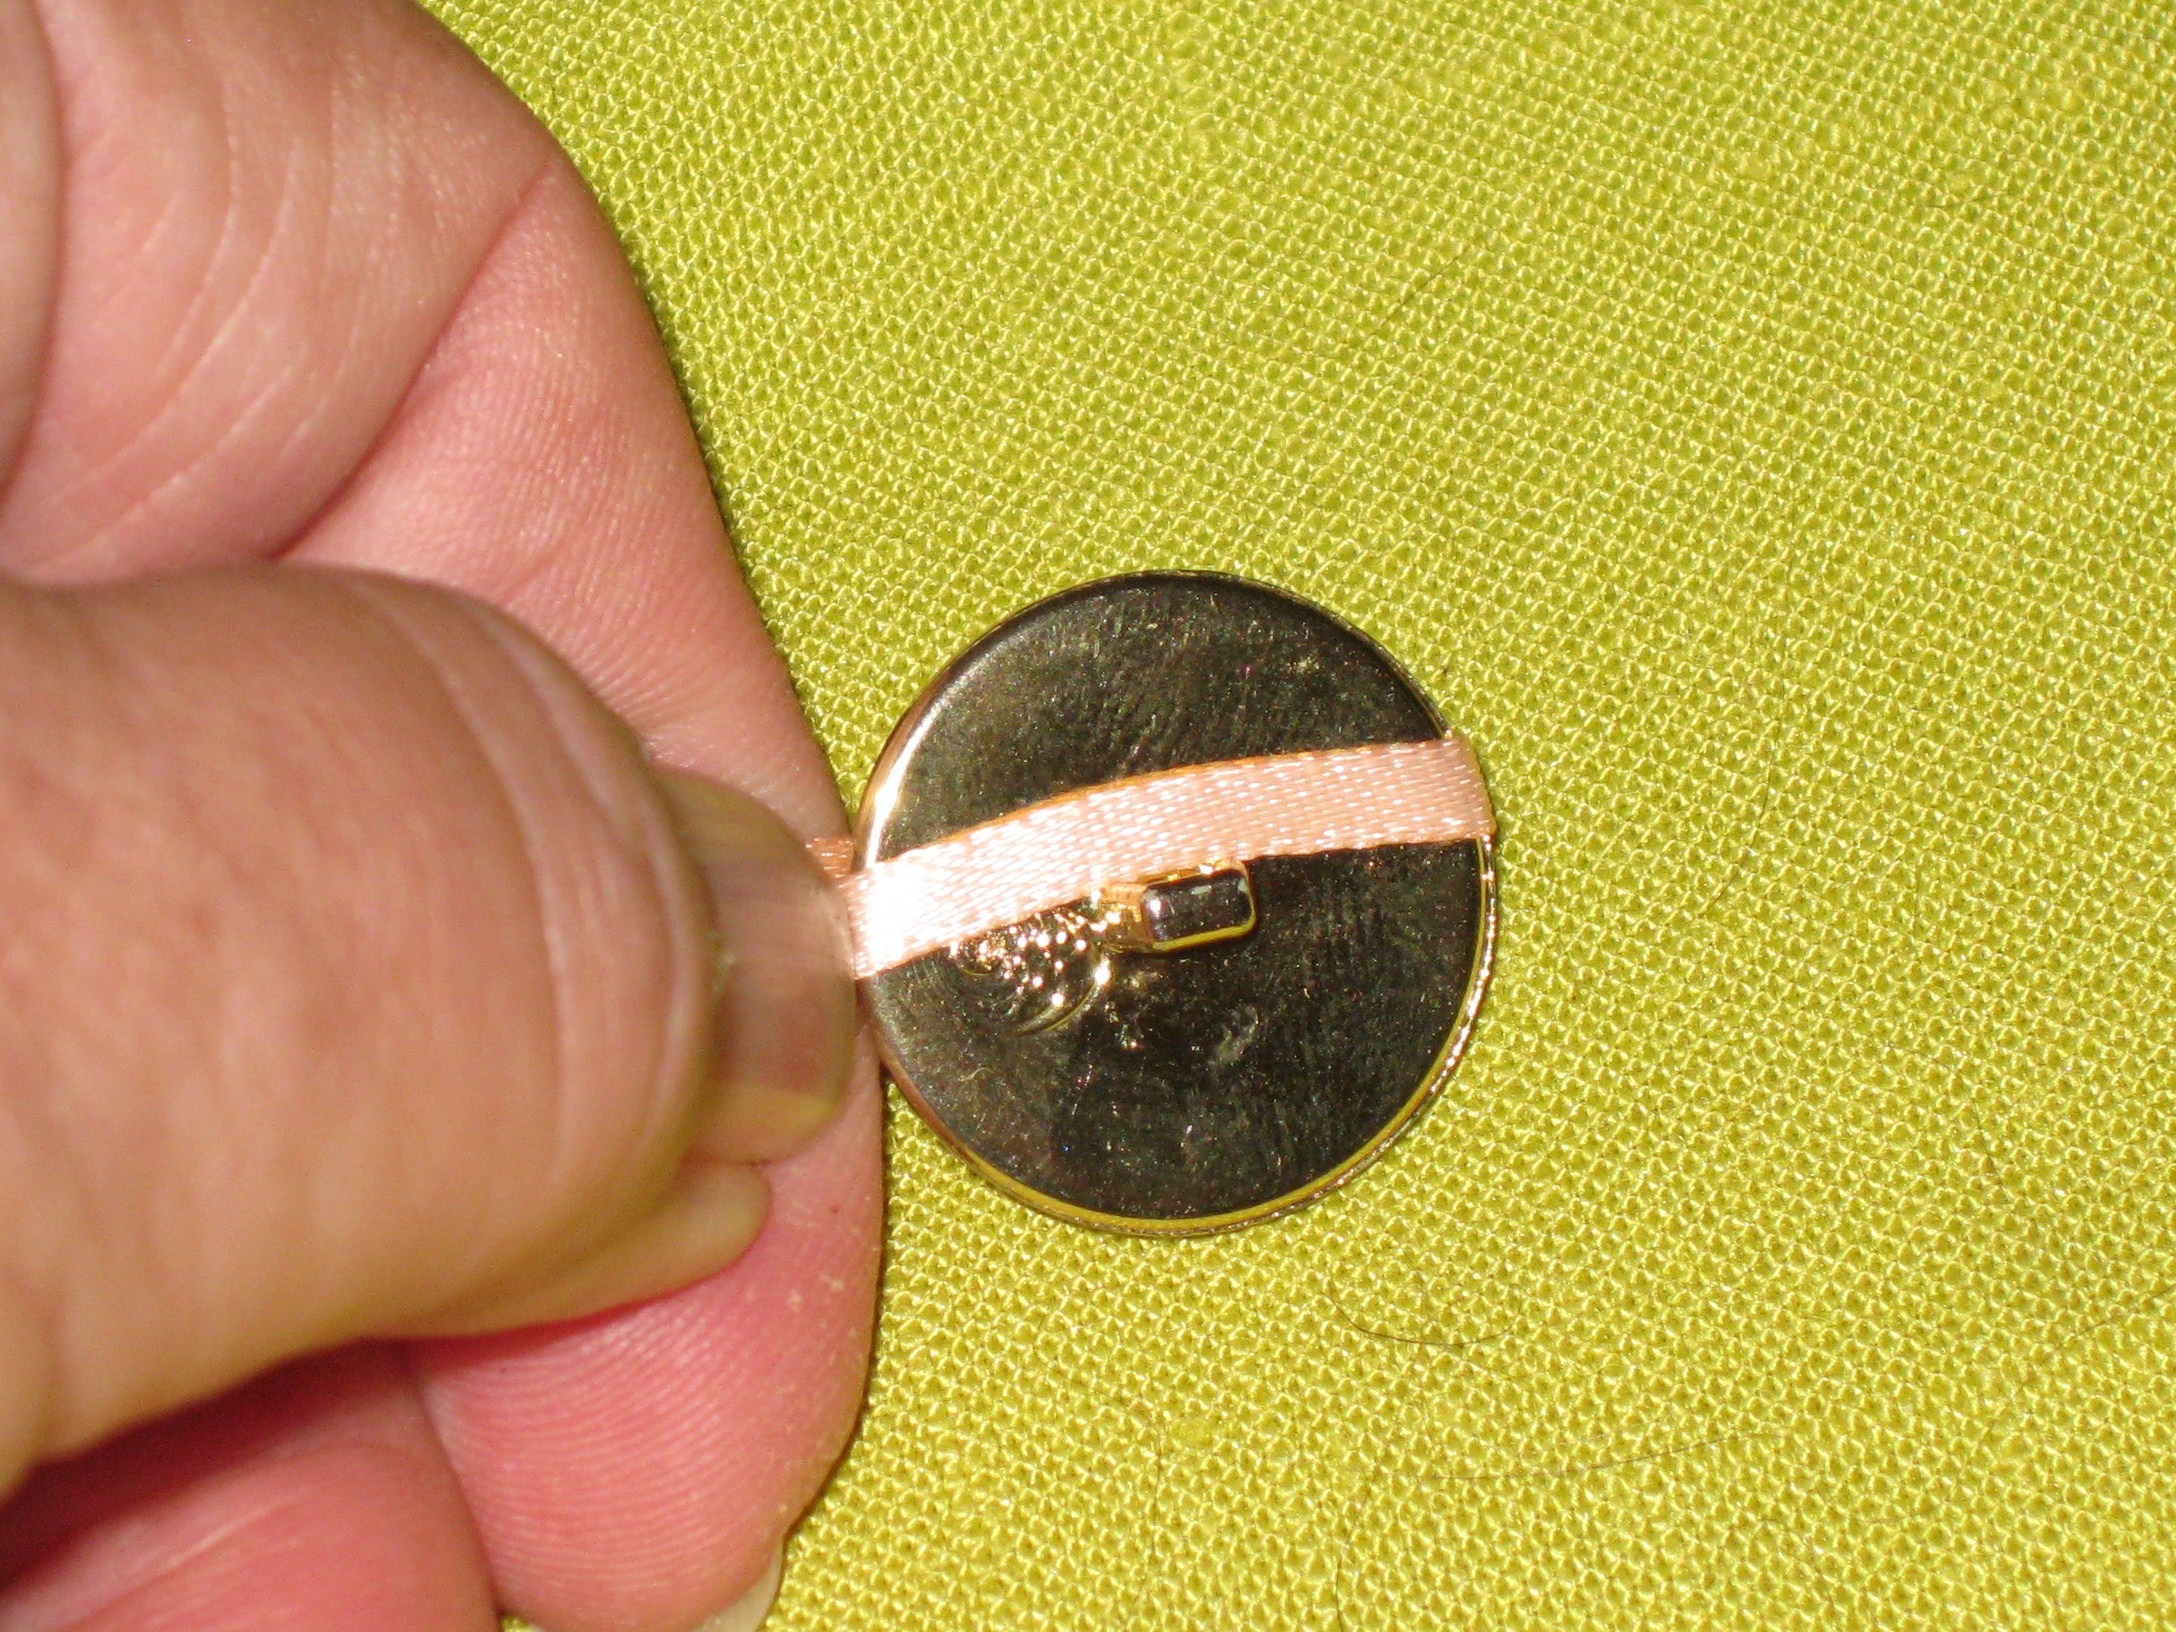
Wrap ribbon around dome button right beside the shank – underside.

Flatten the ribbon and measure the length required for the buttonhole (my cat, Beau, decided to help me!)
- When buttons are sewn to the garment, the direction of the stitching through holes or shank should be the same as orientation of the buttonhole.
- So that both sides of the garment sit comfortably on top of each other without being squashed by the button.
- For thicker fabrics, make a thread shank for buttons with holes.

Machine Buttonholes:
- Pattern markings indicate where buttons sit but this needs to be checked so that the placement the placement and number of buttons suit the stature of the wearer. For women’s garments, especially fitted styles, the garment needs to be tried on to determine best position for buttons, especially at bust point.
- Place first button on centre front, exactly at bust level with remaining buttons spaced evenly from there. Lowest button should not to be too close to the hem (unless it is a key design element) usually no closer than 12-15cm /5 -6 “from the bottom of the garment.
- Buttonholes should be approximately 3mm / 1/8” longer than button – except high round buttons which may need longer length buttonholes
- Consider the orientation of the buttonholes. Buttonholes should be stitched horizontally to centre front unless there is a front tab when they are stitched vertically.
- Some machines offer a number of options for type of buttonholes – this is best determined by stitching samples on your fabric to see which is best for the style of garment and weight of the fabric which has been treated exactly as it will be in the construction of the garment (facing interfaced and stitched to garment, trimmed pressed, and under stitched).
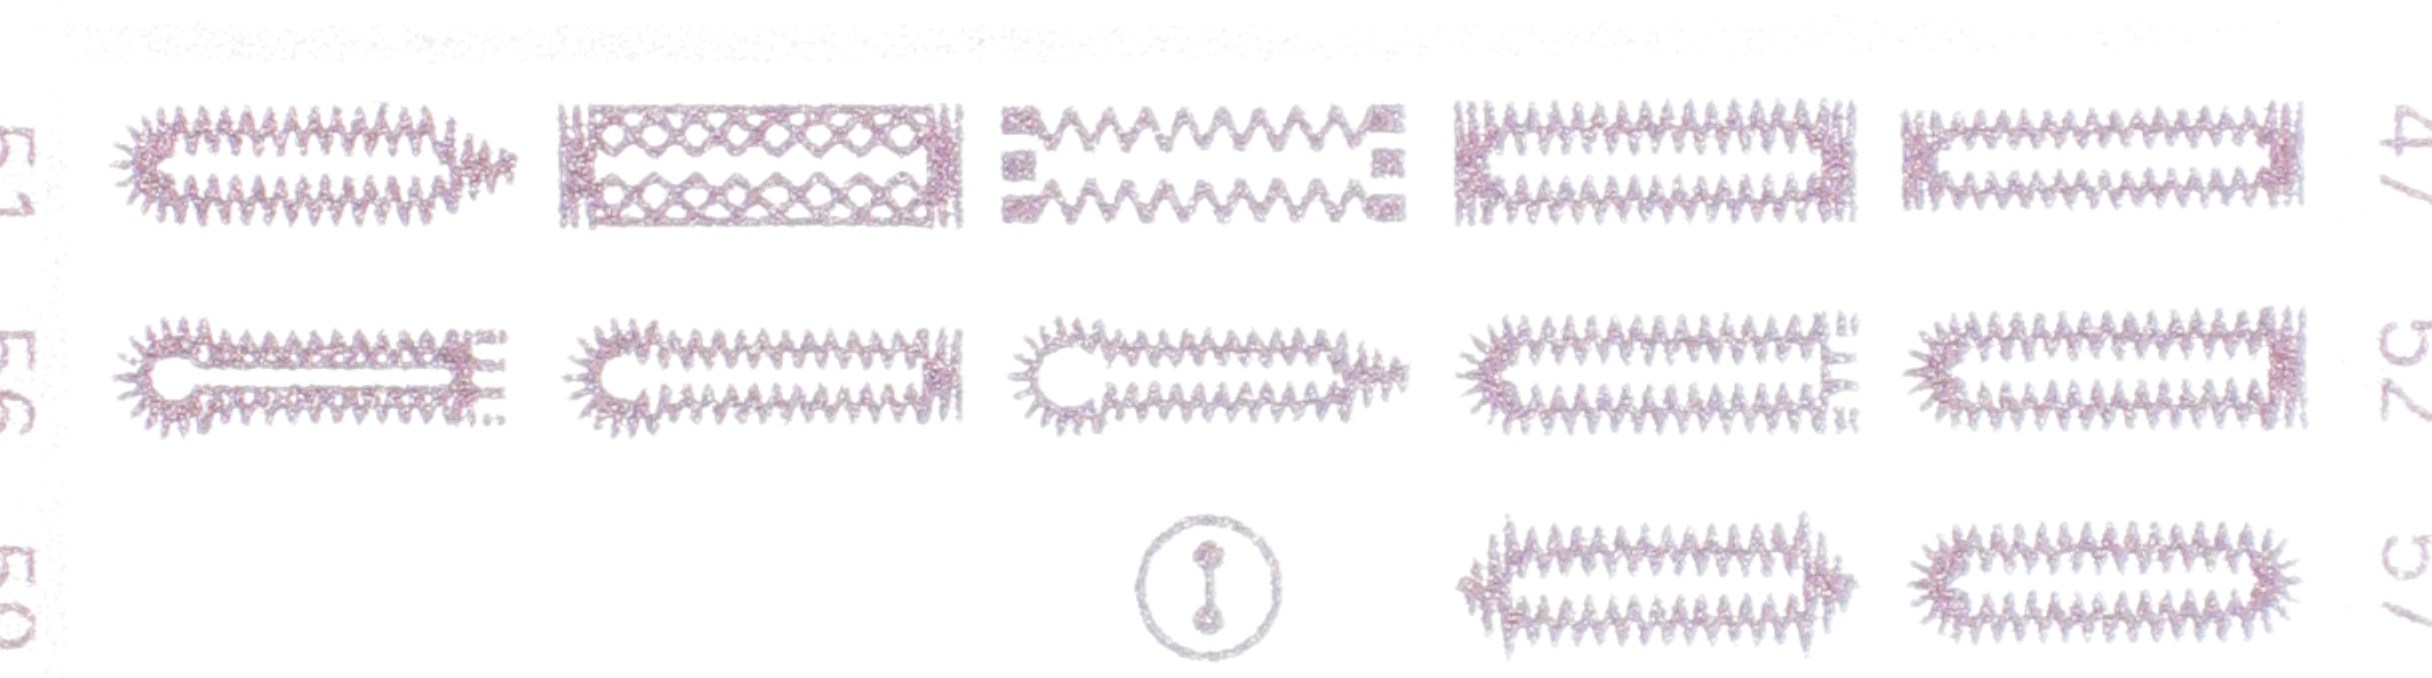
Selection of buttonhole styles – stitch a sample of each to make it easier to make a choice.
- The programmed buttonholes will default to a base width and length of buttonhole which affect the thickness of the side bars and ends as well as the density of the stitching. Adjustments can be made to suit the type and thickness of the garment fabric.
- Density issues resulting in very tight stitching or stalling of the stitches can sometimes be solved by using stabiliser underneath fabric and/or a plastic topper.
Tip: Be sure you carefully grade seam allowances at front openings to minimise problems with an uneven surface when stitching buttonholes.
- Use FrayCheck on centre of buttonhole and allow to dry before cutting
- To cut buttonhole:
- Use buttonhole chisel with block of wood or plastic board for clean cut, or
- Place pin through fabric at either end and, starting from centre of buttonhole, cut with unpicker or scissors

Buttonhole chisel and block; awl and Fray Check
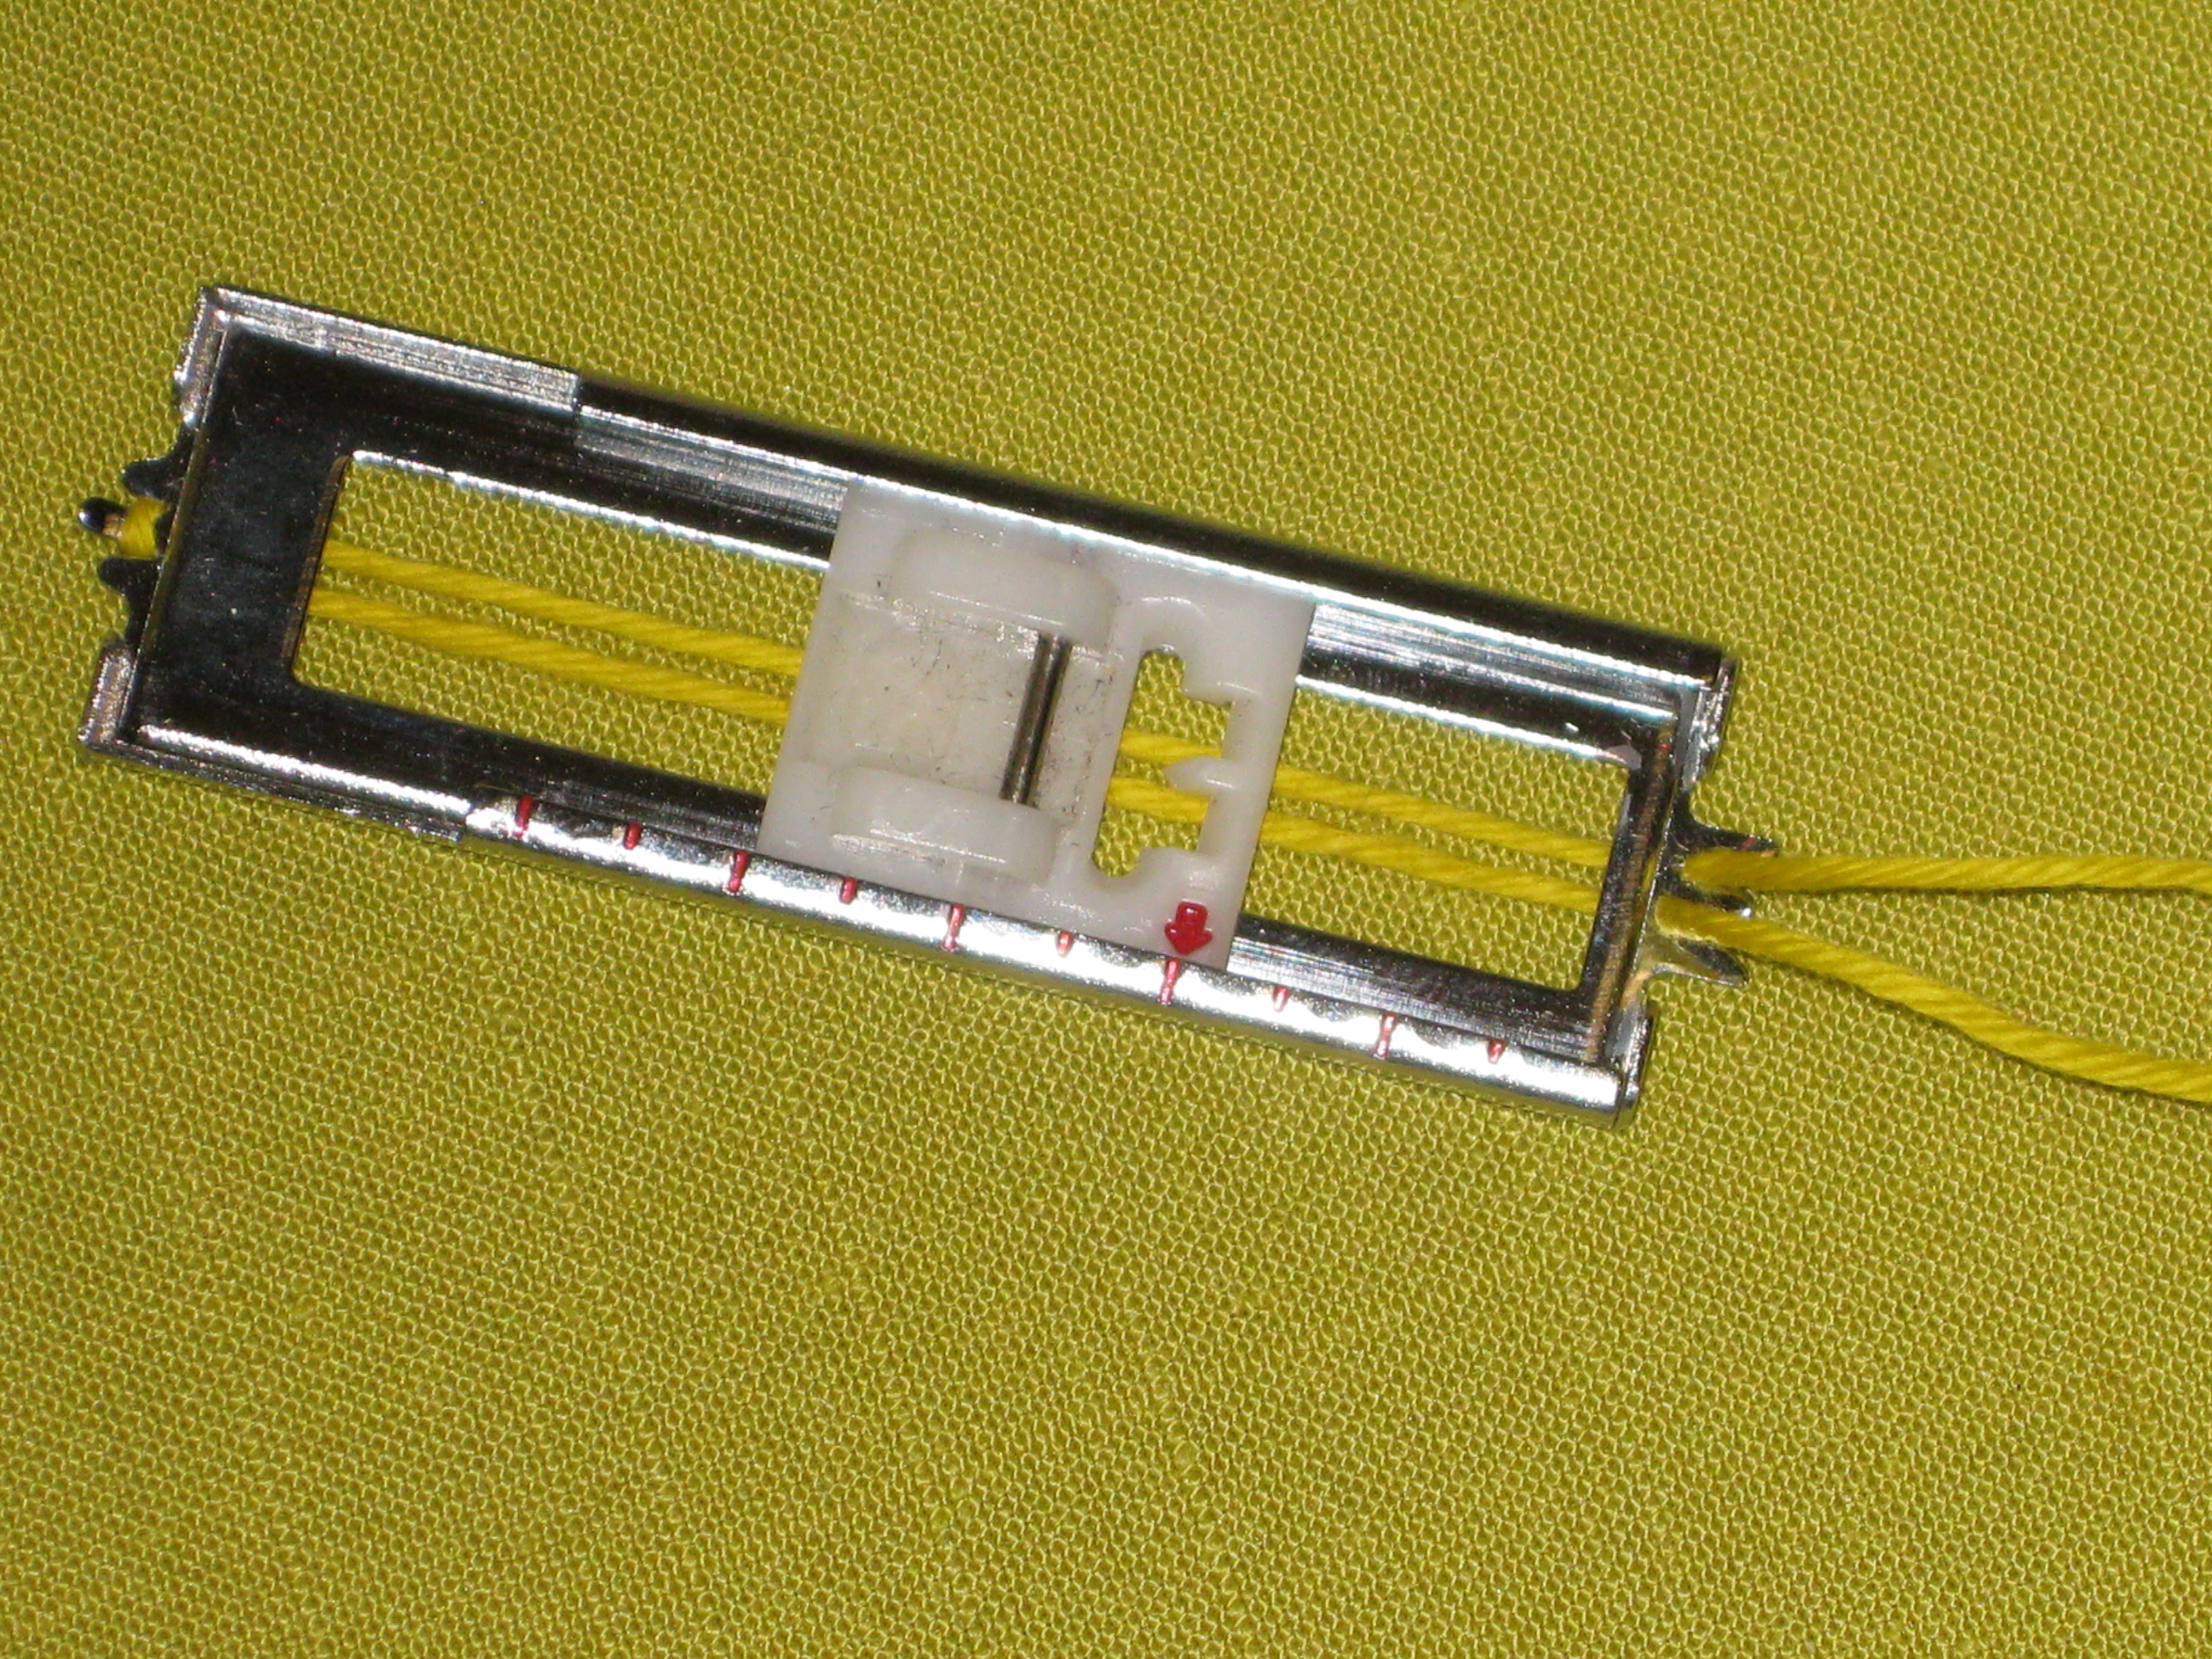
All buttonhole feet have prongs at either end. Wrap thicker thread around the back prong and fasten in the grooves at the opposite end. Stitch the button hole as usual – over the cord. When buttonhole is complete, pull the cord ends and use a hand needle to feed them to the back; trim the tails.
- For keyhole buttonholes, use an awl at the rounded end and carefully trim the fabric away
- Use small sharp scissors to remove any stray threads from cut hole
- Buttonholes can be corded for strength and definition – use Güterman™ topstitching thread or fine crochet cotton
Tip: If you don’t have thicker thread, several strands of regular thread can be used.
Tip: This is an excellent technique for stretch and stretch/woven fabrics when buttonholes can easily stretch out of shape.
Until next week. Happy sewing!

Thanks Alison. – lots of possibilities for the next jacket project. I will try the corded buttonholes first!
Thanks Carolyn. I am sure you won’t find the corded buttonholes difficult.
Just loving your blog alison.
Thank you very much for this tutorial. I don’t know why I never researched corded buttonholes on my sewing machine before. And sure enough my foot has the capability.
Thank you, Nia. I am so glad you found the post useful. Best wishes, Alison