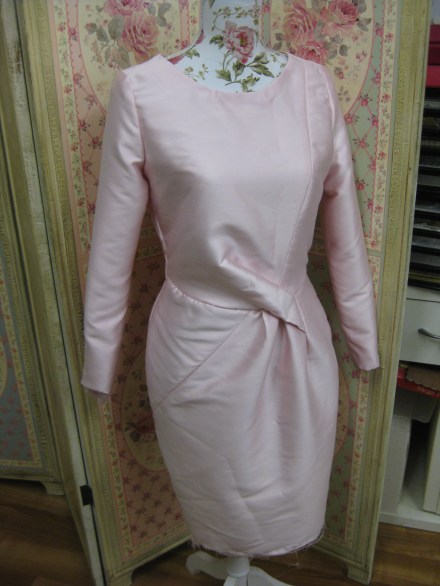
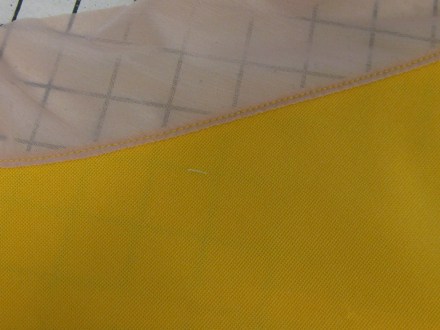
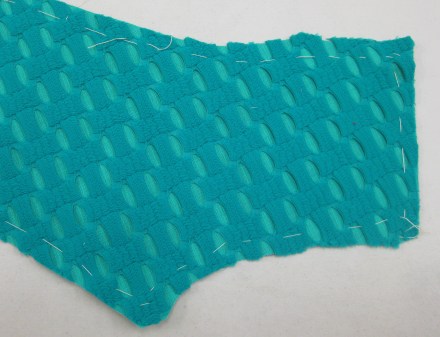
This pattern is from the current 2016/17 Marfy catalogue. It has a strong 1970’s influence which is enhanced by the fabric used.


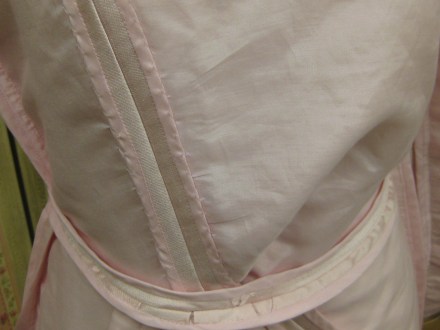
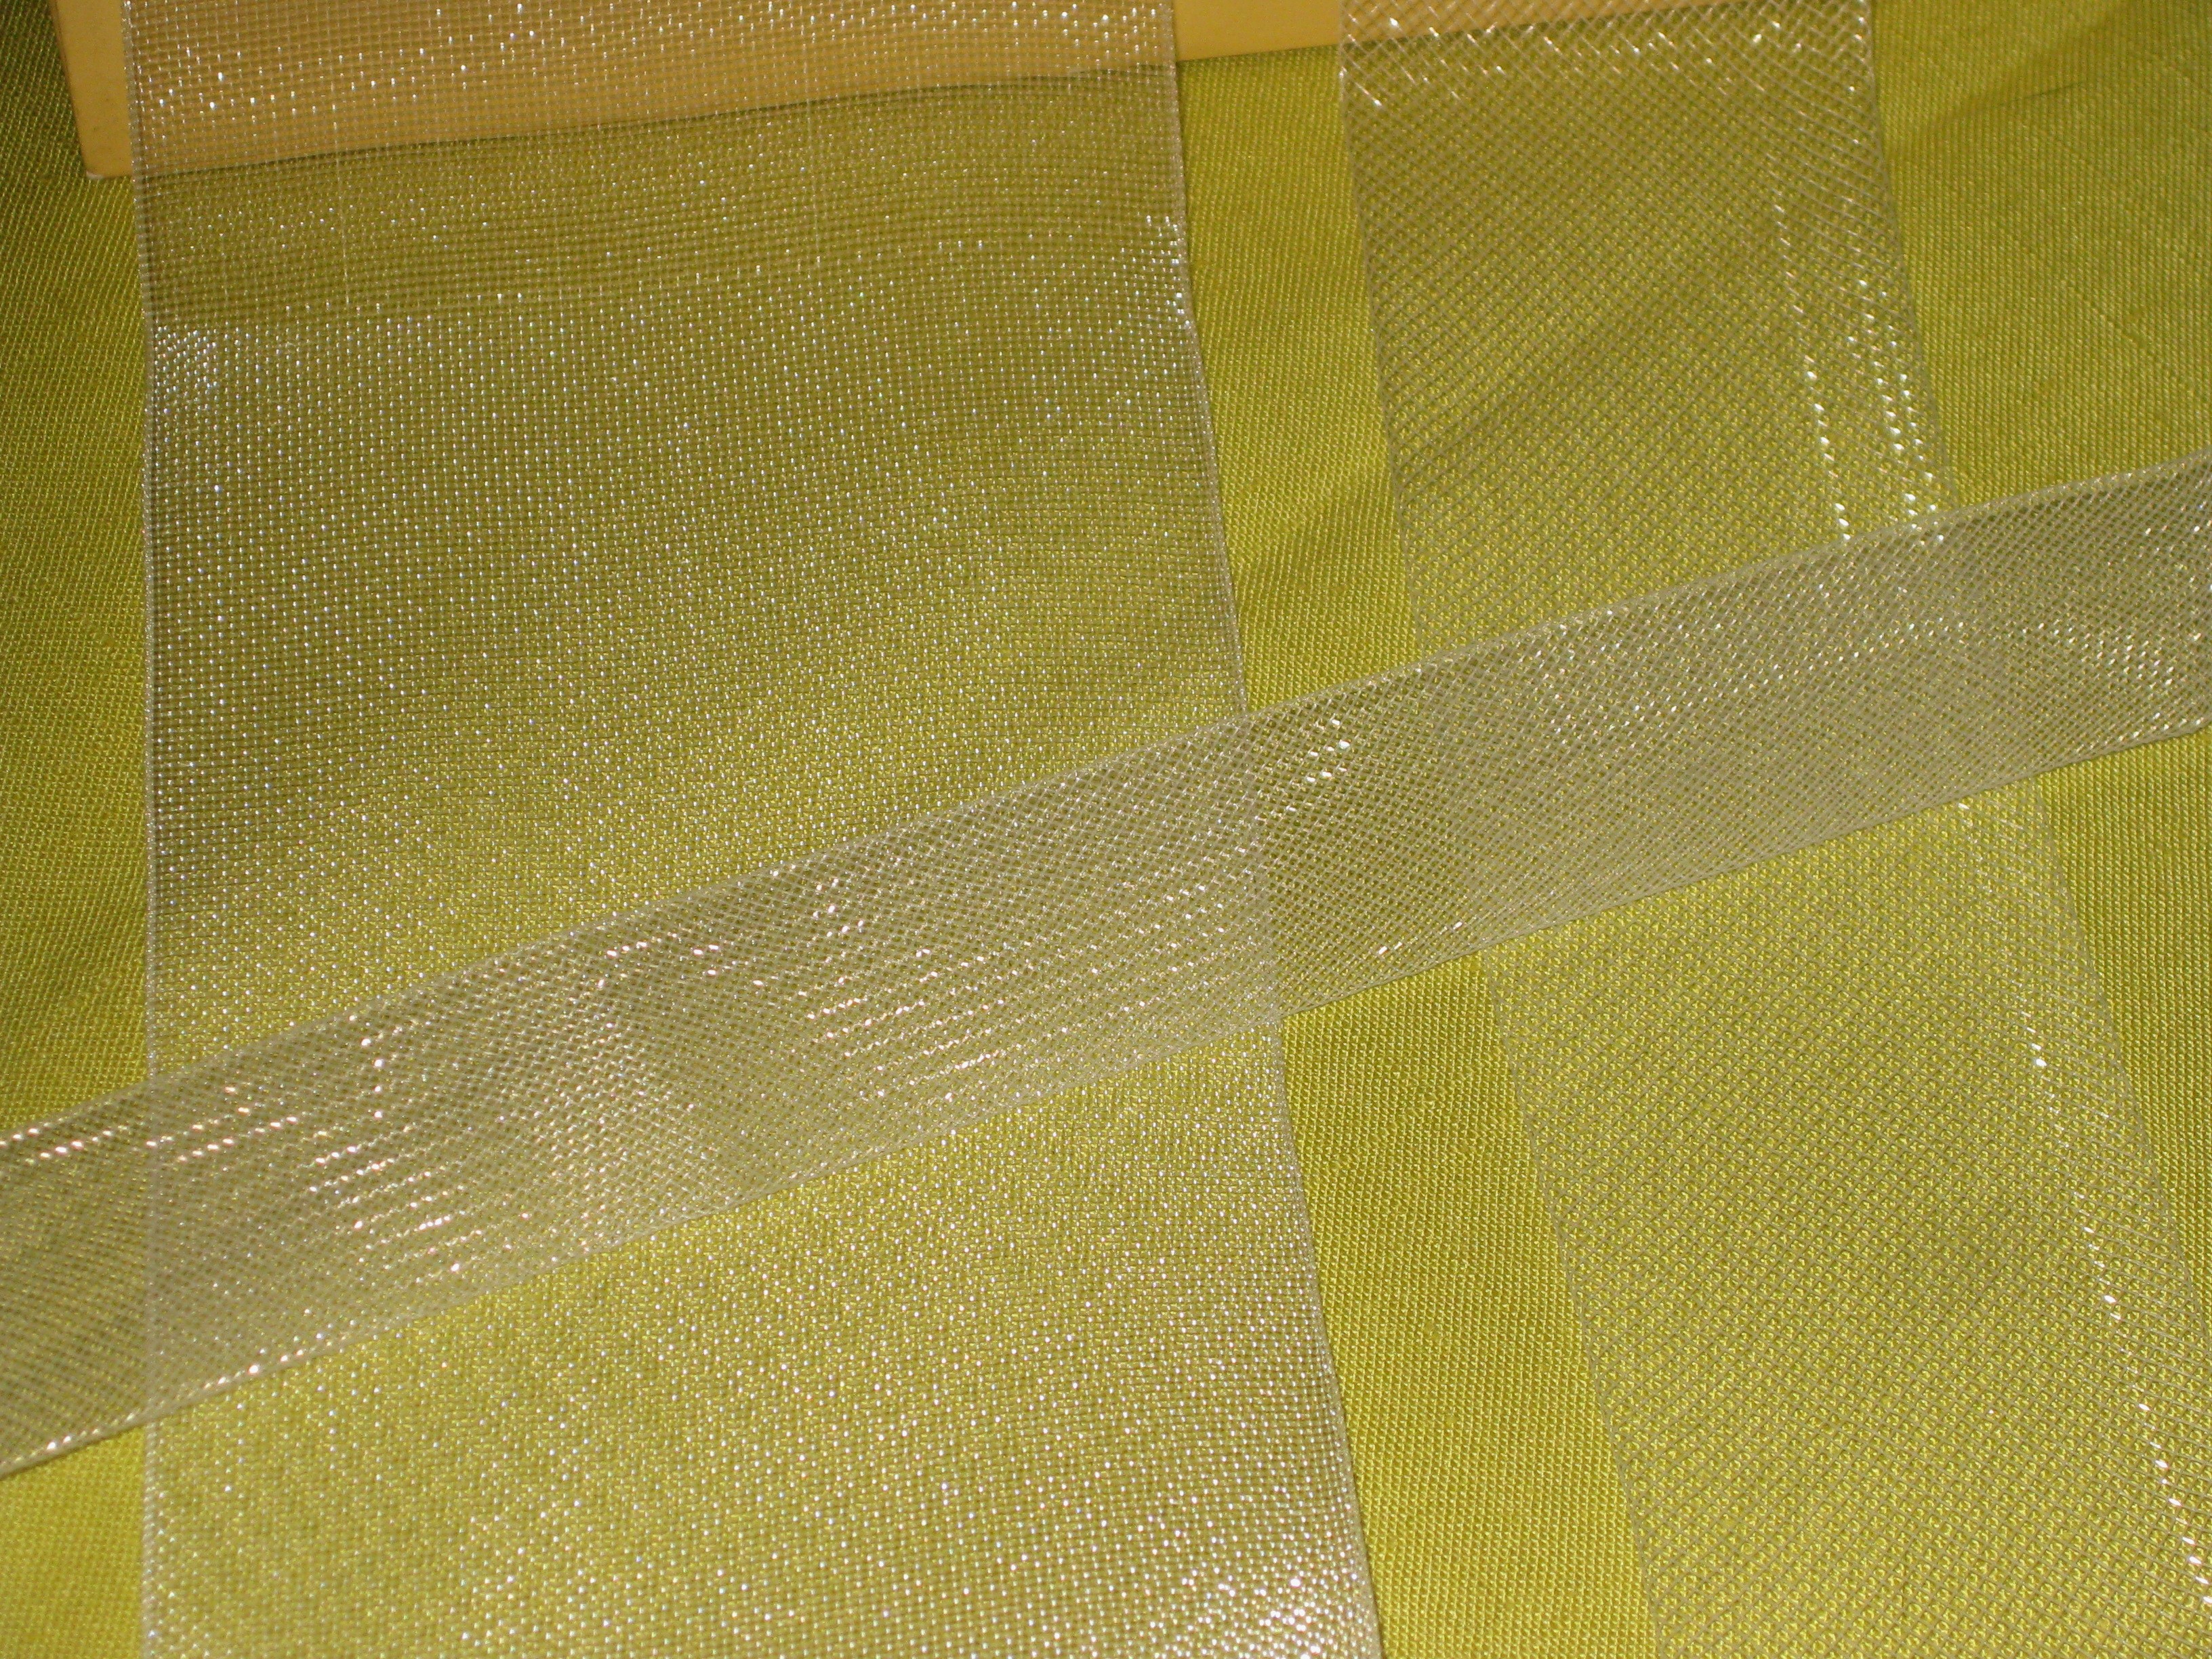
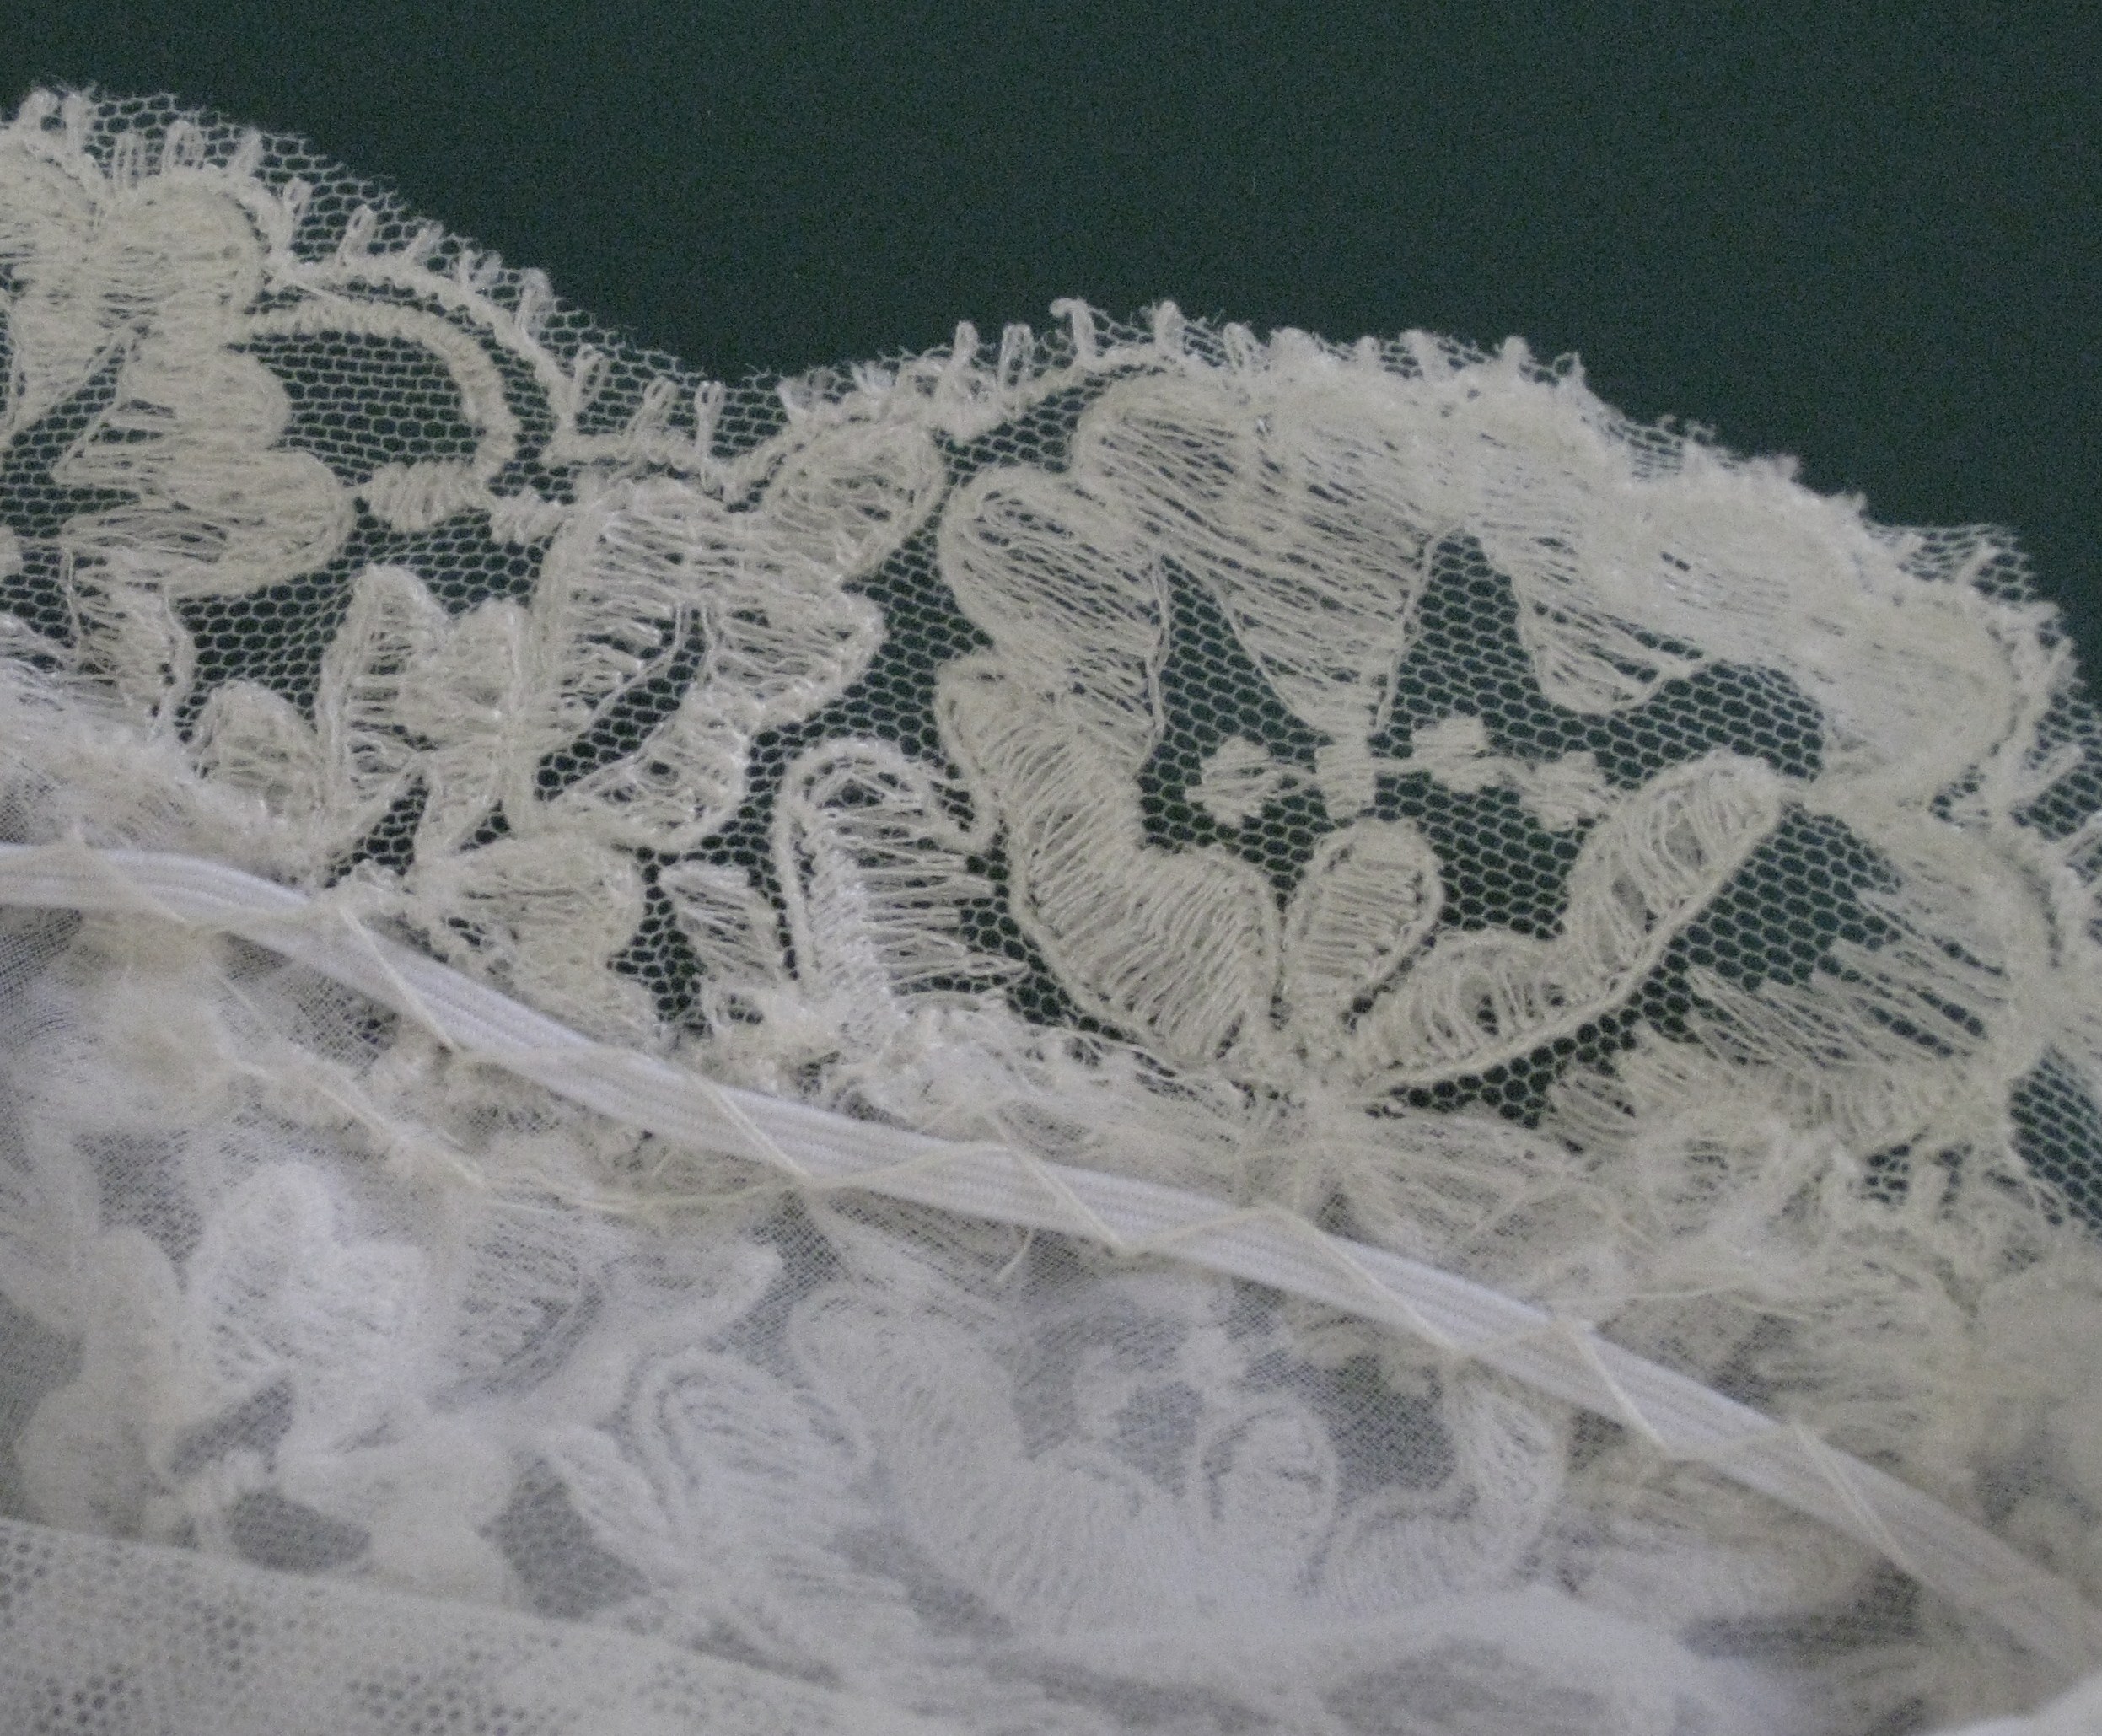
Purchased at The Fabric Store in Brisbane, the base fabric is cotton with a fancy square weave which was available in the 70’s but not for many years since. The overlay is a very soft, nylon lace – also very popular in that era. In addition to the curved panel and hem band in the original pattern, I have continued the overlay over the left shoulder and partially across the back hem edge to bring interest to the back as well as the front.


Marfy Patterns is a family owned and operated company based in Ferrara, Italy since 1966. They produce a catalogue in January each year which can be ordered directly and shipped to Australia. The catalogue includes several free patterns with each issue.
While a number of the patterns can be viewed on the McCall’s website – https://mccallpattern.mccall.com/brand/marfy – they are not sold by McCall’s outside of the United States.
The patterns can be purchased from http://www.marfy.it/our-patterns/ or by choosing a style from the catalogue and ordering by email. They come in single size, printed and pre-cut using onion skin paper. They have no seam allowances added and do not come with a guide sheet.

Planning the Project:
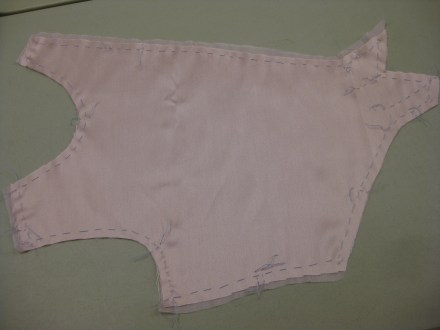
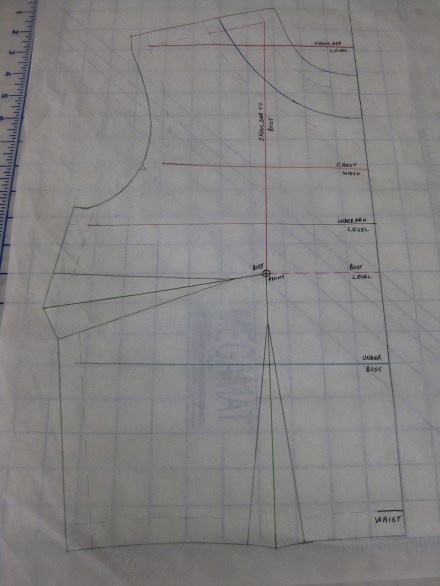
While all the pattern pieces are labelled and have letters to indicate joining points, it is best to trace the pattern on to greaseproof to make any fitting alterations needed before a trial garment is cut in calico.
Apart from helping to see what further alterations may be needed, making a trial garment is very helpful in understanding how the garment goes together.
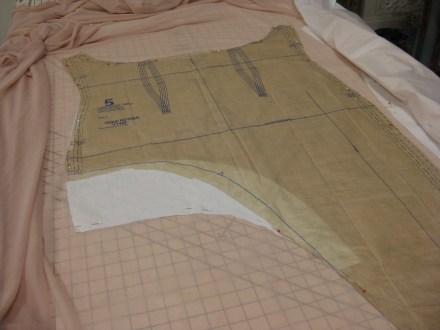
Once the toile has been fitted and the working pattern altered, it can be laid out on a gridded cutting board to assess the amount of fabric that will be required. Marfy provide basic guidelines for fabric needed but this needs to be checked to make sure the chosen yardage will be sufficient.
Adding Seam and Hem Allowances:
Seam and hem allowances need to be added to the working pattern before trial garment is cut and sewn. The choice of seam width is made after considering:
- whether the seam is straight or curved
- the stability of the fabric – does it fray easily?
- the position of the seam – around a neckline or armhole
This garment has a curved feature panel and has an all in one armhole and neckline facing.
The side seams have been sewn using the standard 15mm while 1cm was used around neck and armhole openings.
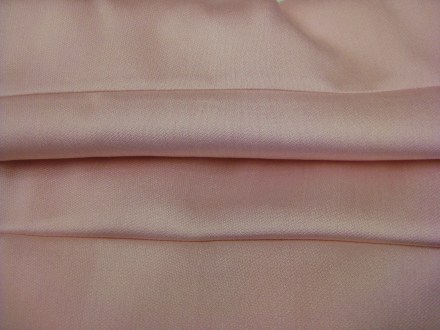
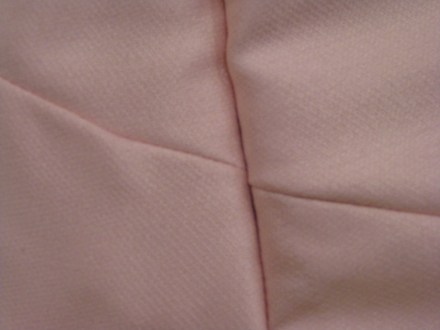
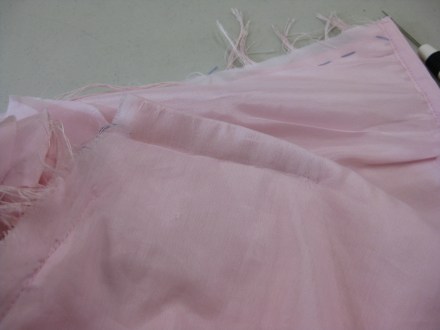
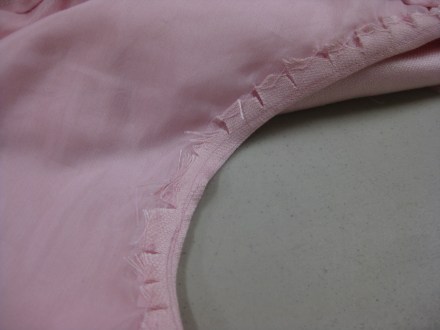
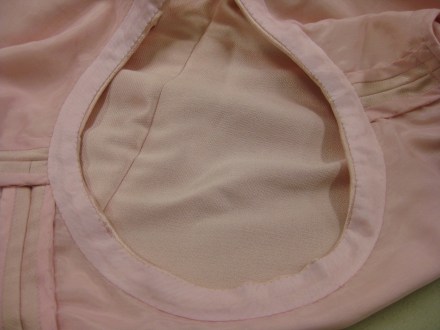
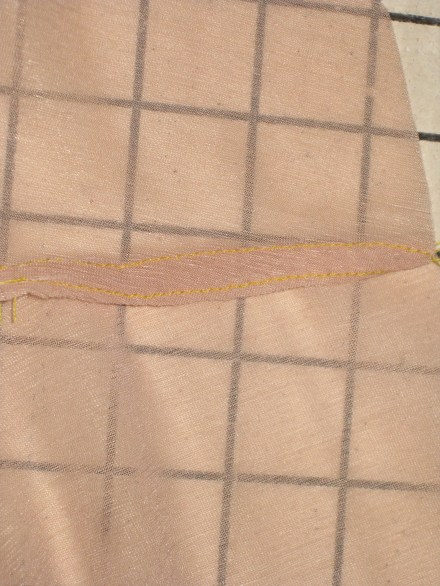
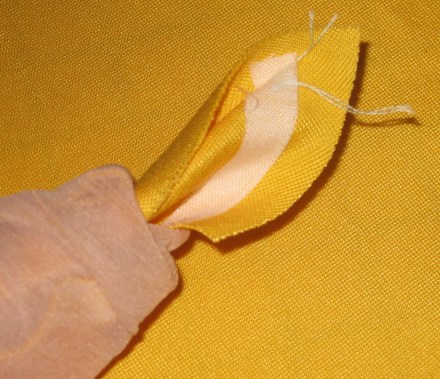
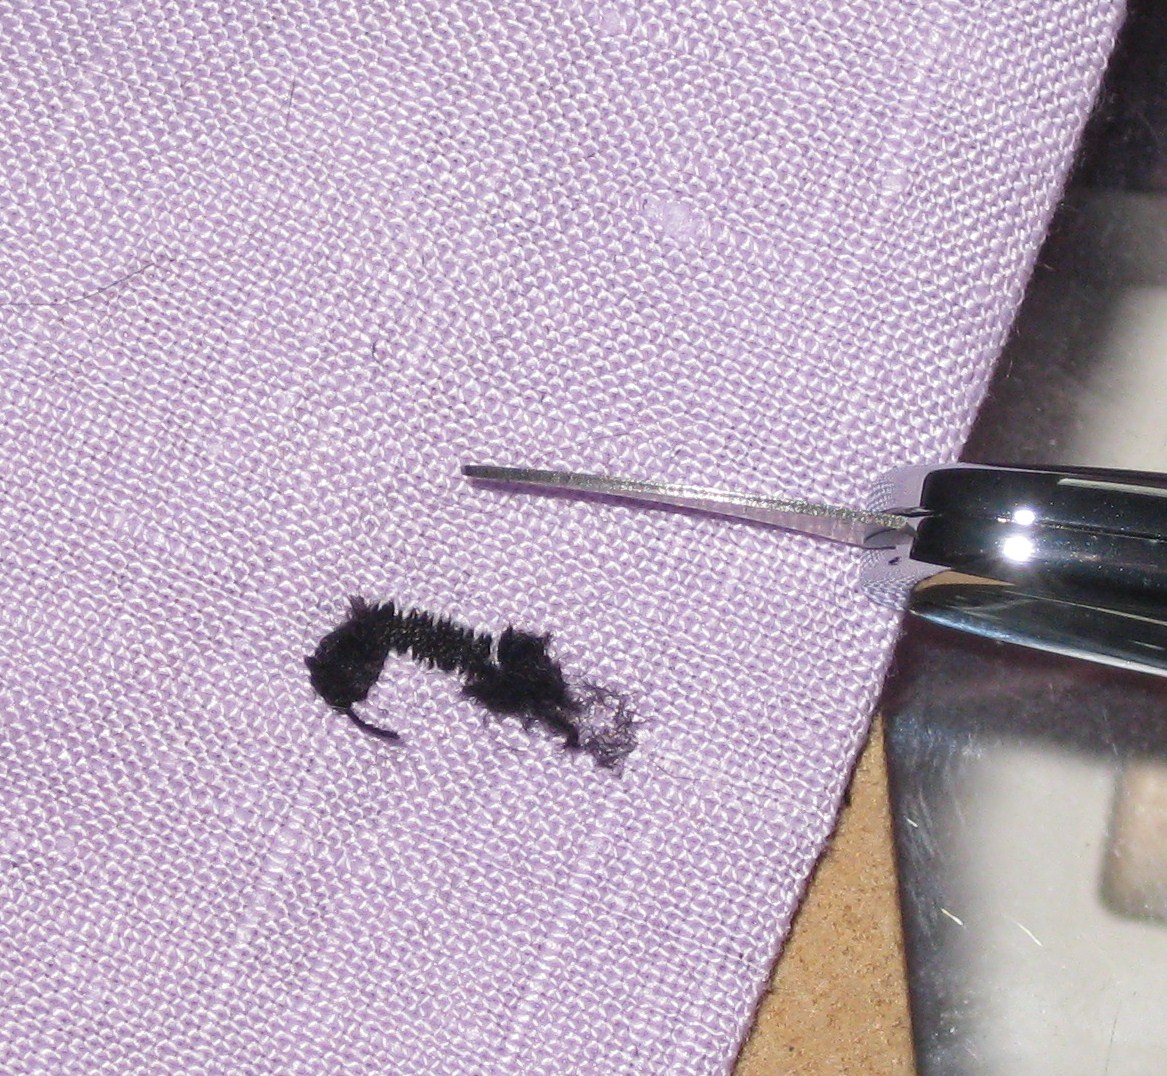
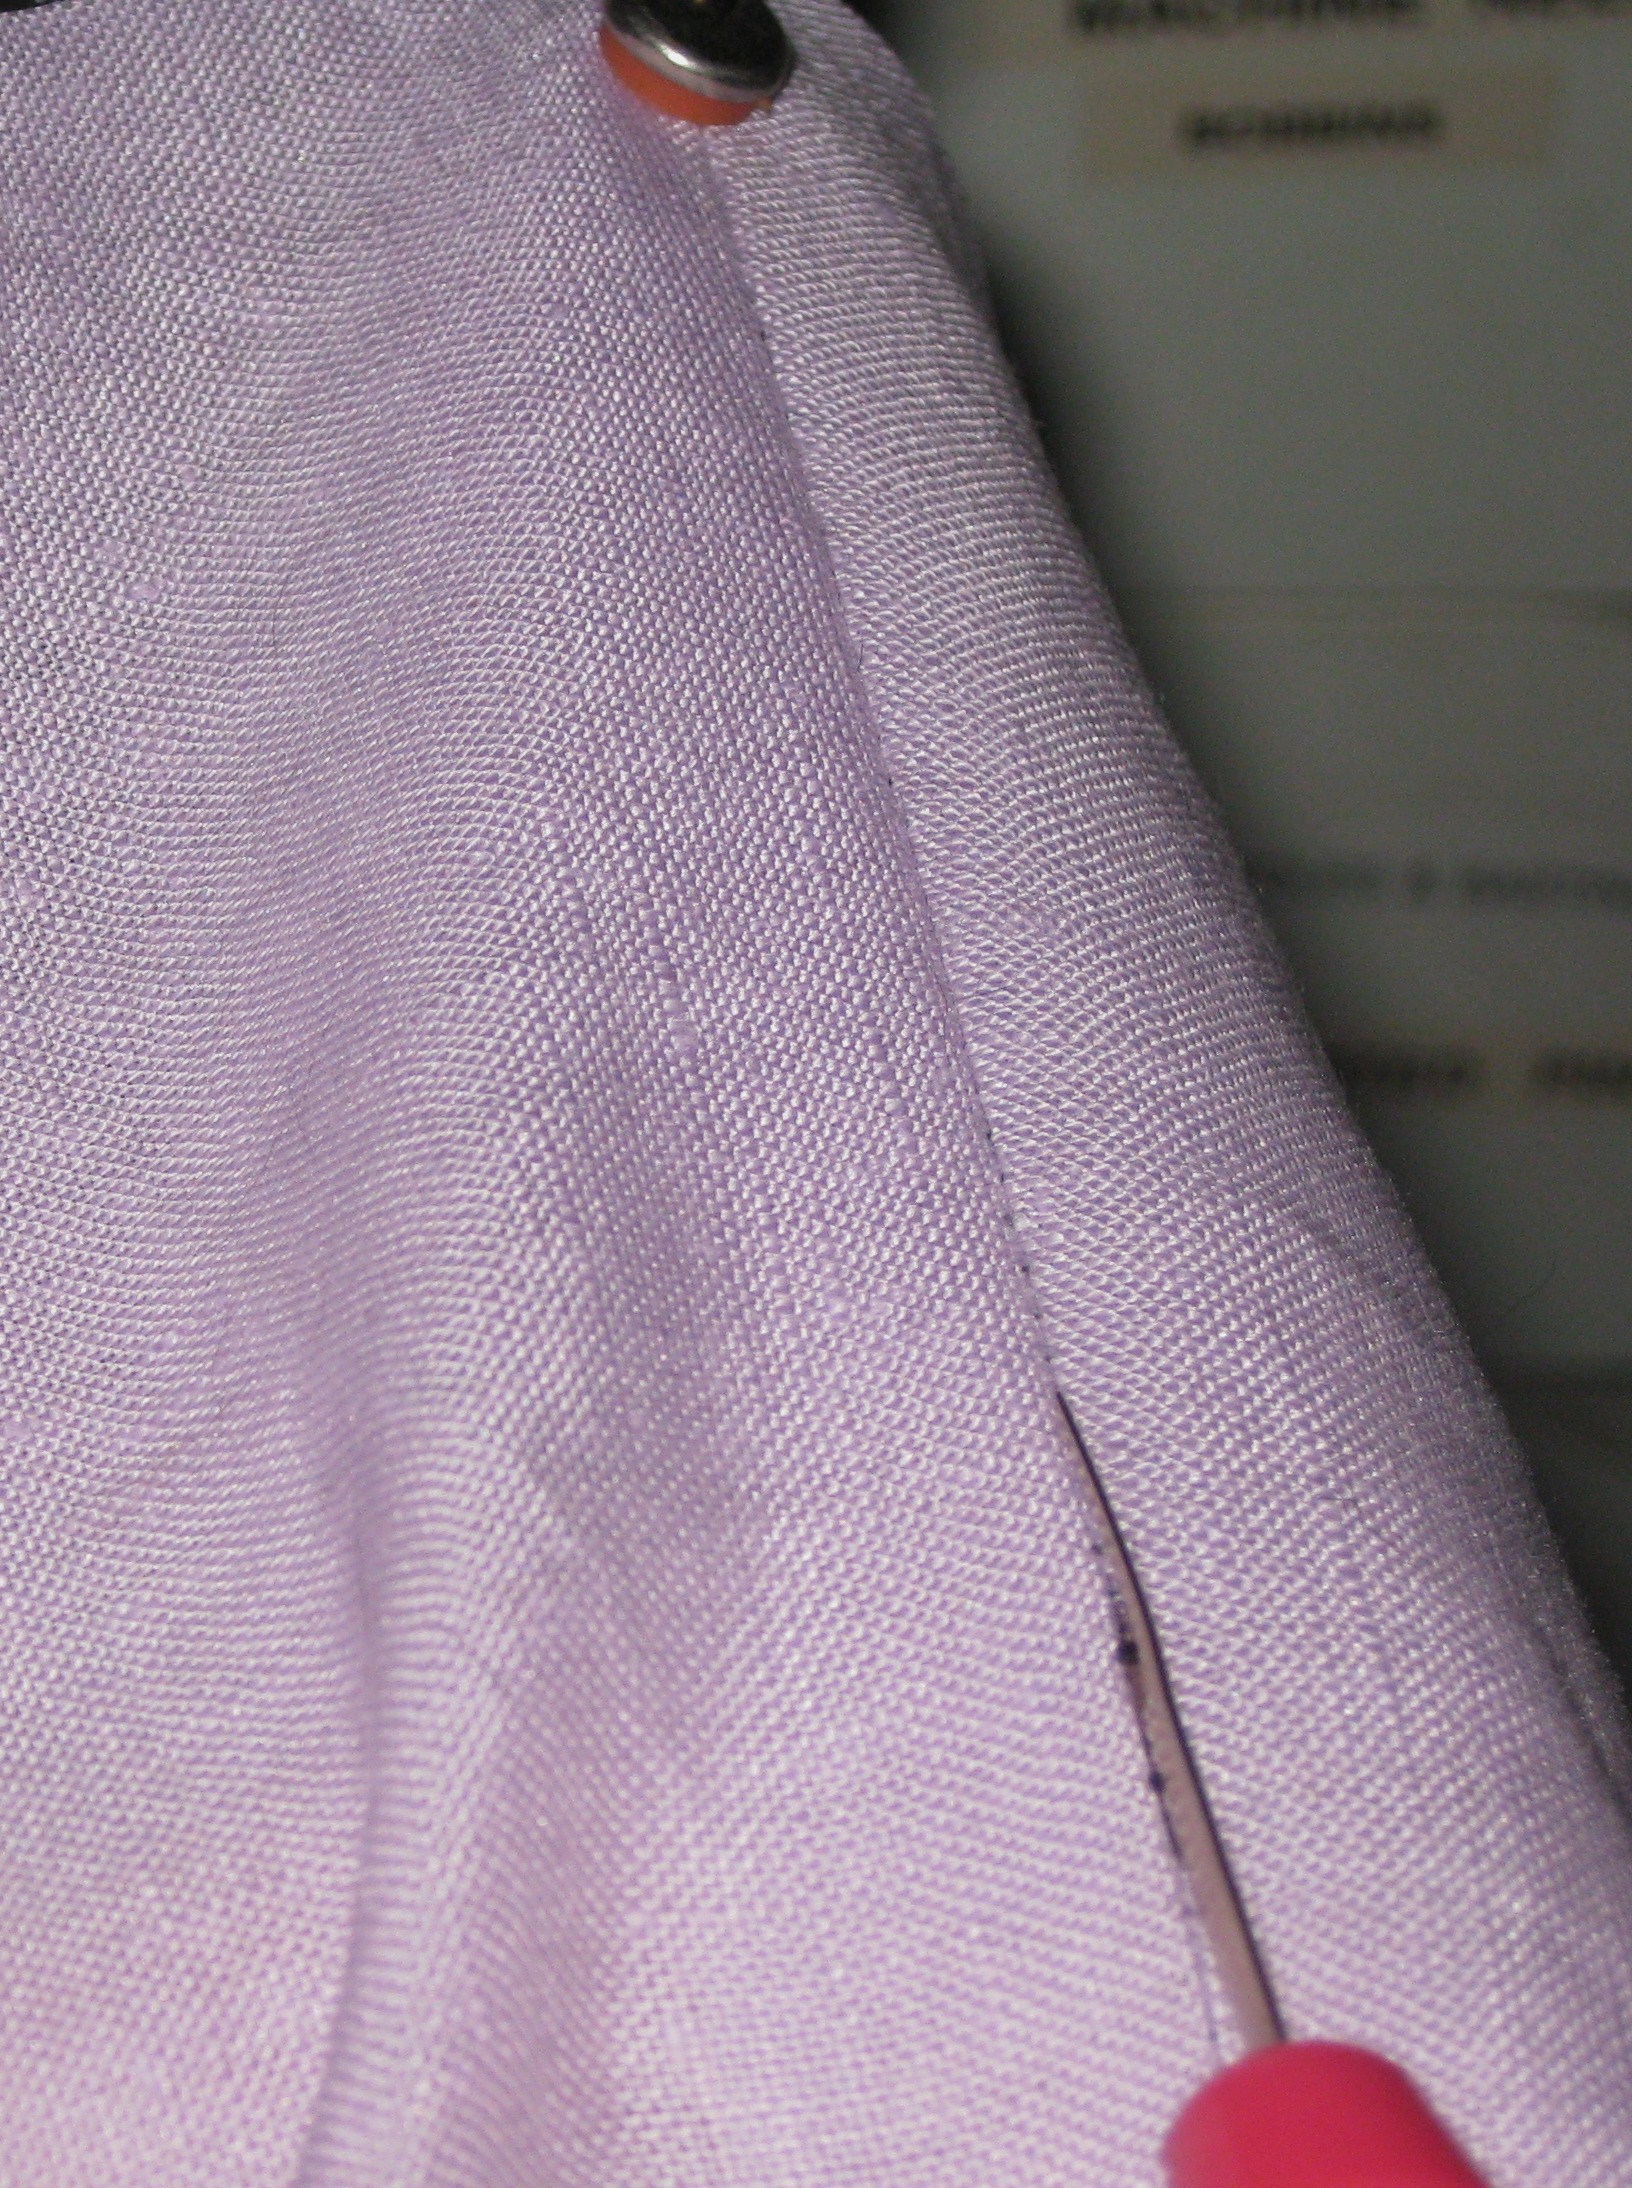
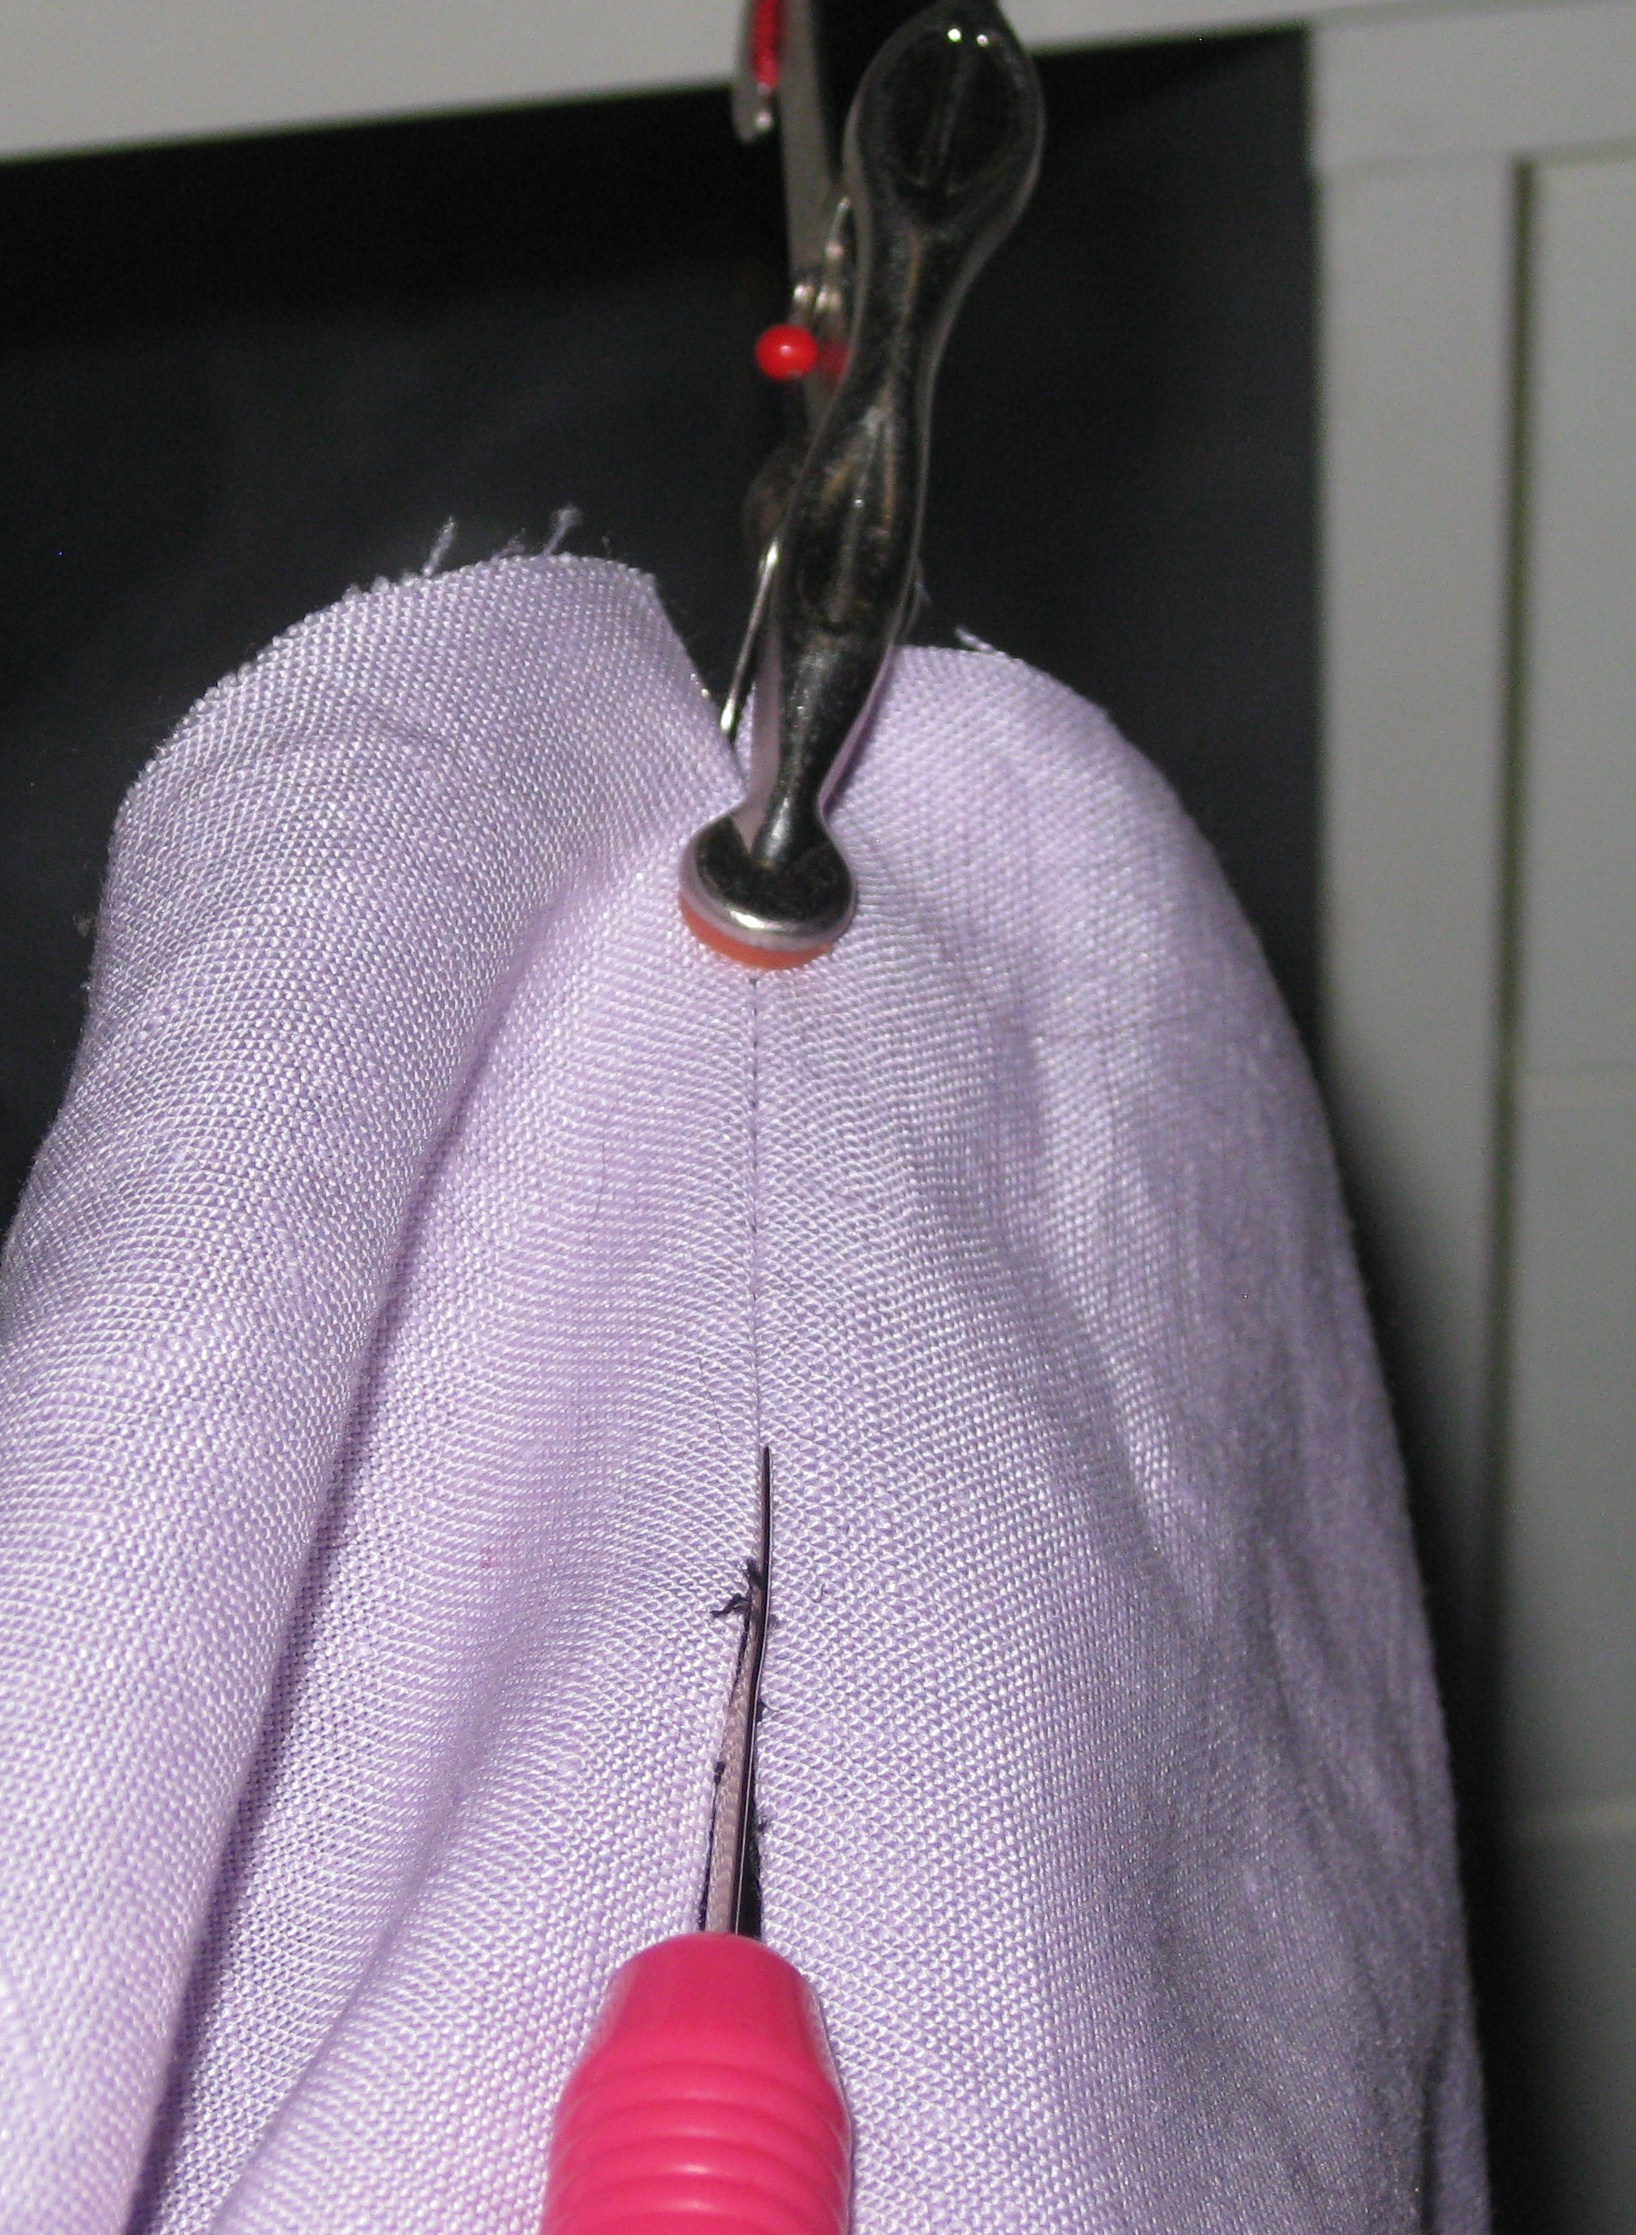
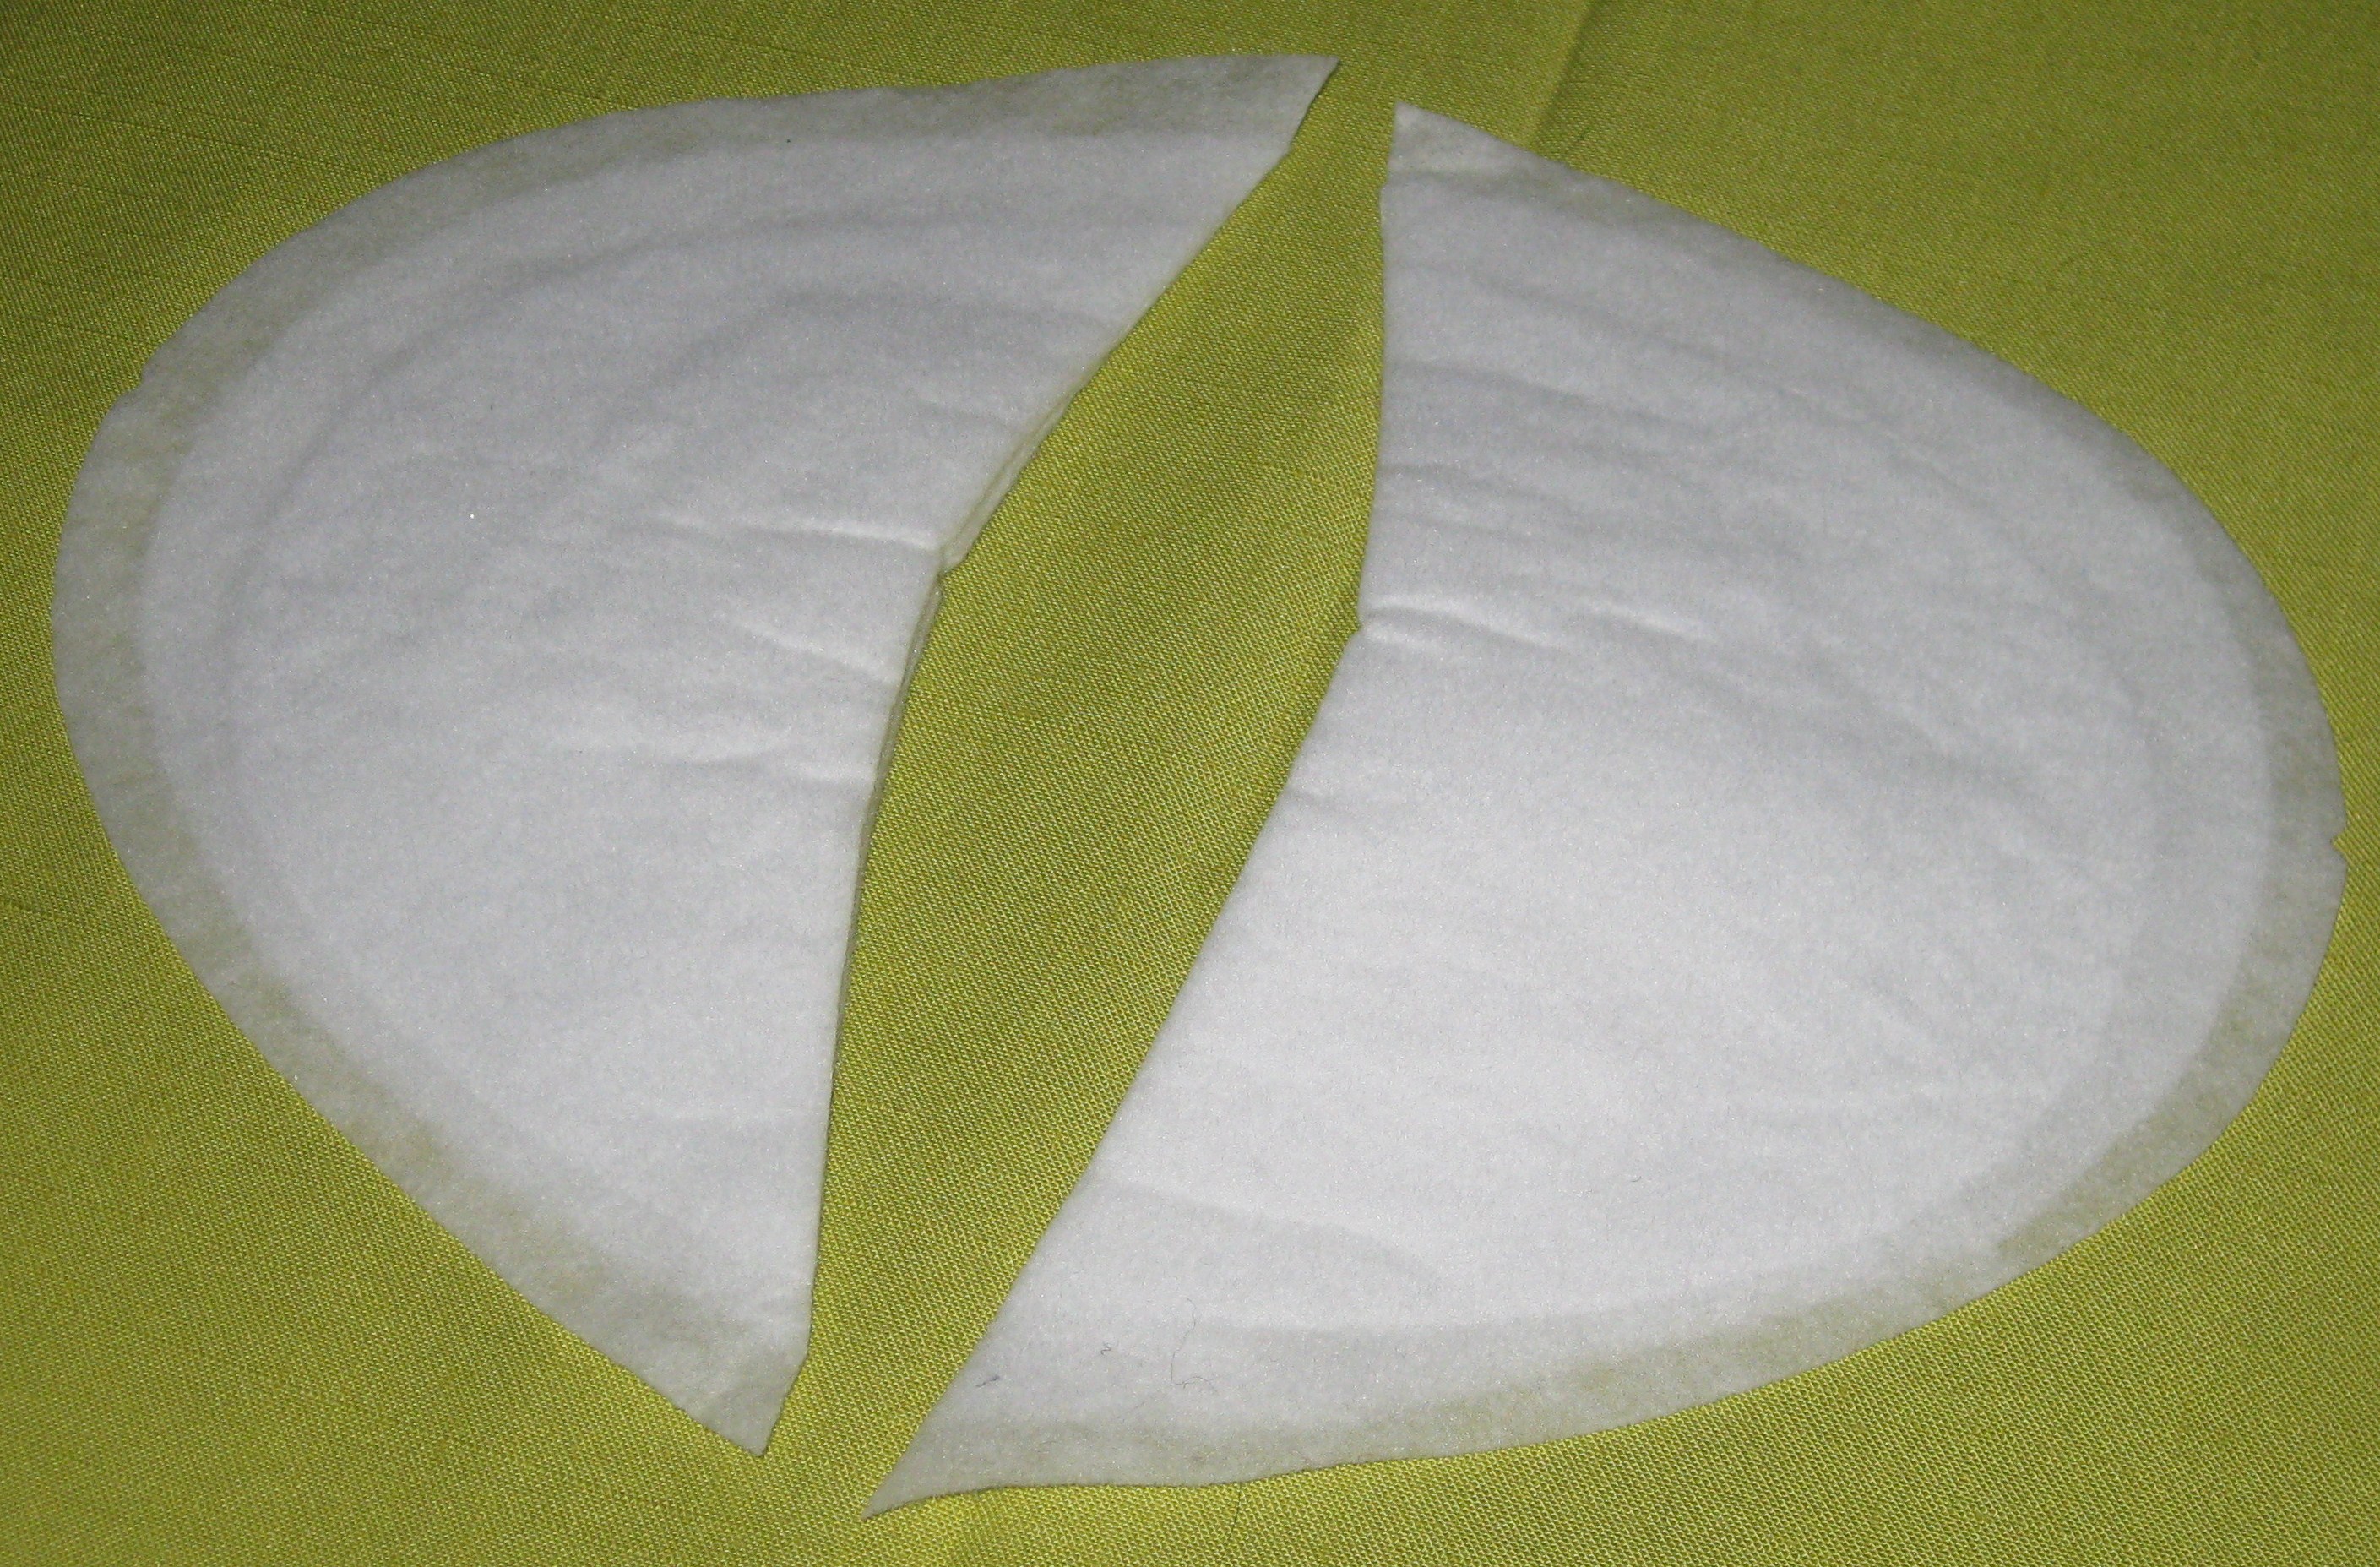
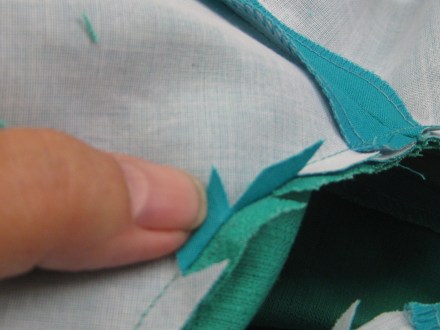
While I initially intended to use 1cm seams in the curved seams on either side of the feature panel, the thickness of the overlay made the narrow seams more bulky. Once the seams were sewn, the overlay seam allowances were pared back between the layers of main fabric. This resulted in a flatter join.
Overlay trimmed from seam allowance to reduce bulk and seam allowances clipped to allow them to lie flat.
Tip: Before deciding on hem or seam allowance widths, it is important to make some samples using the chosen fabric and to finish and press them as they will be in the garment in order to see how the fabric behaves.
Since the pattern gives no indication of a suggested hem finish or pressing direction for seams, testing beforehand is a must.
Cutting and Fabric Preparation:
Each piece of the pattern needs to be cut once only so it is important to carefully label the right side of the pattern pieces which are placed on the fabric laid right side up as well. 
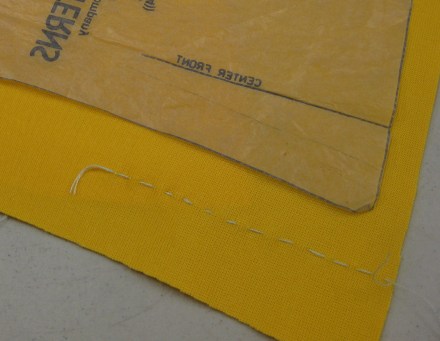
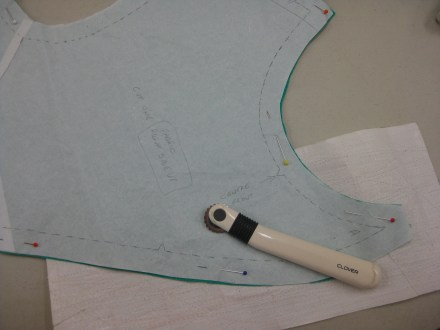
Seam lines and match points were marked on wrong side in curved areas. This was done with dressmaker’s carbon and a tracing wheel and helps with accurate seam piecing.
Once all base fabric pieces have been cut and match points marked, cut the overlay and position it on the appropriate garment pieces. Hand tack the layers together within the seam allowance so they will not move during construction.
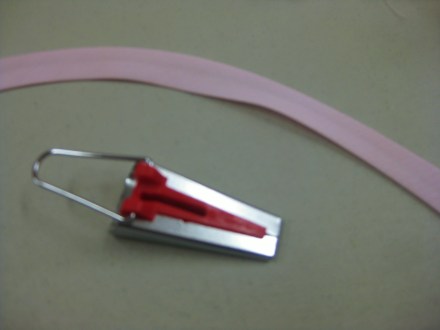
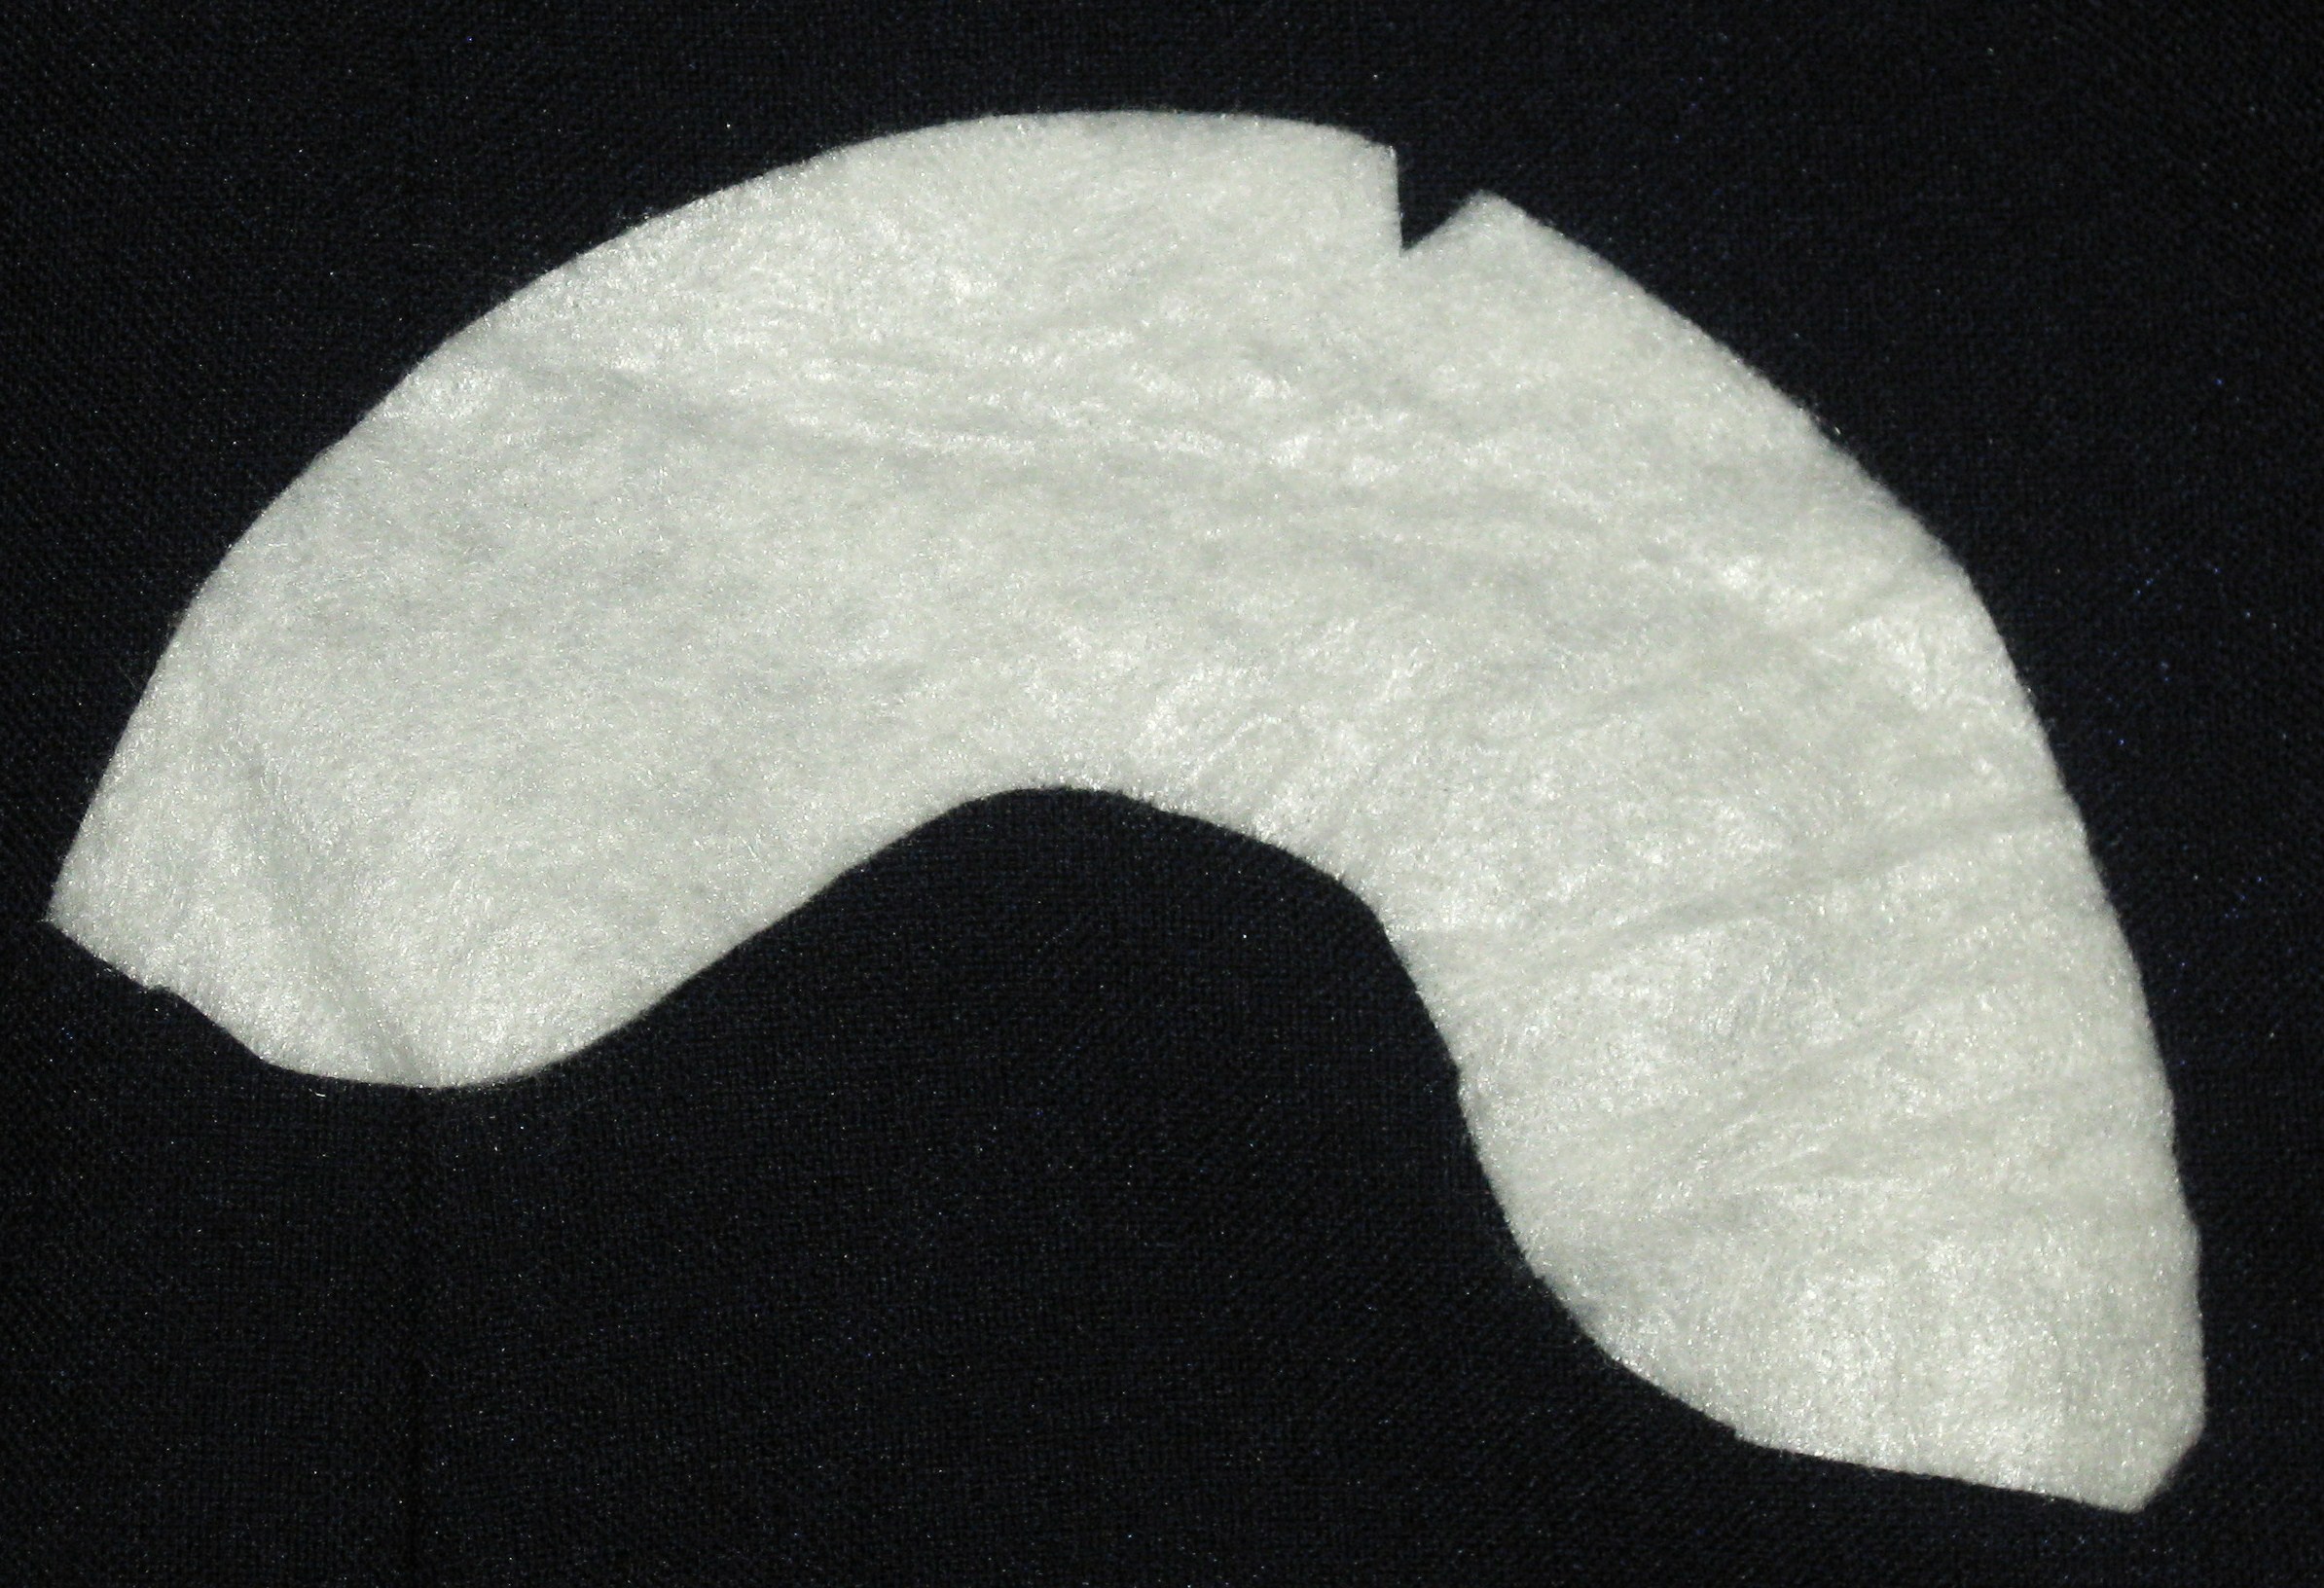
The concave curves on both sides of the inset panel have been staystitched just inside the seam allowance – stitch length 2.0 – to protect the seam if clipping is required after the seam has been stitched.
Sewing the Curves:
While the curves are quite pronounced, they are quite long which makes it easier to achieve smooth seams.
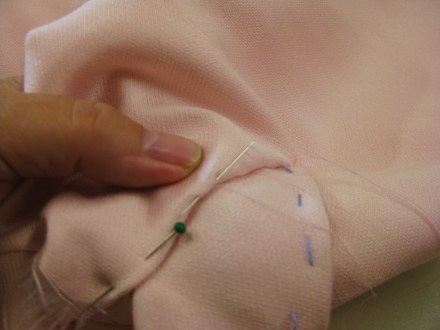
The key to this is to pin at right angles to the stitching line taking a very small bite of fabric and making sure that the cut edges of both pieces are perfectly aligned. Hand tacking before machining makes the sewing easier.
Tip: Sew with the curve and do not attempt to straighten it while machining.
Accurate Corners:
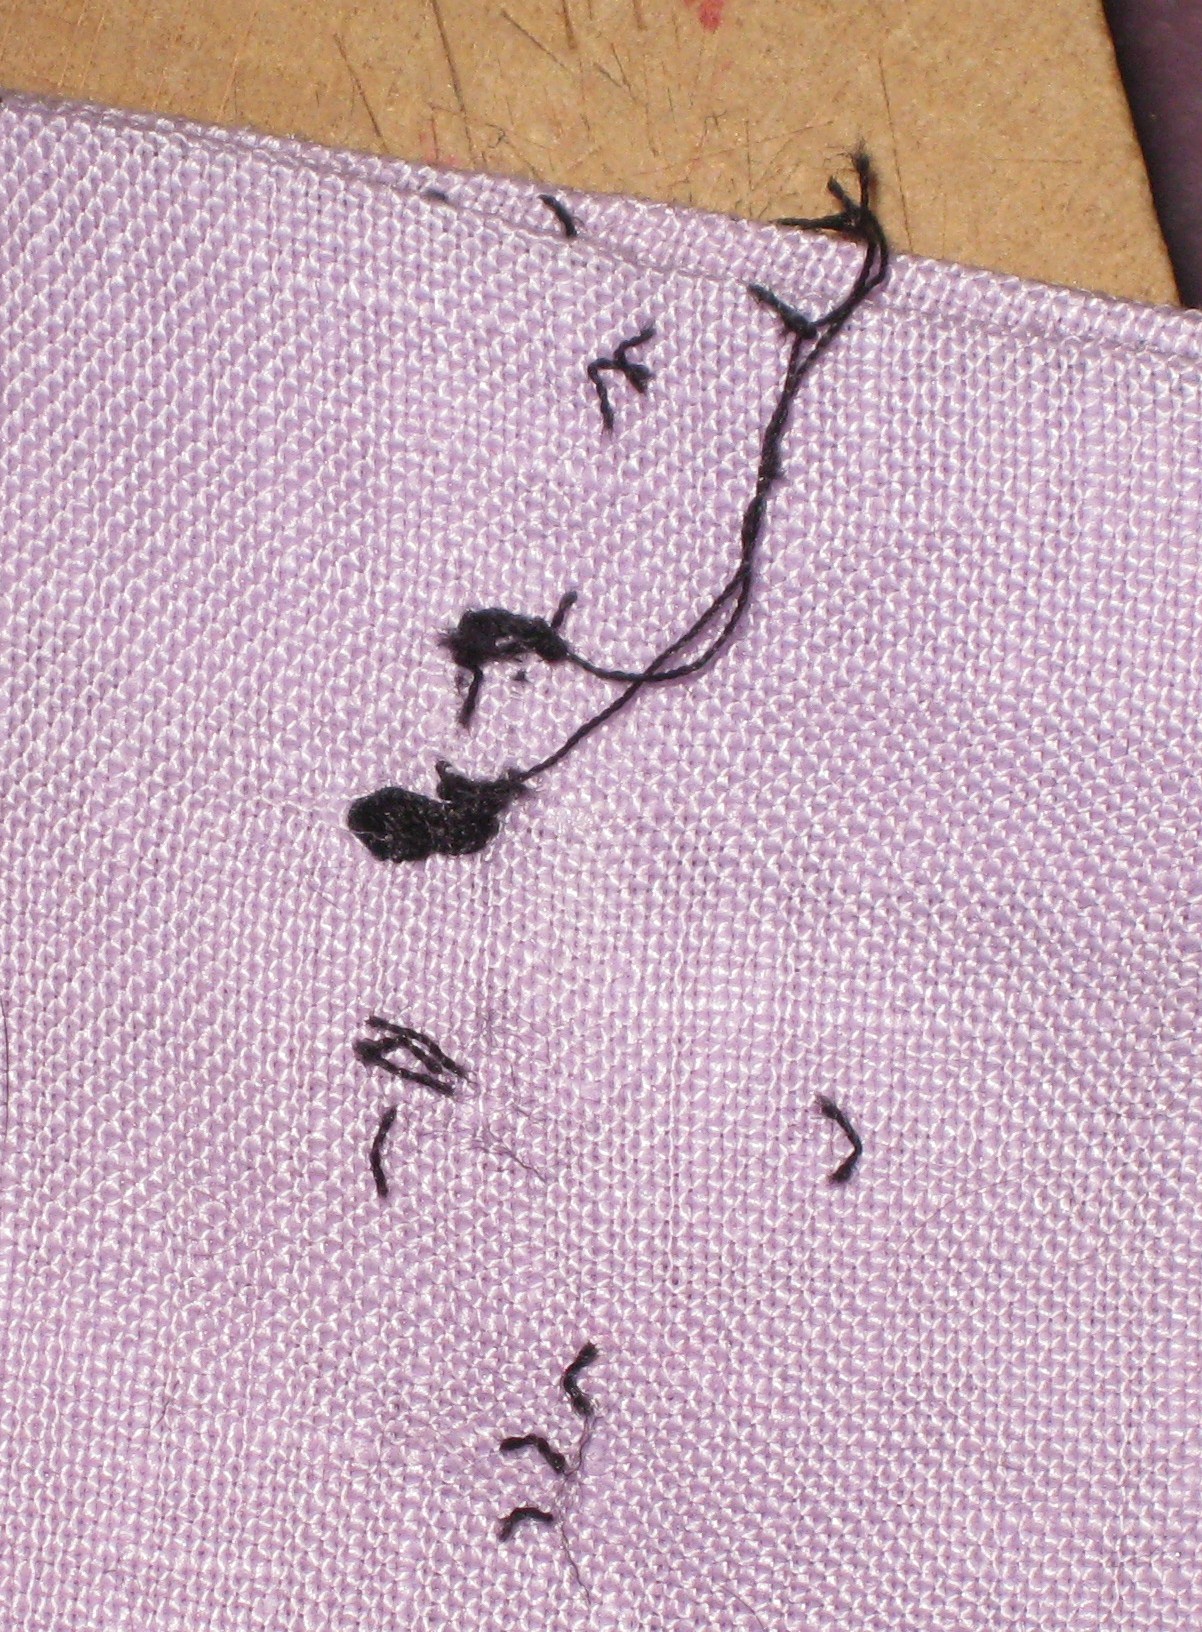
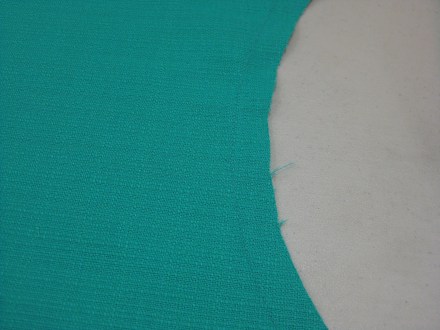
Careful marking is essential. Depending on the fabric, mark or thread trace the seam lines to indicate the exact shape of the inside corner and the exact point of the corner on the outside corner.

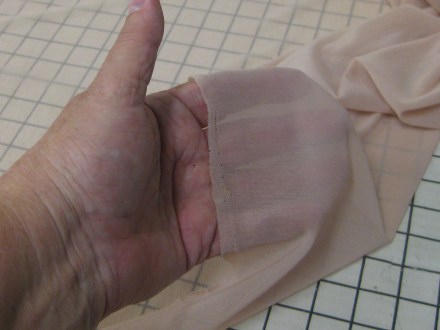
Position a 5cm square of silk organza on the right side of the fabric, centred over the corner point.
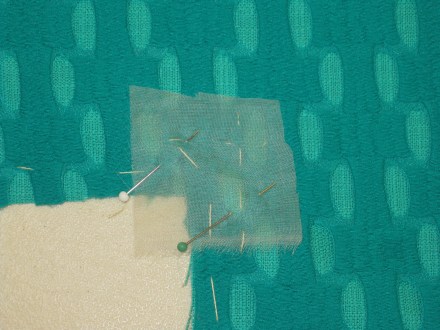
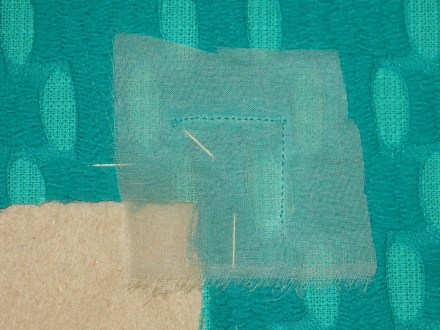
Stay stitch along the marked seam lines.
Clip exactly to the corner 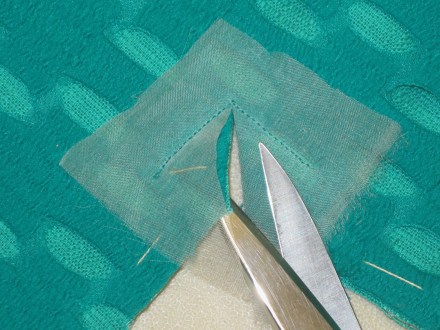 and turn the organza to the wrong side. Press the seam allowance open and then press the patch flat against the wrong side of the fabric.
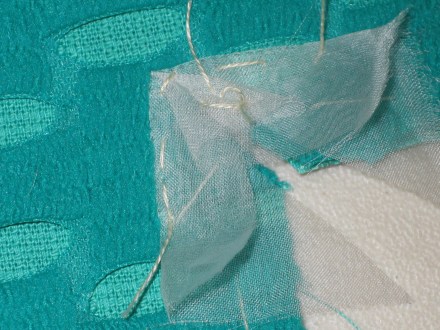
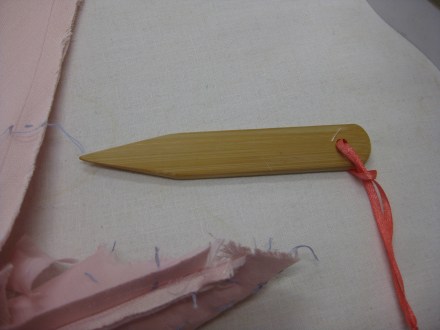
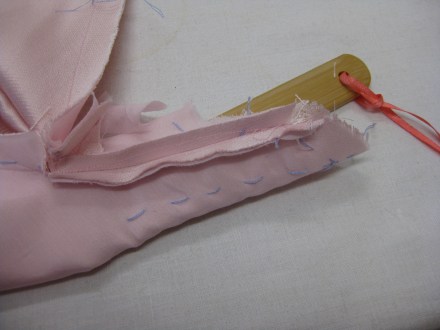
Organza has been basted out of the way so it does not get caught up in seam stitching
Pin the corner match points and, starting at the corner, stitch out along the seam line on each side of the corner before stitching the remainder of the seams.
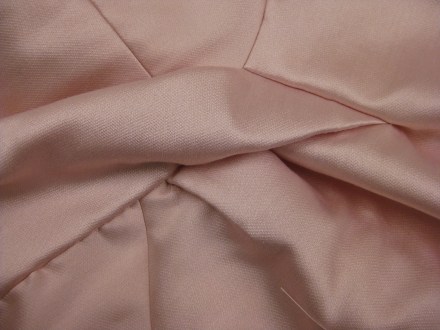
Finished corner
If using an overlay, be careful to trim away any bulk in between the seam allowances.
Pressing Seam Allowances:
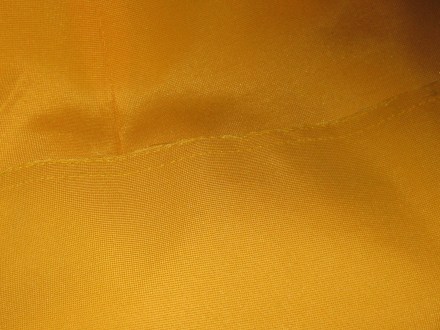
The seam allowances should be pressed flat as sewn before assessing which way to treat the seam finishing.
There are several options for the direction to press the curved seams and they all depend on the fabric being used and the desired finish.
With a single fabric layer garment, seams can be pressed flat and then open, perhaps with topstitching on either side of the seam line. They can also be pressed either to the main garment or towards the overlay. Whichever is chosen will make the area towards which the seams are pressed advance to become more of a highlight.
Because of the thickness of the overlay, I decided to go with this latter option as having thick seams under the main fabric made the seams look very bulky.
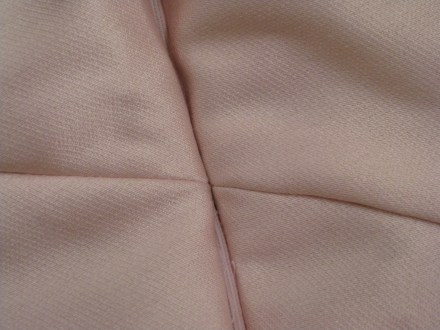
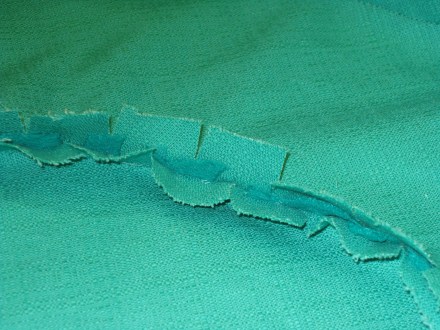
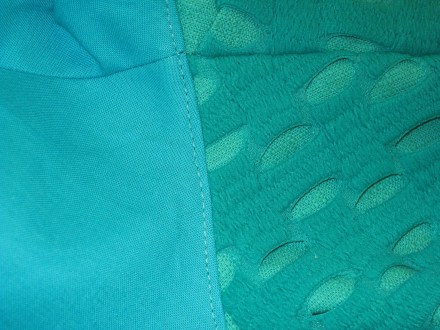
Once pressed, the seam allowances were clipped where necessary to allow them to lay flat and the edges overlocked together.
Hem Facing:
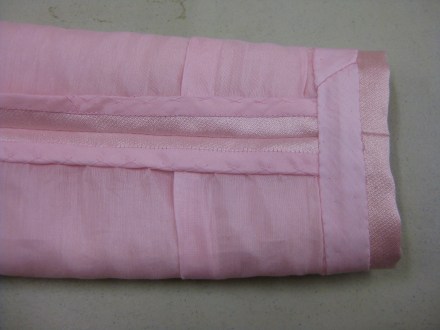
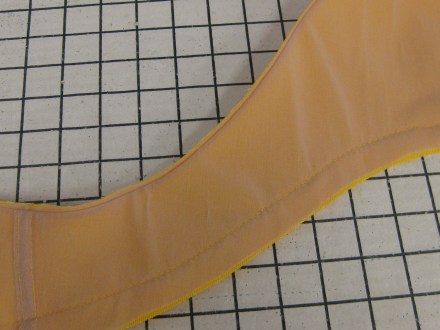
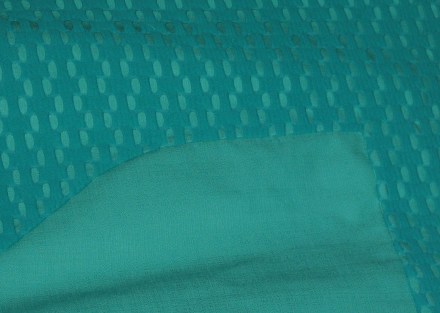
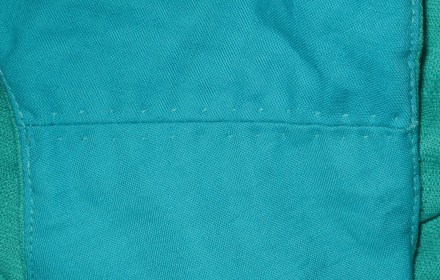
Because of the thickness of the overlay and fabric together, a facing has been applied to finish the hem. It was cut from the main fabric and applied across the full width of the band before being hand stitched in place.
If I had been using a single layer fabric, I would have most likely turned up a 5cm hem, finished the upper edge with the overlocker and hand stitched it in place.
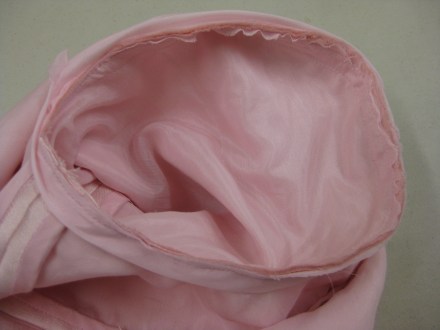
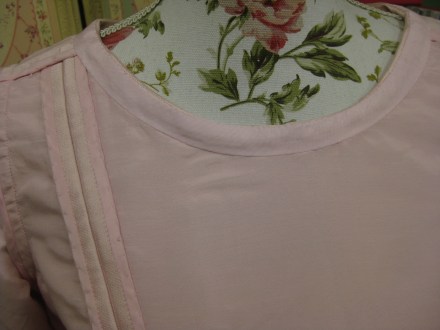
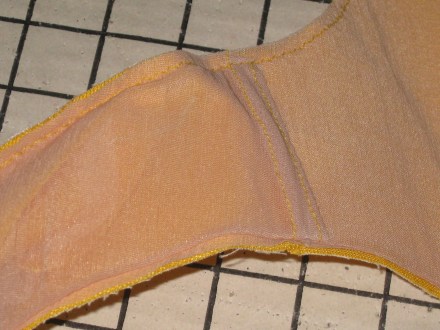
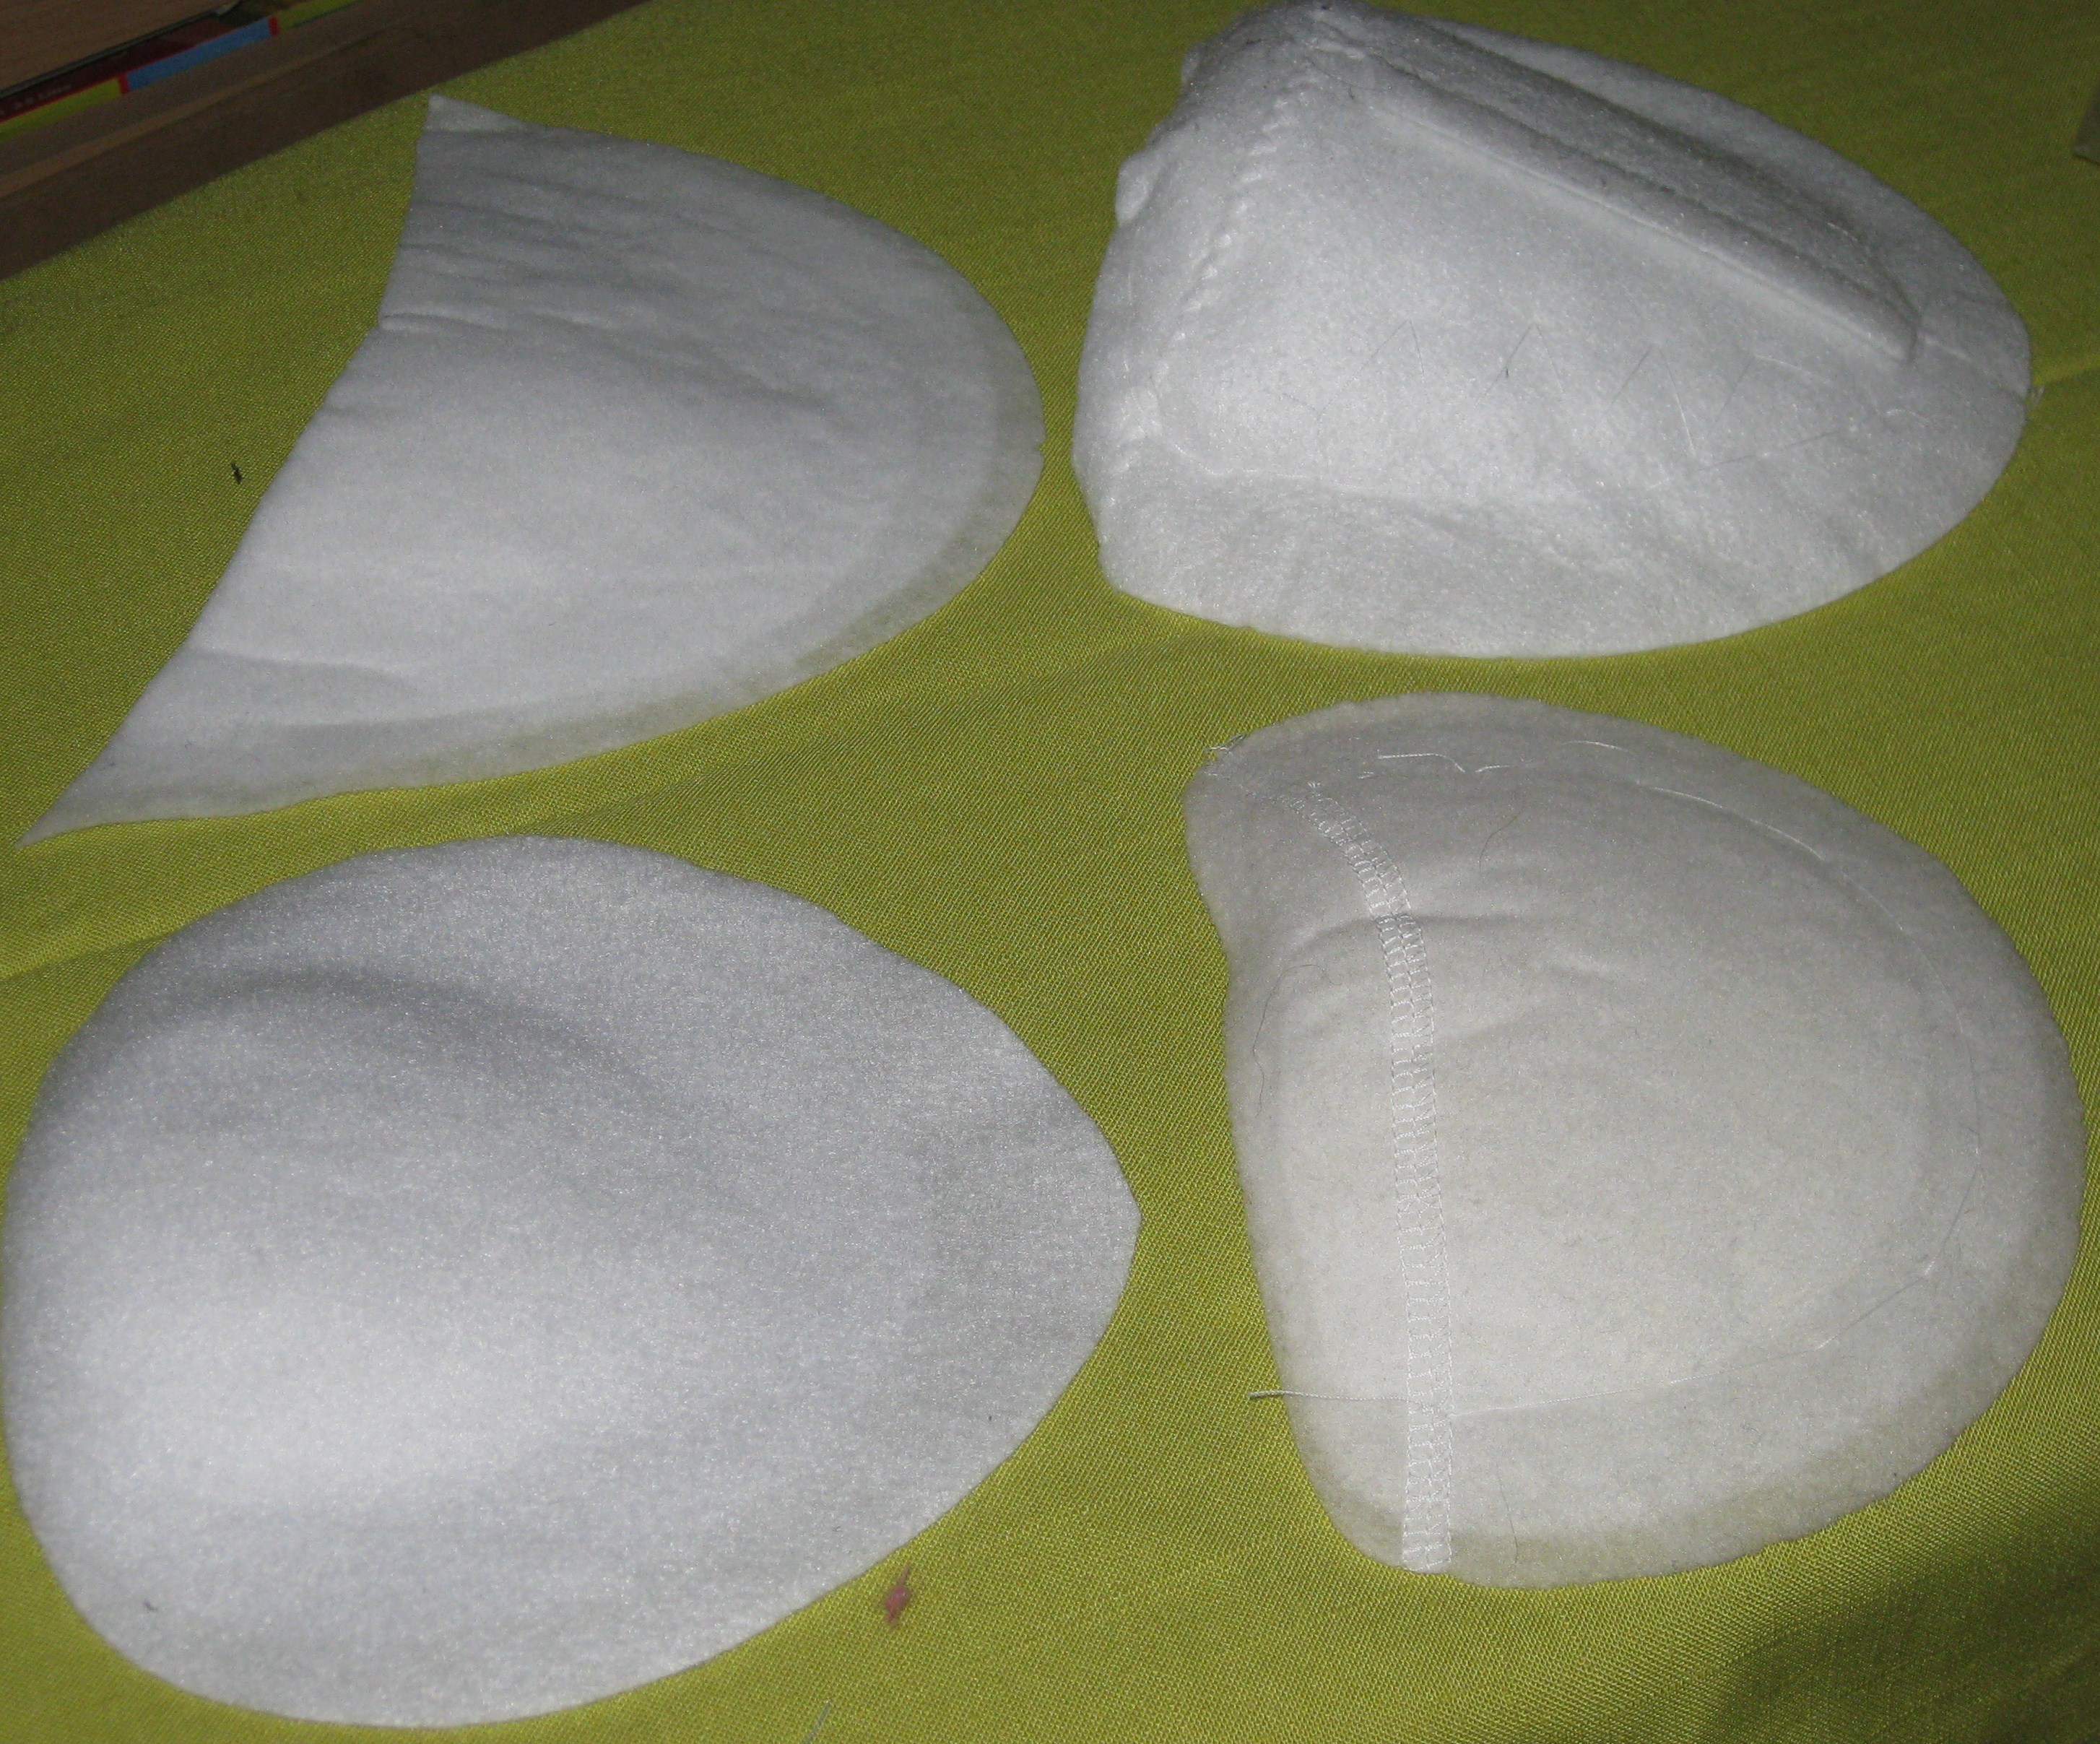
All in One Neckline and Armhole Facing:
Again, the thickness of the overlay needed to be taken into consideration when the facing was applied.
To minimise bulk, the facing was cut from a finer cotton fabric. The usual method of leaving three open seams and completing the neckline and armhole edges before pulling the whole garment through the shoulders would have been problematic with the thickness of the overlay, even though the shoulder seams are wide.
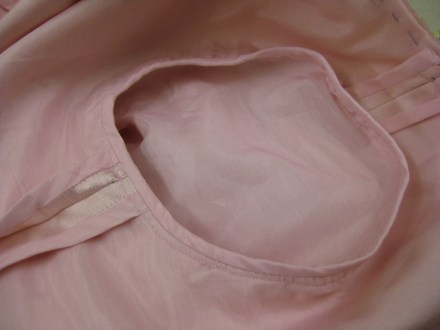
Consequently, I seamed the shoulders and armholes of the facing and completed the neckline edge, including trimming, clipping and under stitching. 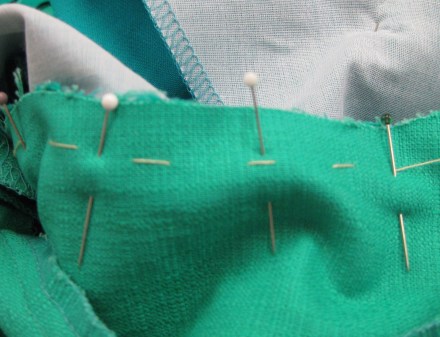
 Because of the wide shoulders, it was relatively simple to reach inside the turn the fabric so that the armhole seam could be machined – this method was the same as stitching a sleeve lining by machine in a lined jacket. Hand under stitching completed the armhole facing and has also been used to anchor the facing and shoulder seams in place.
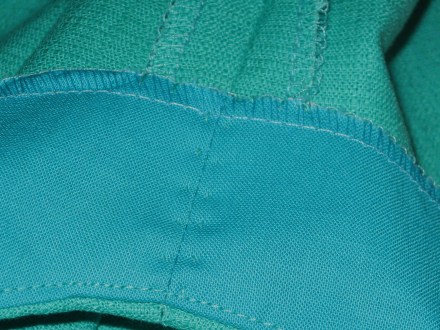
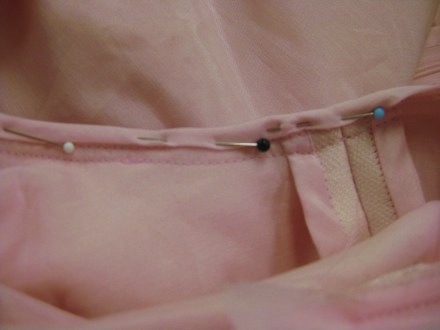
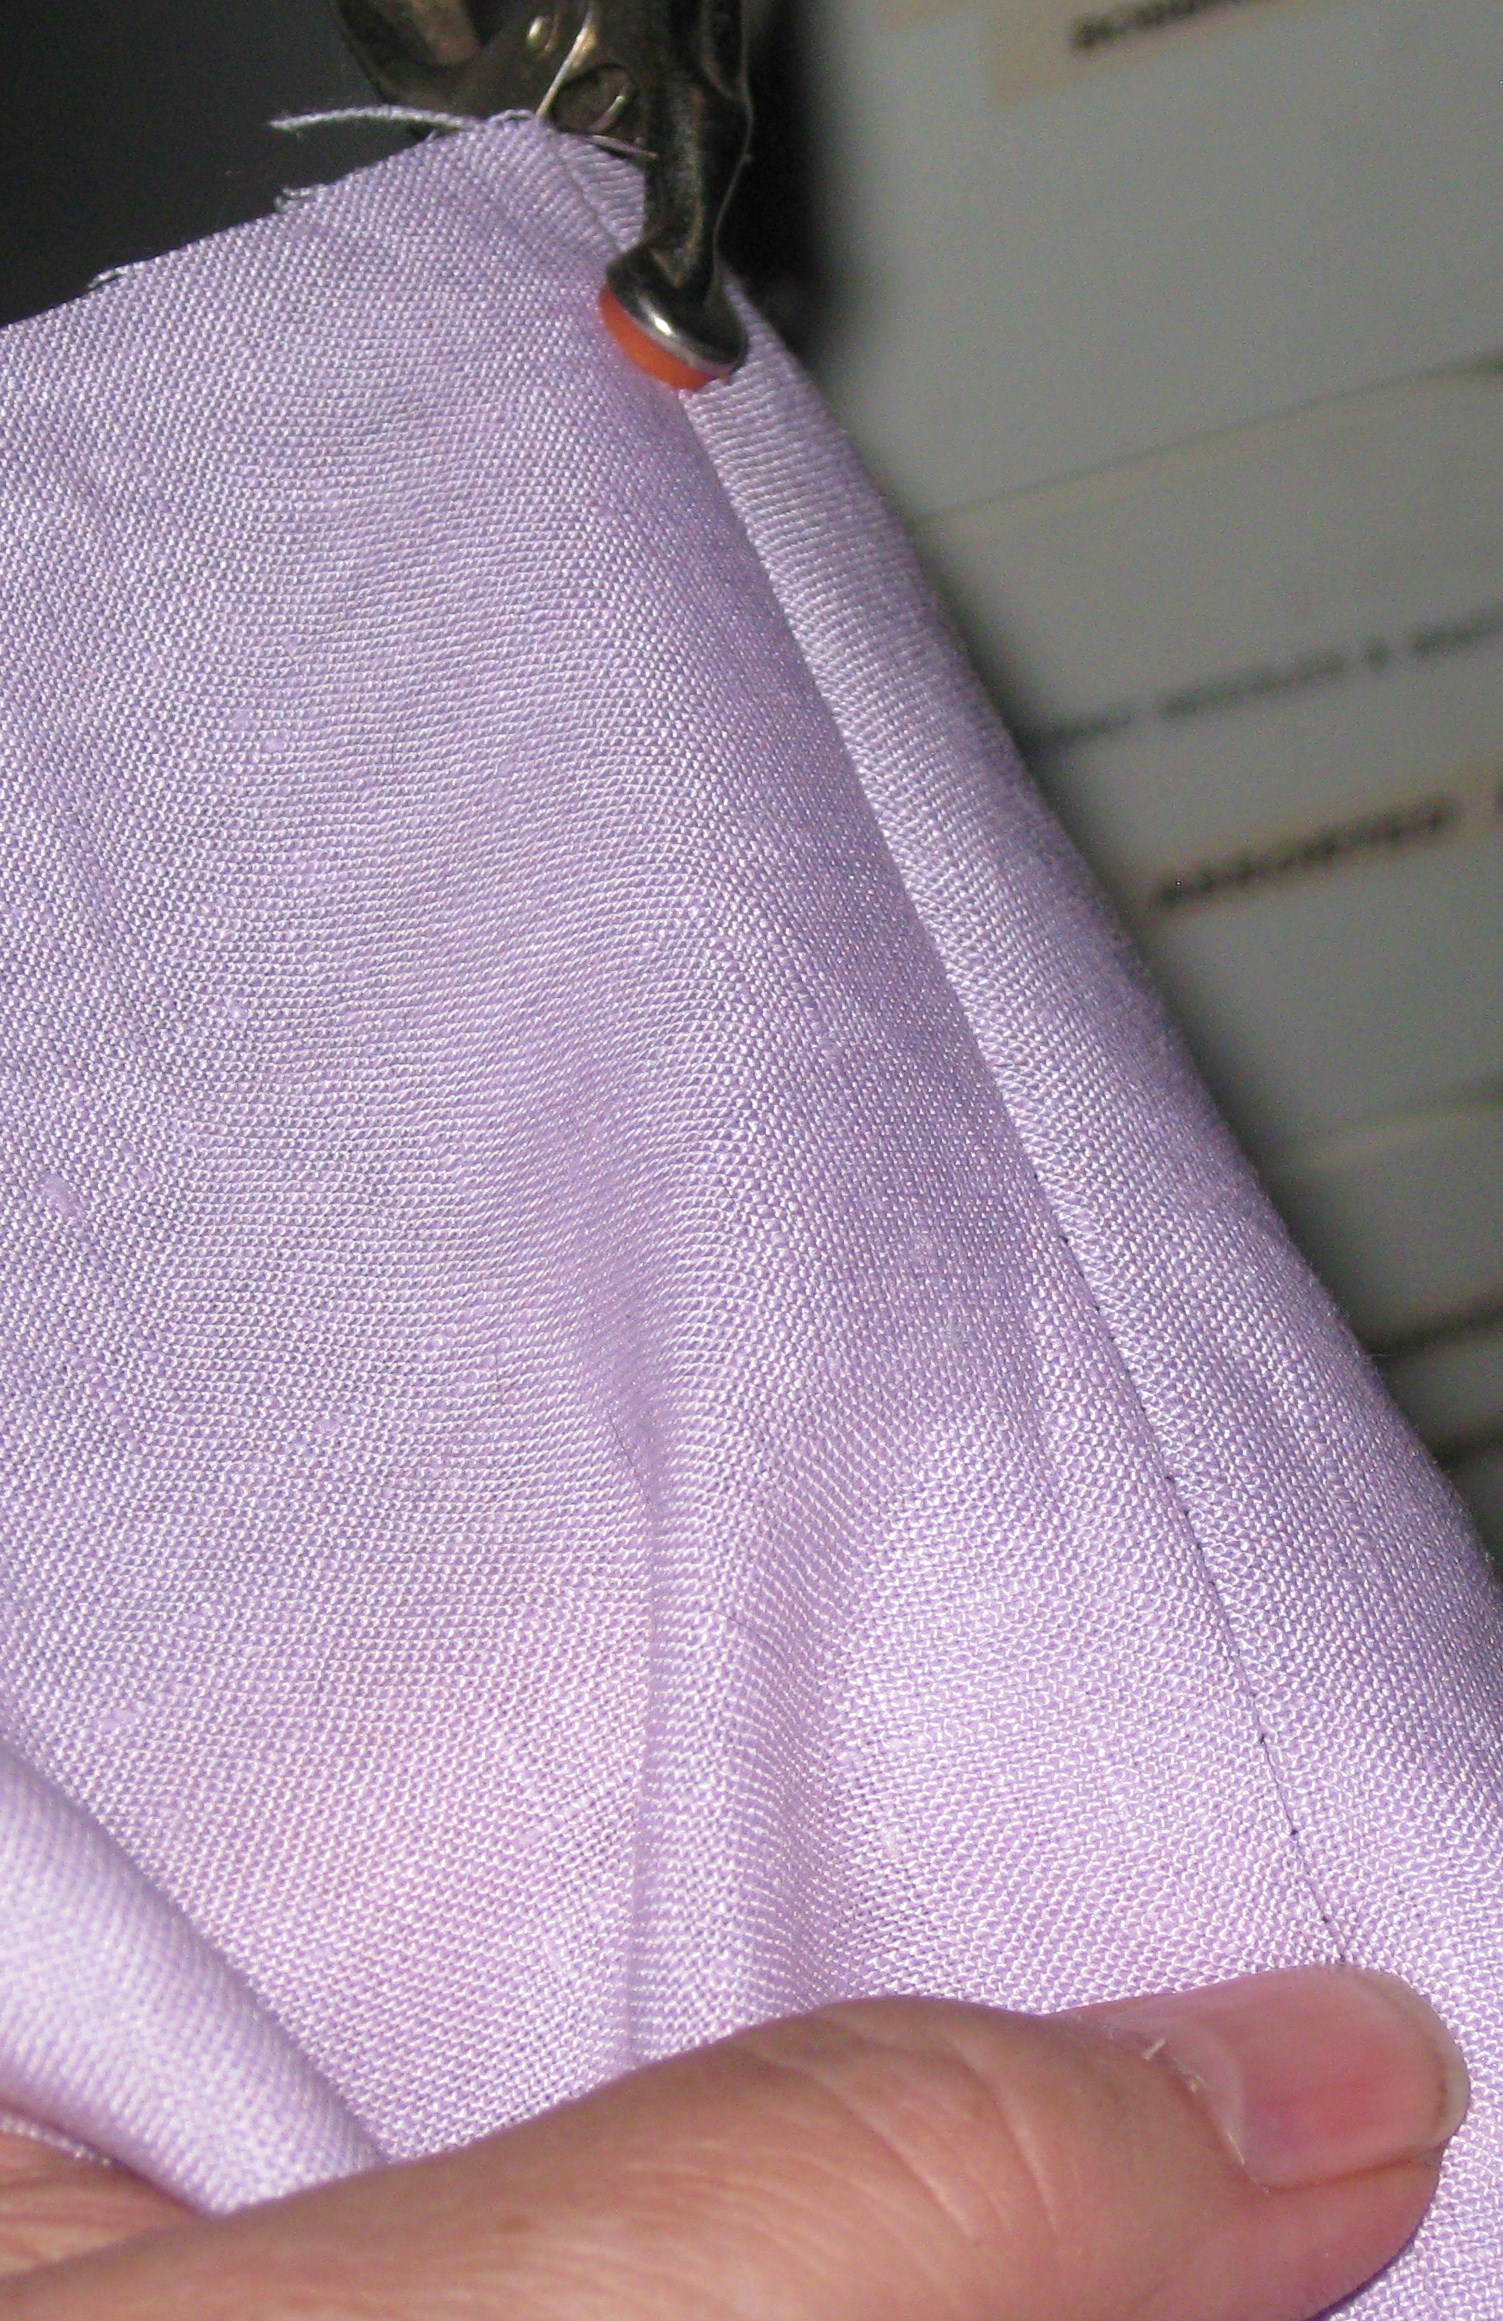
Invisible Zipper Finish:
An invisible zipper has been used for the back closure.
The zipper tapes were machine tacked in place before final stitching. To avoid bulk at the neckline, stitching is started level with the top of the plastic zipper stop. When facing is to be applied, zipper tapes are folded back so they are not included in the seam. 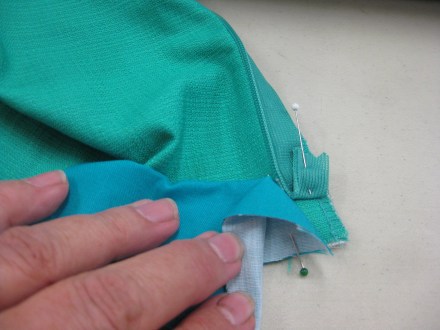 Facing is stitched right through to the seam edge at centre back.
Using the zipper foot, stitch the facing seam allowance to the garment seam along the side of the zipper tape. 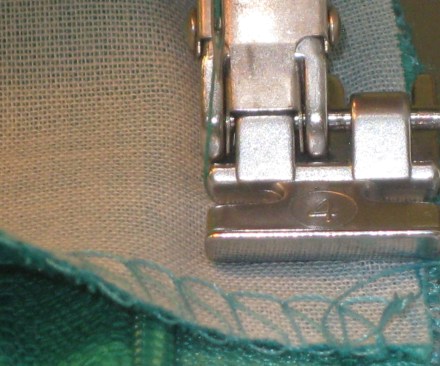 To clean finish the top of the zipper, place zipper foot blade on the garment side of the zipper teeth and stitch through neckline seam down approximately 6mm.
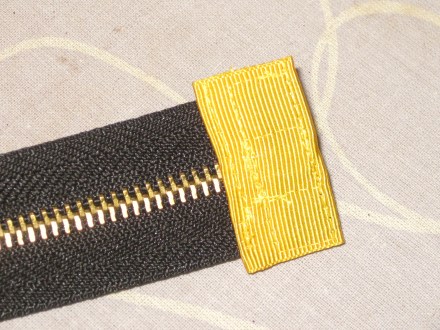
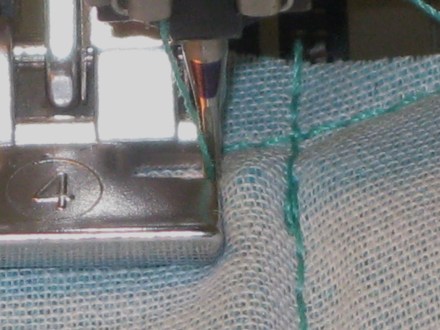 This technique forms a pocket which holds the plastic zipper stops so they are not visible from the right side of the garment.
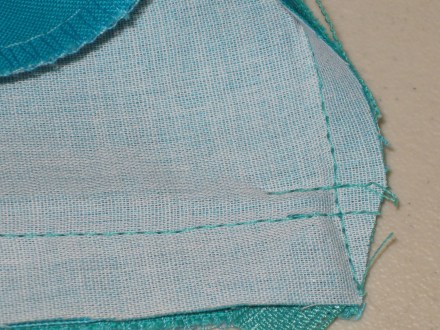
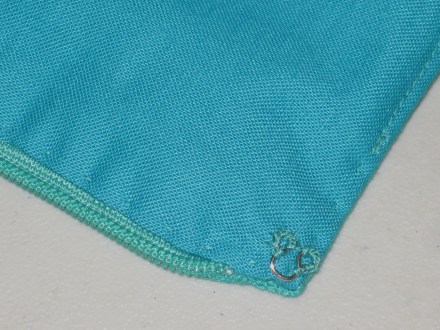
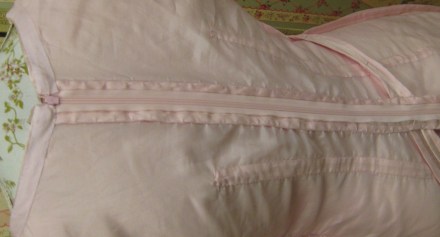
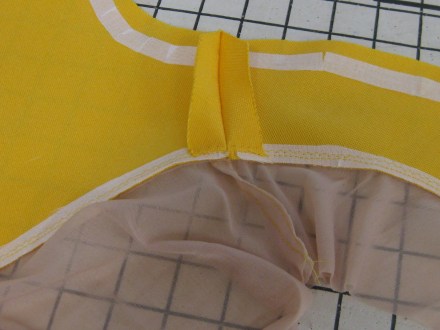
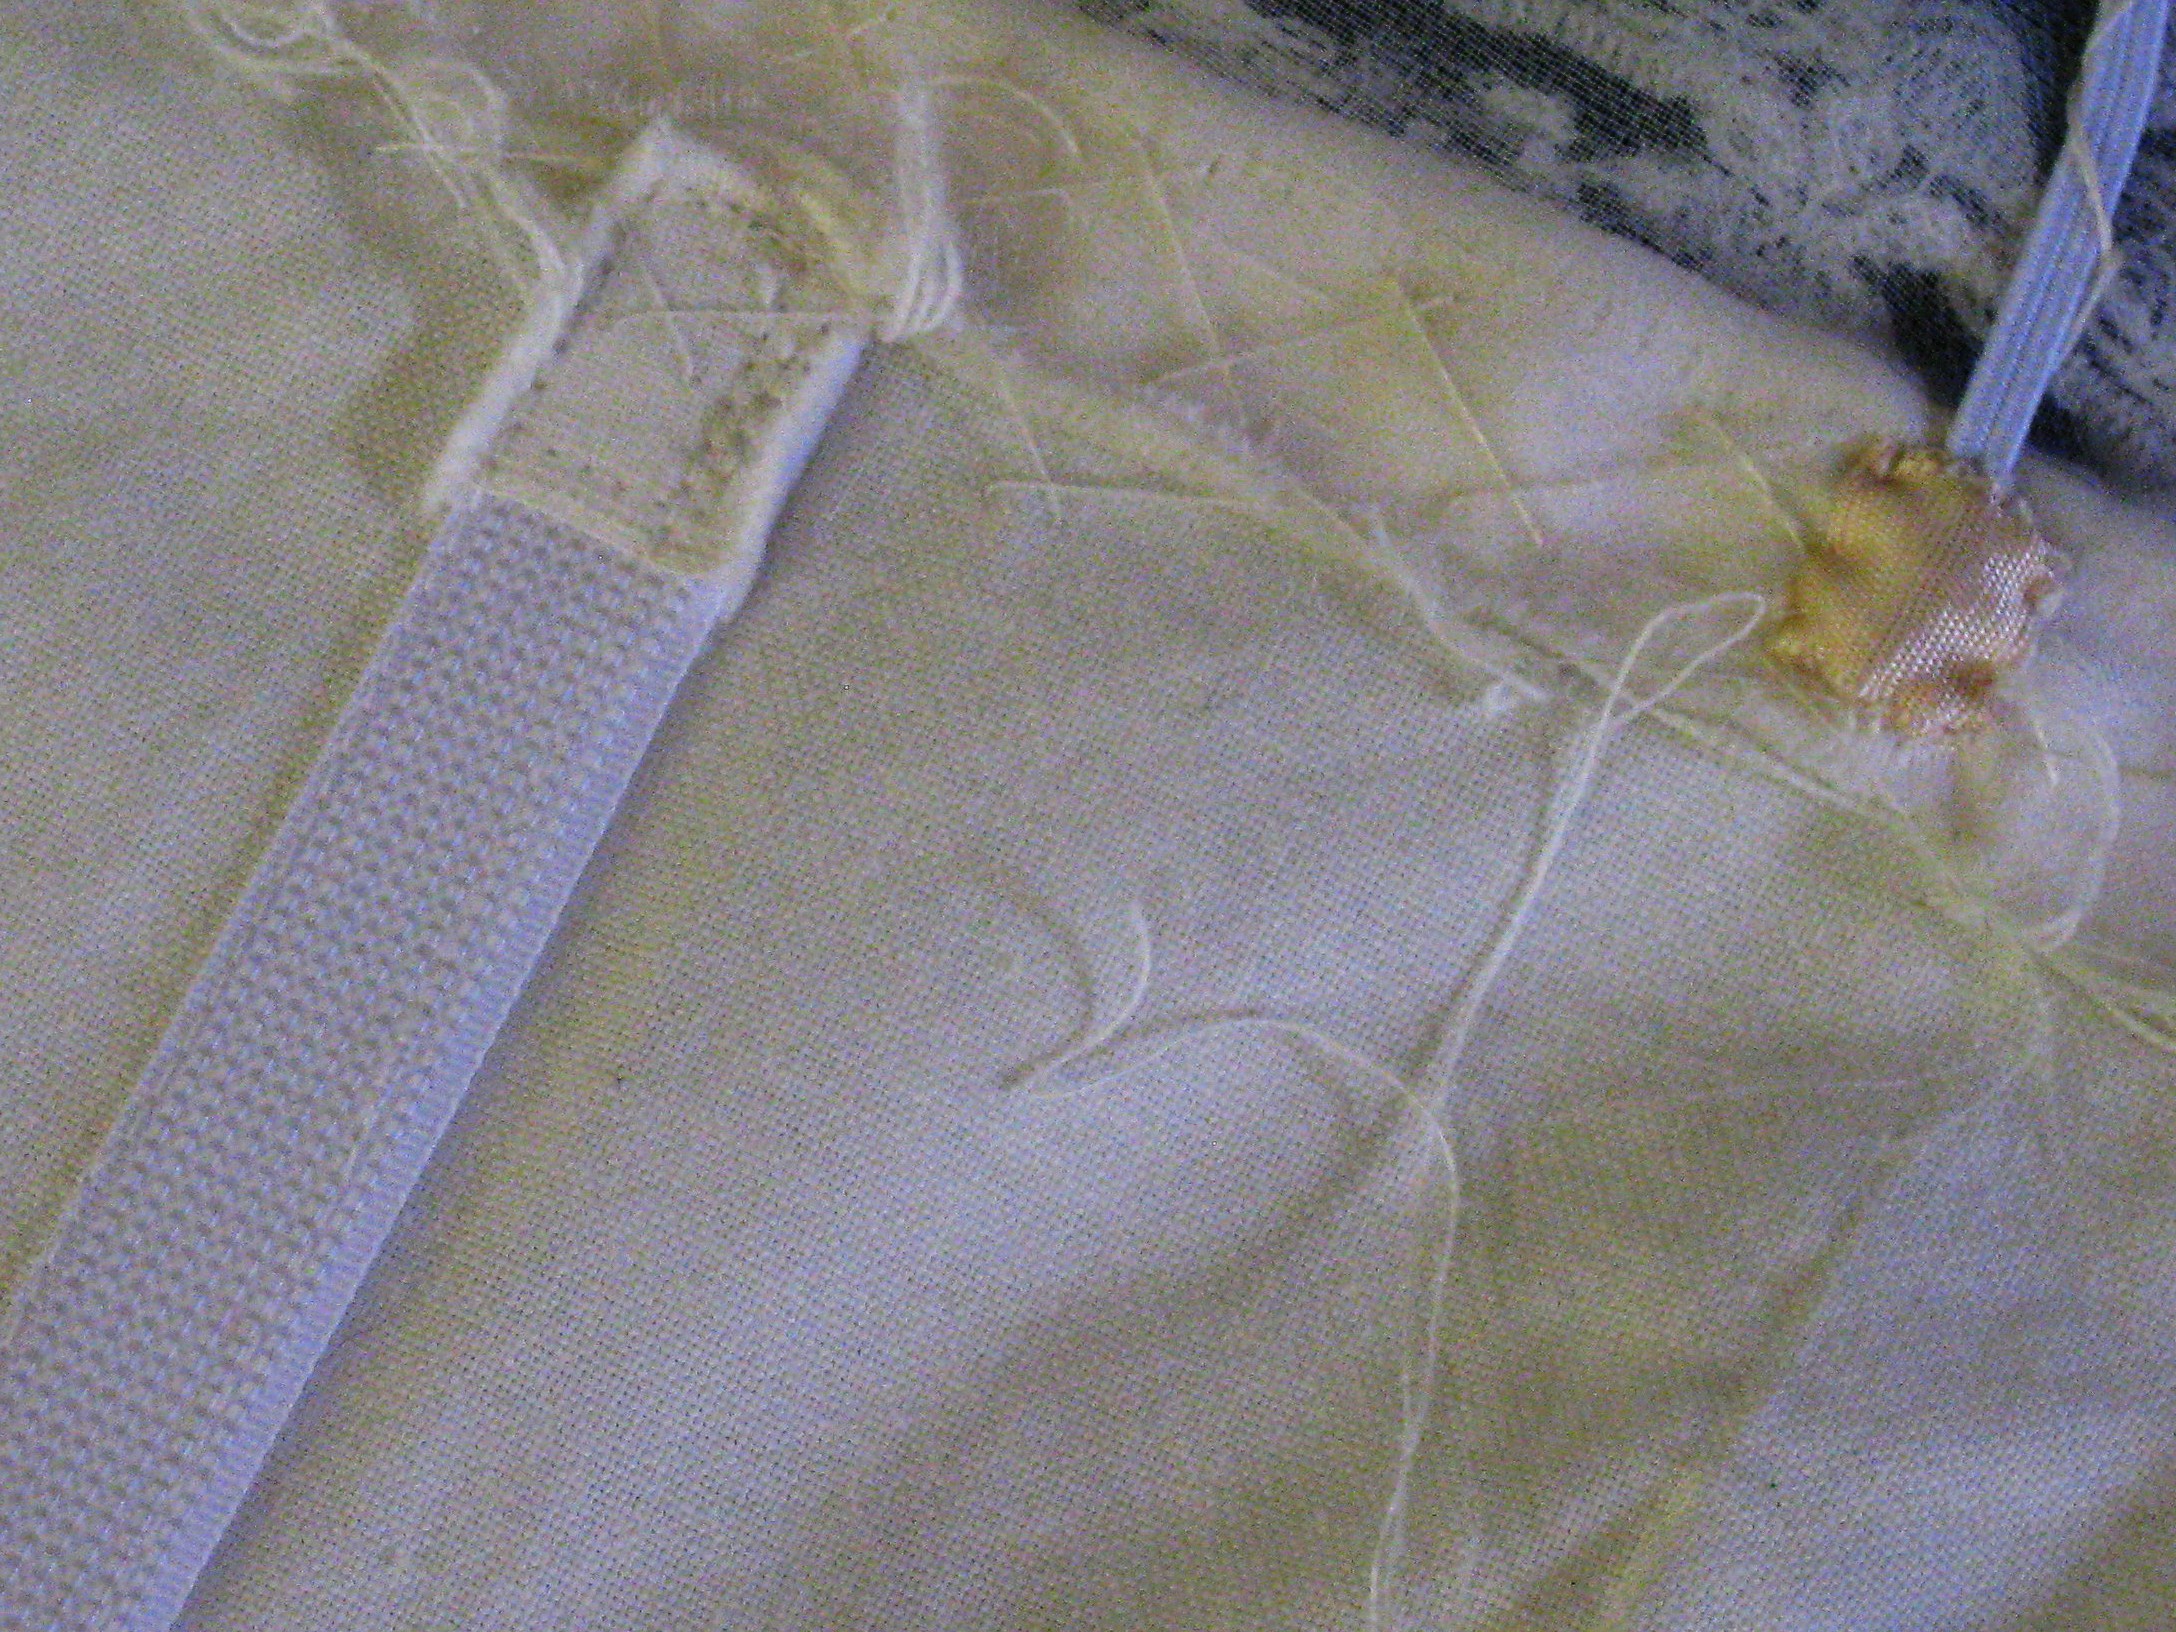
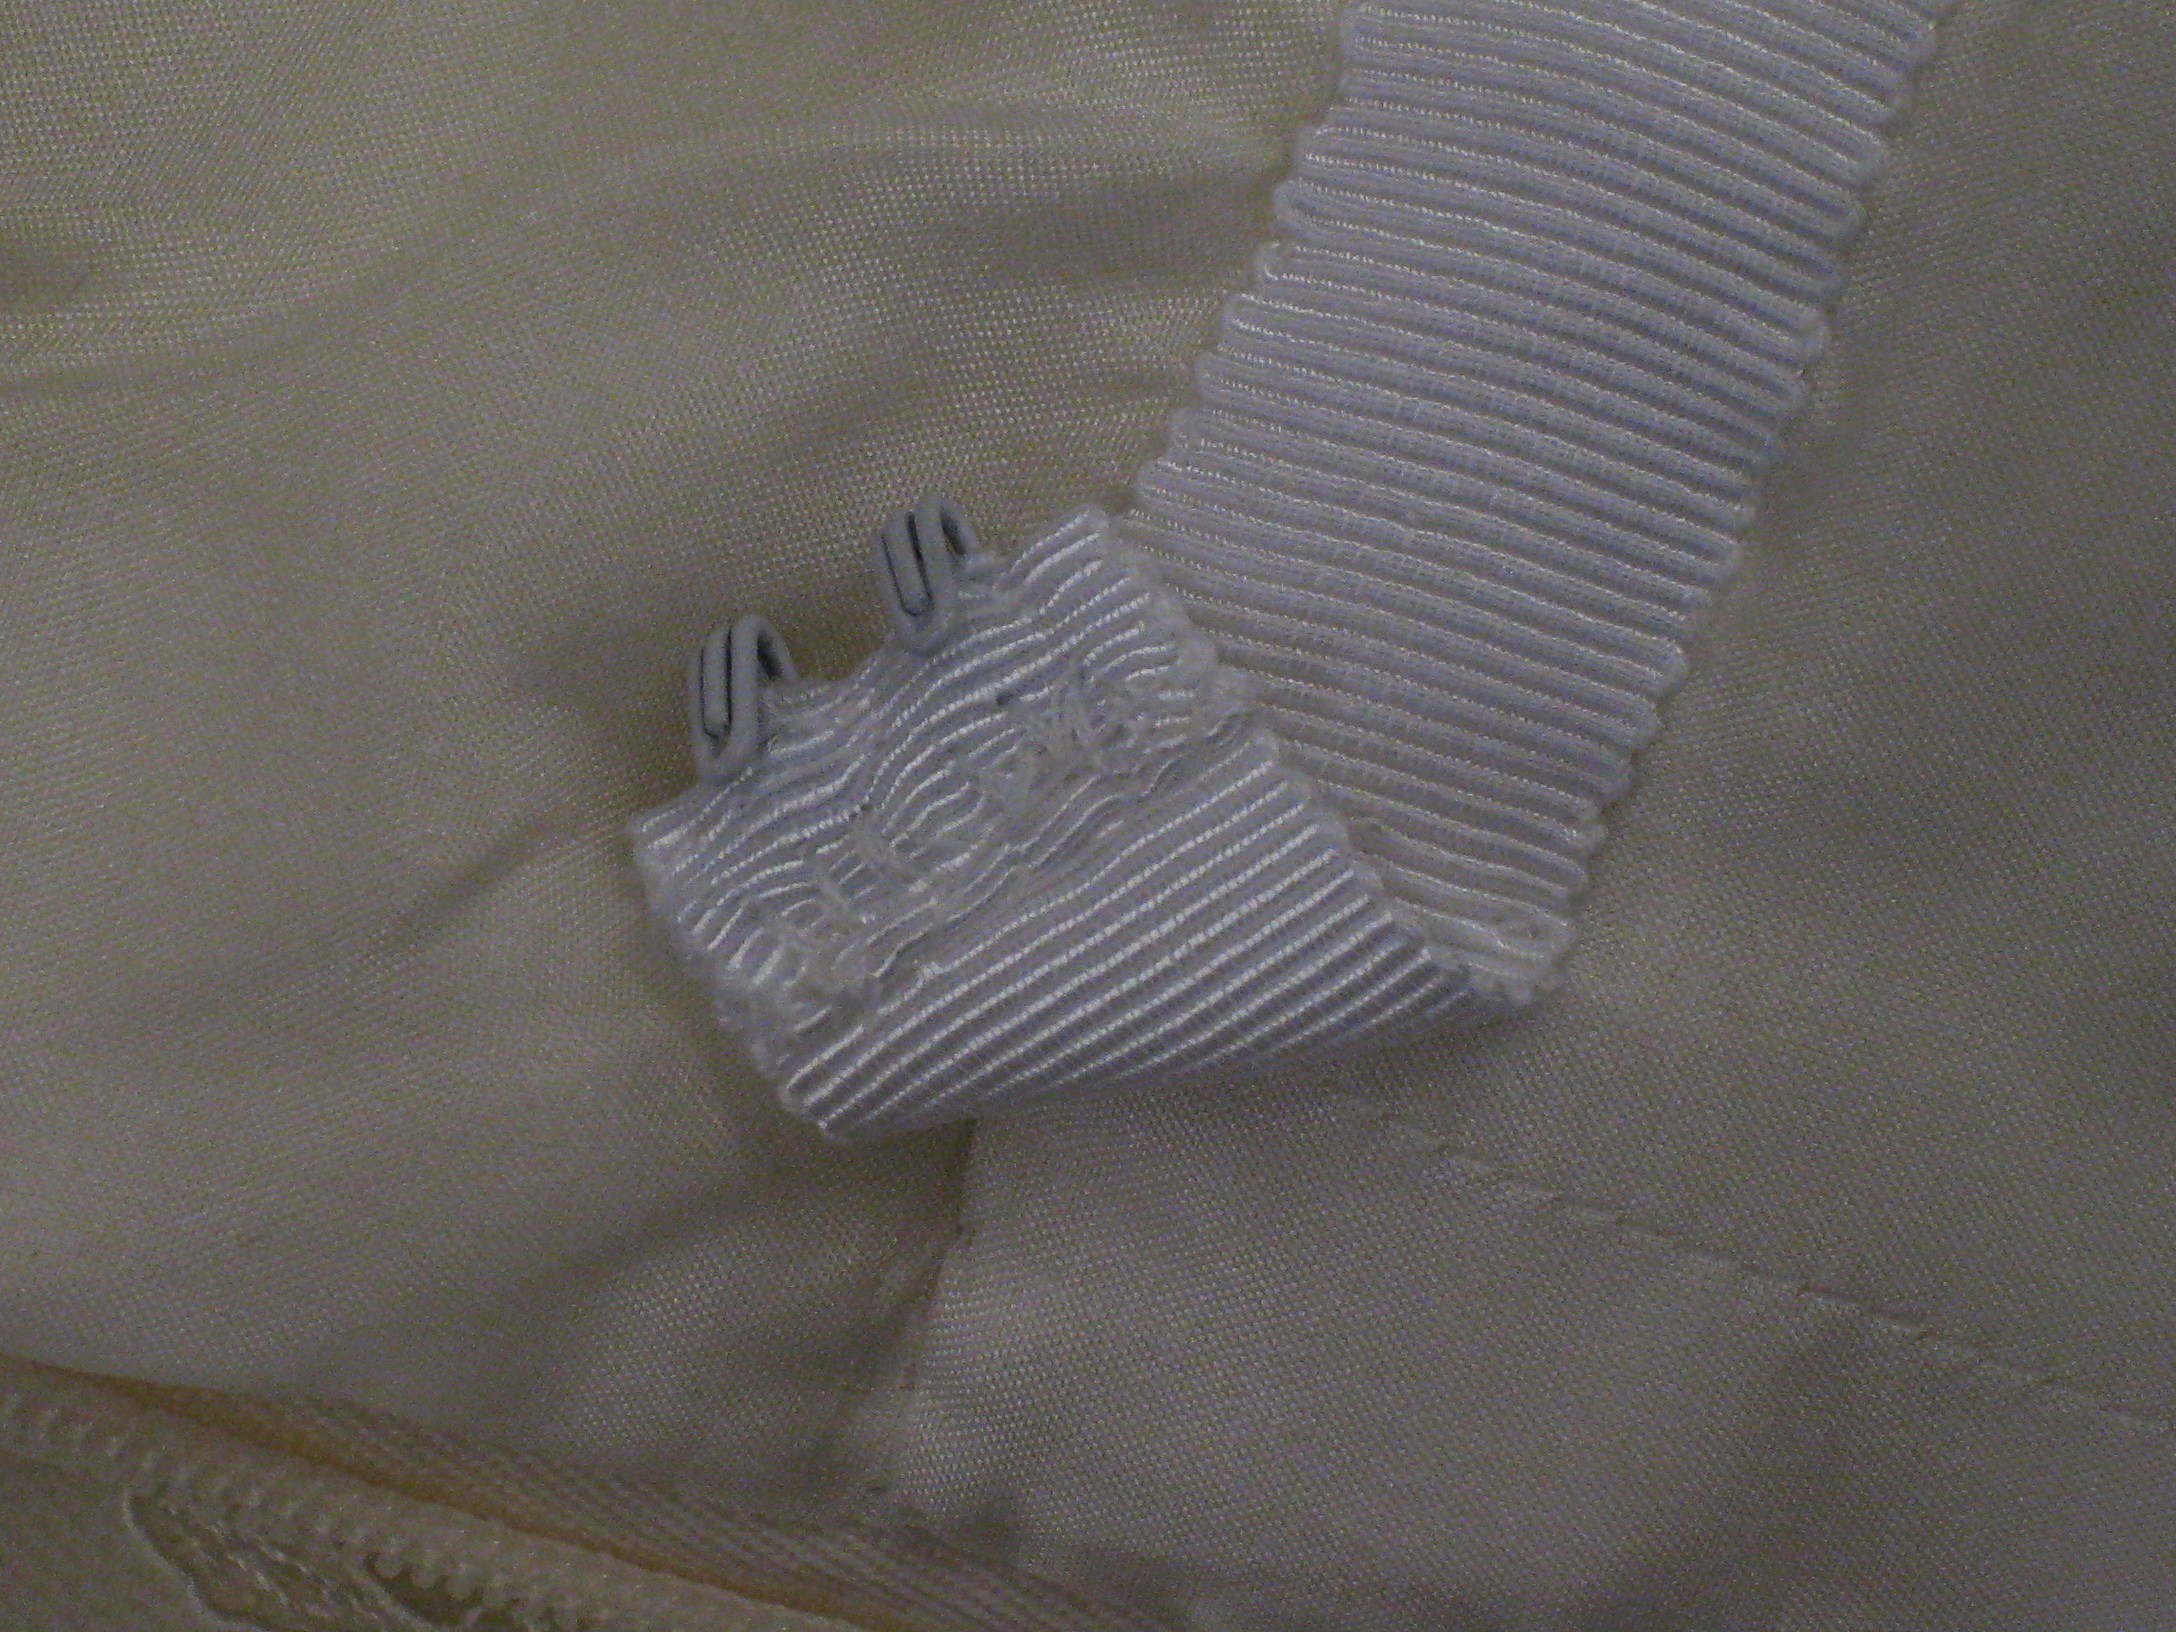
A hook and eye has been hand stitched to facing
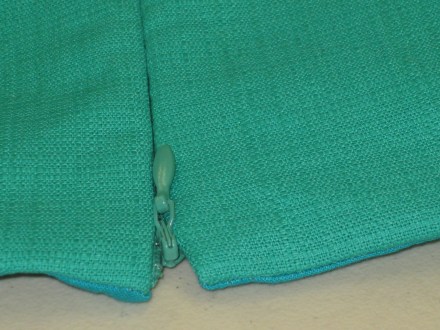
LHS – finish showing zipper stop / RHS – finish with zipper stop hidden
—o0o—
Marfy patterns are a wonderfully stylish range, many of which have simple lines and details. The cut is superb and well worth a try by any sewer of average ability. Do give them a go!
The catalogue for this year “Marfy Evergreen” has just been released featuring a broader size range and highlighting their landmark dresses, tops, pants and skirts as well as classic jackets and coats and evening wear. It can be ordered directly from http://www.marfy.it .