
This article was first seen in Australian Dressmaking with Stitches magazine – Volume 20 No 12.
Permission has been sought and granted by Express Publications for electronic use and the photos and text remain the property of Alison Wheeler – Sewing Lady.
Binding a curved edge can be a frustrating task, particularly when the binding twists and puckers. The following are the methods I use to prevent this from happening – no more frustration or puckering, just a perfect result every time!
To avoid show through from neckline and armhole facings, binding is a great alternative when using a lightweight and/or sheer/semi sheer fabric.
There are a number of things to consider when using a bias binding finish to curved edges.
Firstly is the thickness of the neckline edge. If the garment has pleats of gathers, the edge will be thicker which will take up some of the bias trim width. It would be wise to cut the bias strip wider to accommodate this extra thickness.
Secondly, the thickness of the garment fabric needs to be considered. If using a lightweight fabric with thickness at the edge to be bound, it would be better to use a double binding technique. The bias strip is cut four times the desired finished width plus two seam allowances. If the fabric is heavier or firmer, a single binding may well suffice – cut the strips twice the finished width plus two seam allowances. A small allowance in width to allow for the turn of the cloth may also be needed.
Tip: Whichever method is chosen, making a sample first is important to ensure a good final result.
I find that bias strips are best cut using a rotary cutter, mat and ruler – this results in strips with an even width and evenly cut edge. If you have a pattern piece for the trim, measure its width and length and cut your strips slightly wider than needed and allow extra length to enable a bias join which is much flatter and less bulky.
If you do not have enough length in one strip, it is quite easy to join strips. Simply cut several strips in the same width. Place one strip right side up vertically on a grid; take another piece and place it with right sides together at right angles and to the right of the first piece. Pieces are then stitched across the diagonal –hold threads to start stitching; use small stitches and do not back stitch. Seams are trimmed to 6mm and pressed flat and then open.
Joining bias strips
As an aid to preventing puckers, I have recently been using a steam iron to “stretch press” the strips before preparing the binding. This seems to prevent further stretching when the strips are applied.
You can either use a bias maker or carefully press under 6mm on each side of your bias strips.
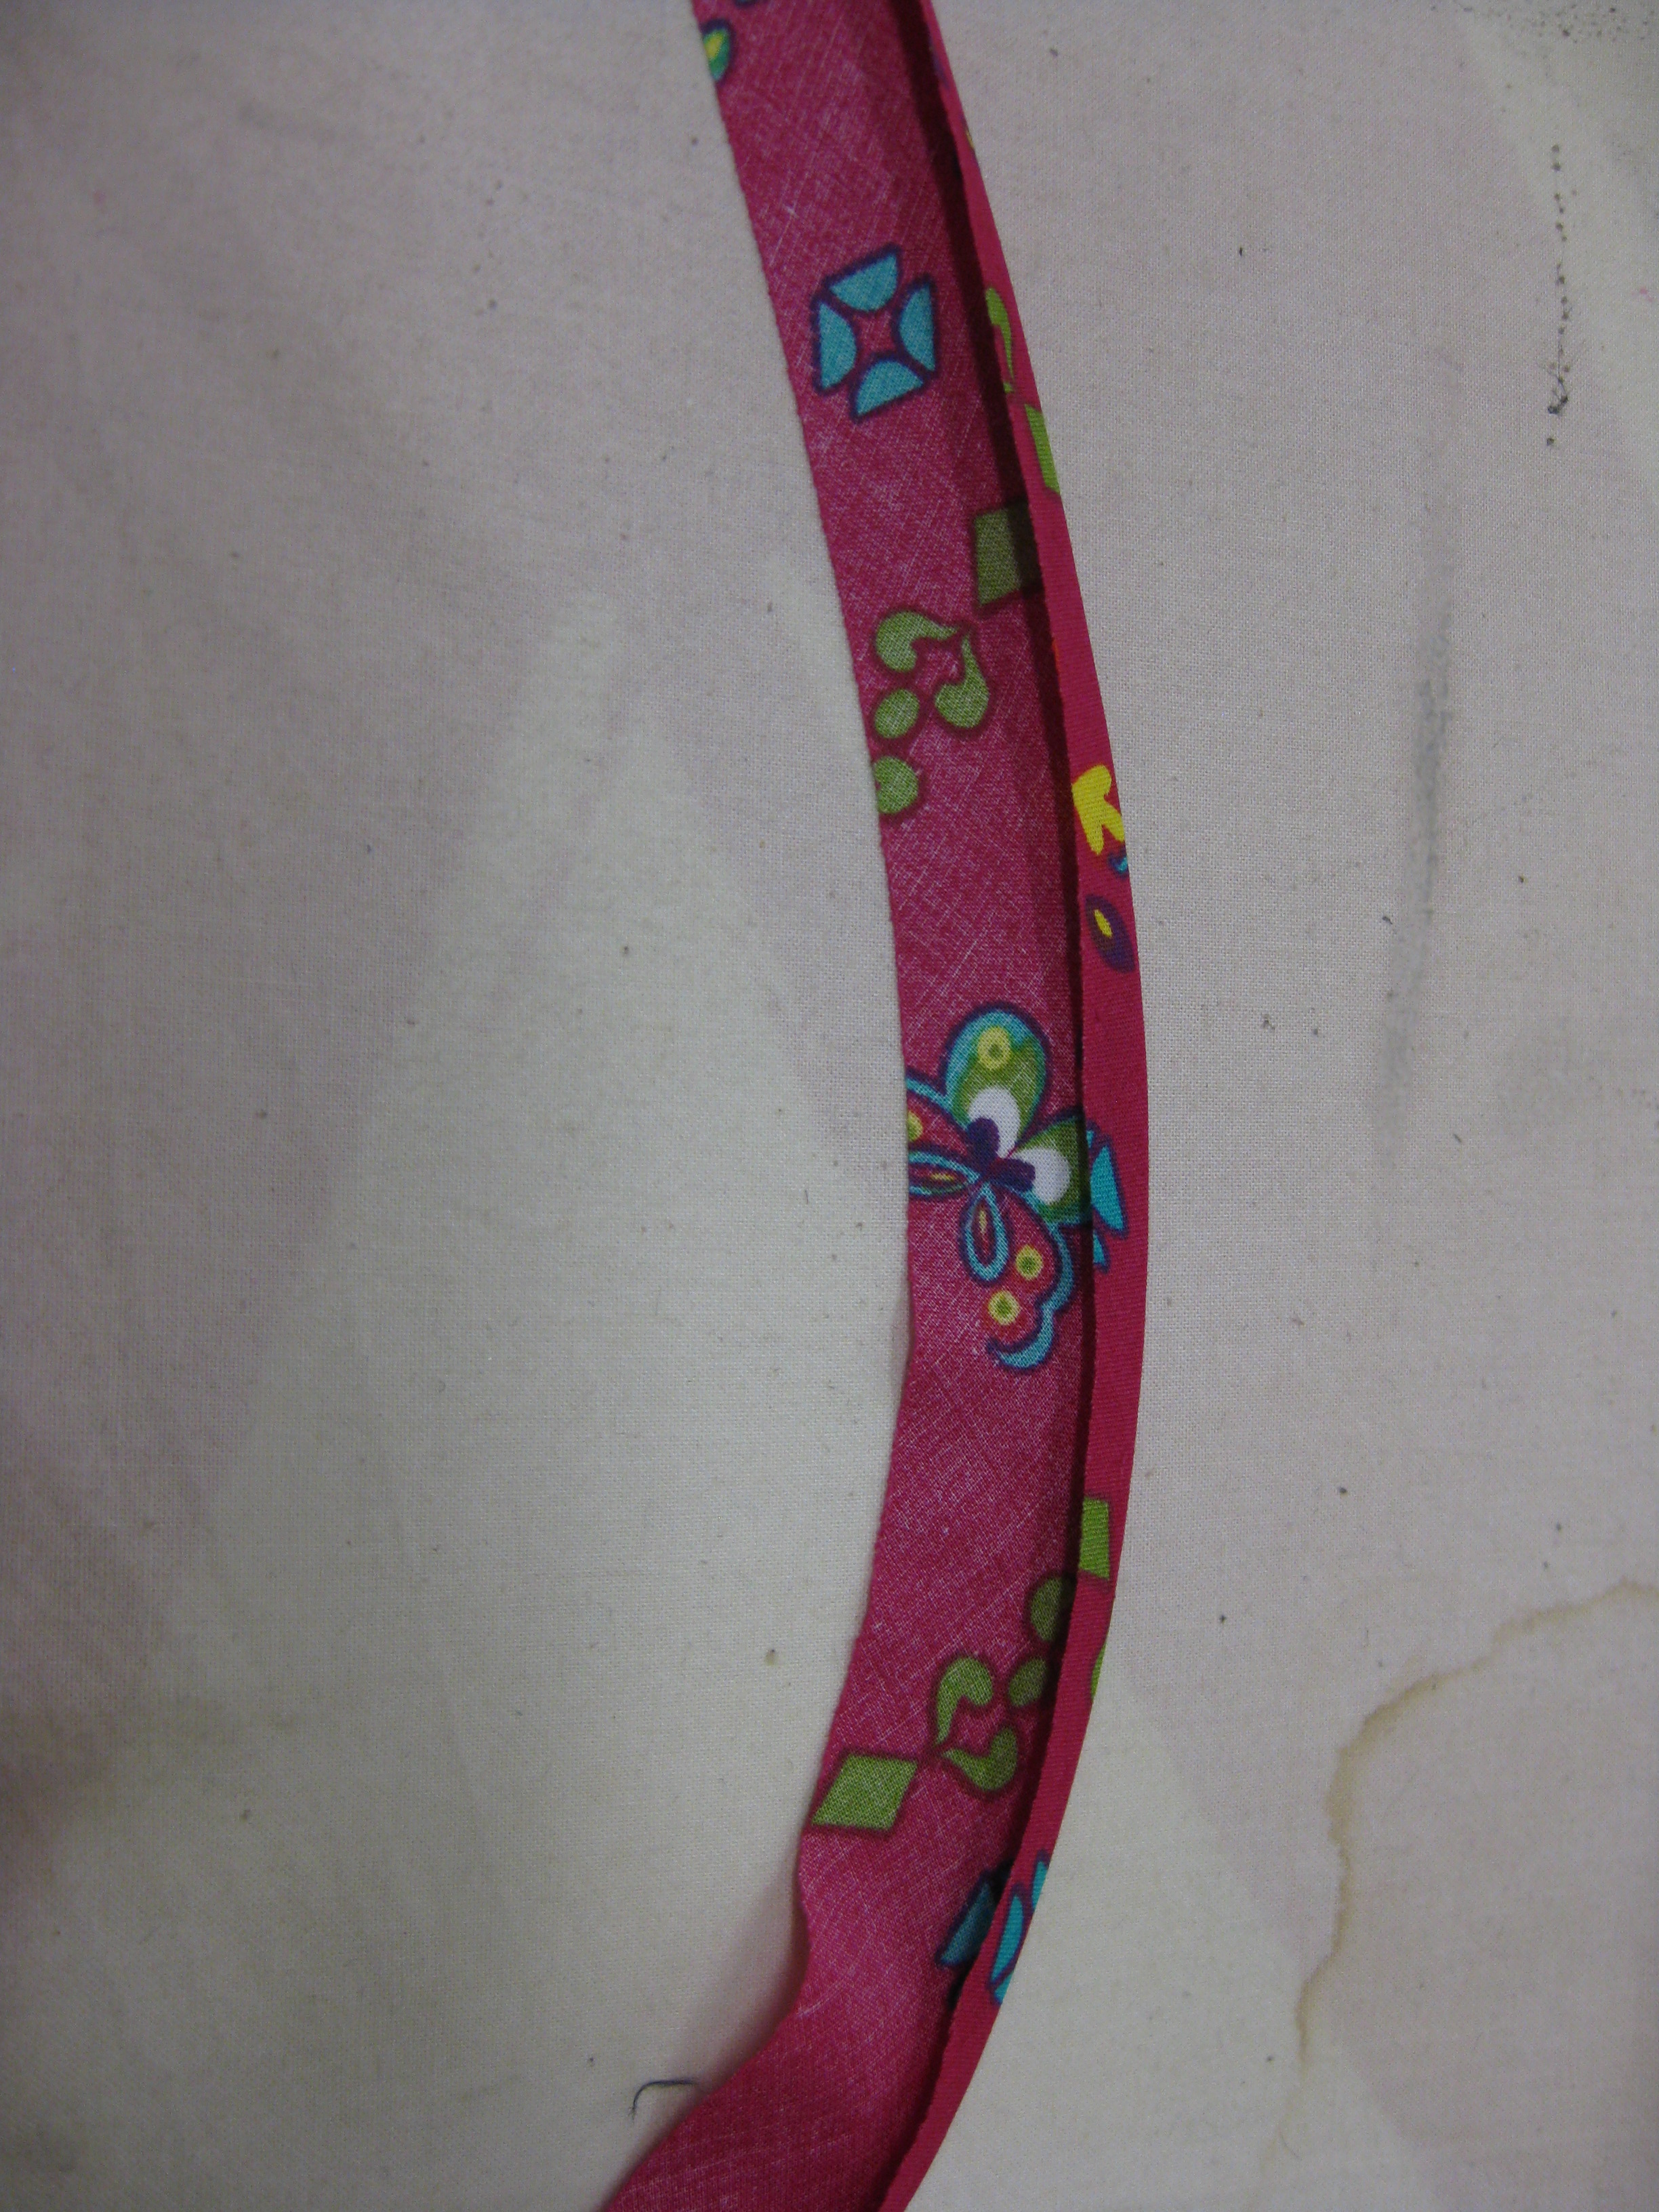
Press under 6mm on each side – one at a time is best
My newly purchased Thermal Thimbles keep my fingers protected from the heat and steam.
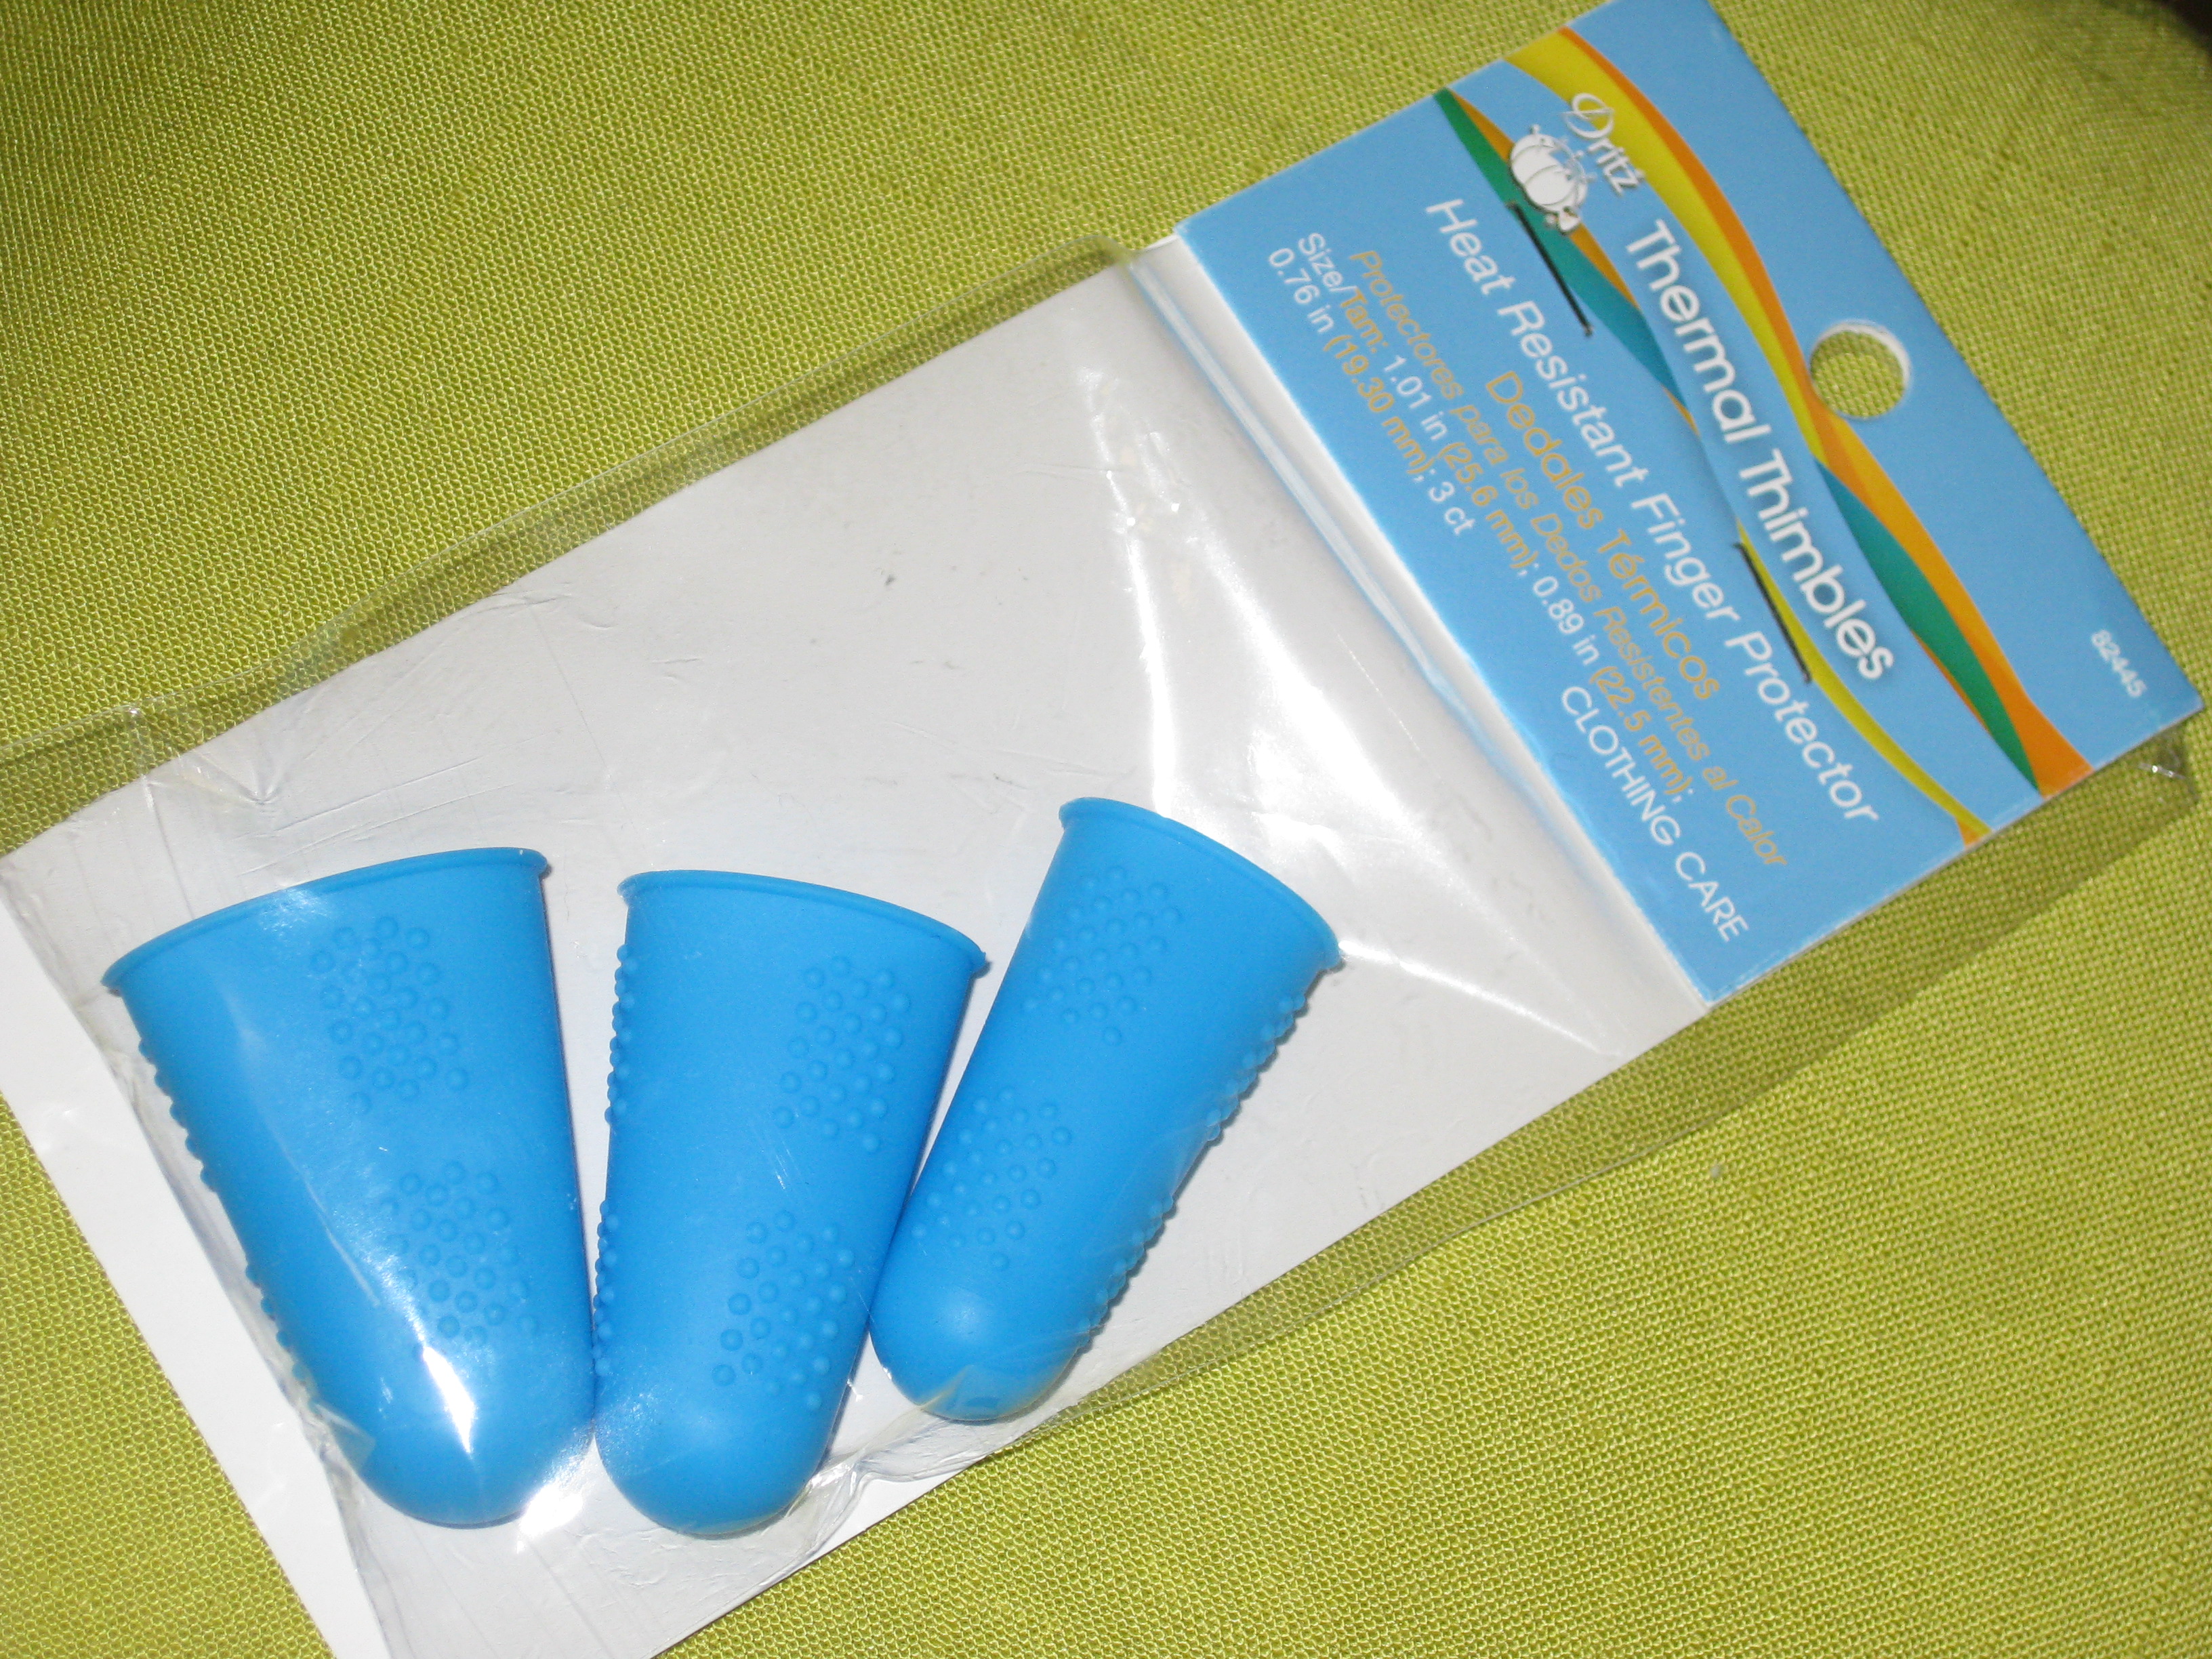
Thermal Thimbles – a great idea! Available from punchwithjudy.com.au or nancysnotions.com
Once your strips are ready to be applied, take a look at the shape of the curve they will need to match.

Check the curve so bias can be prepared with steam
Using an iron and steam, press the bias strips into the shape of the curve of the pattern piece.
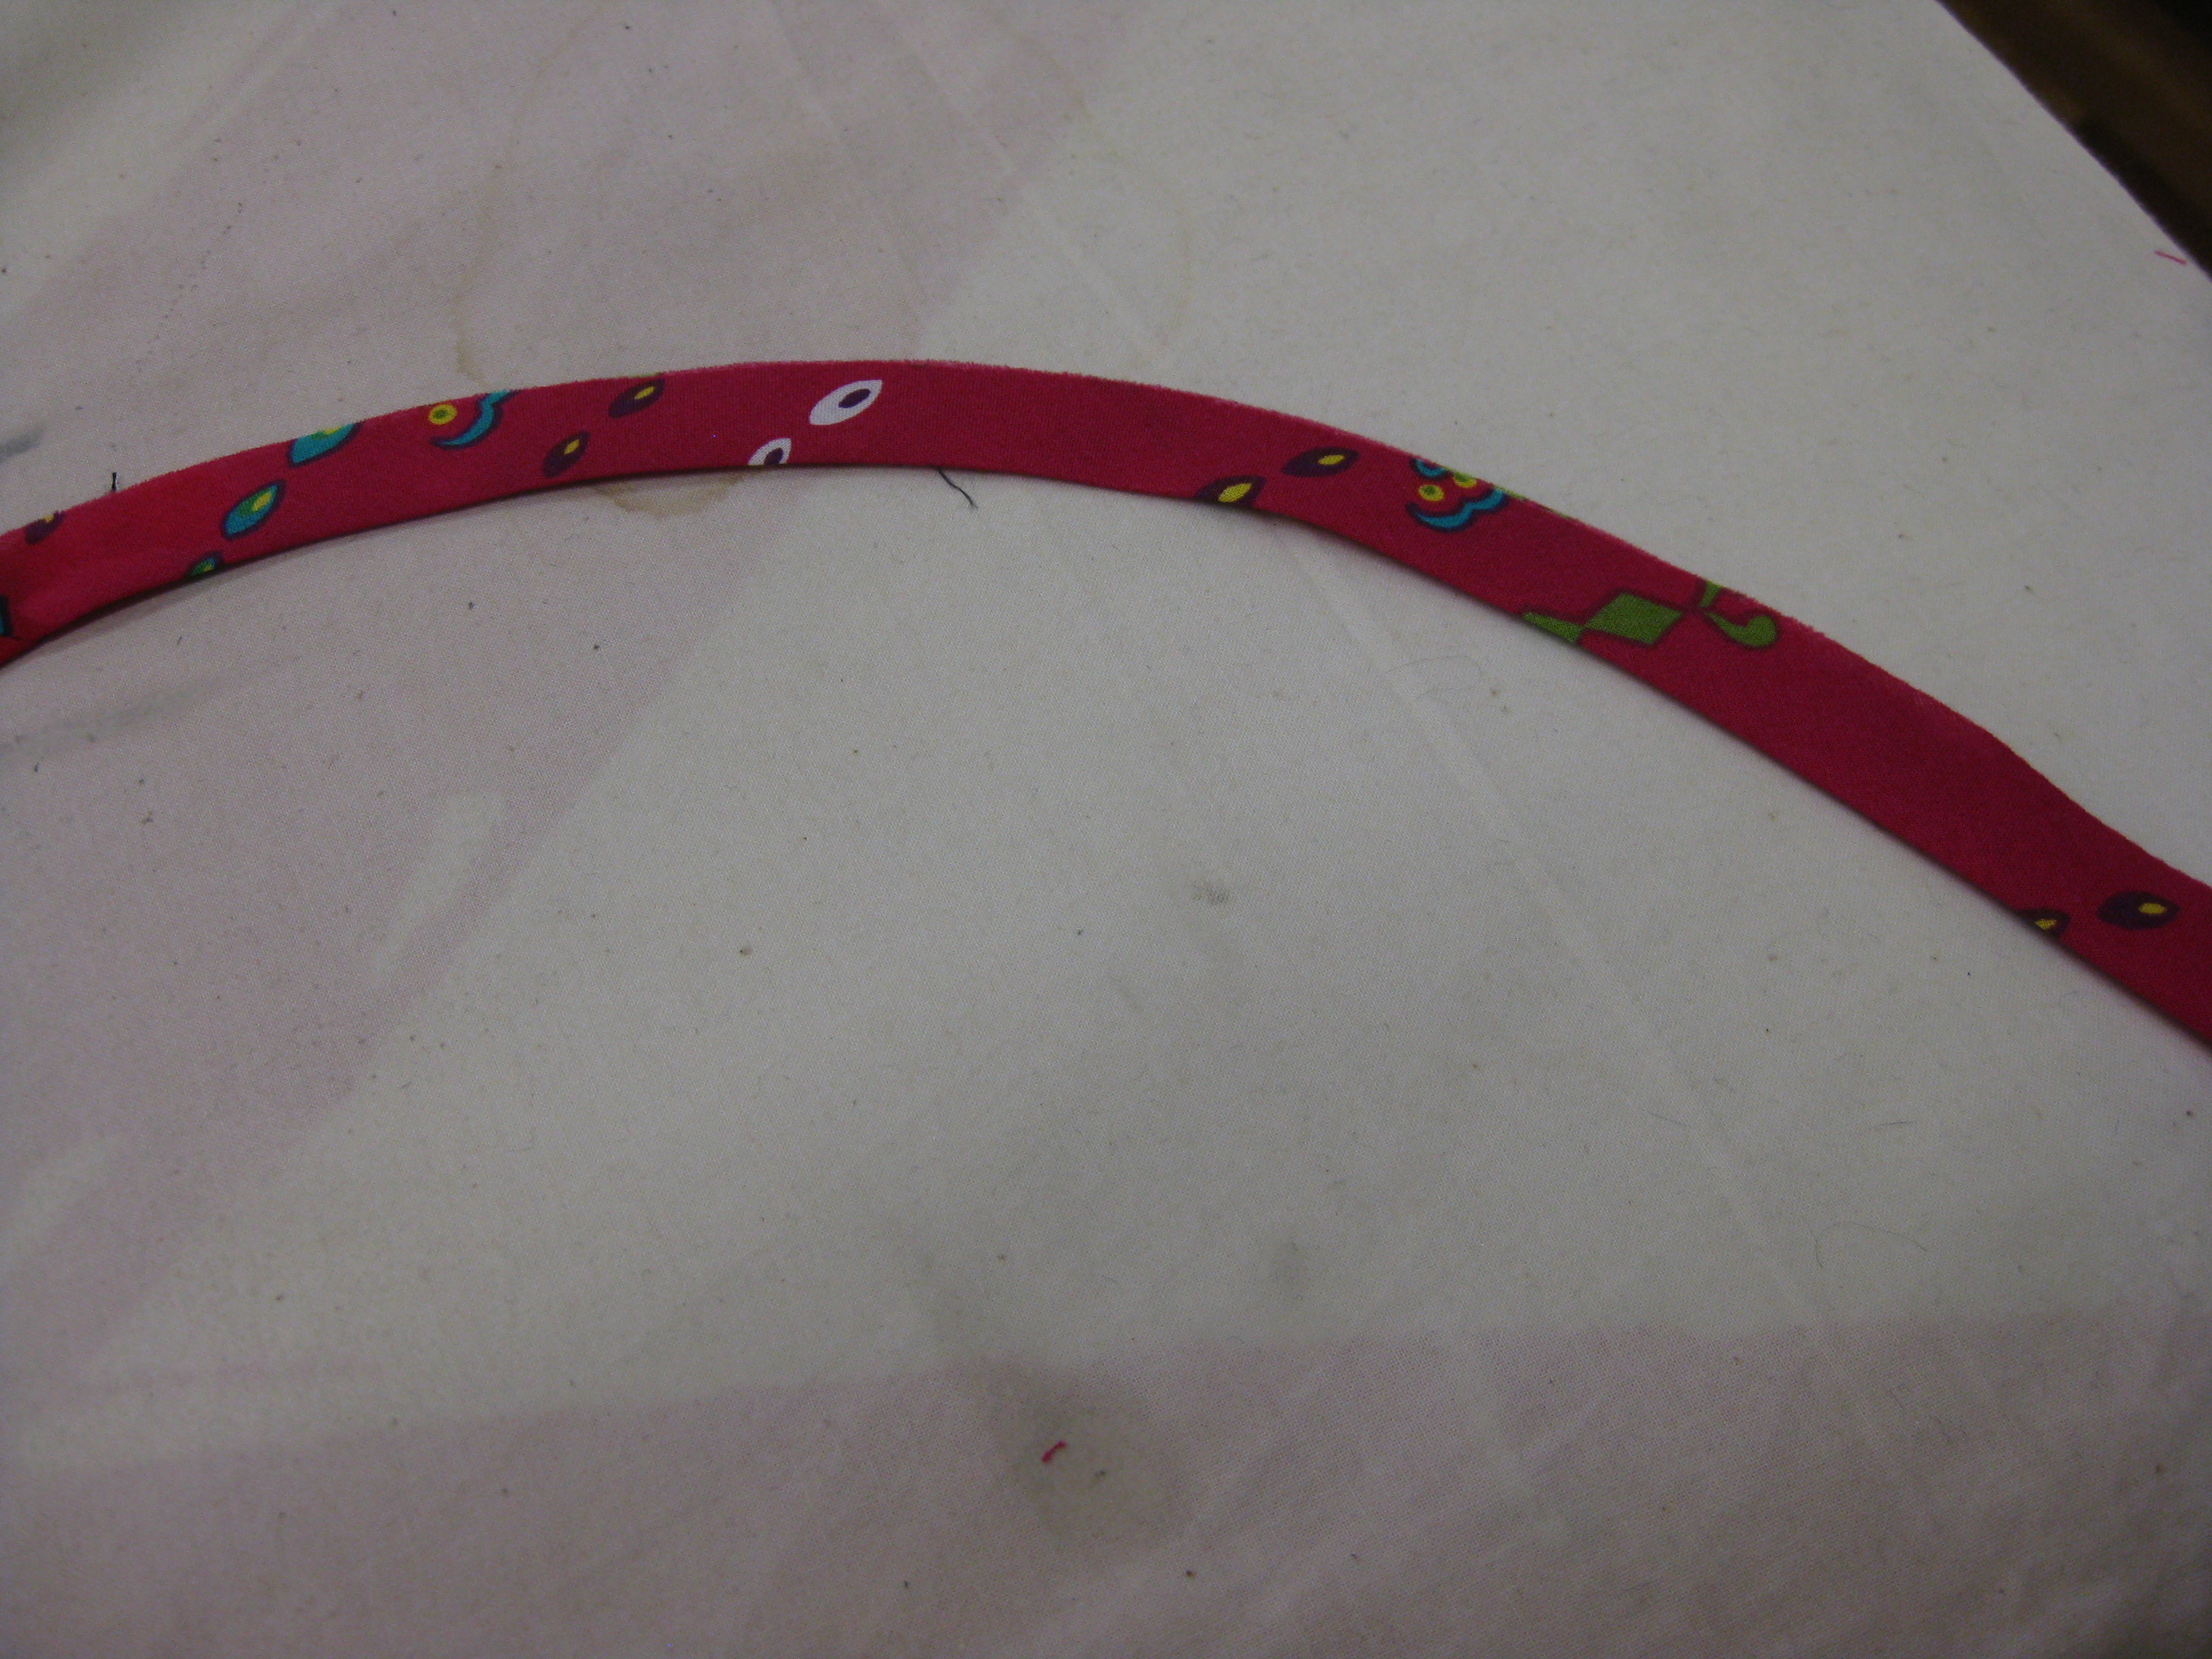
Use iron to steam and press a curve – allow to cool before applying to fabric
When applying the bias to a neckline the inside curve is applied to the neckline.
Always stay stitch the neckline close to the seam line (using a small stitch length 1.5-2.0) before applying the binding.
If the outer edge of the binding is to match the finished edge of the neckline, the seam allowance of the garment will need to be removed before applying the binding.
If you are using satin or other tricky fabrics or applying a binding to a neckline edge with pleats or gathers, tacking the binding in place before machine stitching will really help in achieving accuracy.
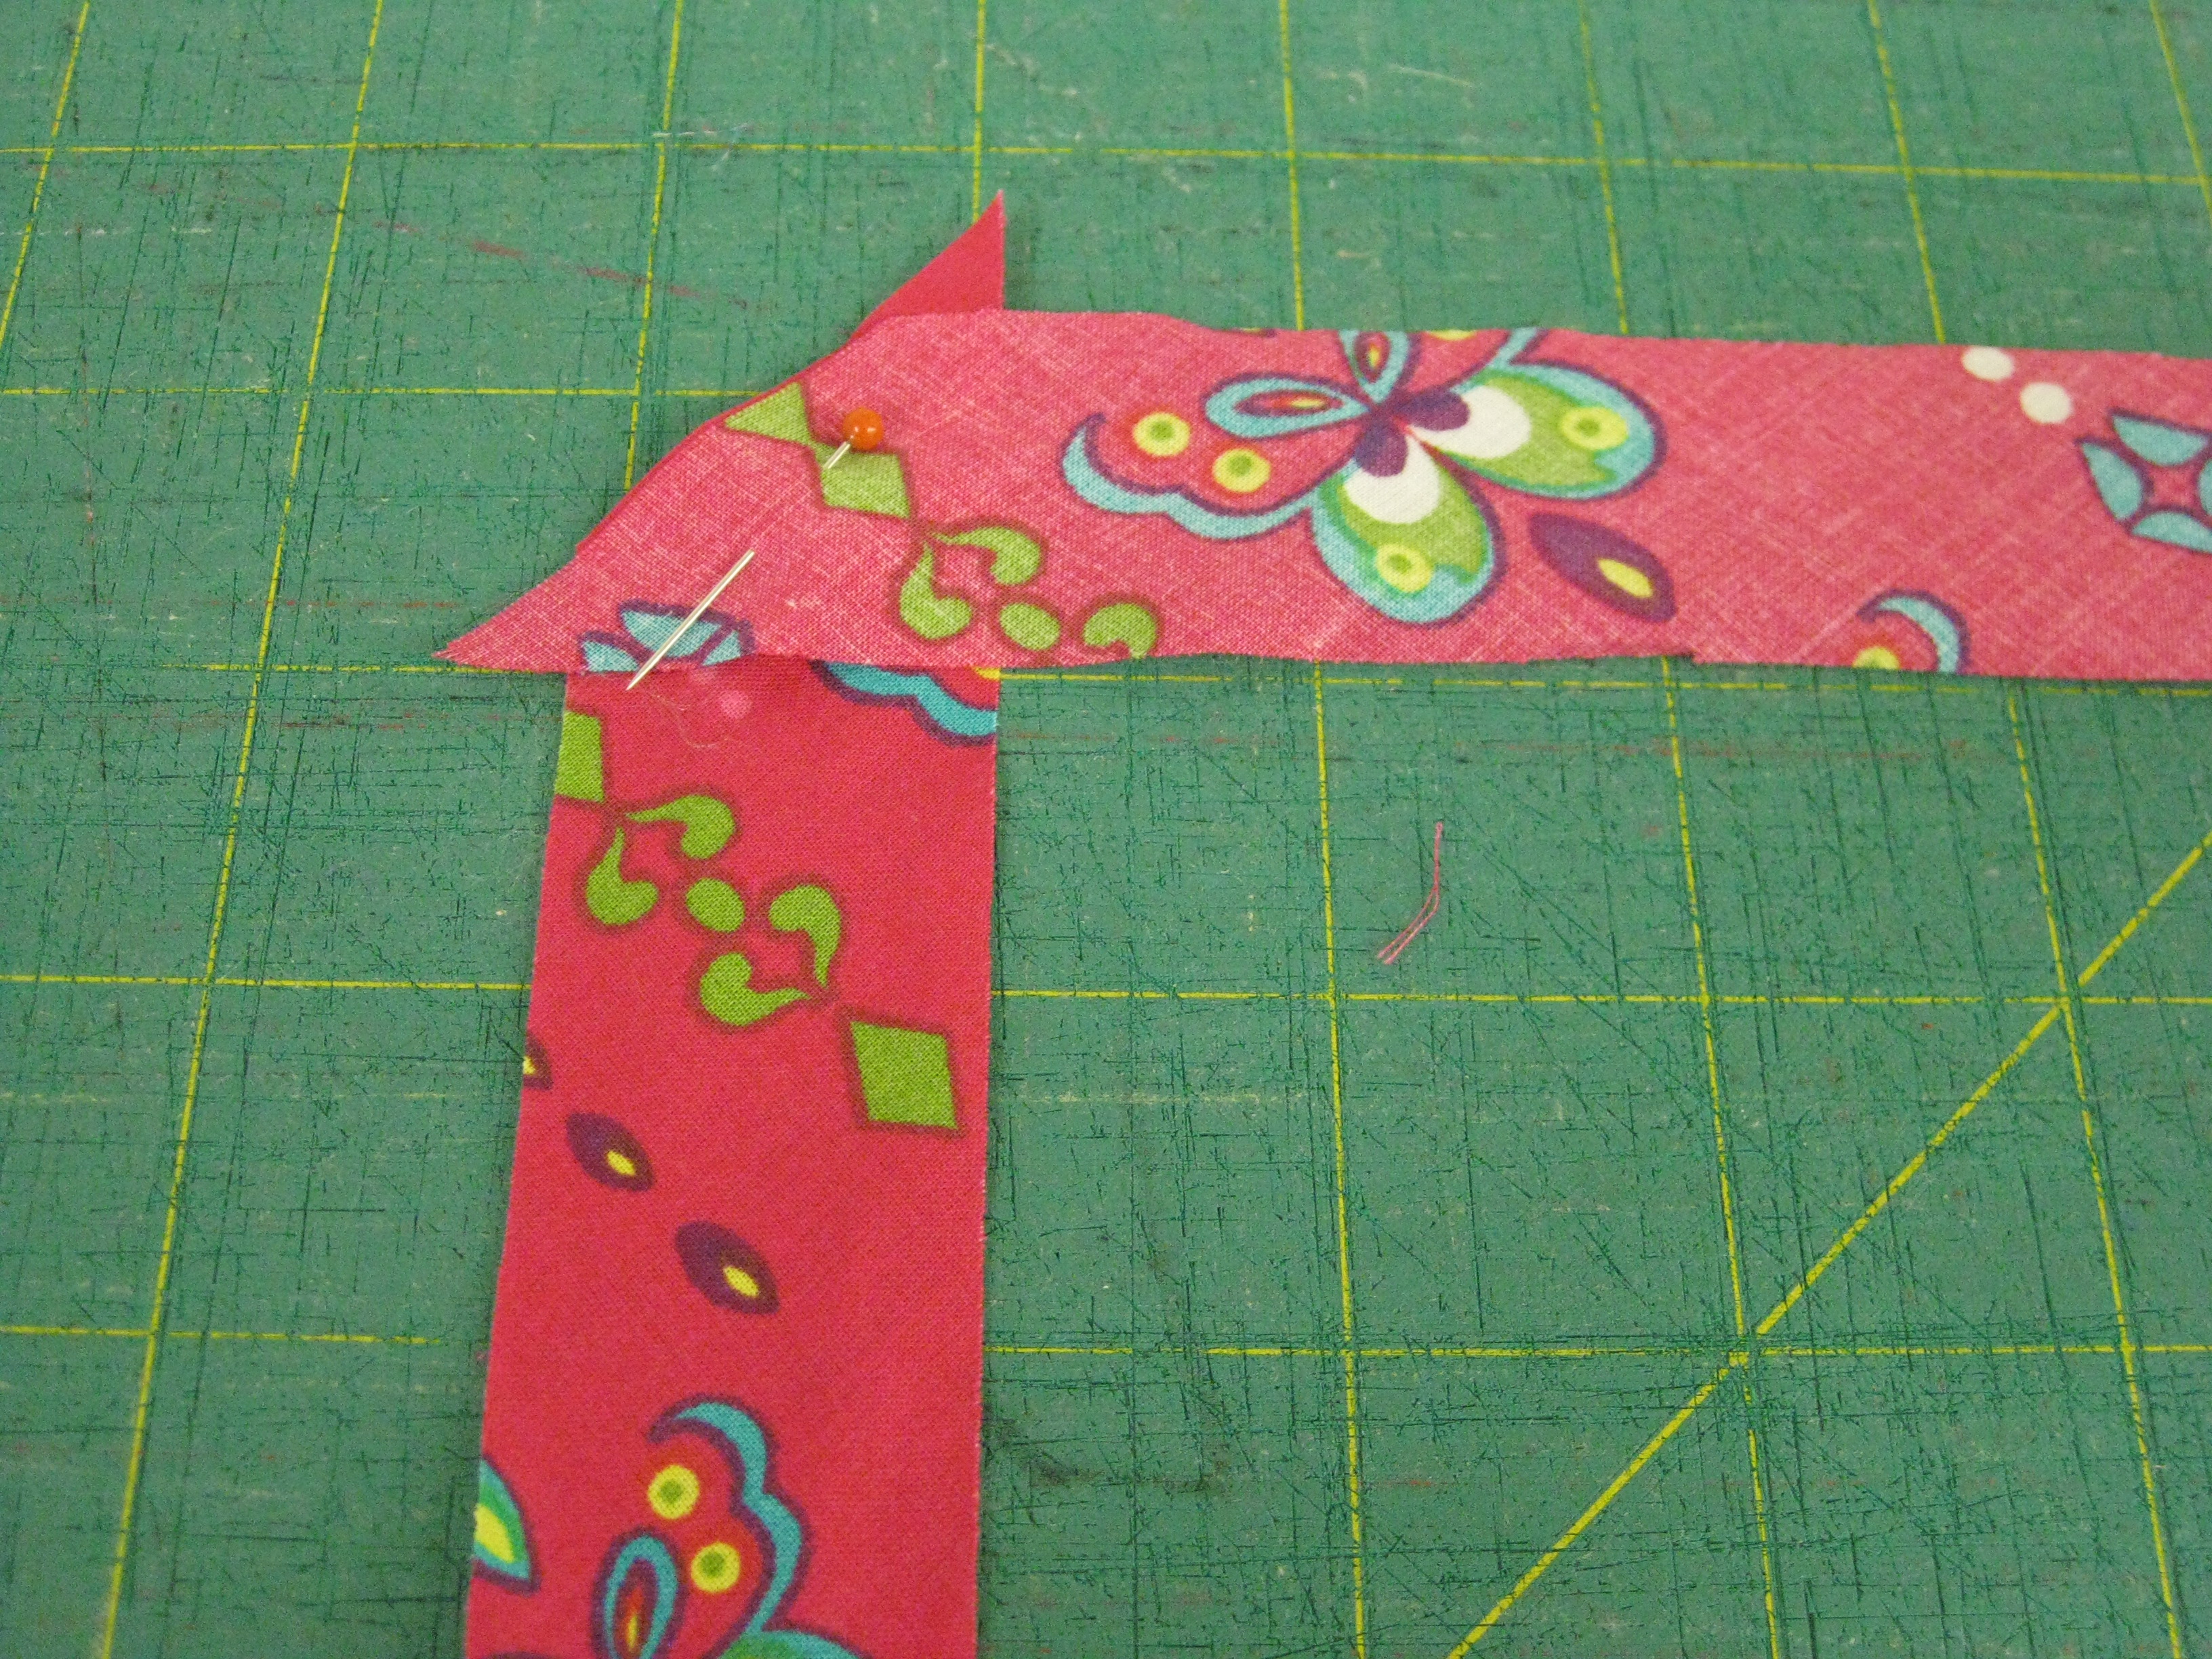
Place the binding with right sides together at the curved edge. Fold the start of the strip at right angles to the curved edge.
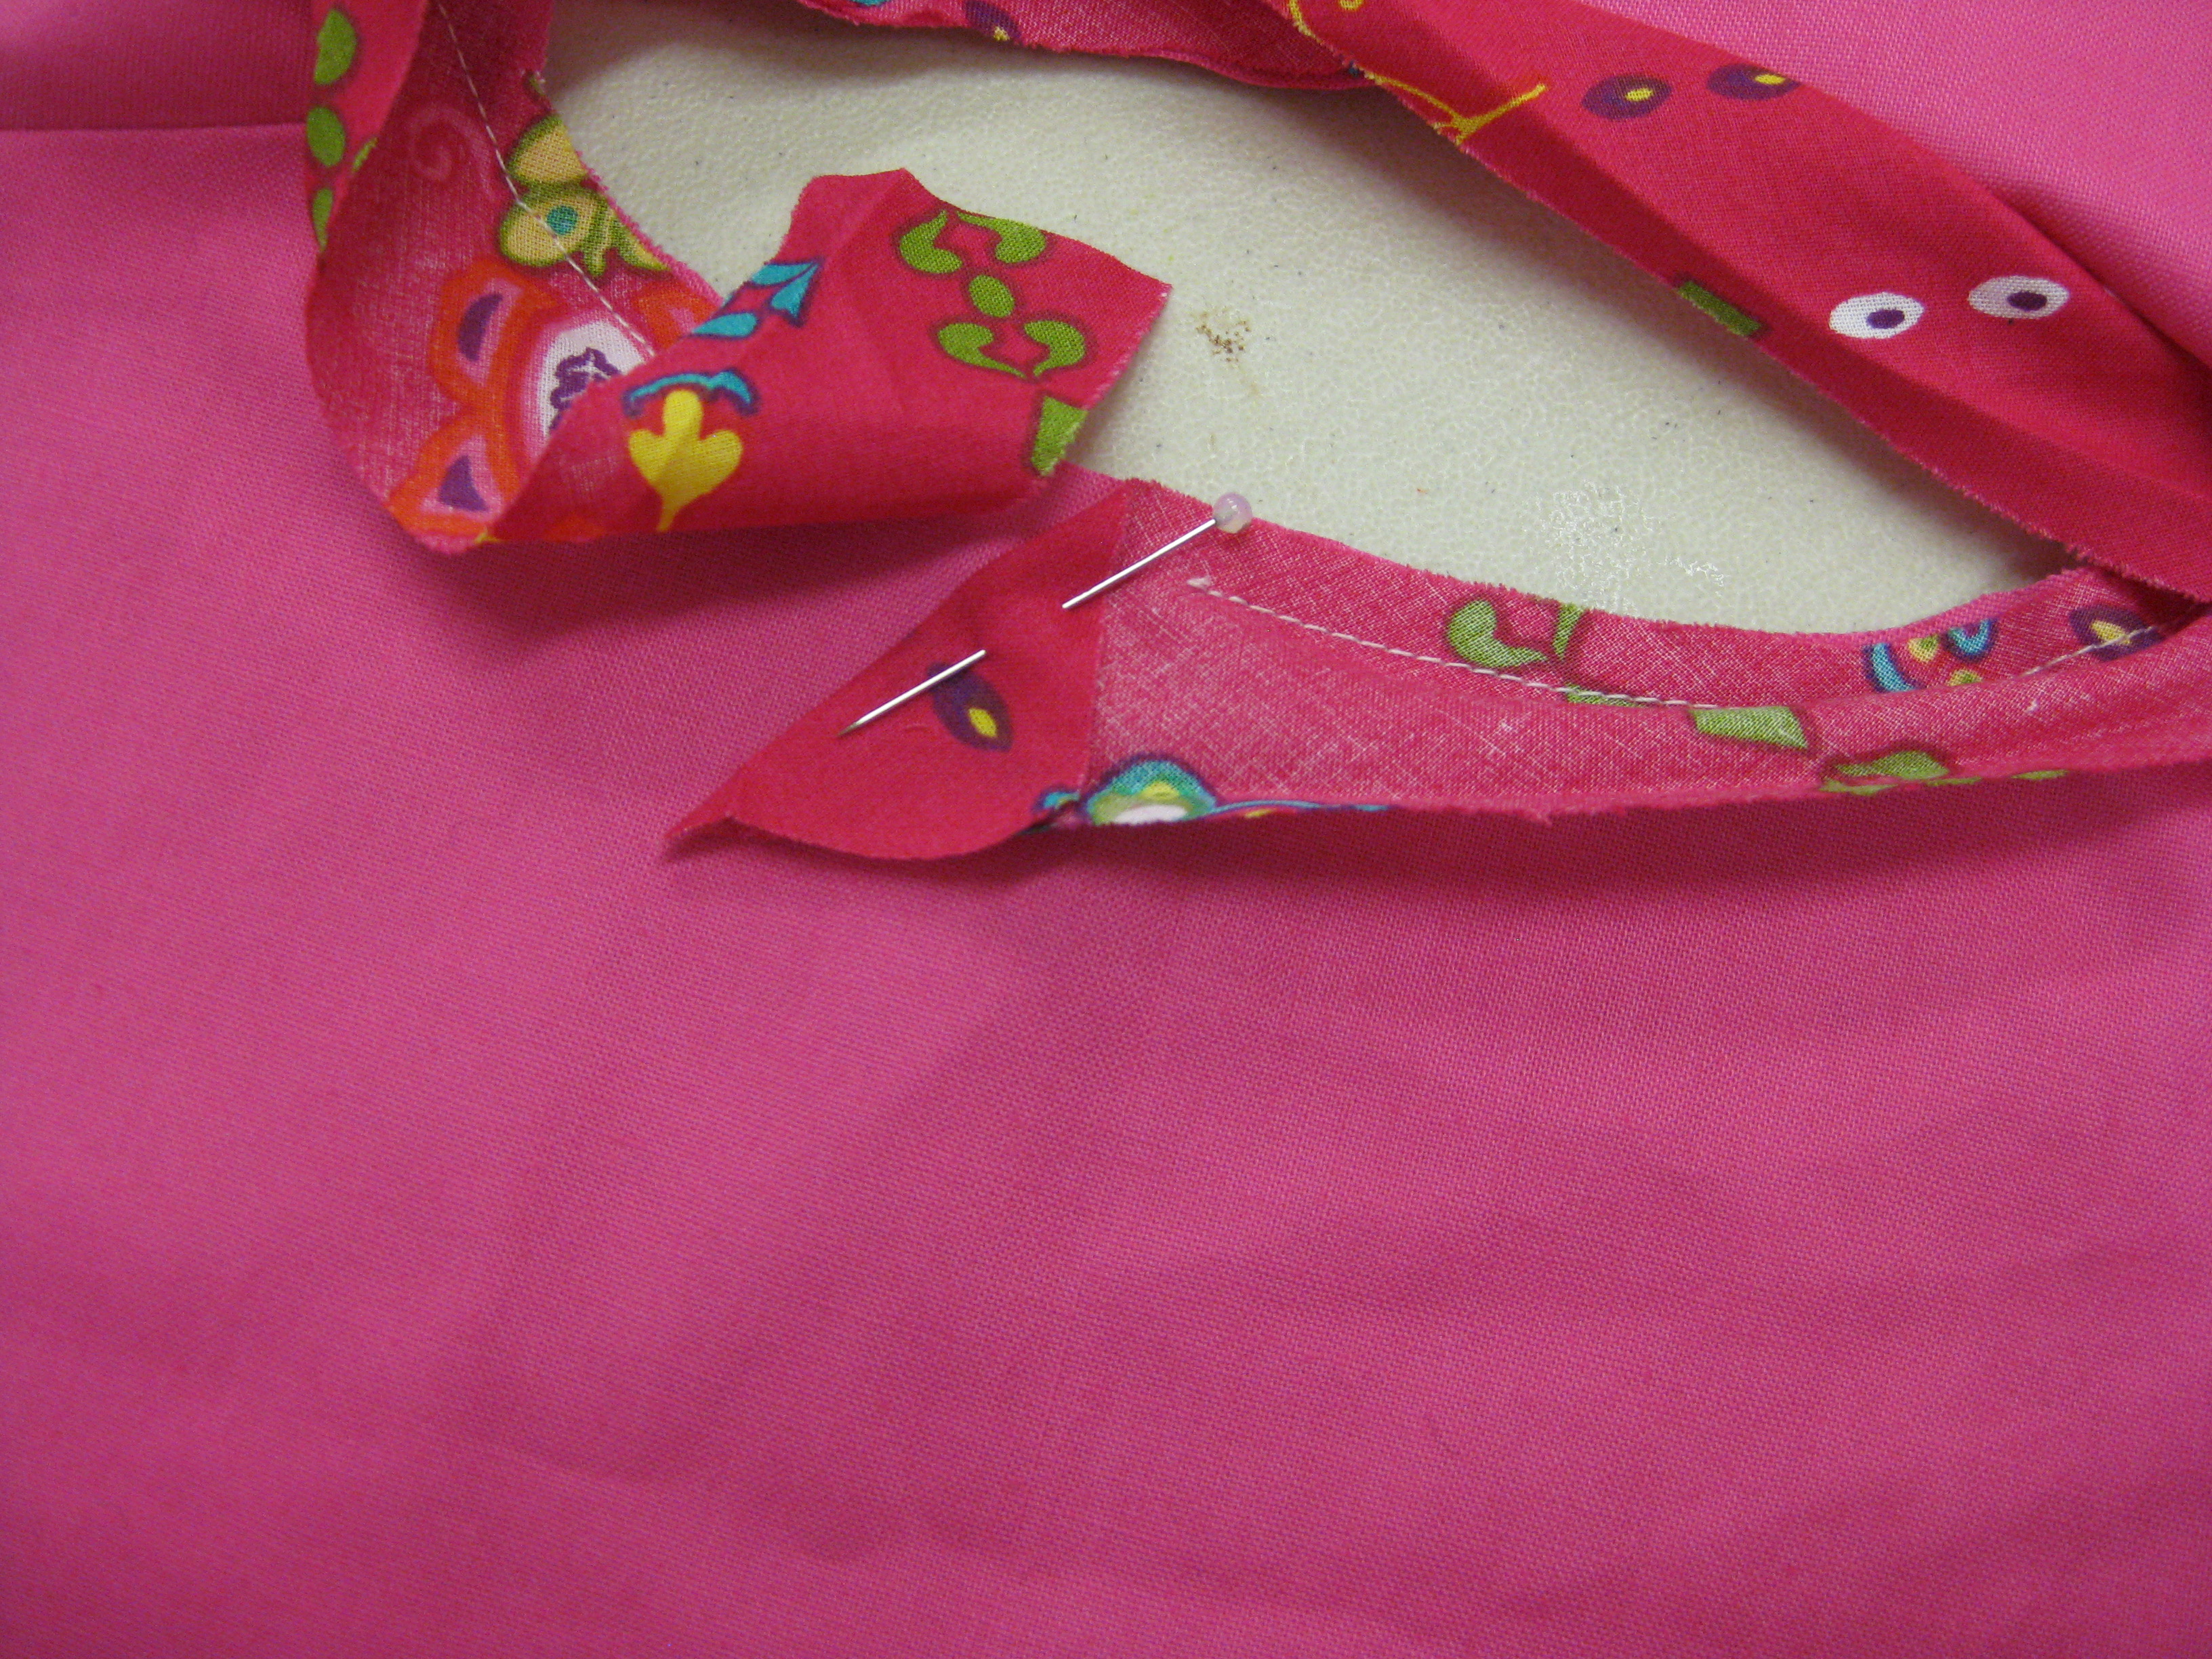
Start by folding leading end of trim at right angles to cut edge and start stitching
Start machine stitching away from the thickness of a seam line. Continue right around the curve and lap approximately 2cm over the folded trim at the start.
Lap approximately 2cm over the stitched trim and stitch in place
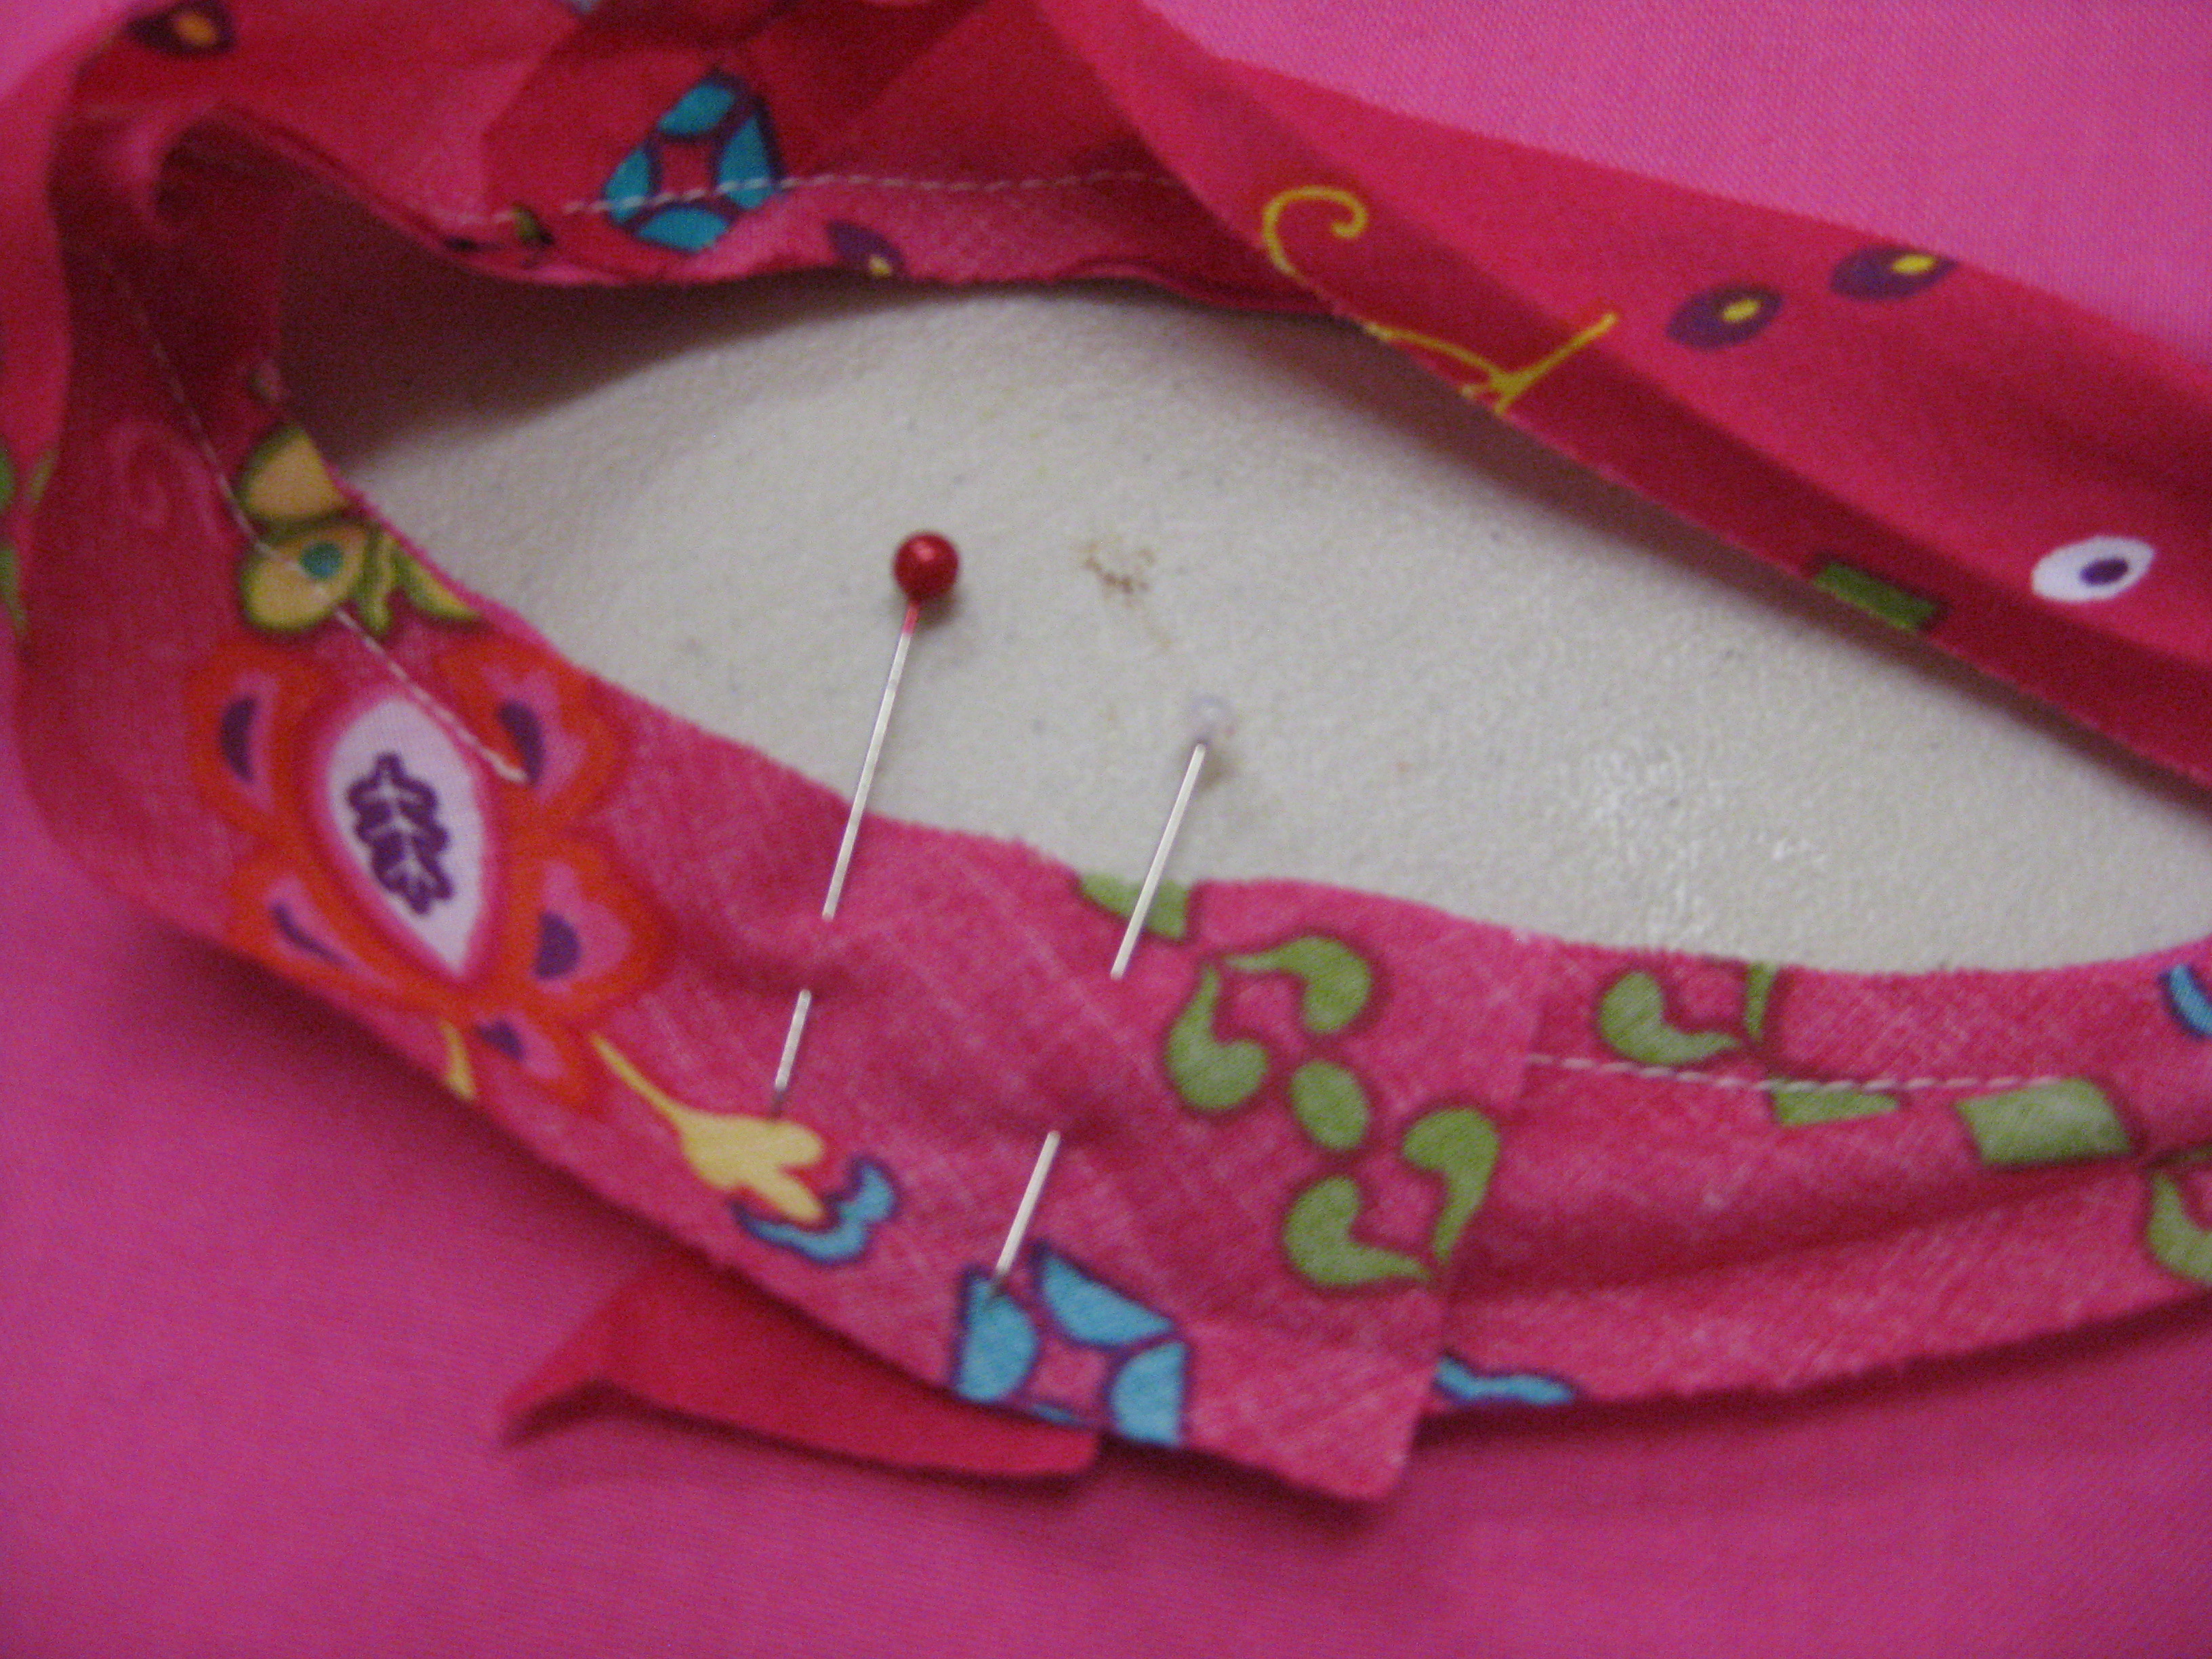
Once the stitching is complete, trim seam allowance slightly narrower than the desired binding width and gently roll folded edge of binding to the stitching line. Place pins at right angles to the seam when holding the fold in place. Tack in place.
Once trim has been rolled over edge, tack in place before hand stitching
Tip: To avoid puckers and wrinkles, it is critical to make sure that fold is brought directly to the stitching line and does not slide to either side before it is stitched in place.
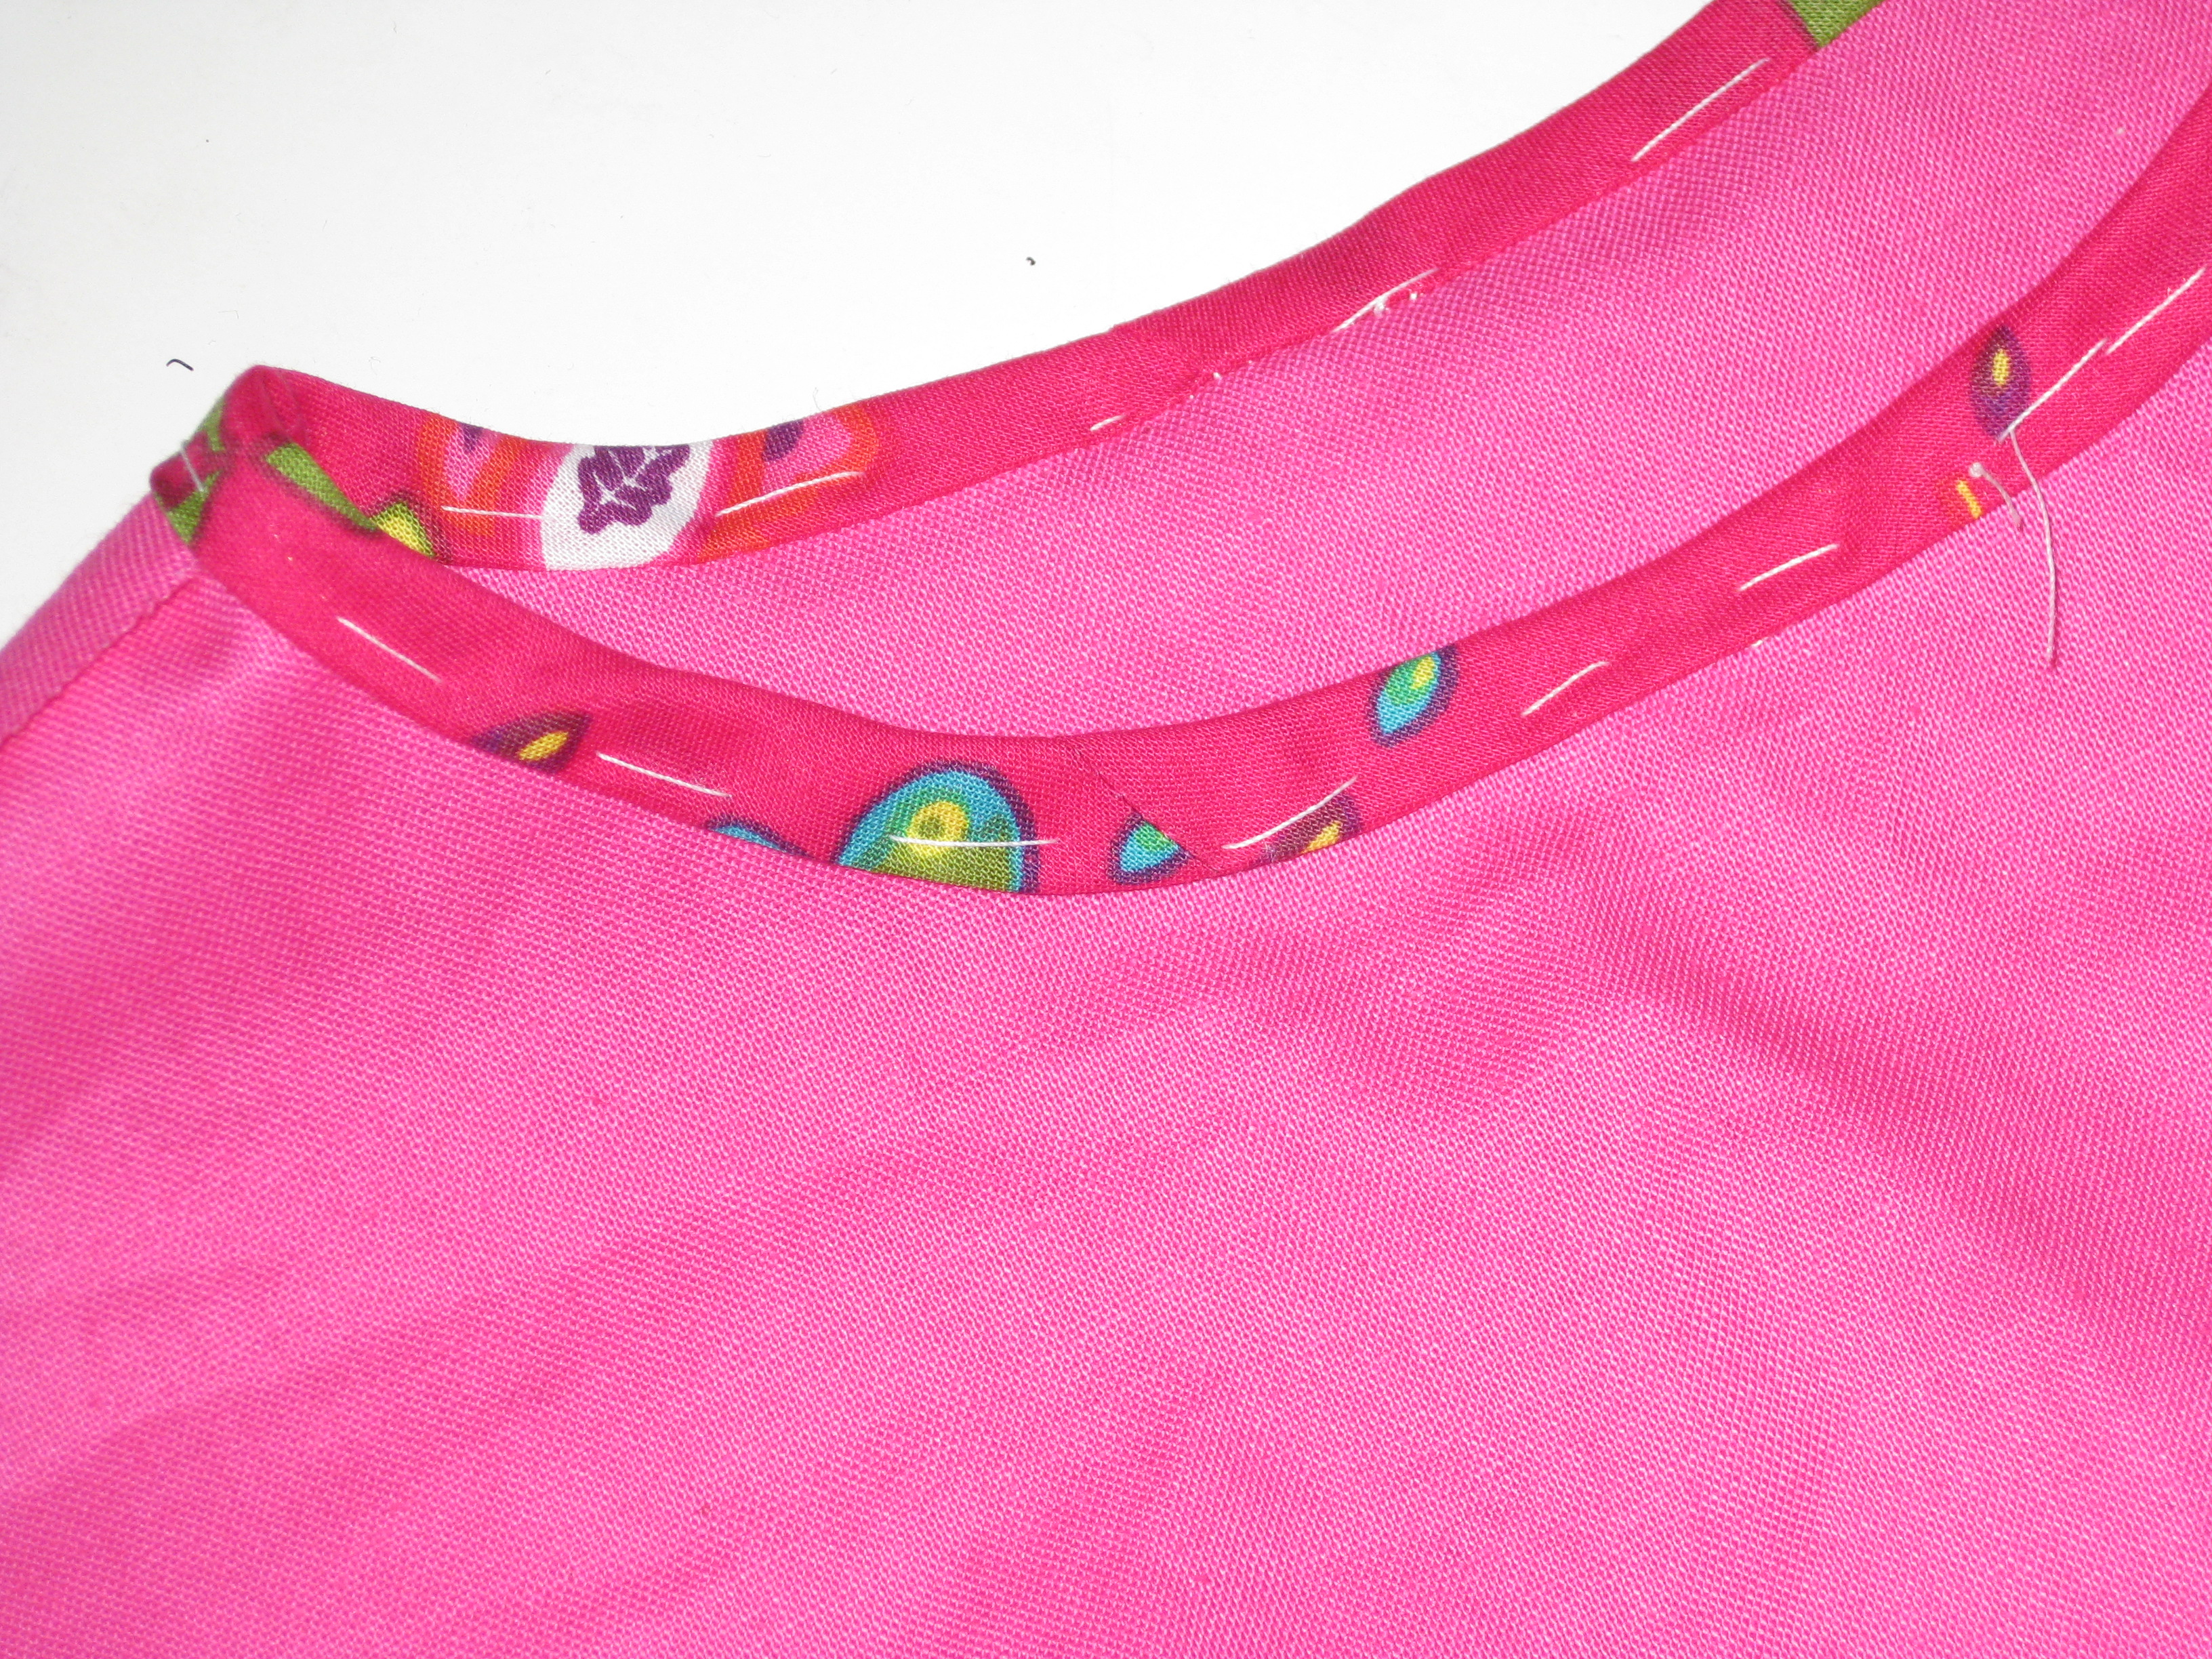
Invisibly hand stitch by placing hand needle under a machine stitch and taking a stitch through the underside of the folded edge of the bias. Make several stitches and then pull the thread to make the binding roll into place.
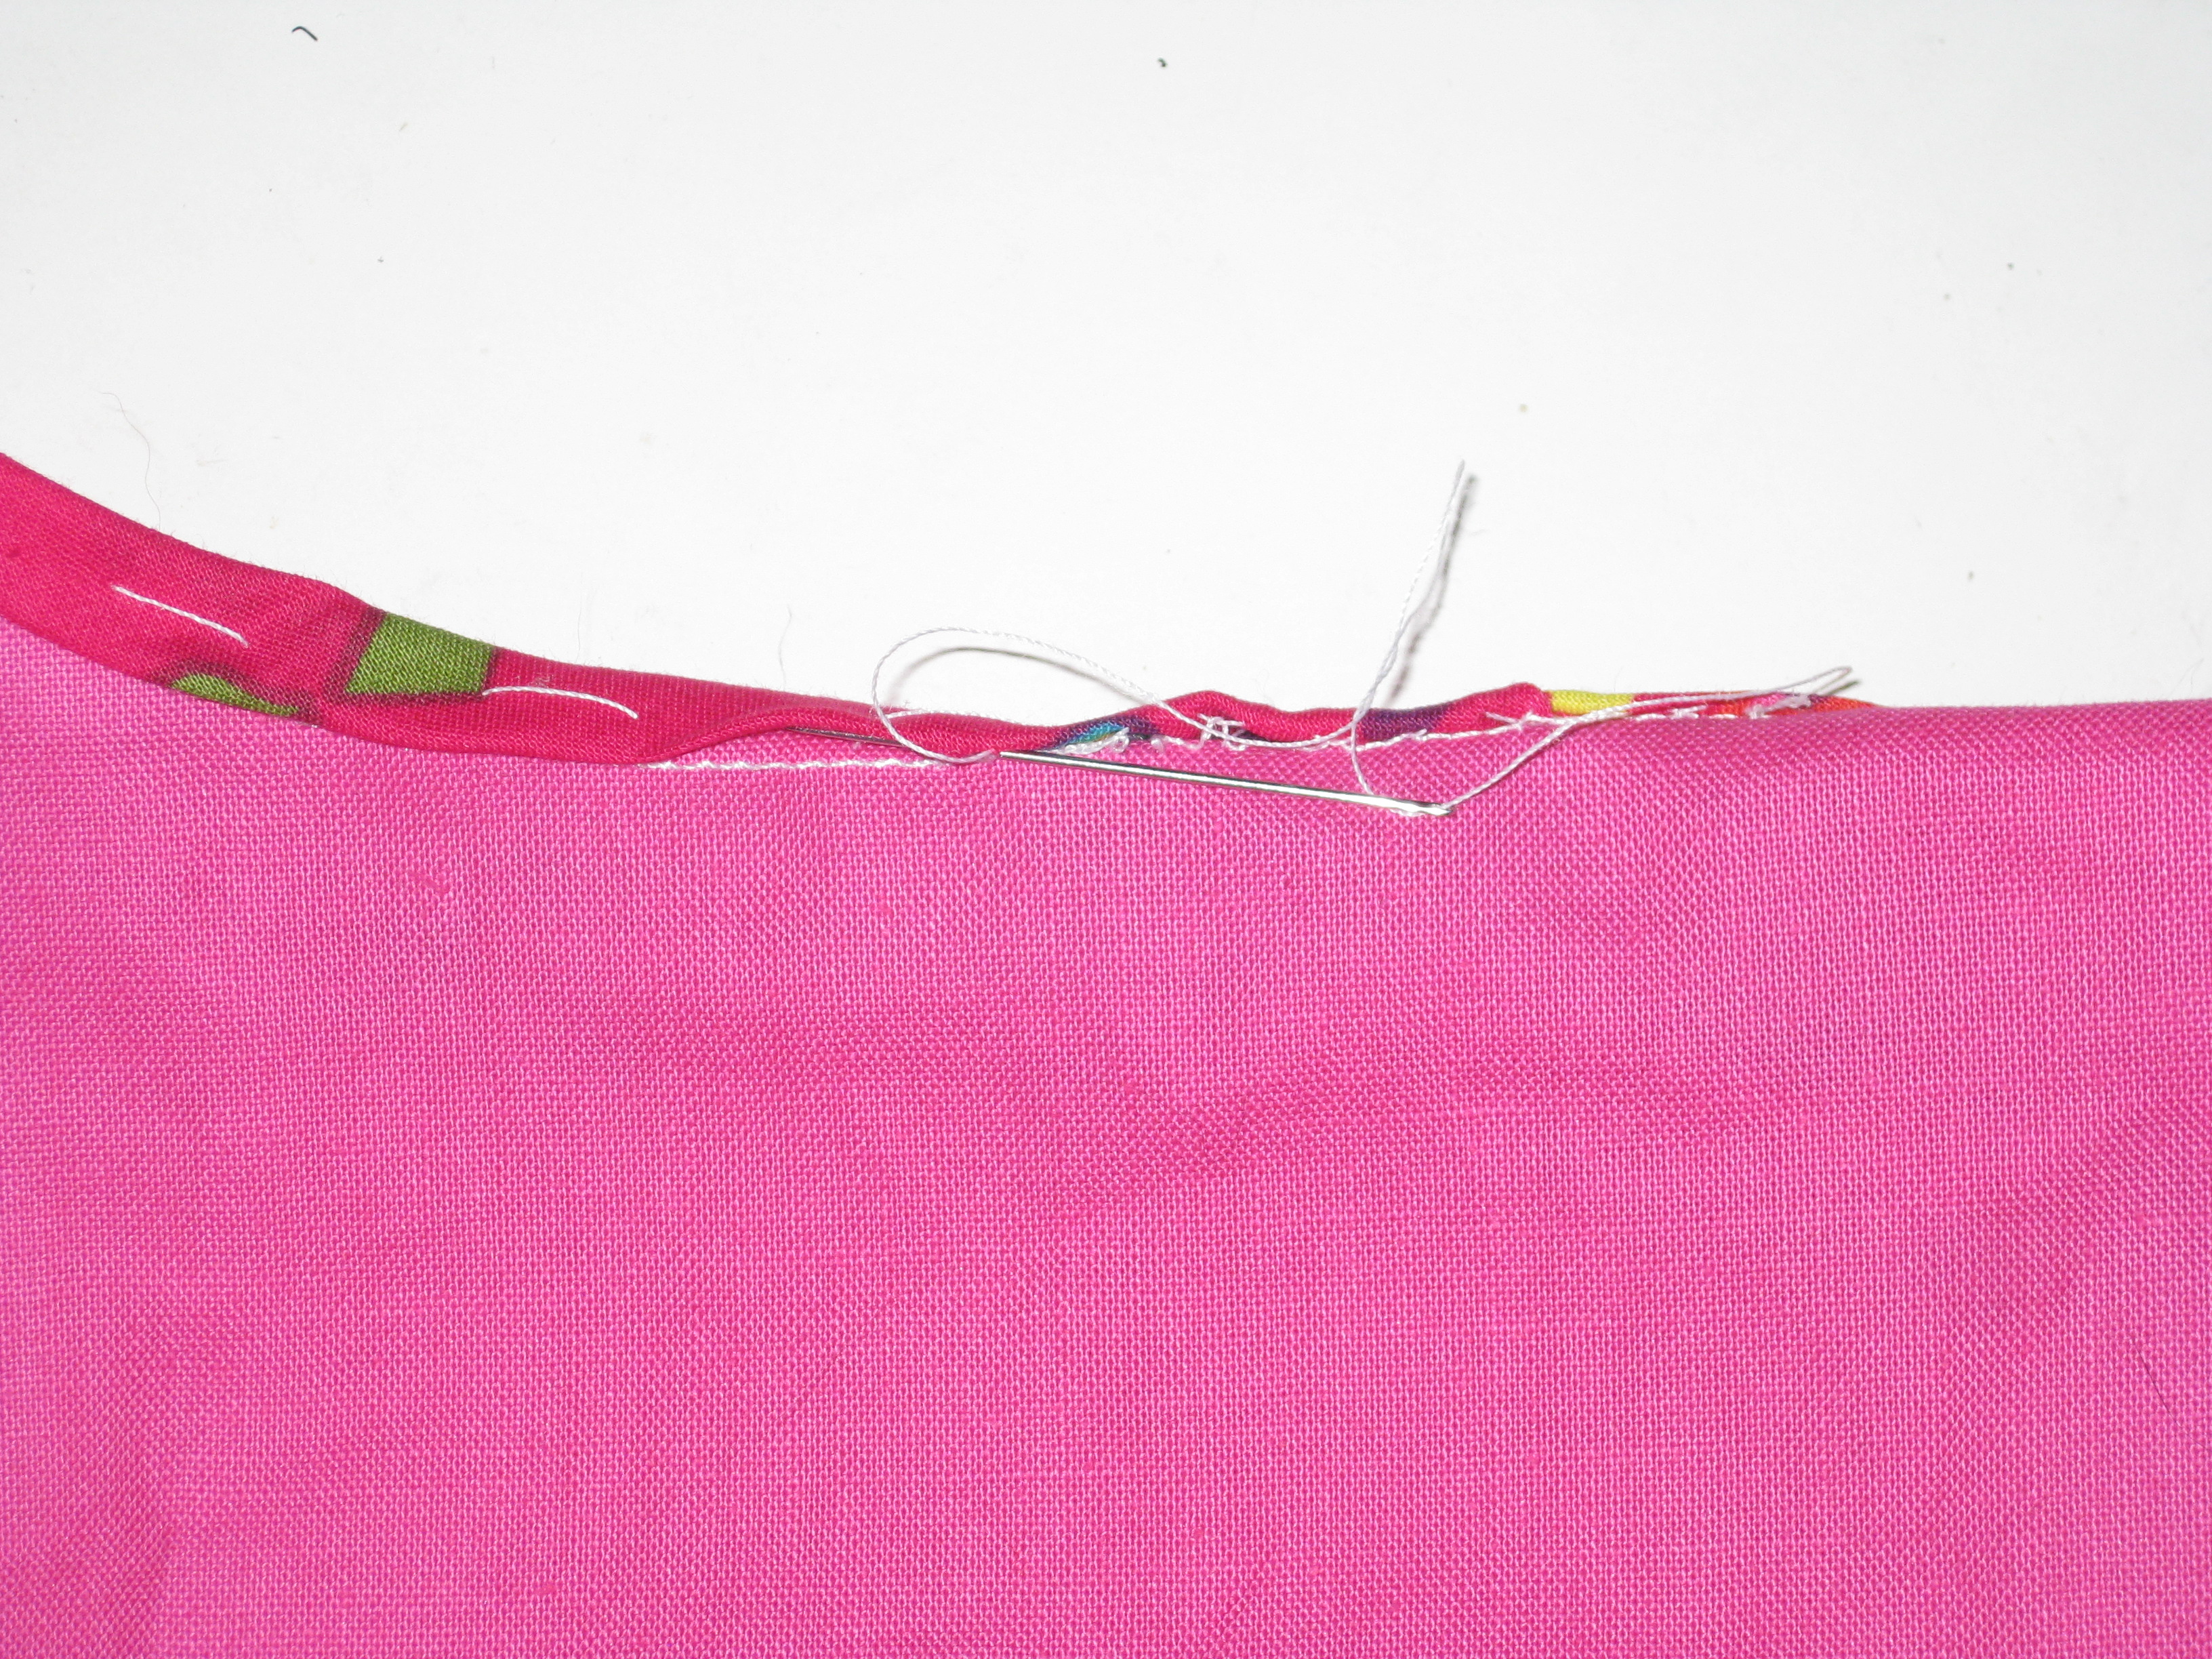
Hand stitch from just under the fold to the seam stitching
Tip: To keep the binding edge looking softly rolled, be careful not to press the binding flat.
I hope this will be useful as we get ready to sew some lovely cool lightweight tops for the summer which will be with us before we know it.
