
Bound buttonholes can be made in any shape which will suit the overall garment design elements and button shape. Because of the shape of the centre front panel of my Marcy Tilton jacket (Vogue pattern and unfortunately now discontinued) which is wide at the hem and narrows towards the collar, I decided that triangular buttonholes would work really well.

Front bands are wider at the hem and narrow towards the neckline.

Button sits at the point of the buttonhole.
There are two methods which can be used and the chosen method will depend on the thickness of the fabric and the desired finish.
Measure the width and depth of the button and add 1/8” / 3mm when determining the length of the buttonhole opening.
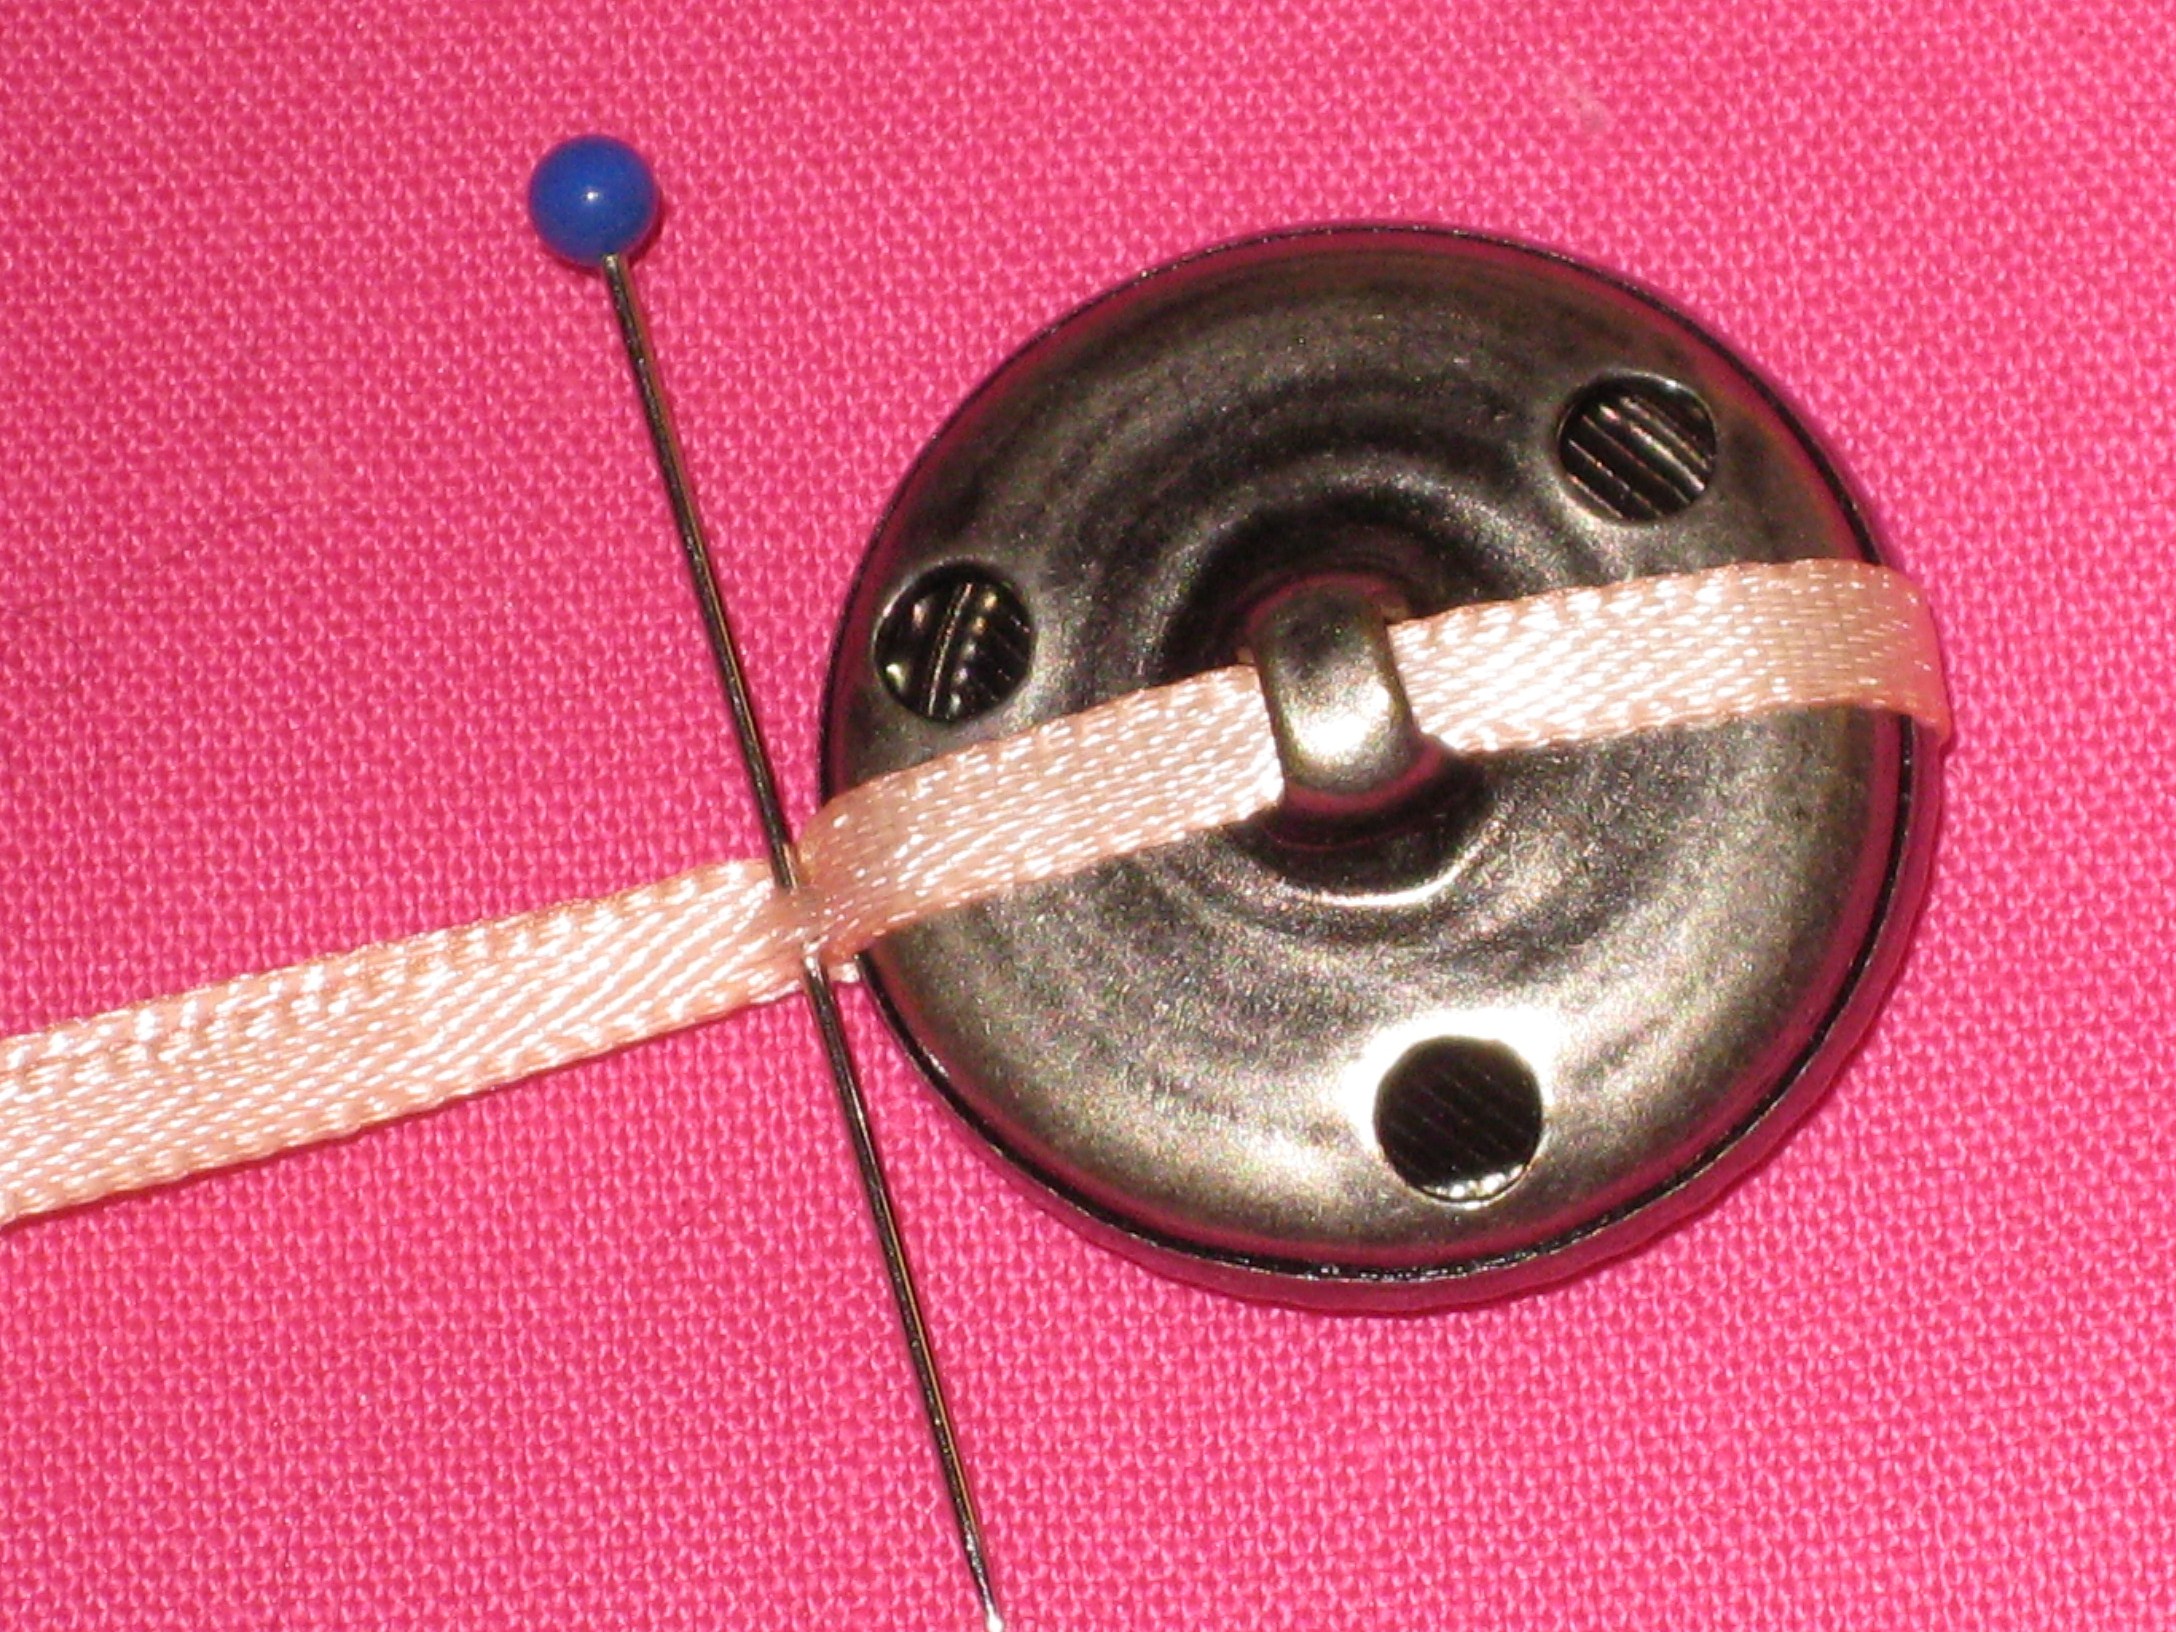
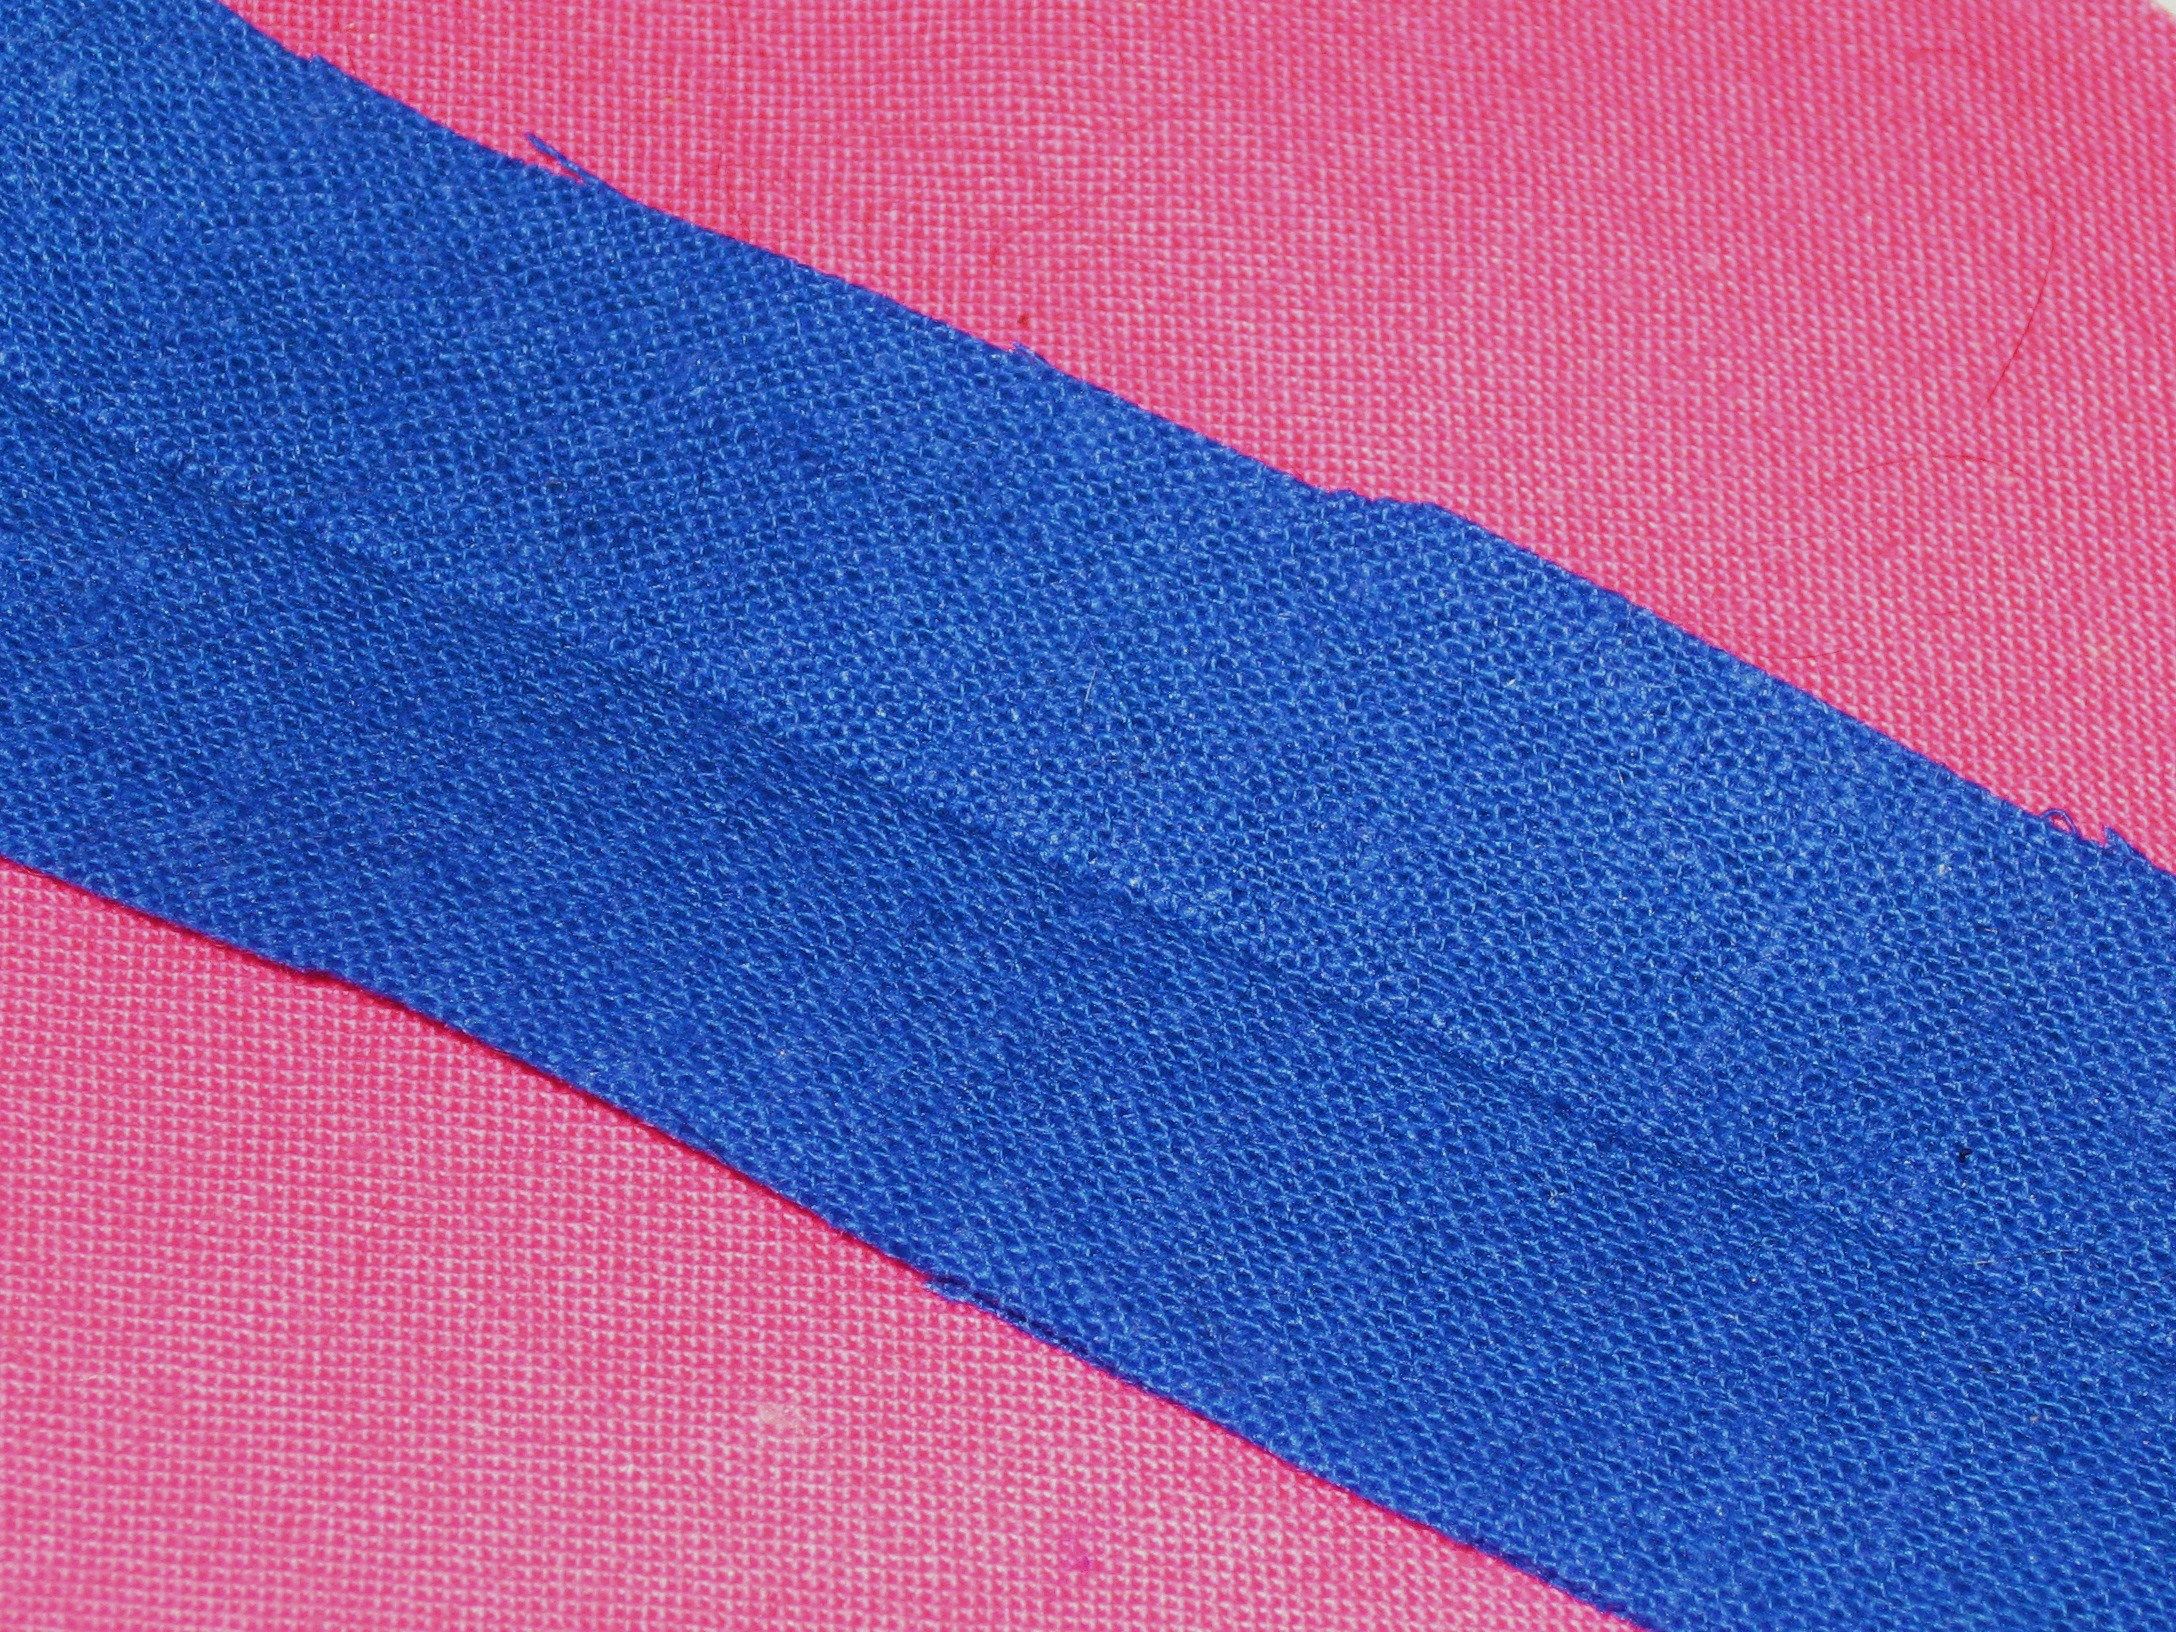
Wrap thin ribbon around the button and mark the width.

Lay the ribbon flat and measure from the fold to the mark. Add 3mm/ 1/8″ and this will be the required opening.
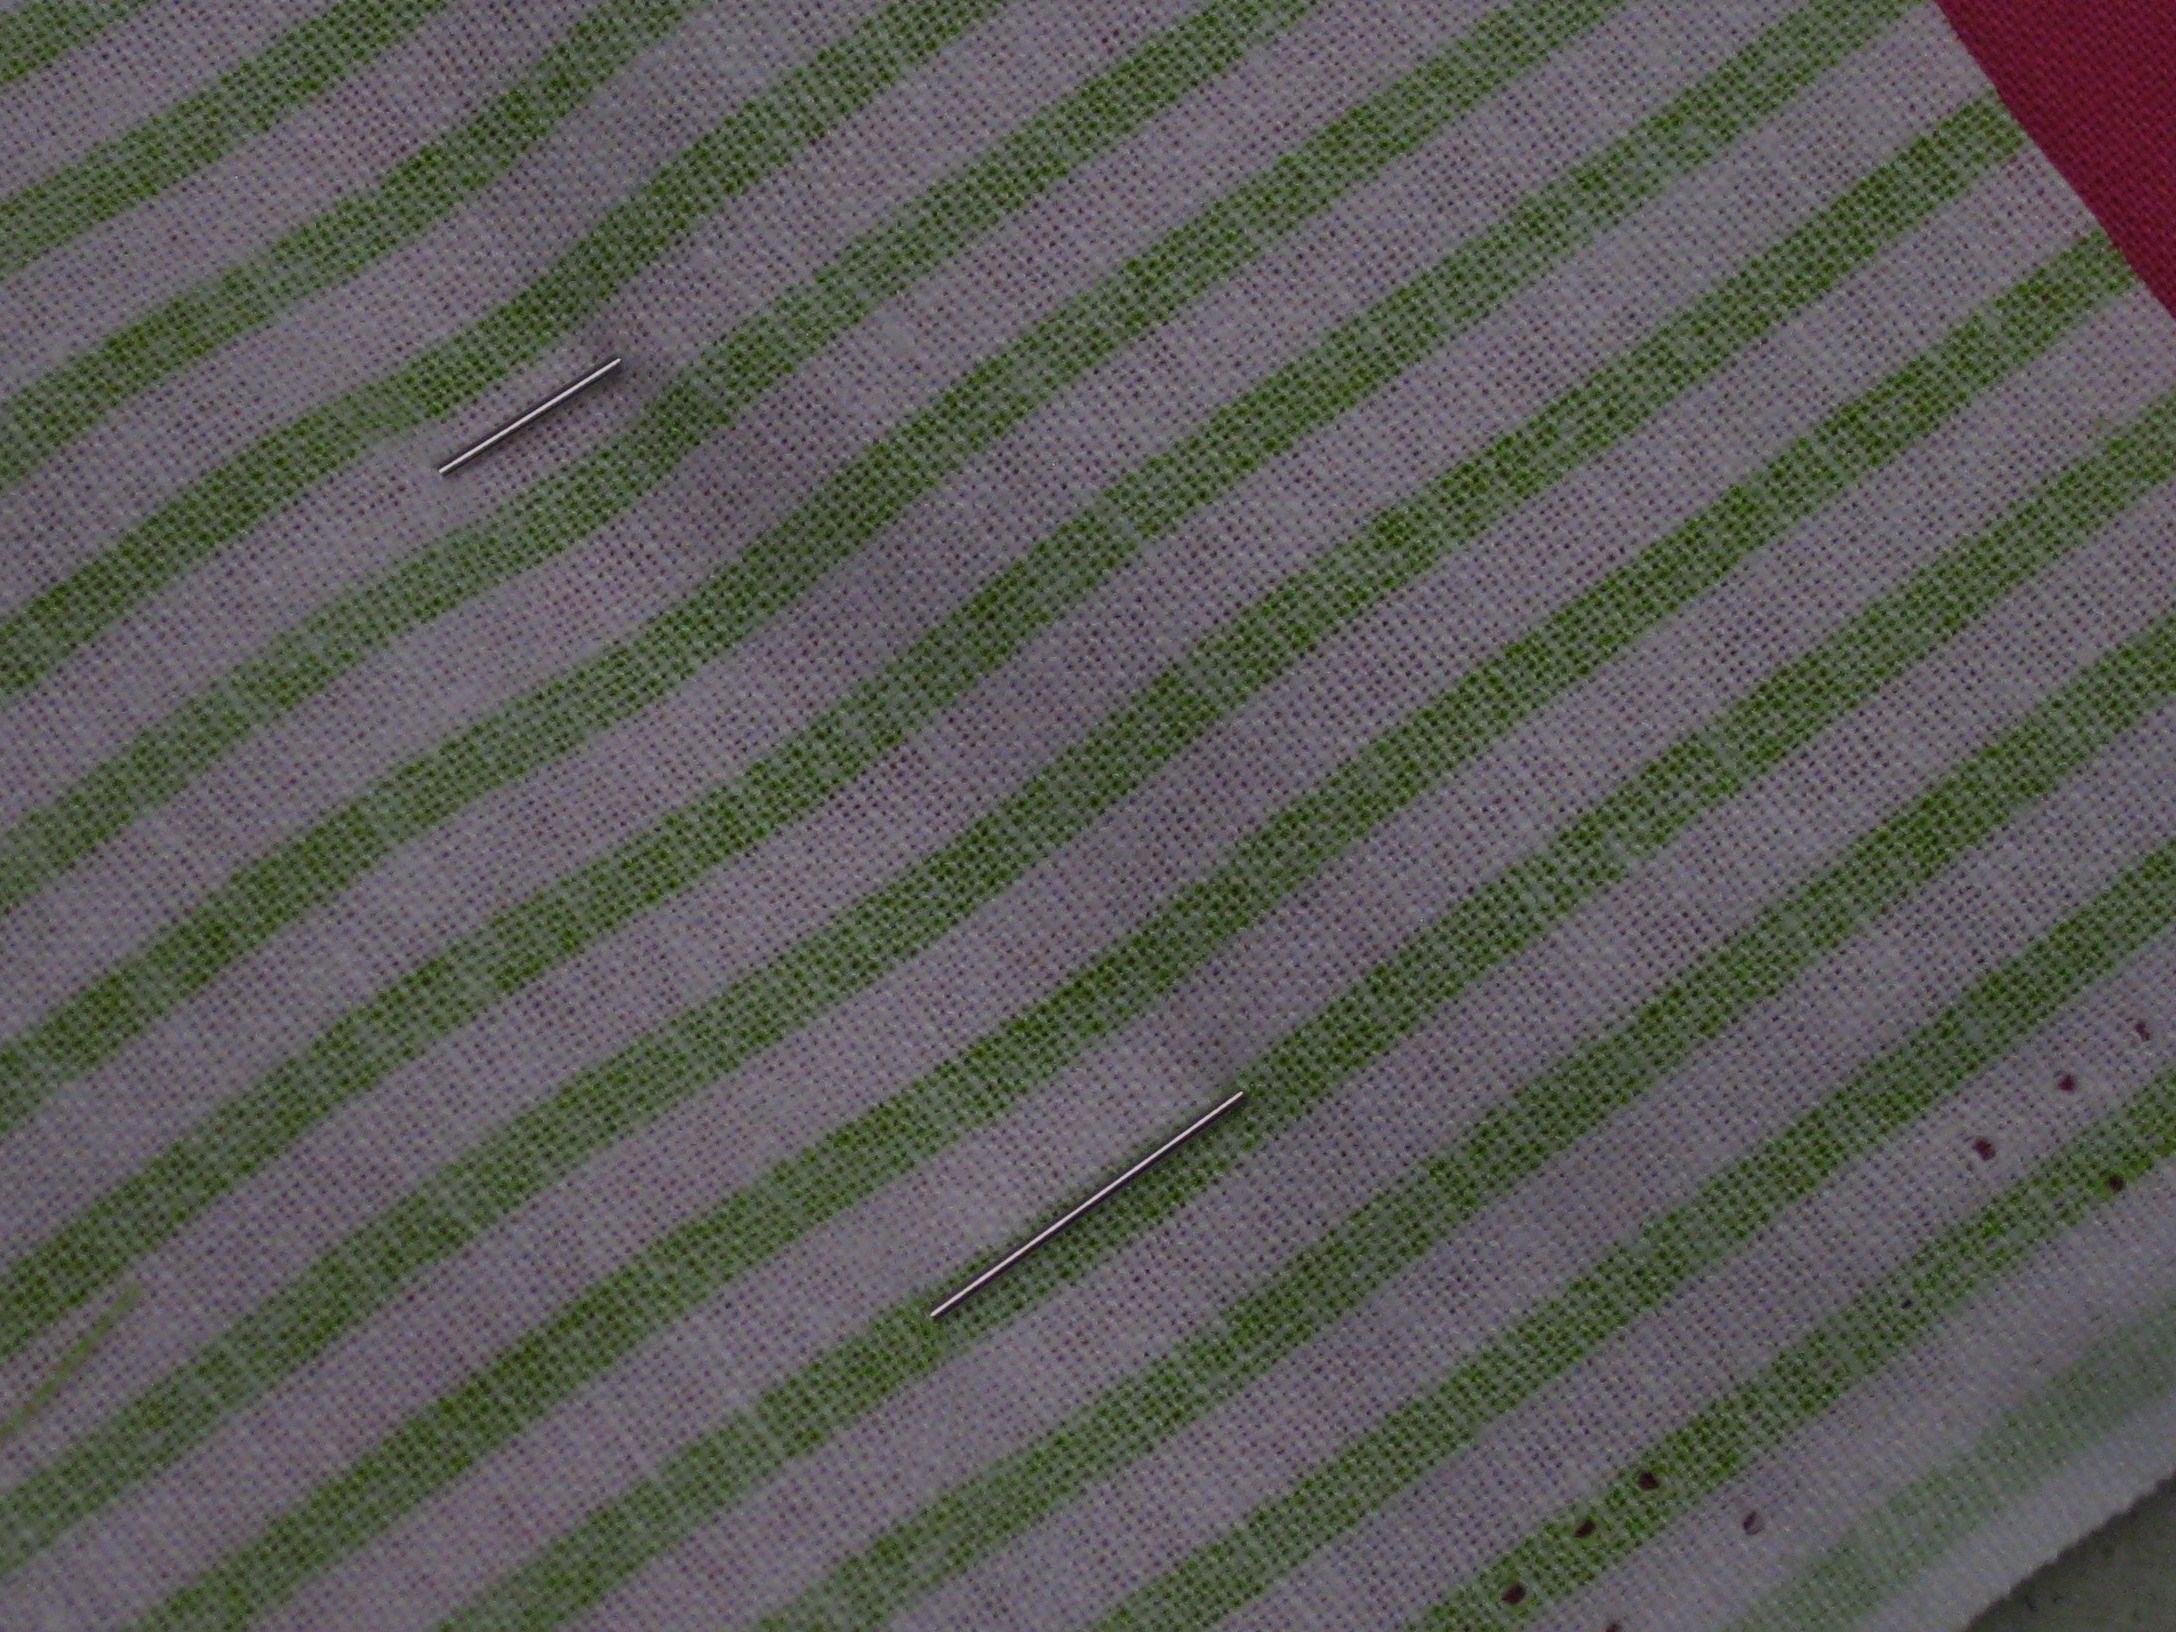
Interface the fabric under the buttonholes as well as the facing. Make positioning marks on the wrong side of the garment and thread trace through to the right side of the garment.

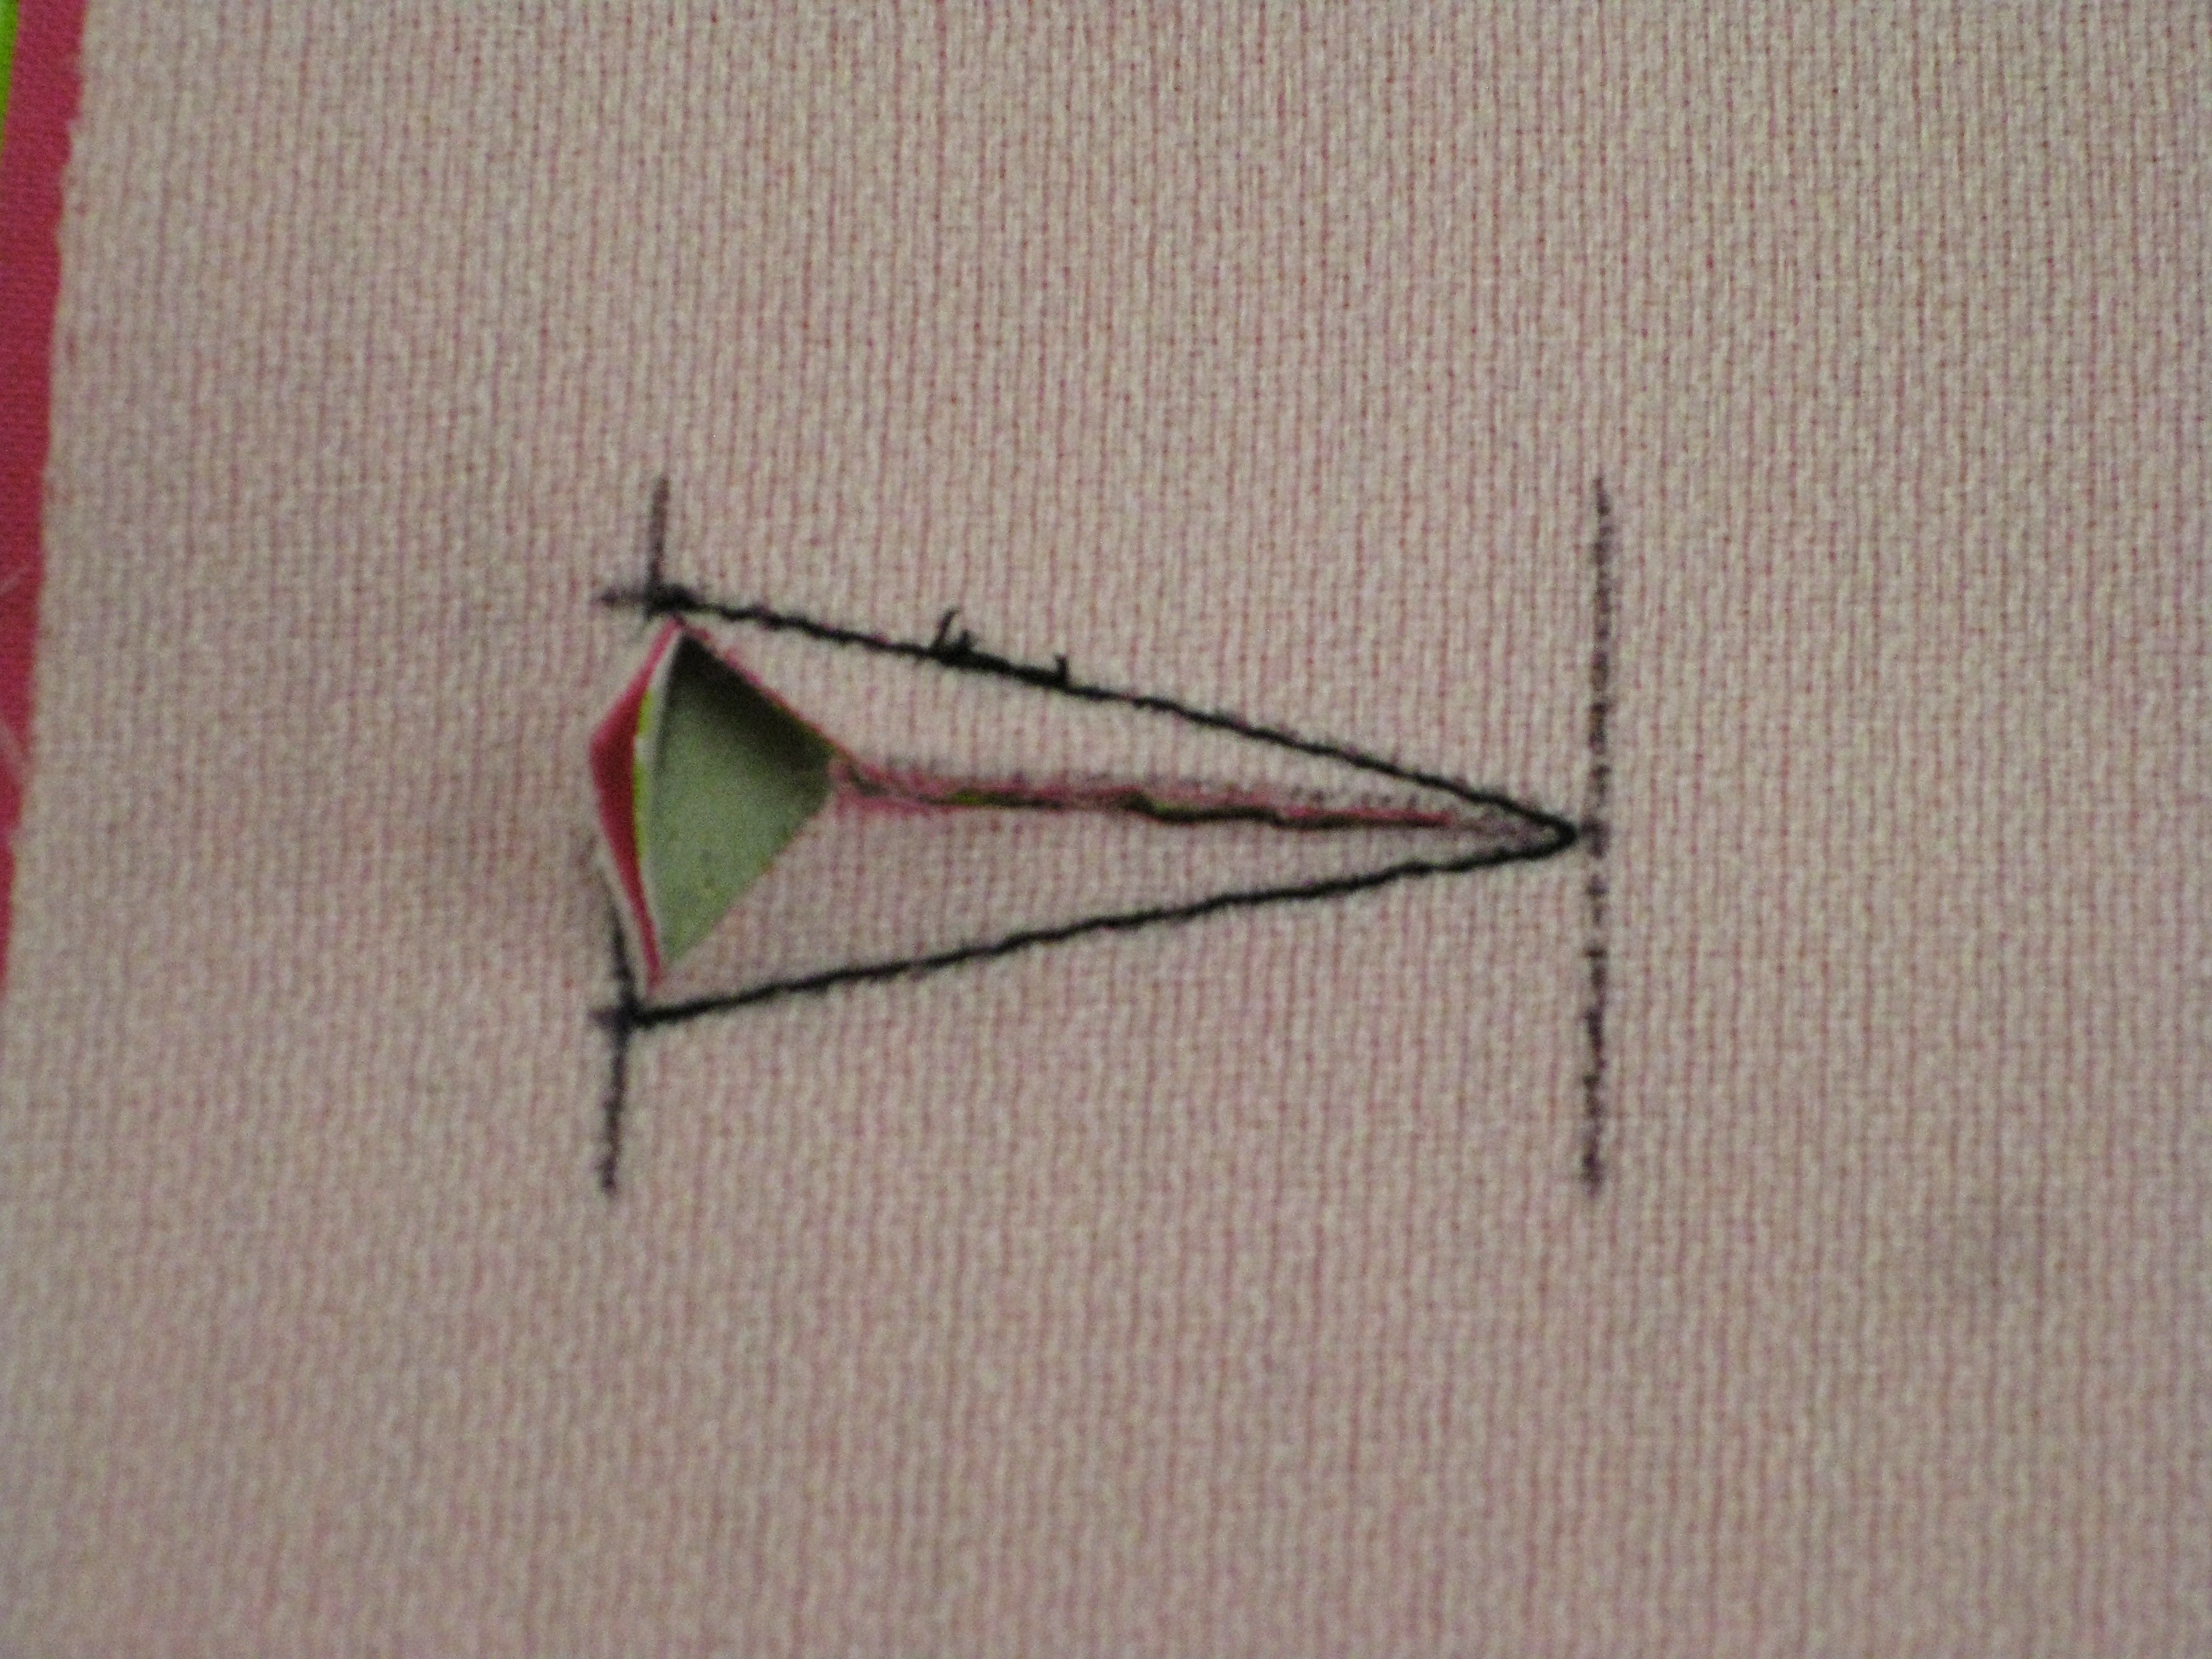
Mark the triangular opening on the wrong side of the garment.
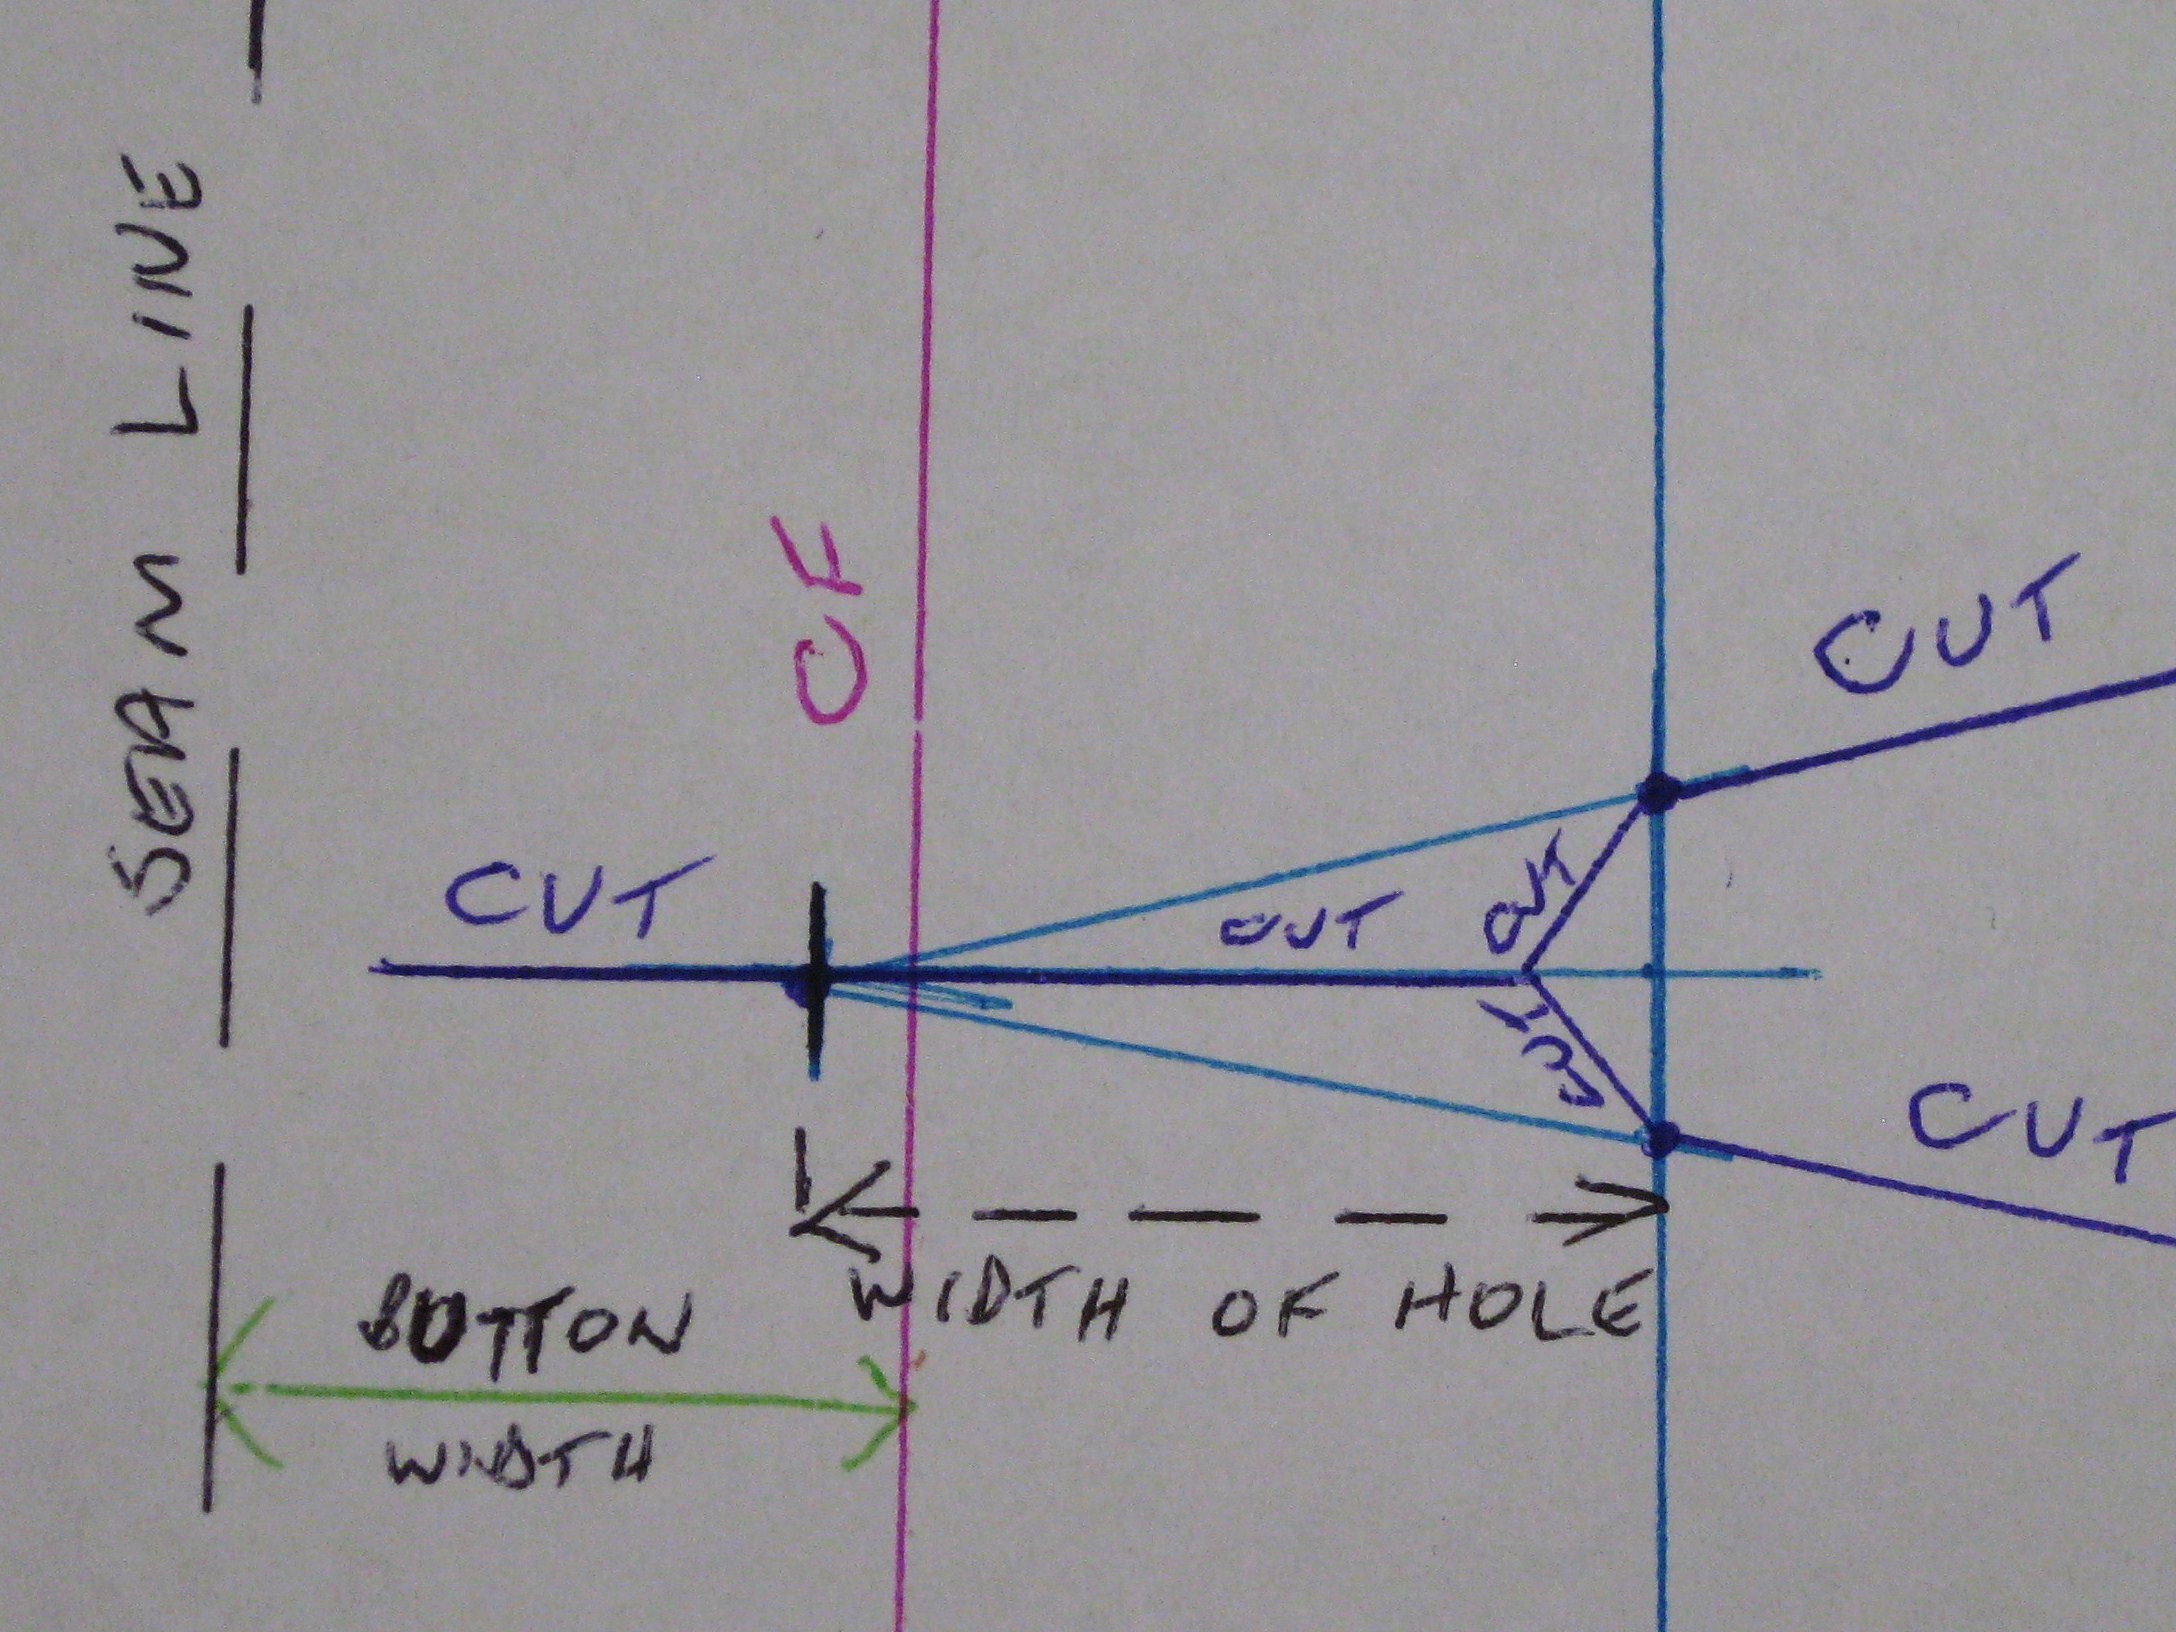
Position the buttonhole either vertically or horizontally.
Vertical buttonholes are centred on centre front line.
Horizontal buttons are positioned as above.
- The wrapped method gives the appearance of the buttonhole lips raised above the surface of the garment:
- Cut a piece of fabric for the buttonhole lips approximately twice the width of the finished buttonhole plus at least 1” /25mm and the length of the finished buttonhole plus 2” /5cm. Mark the centre lengthwise as well as the position of either end of the buttonhole.
-

Position fabric with right side of buttonhole fabric to right side of garment.
Position the patch against the right side of the fabric, aligning the centre line over the buttonhole placement line.
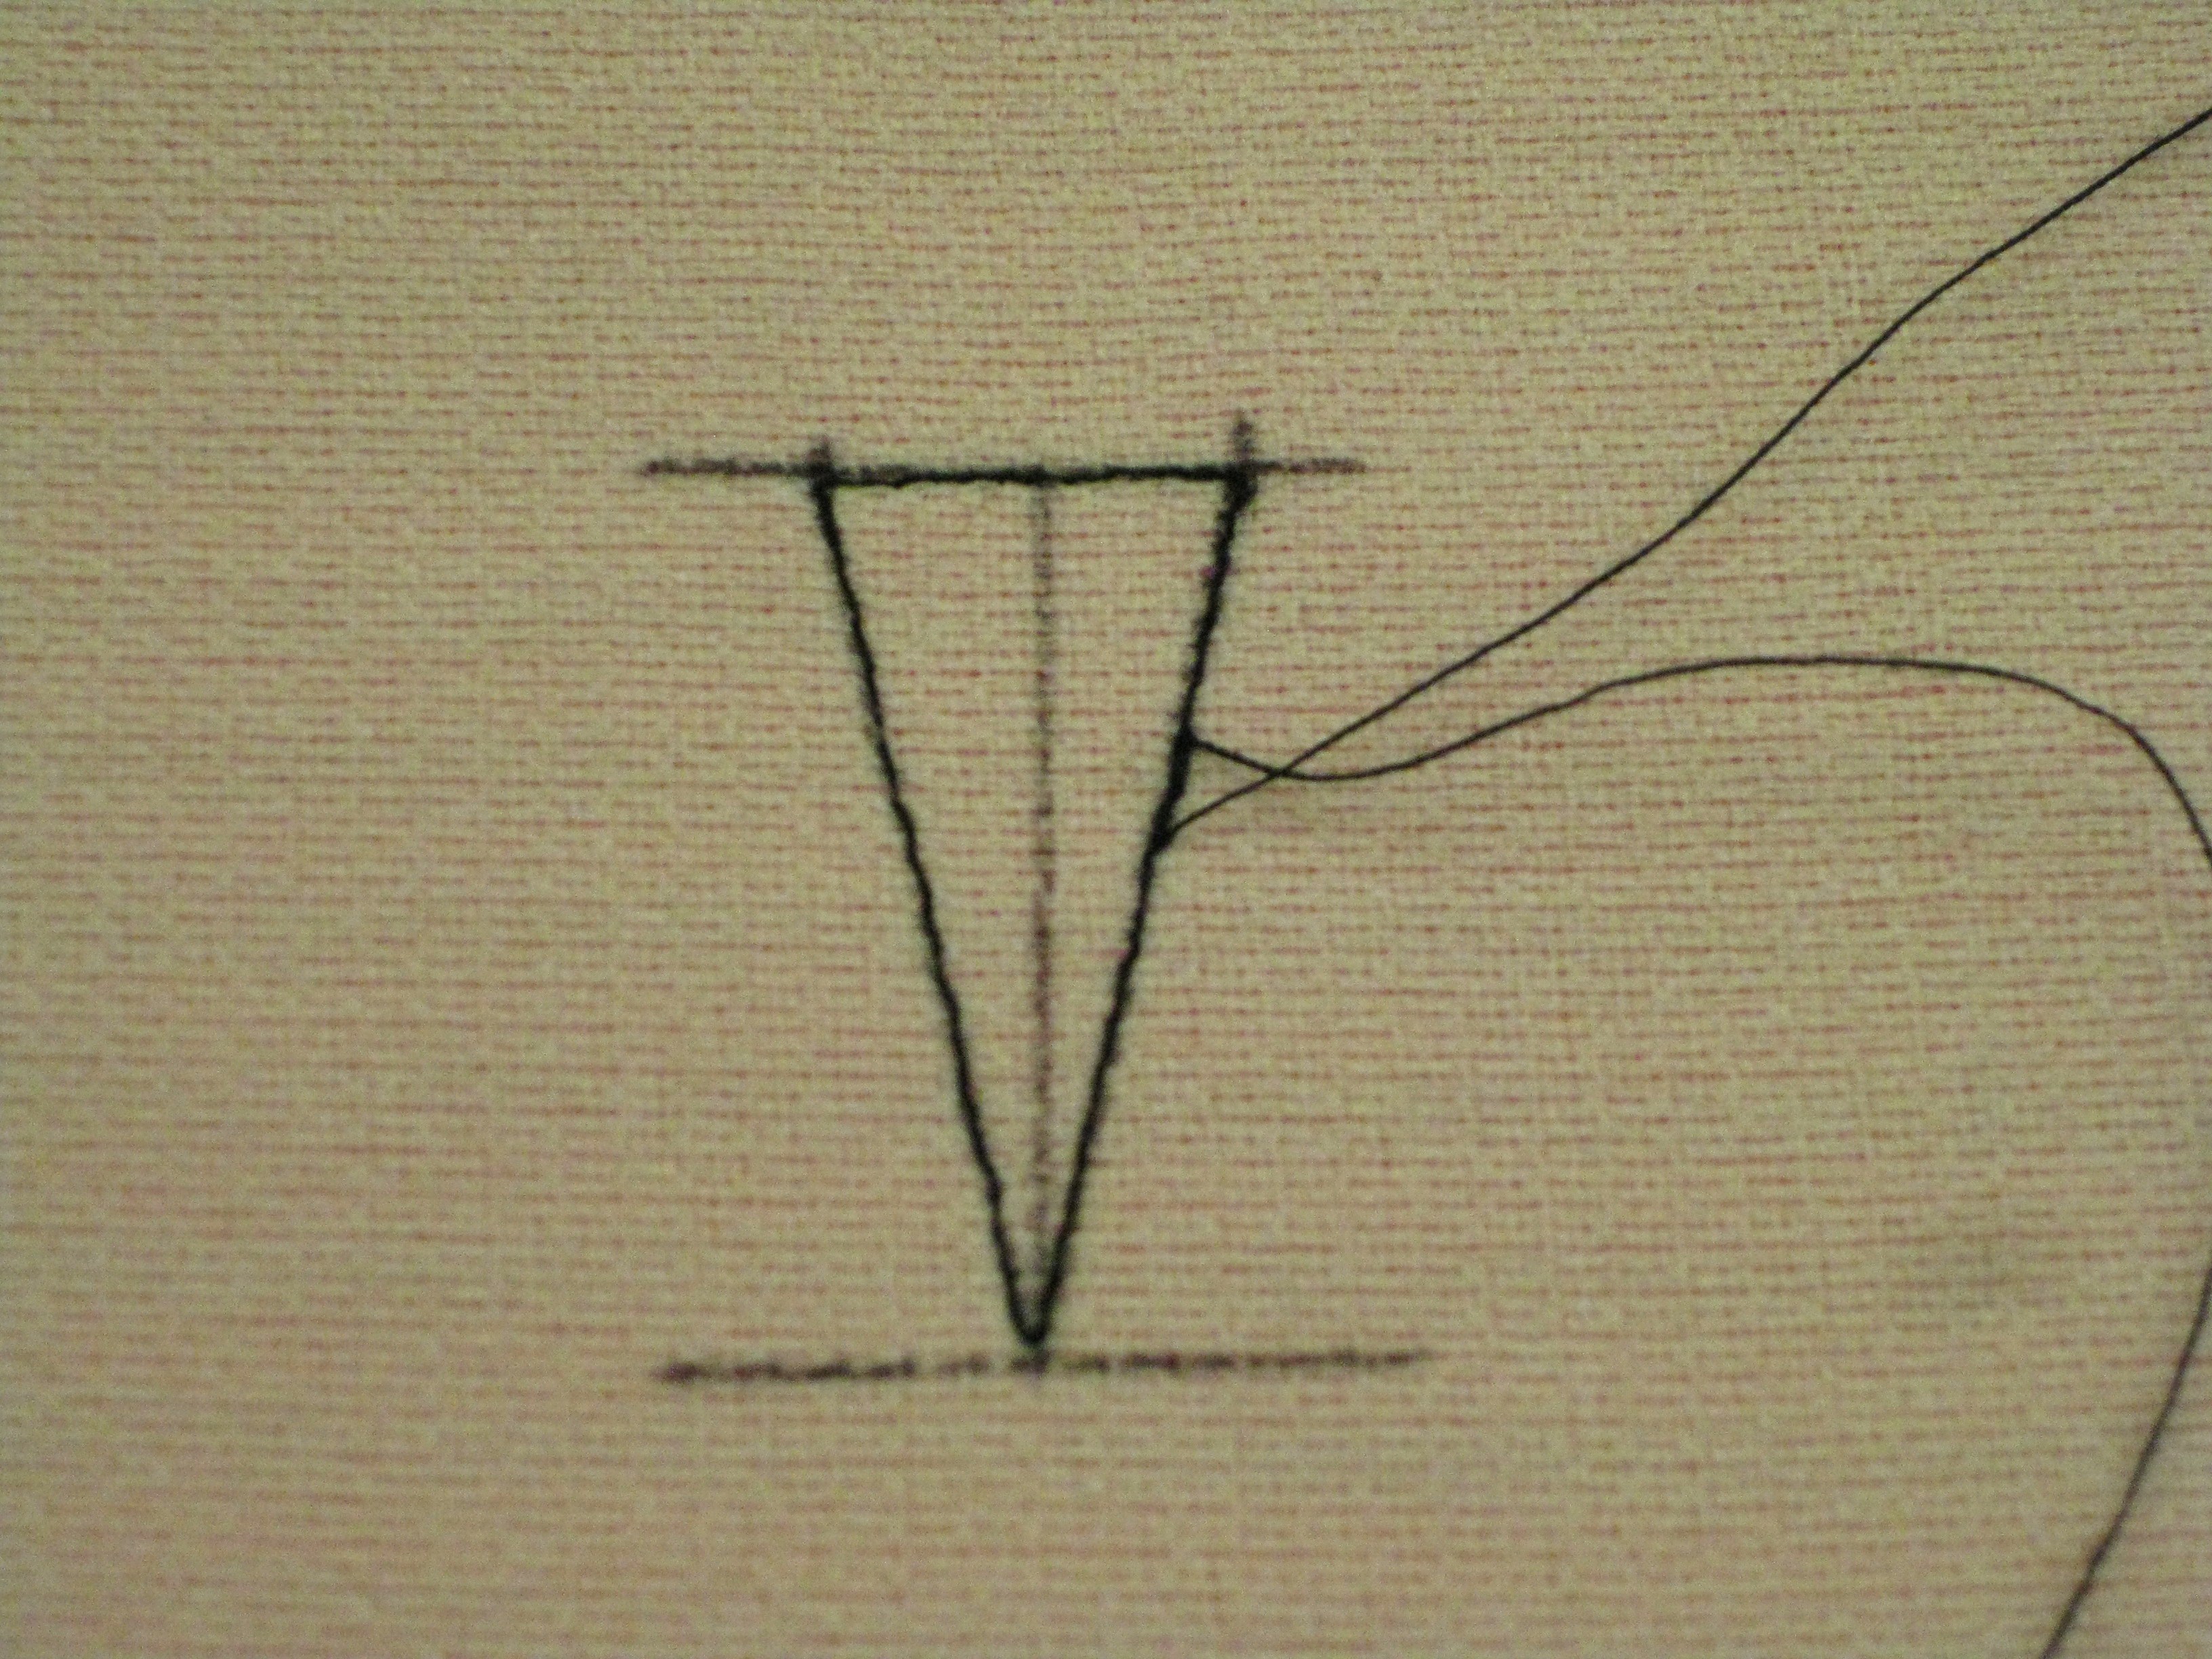
- Starting on one long side, stitch around the buttonhole shape (SL 2.0). Do not backstitch but overlap the stitches for approximately ¼” / 6mm.

Overlap the stitching to finish.

Using small stitch length, start along one long side and stitch around the triangular shape.
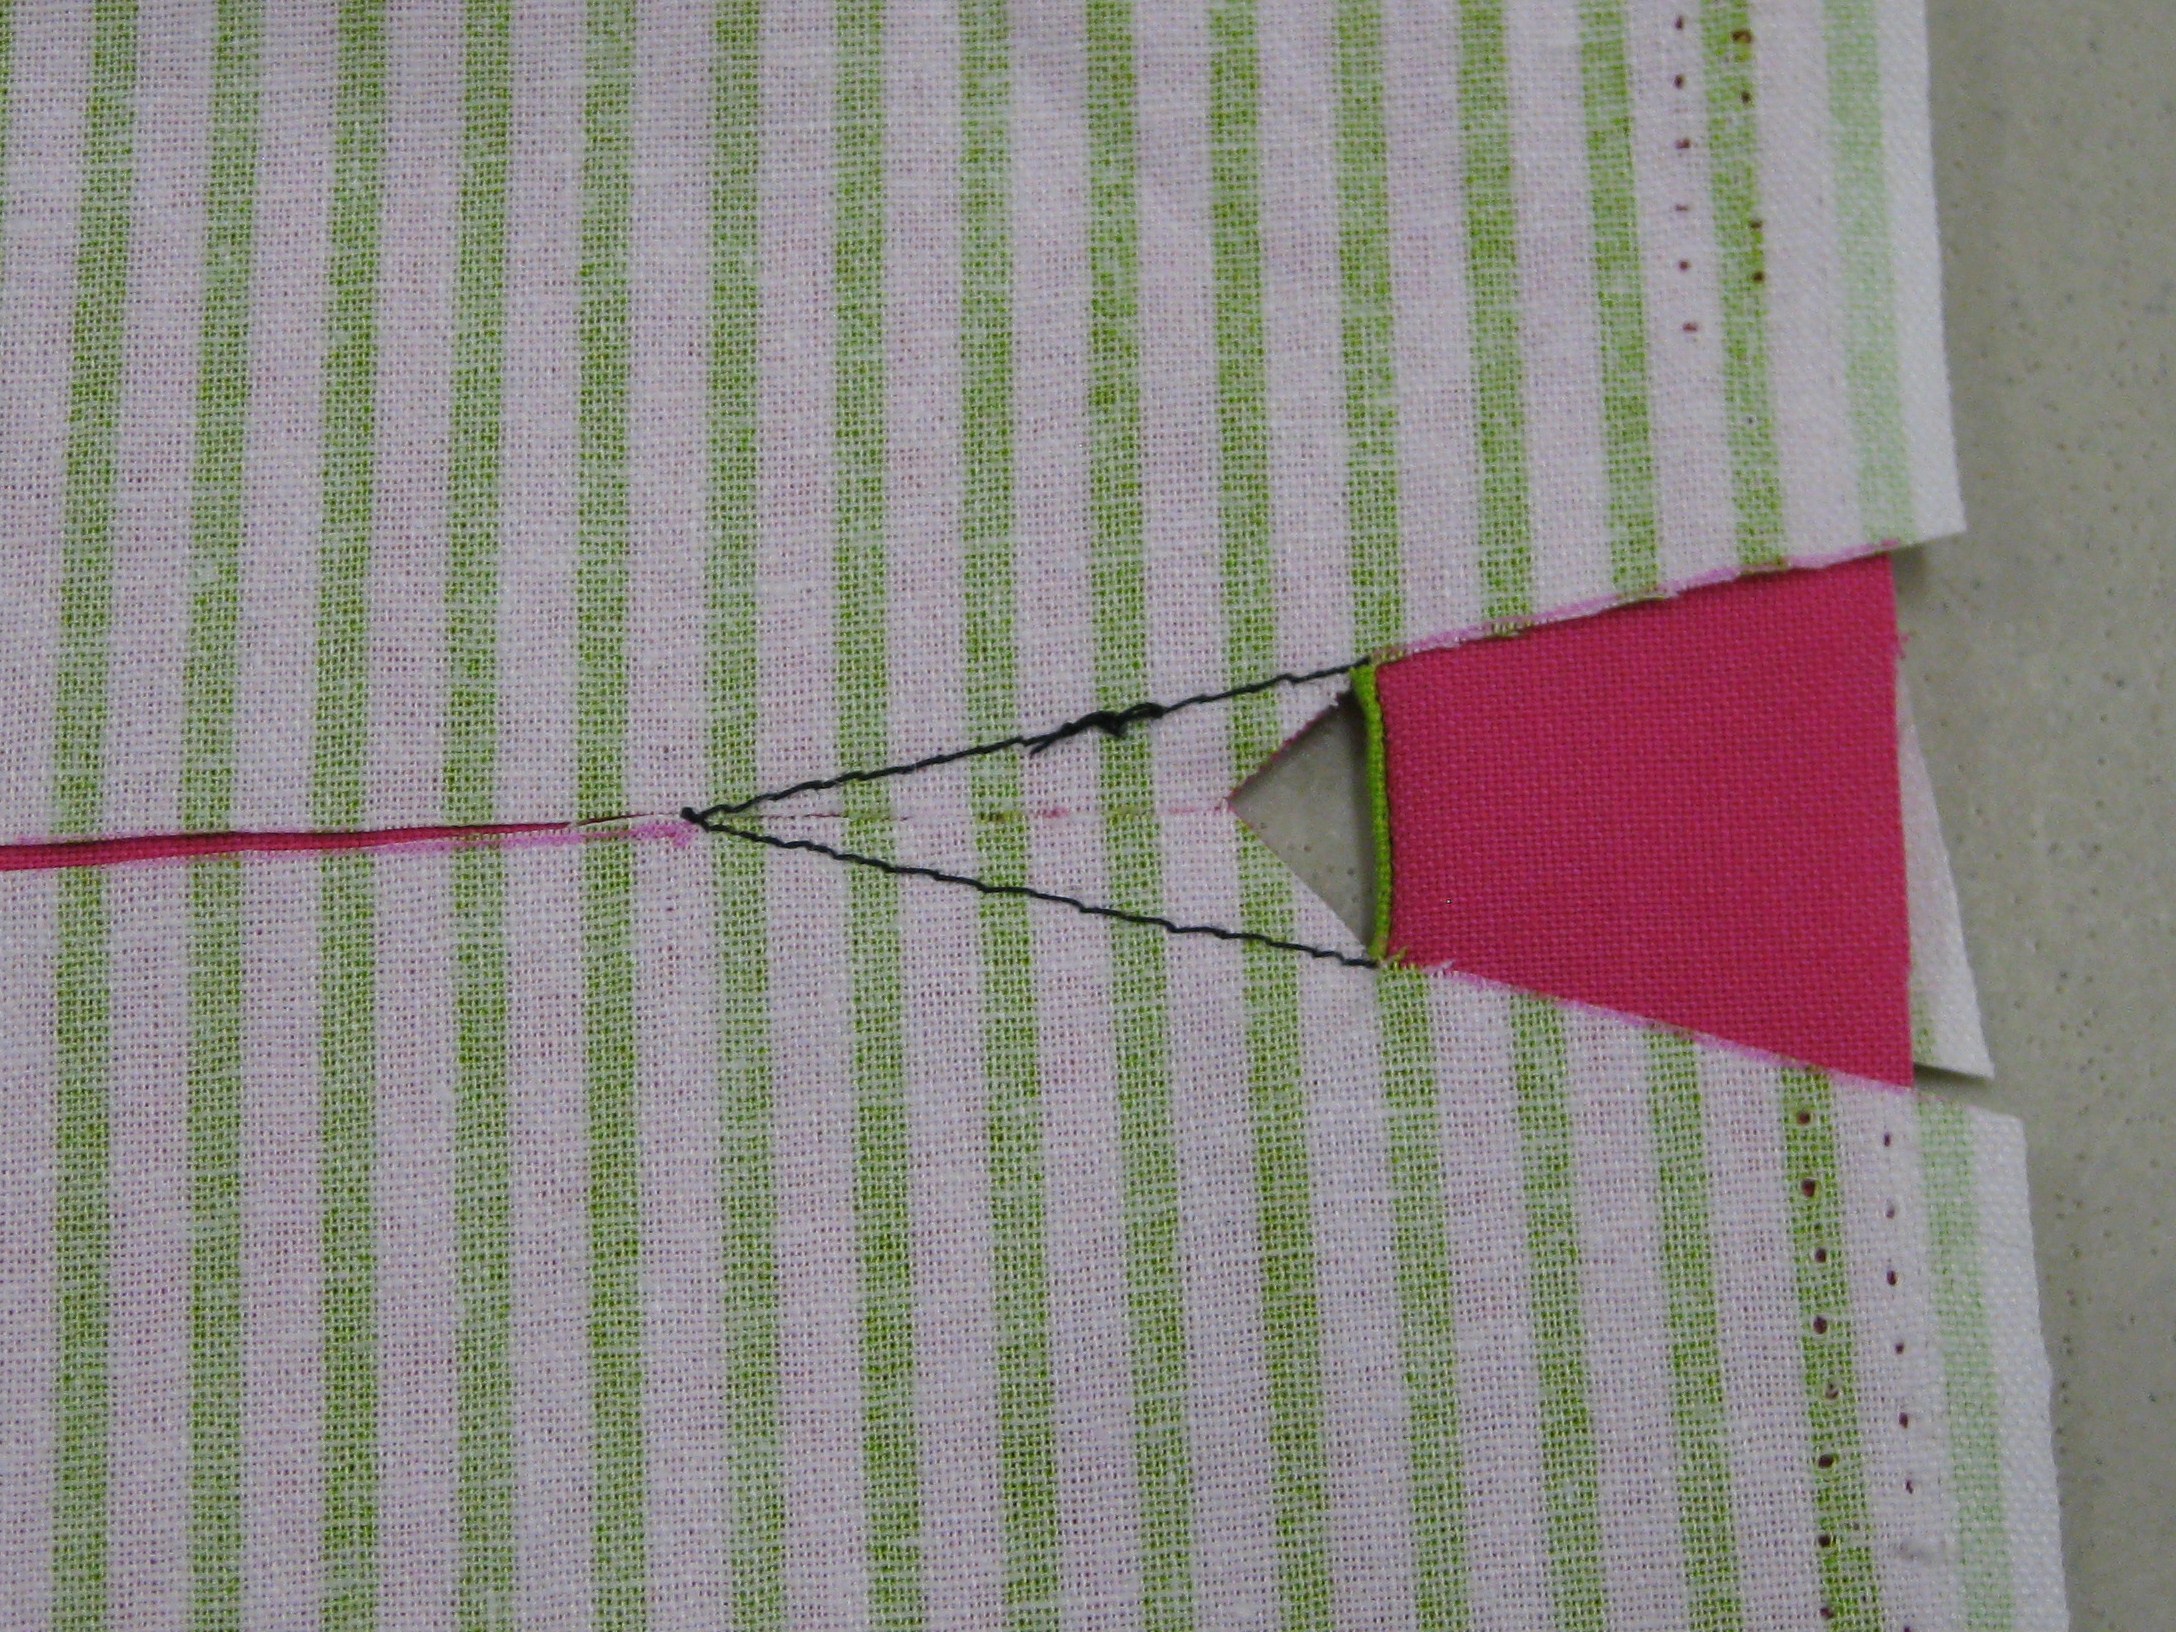
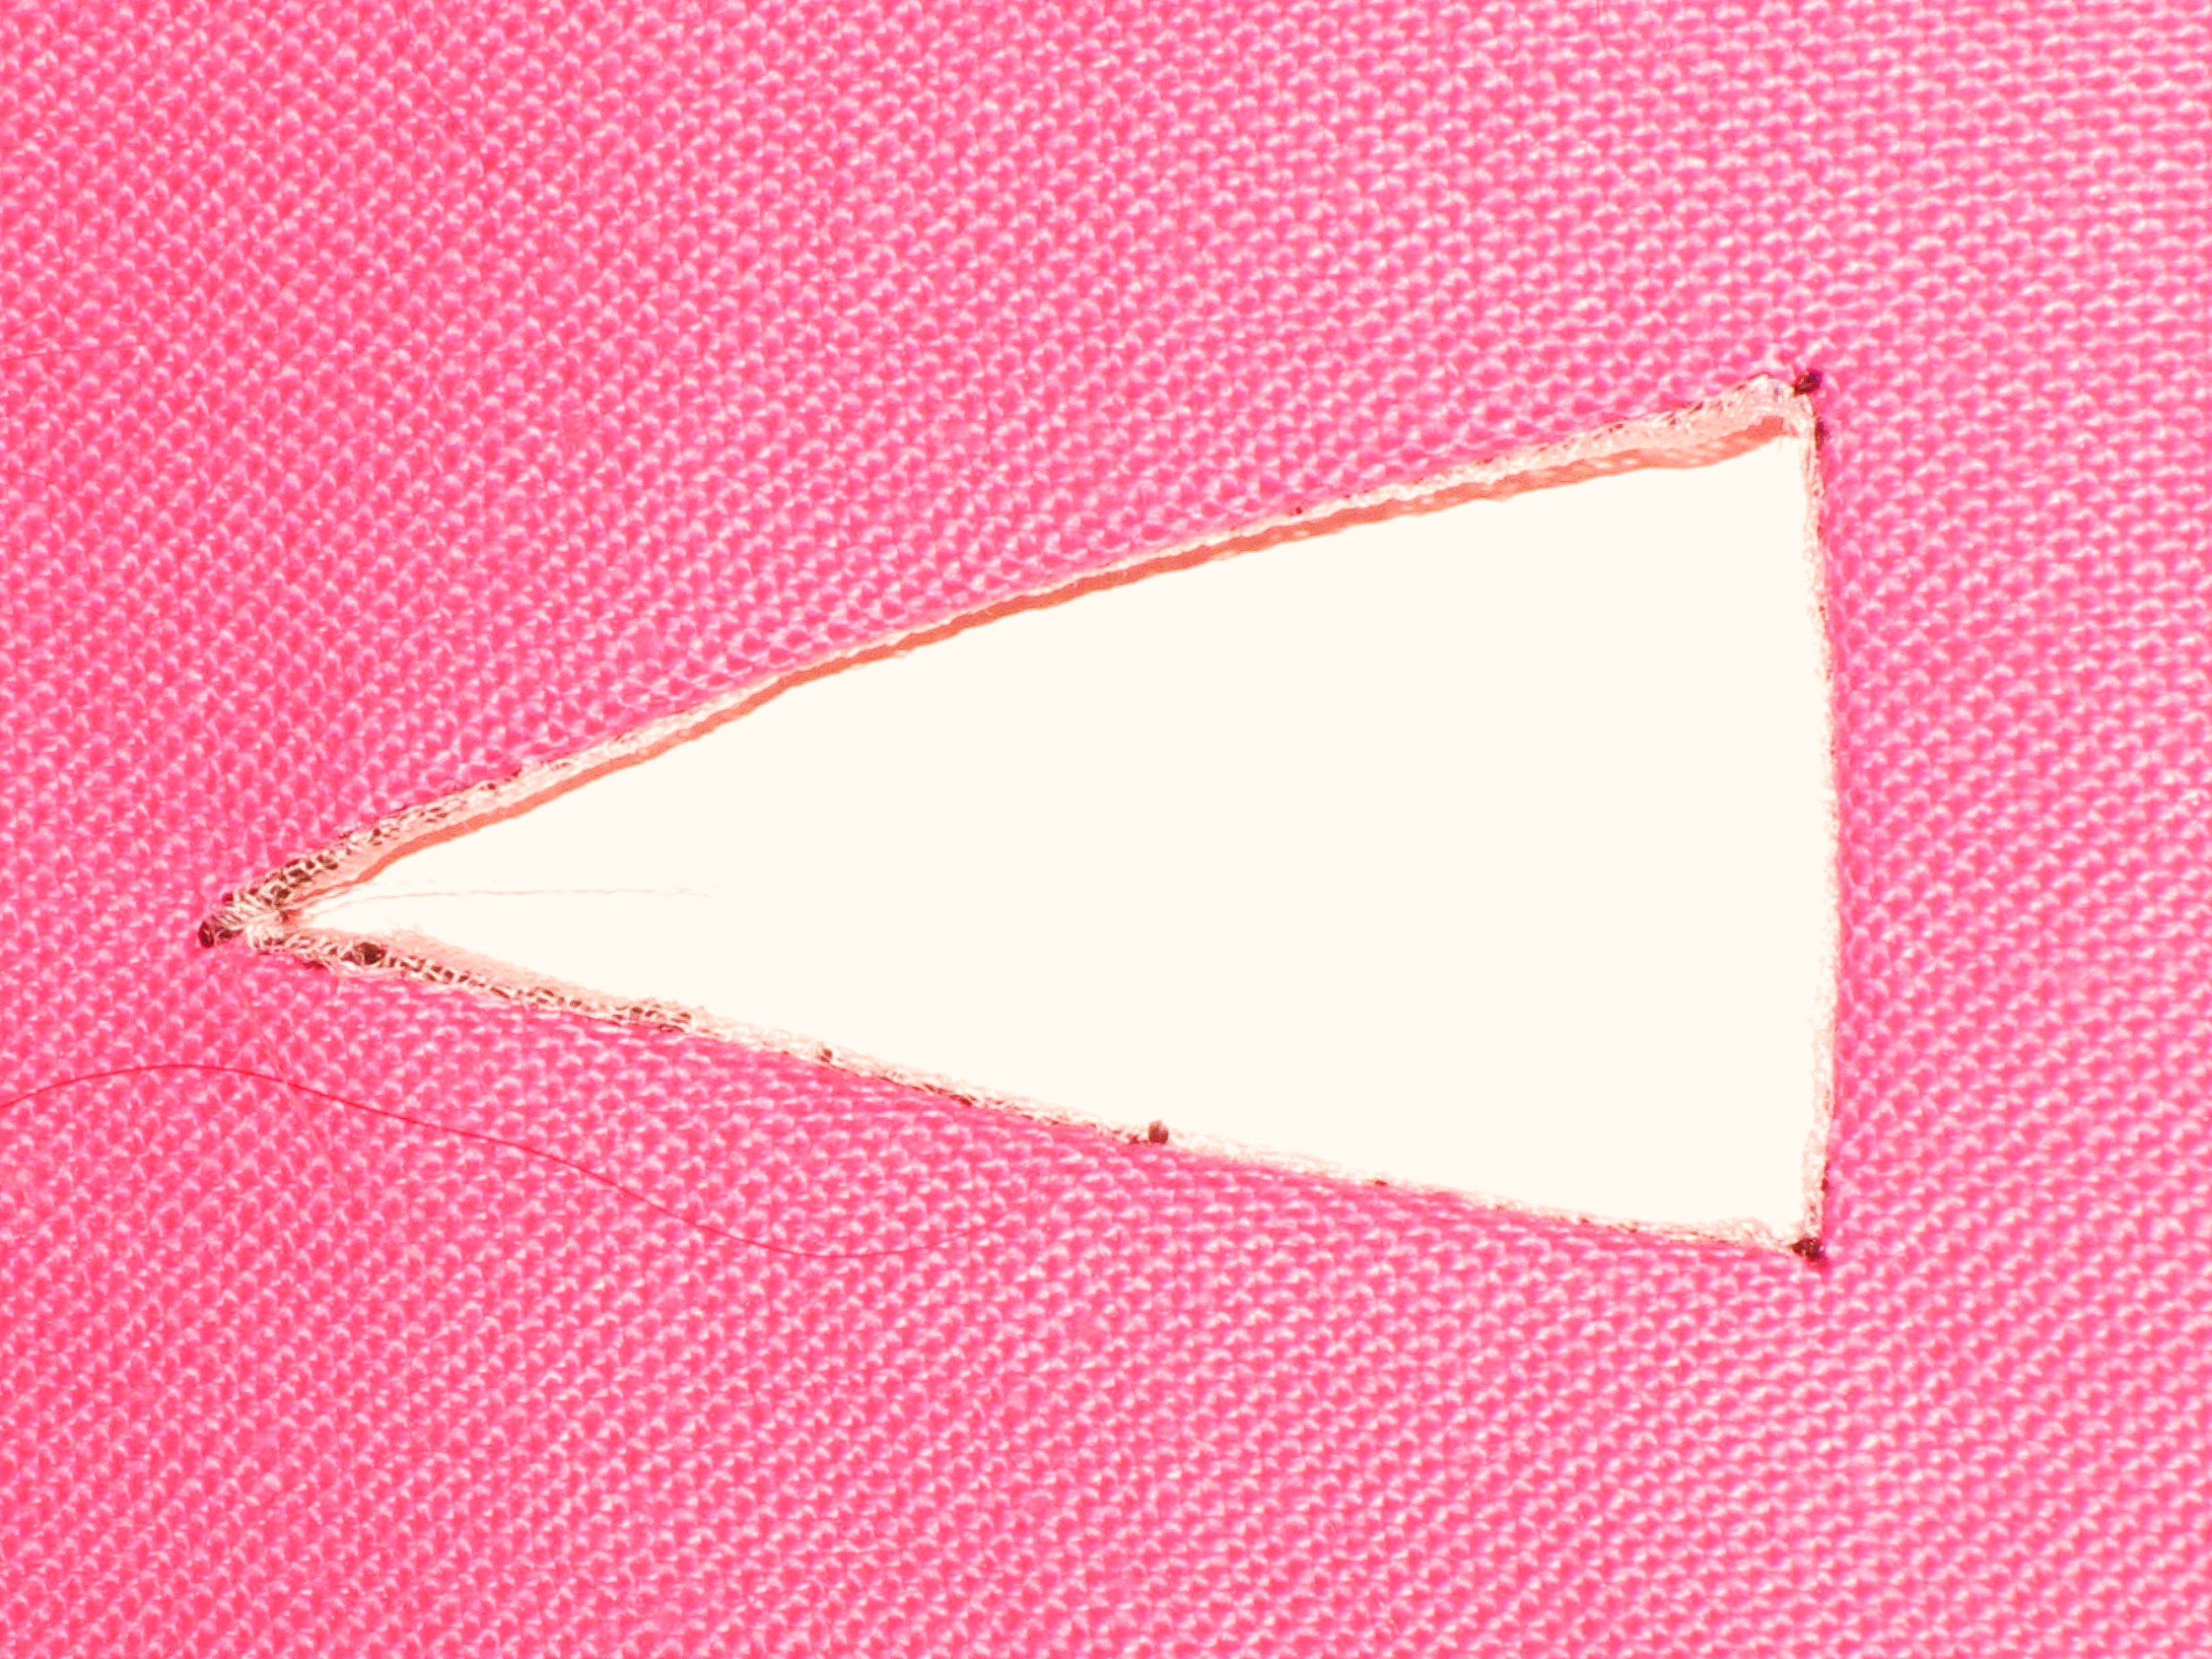
- Using sharp scissors, make an small clip along the centre line and cut right into the point of the triangle. Then cut right into the corners at the base of the buttonhole.

Slash buttonhole fabric to point and on the same angles as the sides of the buttonhole.

Cut on angle of long sides and to point
- On the outside of the triangle, carefully clip the fabric to the pointed end of the buttonhole.
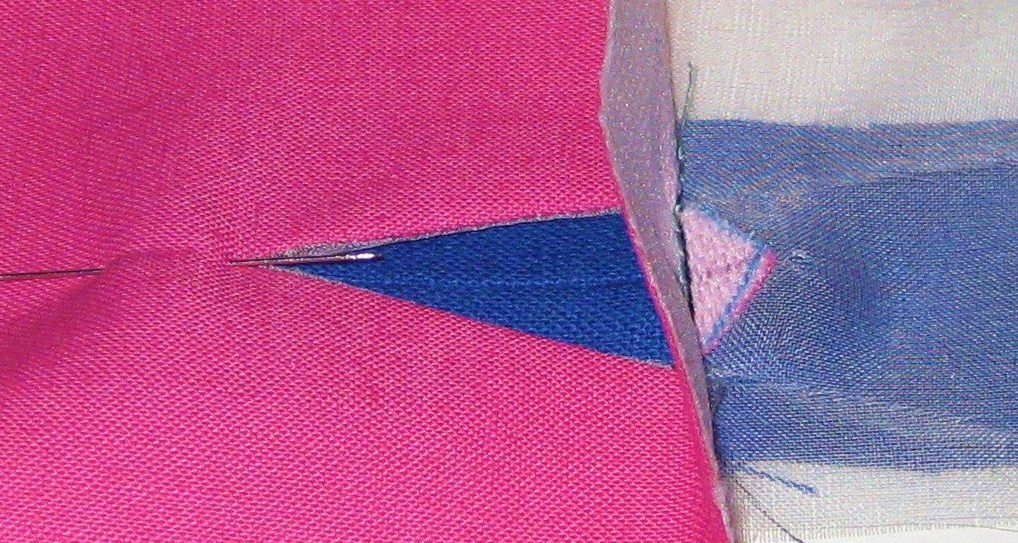
- Carefully turn the fabric to the wrong side being sure that the fold lies along the centre.
Turn buttonhole fabric to wrong side along base.
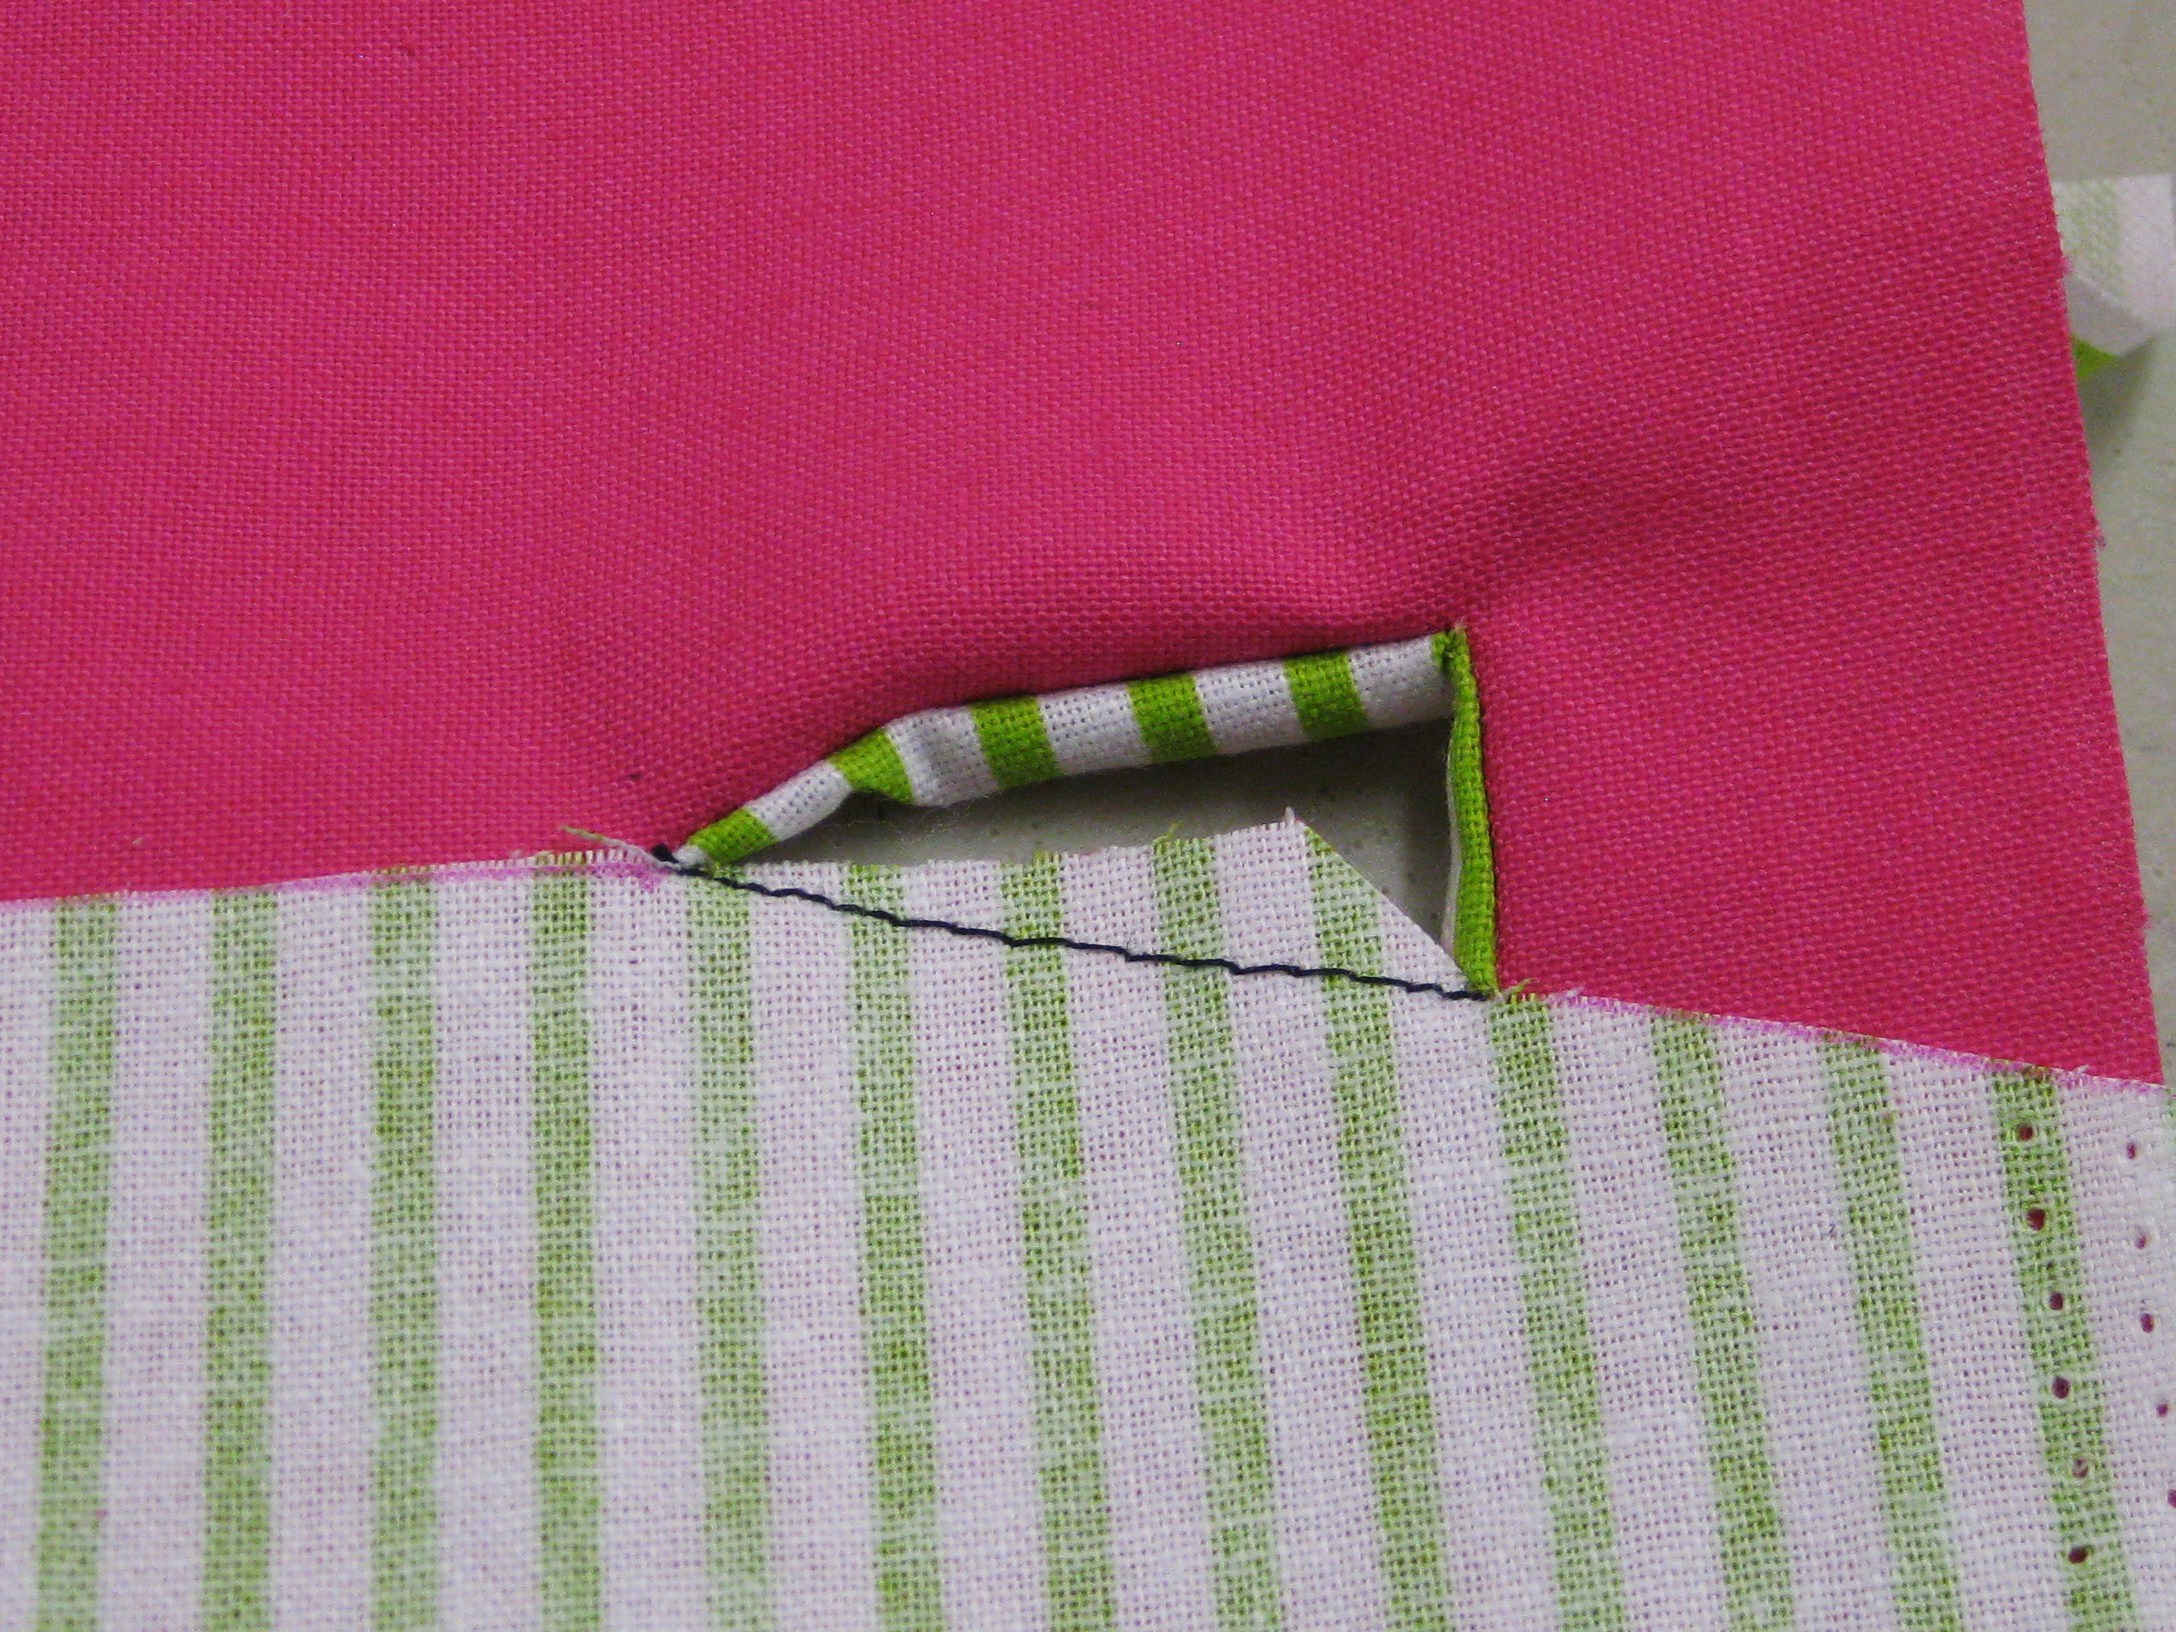
Turn one side.

Turn second side.
Pin in place and press.

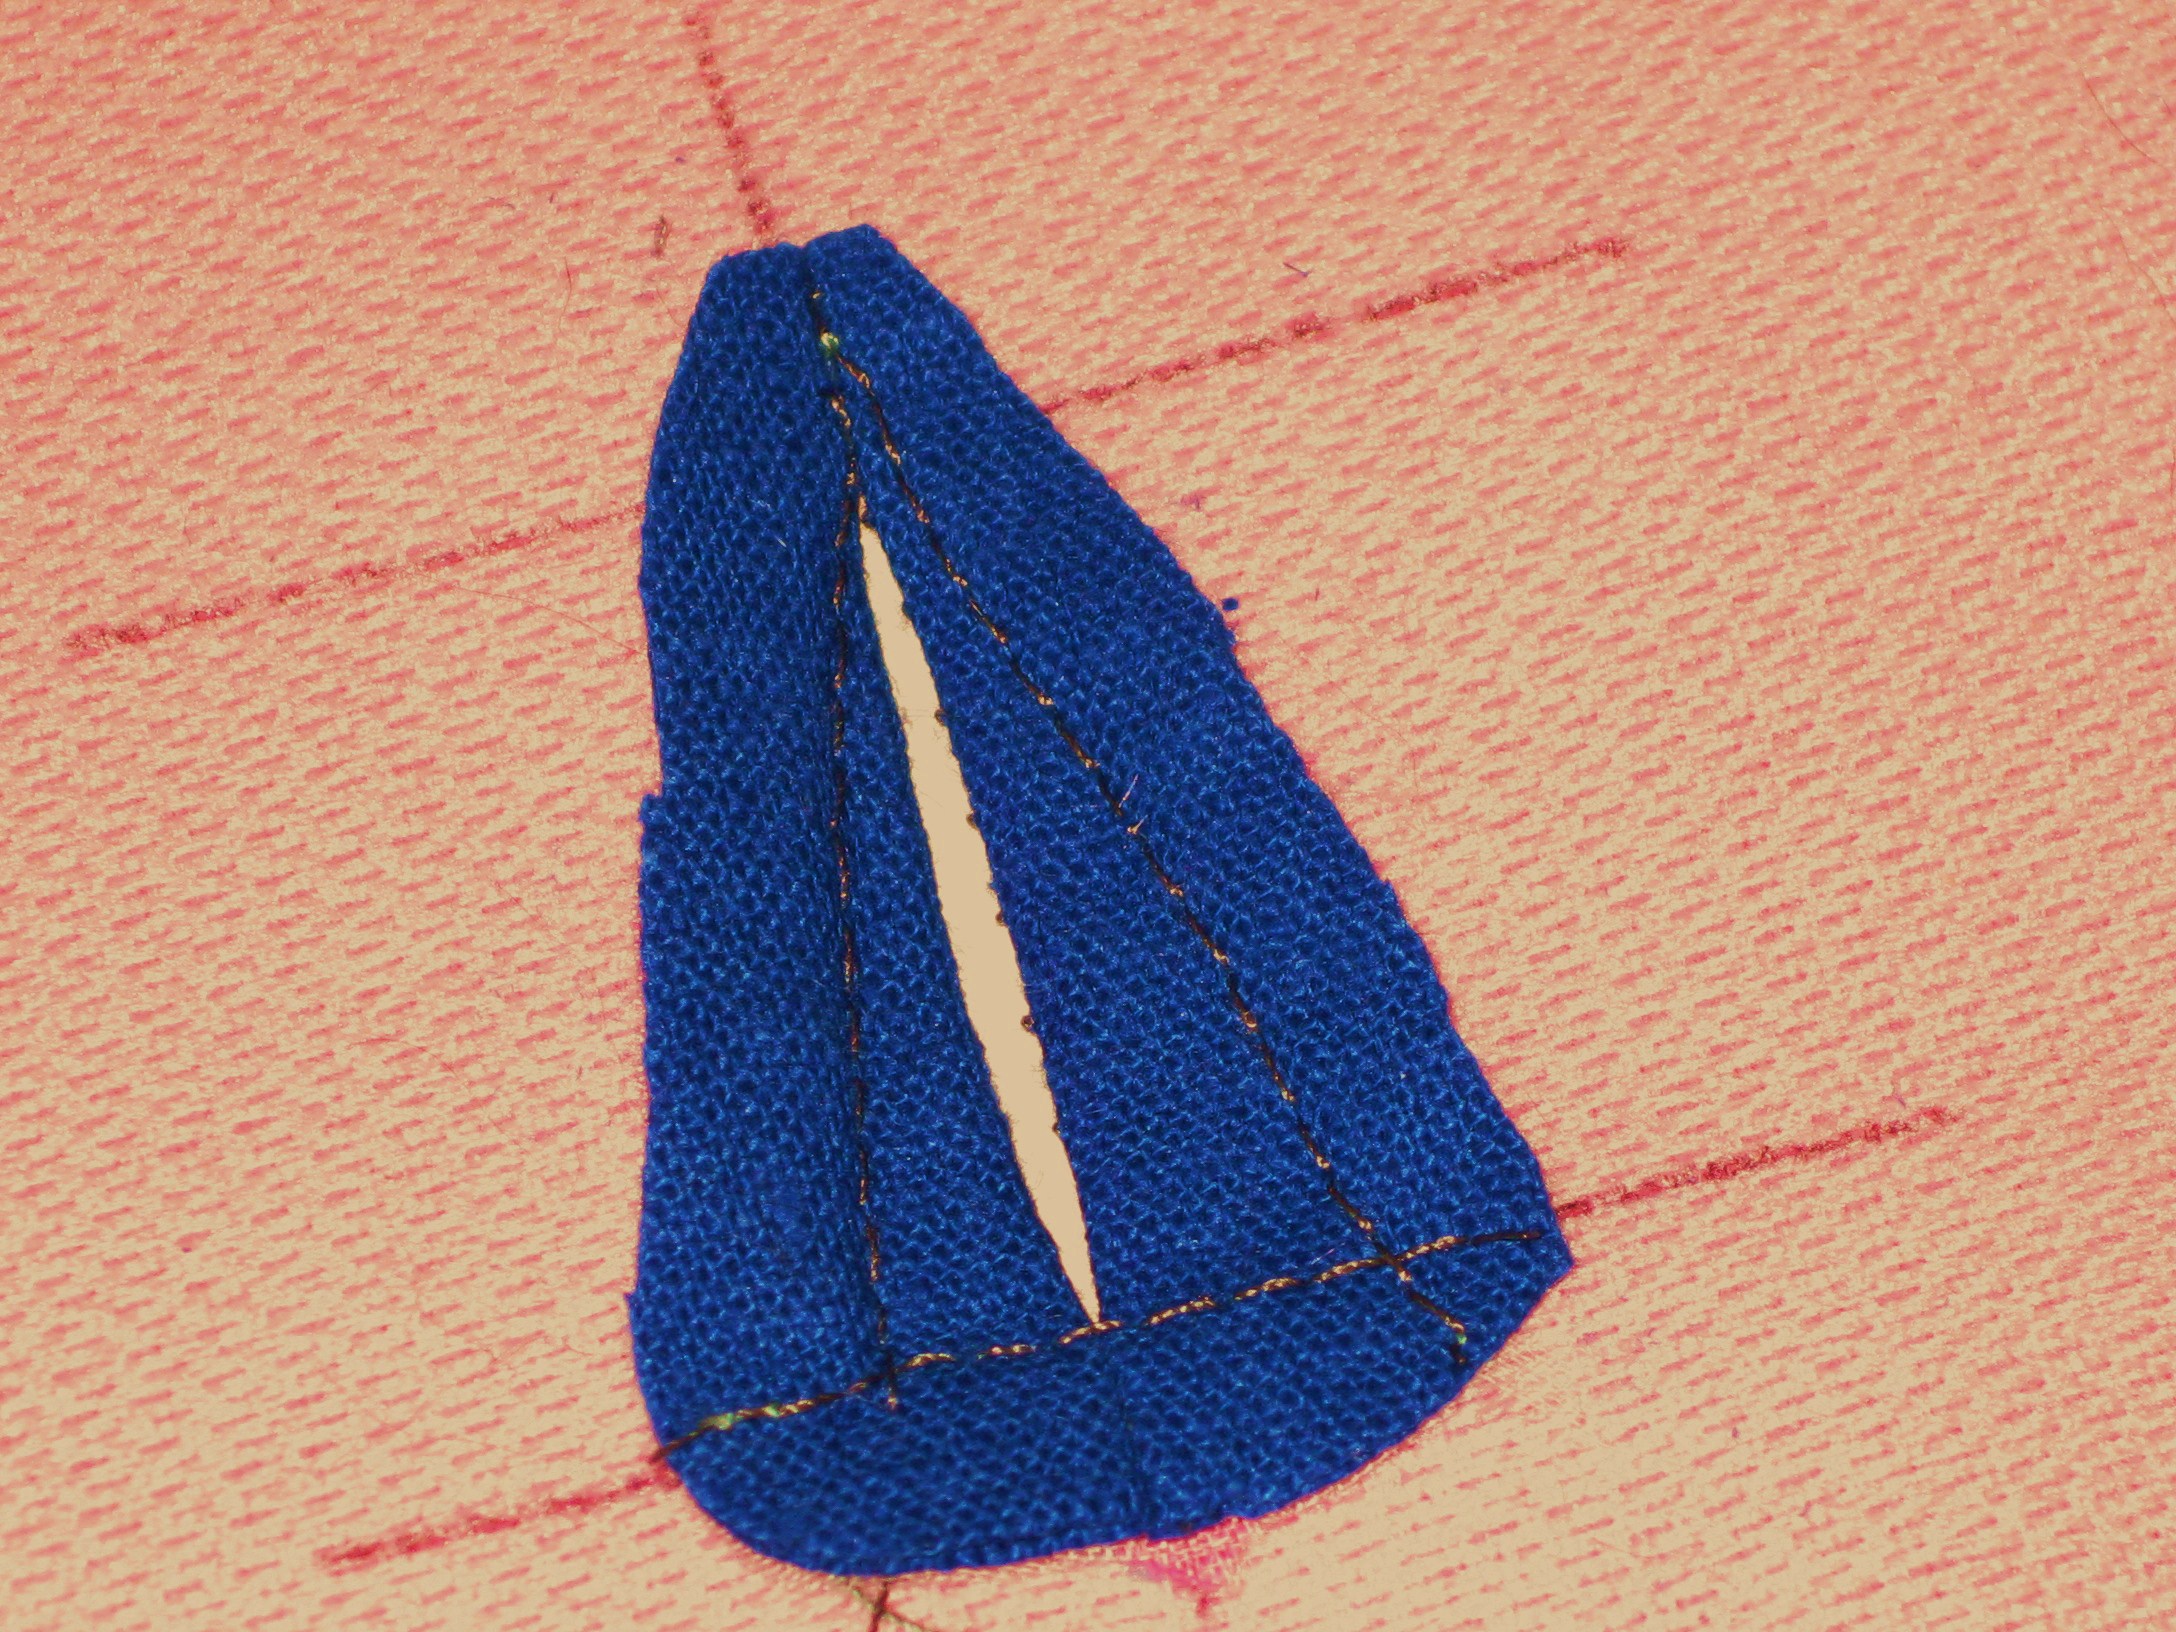
Fold buttonhole fabric so that it meets in centre of the hole.
Fold back the triangle at the base of the buttonhole and, following the previous stitching line, stitch through all layers to hold the buttonhole lips in place.

Press finished buttonhole from both sides.

Fold back the base and machine stitch just inside the original stitching.
Faced method results in the buttonhole lips appearing to be recessed:
- Cut a piece of silk organza approximately 3” x 2” / 8cm x 5cm and mark the centre lengthwise and across at either end of the opening. Position the patch against the right side of the fabric, aligning the centre line over the buttonhole placement line.
-

Place silk organza against right side of the facing and stitch around chosen opening.
Starting on one long side, stitch around the buttonhole shape (SL 2.0). Do not backstitch but overlap the stitches for approximately ¼” / 6mm.
Tip: If your fabric is inclined to fray or move, stitch around the shape twice.
- Using sharp scissors, make an small clip along the centre line and cut right into the point of the triangle. Then cut right into the corners at the base of the buttonhole.
- Carefully turn the organza to the wrong side and press in place.
- Cut a 2 pieces of fabric for the buttonhole welts – 2” wider and longer than your opening. Place these pieces right sides together and mark the centre lengthwise. Using a long machine stitch, join these two pieces along the centre line.

To make lips for faced method, stitch fabric strips right sides together with long straight stitch.
Fold each side away from the centre and press in place.

Fold fabric with right sides out and press.

Position lips with join in centre of hole. Stitch across base.
Position the buttonhole welts under the faced hole with the centre line running from the point to the centre of the base. Fold back the garment and stitch across the base.

Tip: Pinning the garment piece to the ironing board before slipping the buttonhole welts in place will make this easier
- Fold back the garment along one long side of the triangular opening and stitch through the garment and into the welt. Repeat on the other side.

Fold garment back and stitch just inside former stitching lines.

Remove tacking stitches and trim the shape.

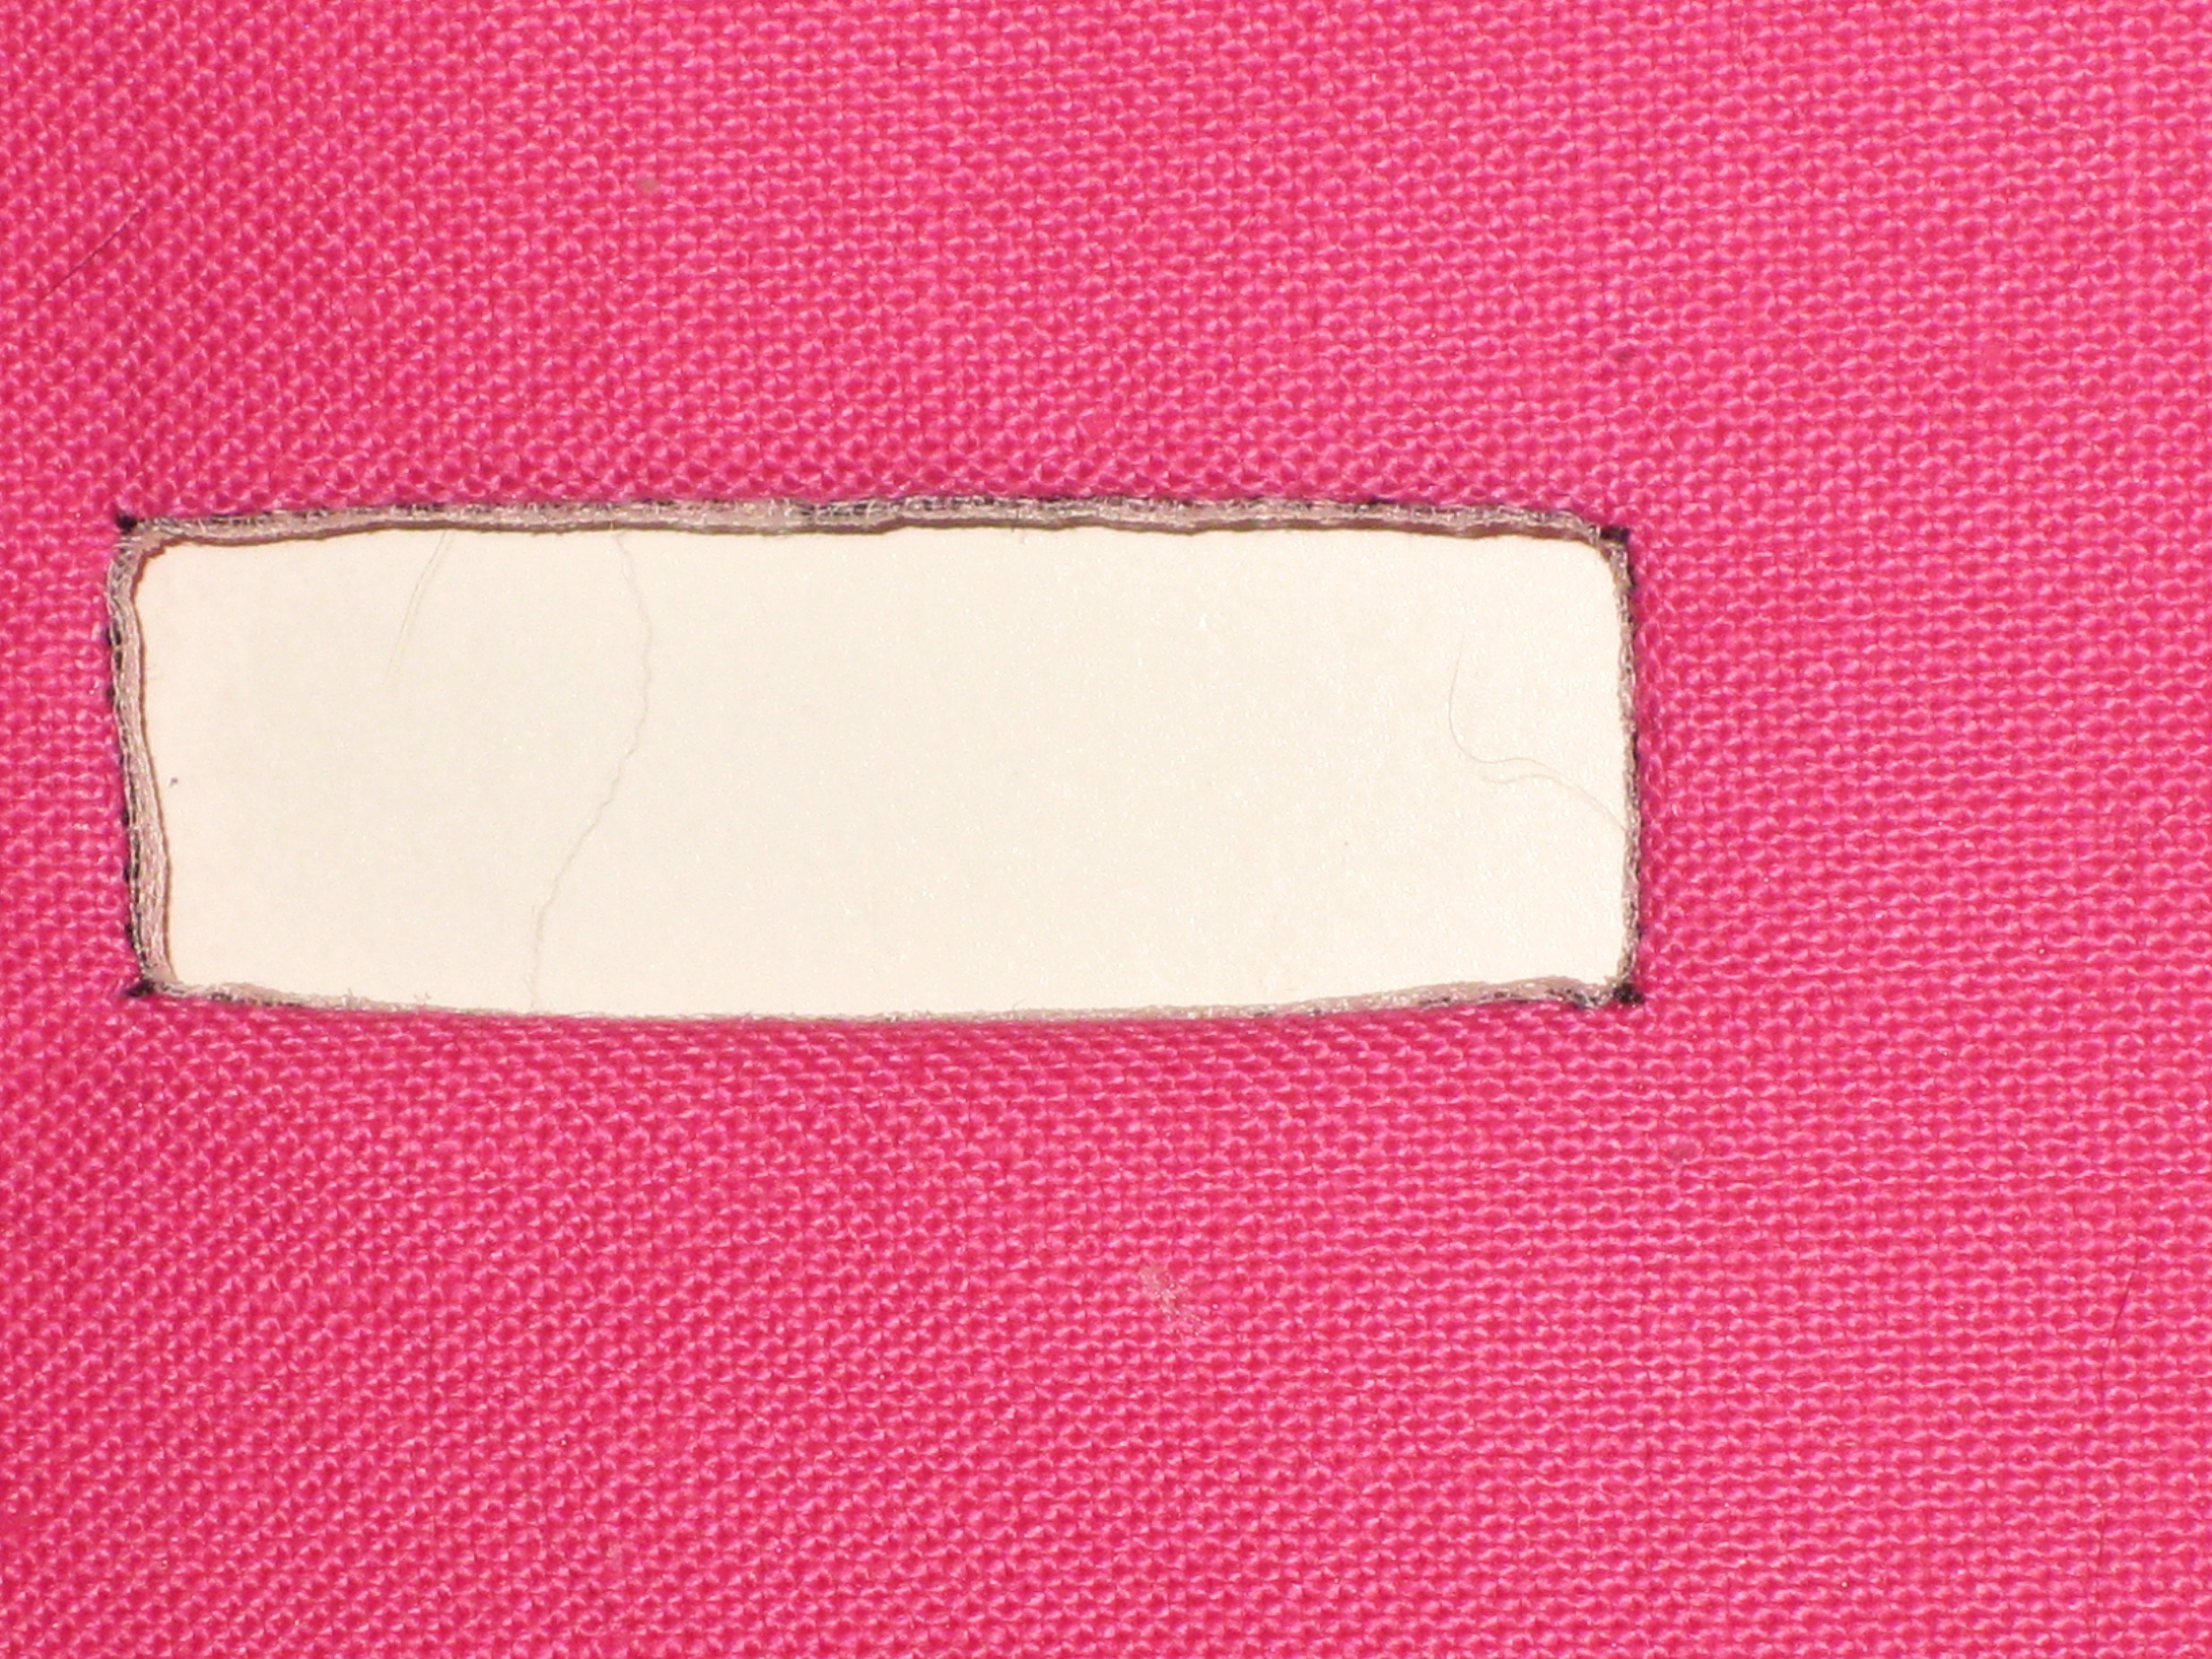
The faced method can then be used with either technique to finish the buttonhole openings in the facing of the garment. The underside of the buttonhole can replicate the triangular shape or take the form of a rectangle over the opening.
Turn organza to wrong side of facing and press.
Turn organza to wrong side of facing and press.

Both of these styles use the same construction method:
- Apply the facing to the garment, trim, grade and understitch as needed
- Press the facing in place
- From the right side of the garment, place a pin through the corners of the buttonhole and into the facing
- Place the organza patch over the pins and mark the stitching lines round all sides of the buttonhole
- Stitch in place, clip and turn as detailed above – press in place and then handstitch to the wrong side of the buttonhole.

Position faced hole in facing over the underside of the buttonhole and handstitch in place.


Triangular buttonholes are great fun and I hope you will give them a try.
