Portions of this article were first seen in Australian Dressmaking with Stitches magazine – Volume 22 No 5.
Permission has been sought and granted for electronic use and the photos and text remain the property of Alison Wheeler – Sewing Lady.
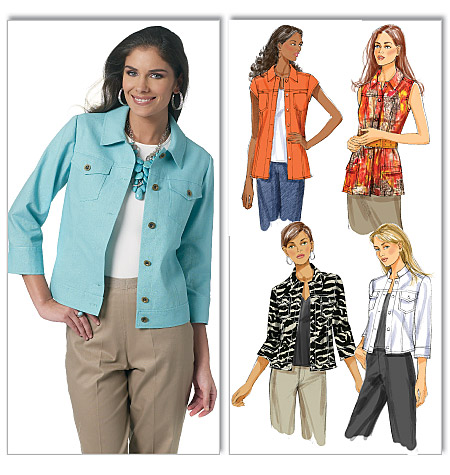
Collars make a statement and give garments a great style lift. They frame the face of the wearer and I hope that using these tips will help you create a beautifully finished collar. It is worth trying a few different styles to find the one which suits your face.
Because most collars have a seam at the outer edge, a great opportunity presents to include contrast or matching piping, edging lace or scalloped braid to really make the collar a focal point of garments.

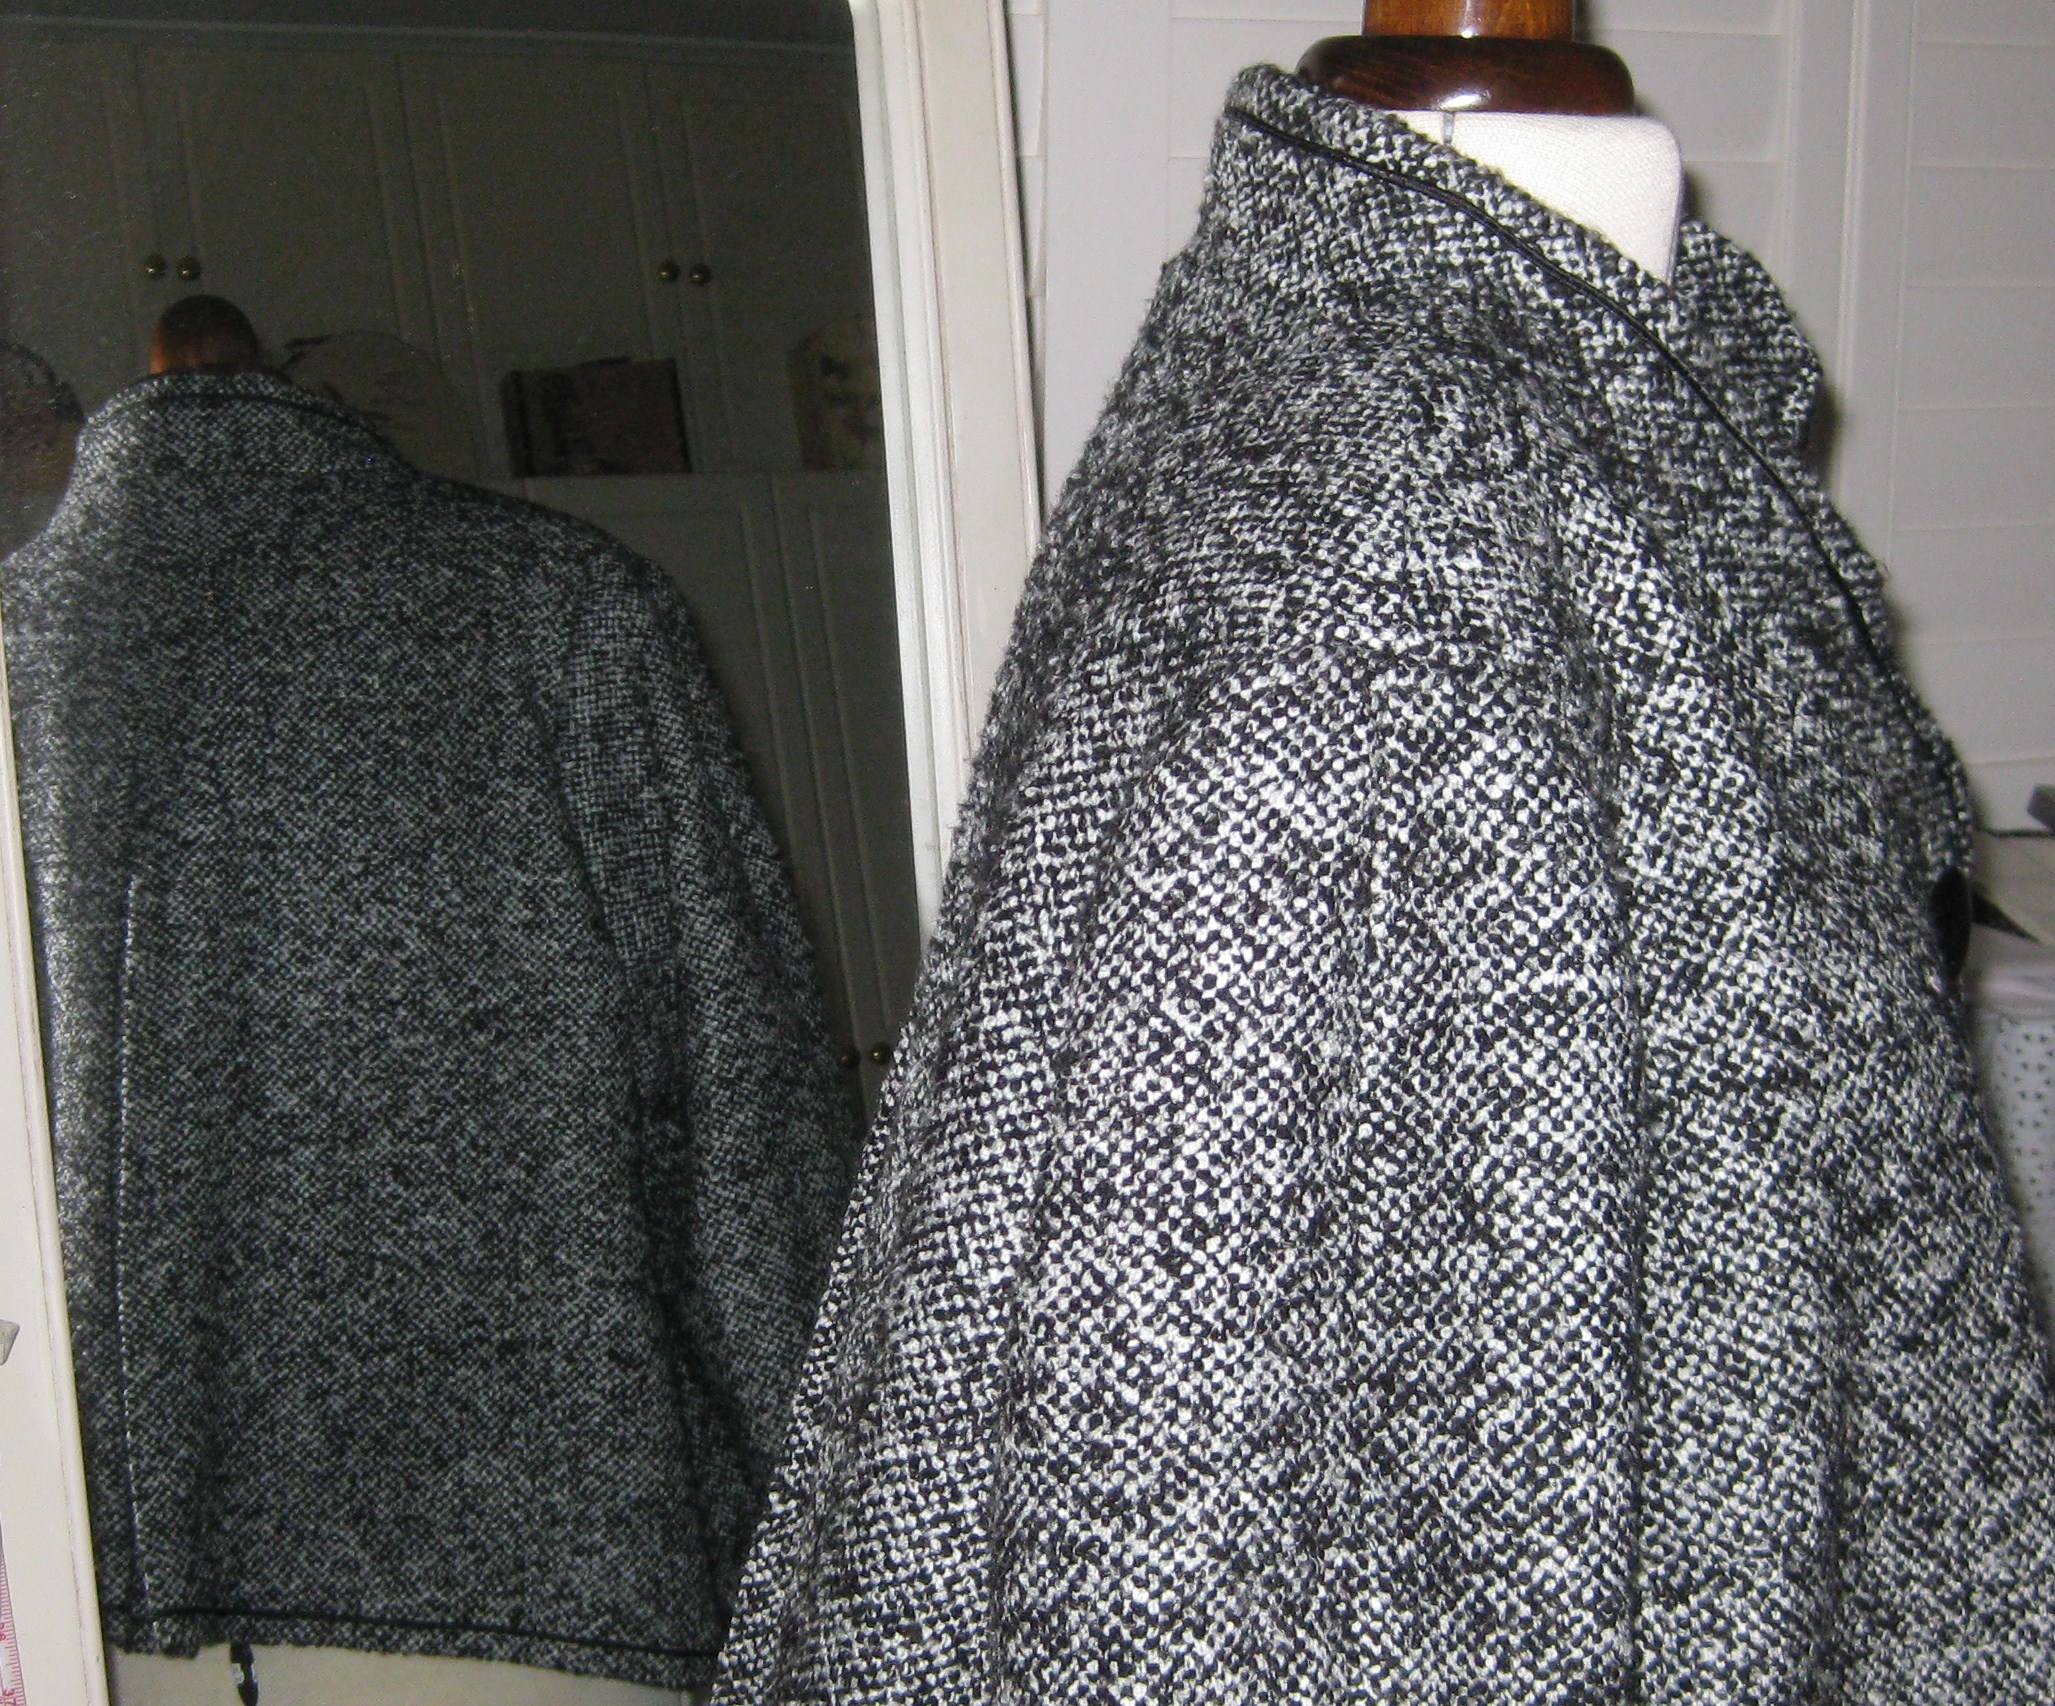
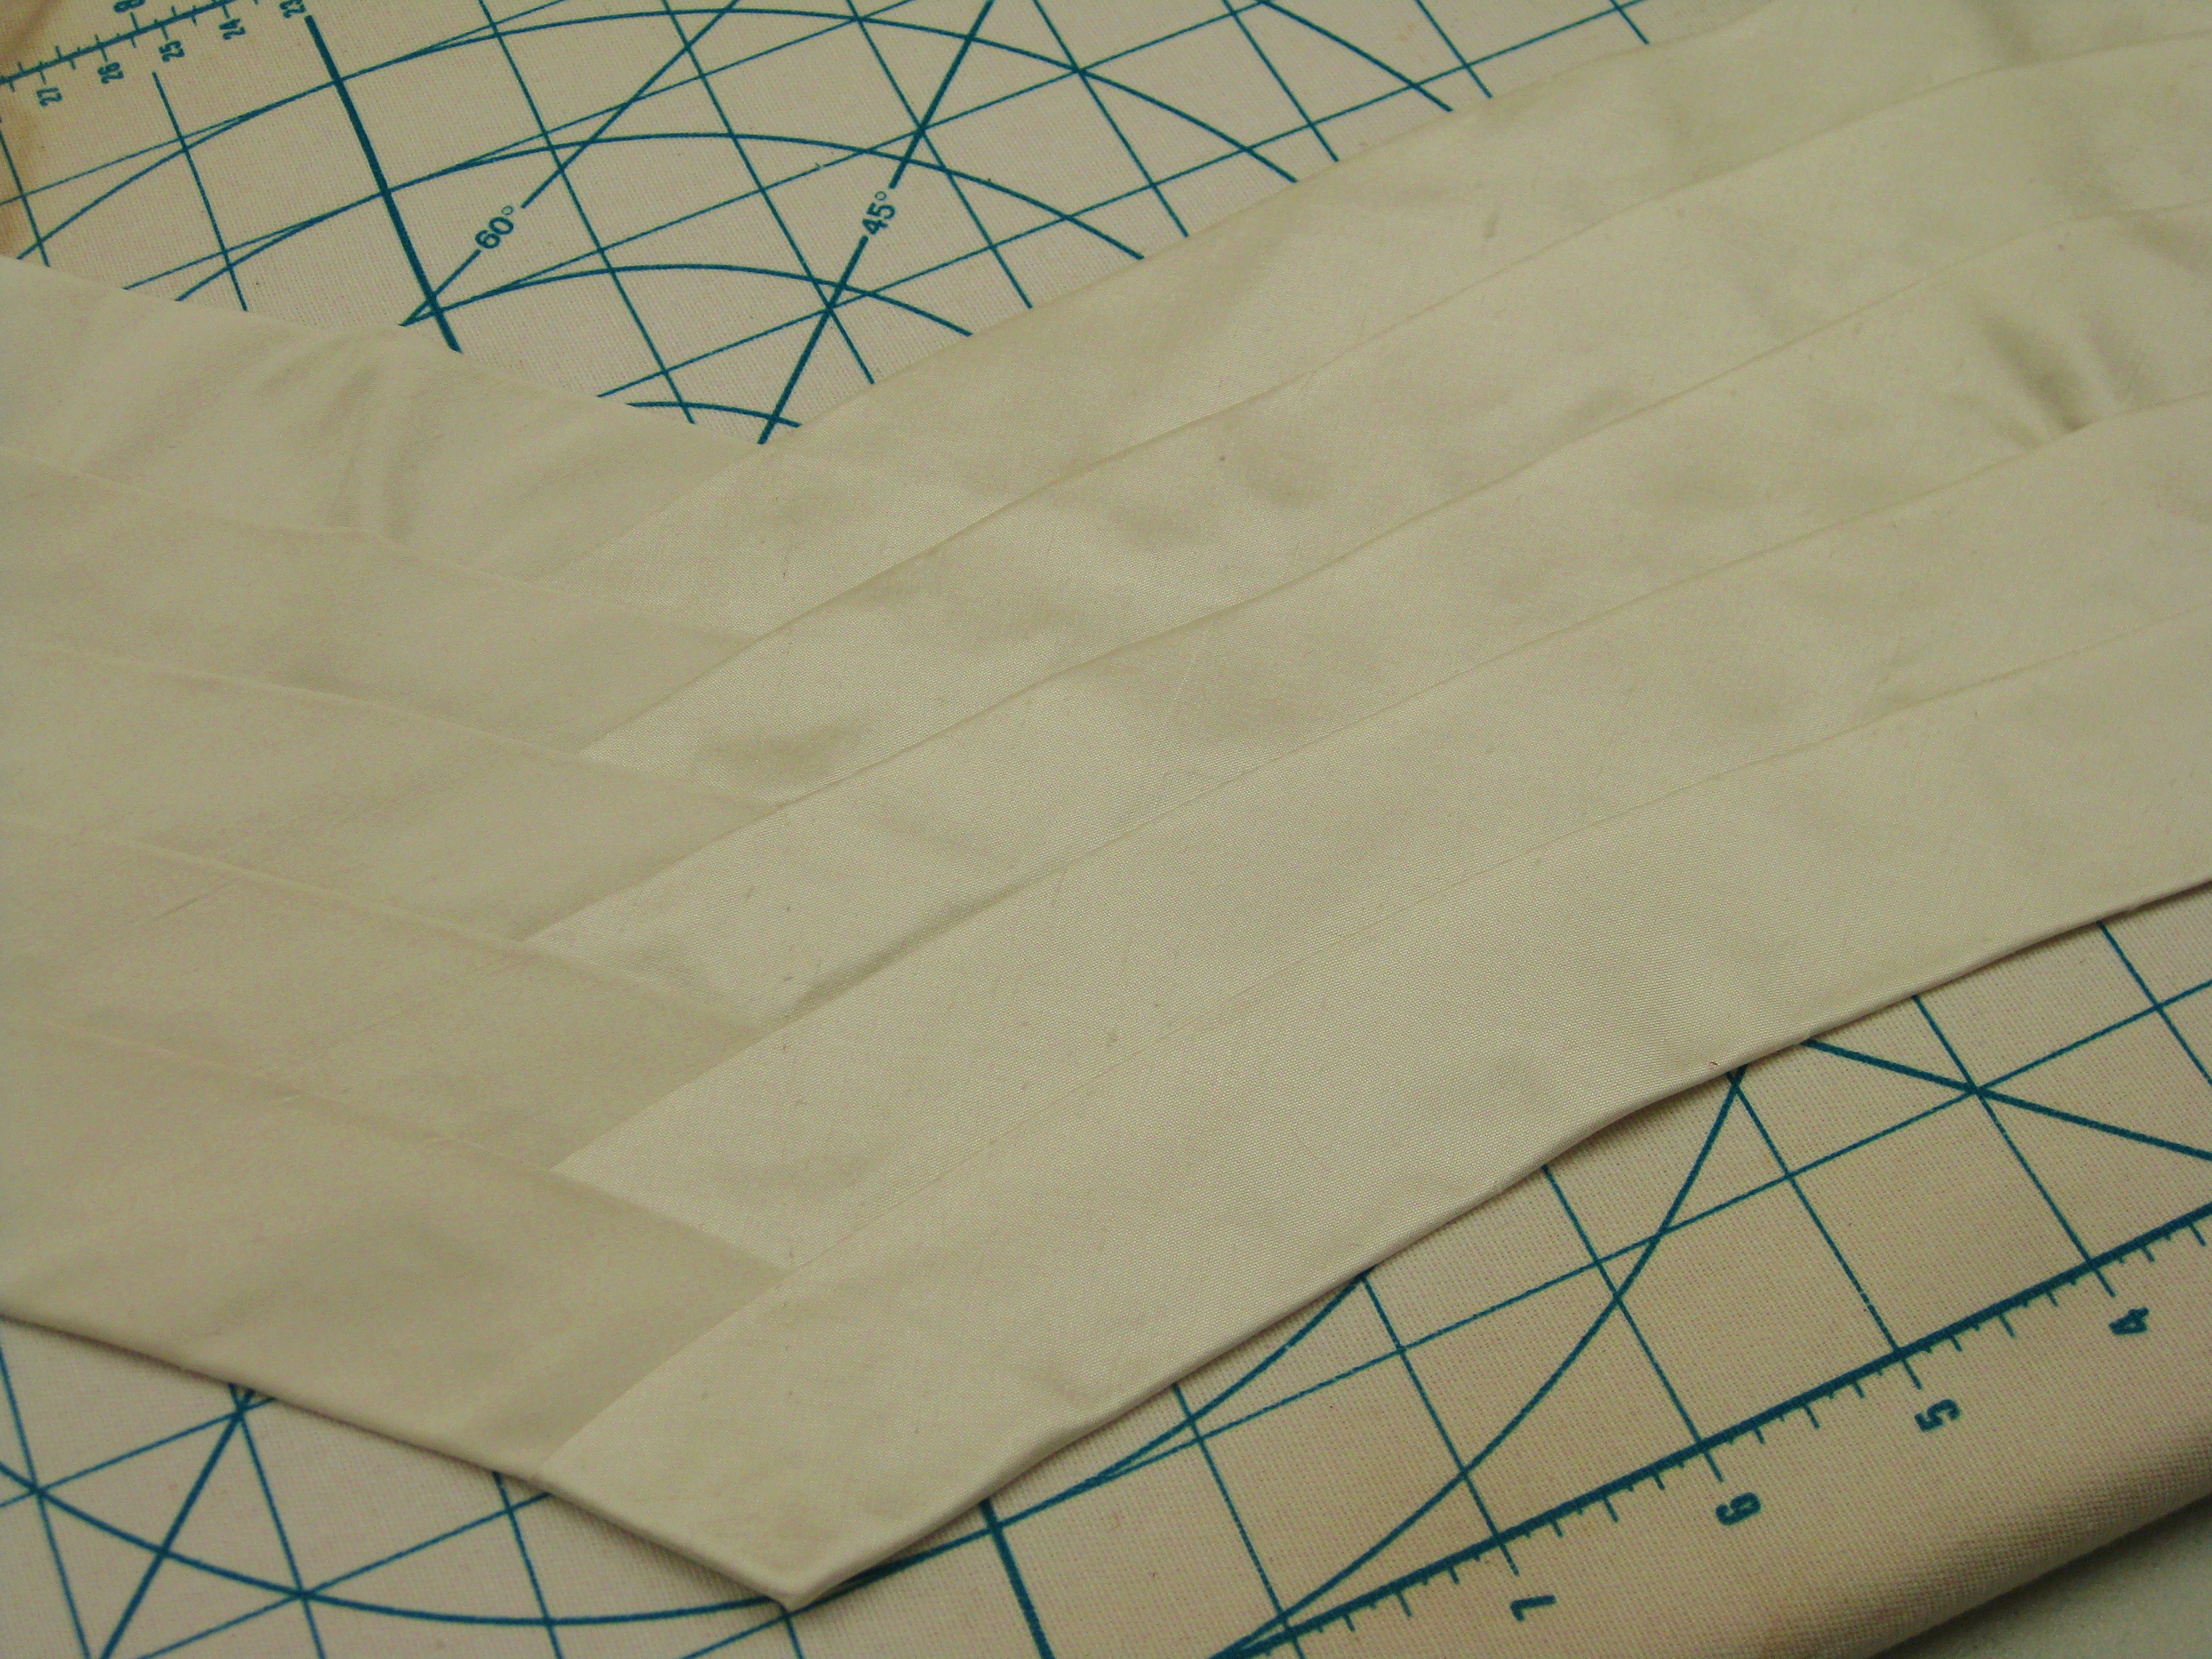
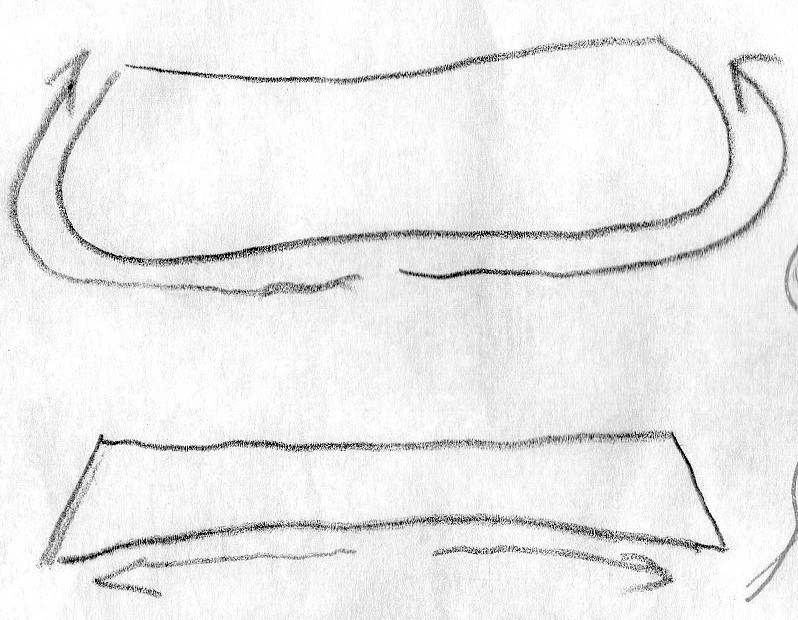
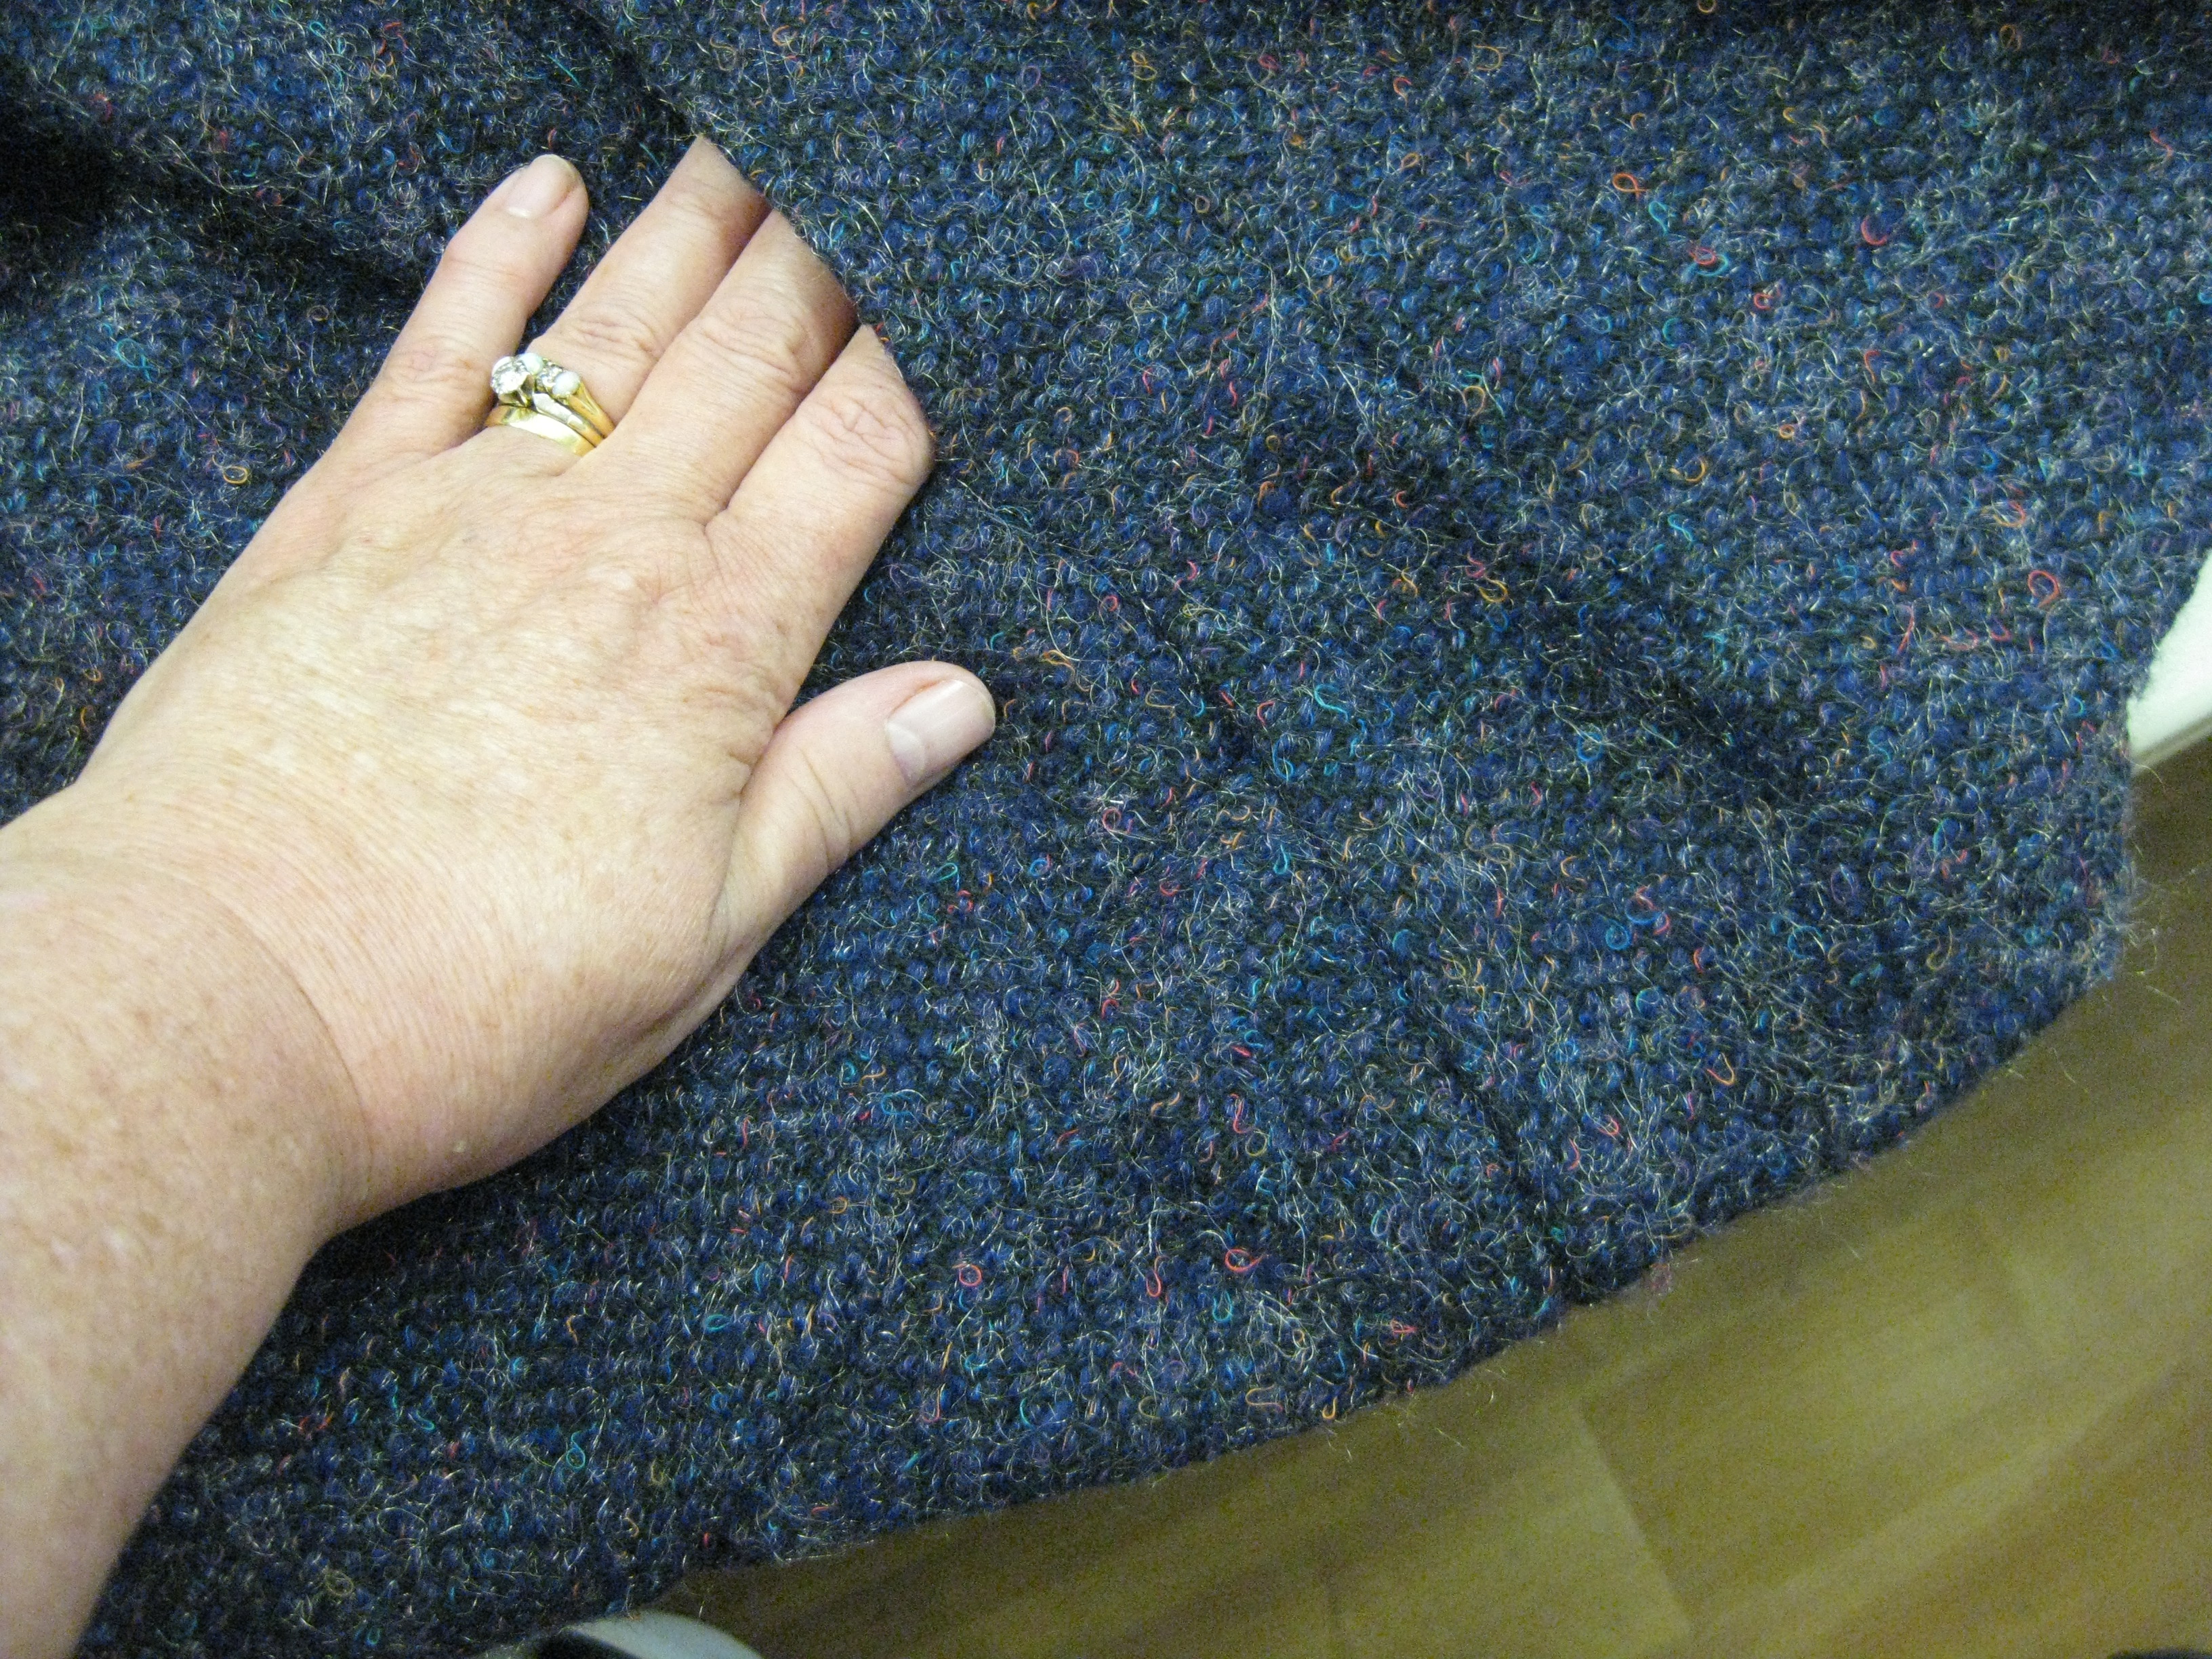
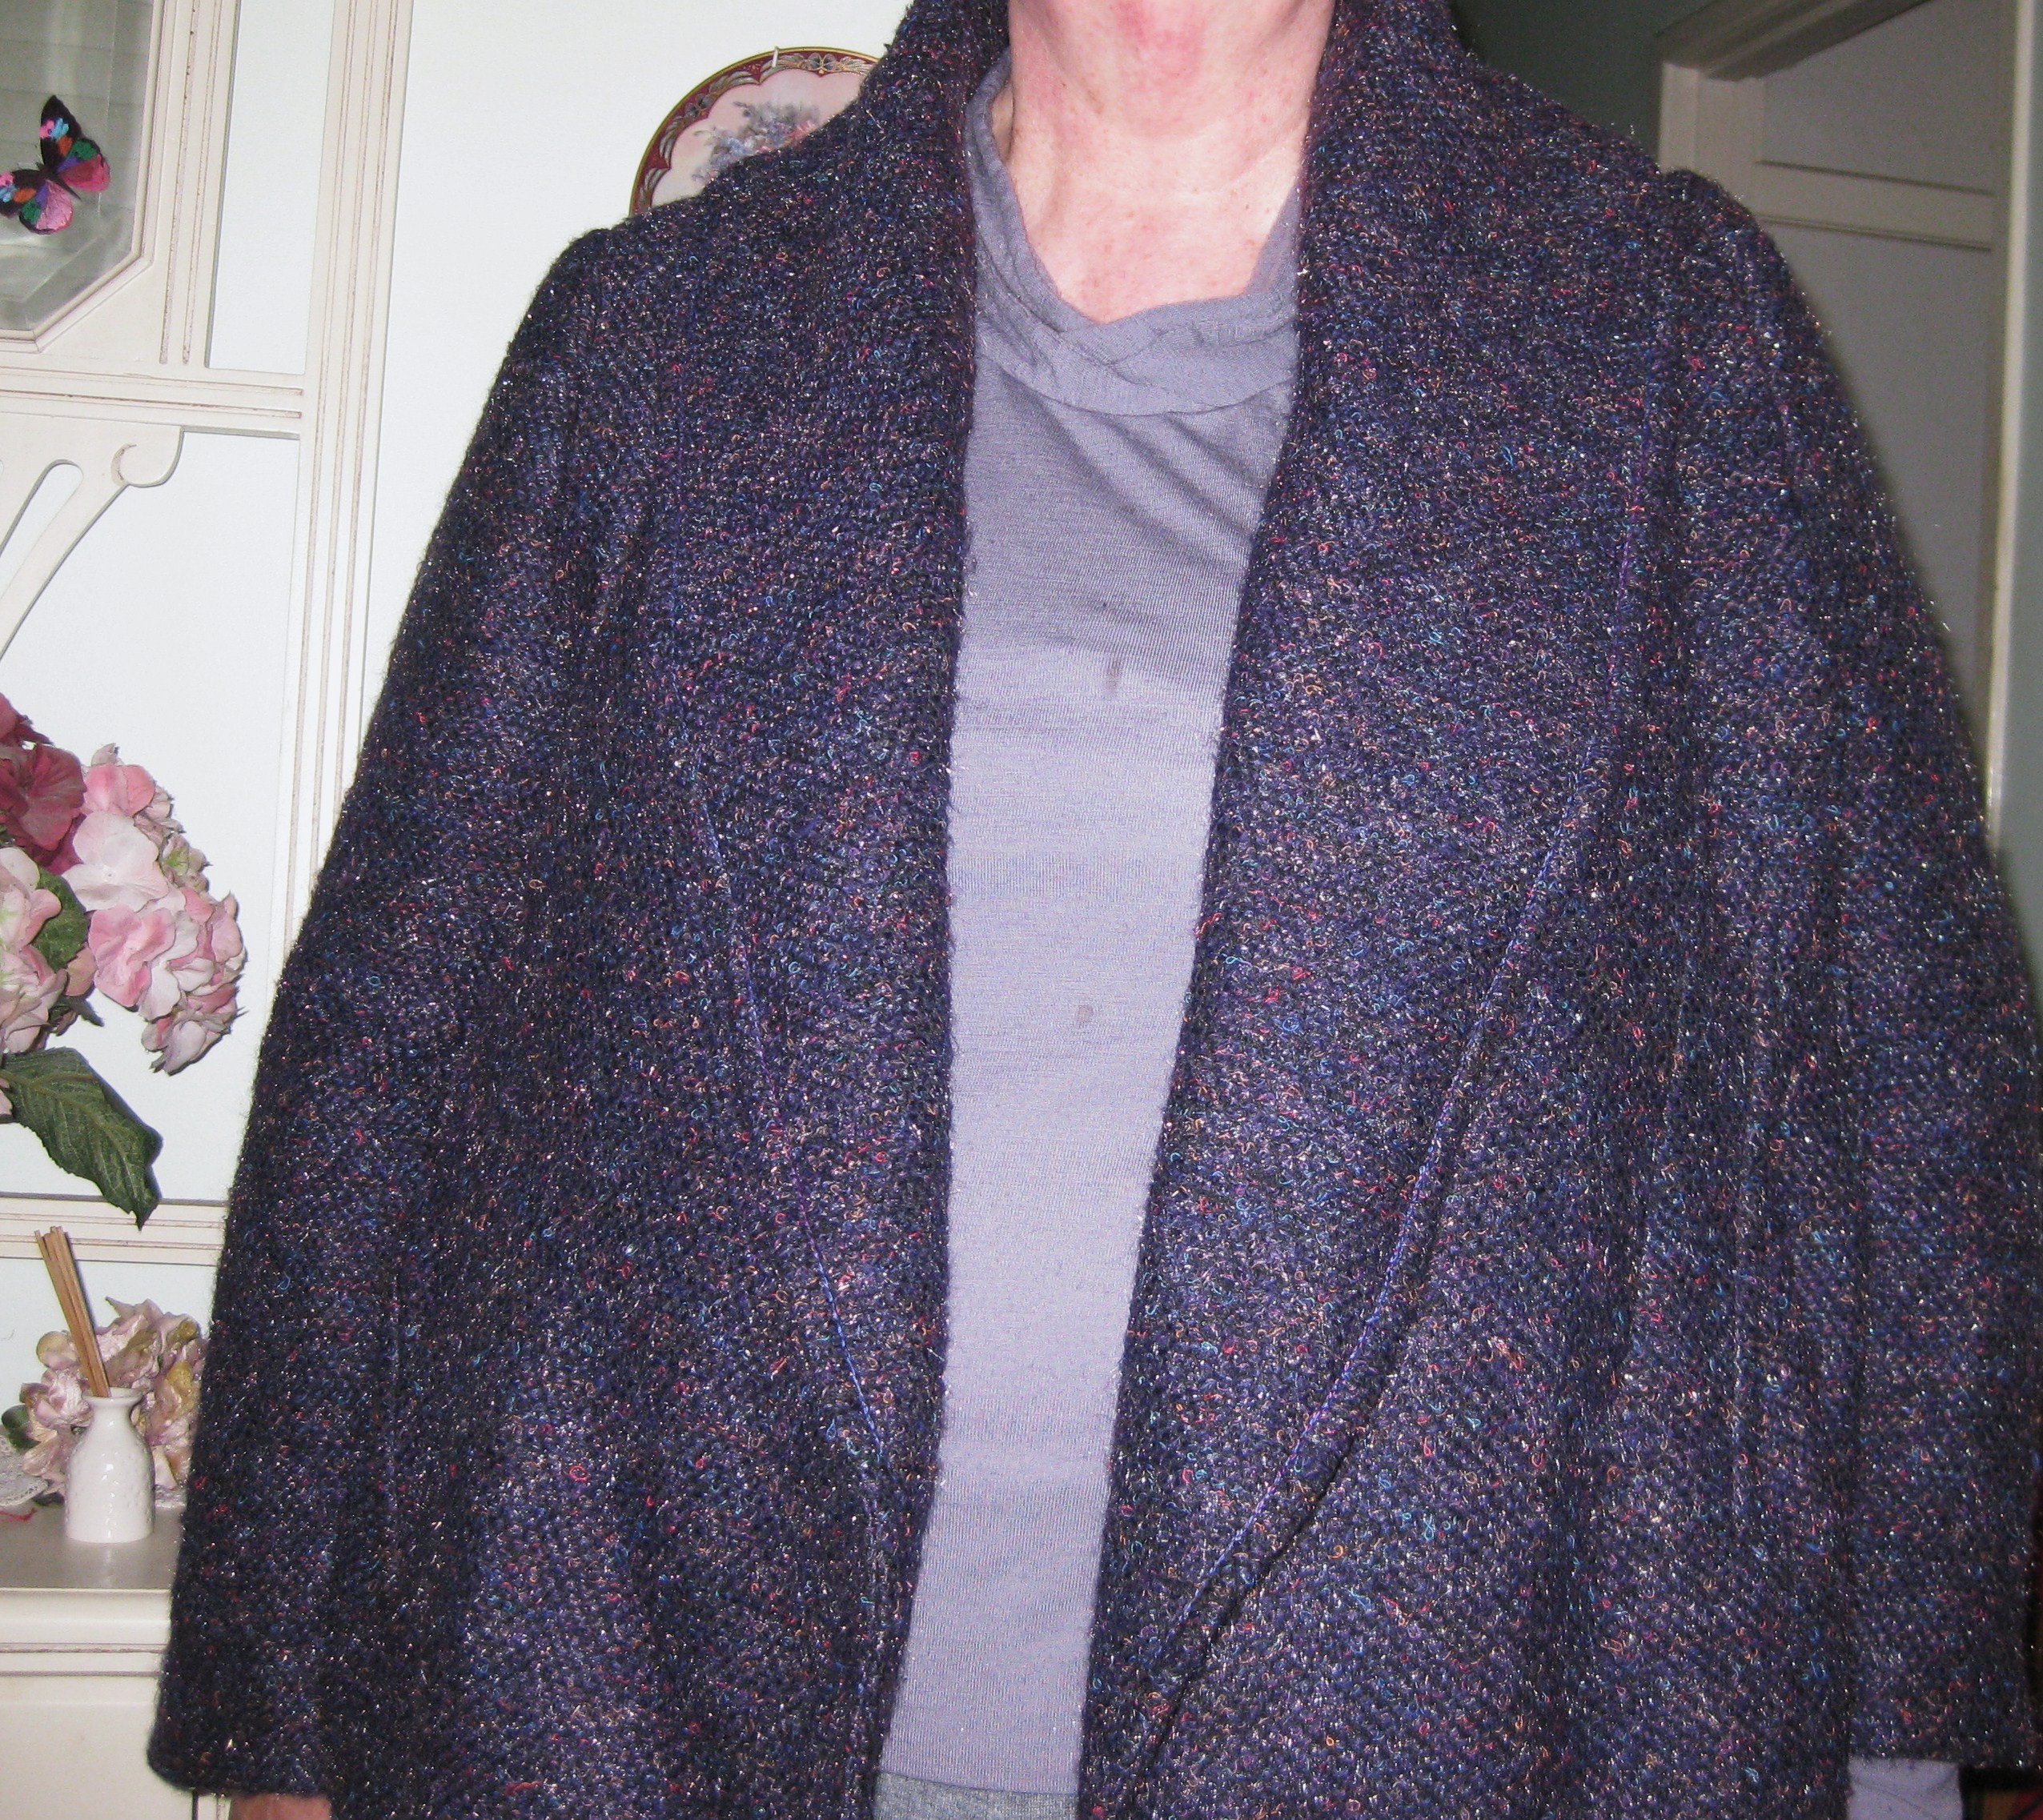
Rolled (blue)and standing (white) collars
Types of Collars:
While it is certainly possible to use a single layer collar, generally collars consist of two parts – the upper collar (the side that is seen) and the under collar (the underside) and can be designed in many different shapes but fall into three main types:
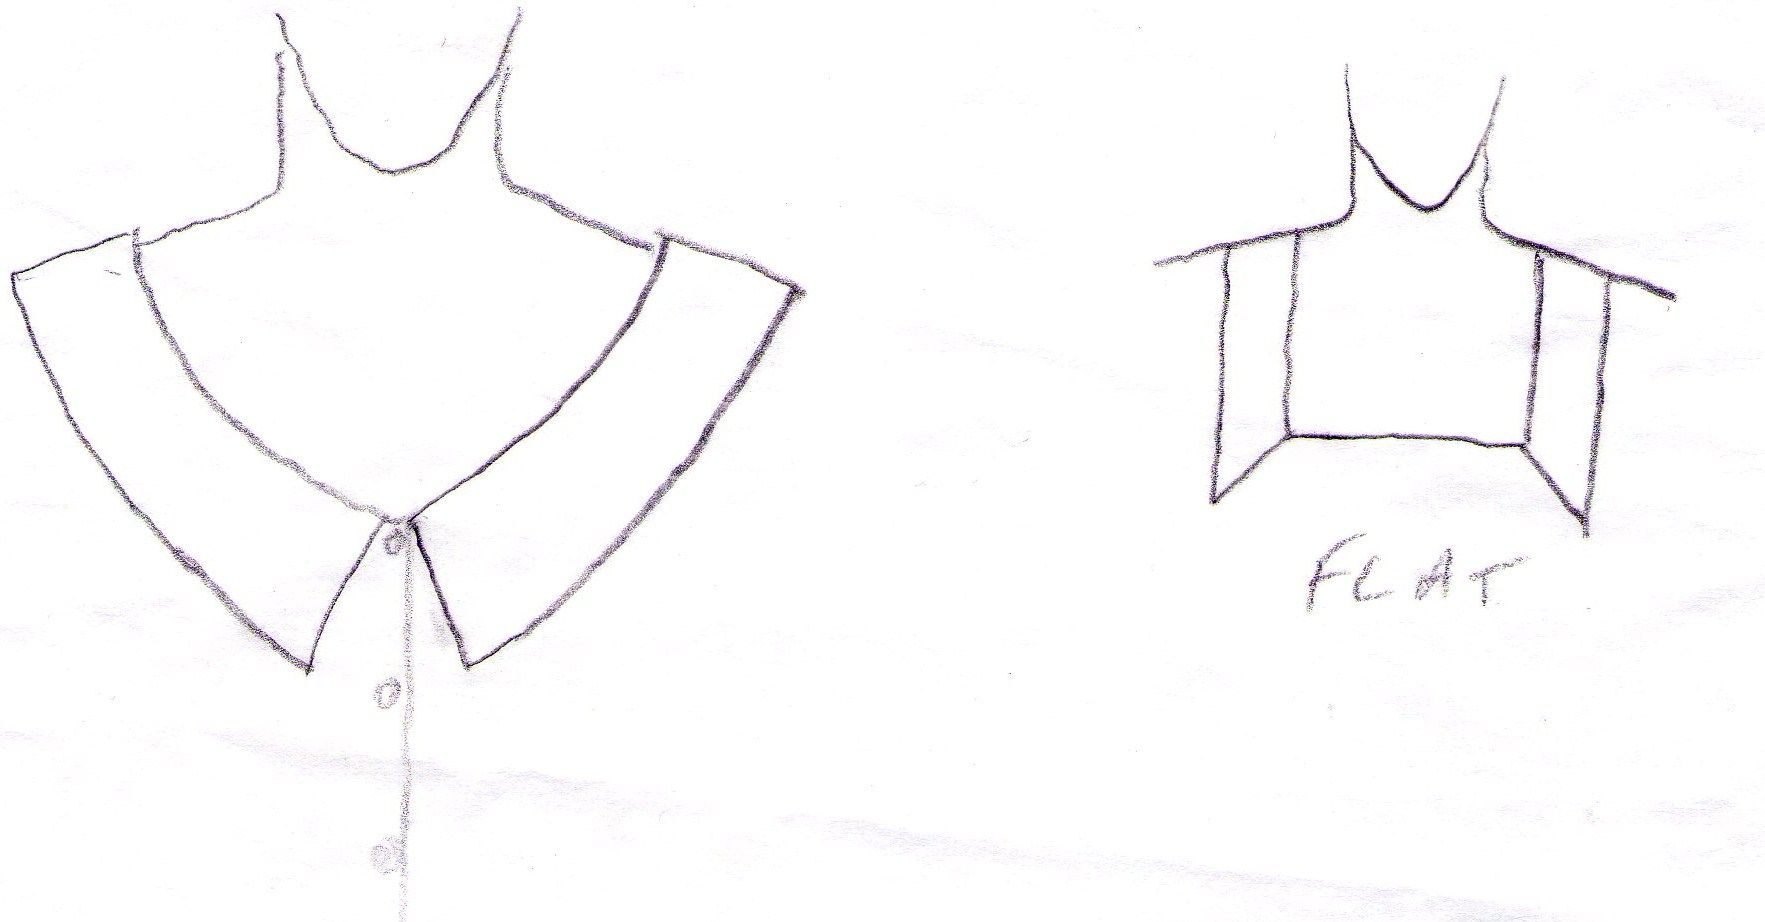
- Flat collars which sit perfectly flat against the garment

Flat collars
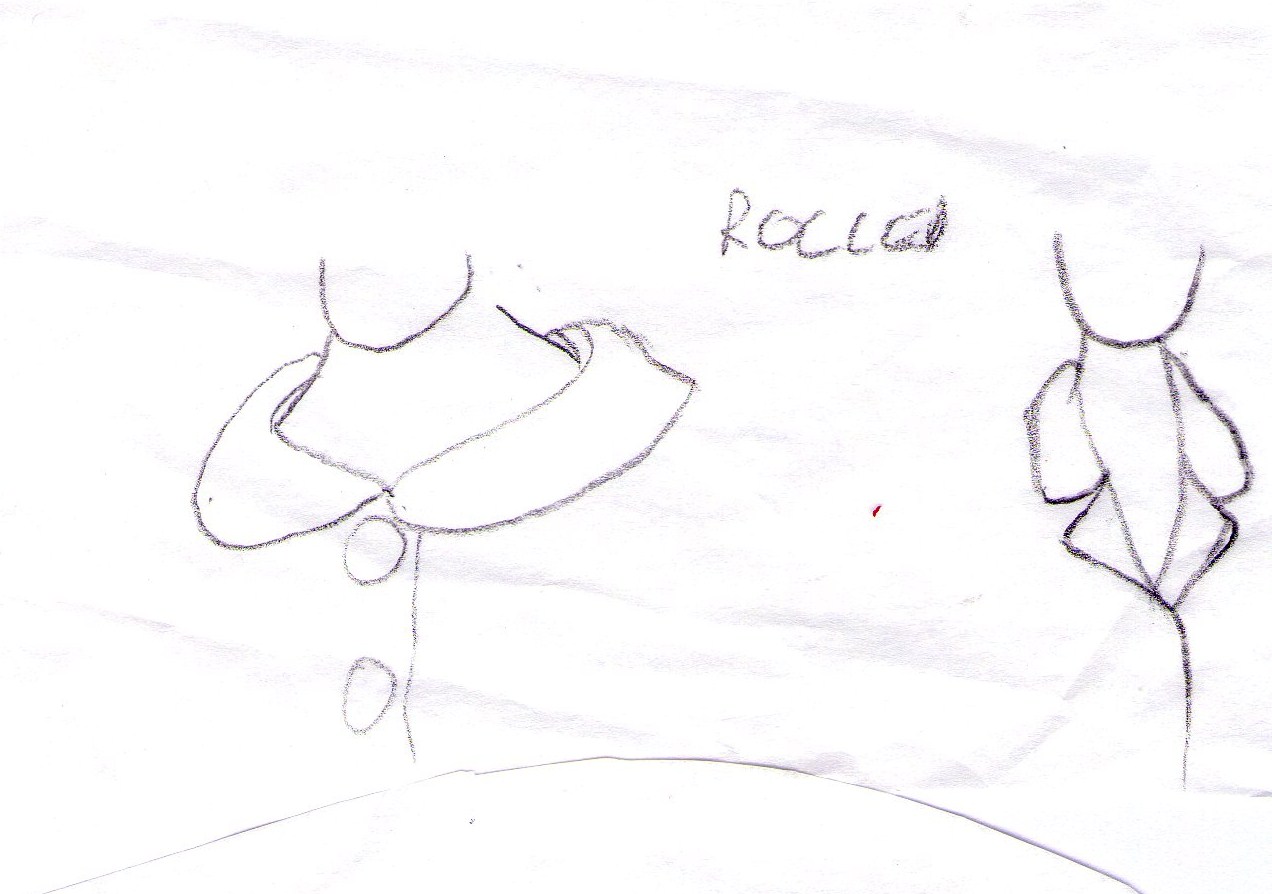
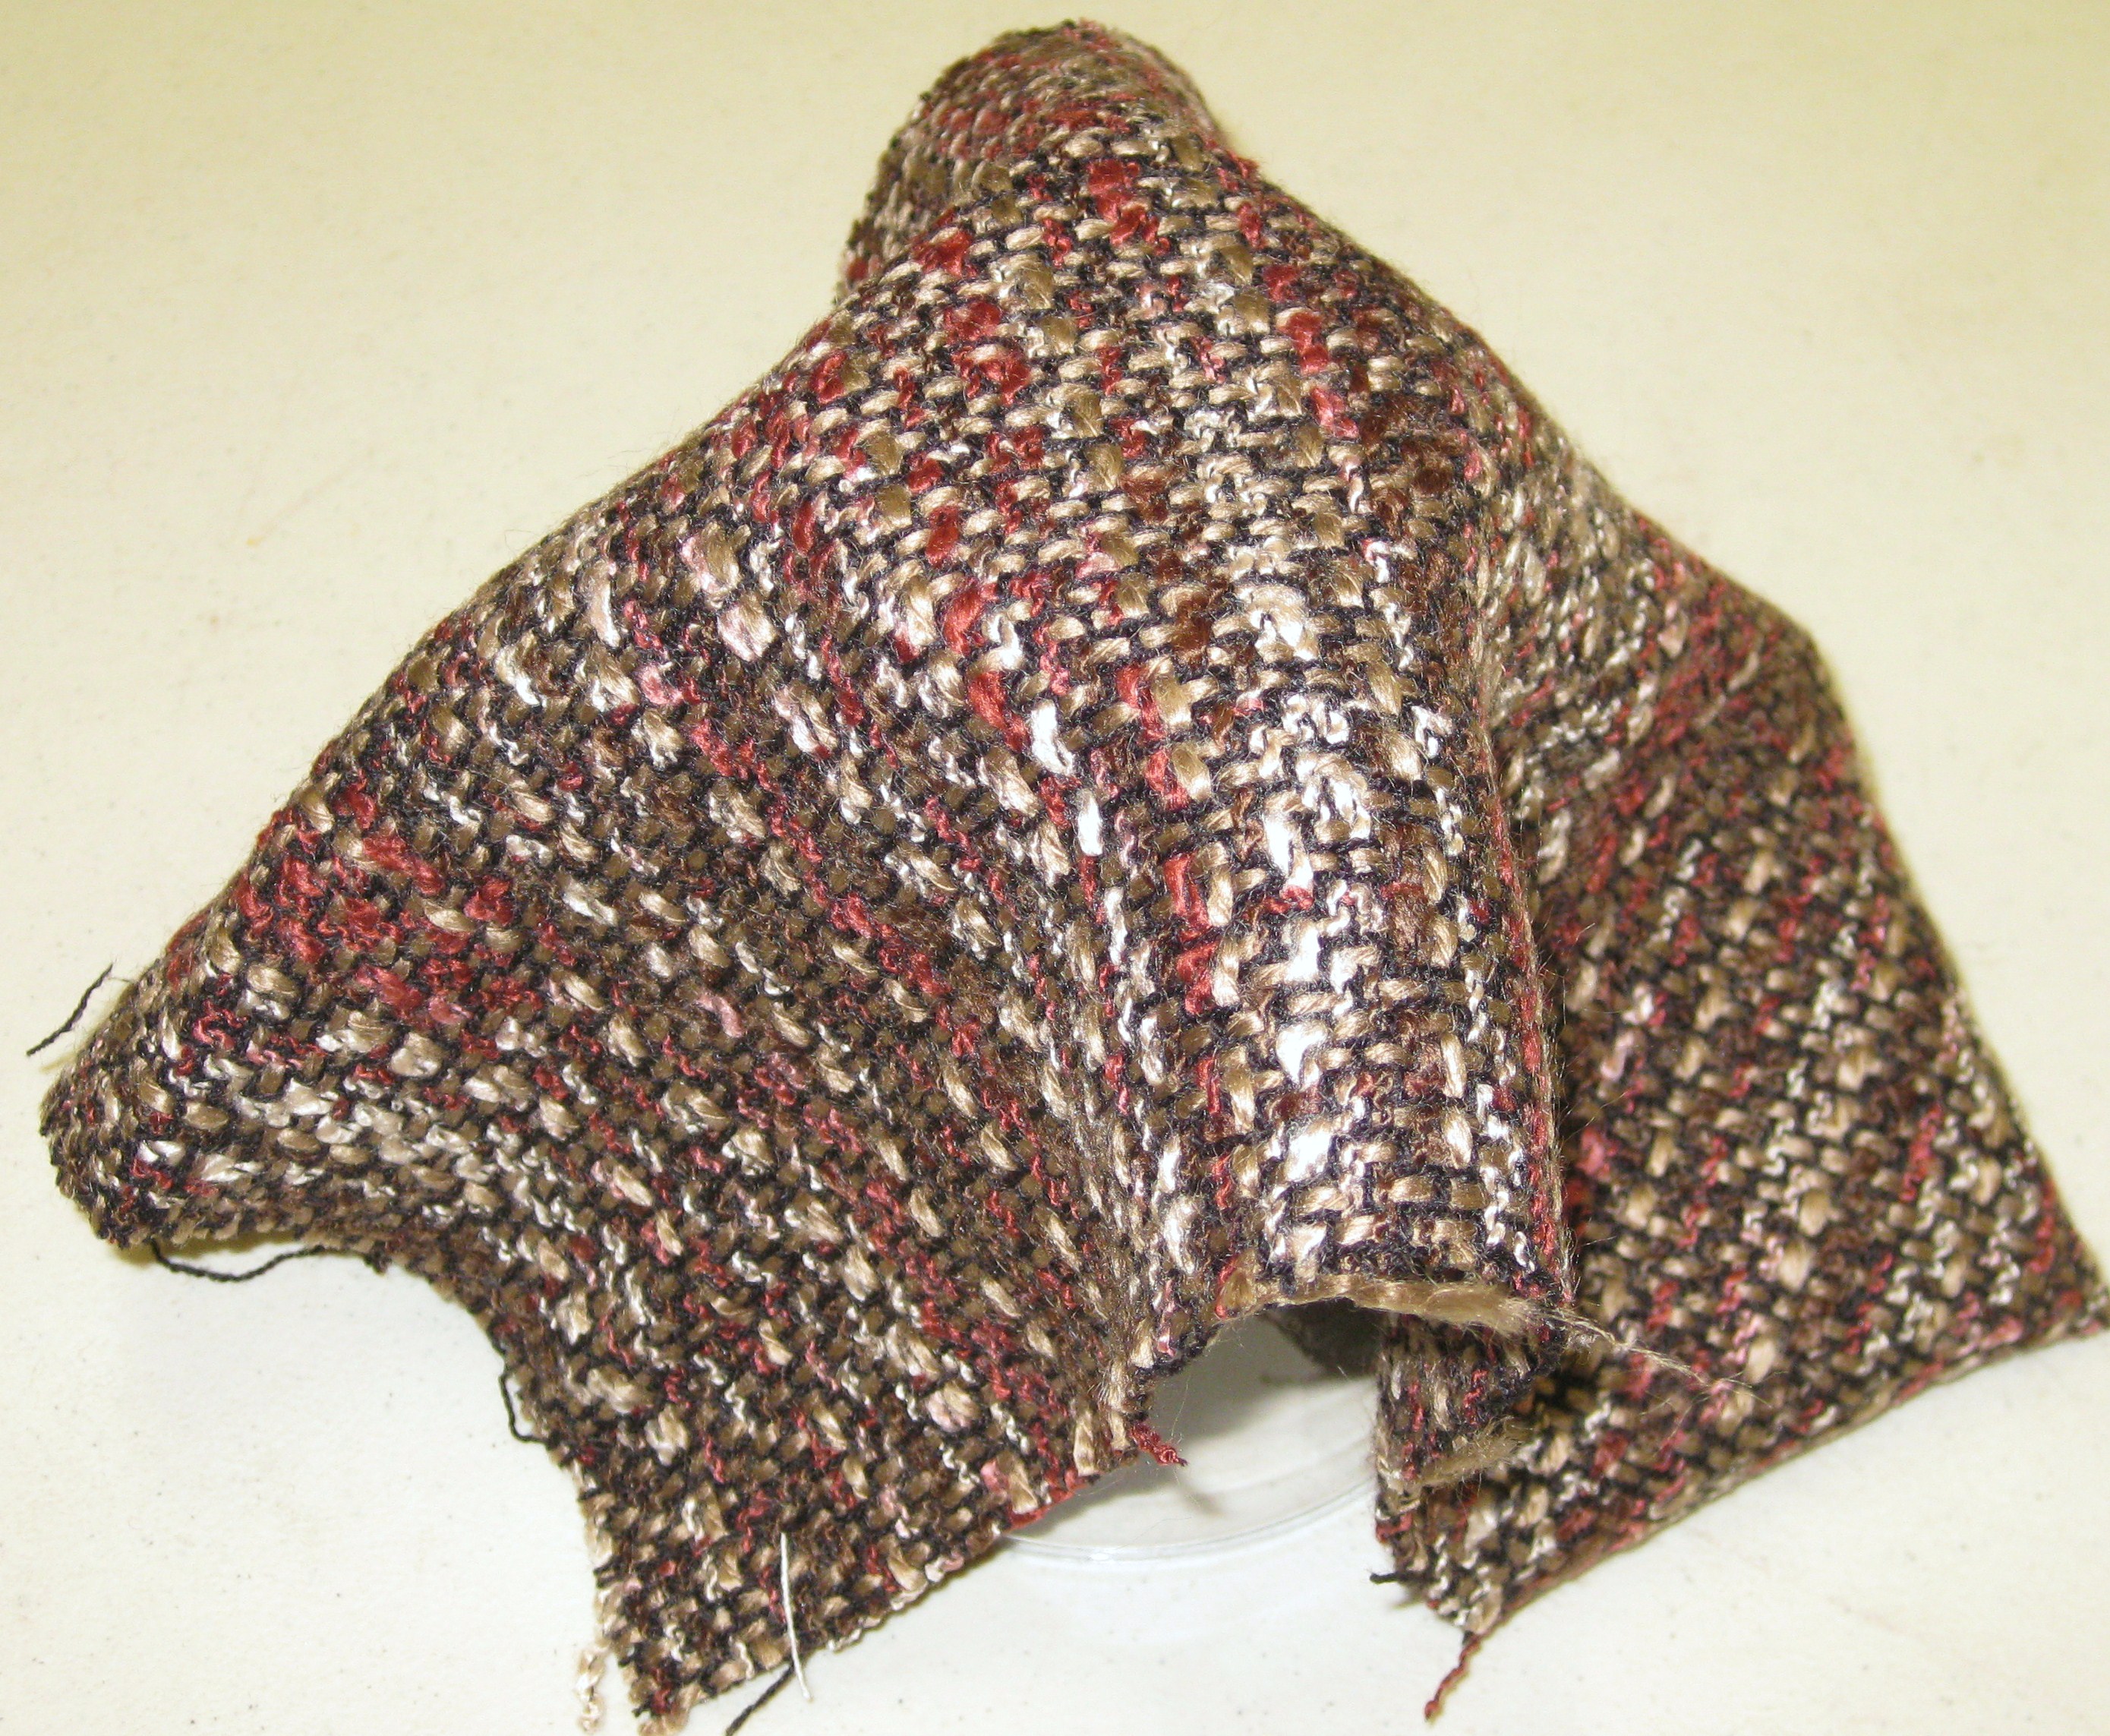
- Rolled collars which roll gently out of the neckline

Rolled collars
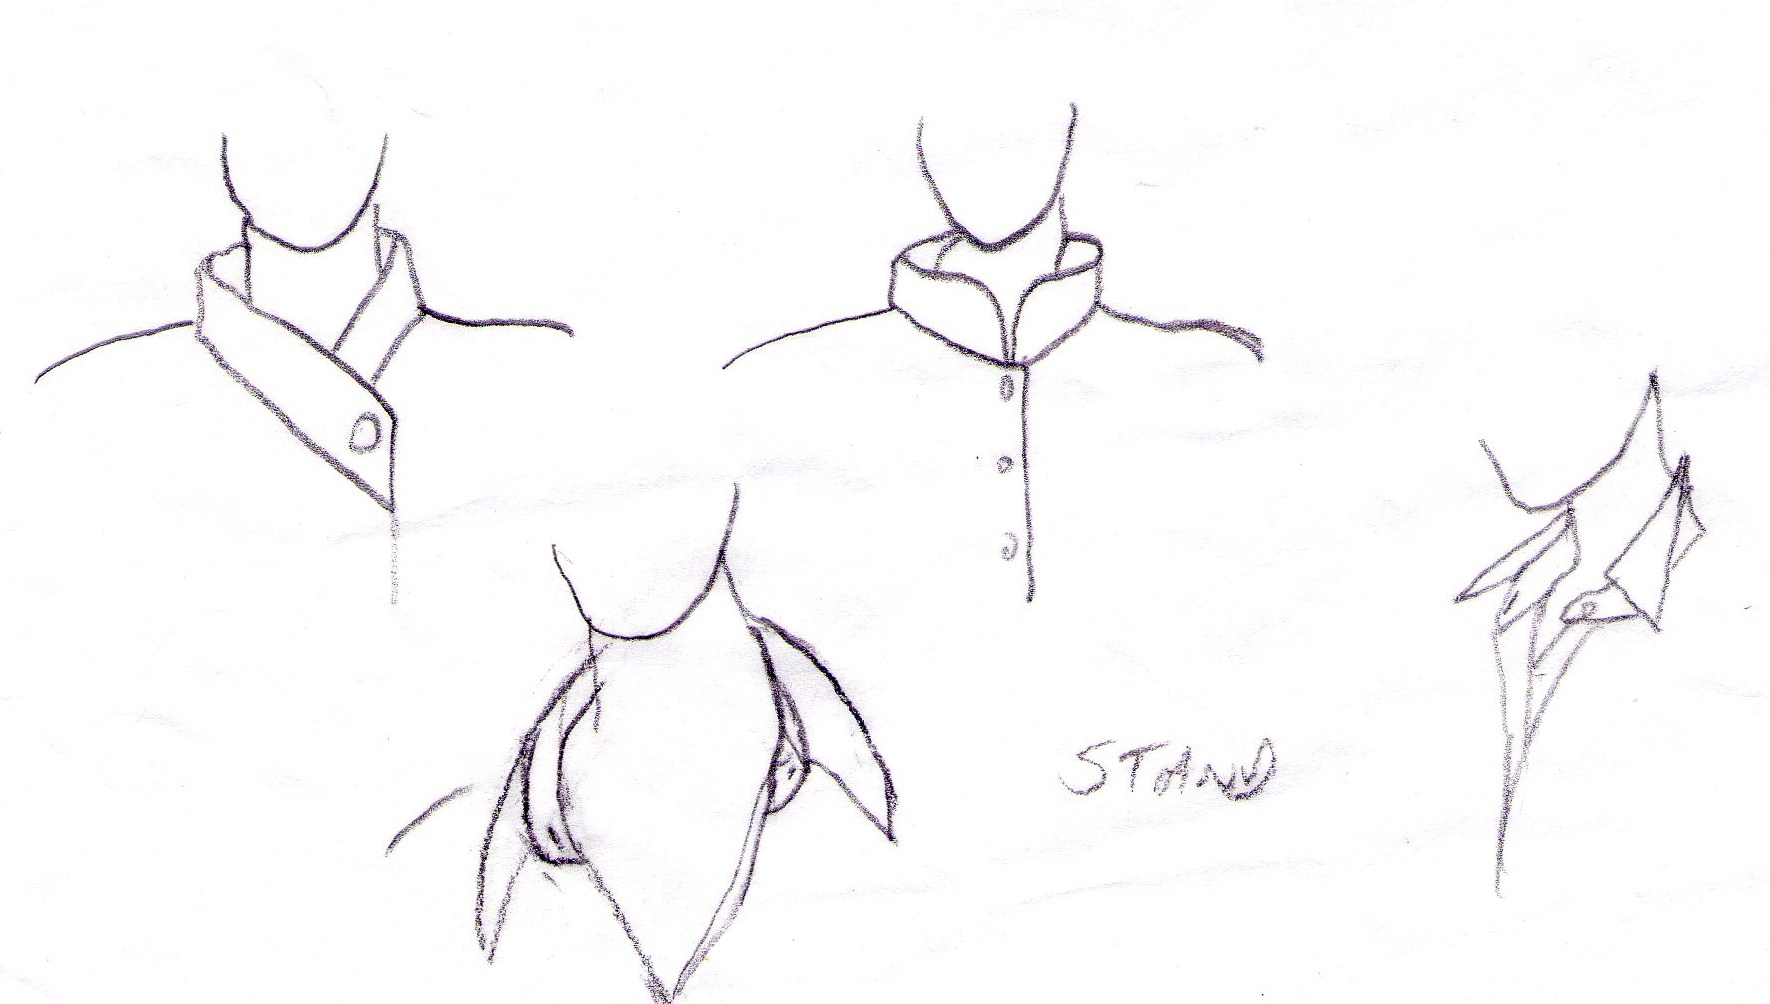
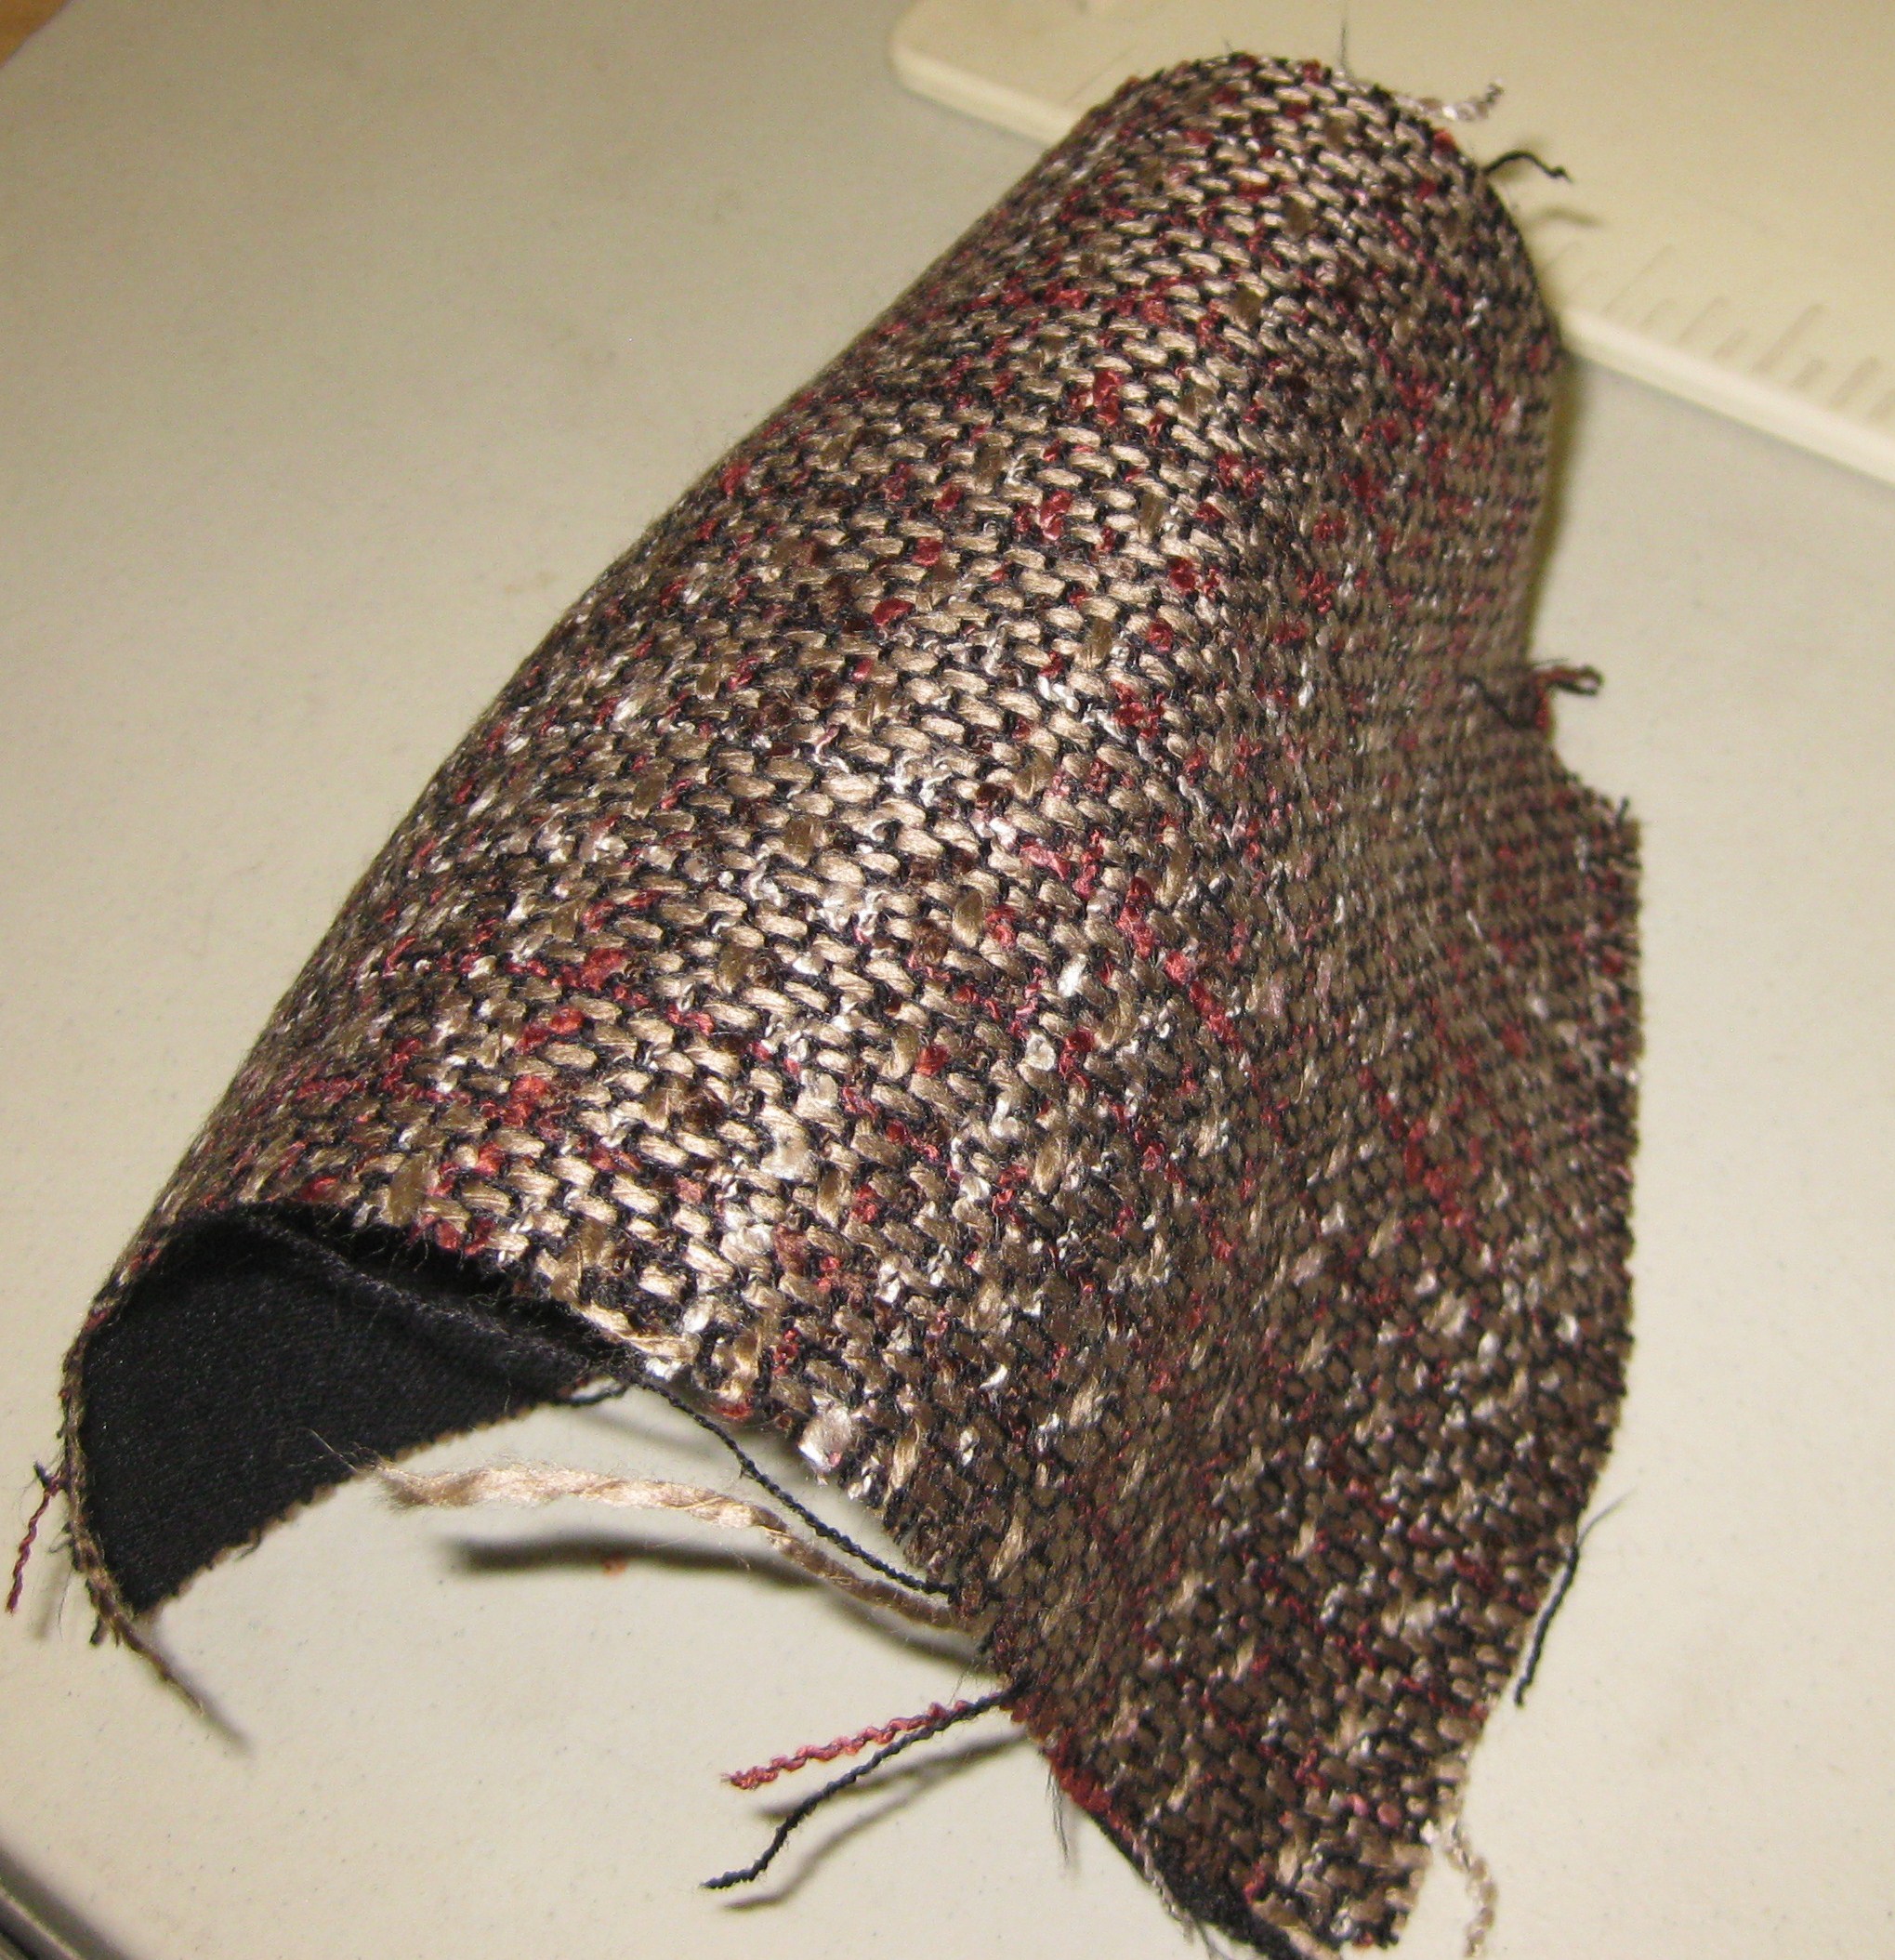
- Stand collars which stand up from the base of the neck

Standing collars
Interfacing:
Most collars require inner support so that they will hold their shape for the life of the garment.
This support is usually provided by interfacing. There are many interfacings on the market and, from my observations, much confusion about how and where to use the different types and weights available.
Tip: Always test the interfacing on a scrap of your garment fabric cut on exactly the same grain as your pattern piece before working on your garment so that you can assess its effectiveness in giving the support needed for your particular fabric.
The pattern guidelines will usually say to interface the under collar only; however, if more support is necessary because of the weight of the fabric or style of the collar, it can be helpful to interface both collar pieces – perhaps a lightweight woven fusible on the upper collar and a slightly heavier knit fusible on the under collar. The possible combinations are endless which is why testing a few different interfacing applications is so important in finding what will give you the result you are after.
Tip: It is often useful to layer interfacing if more support is needed. Simply fuse the first layer and allow it to cool and dry and then apply another layer for either the whole collar or the middle of the neck area to keep the collar standing in place if the fabric is floppy.
For a shirt collar, I would recommend using a fusible cotton batiste interfacing cut using the same grain line as the collar pieces. In the case of a sheer or silky fabric where fusible interfacing is not appropriate, silk organza also cut from the same grain as the collar pieces can be hand tacked within the seam allowances and before the collar is constructed.
For dress and jacket collars, I usually prefer a fusible knit interfacing (usually light weight) which gives the collar support but keeps it soft and allows subtle shaping. However, should your garment have a dramatic collar or your chosen fabric be heavy, heavier Shapewell ™ (sew in, not fusible) or hair canvas can be used for the extra support required keep the collar in place as designed. (See blog posted 21st June 2015 Donna Karan Jacket Vogue 1263 – Part 3)
Flat Collars
While not as common in today’s fashion, flat collars are an interesting addition to the neckline of a vest or a summer dress or top, especially when a contrasting colour and lighter weight fabric are used.
They can circle the whole neck or be applied to the front section of the garment only. You can also use virtually any shape for the outer edge, for example scallops, points, square corners or sailor collar.
They exactly replicate the shape of the garment neckline and should lie flat against the garment. Depending on the fabric being used, they quite often do not need the support of interfacing. To keep the collar soft and sitting flat against the garment, a lightweight fabric lining fabric can be used as the under collar. Fine cotton or silk organza are good choices for this purpose.
The neckline is either finished with a facing or using bias binding for a neat, smooth finish.
Rolled Collars
Some patterns will have two separate pieces for the collar – an upper collar and an under collar. The upper collar is slightly wider in the centre back section to allow for the turn of the cloth. Collars made using a slightly smaller under collar roll nicely and do not allow the under collar to show at the outer edge.
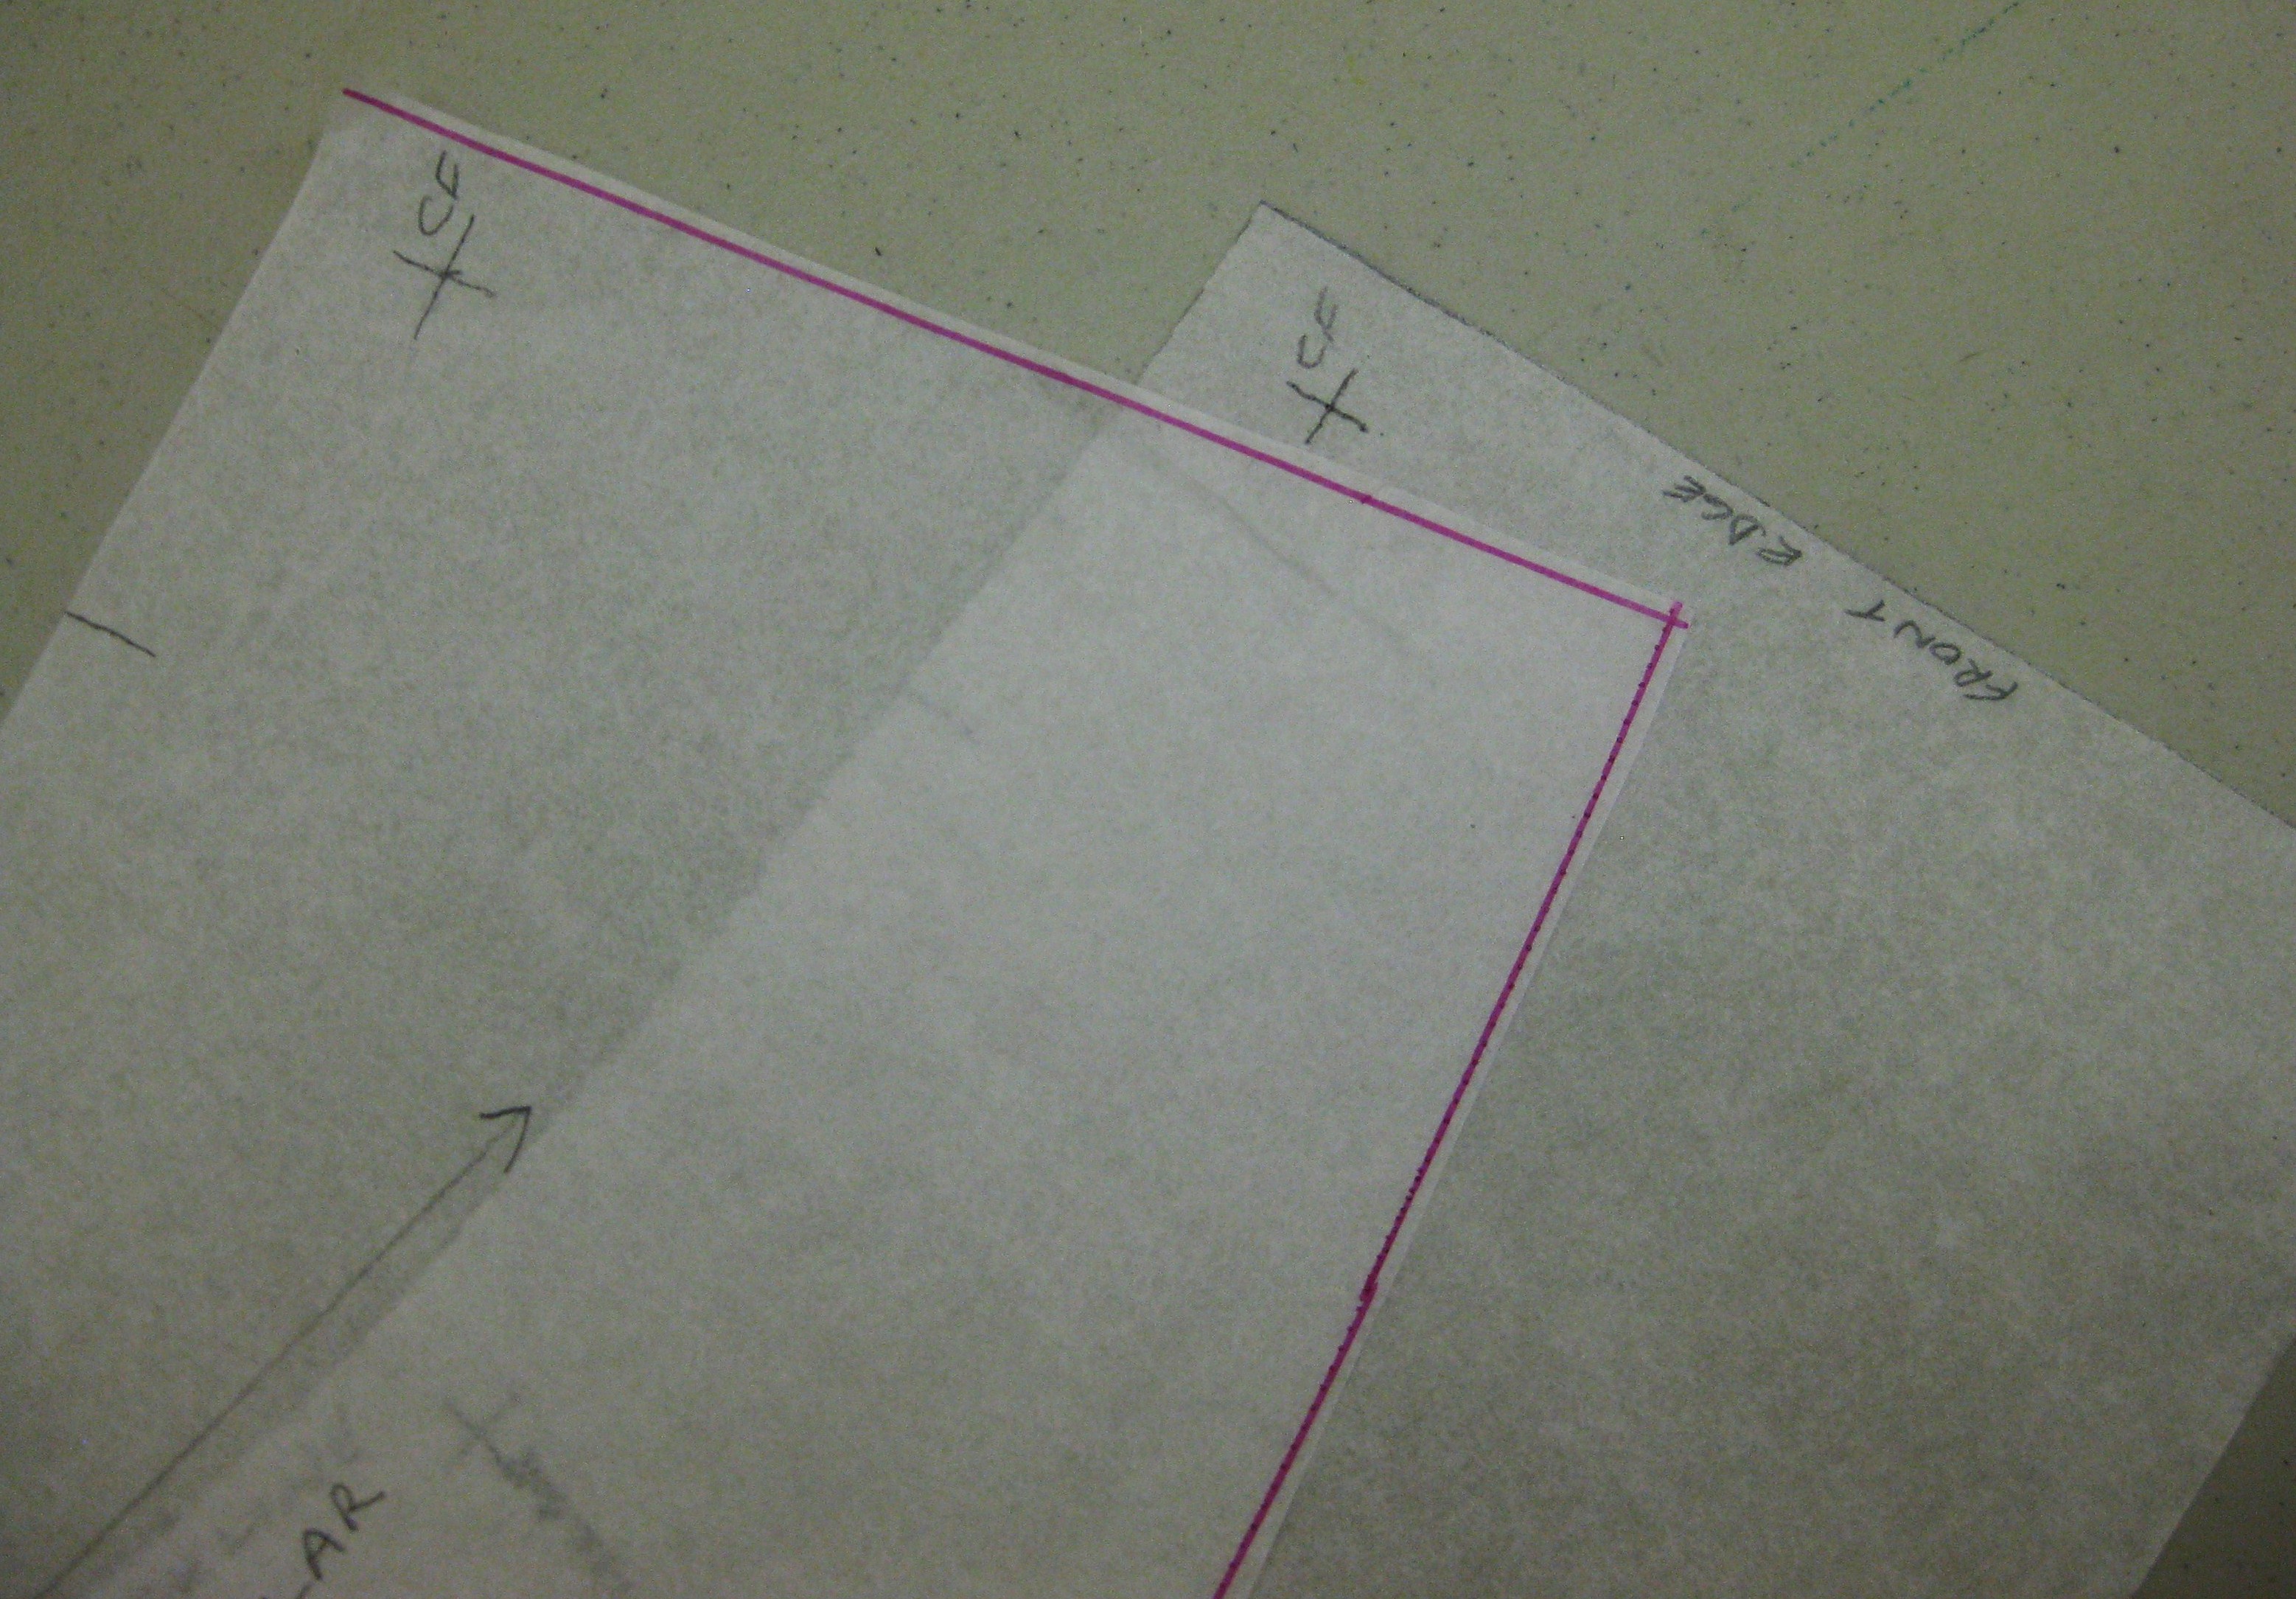
If your pattern has one collar piece which is to be placed on the fold and cut twice, it is a good idea to trace the pattern piece on to a folded piece of greaseproof – place the fold line marked on the pattern on the fold of the paper, pin in place and cut out – this gives a pattern piece for the whole collar which can be cut on double fabric, making it much easier to have accurately cut pieces.

Place pattern piece with folded paper underneath to cut full collar piece
Tip: Marking and naming the match points on your pattern is a great help in working out what goes where when putting the collar and neckline together.

Mark and identify match points
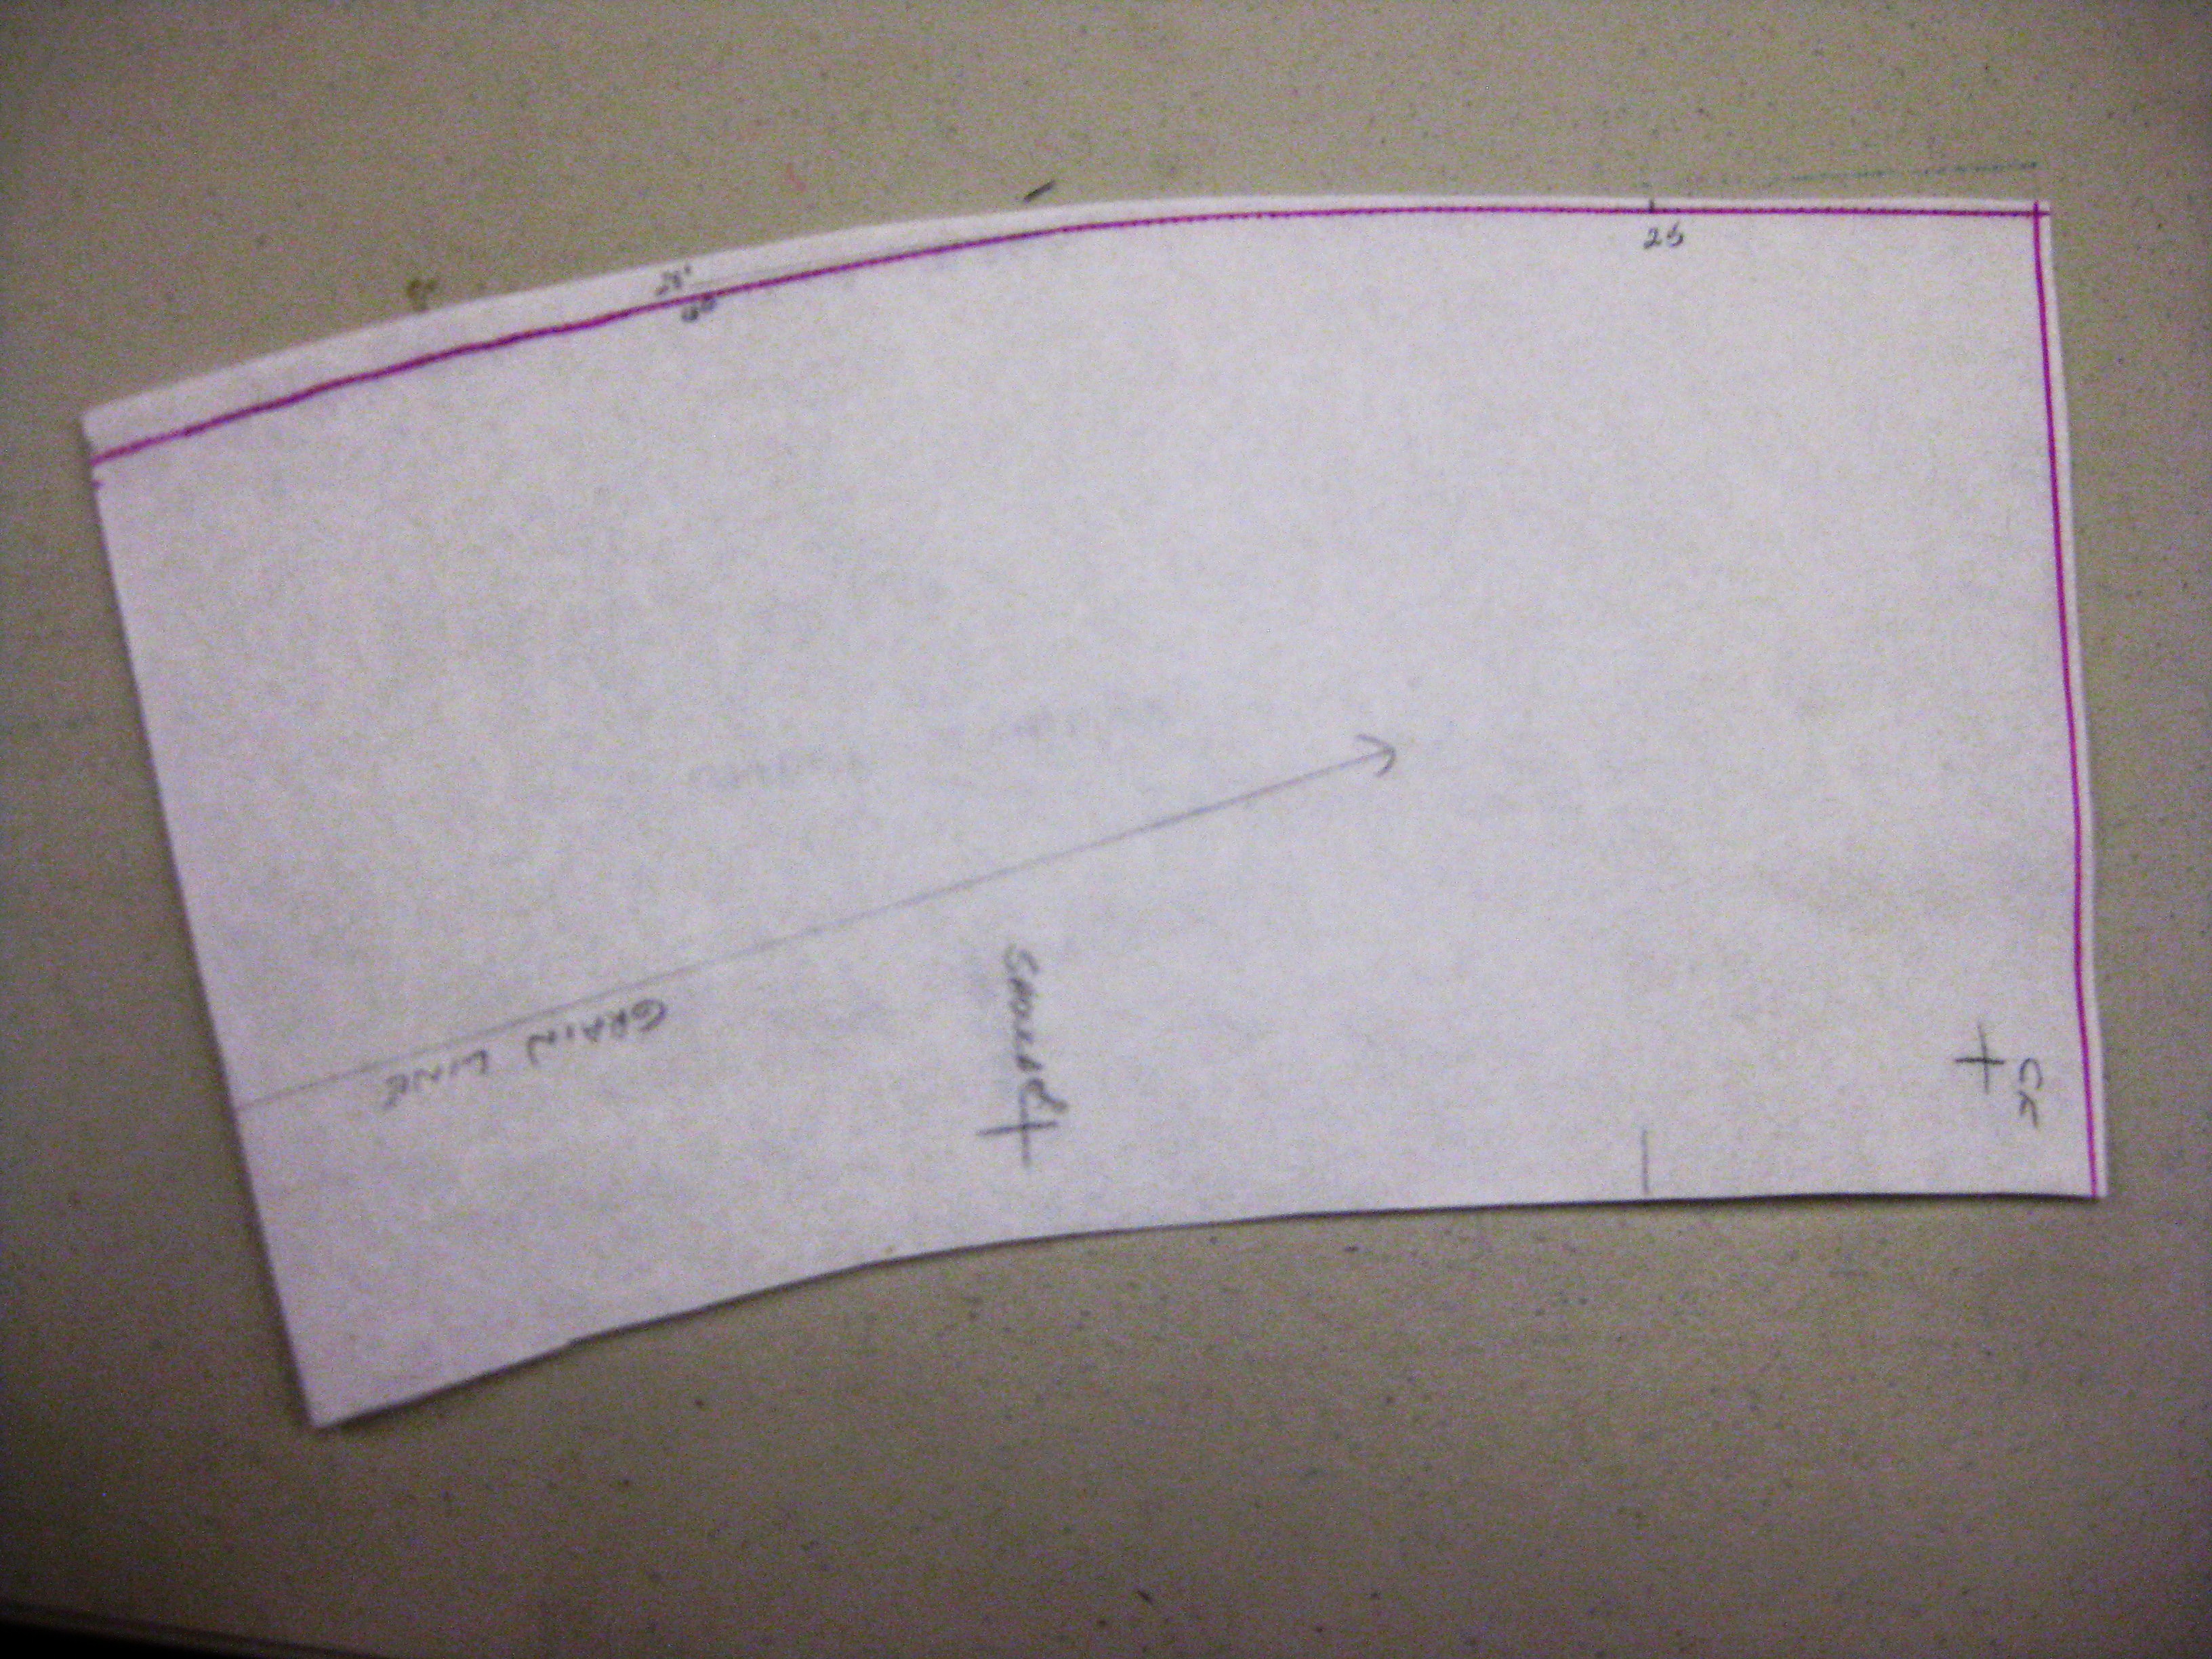
Collars can be cut with the grainline parallel to either the crosswise or lengthwise grain or even on the bias when using a plaid or striped fabric. If you decide to change the grain line in this way, be sure to cut your interfacing on the grain line suggested in the cutting layout so that the collar will sit as intended.
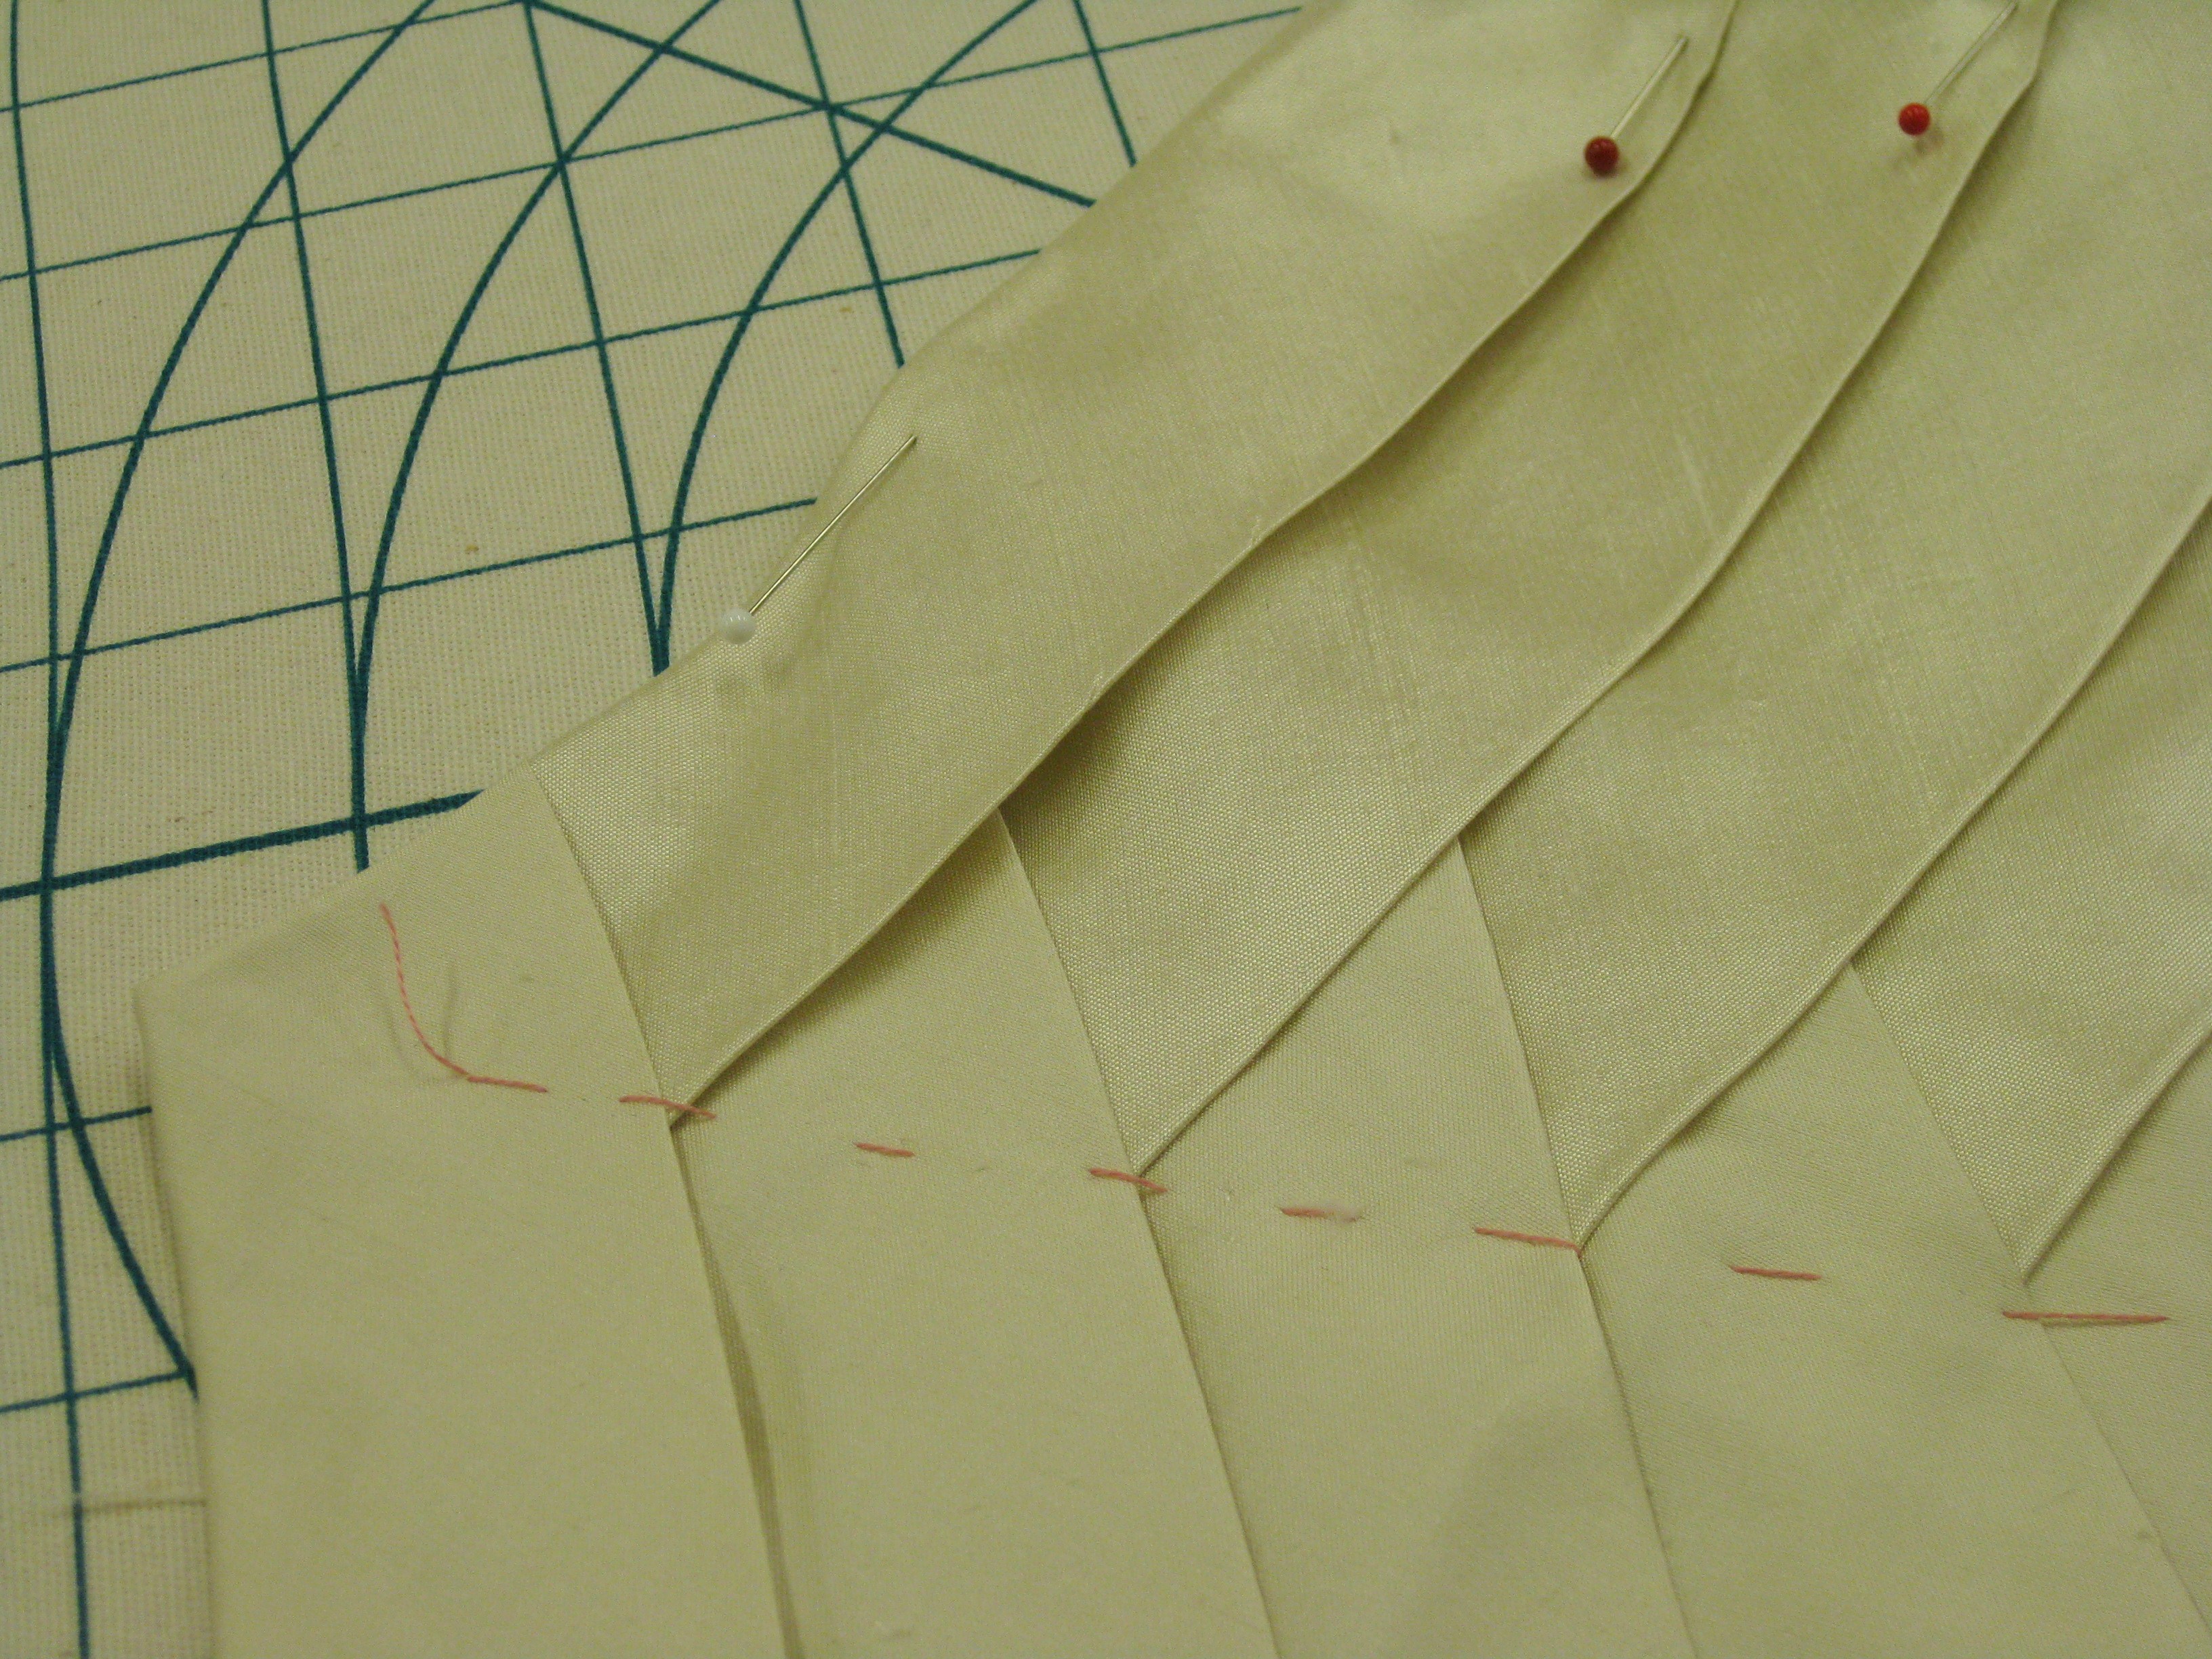
To achieve a separate upper and under collar when the pattern provides only one piece for both, trace a second copy of the collar and mark it “under collar”. Trim a scant 3mm from both ends of the collar. Mark the centre back and measure and mark a point up 6mm* (see Tip below) from neck edge and reshape the neck edge.

New cutting line for under collar

Difference between upper and under collar pieces at neckline and front edges
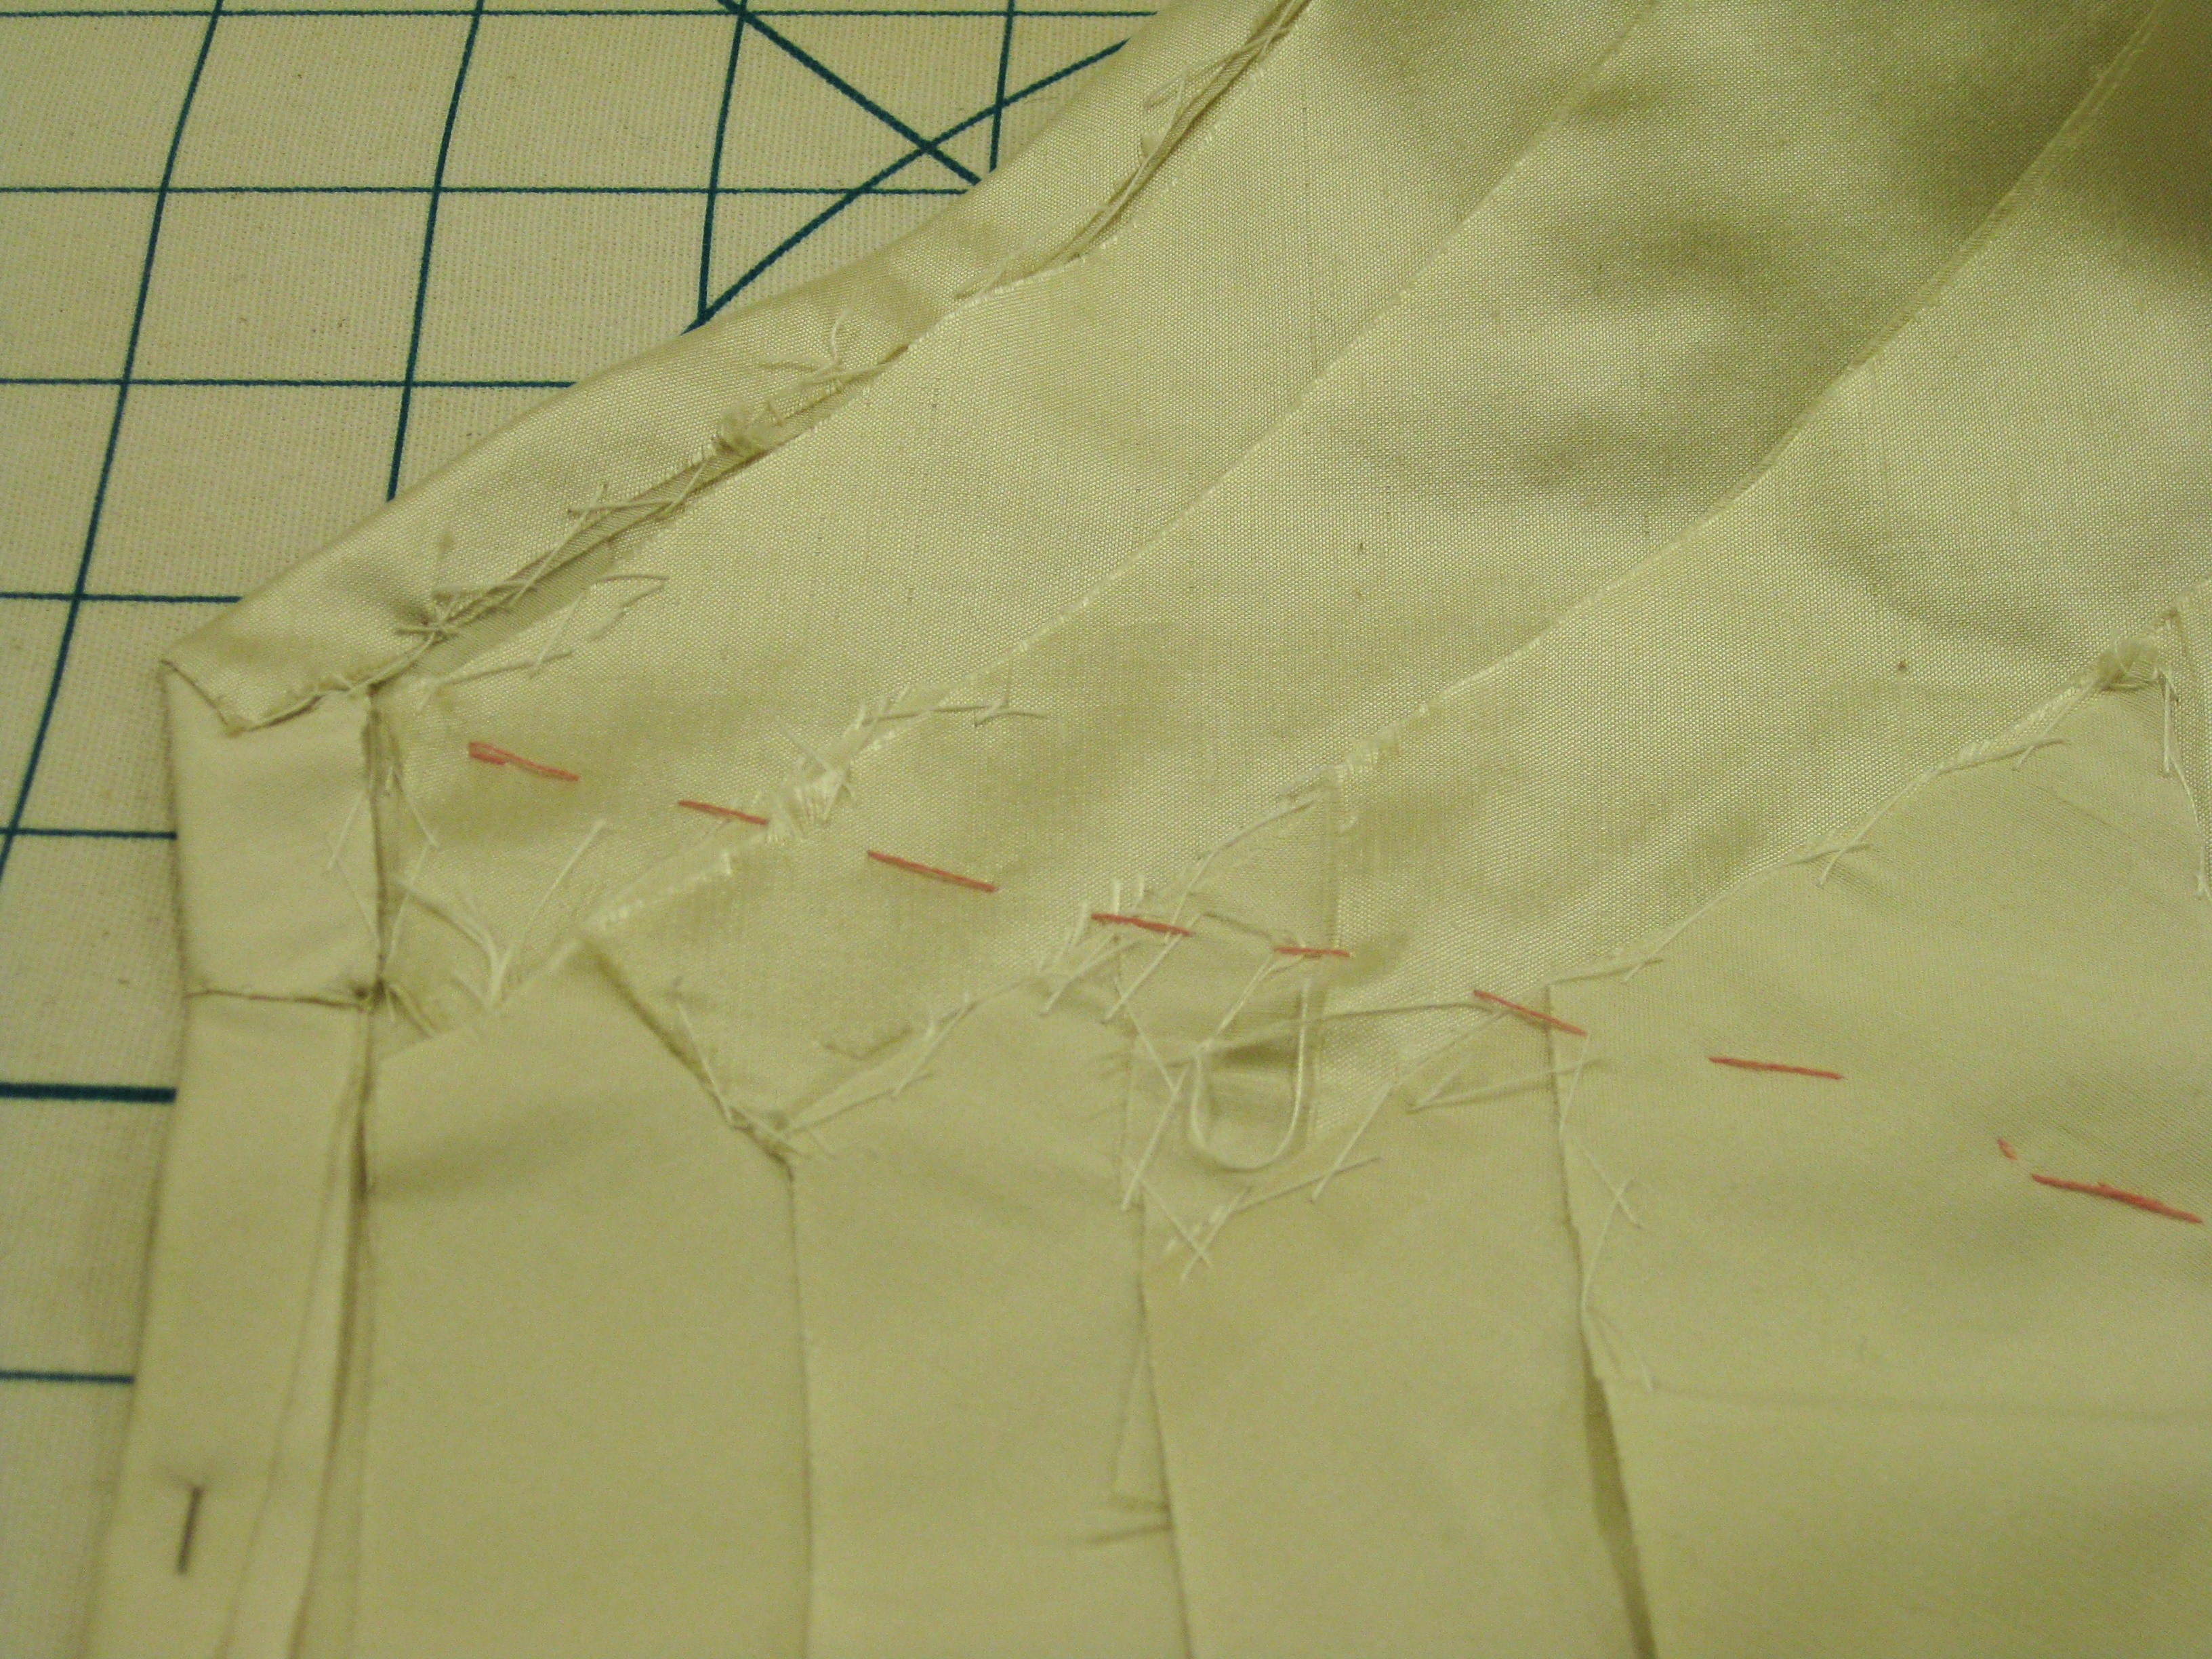
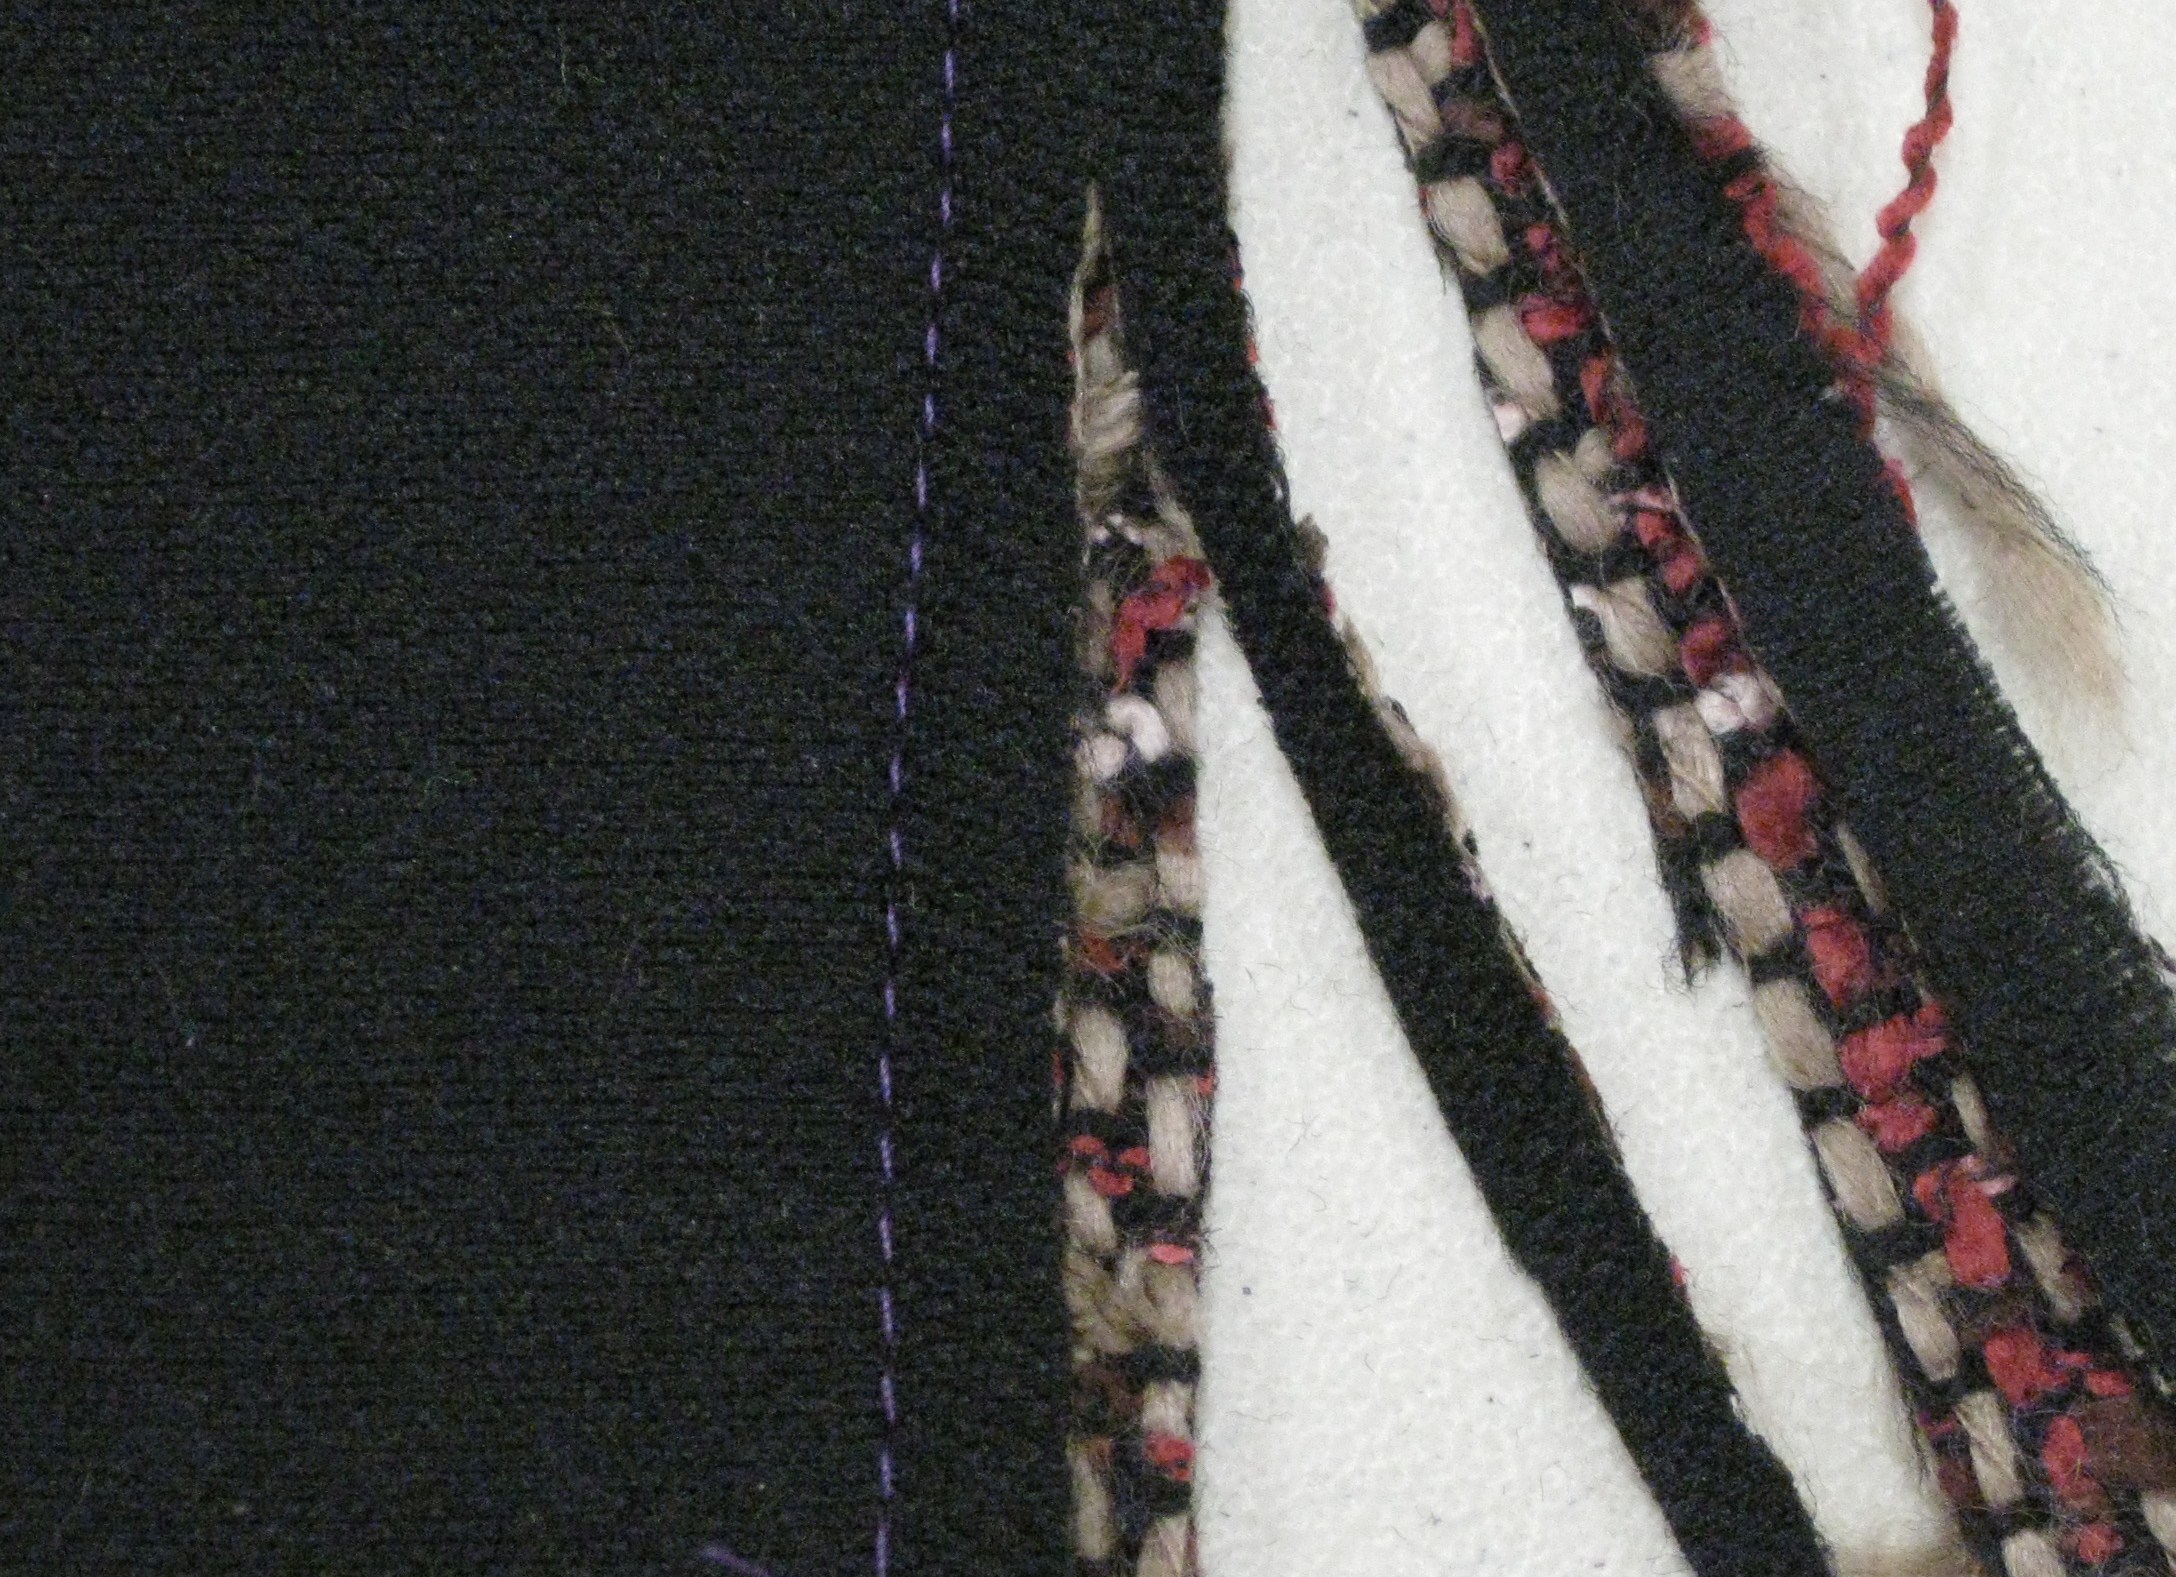
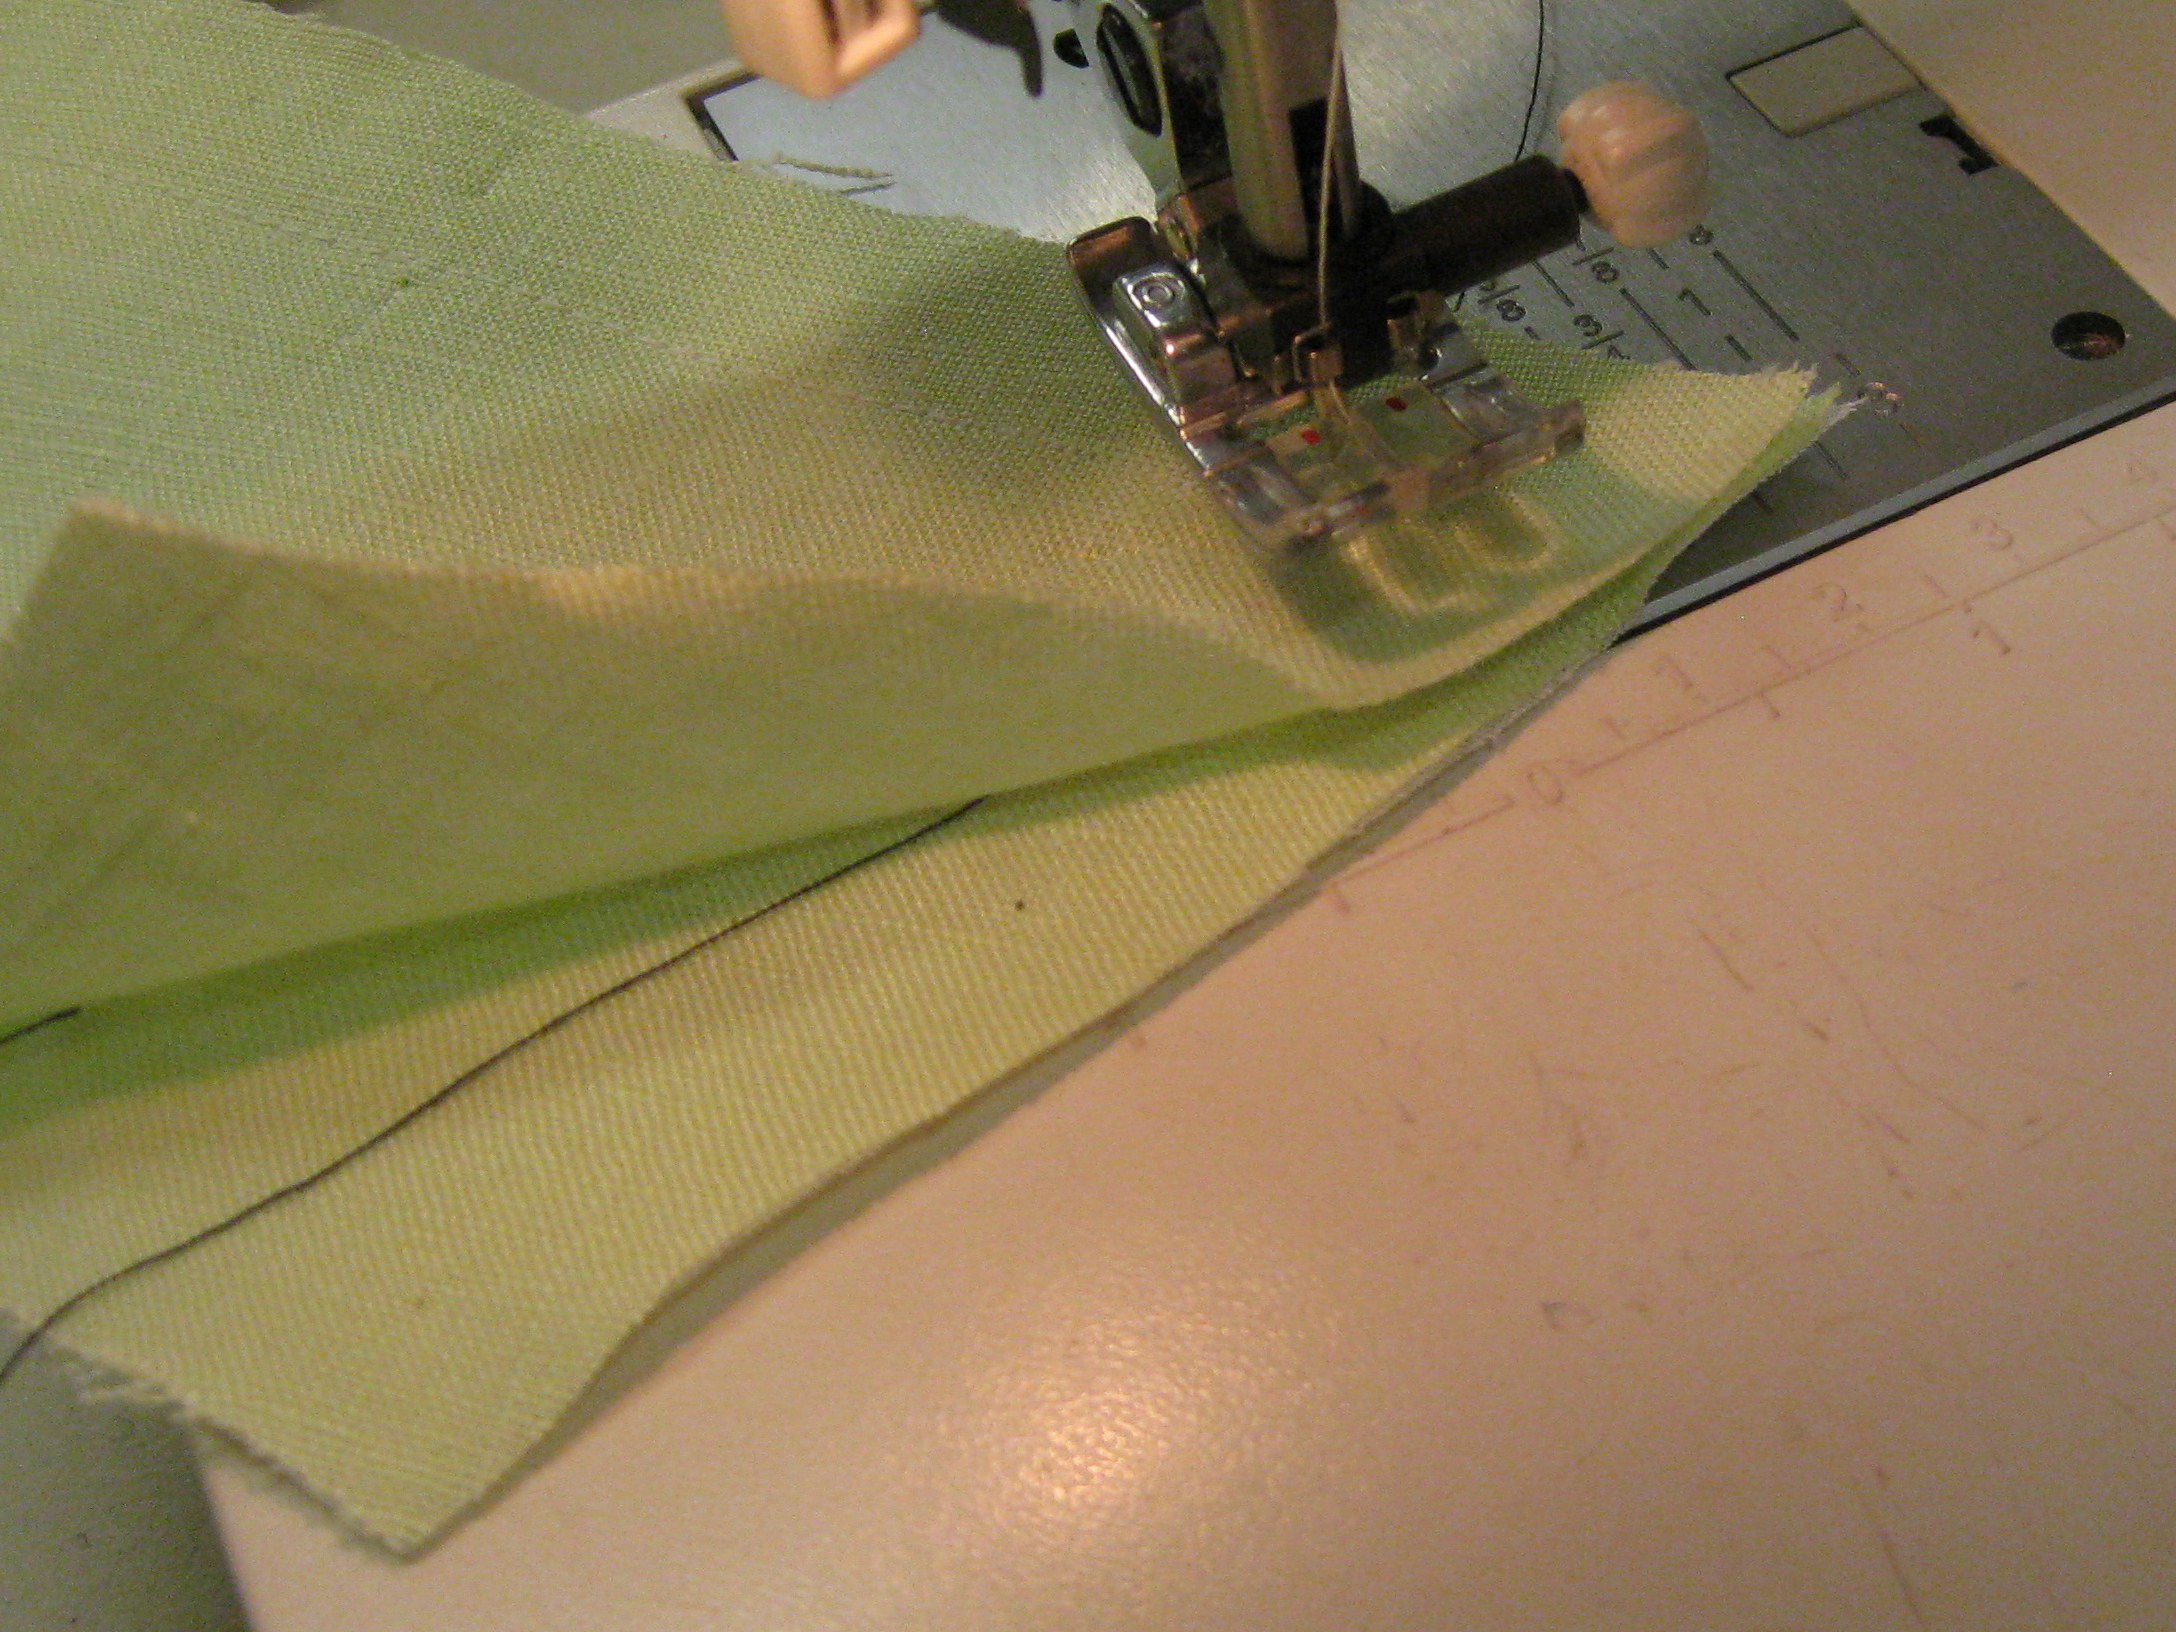
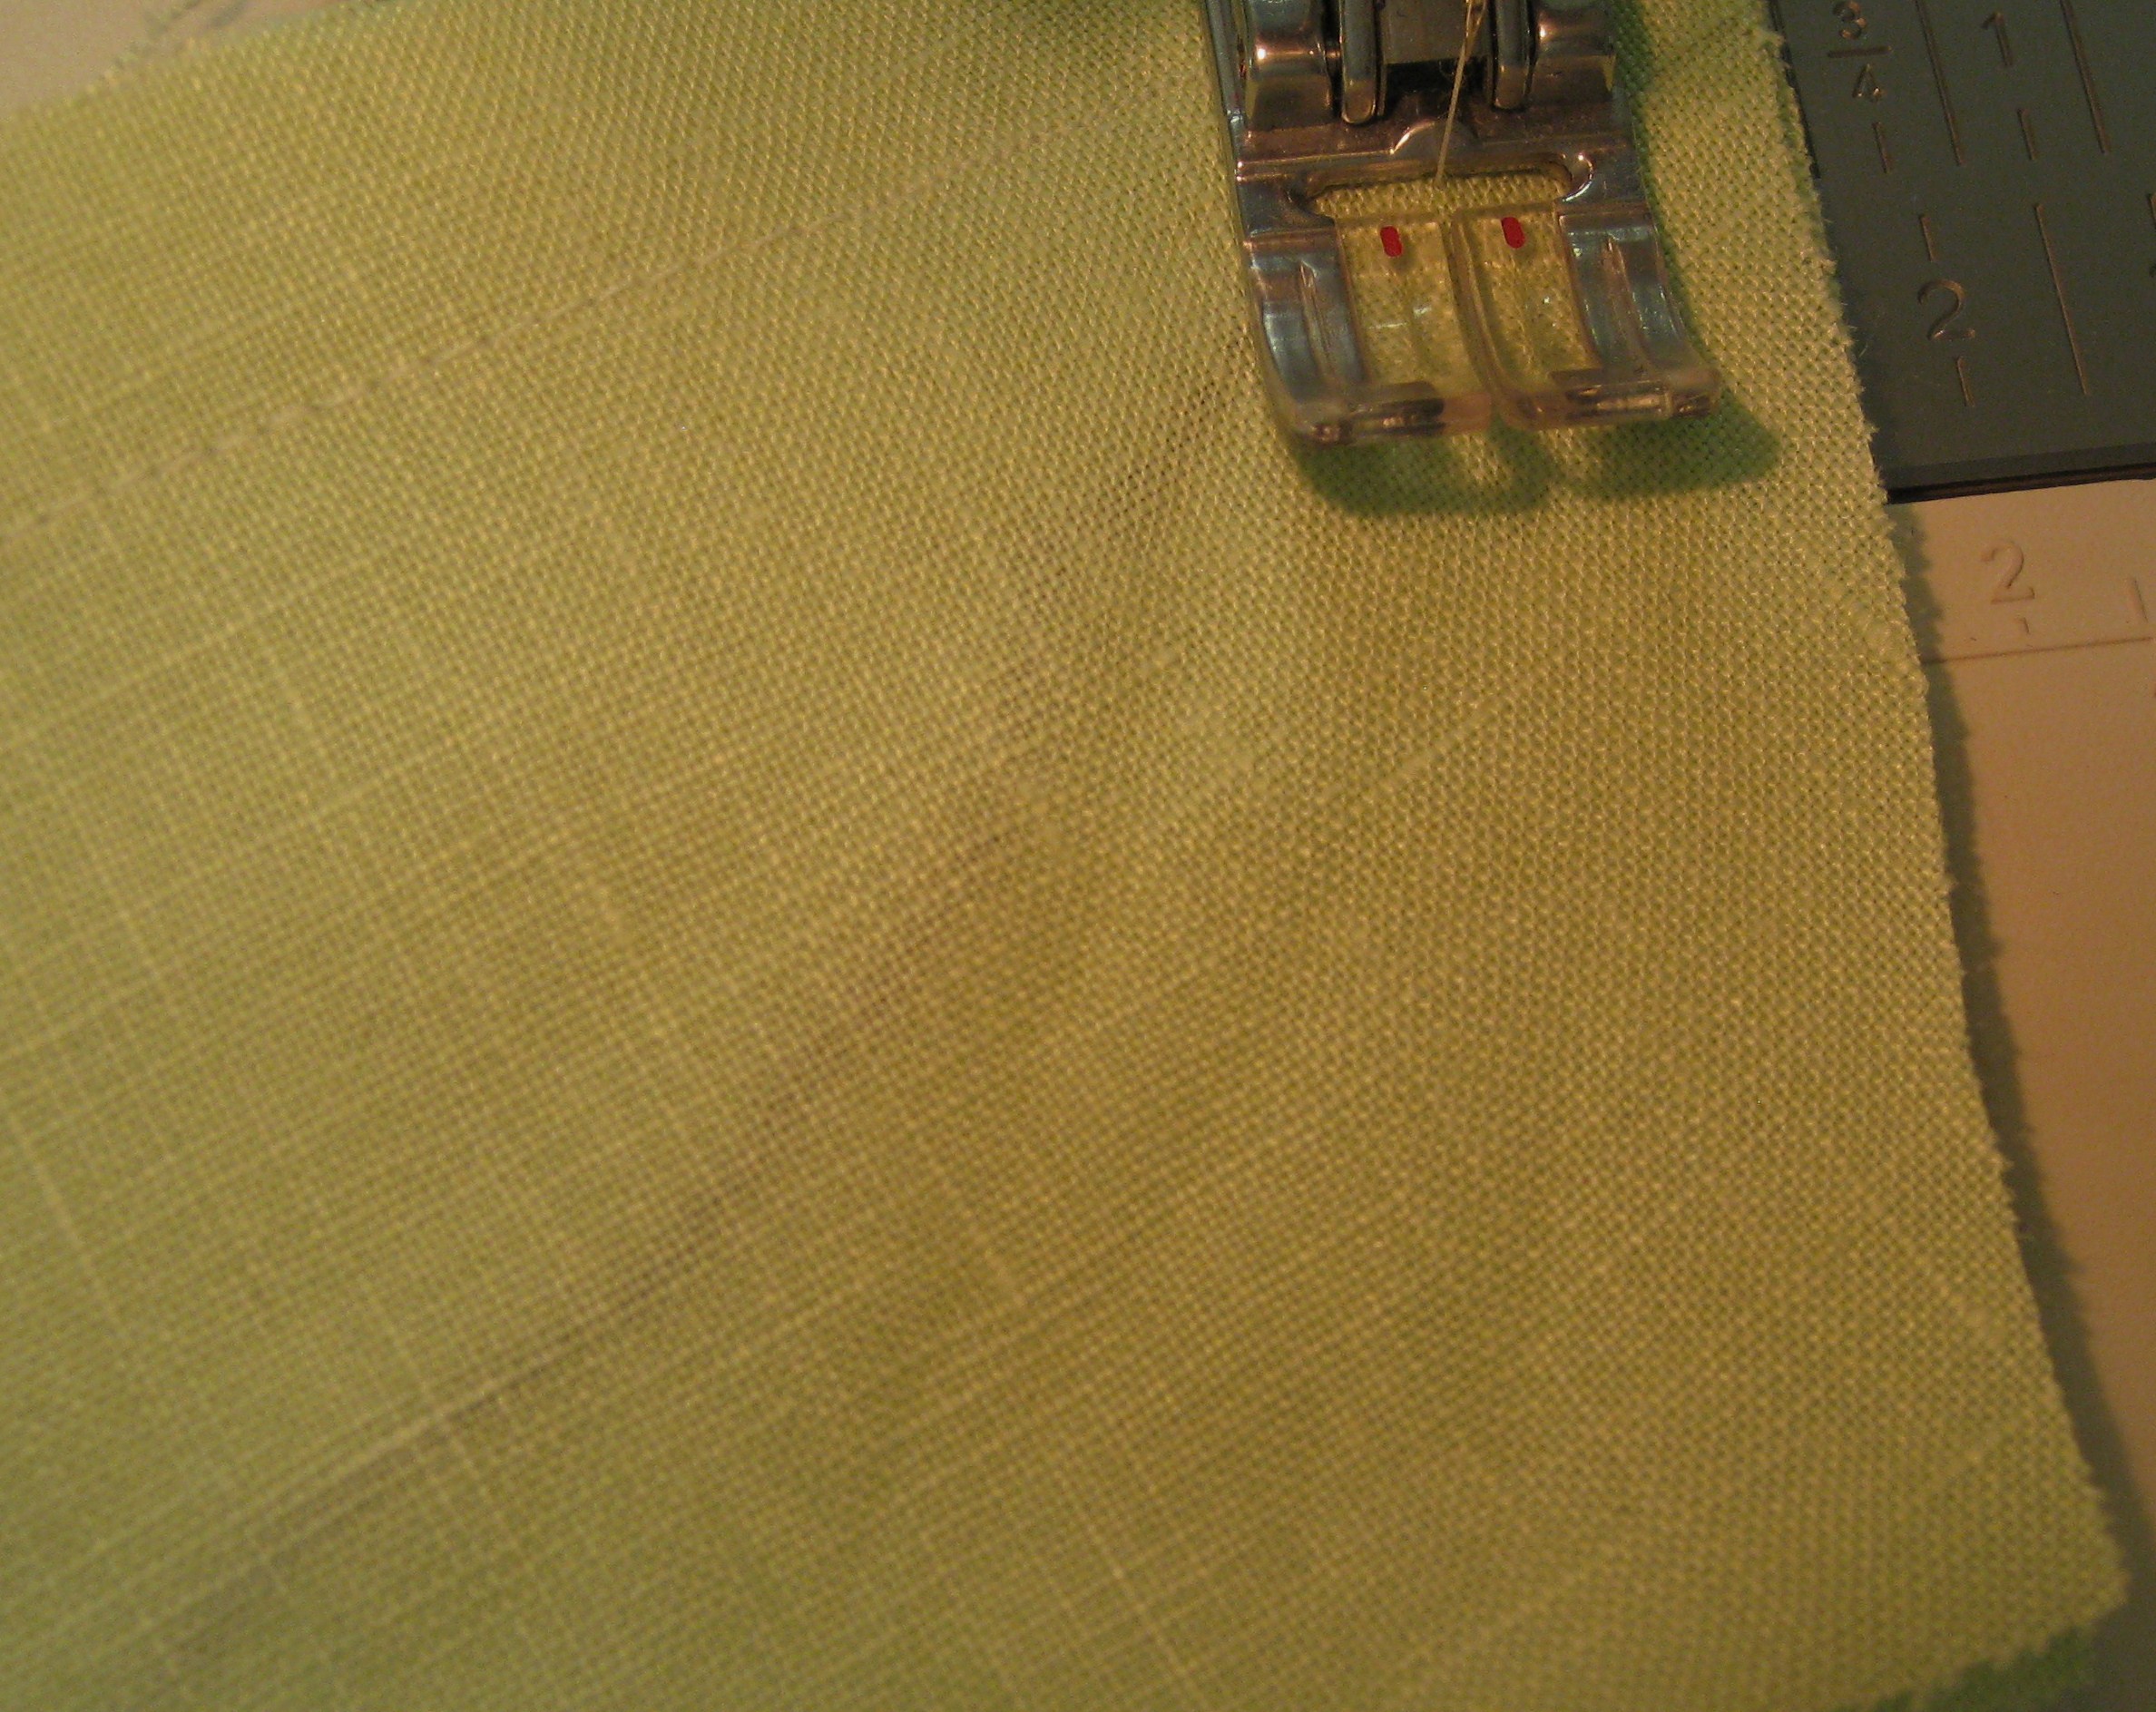
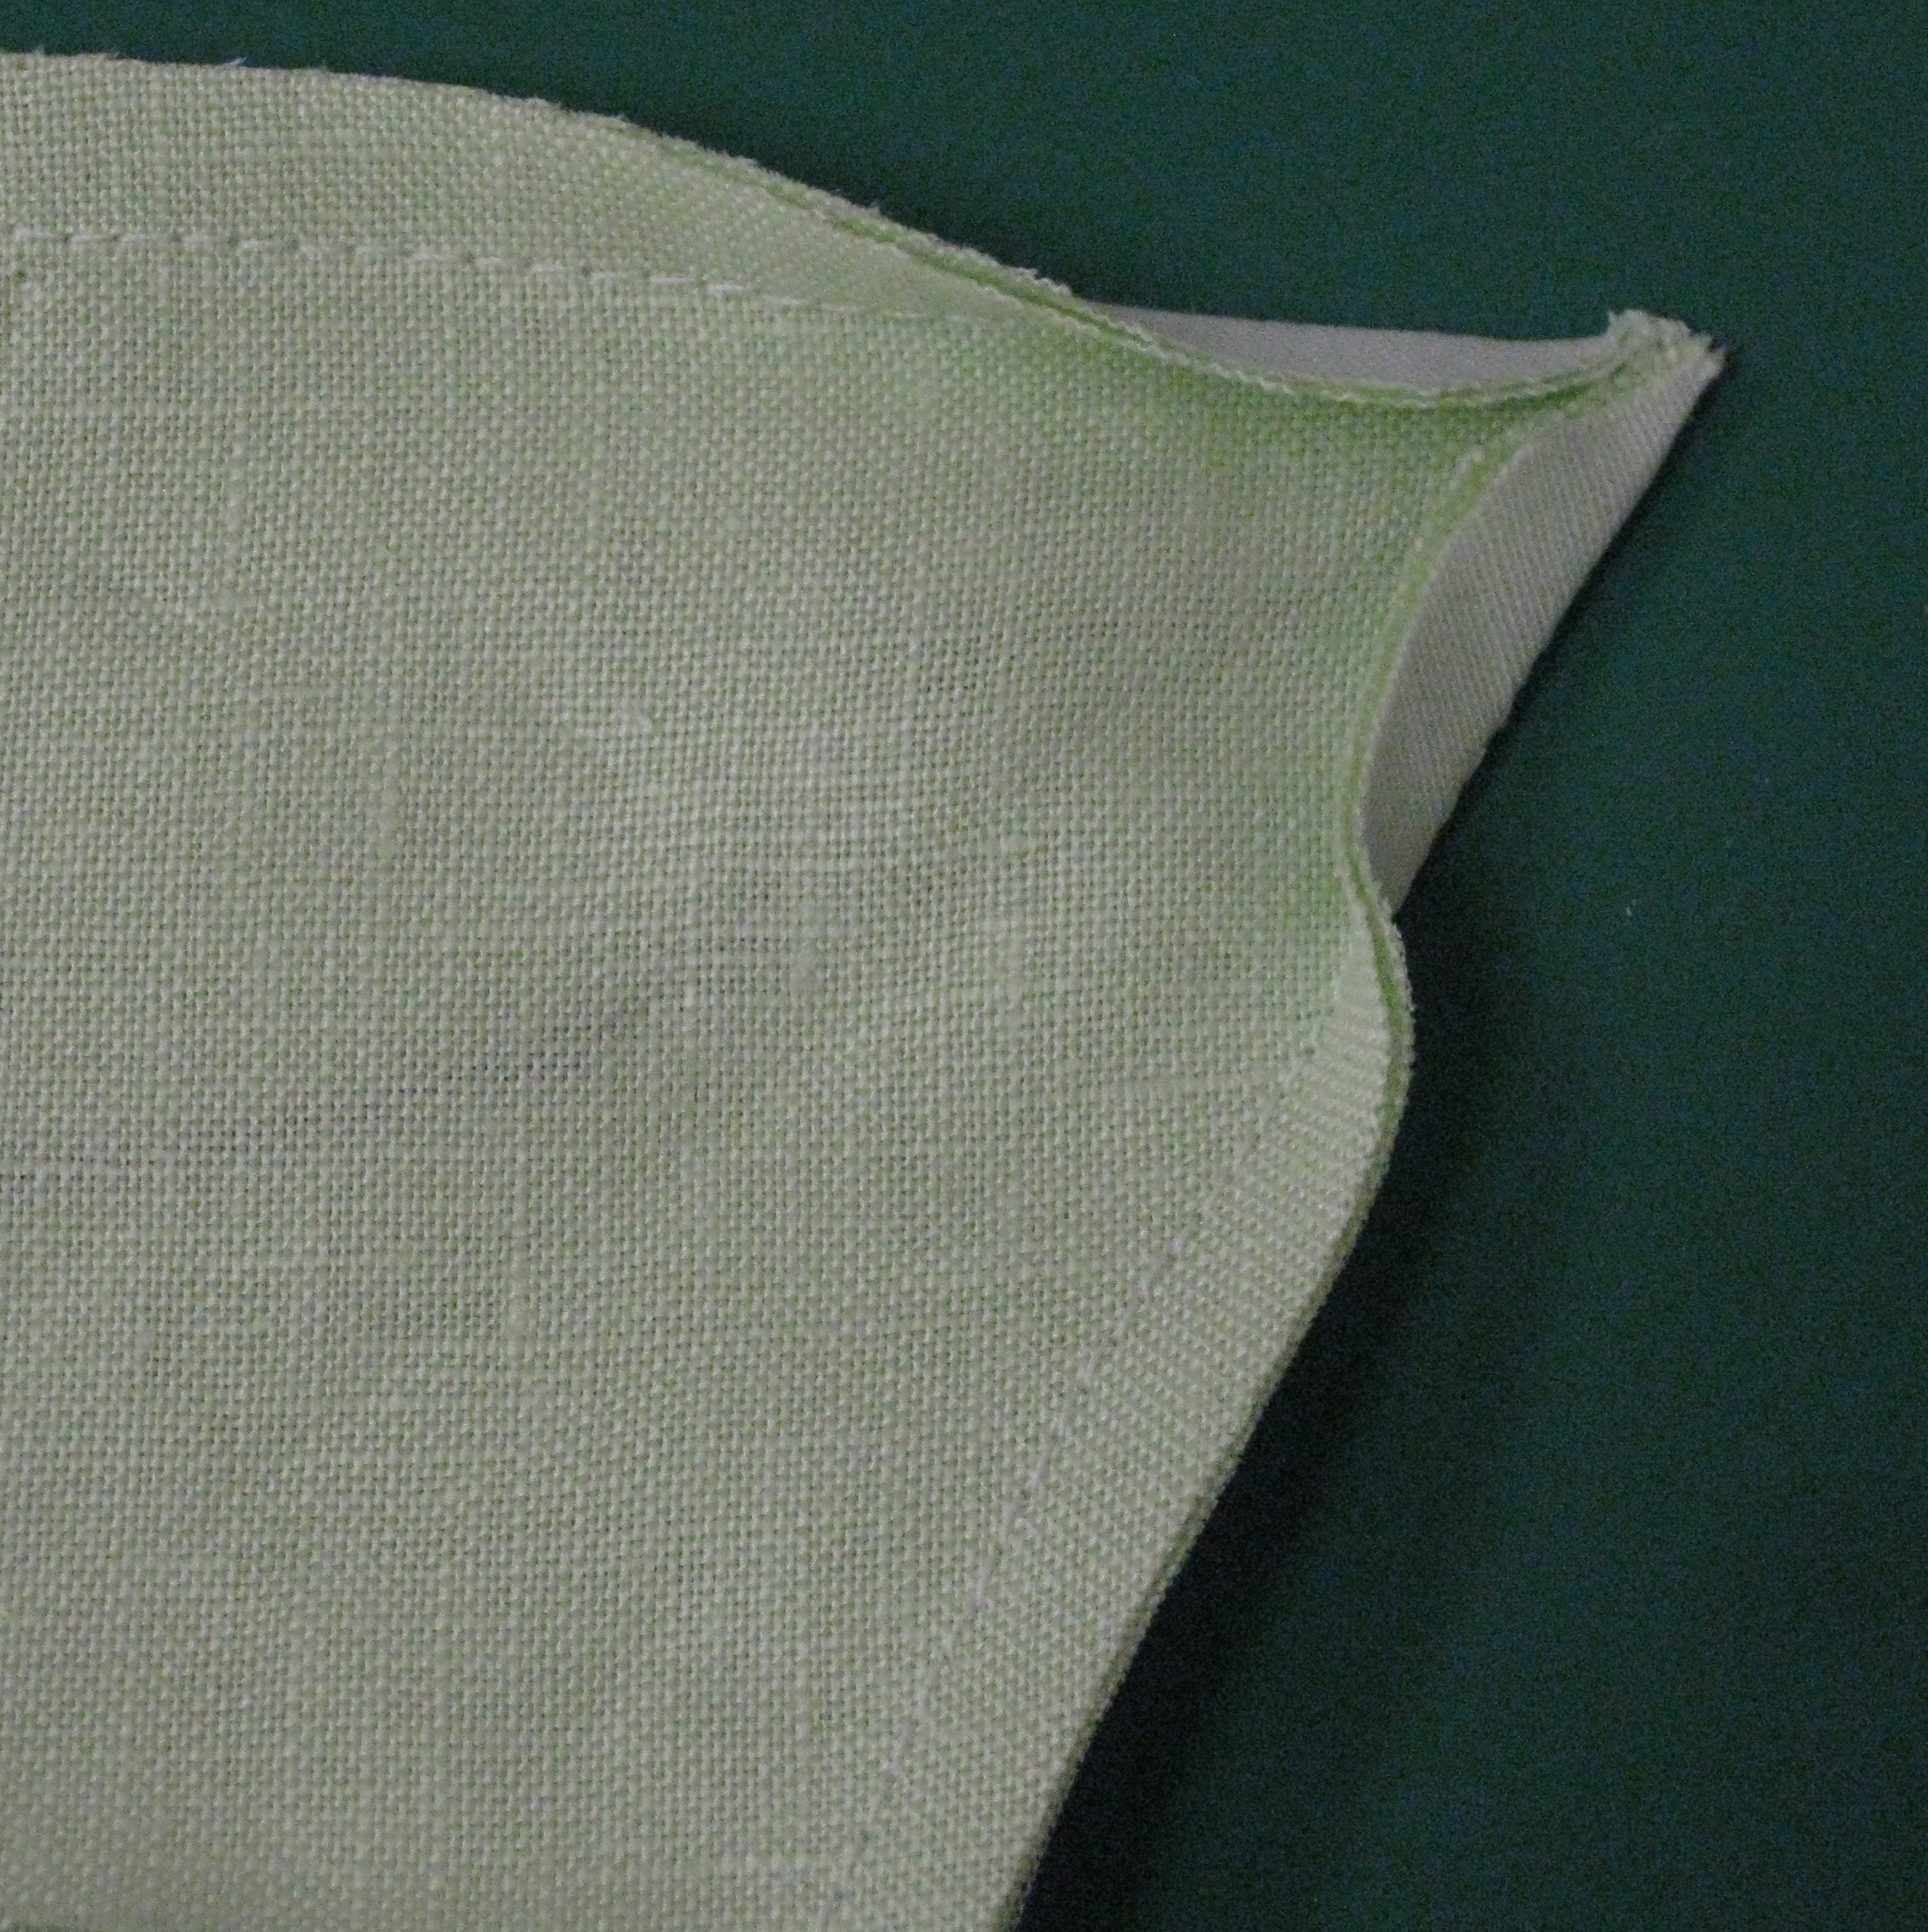
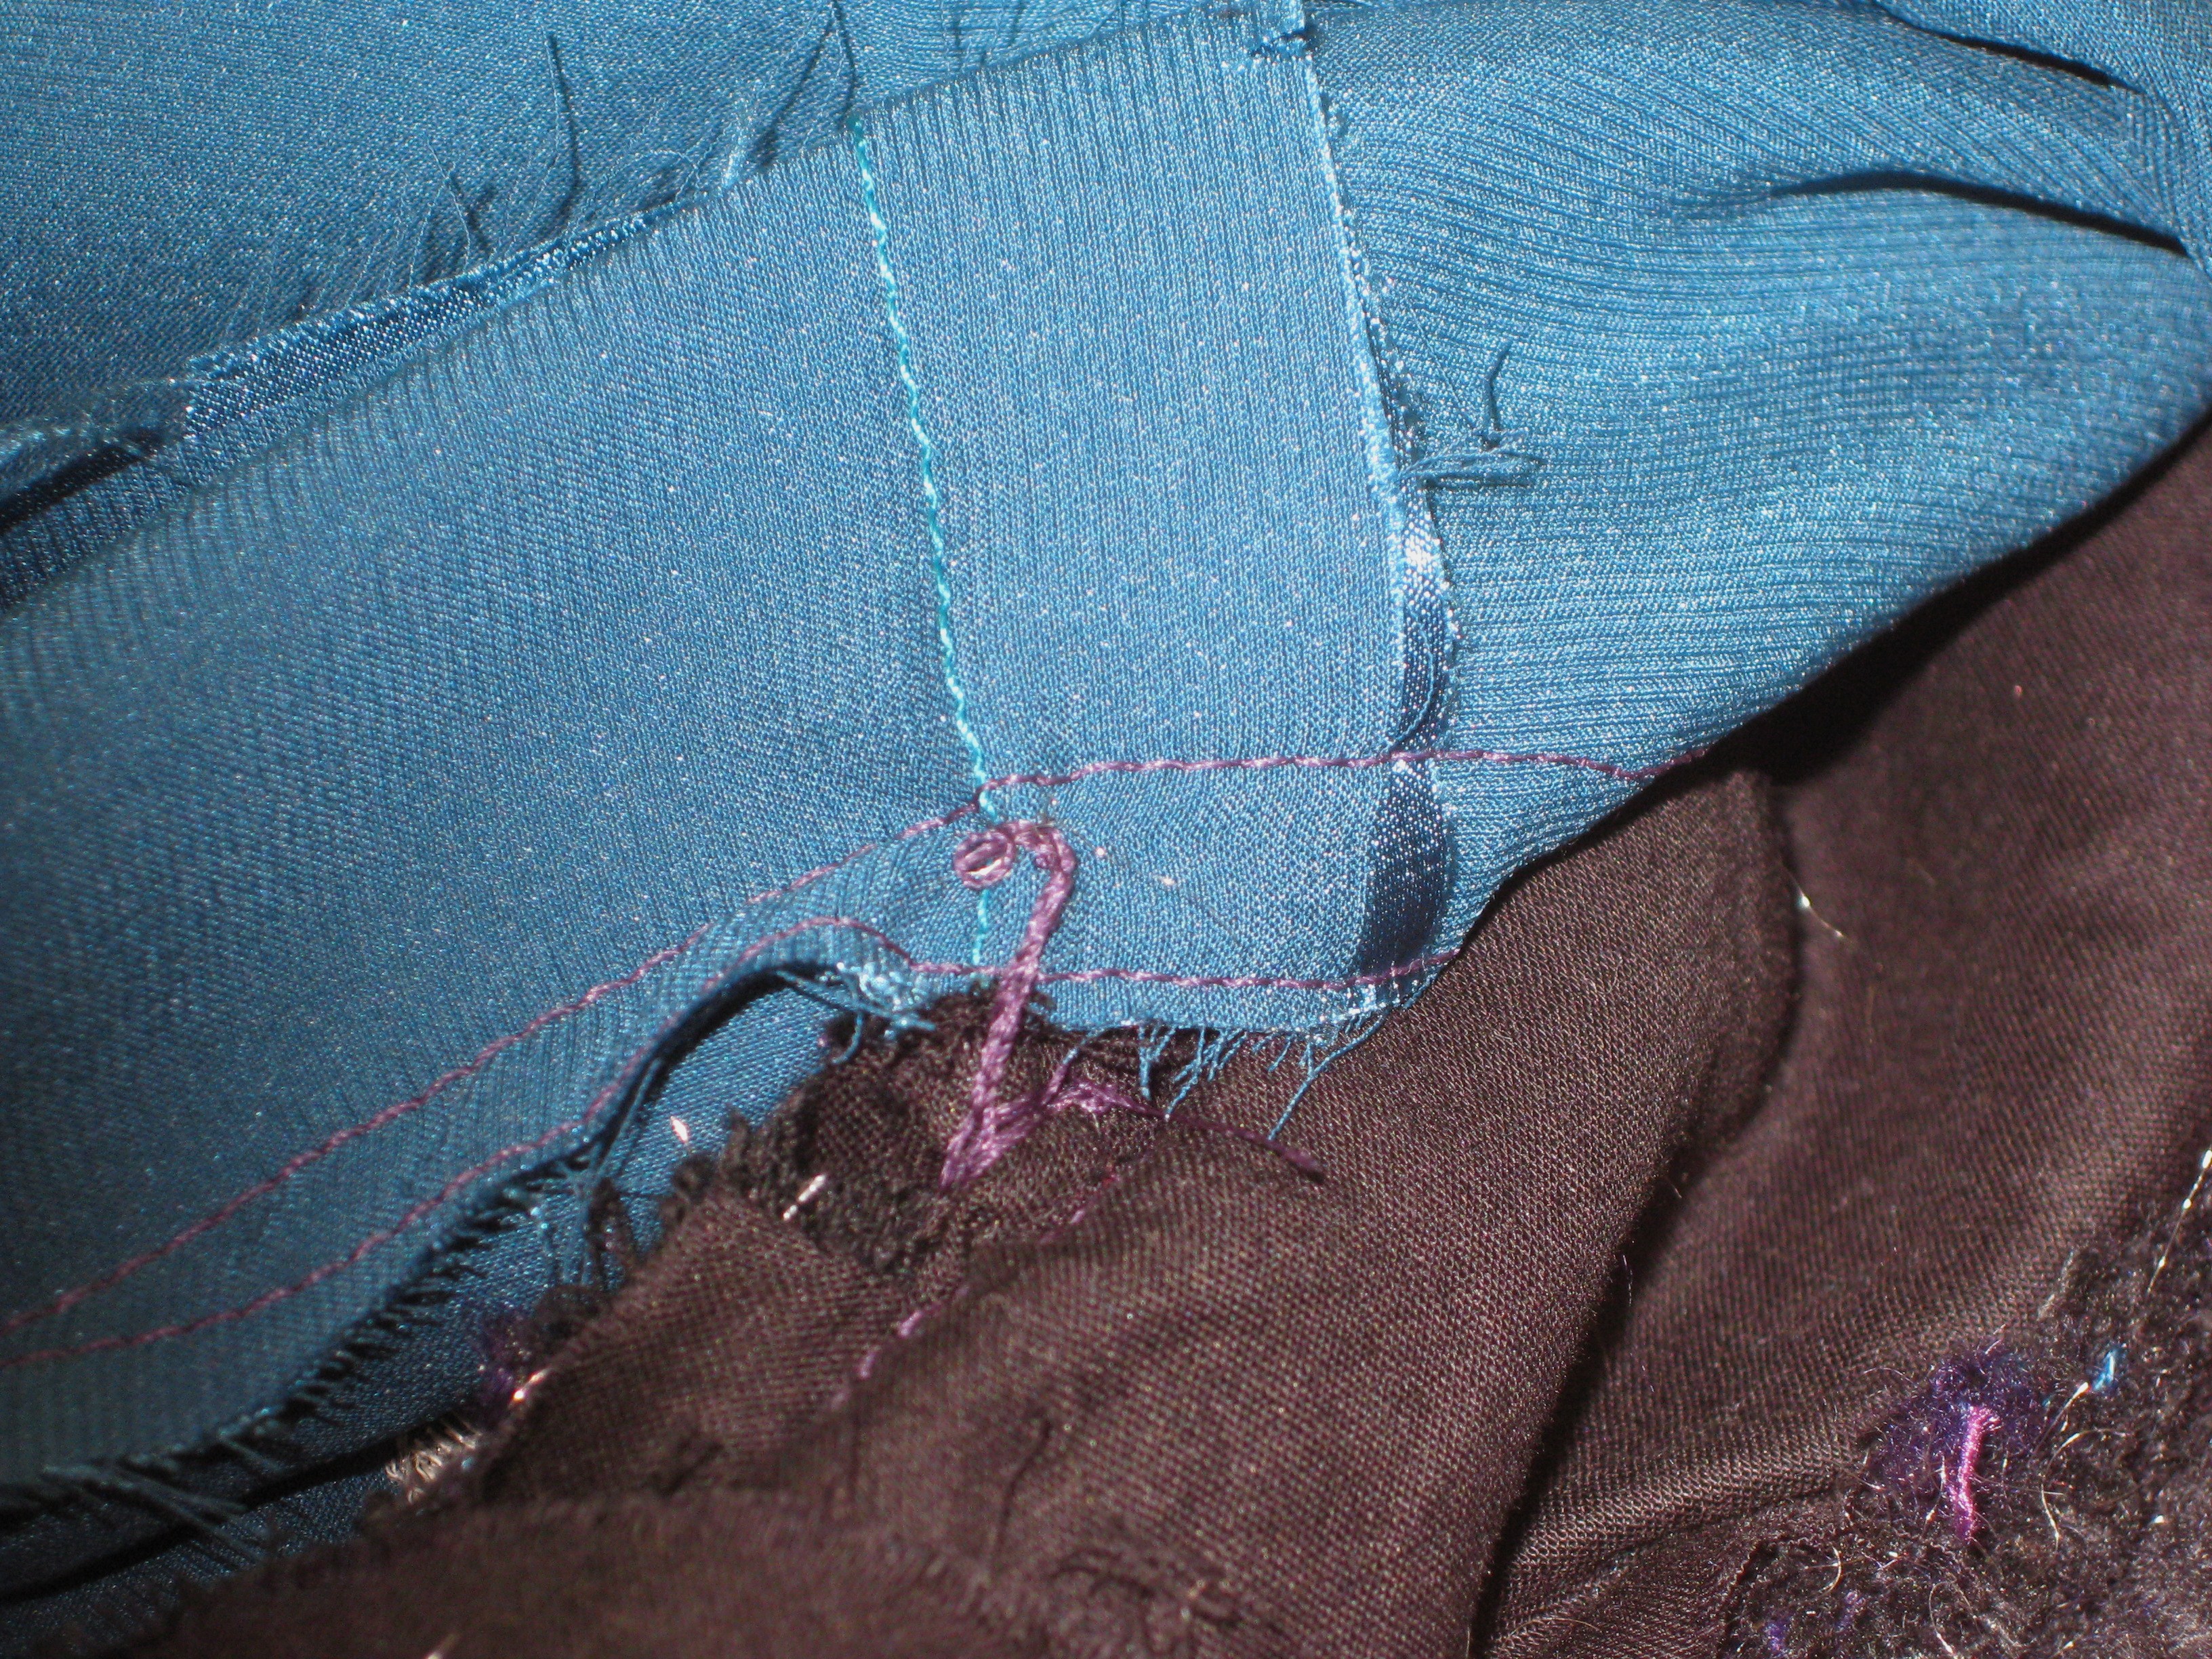
Tip: The amount removed from the neck edge is determined by the thickness of the fabric. * For lightweight, remove 6mm and for thicker fabric as much as 12mm. To test, cut two pieces of fabric (on the same grain); stitch one edge together; grade and press the seam and fold the joined pieces in half. Have a look at how much difference there is on the width of the upper fabric – this is the amount of the turn of the cloth.

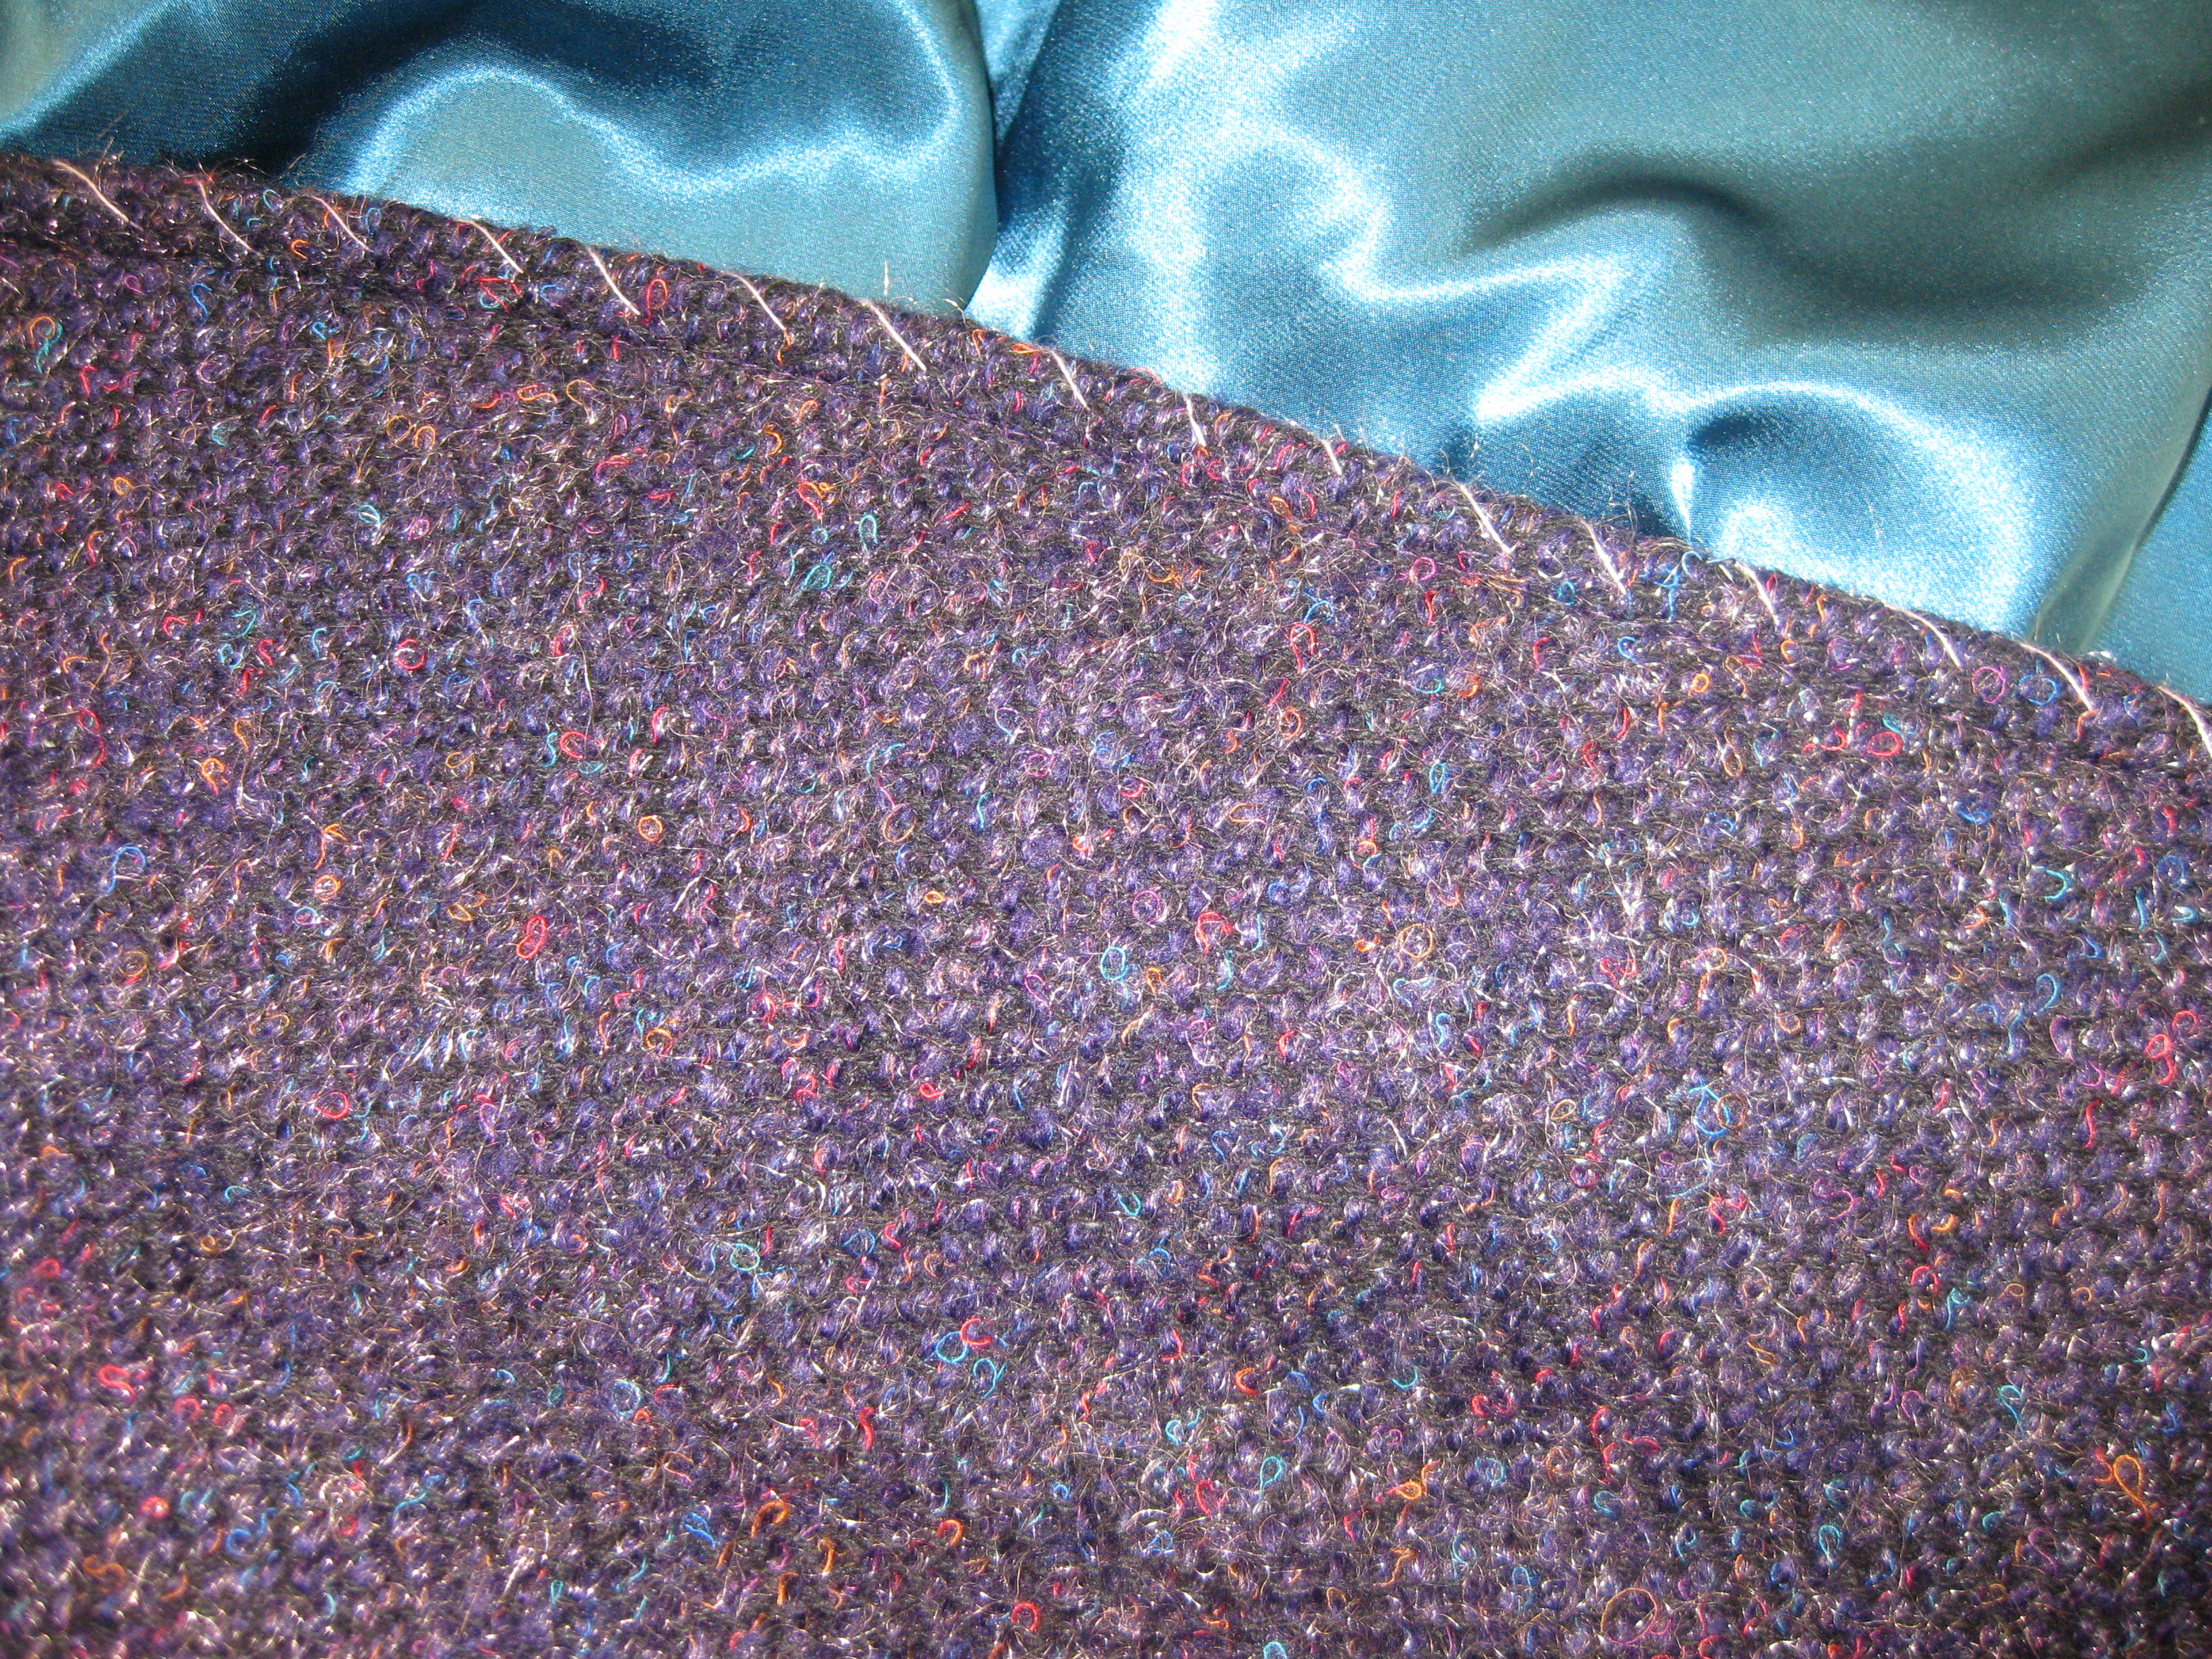
Fabric with no interfacing

Interfaced fabric
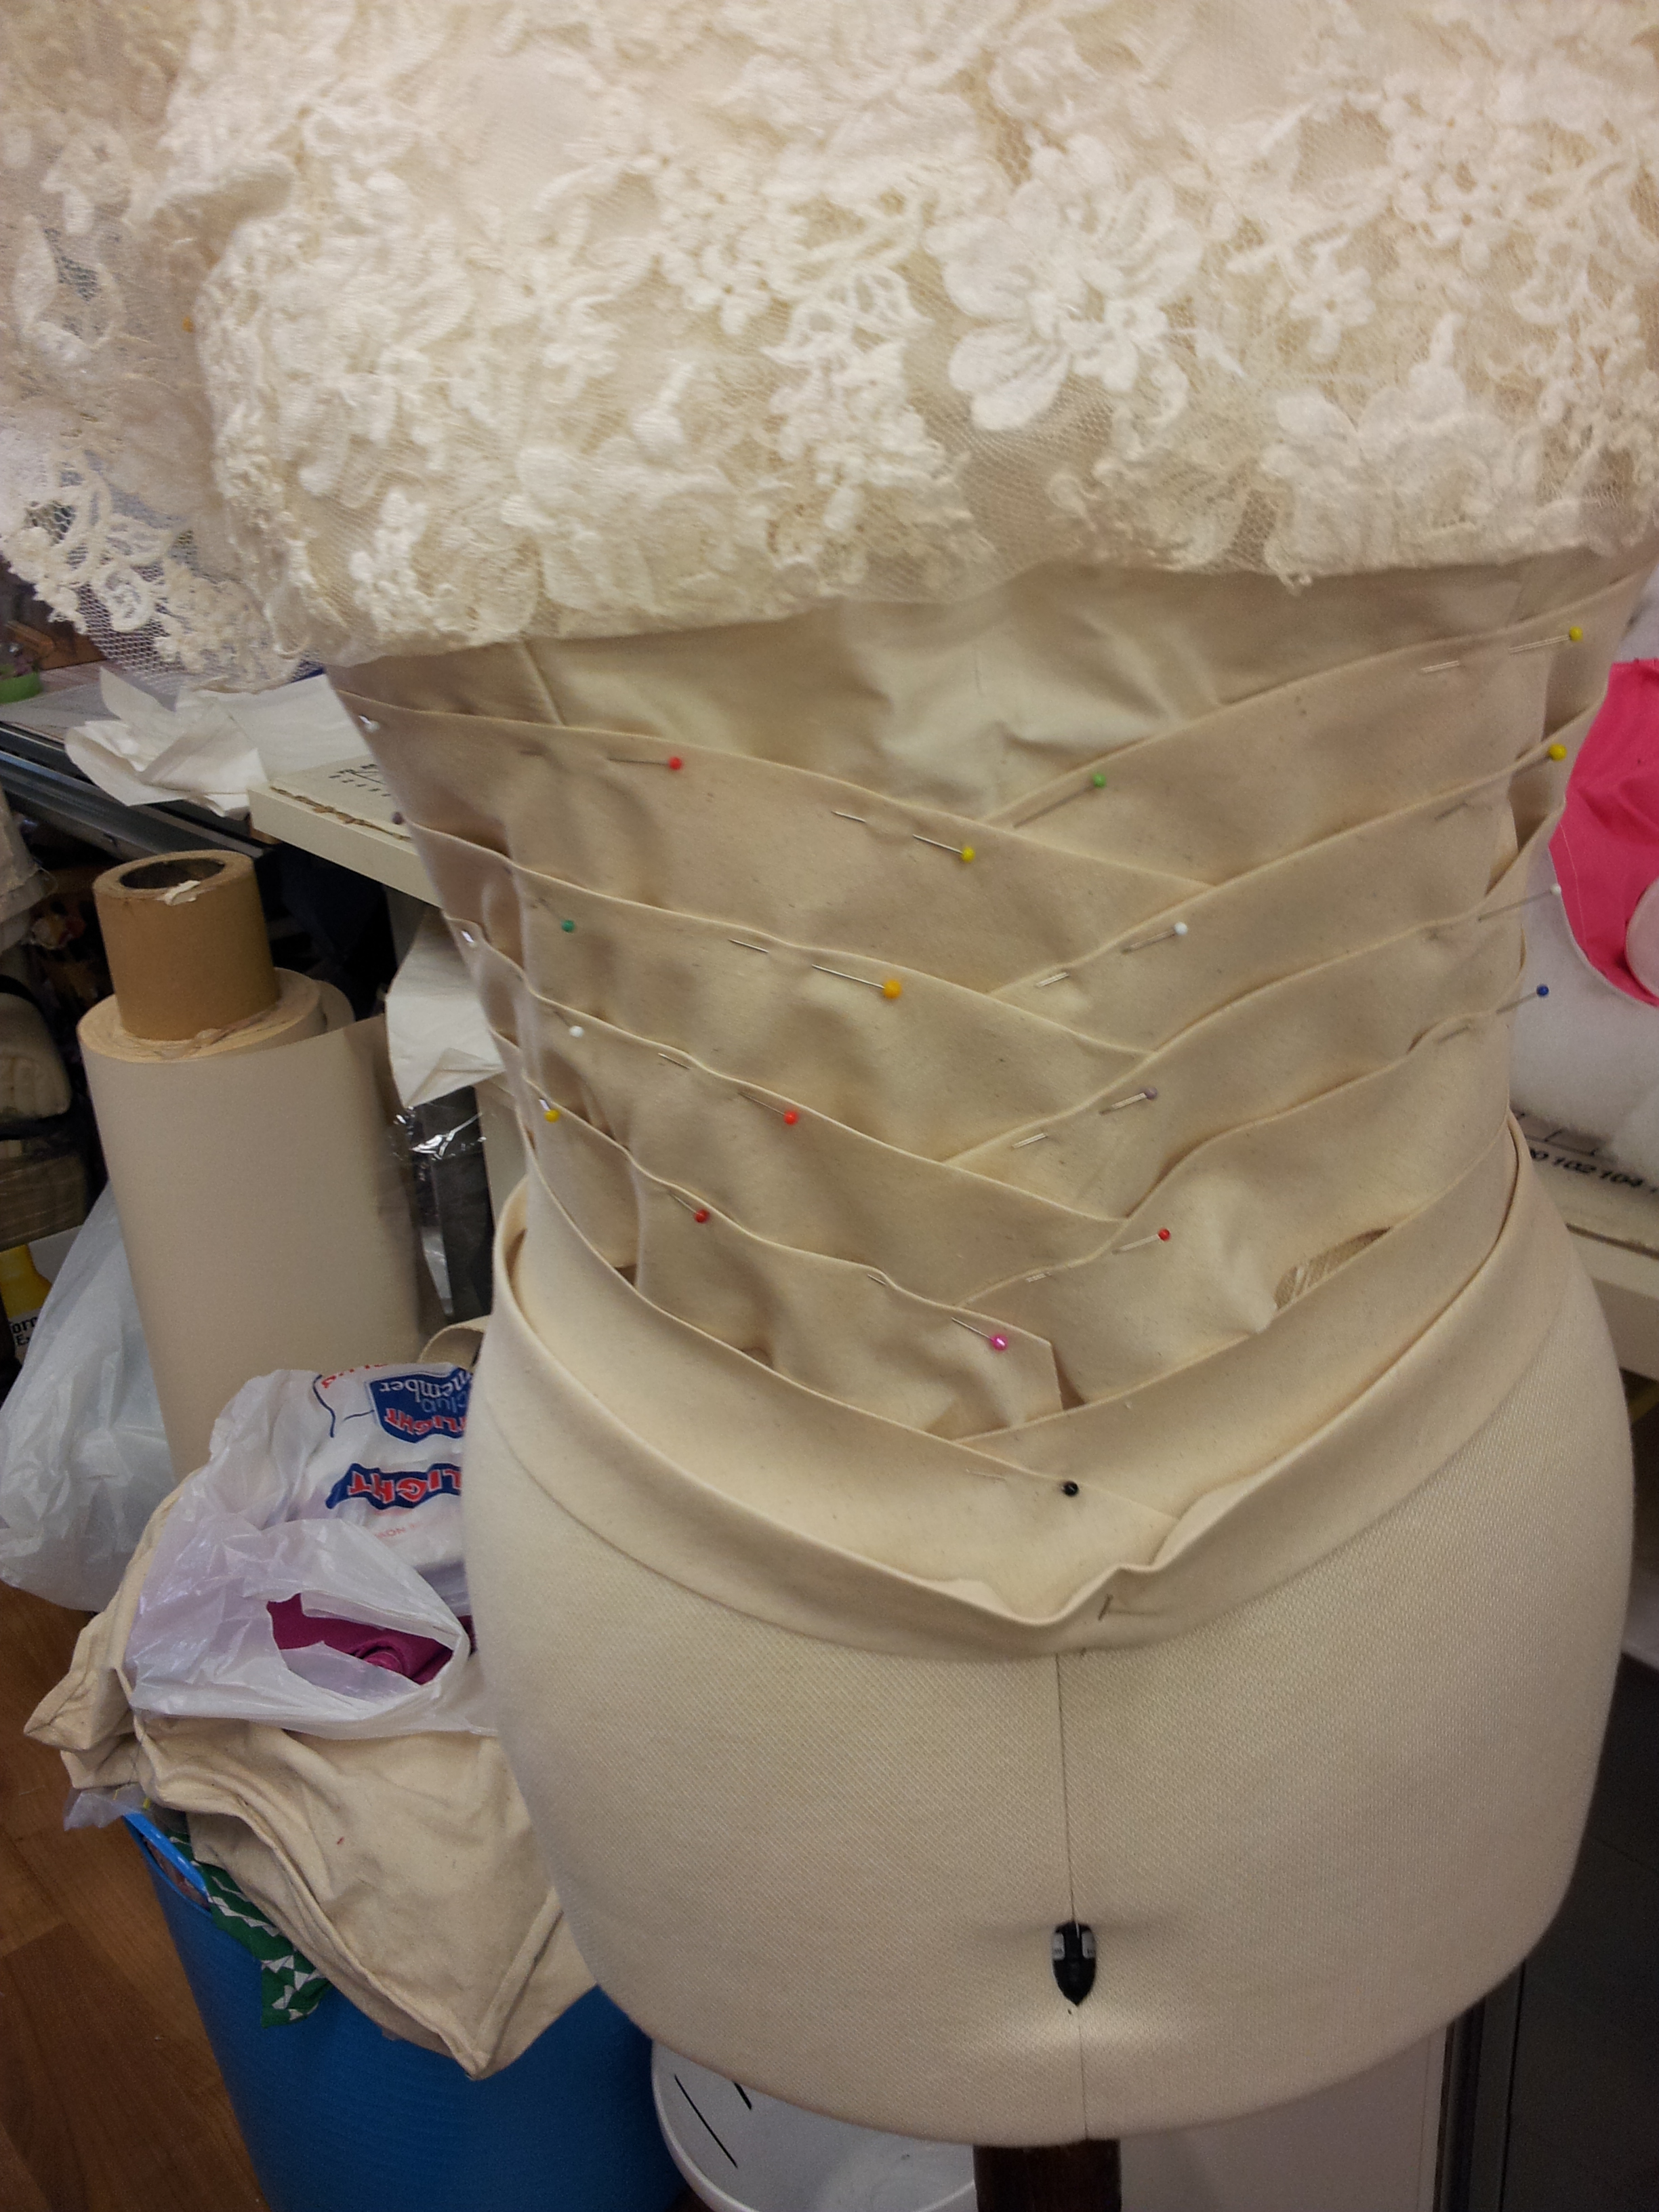
Standing Collars
Standing collars usually sit slightly away from the neck and can vary in width. Checking the width of the finished collar before proceeding will result in a garment that is comfortable to wear as sometimes these collars can be too wide for the wearer.
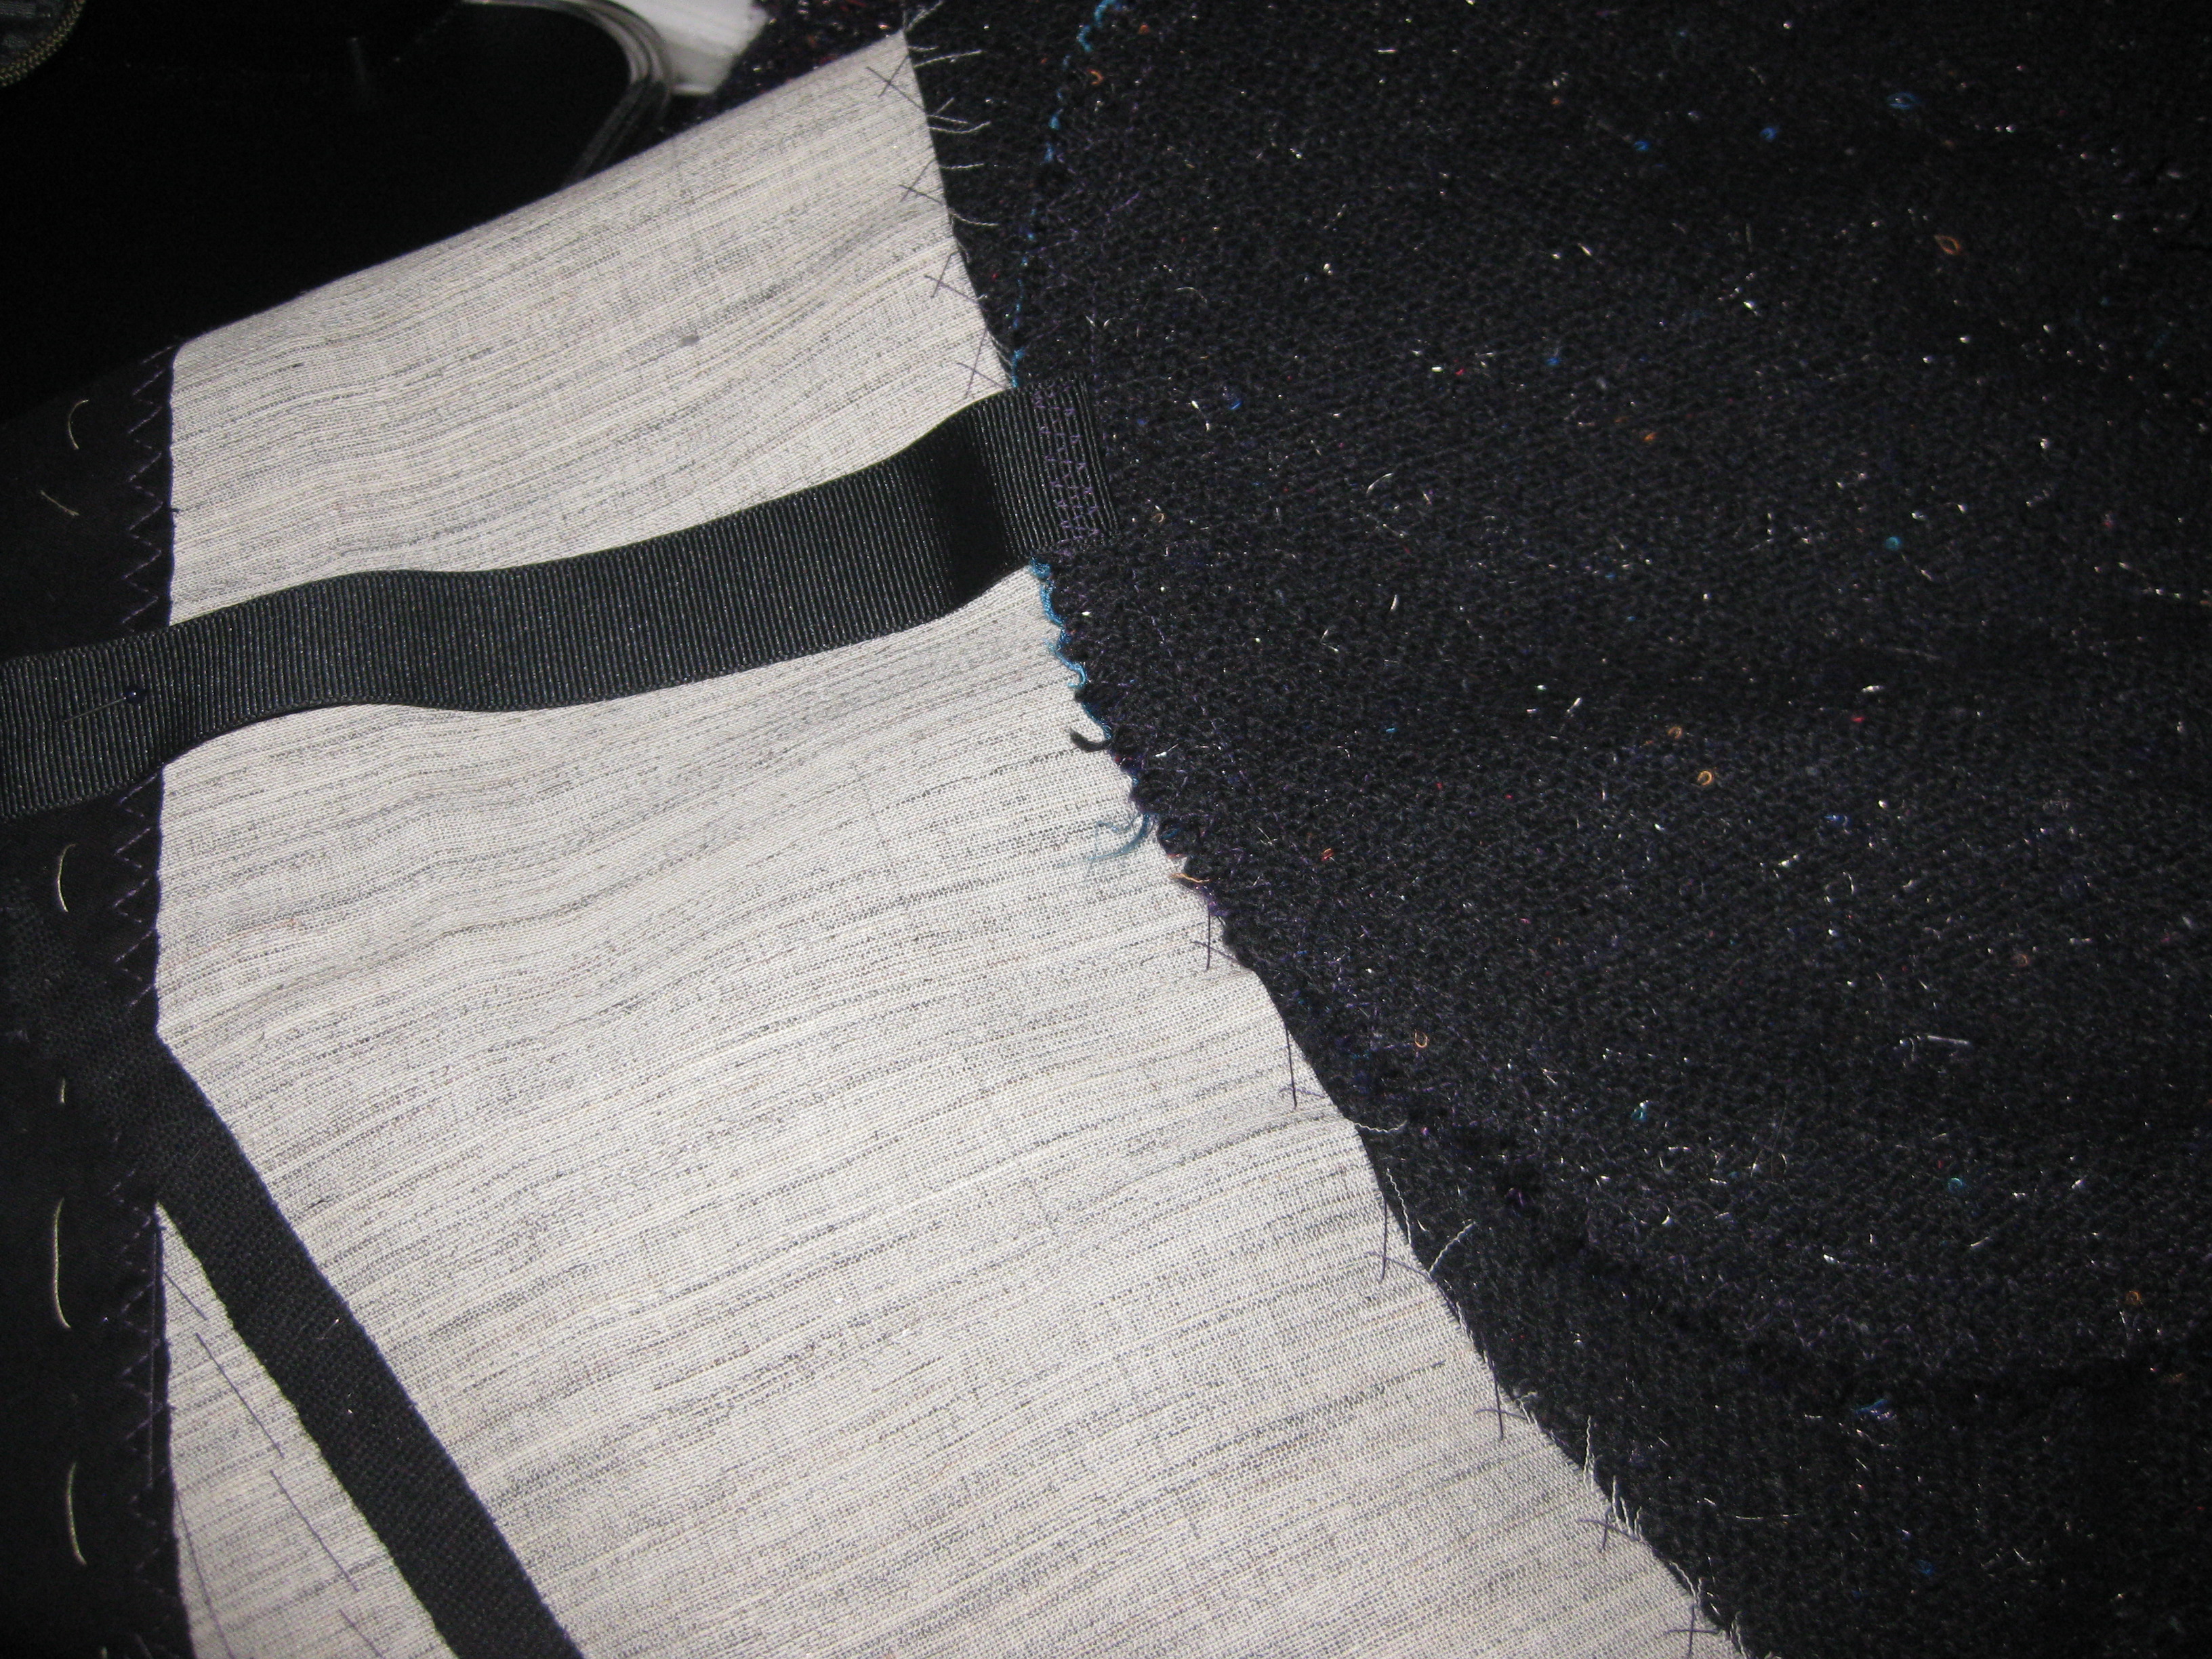
These collars are applied directly to the neckline and are self-finished – the inside neckline edge is folded under and stitched in place, removing the need for a facing.
In the case of shirt collars, the collar band should sit close to the neck when the button is fastened (even if the garment is to be worn with the neckline open). The collar is sandwiched between the top edges of a standing collar and the inside neckline is finished in the same manner as above.
Construction Tips
Regardless of which collar type is being applied, be sure to stay stitch the neckline directionally before applying the collar (see blog post 26th April, 2015 – Stay stitching and Under stitching)
Directional sewing is important for a symmetrical collar so that both sides of the collar end up the same shape. Pin the upper and under collars together at centre back and stitch from centre back to neck edge. Turn the collar over and repeat on the other side.

Seams need to be trimmed, graded, clipped and/or notched so that the collar edges will sit flat.

Seam allowance against under collar is cut smaller
Press the seam flat as sewn and then press the seam open (using a point presser makes this much easier).

Press seam allowance open over point presser
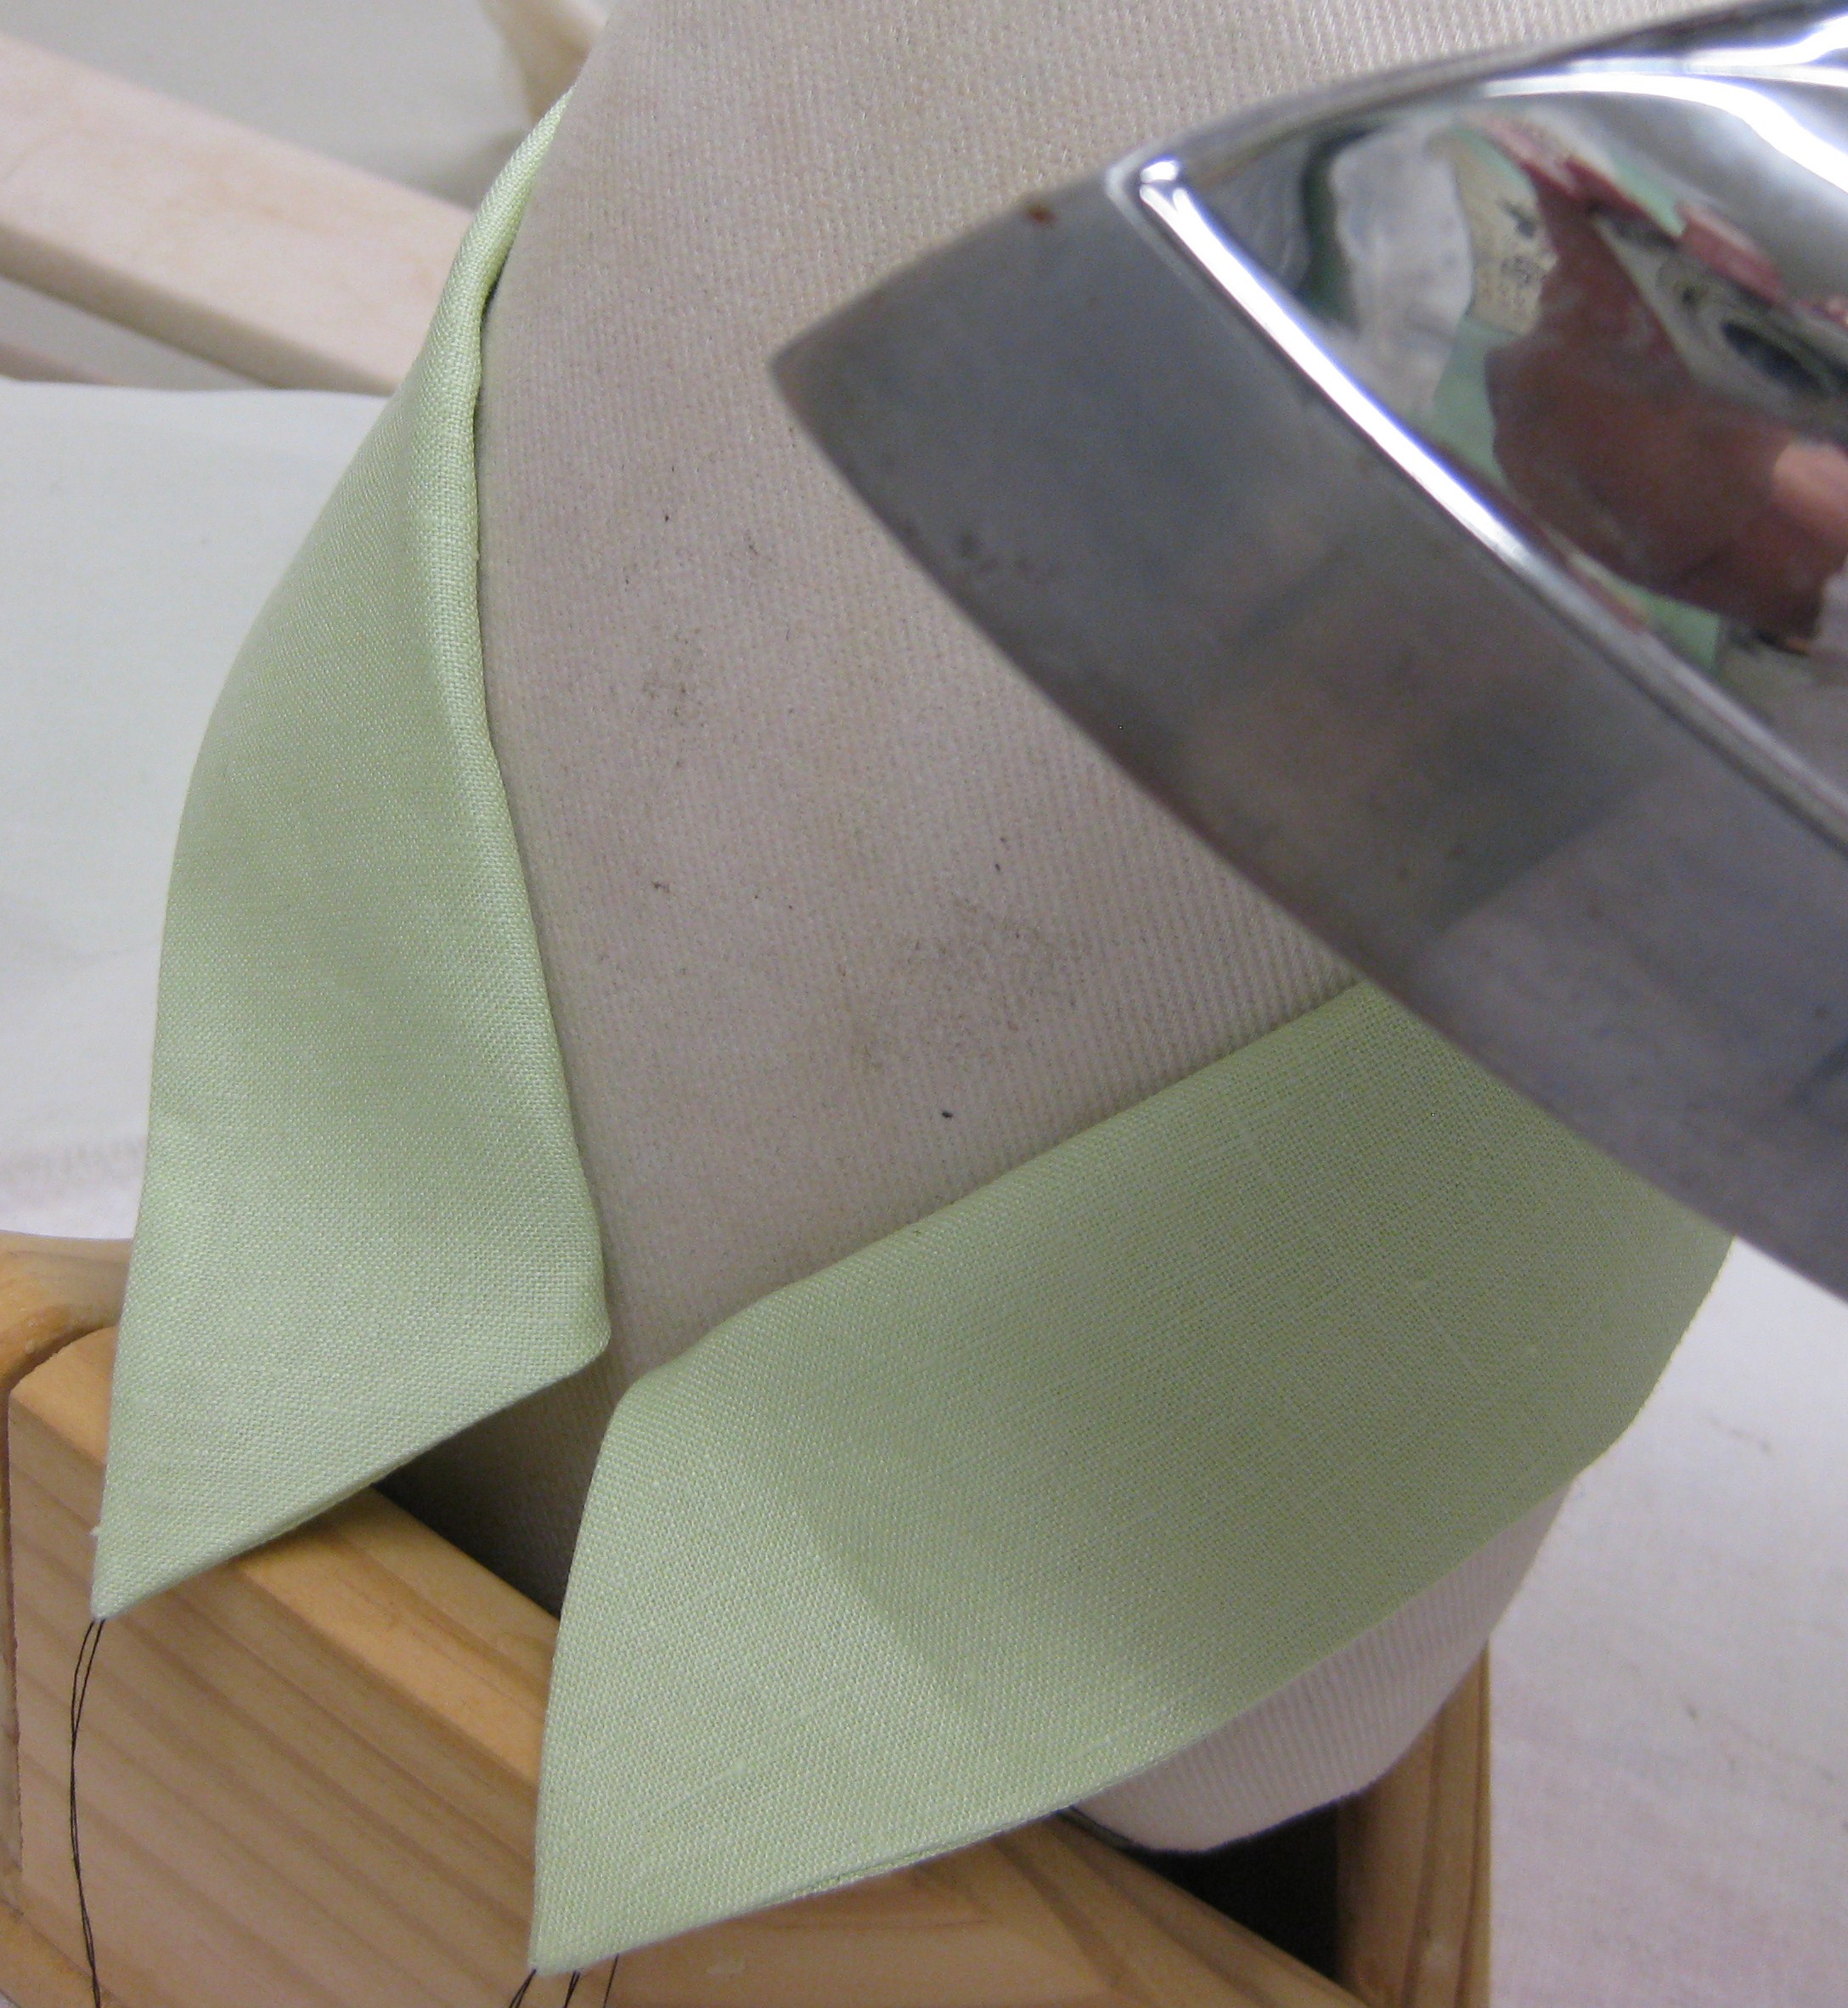
Before collar is applied to the neckline, bring the neck edge of both collar pieces together and tack in place. Pin the collar around a ham and steam to establish the roll of the collar  – allow to dry and cool thoroughly before removing the collar from the ham.
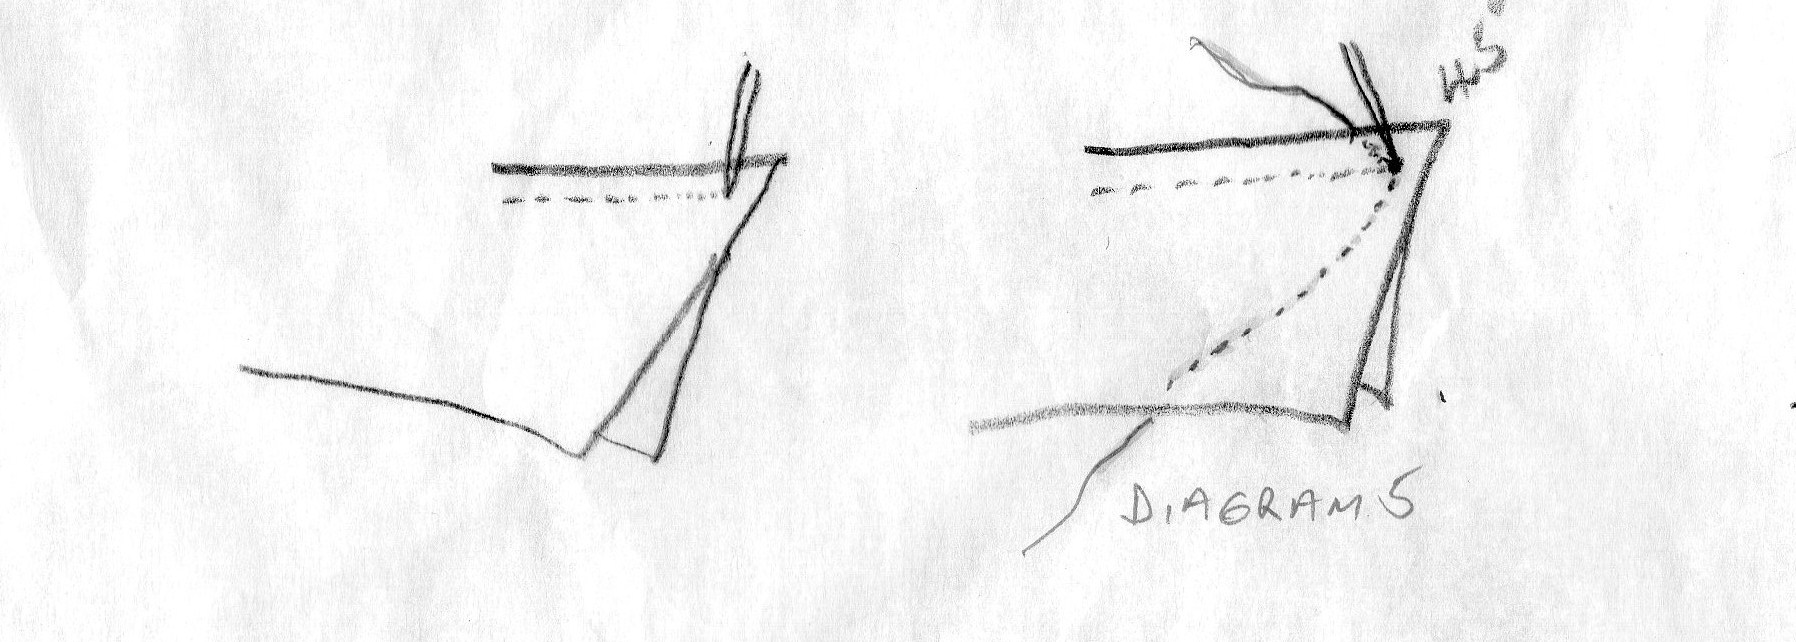
Special Technique for Pointed Collars:
- Start sewing in the centre back of the collar and sew to within 2cm of the corner point
- Reduce stitch length to 1.5 and make sure needle stops in the fabric
- Stitch to the turning point and leave needle in fabric
- Raise presser foot and turn fabric 45⁰
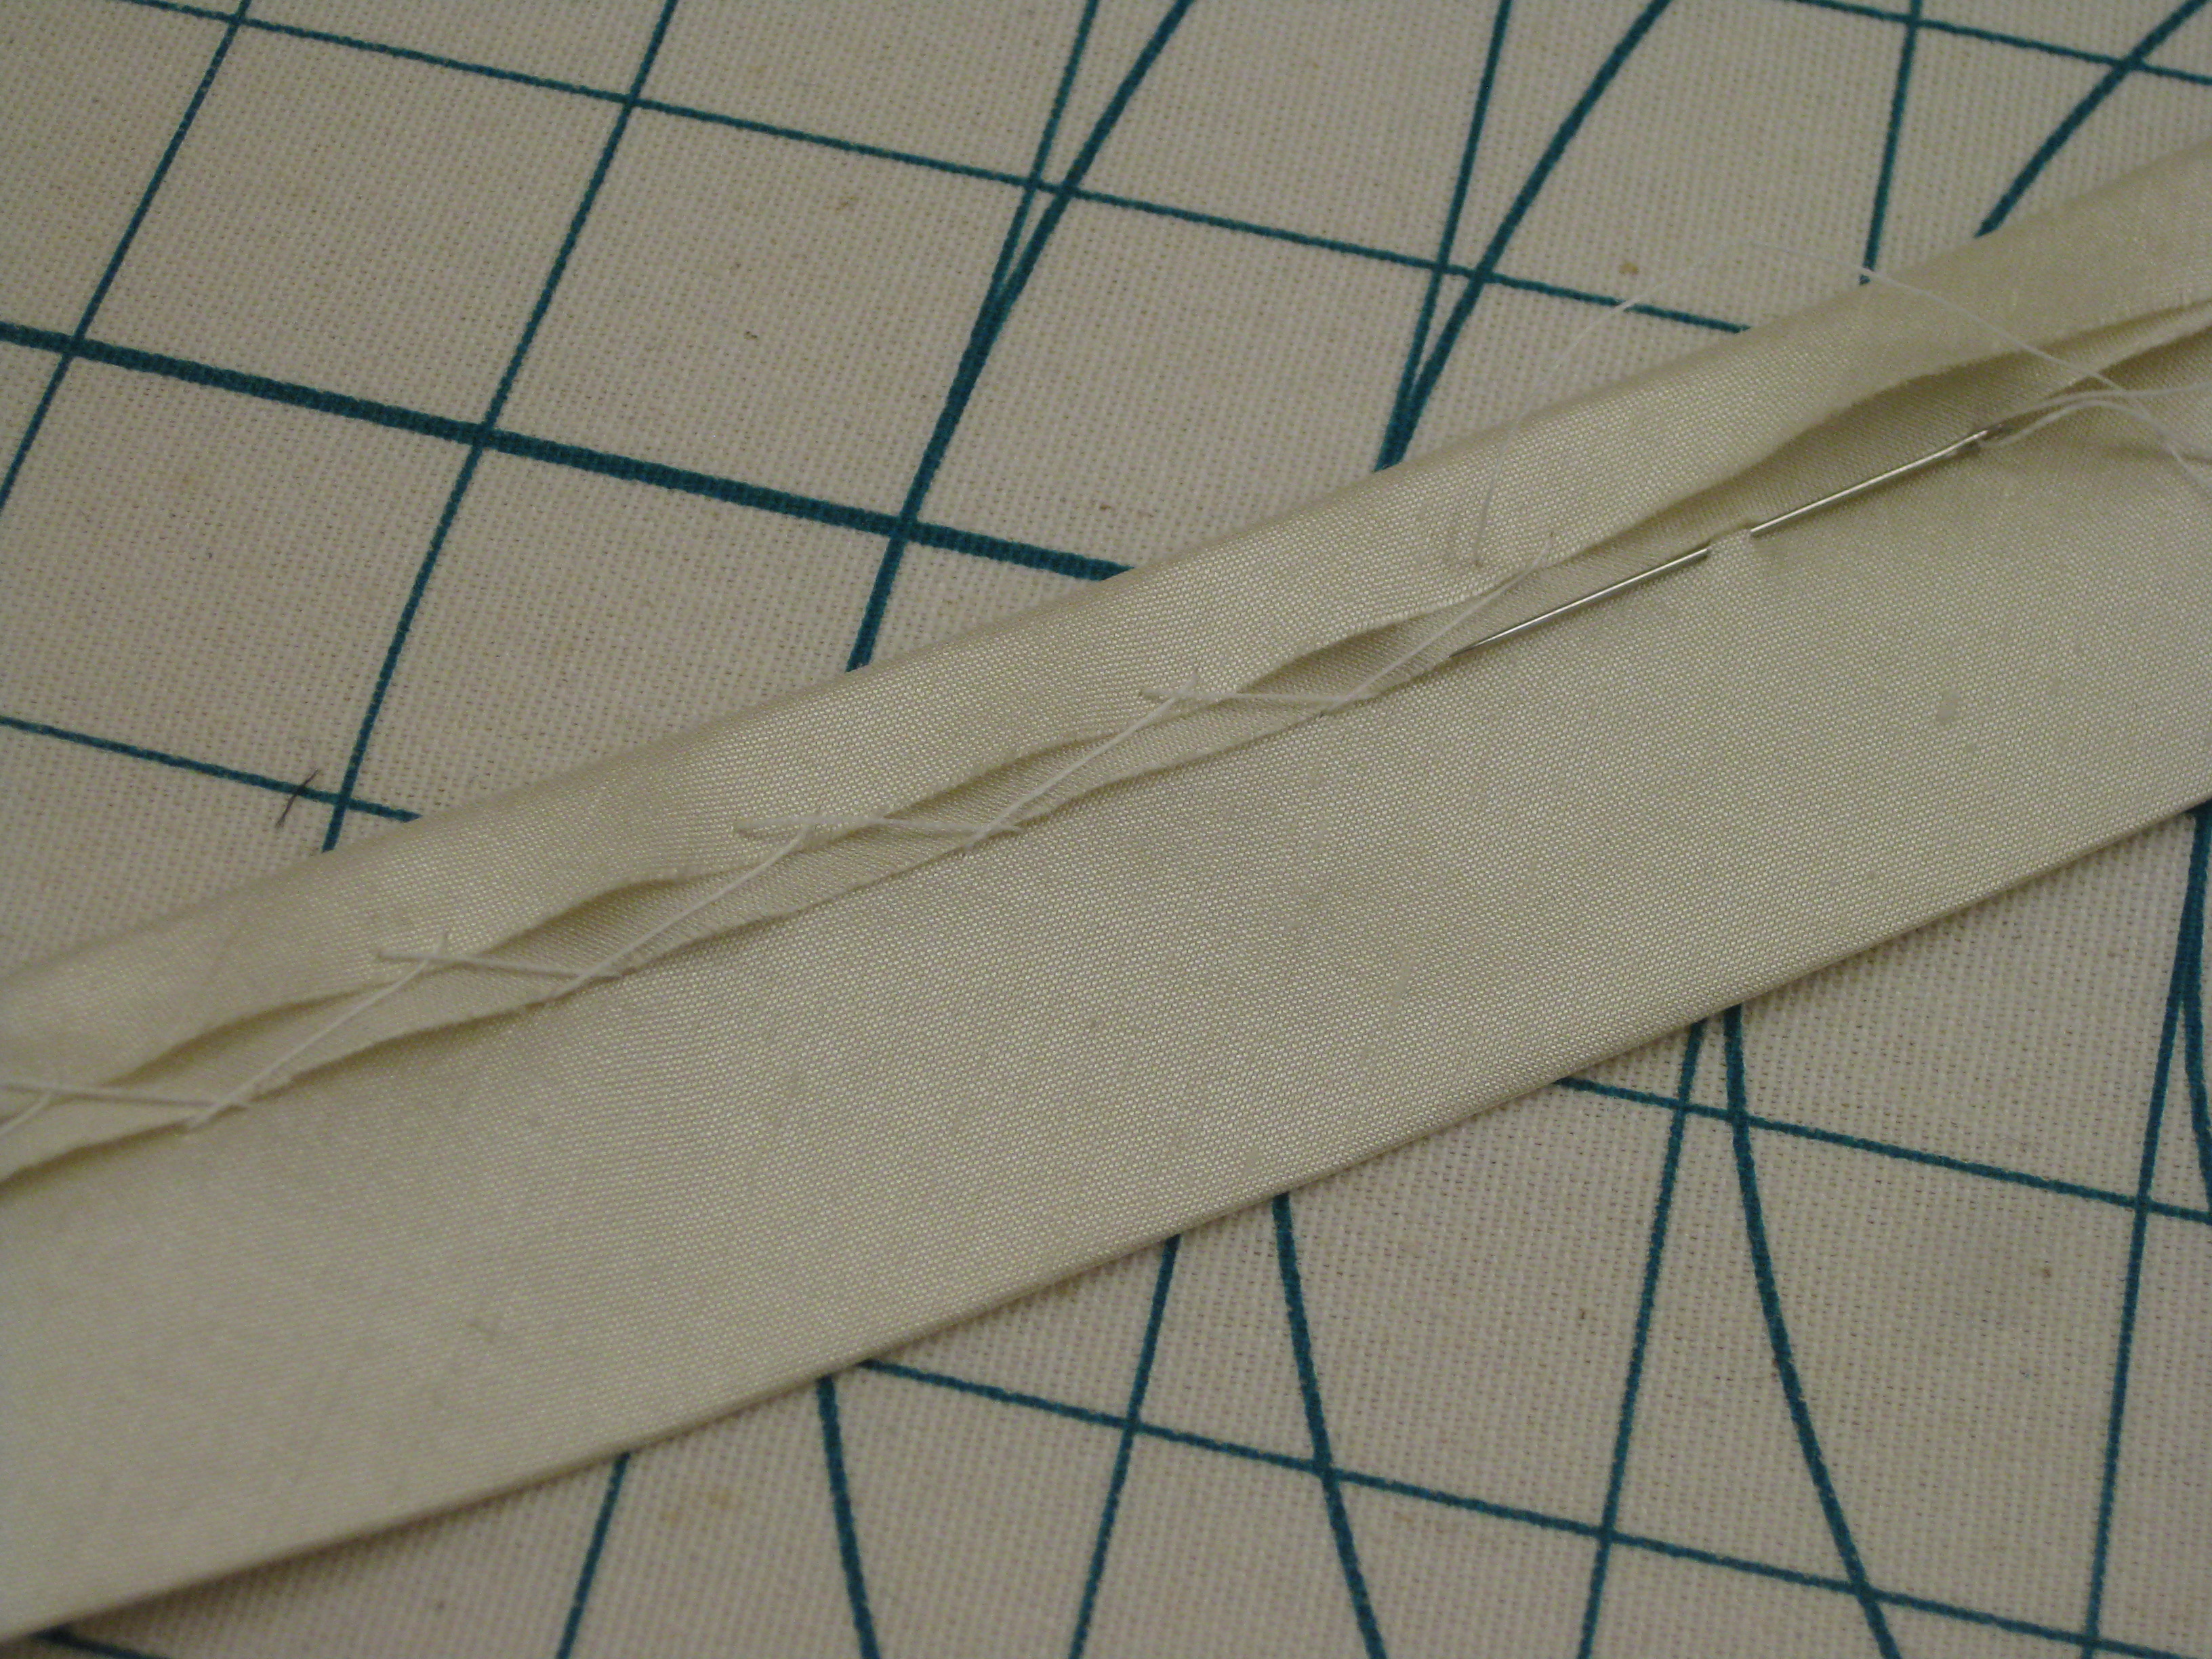
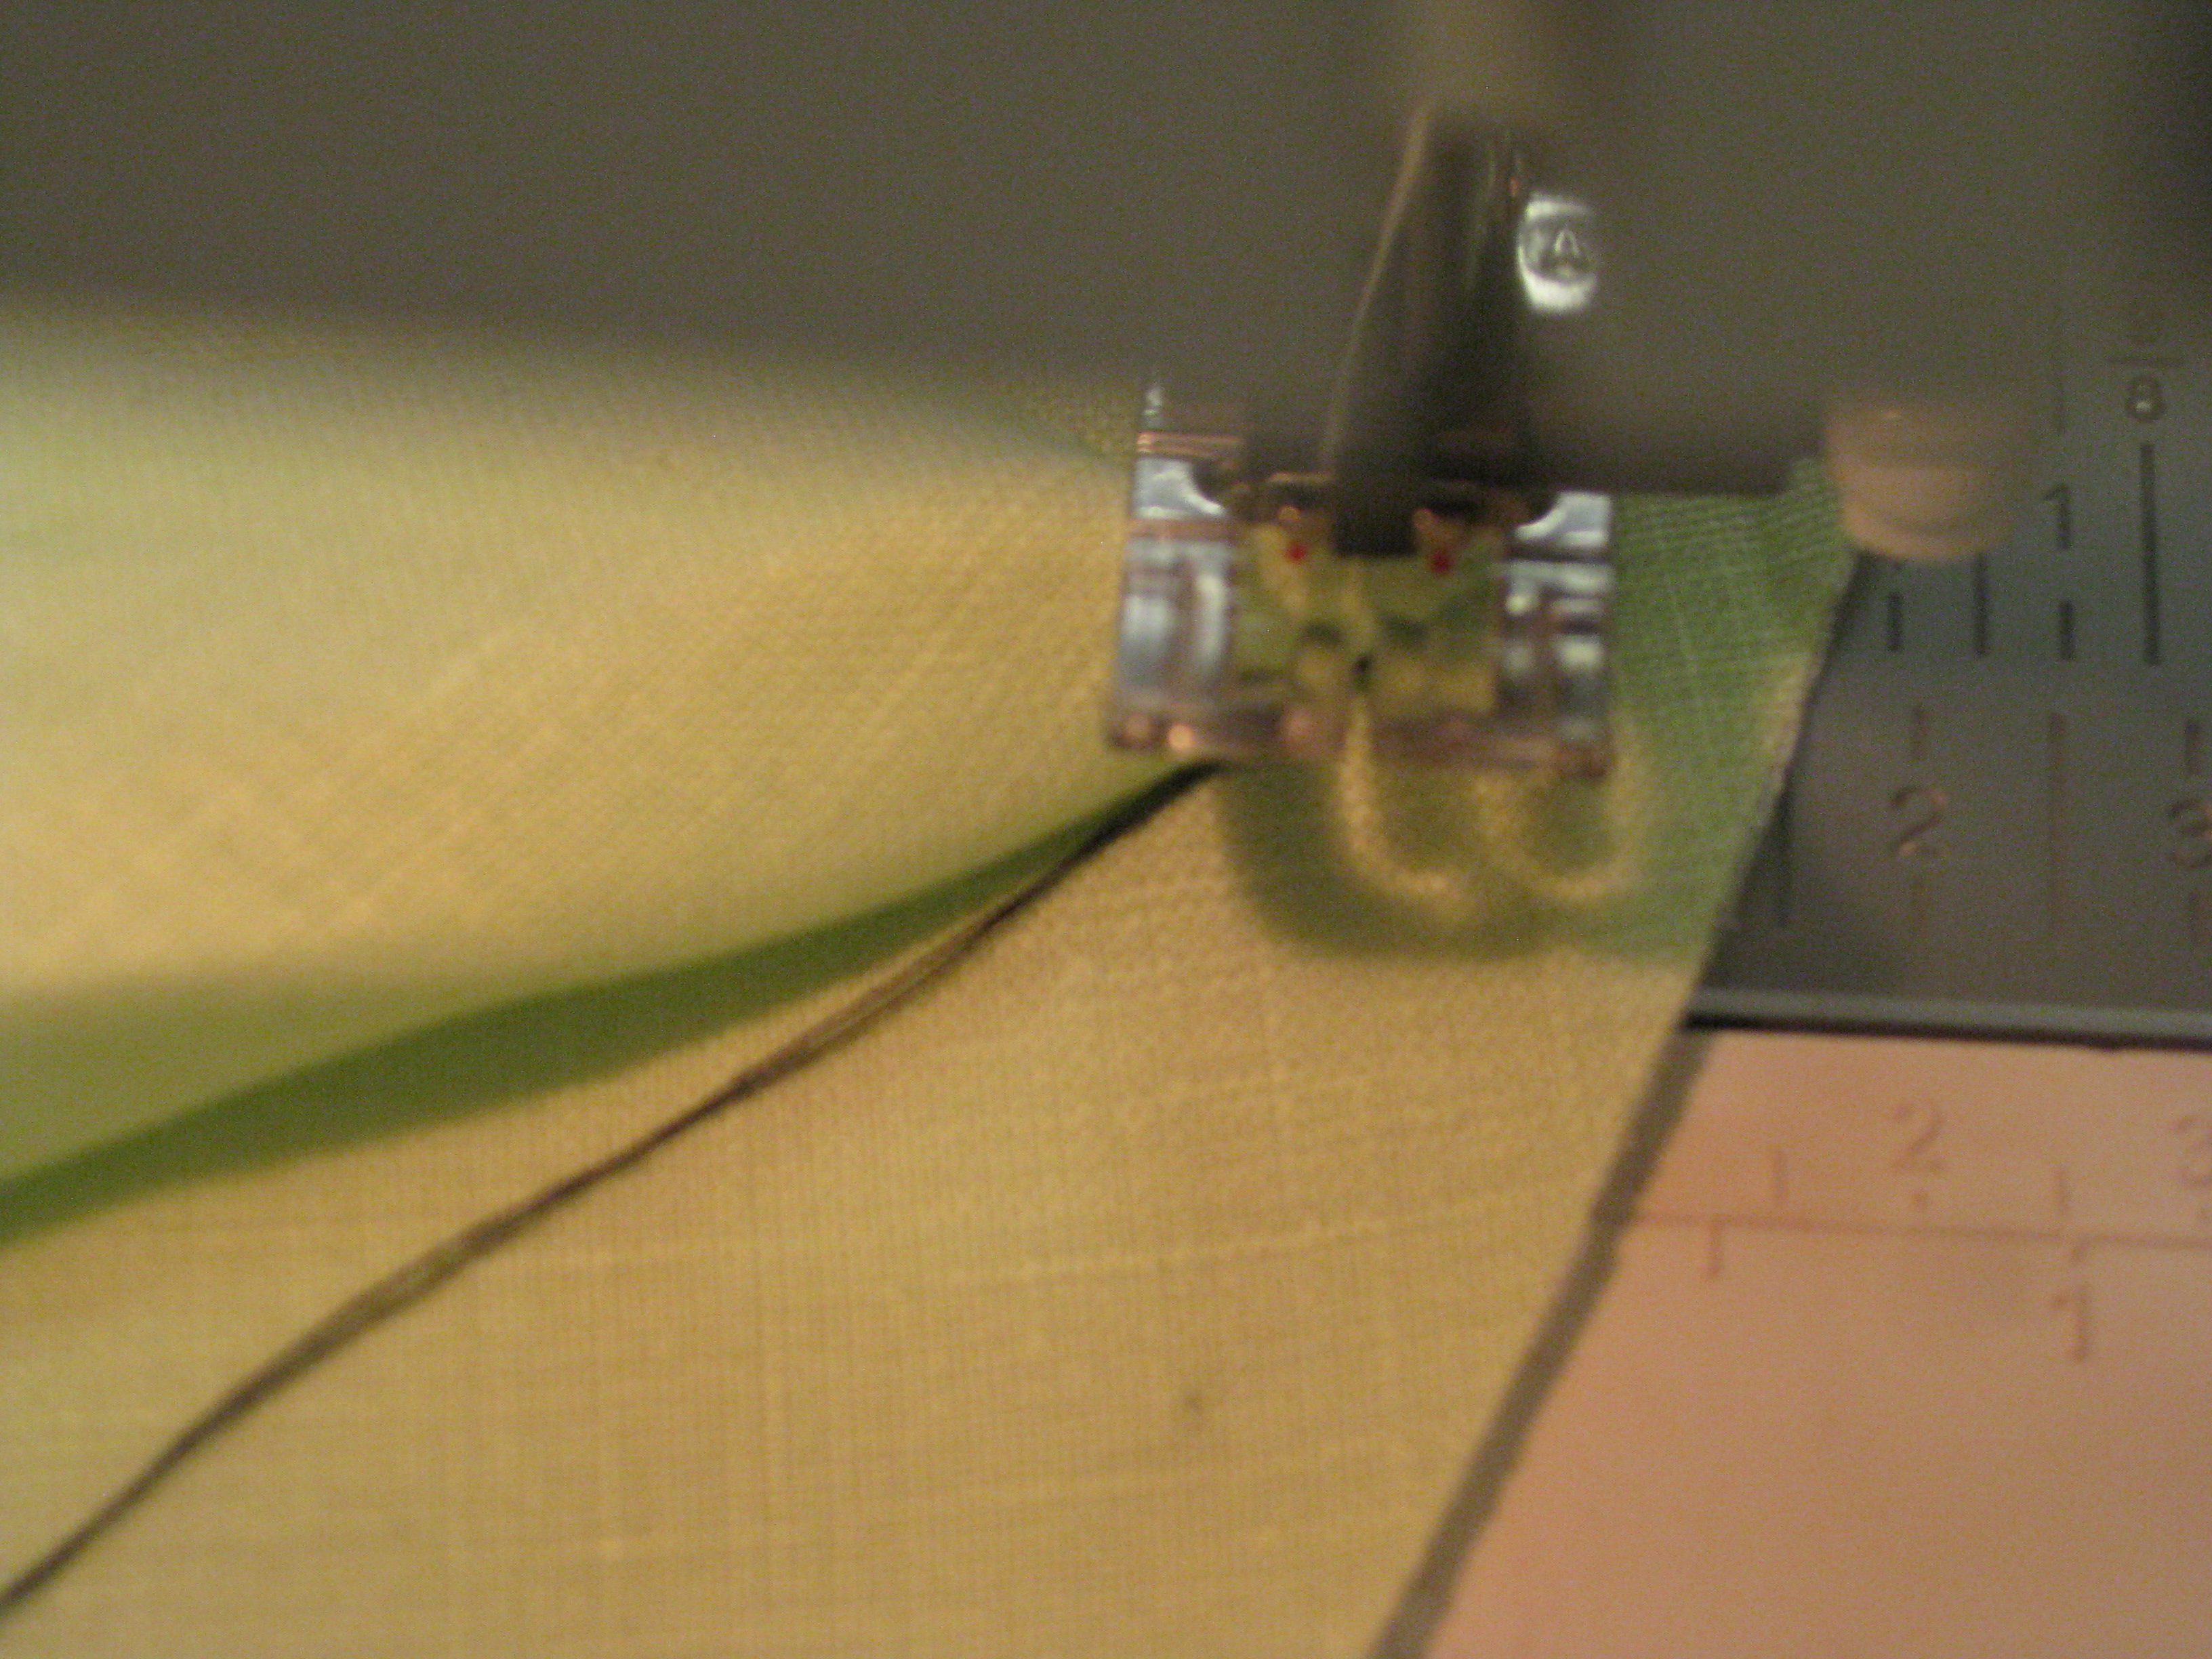
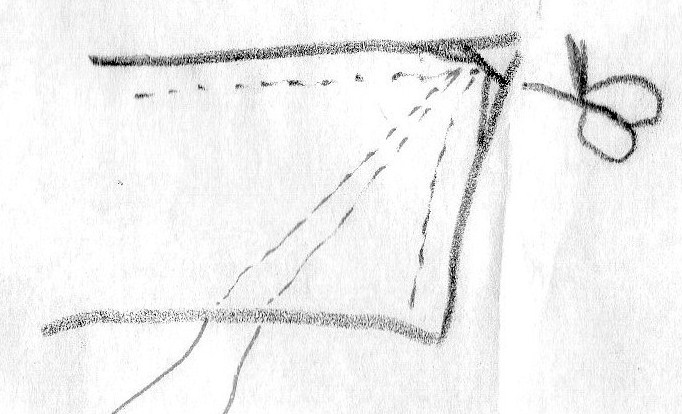
- Take a piece of scrap thread approximately 30cm long and, holding one end in left hand, take other end in right hand and pull it between the fabric layers and tight against the needle

Leave needle in fabric and wrap thread ahead of needle

Tuck thread between layers
- Holding thread ends in left hand, wind hand wheel one stitch and leave needle in fabric

Thread is caught between stitches and can be pulled against needle before being tucked between the layers

Wrap thread back around the needle and take stitch across the corner.
- Raise presser foot and bring thread back in front of the needle and take both threads to the left, between the fabric layers


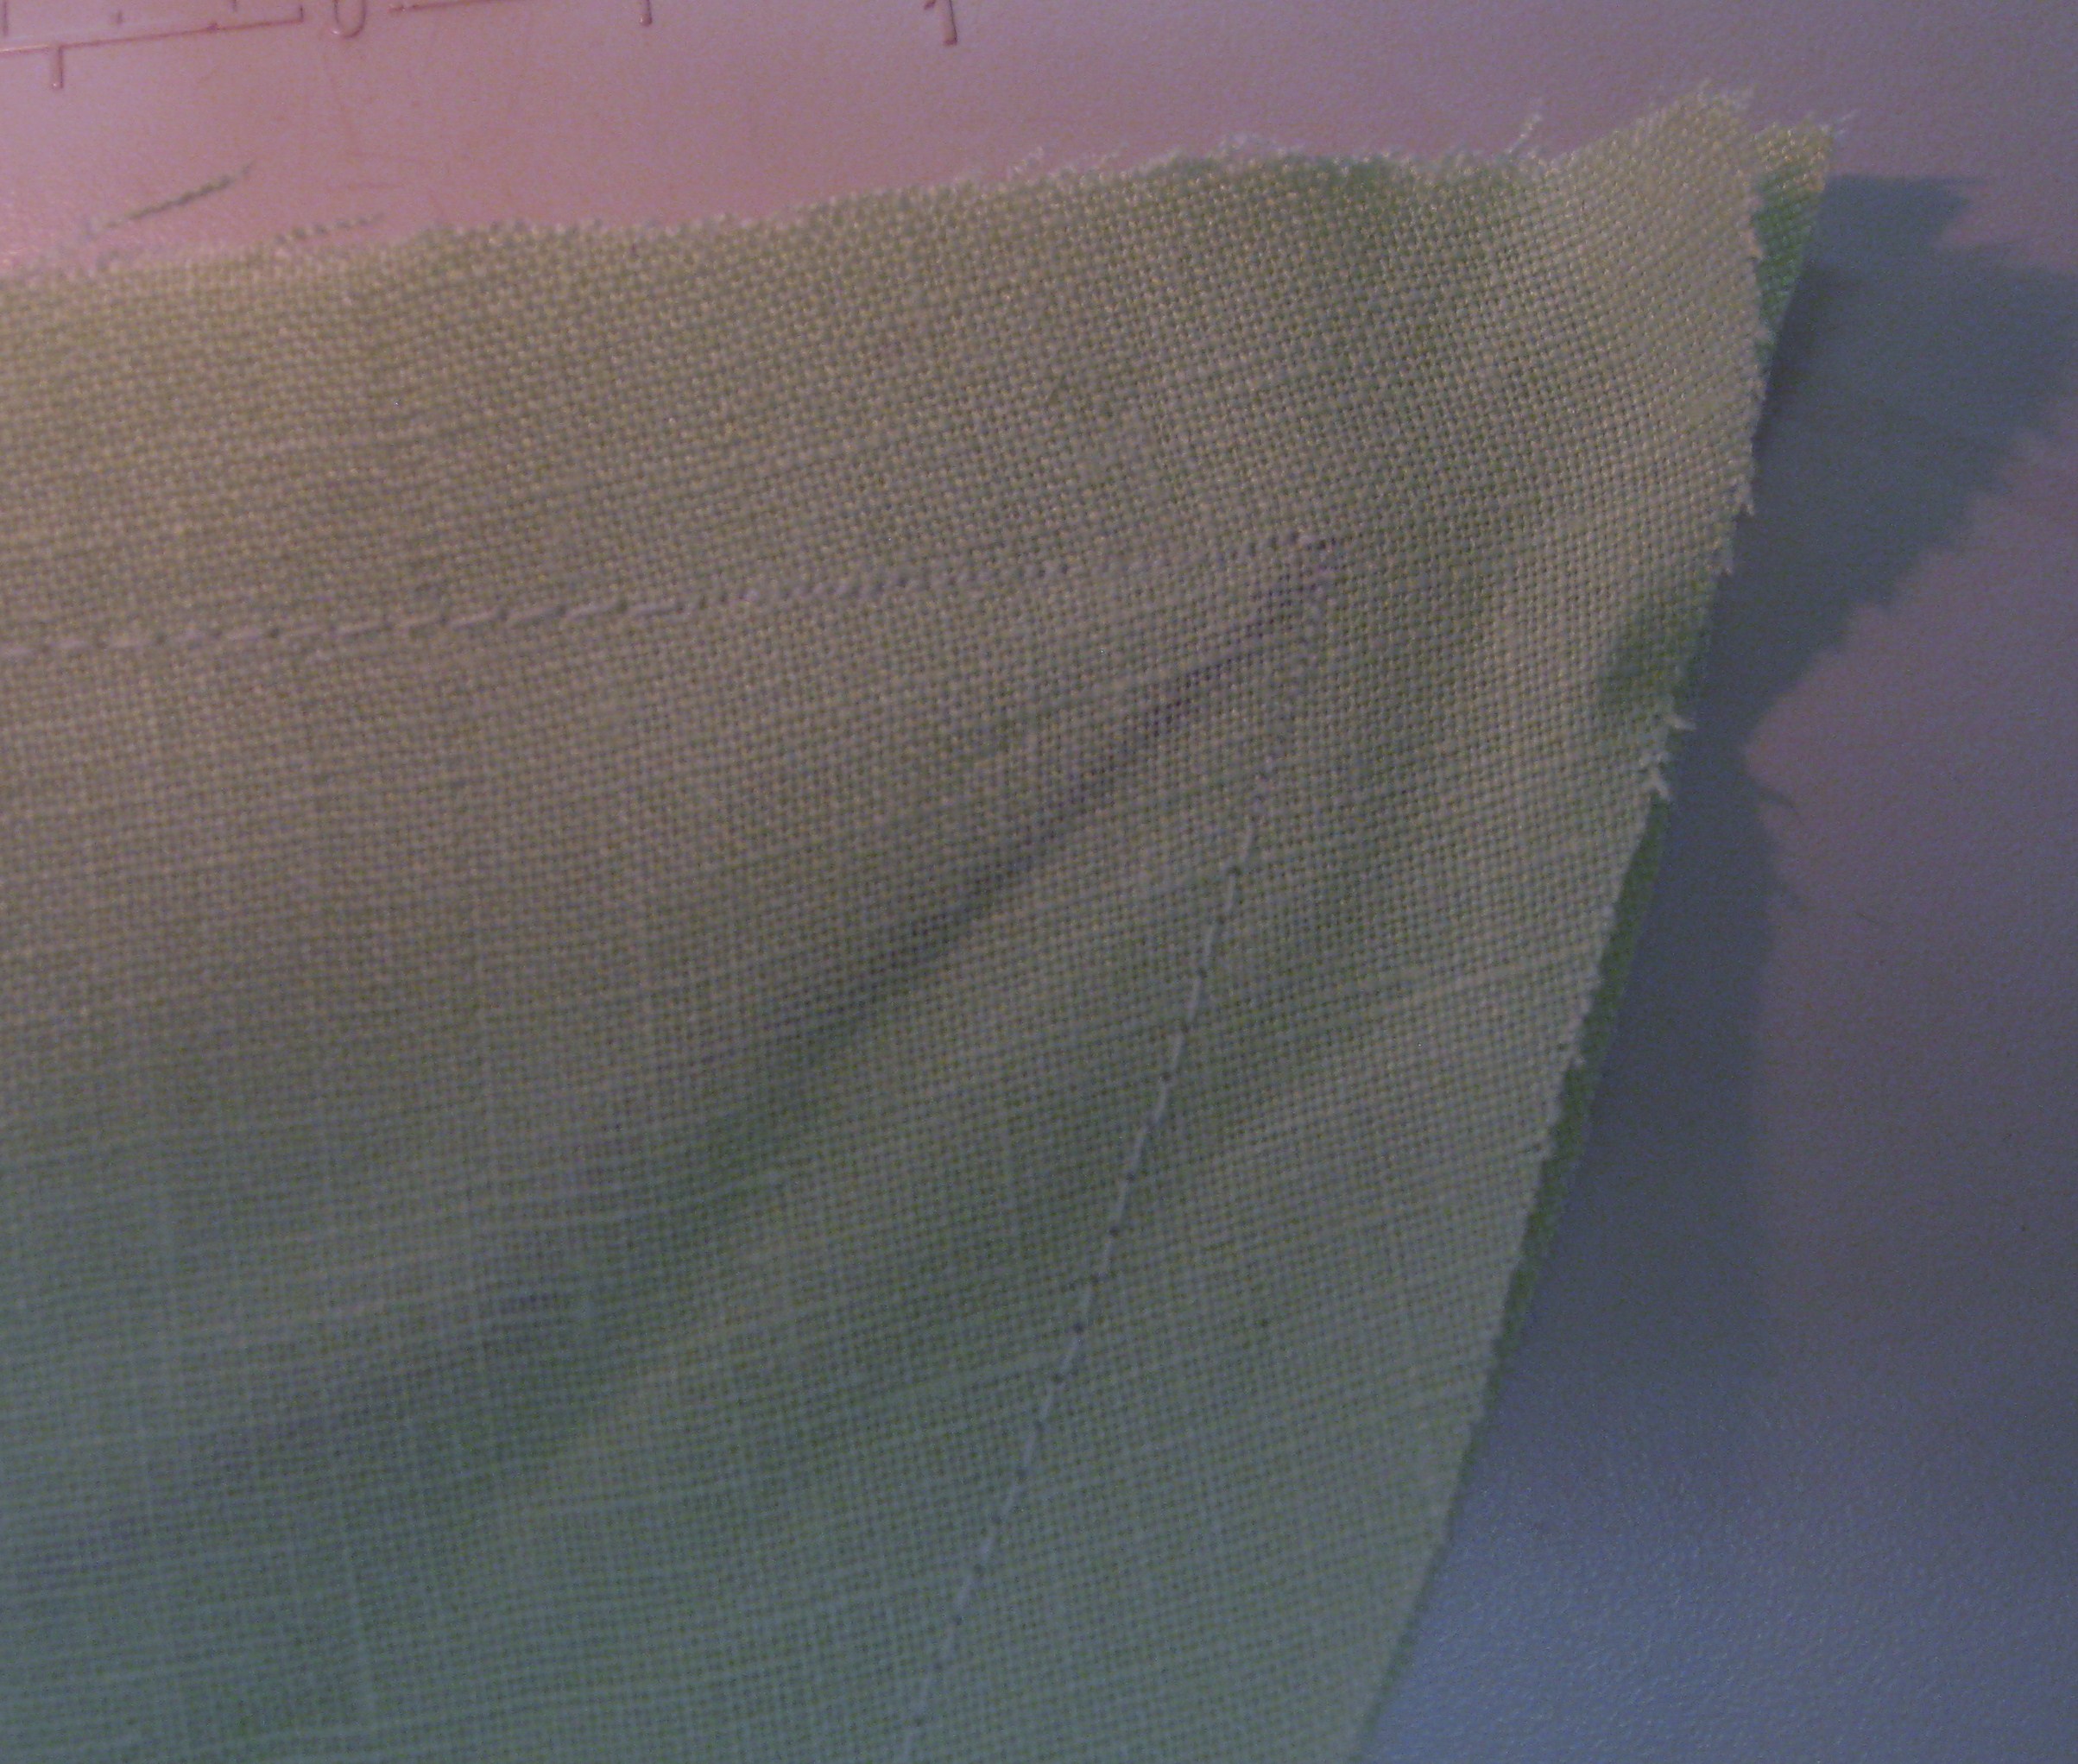
Stitching end of collar – thread is between upper and under collar pieces

Stitched collar – small stitches around the point reinforce the seam which is clipped quite close to the stitching.
- Stitch towards the neck edge – 2cm at the small stitch, then at regular stitch length
Stitching end of collar – thread is between upper and under collar pieces
Trim the seam allowances as above and clip the corner points

Clip corner

Seam allowances are trimmed so that they meet in the corner with no overlap and no gap
- Press the seams open using the point presser
- These threads can be left in to help with edge-stitching later
Attaching Collar to the Neckline:
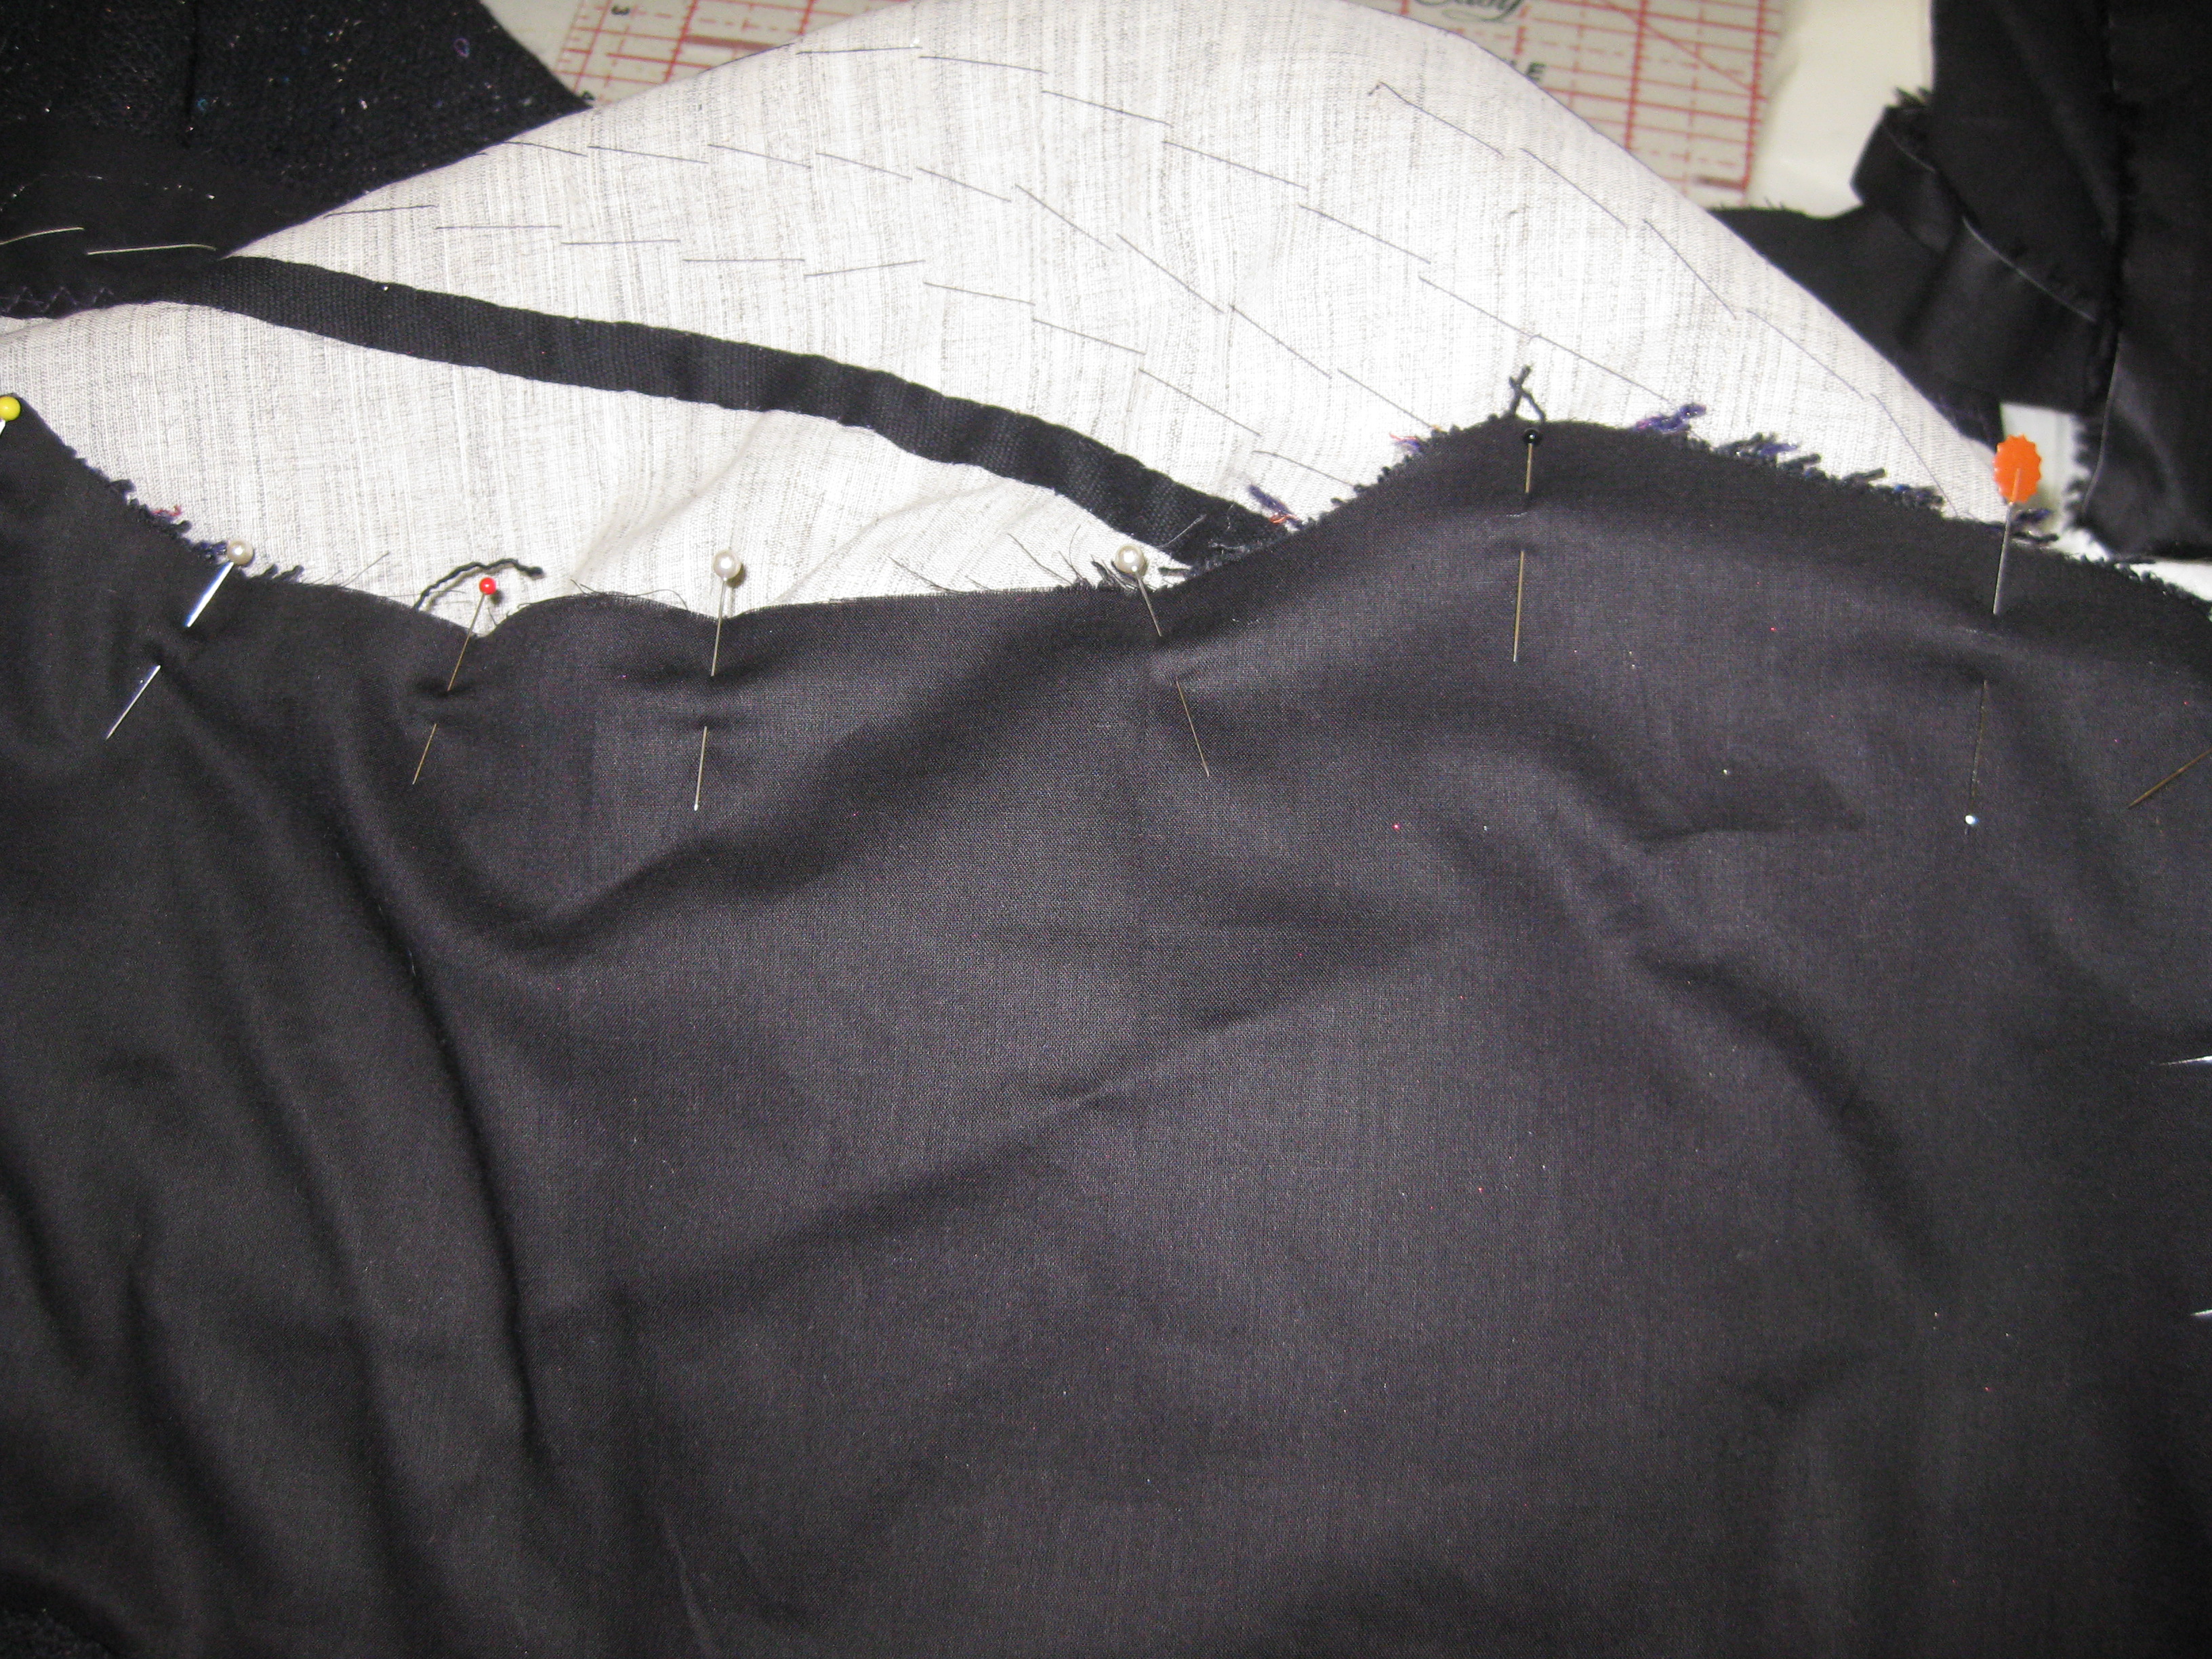
- Carefully keeping all cut edges together, pin the collar to the garment neckline, matching centre back, shoulders and centre front
Tip: Tacking the collar and facing in place by hand before stitching makes it easier to manoeuvre easily around the neckline with no pins in the way.
- Apply the facing and stitch through all layers (garment, collar and facing) using a longer stitch length to accommodate the thickness of the layers
- Trim all seam allowances by half and clip garment and facing seam allowances as necessary so enable the seam to lie flat
- Press carefully and under stitch, catching all seam allowances to the facing (see blog post 26th April, 2015 Stay stitching and Under stitching)
- Turn facing to inside of the garment and hand catch to the seam allowances
Tip: When using lightweight or sheer fabrics, bias tape can be used in place of a facing. Simply tack collar to neckline as above. Open out one folded edge of the bias tape and place right side of bias tape against upper collar with the crease on the bias tape along the seam line. Stitch the tape in place and trim seam allowance. Roll the tape to the inside of the garment and either machine or handstitch to the garment. The collar will hide the stitching when the garment is being worn.