
Yesterday I attended the wedding ceremony of one of my lovely students, Tina Patrick, and her fiancé, Steve Donovan. The wedding was a “Gloryville” at Cudgera Creek in northern New South Wales – a little piece of green paradise which was the perfect setting for a wonderful family occasion. It was such a privilege to be part of it all. Congratulations, Mr and Mrs Donovan!

The happy couple – Tina and Steve Donovan
What sets a wedding gown apart as a sewing project, is not just working with unfamiliar (and often expensive) fabrics but the techniques used. To achieve a gown which is not only beautiful but will allow the bride to be comfortable so that she can really enjoy her special day, the process starts with a good fit and an inbuilt foundation and stays to support the gown during the whole event. The inclusion of lots of hand work gives a softer and unpuckered finish to the outer edges. It also makes controlling the task much easier.
Tina started coming to classes around 8-9 months ago with a view to learning enough to make her own wedding gown.
As the weeks progressed, she completed a toile of her chosen style – excitedly embracing all the new techniques involved, especially boning! Once the fit was perfected, she made the dress another couple of times and has received lots of well deserved compliments.
And so to THE DRESS!
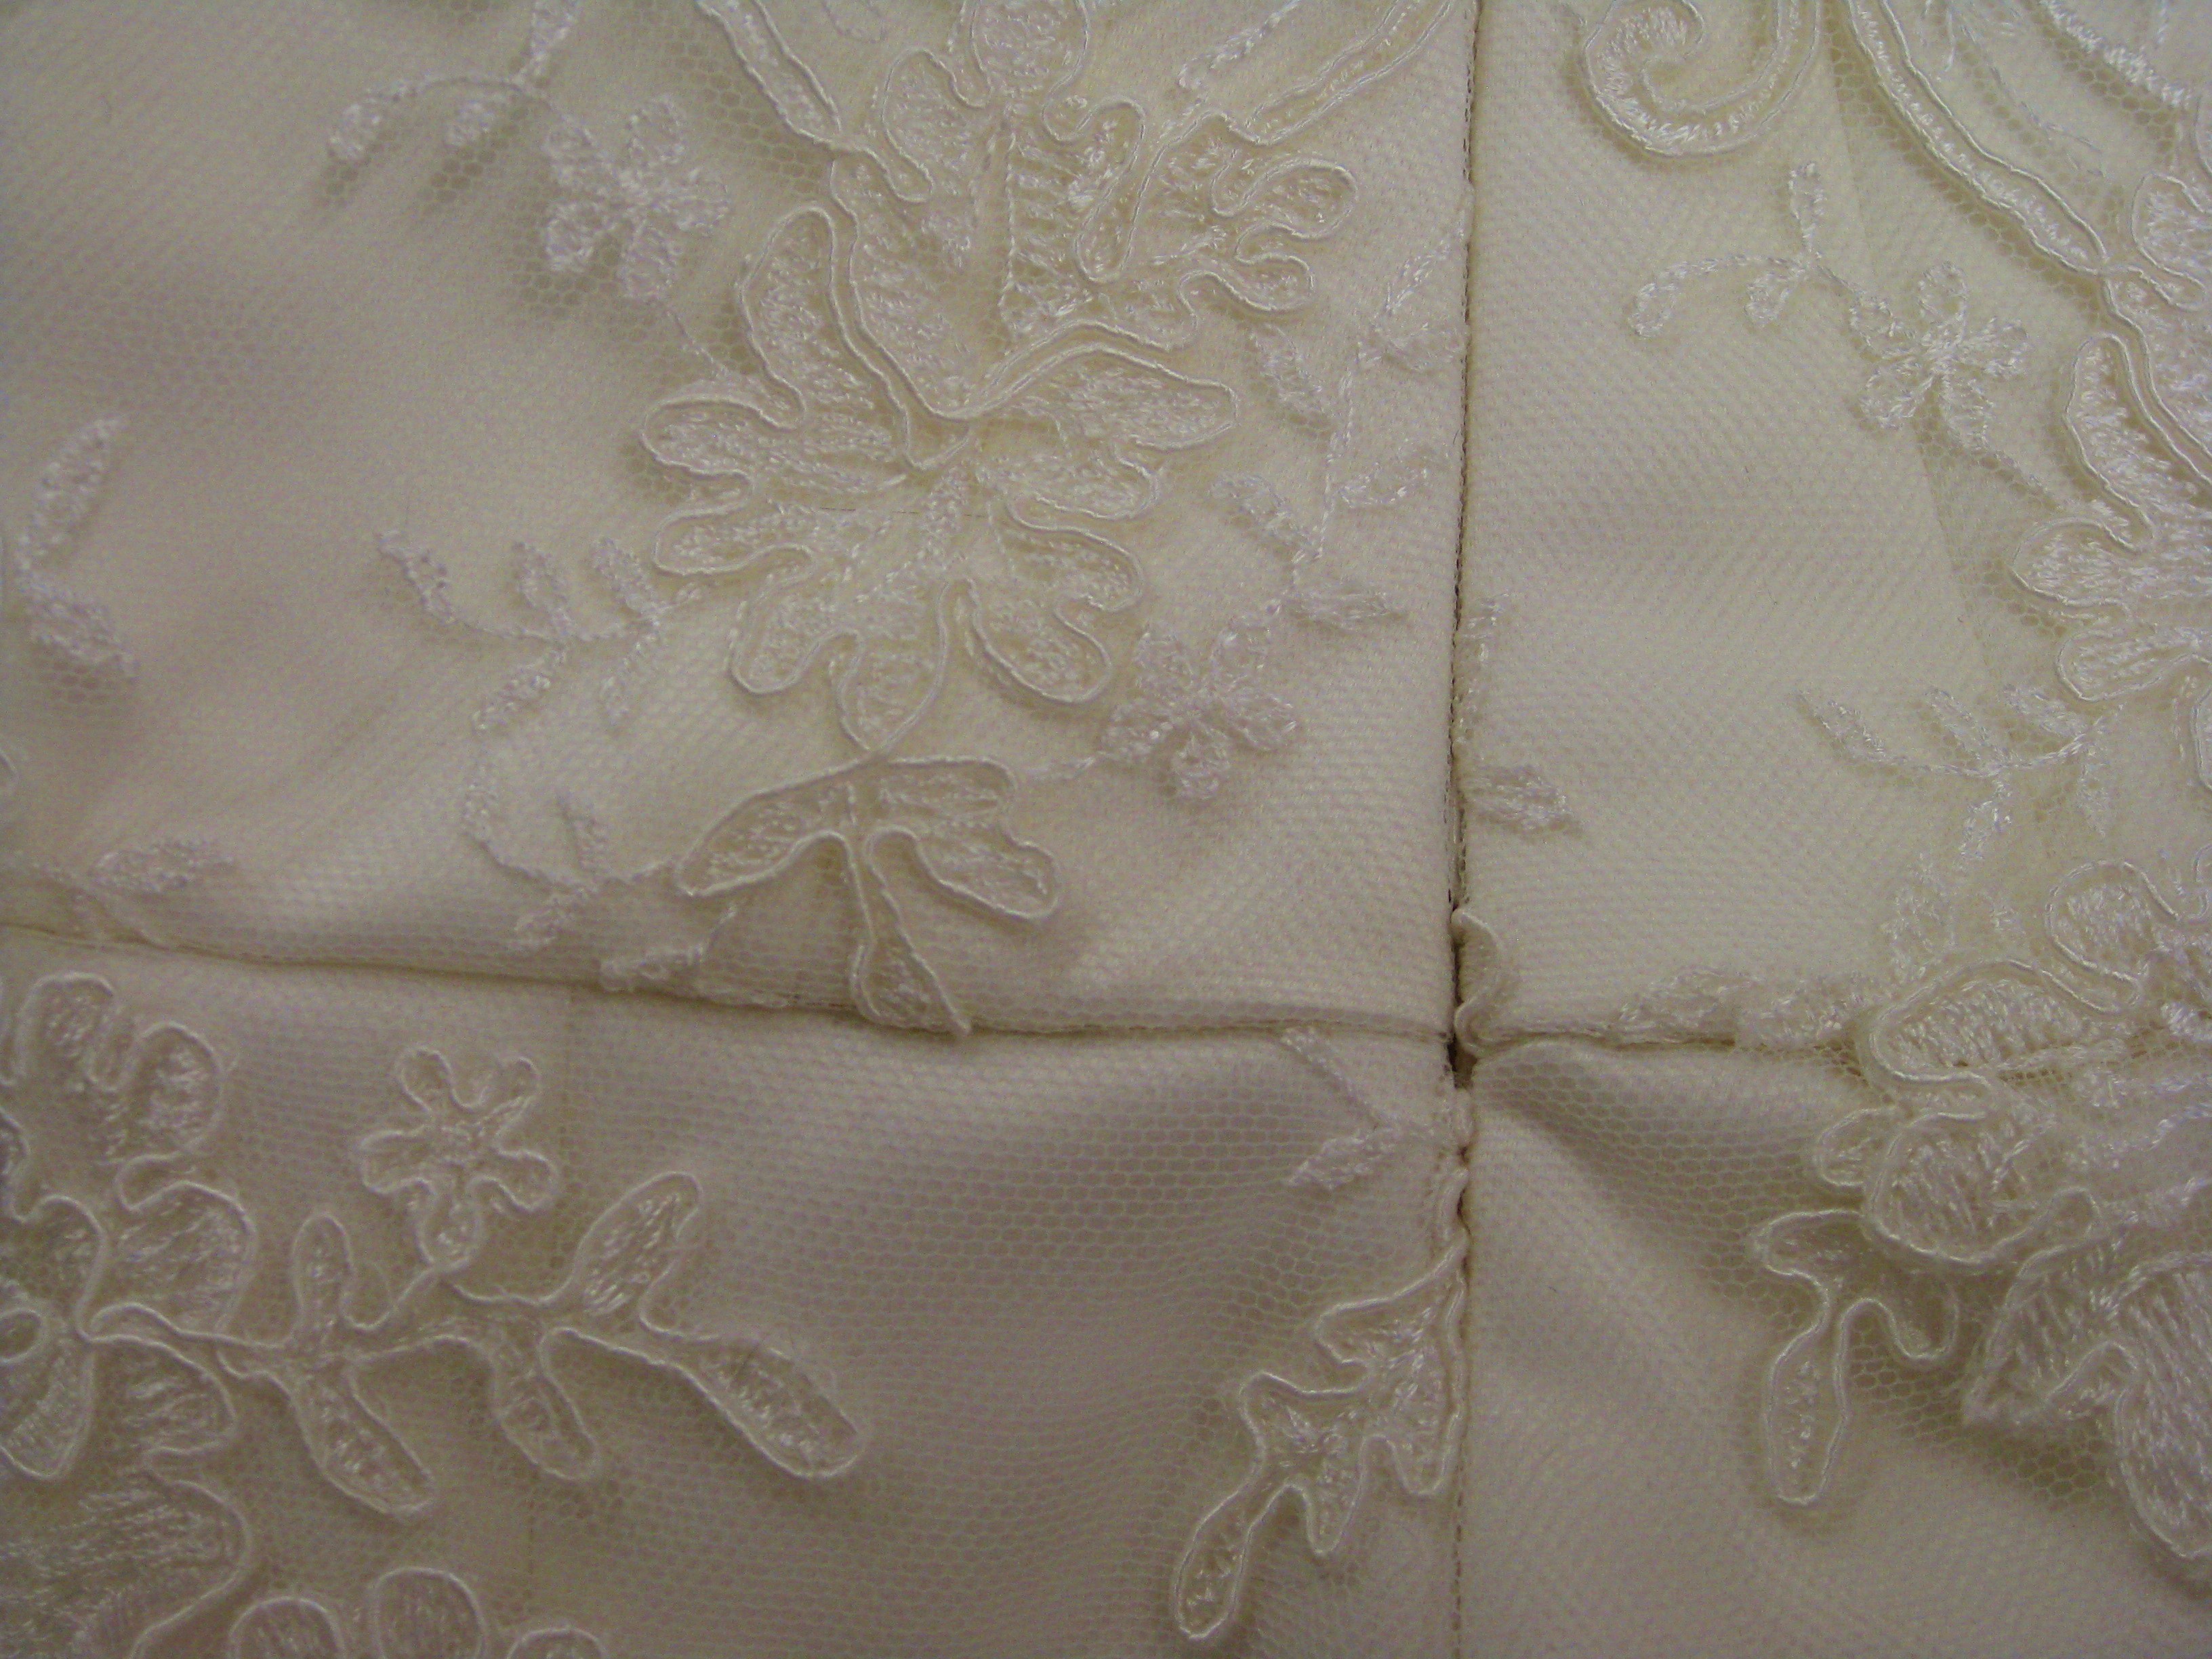
Tina found her special fabric at Selective Fine Fabrics (Shop 10, Cnr Compton and North Road, Underwood, Q 4119 – 07 3208 9373). It is a natural white corded lace on tulle with a wide, heavy border on one side flowing into a delicately embroidered tulle with a beautiful lace scallop on the other side. The under dress is Duchesse satin and the dress is lined with silk crepe de chine.
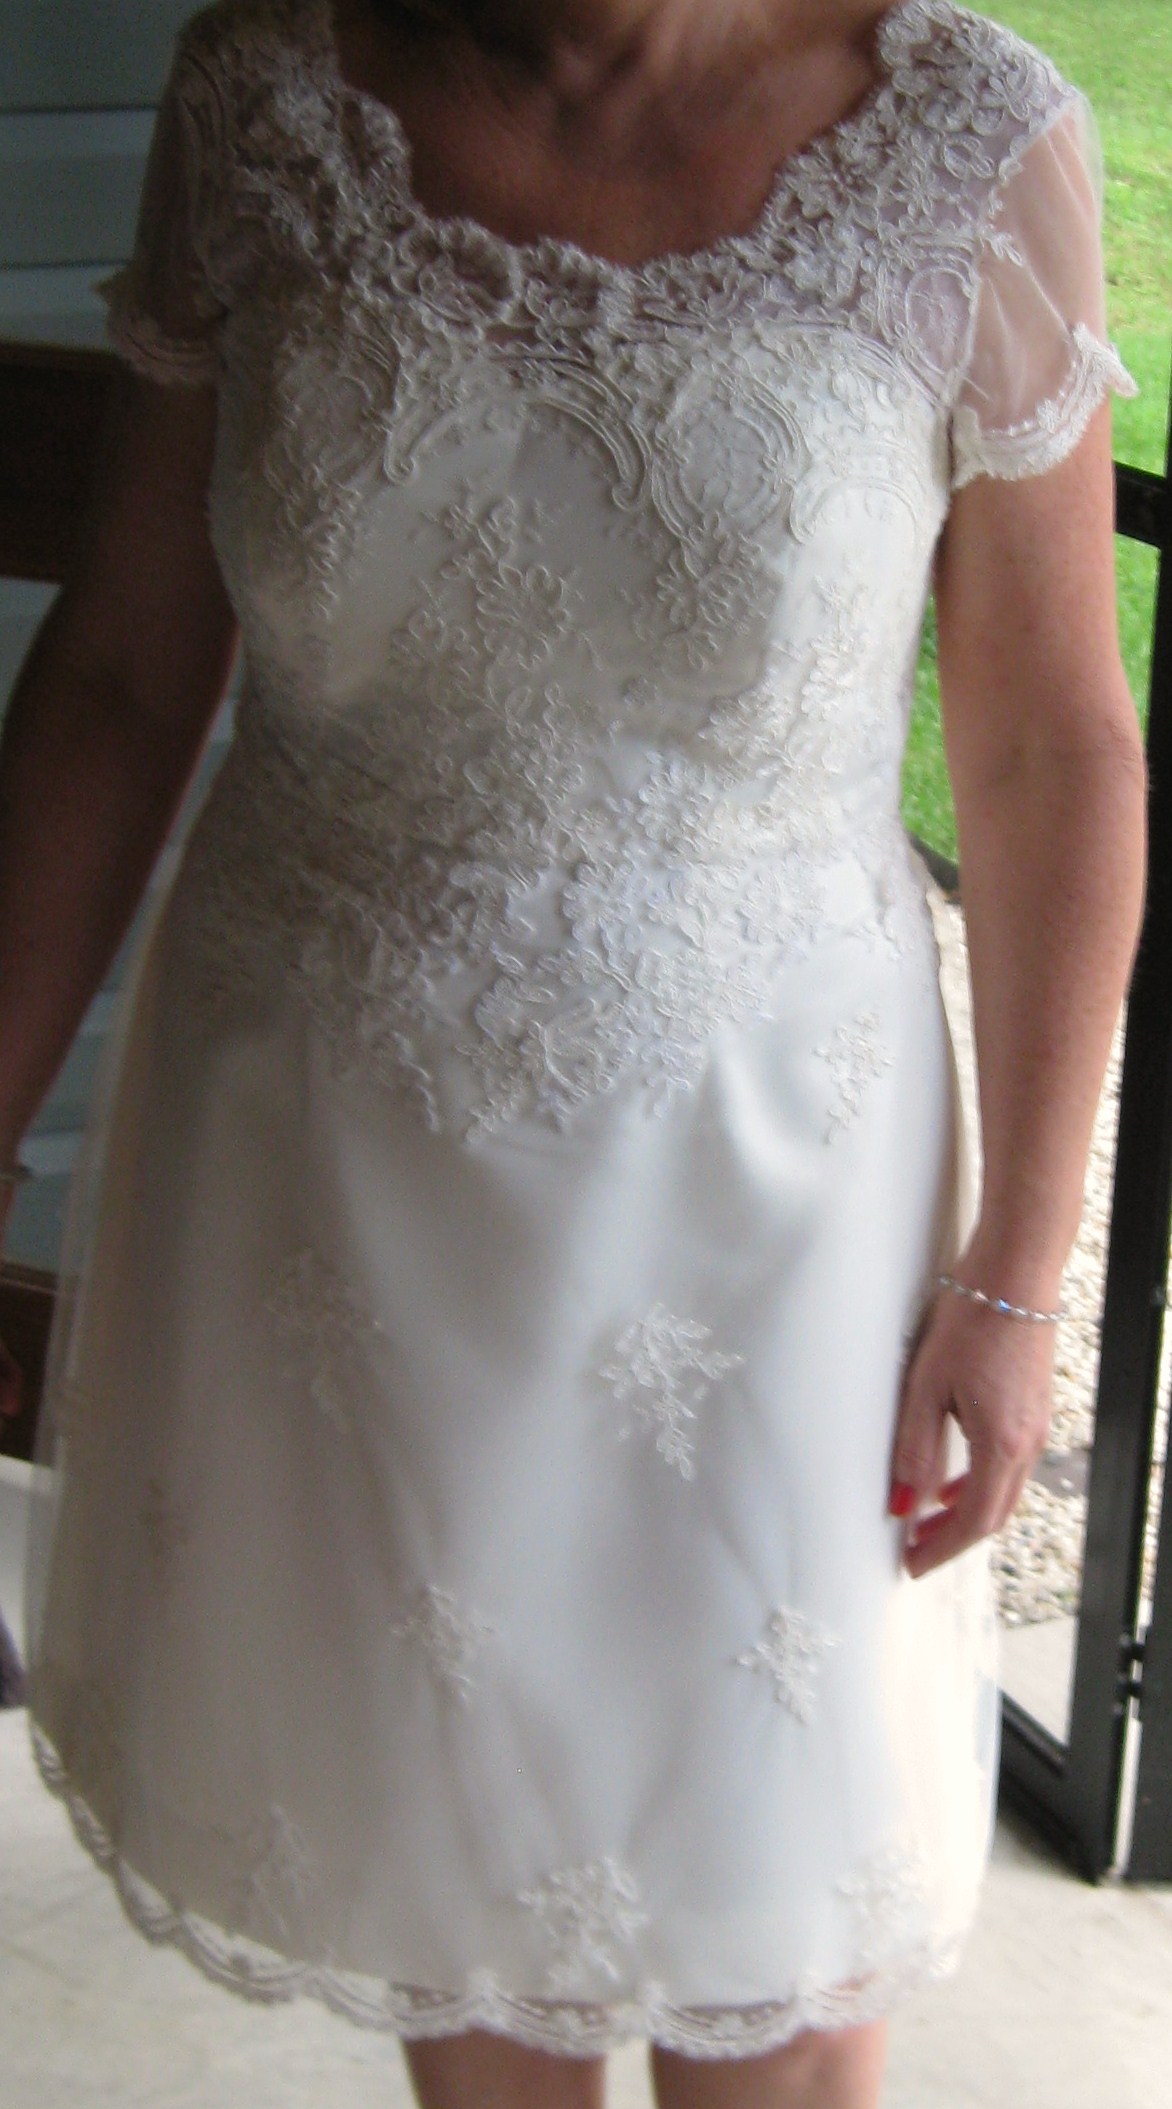
Beautiful cream corded lace on tulle over Duchesse satin underskirt
She started with making the boned foundation using beautiful cotton which is sturdy, yet soft and cool. The satin bodice was pieced and attached to the foundation. To finish the top edge, the fabric was folded over the catch-stitched to the foundation. This technique gives a lovely rolled edge to the satin bodice. We then positioned the lace while Tina was wearing the bodice. The lace was tacked to the satin bodice and the excess pinched out to achieve a smooth shape.
The beauty of working with this type of lace is that it can be cut and motifs rearranged to avoid sewing seams and darts which can distort the flow of the pattern. When corded lace is pieced in a dart or seam, it creates an uneven seam which often looks bulky and unattractive.
The fabric was carefully cut using lace work scissors and leaving a small margin of tulle around motifs. It was then tacked in place and stitched by hand using #100 silk thread and a fine, short needle.
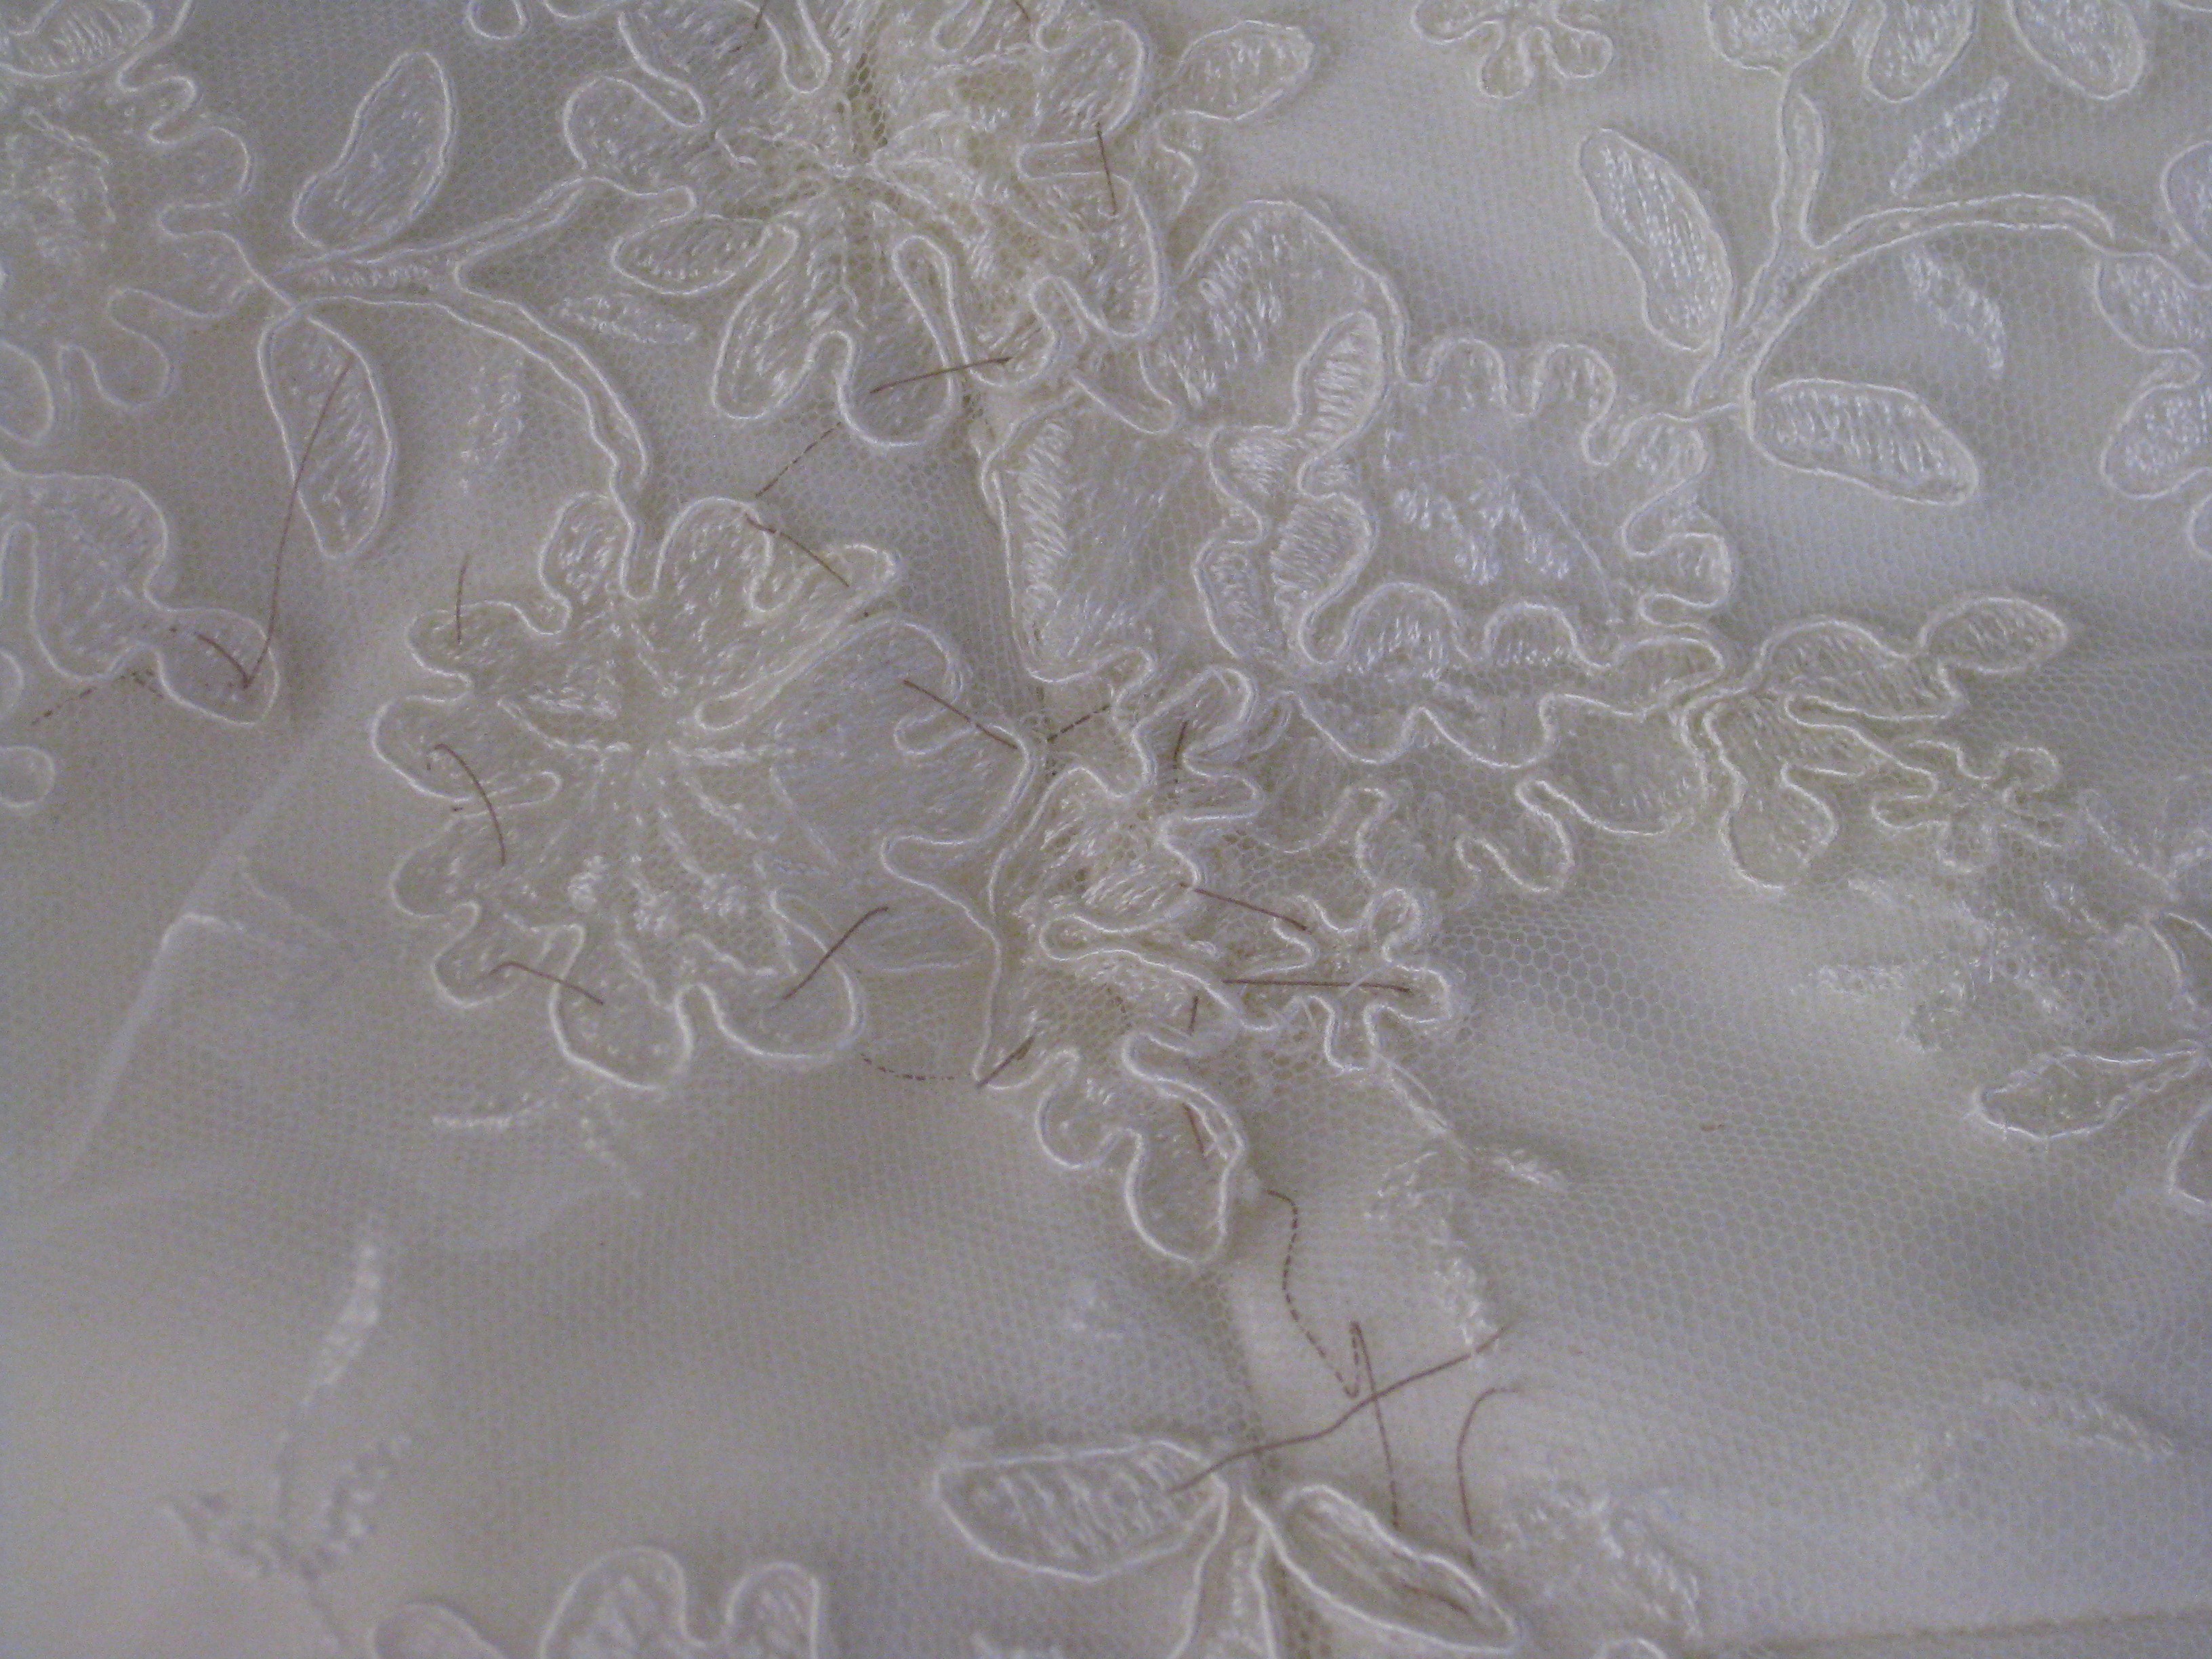
All seams and darts eliminated from the lace.
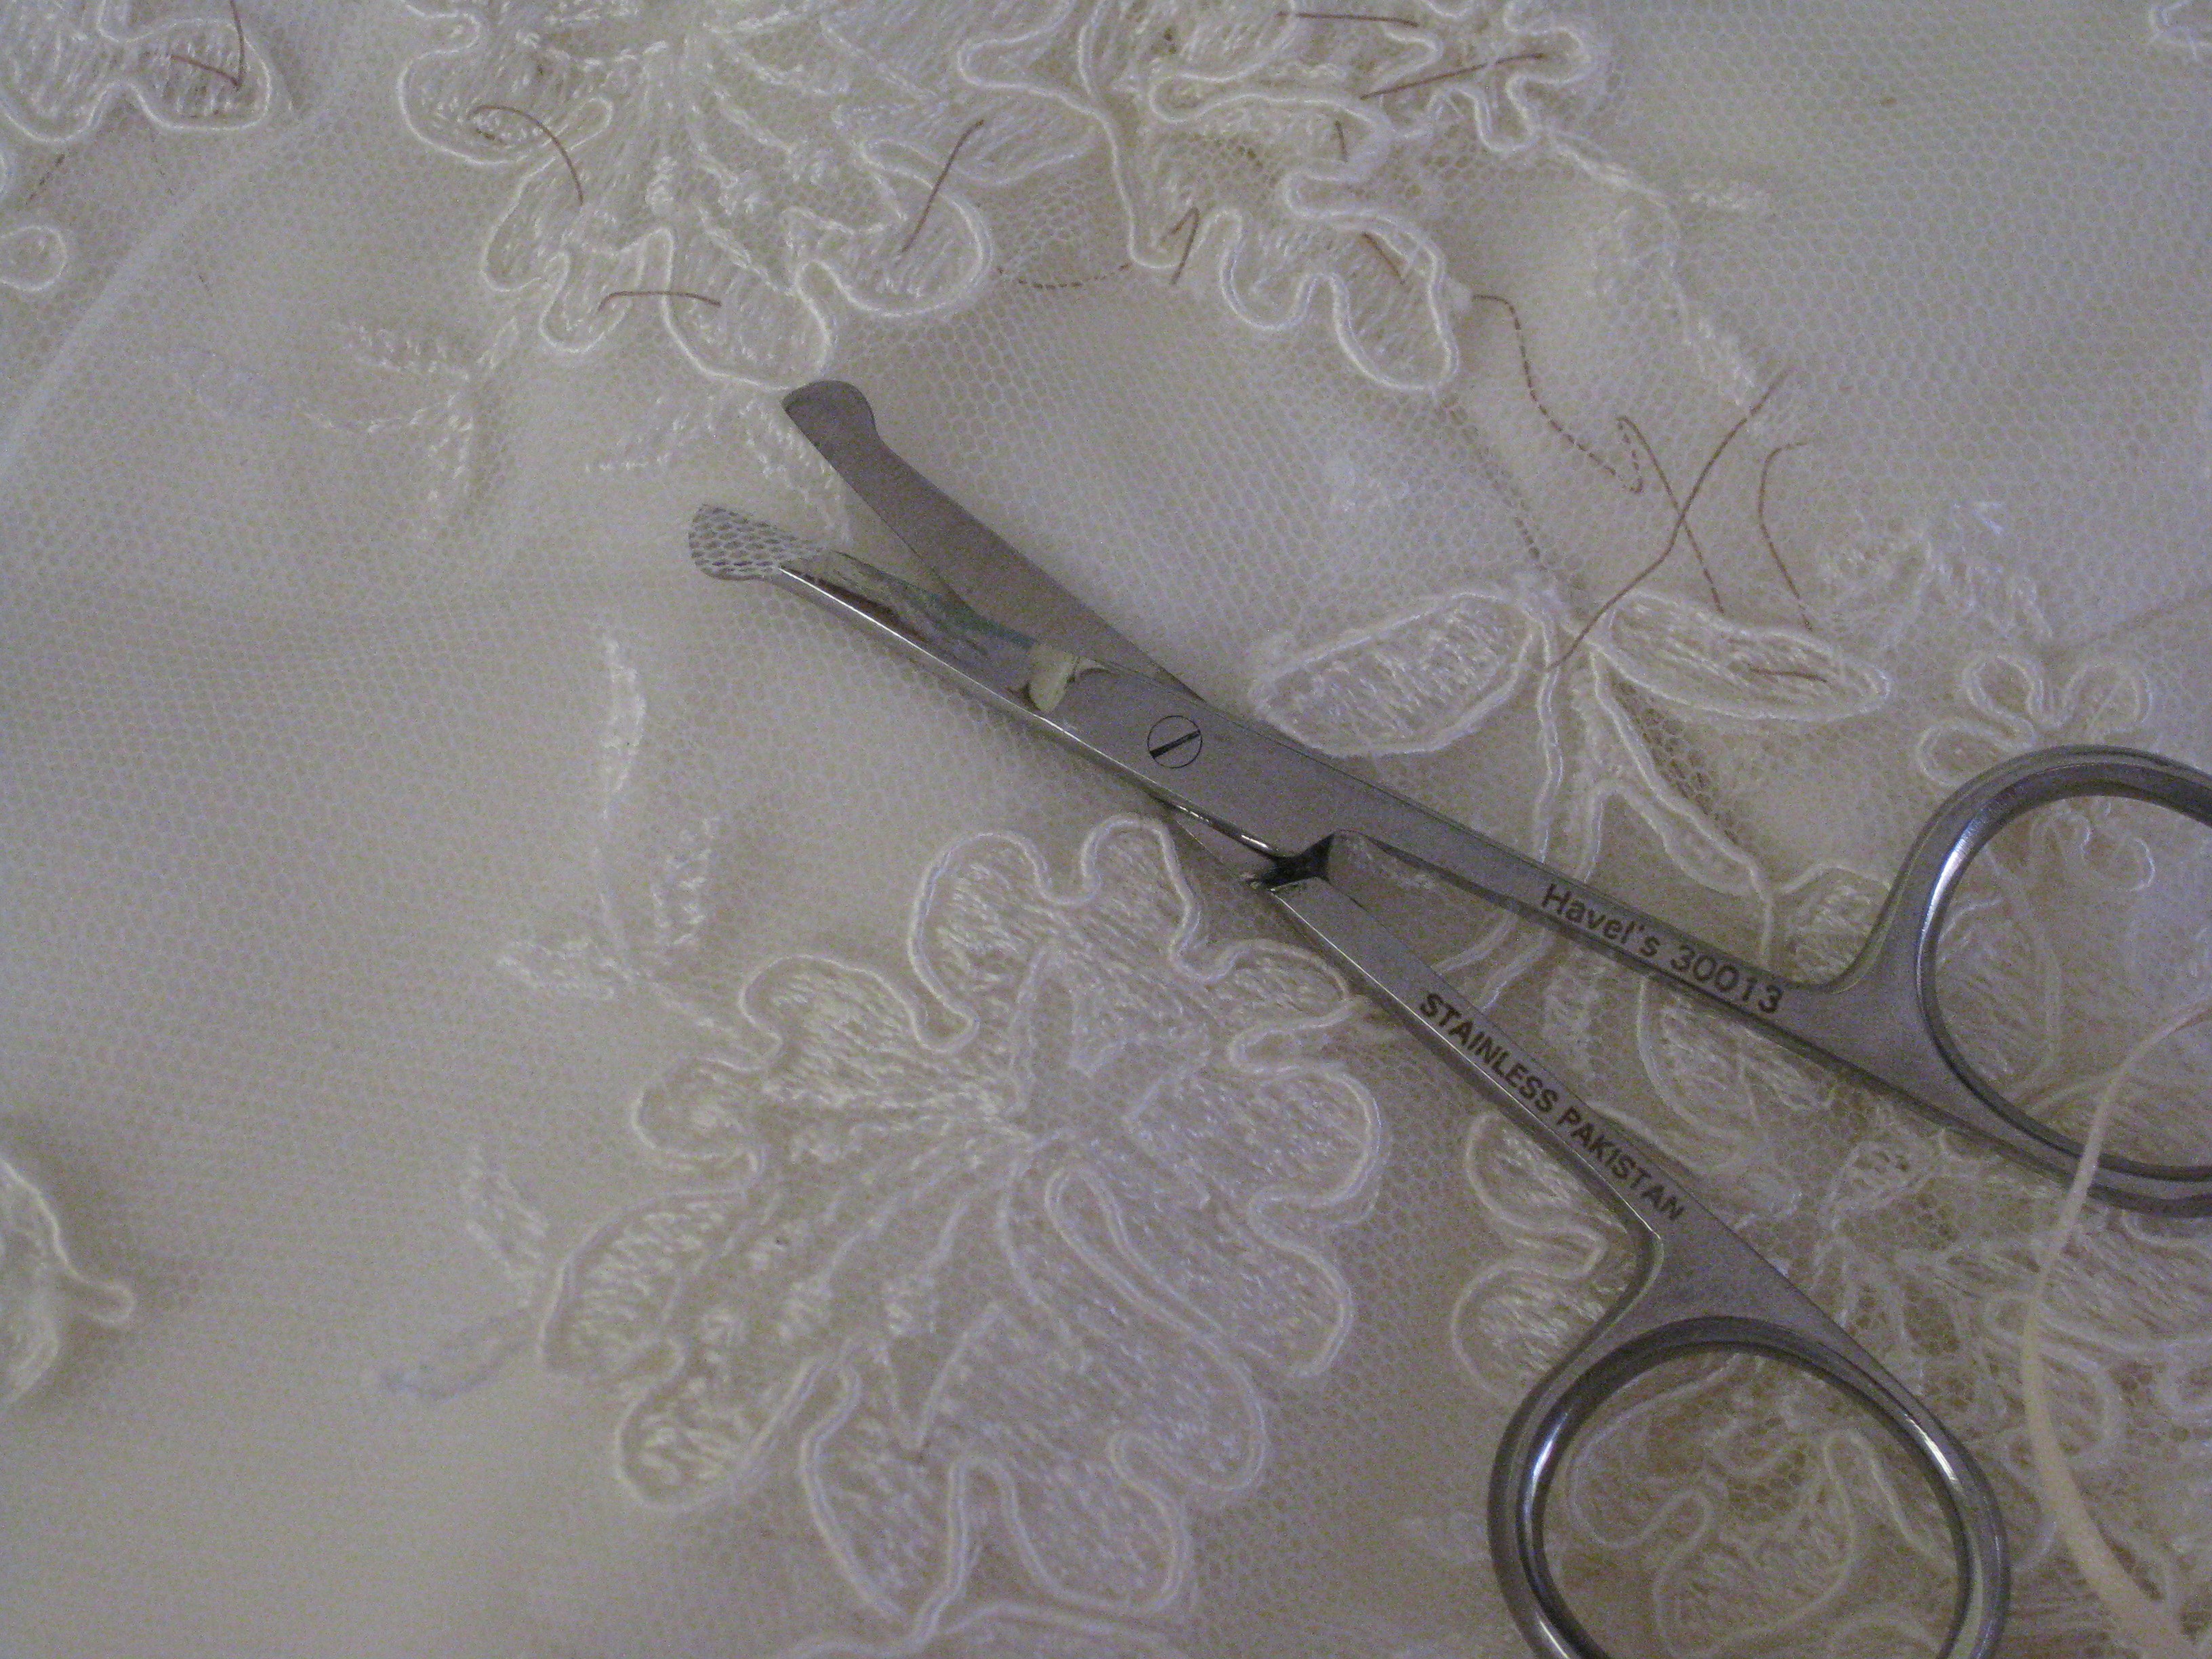
Lace trimming scissors help to avoid nicking the tulle
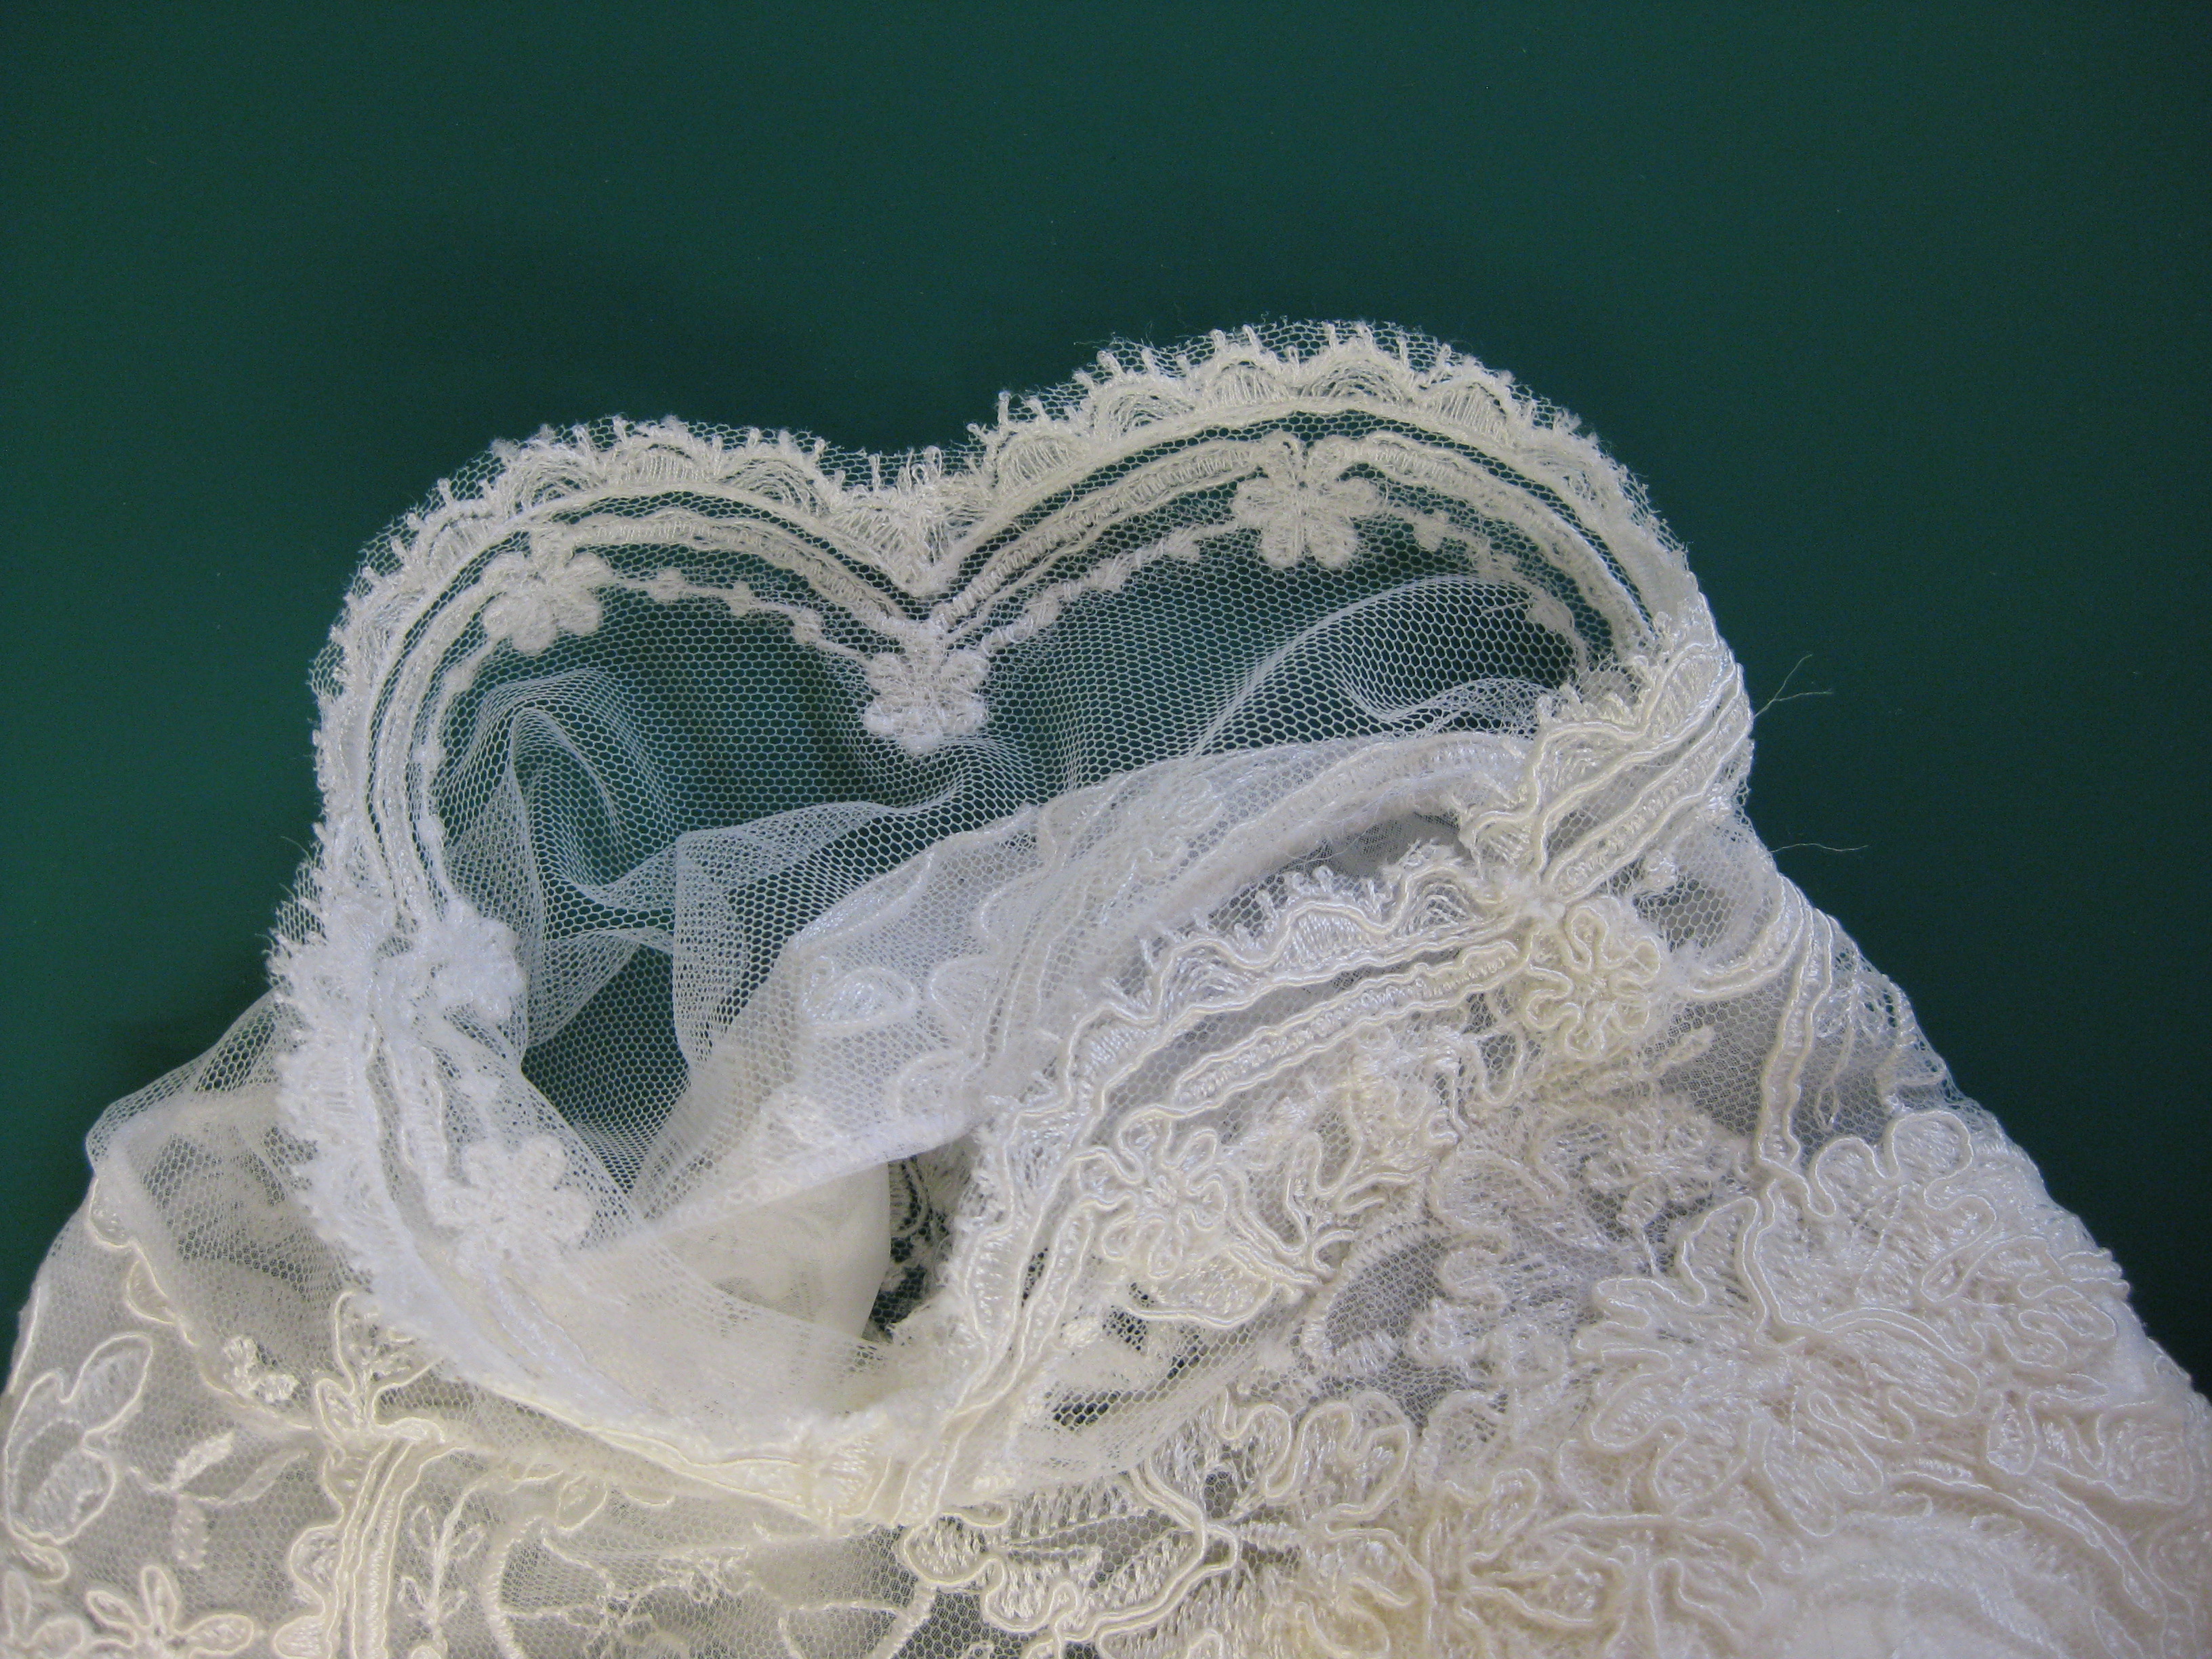
To create the beautiful neckline, back and front shoulder sections were cut from silk organza which was stitched by hand (using a catch stitch) to the underside of the satin bodice. Shoulder and under arm seams have been joined with a small French seam. Again with Tina wearing the bodice, the lace was carefully placed in an attractive scoop shape and tacked in place. Chosen motifs were trimmed and stitched, again by hand as above.
As the scallops are unsupported, a small hand running stitch was applied inside each curved and pulled slightly to force the edges to “cup” and stay in place all day.
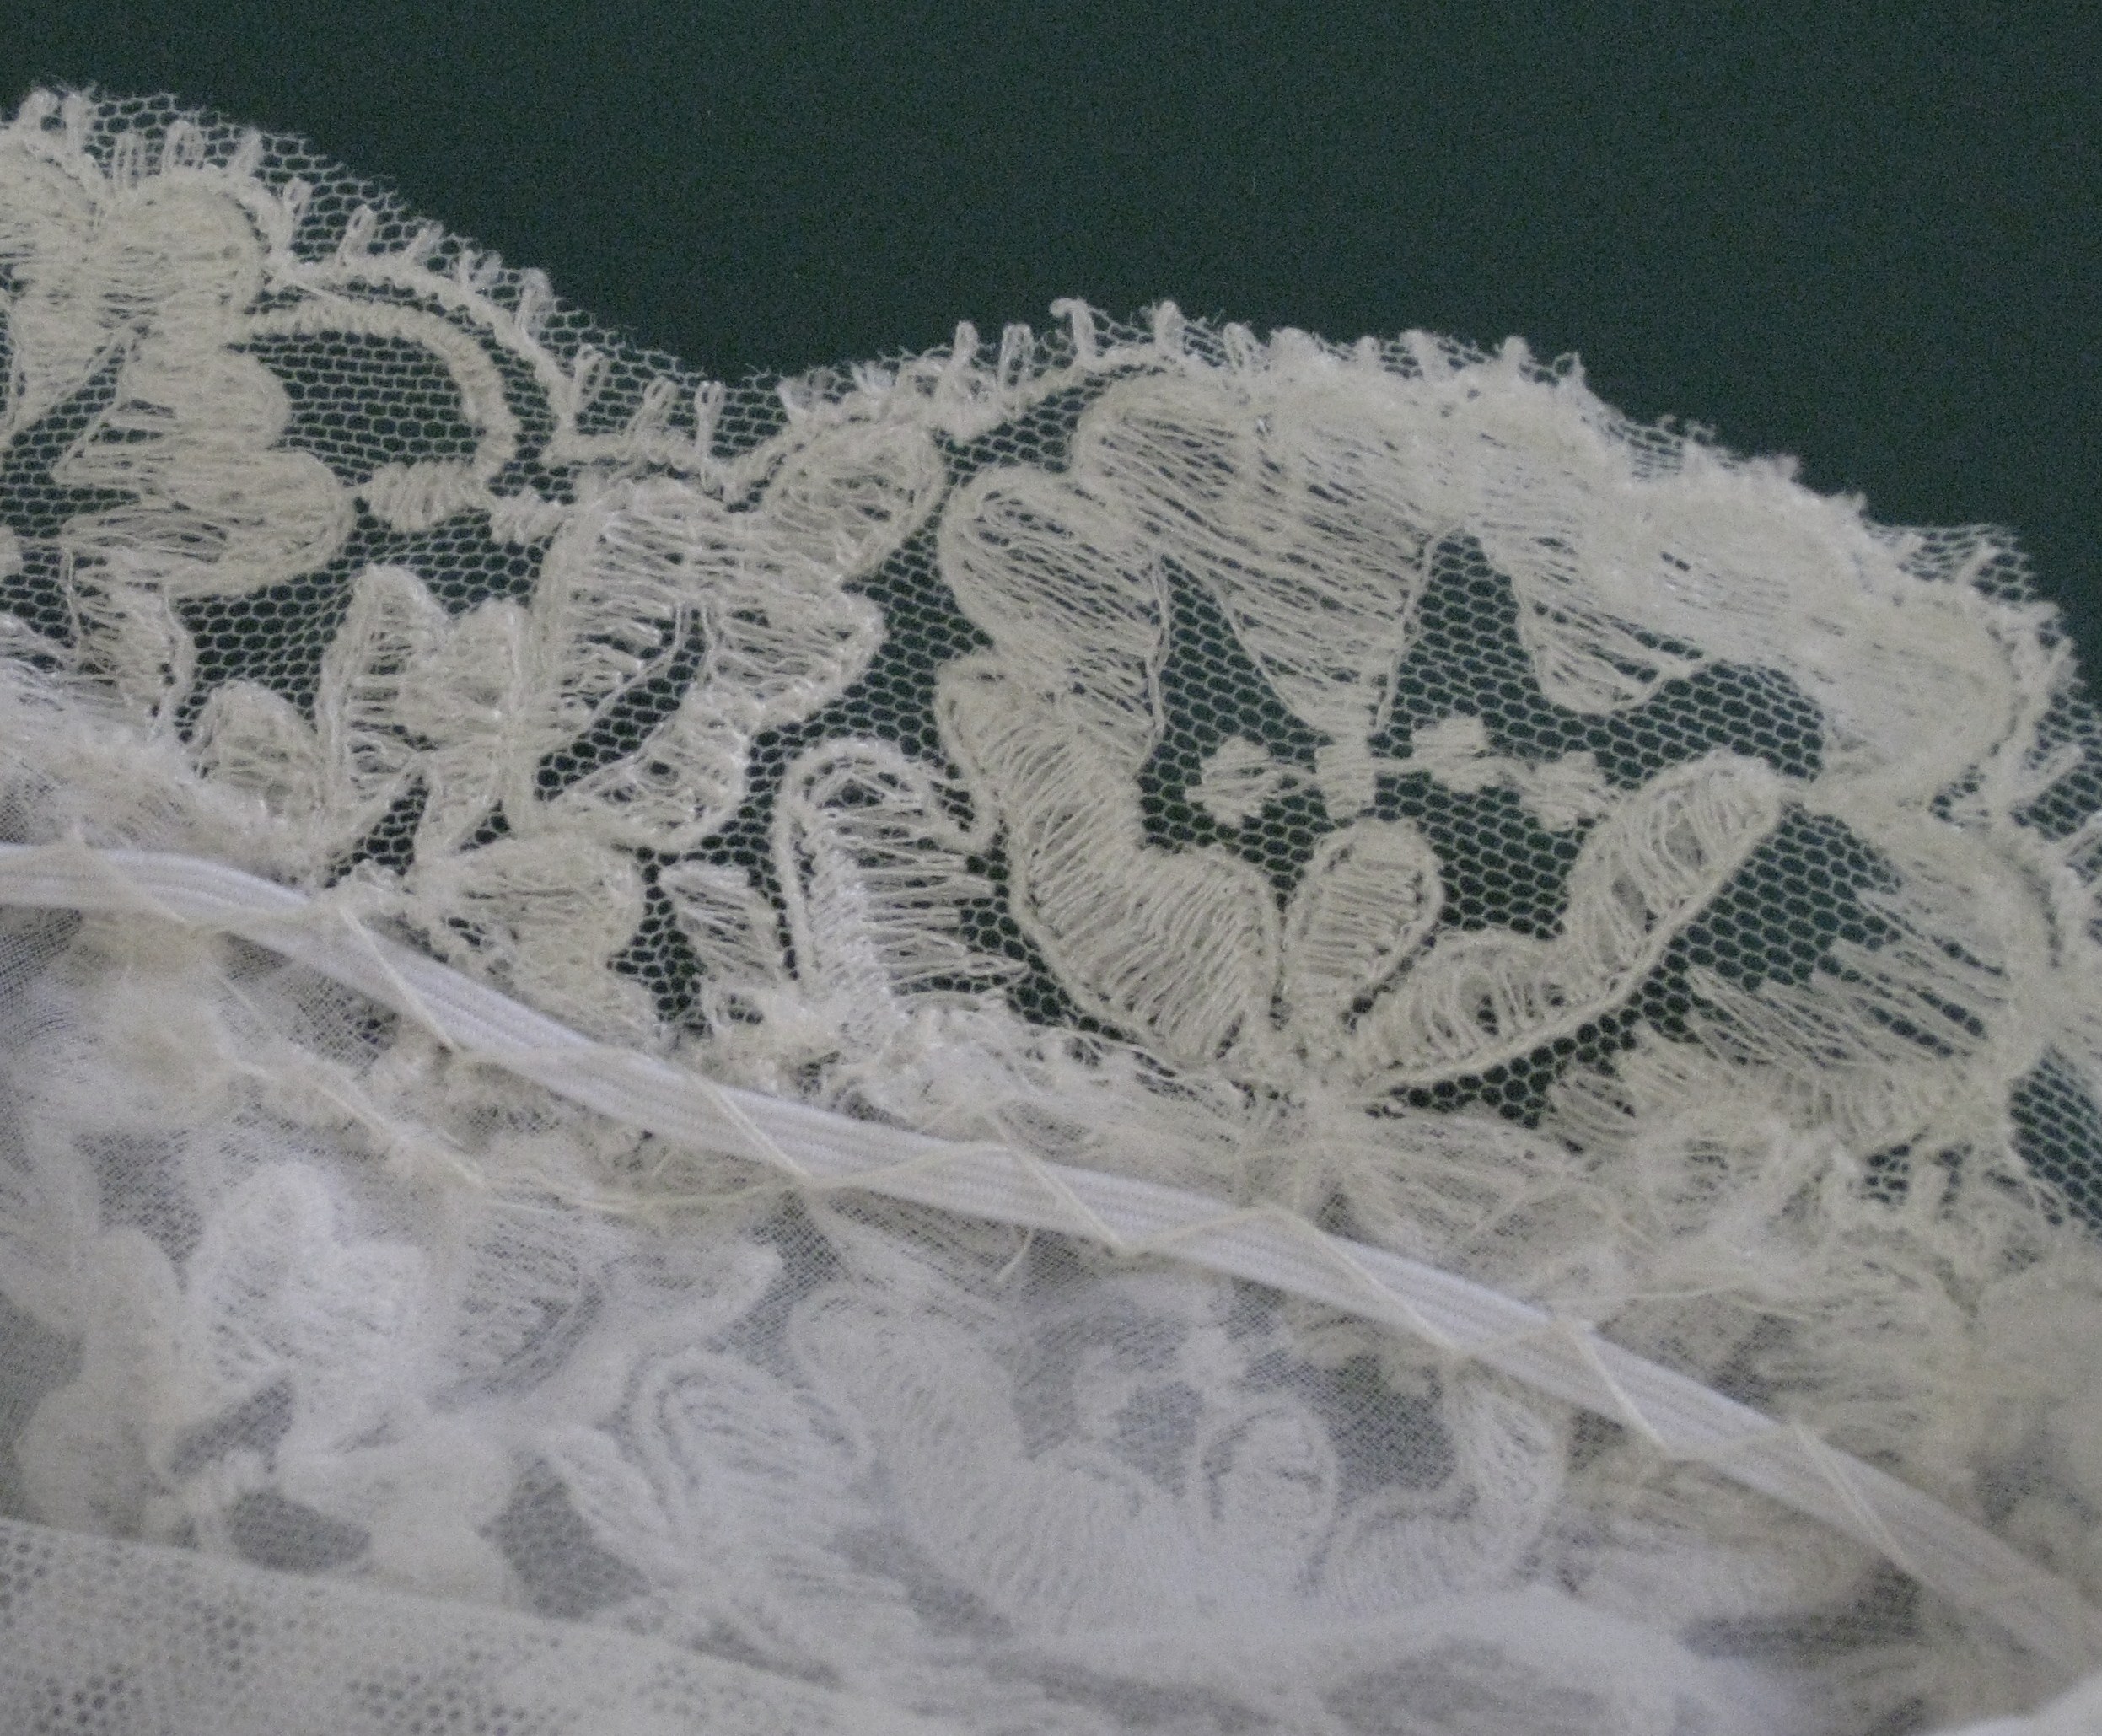
To ensure the scalloped edges stayed in place, a small running stitch was sewn by hand around the curve and pulled up slightly.
Sleeves were made from plain tulle and the small scalloped border hand stitched along the edge. The sleeves were then set into the armholes and machine stitched. The seam allowance was trimmed; rolled over the seam and stitched in place to achieve a hairline seam.
Sleeves were cut unadorned sections of tulle with scalloped border appliqued to the hem. Inserted using hairline seam by machine.
Tina constructed the skirt, inluding hand stitched hems, and then layered the tulle, satin and lining silk and stitched it in place to the bodice. Small tucks were added at the side back to give a little more fullness in the back of the skirt. The hemline of the lace at the centre back has been lowered slightly and, together with the slight fullness, gives interest at the back of the gown.

Slight fullness and lower hem to add interest to the back of the gown.
A heavy duty invisible zip has been used as a regular invisible would not be strong enough to hold the thickness of the corded lace.
A heavy duty invisible zip.
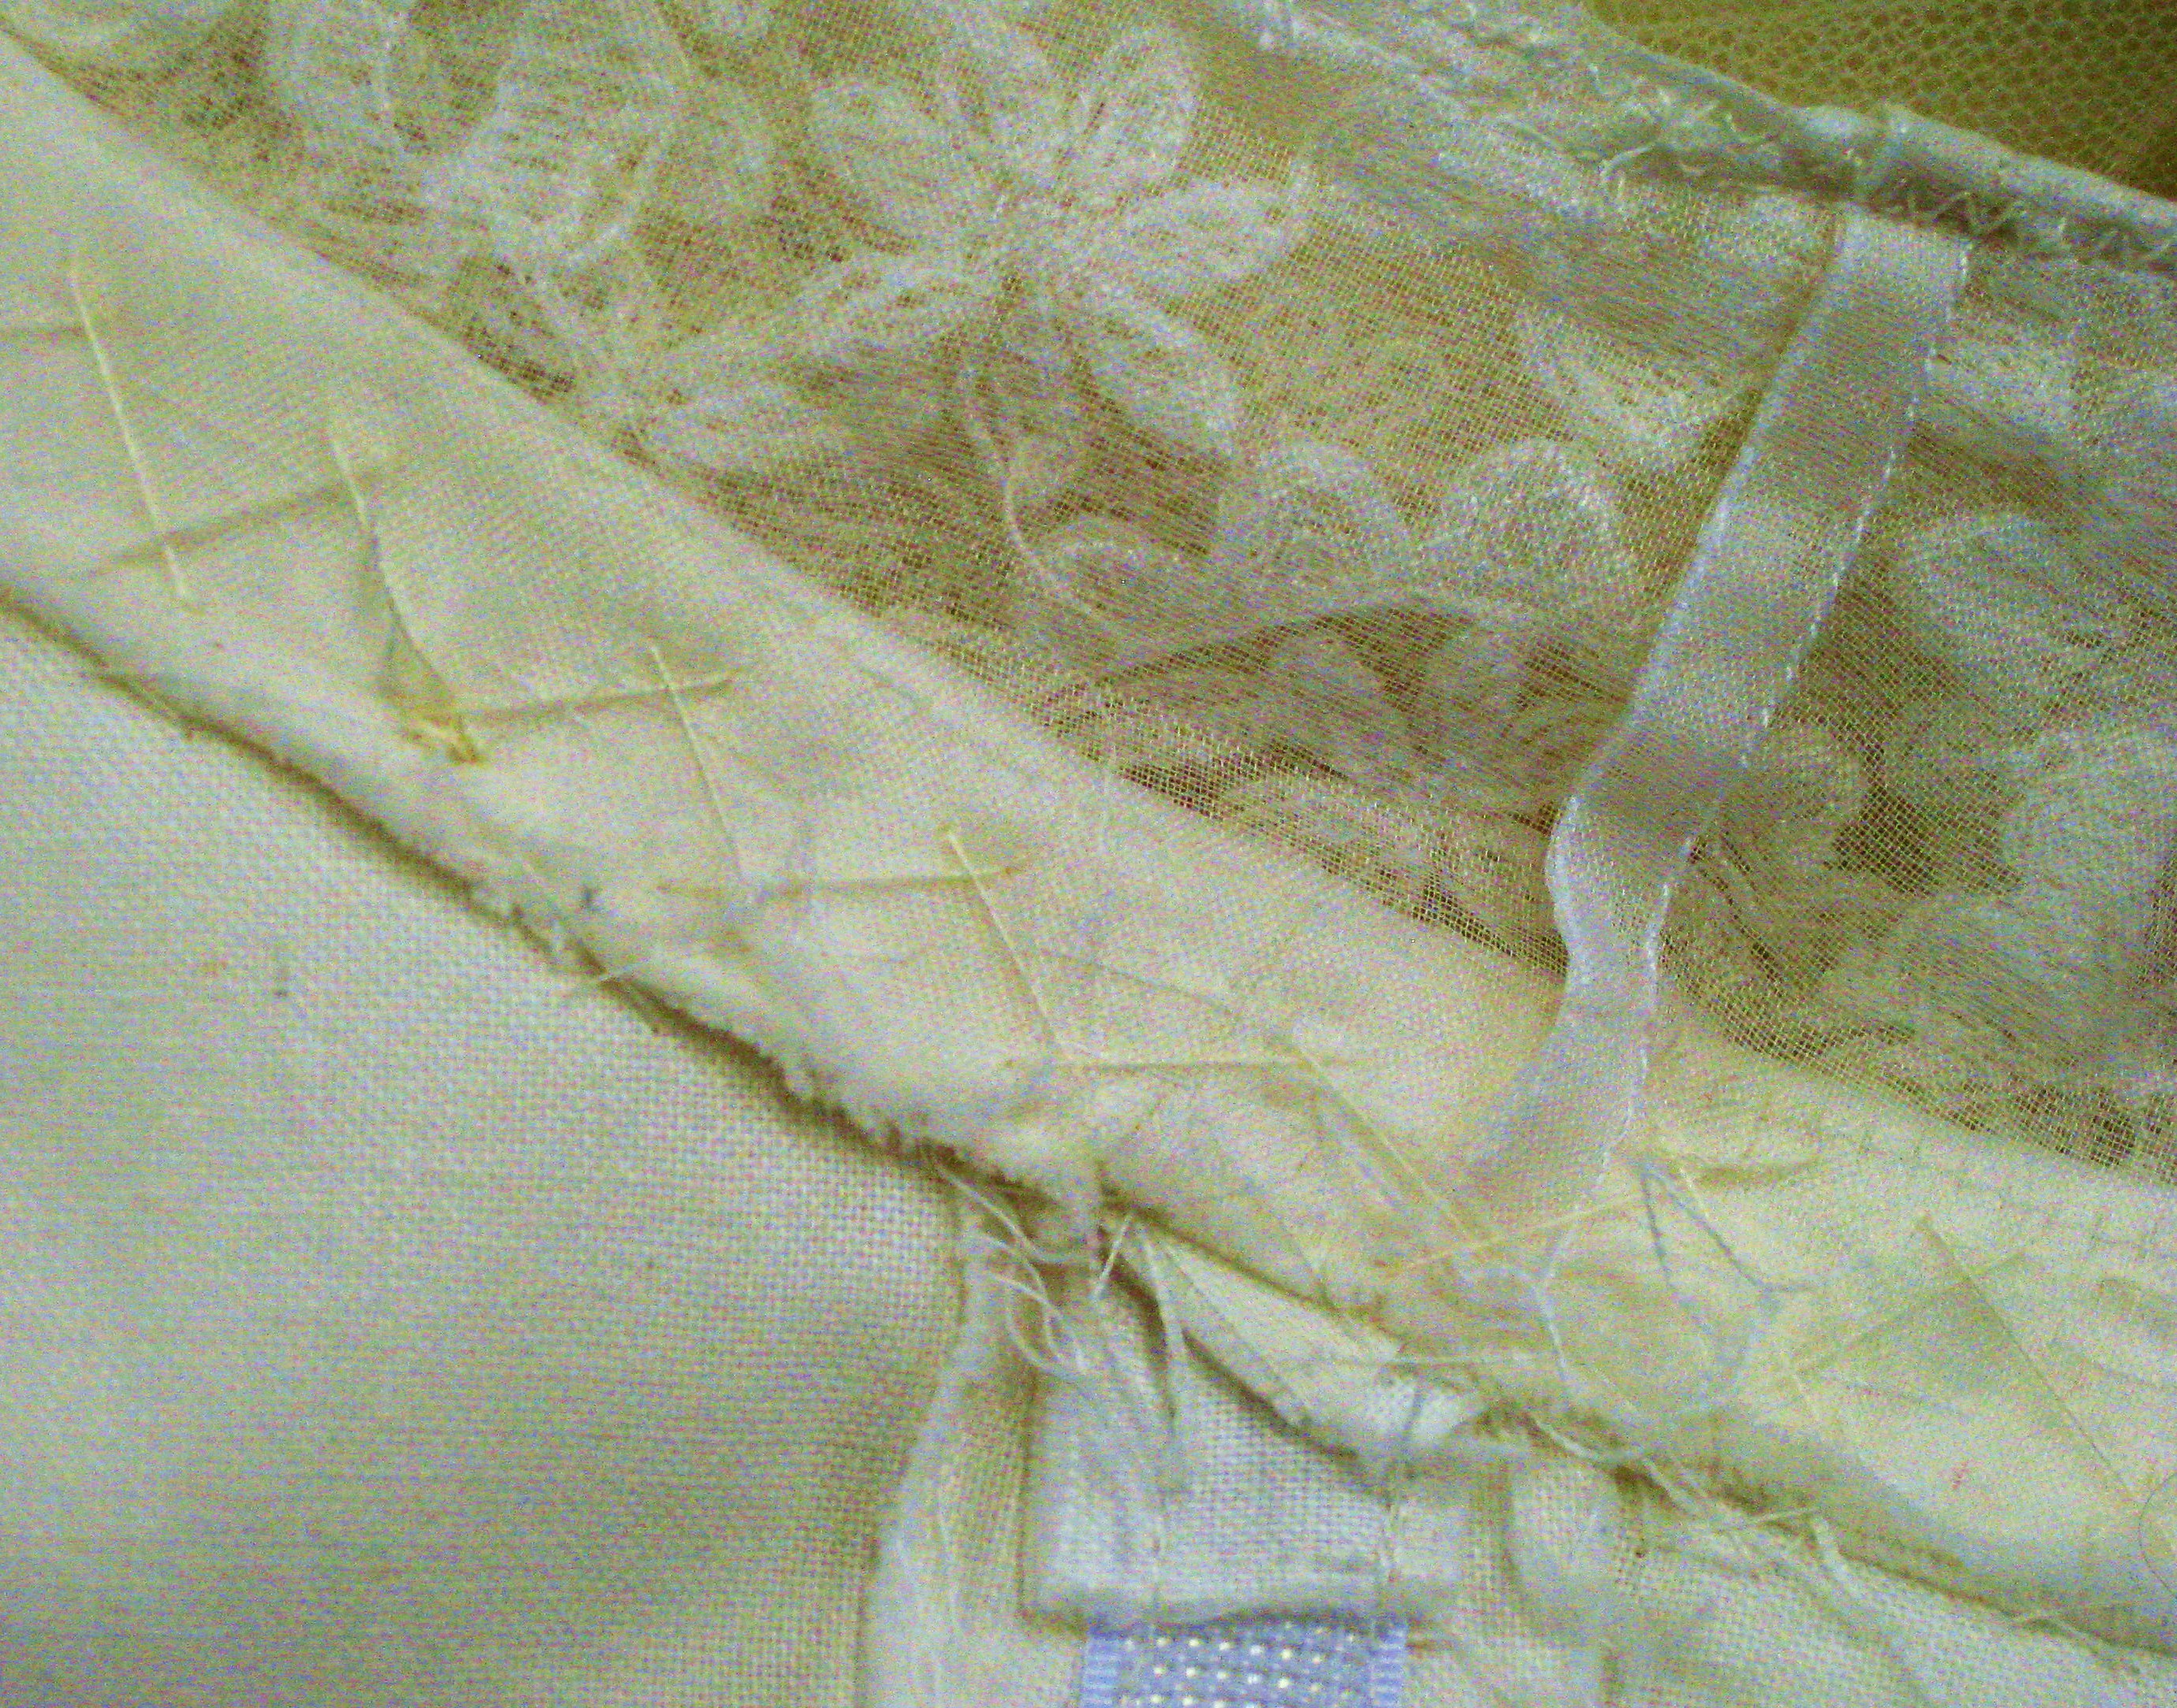
To help keep the garment beautifully in place all day, an elastic stay was applied across the back bodice and narrow braided lace has been hand couched across the shoulders.
Neckline/shoulder stays hold the shoulder and sleeves in place with a wide deep neckline in the front and back. They are made from narrow braided elastic couched in place with catch stitch and fastened at each end.
Once the additional lace was hand appliquéd across the waist and down the top of the skirt, the silk lining was inserted by hand and the elastic back stay fed through slits in the lining side seams.
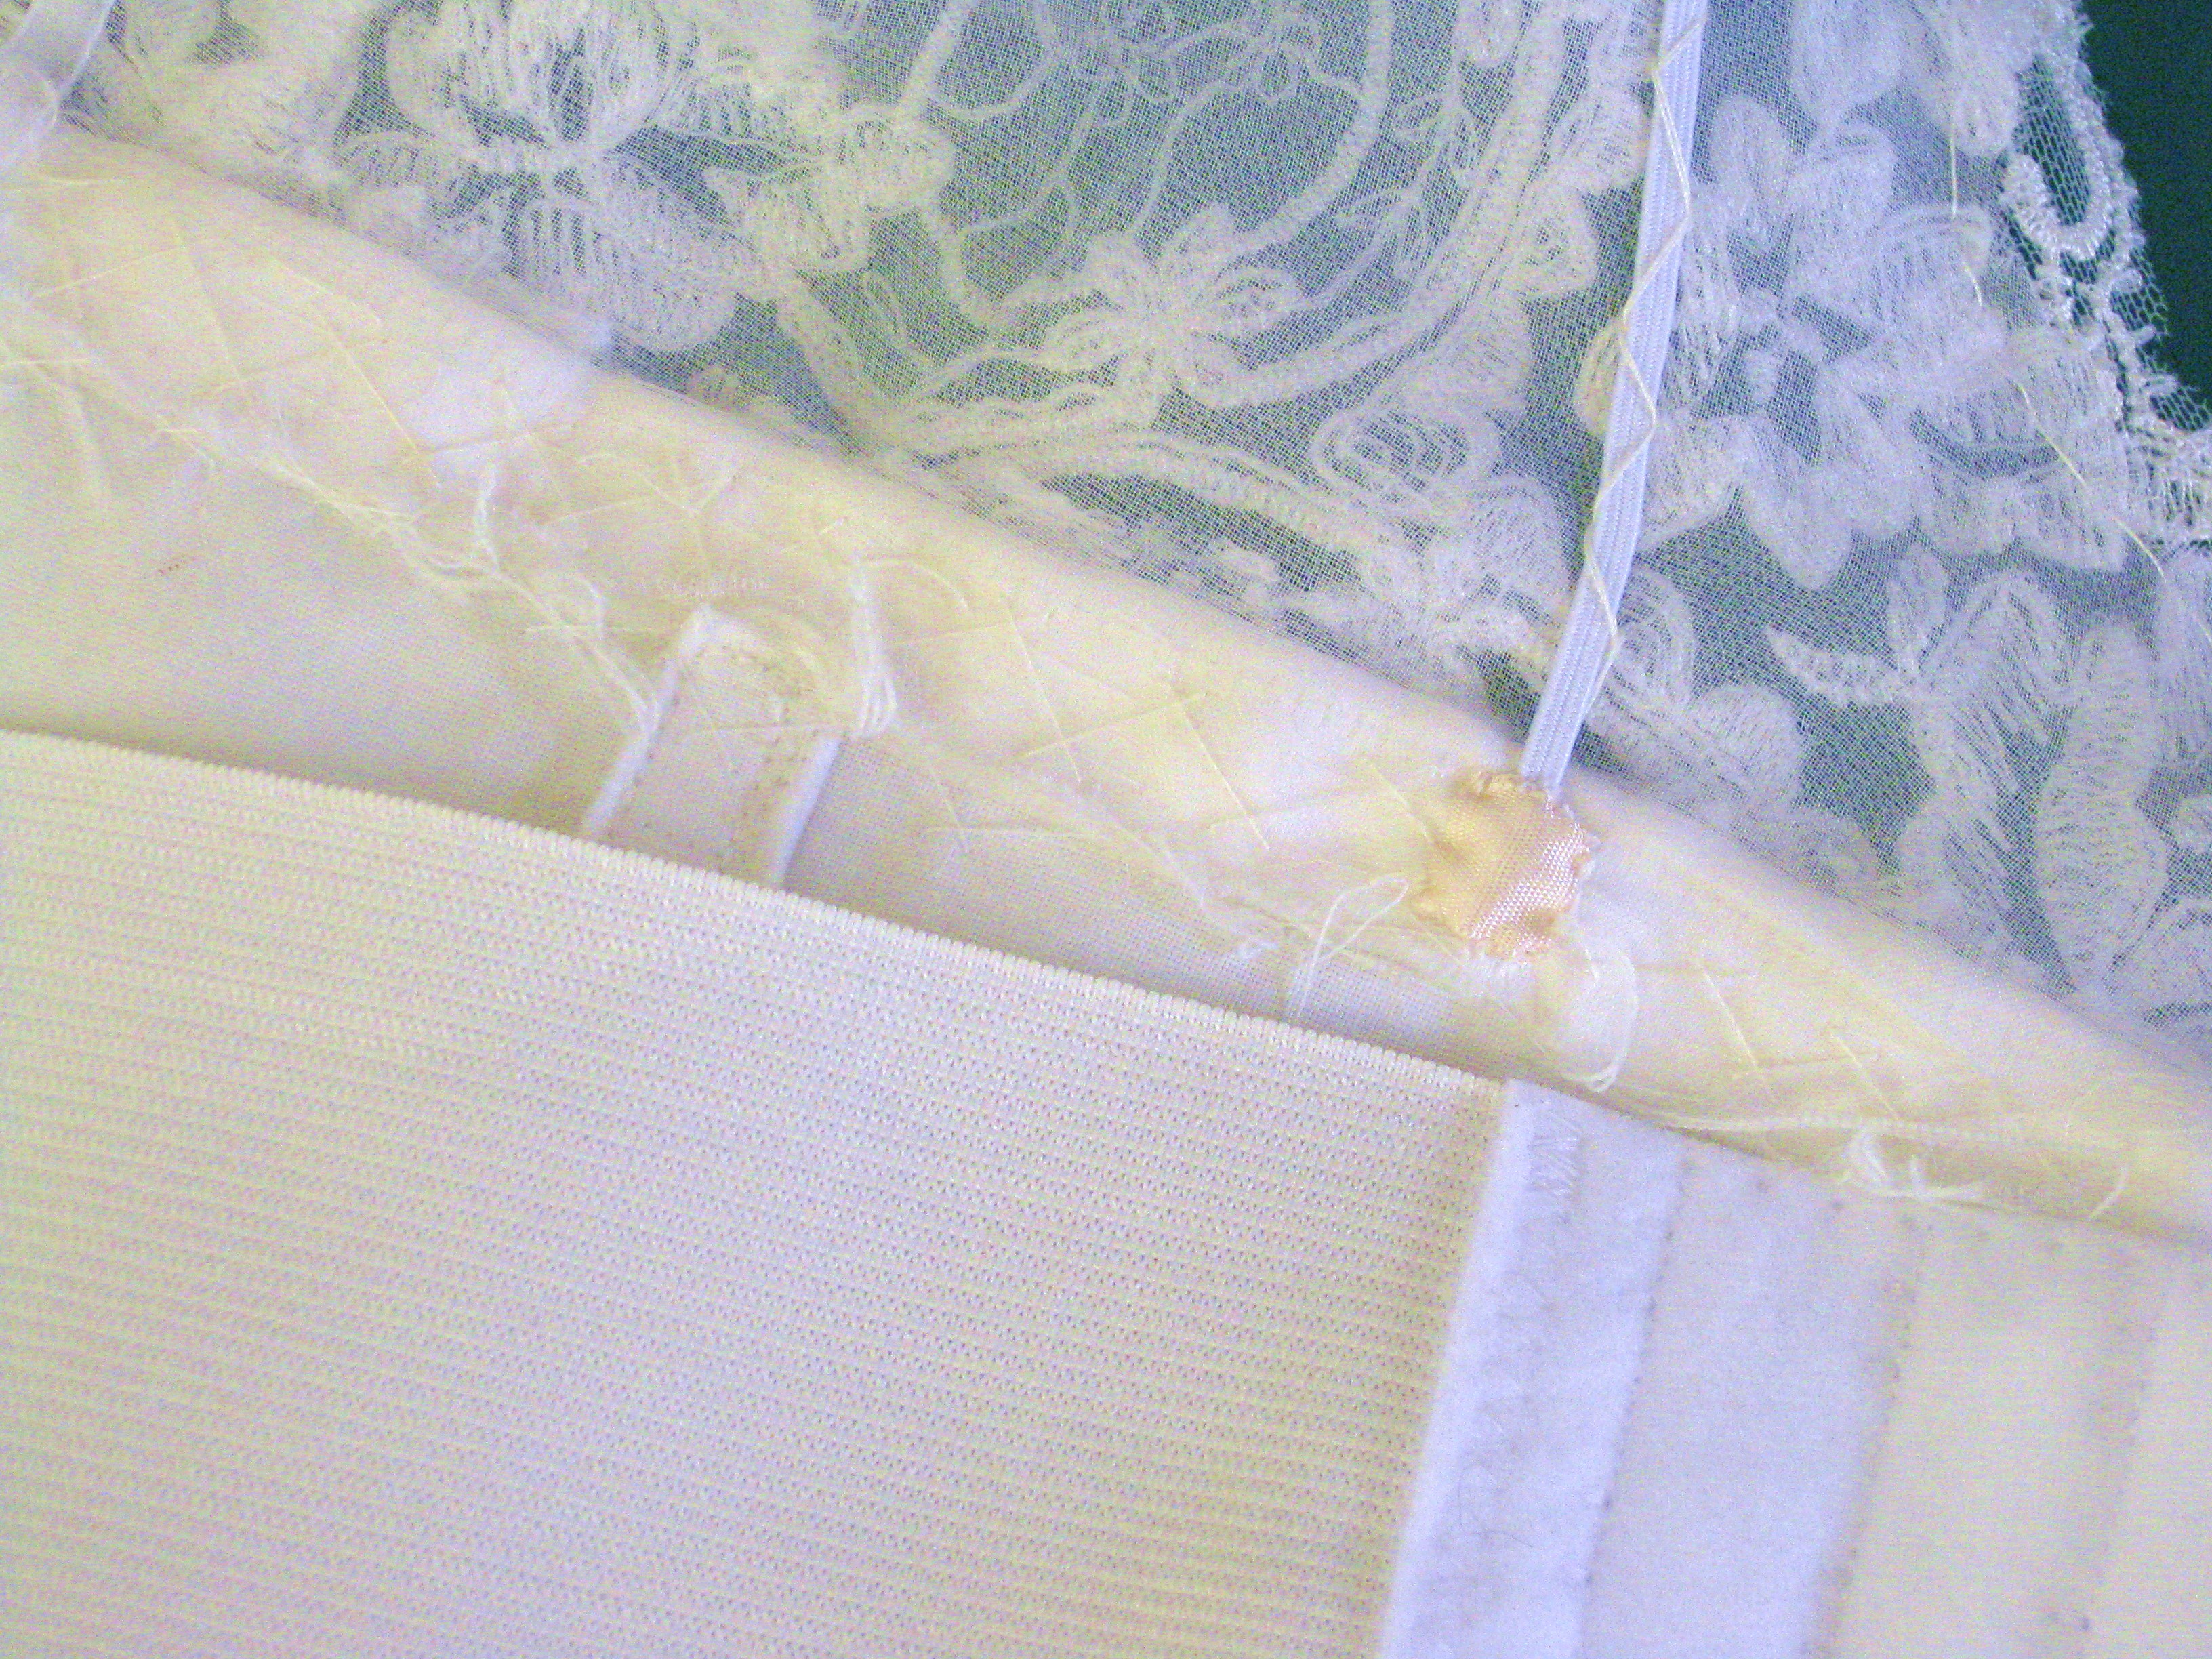
The addition of an elastic suport across the back holds the dress securely in place.
A waist stay was applied using Petersham ribbon with hidden hooks and thread eyes. This is fastened before the zip and holds the back together to minimise strain on the zipper at the waist as well as holding the skirt in place.
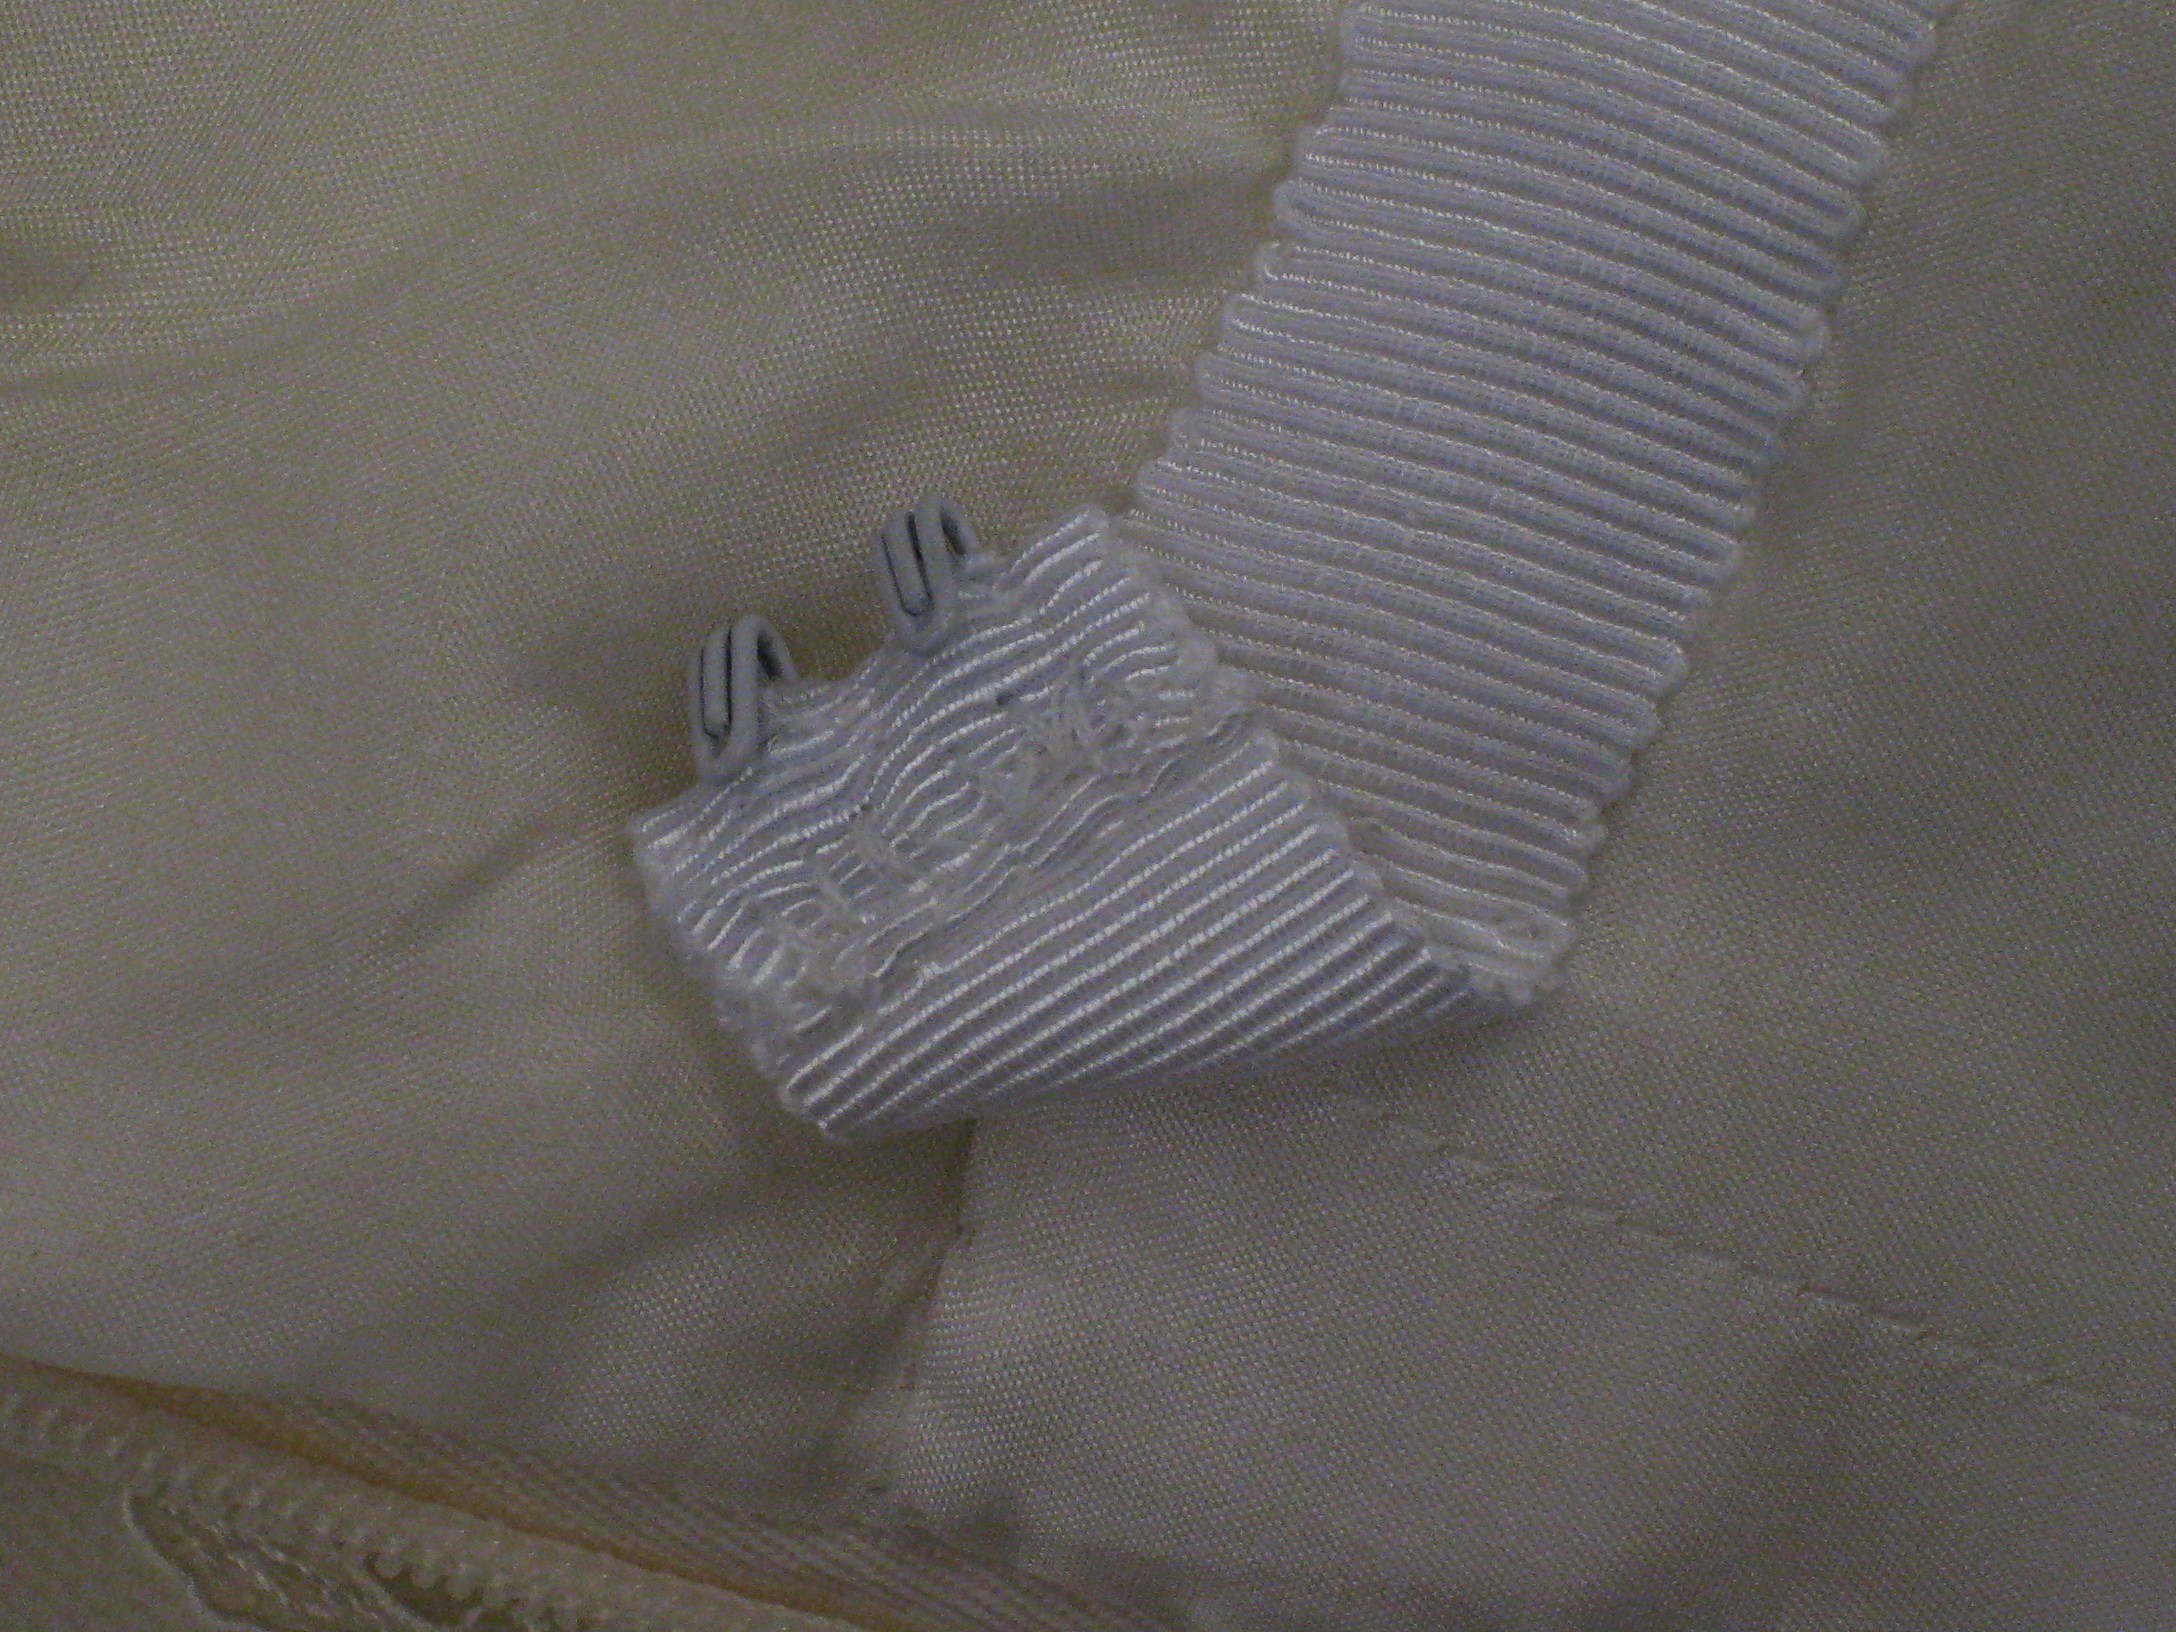
Rayon Petersham waist stay fastens around the waist to keep the skirt in place and take the strain of the zipper when it is being opened and closed.
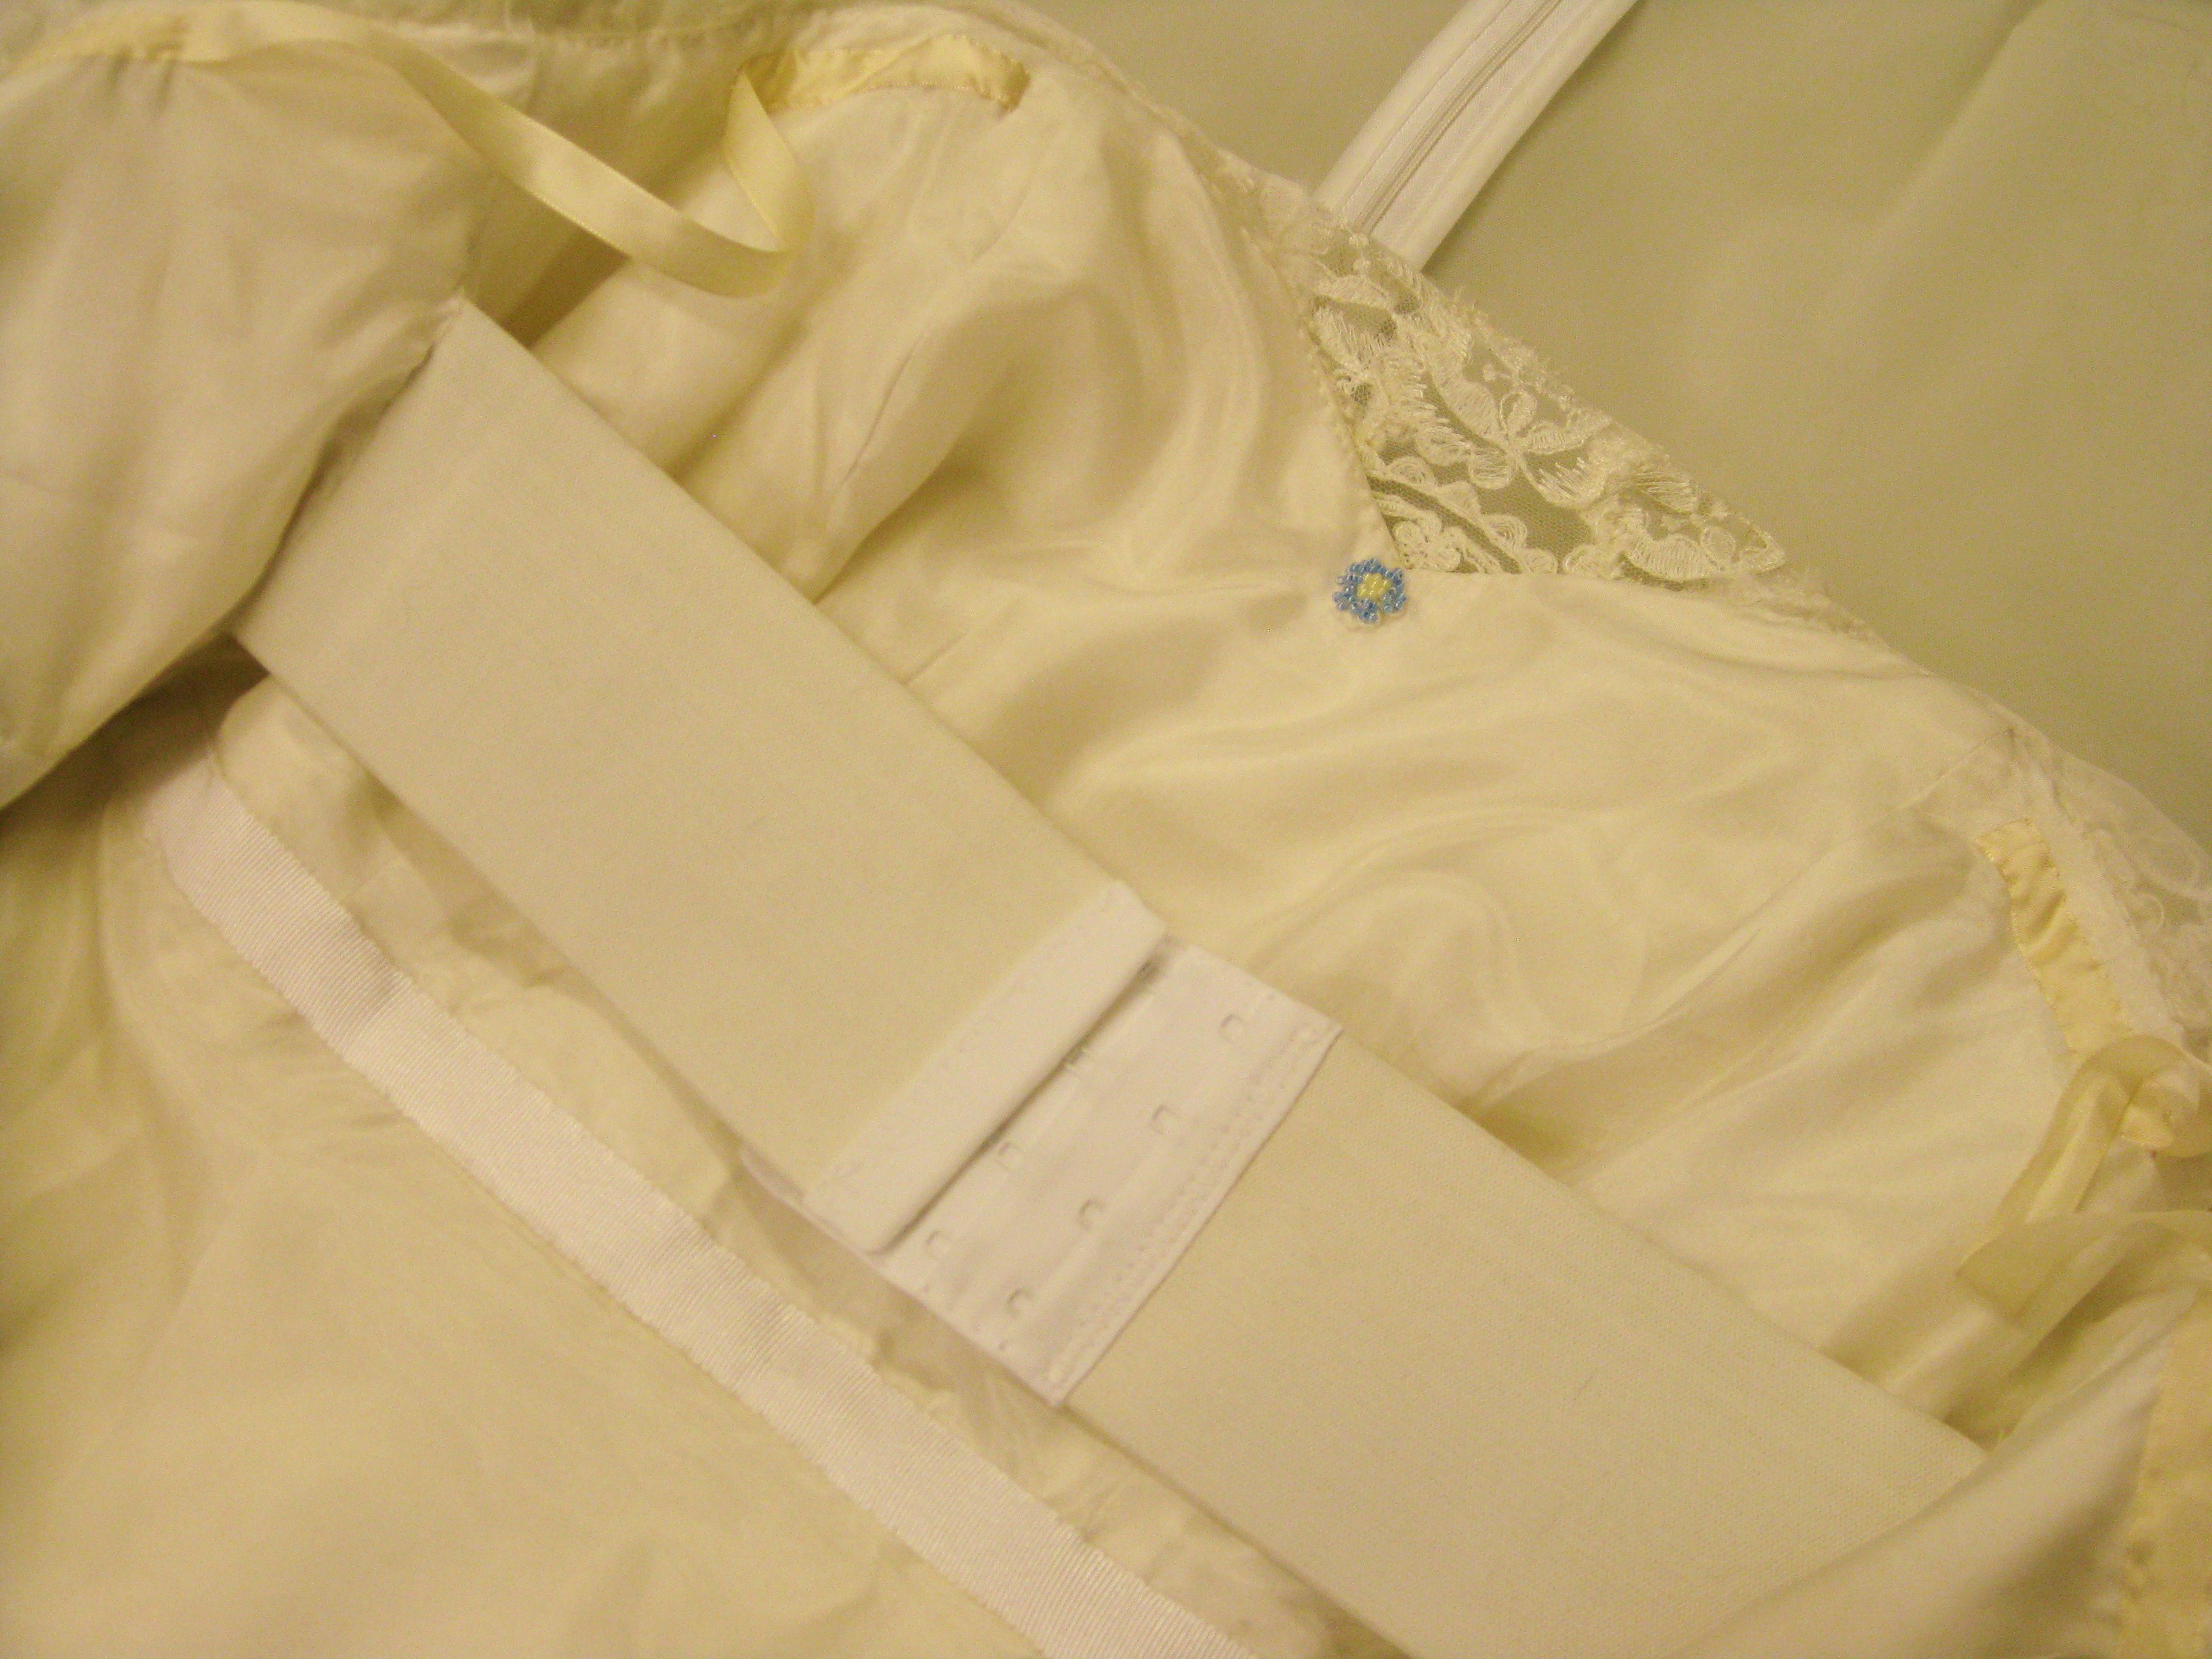
Elastic stay and Petersham waist stay are lie inside the gown – over the silk lining (inserted by hand).
Because the shoulder and sleeve sections are quite delicate, ribbon hanging loops have been added to support the weight of the dress on a hanger.
Ribbon hanging loops.
A touch of blue for luck was added as a beaded flower inside the top of the bodice on the lining.
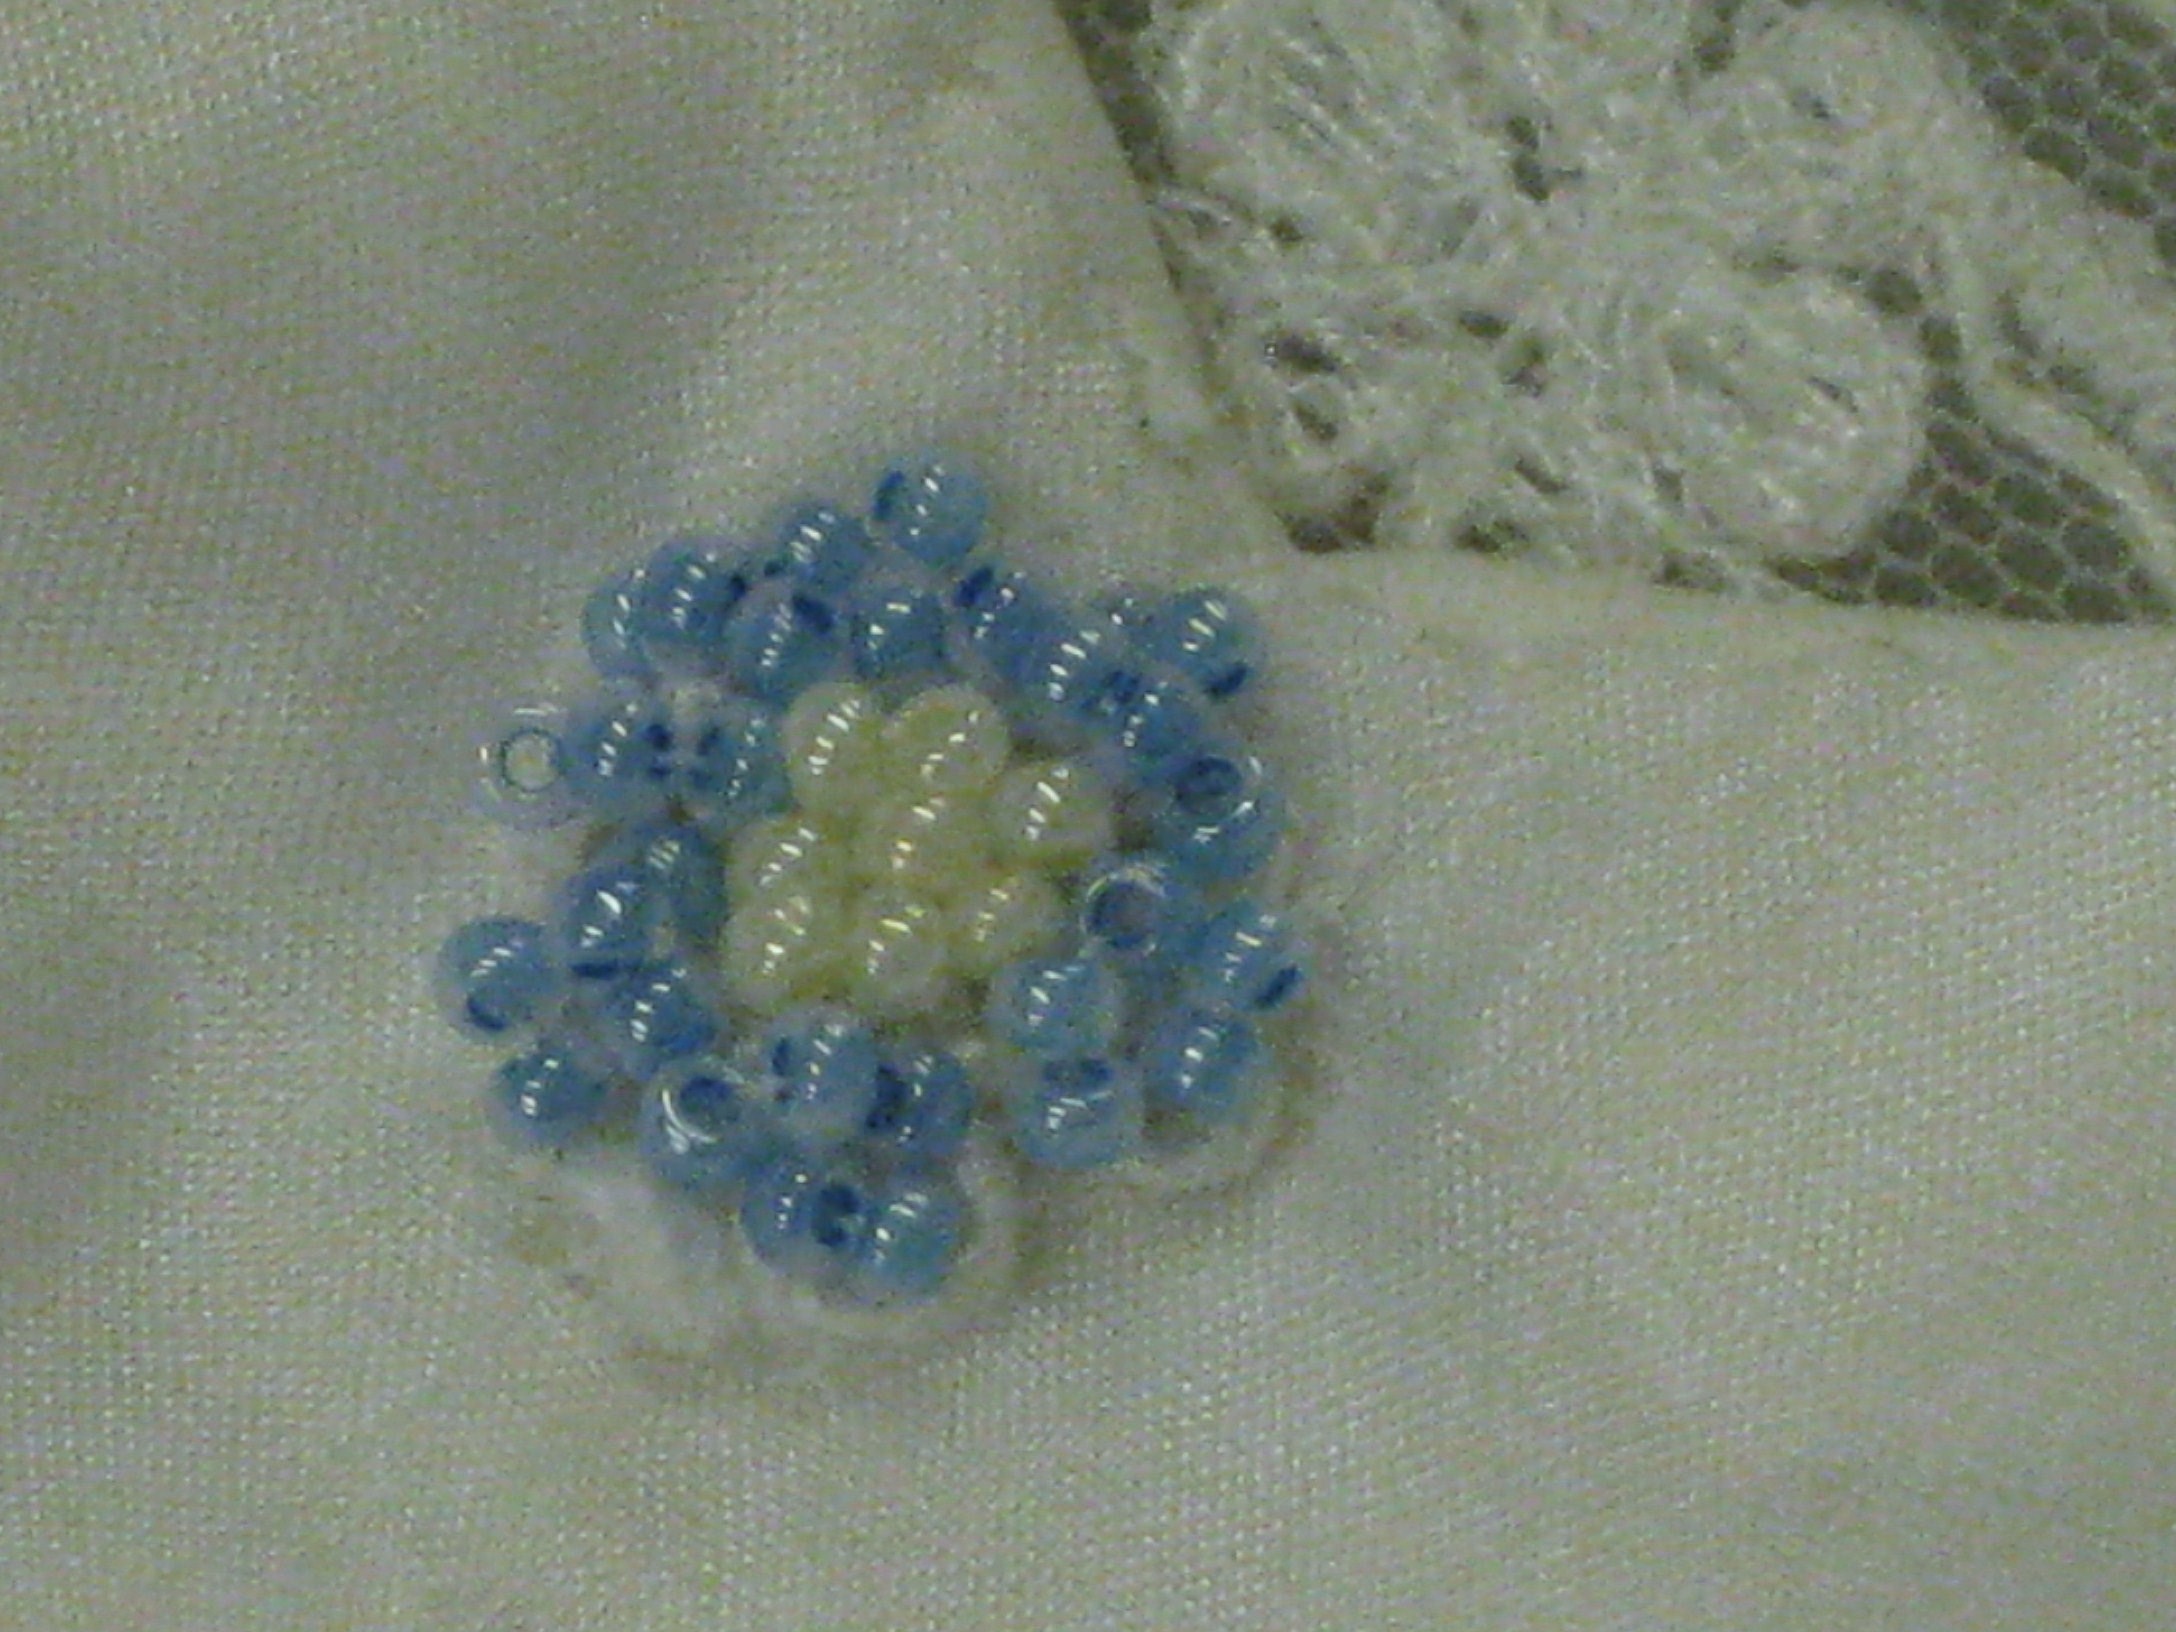
The final touch – a hand beaded blue flower for luck.
With all of this inner structure keeping her beautiful gown in place and comfortable, Tina was able to kick off her shoes and dance the night away with her handsome groom. By the way, Tina also made Steve’s vest – she is justifiably proud and Steve is as pleased as punch and very proud of his wife’s wonderful achievements.
Tina was a gorgeous bride and it was such a joy to help her achieve her dream wedding gown and to share her and Steve’s happiness as they start their new life as man and wife. Good luck and good health to you both and may you enjoy many years sharing your lives together.
