
In this post, I am sharing the method I use when installing a lapped zipper application by machine.
Finished Lapped Zipper
A lapped zipper is well suited to garments which will be worn often (especially if sitting all day or getting in and out of the car all day) or which are made in a thicker fabric. They are stronger than an invisible zipper and therefore less likely to fail.
The average length of a lapped zipper opening in a skirt is 18-20 cm (7-8”); in the centre back of a dress 50-55cm (20-24”) and in pants 20-23cm (8-9”). Of course these lengths may change depending on the proportions and personal preference of the wearer.
Unless you are intending to sew authentic jeans/jeans skirt or use the zipper as a decorative feature, use a dress zip (nylon tapes and teeth) for this application. This will eliminate some of the bulk caused by using a front zip over the tummy.
Side zips in dresses are not common in today’s patterns (except for reproduced vintage styles) but are often useful in strapless styles or where the pattern of the fabric looks better if it is unbroken in the centre back, particularly in lace bodices. Side zips can be used in sleeveless or short sleeved garments as long as the neck opening will accommodate the head. A minimum neck opening of 55cm/23” is usually required (extra may be needed to accommodate your hair if wearing a fancy up do).
Preparation:
I use a wider seam allowance (23mm/1”) in the area of the zipper opening. This results in a flatter zipper application.
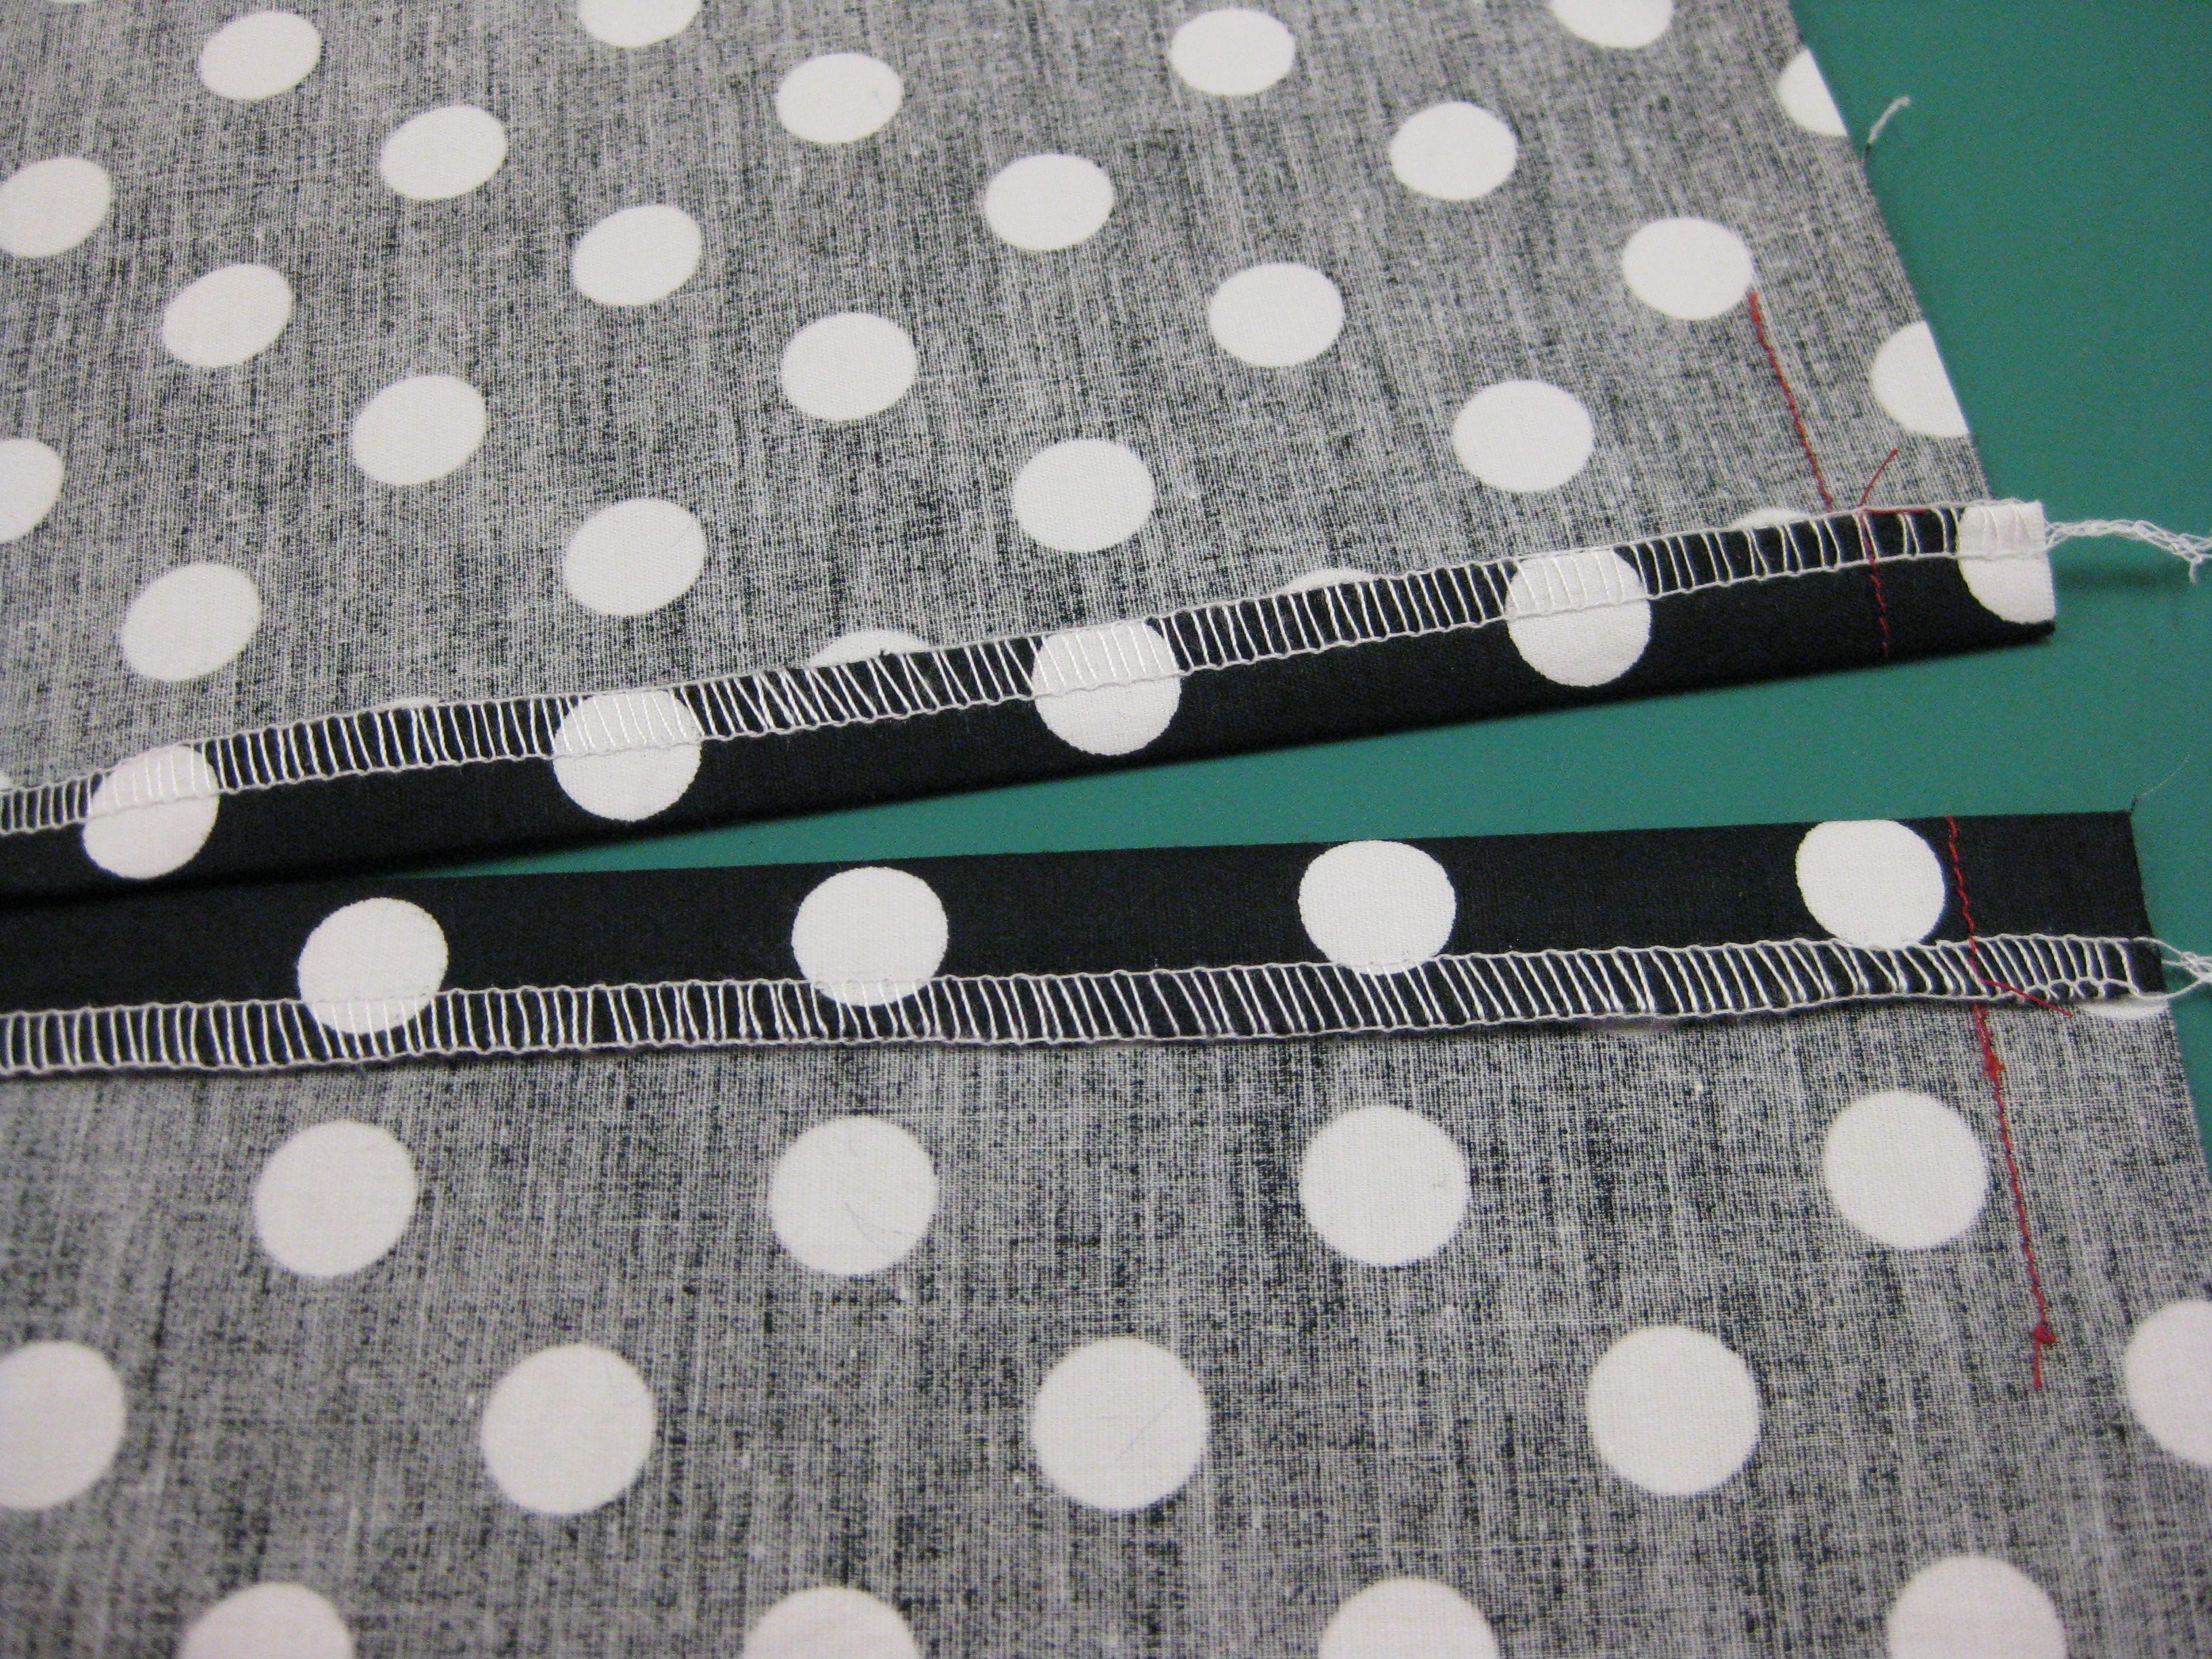
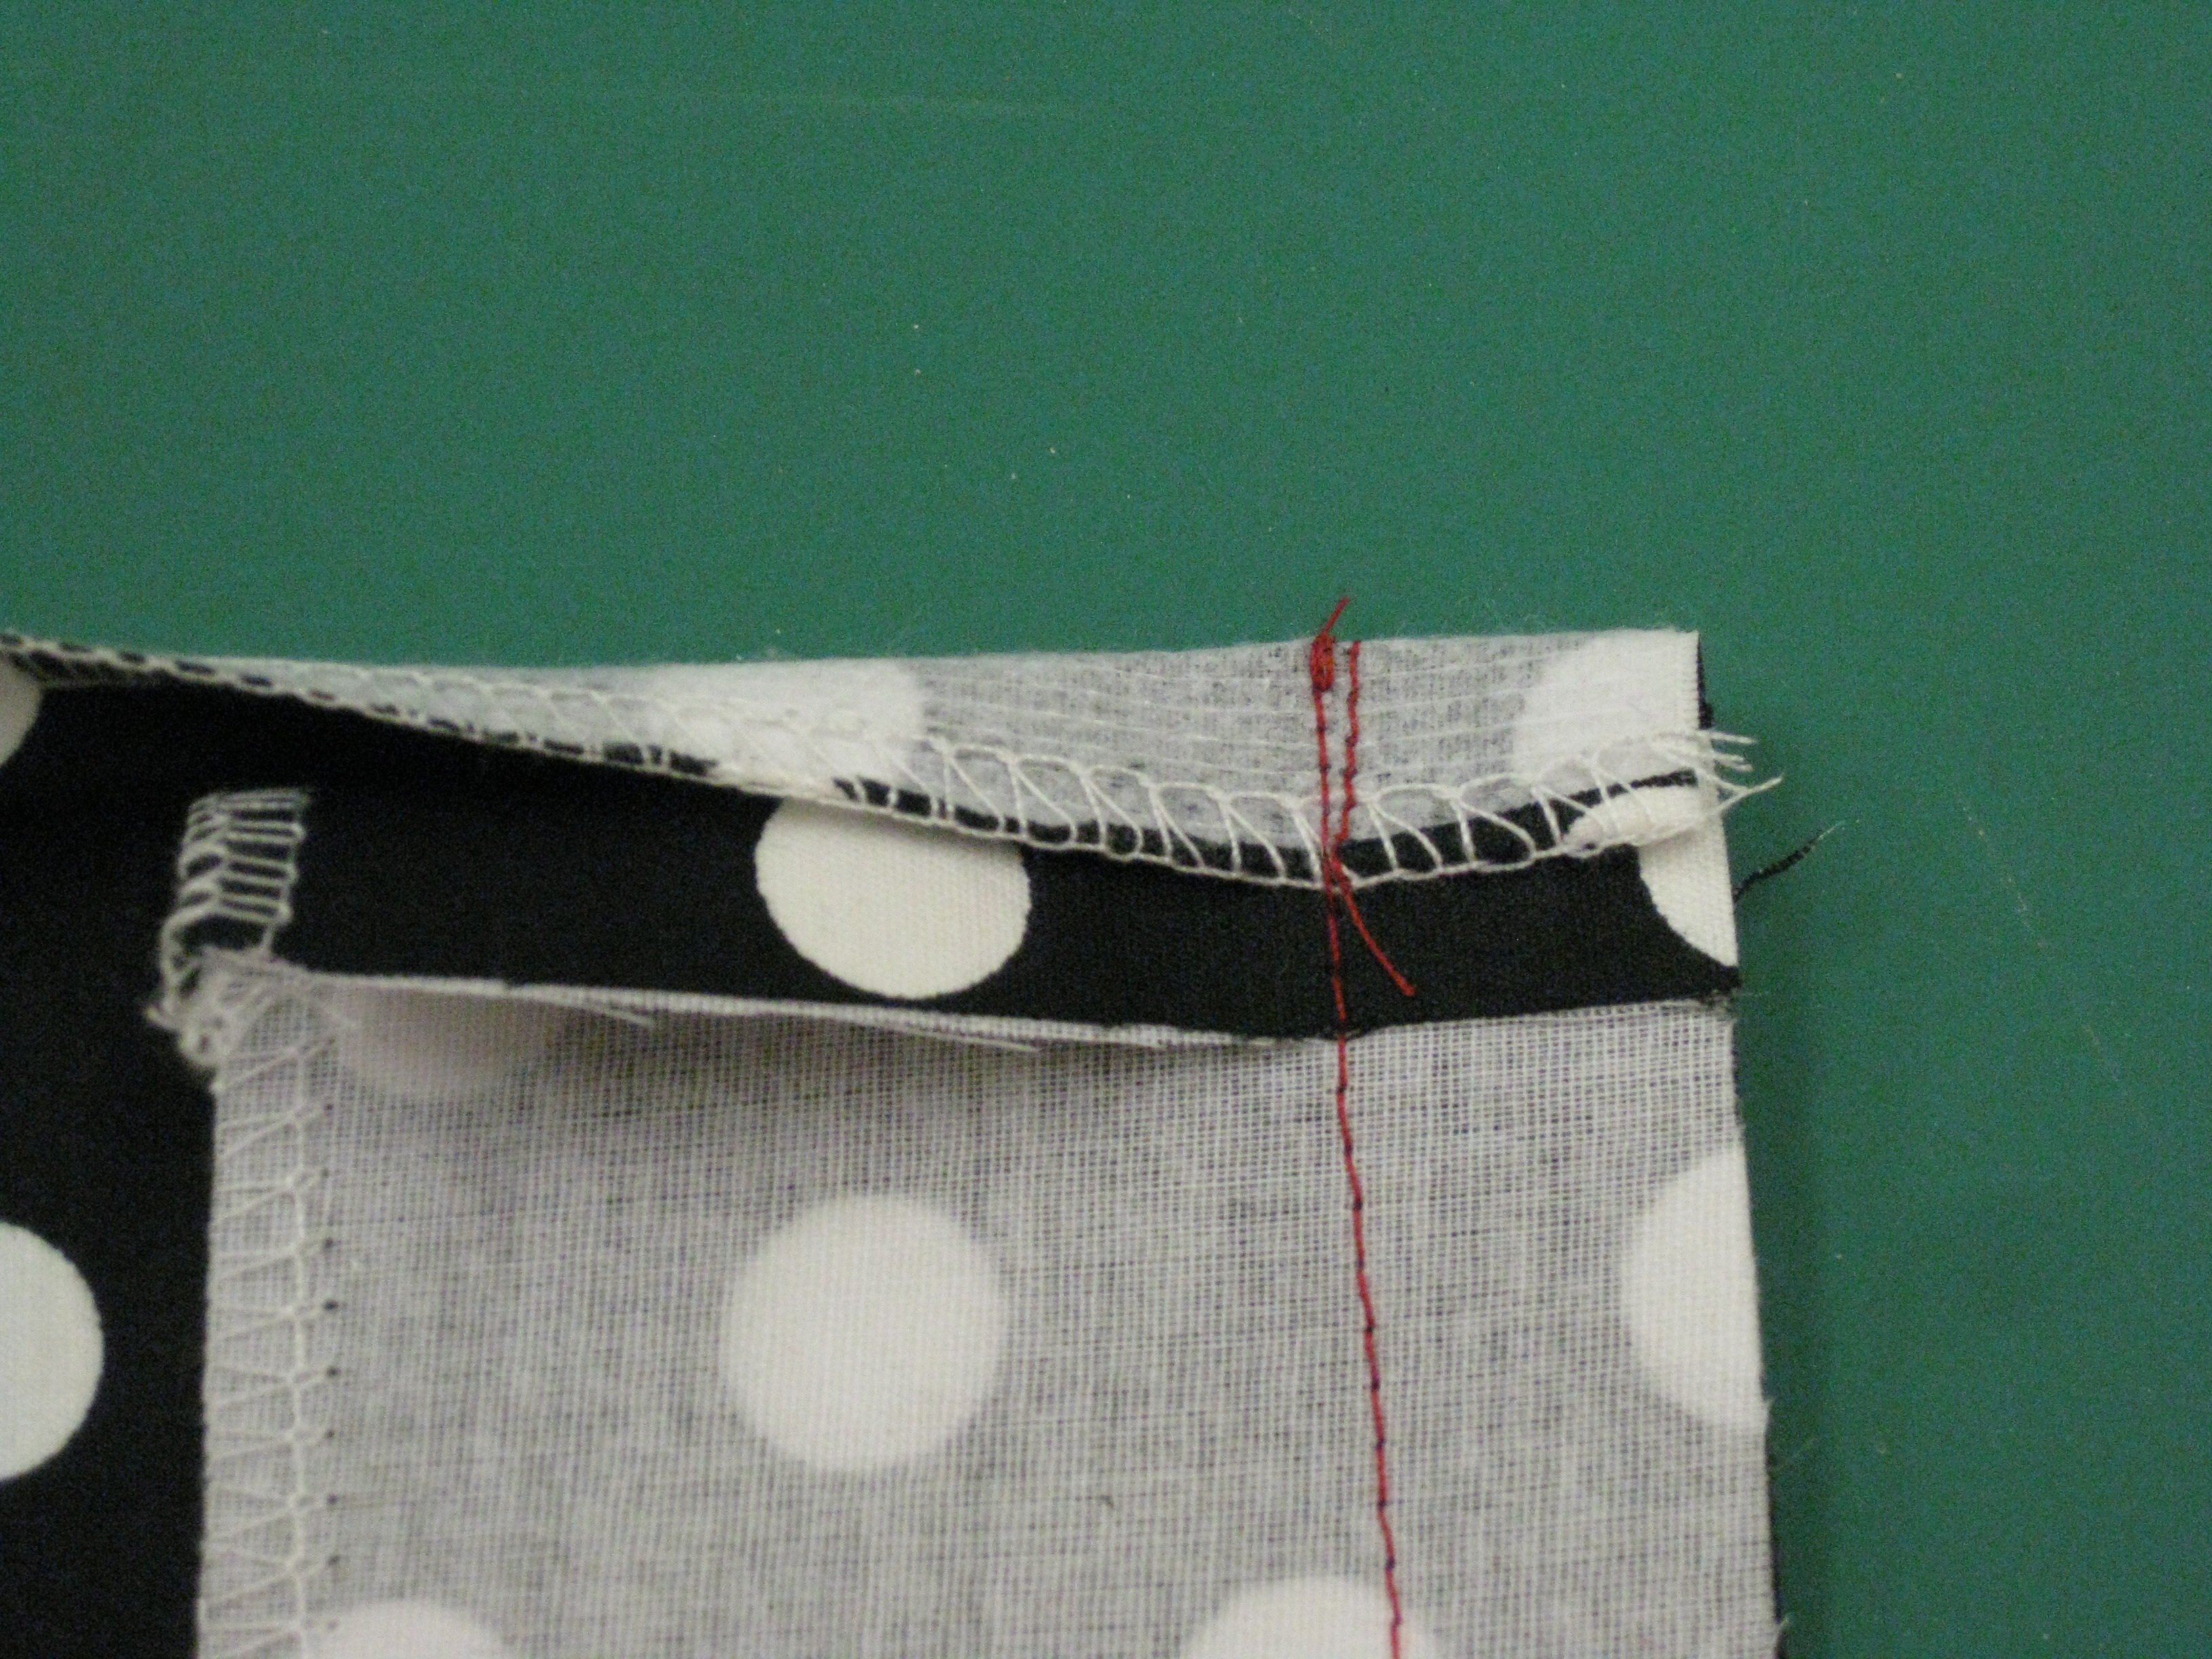
An important step in any zipper installation is stabilising the zipper opening before insertion. A 23mm/1” strip of fusible interfacing, cut with the strongest grain parallel to the seam, can be used. Photo 3 Depending on the fabric, it may be necessary to use a lengthwise cut strip of firm woven fabric or lining selvage instead of a fusible.
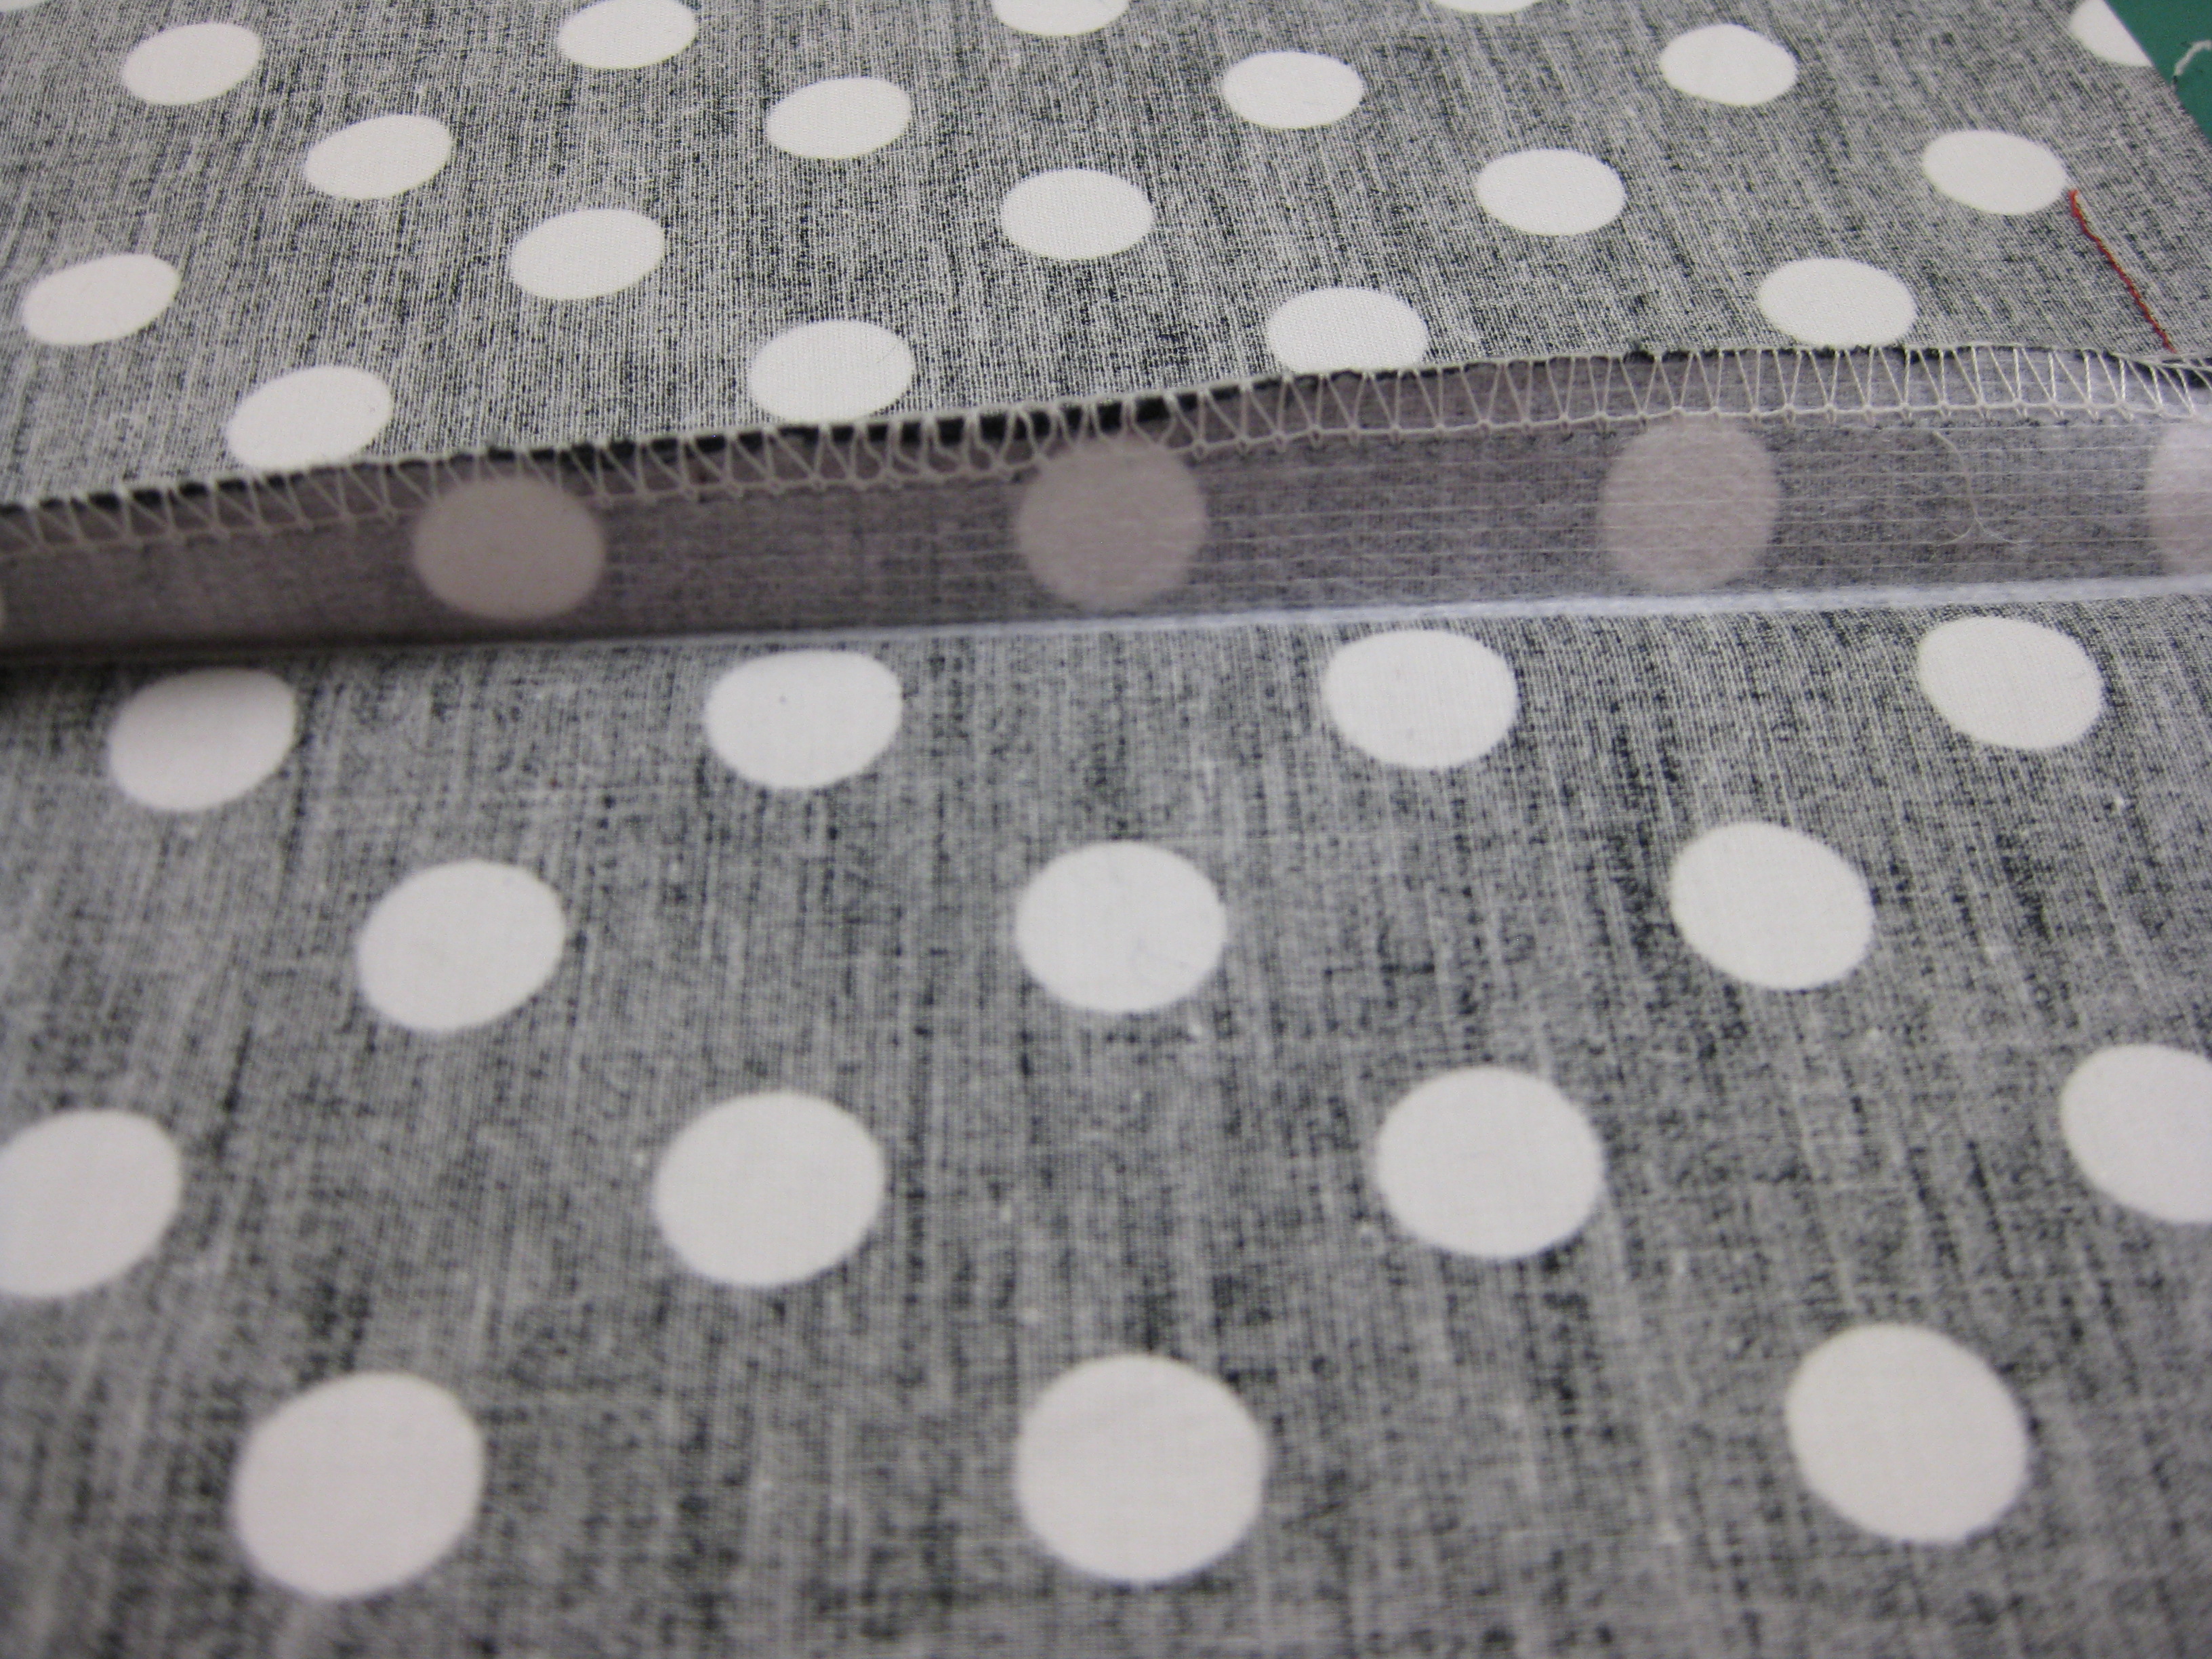
Stabilise seam allowance and finish with overlocker
I stitch the seam with the stitch length used for permanent seams up to the bottom of the zipper opening, being sure to backstitch at that point.
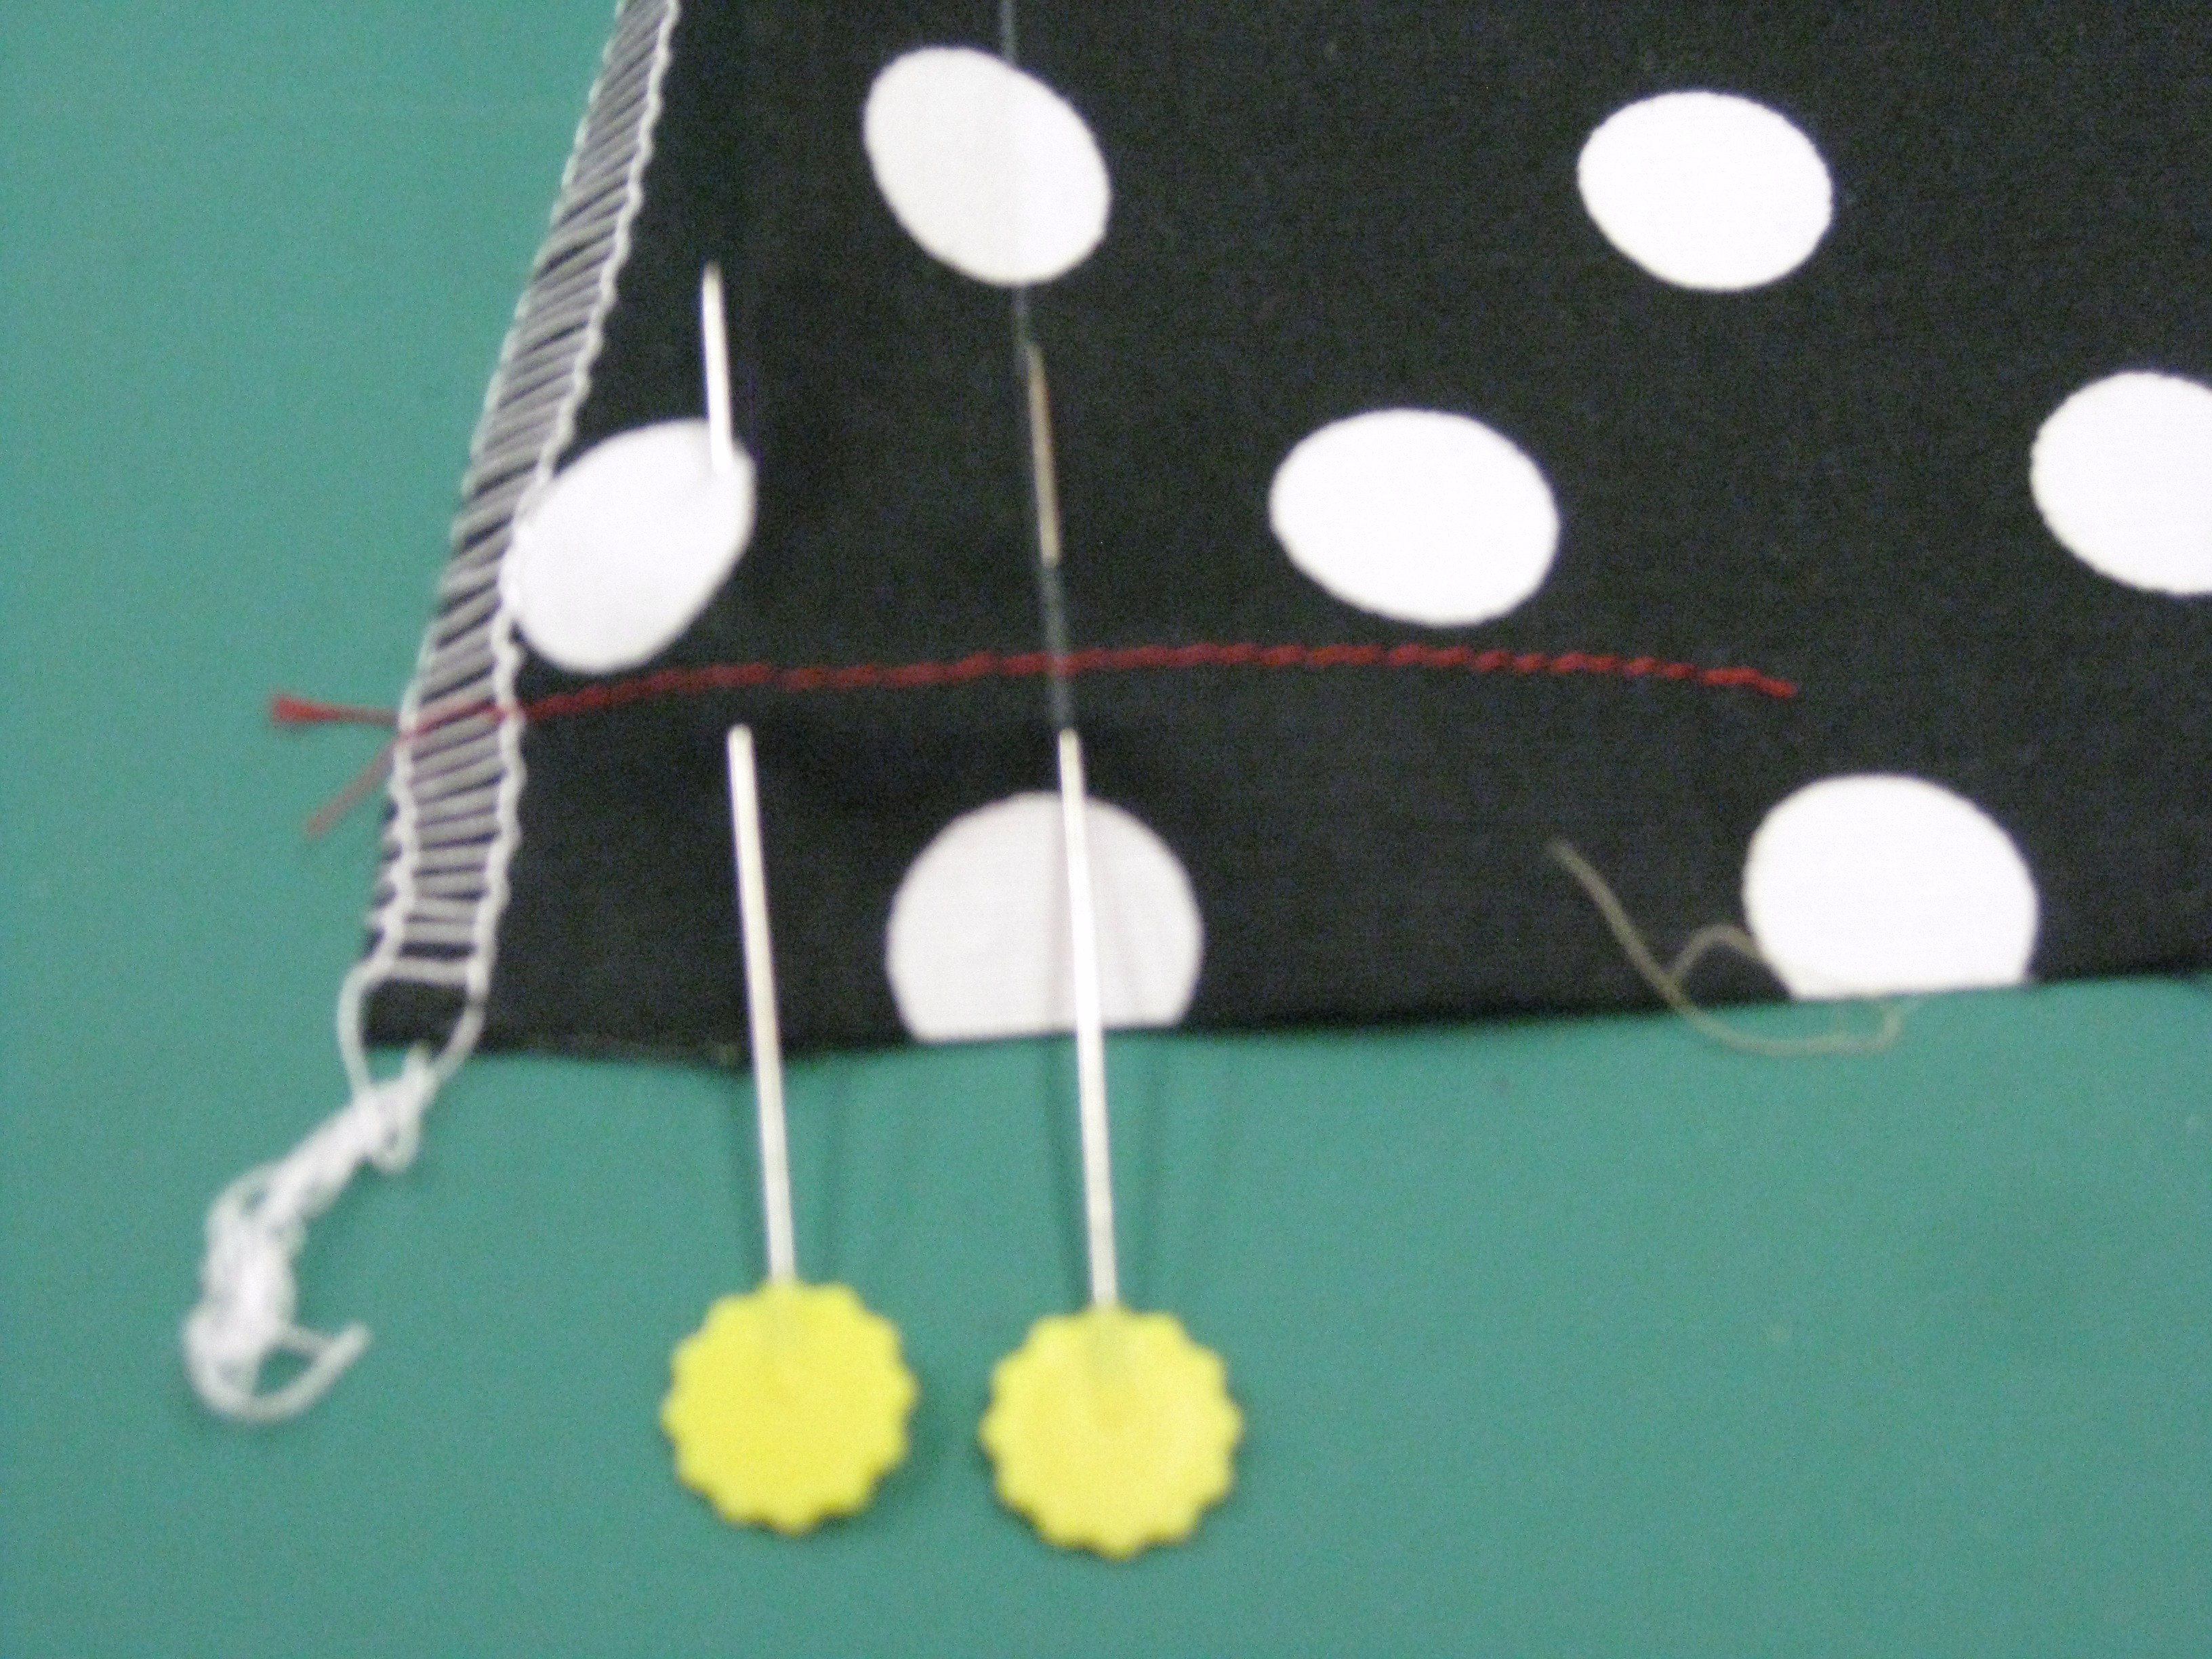
Key top of zipper placement
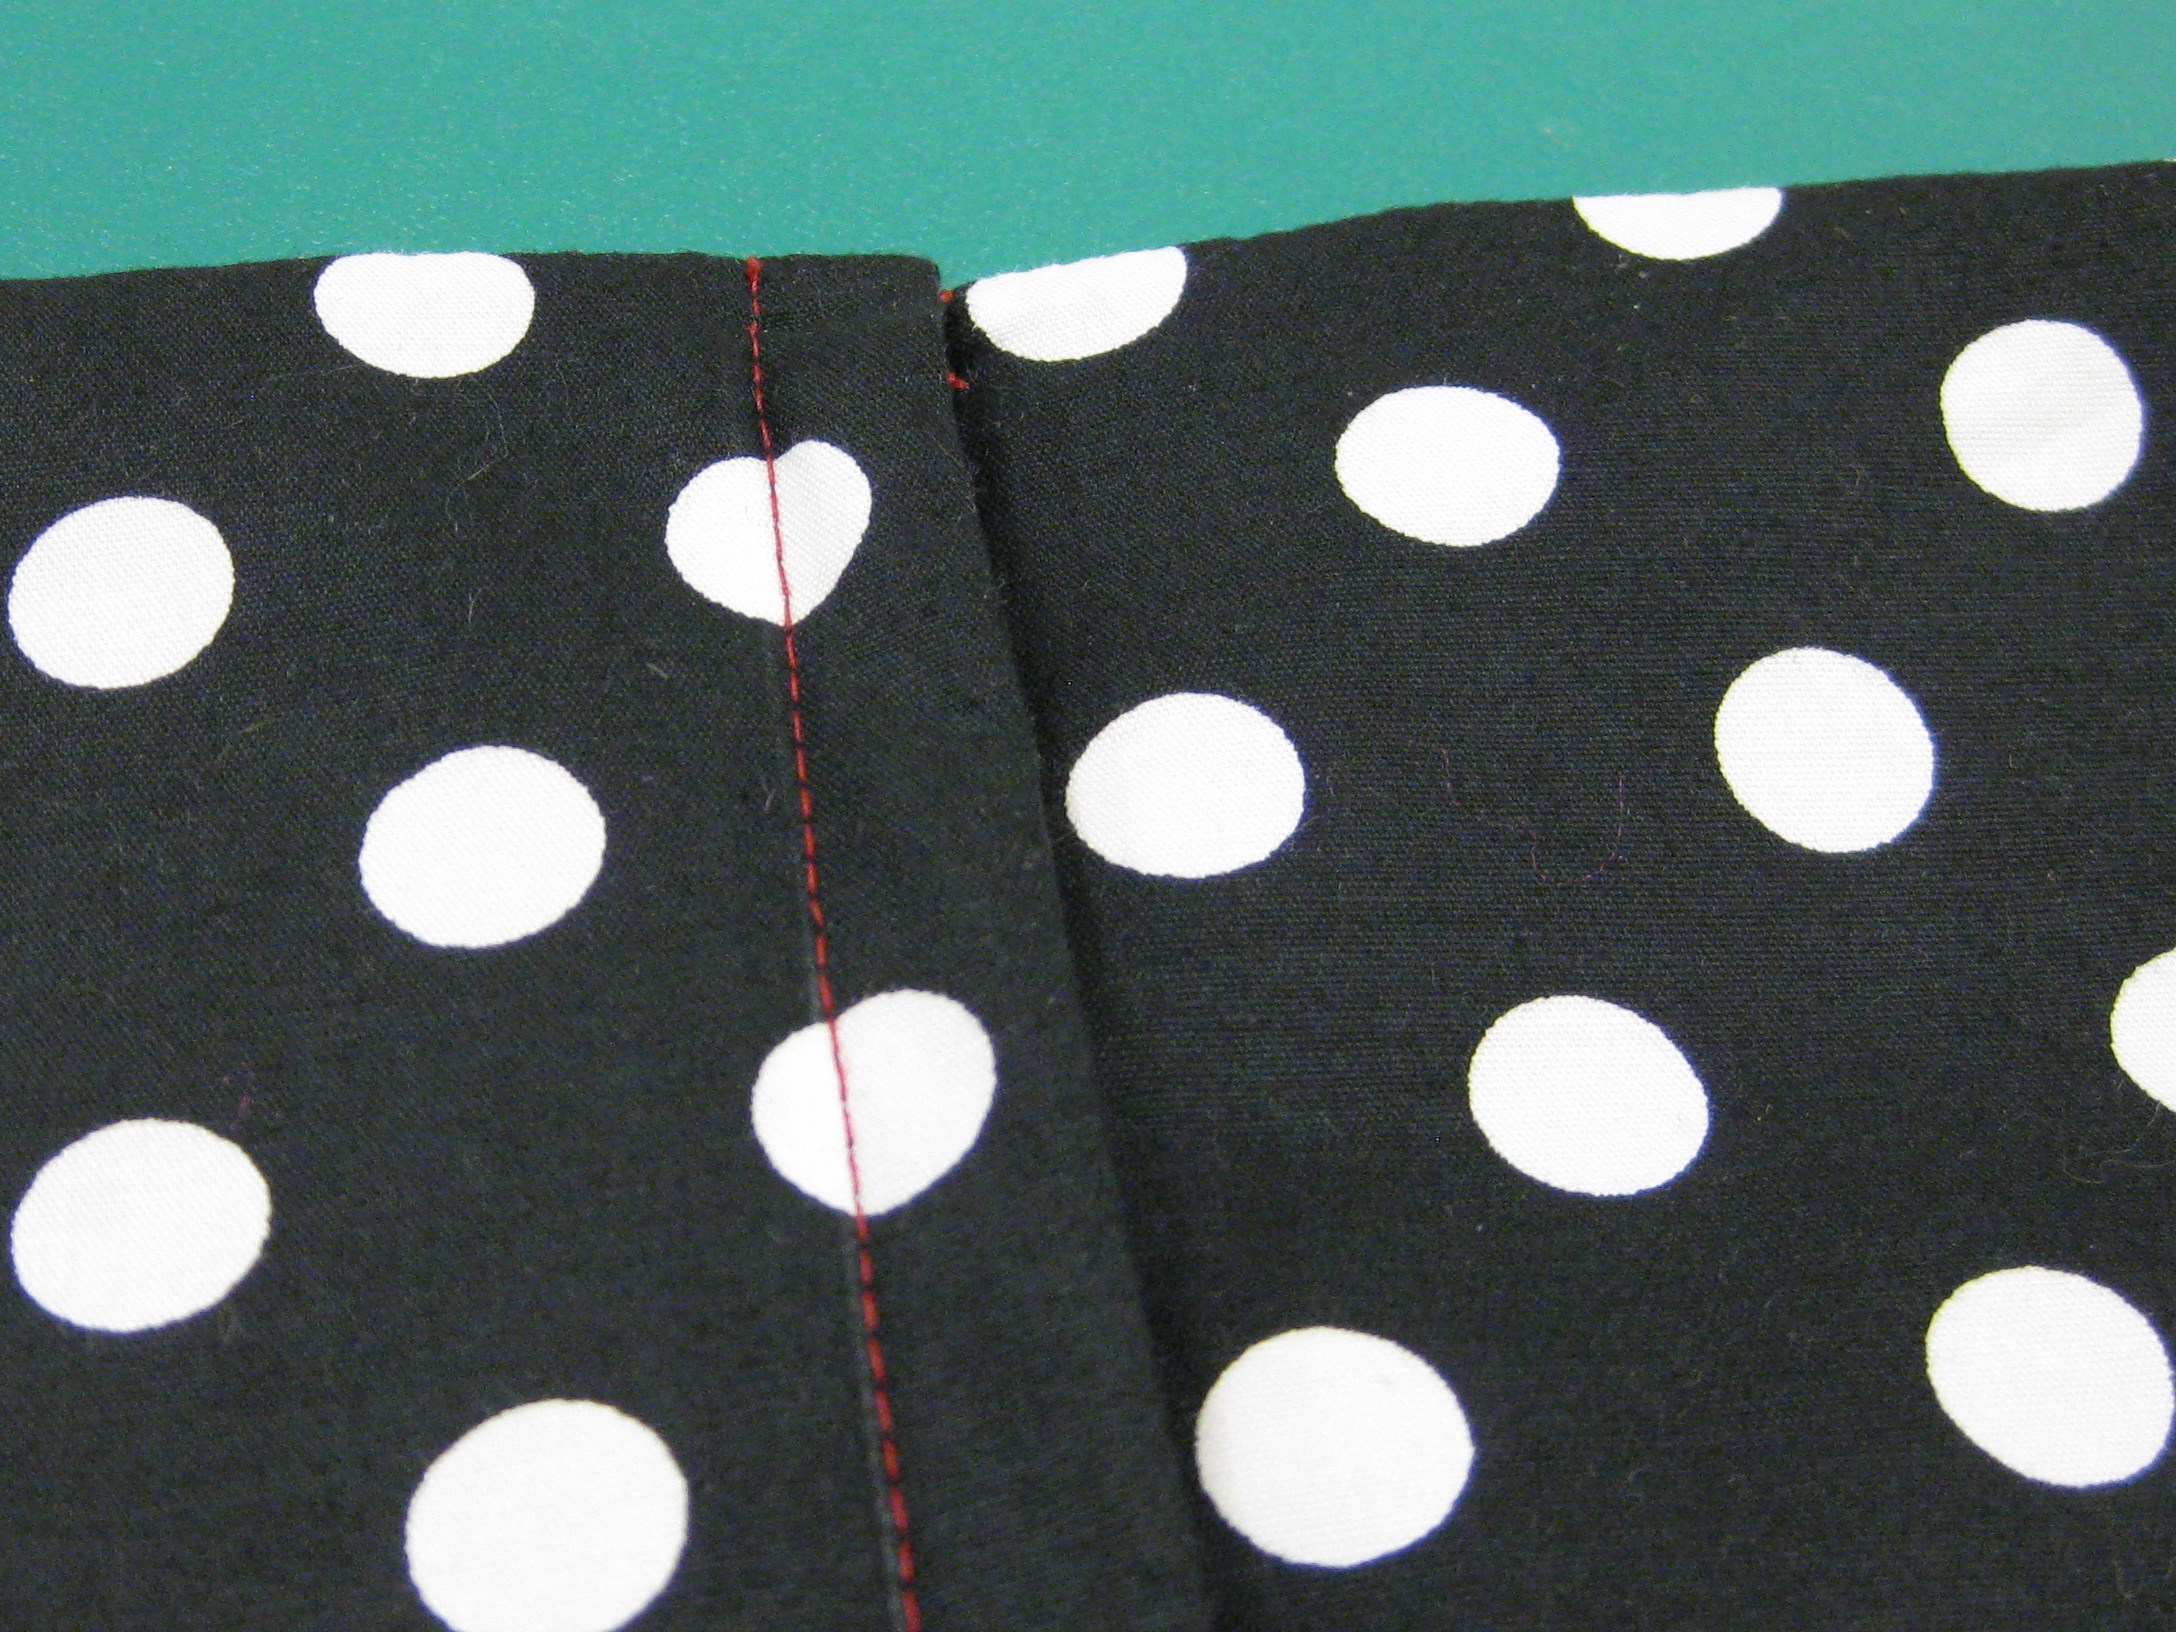
The seam allowances are pressed flat and then open. I place the garment on the ironing surface with the wrong side of the garment facing upwards and the end of the zipper opening to the left and make a tiny fold (about 3mm/ 1/8”) in the seam allowance on the left hand side of the garment and press in place.
Seam allowances pressed open full amount on RHS and 1cm/ 1/2″ on LHS.
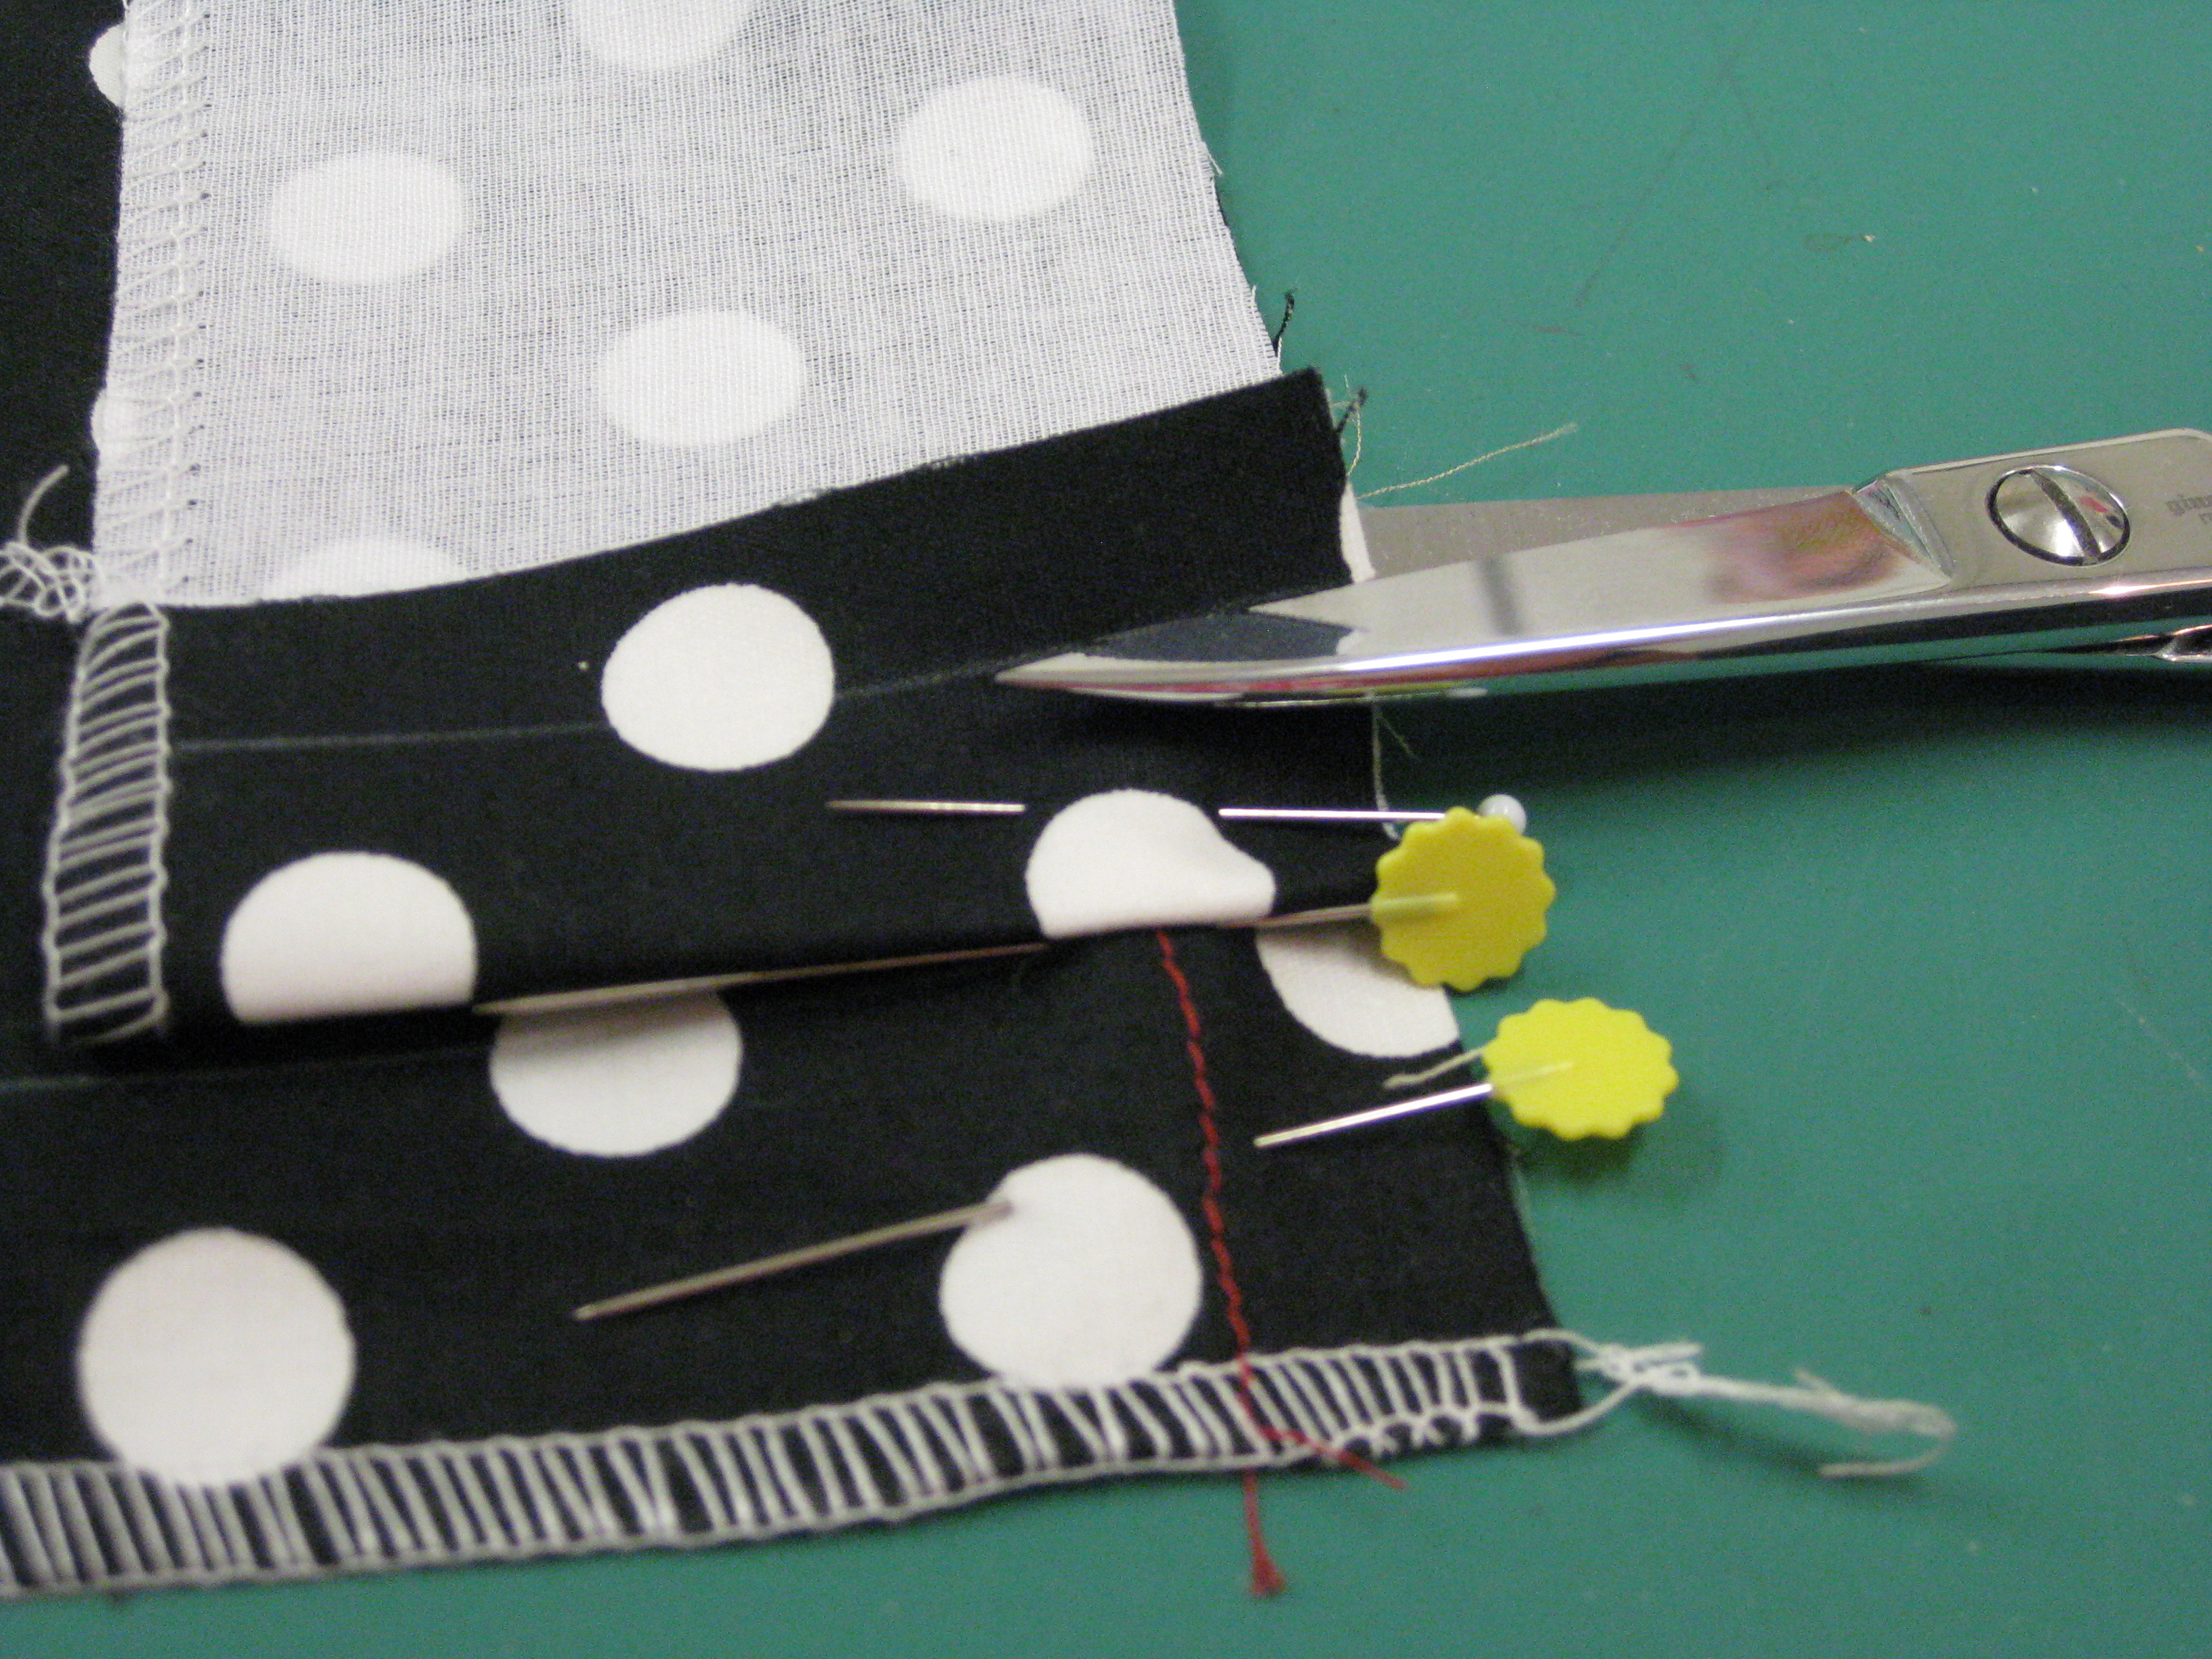
If necessary the zipper is shortened to the length of the opening plus 6mm/ 1/4″.
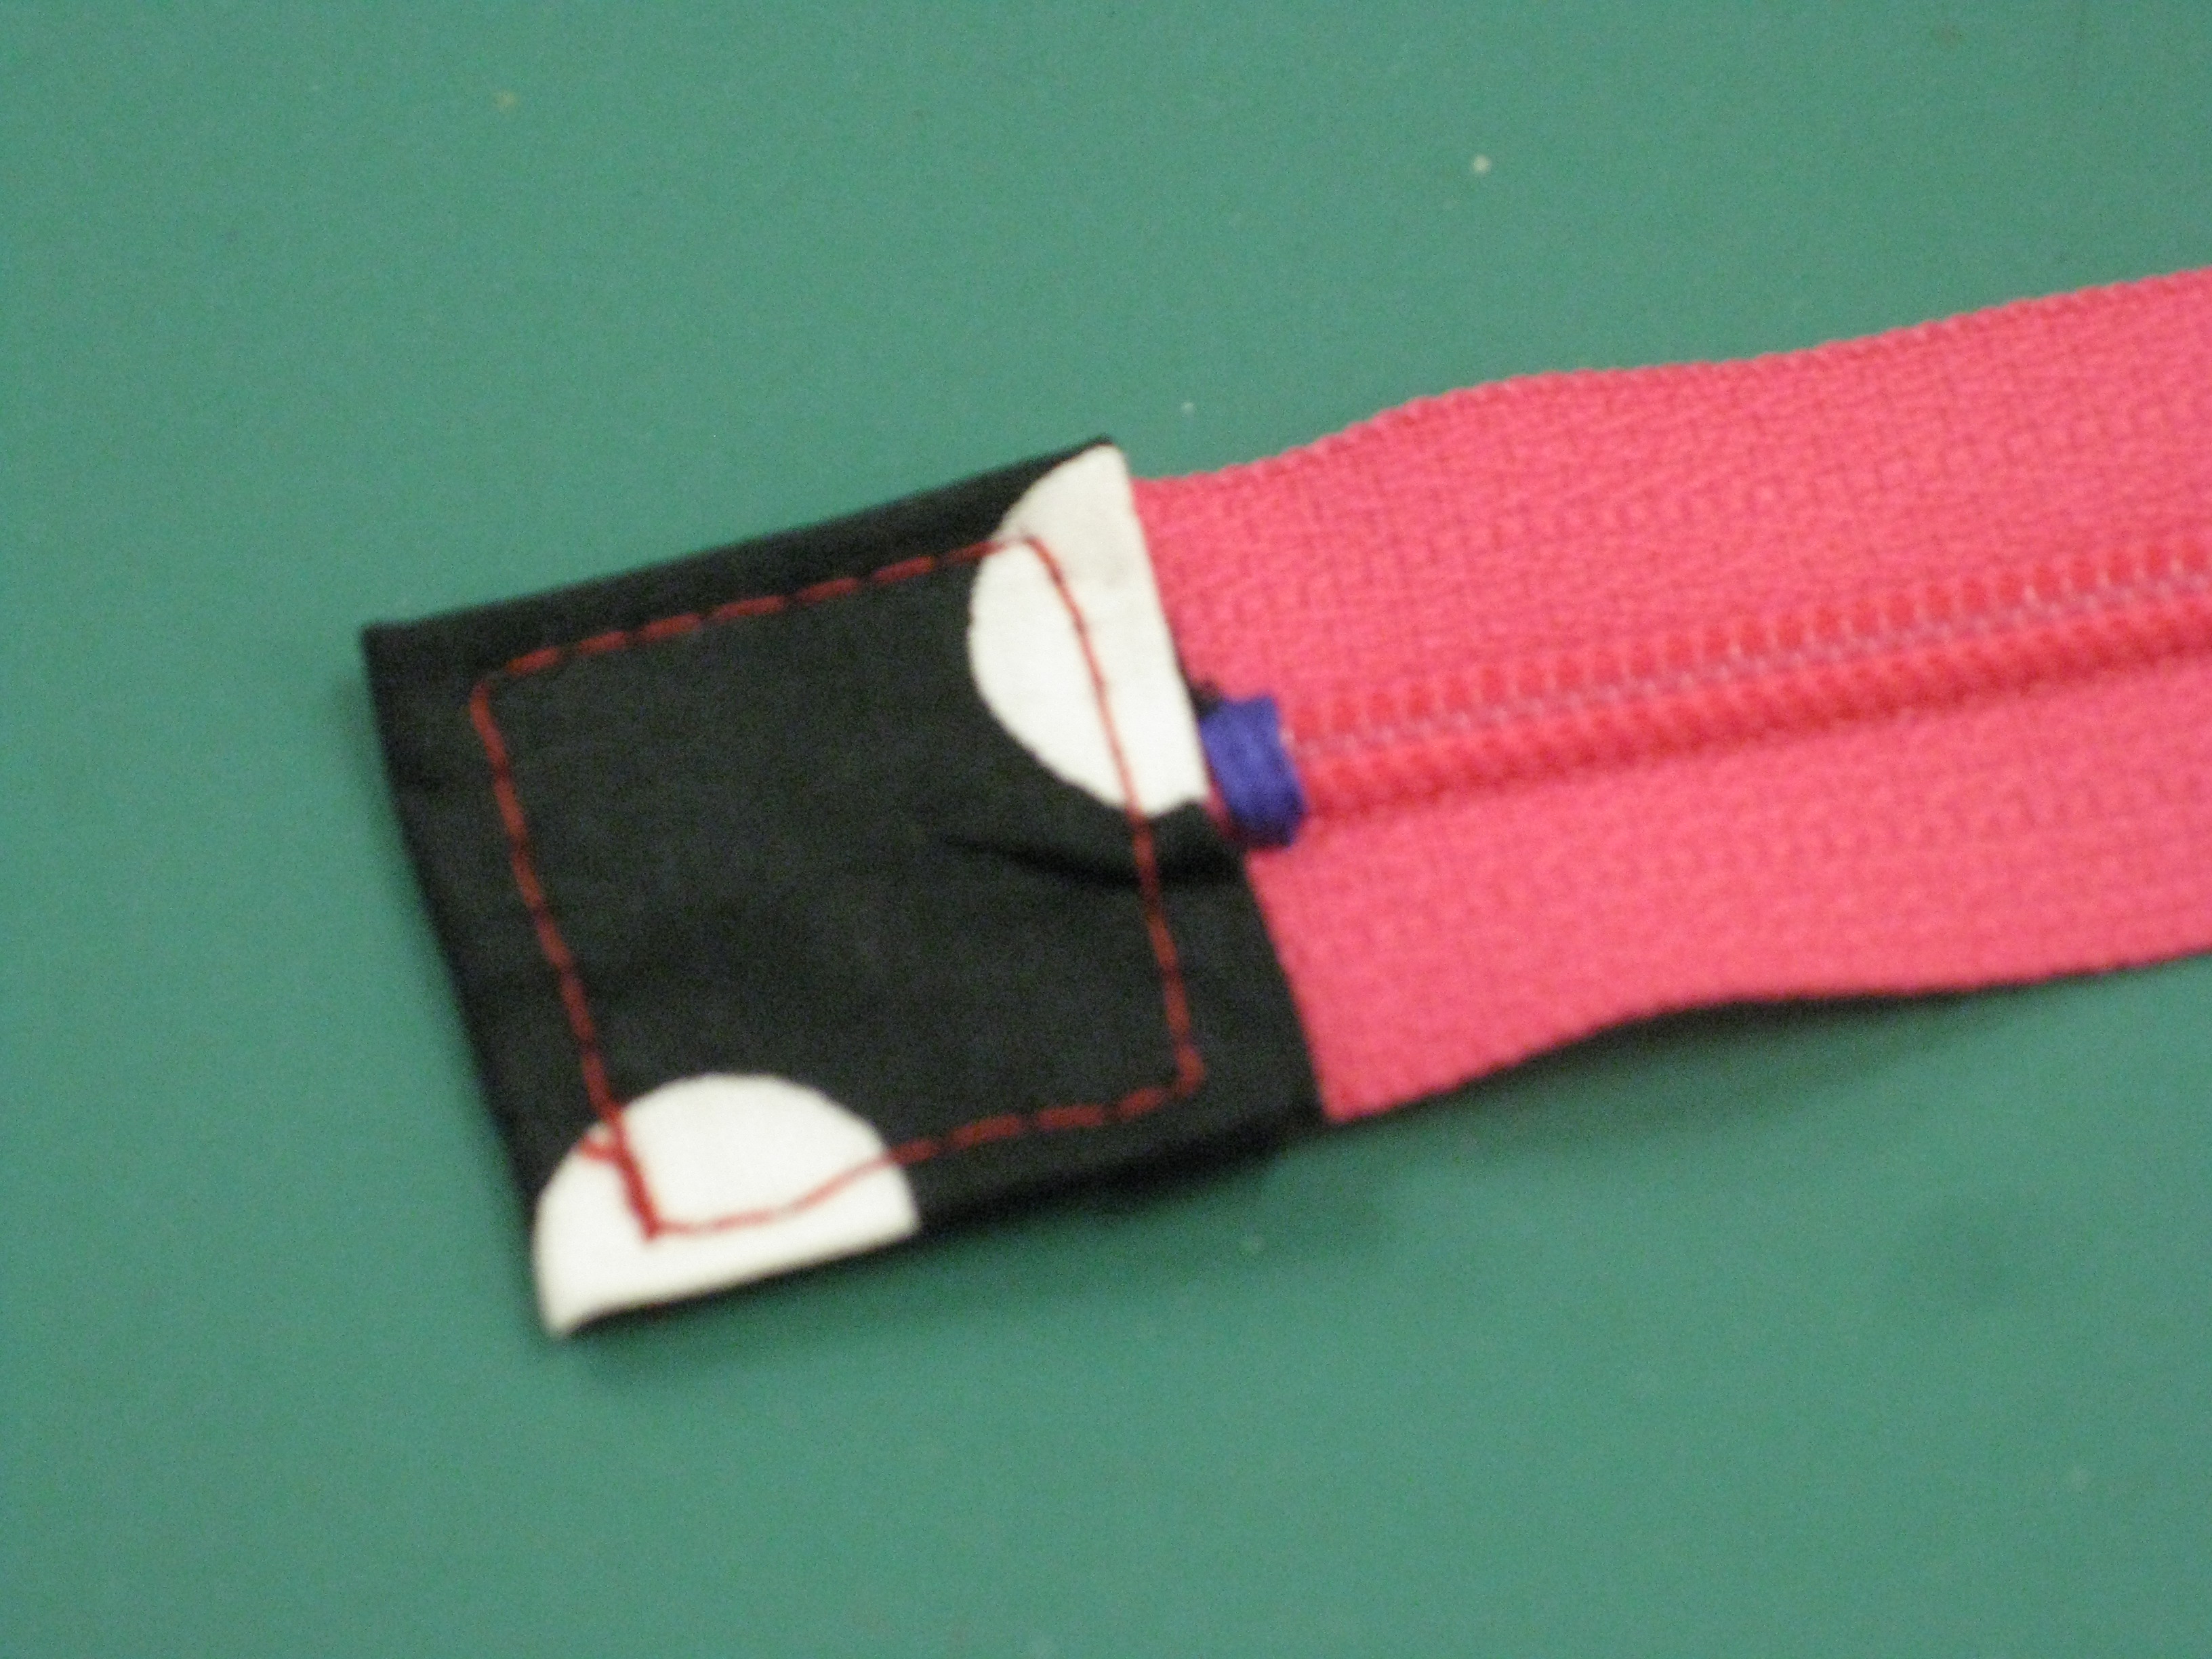
Shorten zipper to desired length; cut excess and cover
Attaching the Facing:
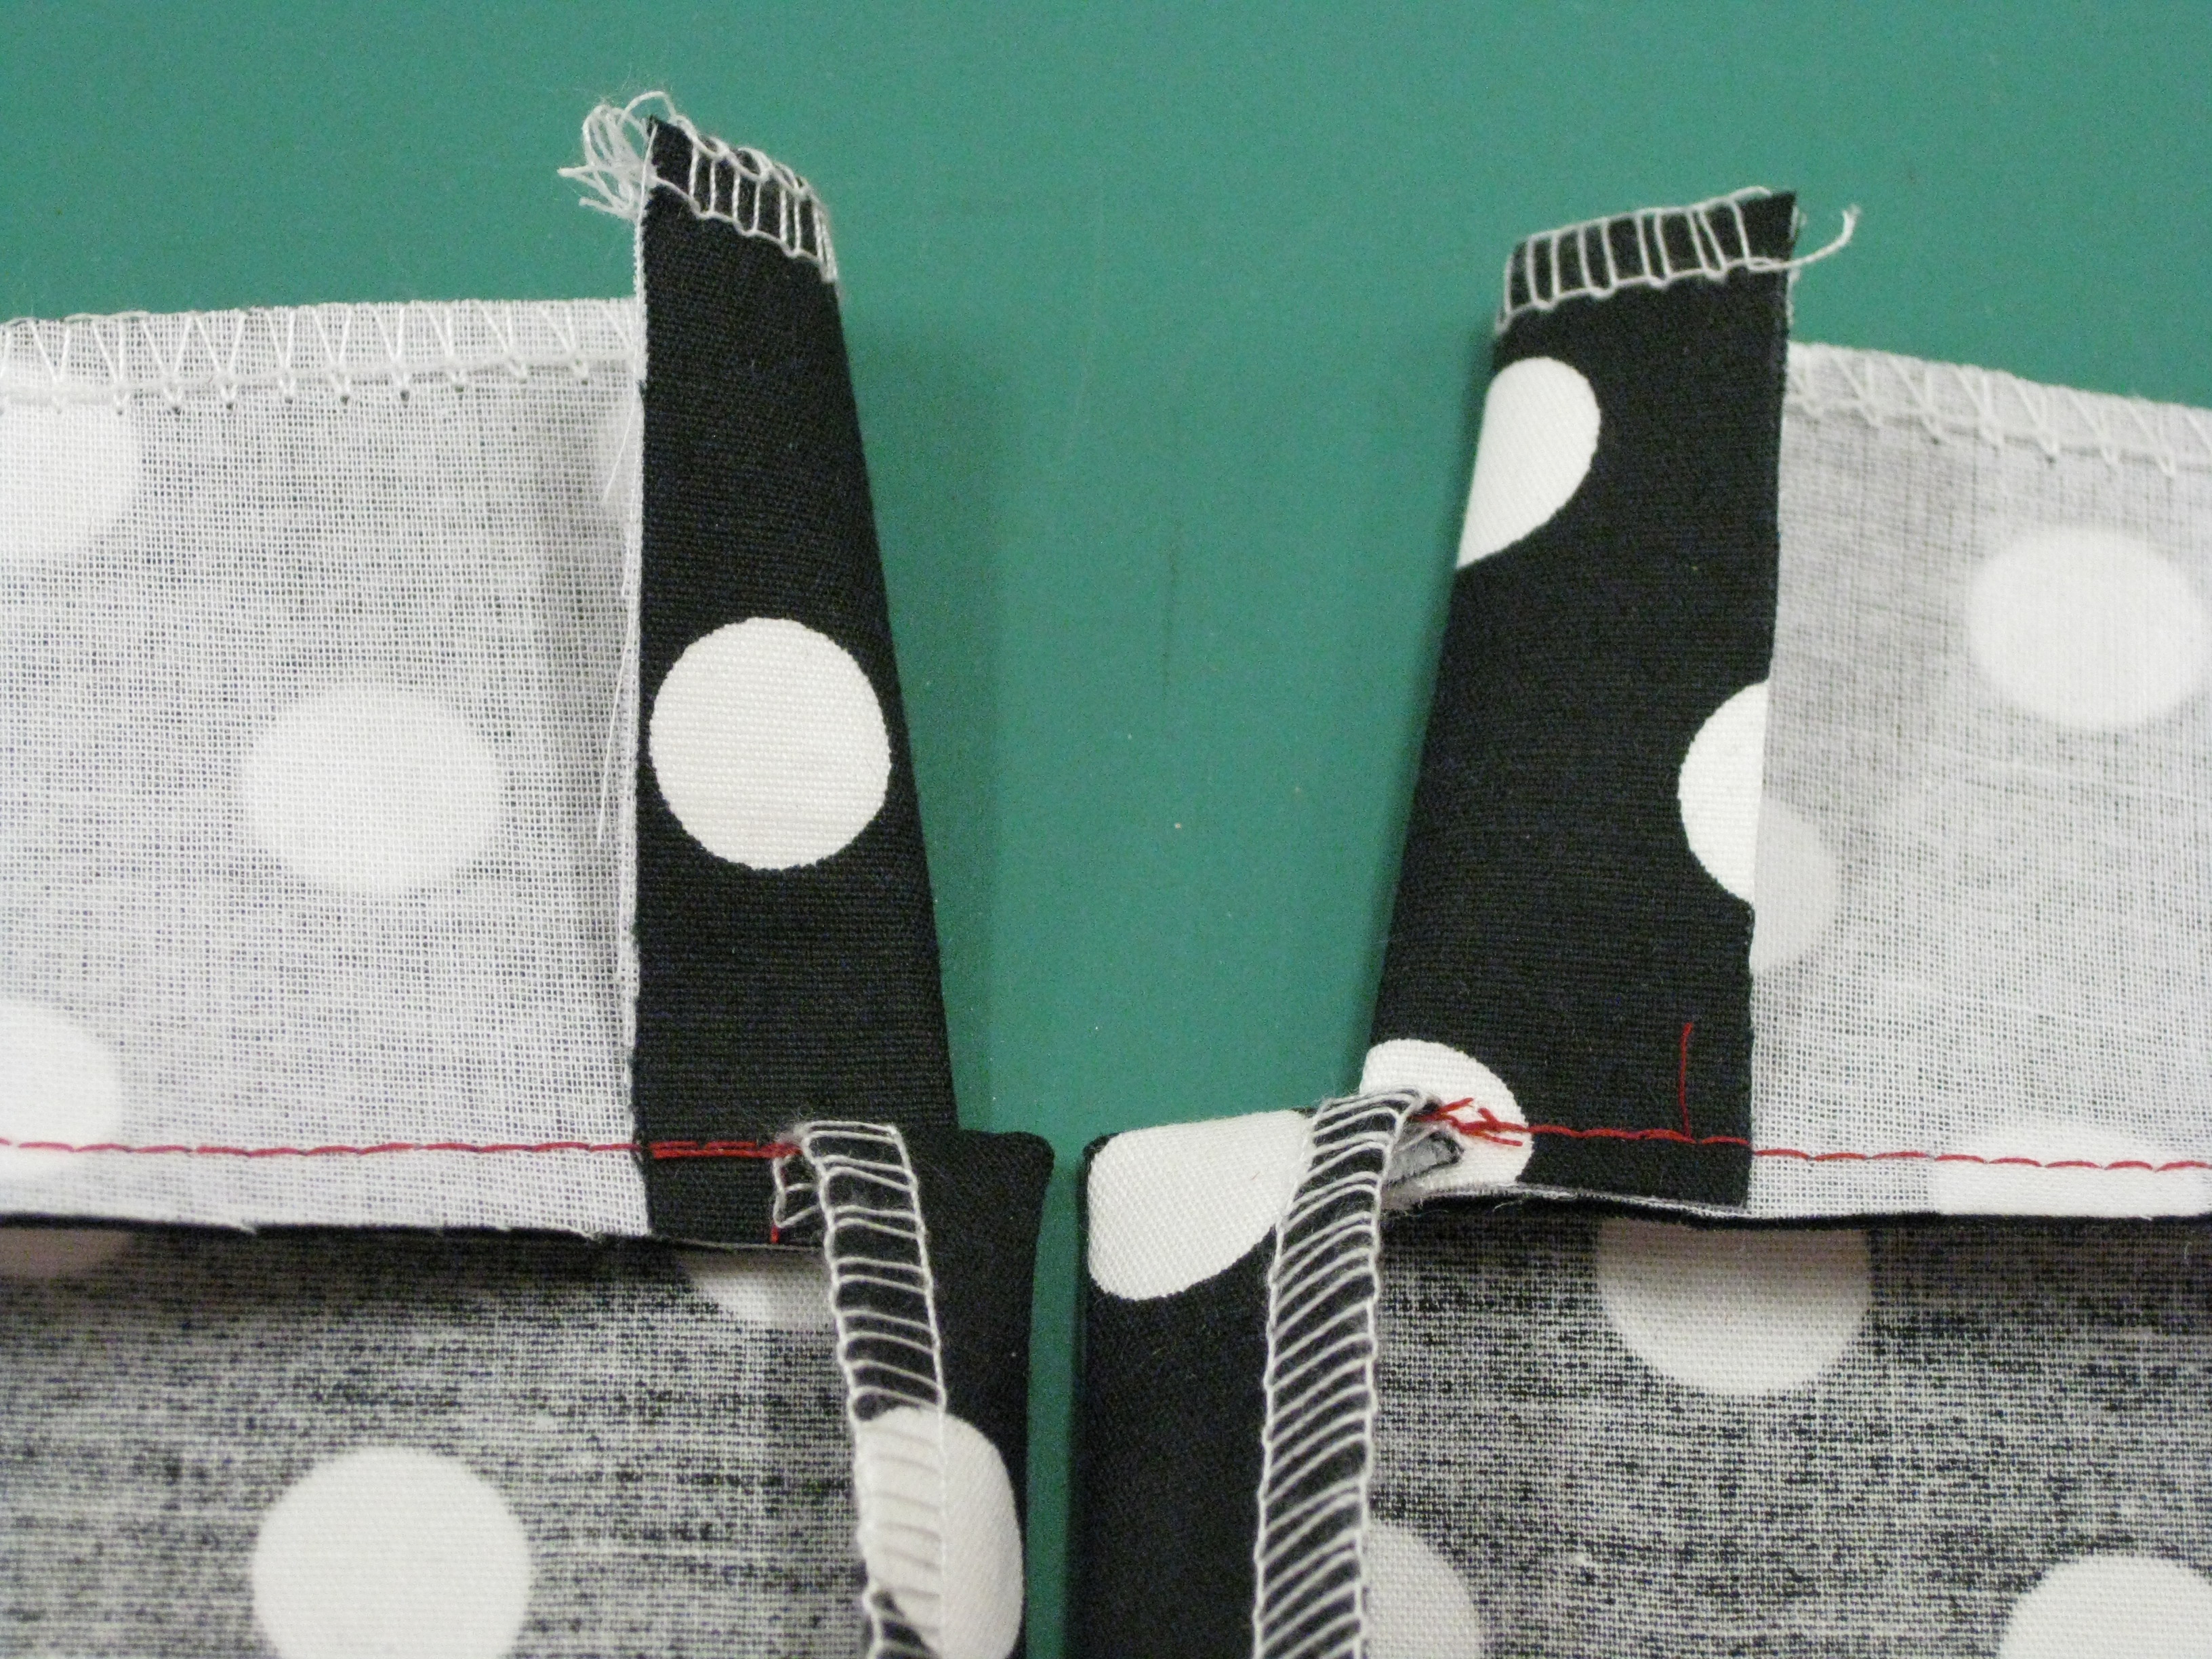
On left hand side, fold facing back by ½”/1cm – this is the depth of the stitching line for the zipper from the seam line.
On right hand side, fold facing back flush with zipper seam line then fold back 3/8”/9mm towards right side of garment, over the folded facing.
Pin mark CB and topstitching line for zipper
Fold seam allowance back over the facing and pin in place
Stitch both sides of facing in place through all layers.
Stitch seam through all layers
Trim the seam allowance before pressing and under stitching the facing.
Trim seam allowance and understitch
Installing the Zipper:
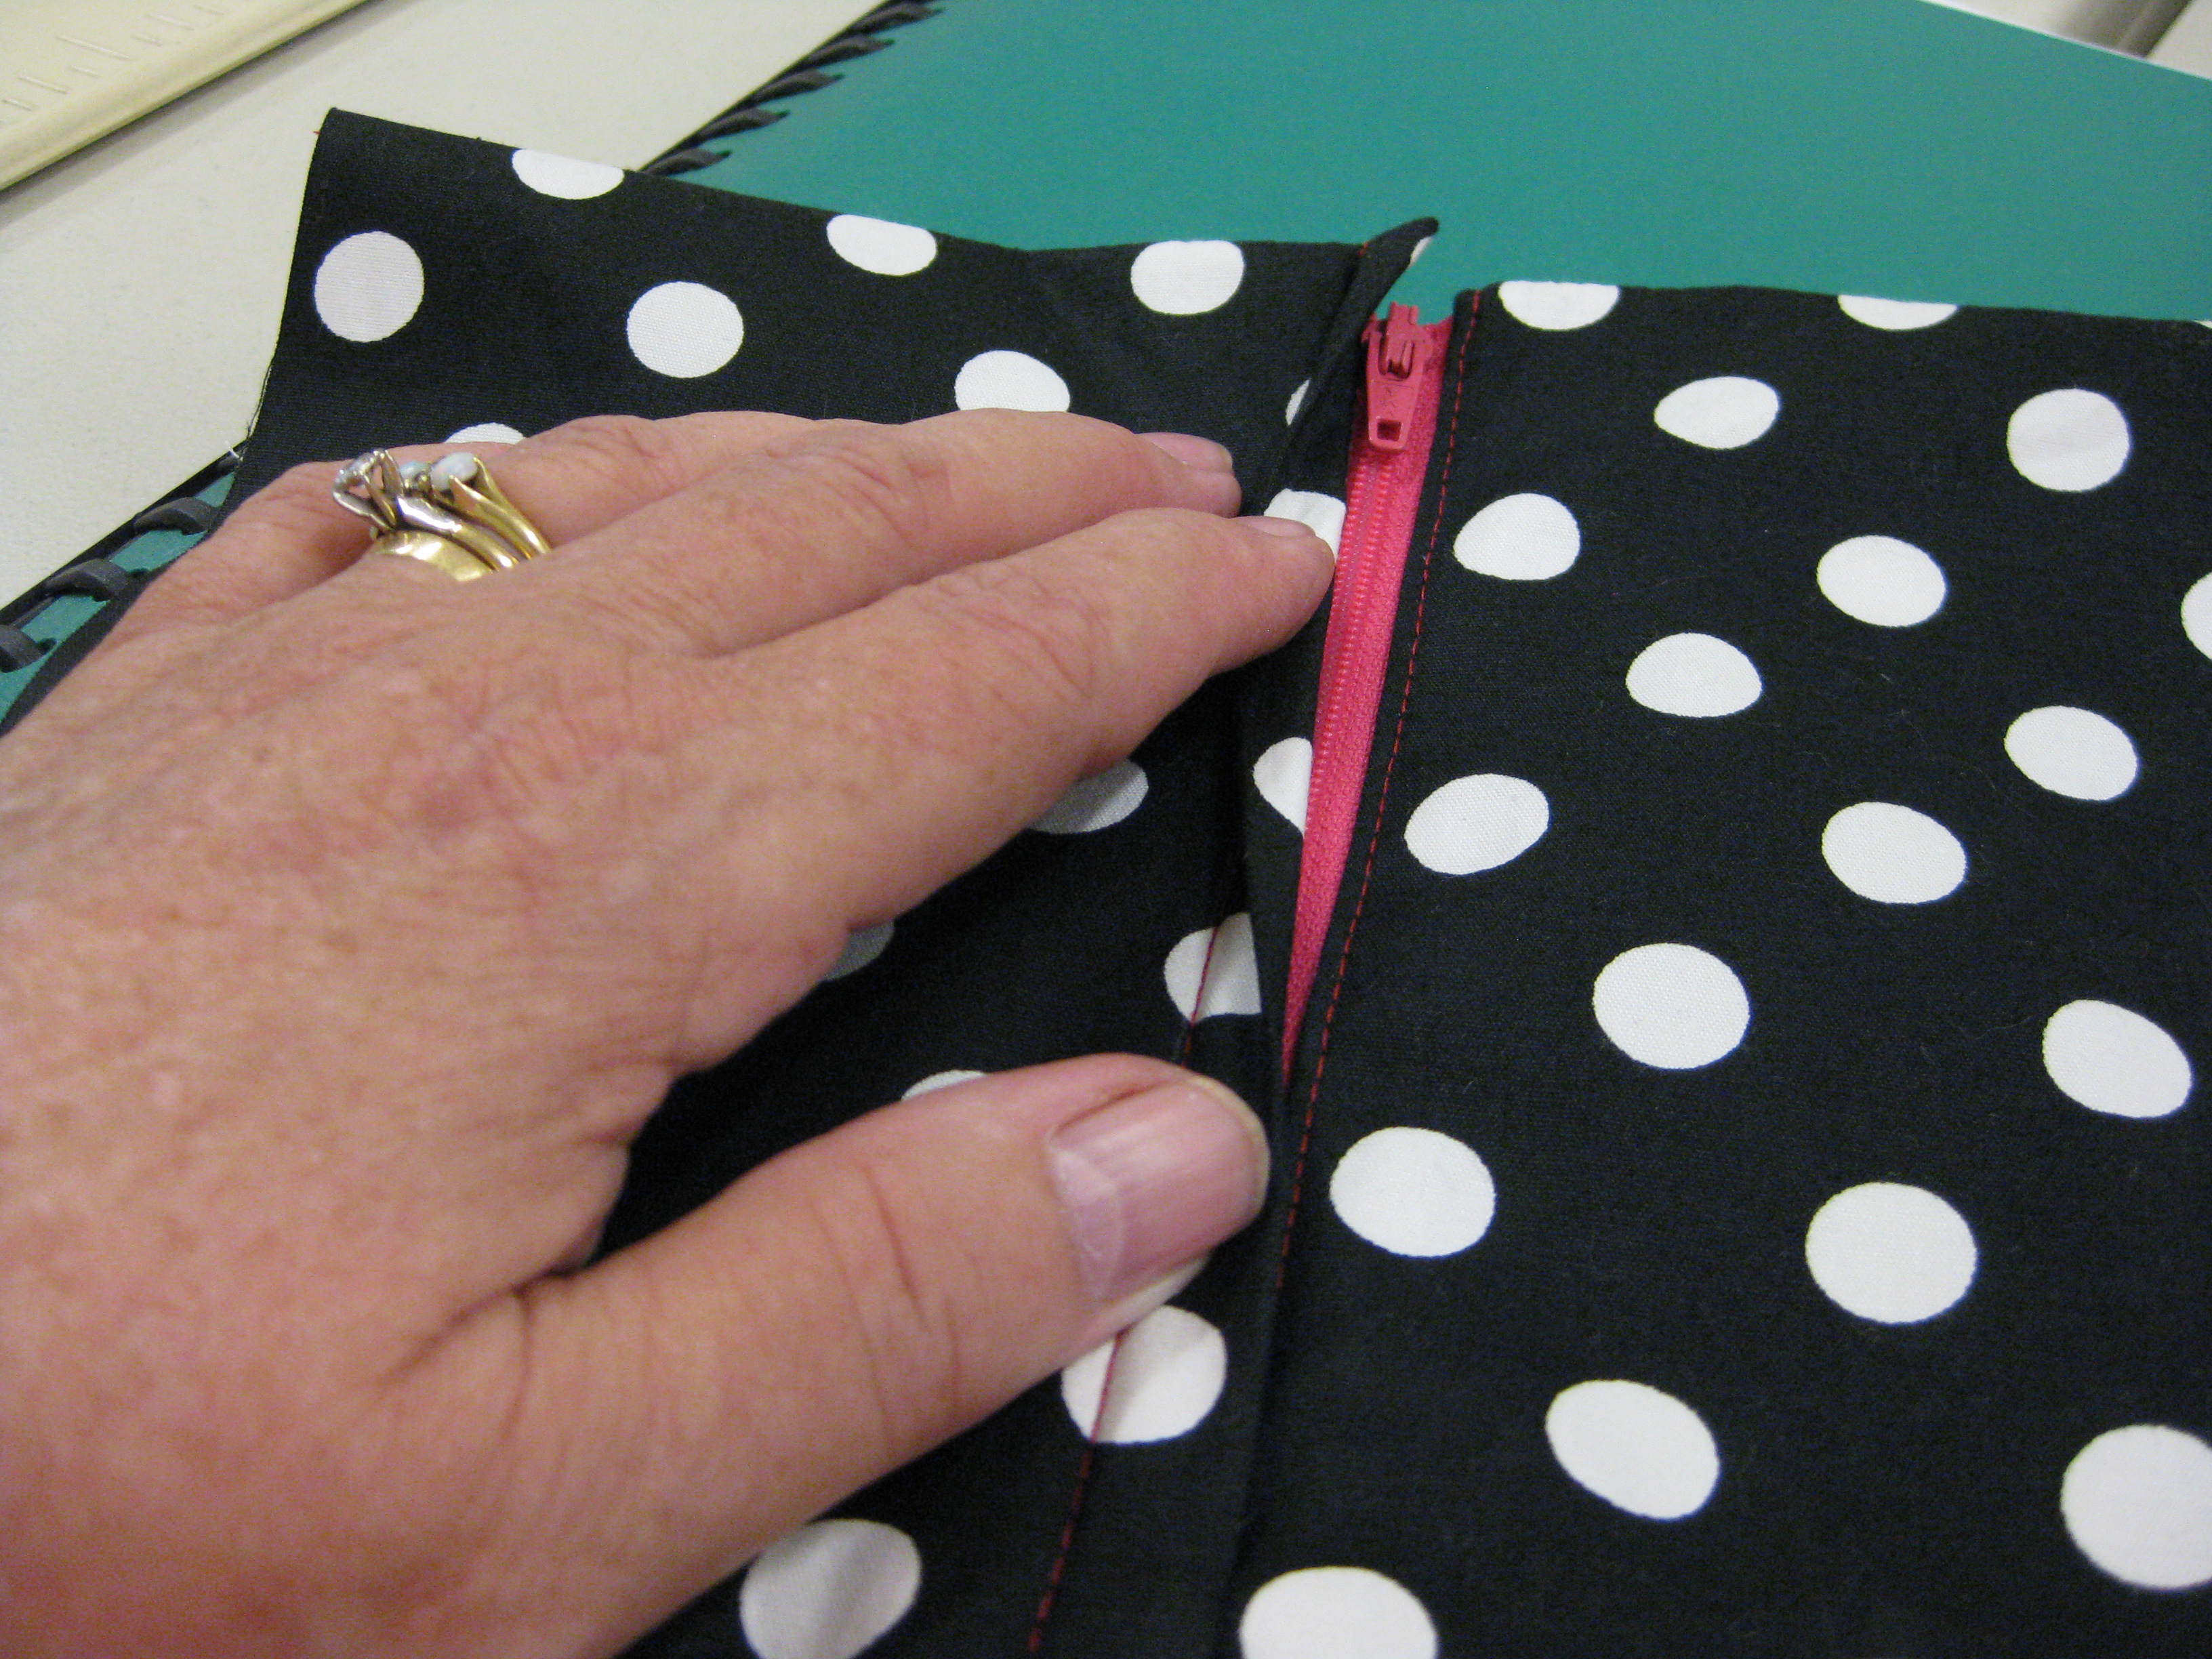
I position the left hand side of the zipper under the pressed fold slightly away from the teeth and the stop level with the bottom of the zipper opening and either pin or baste in place.

Position LHS of zipper under folded seam allowance
If the fabric is thick, the fold should be further away from the teeth to allow for the turn of the cloth and for the zipper pull to slide easily without catching the fabric.
The stitch length should be adjusted according to the thickness of the fabric and zipper tape. A longer stitch will be needed if the fabric is thick.
Attach the zipper foot – a lot of today’s modern machines have a zipper foot with a single blade and it is intended that you attach the foot on either the left or right hand side of the needle. A good way to check whether it is positioned correctly, is to remember that the blade of the foot should never sit on top of the zipper teeth.
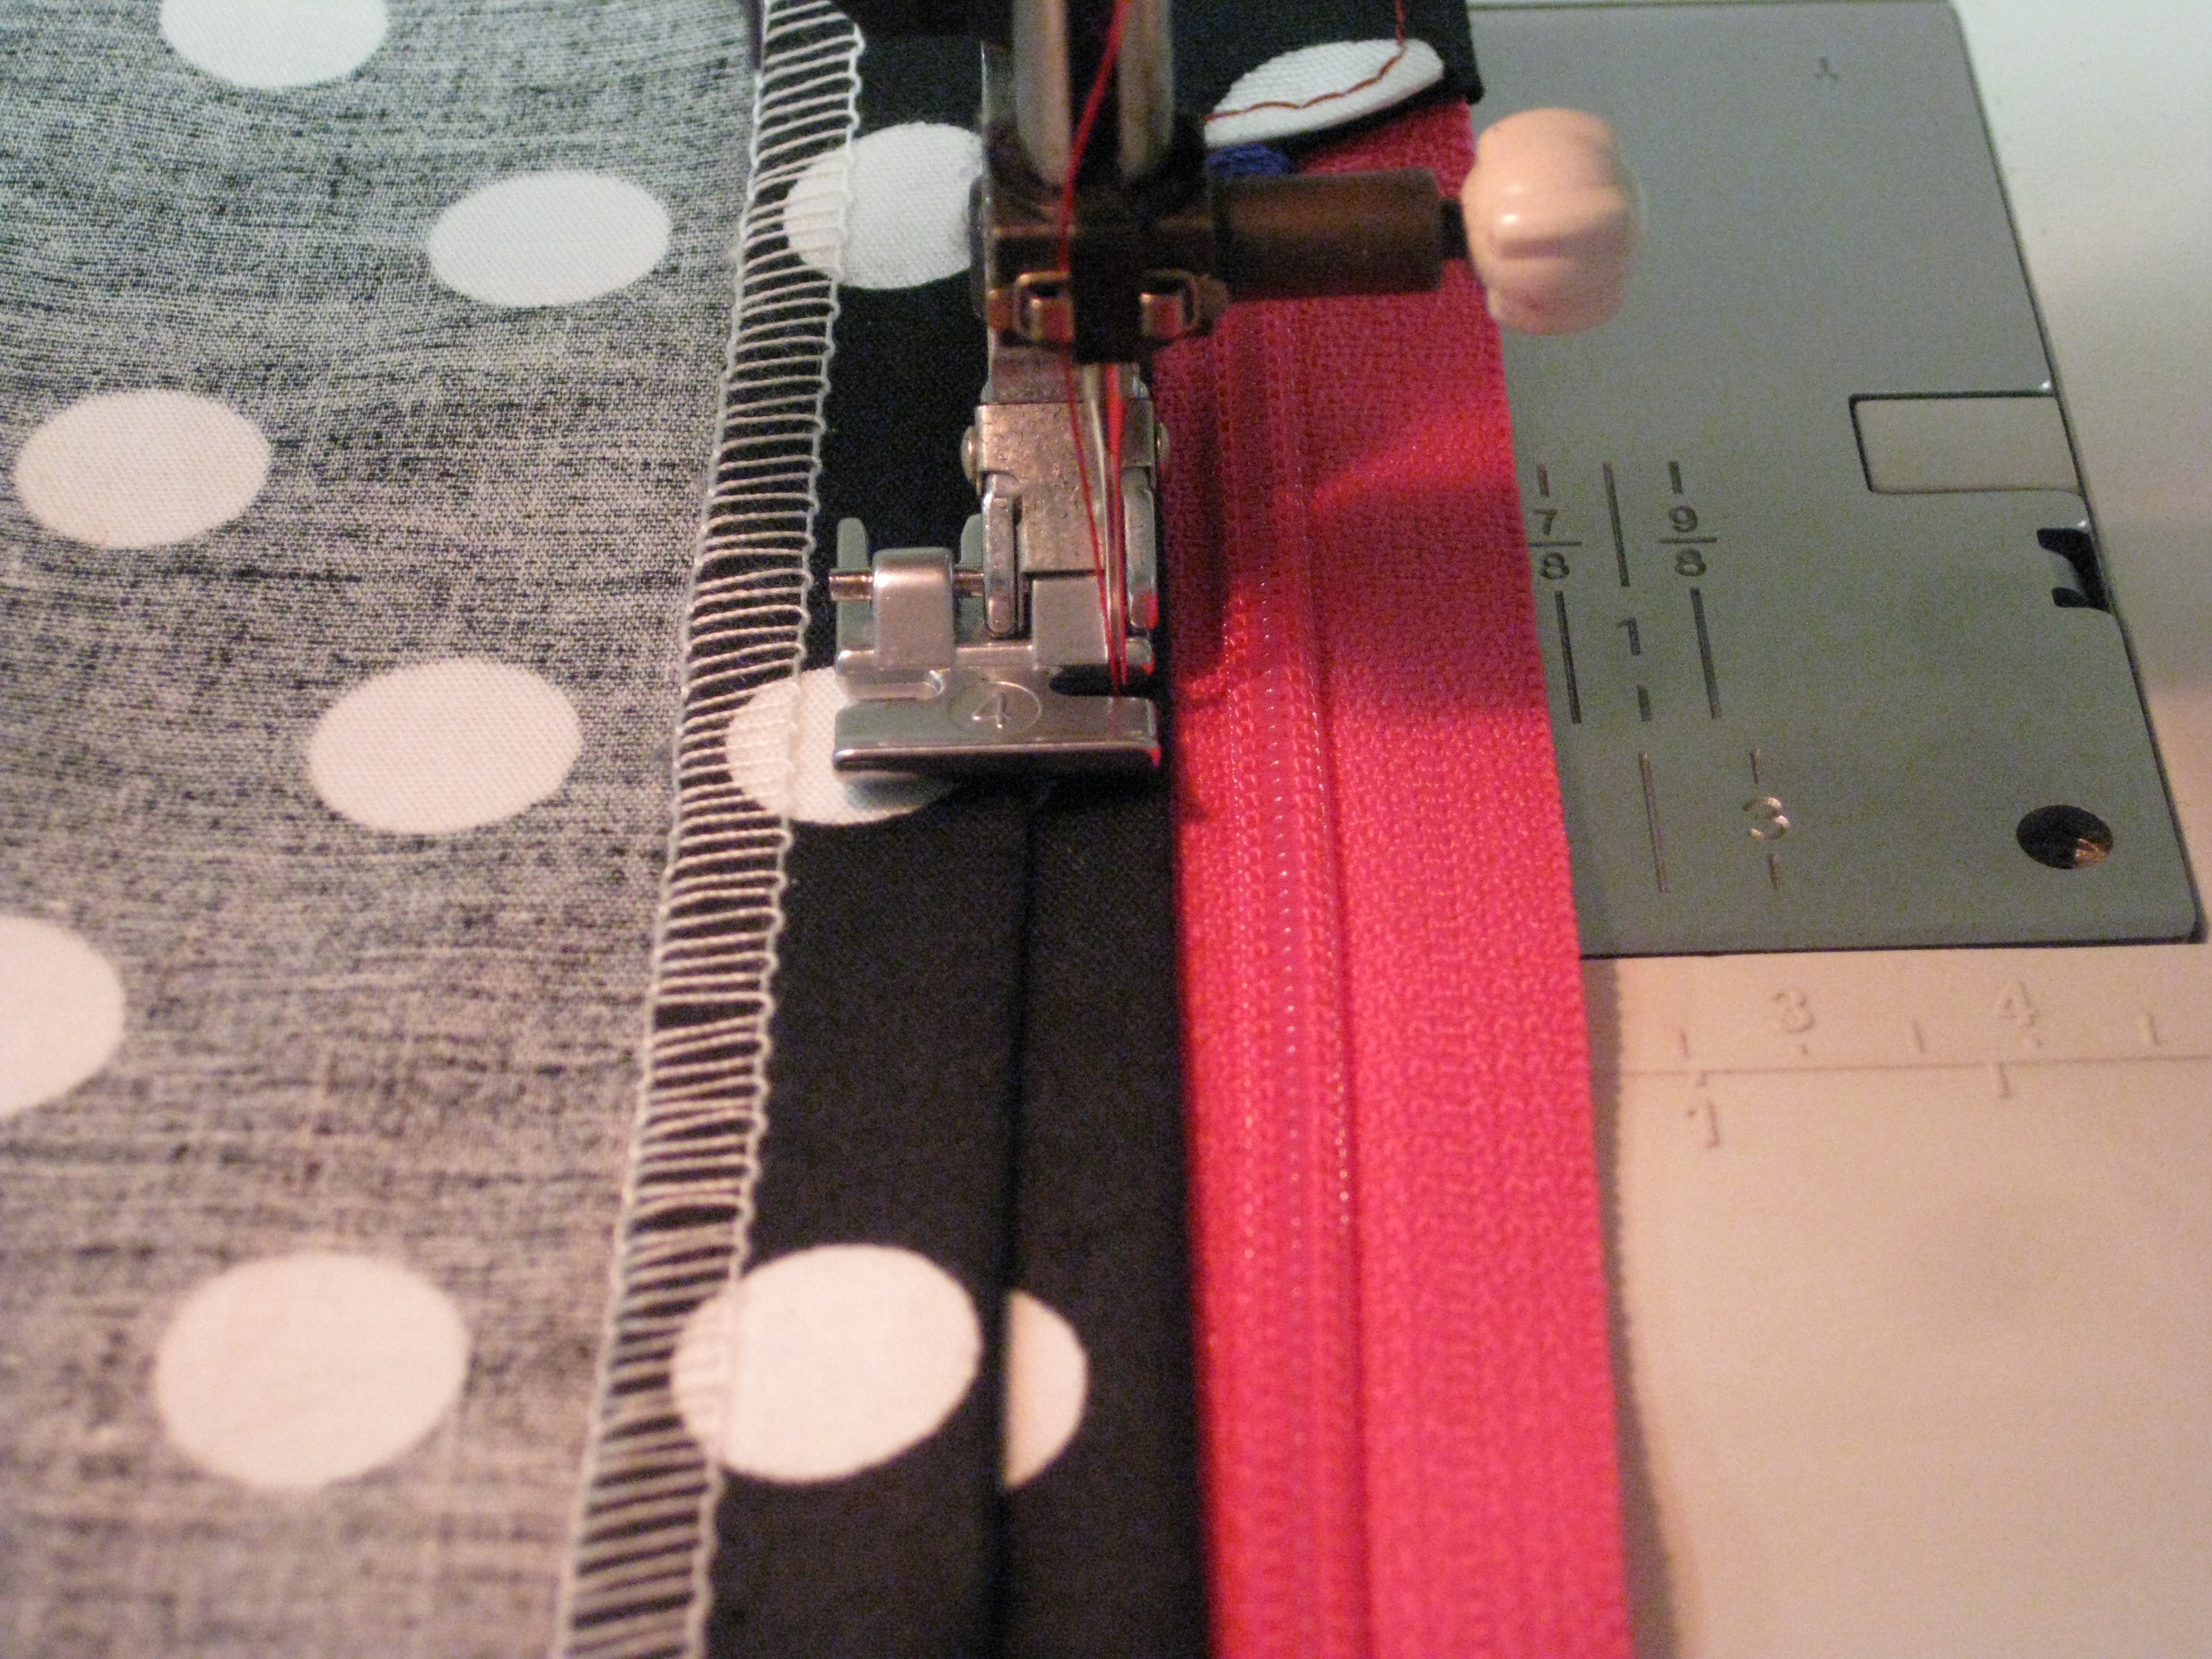
Stitch in place allowing space for zipper pull
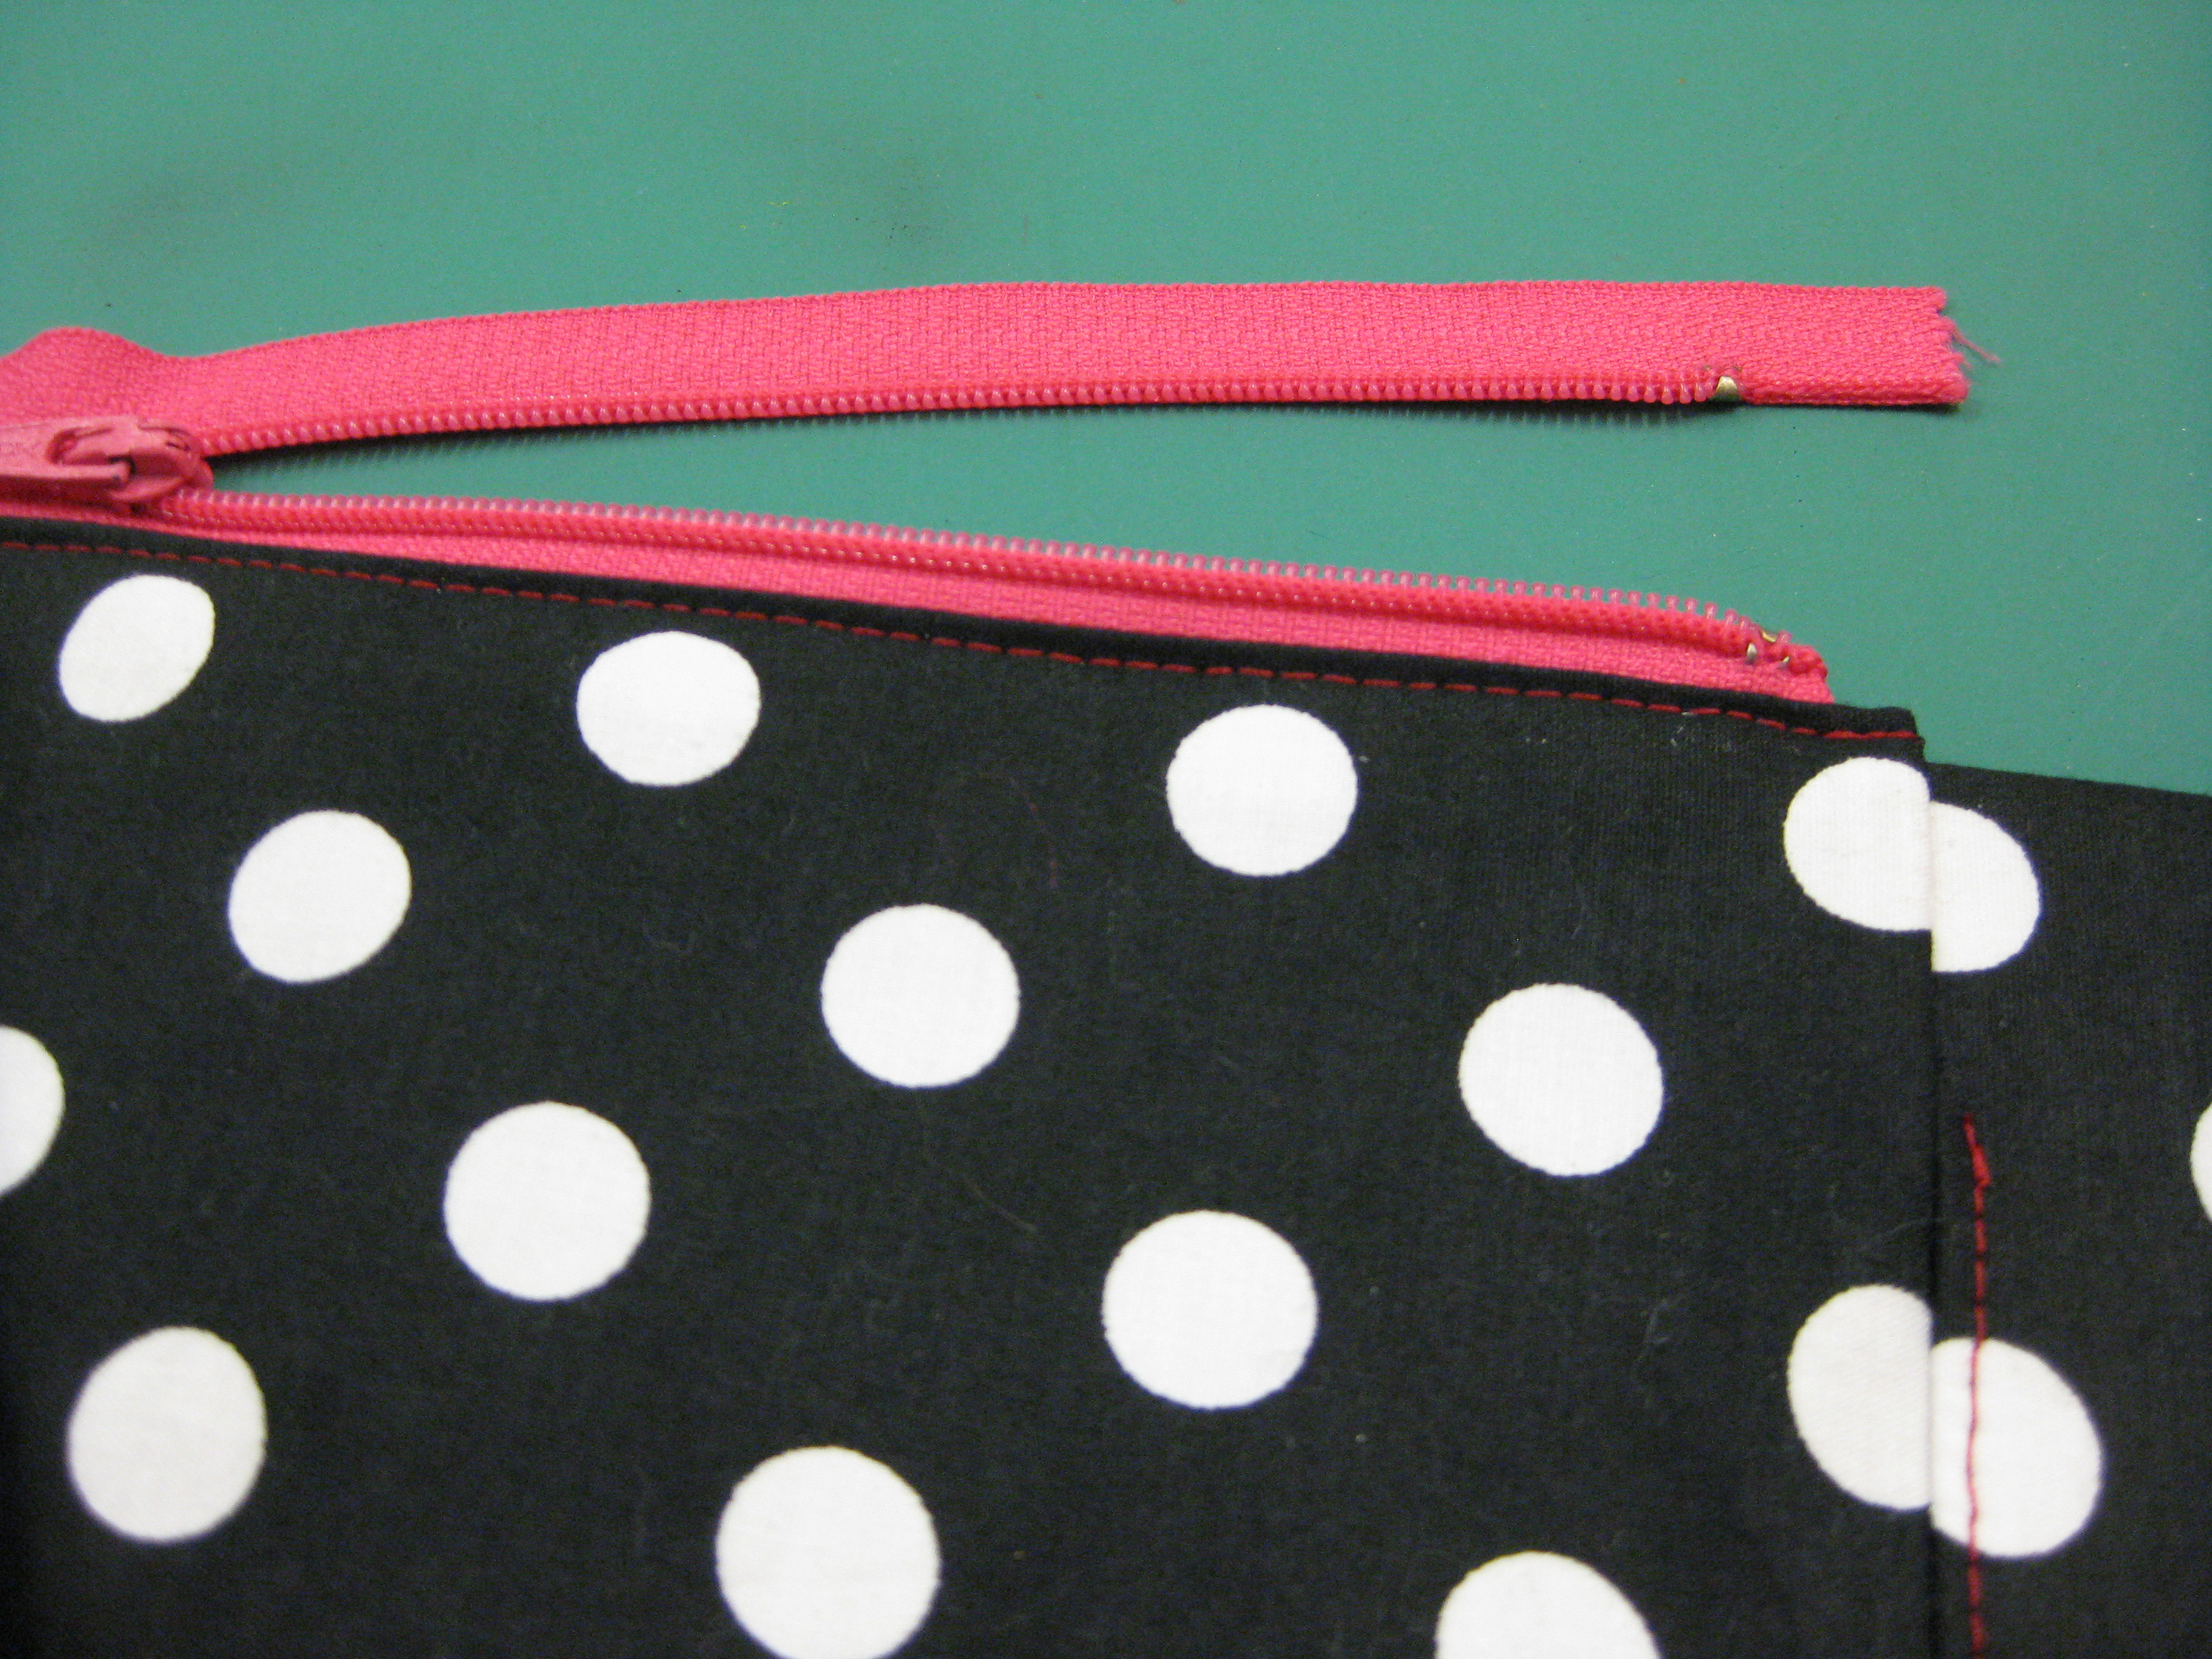
Fold top of tape above coil under and stitch to top
I position the garment and sink the needle into the fold, close to the edge of the zipper. Once it in position, I check how far the foot is from the zipper teeth and use this measurement as a guide for stitching. Lower the presser foot and stitch from the zipper stop and up to within 5cm/2” of the top end of the teeth– do not backstitch but pull threads to the underside and knot securely.
Turn the garment right side up and place it on a flat surface.
Pin the fabric on the right hand side of the garment and hand baste where the topstitching line will appear on the garment (usually at 1cm/ ½” from the seam line). Turn the garment over and check that nothing is caught underneath before stitching.
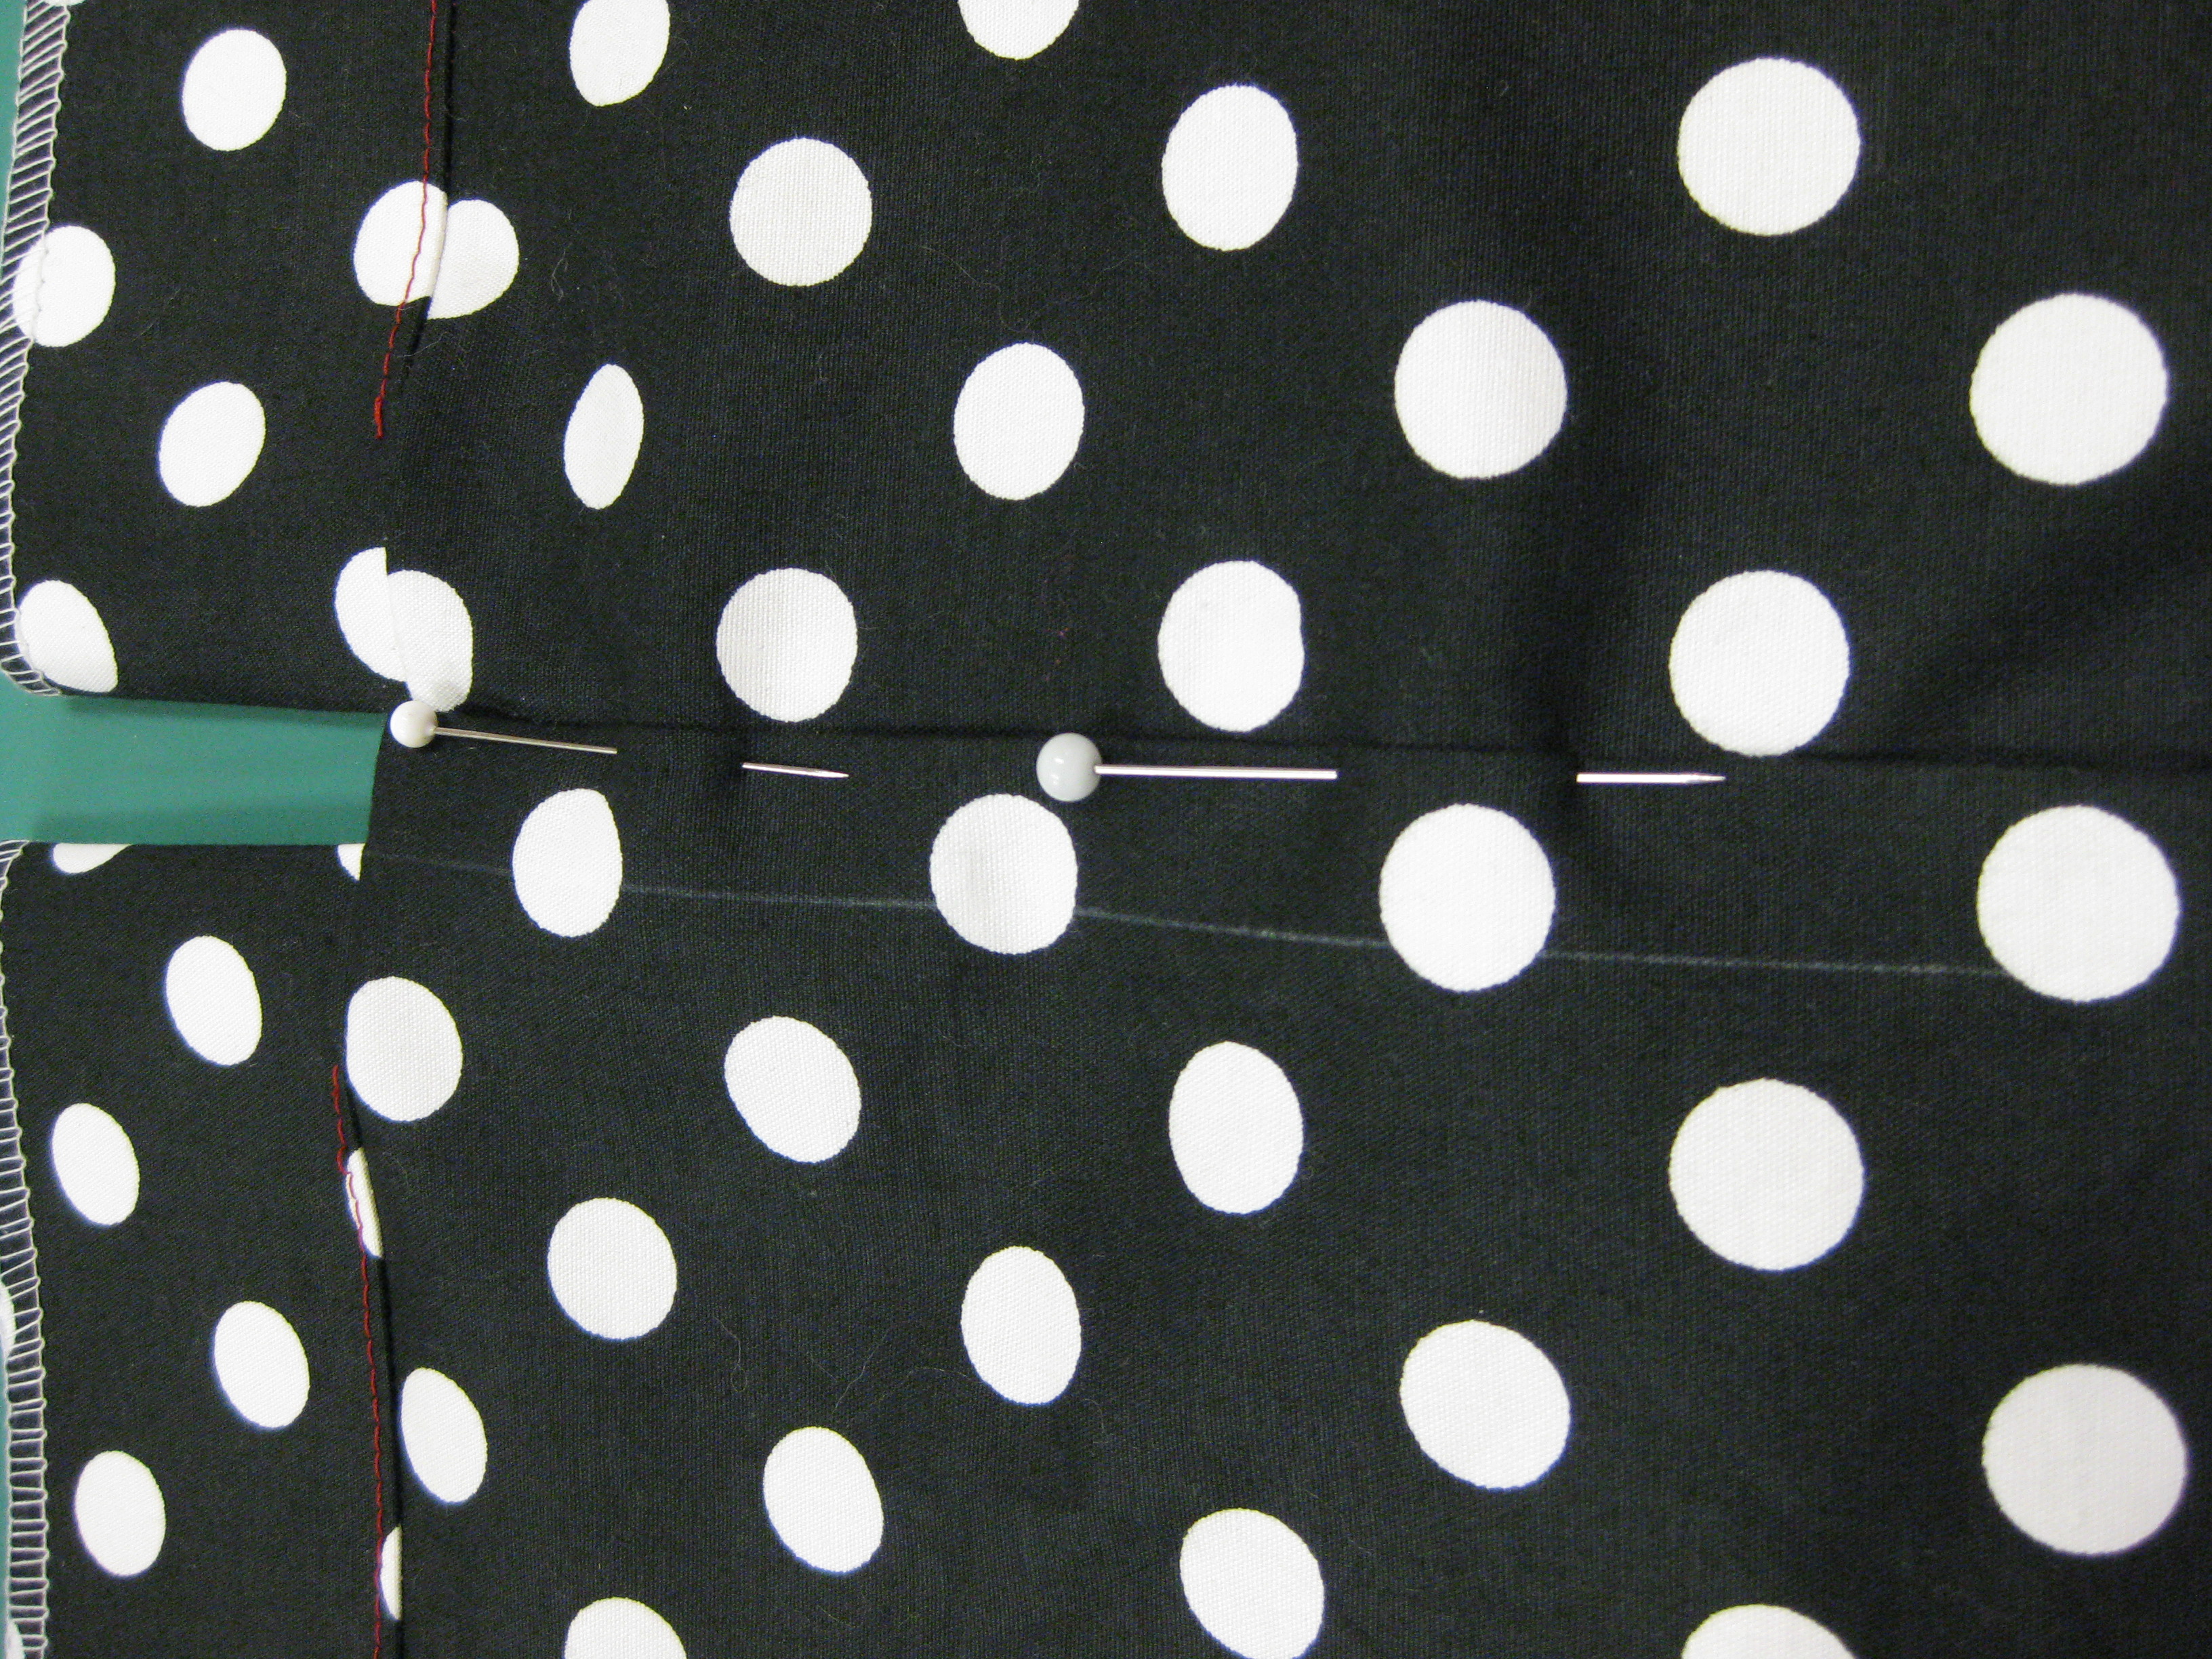
Align fold on RHS with CB on LHS and pin in place
Personal preference will dictate whether the stitching at the bottom of the zip is placed at right angles or diagonally from the seam line. Regardless of the direction of these stitches, do not backstitch. Simply sink the machine needle into the sewn seam line and set your stitches to a length of 0.5. Stitch a few stitches and change to the regular stitch length. Hand wind the stitches so they end precisely at the topstitching line for the zipper. Pivot and continue stitching parallel to the zipper up to the top of the opening.
After zip is set, I steam press to remove any creases or wrinkles – if fabric is inclined to mark easily, I apply steam only (no iron) and then press gently with my hands – placing garment over a seam roll or tailor’s ham.
The facings are turned to the inside and handstitched to the zipper tape on either side before applying hook and eye.

Underside when both sides of zipper stitched in place
Thread bar on underside; hook on upper side.

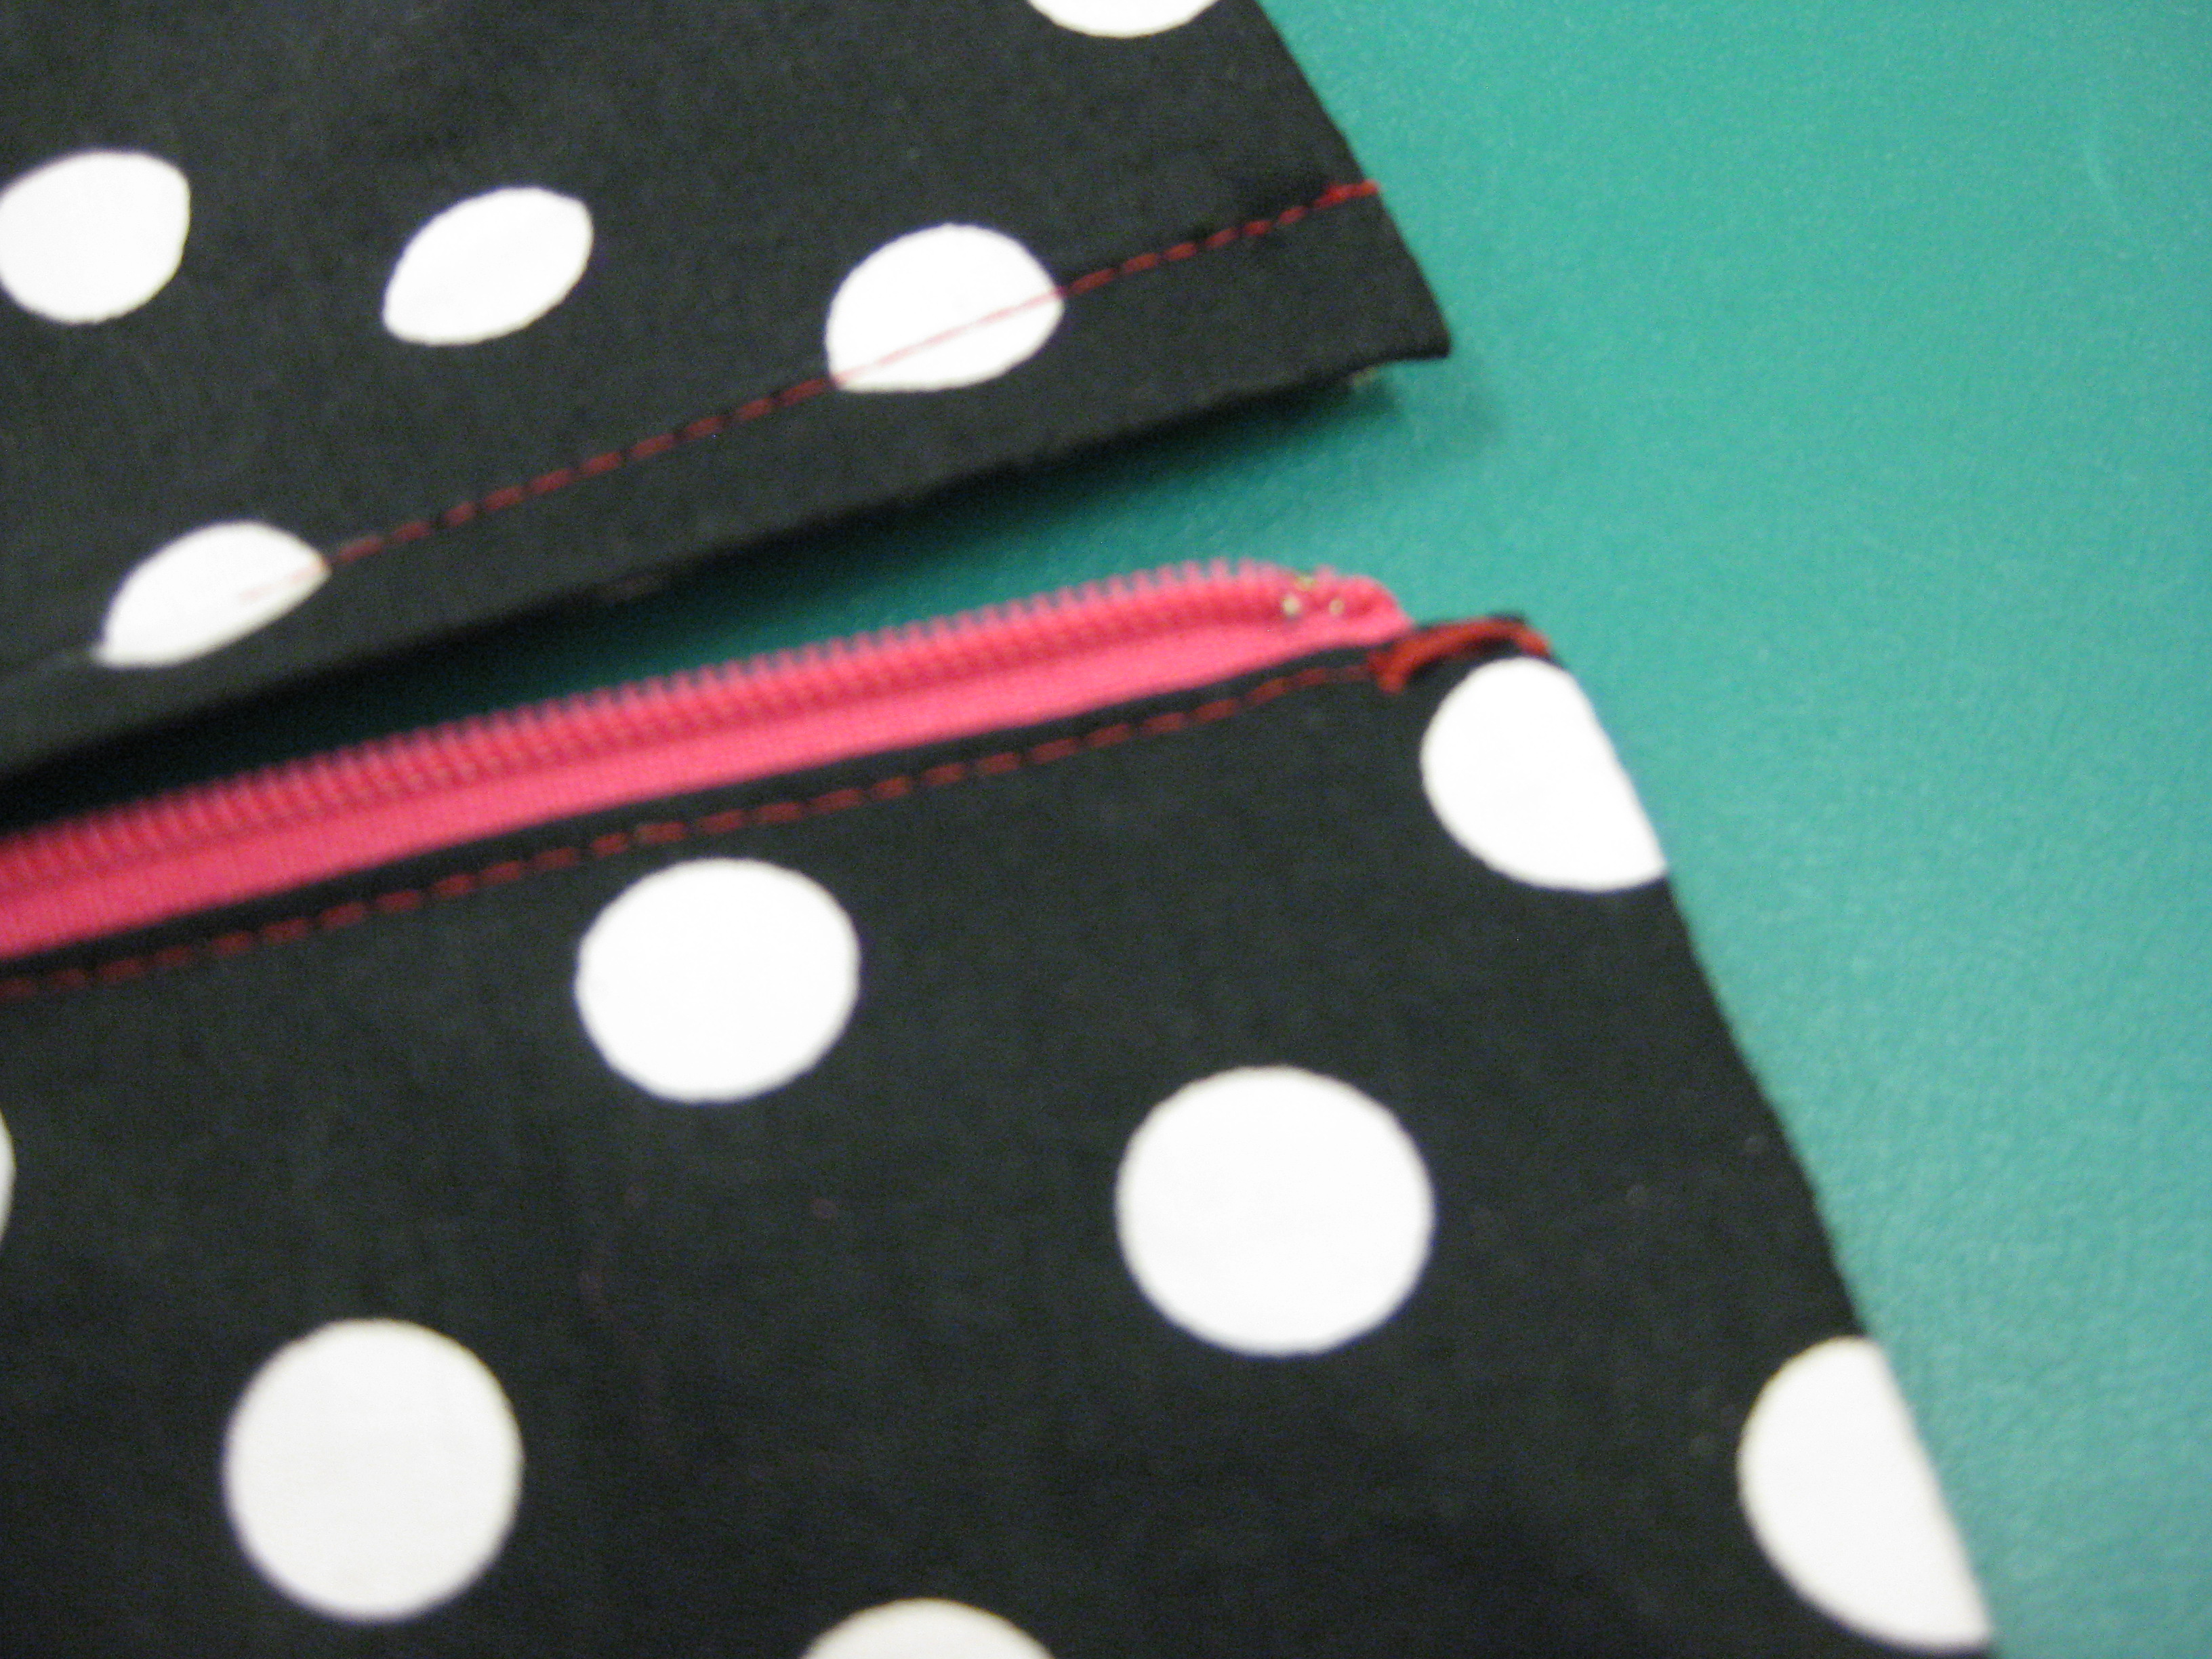
Finished top of garment – no bulk.
Finished zipper insertion.
I hope you find this helpful and next week, I will talk about setting in invisible zippers.

Wonderful as usual