
One of the techniques which I often find causes a lot of angst for students is inserting zippers. As with lots of other sewing techniques, there are numerous ways to insert a zipper and I am sharing the methods that I have found give consistently good results in various situations. There will always be exceptions and these will be covered in future posts.
Wherever possible, inserting a zipper into the garment while the sections are flat and before it is fully assembled will make the process easier.
In this post, I will cover some general things to consider when choosing a zipper and preparing to insert it into the garment.
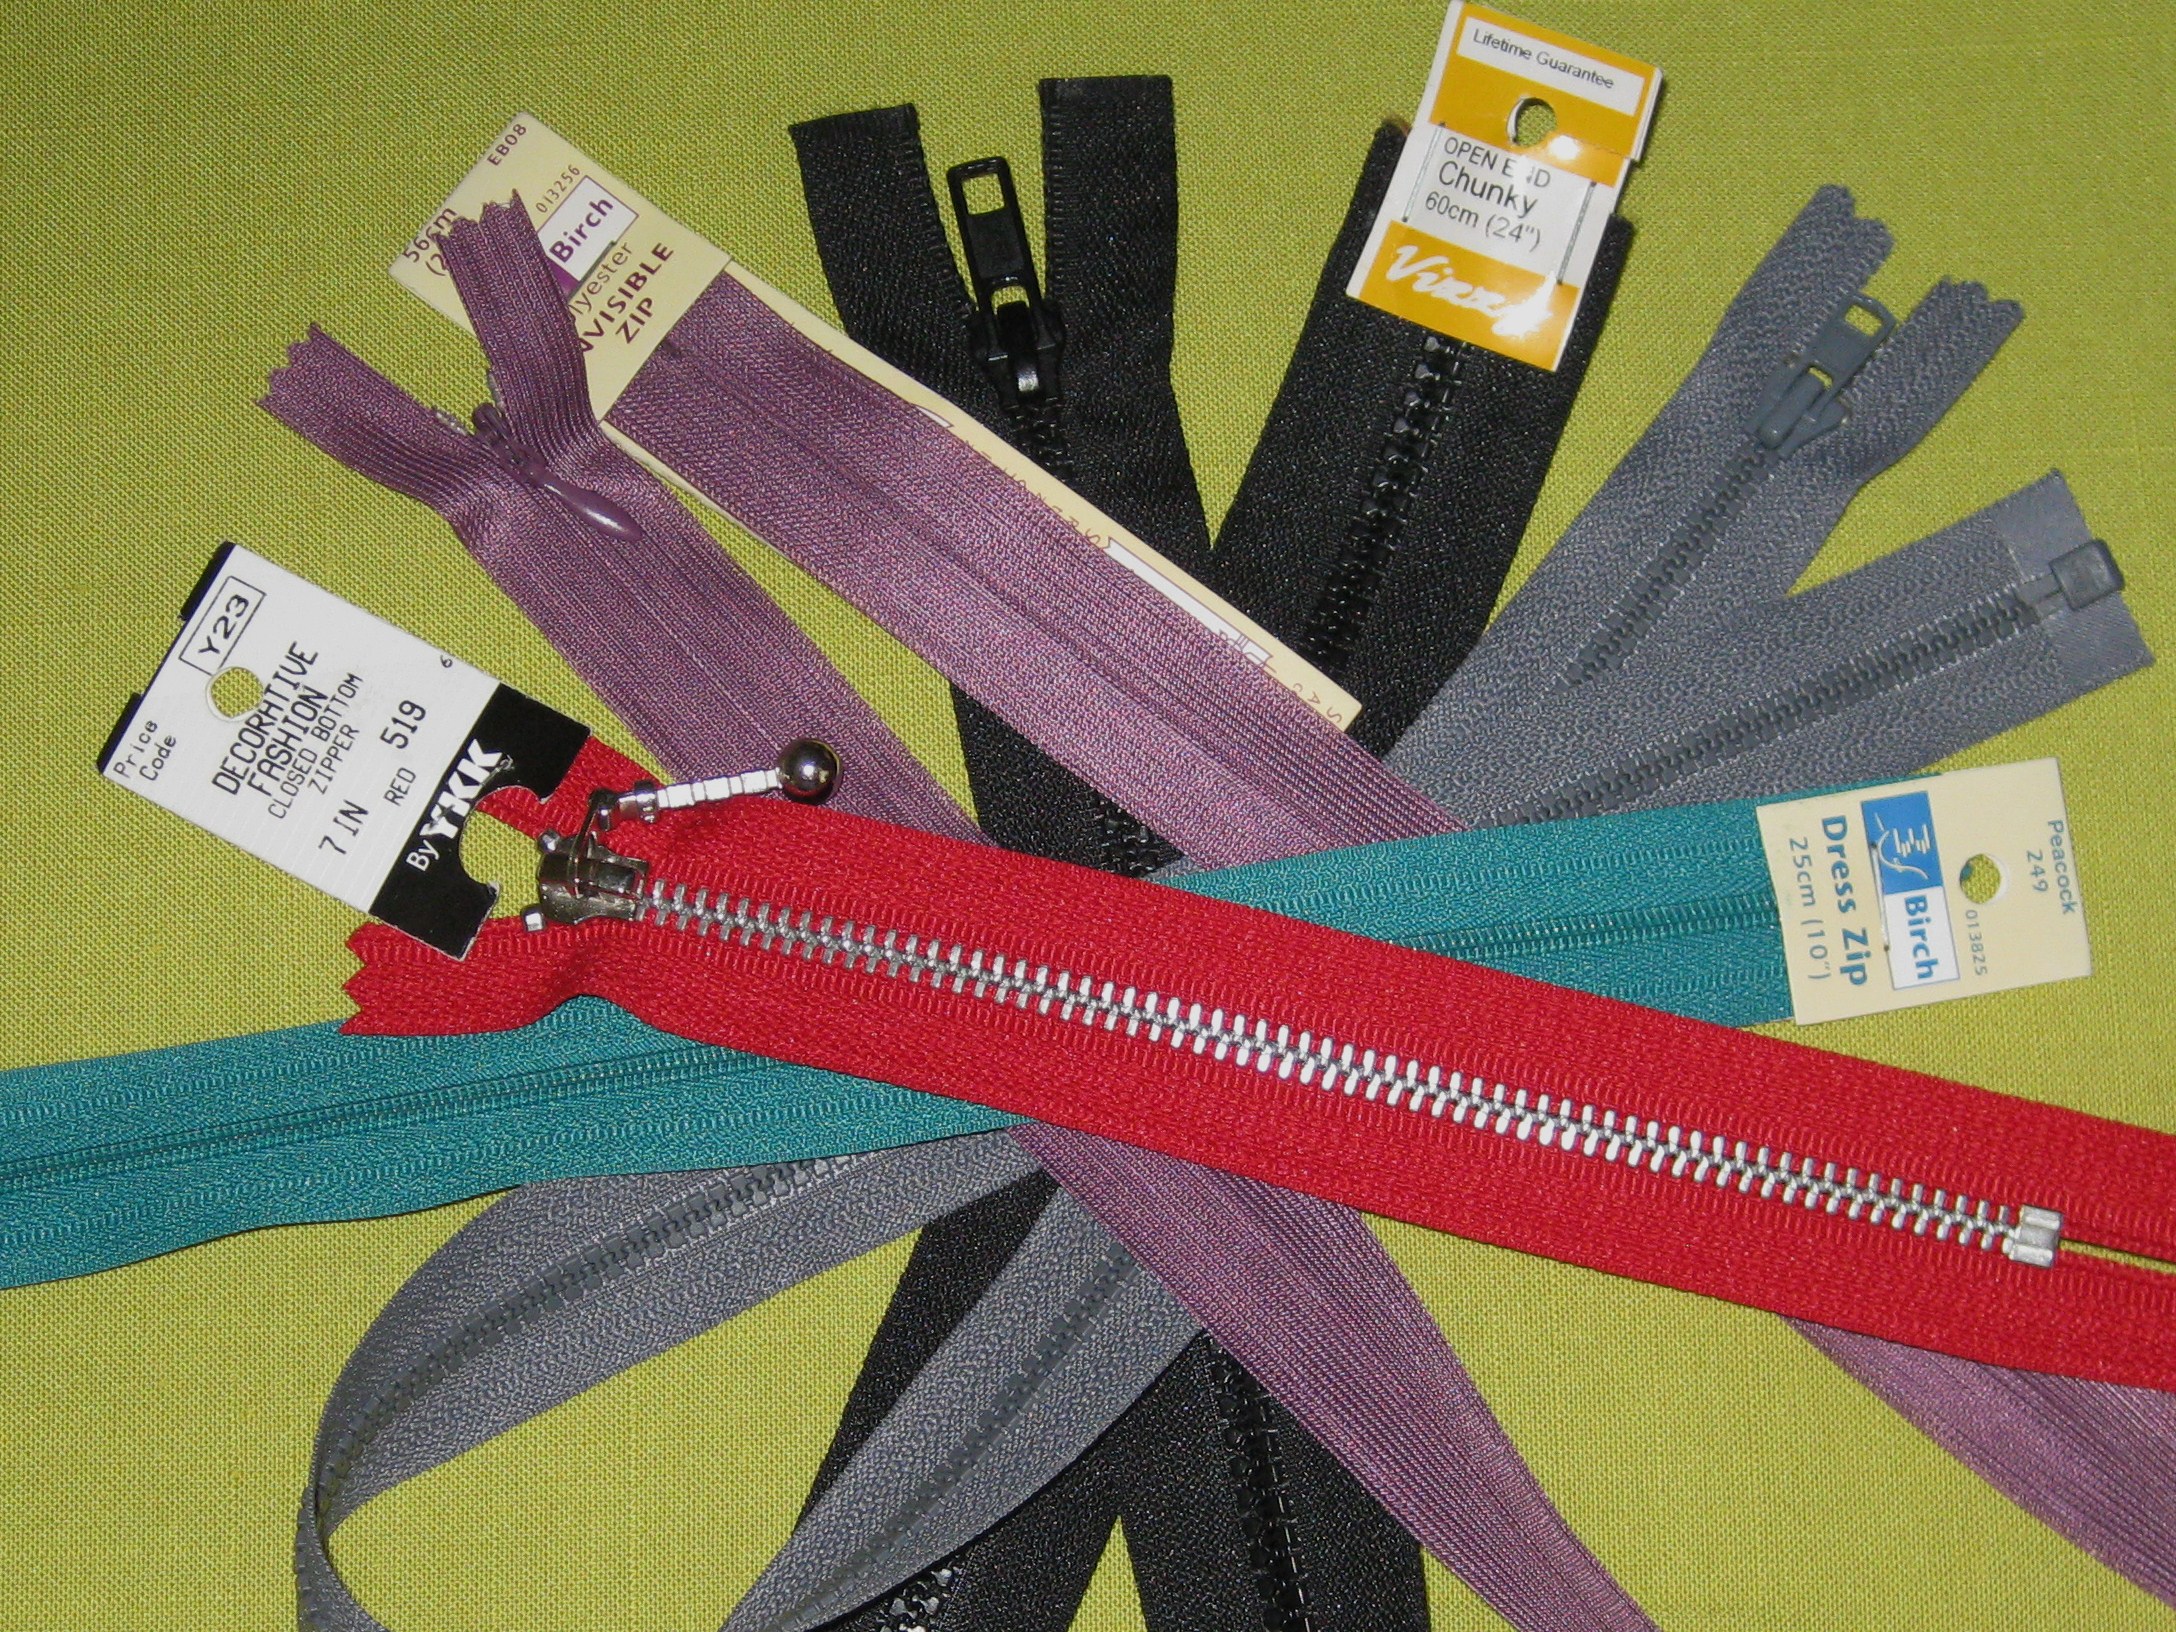
Assorted zippers
General Tips:
- Be sure to buy the correct type of zipper for the garment:
- Dress or invisible zip (polyester zipper coils) for ladies garments, including pants
- Use a metal zip and fly protector in ladies jeans only if they are worn tight, otherwise a dress zip is much softer and less bulky in the garment
- Check the zipper type information listed on the packaging. (Invisible zippers can also be open-ended which is not suitable for a regular application)
- If using an open ended zipper, try to purchase a zip the exact length required (up to 2cm tolerance) as they are not easily shortened. If this is not possible, it will be necessary to modify the garment.
- To avoid a “home-made” look, use below the waist zippers that are 20cm long or shorter, unless you are very tall – the exception being the use of a zipper as a feature on the face side of the garment.
- To shorten a zipper:
- Close the zipper and, beginning at the top stop, measure and mark the desired zipper length
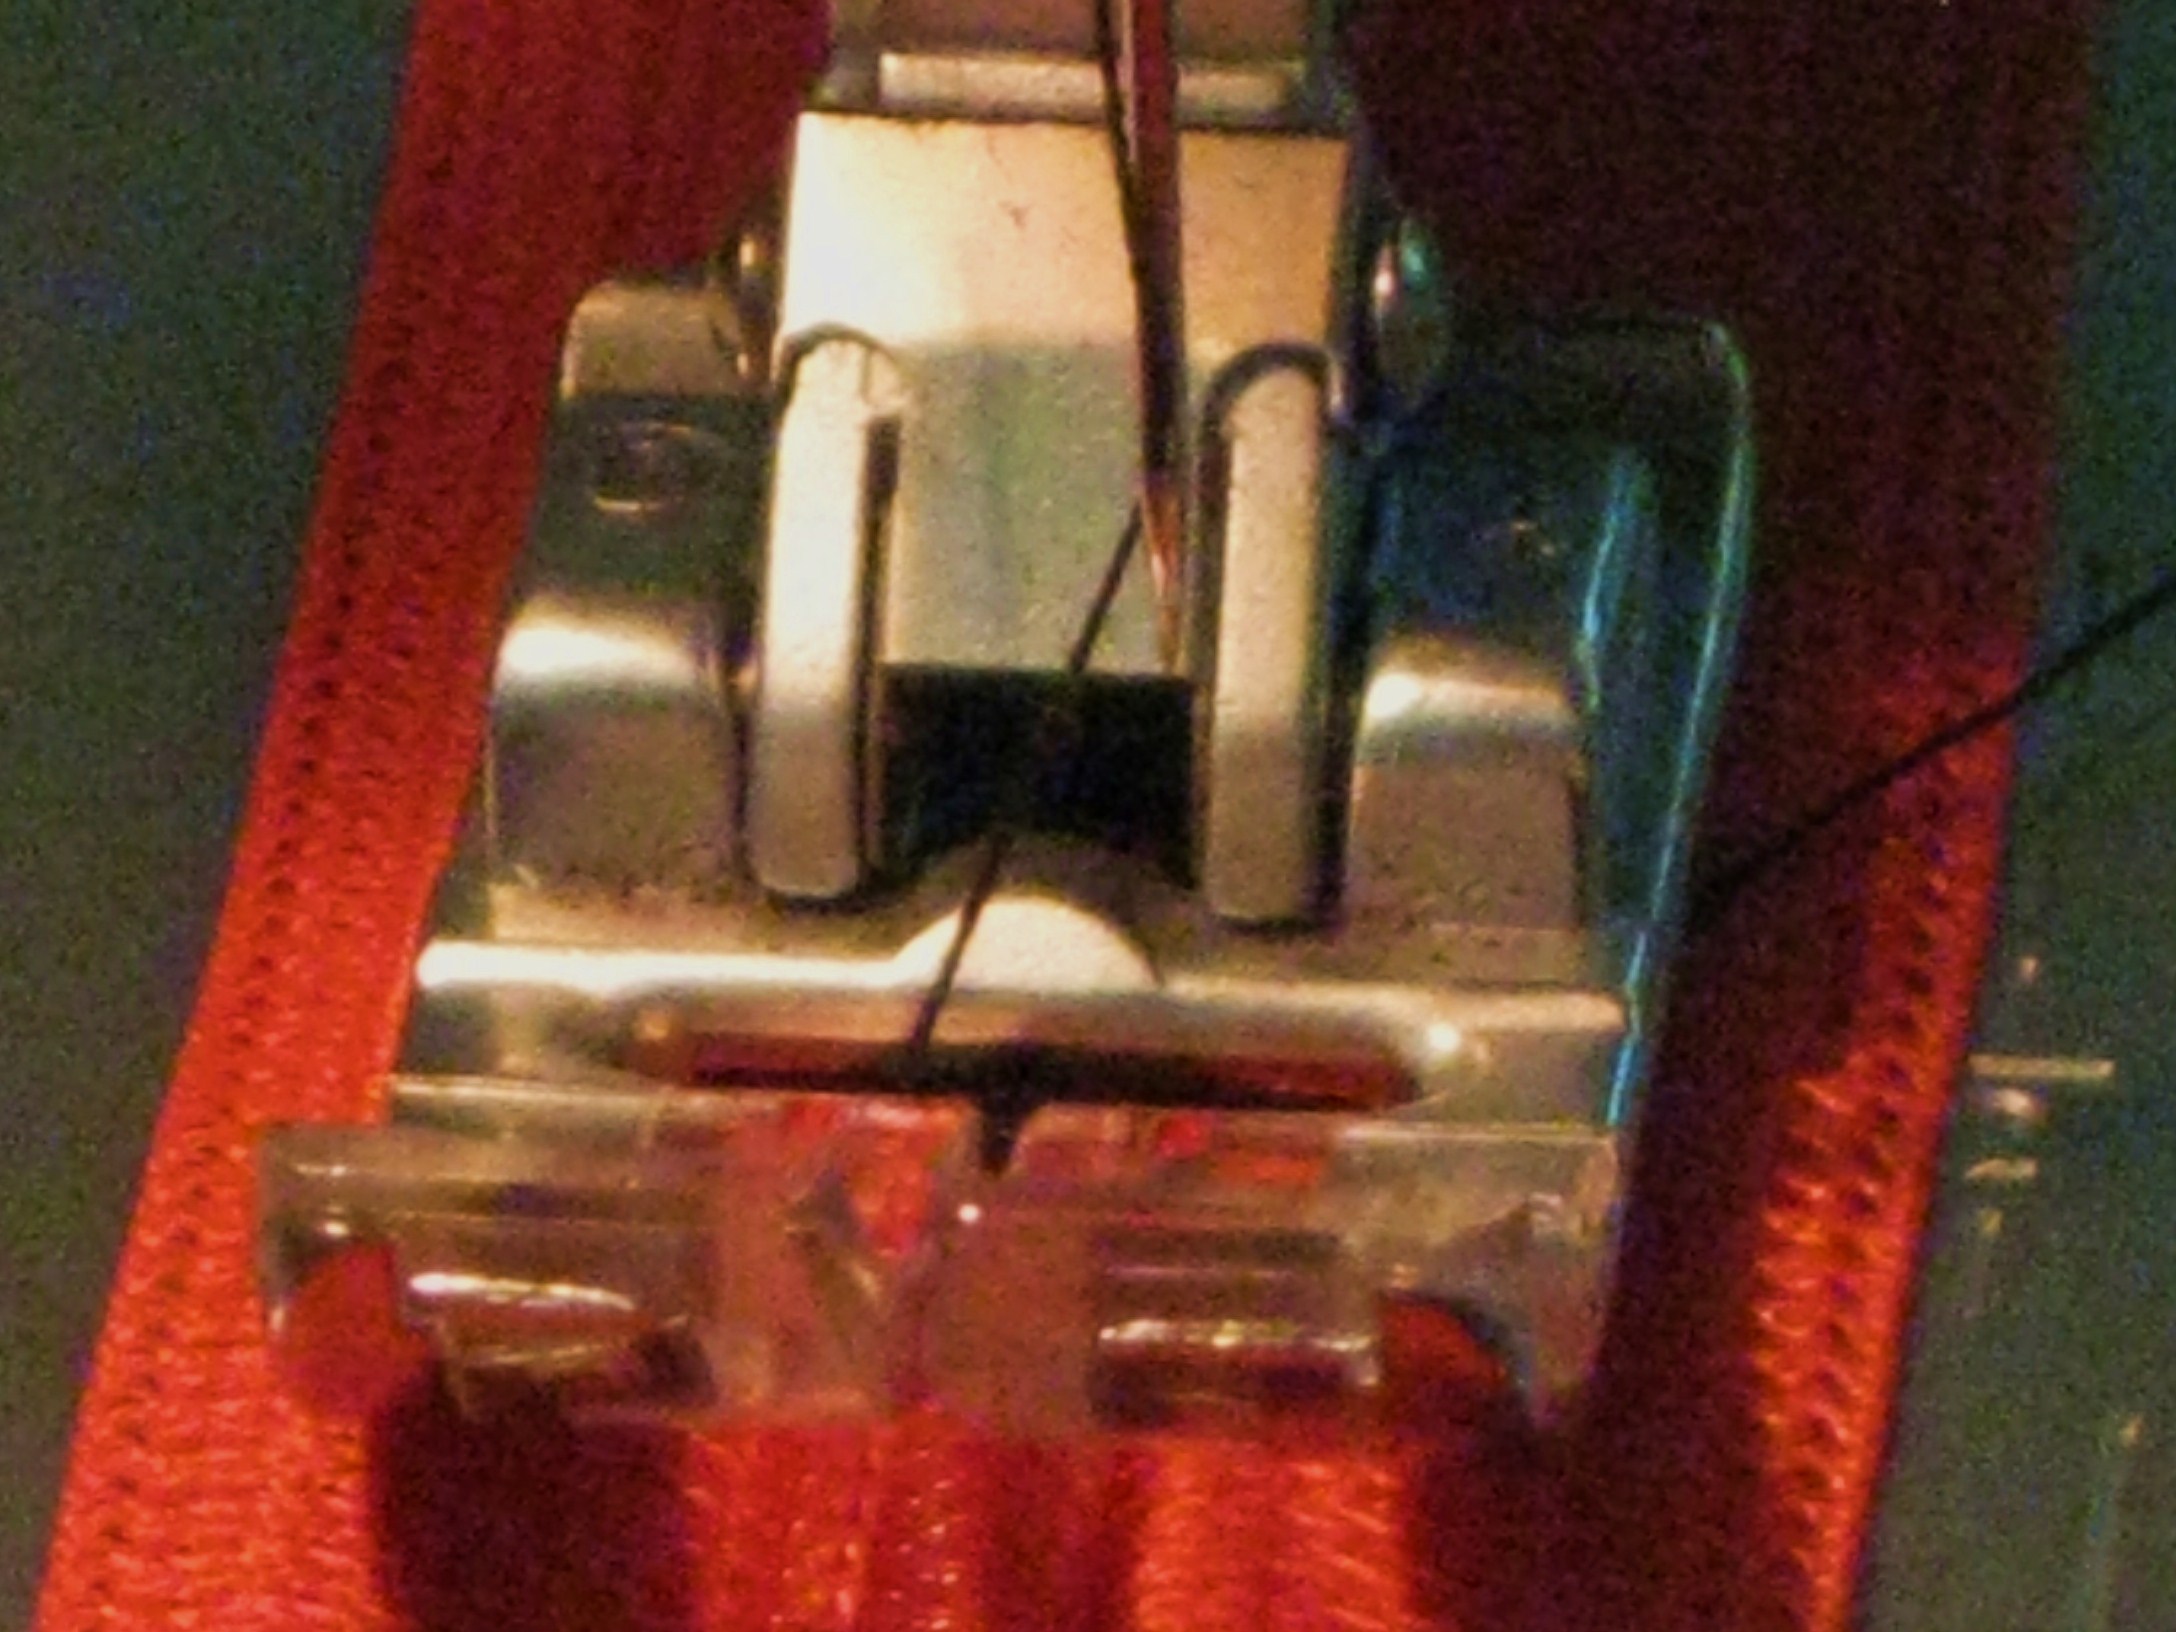
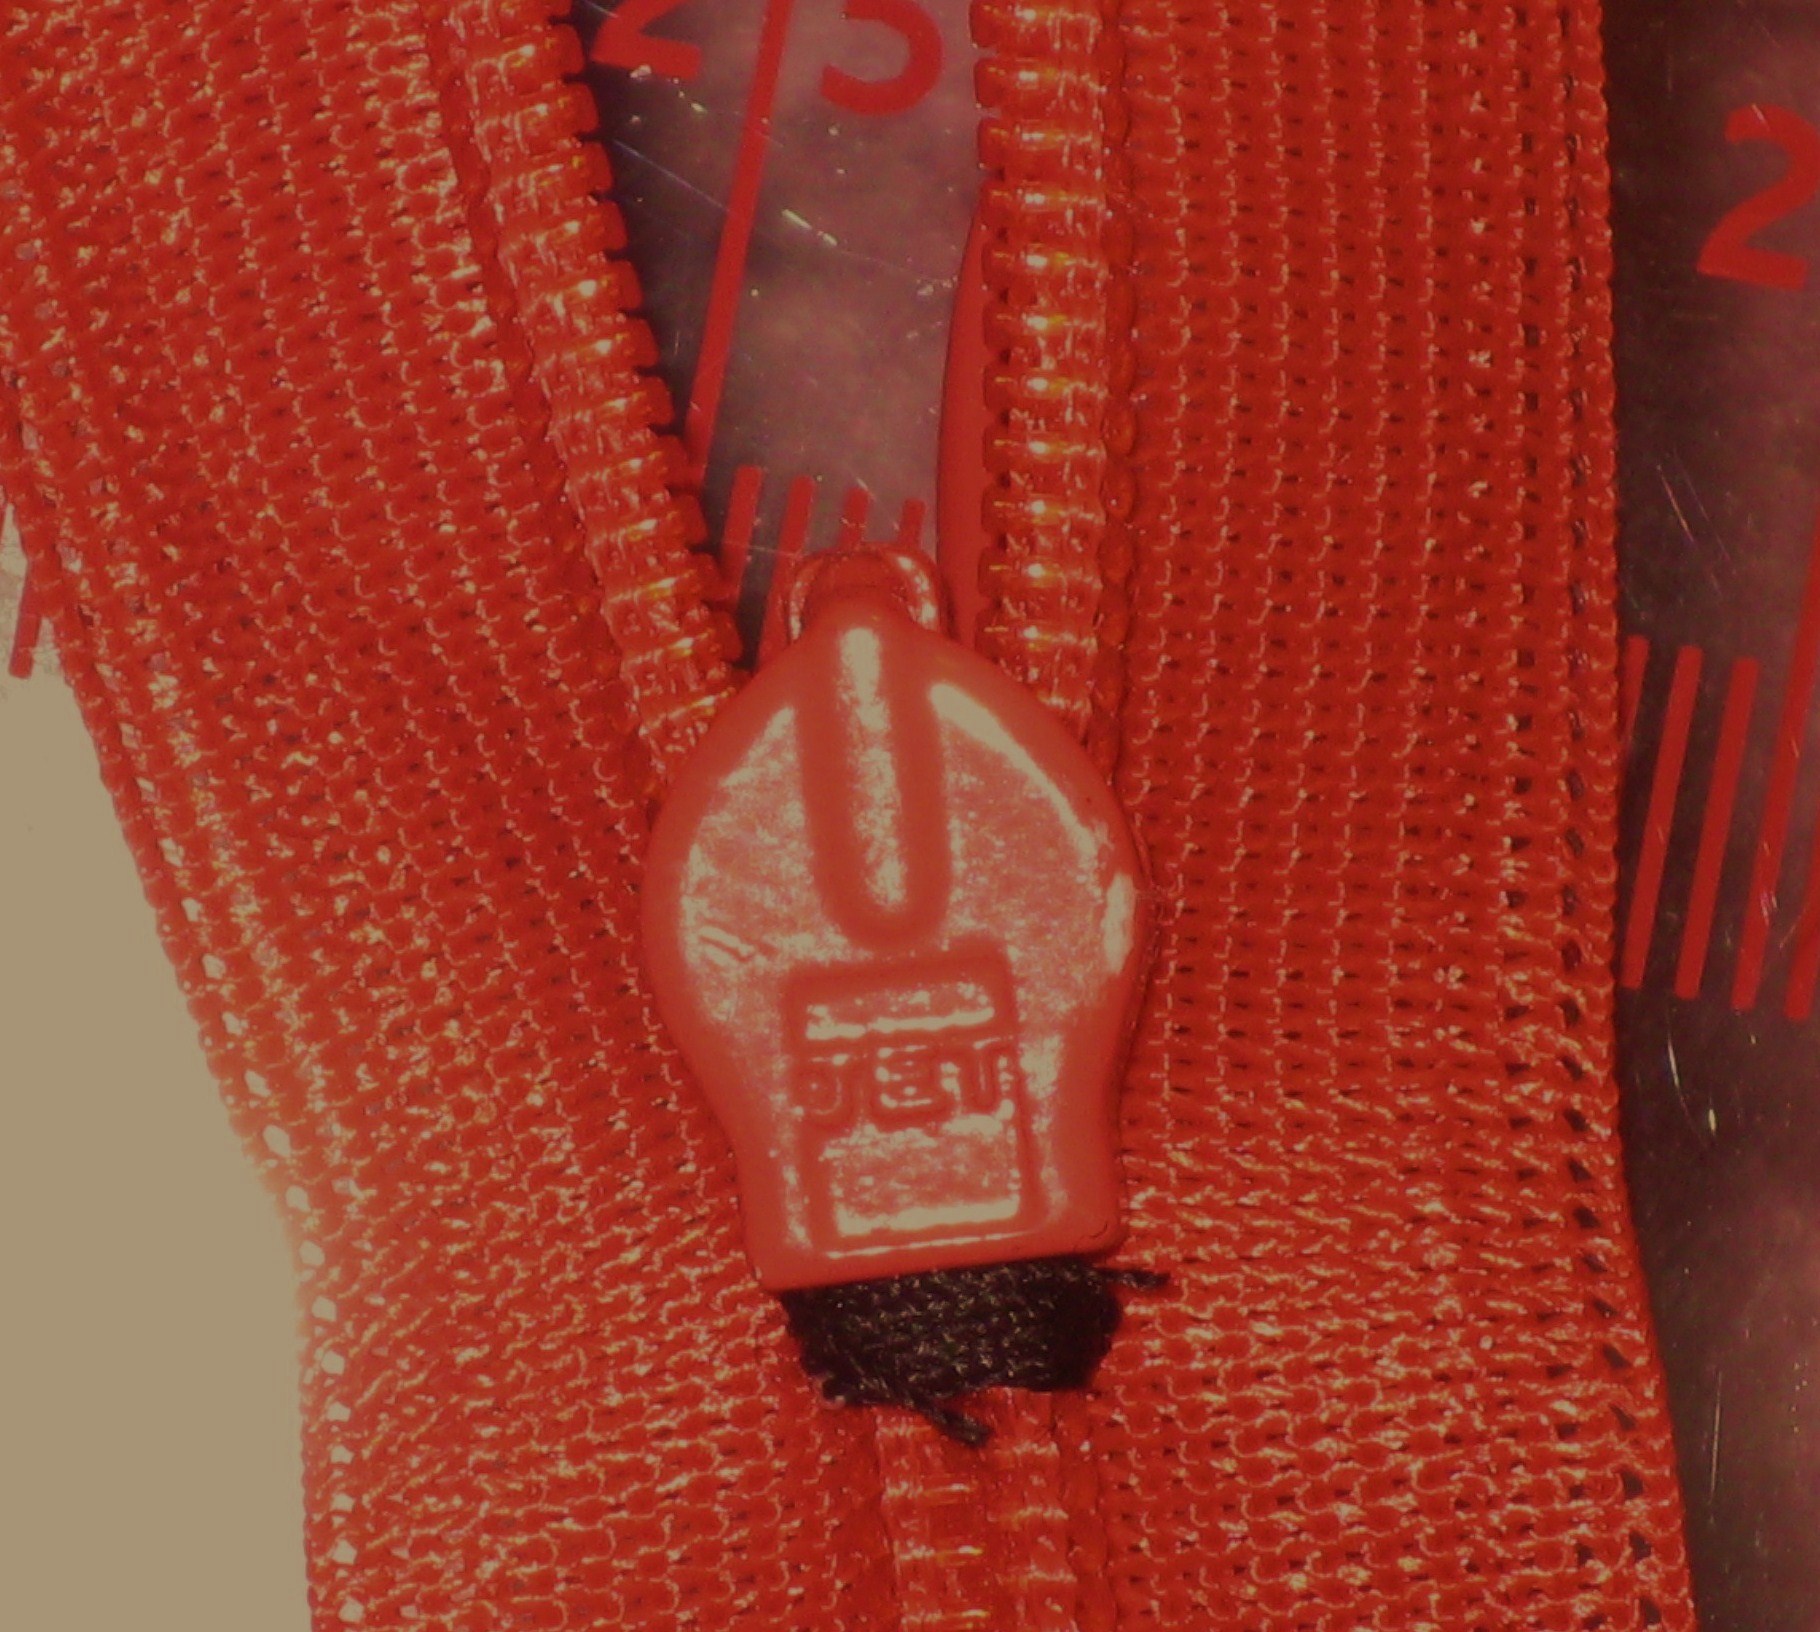
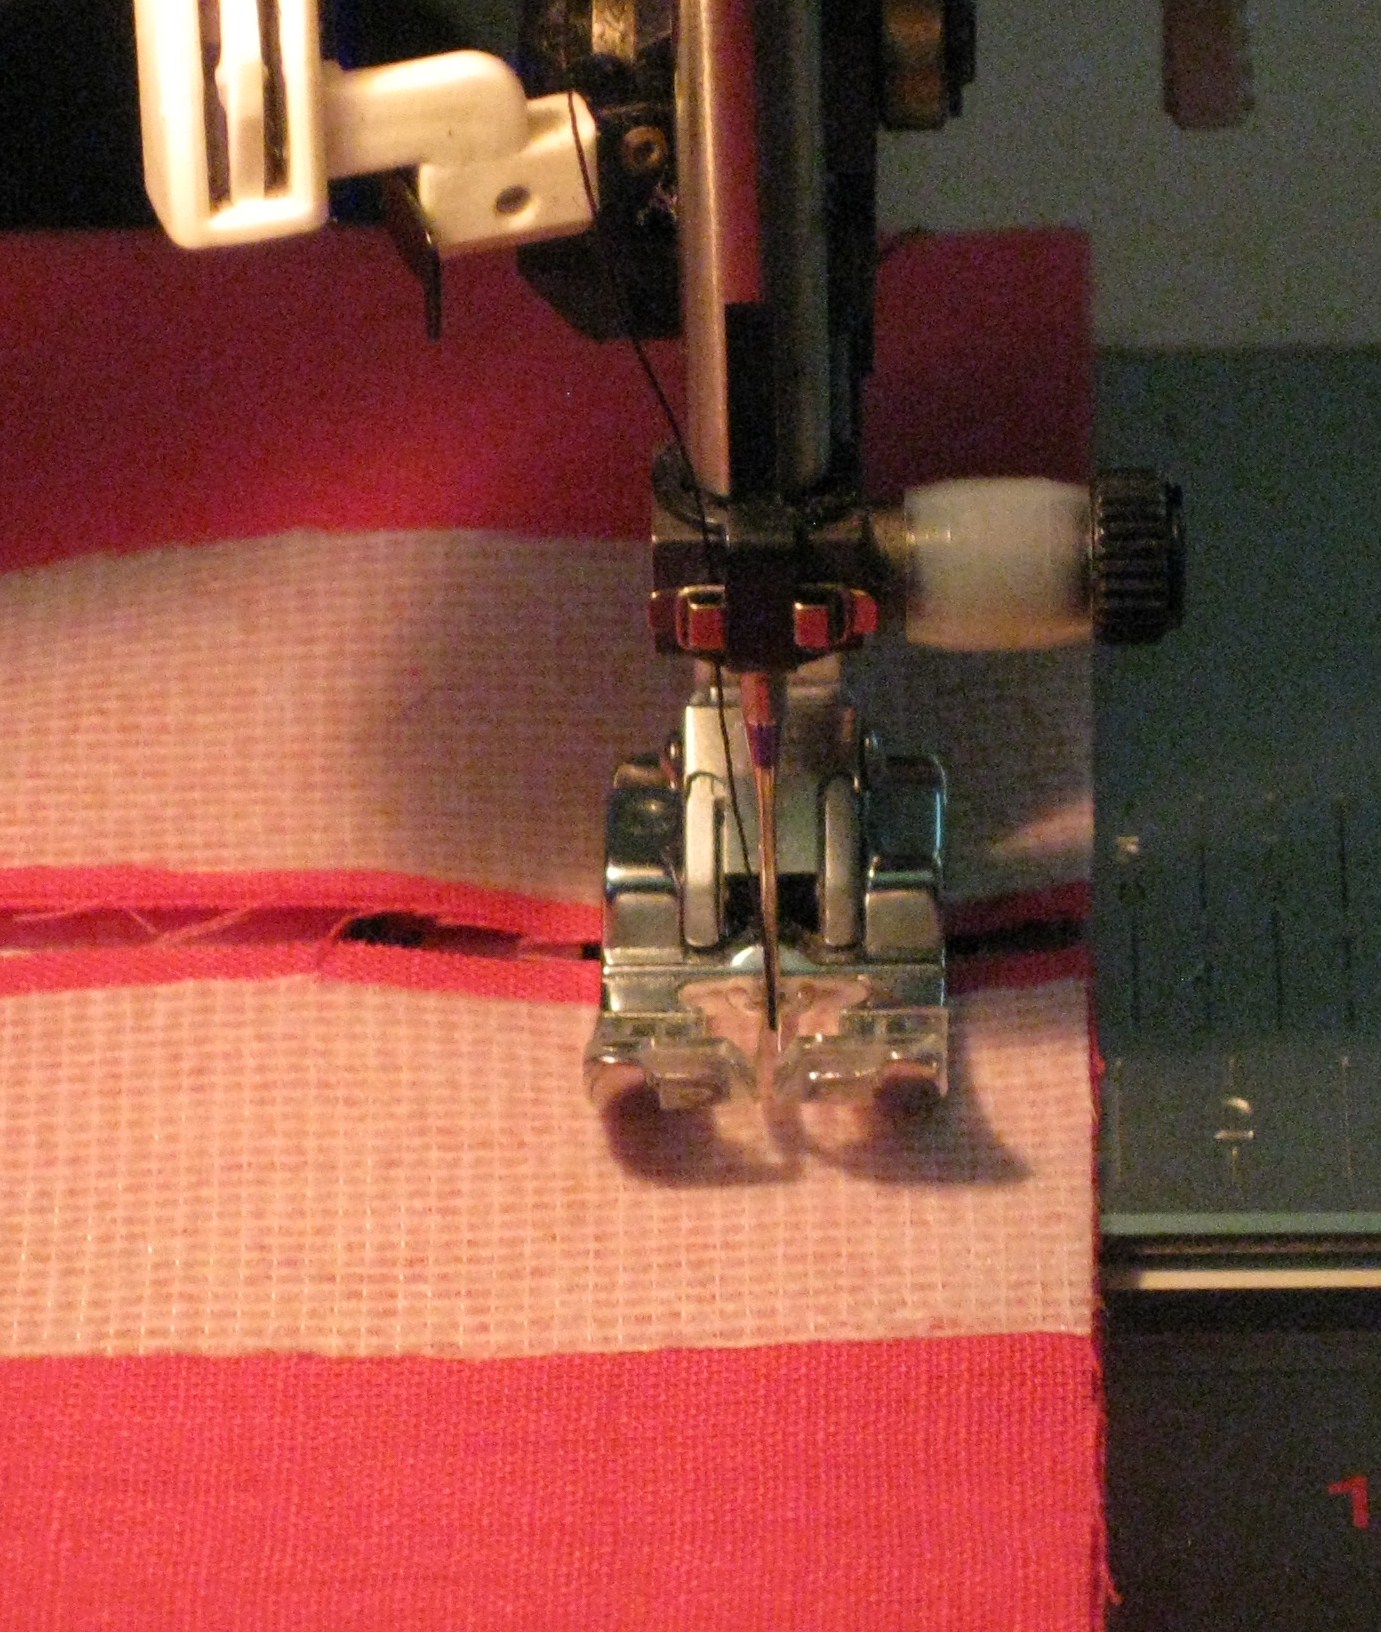
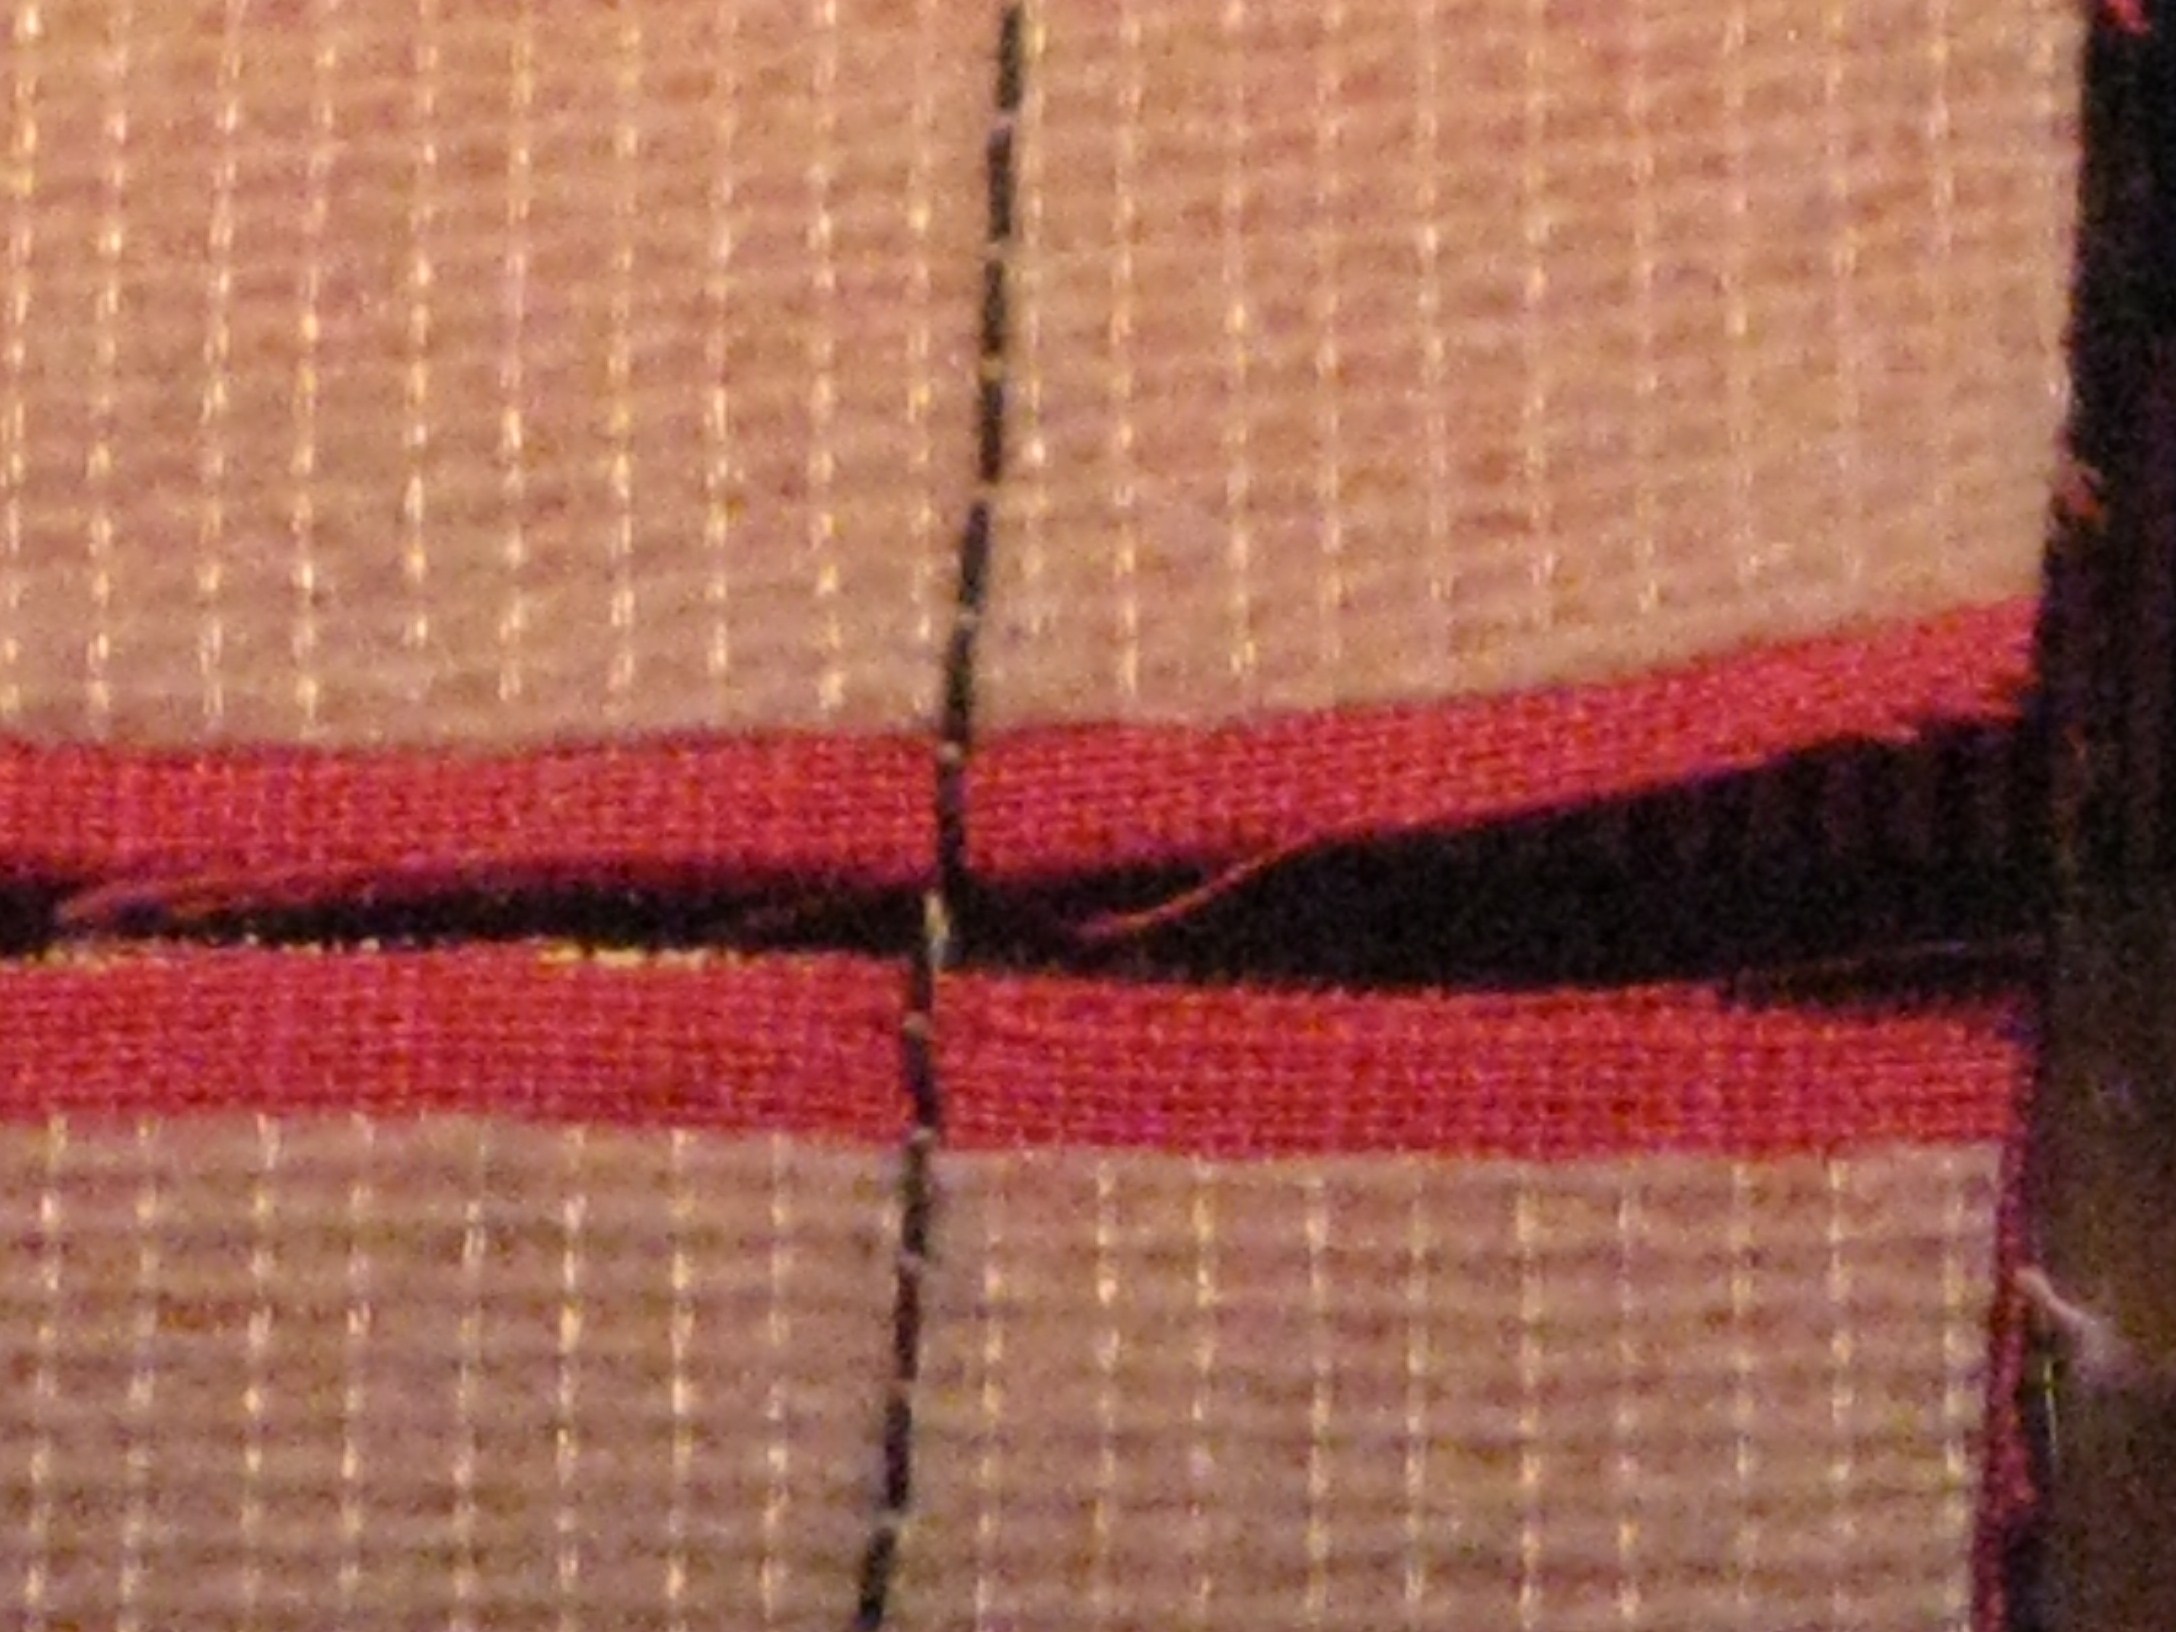
- Using a zigzag (SW5.0, SL0.4) sew a bar tack across the zipper end closest to the metal stopper at the marked length OR thread a hand needle with topstitching thread and make several passes over the coils at the desired length

Centre foot over zipper coil

Machine bar tack


Use thicker thread to make a hand bar back
- cut off the zipper about 20mm below the bar tack
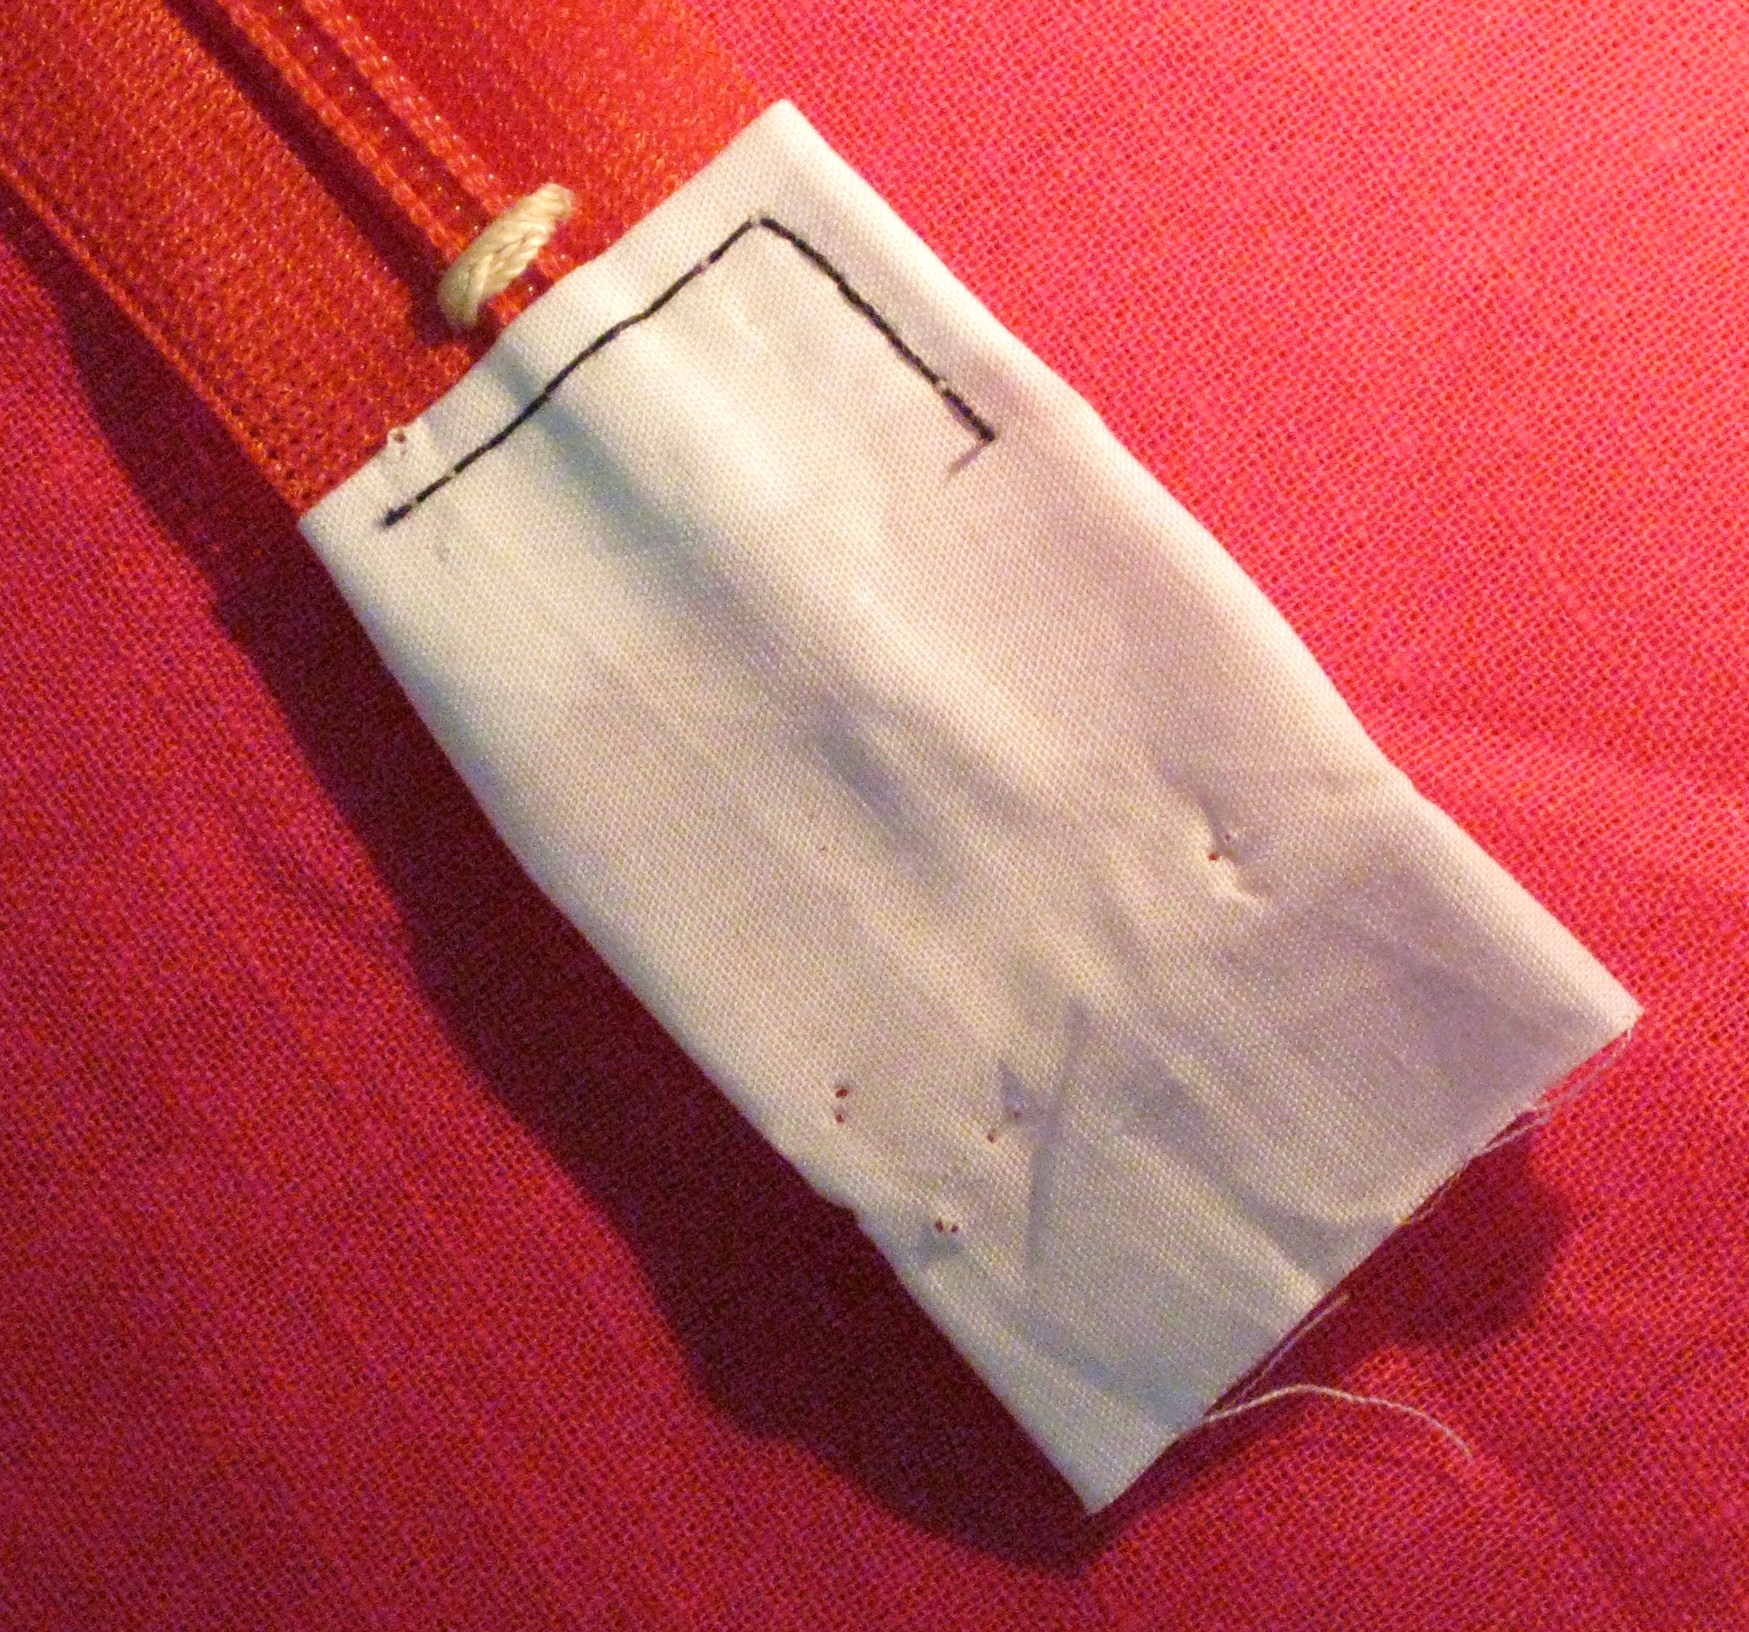
- stitch a piece of ribbon or fabric binding at the bottom of the zipper

Folded piece of fabric used to cover cut end of zipper – stitch in place on one side

Fold to other side and stitch in place
- When using a lapped zipper application, cut 2cm (1inch) seam allowances in area of zipper opening to allow for easier insertion and room to cover the zipper coil properly
- Set the zipper before assembling the garment while the sections are still flat
- “Stay” the zipper opening with a 1.5-2.00cm wide strip of fusible interfacing on the wrong side of the seam allowances

Fuse straight grain strips of interfacing to support the seam allowance where zipper is inserted
- Finish the seam allowances, either by overlocker or seam finishing stitches on sewing machine, before the zipper is set
- When a zipper is inserted into a side seam in a top, it can be reversed so that the pull will not rub under the arm – the zipper will open by drawing the pull upwards towards the armhole
- When a separate waistband is being applied, use a zipper which is a couple of centimetres longer than the zipper opening – this will avoid sewing around the zipper pull

Avoid difficulty sewing around zipper pull if attaching a separate waistband
- When using a facing, do not sew the zipper tape beyond the stop at the top of the zipper – tapes are folded back and stitched in place to later be covered by the facing – this results in a neat finish at the top without lots of bulk from the zipper tape (this technique will be covered in my next post)


Fold top of tapes back below level of seam line and stitch in place.
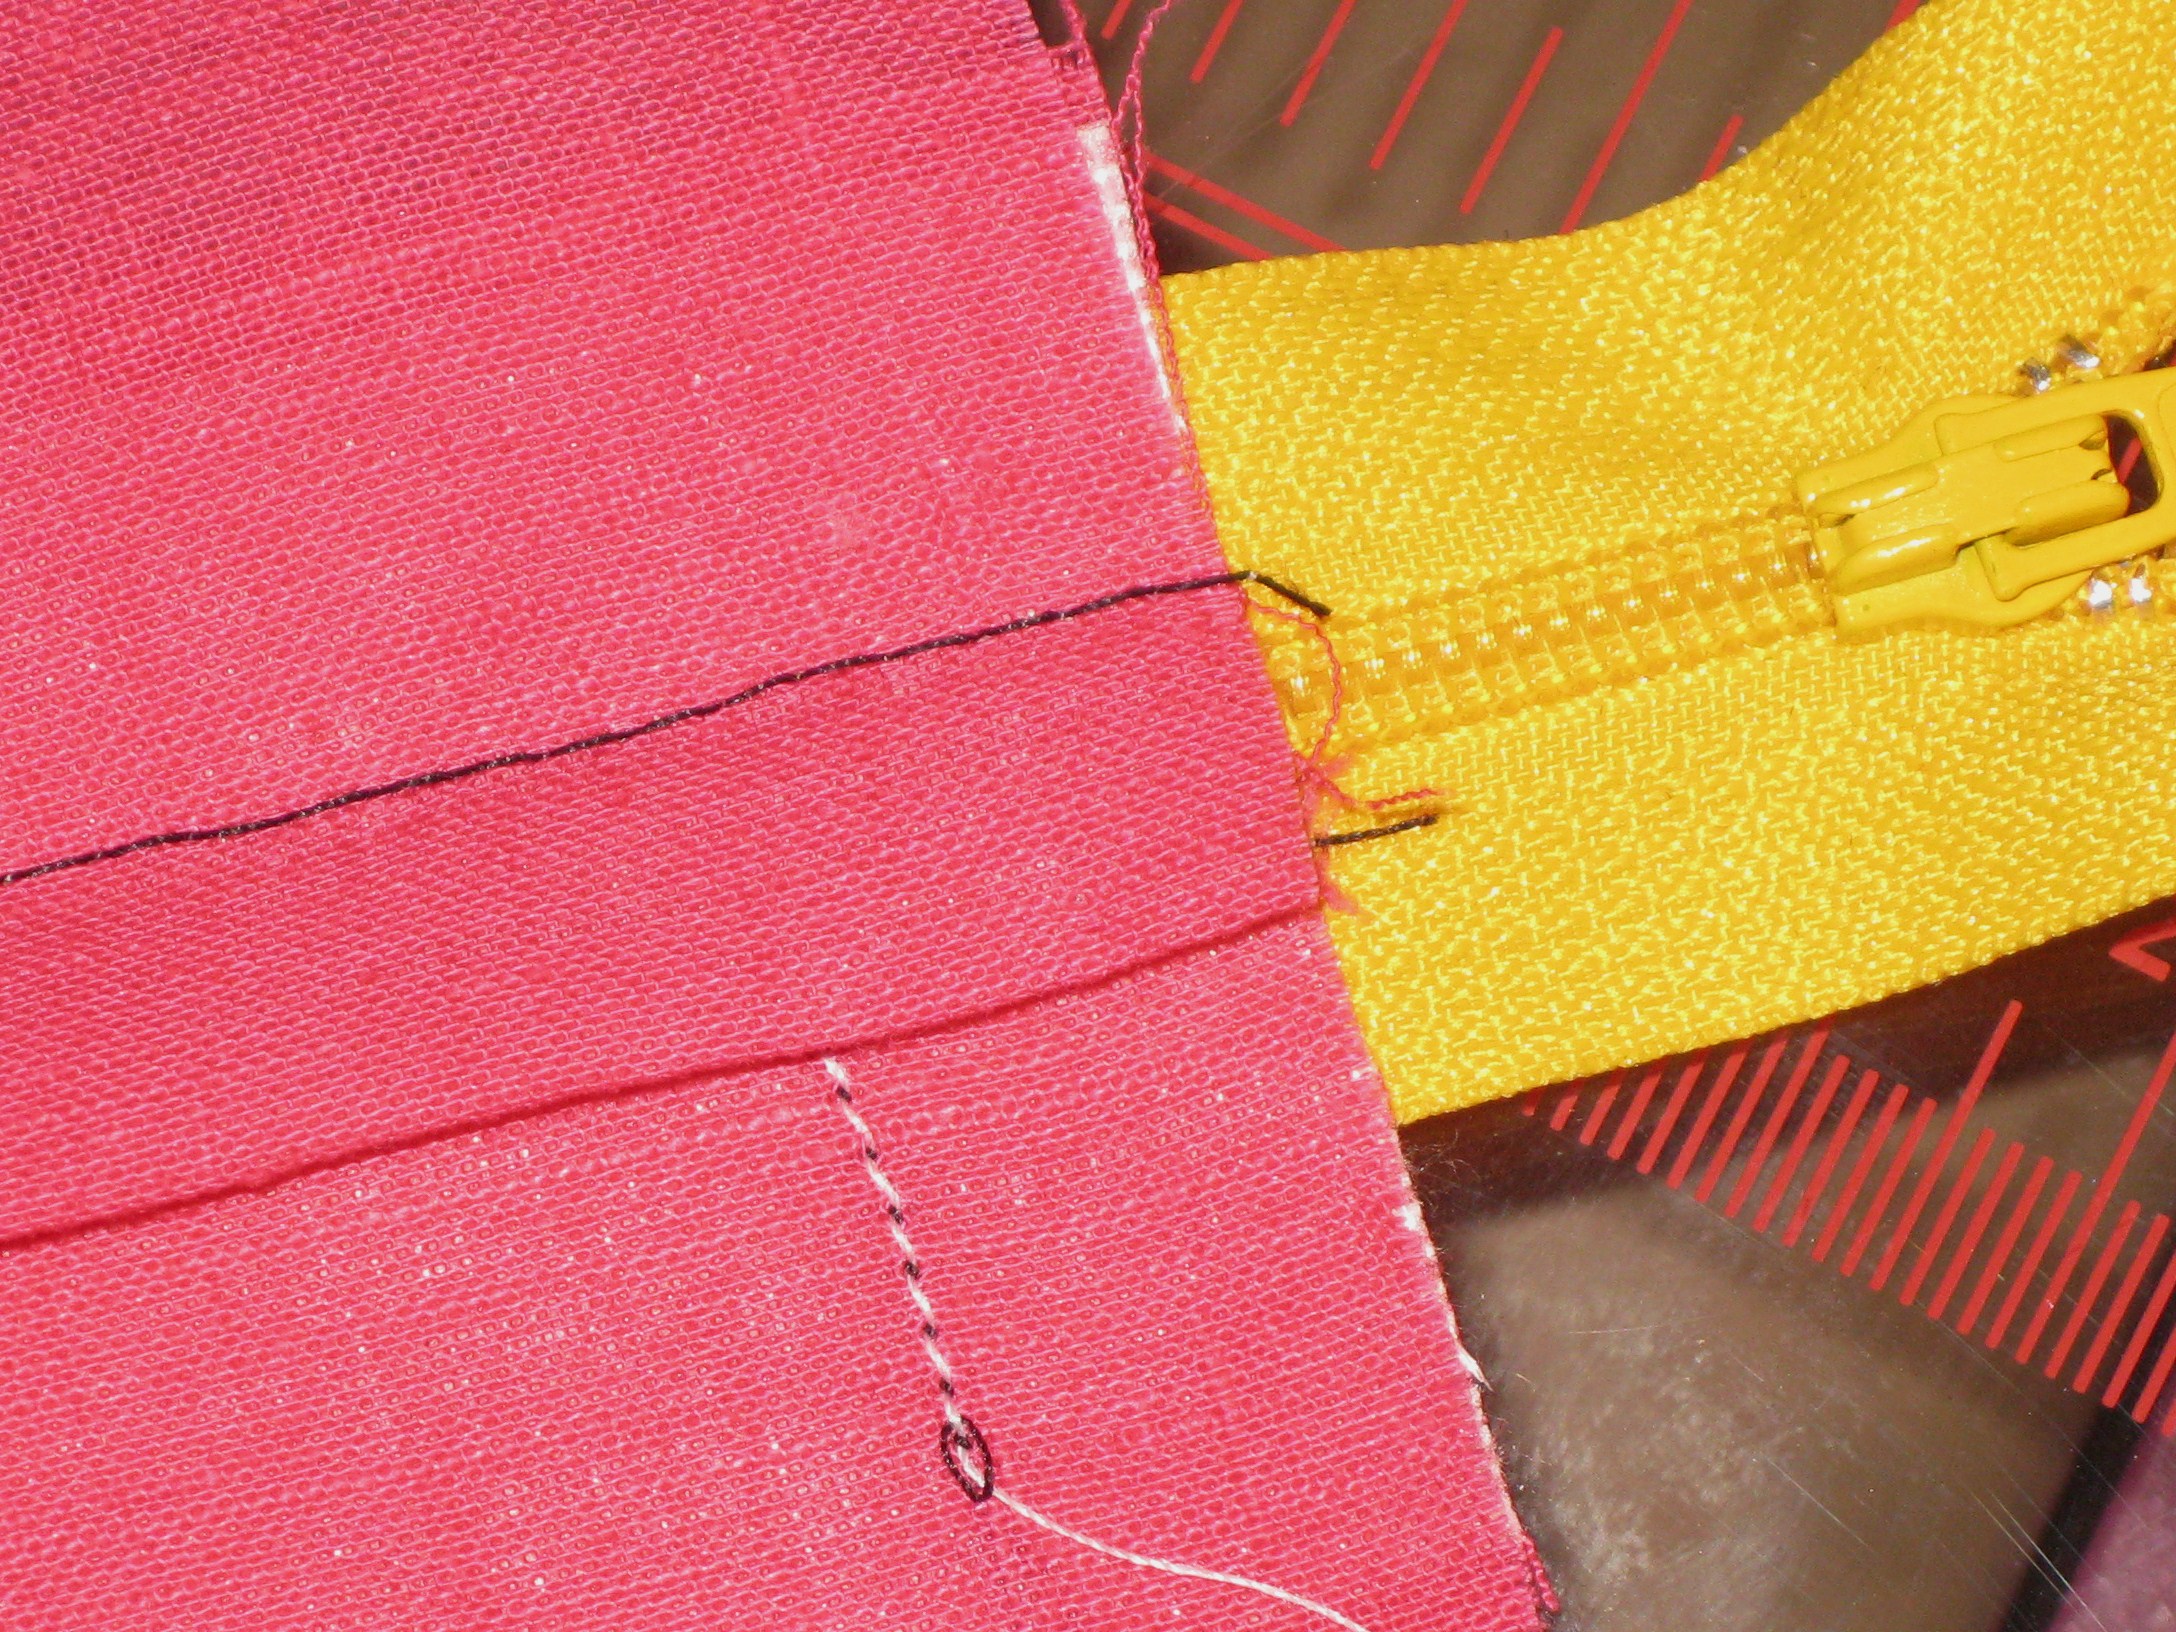
- When inserting an invisible zipper, key the ends of the zipper tape and the garment in contrast thread to mark the stitching/seam line
- Stay stitch garment just inside the seam line and clip the stitching between

Keeping cut edges even, stitch just inside the seam allowance across both garment pieces.
Keeping cut edges even, stitch just inside the seam allowance across both garment pieces.
-

Clip stitching to separate.
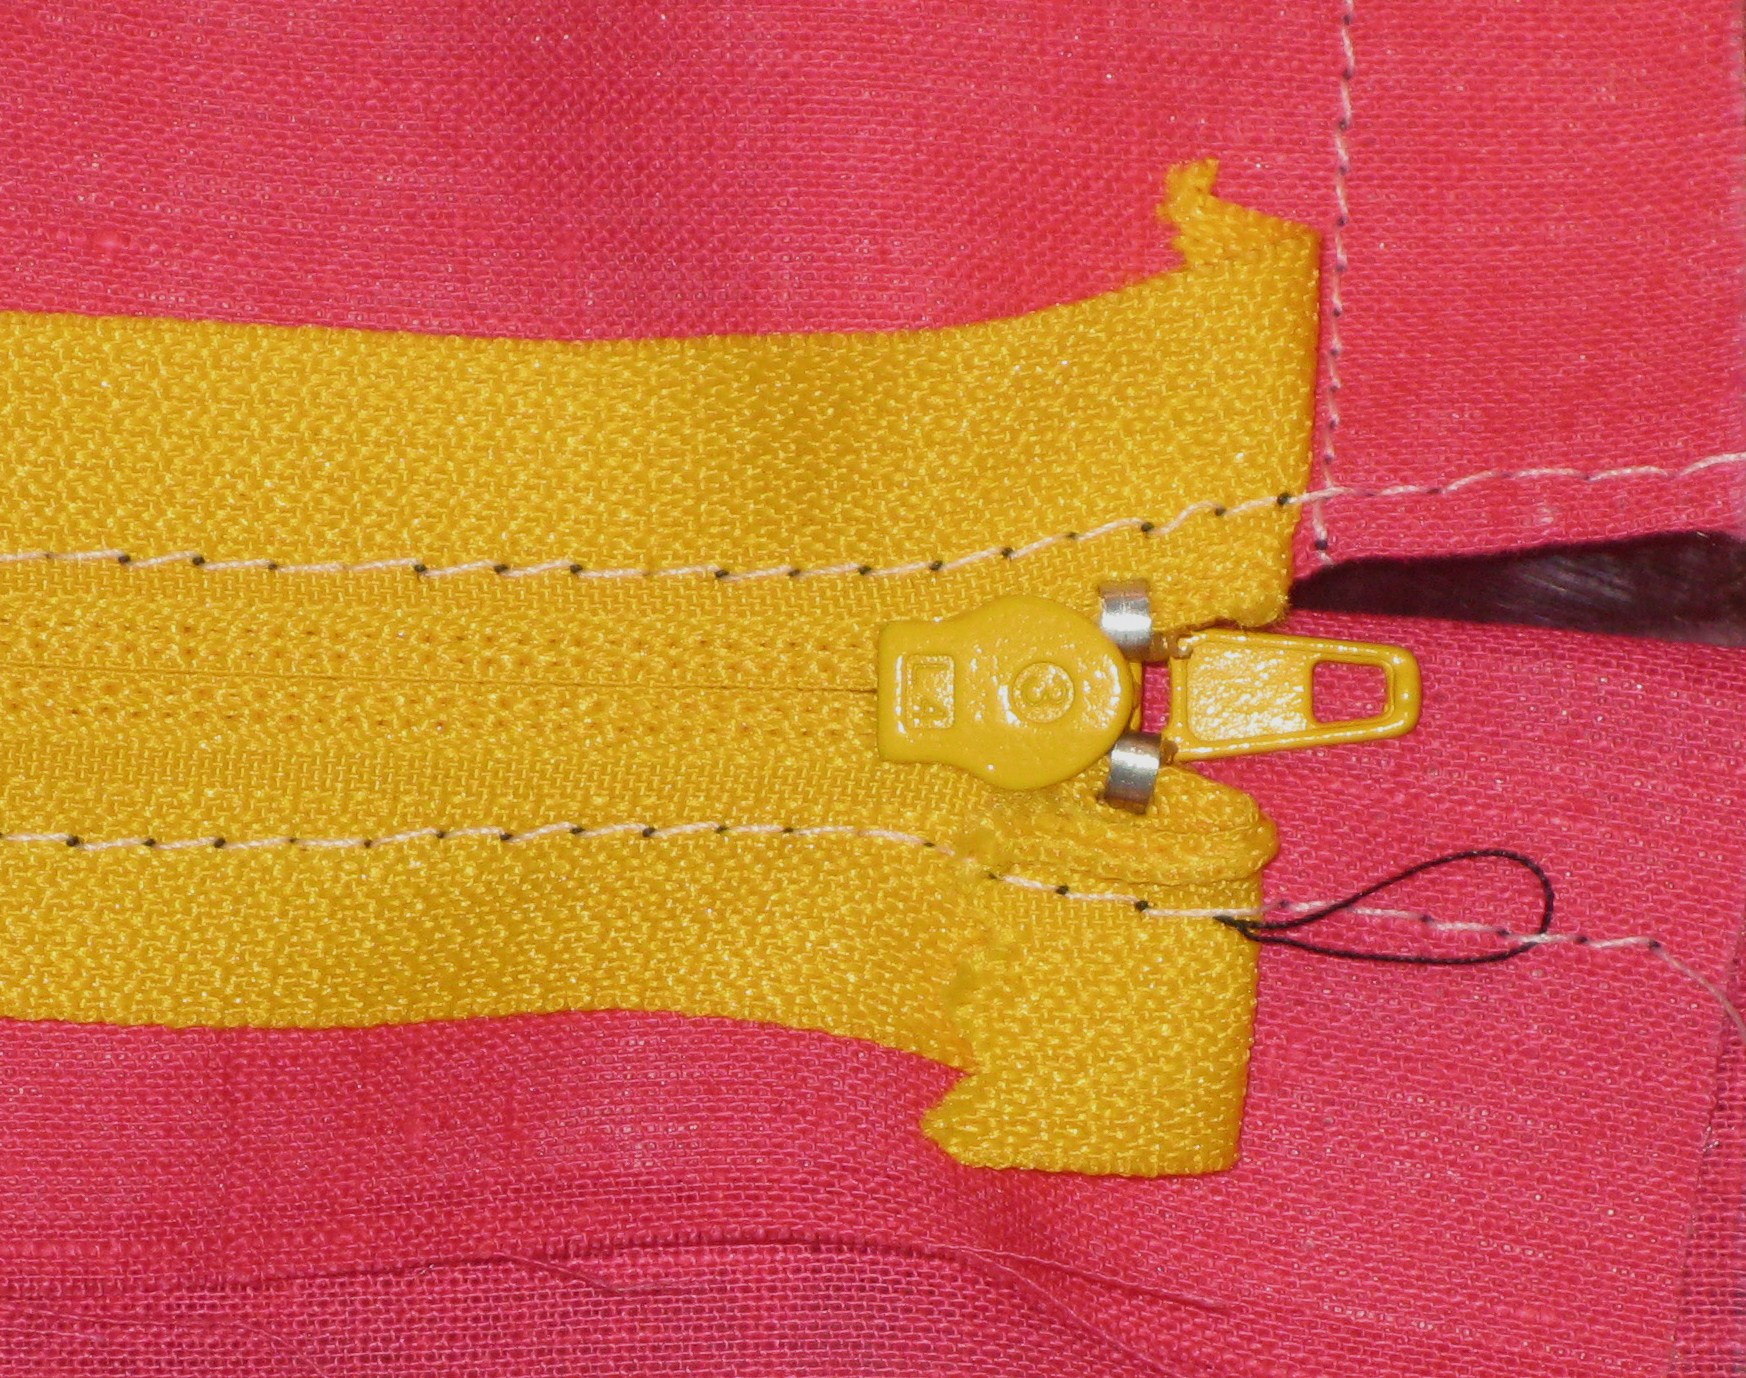
align the stitching on the zipper to the stitching on the garment when setting the zipper
Align top of zipper just under the keyed stitching line
- allow 3mm between the top stop and the seam line when using a waistband, and
- 6mm between the top stop and the seam line when using a facing
Next week, I will cover a lapped zipper application and how to deal with a facing at the top.

Great
Sent from my iPad
>
Lovely!
Thanks for your interest.