
In this blog I will share the methods that I find work best for me. I most commonly use the cut on fly to achieve a flatter finish over the tummy.
Fly zipper with cut on facing gives a flat finish with minimal bulk.
If I am making jeans, I use a much softer fabric for the fly and zipper shield.
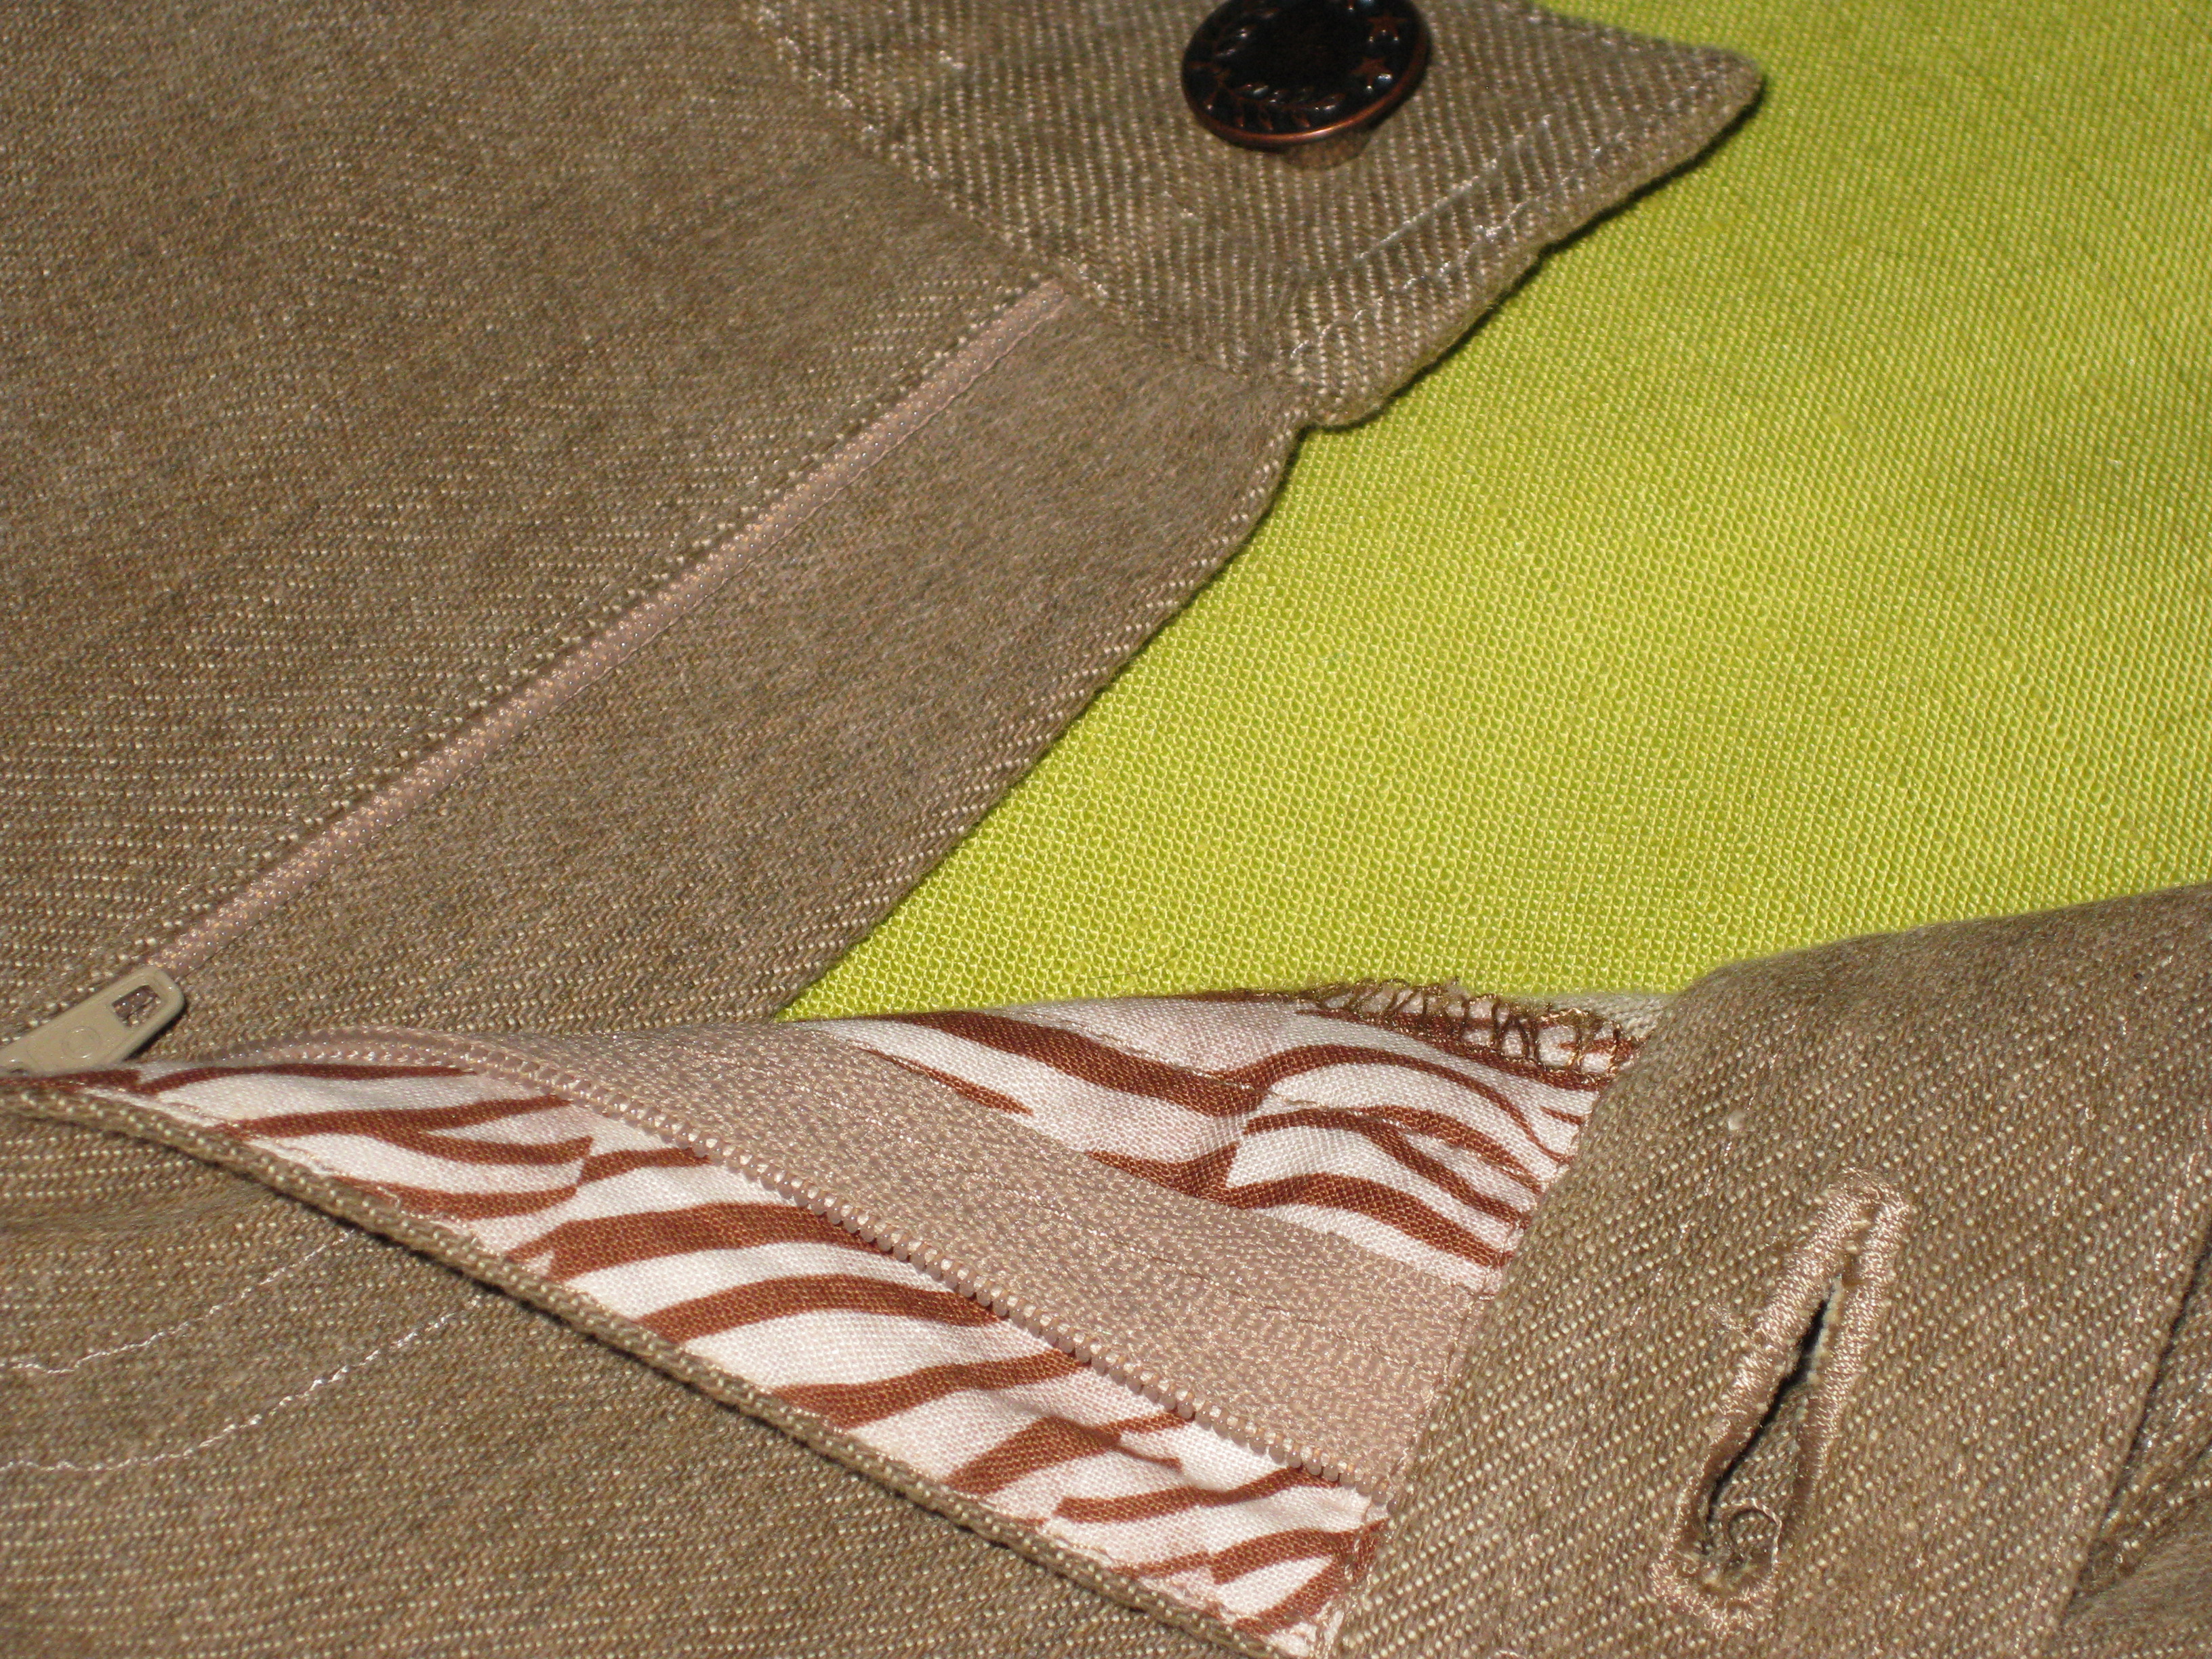
Soft cotton used for fly facing.
Some of this information is contained in the guide sheet of patterns; however, to make installation easier and flow better, I have changed the order of some steps.
A fly zipper can be inserted to be opened from either the right hand or left hand side. Traditionally women’s pants the zipper fly is placed on the right hand side and for men’s, on the left.
Ready-to-wear women’s jeans often have the zipper on the left hand side.
None of this really matters when we can sew our own clothes because we can choose whatever side we like!
Except for jeans, most commercial patterns for women’s pants are designed with a cut on fly and use a regular dress zip. This technique minimises bulk on the front of the garment.
Many ready-to-wear garments are designed with a traditional separate fly facing which can be either made from lining or, in lightweight fabrics, from the same fabric as the pants. Tailored pants usually have a regular dress zip. Jeans most often have a metal zipper and zipper shield.
If you would like closer fit or wear your pants below the natural waist, the traditional fly with separate facing may give a closer fit – necessary with a lower waist position.
Pattern Work:
Add width to the centre front seam allowance where the zipper will be set. I usually use 2cm/ ¾”.
To convert a commercial pattern with a cut on fly to a separate fly, changes will need to be made to the commercial pattern with the addition of a fly facing, zipper shield and extended waistband.
The centre front can be either of the straight of grain or slanted inward slightly. The former allows for a little more tummy room.
If you would like to slant the seam, draw a line from the top of the seam (waist area) to the dot marking the lower end of the zipper.
To alter a pattern to accommodate cut on fly, trace centre front and mark bottom of zipper. Trace the topstitching line and add a line ¼” beyond. Flip this pattern piece over and align the centre front lines. Mark the centre front fold line.
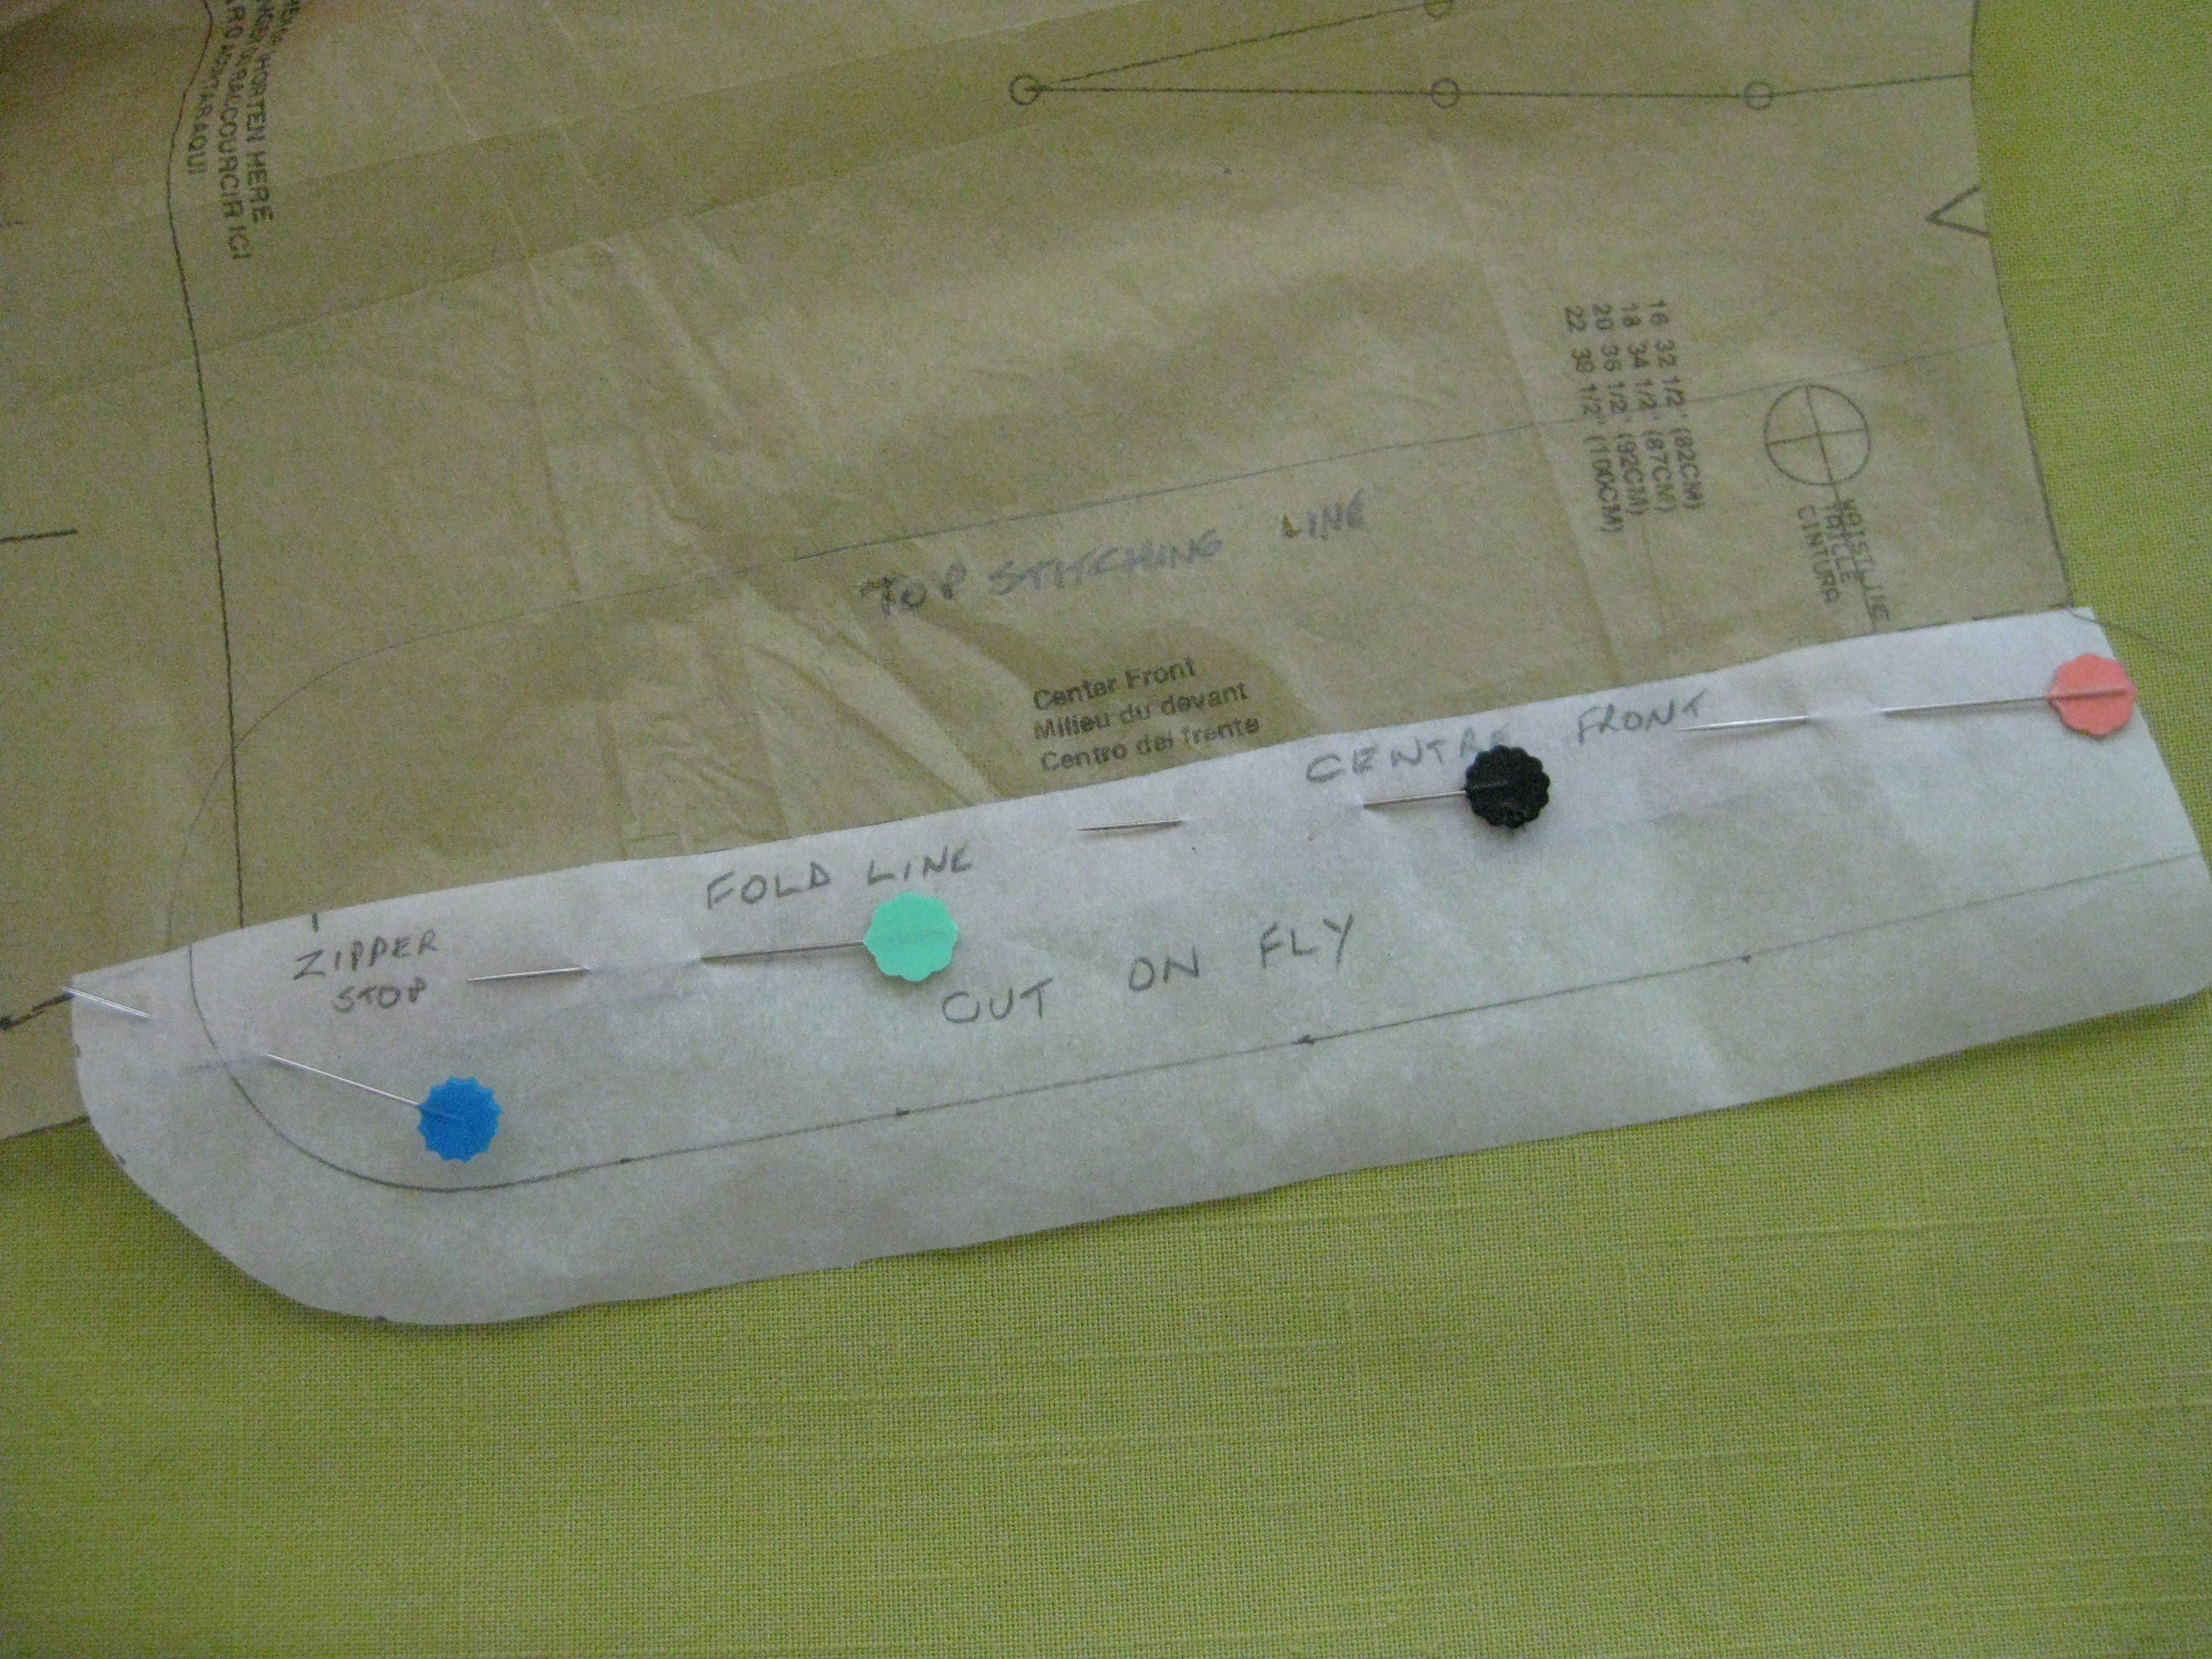
Draw desired width of fly extension and line up CF markings when adding this to the front of the pattern.
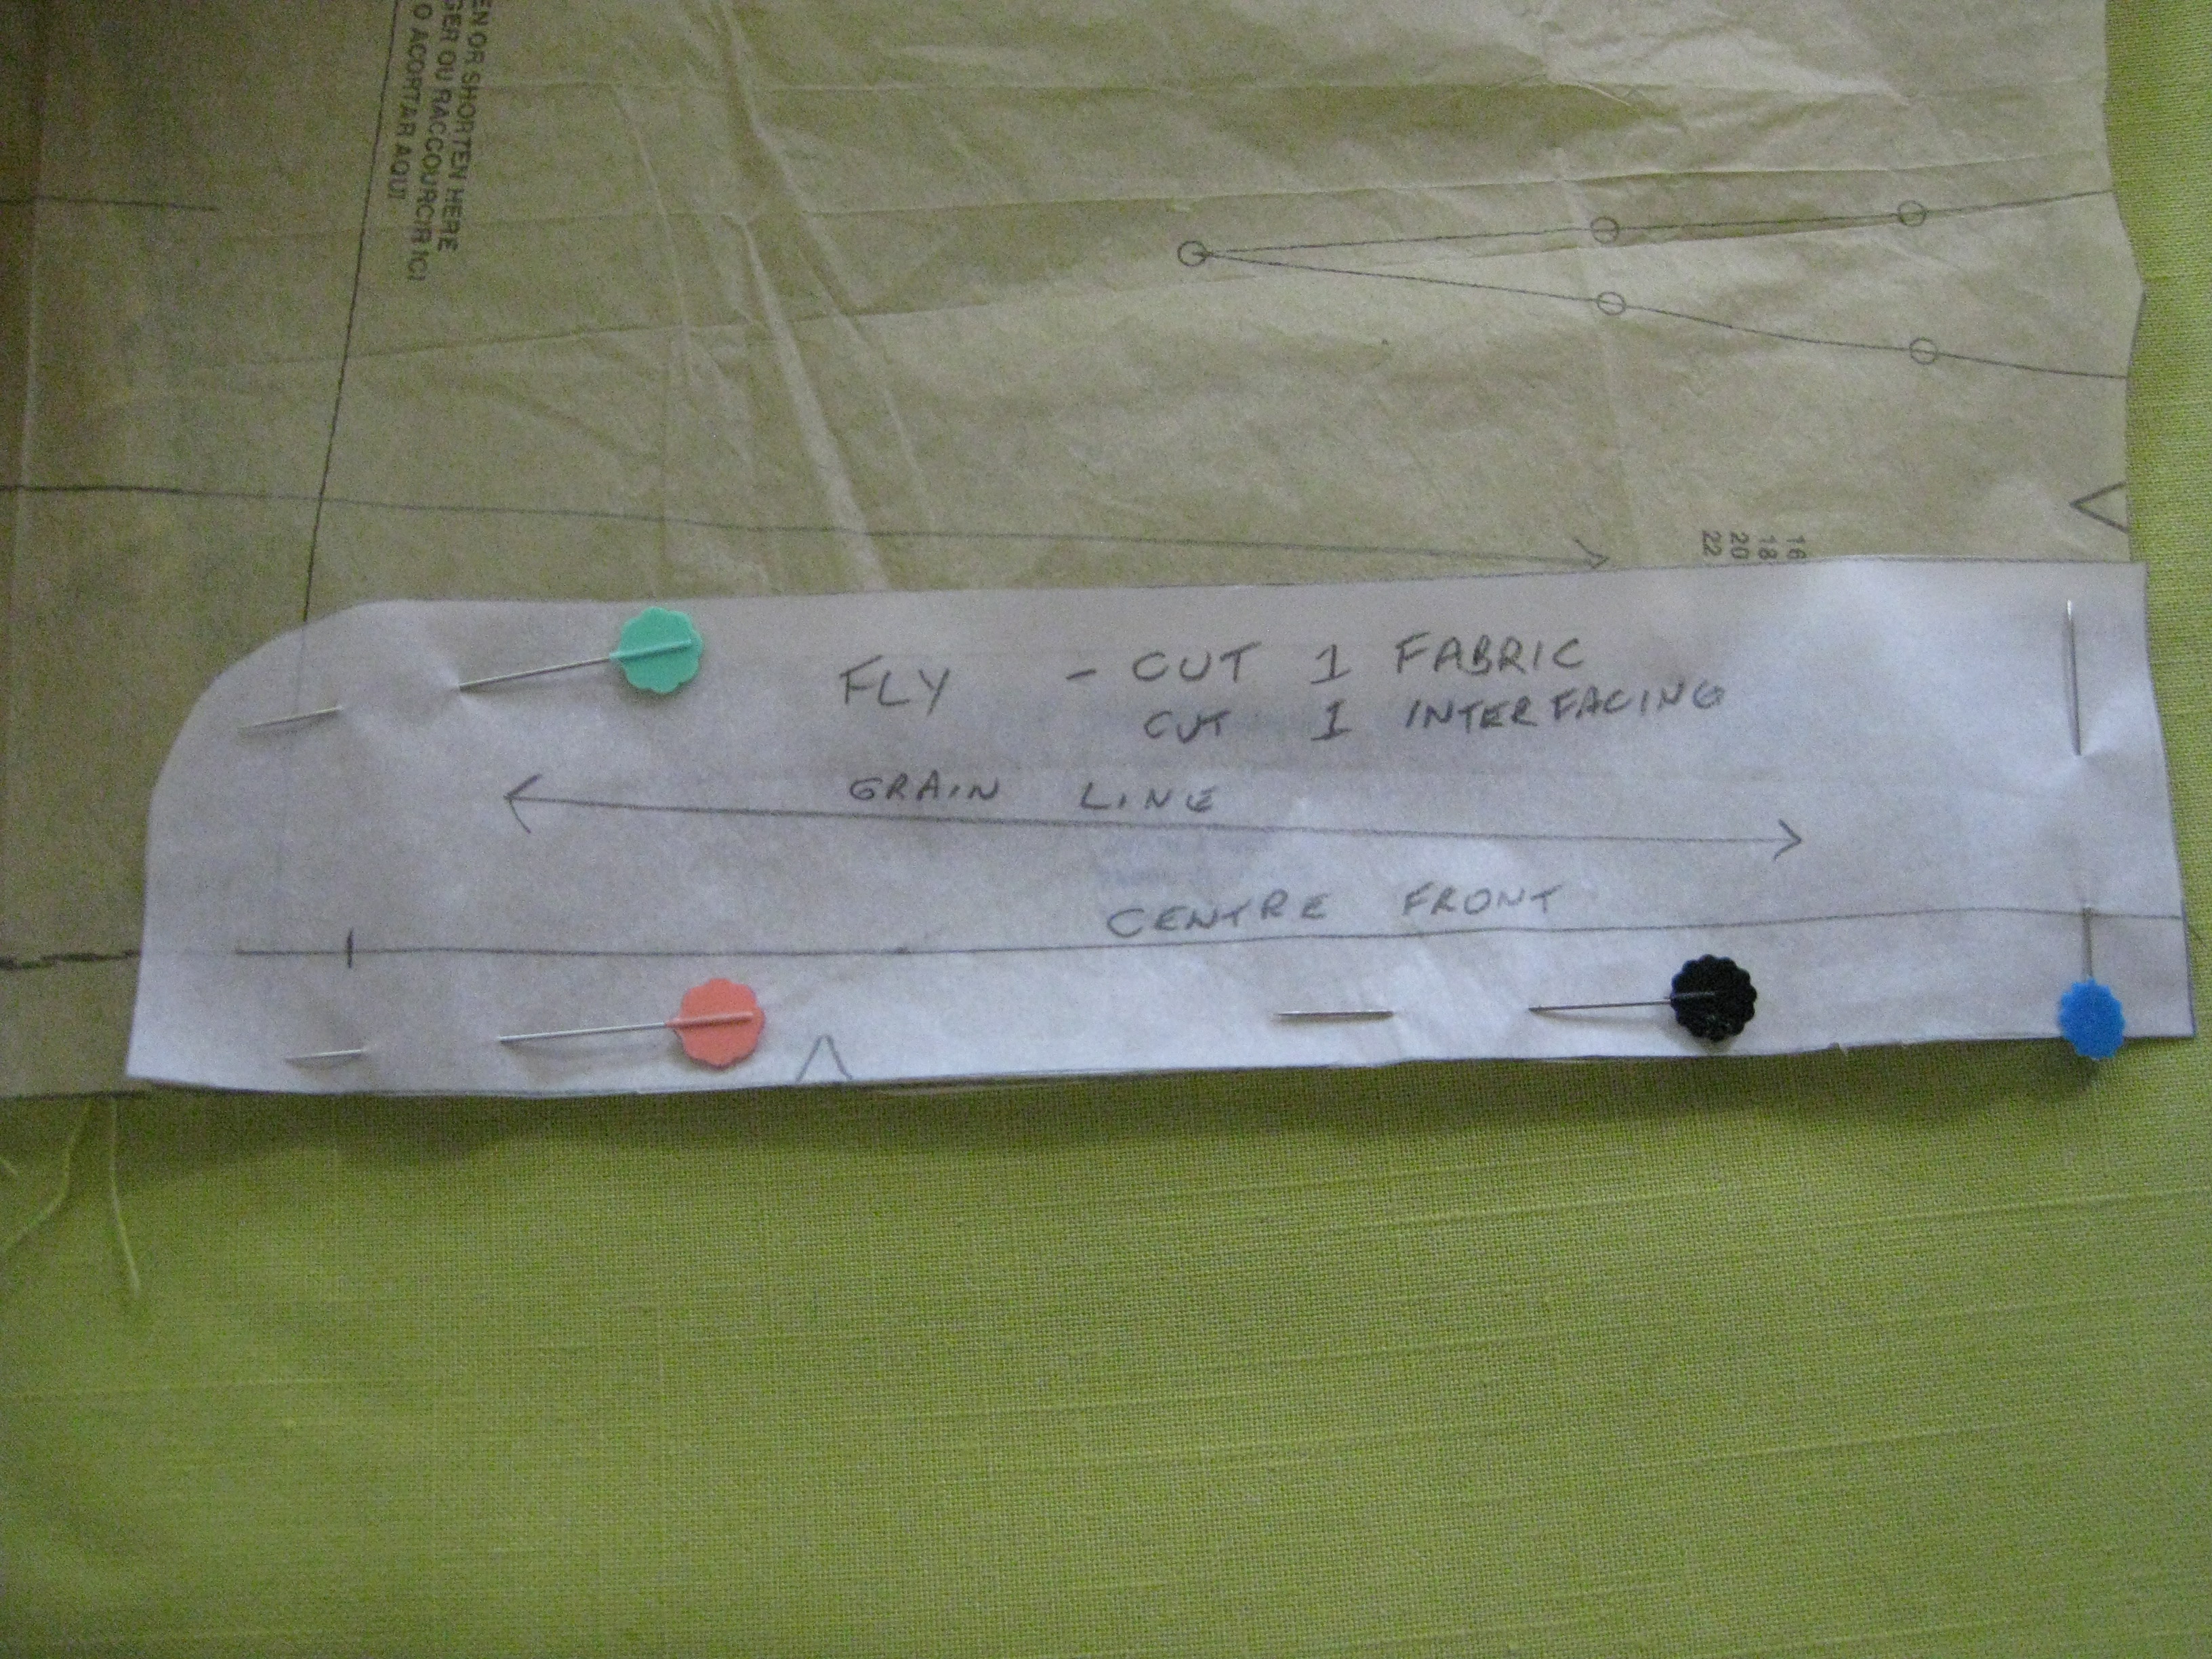
Use fly extension to make a pattern for separate fly facing which will be sewn at CF.
Interfacing:
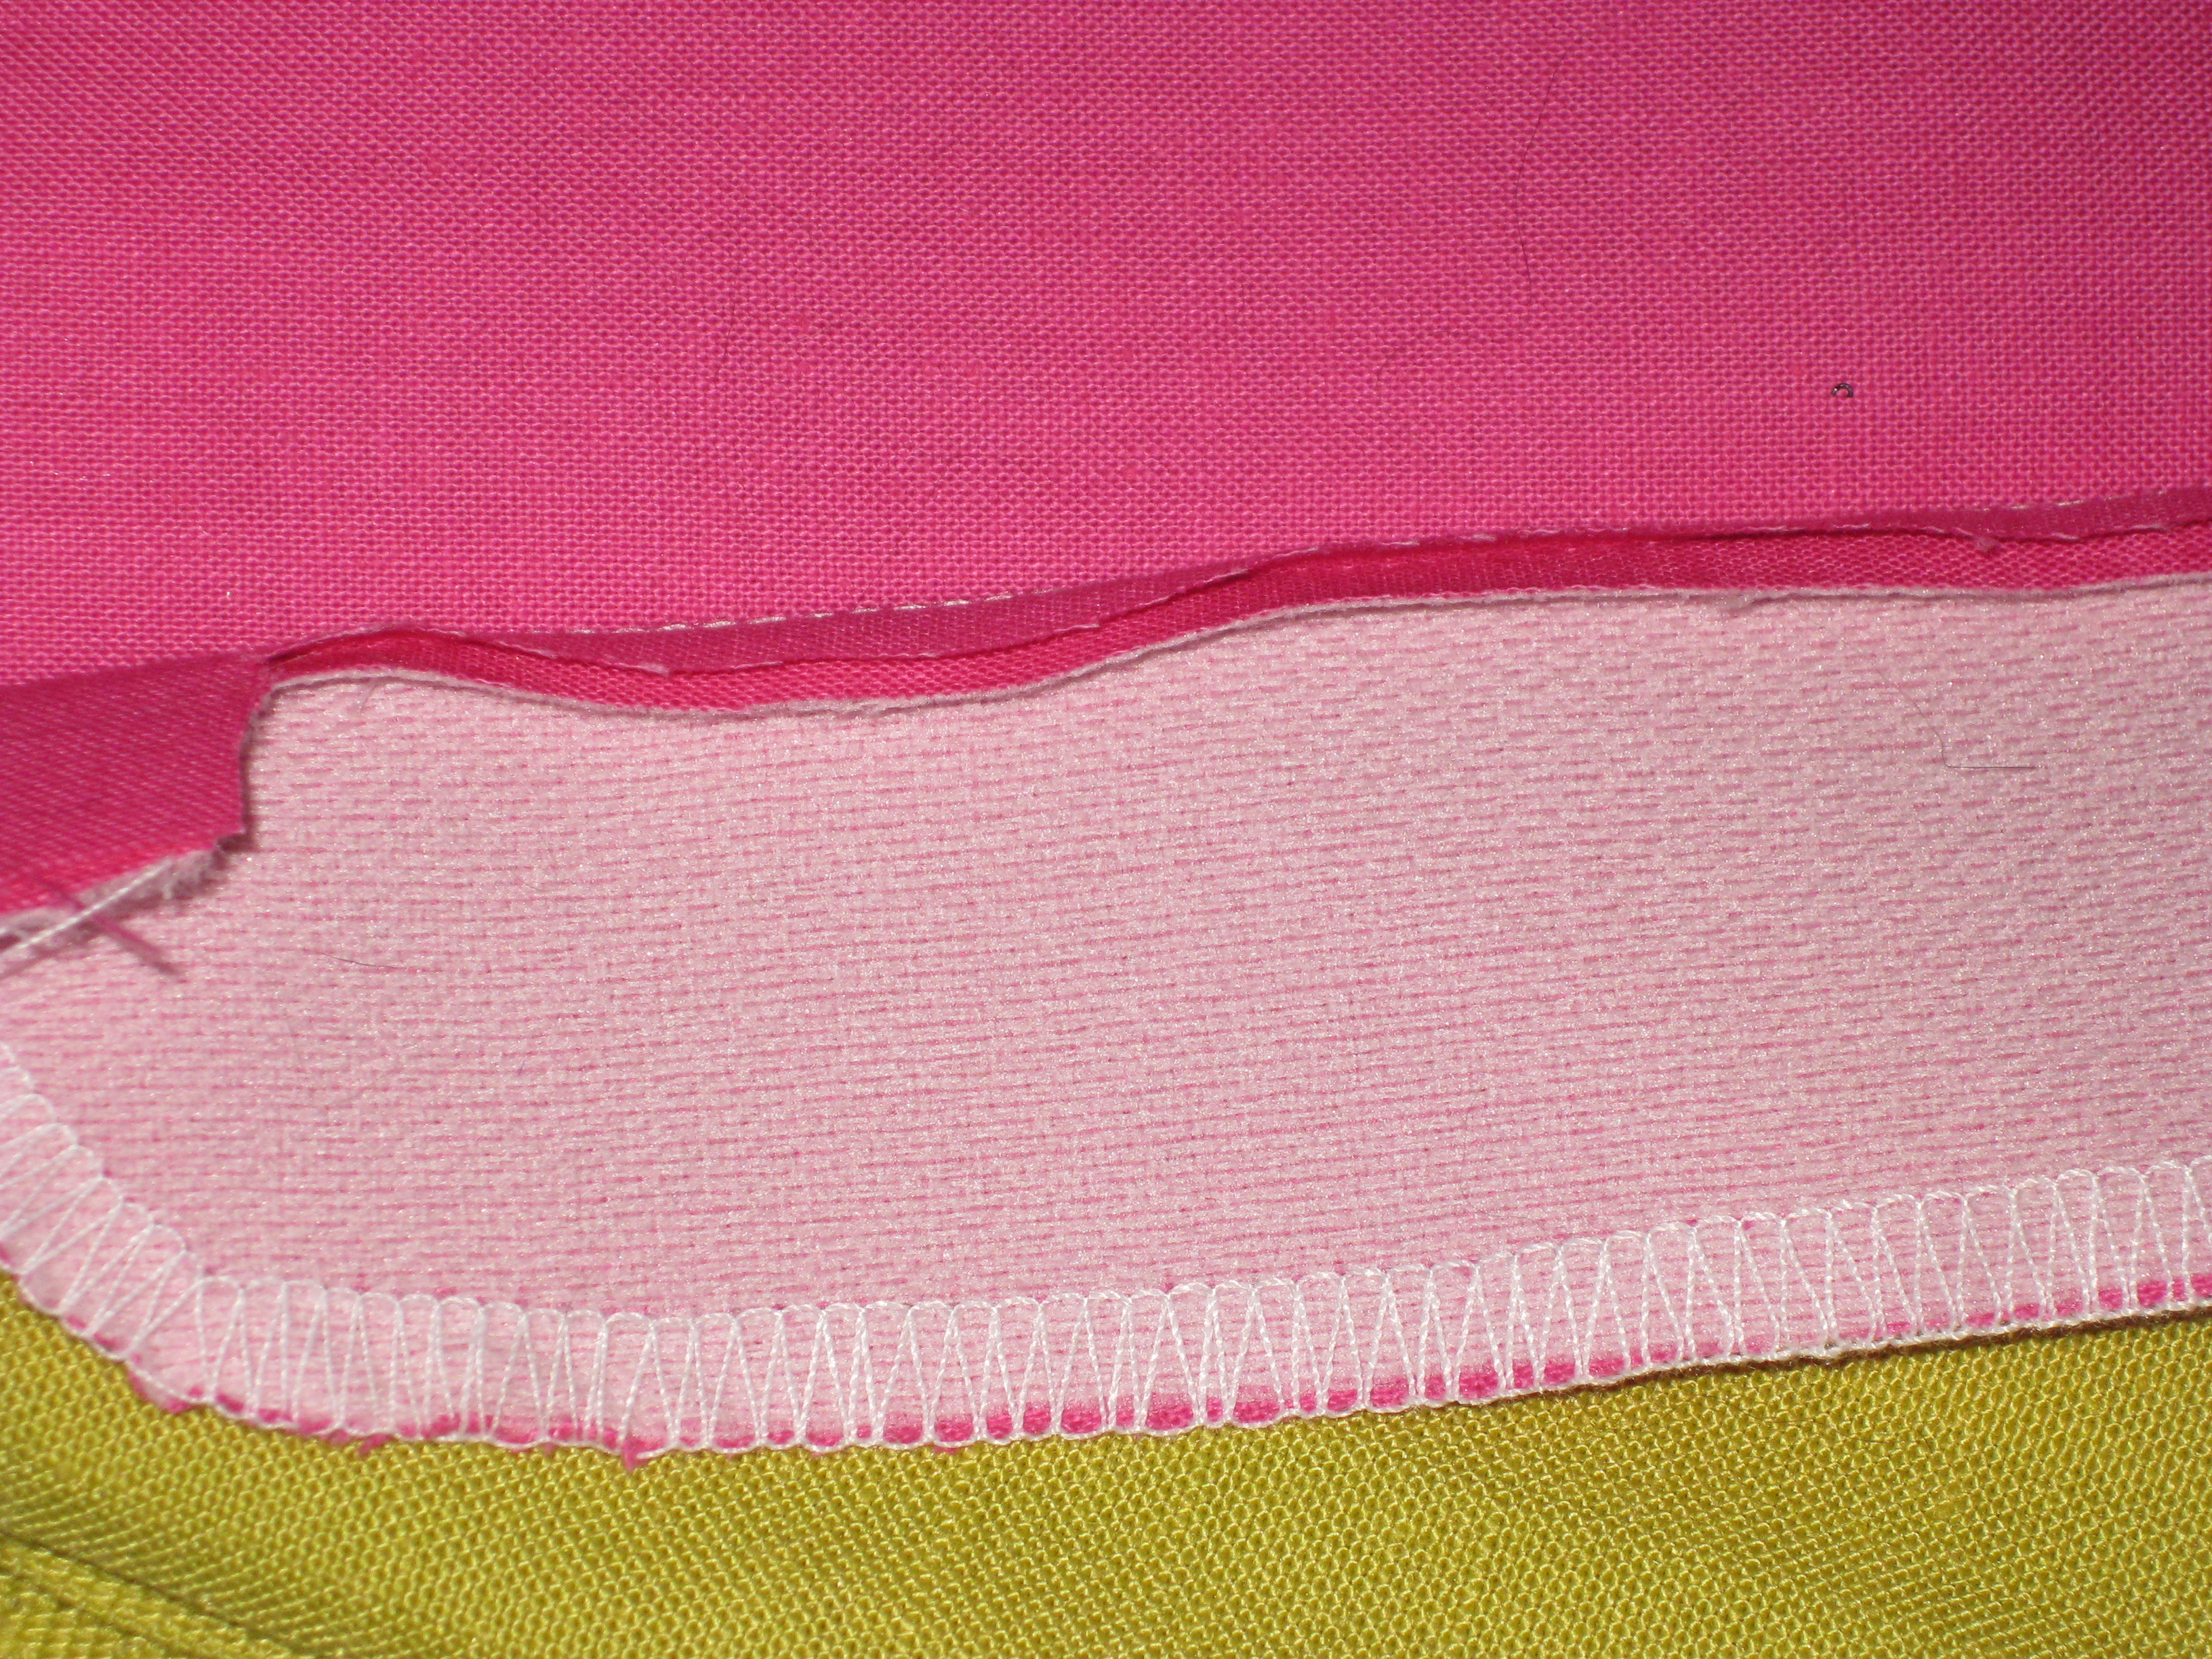
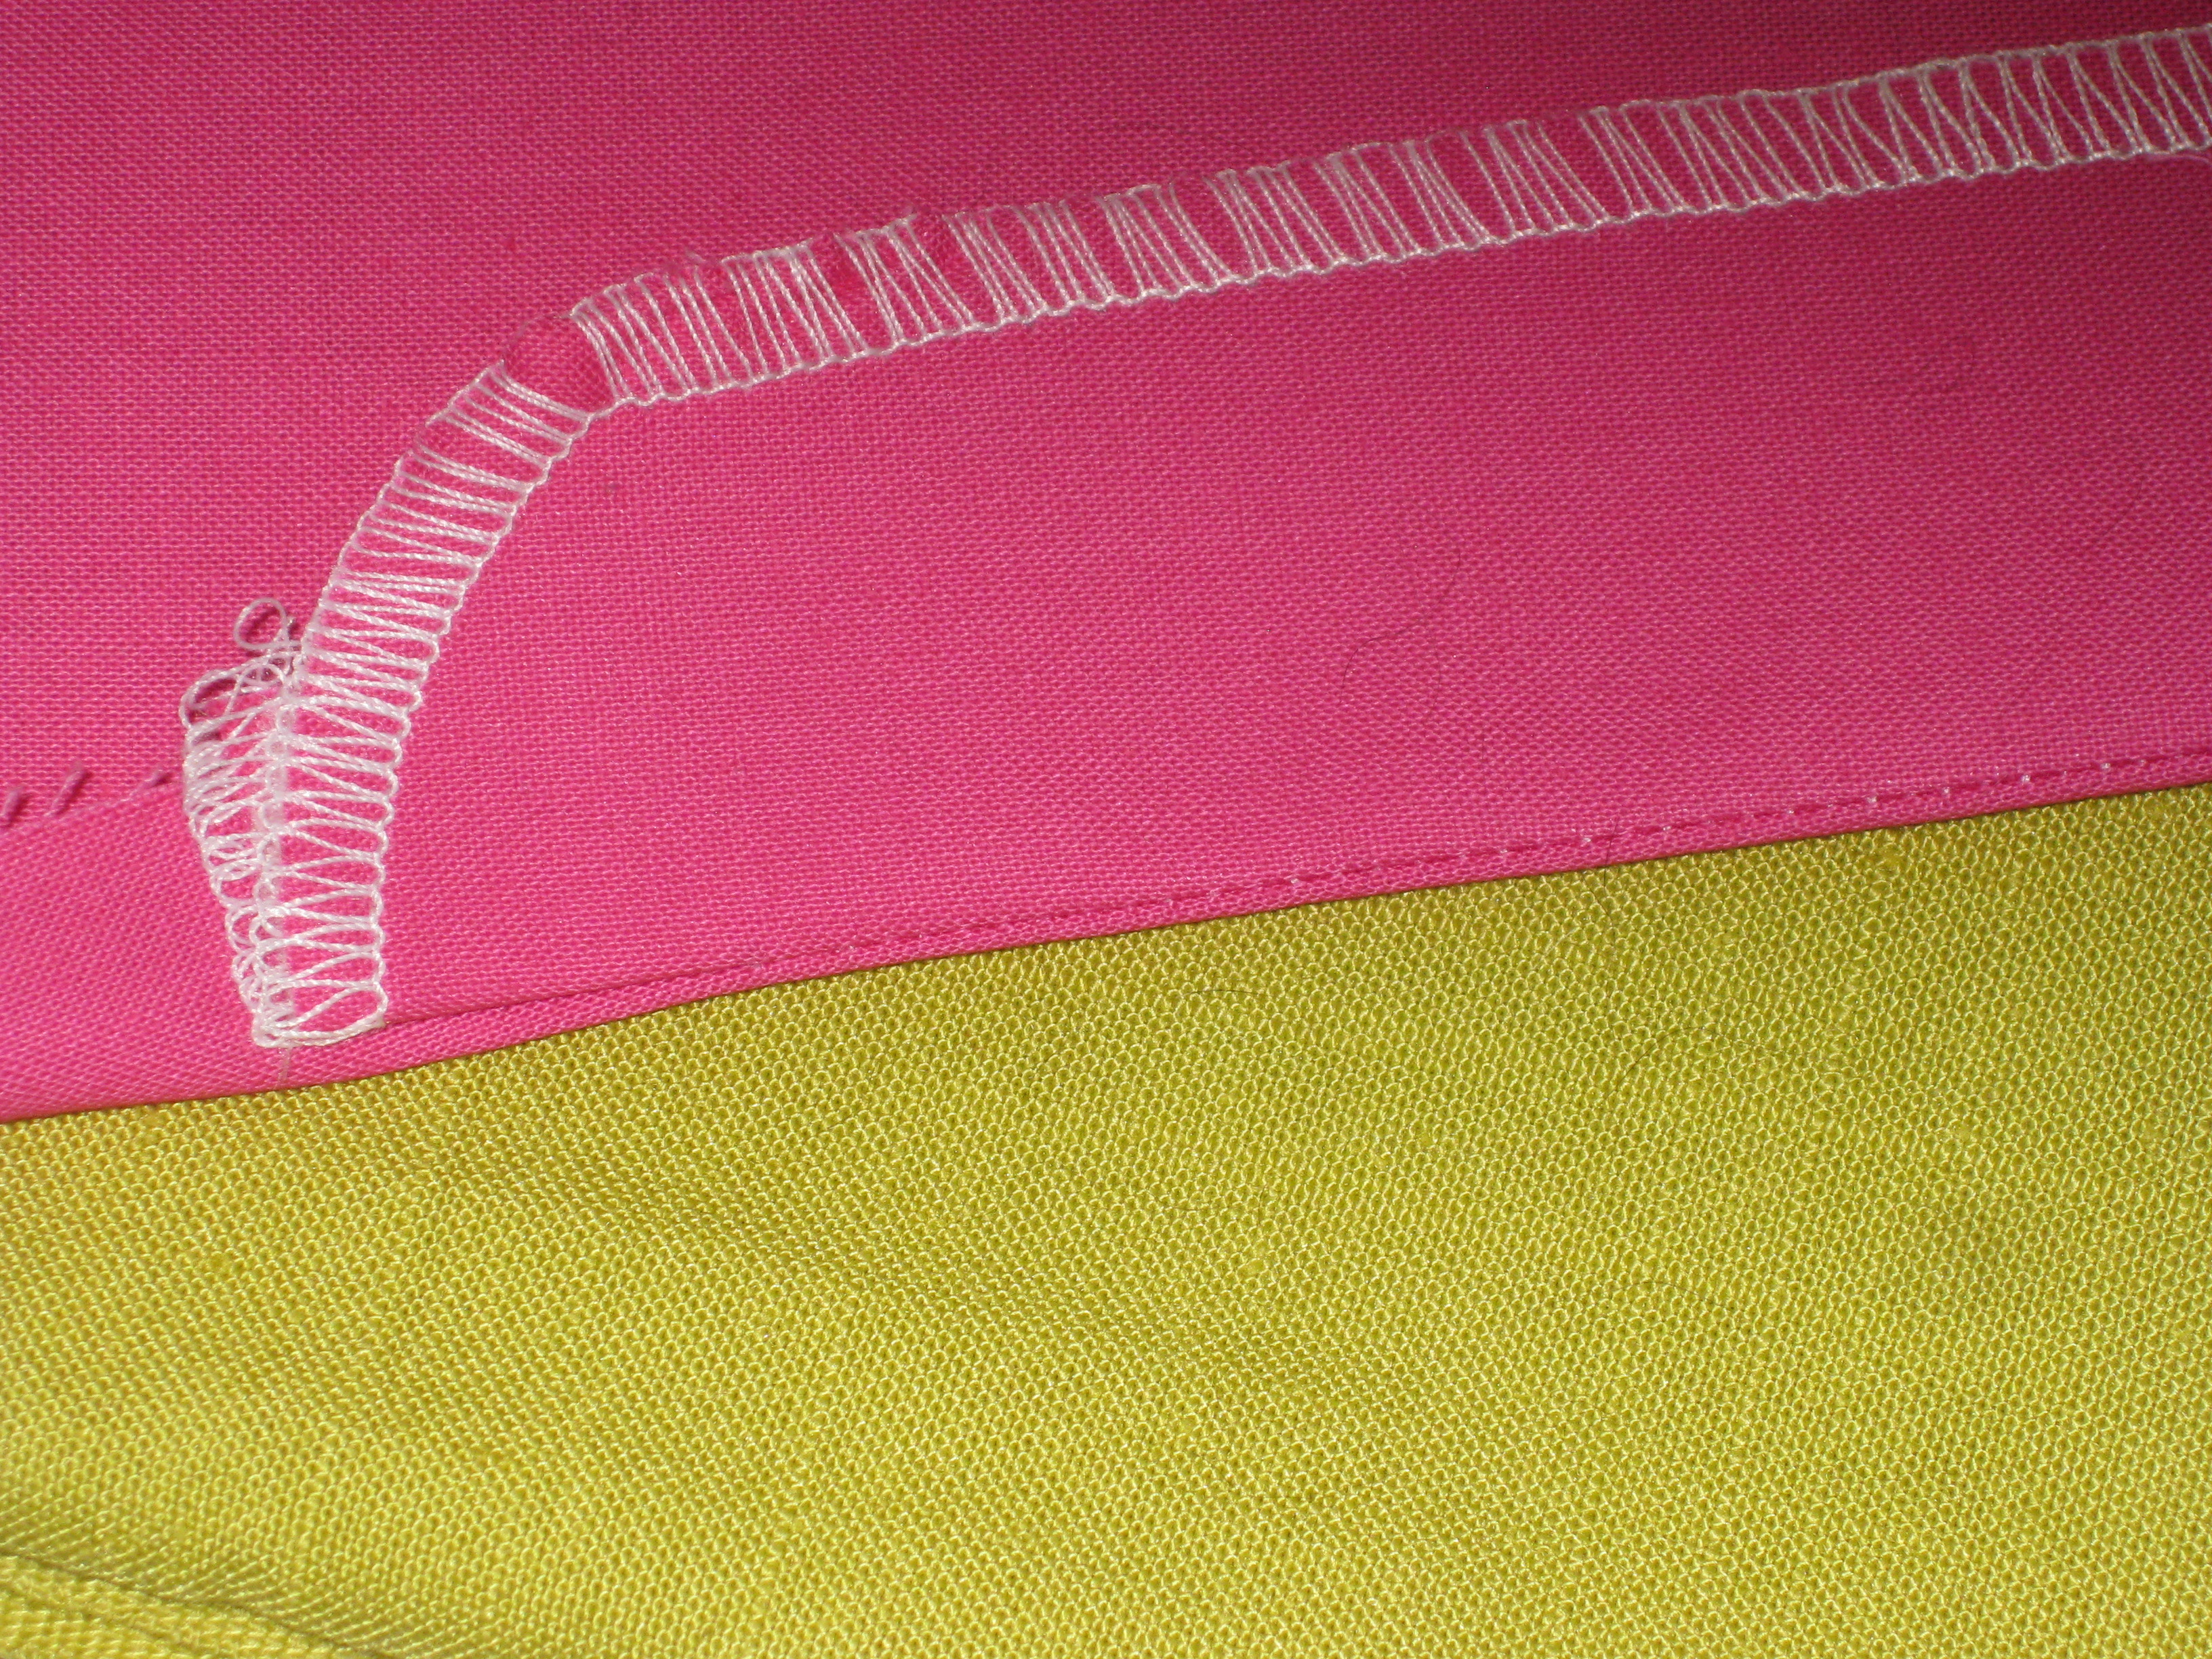
Interface the fly facing and finish the outside edge.

Interface cut on fly facing and over CF on opposite side.
For pants with a cut on facing, interface the underlap with the interfacing extending over the centre front seam on the side of the pants where the visible fly stitching will lie.
Preparing the Zipper:
Shorten the zipper if necessary. For dress zips, use a longer zipper than the pattern requires. Metal zippers should be as close to the correct length as possible.
If it is necessary to shorten a metal zip, do so by marking the desired length at the top of the zipper. Carefully remove the metal stops (pointy pliers are good for this) and pull the unwanted teeth away from the tape. When the required length is correct, replace the metal stops and pinch them firmly in place.
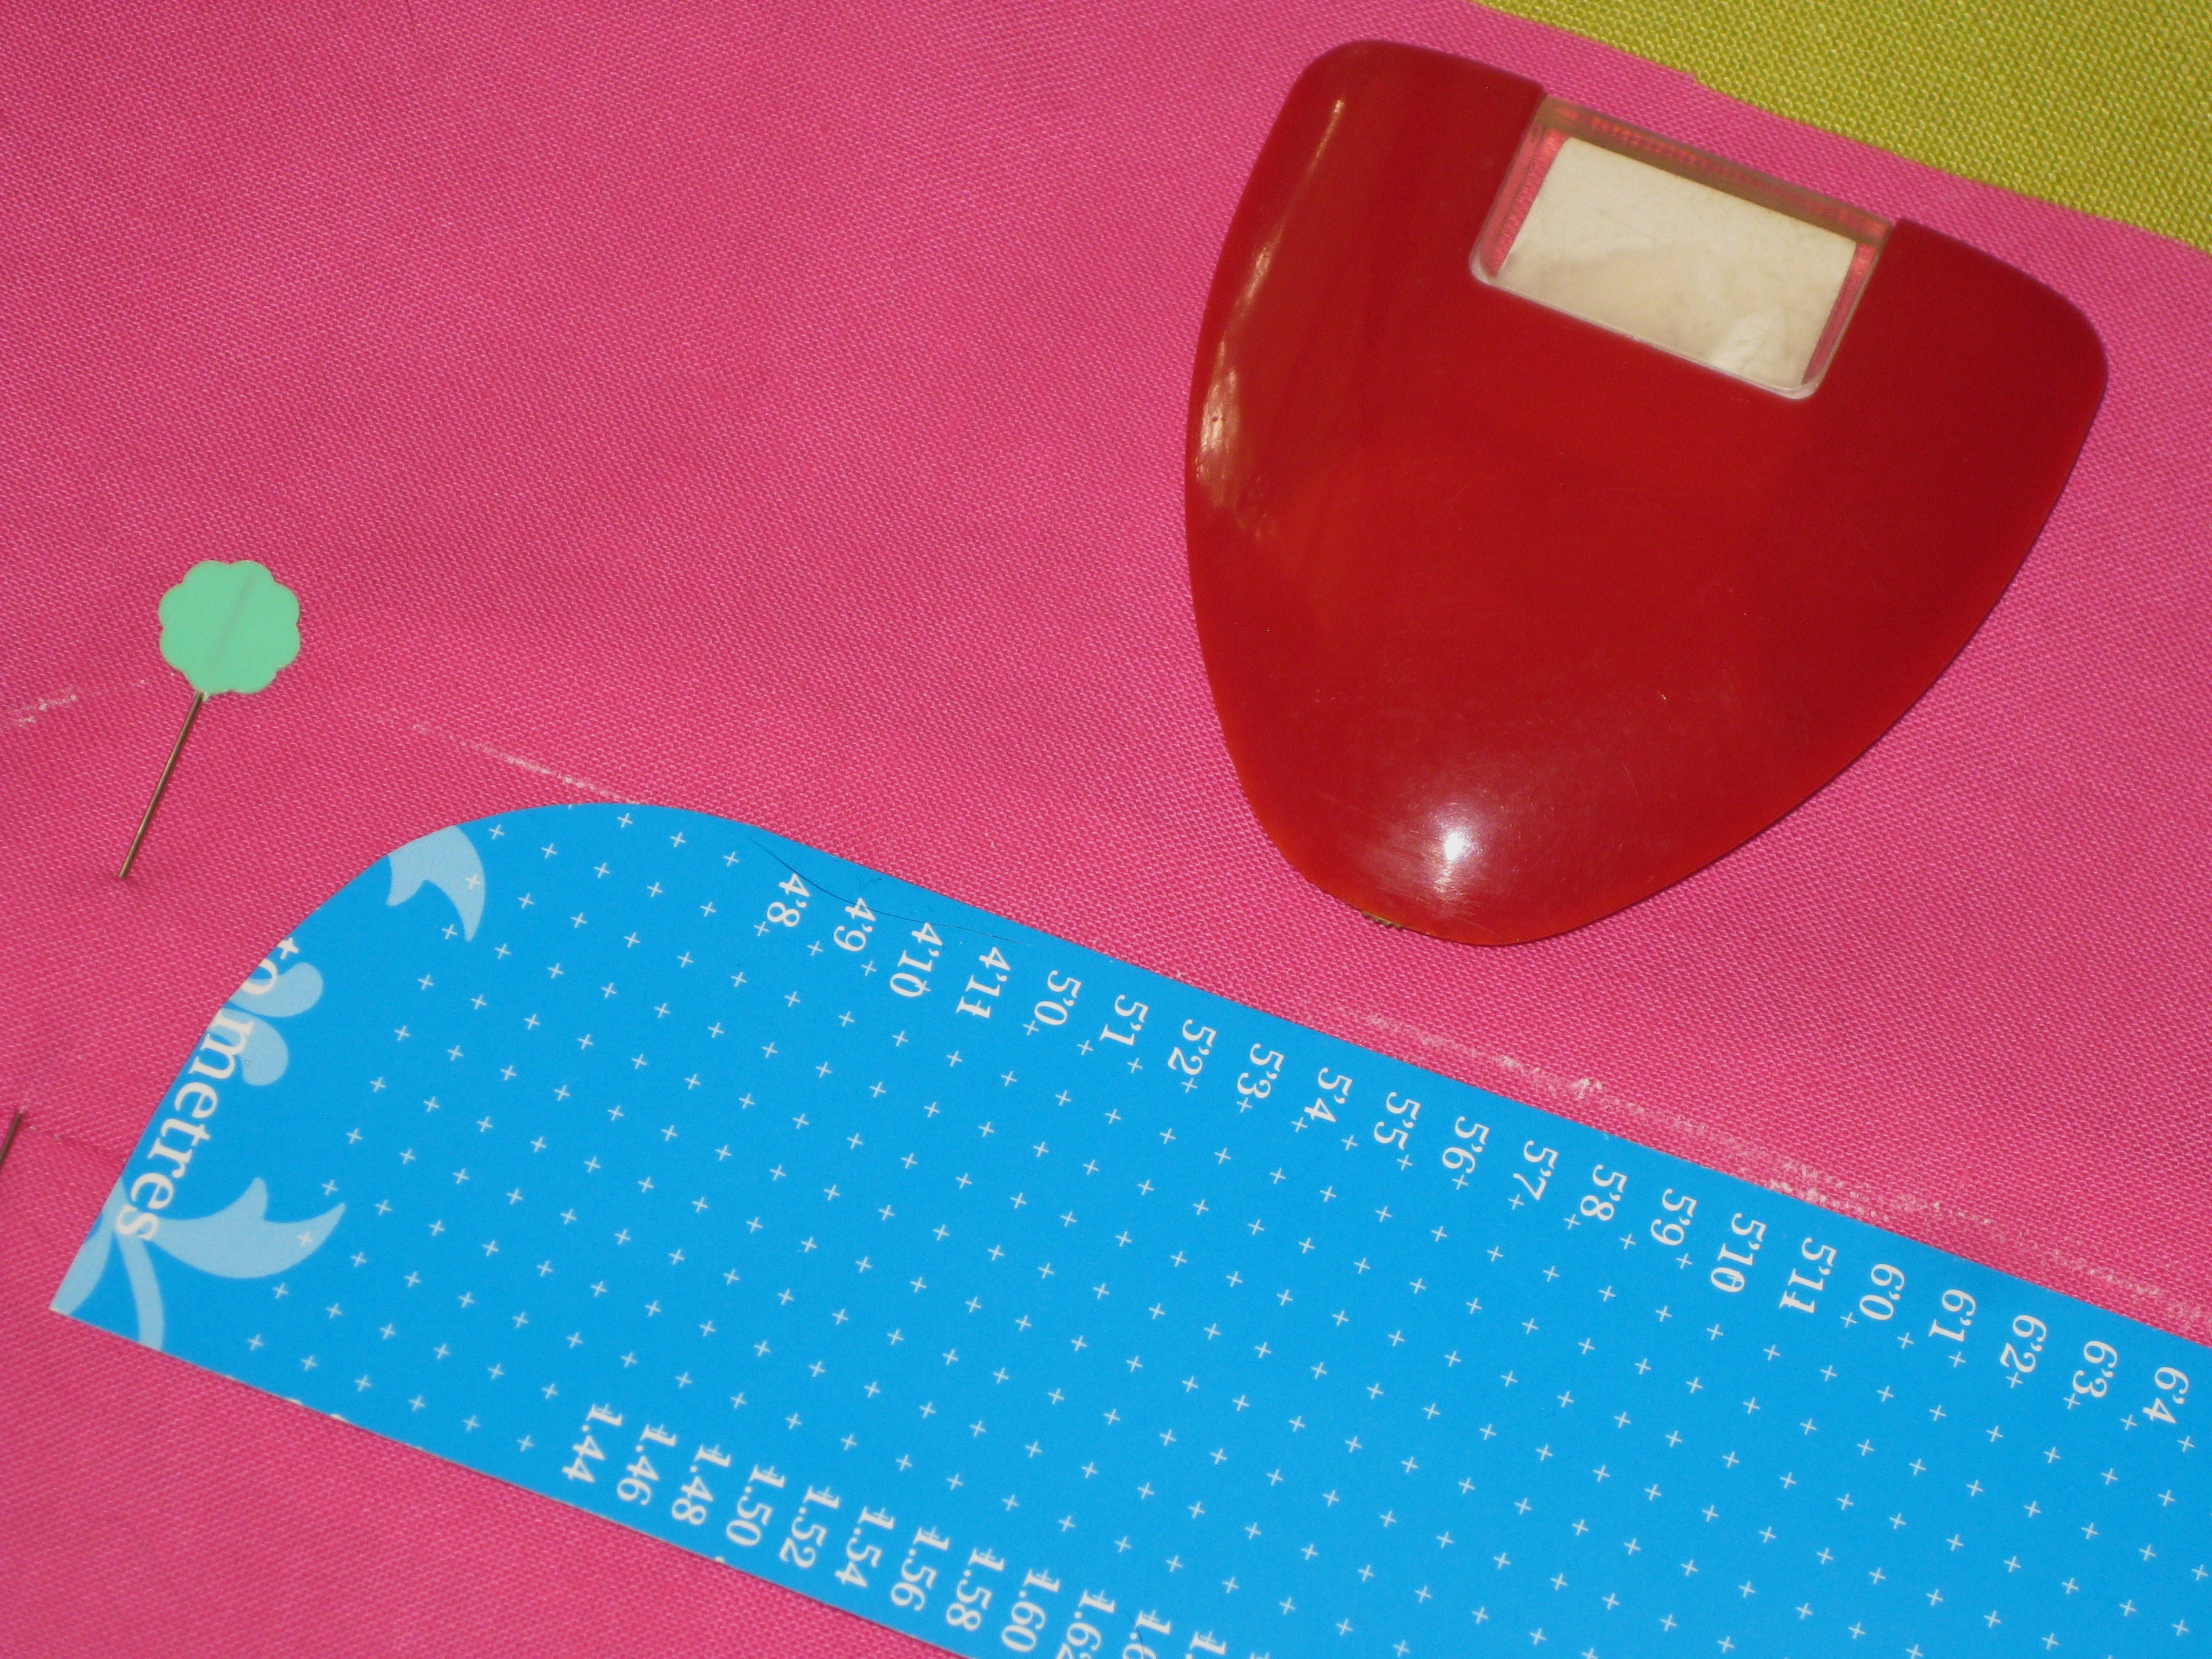
Make a template to assist with final topstitching of the zipper.
Zipper template is useful to accurately mark topstitching position.
Insertion Technique – Cut on Fly:
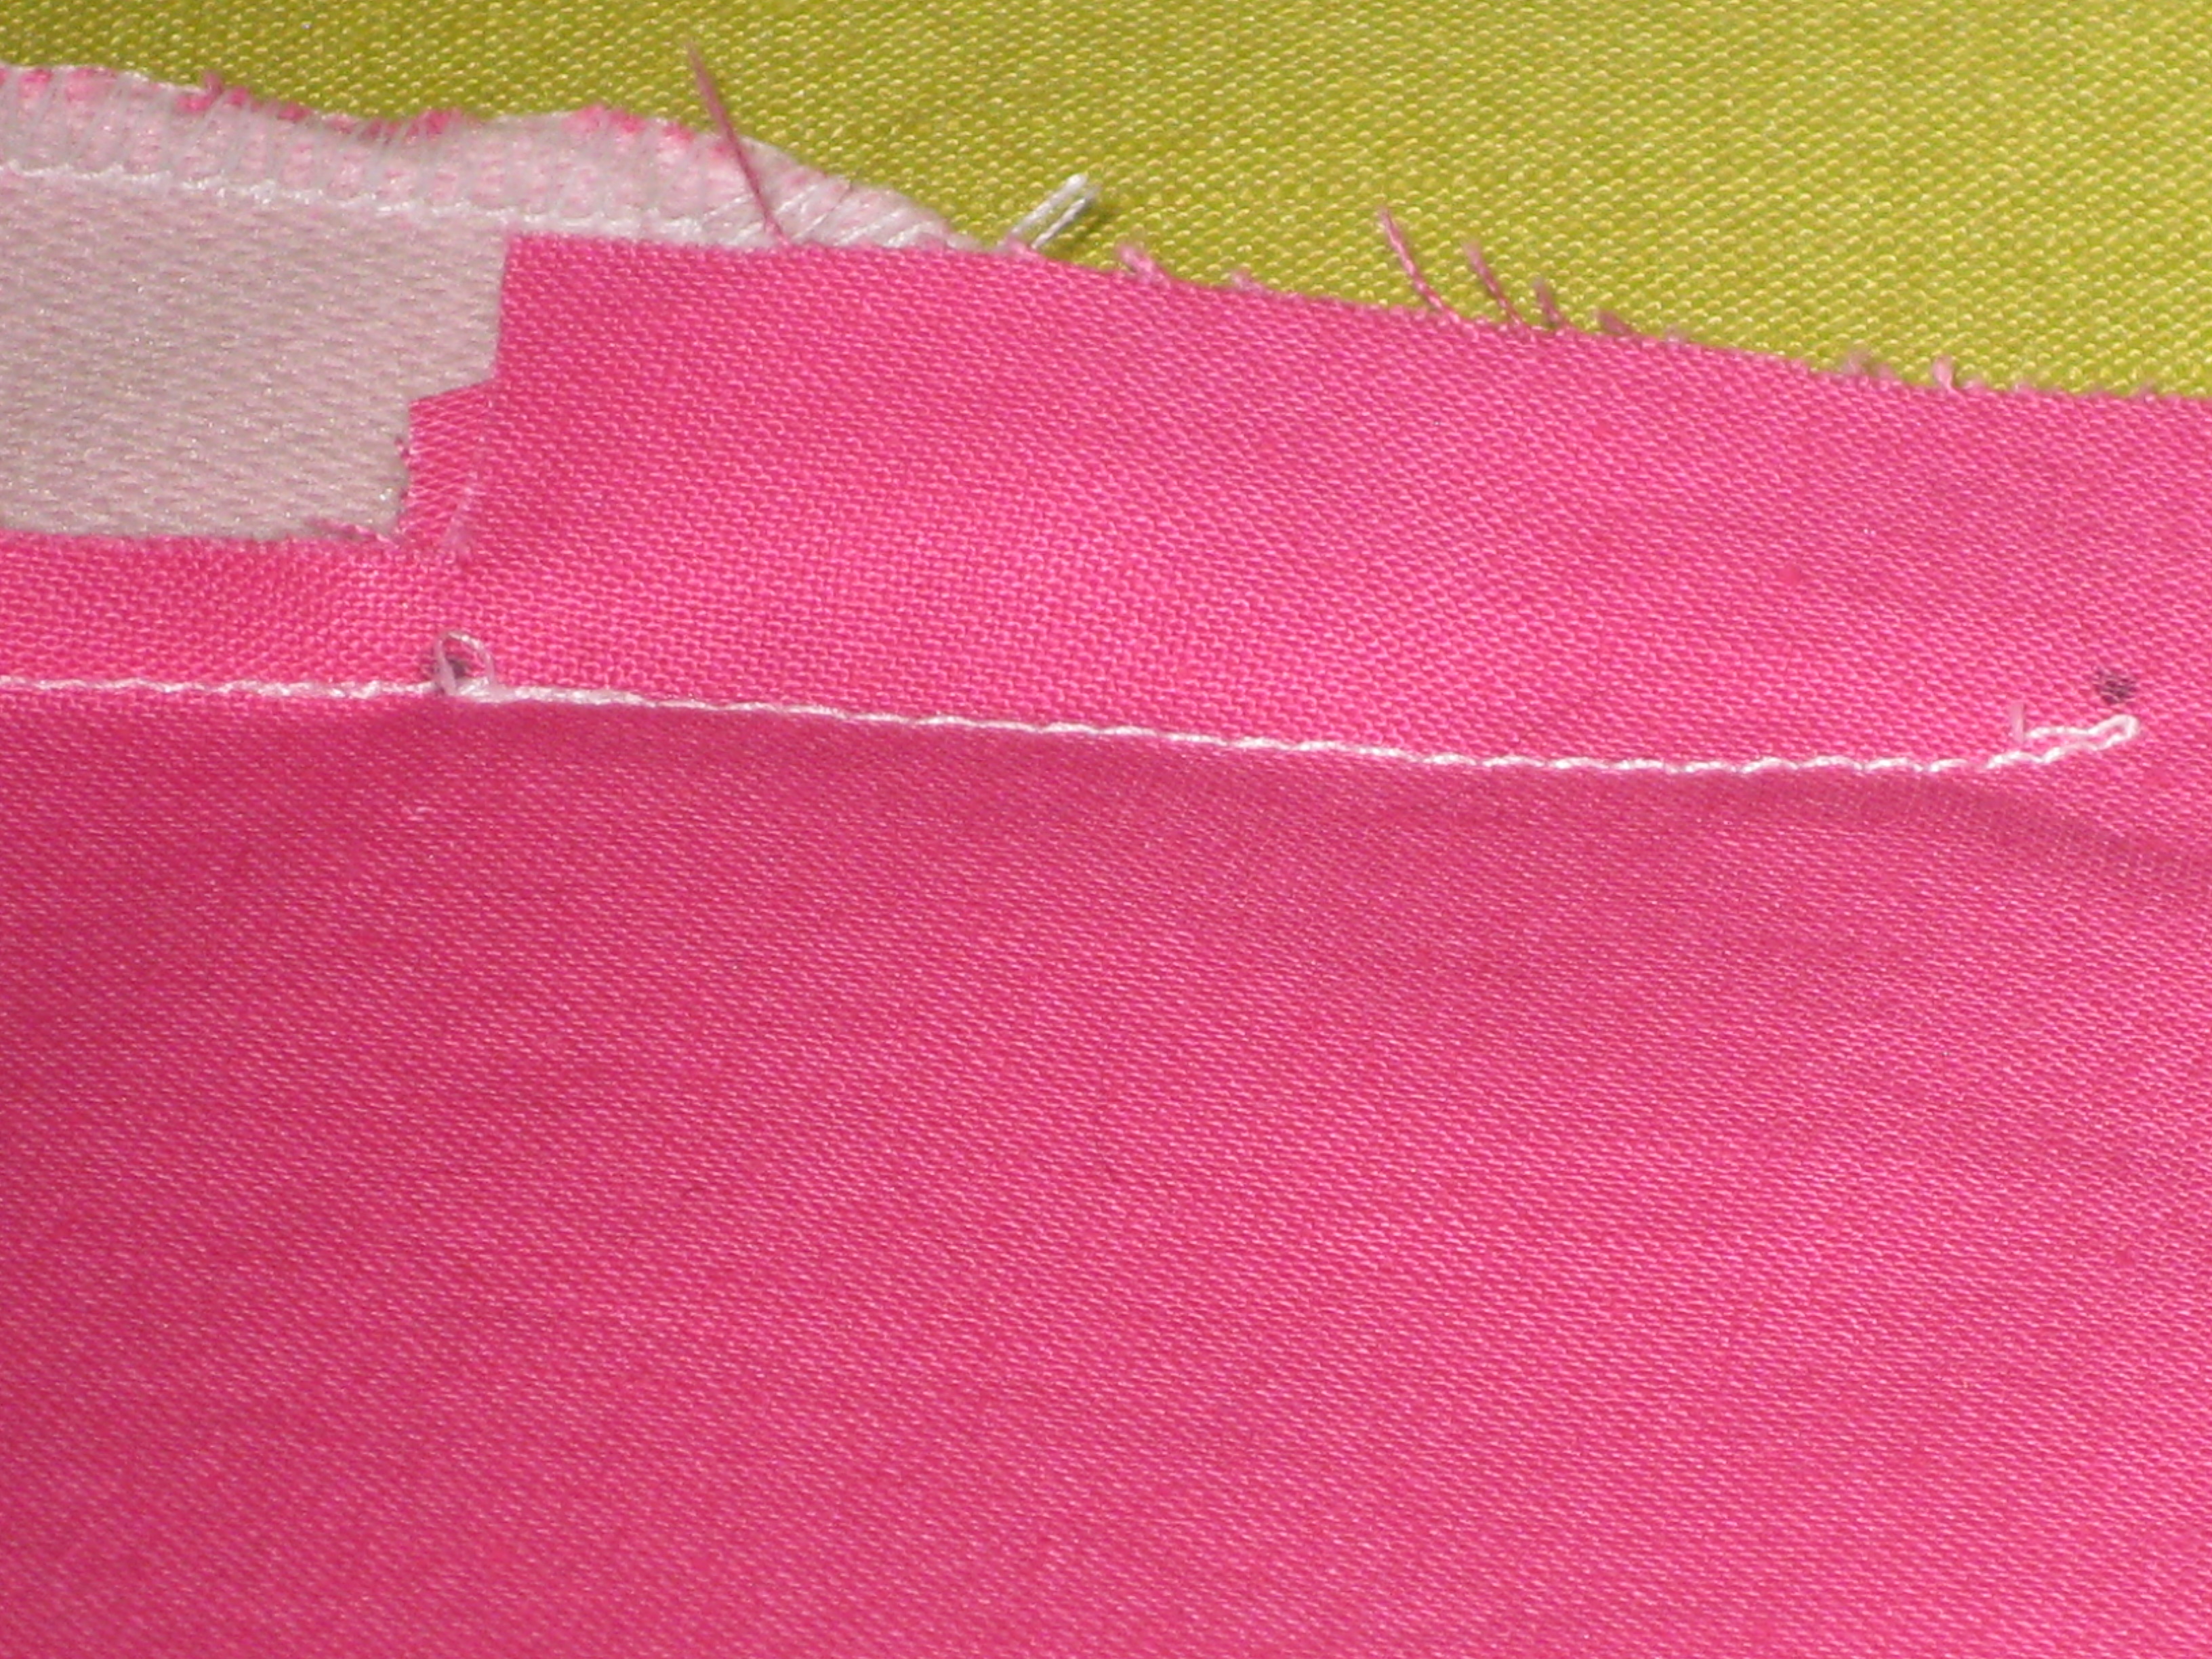
Sew approximately 2”/5cm of crotch seam first – be sure to end exactly at the dot which marks the beginning of the zipper opening and back stitch to secure.

Stitch approximately 5cm (2″) of crotch seam, finishing at mark indicating bottom of the zipper – back stitch to secure.
Lengthen stitch to 4.0 and machine baste the remainder of CF seam.
Machine baste centre fronts together (SL4.0-5.0) in the area of the zipper opening; press seam flat and then open.
Then press a fold on the underside seam allowance so the fold is flush with the cut edge of the fabric.
Press seam flat and open. Press a fold on the underside 15mm (5/8″) from CF
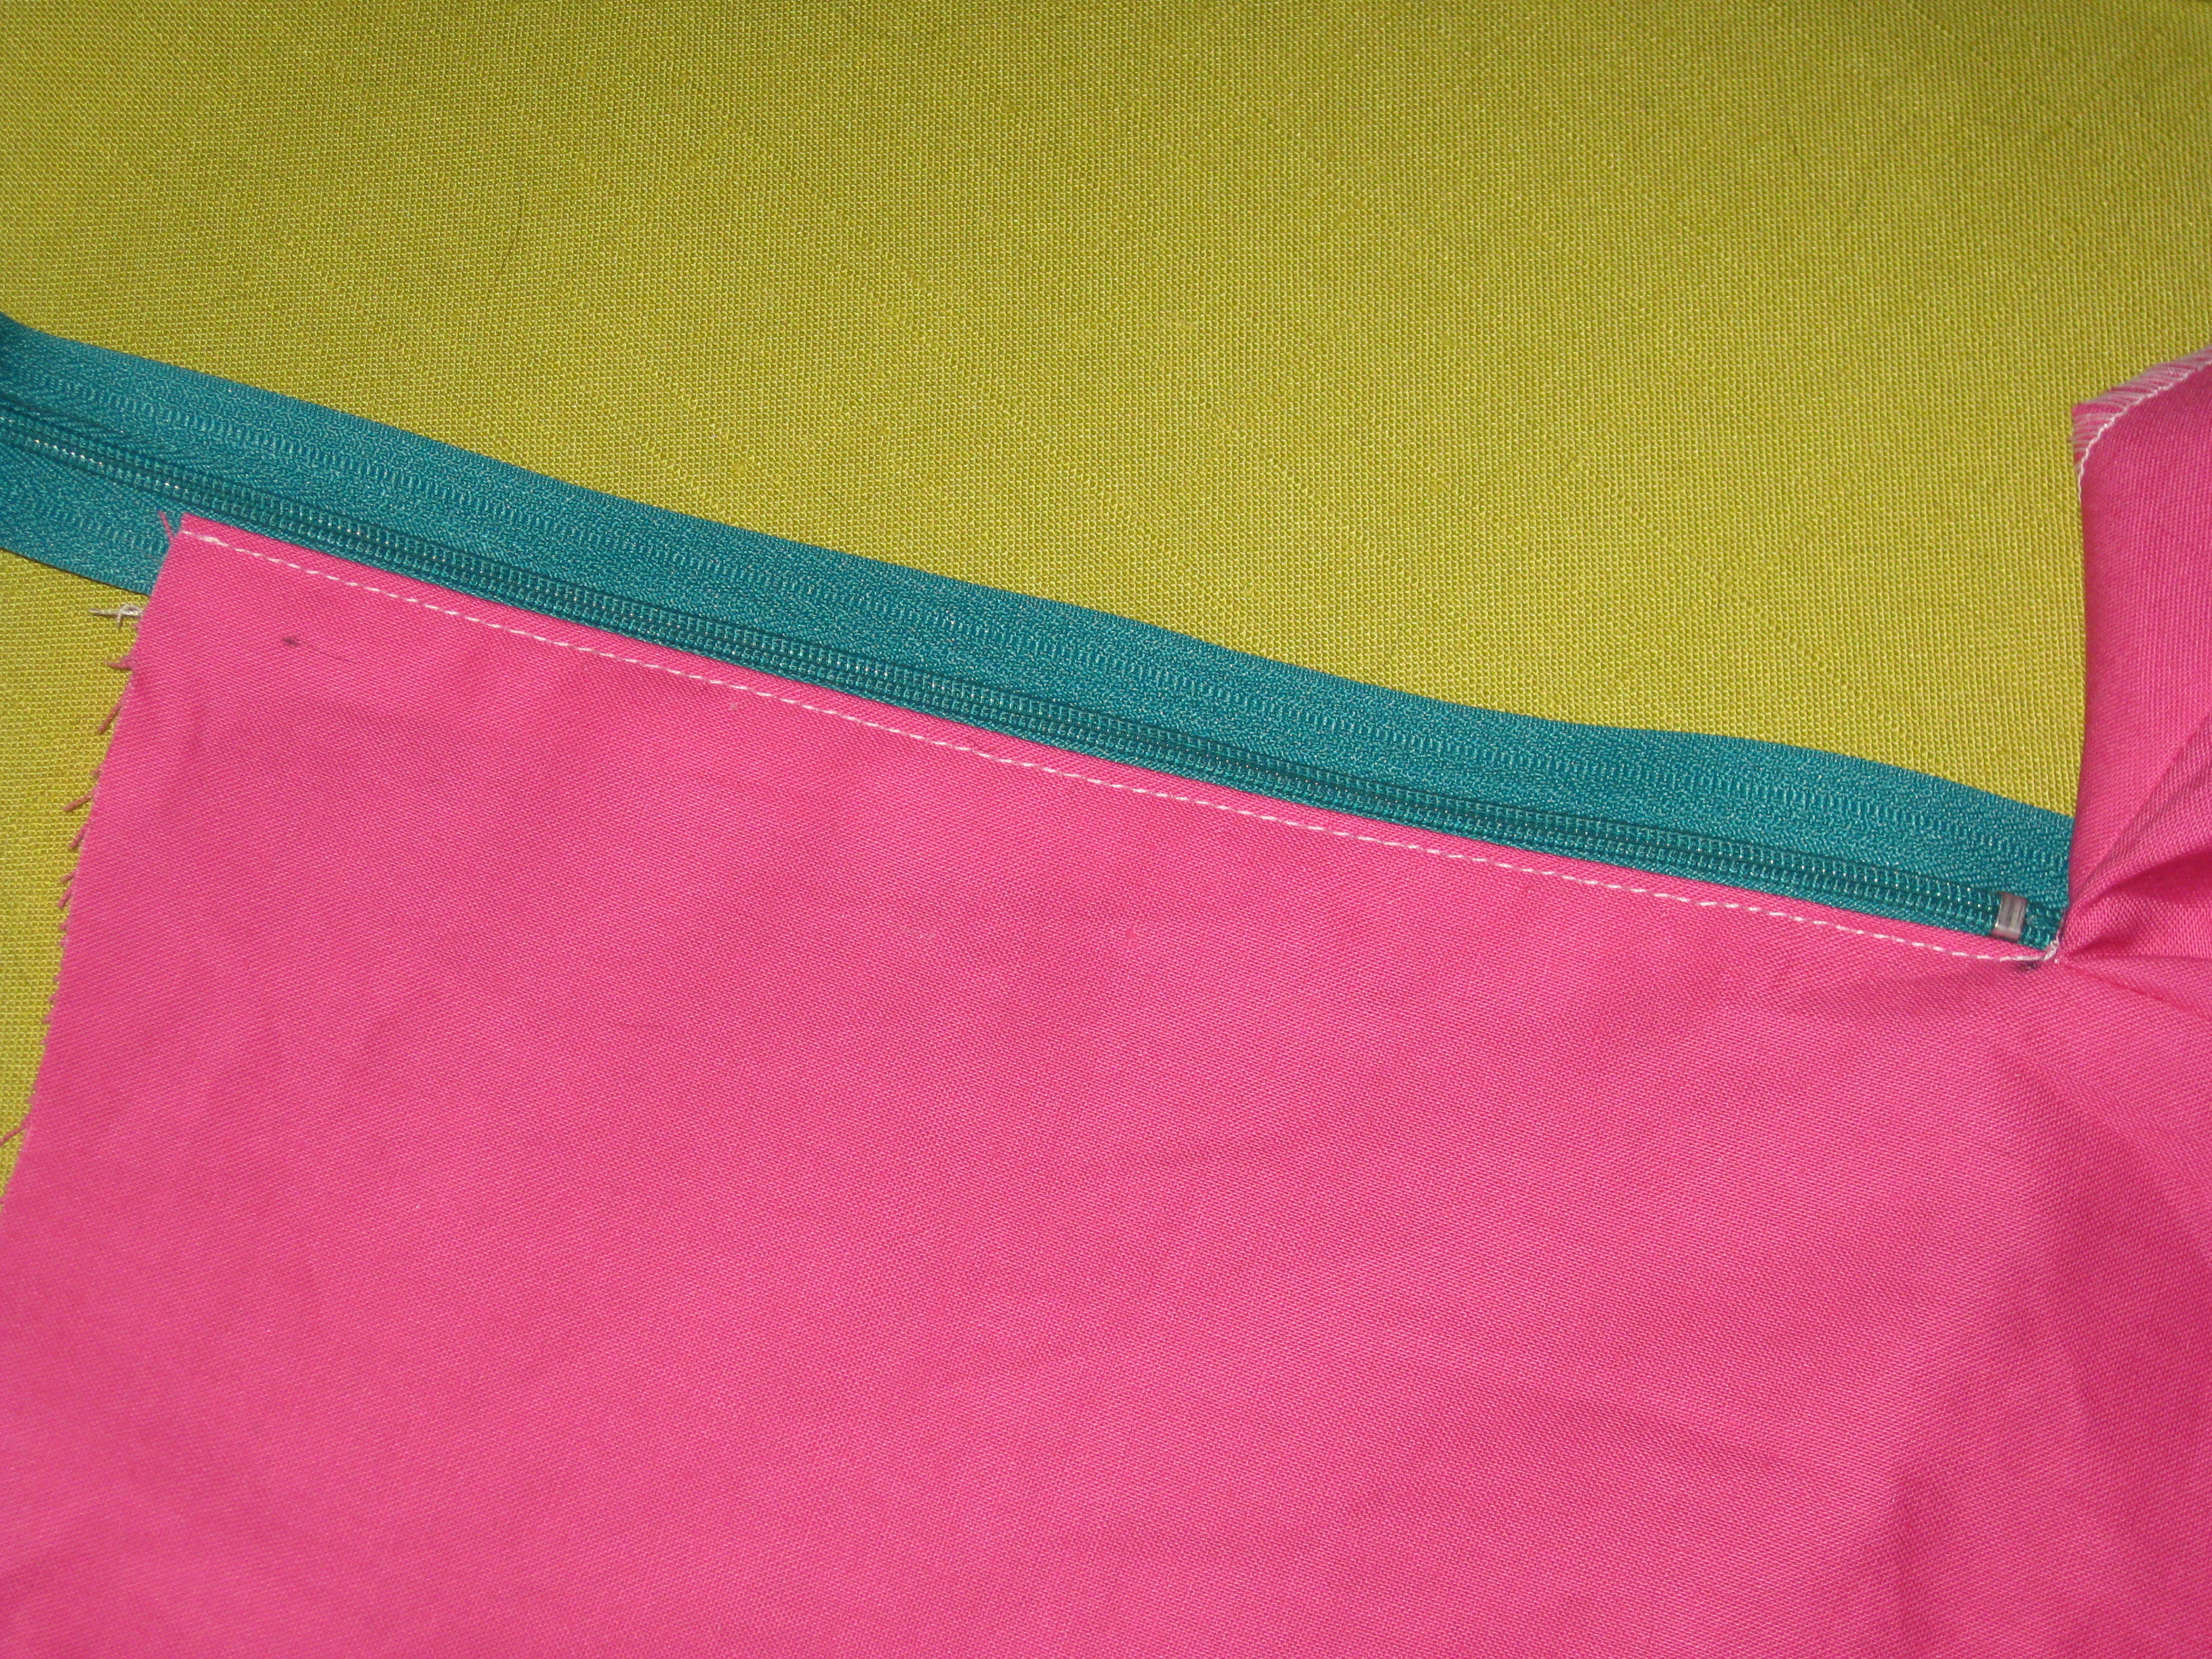
Open the zipper and position the teeth of the zipper along this fold with the zipper stop at the bottom of the opening.

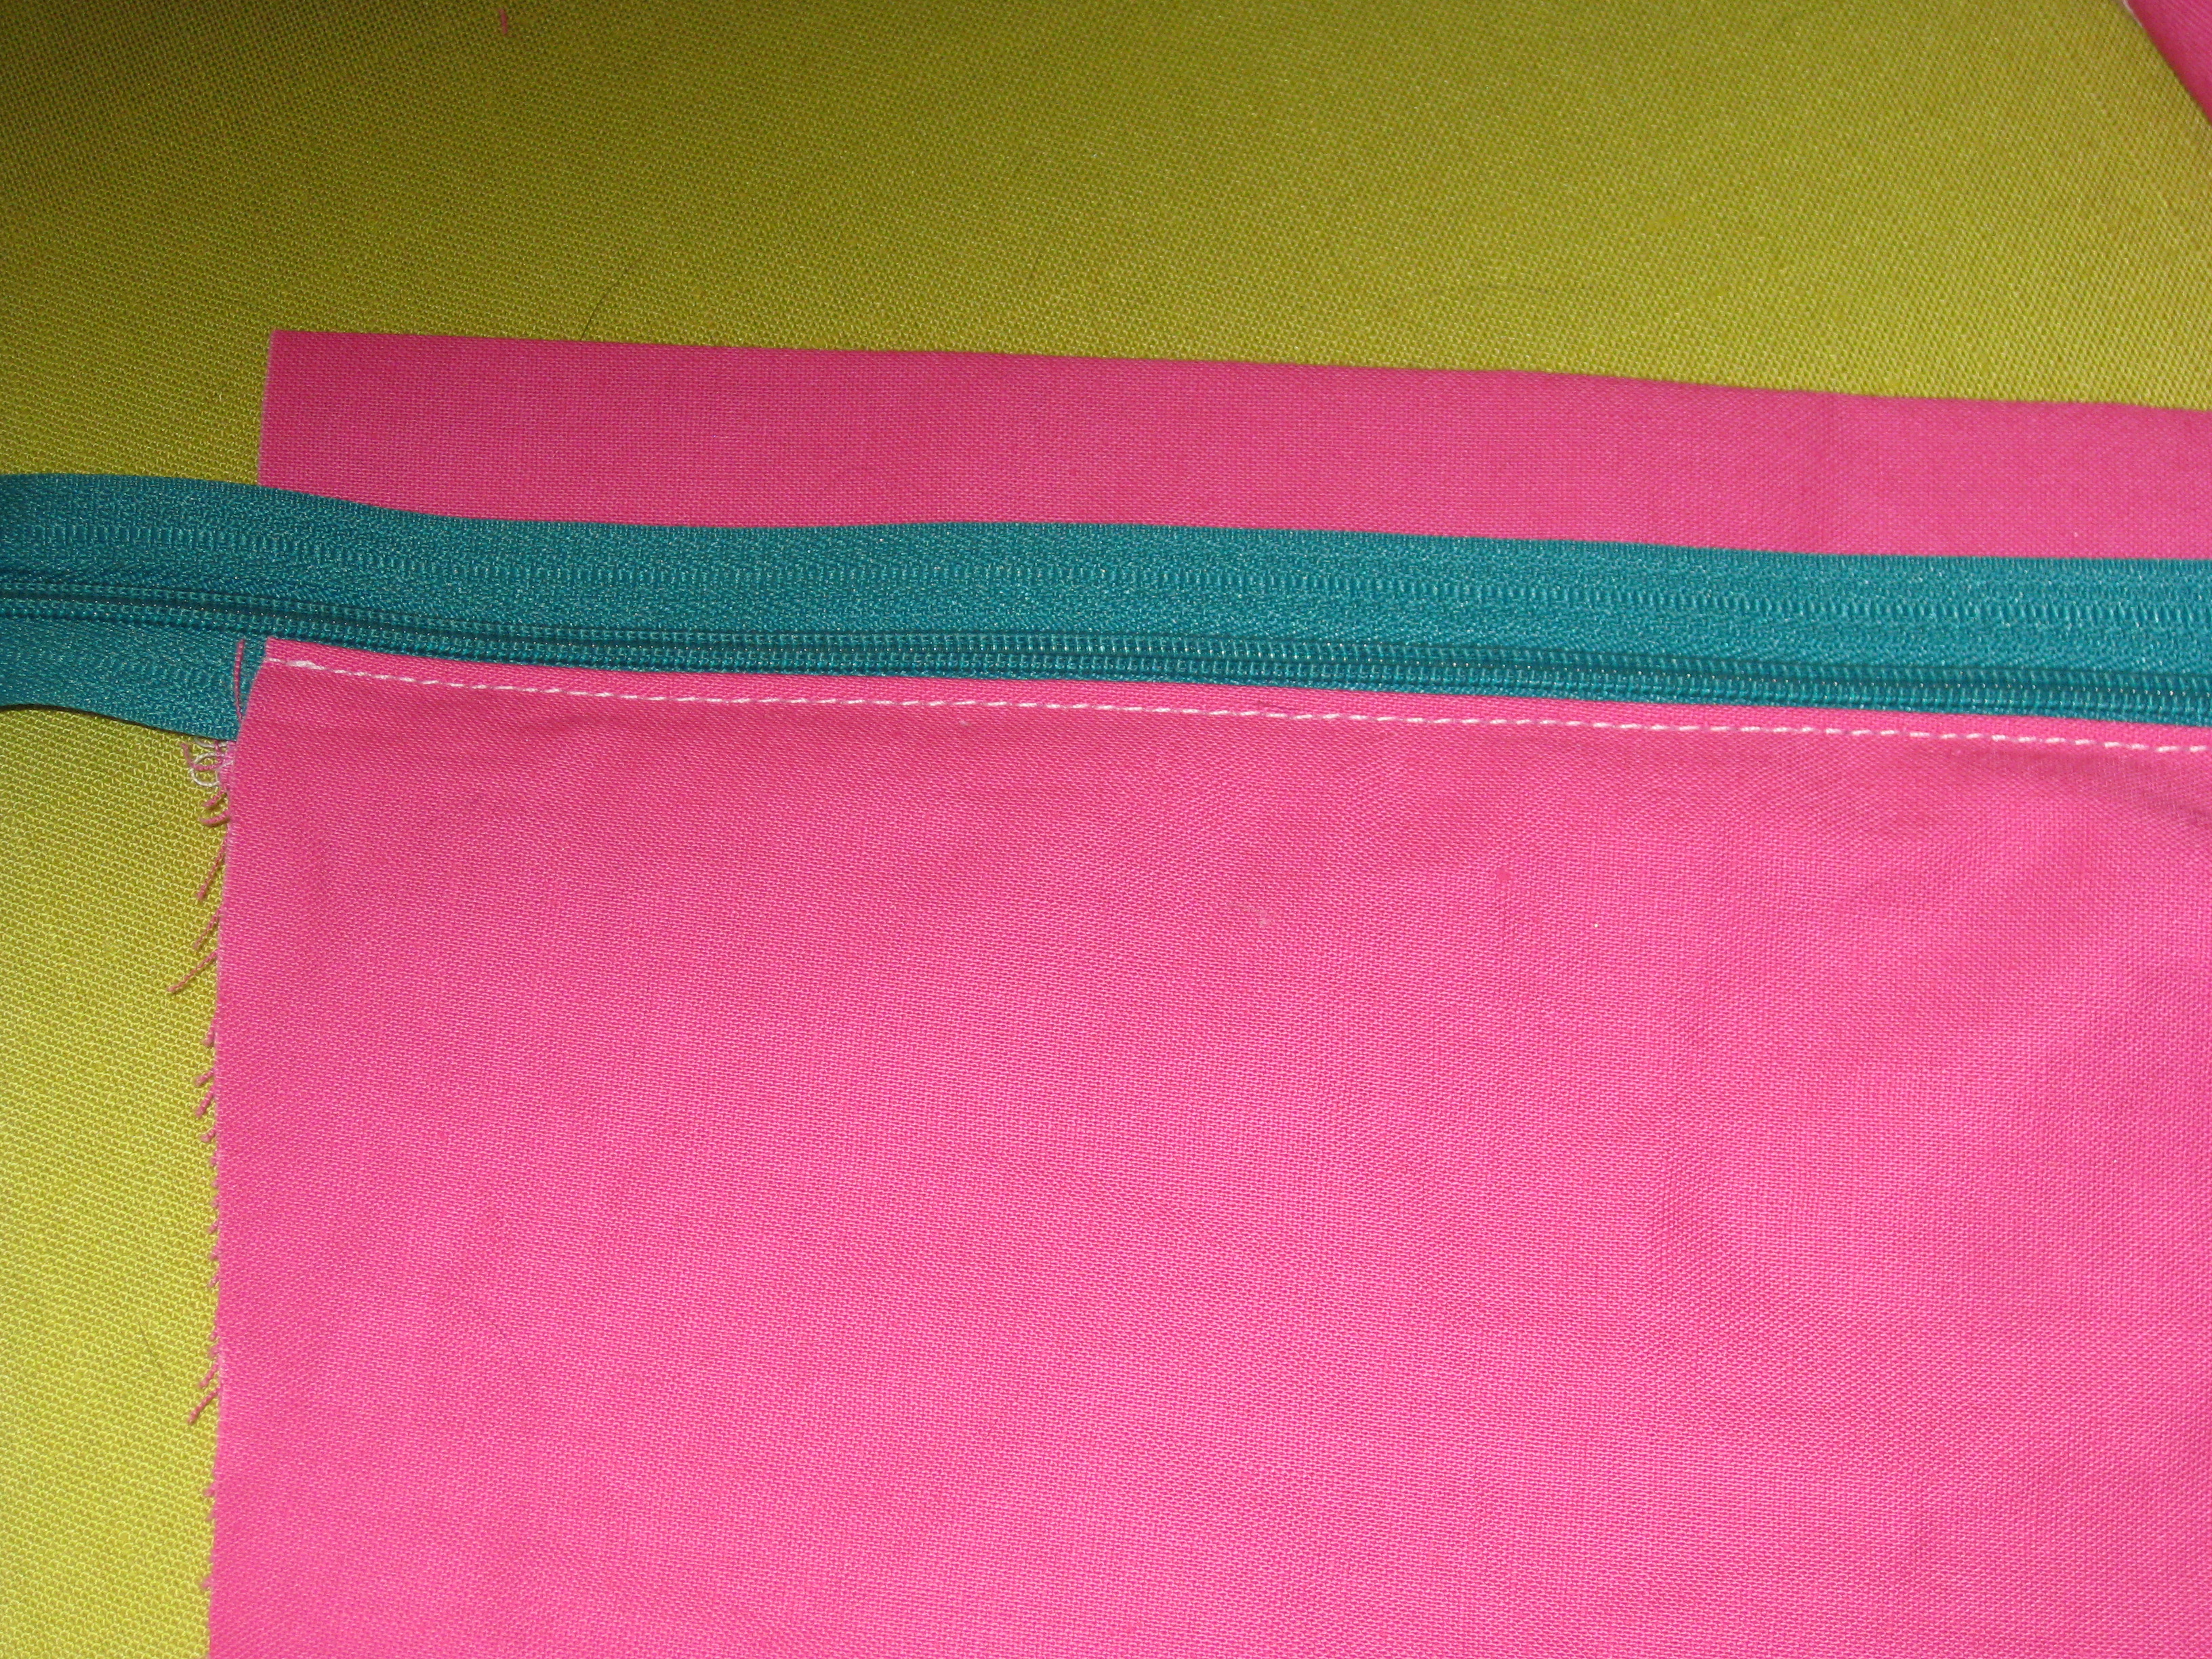
Position zip (coils up) under the folded back seam allowance – align the stop to the marked position.
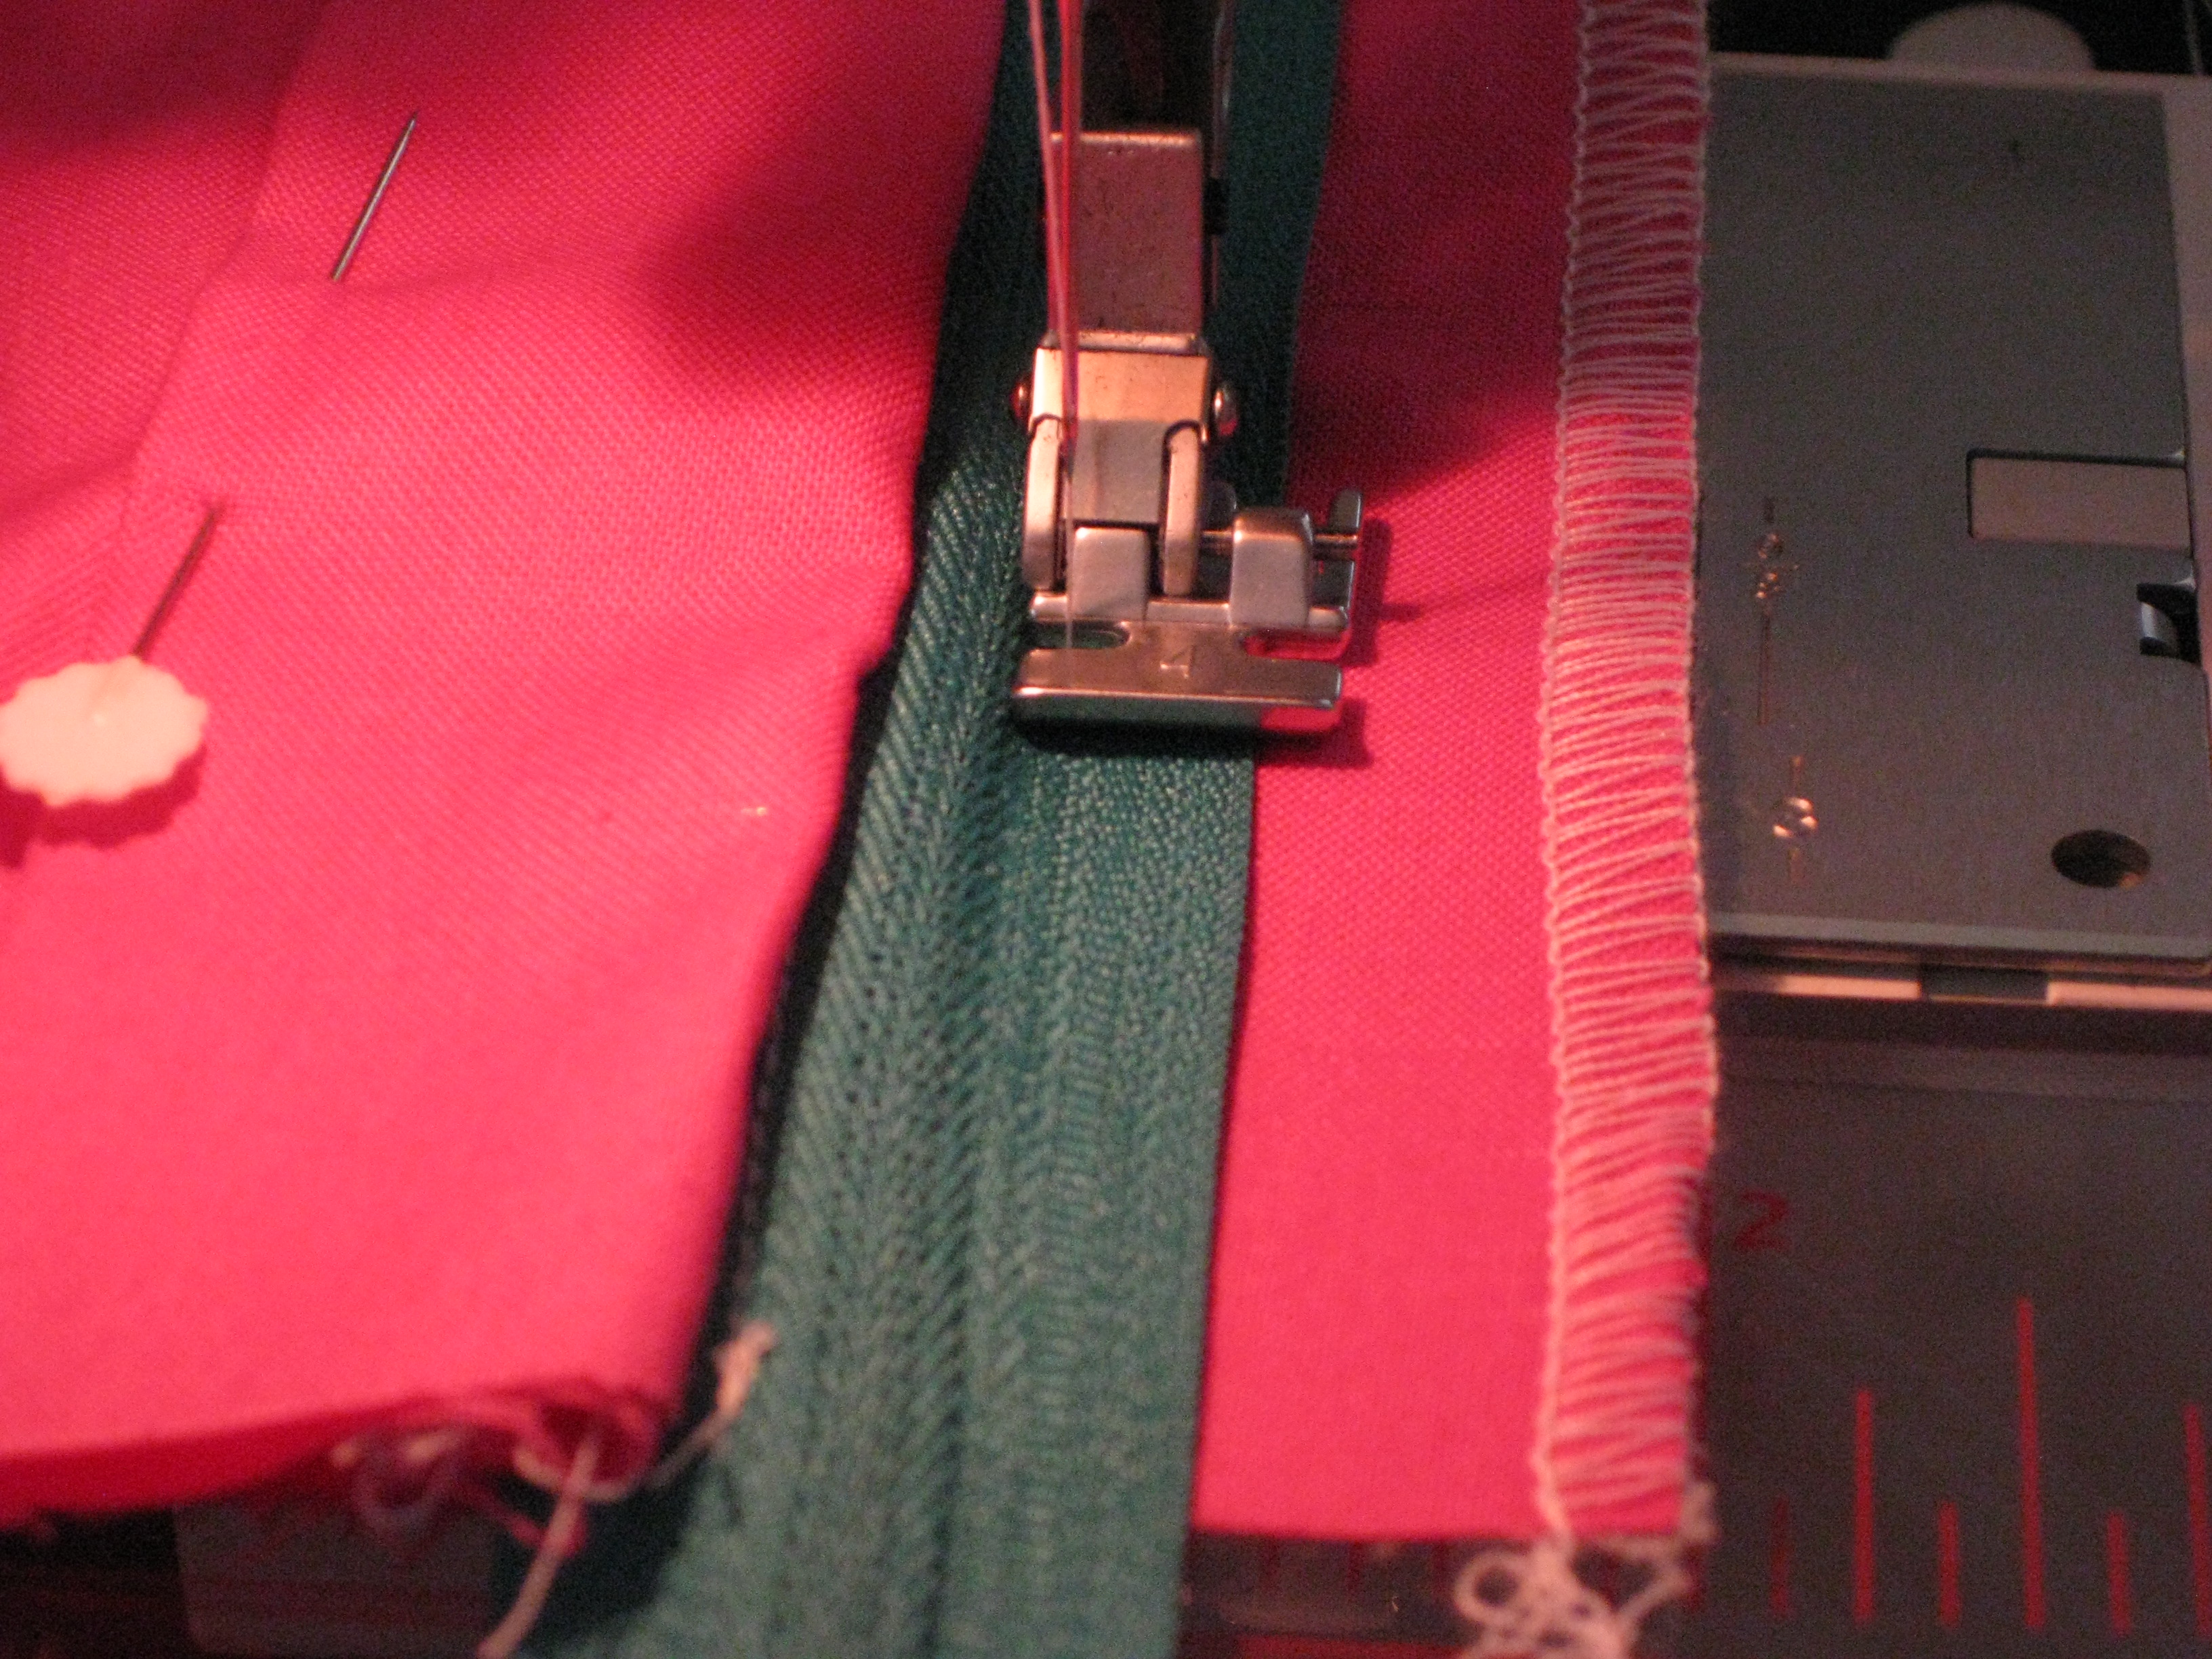
Using a zipper foot, edge stitch the zipper tape in place.
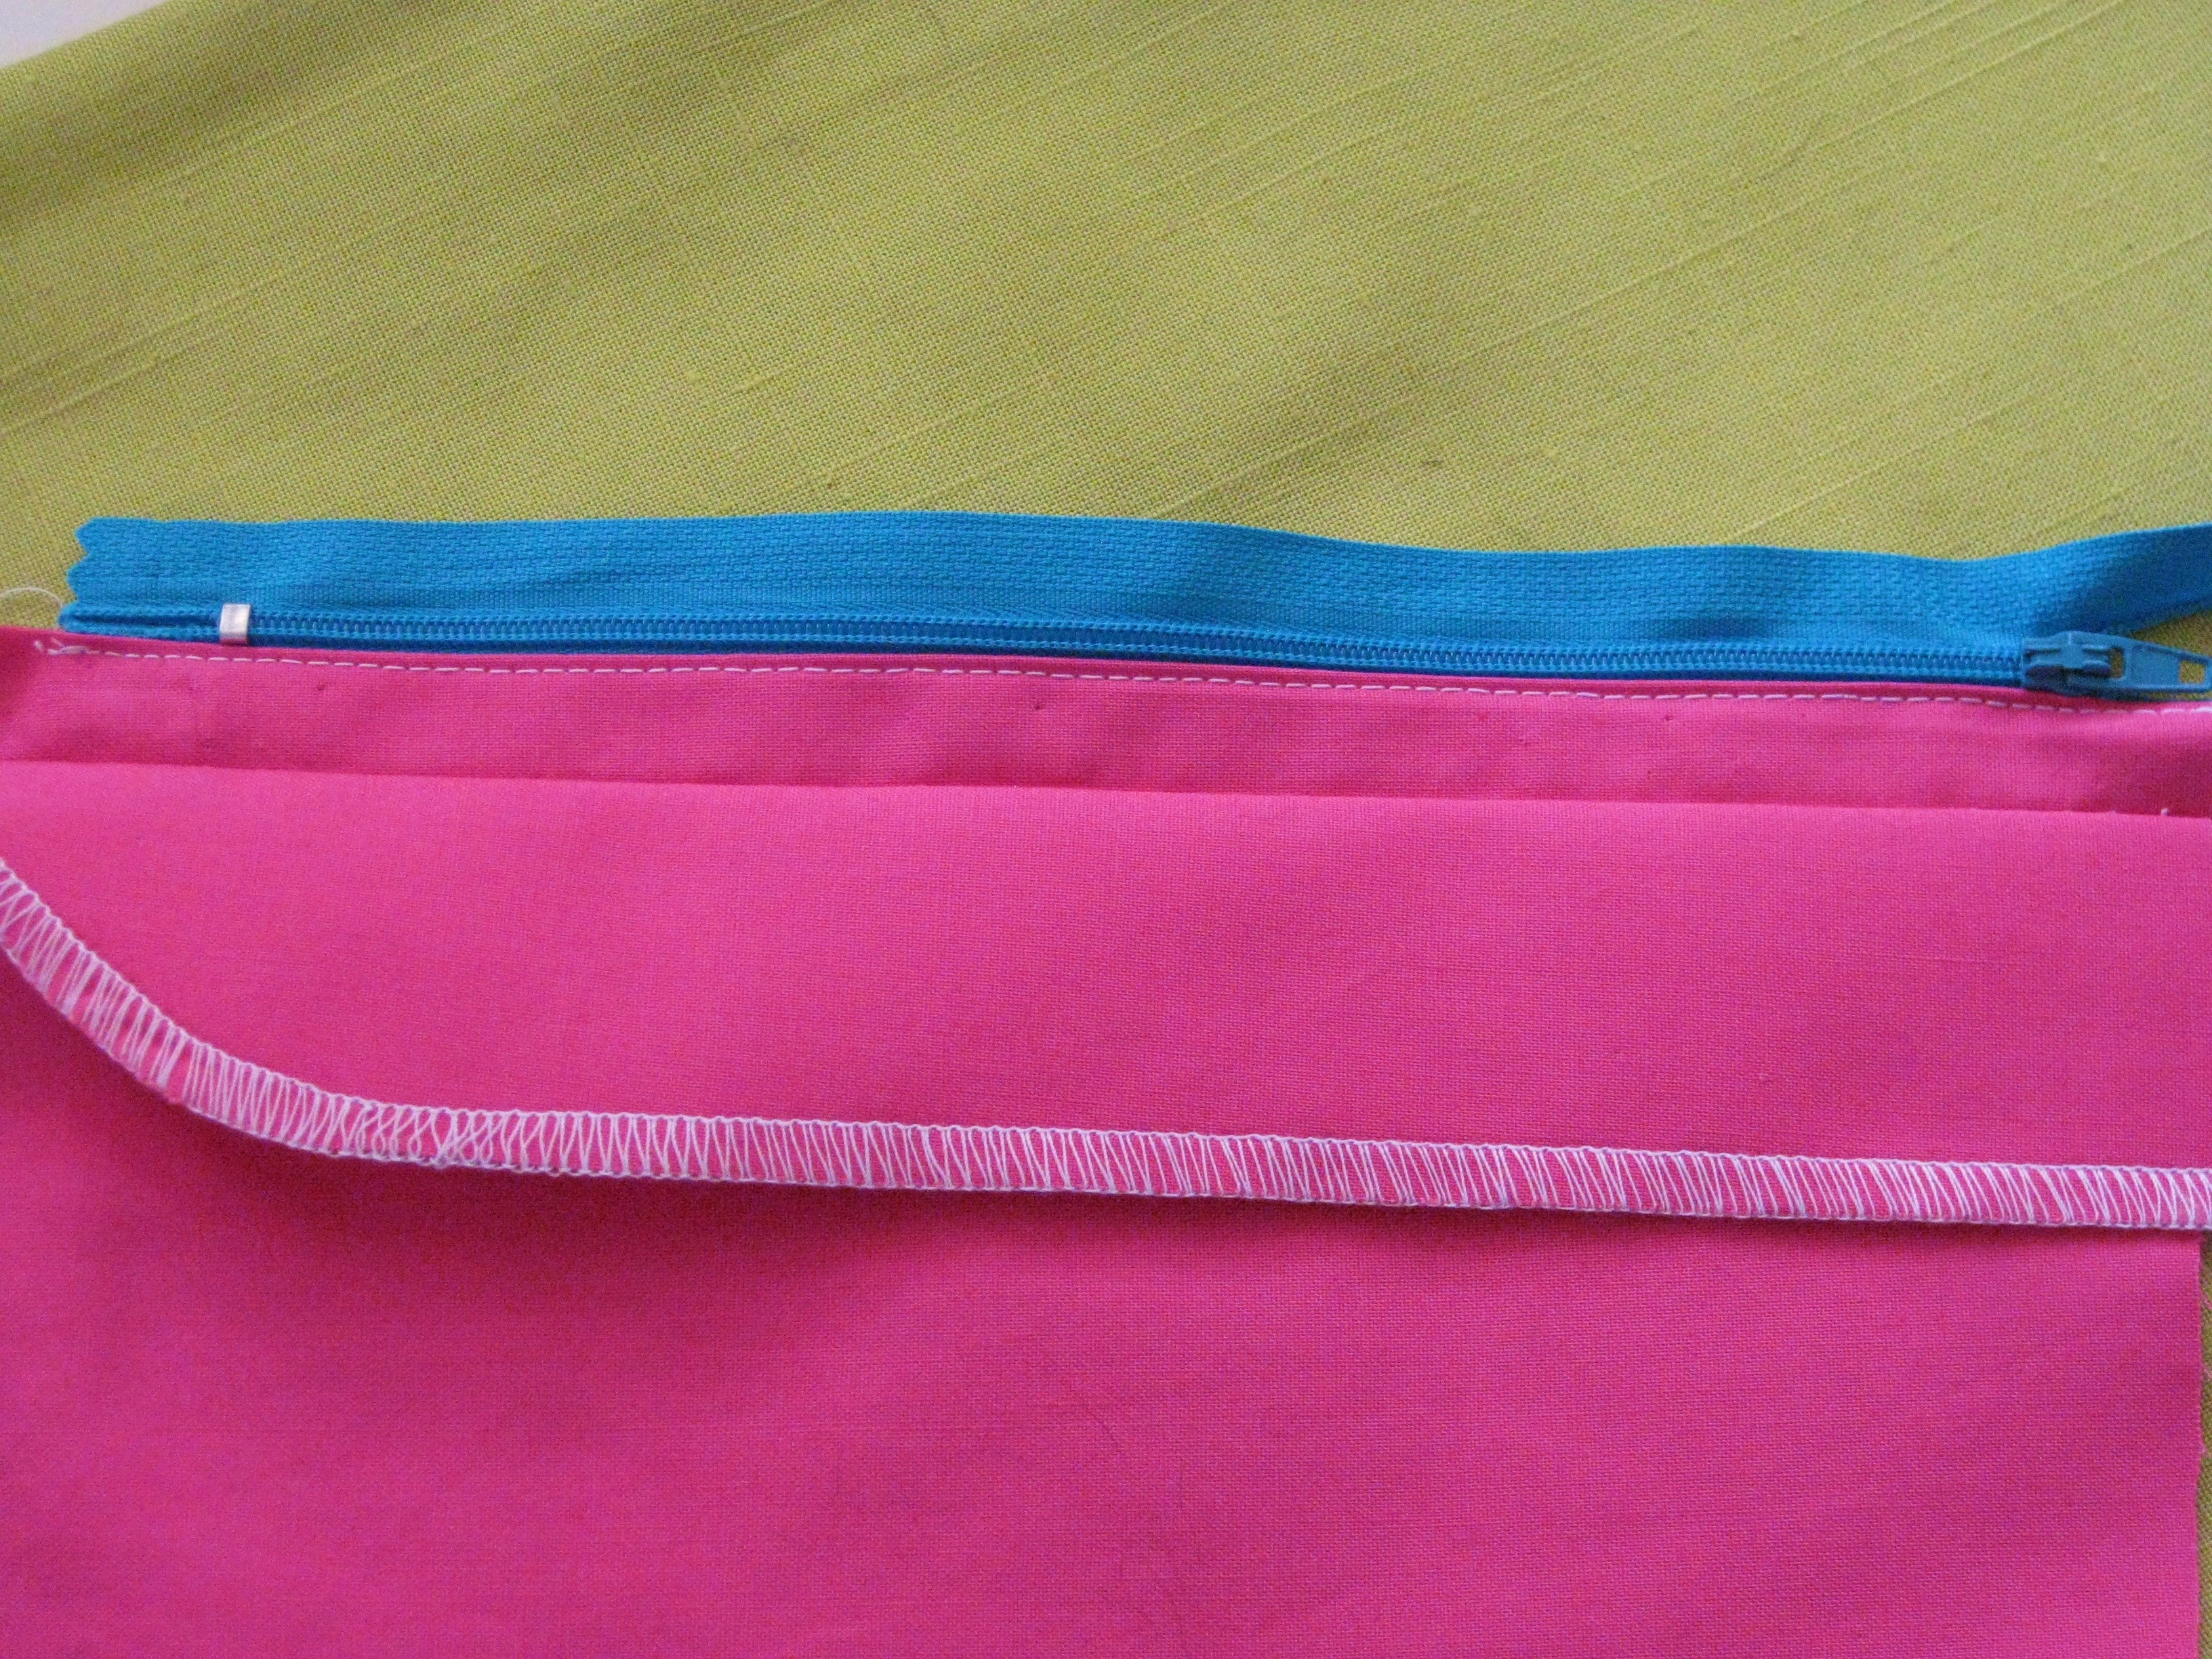
Using zipper foot, stitch on the seam allowance close to the zipper teeth and along the length of the zipper.
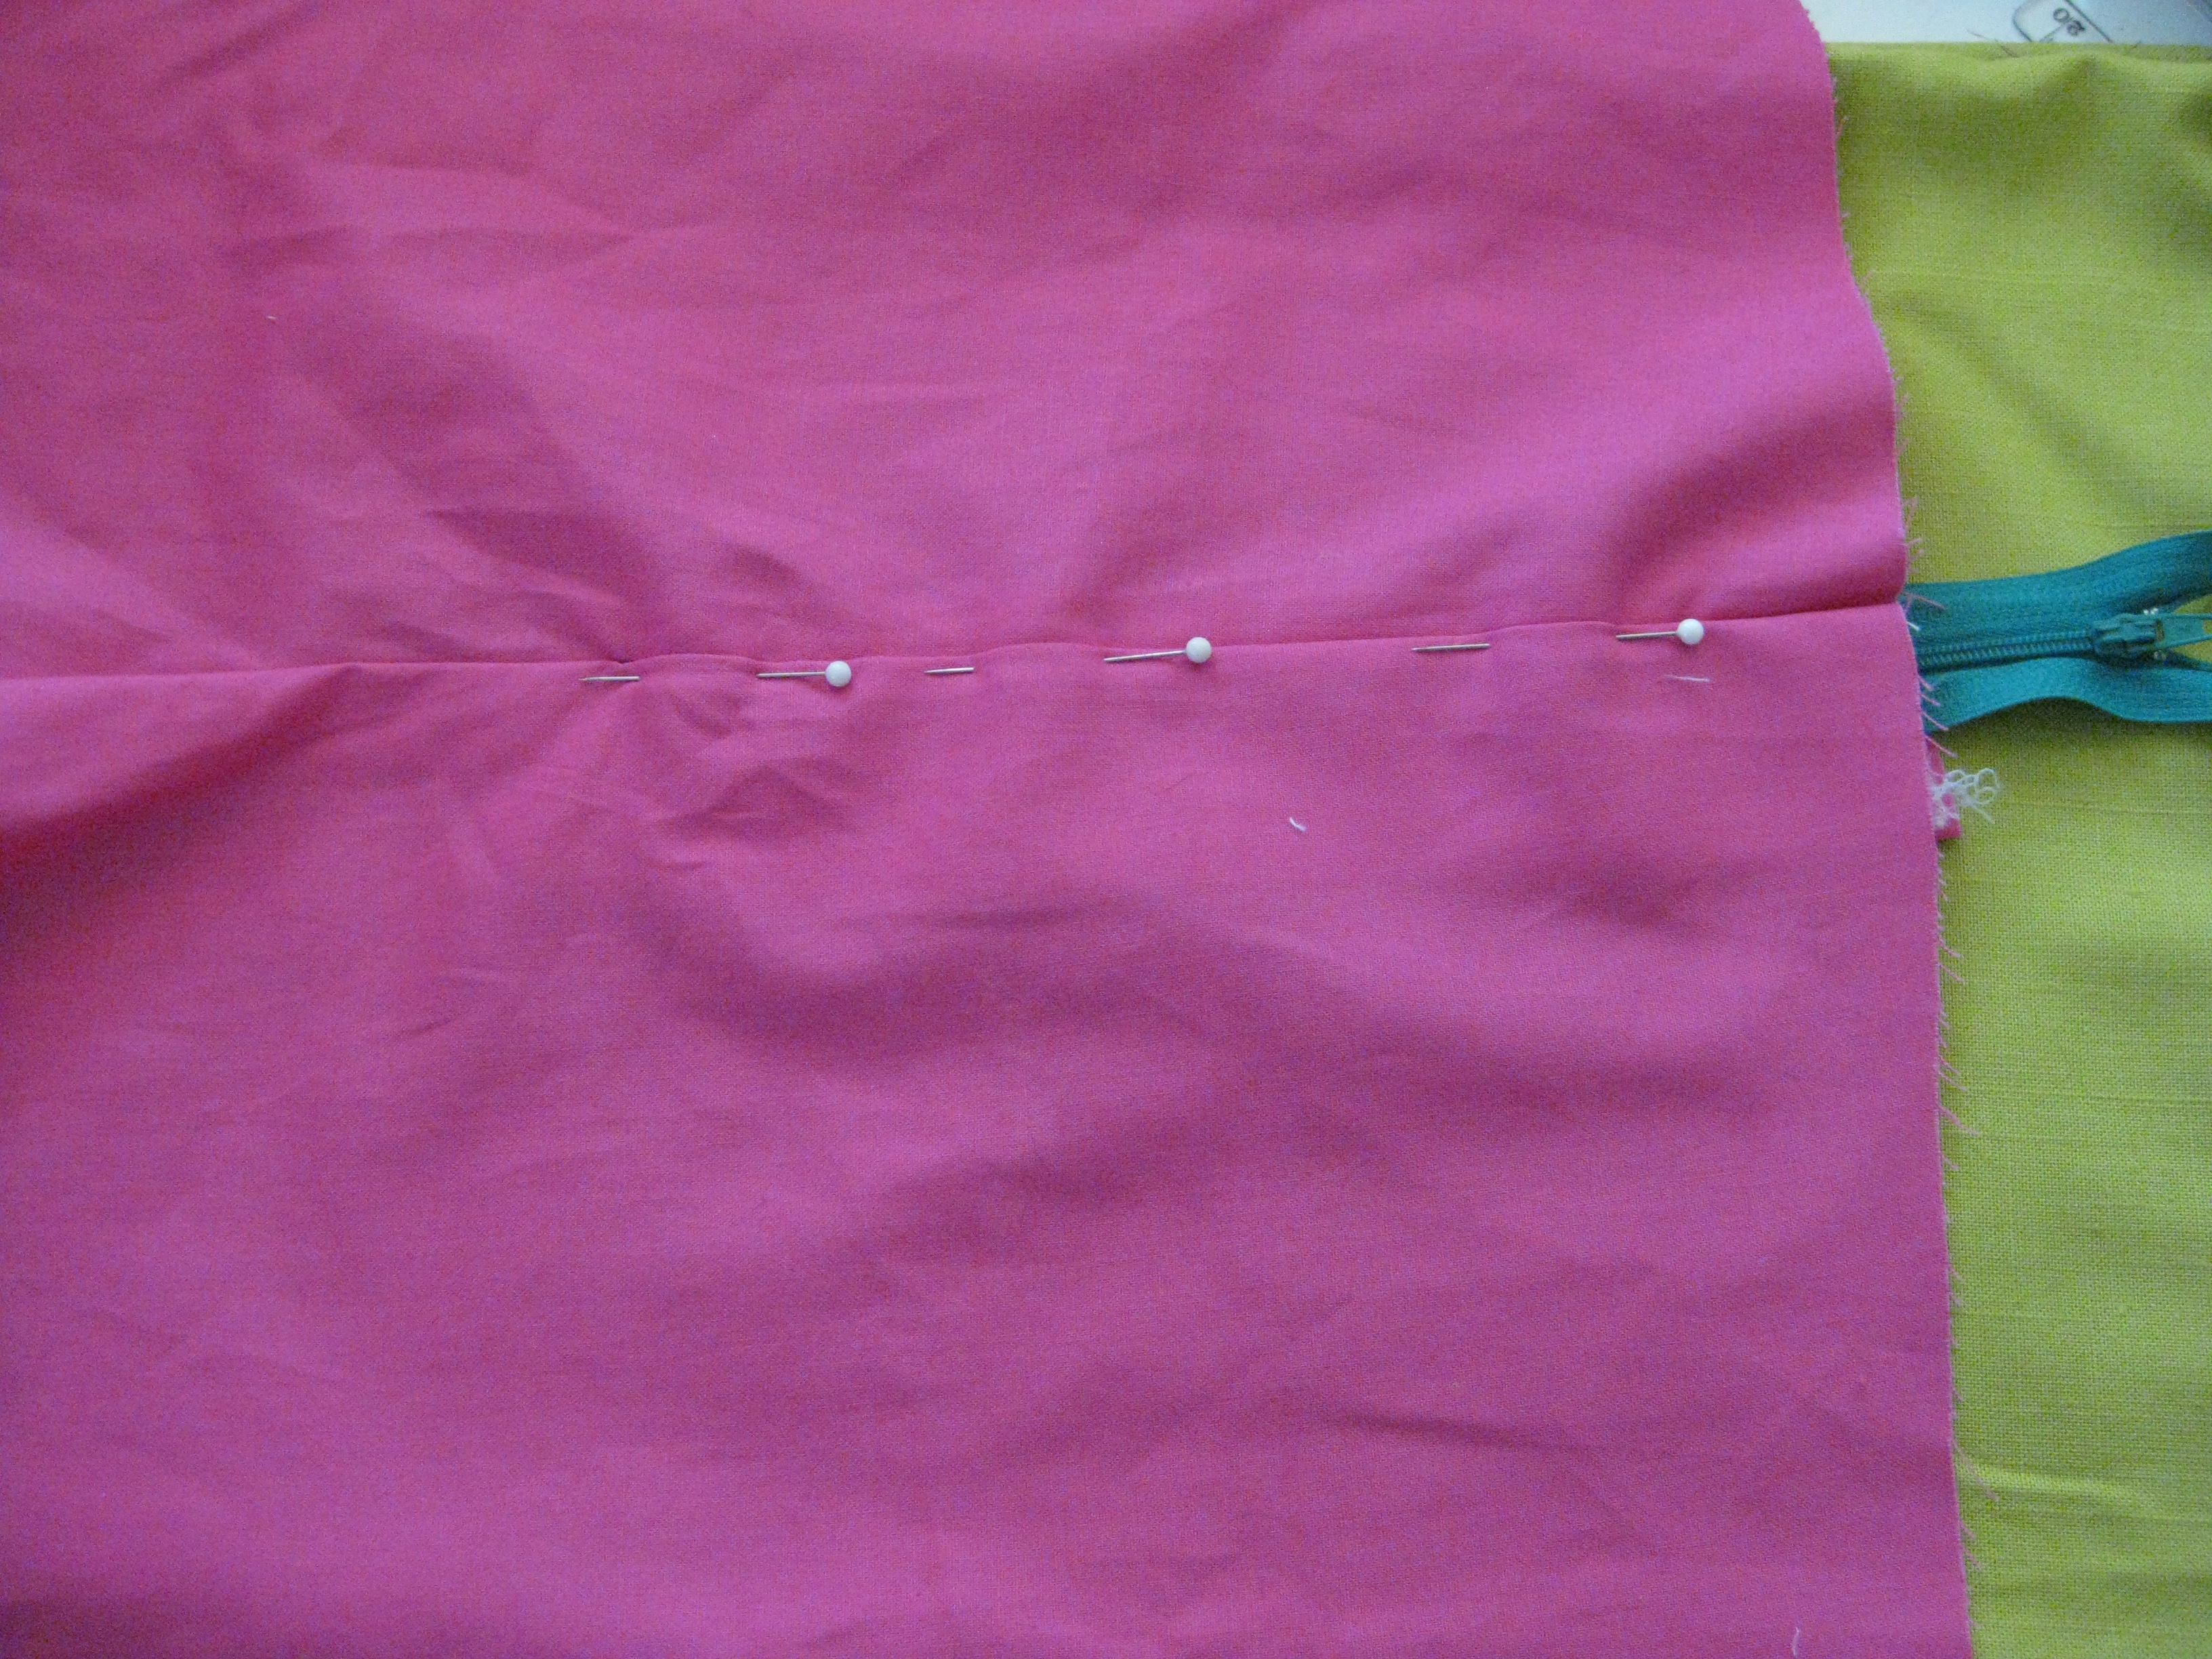
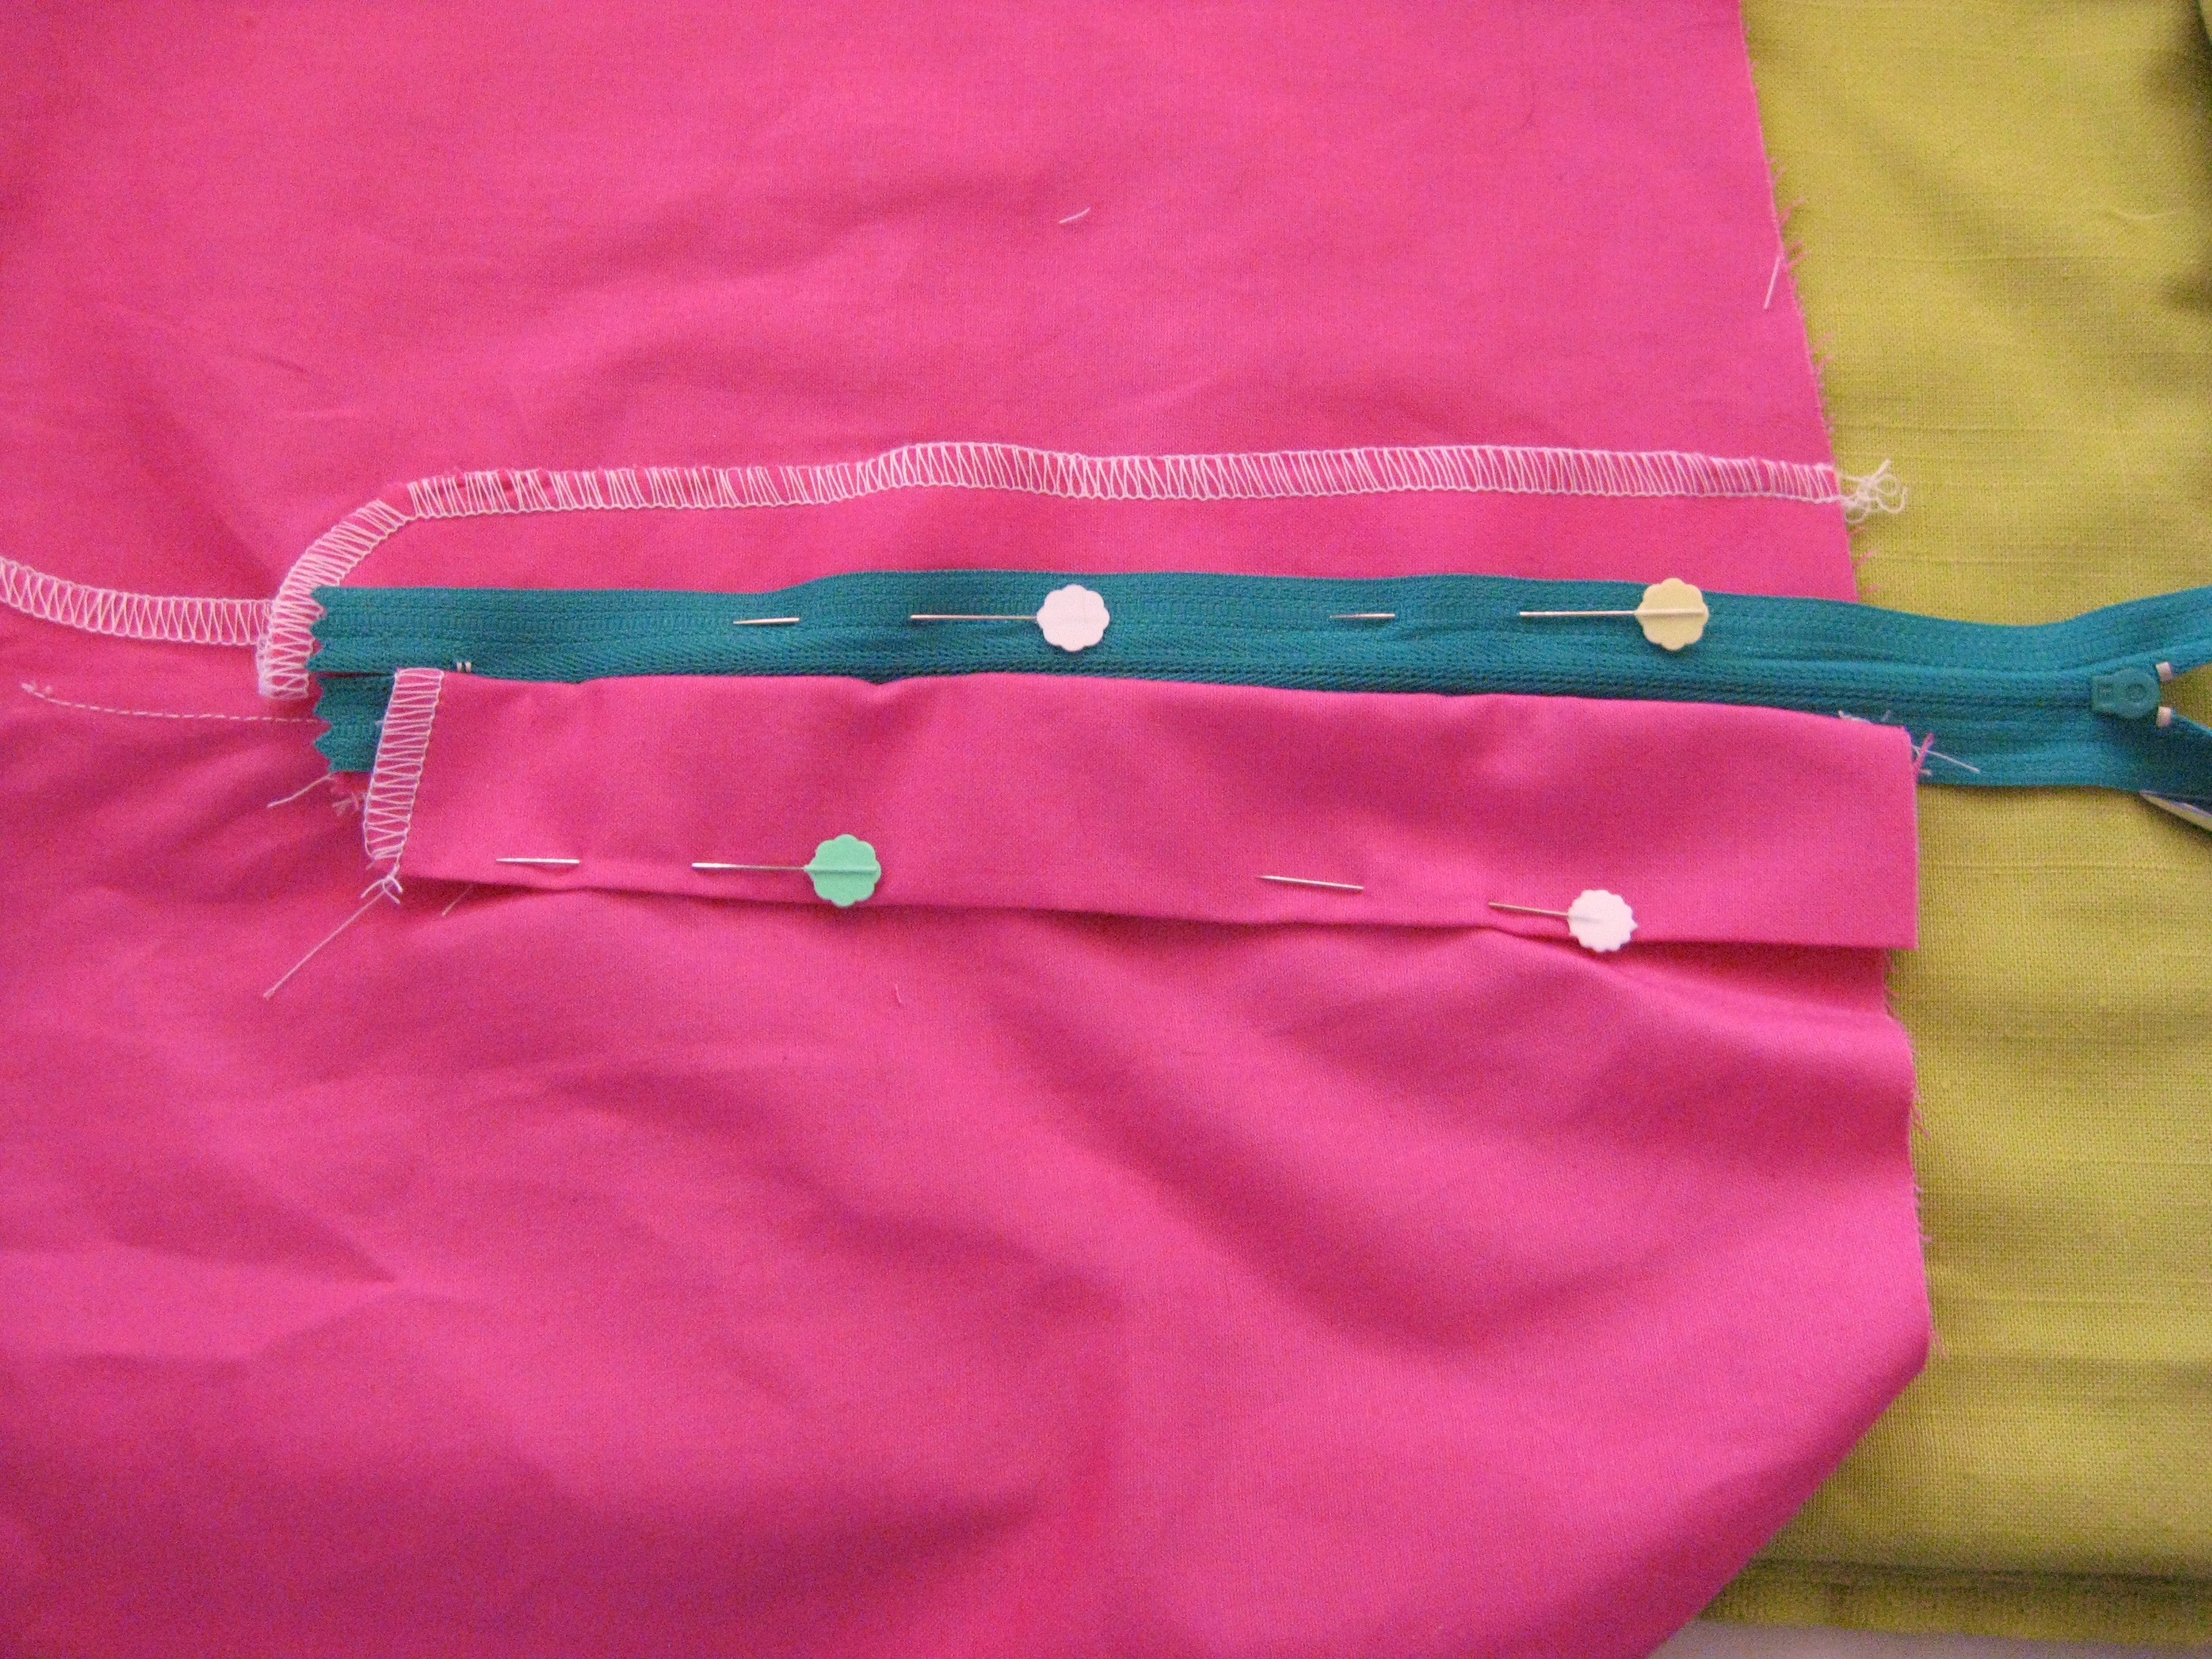
Close the zipper and place the garment right side down on a flat surface. Allow the zipper to sit flat against the garment (right side down) and pin the other side of the tape to the cut on facing. Stitch in place with the regular sewing foot.

Lay the work flat with wrong side of zipper uppermost.
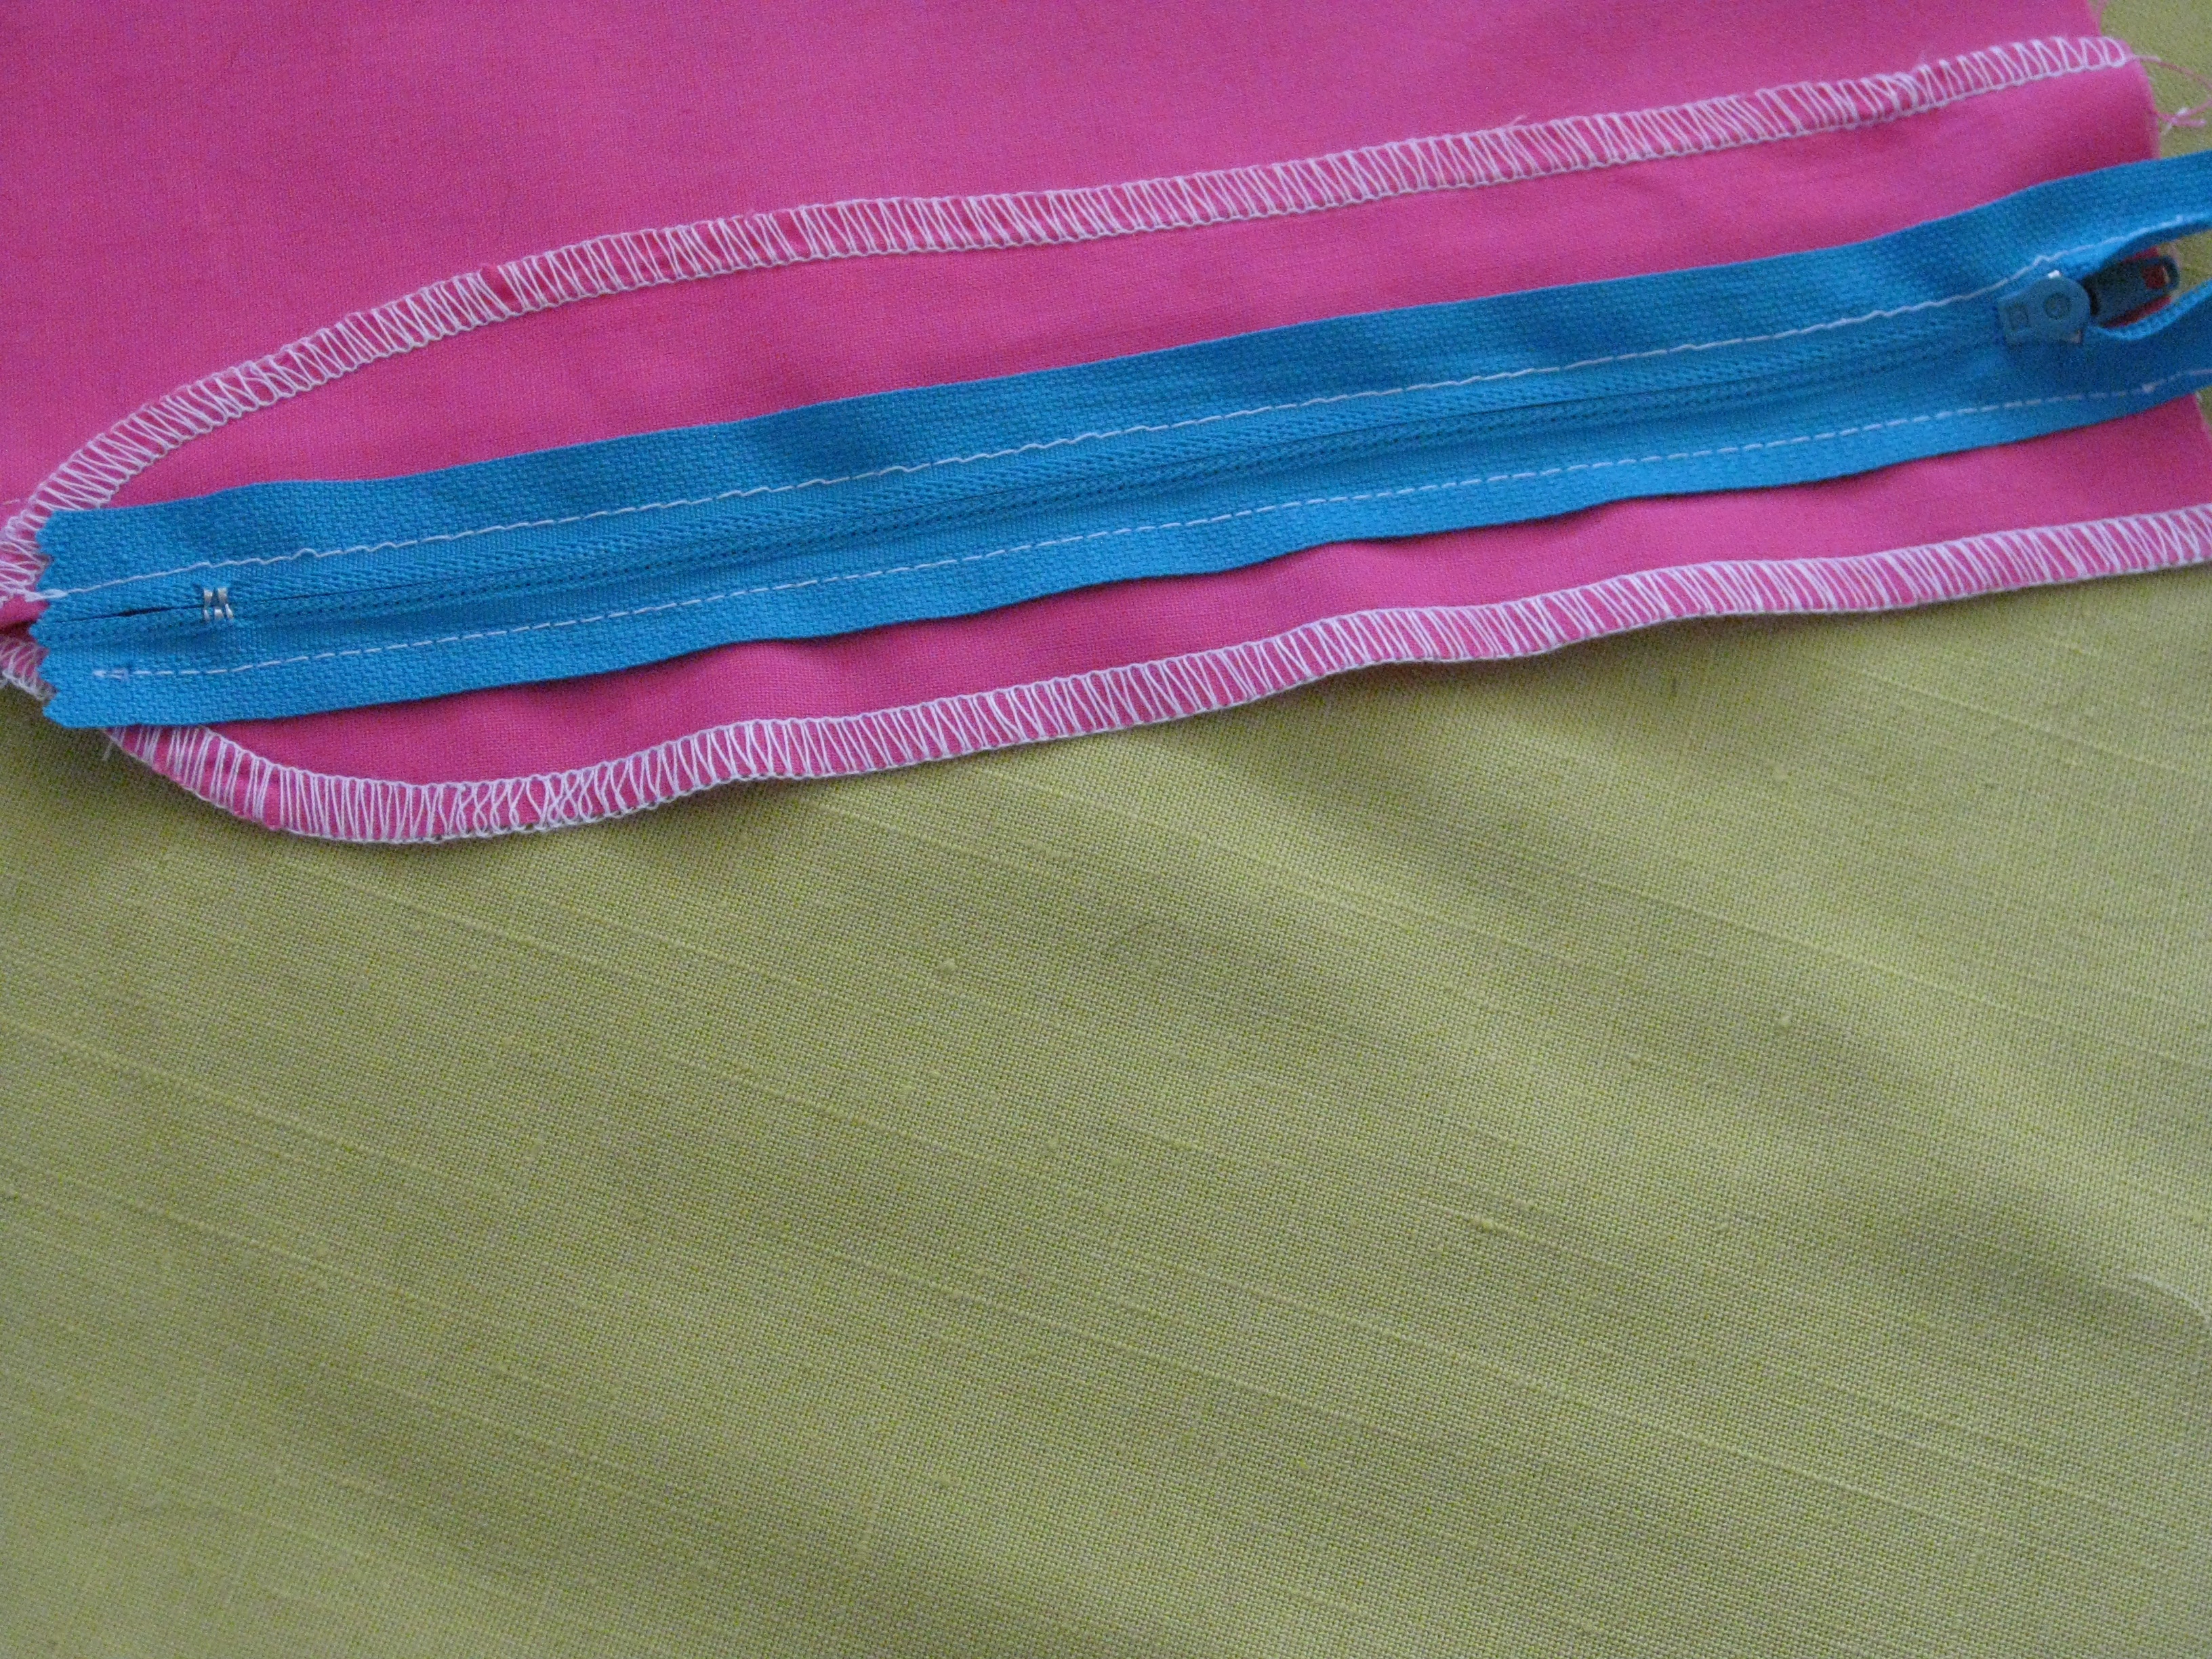
Pin and stitch the other side of the zipper tape to the opposite seam allowance.
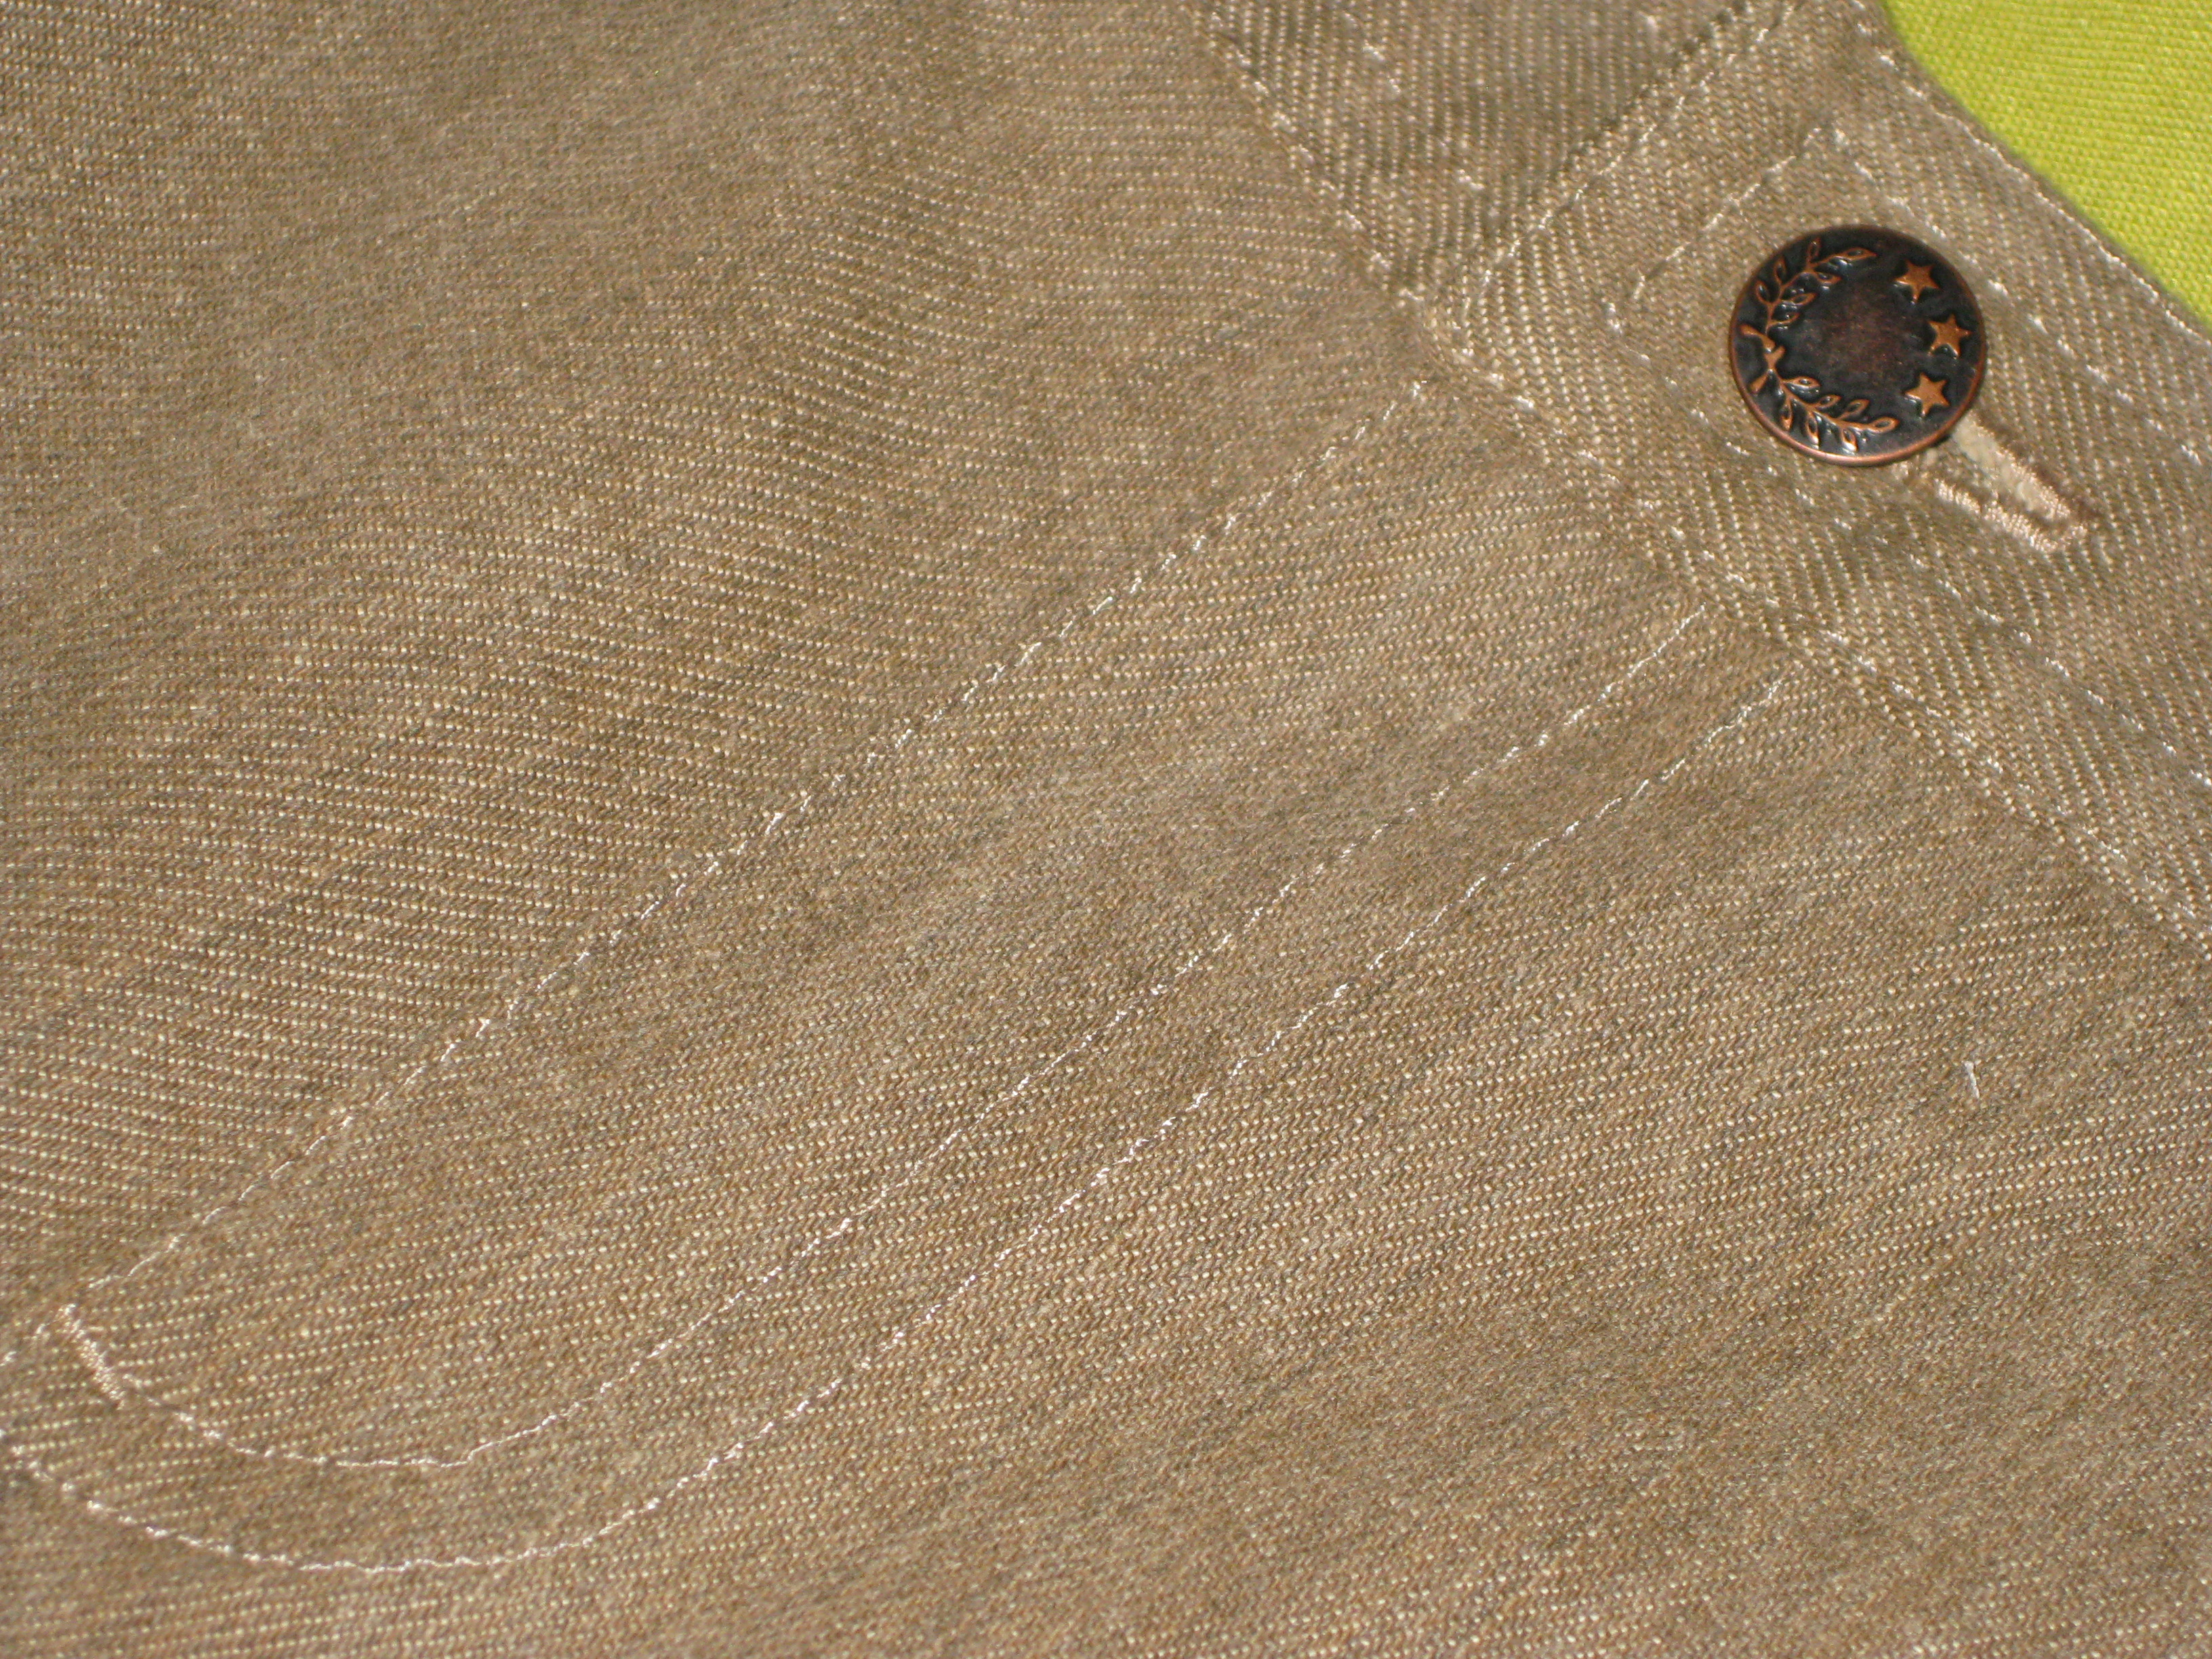
Using a sliver of white soap or chalk marker and your template, mark stitching line on right hand side of front and topstitch from bottom of zip to top – bed the needle into the centre front seam line and walk the needle until past the metal stopper.
Turn work right side up and use template to chalk mark stitching line on front of garment.
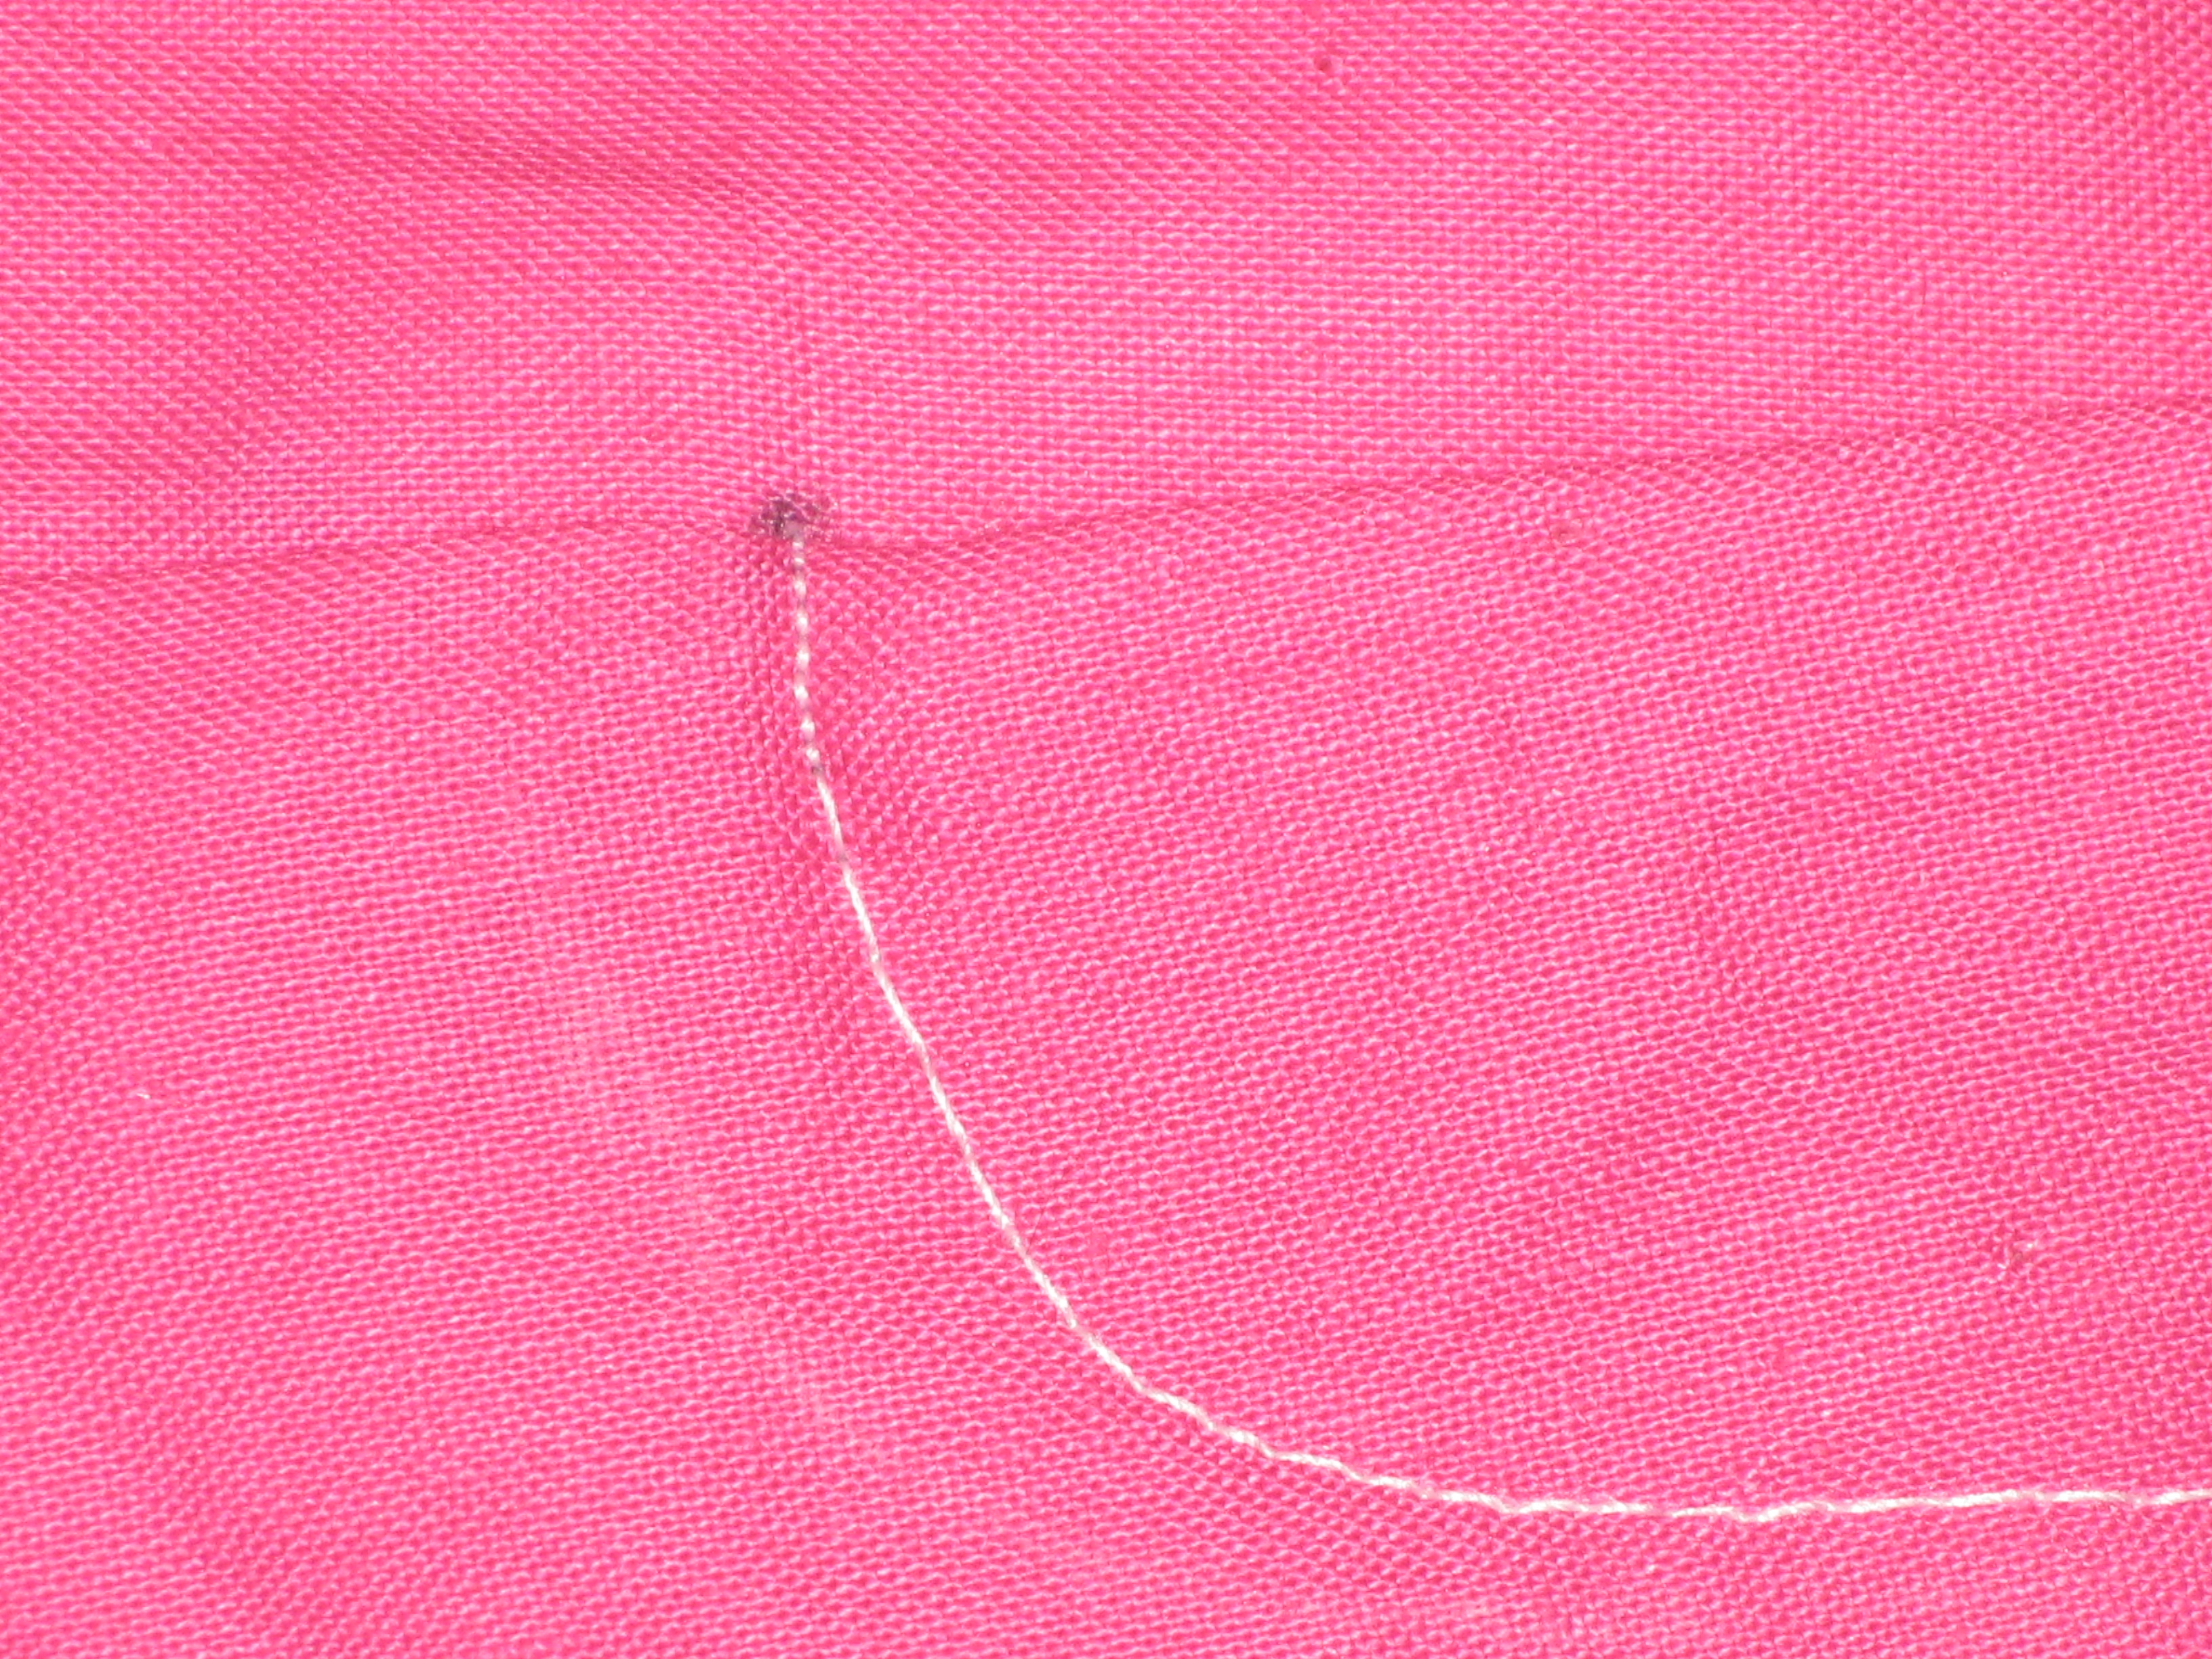
Stitch bar tack at bottom edge of zipper opening – bar tack is stitched with regular zigzag SW2.0, SL0.5 for about 1cm and centred over the zipper stitching.
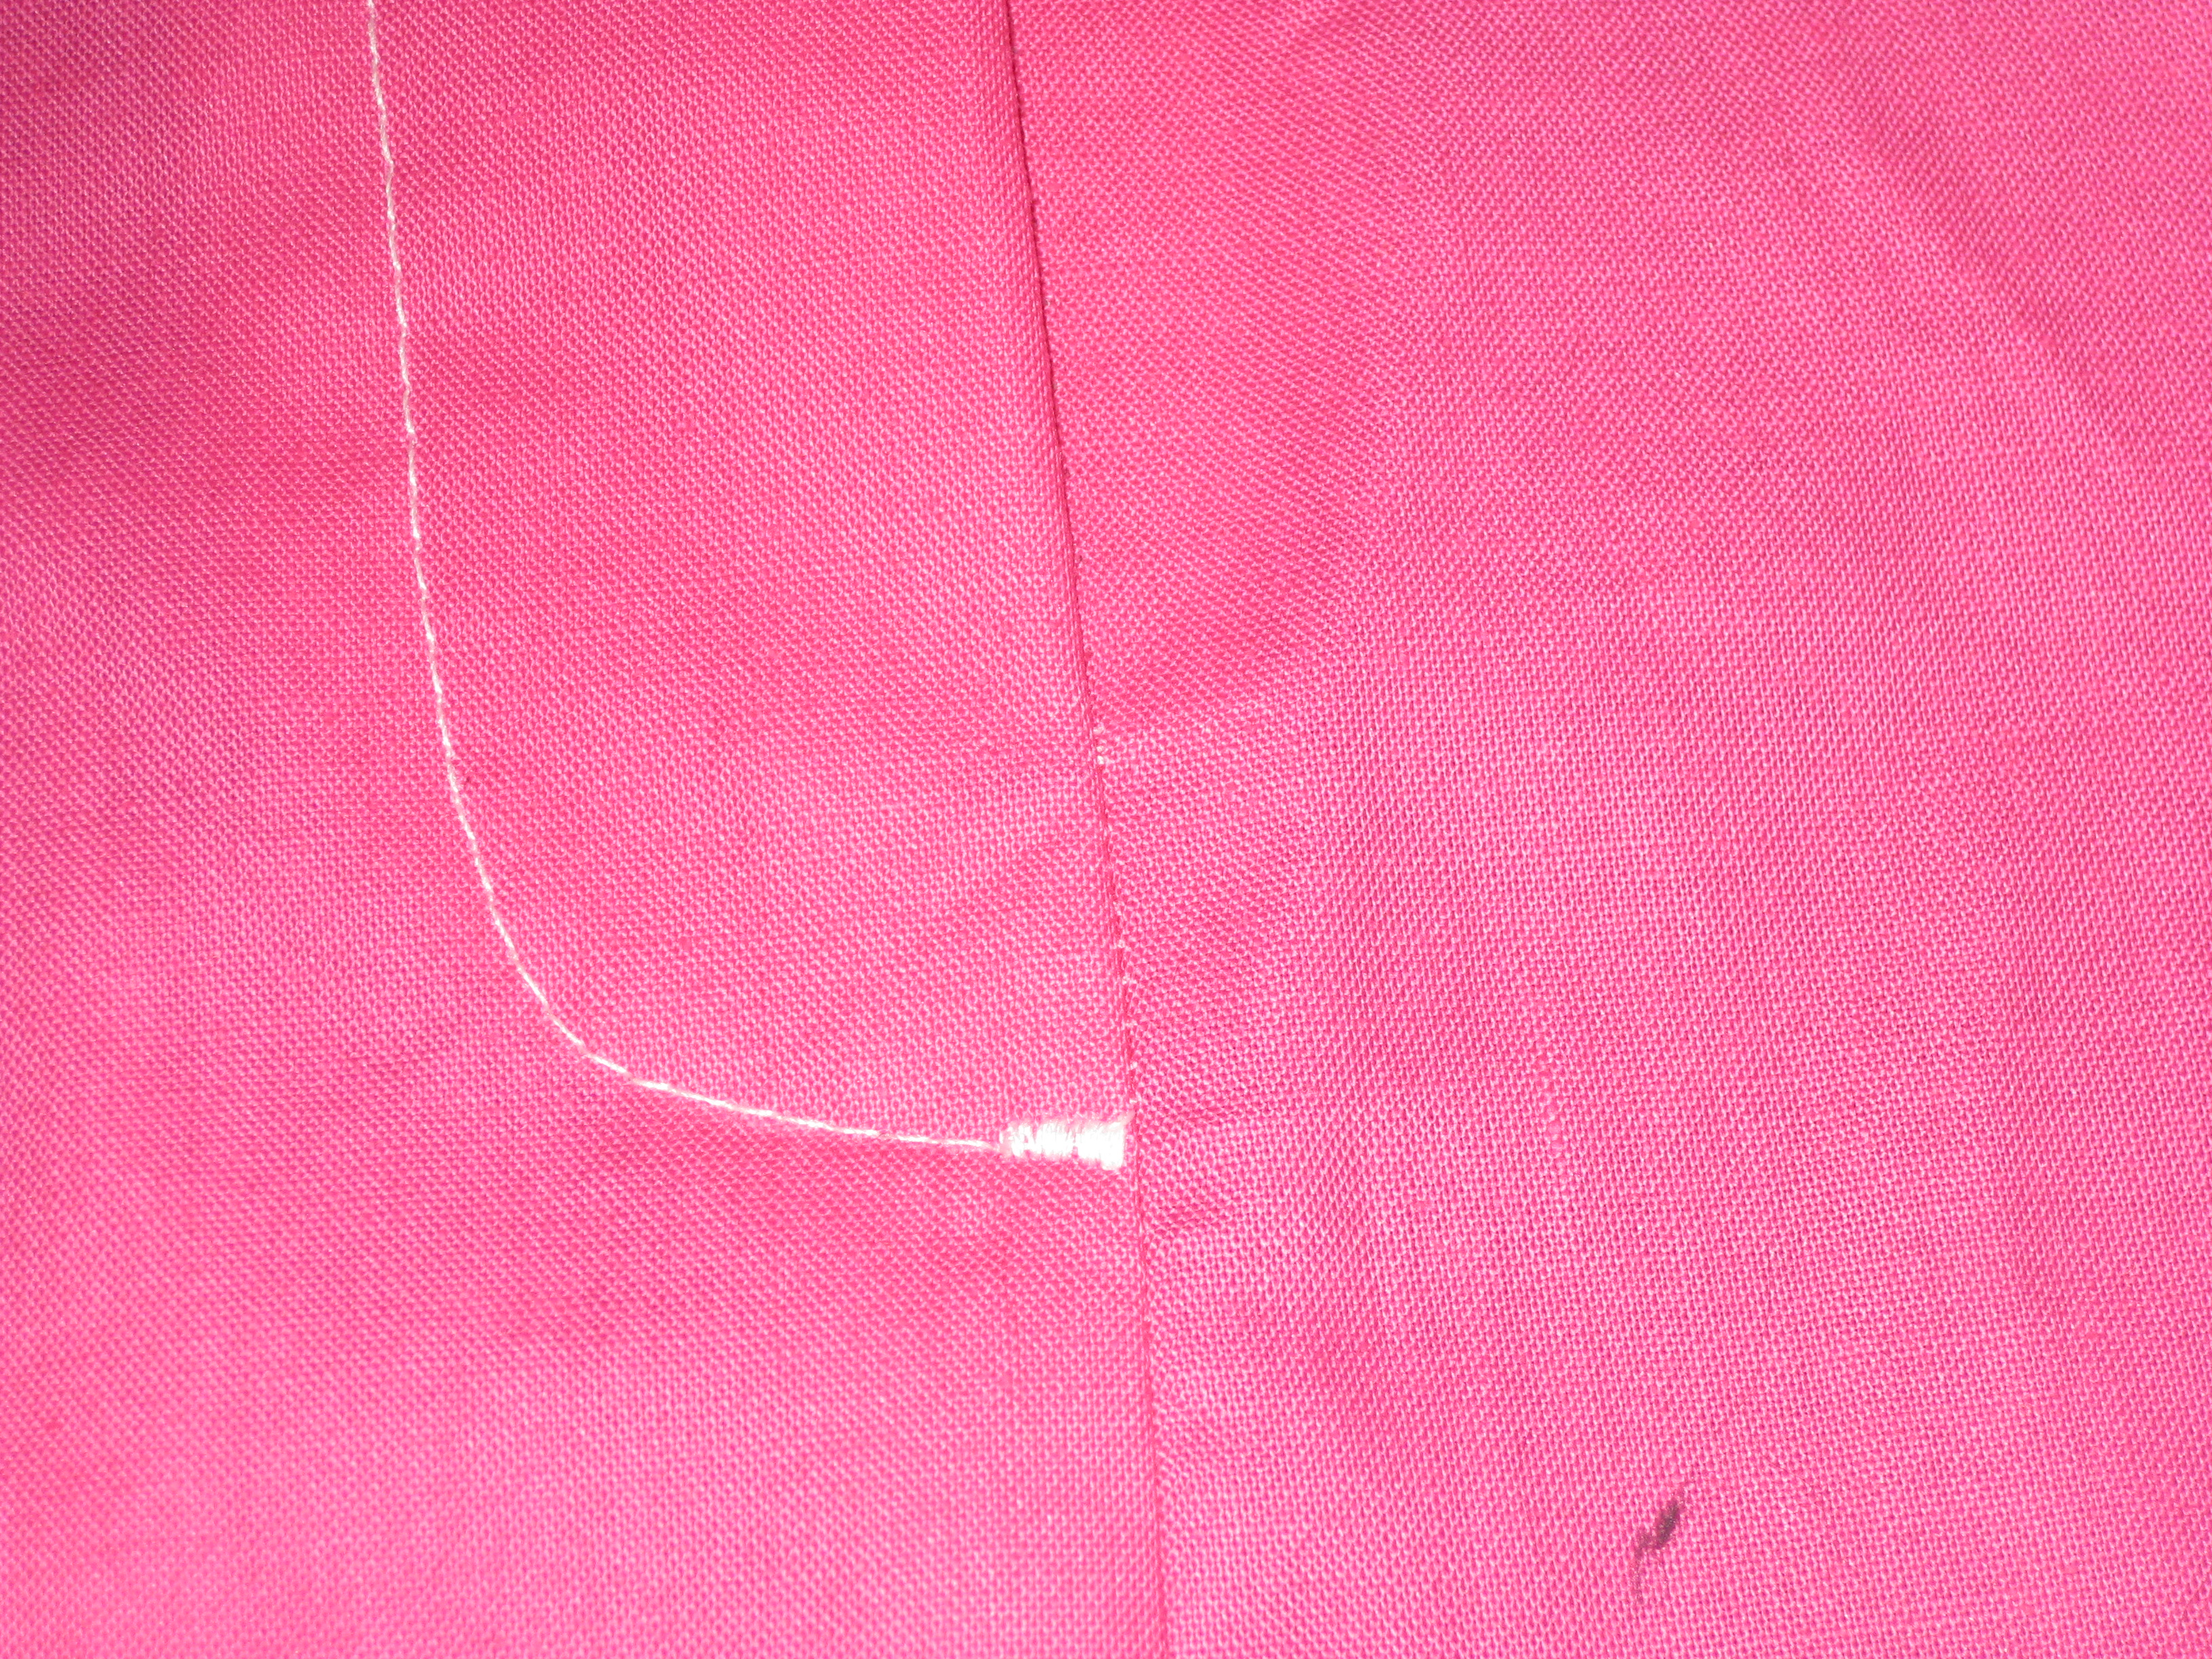
Use a small zigzag to make a small bartack at CF at the base of the topstitching.
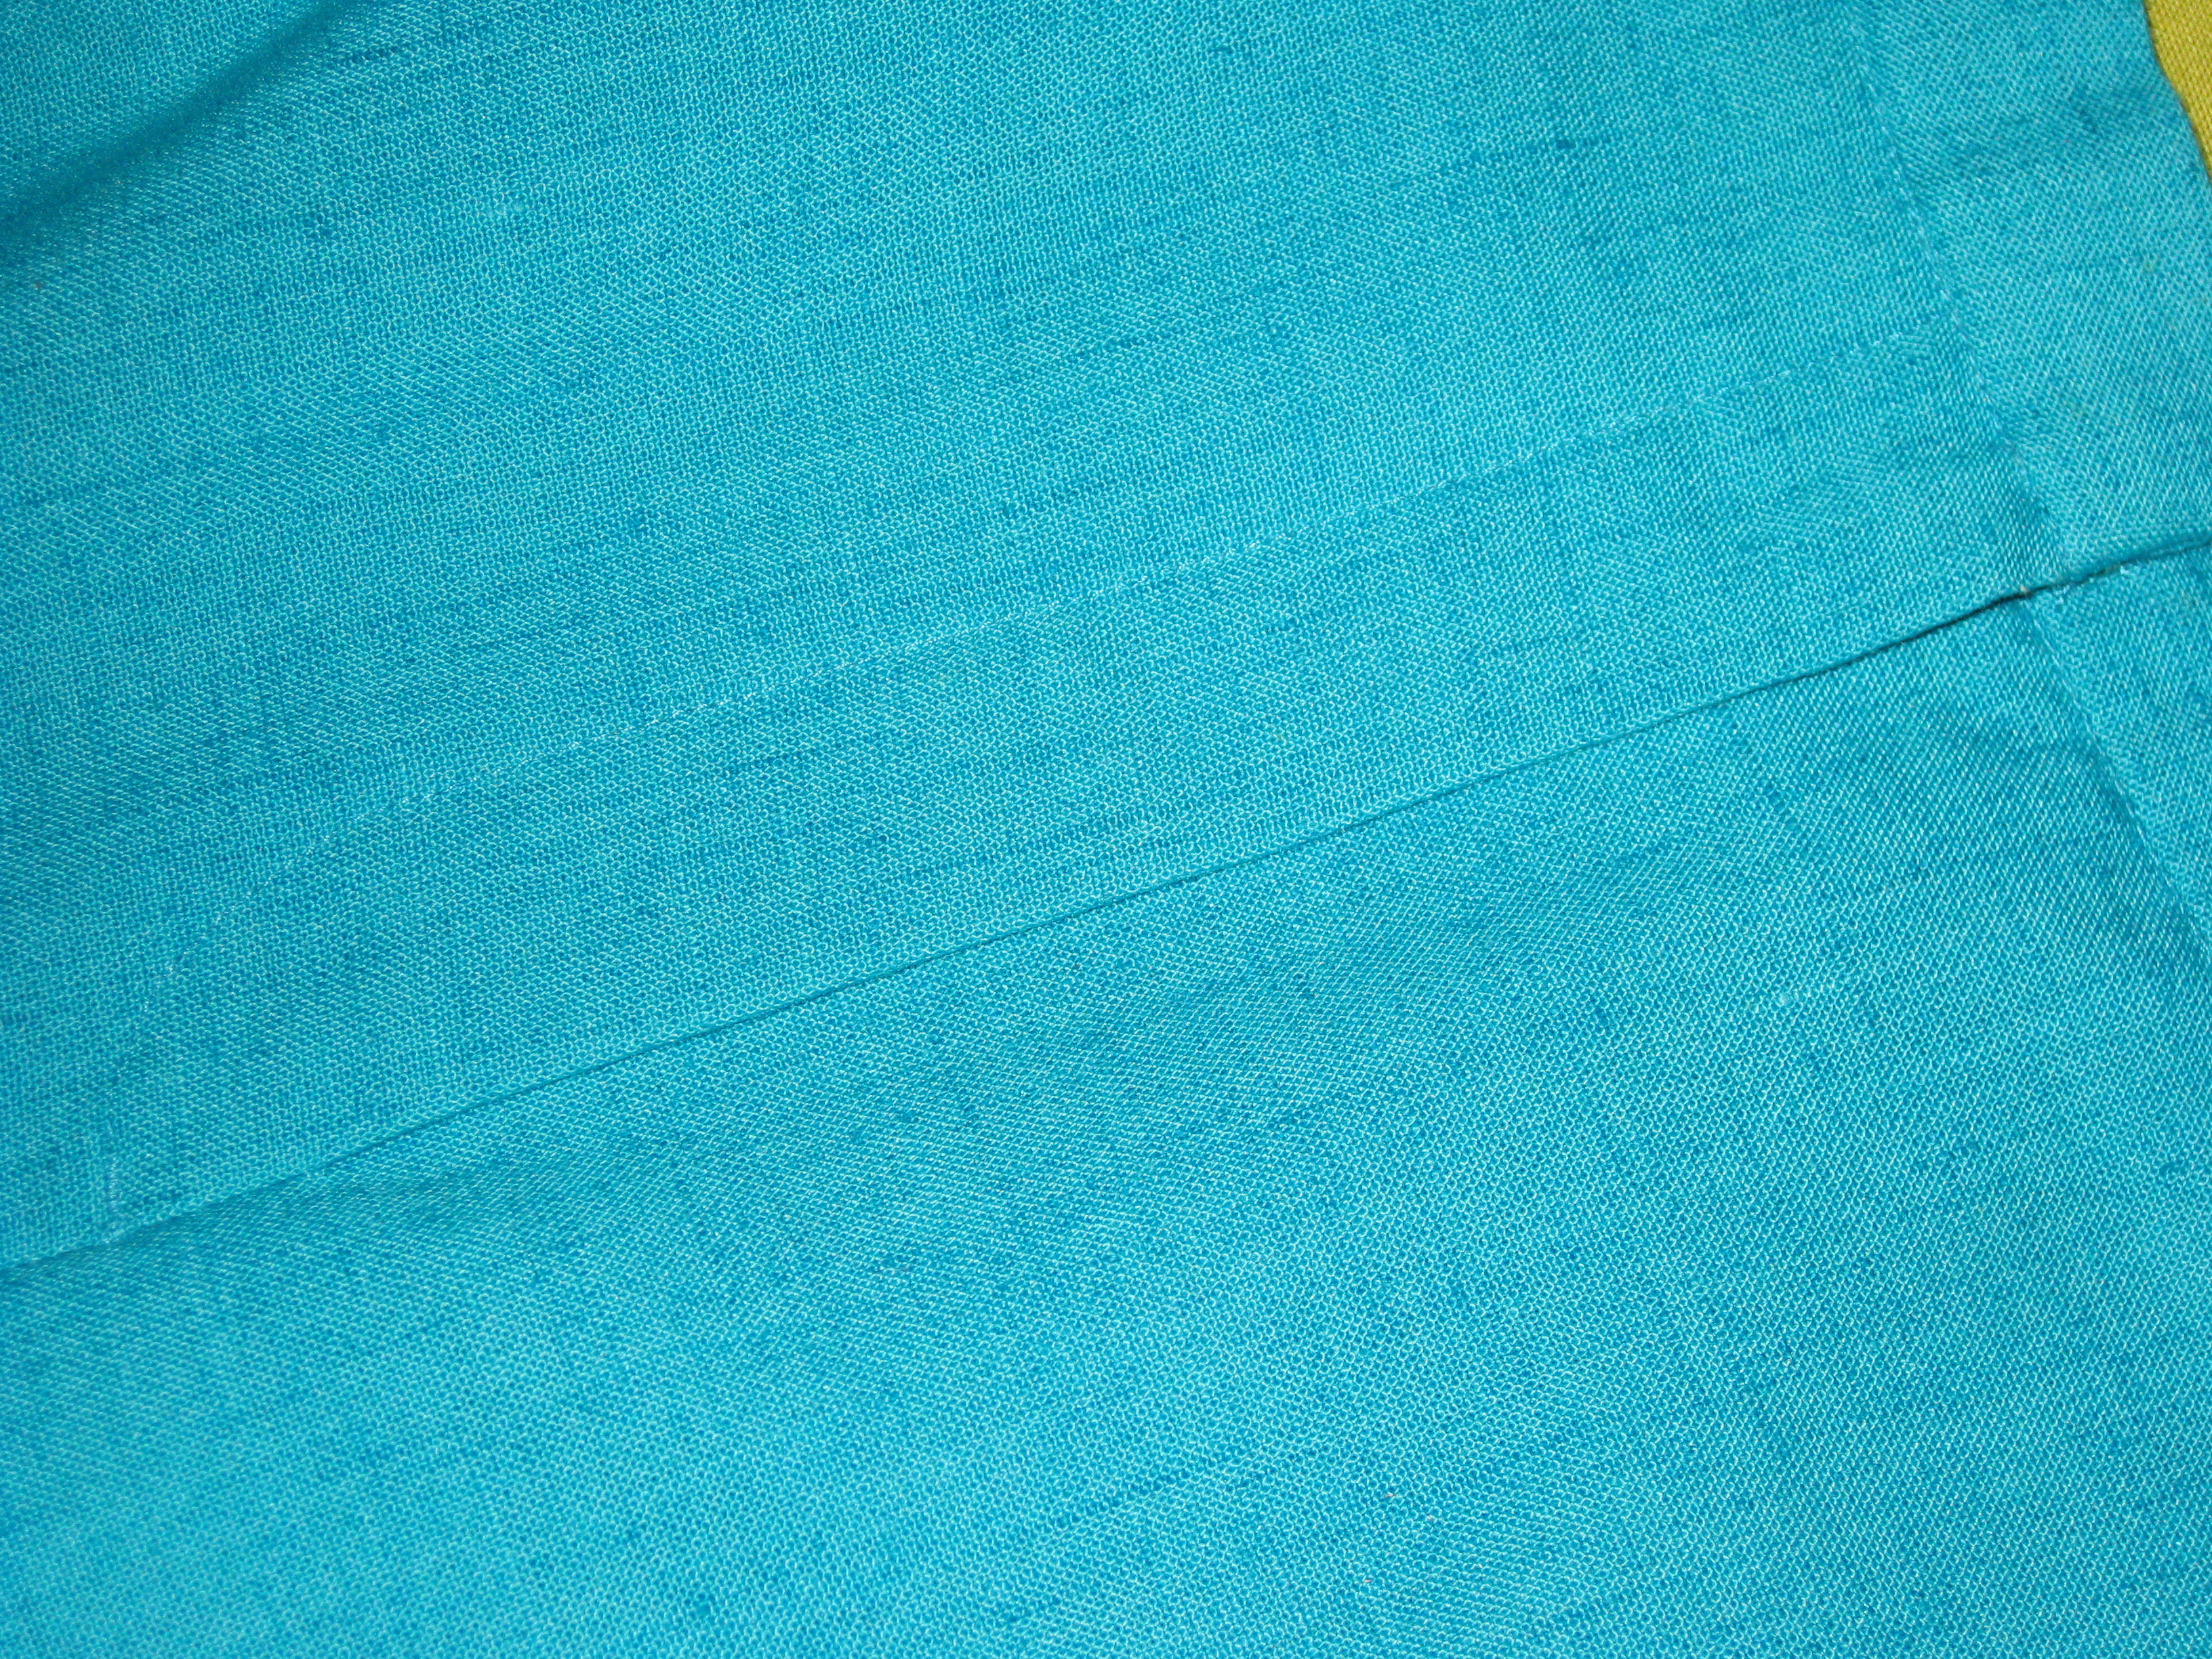
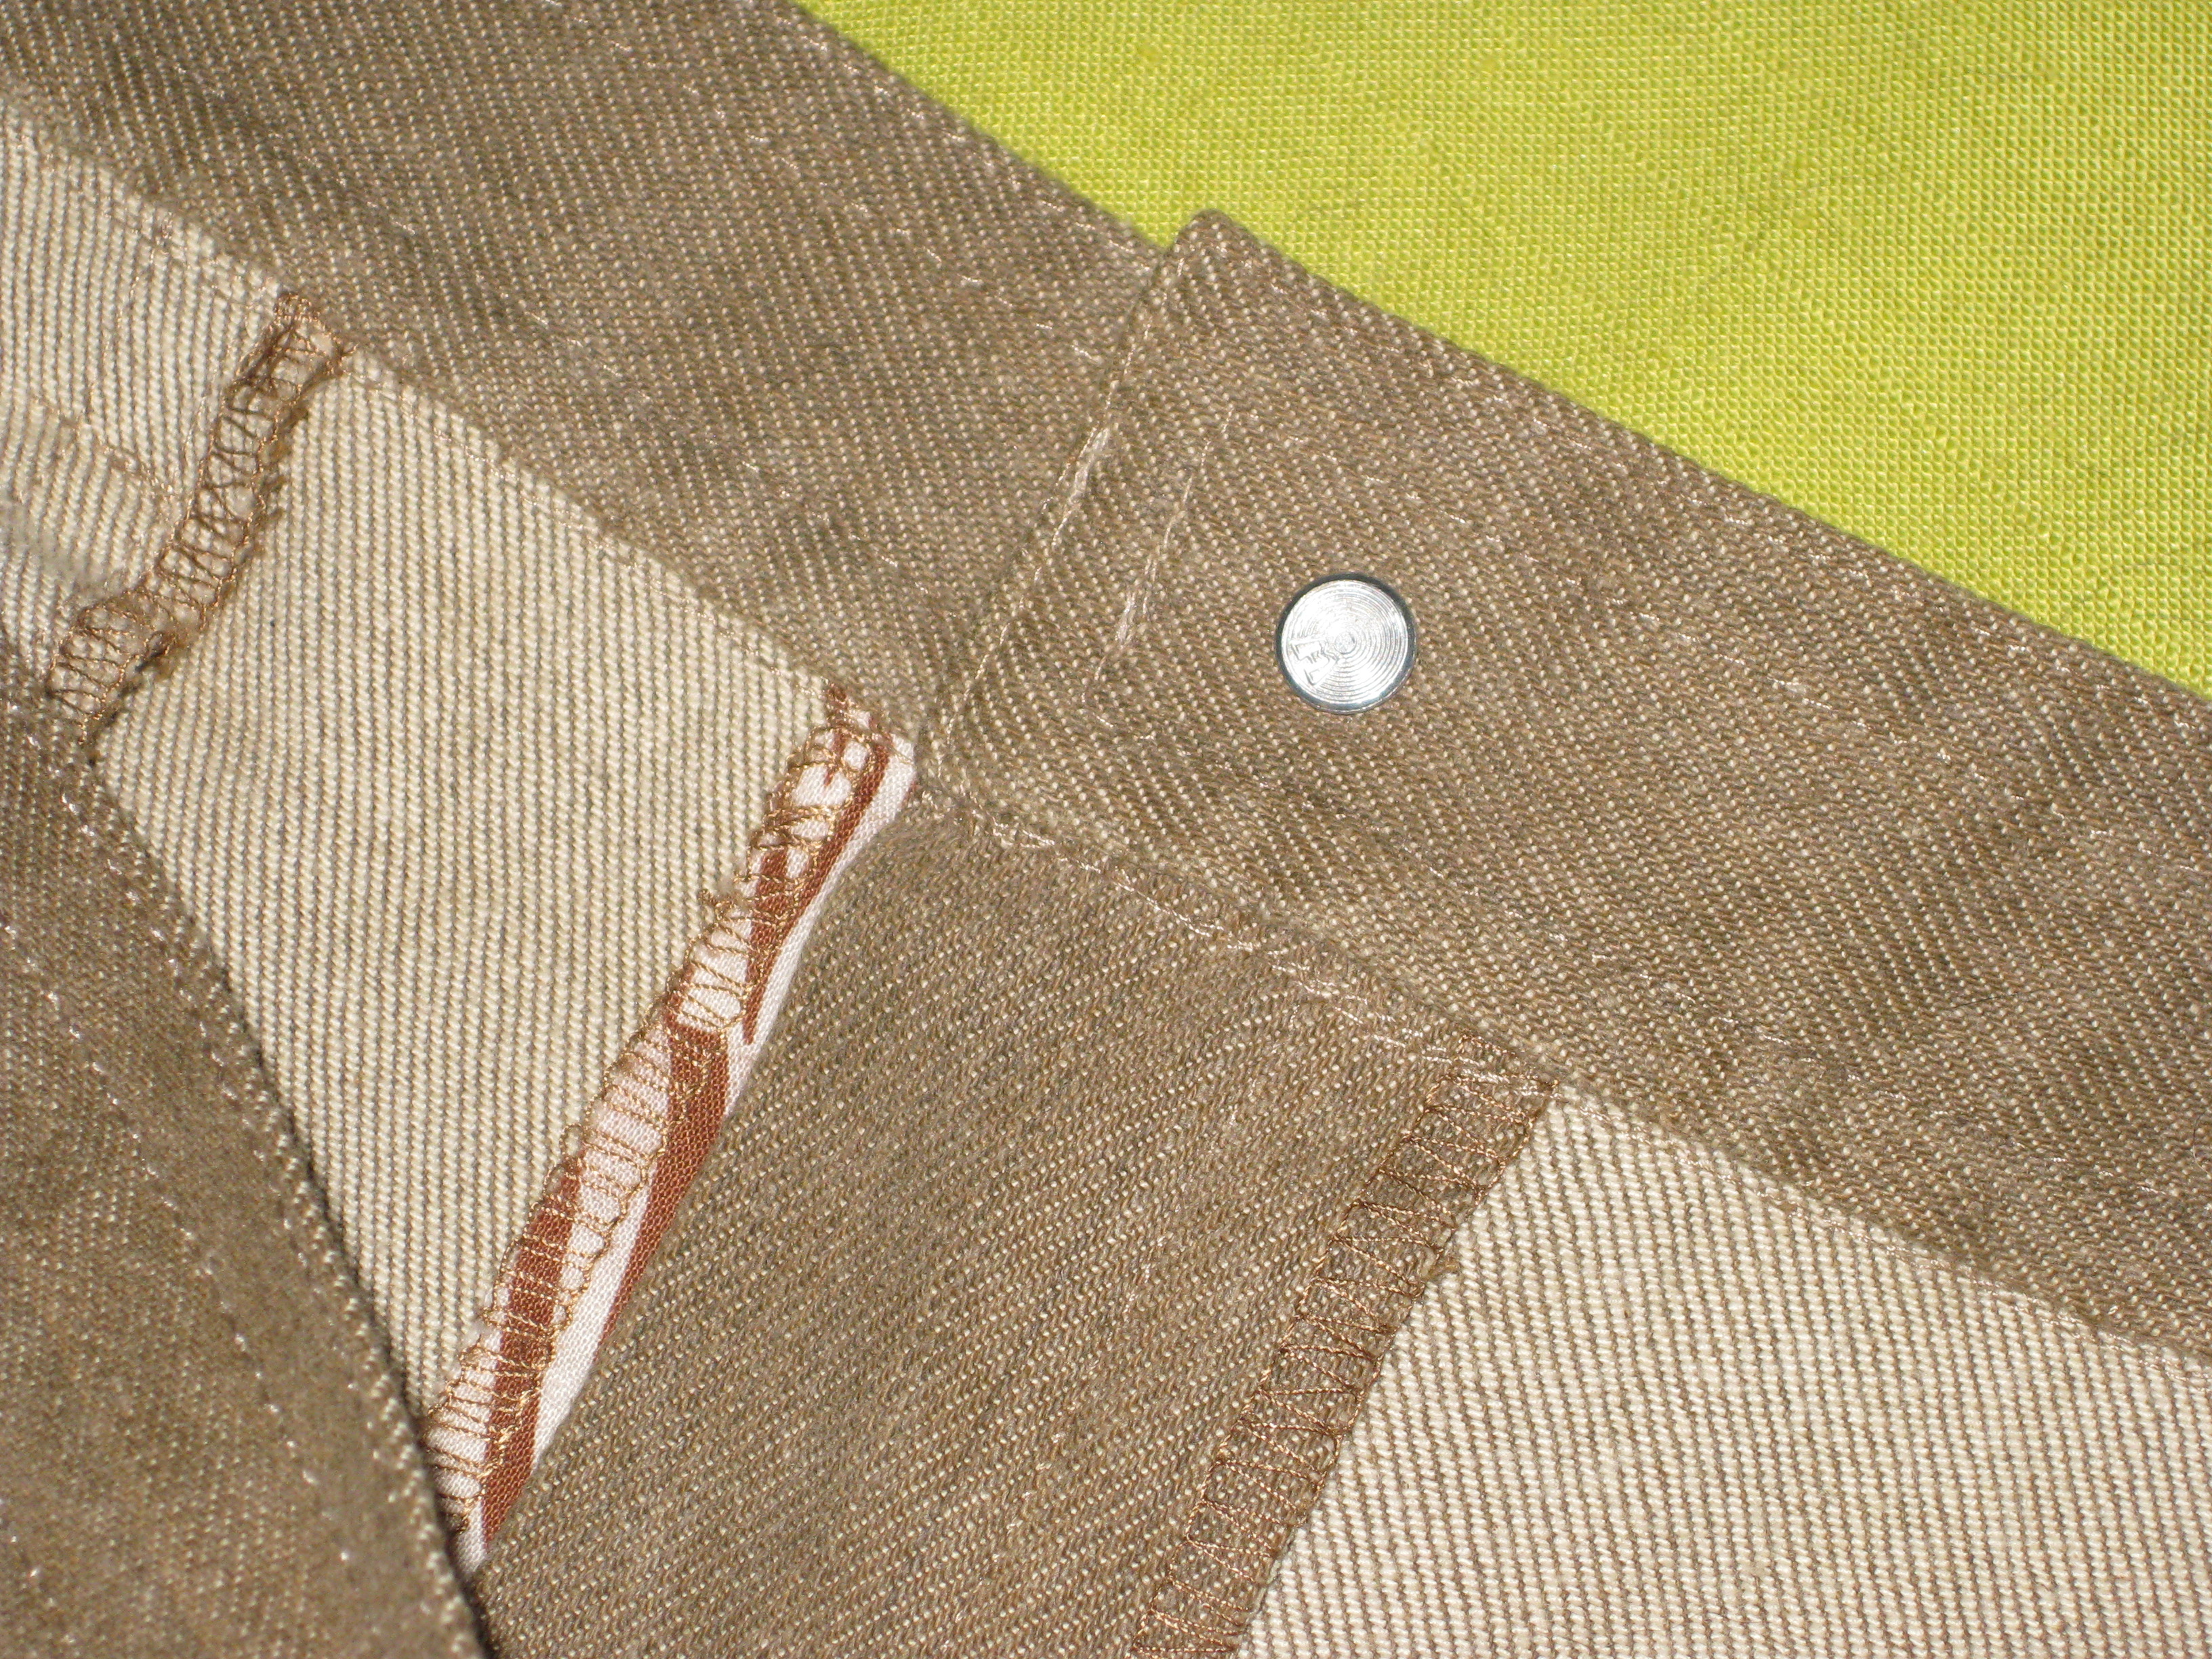
Finished zipper installation with zipper hidden.
Fly Zipper:
Press under 1cm/ ½” on the underside seam allowance.
Press under 1cm(1/2″) seam allowance above point where bottom of zipper will sit.
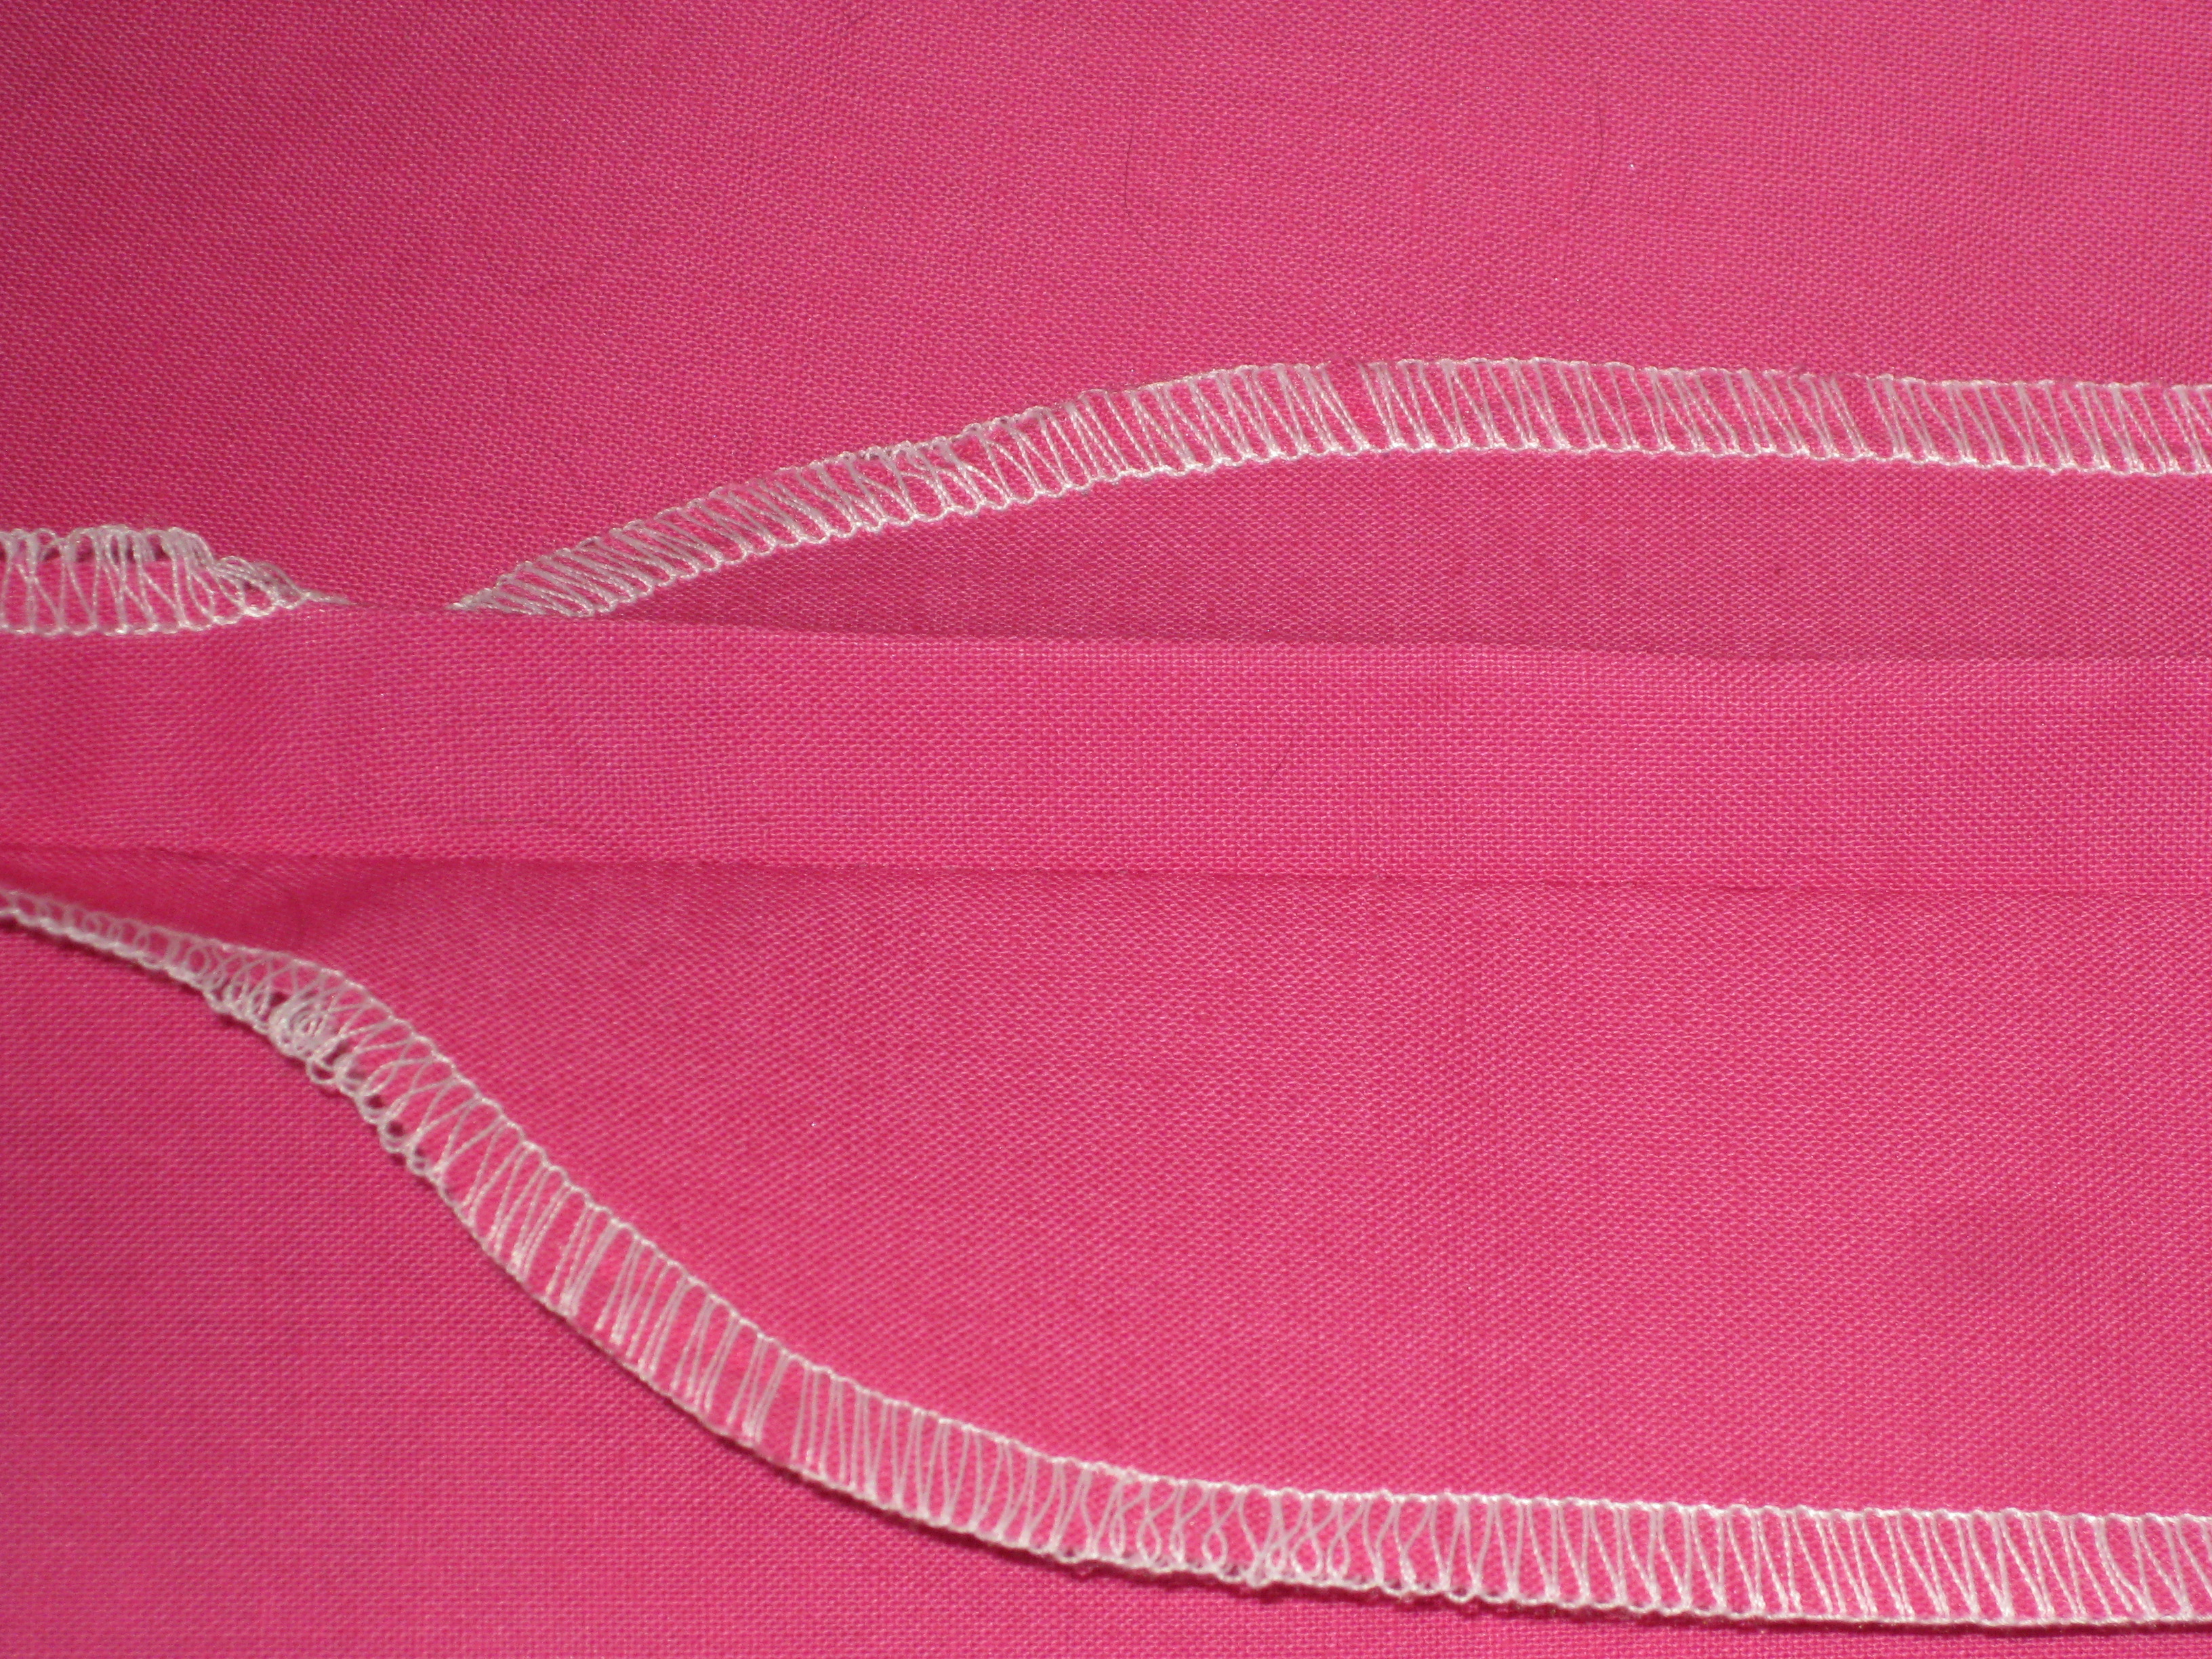
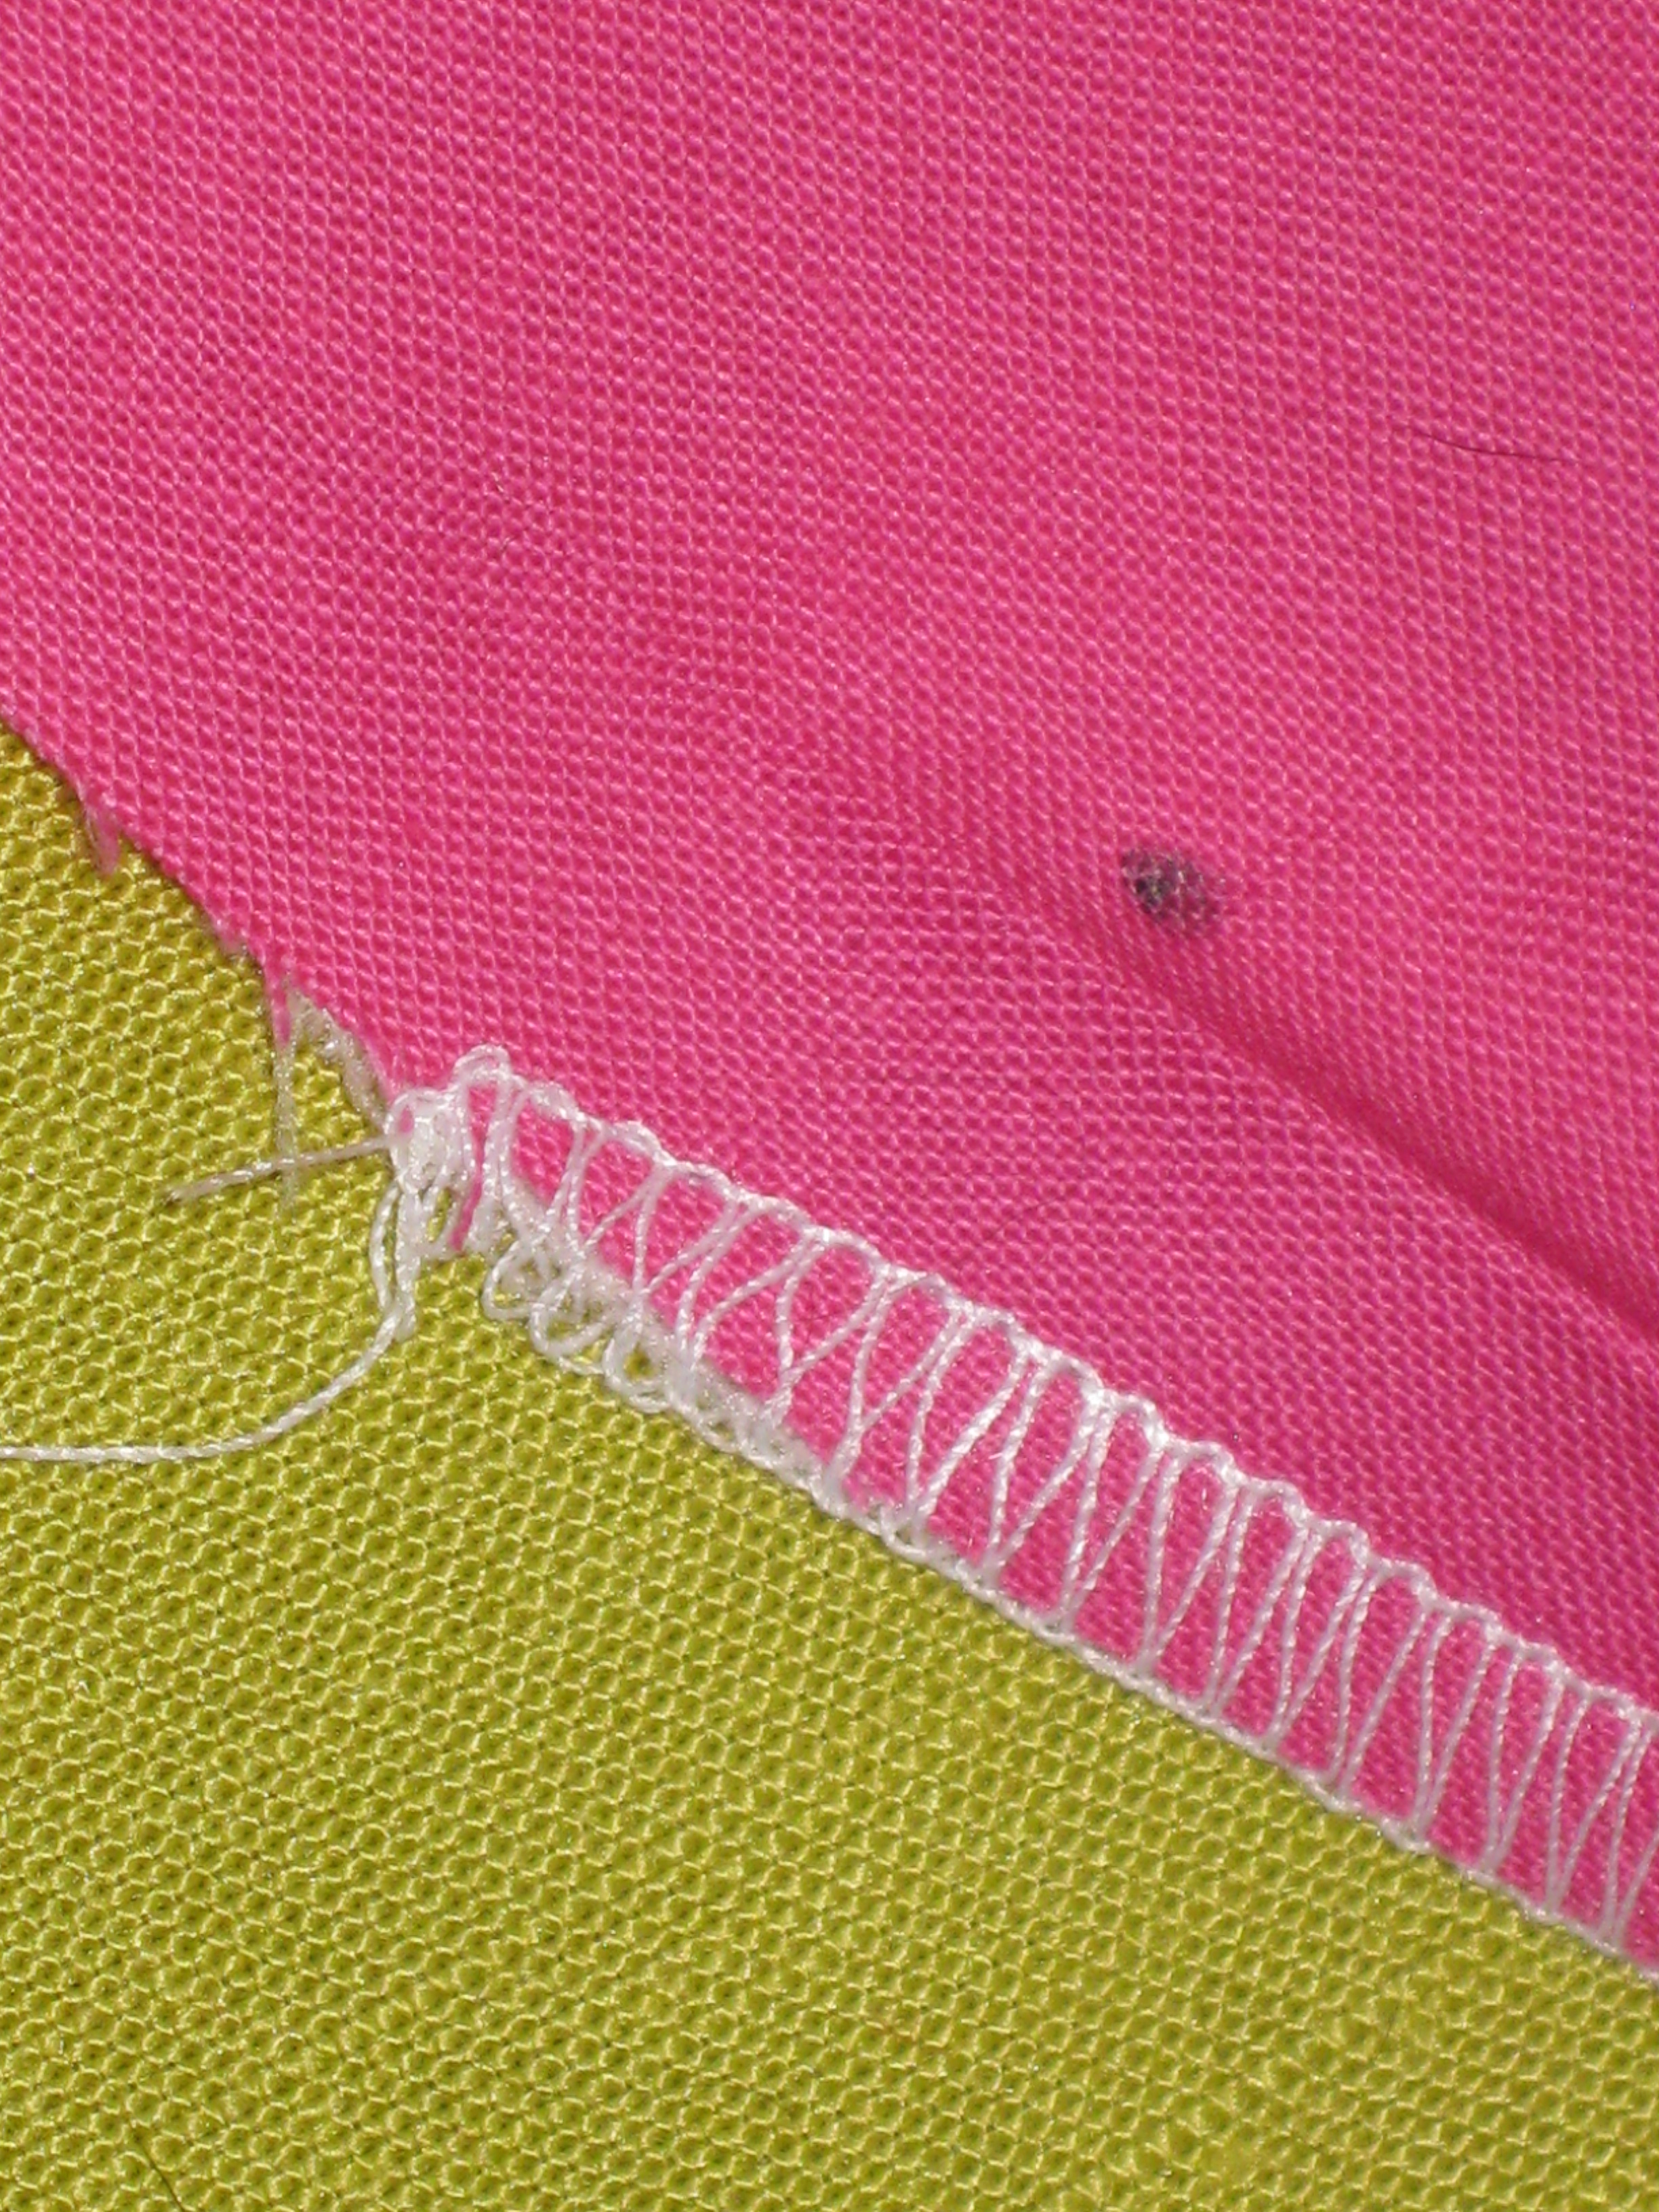
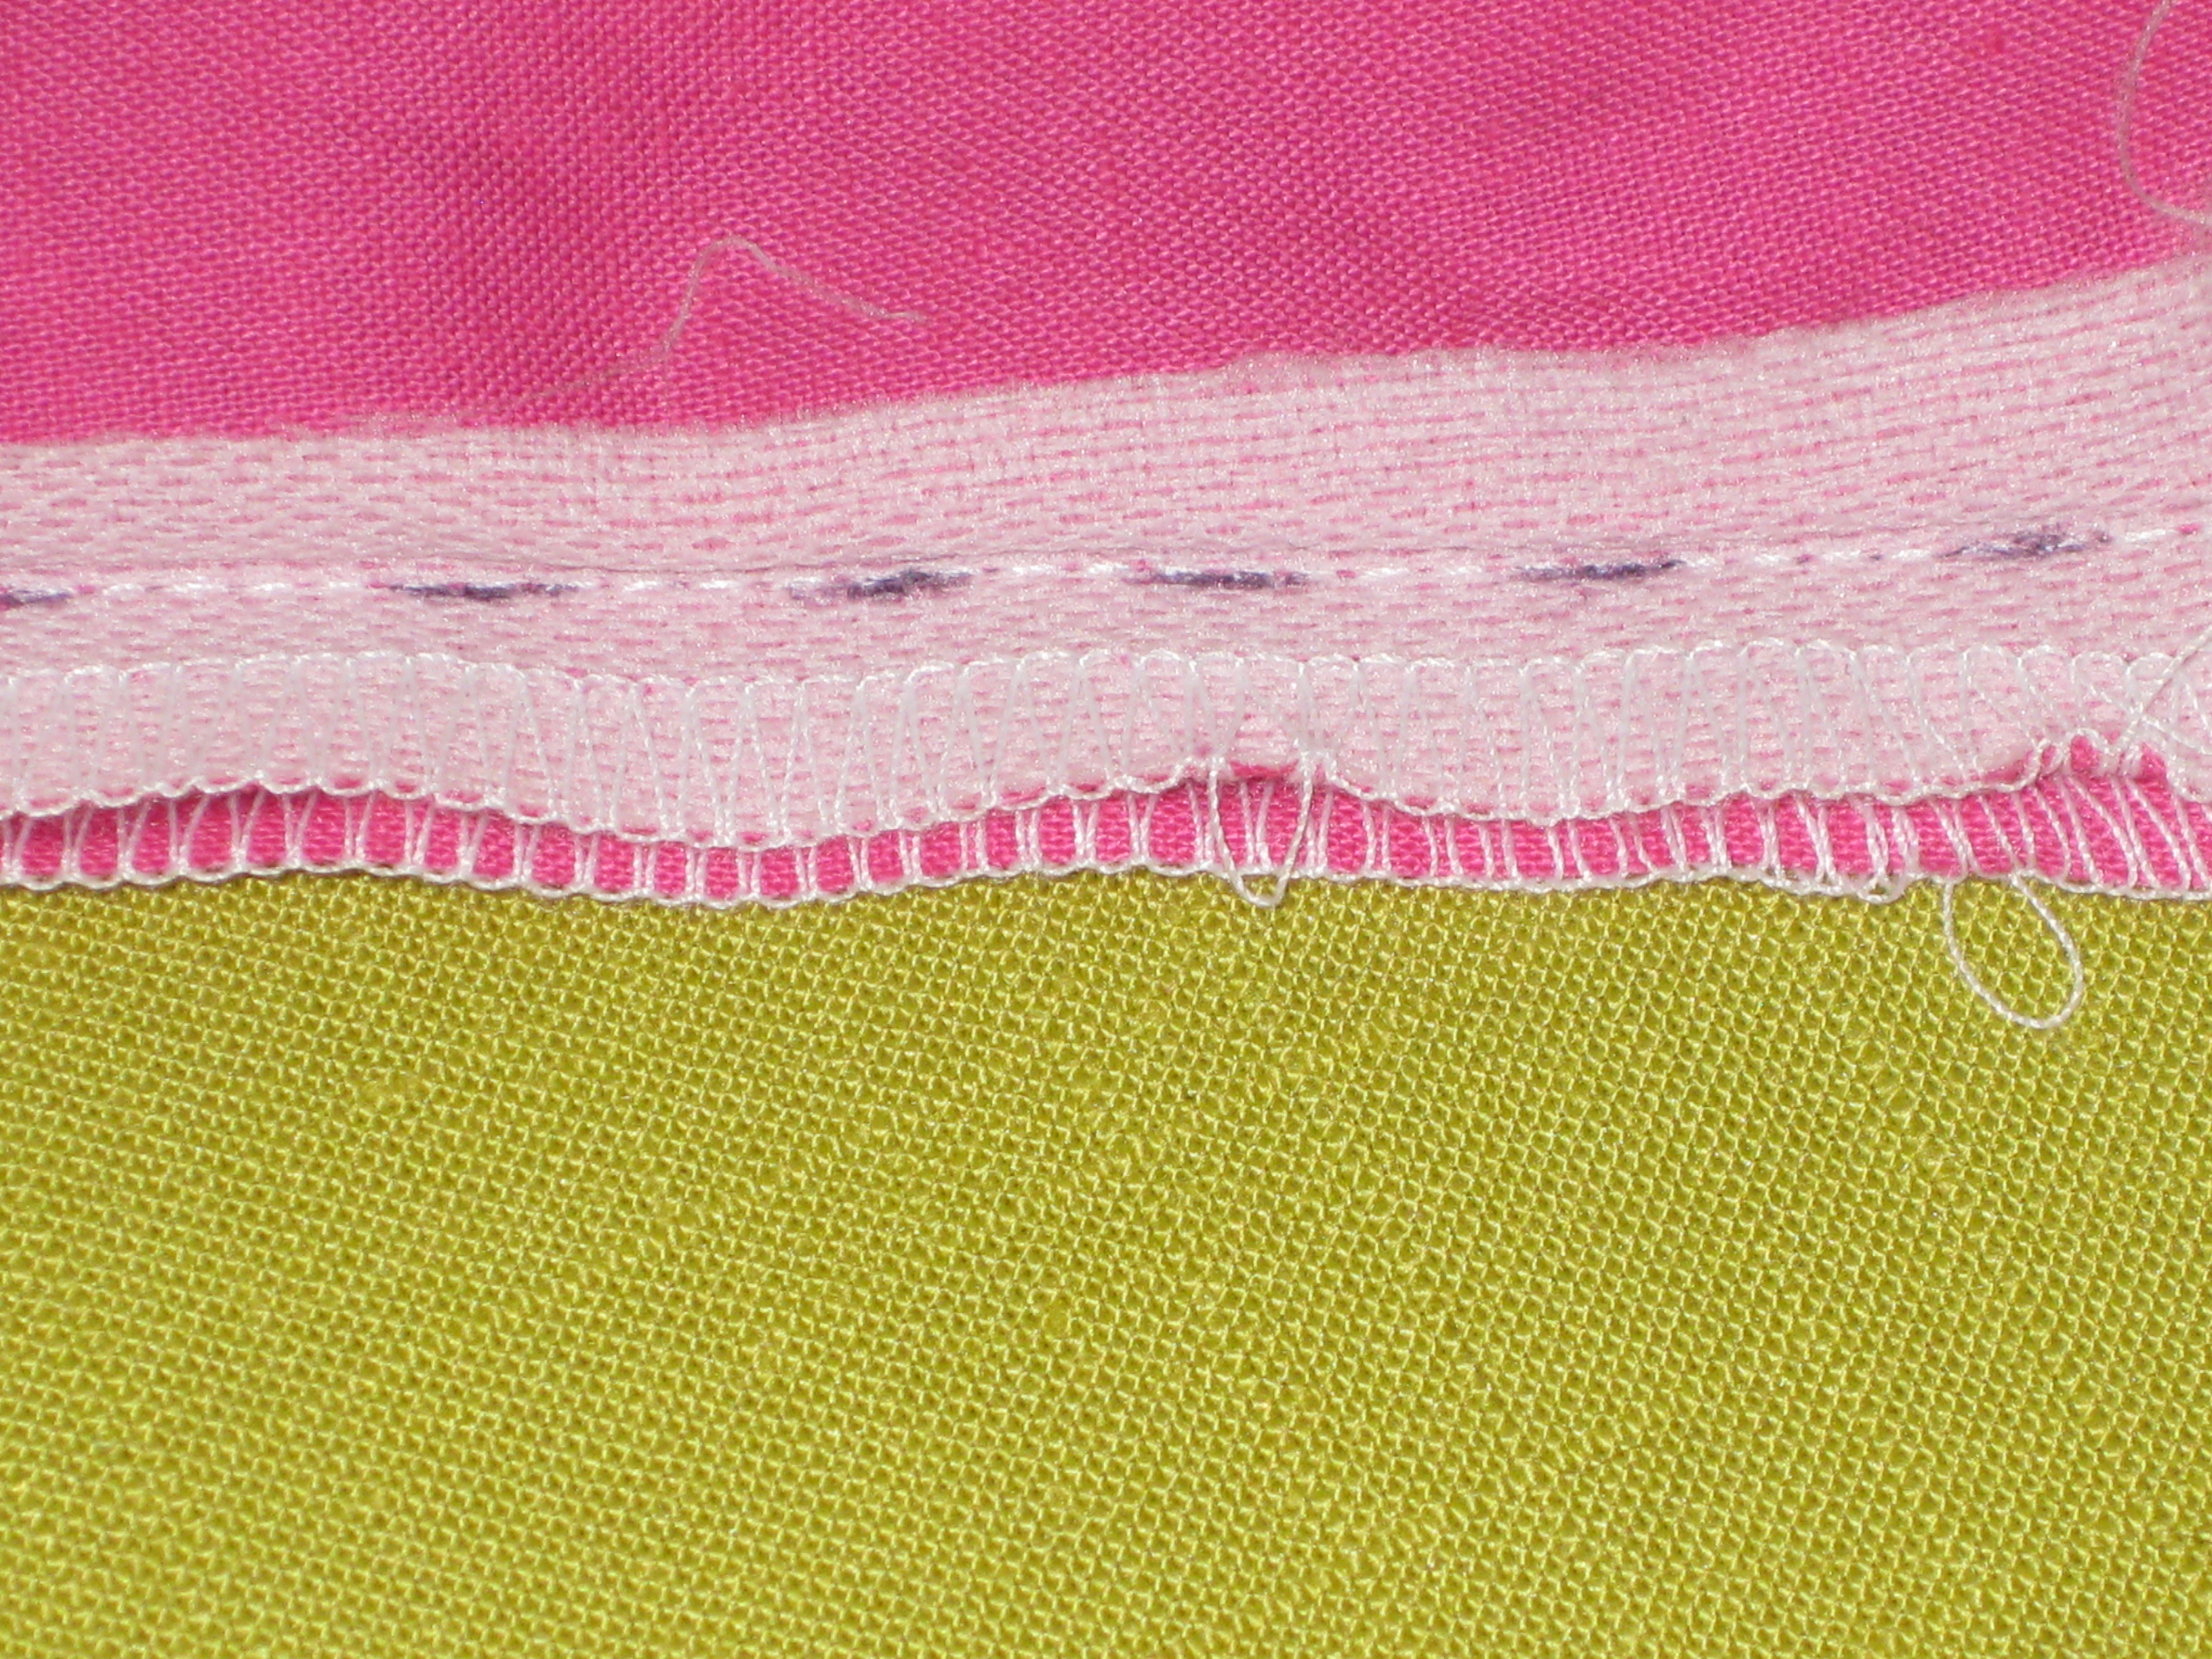
Make the fly protector by folding wrong sides together and overlocking the edges to close.
Stitch fly to centre front seam – working from bottom up – press seam flat, trim back by half and press seam open.
Fly stitched along CF seam – stop at mark indicating bottom of zipper.
Fold fly to wrong side and edgestitch if desired.
Press fly to wrong side and understitch above marked point for bottom of zipper.
Starting exactly at the dot which marks the beginning of the zipper opening sew approximately 5cm of crotch seam and back stitch to secure.
Stitch approximately 5cm(2″) of crotch seam – start exactly at bottom of fly seam.
Working with zipper teeth closed, place zipper tape under the fold and fly protector underneath – using zipper foot stitch close to the zipper teeth from bottom to top through all layers.
Place right side of zipper against underlap fold – keep teeth close to zipper.
Pin underlap on underside of zipper tape
Stitch in place from right side.
Place garment on flat surface, wrong side up and fold the zipper shield out of the way. Pin other side of the zip to the right hand side fly facing and stitch in place.
Position edge of fly with CF together over underlap.
Pin underlap out of the way.
Stitch other side of zipper to fly facing.
Using a sliver of plain soap or chalk marker, mark stitching line on right hand side of front.
Start fly stitching with small stitches (1.5) to add extra security.
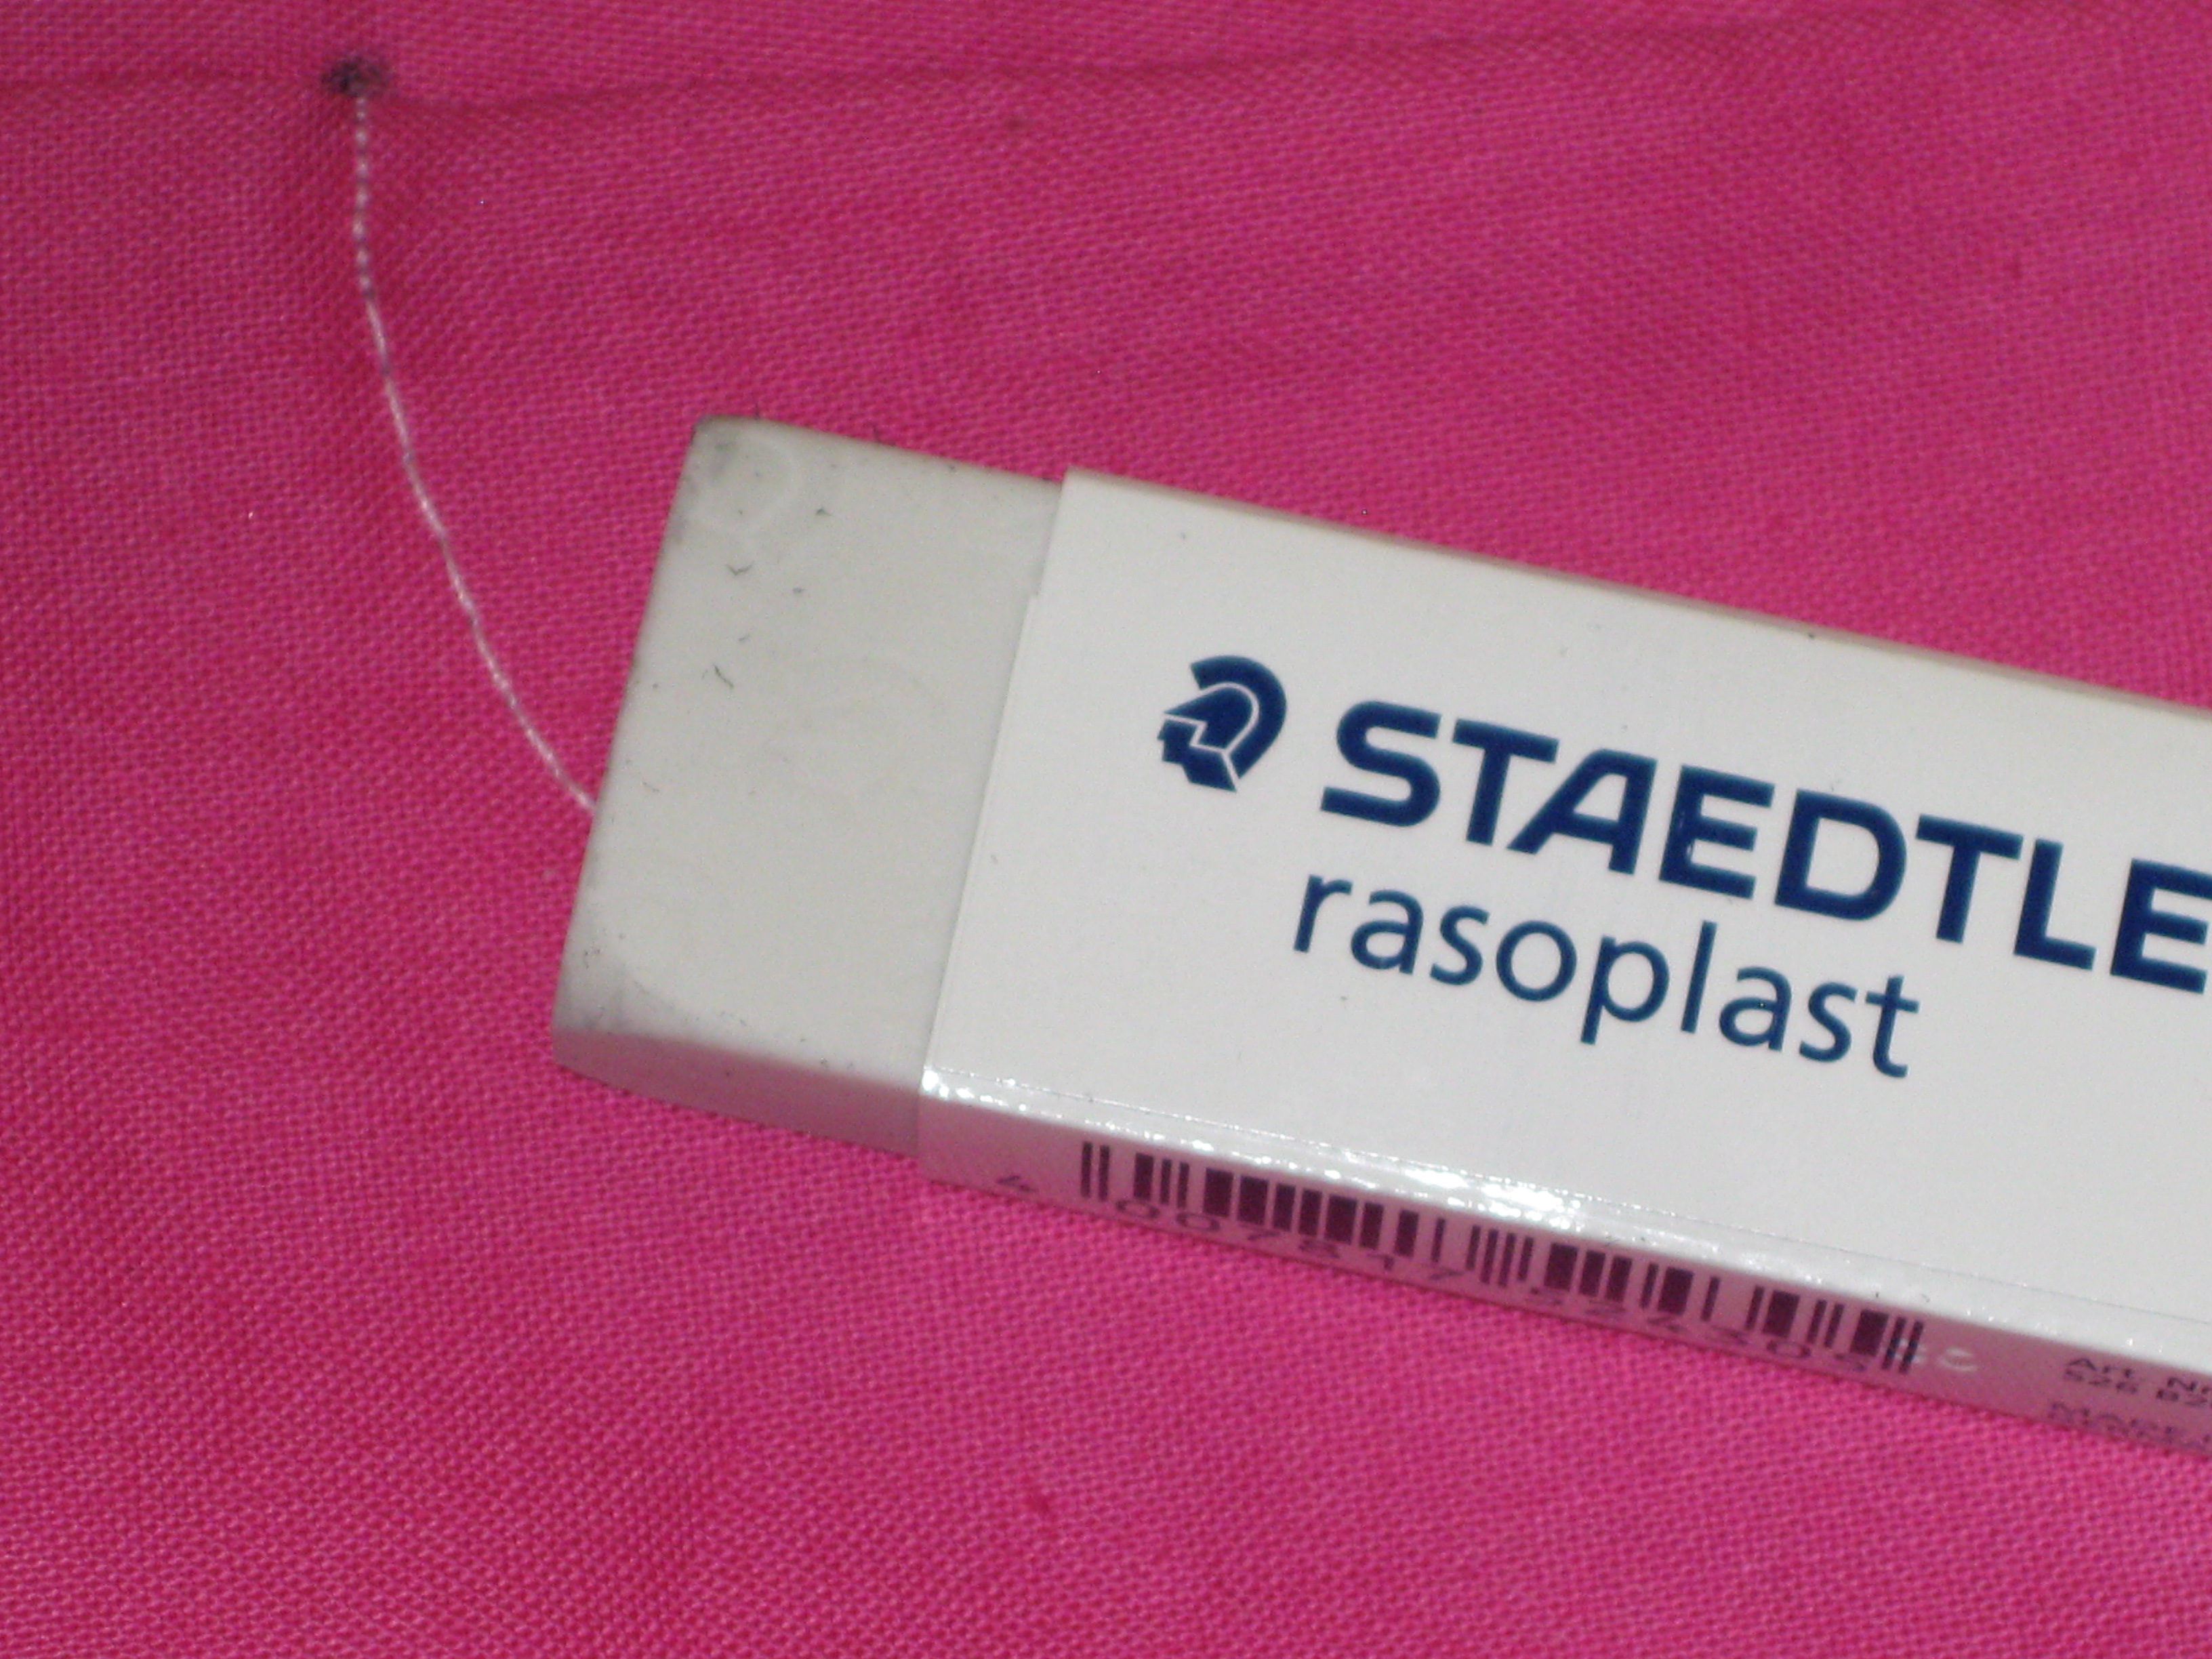
Chalk marks can be easily removed using a clean eraser.
Position the zipper shield in place. Topstitch from bottom of zip to top through all layers – a cardboard template can be used to mark the stitching line.
Stitch bar tack at bottom edge of zipper opening– bar tack is stitched with regular zigzag (SW2.0, SL0.5) for about 1cm and centred over the zipper stitching. Add an additional bartack to ensure zipper shield stays in place.
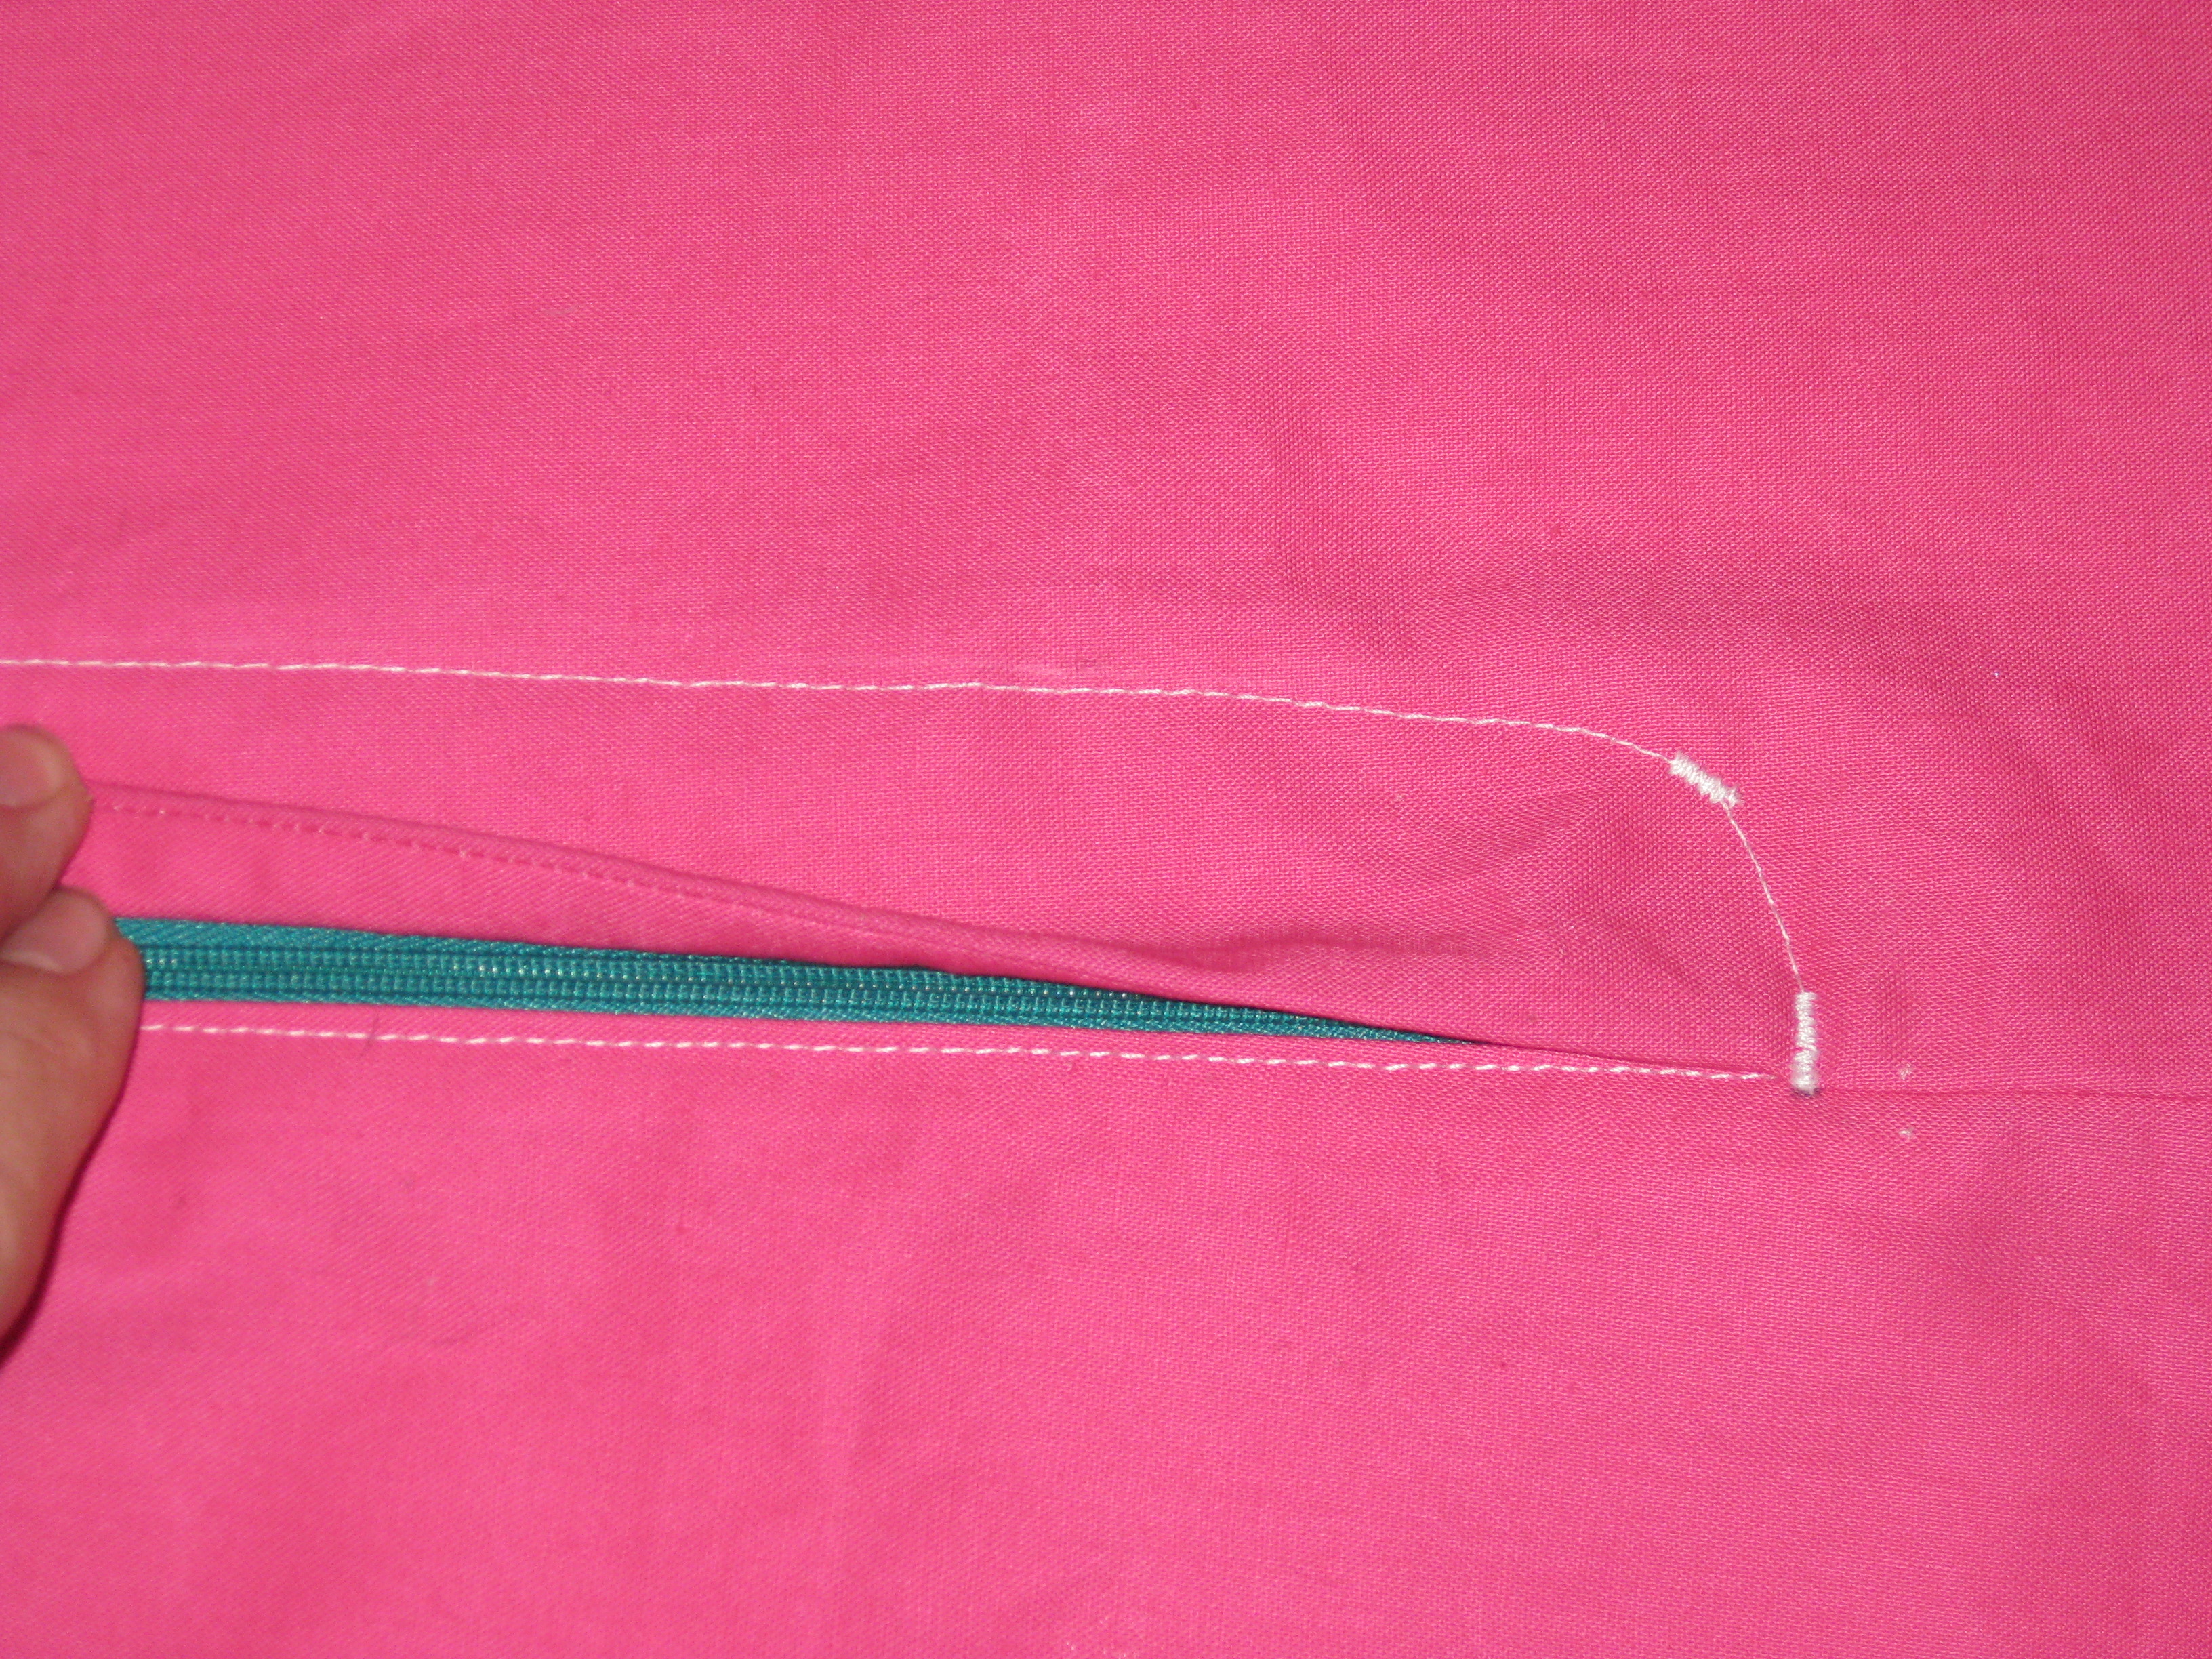
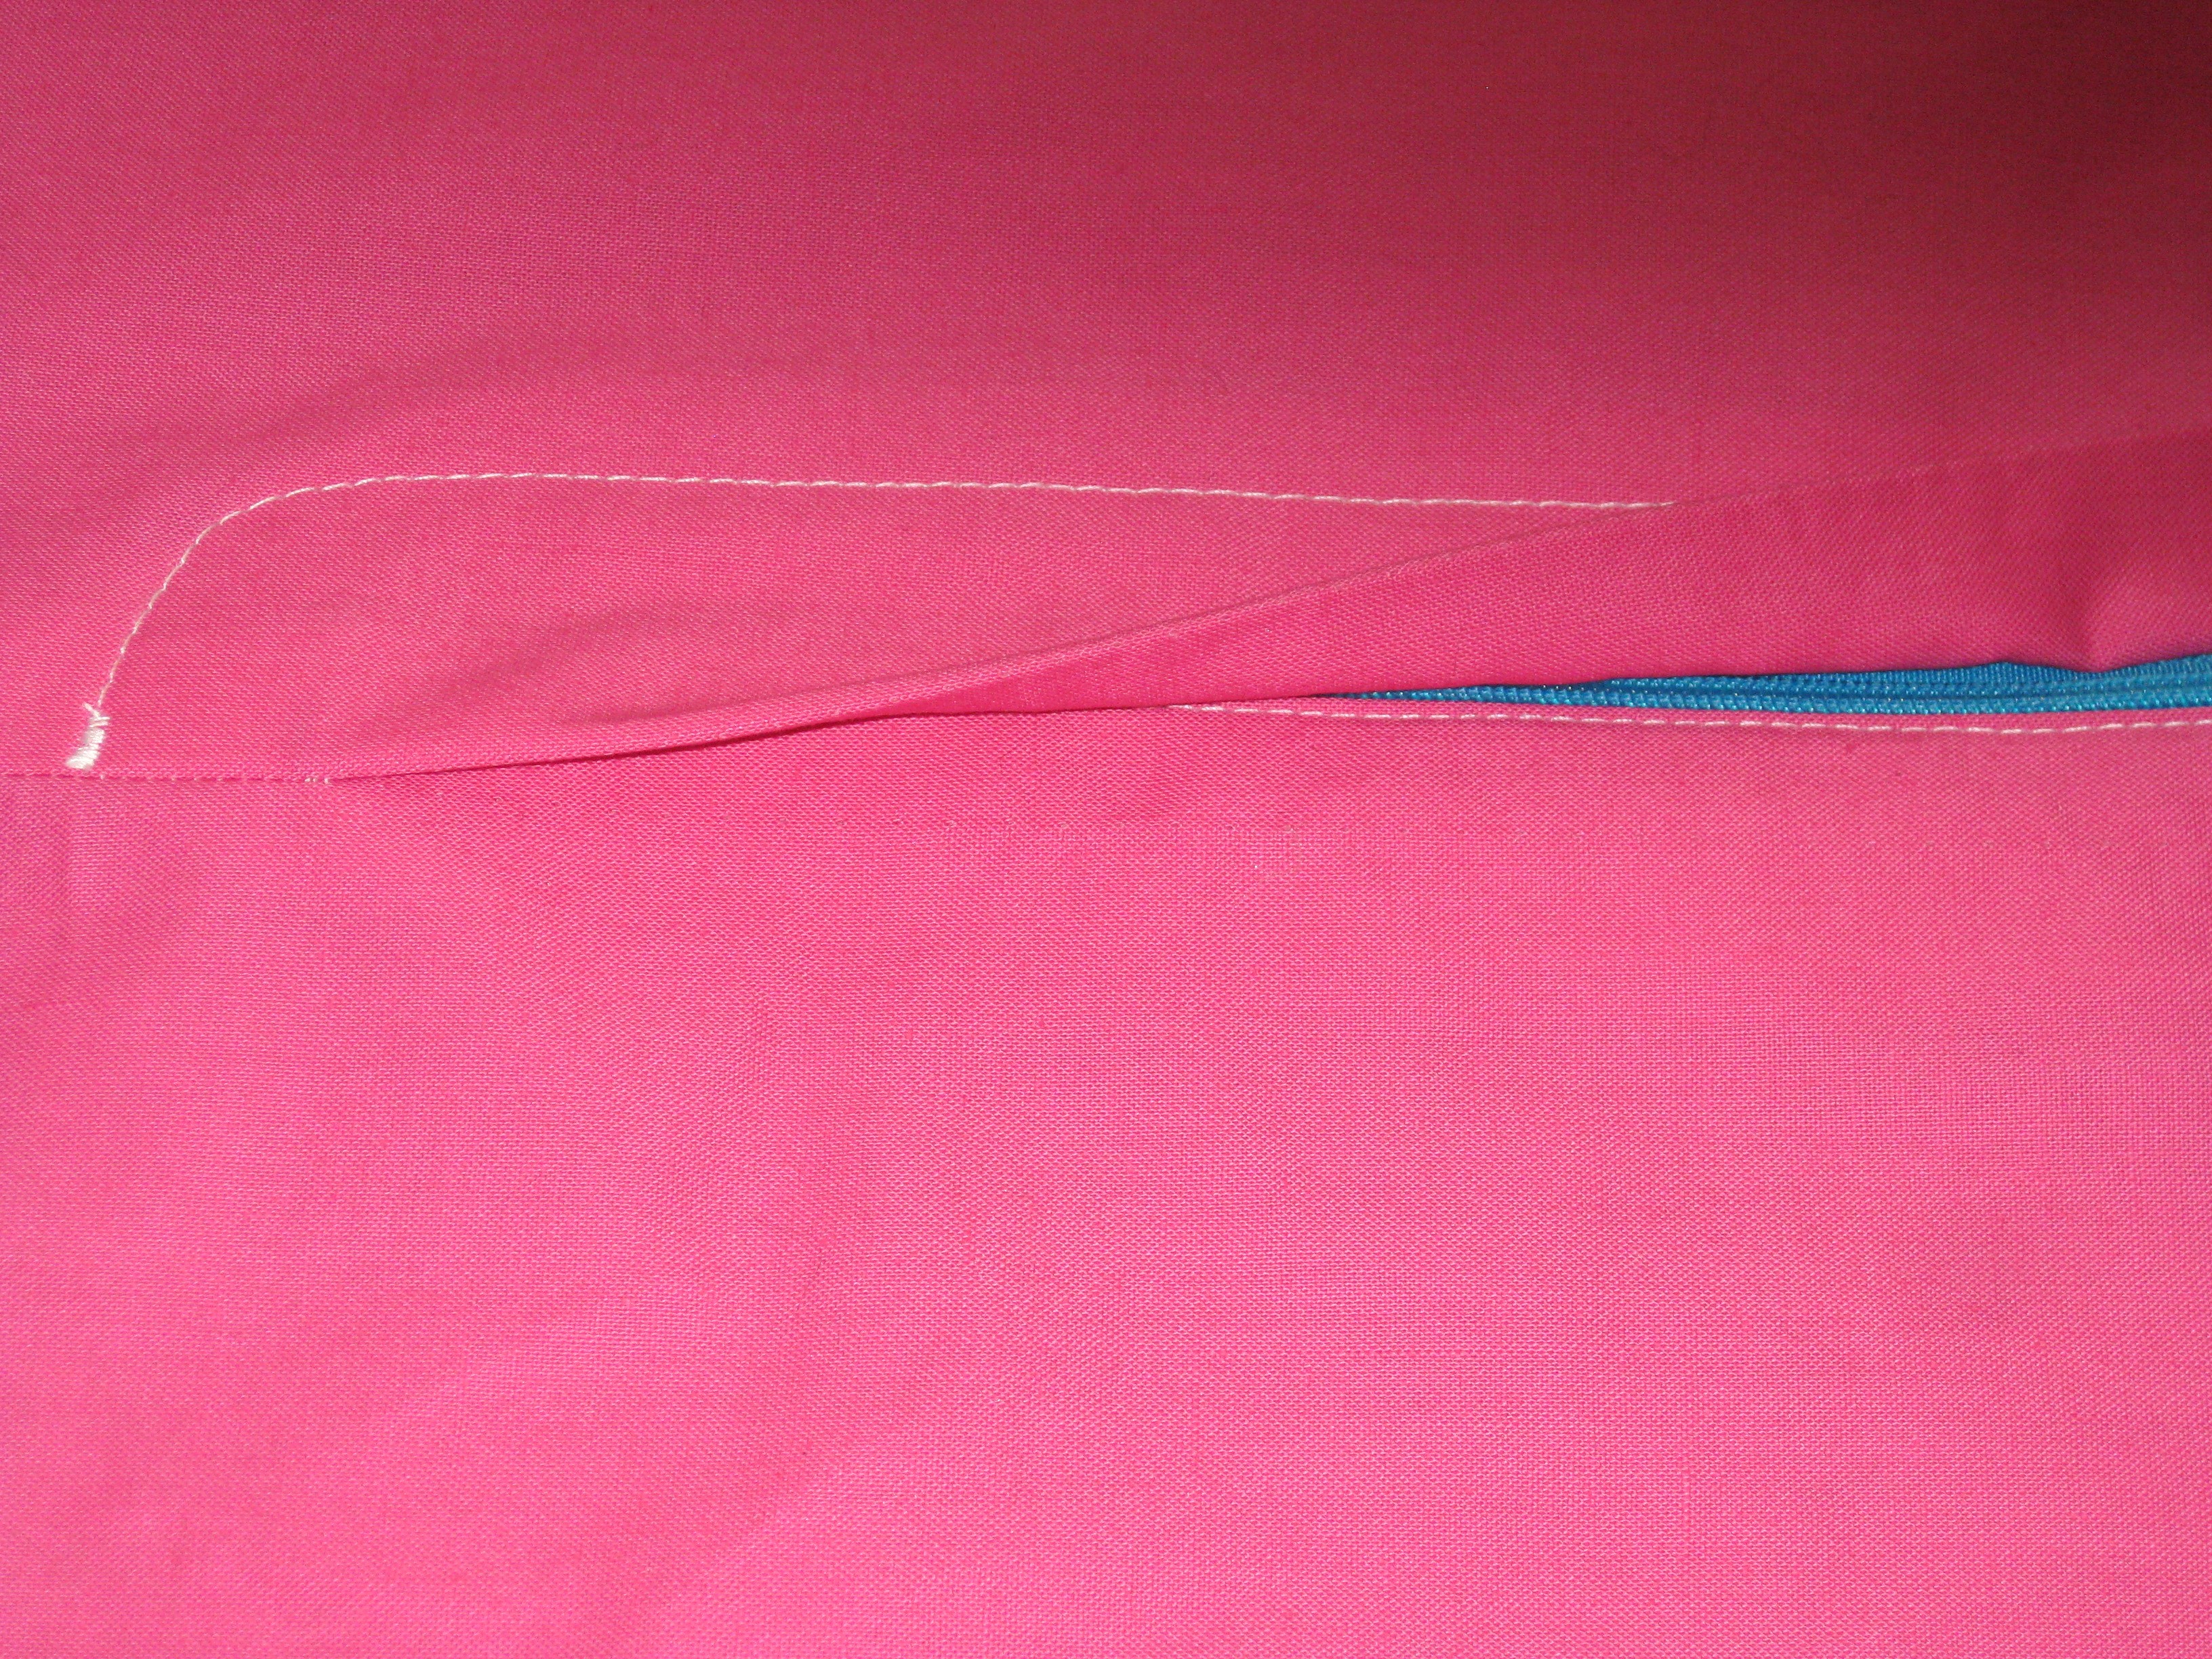
With fly facing in place underneath, stitch bar tack at bottom of zipper at CF and on curve of topstitching – to catch fly facing and keep in in place.
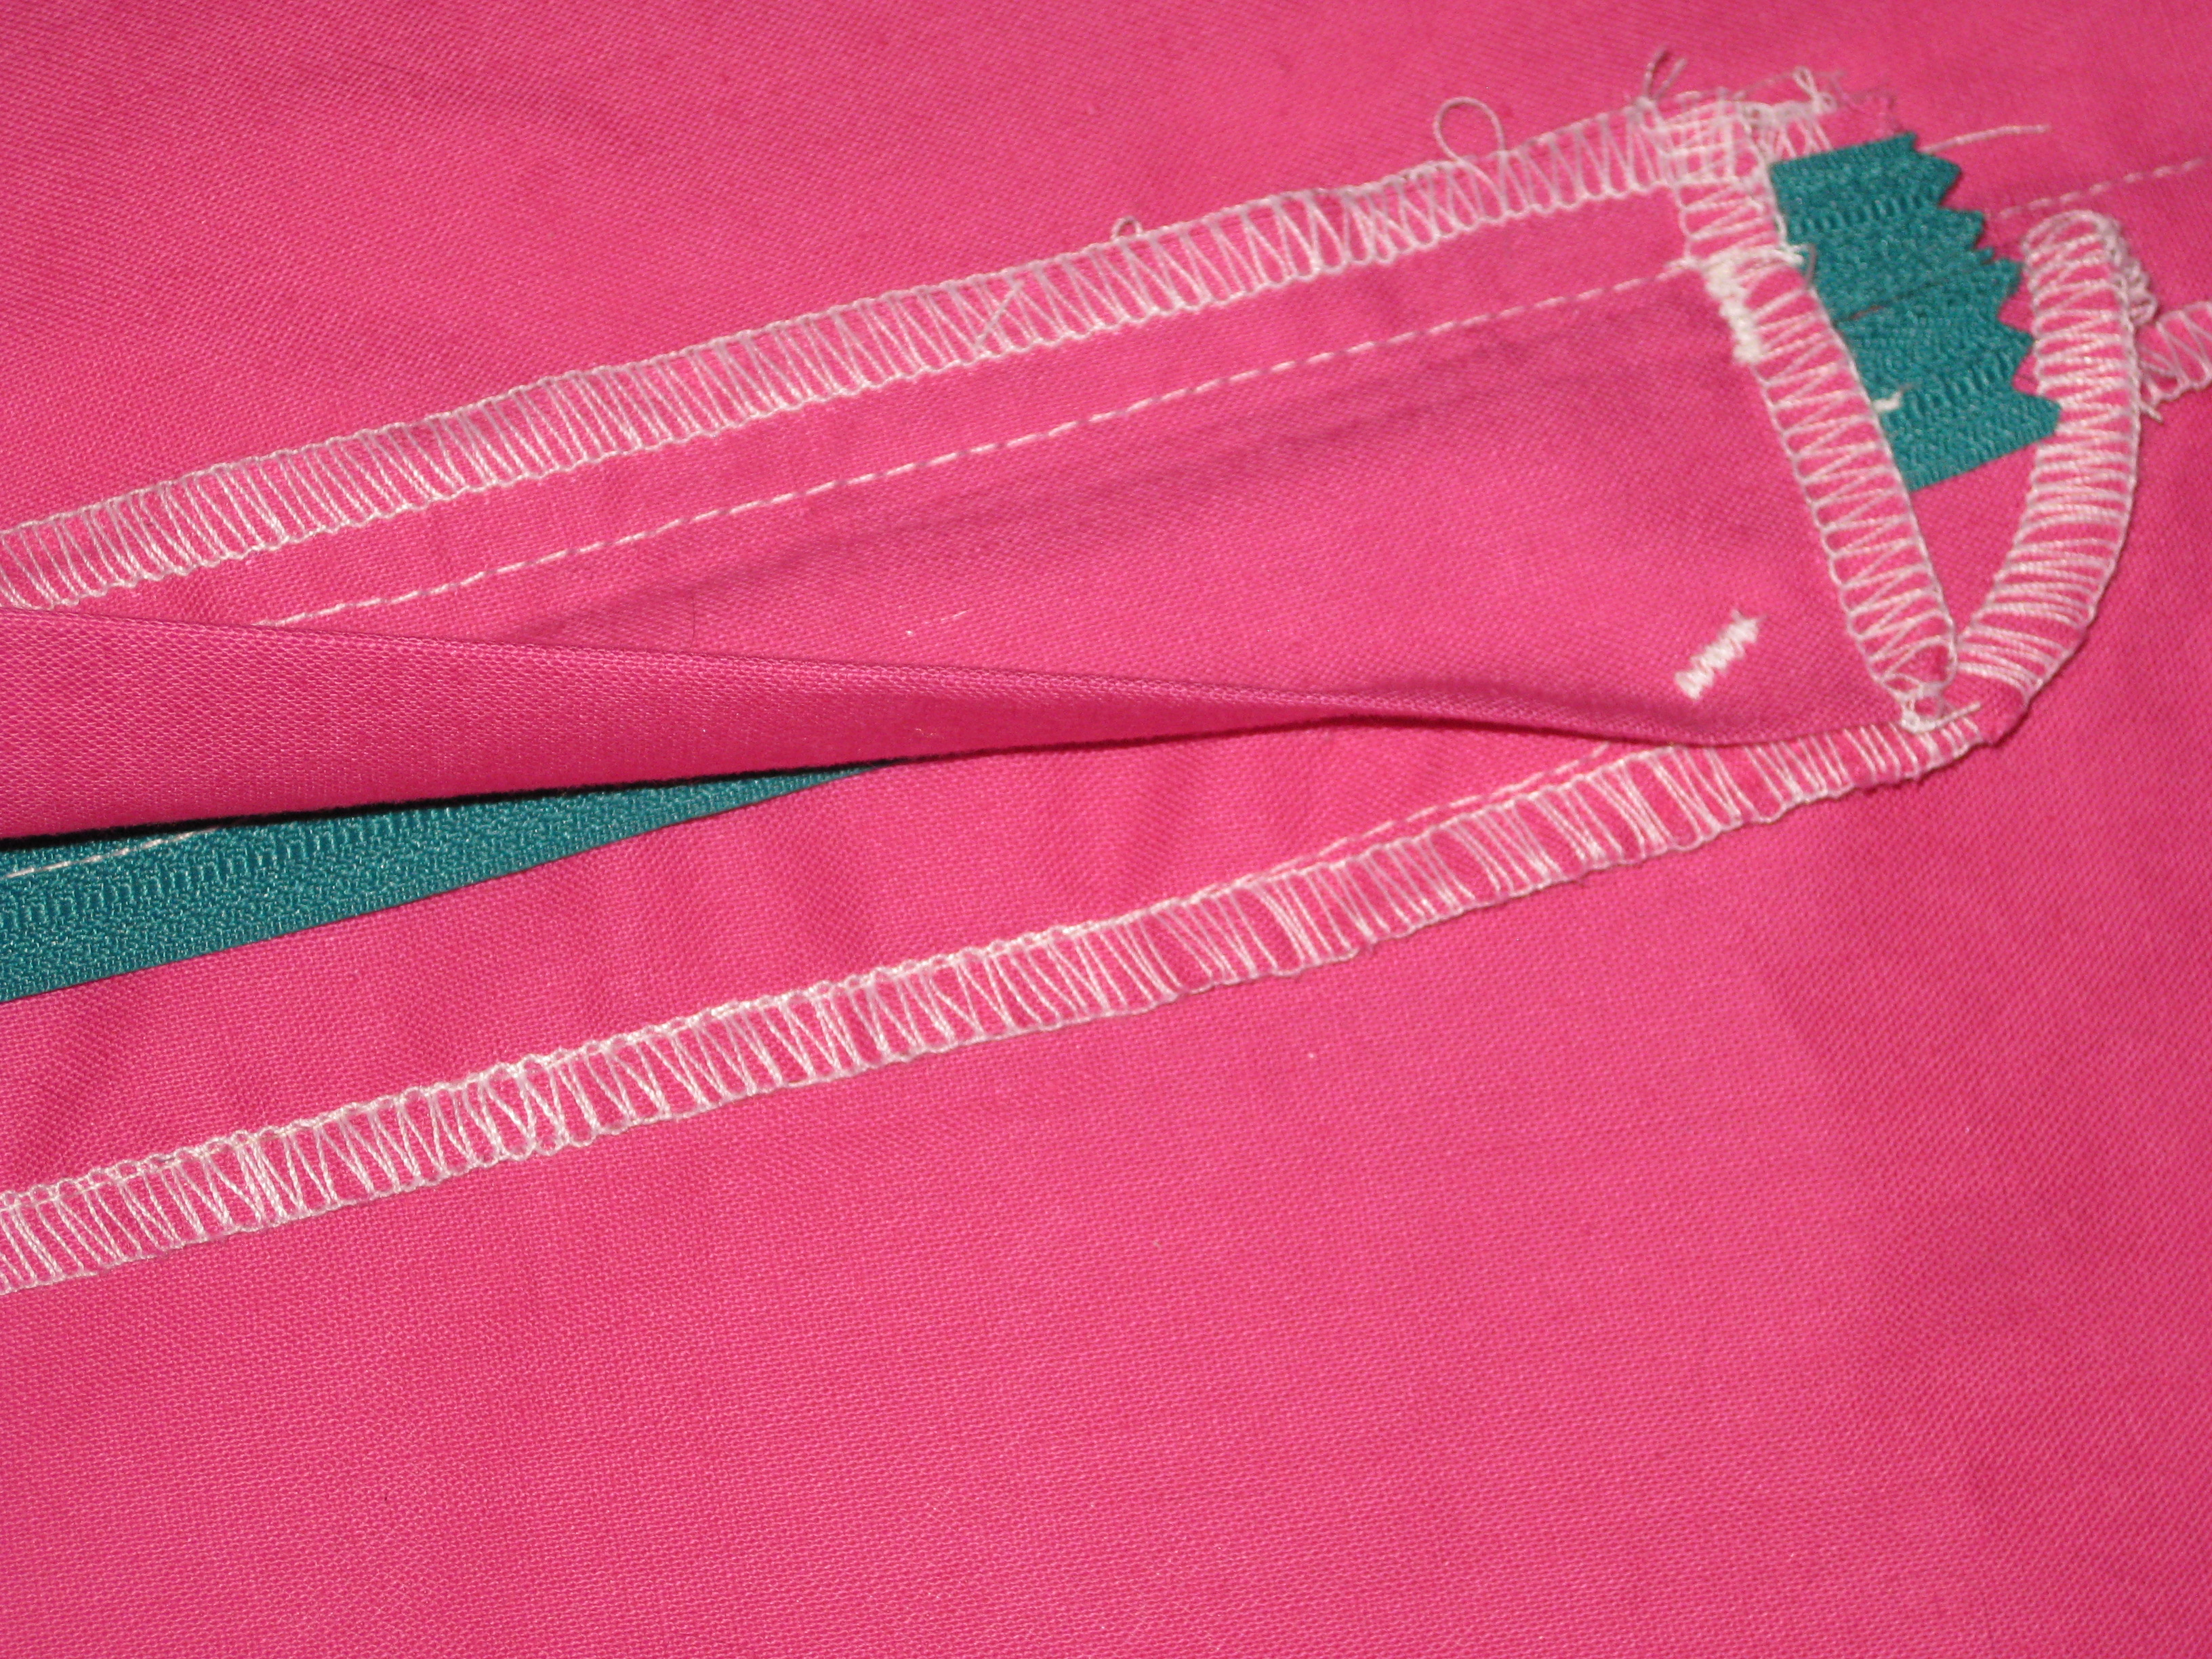
Underside showing secured fly facing.
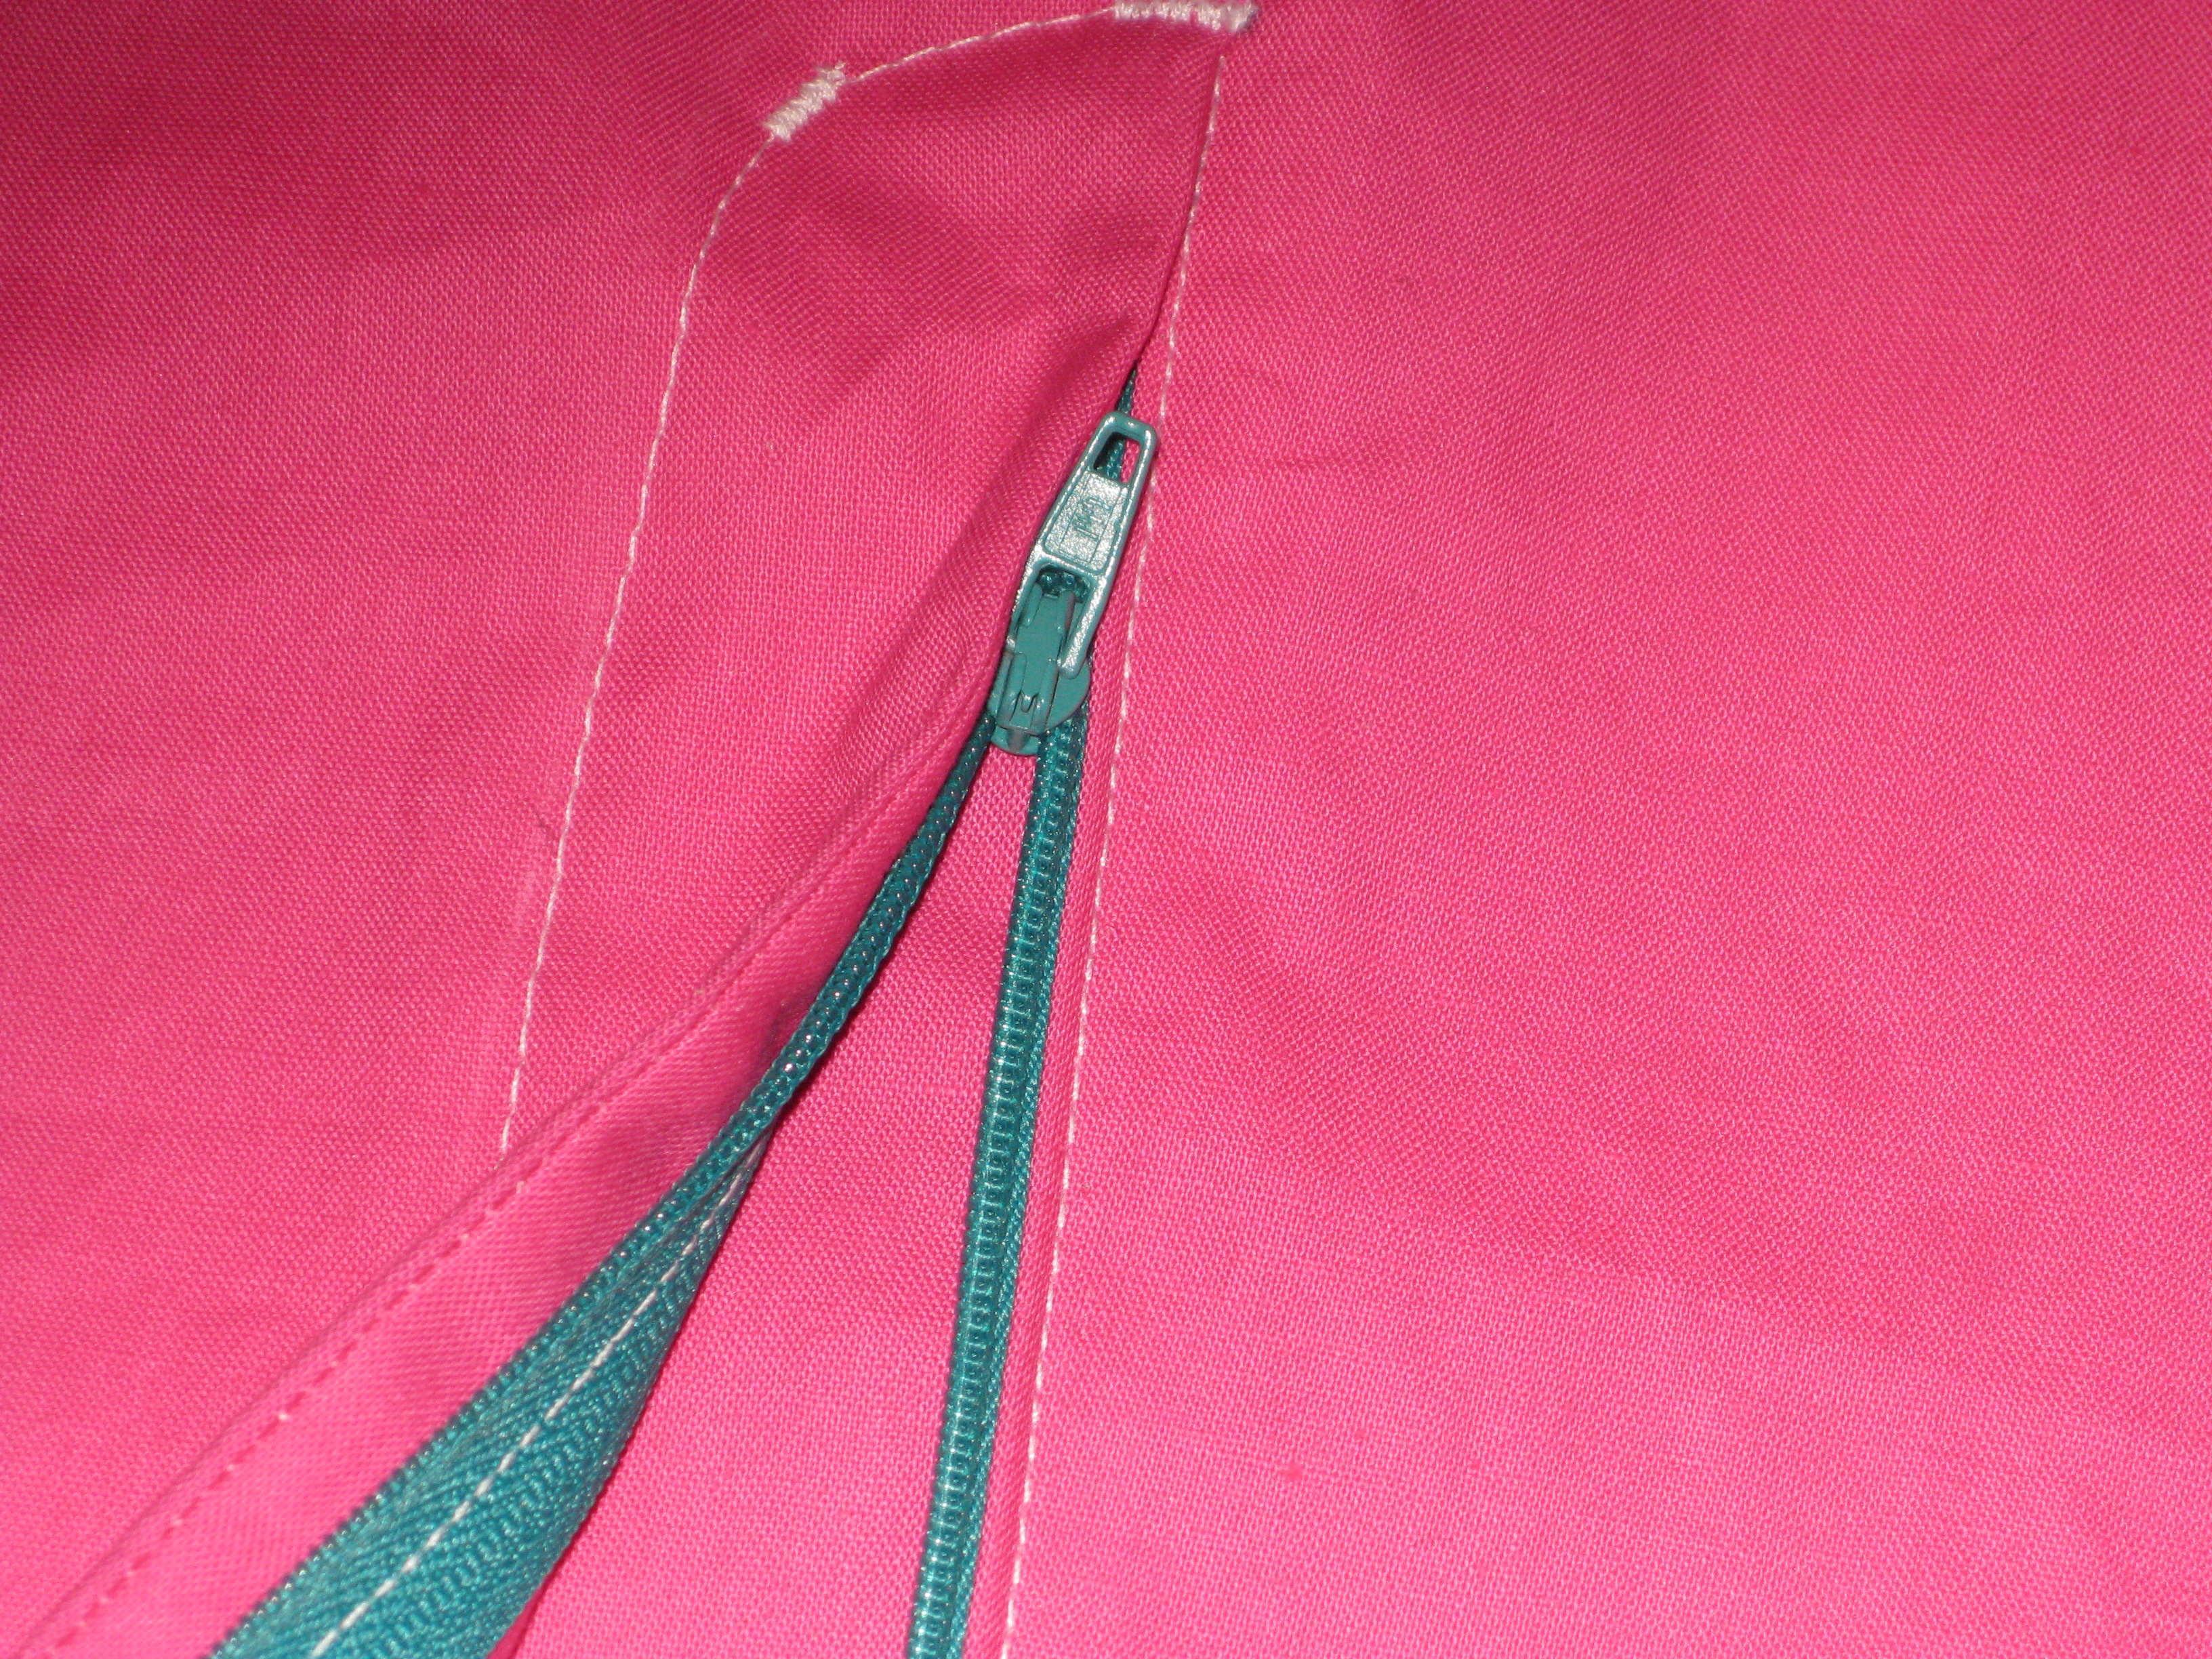
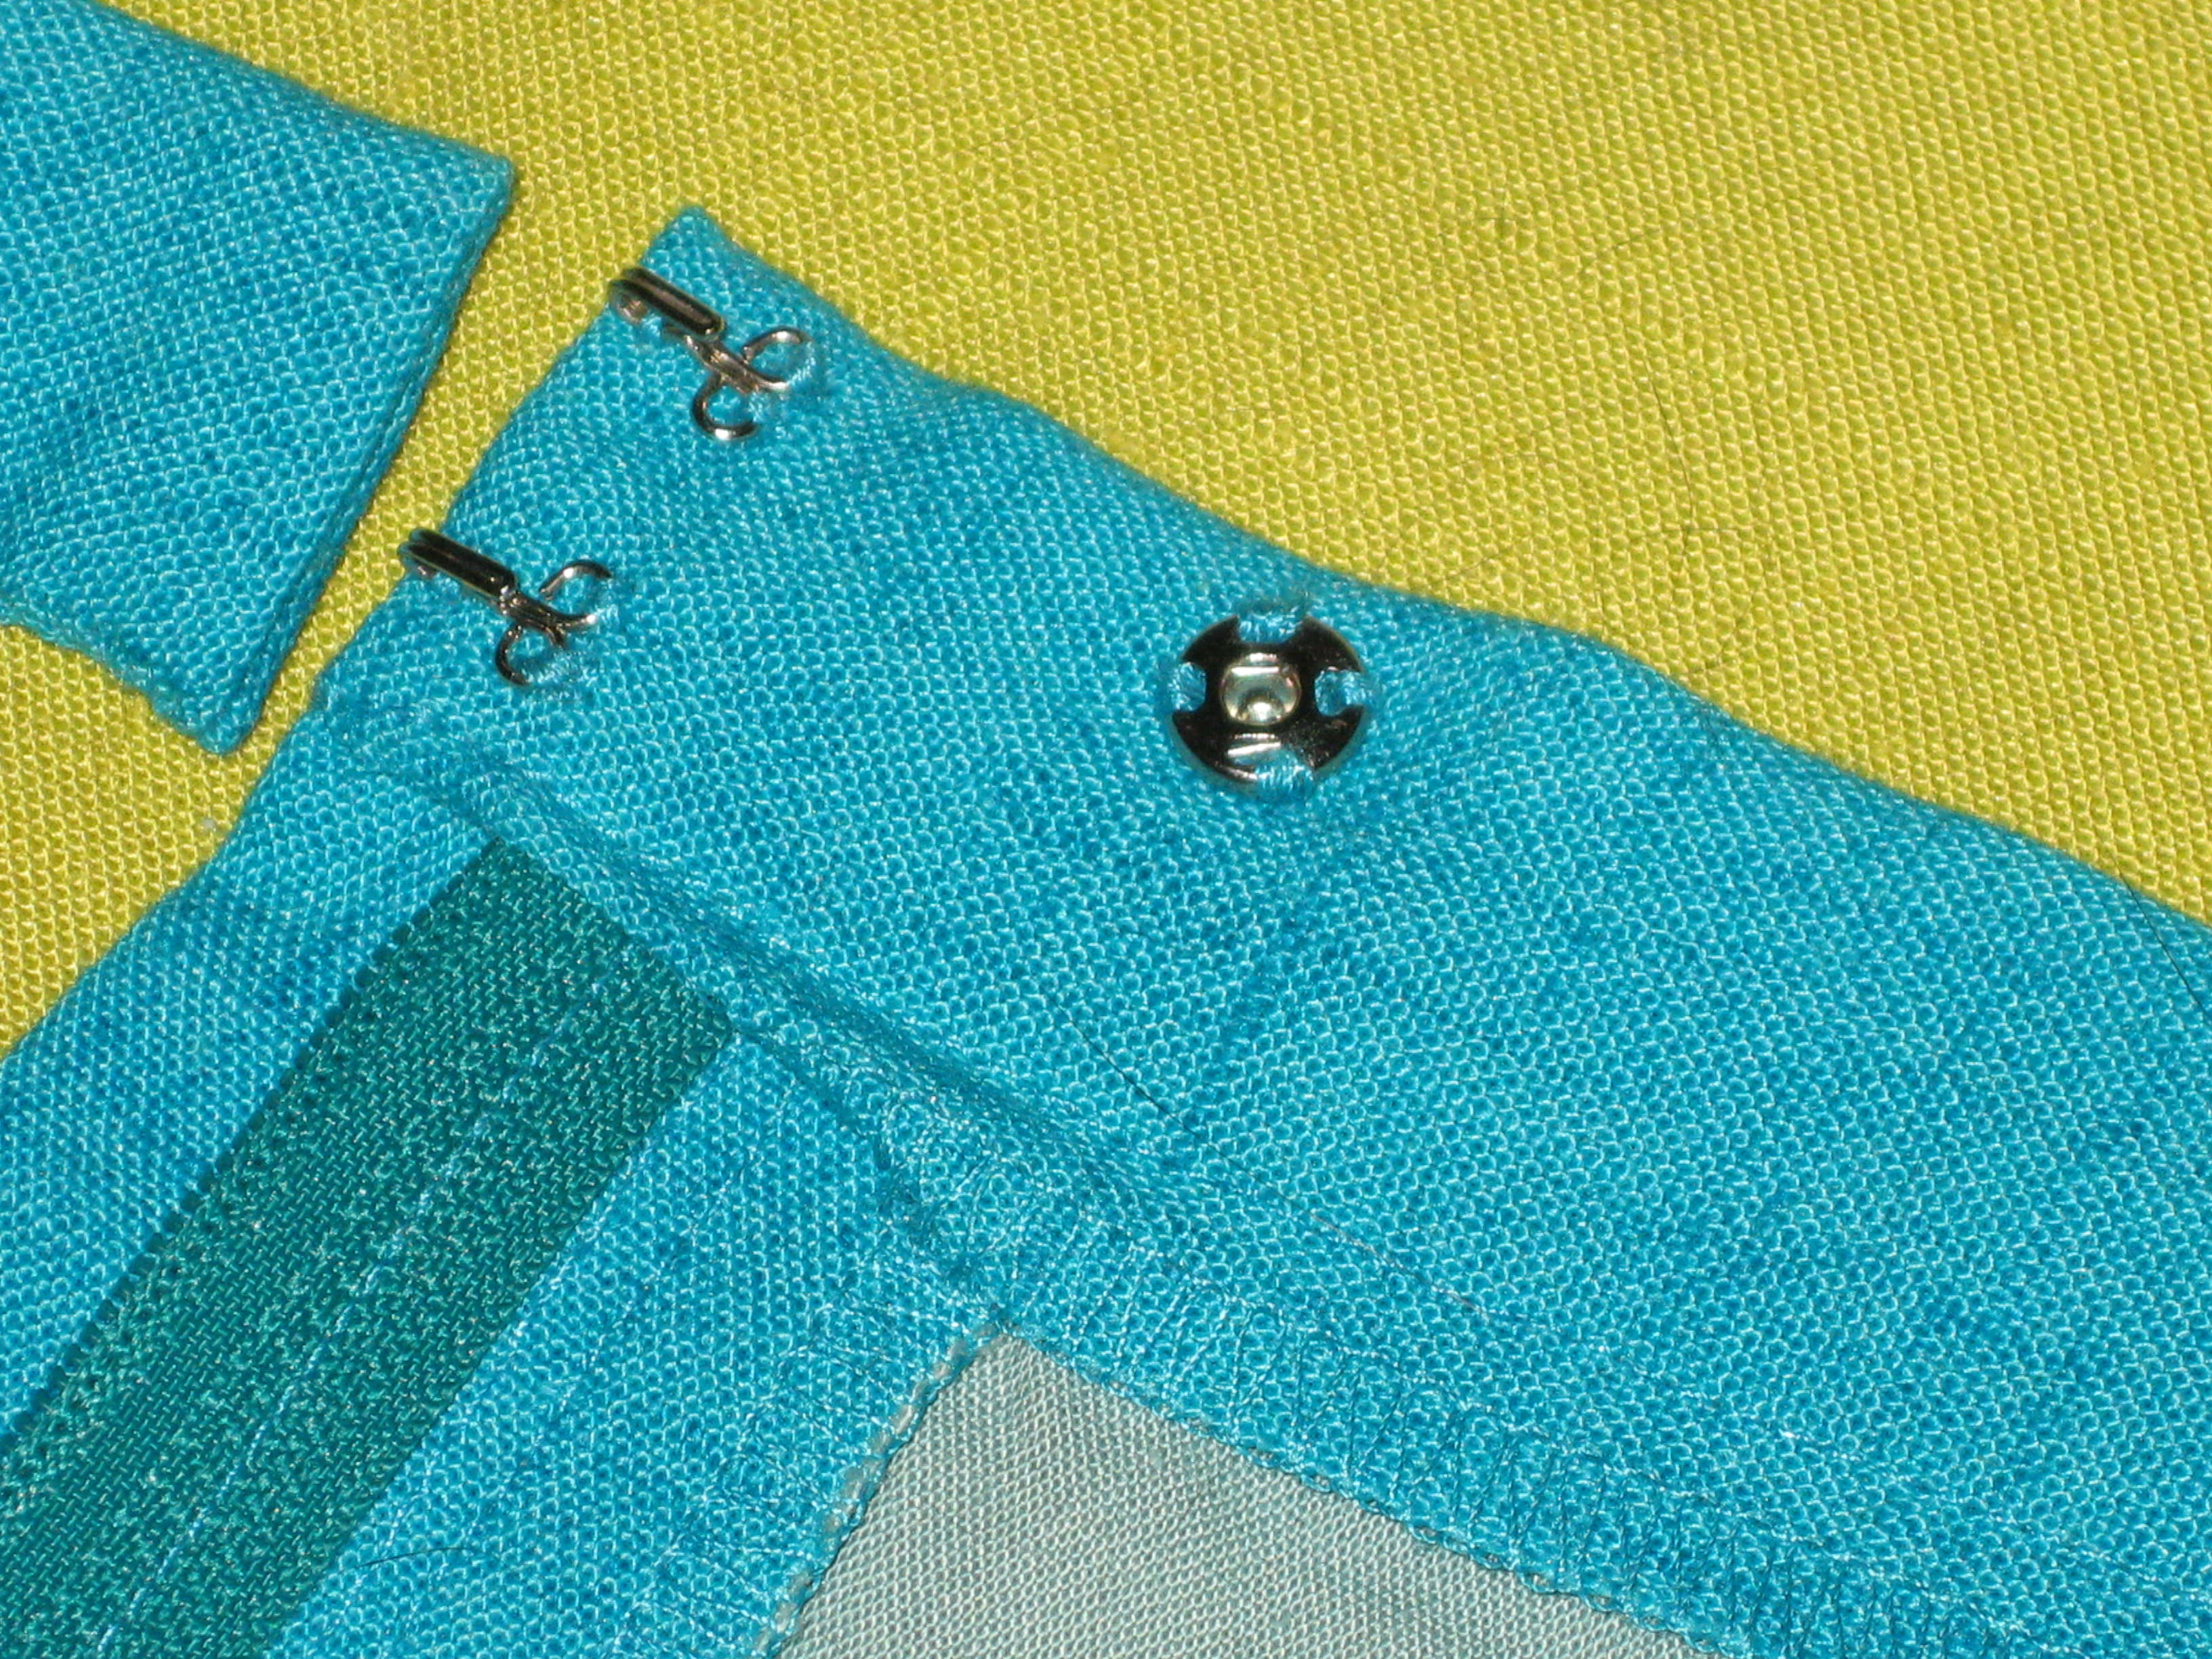
Finished zipper.
Waistband with Fly Zippers:
With a cut on fly, the waistband will extend from the centre front on the fly side to the edge of 3cm/1 ½” beyond the zipper teeth on the underside.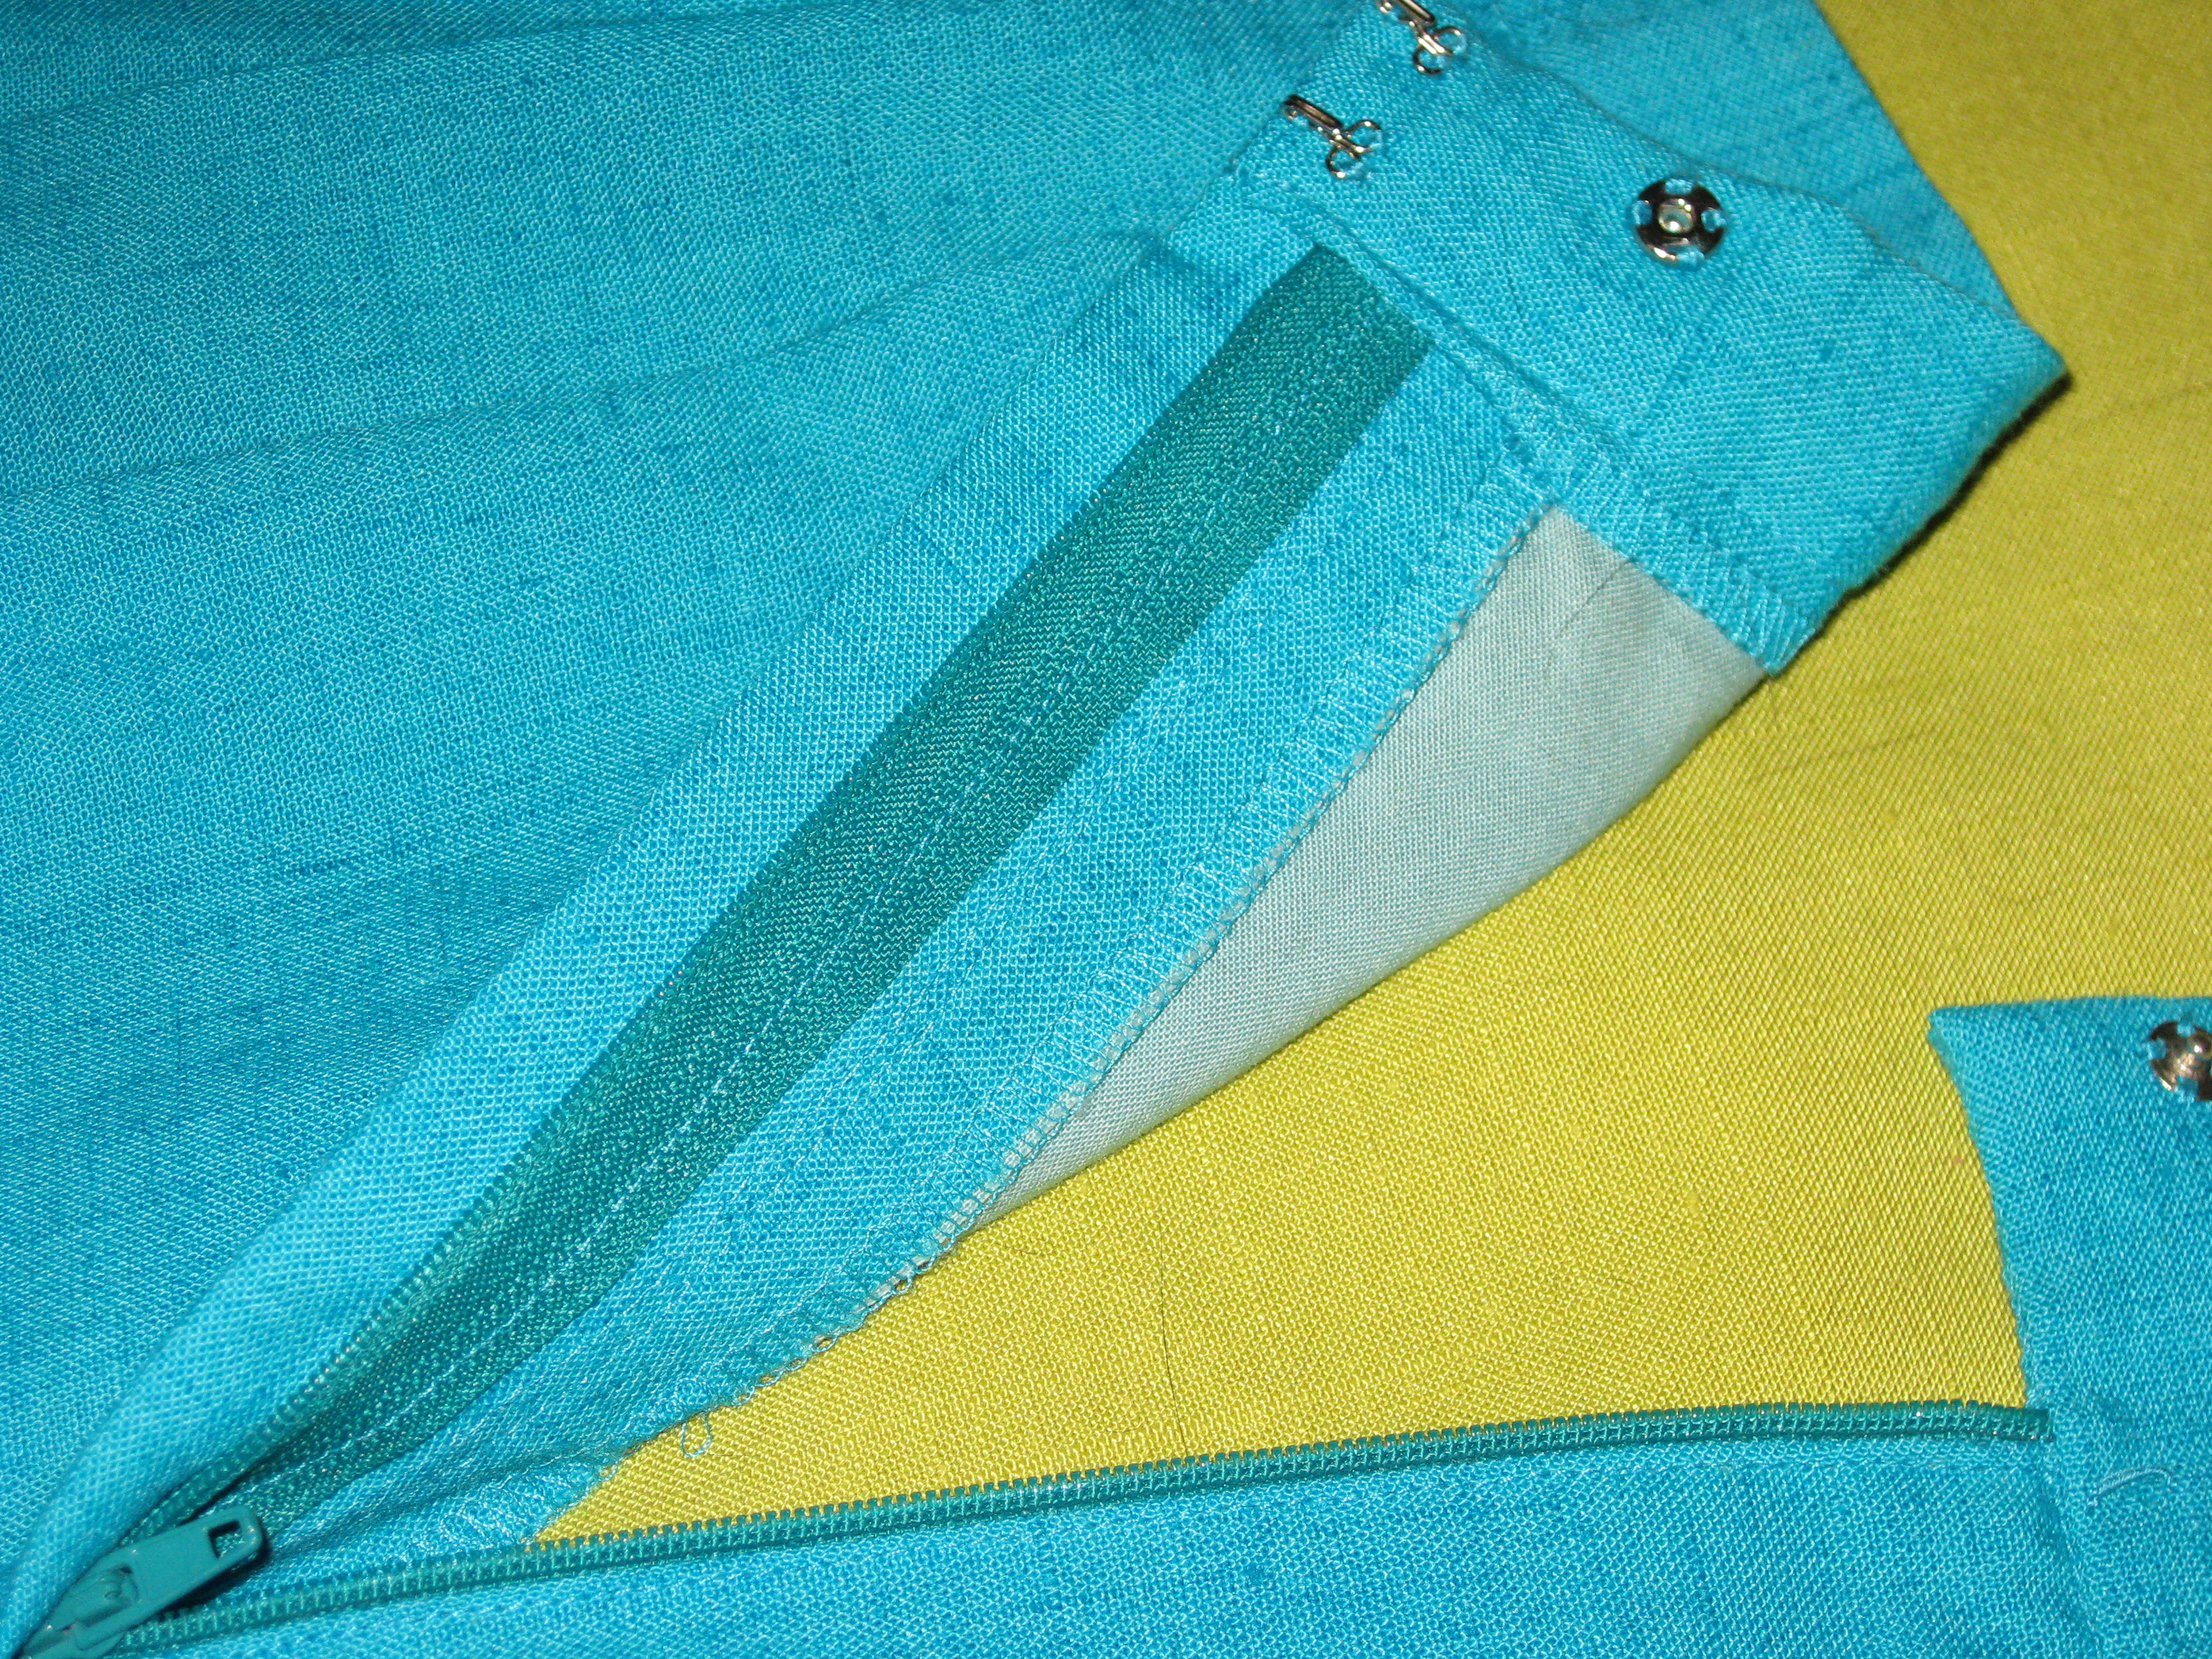
With a traditional fly, the waistband will extend on the left hand side so that it finishes flush with the zipper fly extension. Pin in place and stitch using your desired method.
 I usually either press under one side of the waistband or overlock/bind one long edge and stitch the garment side in place with the band on top so the action of the feed dogs will ease the waist of the garment to the band.
Fold the waistband wrong sides together. On either end stitch from the waist seam line towards the fold – do not stitch over folded fabric.
There is no need to clip across the corner of this seam unless you have a waistband with a seam on both sides.
Turn to right side, pin waistband in place and baste before stitching in the ditch or topstitching from the right side.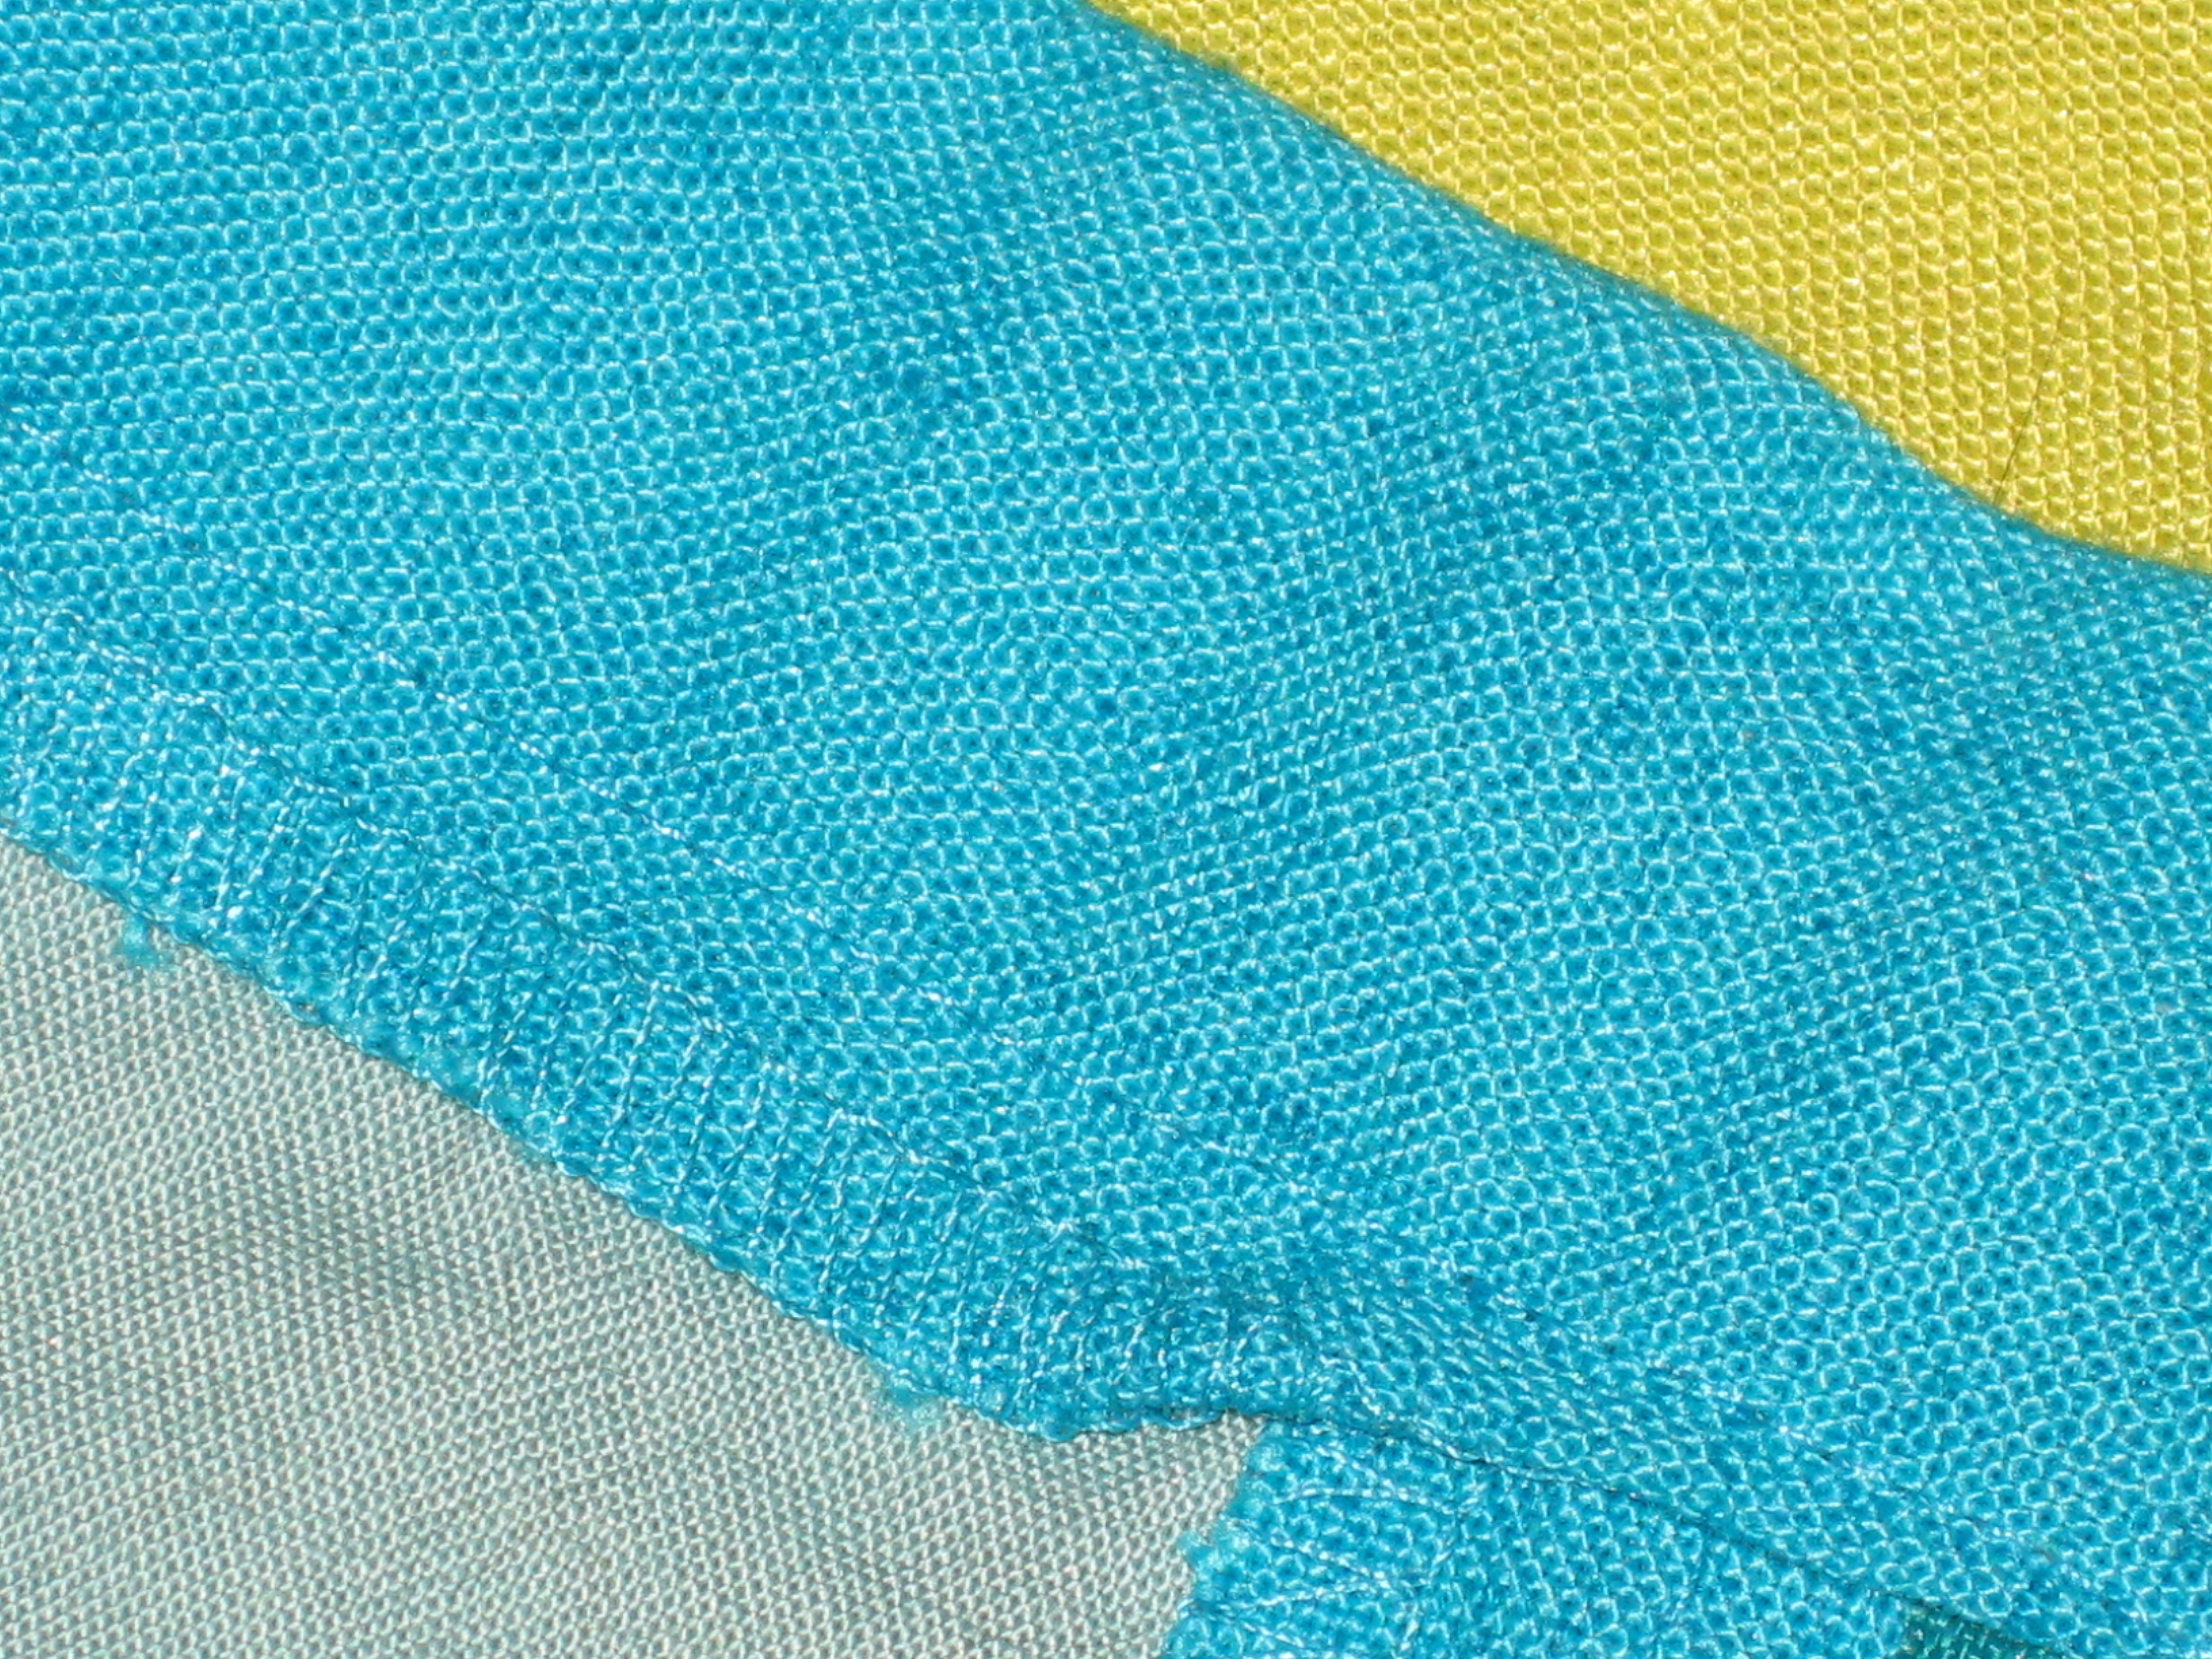
I hope you have found this blog helpful and would love to hear your feedback.
Next time I will cover exposed and separating zips.
