
I first used this method quite a few years ago after reading “Shirtmaking – Developing Skills for Fine Sewing”
by David Page Coffin Published The Taunton Press, Inc. 1998. A variation of the method has also been featured a number of times in Australian Dressmaking with Stitches.
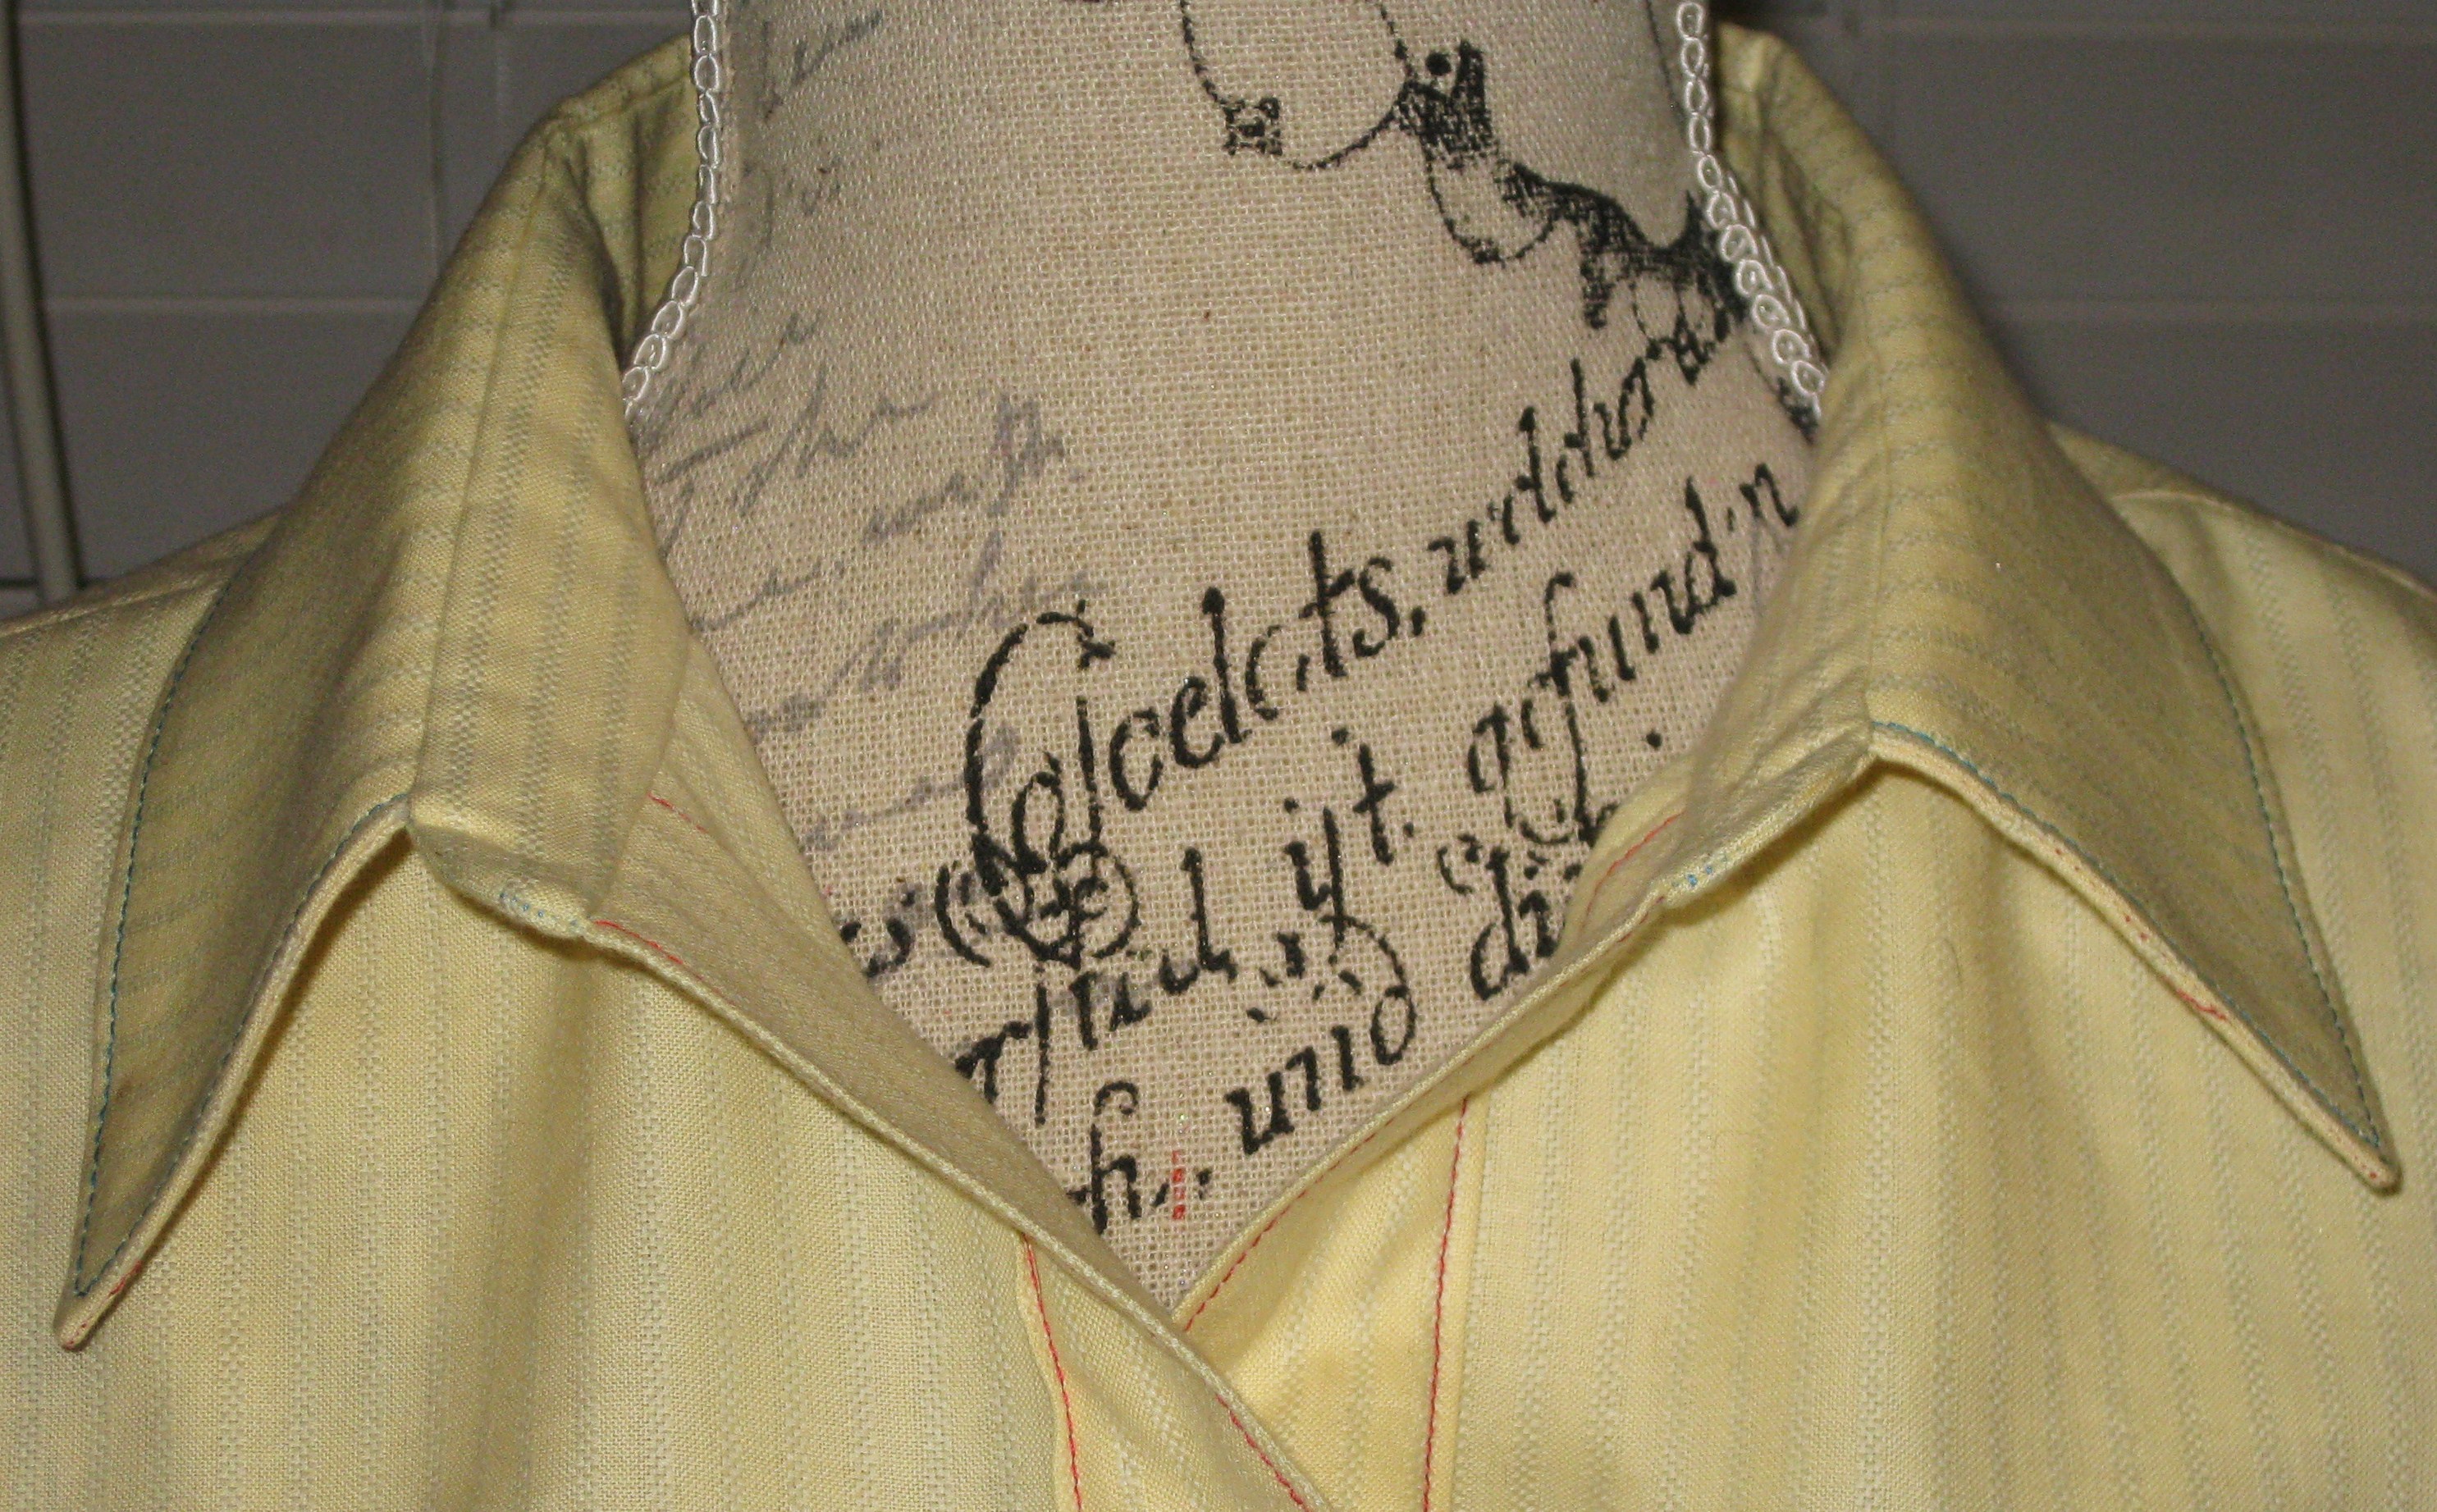
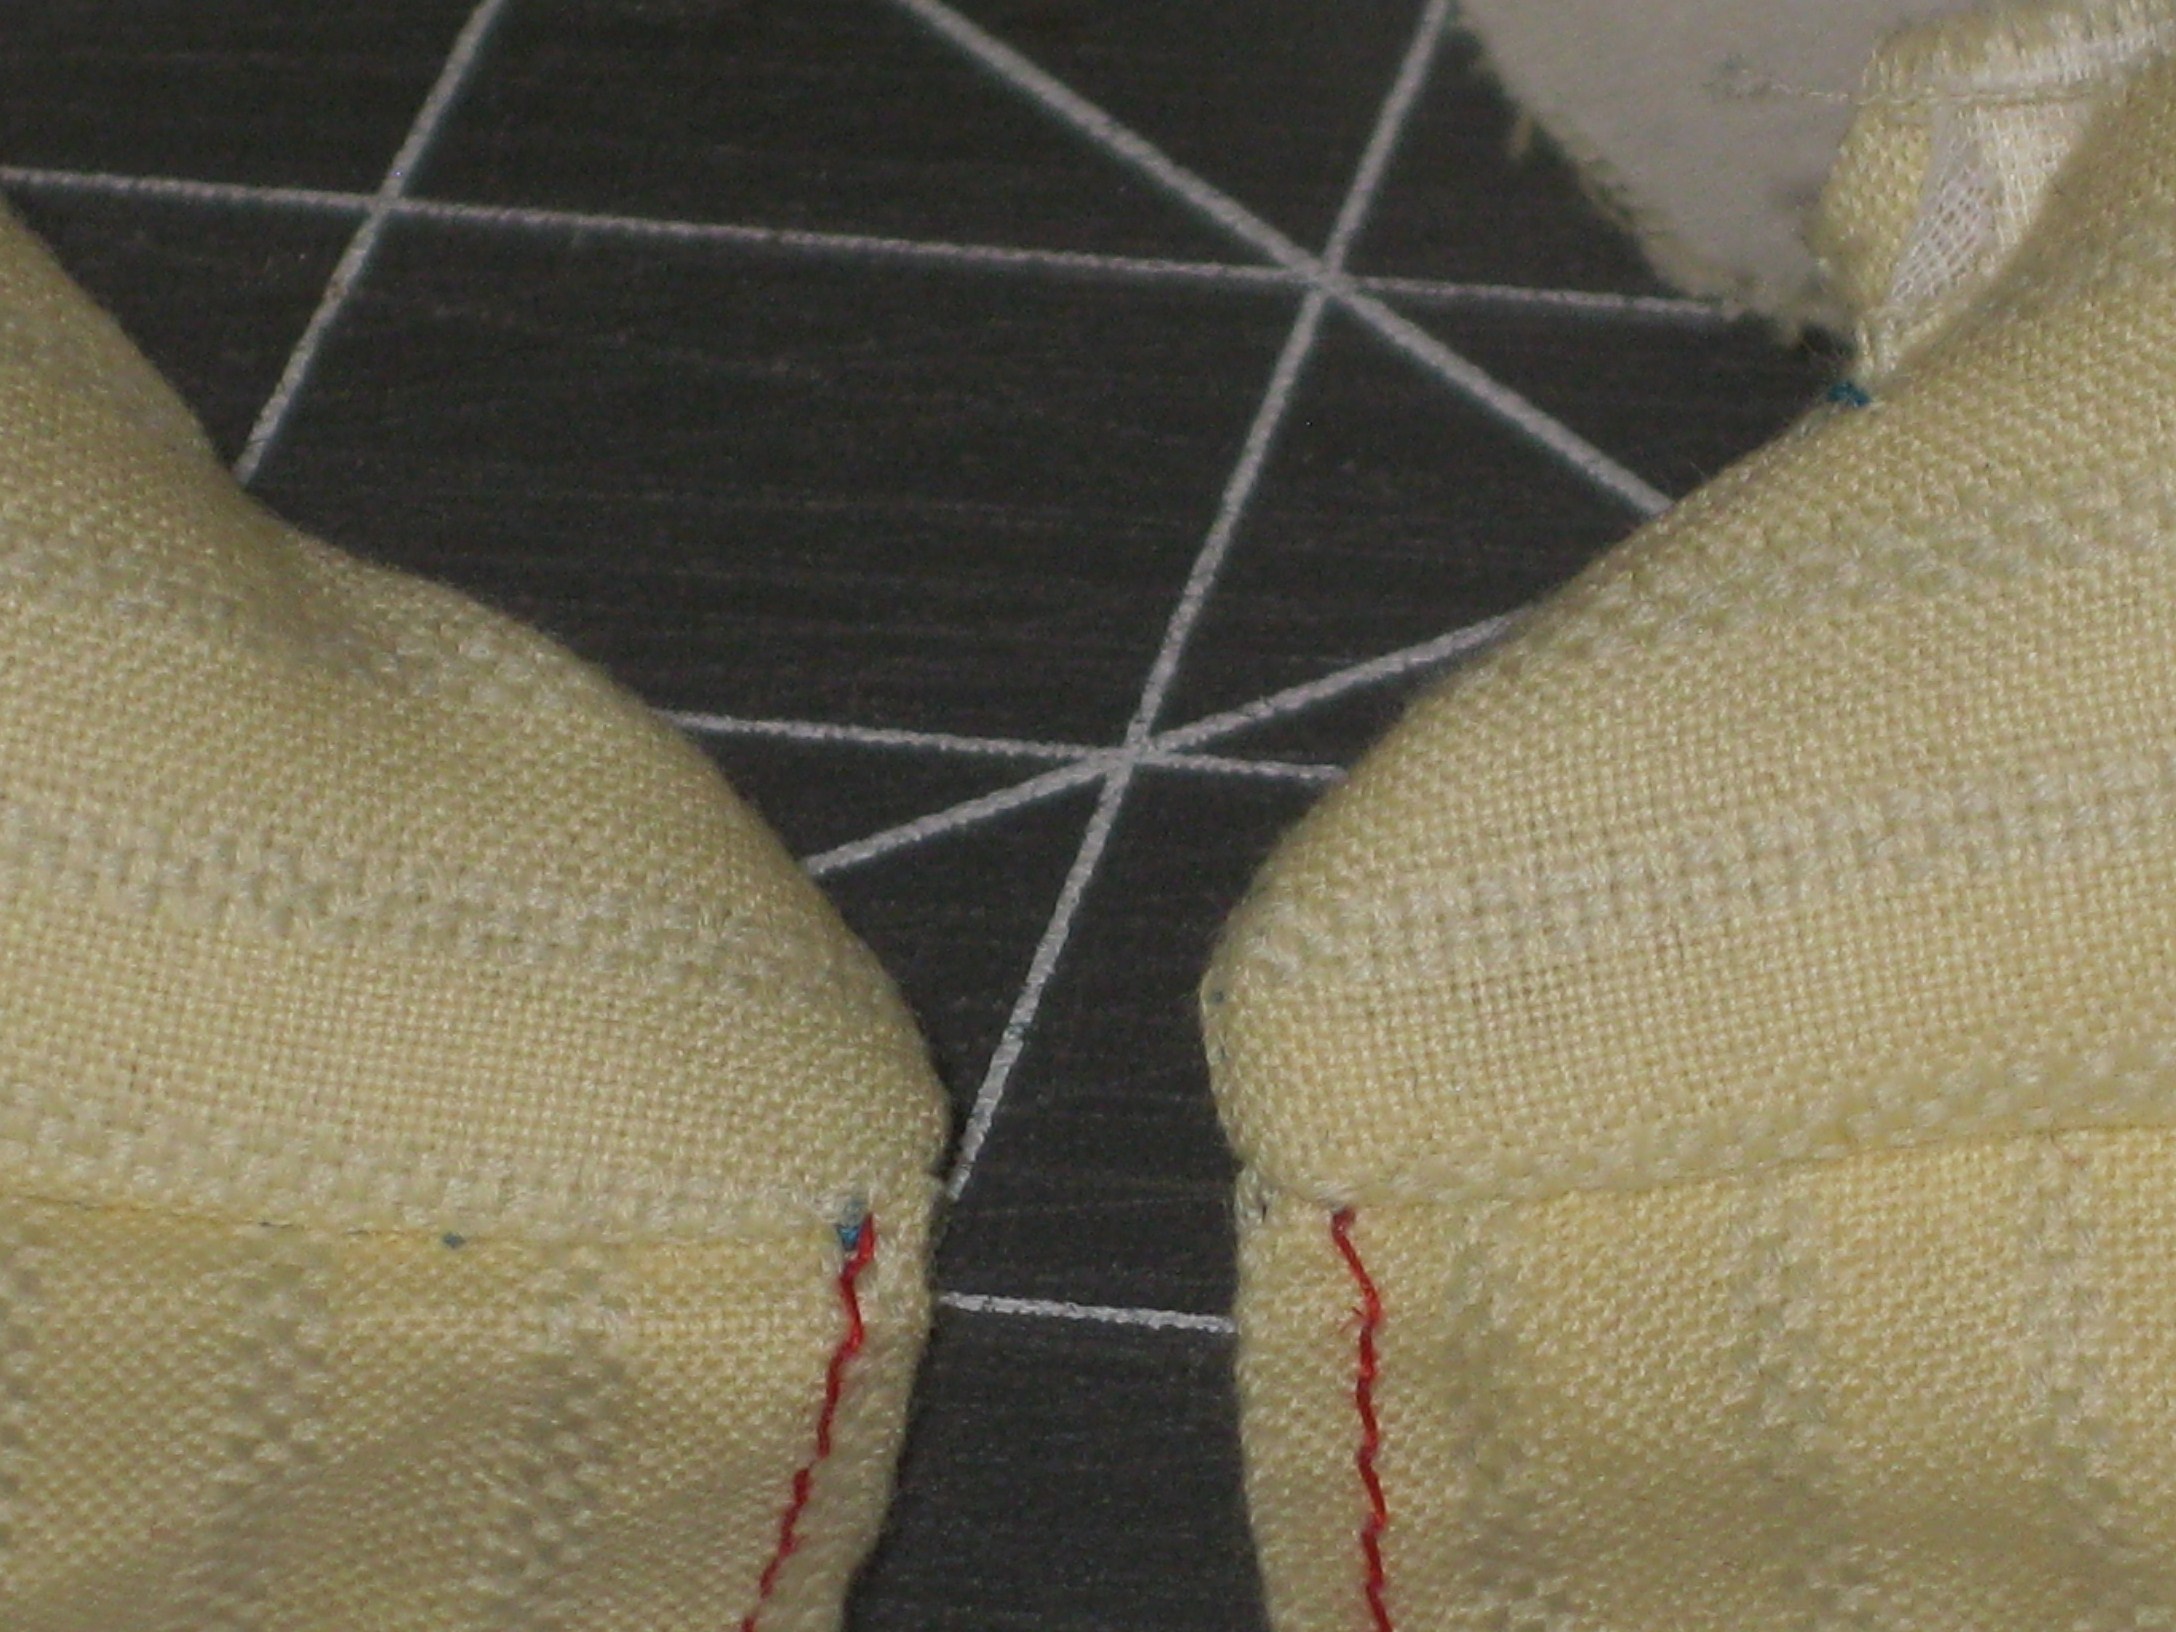
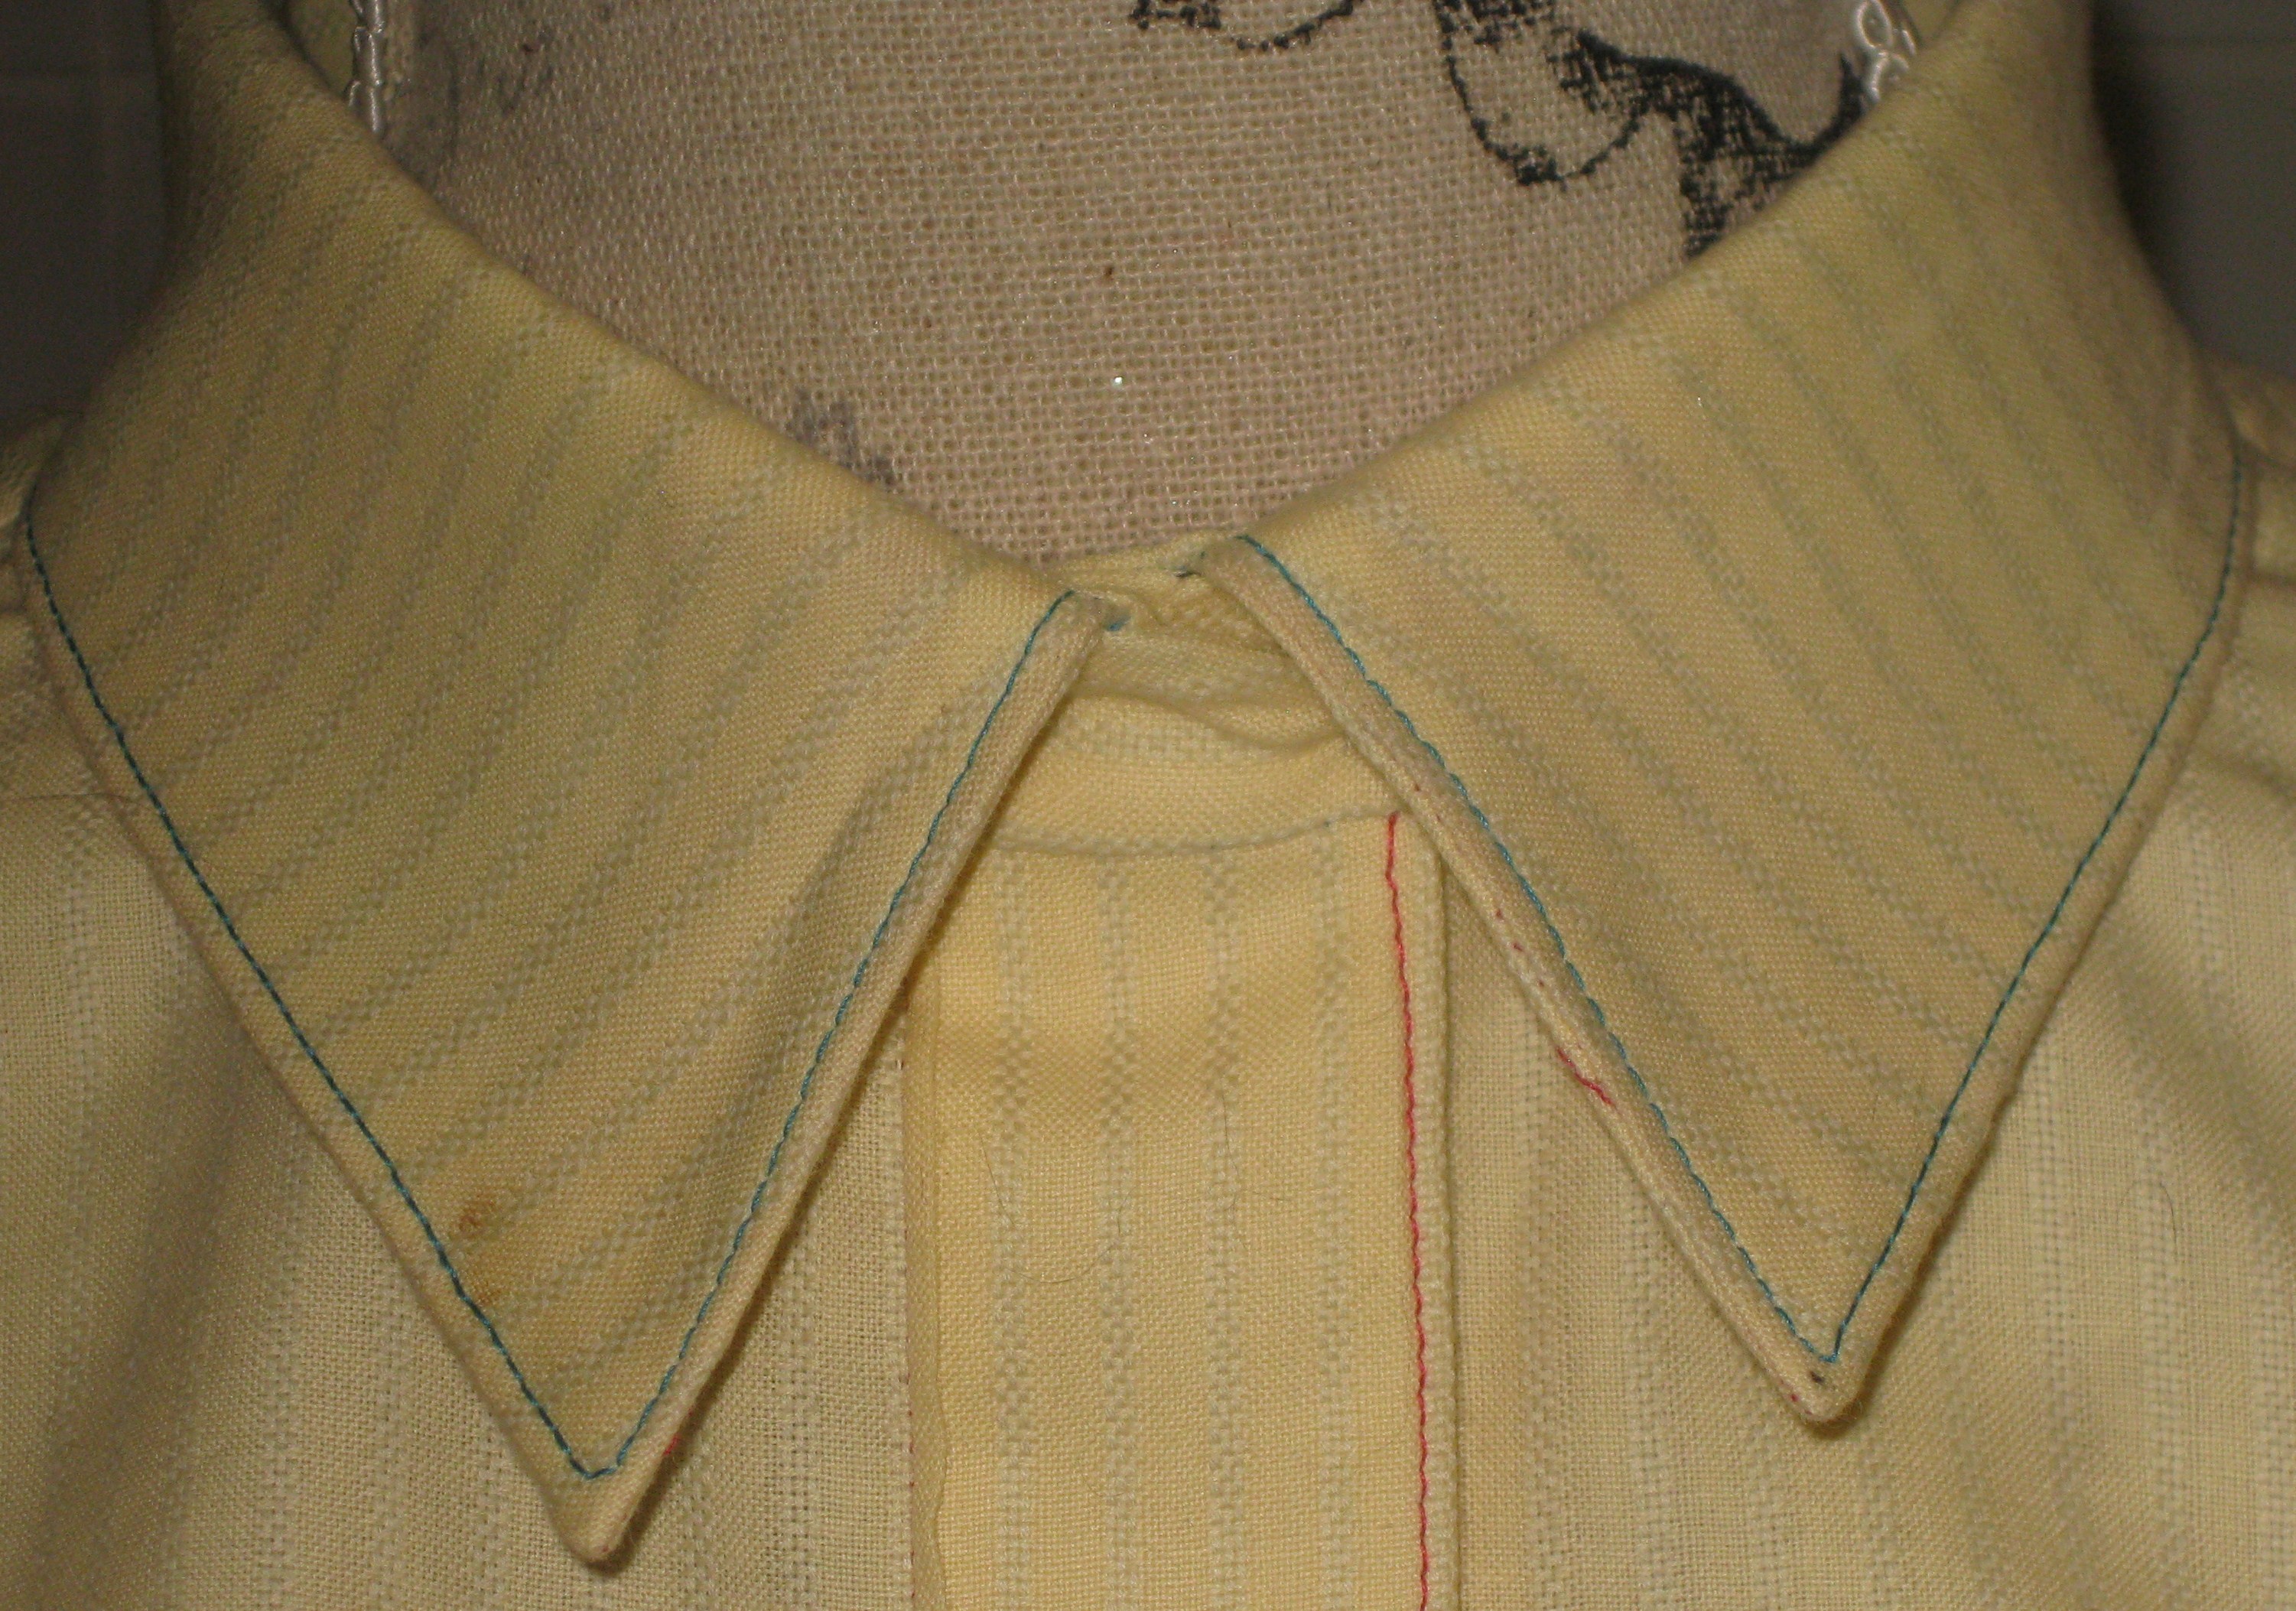
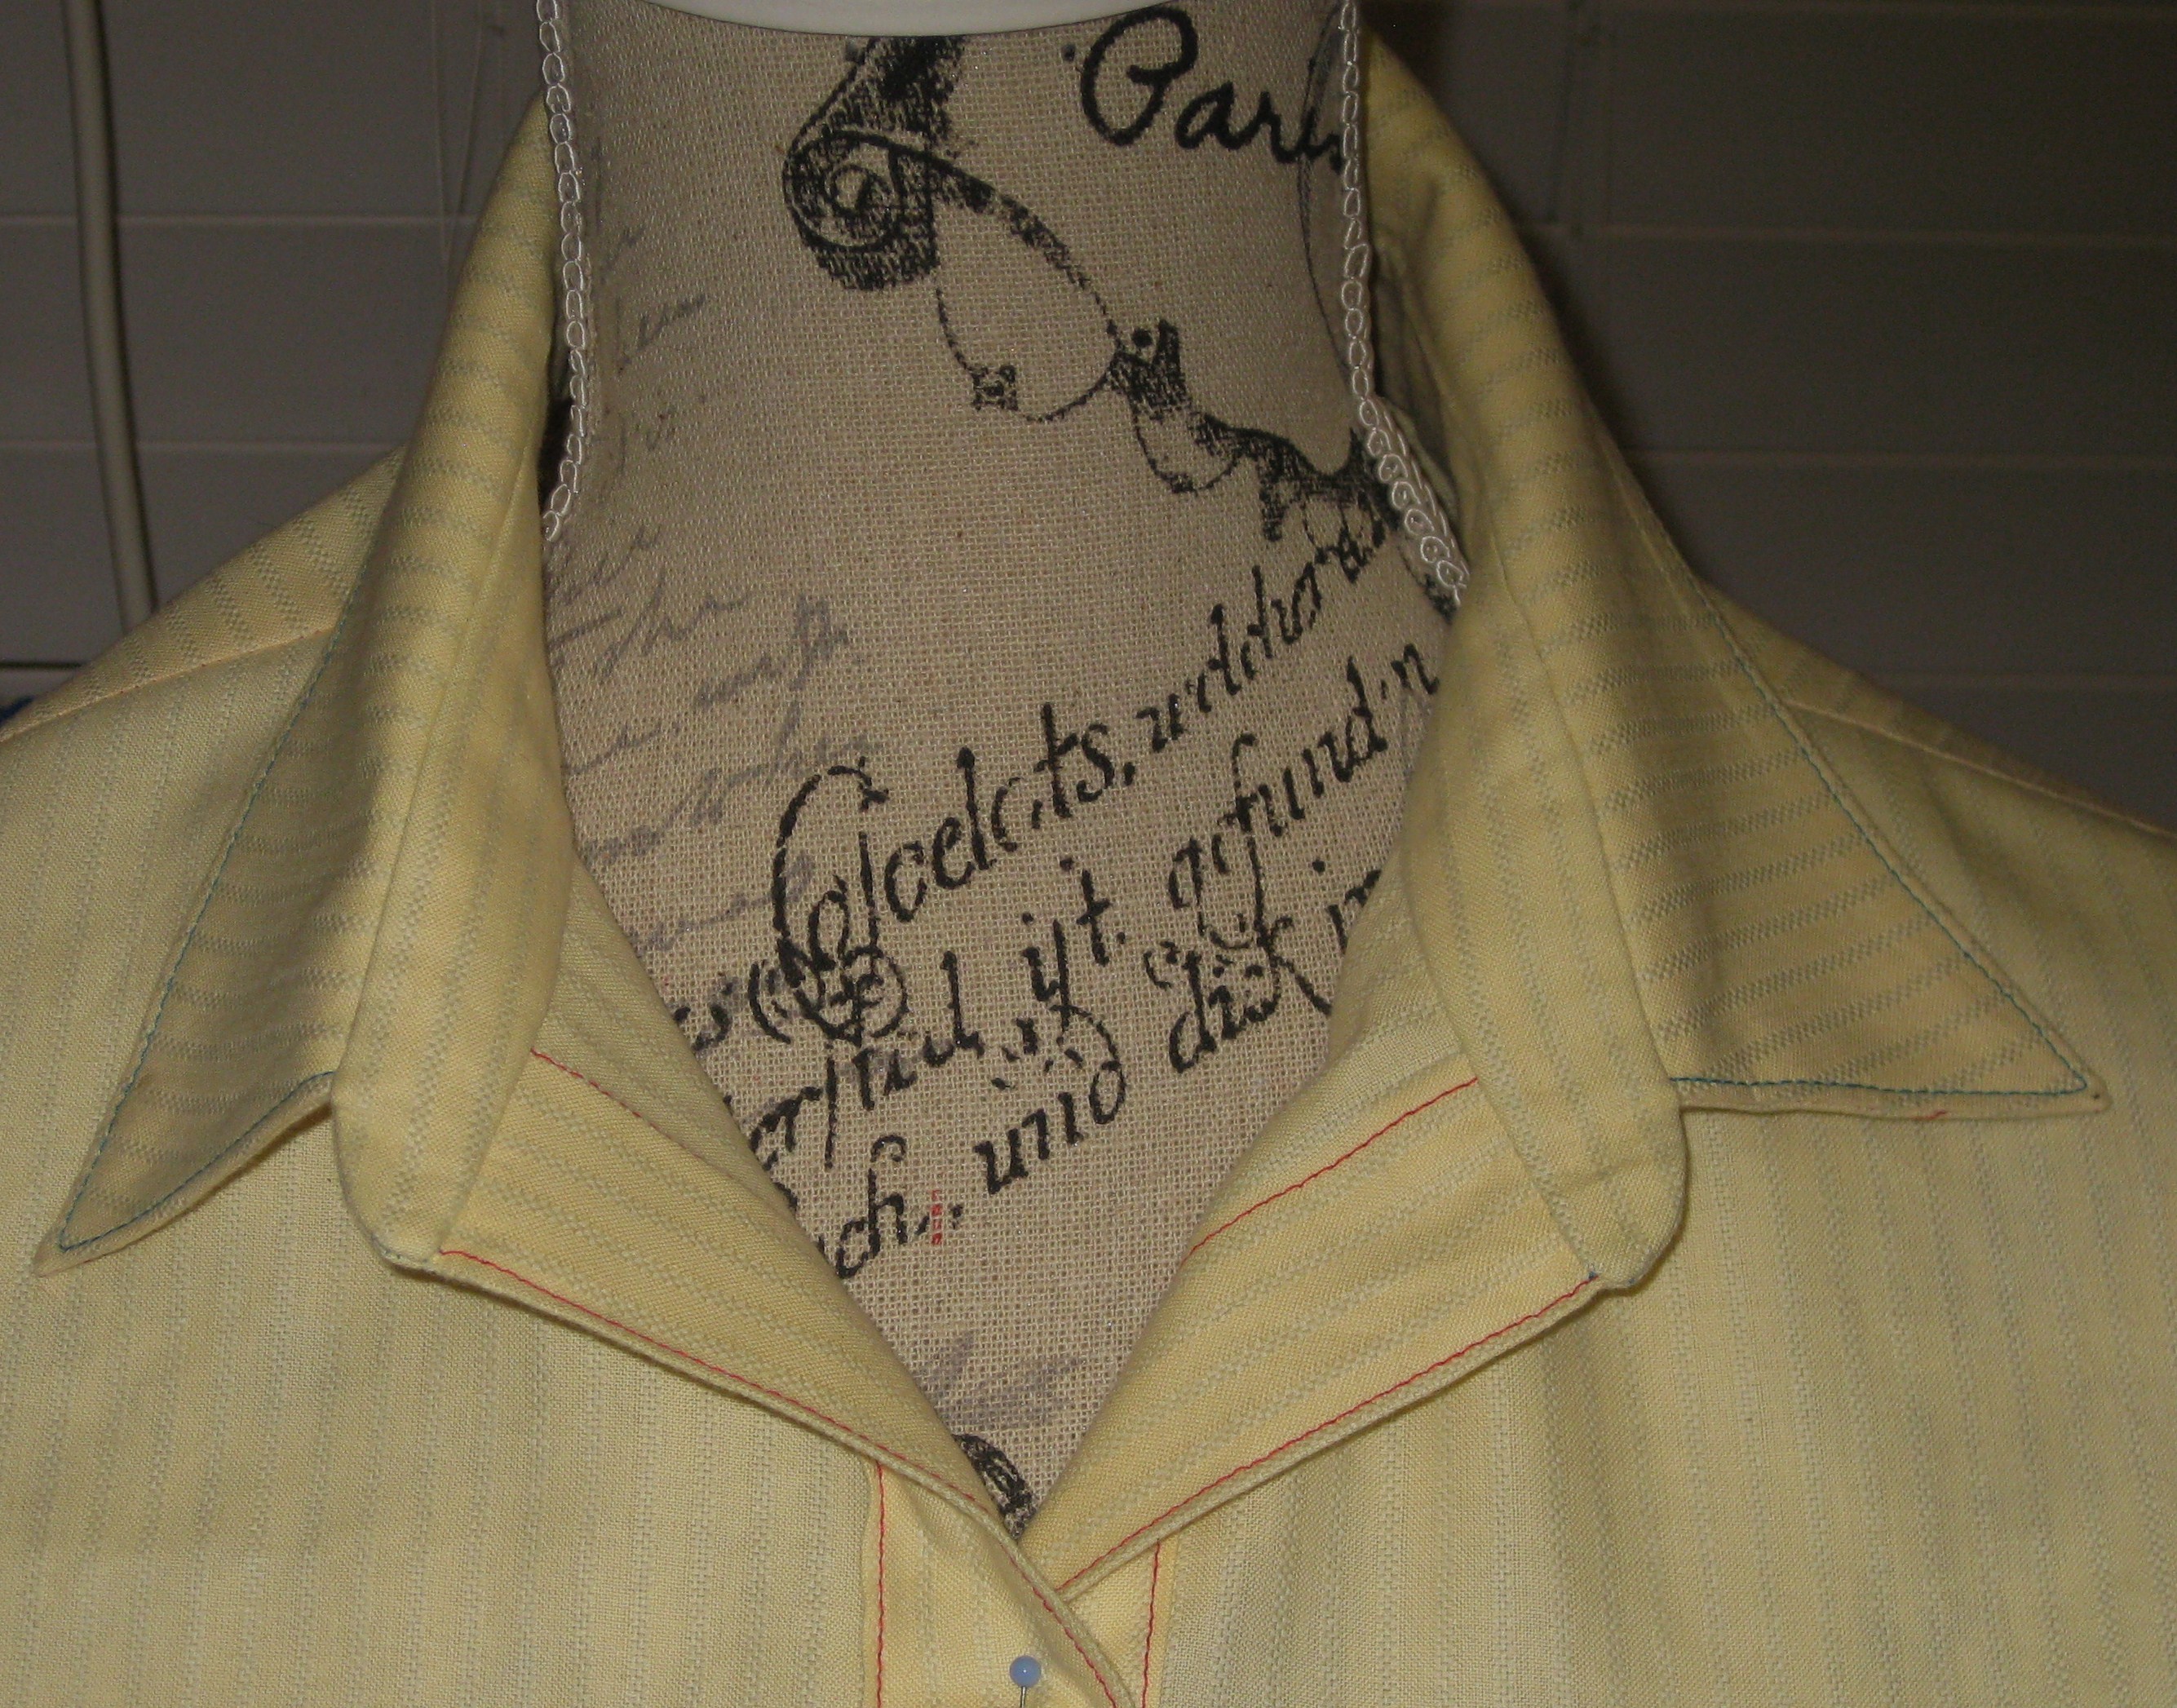
Collar on stand with neckline worn open.
Previously I had used the methods shown in the pattern guidelines, often with disappointing results – I could never seem to get the rounded ends of the collar stand exactly the same on both sides without lots of unpicking and resewing.
This method works very well with lightweight shirting fabrics and I have also used it on heavier jacket weight fabrics with good results.
To achieve a great shirt collar, there are a few things to consider:
- Would you like a crisp or softer collar?
- Will the collar band be worn mostly open or closed?
- Do you want to wear the collar standing up at the back?
- Is the fabric opaque or sheer/semi-sheer?
- Does the fabric print need to be highlighted by using contrast details?
Preparation:
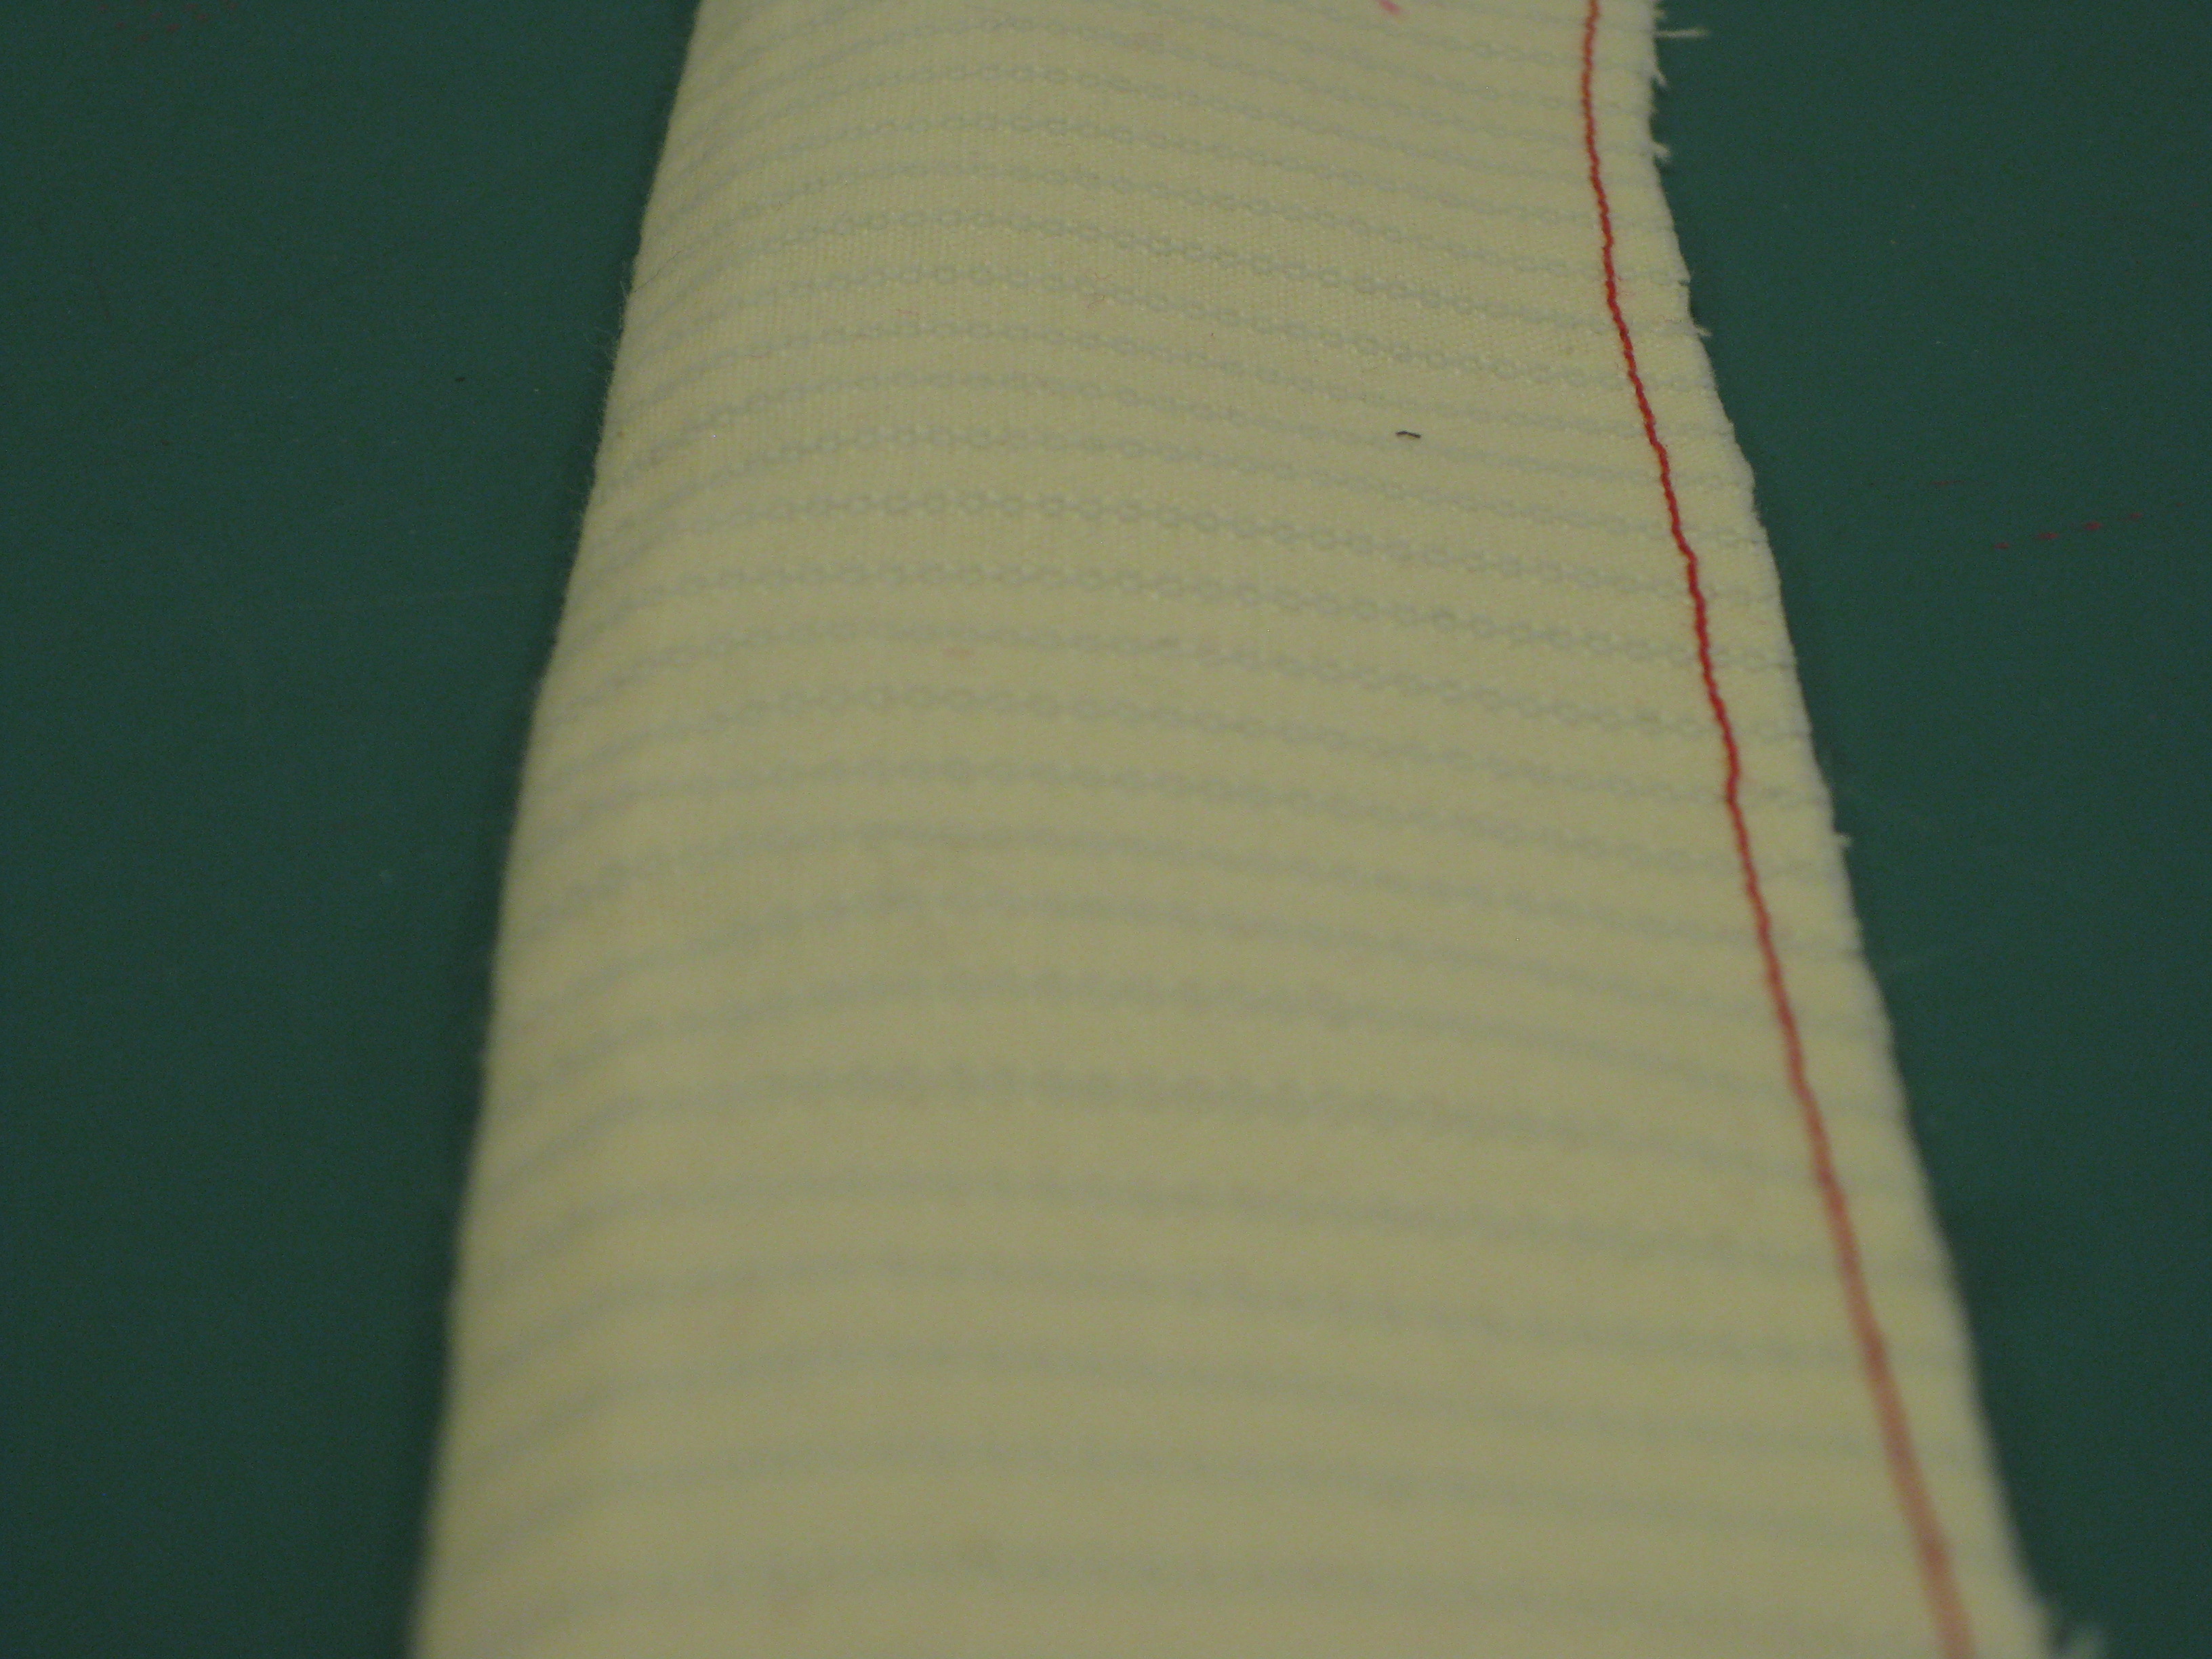
Working with smaller seam allowances makes the attachment of the collar stand and collar a lot easier to handle. I normally use a seam allowance of 6mm to 1cm / ¼”- ½”. After removing any excess seam allowance width from the collar, collar stand and neckline seams, I cut out the upper and under collar and collar stand pieces.
So that the upper collar will roll out of the stand without showing any of the under collar, it is important that the upper and under collar are separate and different pattern pieces. I have read many times that approximately 3mm / 1/8″ should be removed from the neck edge and ends of the under collar. This can cause problems if the ends of the collar do not meet exactly where they are joined to the stand.
The pattern I have used is a KwikSew shirt pattern which uses 6mm/1/4″ seam allowances and provides separate pieces for the upper and under collar. It is interesting to compare the two and see exactly where to remove the excess from a pattern that is the same for upper and under collar. The corner edges of the collar which will be joined to the stand are not trimmed.
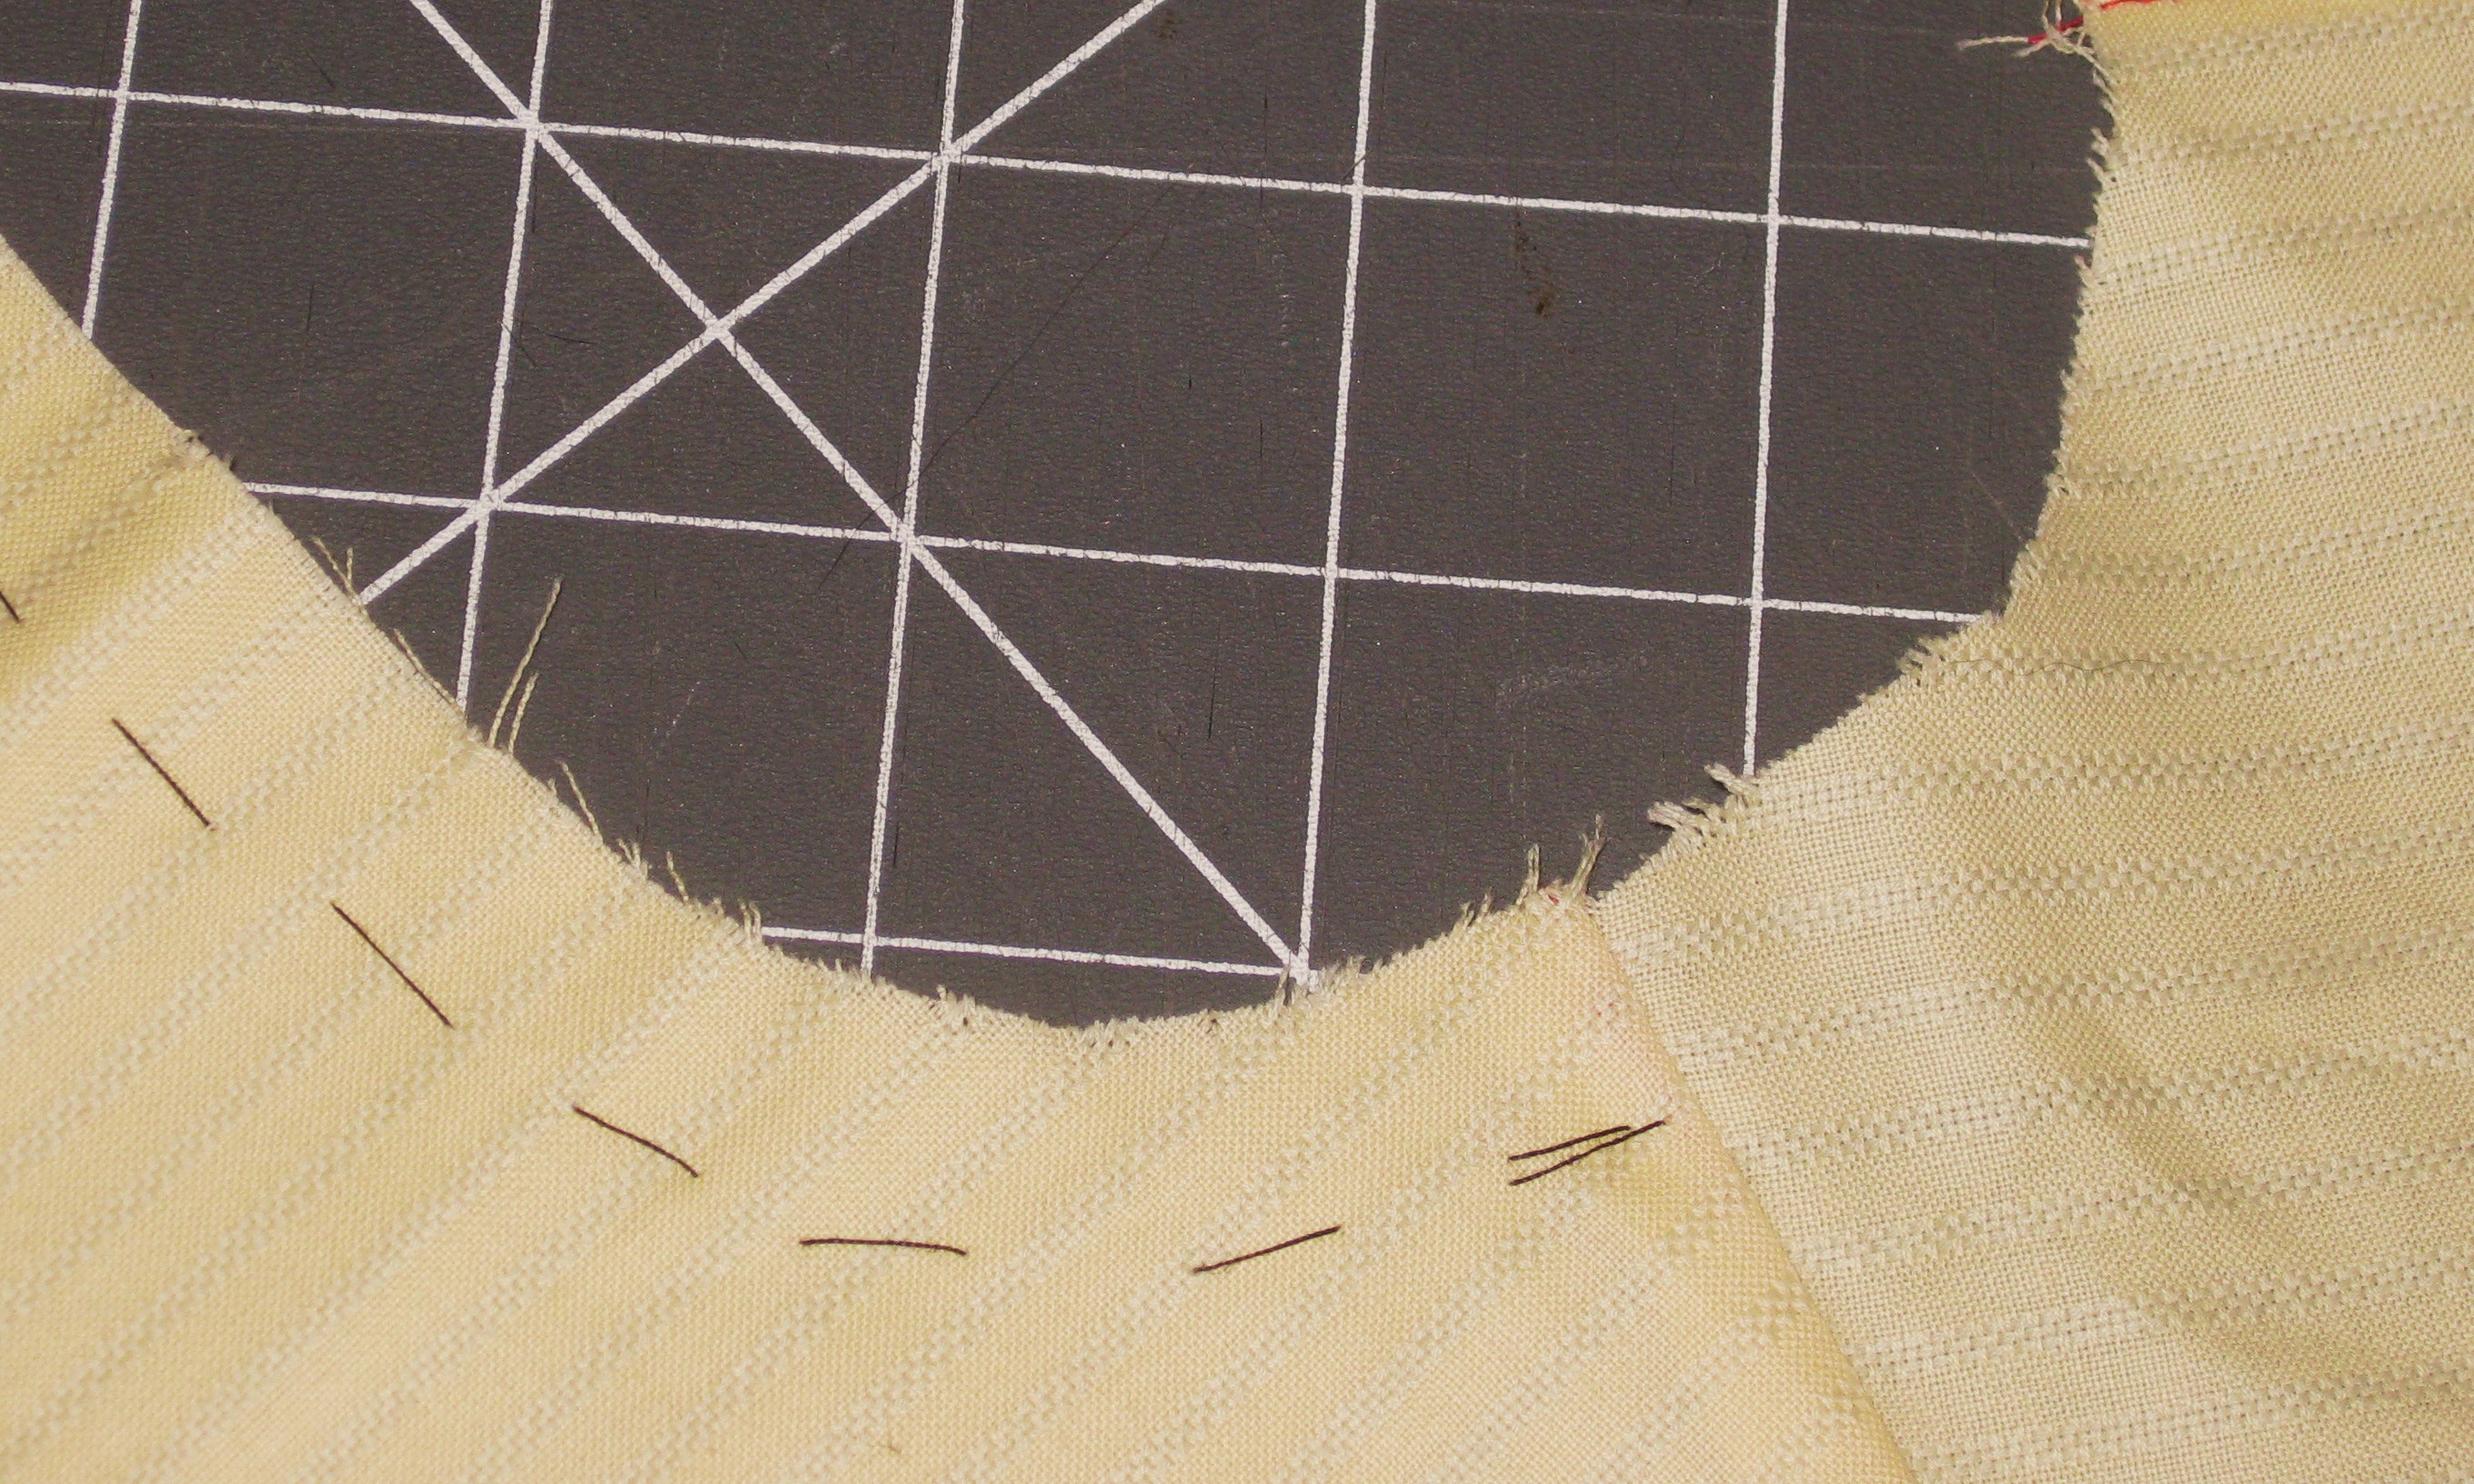
Under collar pattern has been placed on top of upper collar, matching CB position. Front edges of collar remain in the same position on both pieces. Narrow wedge trimmed from front edge.
Under collar is approximately 3mm/1/8″ narrower in CB and tapers towards front edge at neckline.
The collar and stand pieces can be cut on either lengthwise or crosswise grain to use the fabric pattern to best effect.
They can also be cut using bias grain with the addition of a centre back seam – the interfacing can be cut on a more stable grain to keep the pieces in shape during the life of the garment.
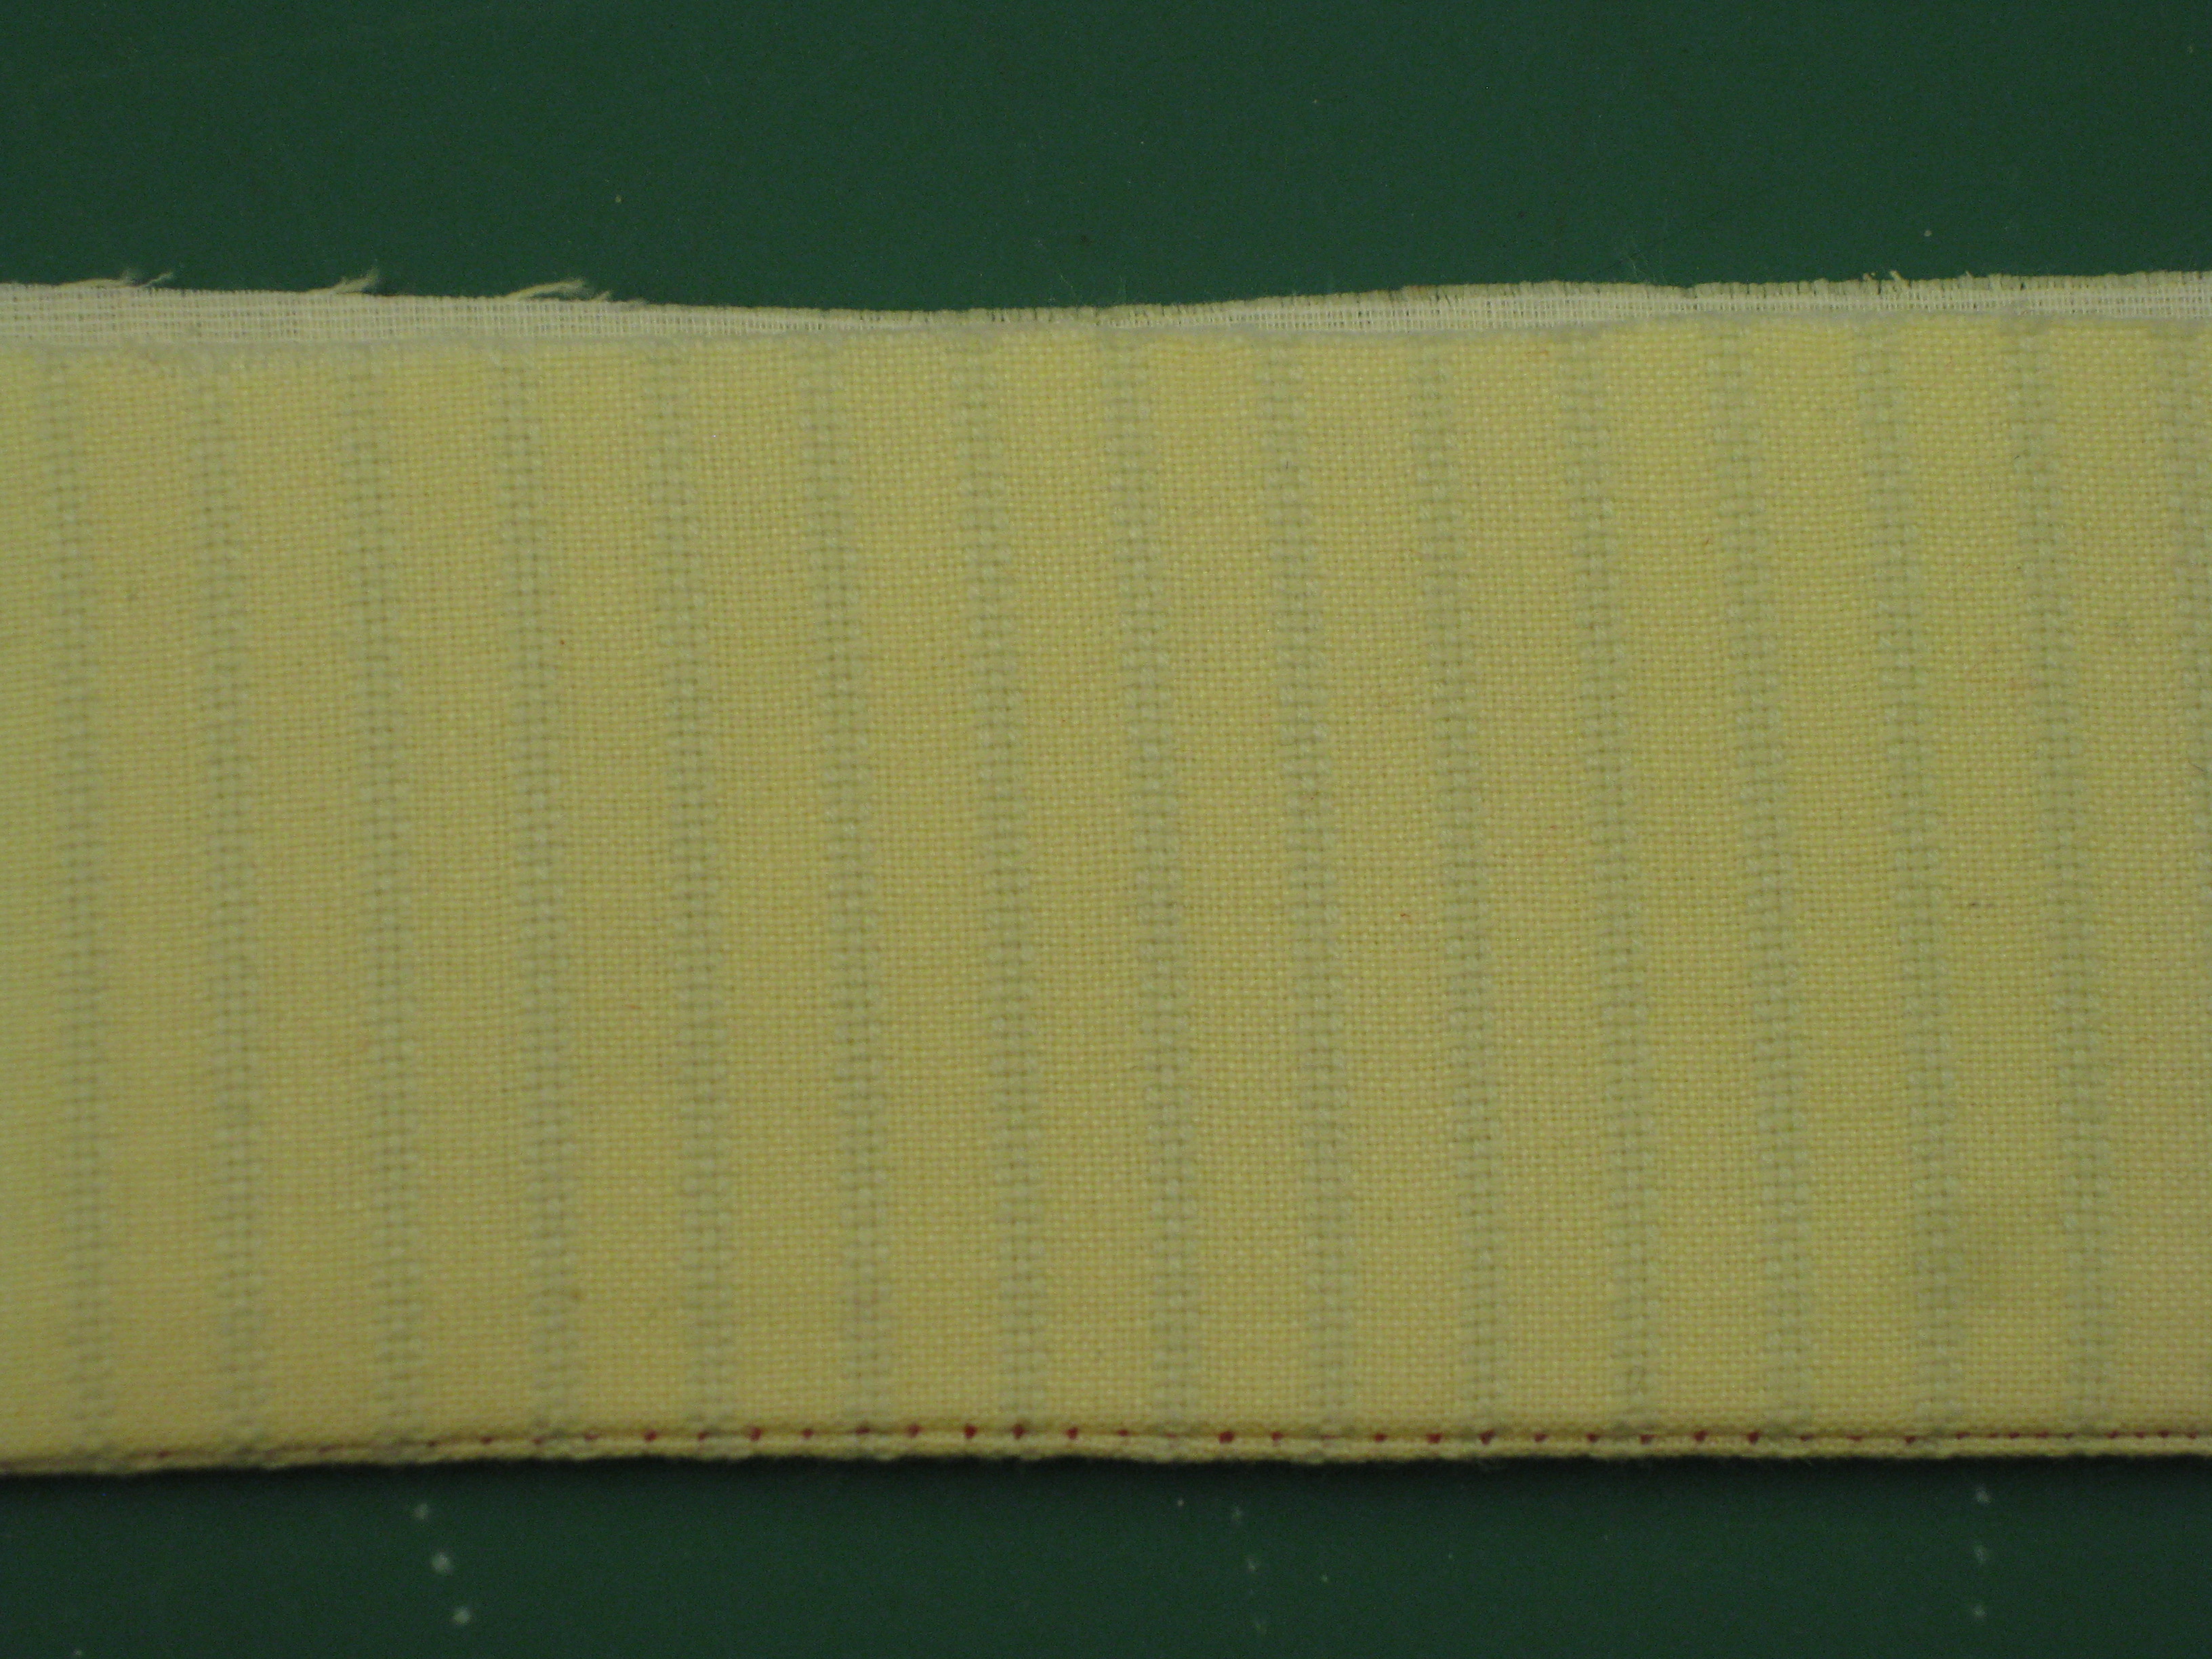
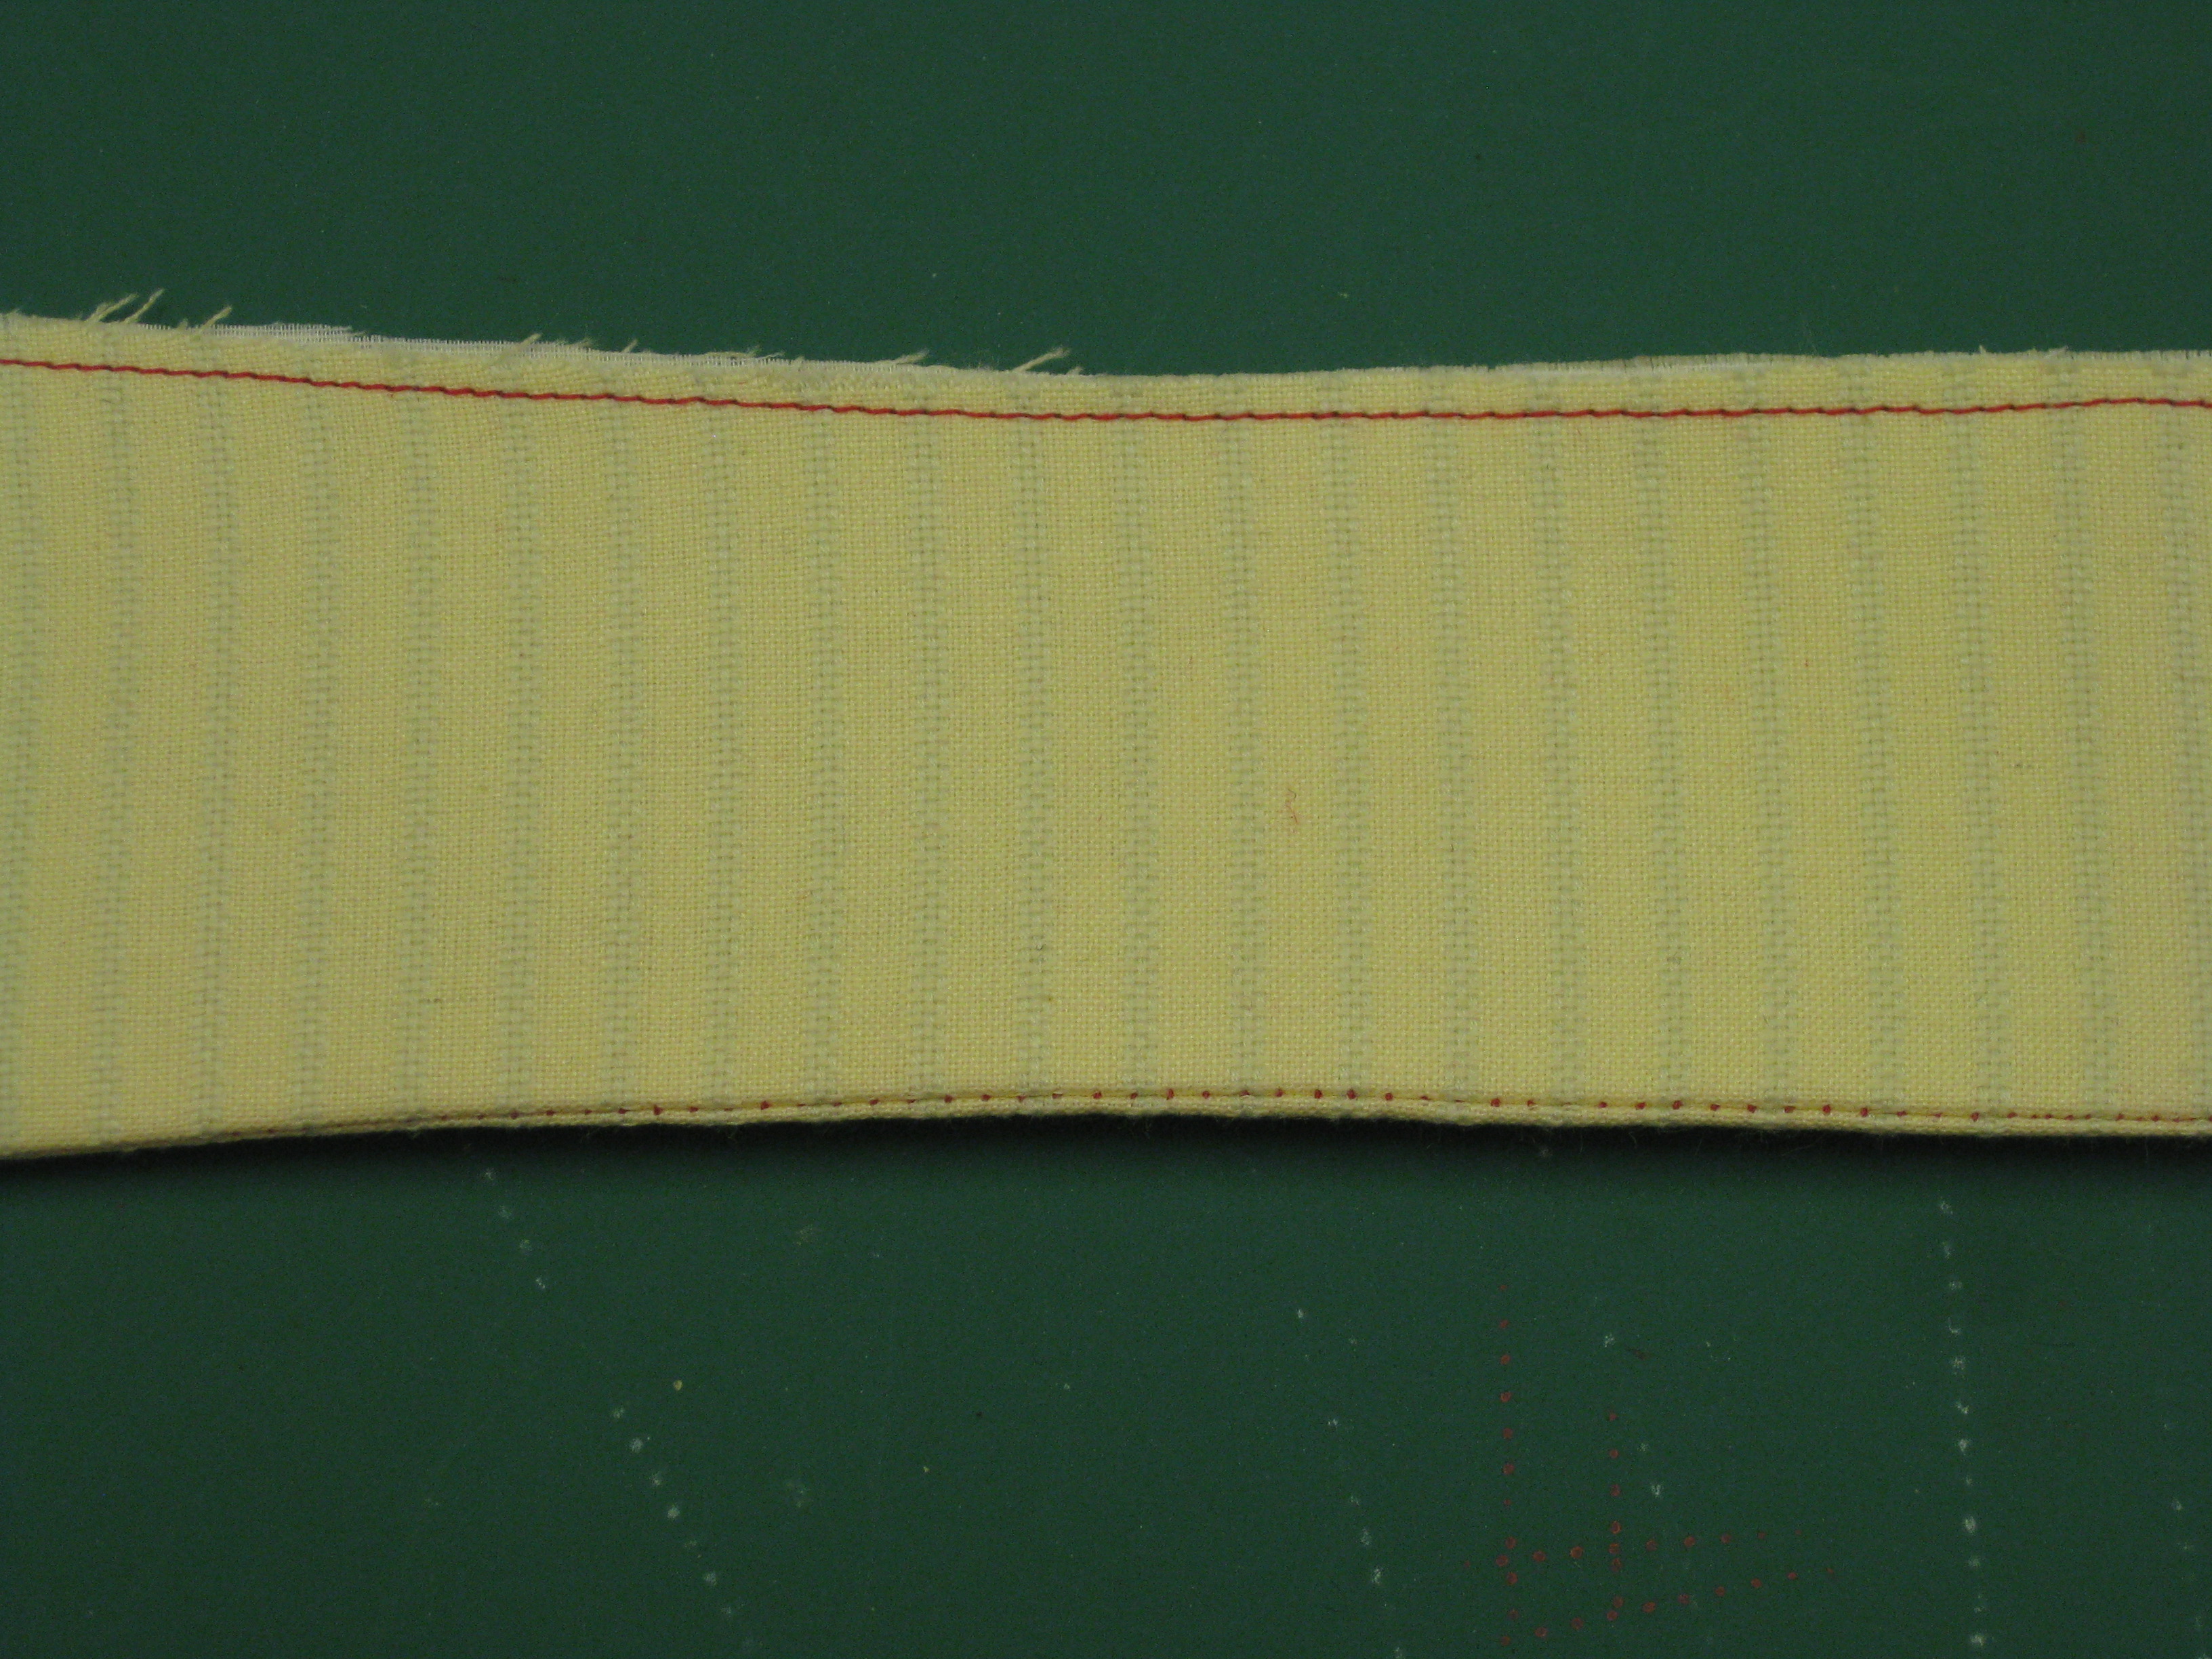
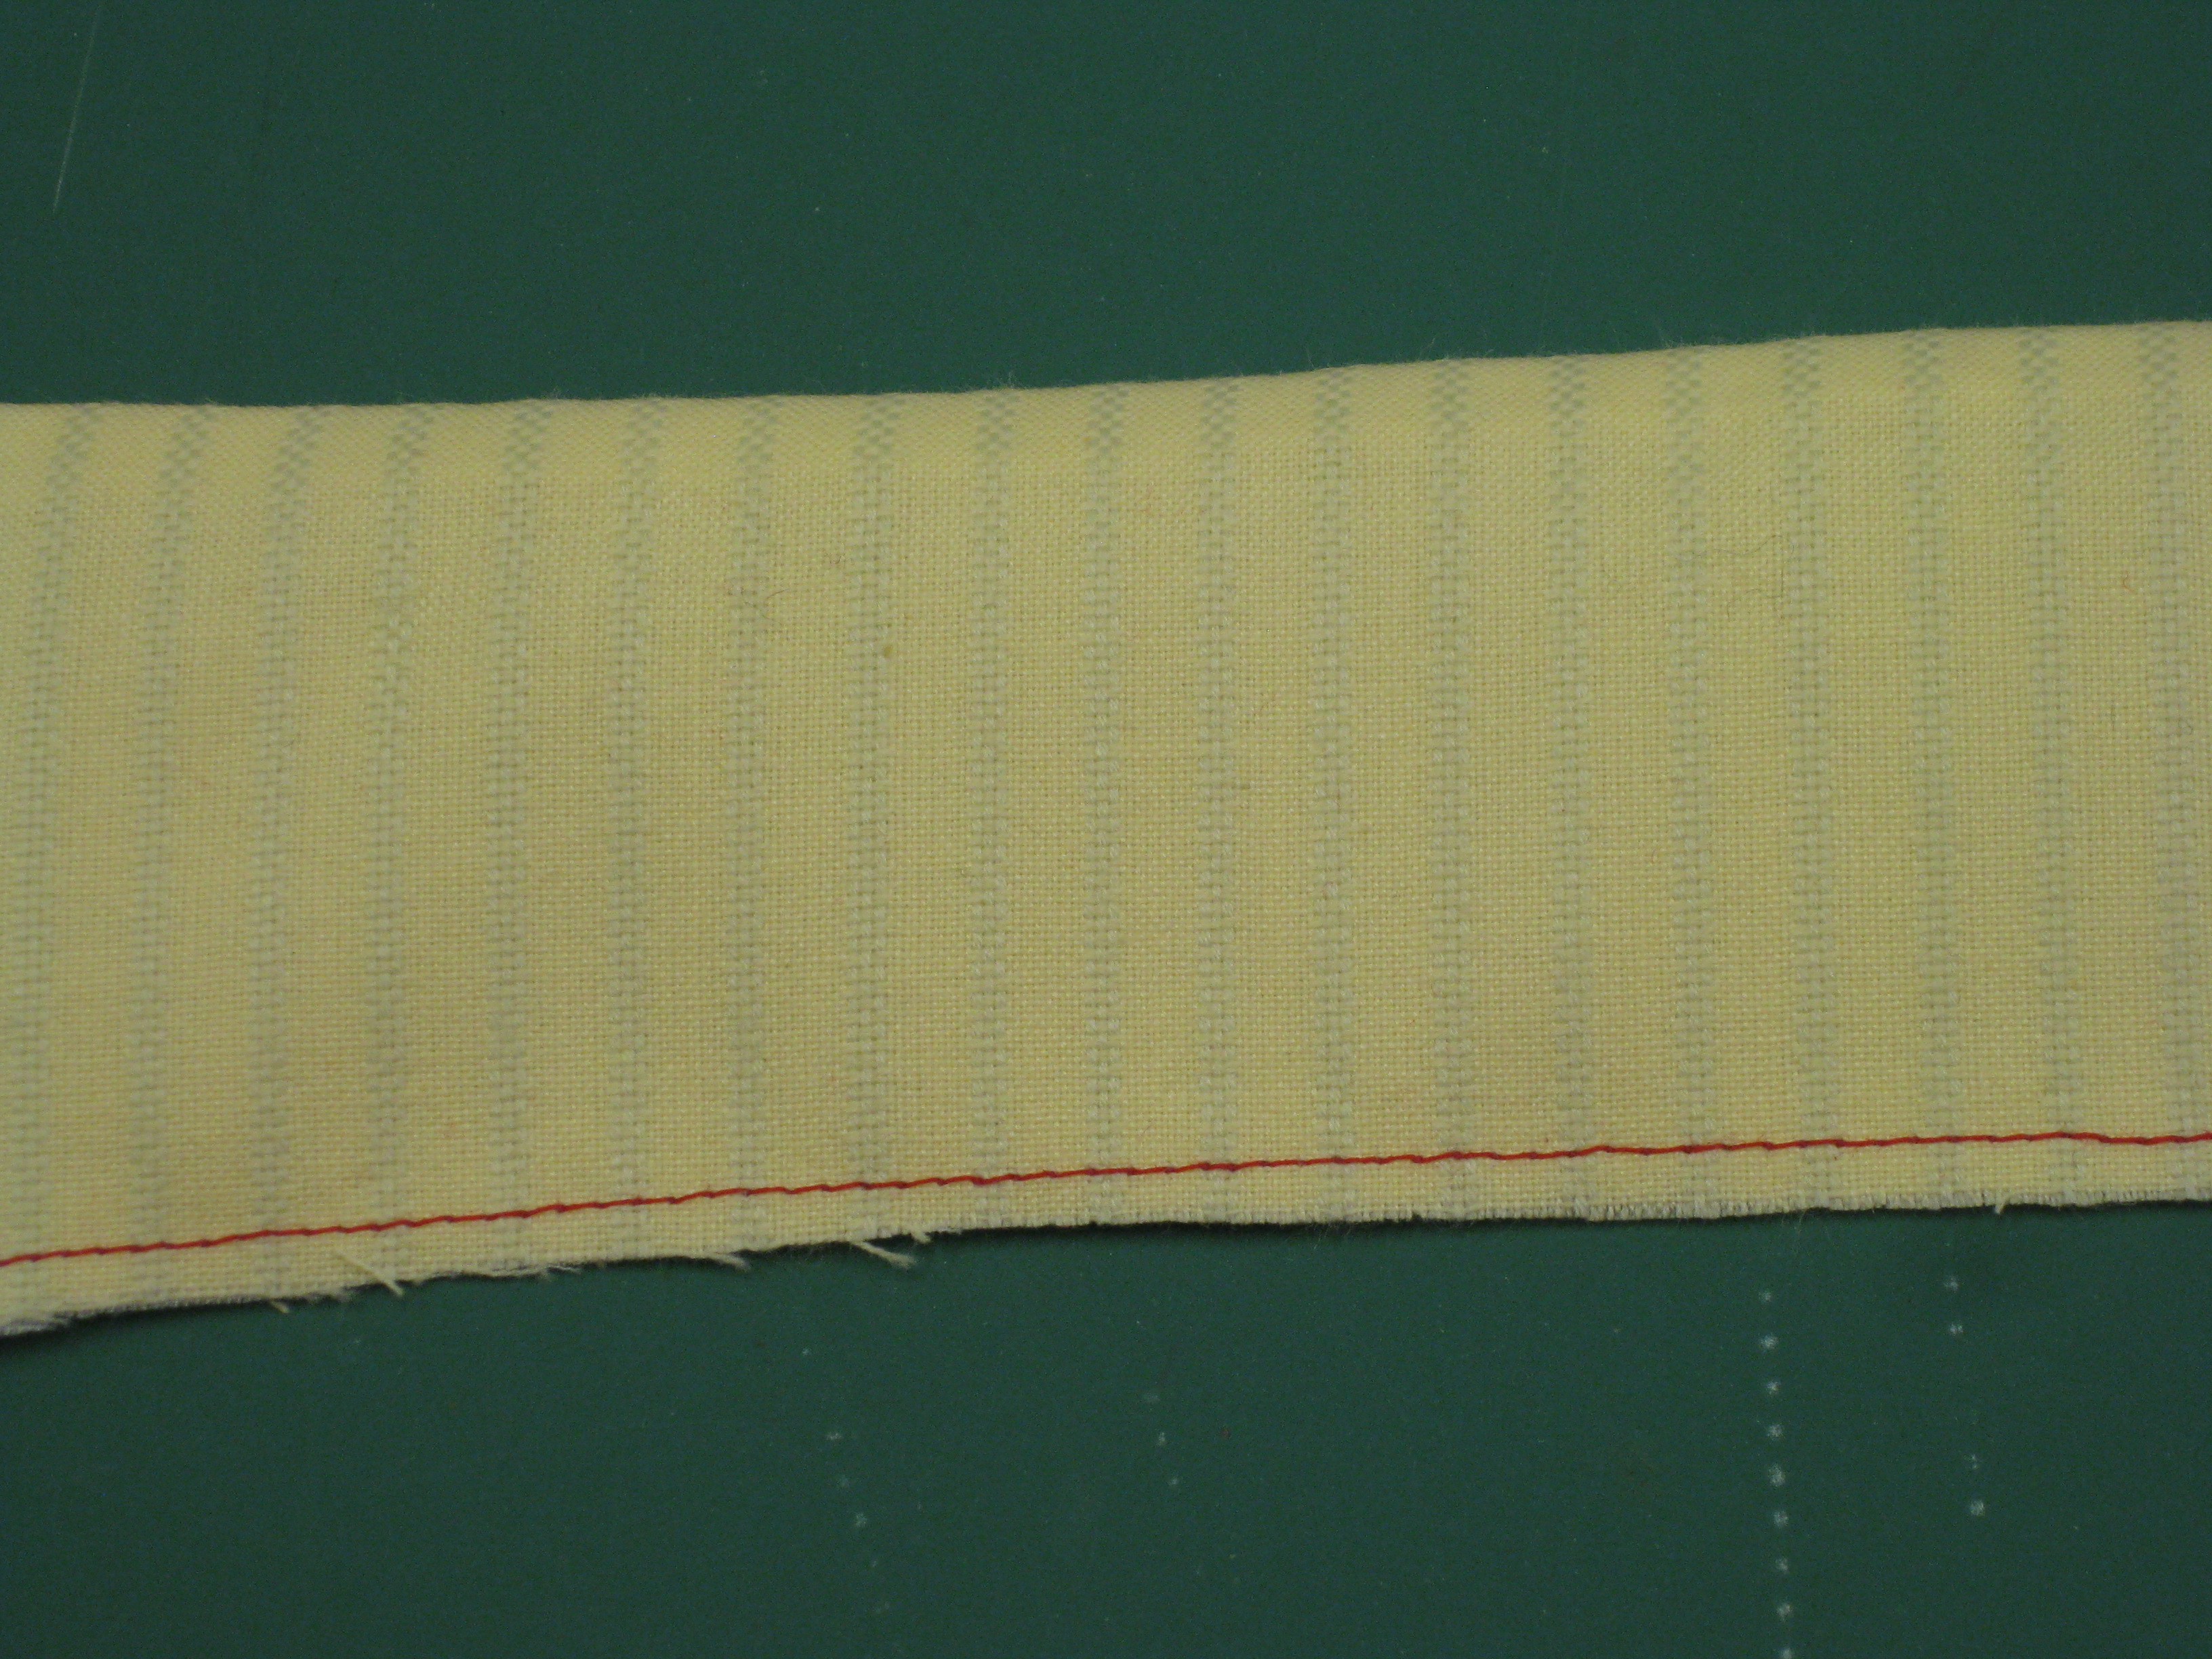
Fuse the interfacing to each collar piece and both of the stands. I prefer to use a woven fusible lawn which is lightweight but can be layered if extra stiffness or support is needed.

After fusing, reposition pattern piece and trim accurately. Fabric can stretch or distort during the fusing process.
Tip: Always test interfacing on a large scrap of fashion fabric to test stiffness and reaction of adhesive to the chosen fabric.
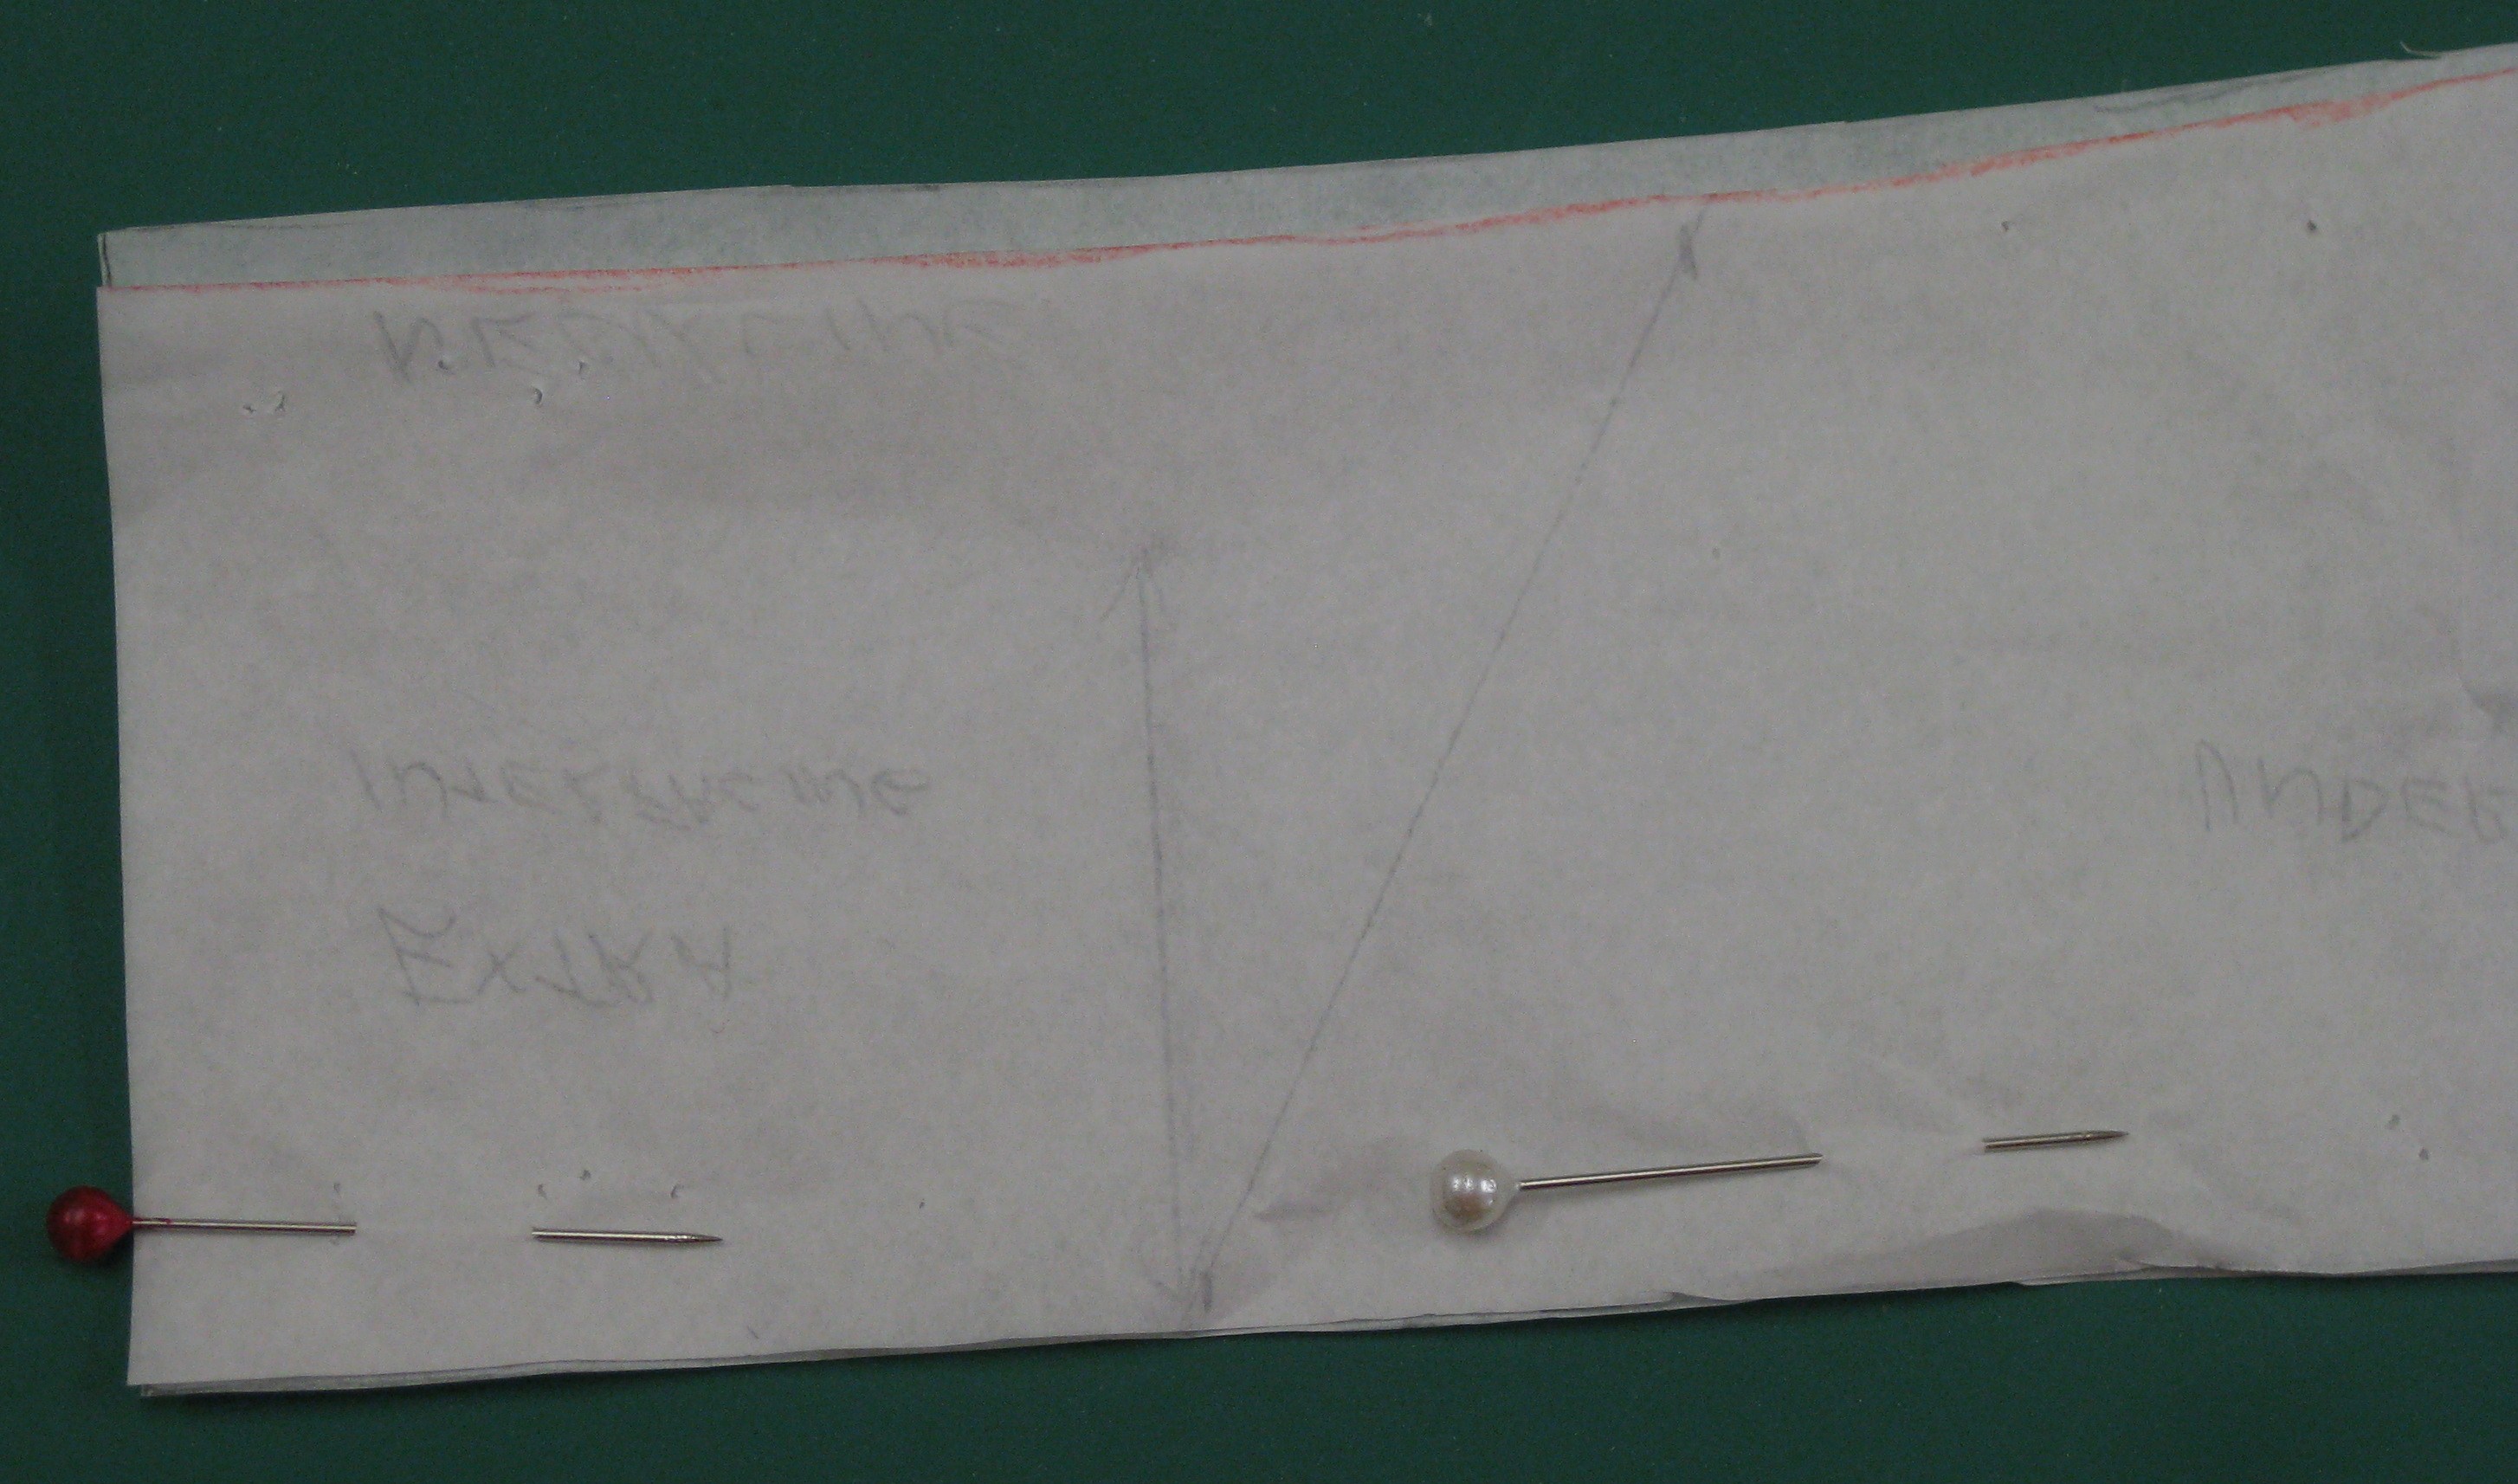
Tip: To make a shirt collar stand up at the back, use extra interfacing in the back of the collar. Cut and fuse an extra layer of interfacing to do this. This piece of interfacing should be narrower at the outer edge of the collar then at the neck edge.
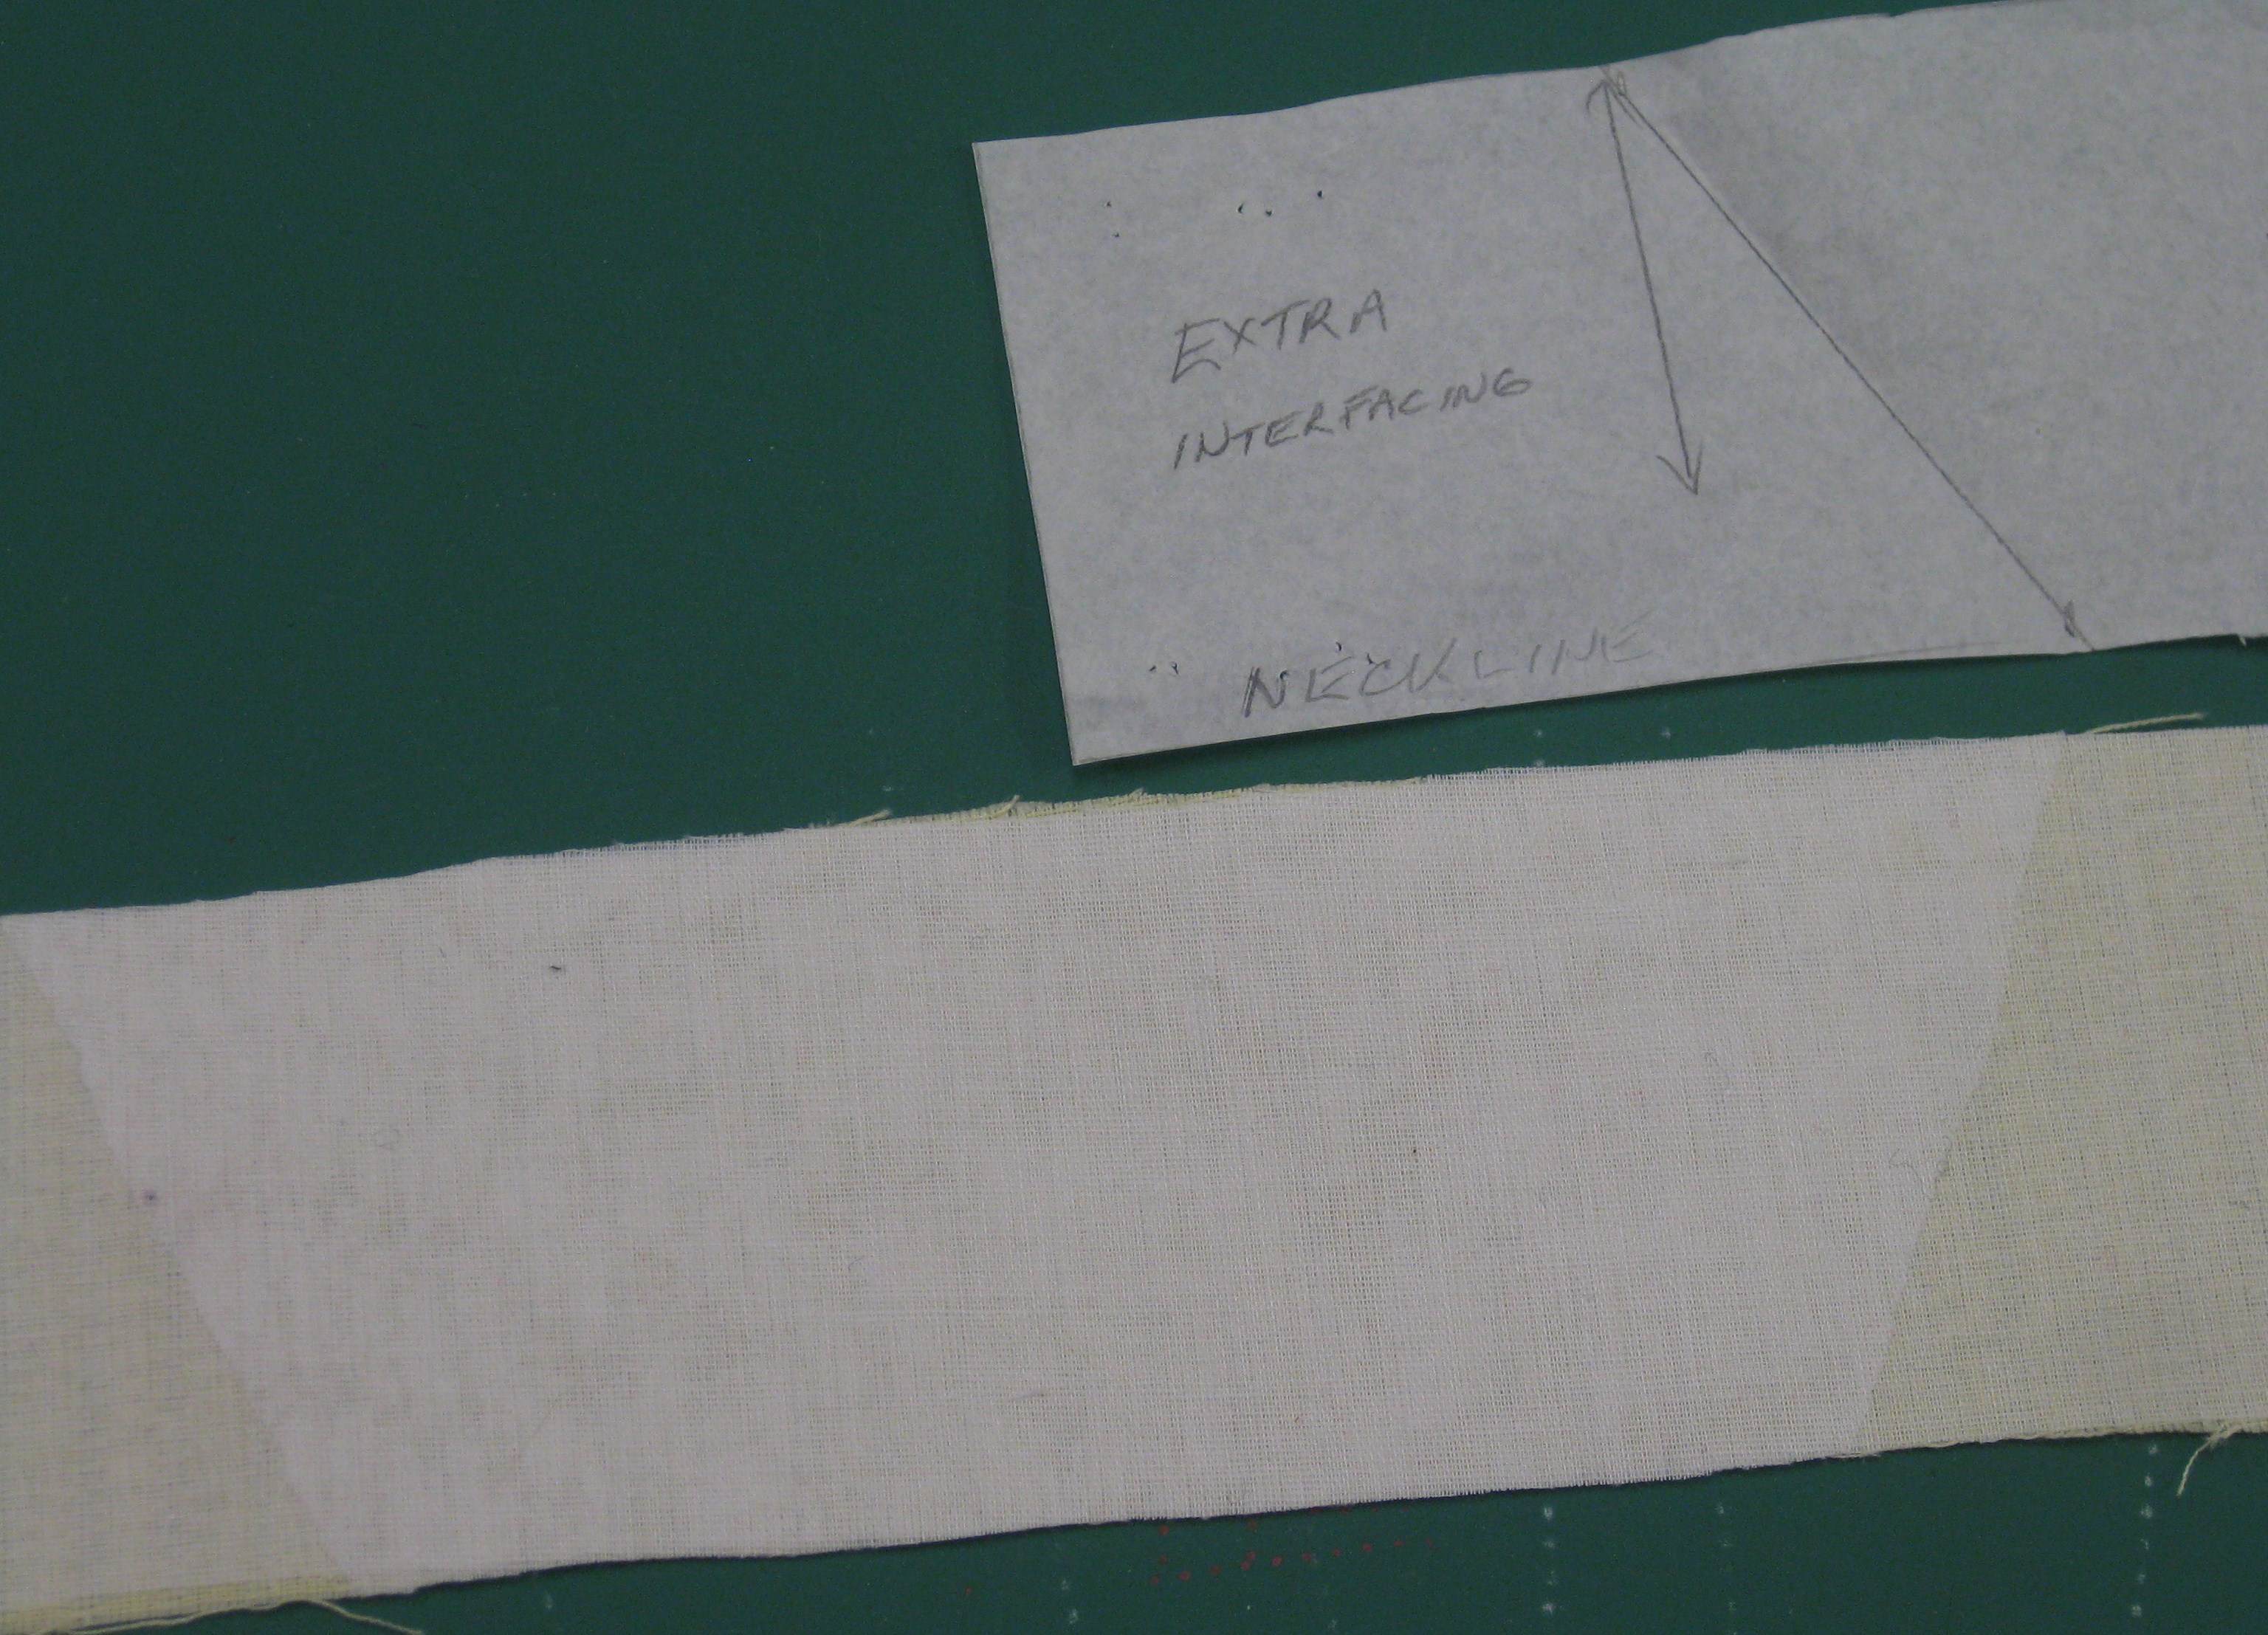
Additional interfacing to support collar if it is to be worn up. Draw position marks on pattern. Cut interfacing and fuse to under collar on top of original interfacing.
Transfer all pattern markings to the wrong side of the collar, stand and shirt neck. For further accuracy lightly mark the collar attachment points, the curve of the seam at the ends of the collar stand and the seam allowances.
Tip: Make a cardboard or plastic template for the curved at the edges of the stand to ensure that they will be the same shape.
Collar Stays:
If your fabric is very soft, collar stays can be helpful in keeping the collar points sharp.
Mark the position and width of the stays on the pattern for the under collar. Also mark the position of a buttonhole to allow insertion of the stay.
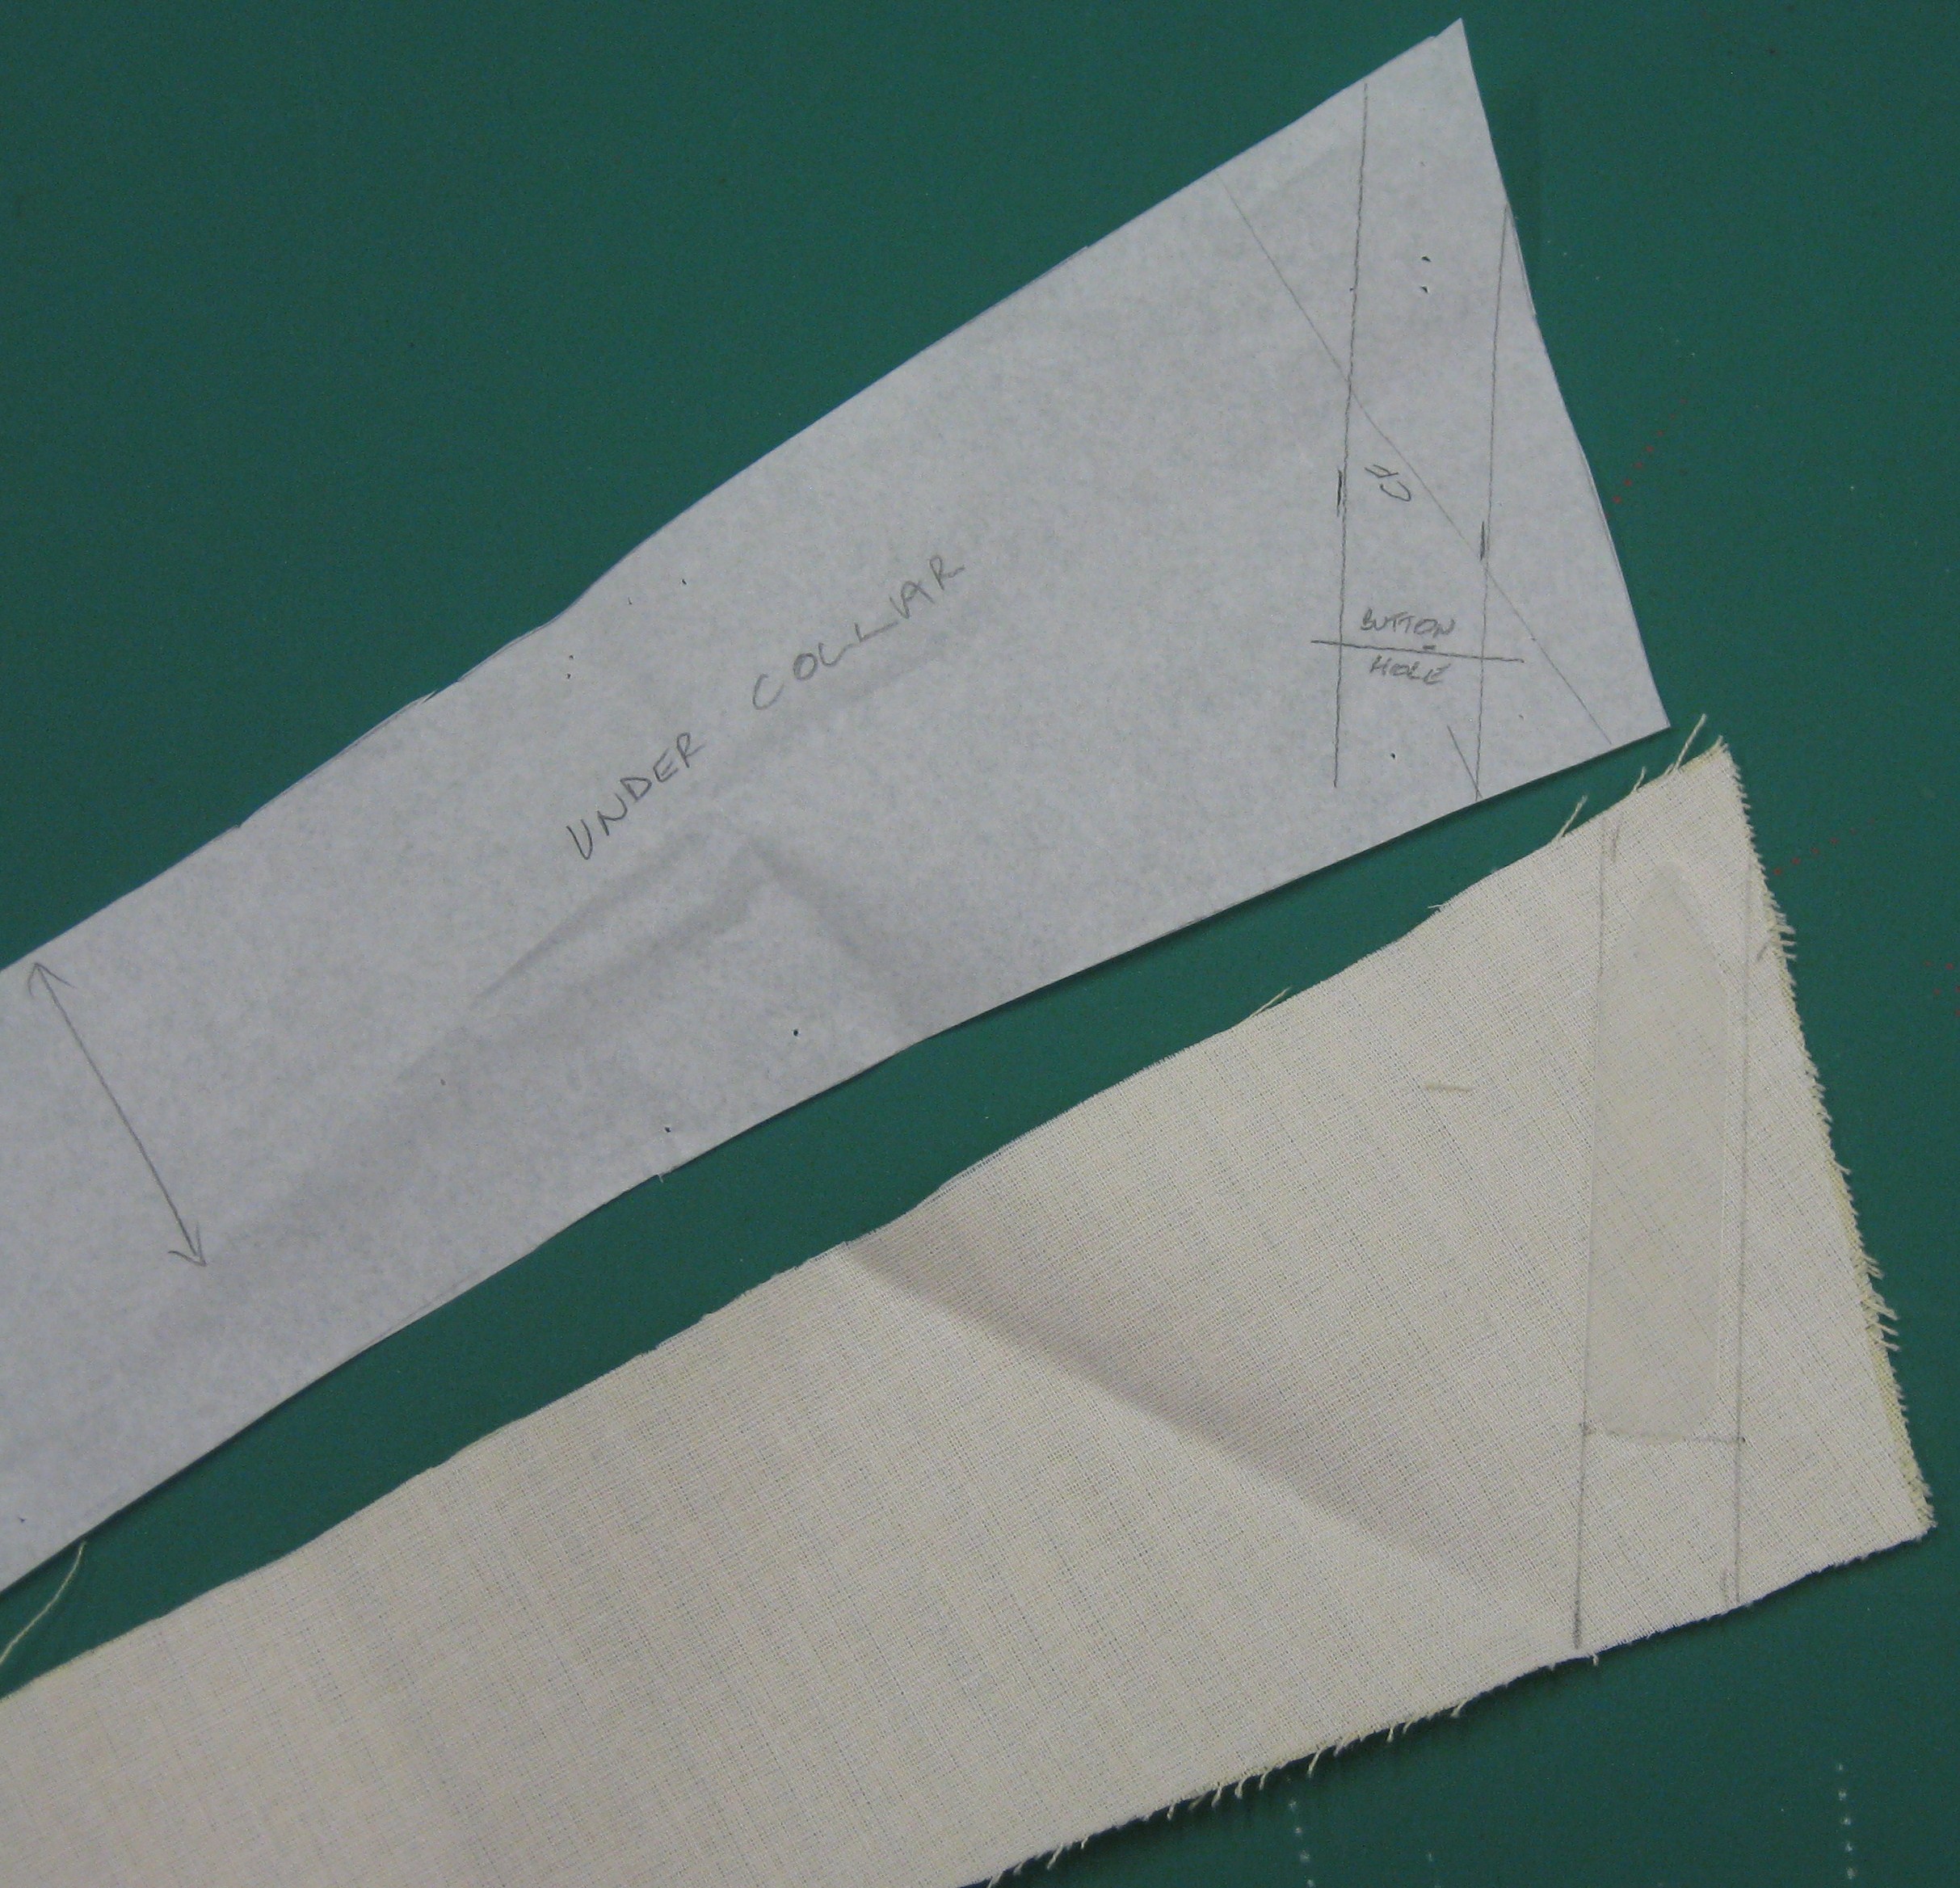
Mark position of collar stay and buttonhole on pattern and transfer stitching lines to right side of interfaced under collar.
Stitch the buttonhole on right side of under collar and cut. Place a piece of scrap fabric against the wrong side of the under collar and stitch the pocket for the stay.

Collar stay pocket on under collar.
The collar is then constructed as detailed below.
Construction Method:
Construct the collar, stitching from centre to each collar end and press (seams open first) with the upper side down. Edge stitch the outer edge of the collar if desired. Carefully roll and mould it around a tailor’s ham. Pin the collar to the ham, steam and set aside to cool. See blog post 5th July, 2015 “Collars – Tips and Techniques”.
Before collar is inserted into the stand, stitch the neck edges together within the seam allowance.
Collar pressed in place and, with under collar uppermost, a small strip of upper collar is visible.
To maintain correct placement when collar is attached to stand, place two bottom edges exactly together and stitch within seam allowance.
When collar is placed on a flat surface, the roll of the upper collar becomes obvious.
Side view with upper collar on top.
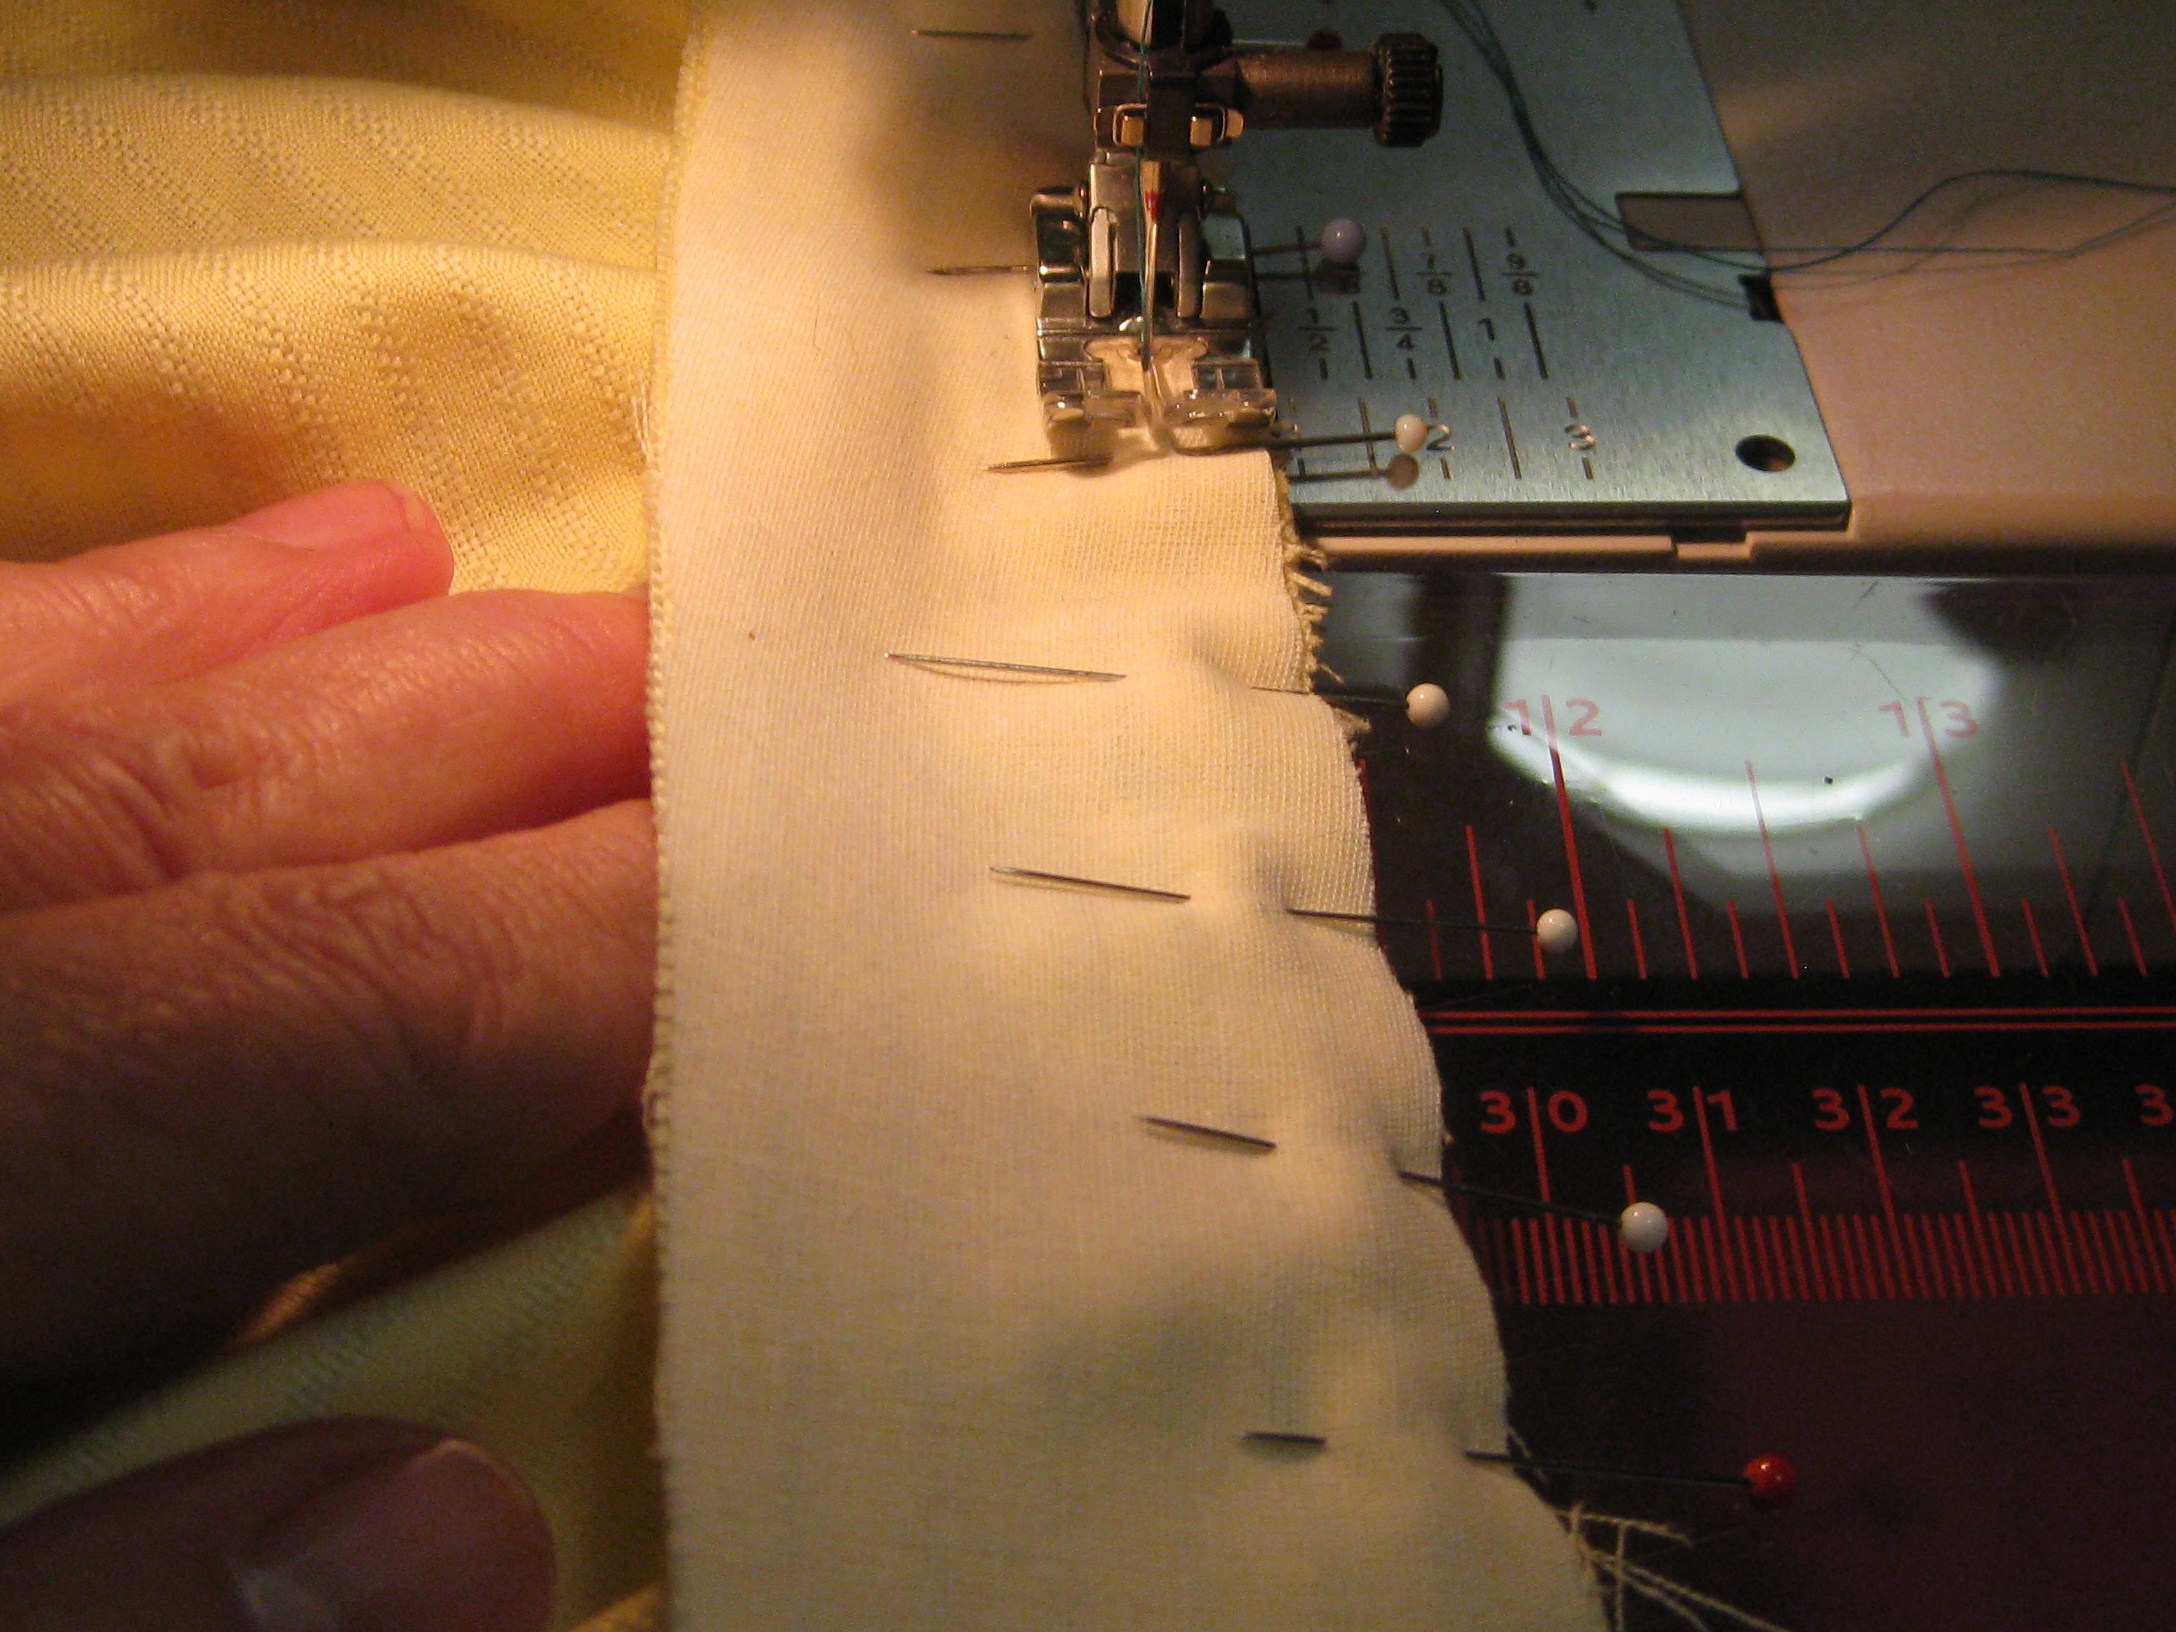
Sandwich the shirt neck between both collar stand pieces – the collar stand pieces will be right sides together. Pin along neck edge through all layers and stitch along the neck edge from end to the other.
If using a double yoke, tack both pieces together at neckline (on the garment side so tacking will not be caught in stitching). This will keep neckline edges together and minimise problems when attaching the stand.

Neckline edge sandwiched between the collar stand pieces and pinned in place. Pinning at right angles to the seam keeps everything in place well when stitching curves.
Tip: Use your left hand to smooth the shirt fabric under the collar stand as it comes up to the needle – be sure not to pull the fabric – the cut edges must all remain together.
When stitching, keep fingers under stand and smooth fabric at right angles to seam line as you proceed around the neckline curve.
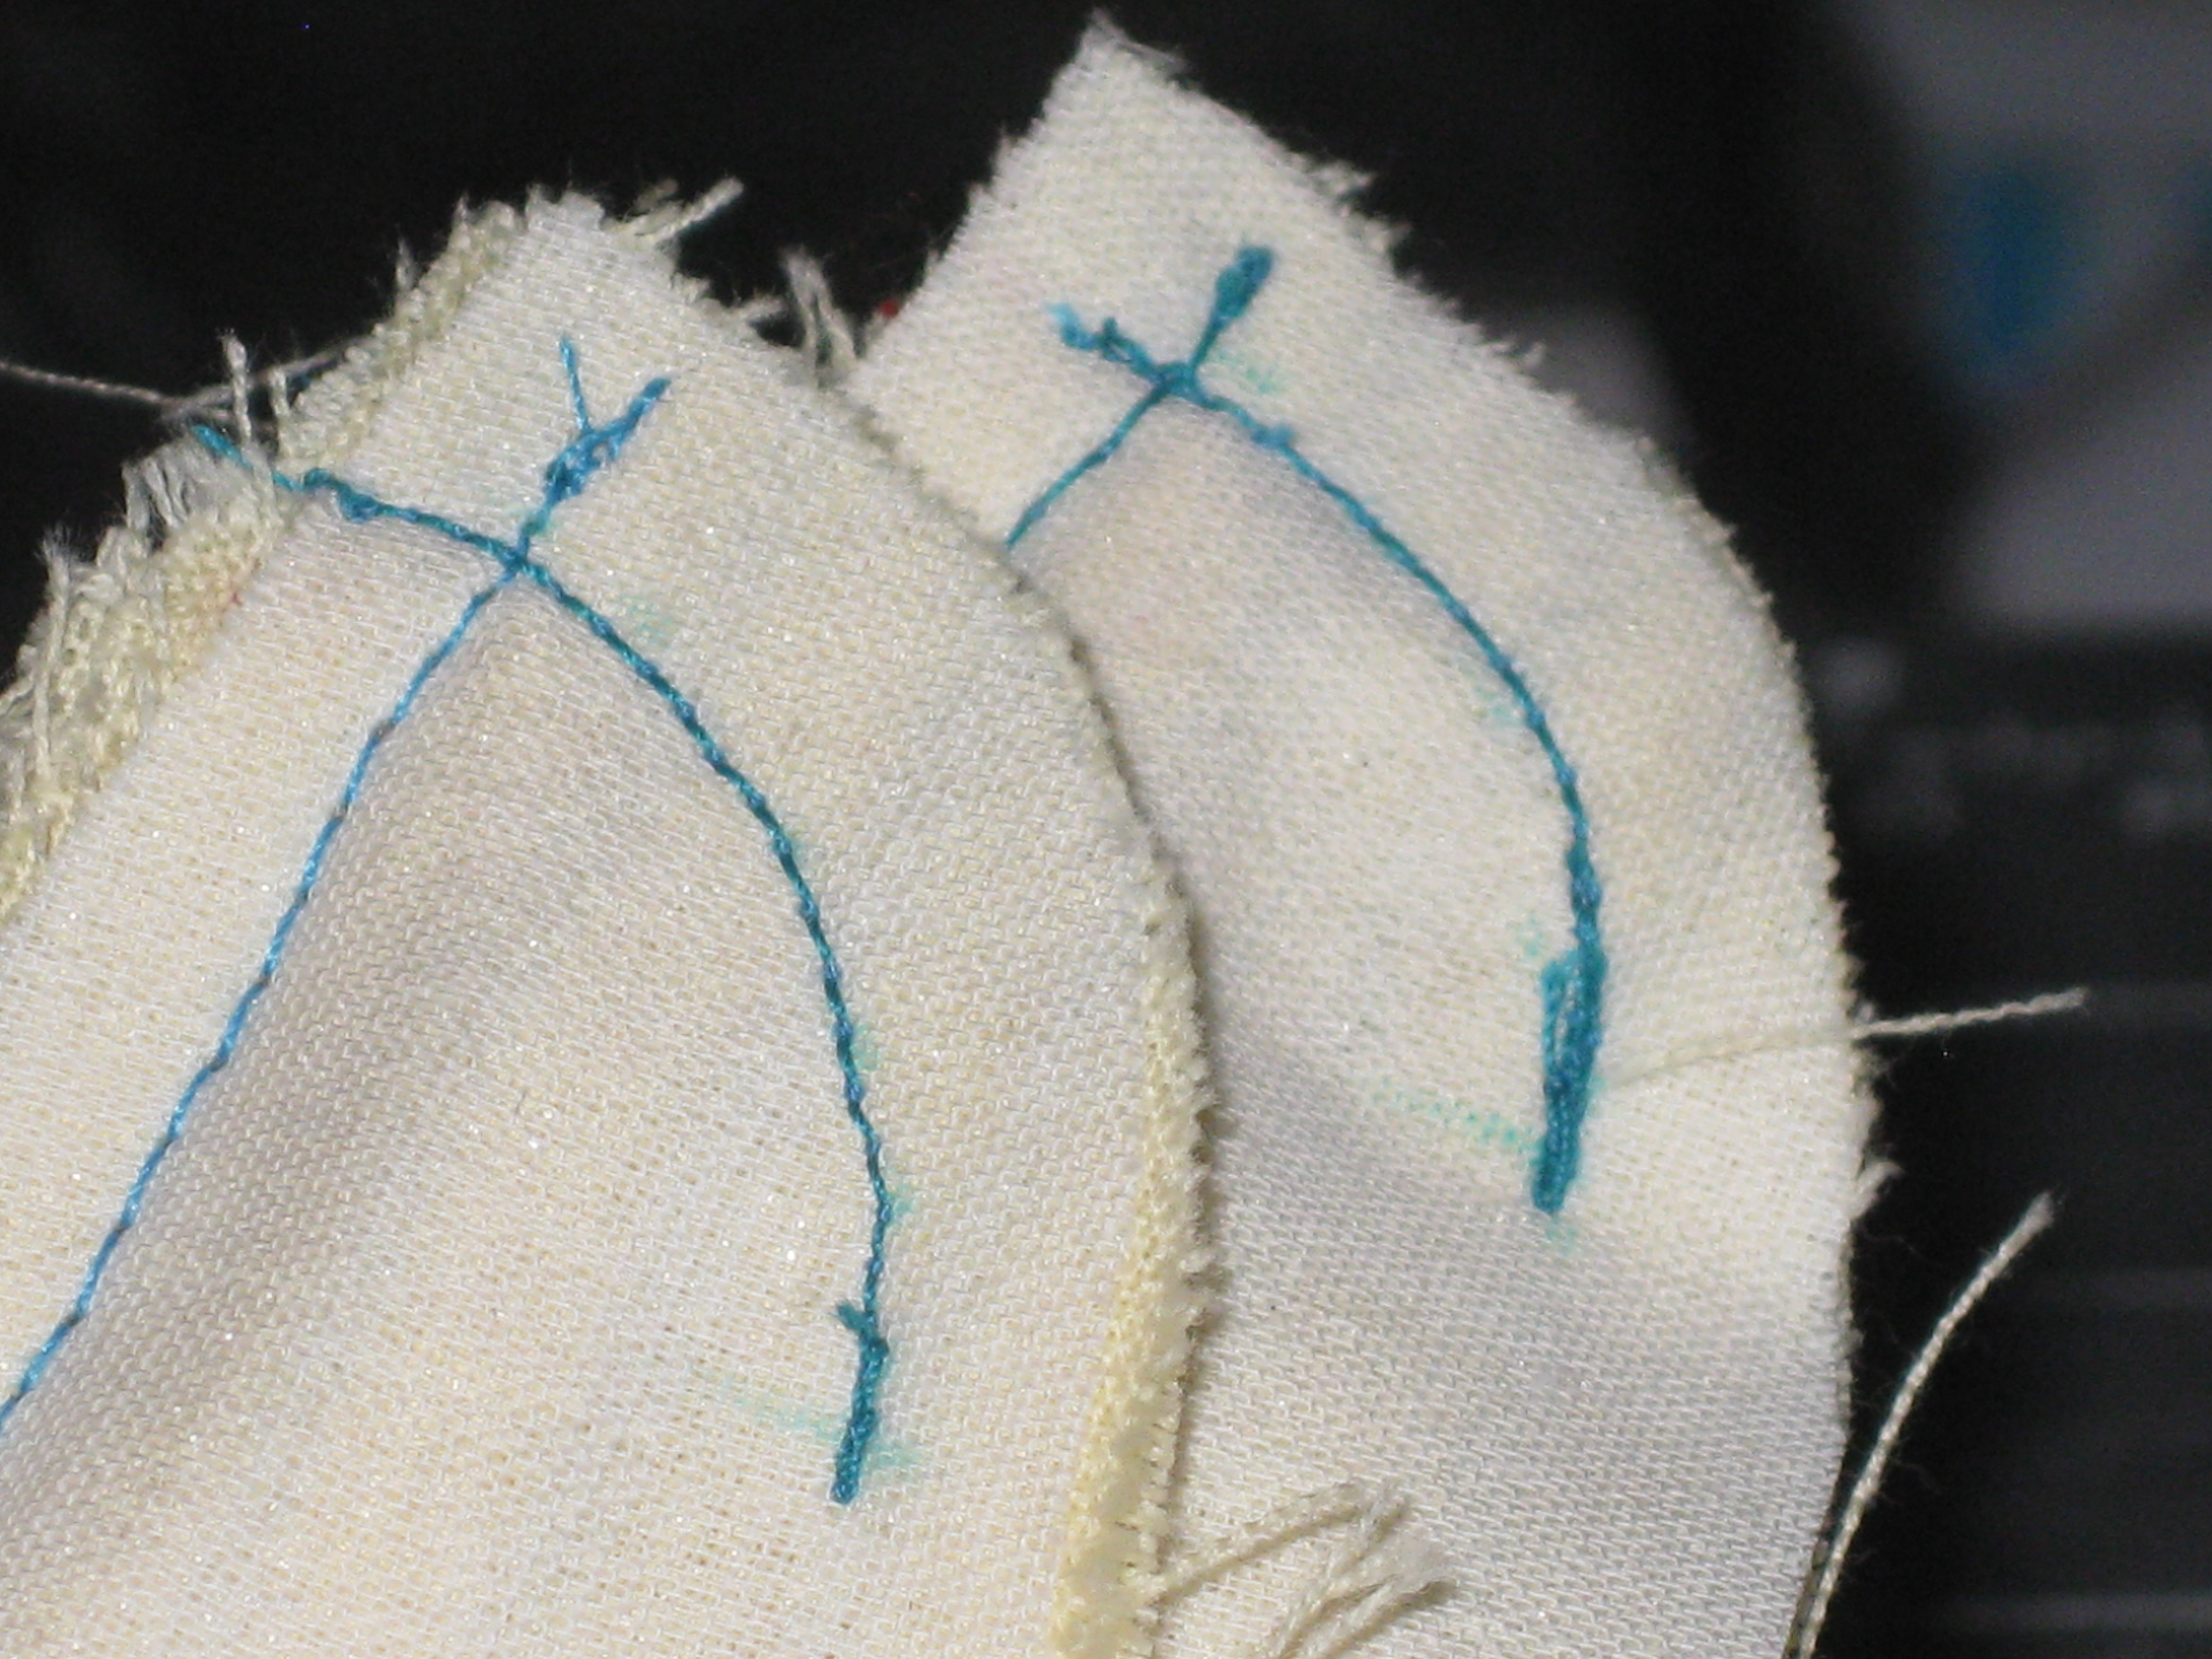
Mark the centre front on both ends of stand.
Both ends of stand have CF and stitching lines marked.
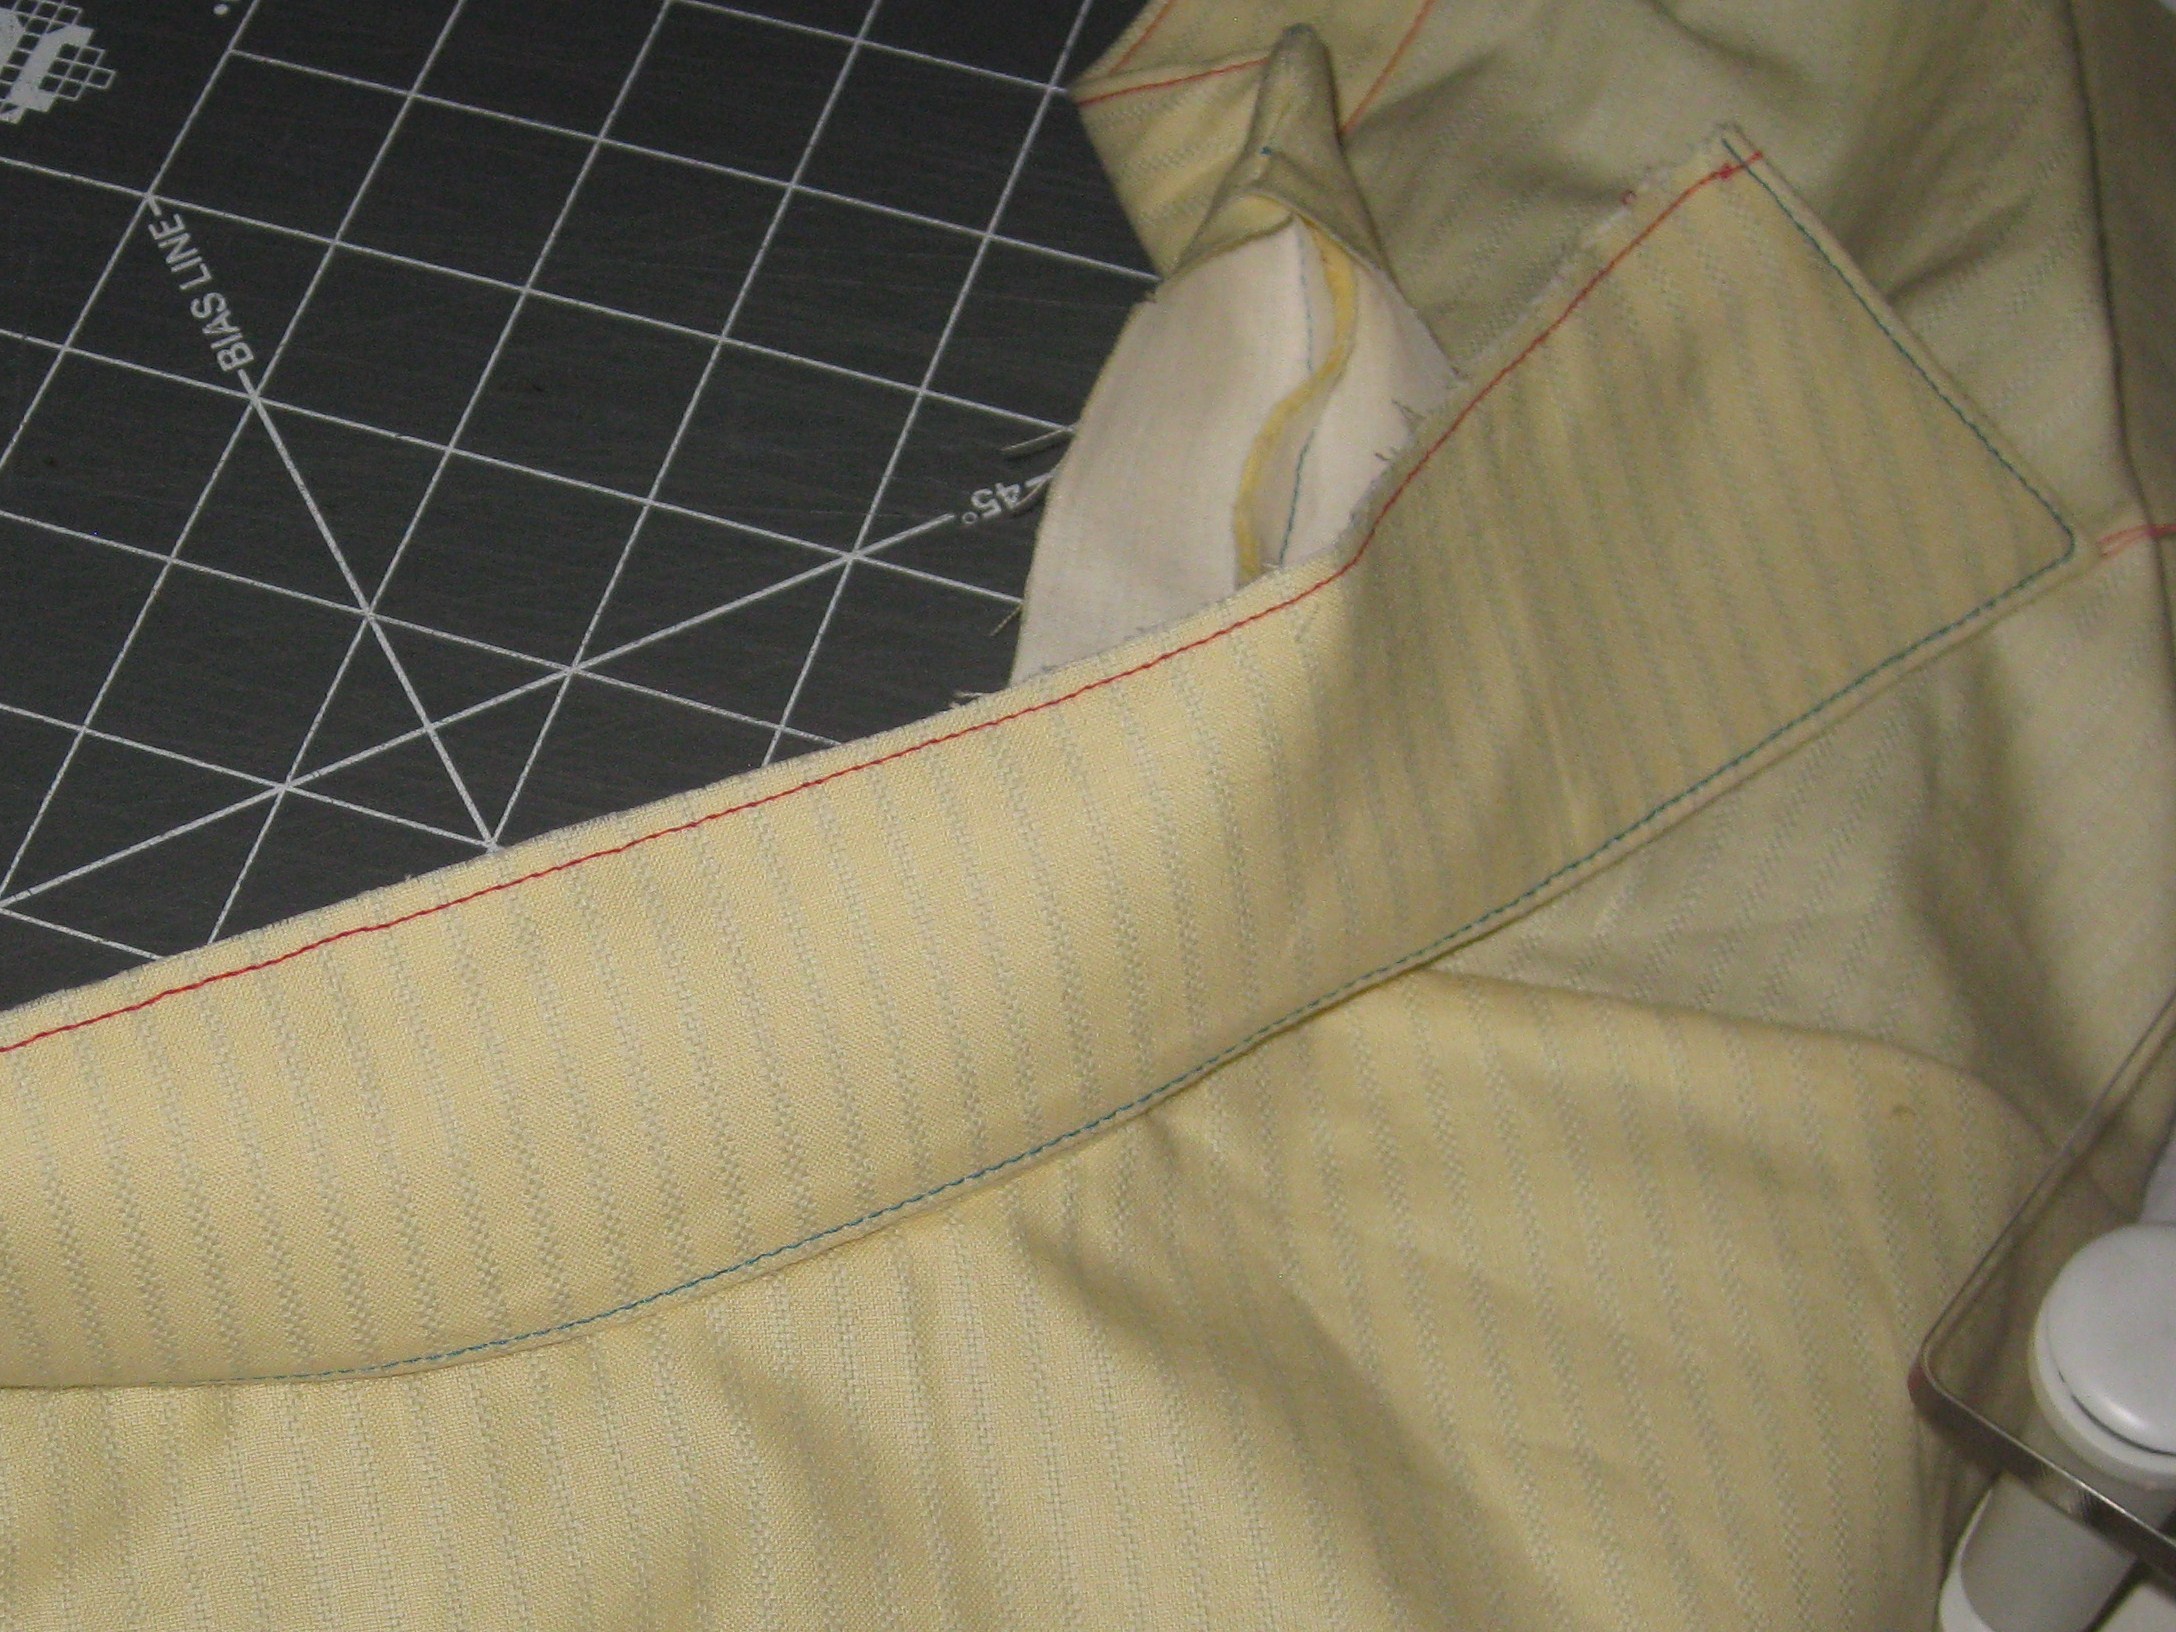
Tightly roll the shirt front out of the way.
Roll the shirt tab edge tightly between the stand pieces.
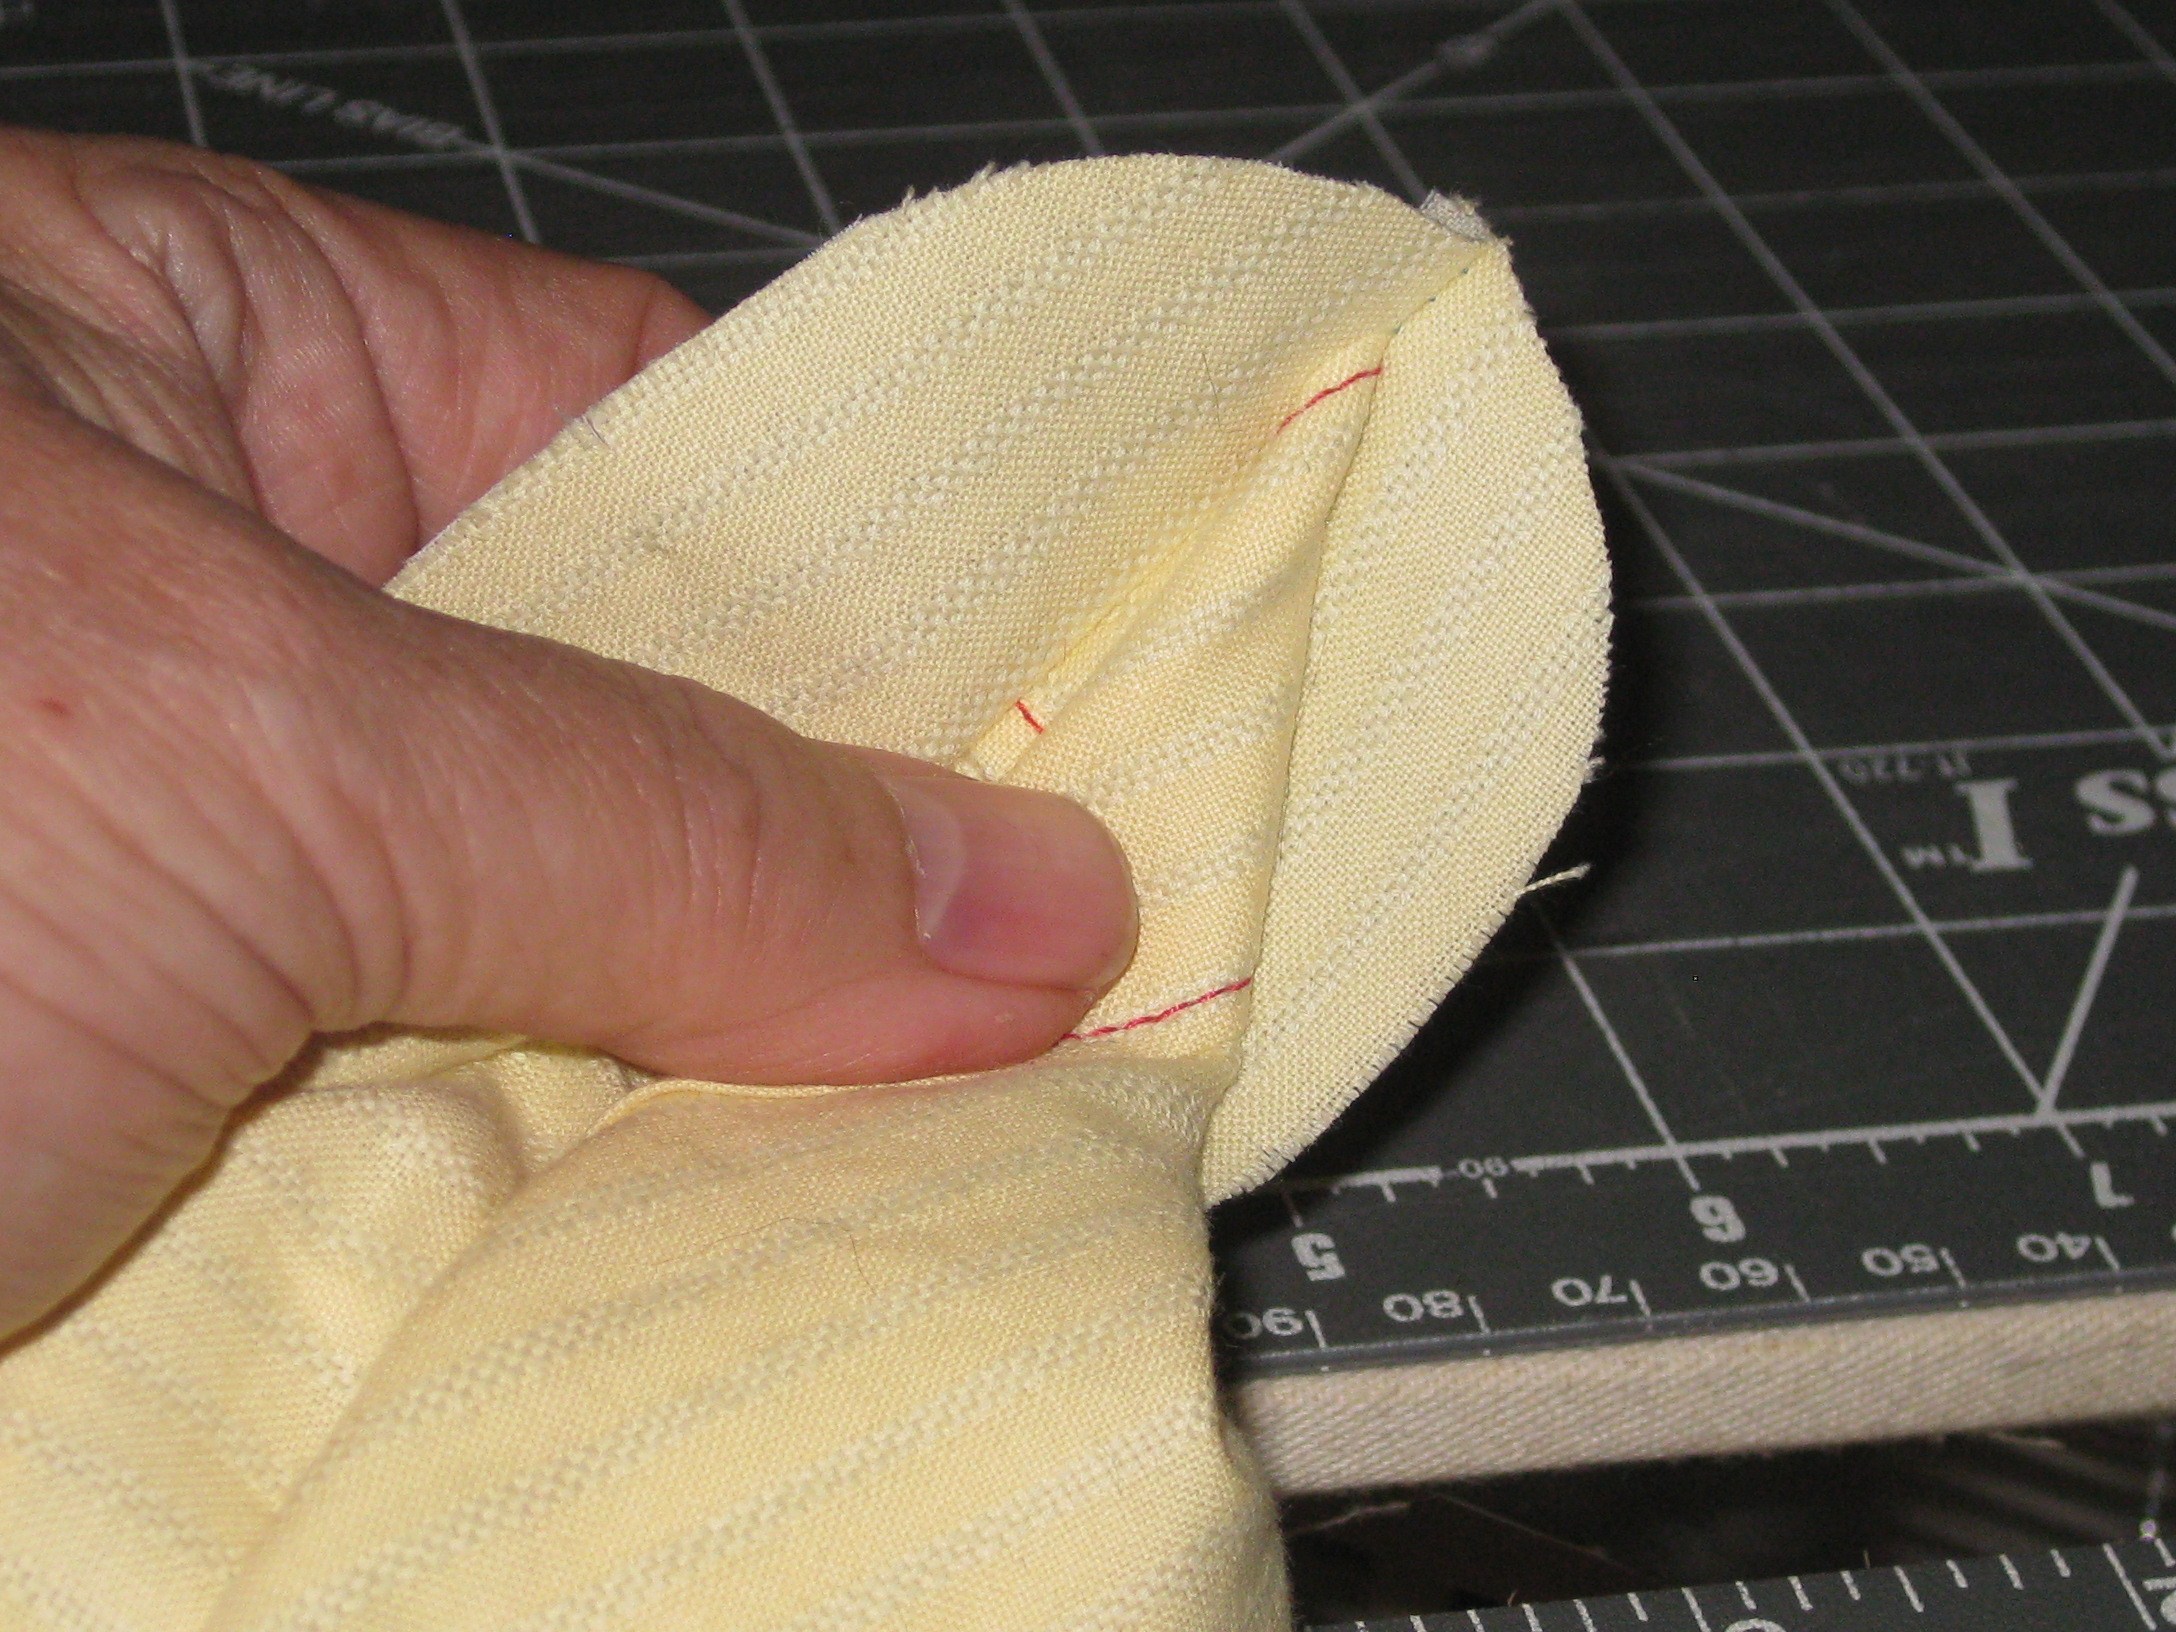
Pin the rounded edges together – place a pin right beside the tab at the front edge of the bodice to guide the position of the machine needle. It is important not to stitch through the tab.

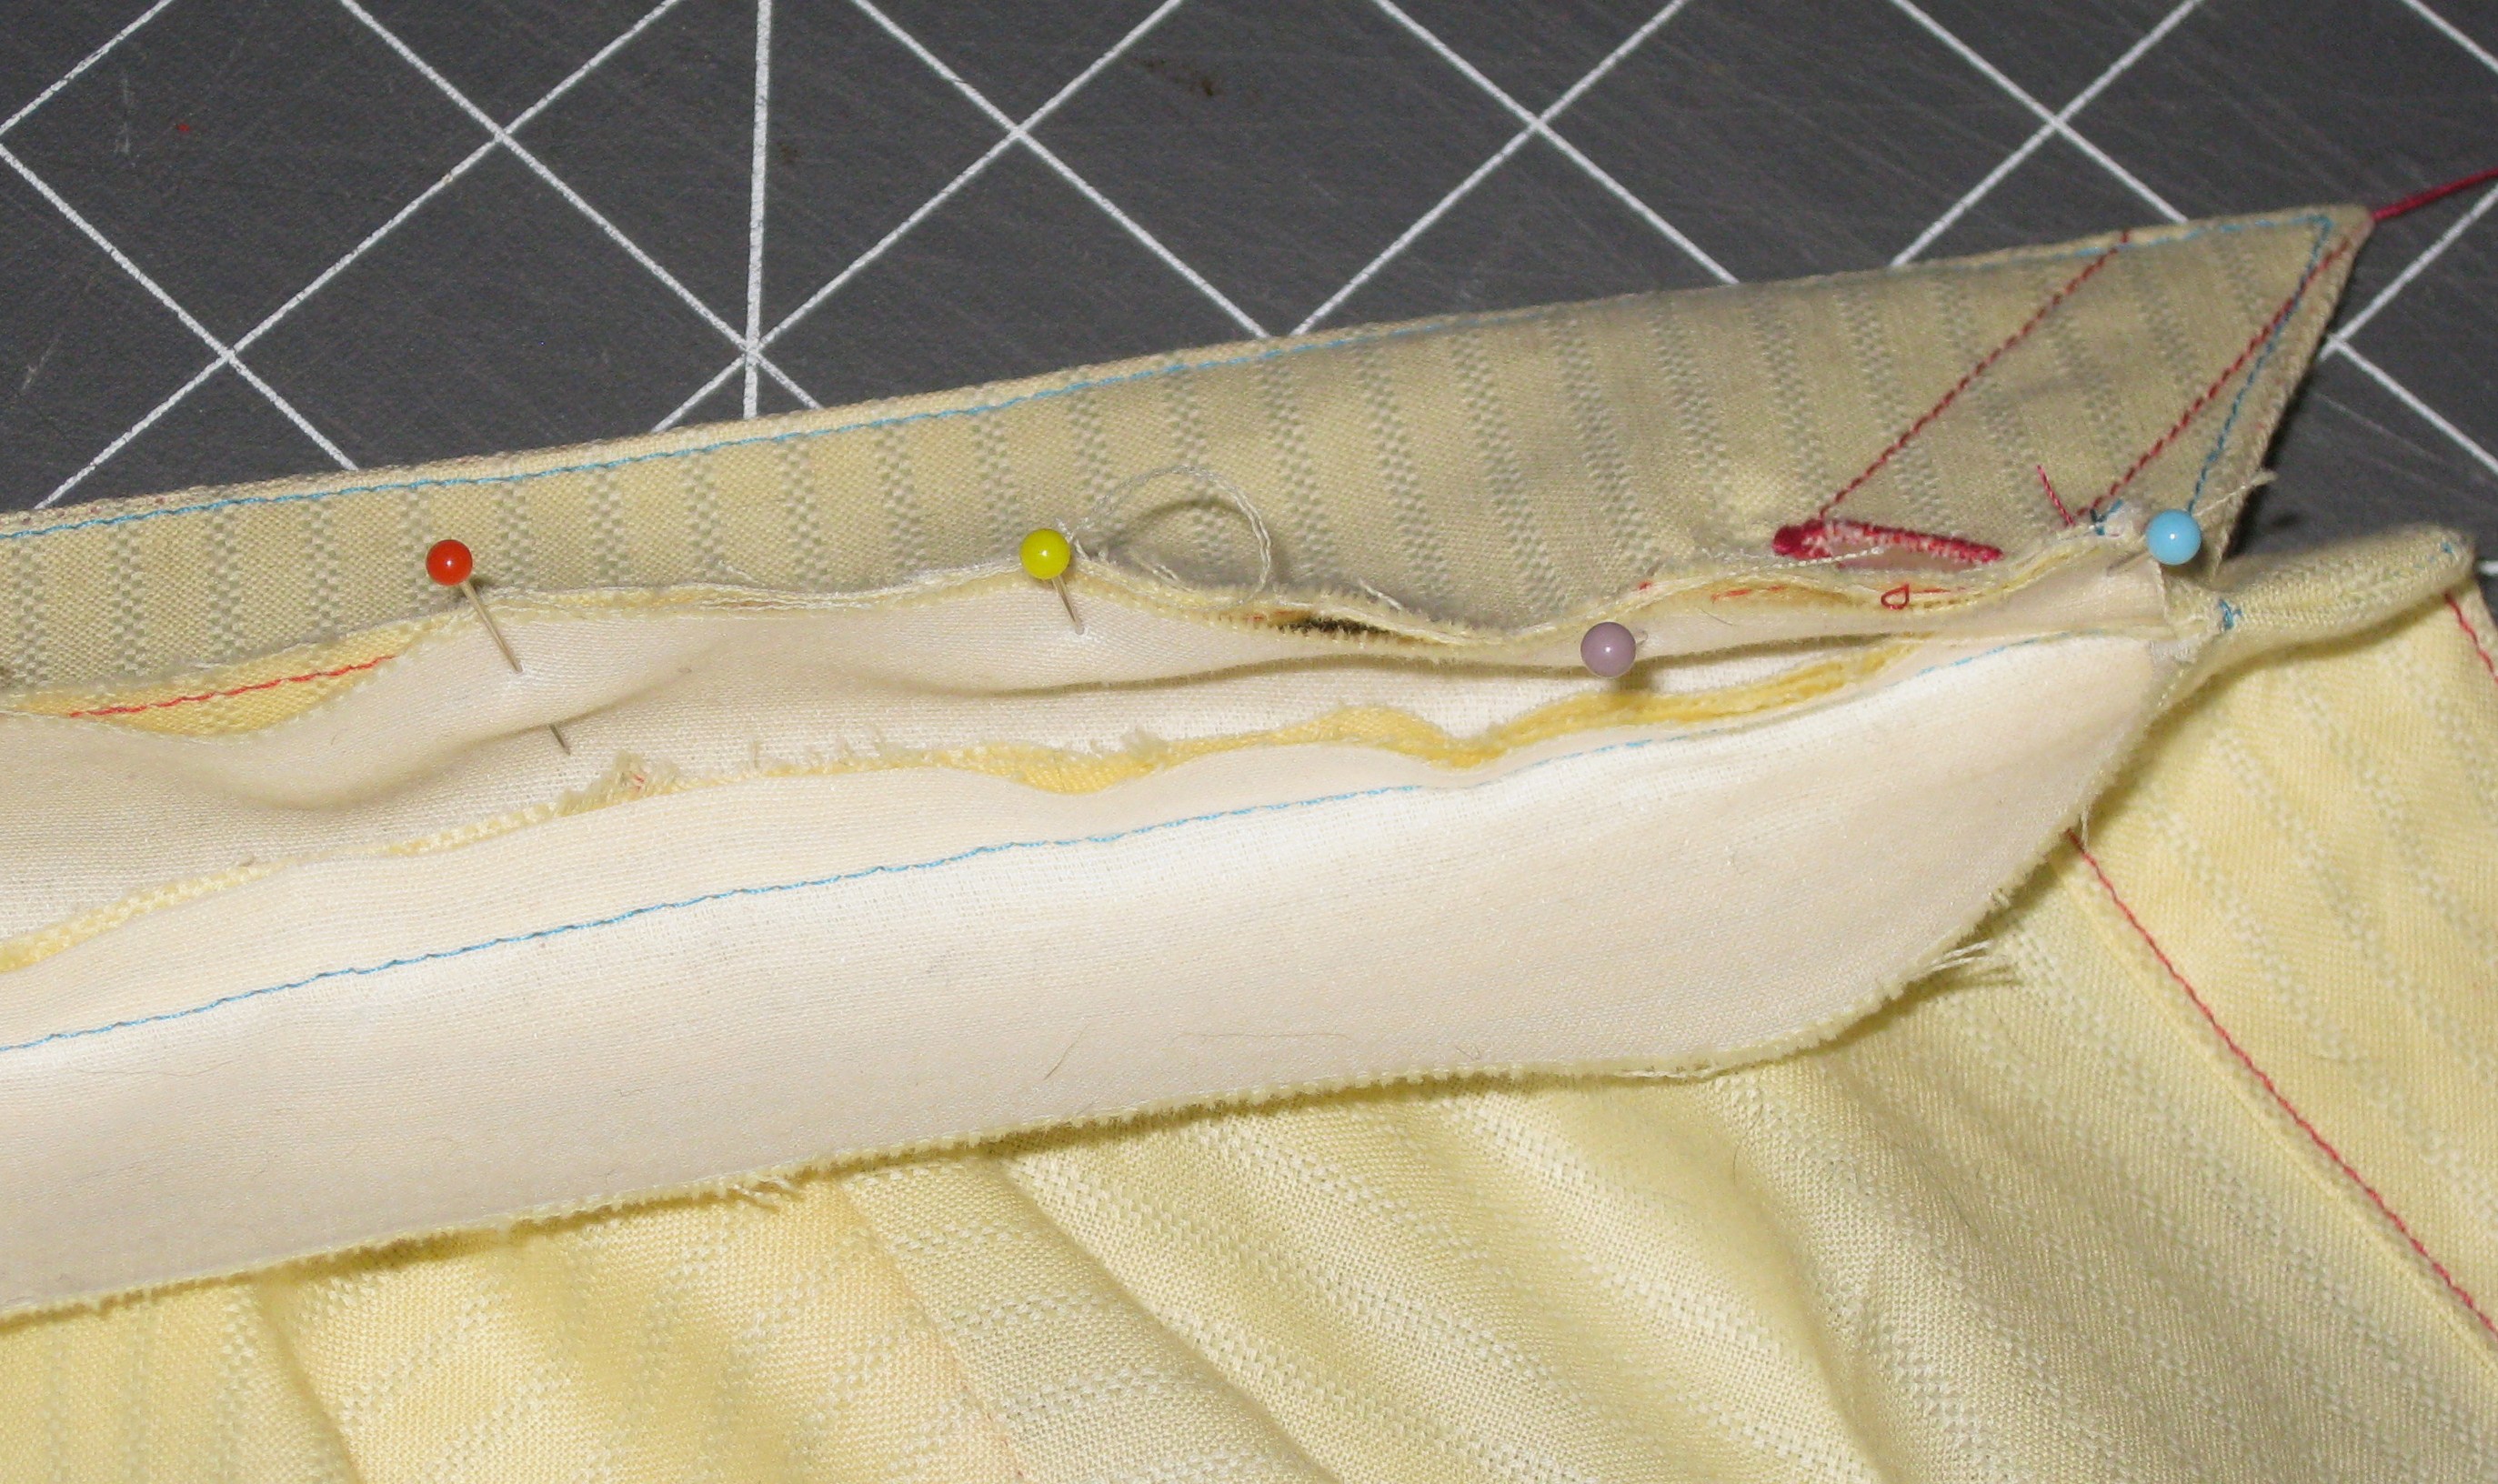
Wrap stand pieces over the rolled section and pin together at CF.

Fold back upper seam allowance and position a pin so that it lies right against, but not through, tap. This pin will help with positioning the machine needle to commence stitching.
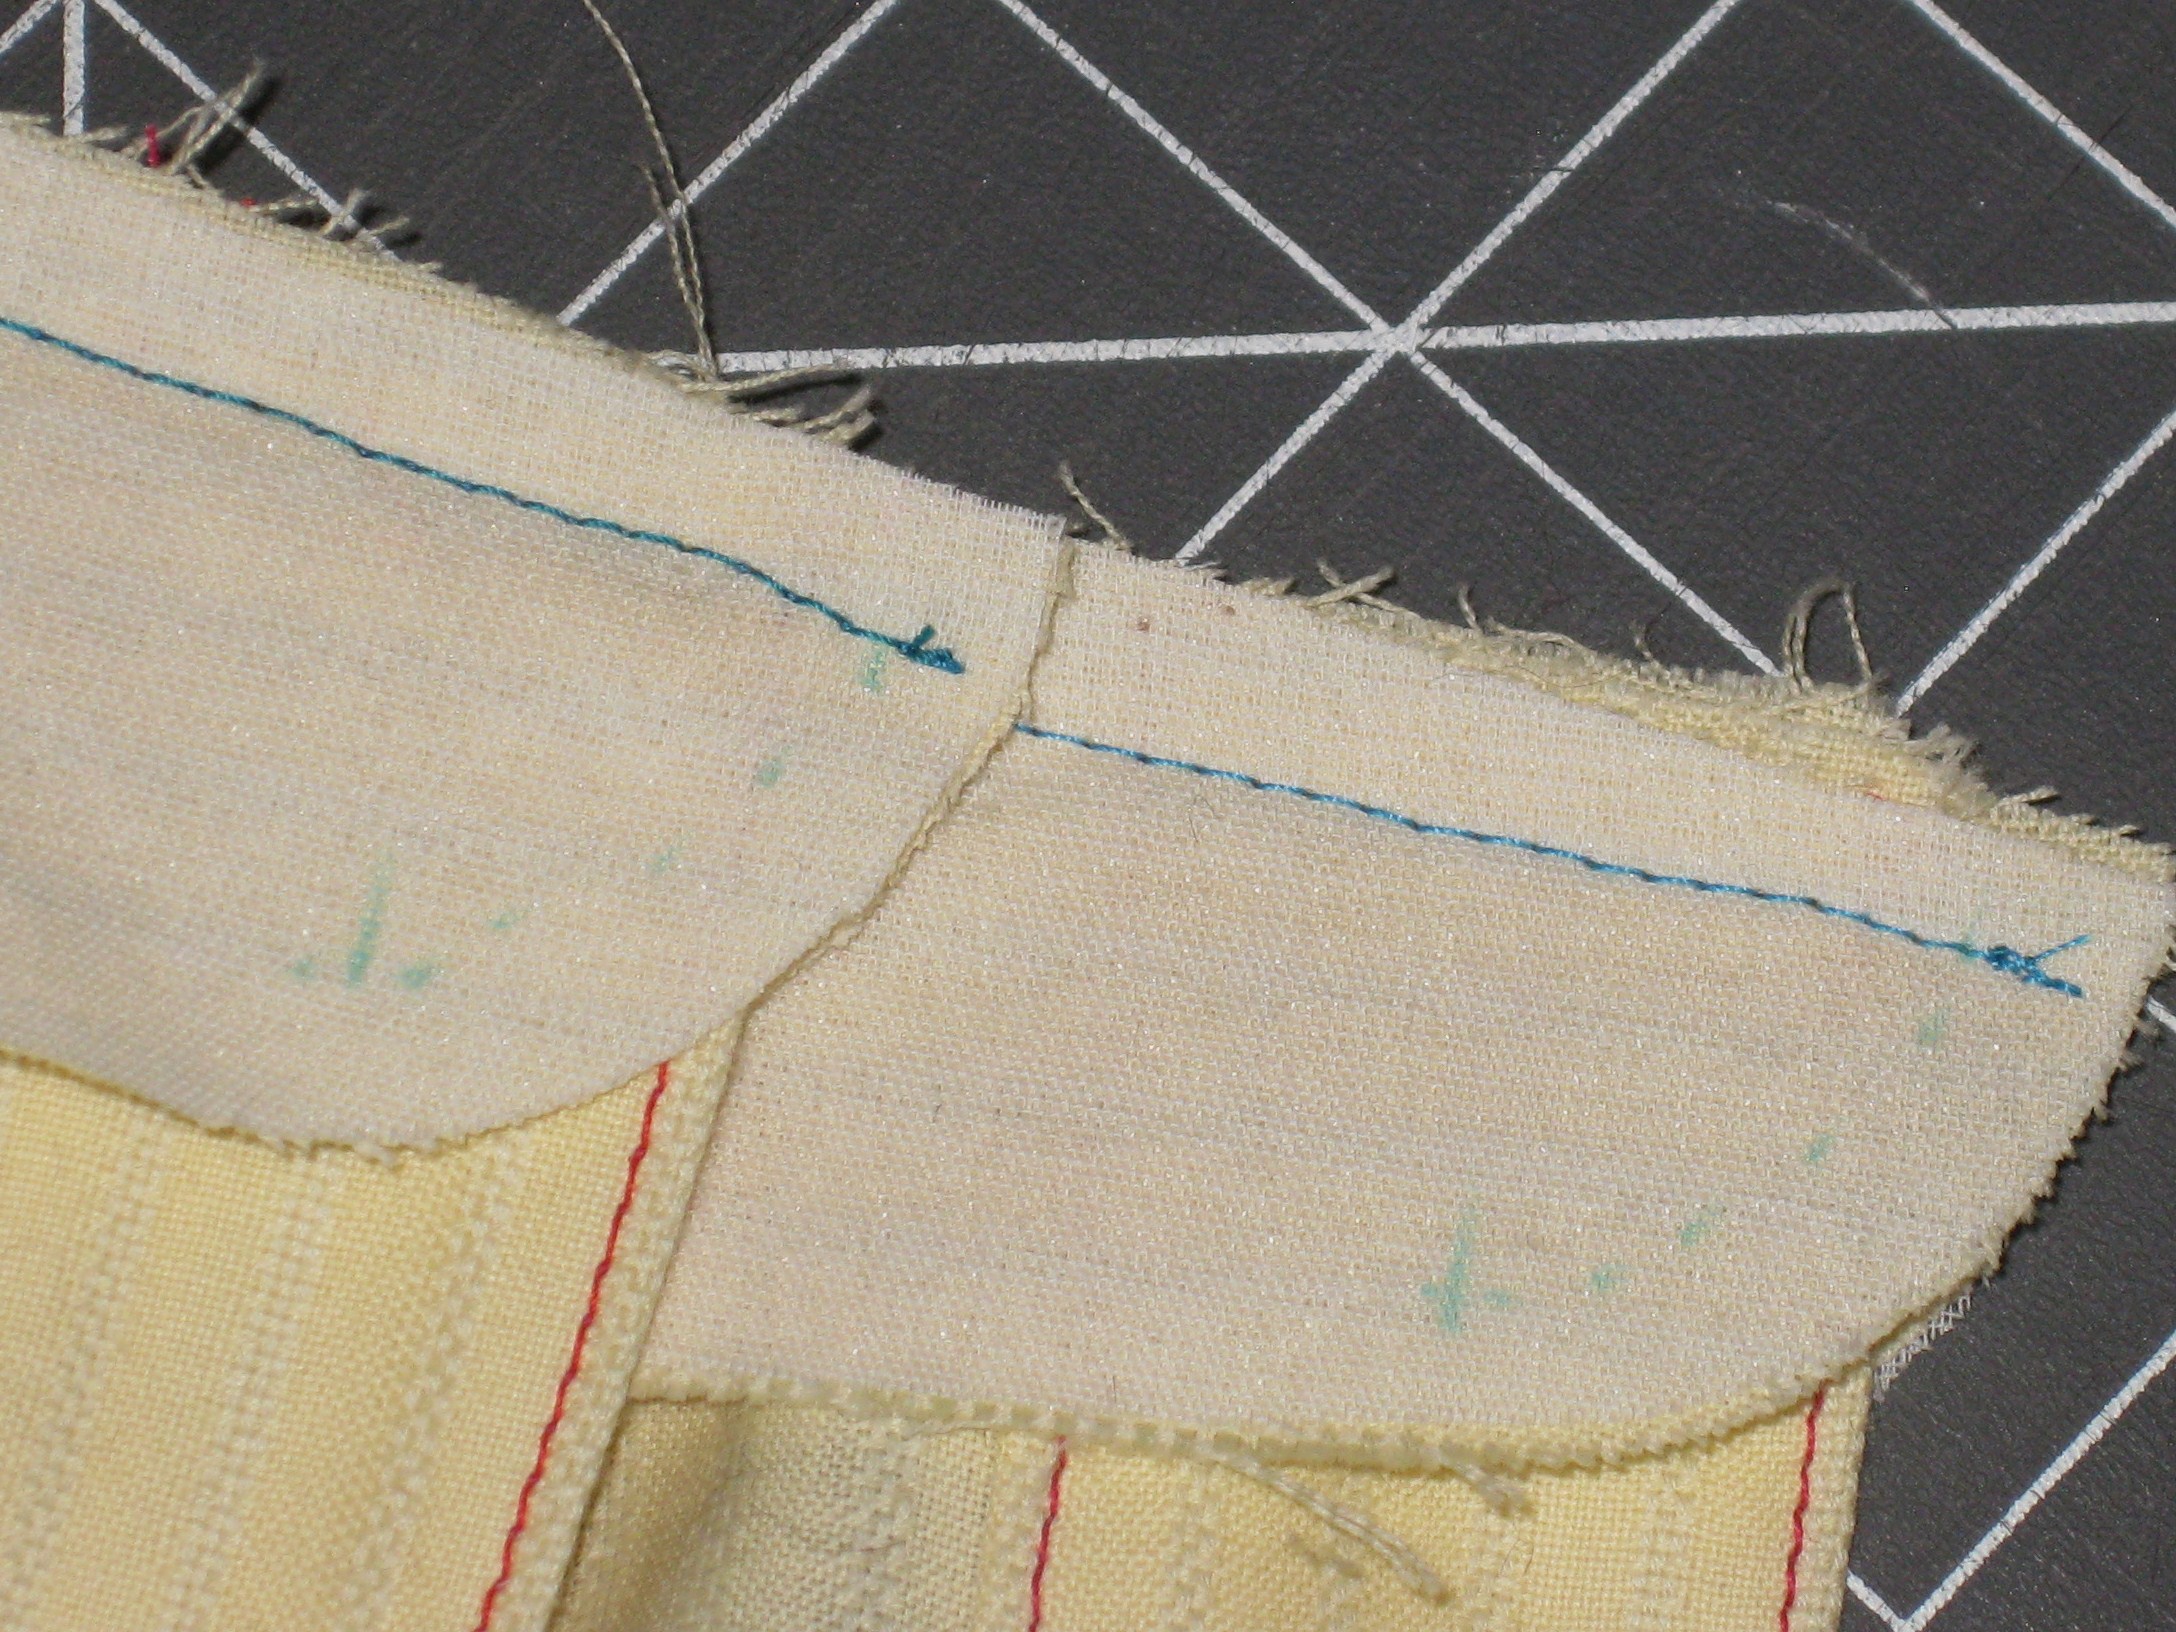
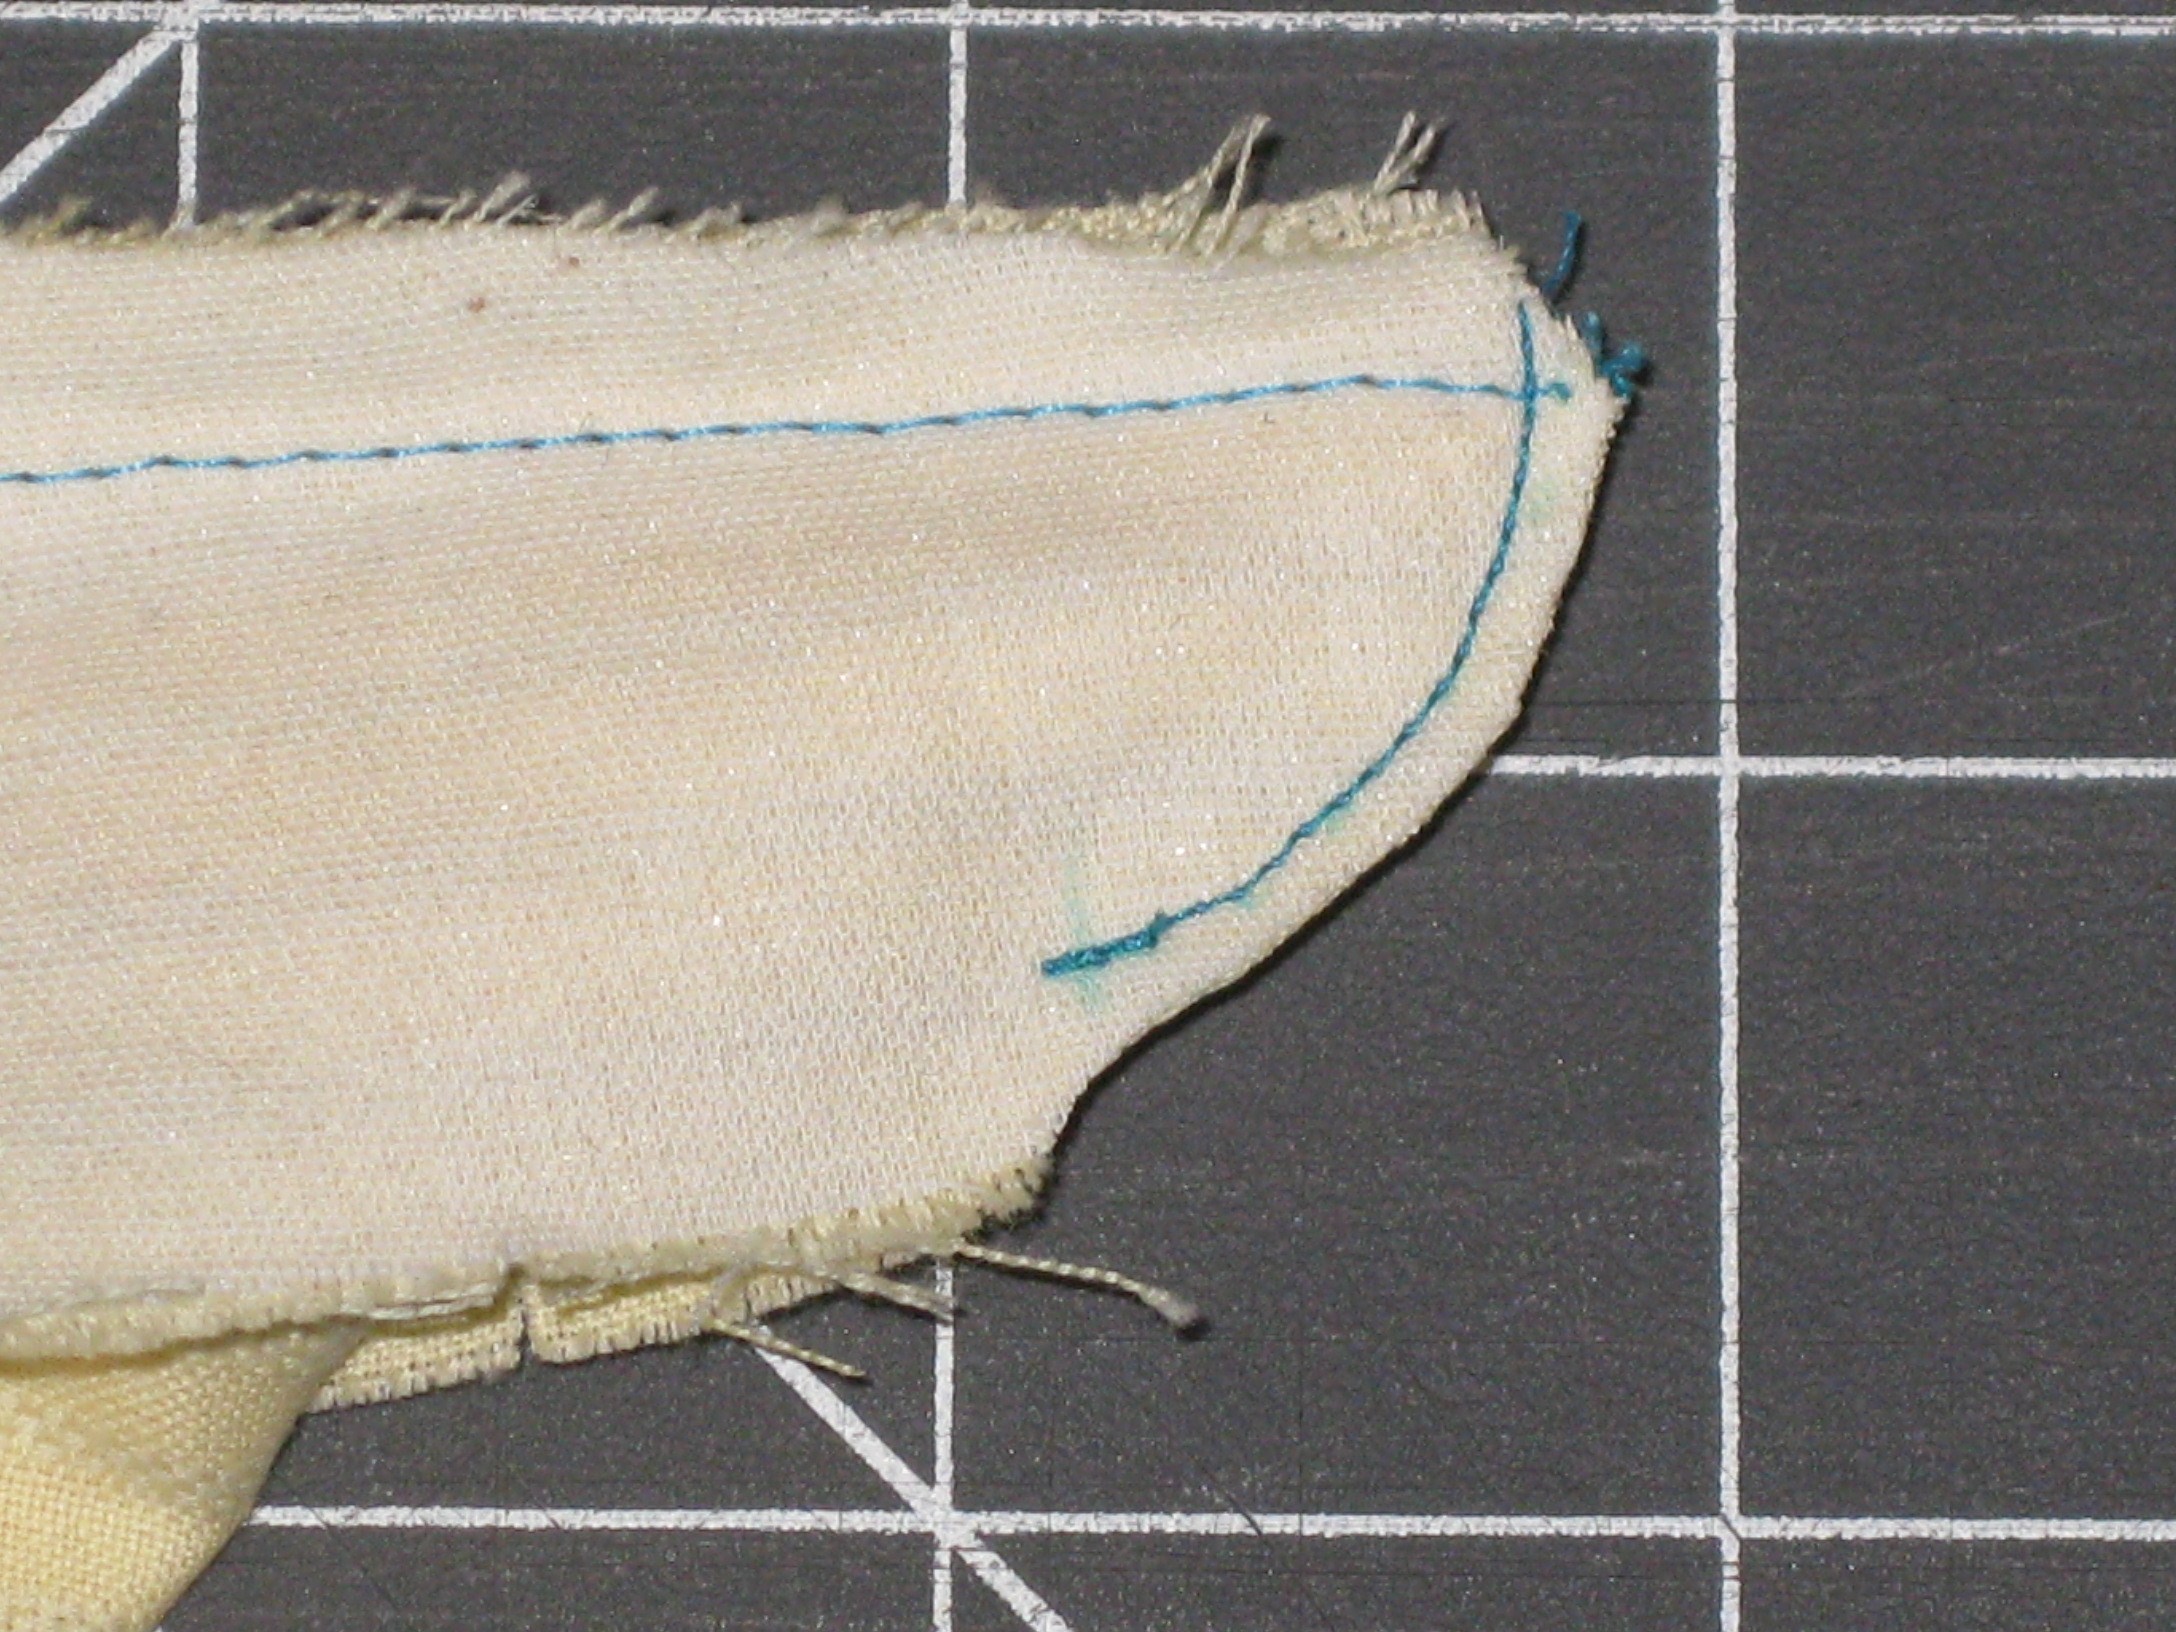
Both ends stitched from neckline to CF. Check the curves match.
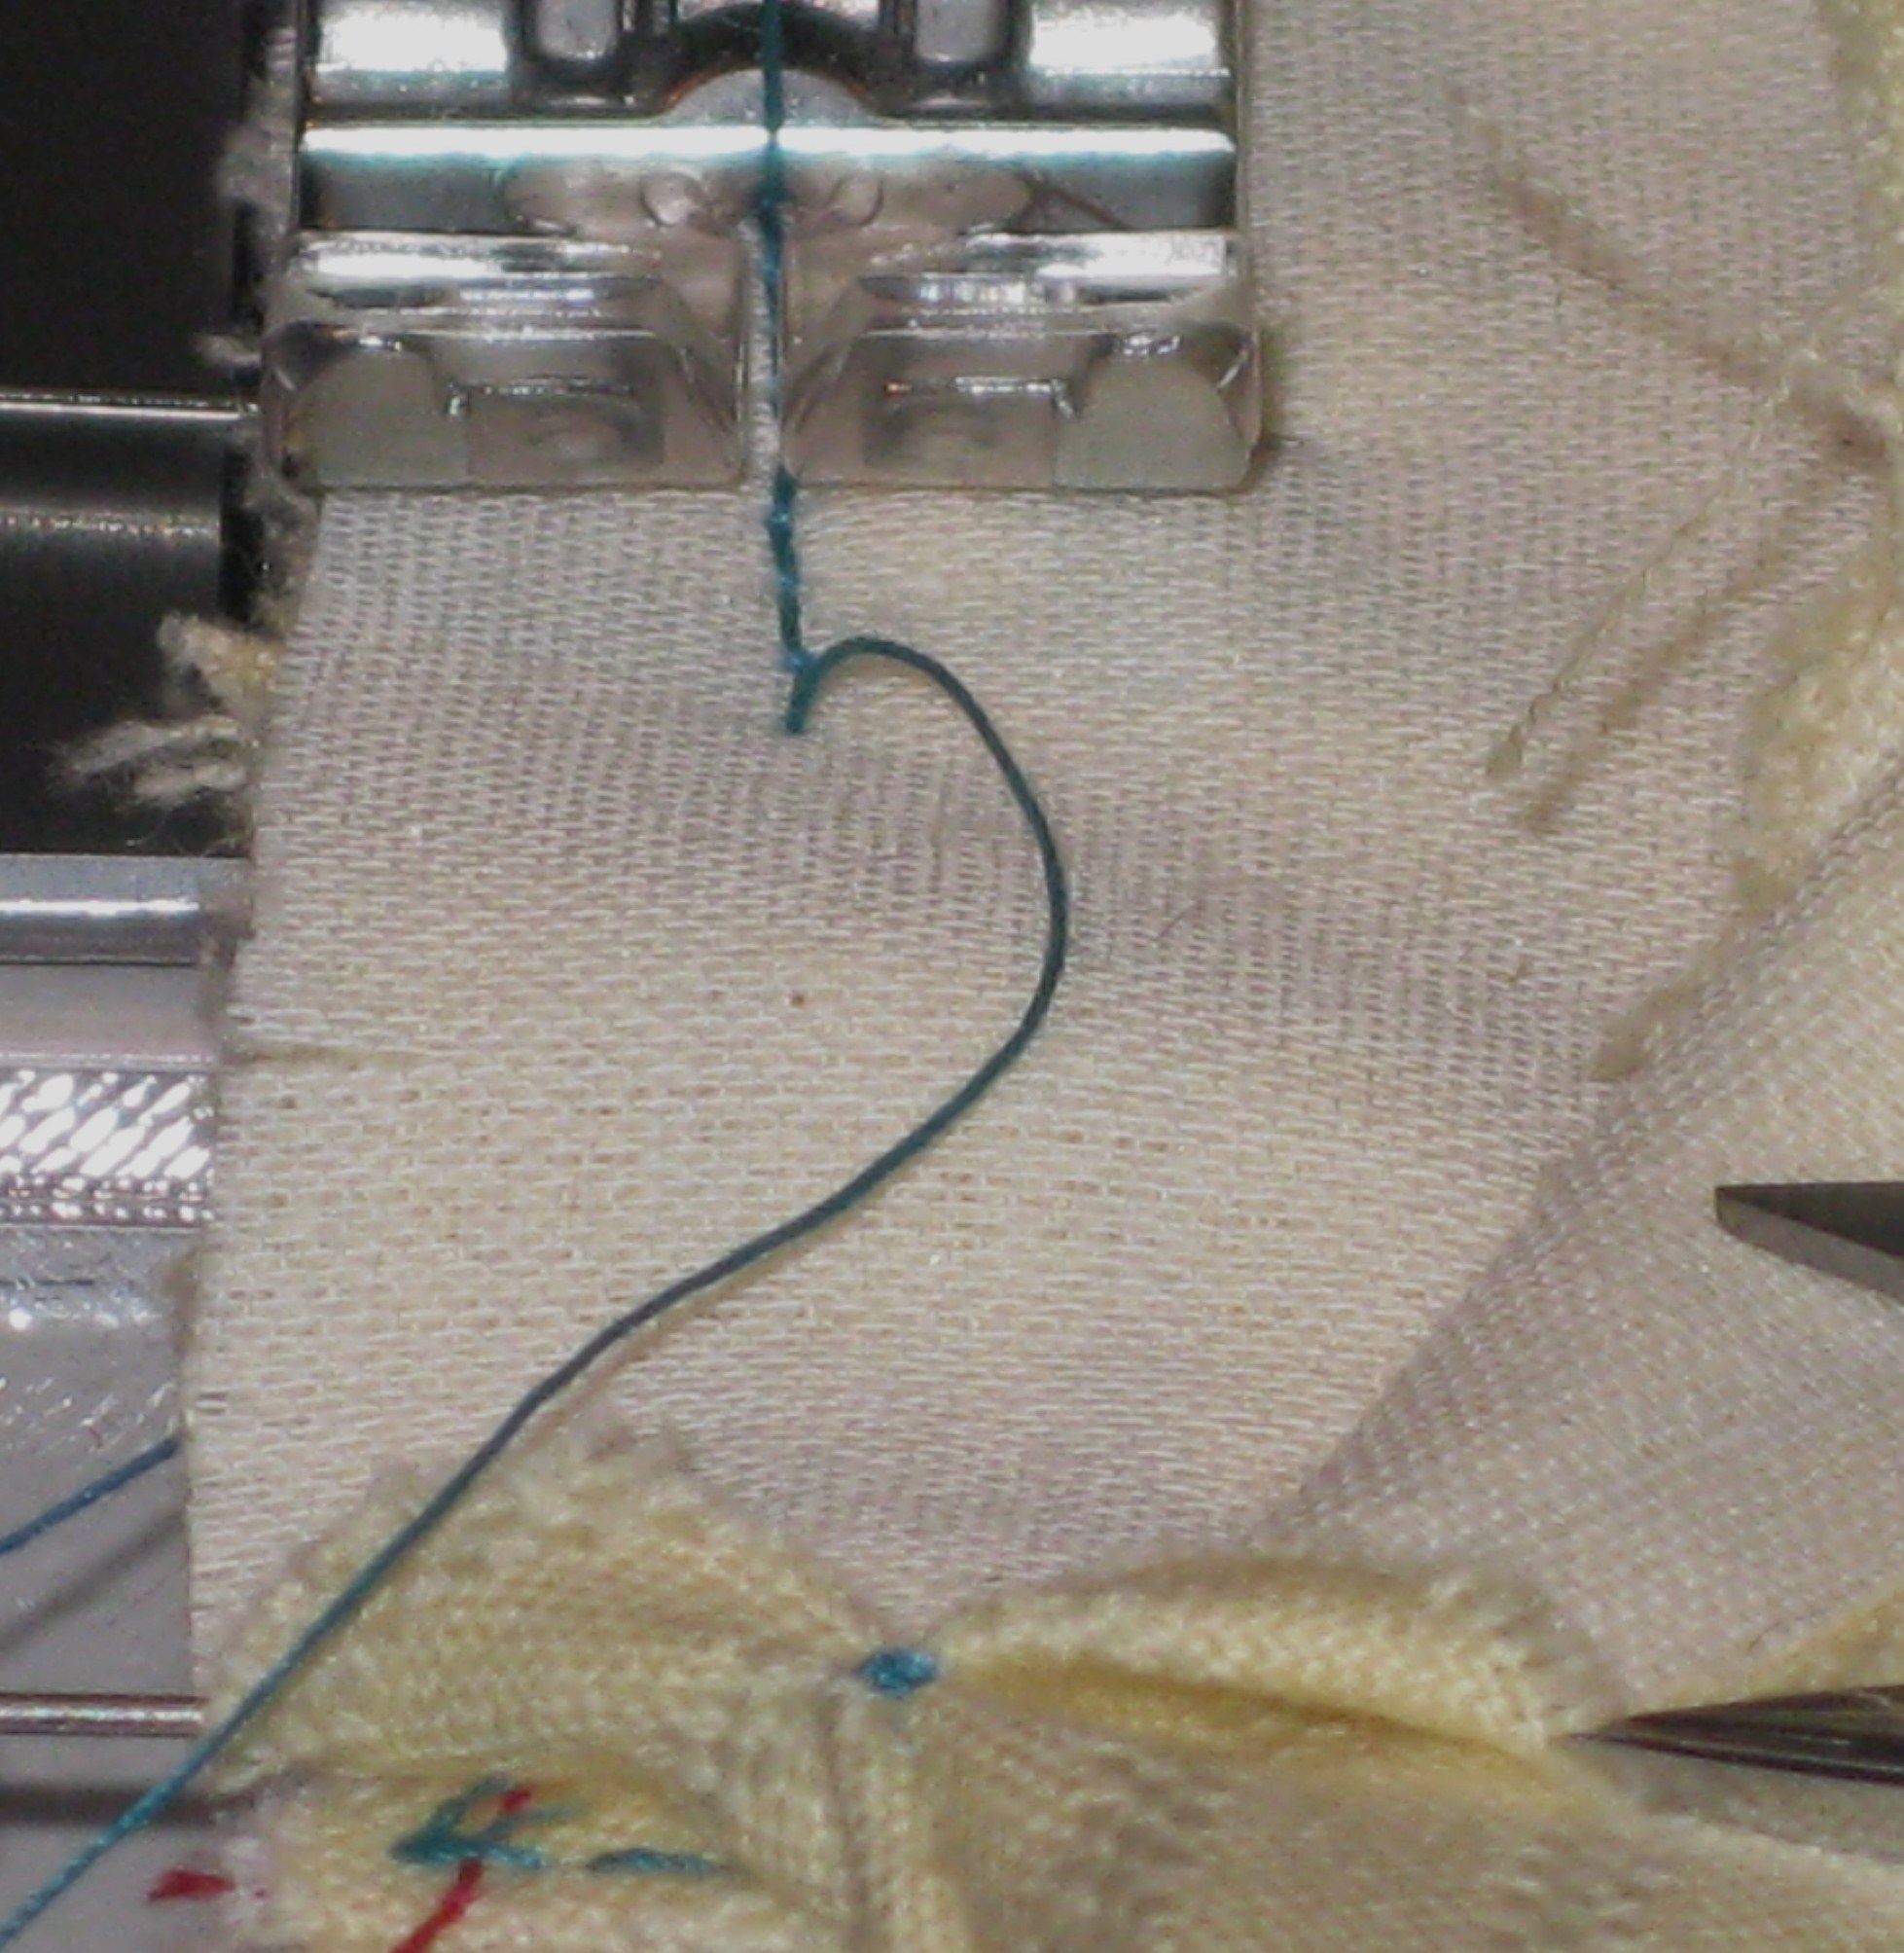
Using small stitches, sew around the marked curve to the collar attachment point. Repeat at the other end. Grade the inside neck stand turnings to collar attachment point. Trim to 3mm (1/8”); clip the curves as needed and trim across the corners.
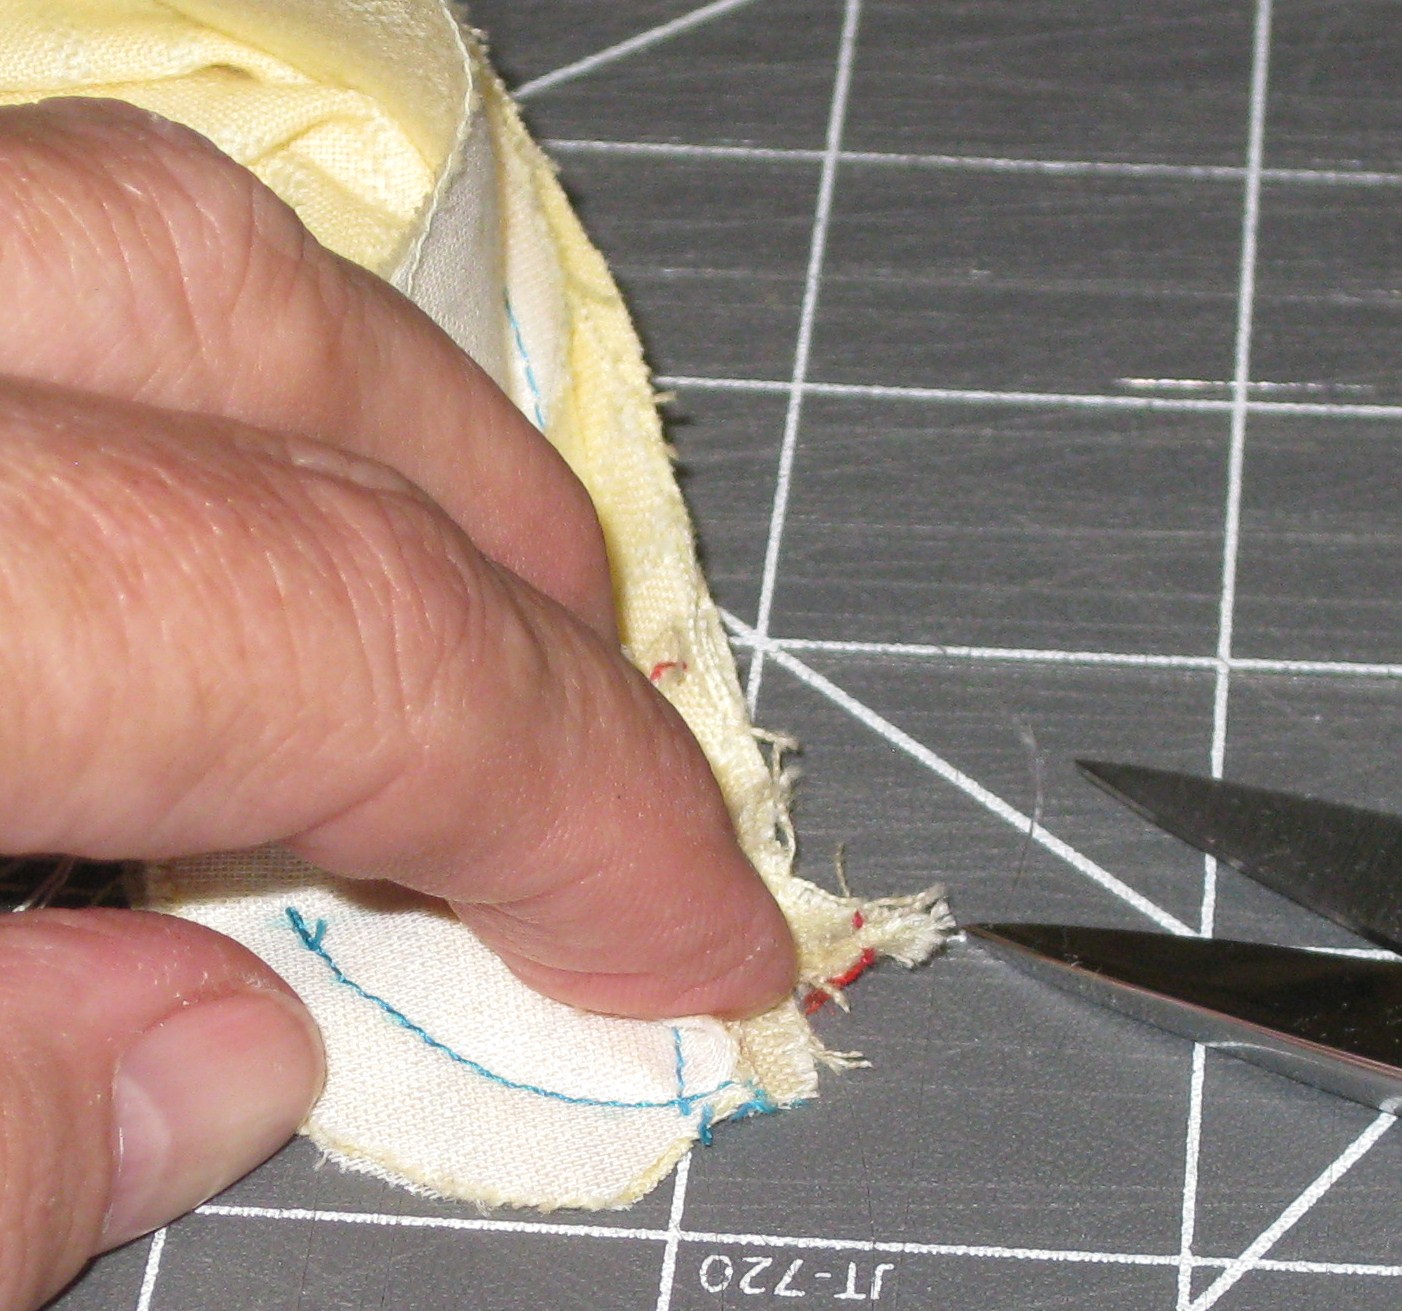
Trim the folded or pieced tab section between the stand seam allowances; clip across turn from neckline into stand.
Clip the curved section quite close to stitching – this section may also be notched on thicker fabric. Do not clip the top of the band to CF as this can cause stress of that point when collar is attached.
Tip: Do not clip to the end of the stitching.
Turn the work right side out and press, taking care not to stretch the unfinished edge of the stand.
Finished collar stand ends.
Lay the shirt on a flat surface, with back closest. Place the collar as it will ultimately sit, with upper collar on top and against the collar stand. Flip the collar towards the inside section of the stand and pin the upper collar to the inside neck of collar stand. Match the centre back, shoulders and front edge with the collar attachment points. Pin to the inside of the stand, leaving the outside stand free.
Shirt RS up on flat surface and collar in place as it will be worn.
Collar flipped to inside neck edge and pinned with upper collar to inside of collar stand.
Machine stitch through all pinned layers, commencing and finishing exactly on the marked points.
Tip: To avoid stretching the collar stand, I find it helpful to start stitching approximately 25mm /1” from the end of the collar to the opposite end. I then reverse the work and stitch back to the original end. Overlap the stitches rather than backstitching.
Start stitching with collar stand on top and approximately 3-4cm/1 1/2″ from edge. Stitch to opposite end of collar. Turn work and stitch the remainder of seam towards the other end of the collar. This avoids the possibility of stretching the end of the stand when positioning the machine foot.
Turn under the edge of outside collar stand 6mm (1/4”) and carefully press with the tip of the iron.
Turn in this edge and place the fold on the row of machine stitching. Pin in place and slip-stitch or tack in place before top stitching the stand.
When making buttonholes, stitch buttonhole on inside of collar stand so that right side of buttonhole is showing when garment is worn open at the neck.
Cllosed at neck
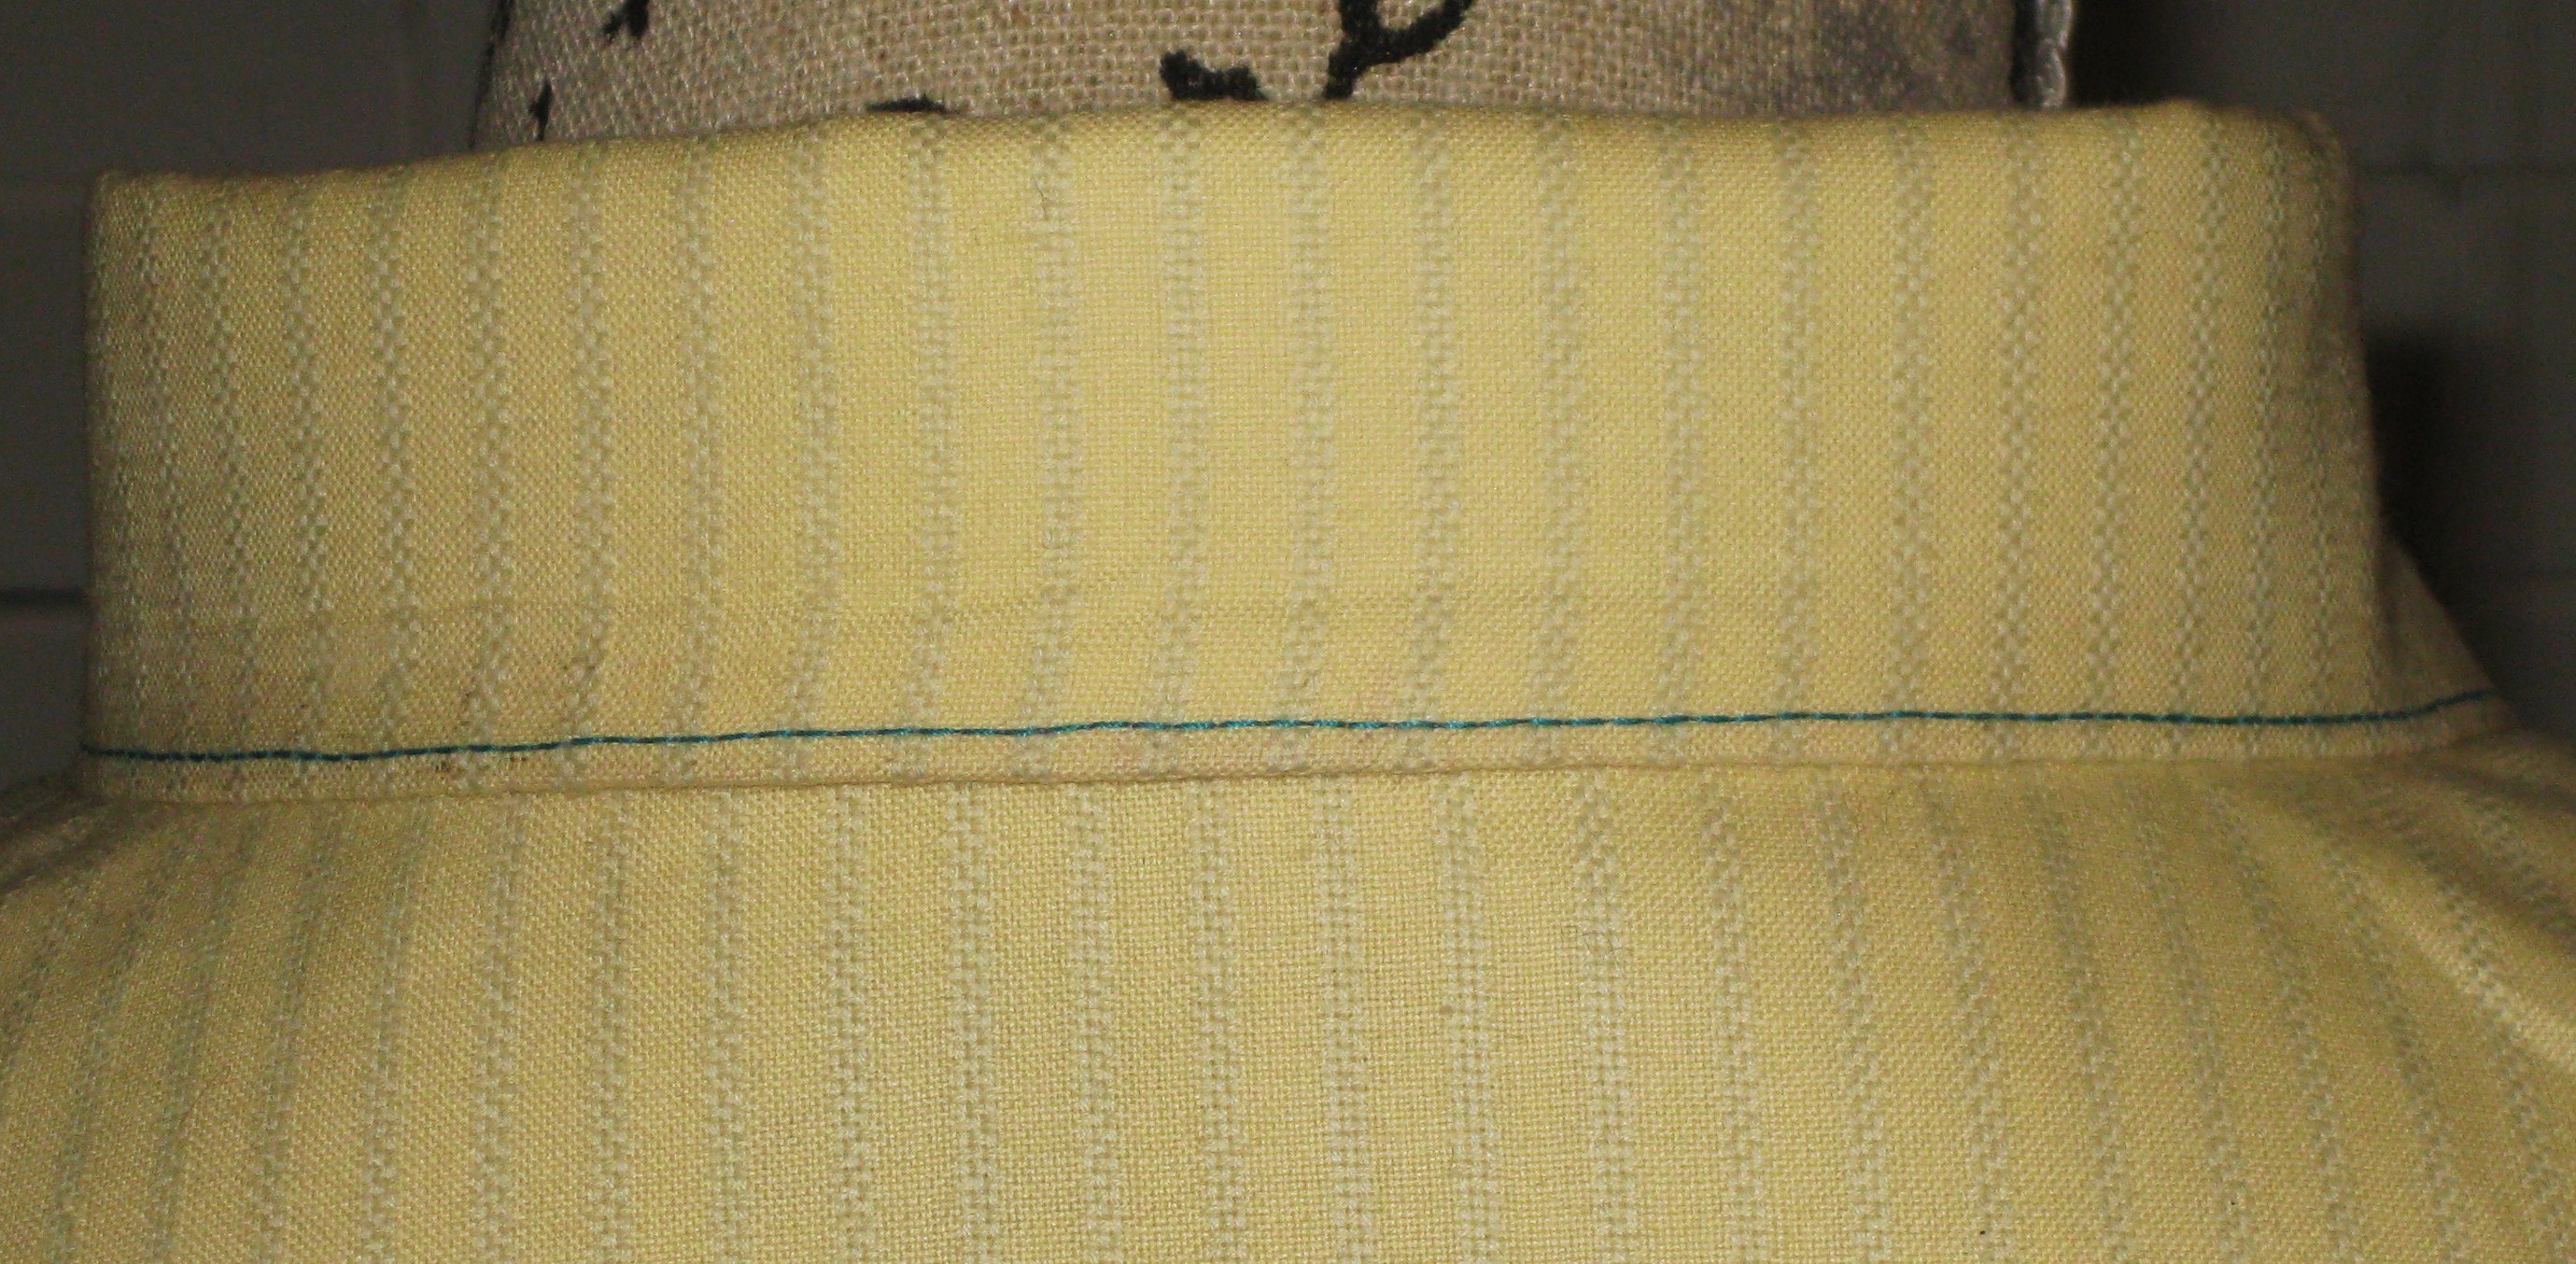
Back – collar stand rolls nicely with no hint of under collar showing.
Collar turned up at the back

Side view with collar turned up at the back
