
Most texts covering the use of bias cut recommend soft, fluid fabrics – including georgette, crepe de chine, silk satin (charmeuse), challis and crepe-back satin – which drape beautifully when cut on the bias. I have also used linen and cotton with pleasing results.
Bias refers to any diagonal intersection of lengthwise and crosswise threads. True bias is when the fabric is folded diagonally so the crosswise threads are exactly 90° to the lengthwise ones.
Woven fabrics have the greatest amount of stretch along the true bias grain which accounts for the drape, comfort and body moulding properties of a bias-cut garment.
There is little difference in the drape of knit fabric cut on the bias to that cut on the lengthwise or crosswise grain. This does not mean they do not work in these styles. They are actually great for achieving dramatic effects with striped knits, especially Missoni fabric.
In addition to the beautiful drape of bias-cut garments,

Bias garments mould the figure and flow into a beautiful heavy drape towards the hemline.
There are two very practical benefits to sewing with bias. First, since bias edges won’t ravel, seam finishes are completely unnecessary. Secondly, bias-cut garments wrinkle far less than their straight-grain counterparts.
Pattern Selection:
Bias cut is best suited to styles which will mould close to the body. Cowl draping and skirts with fullness at the hem (frequently using godets) are common styles using bias cut. This will be mentioned in the description of the garment on the back of the pattern envelope.
Pattern description mentions “bias”.
Grainlines for the specific pattern pieces will be marked with the grain line on the bias.
However, you can adapt any pattern by redrawing grainlines at 45° to the original grainline.
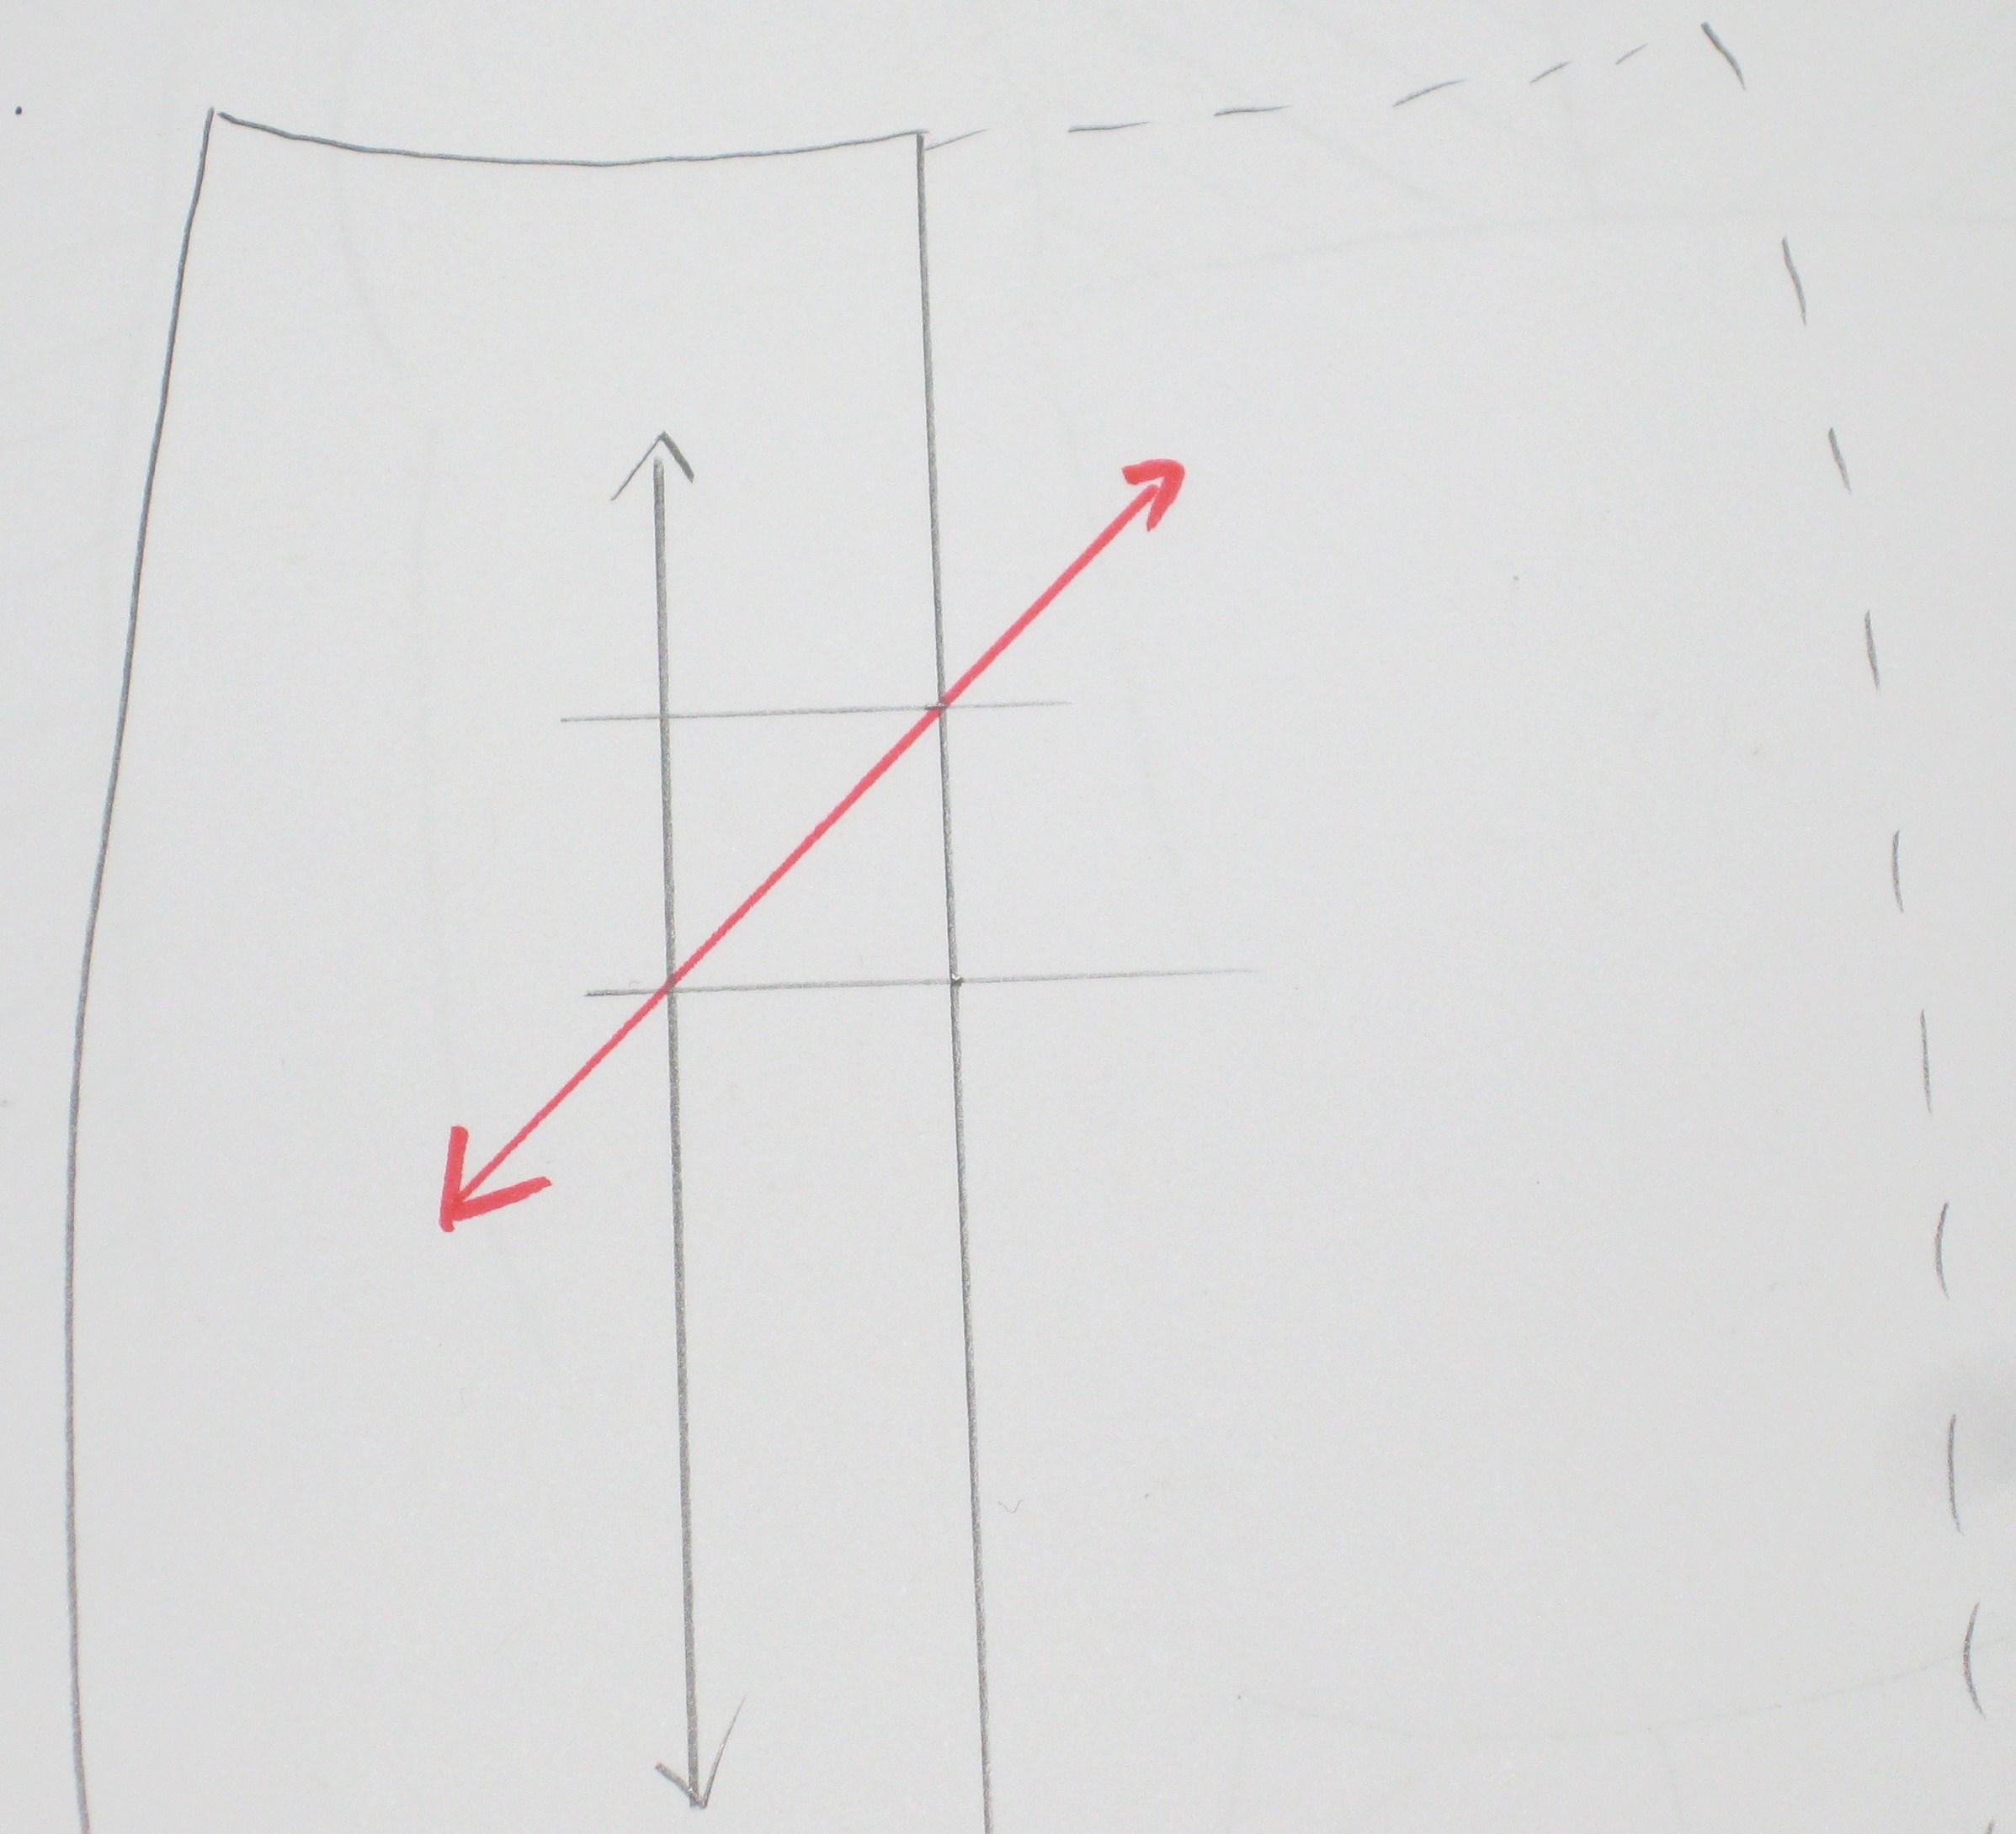
To draw a bias grain line, make a small 1″/2cm square box on the side of the existing grain line. Place ruler on opposite diagonal corners and draw a bias grain line.
Cutting and Marking:
Fabric must be perfectly on grain.
To avoid distorting the fabric, work on a large, flat cutting surface and cover it with tissue paper. Either tape the tissue to the surface or use a gridded dressmakers’ cutting board – an excellent tool to keep the fabric perfectly in place. Once the fabric is correctly postioned, it can be pinned into the board or to the taped down tissue paper. Do not allow any fabric to fall off the edge of the cutting surface.
For better control of the bias direction with individual pieces, cut your garment using a single layer layout. If the pattern does not provide individual pattern pieces for each section to be seamed and for pieces to be cut on the fold, trace additional pattern pieces on greaseproof paper – paying particular attention to the grain lines.
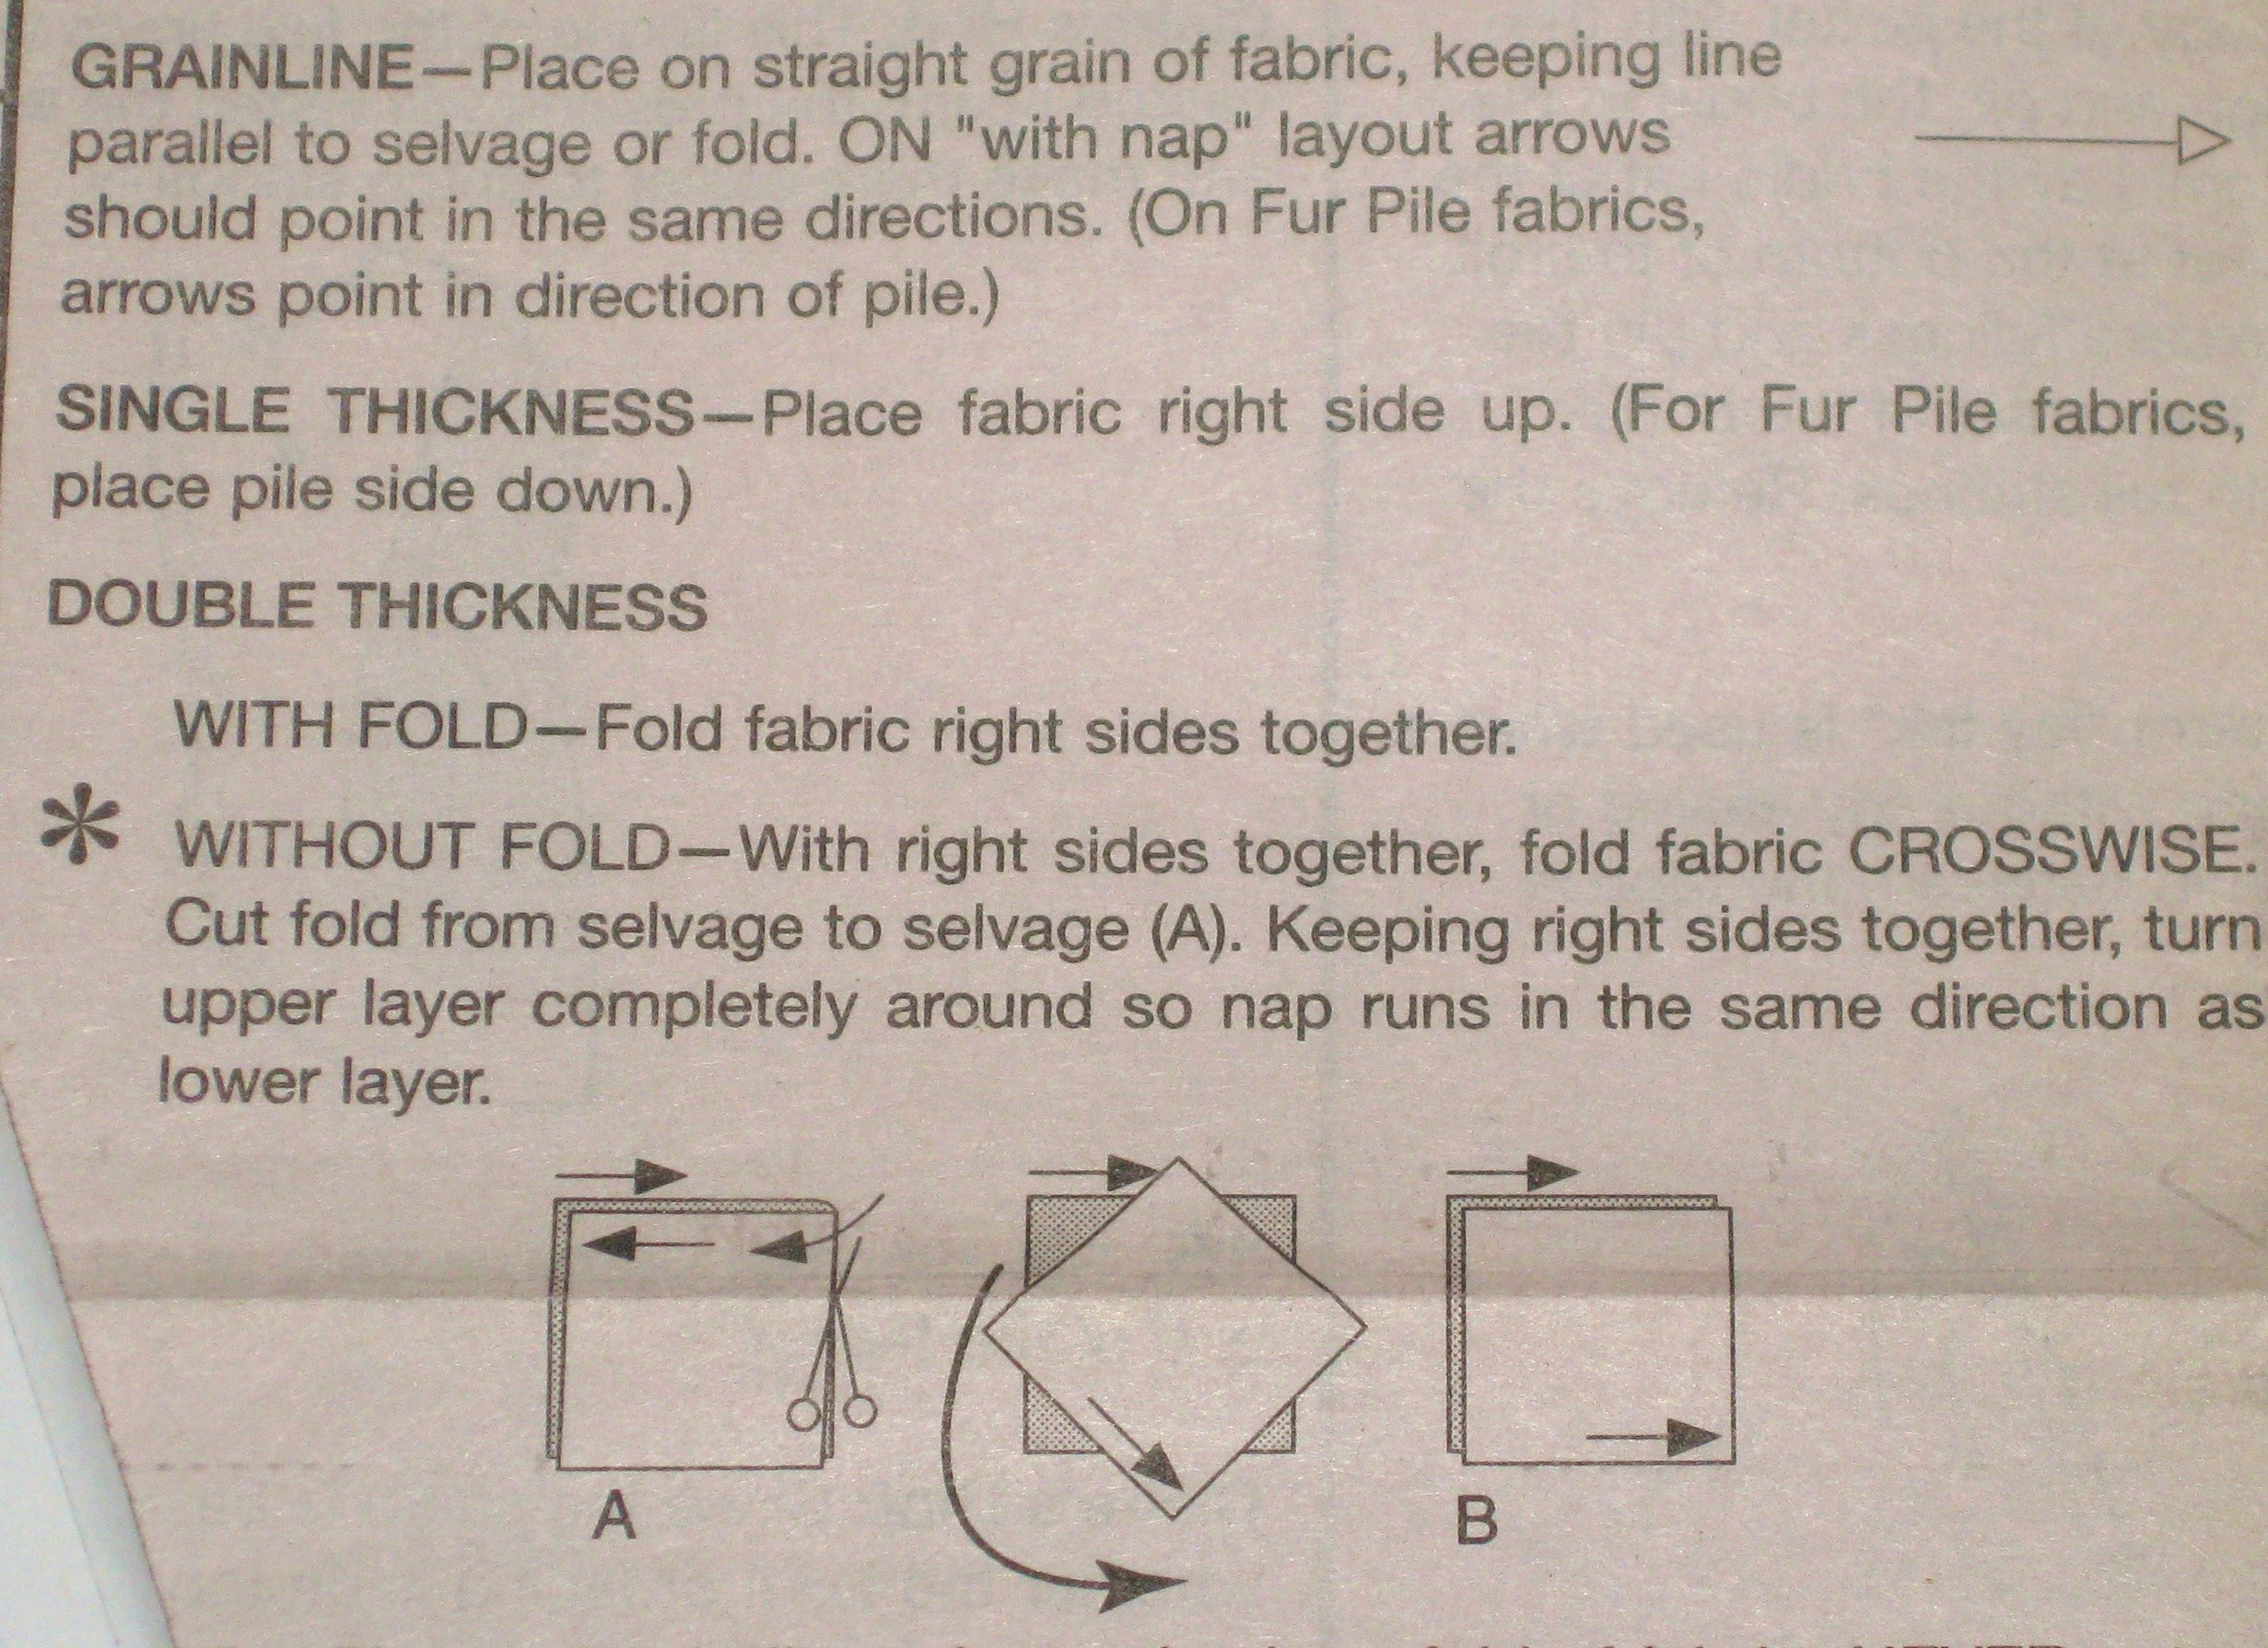
Guidesheet description of fabric layout – note No Fold option – cut and turn fabric before placing right sides together.
To minimize the problem of one side stretching more than the other, place the right and left pattern pieces at right angles to each other.
Extra care taken in the layout stage will make sewing easier.
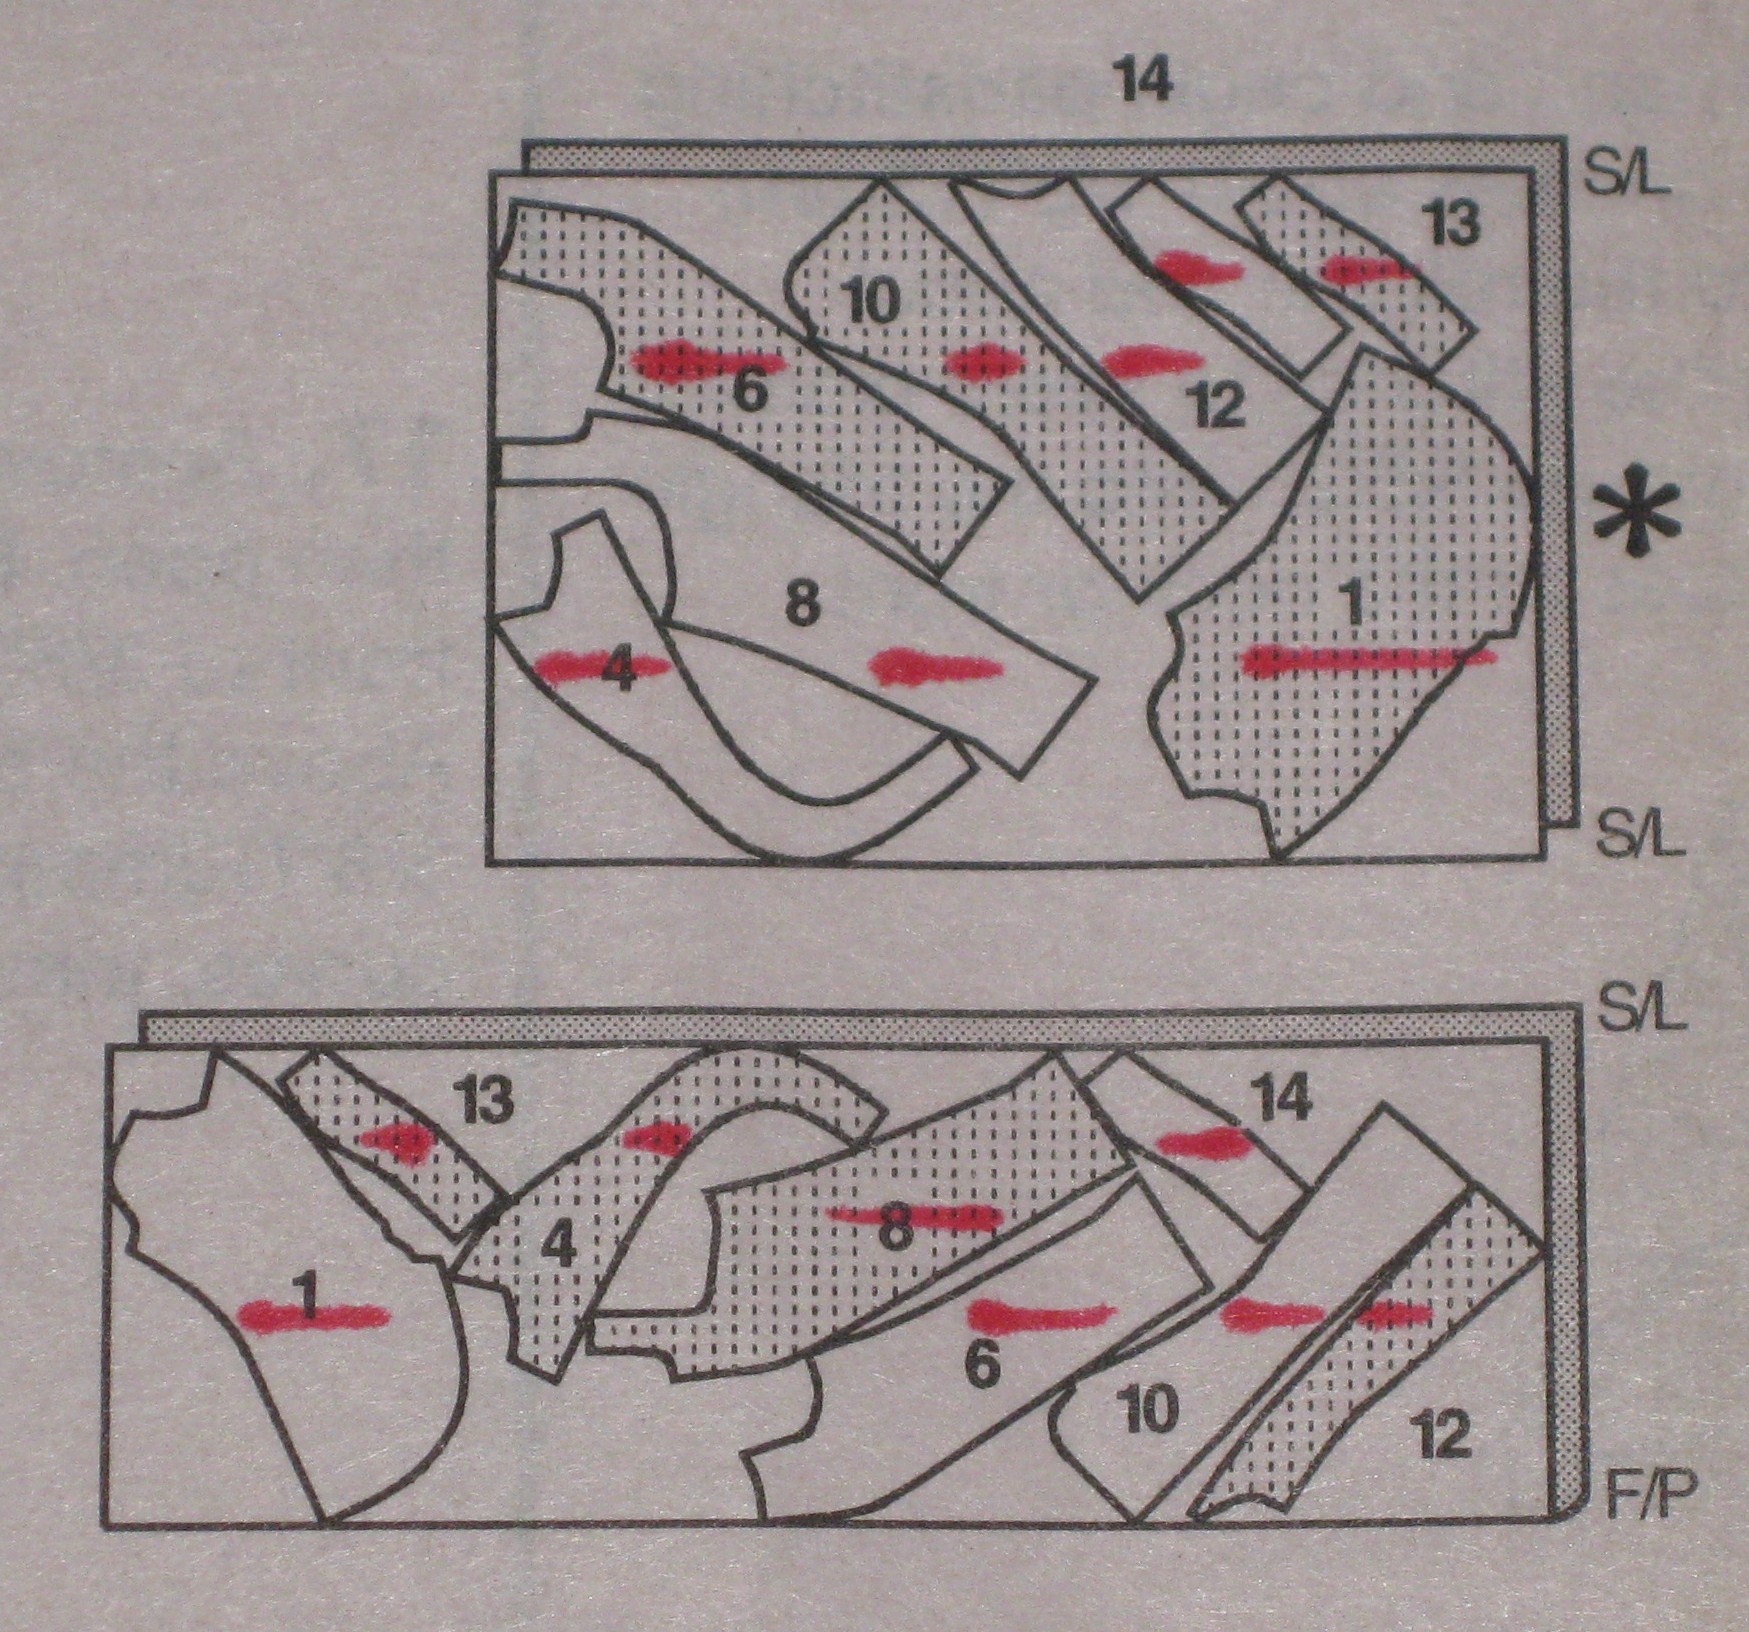
Bias layout – grainlines parallel to selvage.
Increase all vertical seam allowances to 1 ½” (8cm) to allow for any fitting adjustments caused the stretching of the bias. When fabric is cut along the bias, the intersecting threads fan out, elongating the cut edge. Moving the stitching line father away from this “expansion” will help eliminate rippled seams later on.
Pin the fabric with right side facing up to tissue paper (again checking that the grain lines are perfect – selvage and cross grain edges are at right angles and the fabric is anchored to the cutting surface either with tape or pins).
Cut the fabric and tissue paper as one, leaving tissue attached until stay stitching is completed. Do not worry about ruining your scissors by cutting the tissue. Polyester and silk fabric will blunt your shears anyway.
Using shears with one serrated blade is a great help as the serration stops the fabric moving and sliding as it does across the smooth blade when the shears are closed. 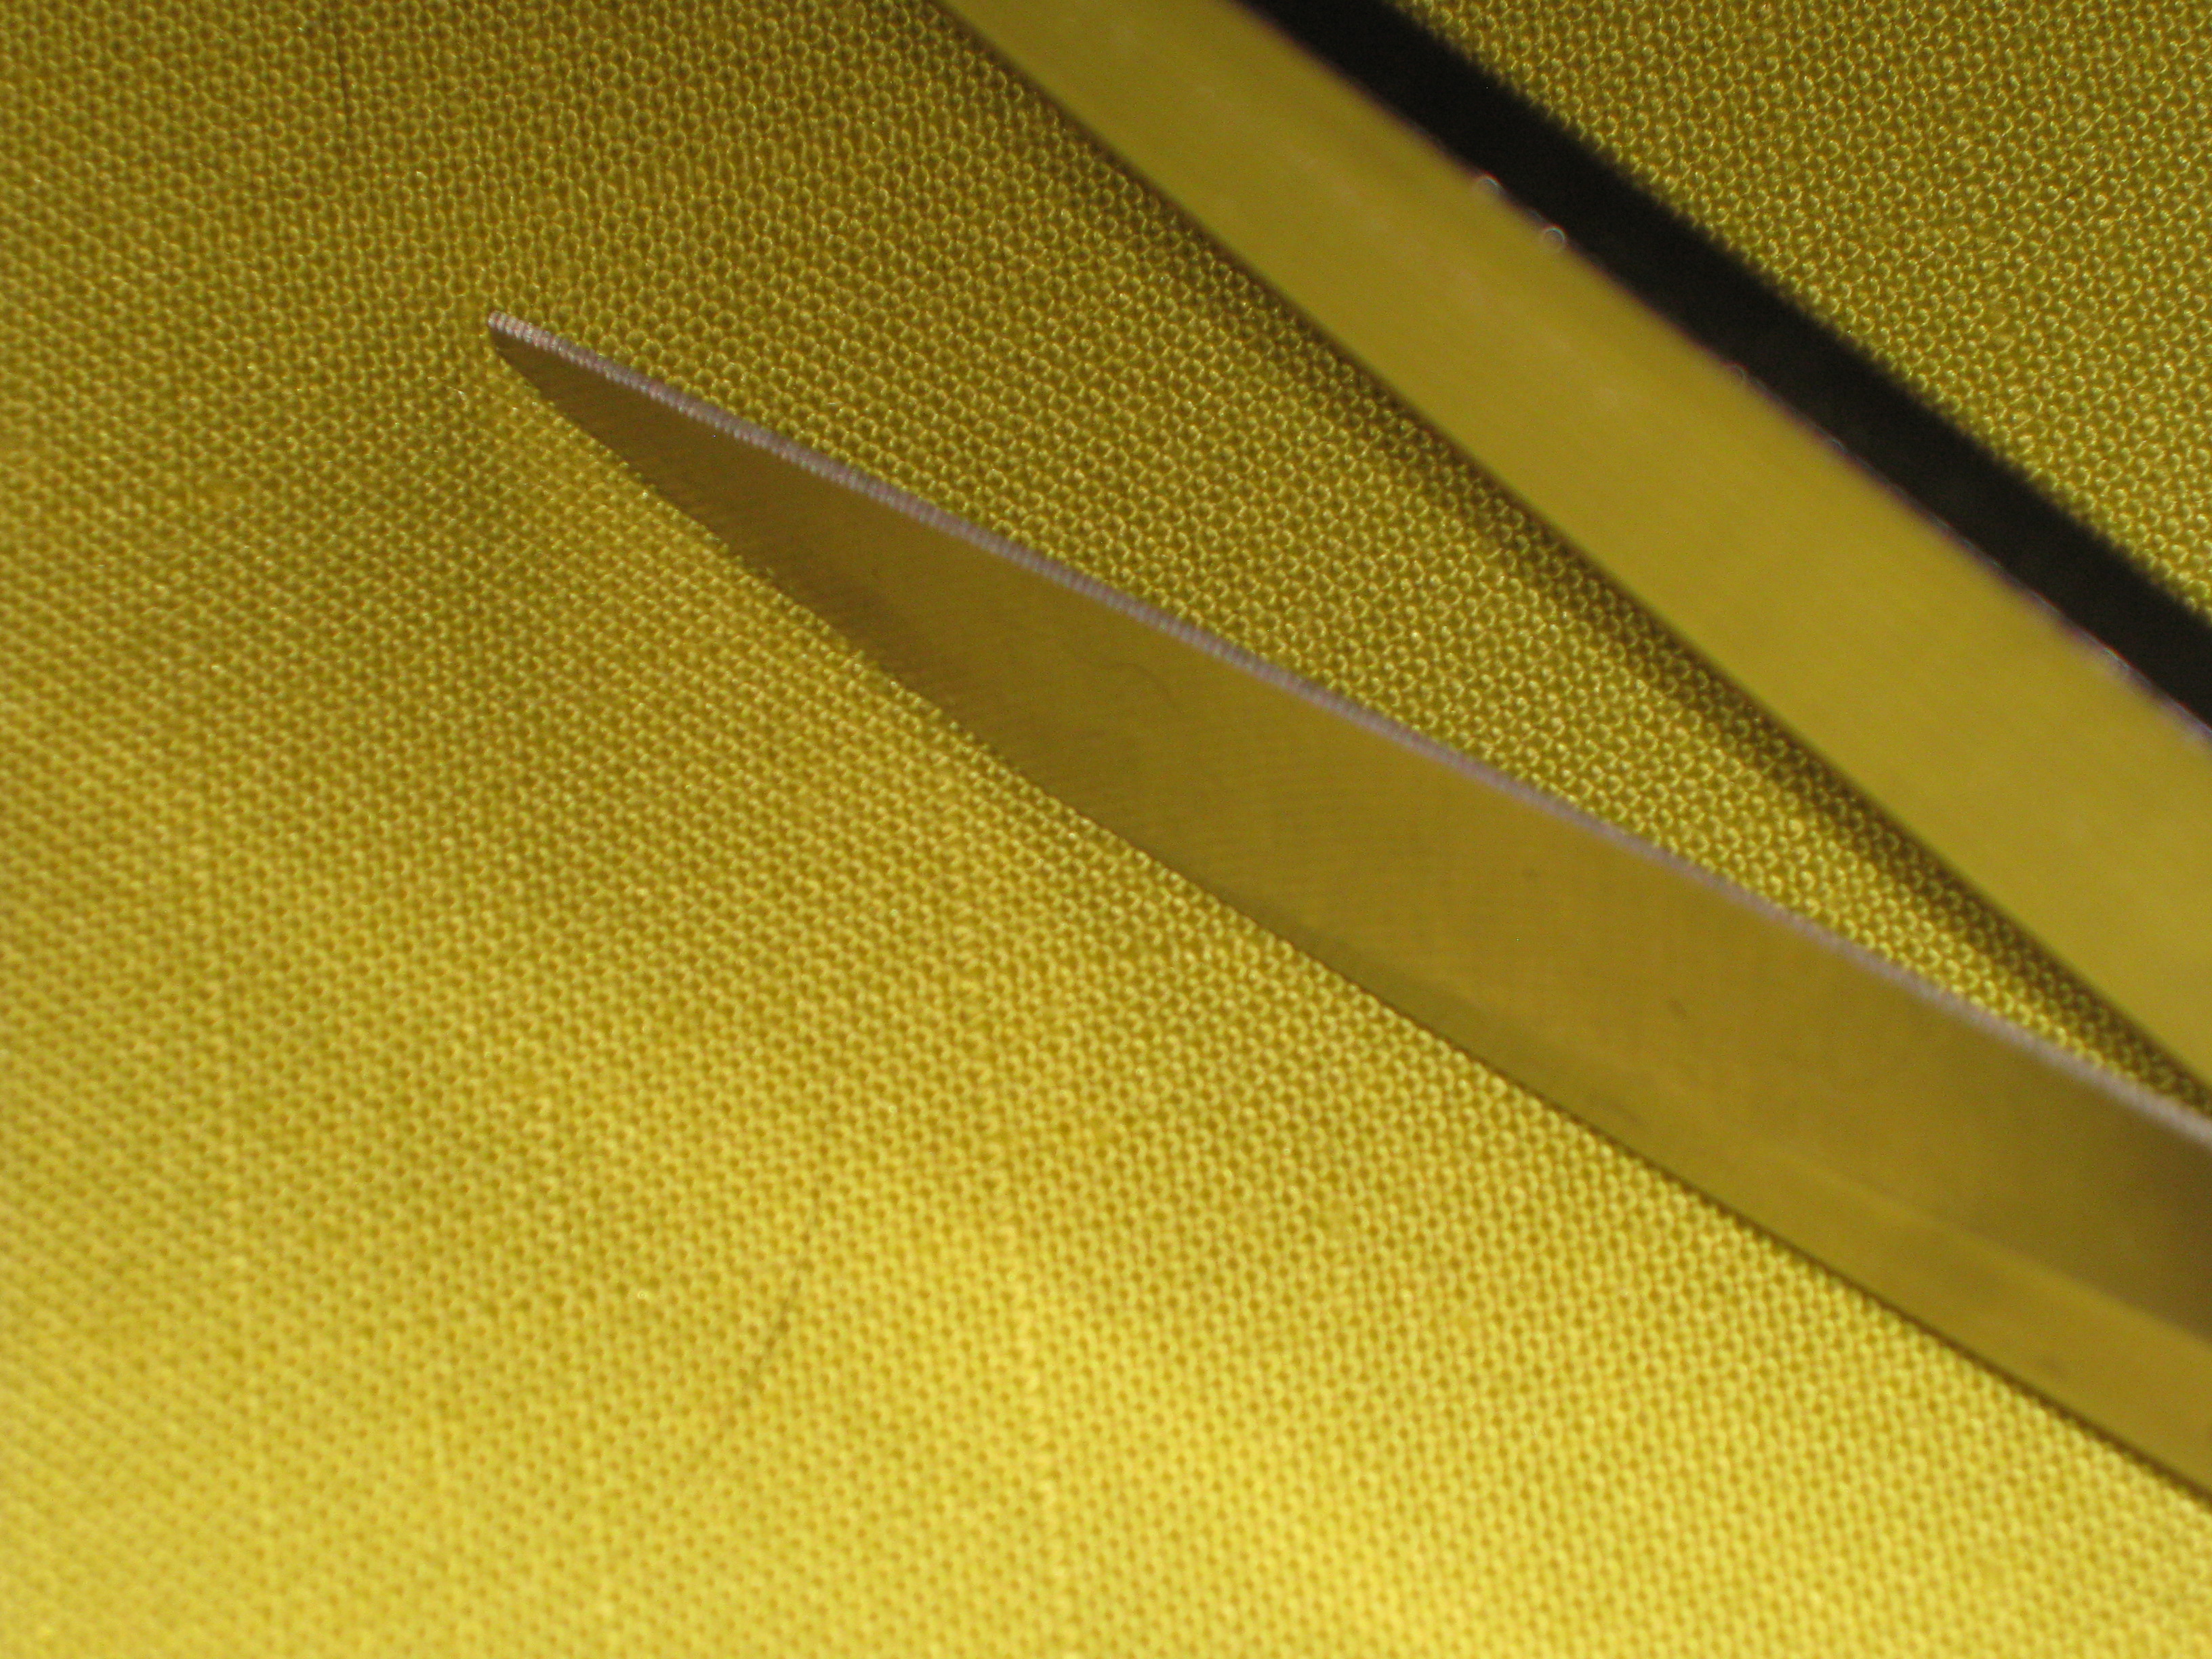
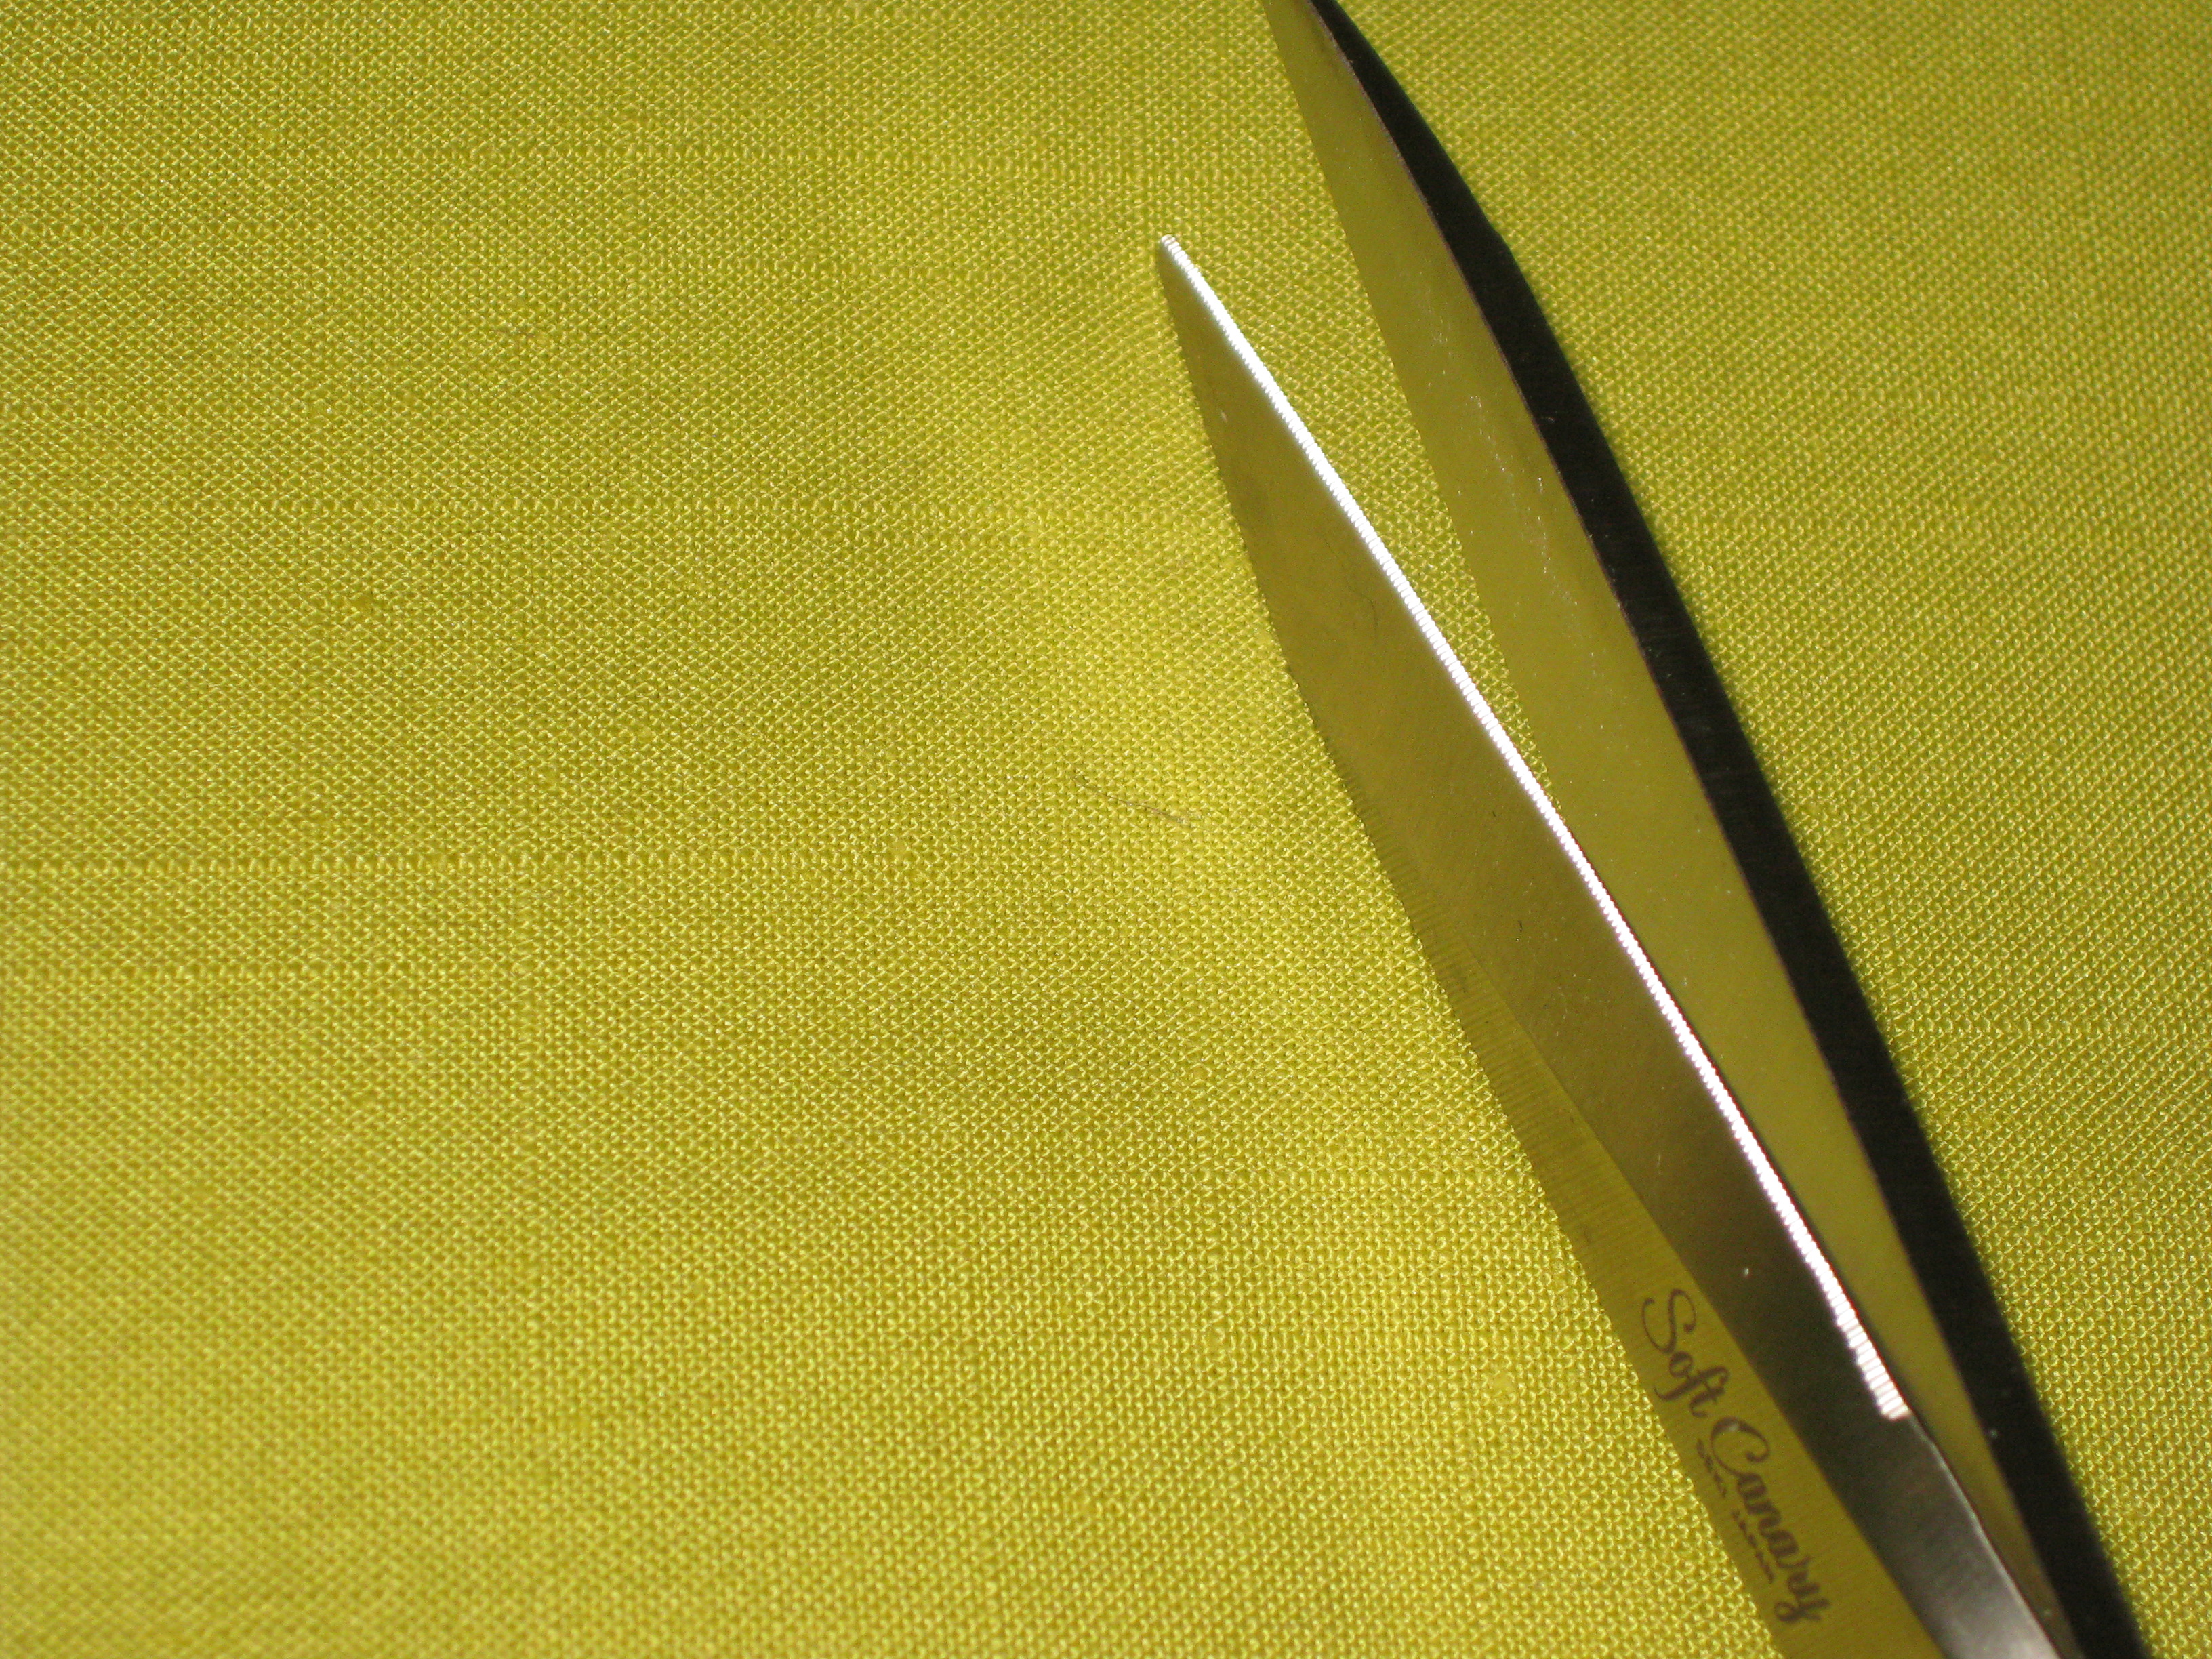
Serrated blade.
Mark all stitching lines before removing the pattern from the fabric. Thread tracing, chalk or tracing paper and a tracing wheel are all good choices – test different methods on a scrap of fabric first to see which will best suit your project.
Stitching:
The key to successful bias sewing is to work with the stretch, not against it.
Begin by stay stitching any seam that will not land vertically on the finished garment – includes necklines, armholes, waistlines and asymmetrical seams – do this before removing the stabiliser.
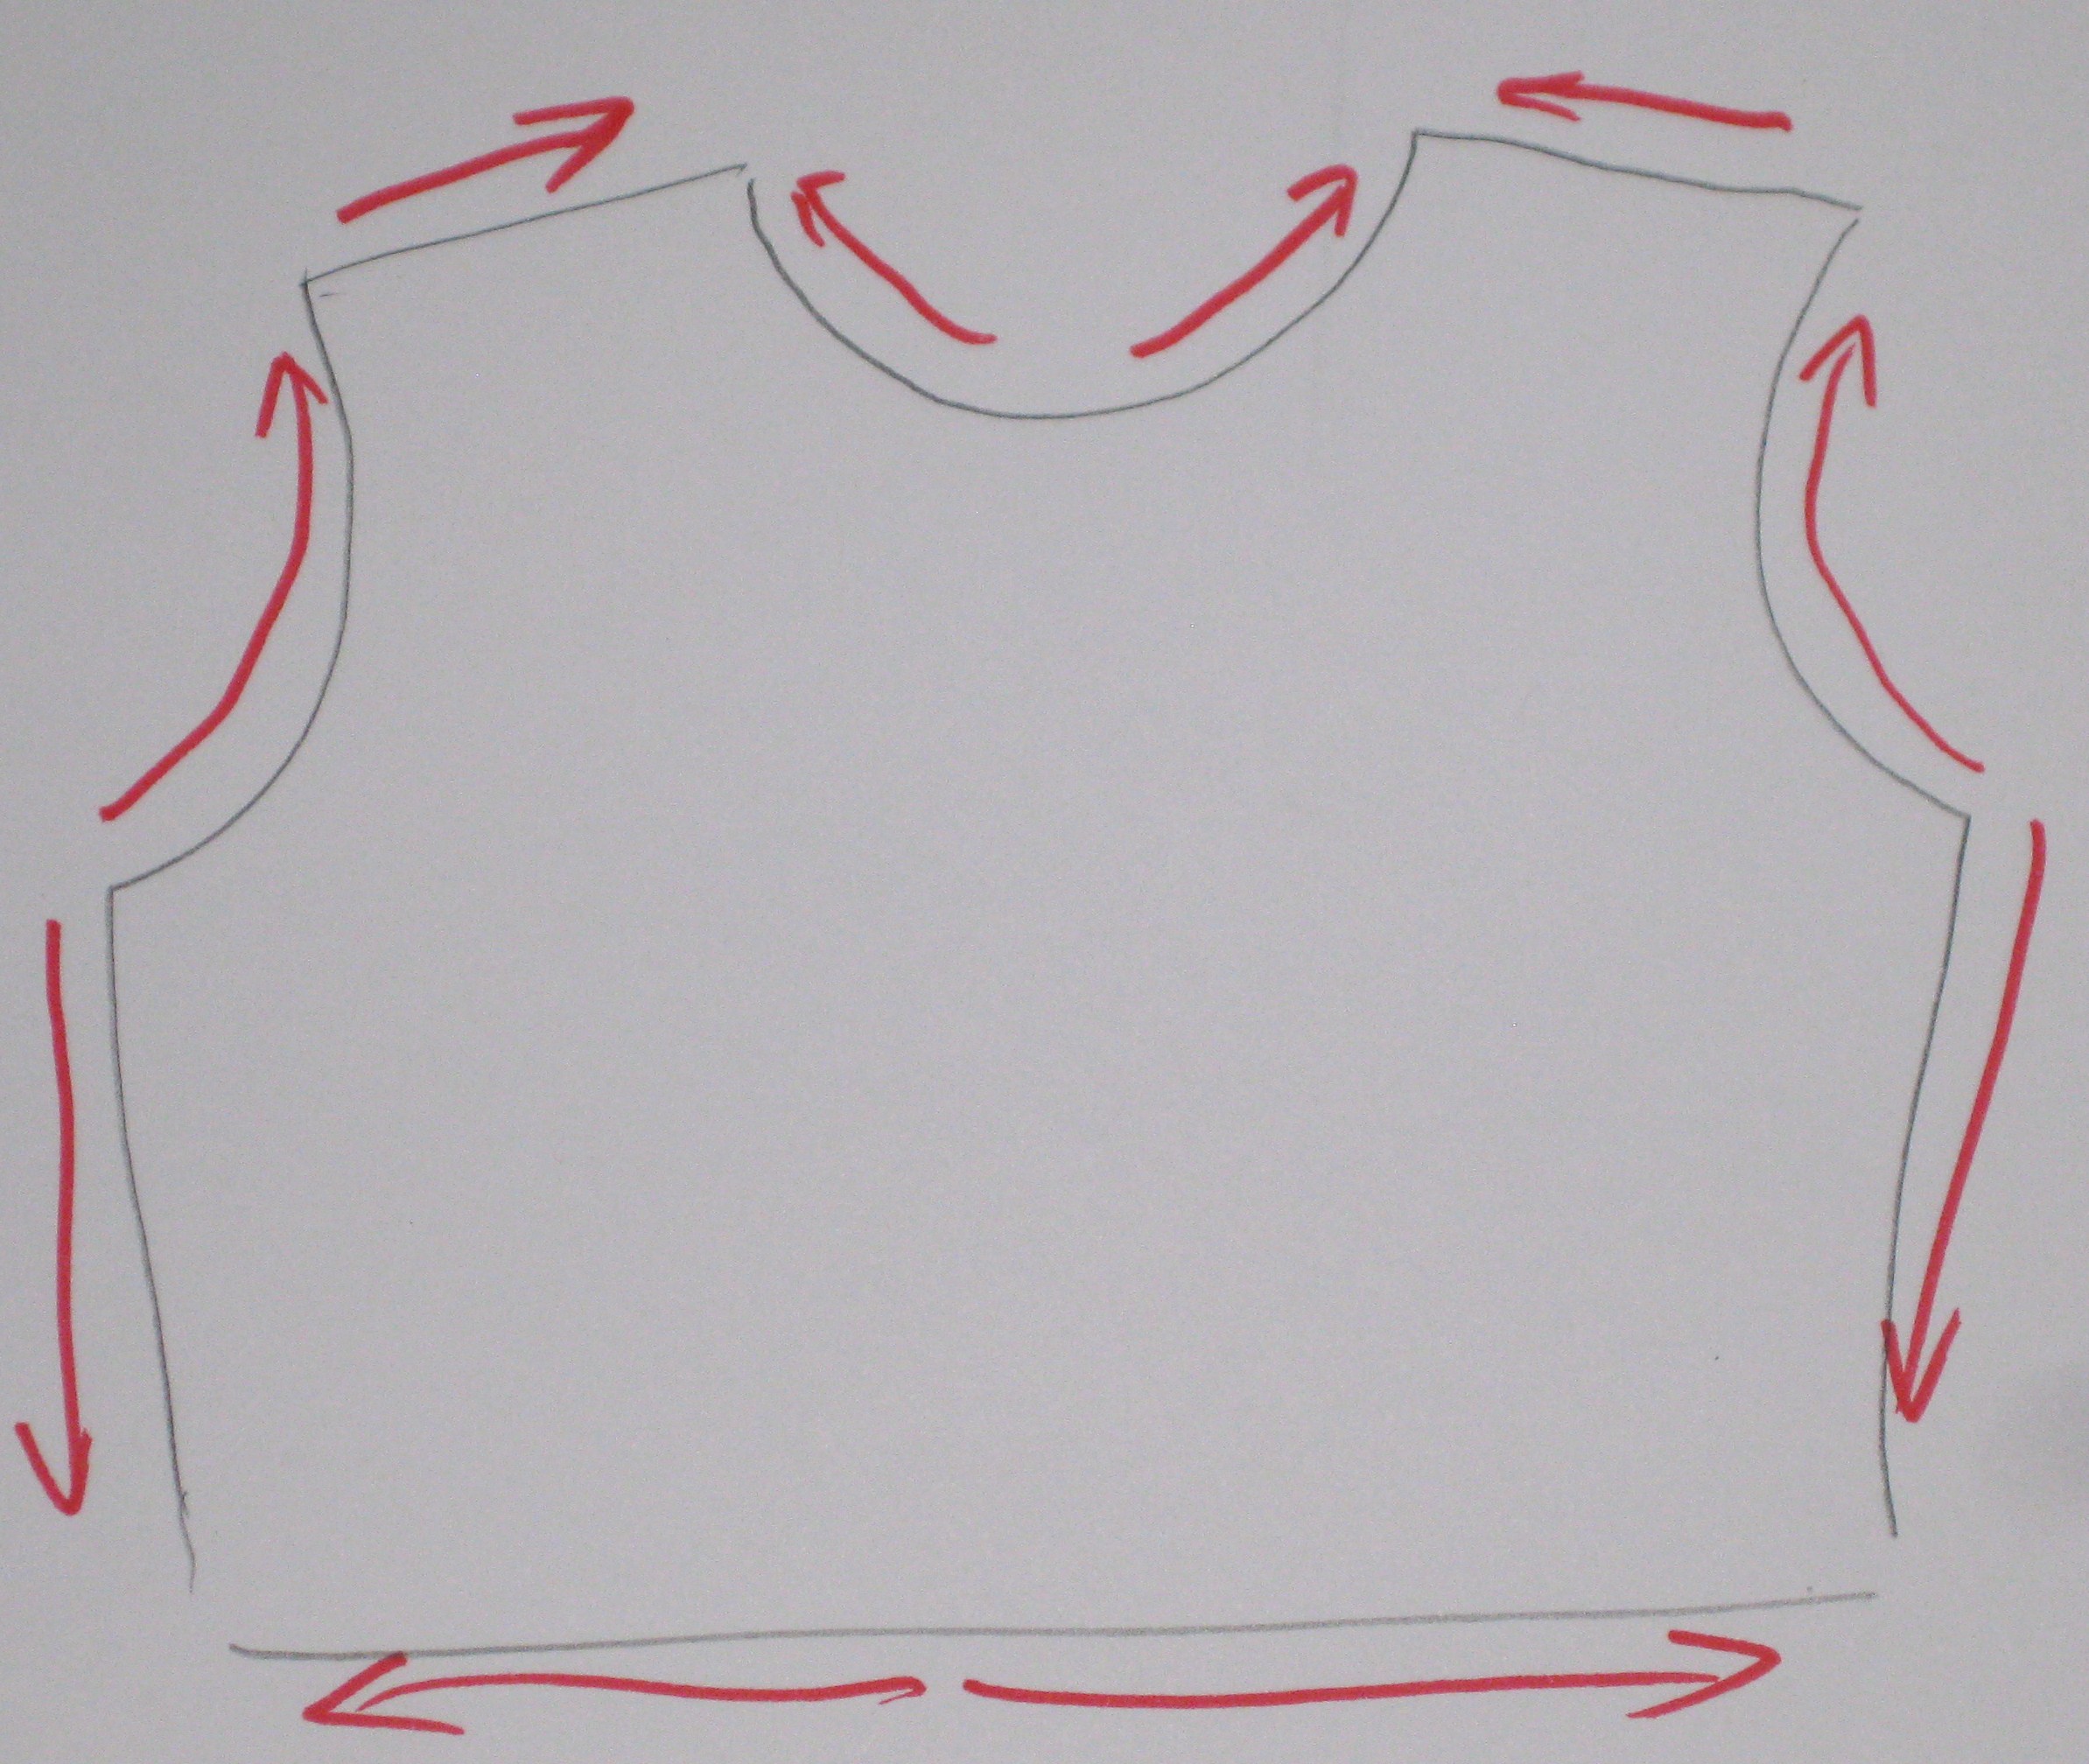
Stay stitch in direction of greatest stretch – the opposite direction to what is used for on grain fabrics.
Garments cut on the bias fit differently than garments cut on the straight grain. It is wise to baste the garment together, allow it to hang for 24 hours, and try it on before doing any permanent stitching.
To baste two bias seams together:
- Working on a large flat surface, pin the two garment sections right sides together with stitching lines matching
- Leaving a 3” (7.5cm) unknotted tail, hand baste the stitching lines together for about 6-8” (10-15cm), leave a small loop to allow the fabric to stretch and repeat, until the whole seam is basted together
- When joining a bias edge to one with a straight grain, use this method to eliminate puckers:
- Before joining the bias edge to the straight grain edge, pin the bias section to a padded hanger and let it hang for at least two hours so the bias has time to “grow”
- Remove the bias section and repin it to the pattern piece – remark all of the symbols from the pattern piece
- Hand baste the two sections together along the stitching line.
Permanent stitching also requires some special handling:
- At the start of a seam, insert the needle approximately 3mm/ 1/8” from the edge of the fabric and lower the presser foot to secure the fabric
- Because the bias seam allowances tend to narrow during stitching, do not use the cut edge of the fabric as a stitching guide. Instead, stitch along the basted stitching line.
- Gently stretch the fabric, putting one hand in front and the other hand behind the presser foot as you sew.
- Stitch about 8-10” (20.5-25.5cm) then stop with the needle in the fabric. Raise the presser foot, let the fabric relax, lower the foot and stitch again. Repeat until the entire seam is stitched.
- When stitching vertical seams, follow the pull of gravity, stitching from neckline to hemline. For necklines and horizontal seams, stitch from the centre out.
- To avoid ripples, press each seam in the same direction it was stitched.
- Once the seam is stitched and pressed, trim the seam allowances to 5/8” (1.5cm).
When stitching and pressing, it is important to support the fabric so that its weight doesn’t distort the shape of the garment.
Hemming:
Bias-cut garments should hang for at least twenty-four hours before hemming. This same rule applies to bias-cut sleeves – let them hang before hemming or applying cuffs.
Either a hand rolled or machine stitched narrow hem are the best choices, particularly when working with lightweight fabrics. (See “And So To The Hem” posted 5th April, 2015).
Design Ideas:
Bias cut can be used to great effect when using stripes. Before purchasing the fabric, trace off additional pattern pieces and use a gridded board to estimate the amount of fabric needed. It can normally be expected that bias cut garments utilise more fabric than the same garment cut on the straight grain.
Consider when making a shirt cutting the yoke, pockets, collar, cuffs, or tab front on the bias so the stripes form chevrons.
A bias cut facing can be used on the yoke of a skirt or pants as well.
A similar effect can be achieved on a panelled skirt or dress or in the centre back or front panels of a princess style jacket.

Bias cut yoke – line with on grain facing
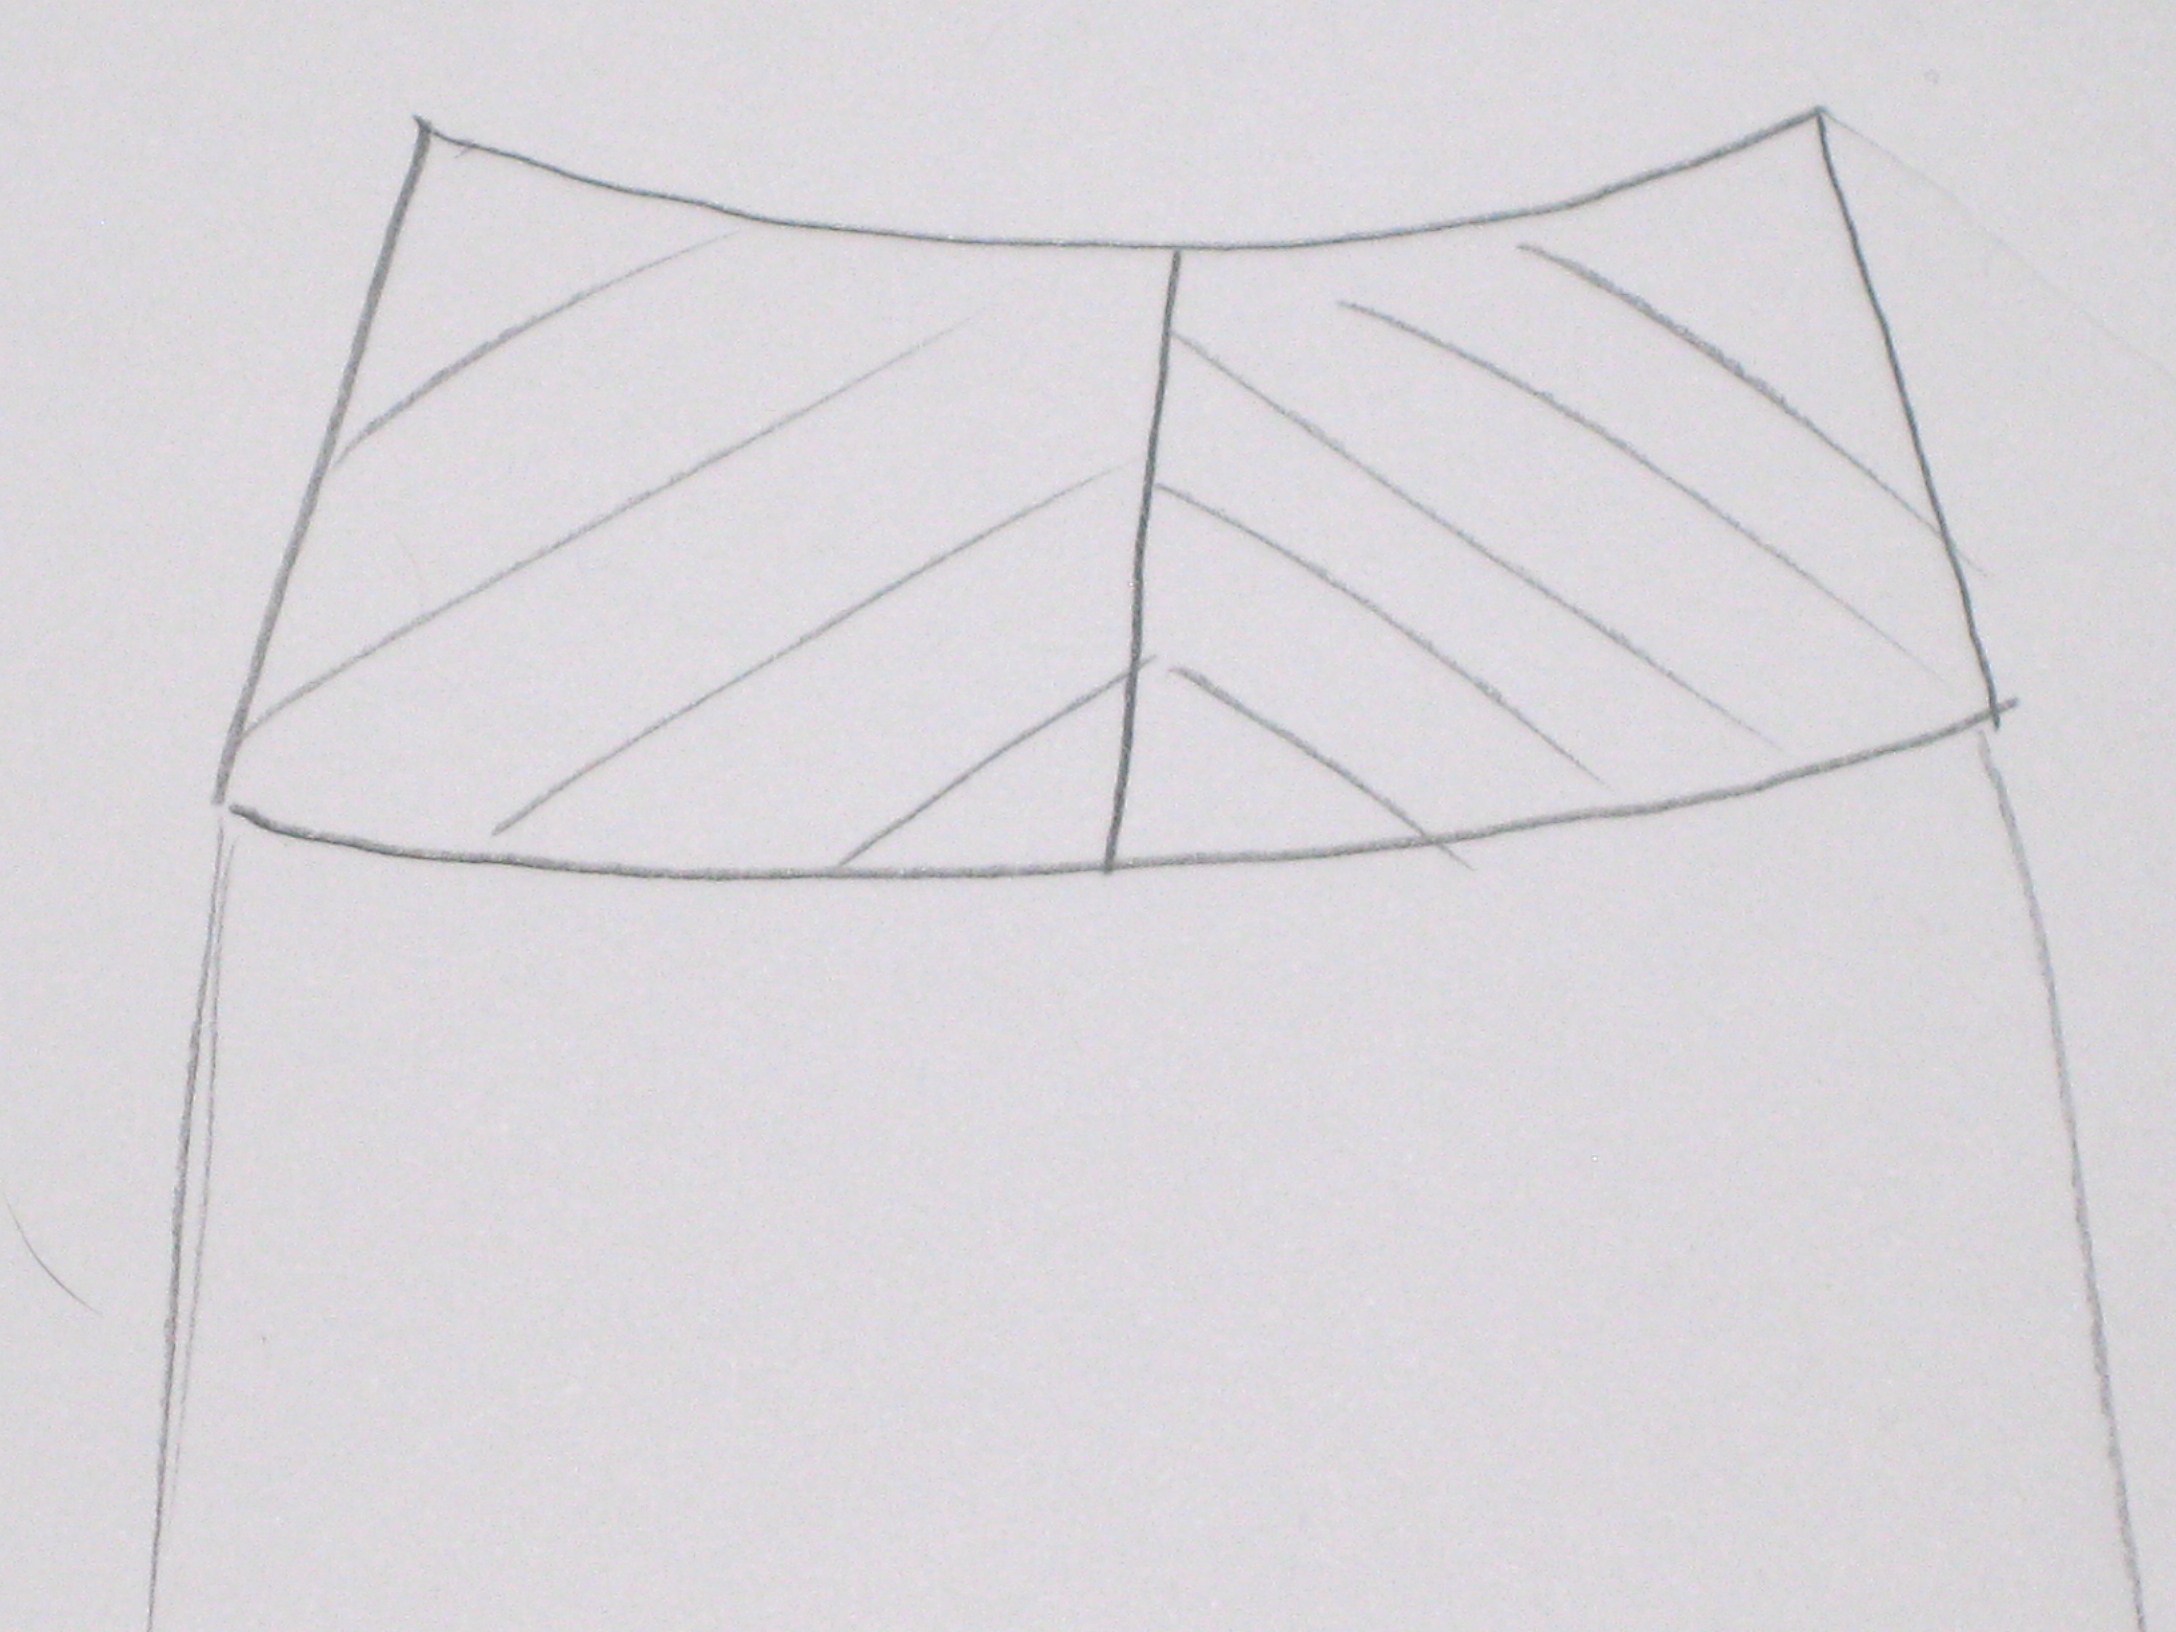
Mark centre of yoke. Cut apart and add seam allowance. Add bias grain line.
Use on grain facing for stability.

Centre front panels cut on bias grain. Cut facings on grain for stability.
If you have never sewn a bias cut garment before, my suggestion would be to start, as I did, by making a four piece linen skirt. Because the fabric is not slippery, you can focus learning the techniques before tackling that super slinky silk satin.

This is great! I have almost finished the chiffon jacket for mum. It had lots of bias edges and is now hanging before hemming. Thanks!
So glad you found the post helpful – and timely!
Hi Allison, many of your photos are not showing up!
Thanks for your message, Lynne. I am sorry you are not able to see some of the photos. I have checked my input and all are showing on my screen so I am not able to suggest what the problem might be. I have found that generally photos do take extra time to appear.
Thanks so much for your response. I’ll acess through my computer instead of my iPad and that will probably help. 🙂 —Lynne
If you still have a problem, Lynne, just let me know and I will email that post to you.
Hello, Lynne. Just wanted to let you know I have been sorting out the problem. Seems it was operator error – I still have L plates with being a blogger! I am steadily working back to restore all the photos.
Thanks so much for letting me know, Allison!
Your page on bias cut garments has reassured me with my plan to use bias cut designs for garments in a fashion unit.
Hi Carolyn, Thank you for letting me know you found the post helpful. I would love to see what you are making. Best wishes, Alison
Hi I’m sewing a bias cut slip dress and the hip seams are rippling over the curve. Can you suggest anything to stop this wavy seam happening? Thank you
Hi Vanessa.
Rippling over curves is a common problem when working with bias cut, especially with lighter weight and slippery fabrics (eg rayon and thinner fabrics). The seams need to be hand basted from top to hem and hung for at least 48 hours before being machined. Thread tension should be lowered to allow more elasticity in the stitches.
I would suggest carefully unpicking the seams and giving these steps a try if you have not already done so. To avoid over stretching, keep the garment on a table while removing the stitches and try not to stretch the fabric.
I hope this is helpful. If you are still having a problem, please let me know the type of fabric and what methods you have used. A photo off the dress would be great.
Good luck!
thank you for the specifics about how to sew with the design line rather than grain line. Was about to give up on the shoulders of a tank I was working on that’s lined in bias self and they just bubbled up. Will undo stitches and try this approach.
thank you again!
You are very welcome, Christine. I’m so glad you found the information helpful.
Very best wishes,
Alison