
Portions of this article were first seen in Australian Stitches magazine – Volume 22 No 4.
Permission has been sought and granted for electronic use and the photos and text remain the property of Alison Wheeler – Sewing Lady.
One of the key construction elements affecting the finish of a garment is Pressing Techniques.
Many sewers who learned from their mothers and grandmothers were repeatedly told to never sew a garment together without pressing each seam as you go. While many other techniques have come and gone, the importance of pressing in garment construction remains.
When buying fabric, take particular note of the composition of the fabric and the care instructions attached to the fabric bolt. They should be your guide when choosing iron temperature.
Tip: If you have a smart phone, take a photo of the swing tag. Otherwise, write the details on the reverse of your sales docket and store it with your fabric for later reference.
So what do we equipment do we need; what are these techniques and how do they affect the final finish of the garment?
Pressing equipment:

1: Seam stick and organza press cloth
2: Tailor’s ham
3: Seam roll
4: Clapper
5: Point presser
6: Sleeve board
7: Spray bottle
A heavy based iron with good steam delivery is the key. If you do not have a good steam iron, you can mist your press cloth with a plastic spray bottle. If your iron is lightweight, lower the ironing board so that you can press down easier to achieve the necessary pressure.
- A well padded ironing surface. This can be an ironing board or a pressing surface made by covering a piece of plywood with an old blanket and a calico cover. In my studio, I have an ironing surface made from a cork notice board that I have covered with an old wool blanket . A heavy cotton duck fabric cover was made with elasticised sides (like a fitted sheet) so that it can be washed.
- This large flat surface is perfect for fusing interfacing and pressing garment sections flat during construction.
- A press cloth is essential to avoid damaging your fabric. It should be used every time your iron comes into contact with your fabric. My choice of press cloth is a piece of silk organza. It is really tough and handles high heat and pressure well and has the added benefit of allowing me to see what I am doing. Make sure you use silk and not polyester organza which would burn on to the base of the iron. Tip: Half a metre of silk organza can be trimmed with pinking shears and cut into two or three cloths for reasonable cost. Use a separate cloth for fusing interfacing so that you do not inadvertently damage your iron or fabric.
- A seam stick is very useful to place under the seam so that, when it is pressed open, the seam allowances do not make an imprint which can often show through to the right side of your garment. It can be made easily from a piece of 3cm dowel cut in half and sanded smooth. If your fabric is delicate or needs more steam, you can make a pocket of fabric from wool flannel to cover the stick so that the timber does not touch your fabric.
- A tailor’s ham is a reasonably priced and very useful piece of pressing equipment and are used to press any sections of the garment that fit over curved areas of the body. Hams take their name from their shape and are usually covered on one side with a sturdy cotton fabric and on the other with a woollen fabric. The cotton absorbs the steam and the wool increases the effect of steam on your fabric where extra is needed. Tip: Store your ham in a clip lock bag so that the wool side will not be eaten by insects and to keep the ham clean when it is not being used.)
- Similar to a ham, a seam roll is made in a sausage shape and used for pressing seams open in trouser legs, sleeves, etc. They allow the fabric of the garment and seam allowance to fall away from the surface of the iron so that the chance of an impression of the seam allowance on the right side of the fabric is greatly minimised.
- A clapper is used to pound a pressed seam so that it smooth and flat once cool. They are also available with a point presser attached. The point presser is used to press open seams when facings are applied as well as lapel and collar seams which would be difficult to access with just the iron. These tools work by drawing the moisture from the fabric and allowing it to cool smooth and flat.
- A sleeve board makes pressing sleeves, pants and difficult to access areas a breeze. They are particularly good for children’s clothes and smaller sized garments.
- A plastic misting bottle for where extra moisture/steam is required.
- A natural sponge which has been wet and wrung out well can also be used to place moisture exactly where it is needed to achieve the desired result.
I also use an ironing press for large fusing jobs, for example when fusing a whole garment to support open weave fabrics or lighter fabrics which I am using for more structured projects. My ironing press is at least 30 years old and does not have a steaming feature – this is where the misting bottle comes into its own. If you have a press with steam, be very careful to completely empty the tank when the press has cooled and then heat it to make sure there is no moisture left. Any moisture left in the tank can cause it to rust, causing marks on your future projects.
Pressing versus Ironing:
Pressing involves a lift and lower motion over sections of the garment and is useful for flattening seams and moulding the fabric into the desired shape during construction of the garment.
Ironing uses a gliding motion over the right side of the garment and is mainly used to remove creases after laundering and on-going care of the garment.
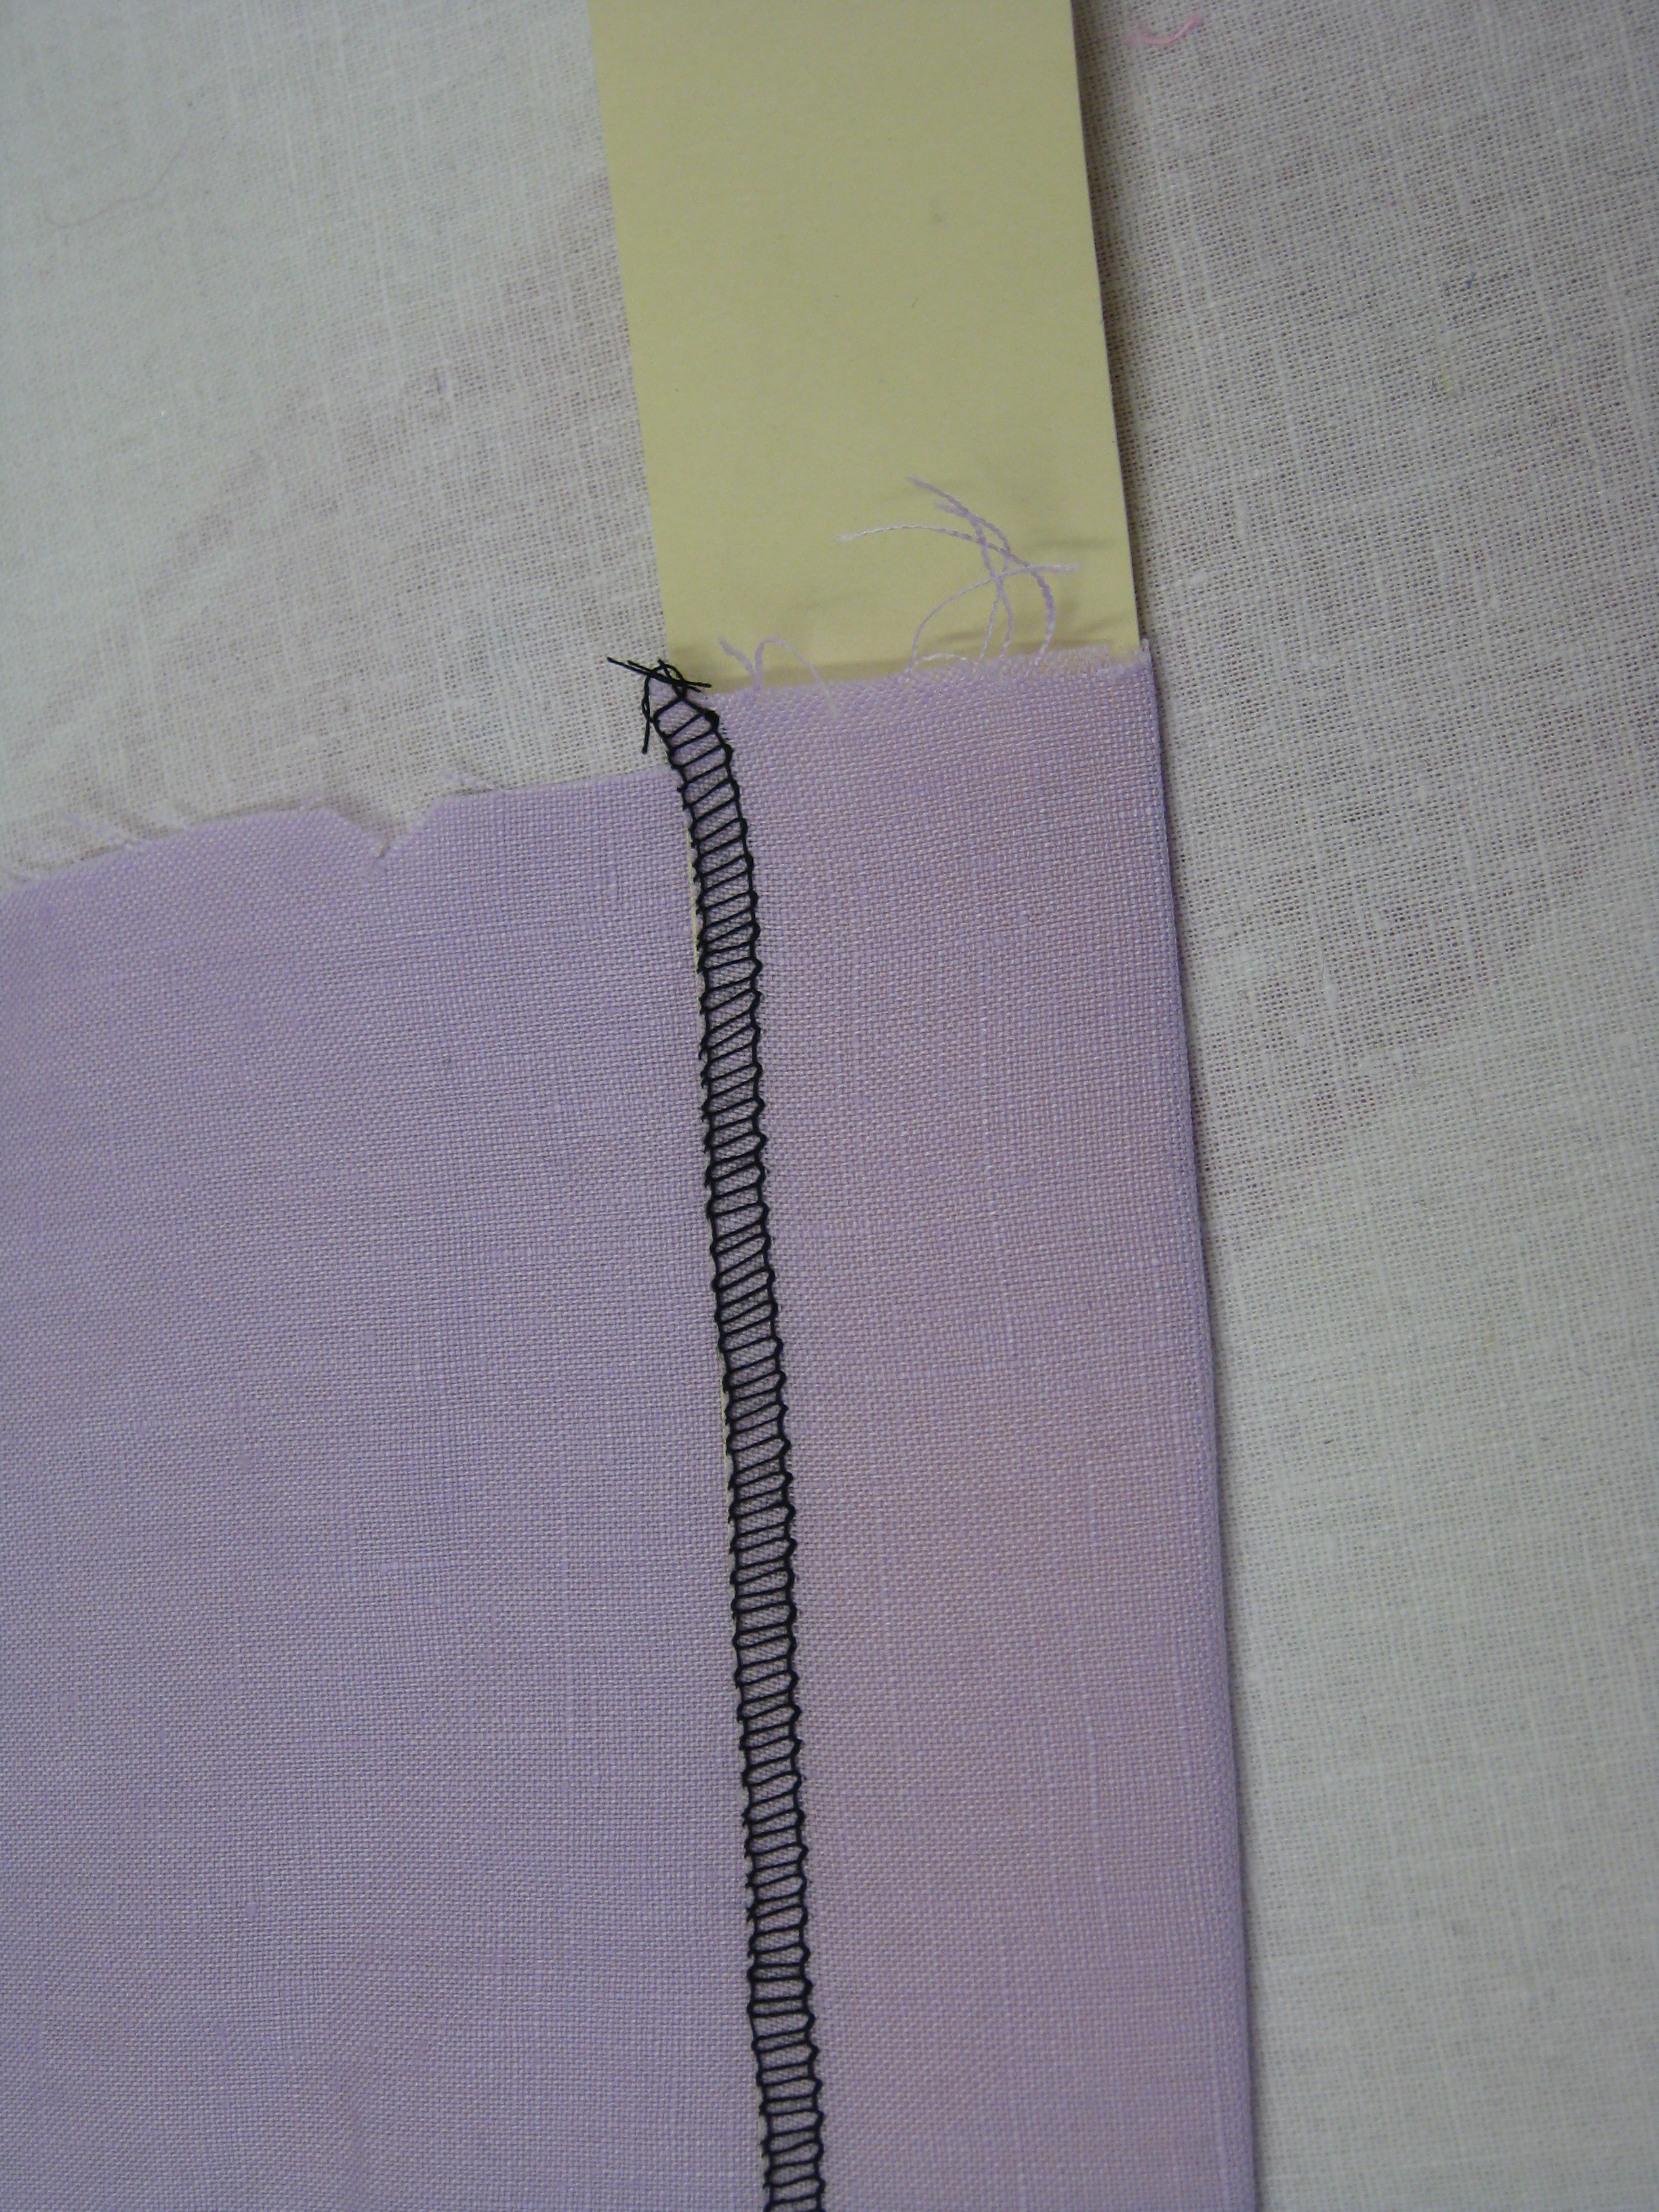
Melding the stitches:
Most dressmaking these days is done using polyester sewing thread. While this thread is strong and durable, it does not meld with the fabric unless it is pressed when the seams are sewn. Just stitch a seam and run your finger over the stitches. You will feel the thread lying on top of the fabric.
Take your sample to the ironing board and press the seam flat as it was sewn. Now run your fingers over the stitches and you will find that they have melded into the fabric and no longer feel like a ridge against the fabric.
With the thread melded into the fabric, your seams will sit smoother and flatter when pressed open or to one side.
Pressing seams:
Once you have pressed the seams flat to meld the stitches, seams should be pressed open from the wrong side of the fabric. Place seam over the seam stick or seam roll and use a press cloth. If you do not have a seam stick or seam roll, place some brown paper or tally roll paper between the seam allowance and the garment fabric. Do not use waxed paper as it will not absorb steam.
Be sure to press lightly using the tip of the iron. If you are using a springy fabric, once the seam has been pressed open, pound it with the clapper.
For very springy fabric, use a sponge to moisten the line of the seam stitching, cover with a press cloth and press again.
Do not move your fabric until it has cooled down.
Seams can then be pressed to one side (again using the seam stick and press cloth) and pounded with the clapper. This gives a really flat seam line to follow if you are topstitching.
Pressing Hems:
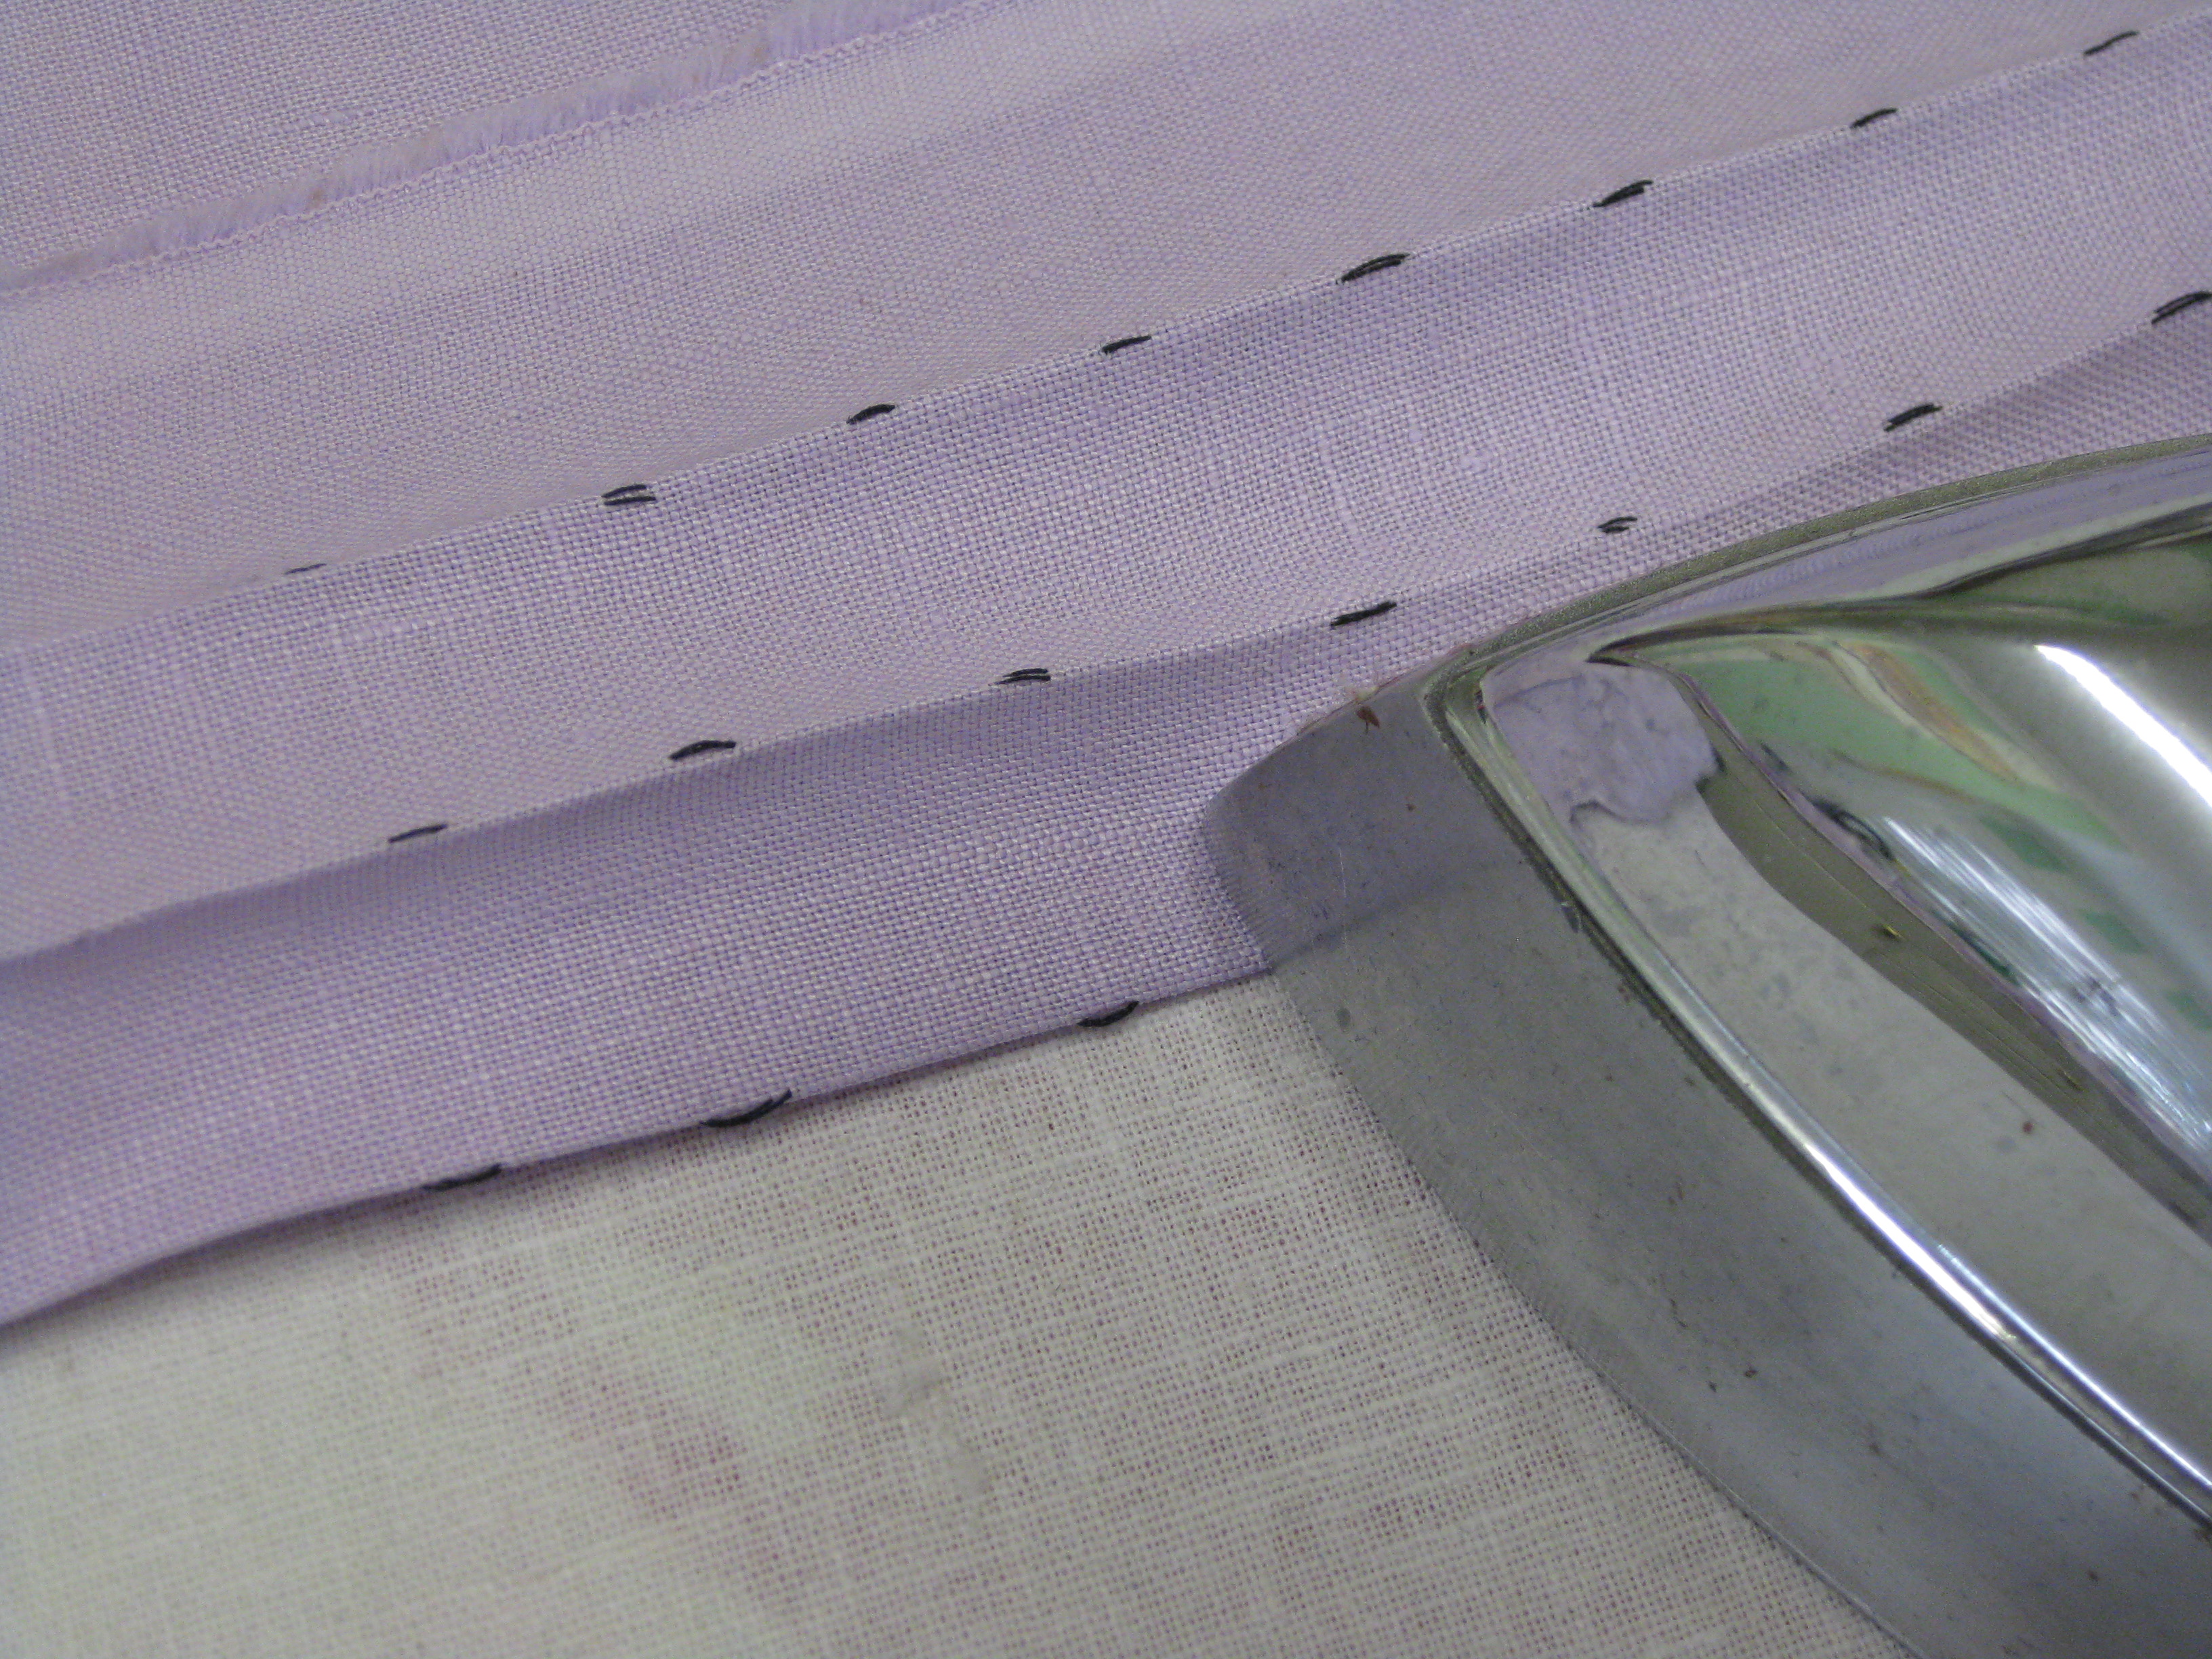
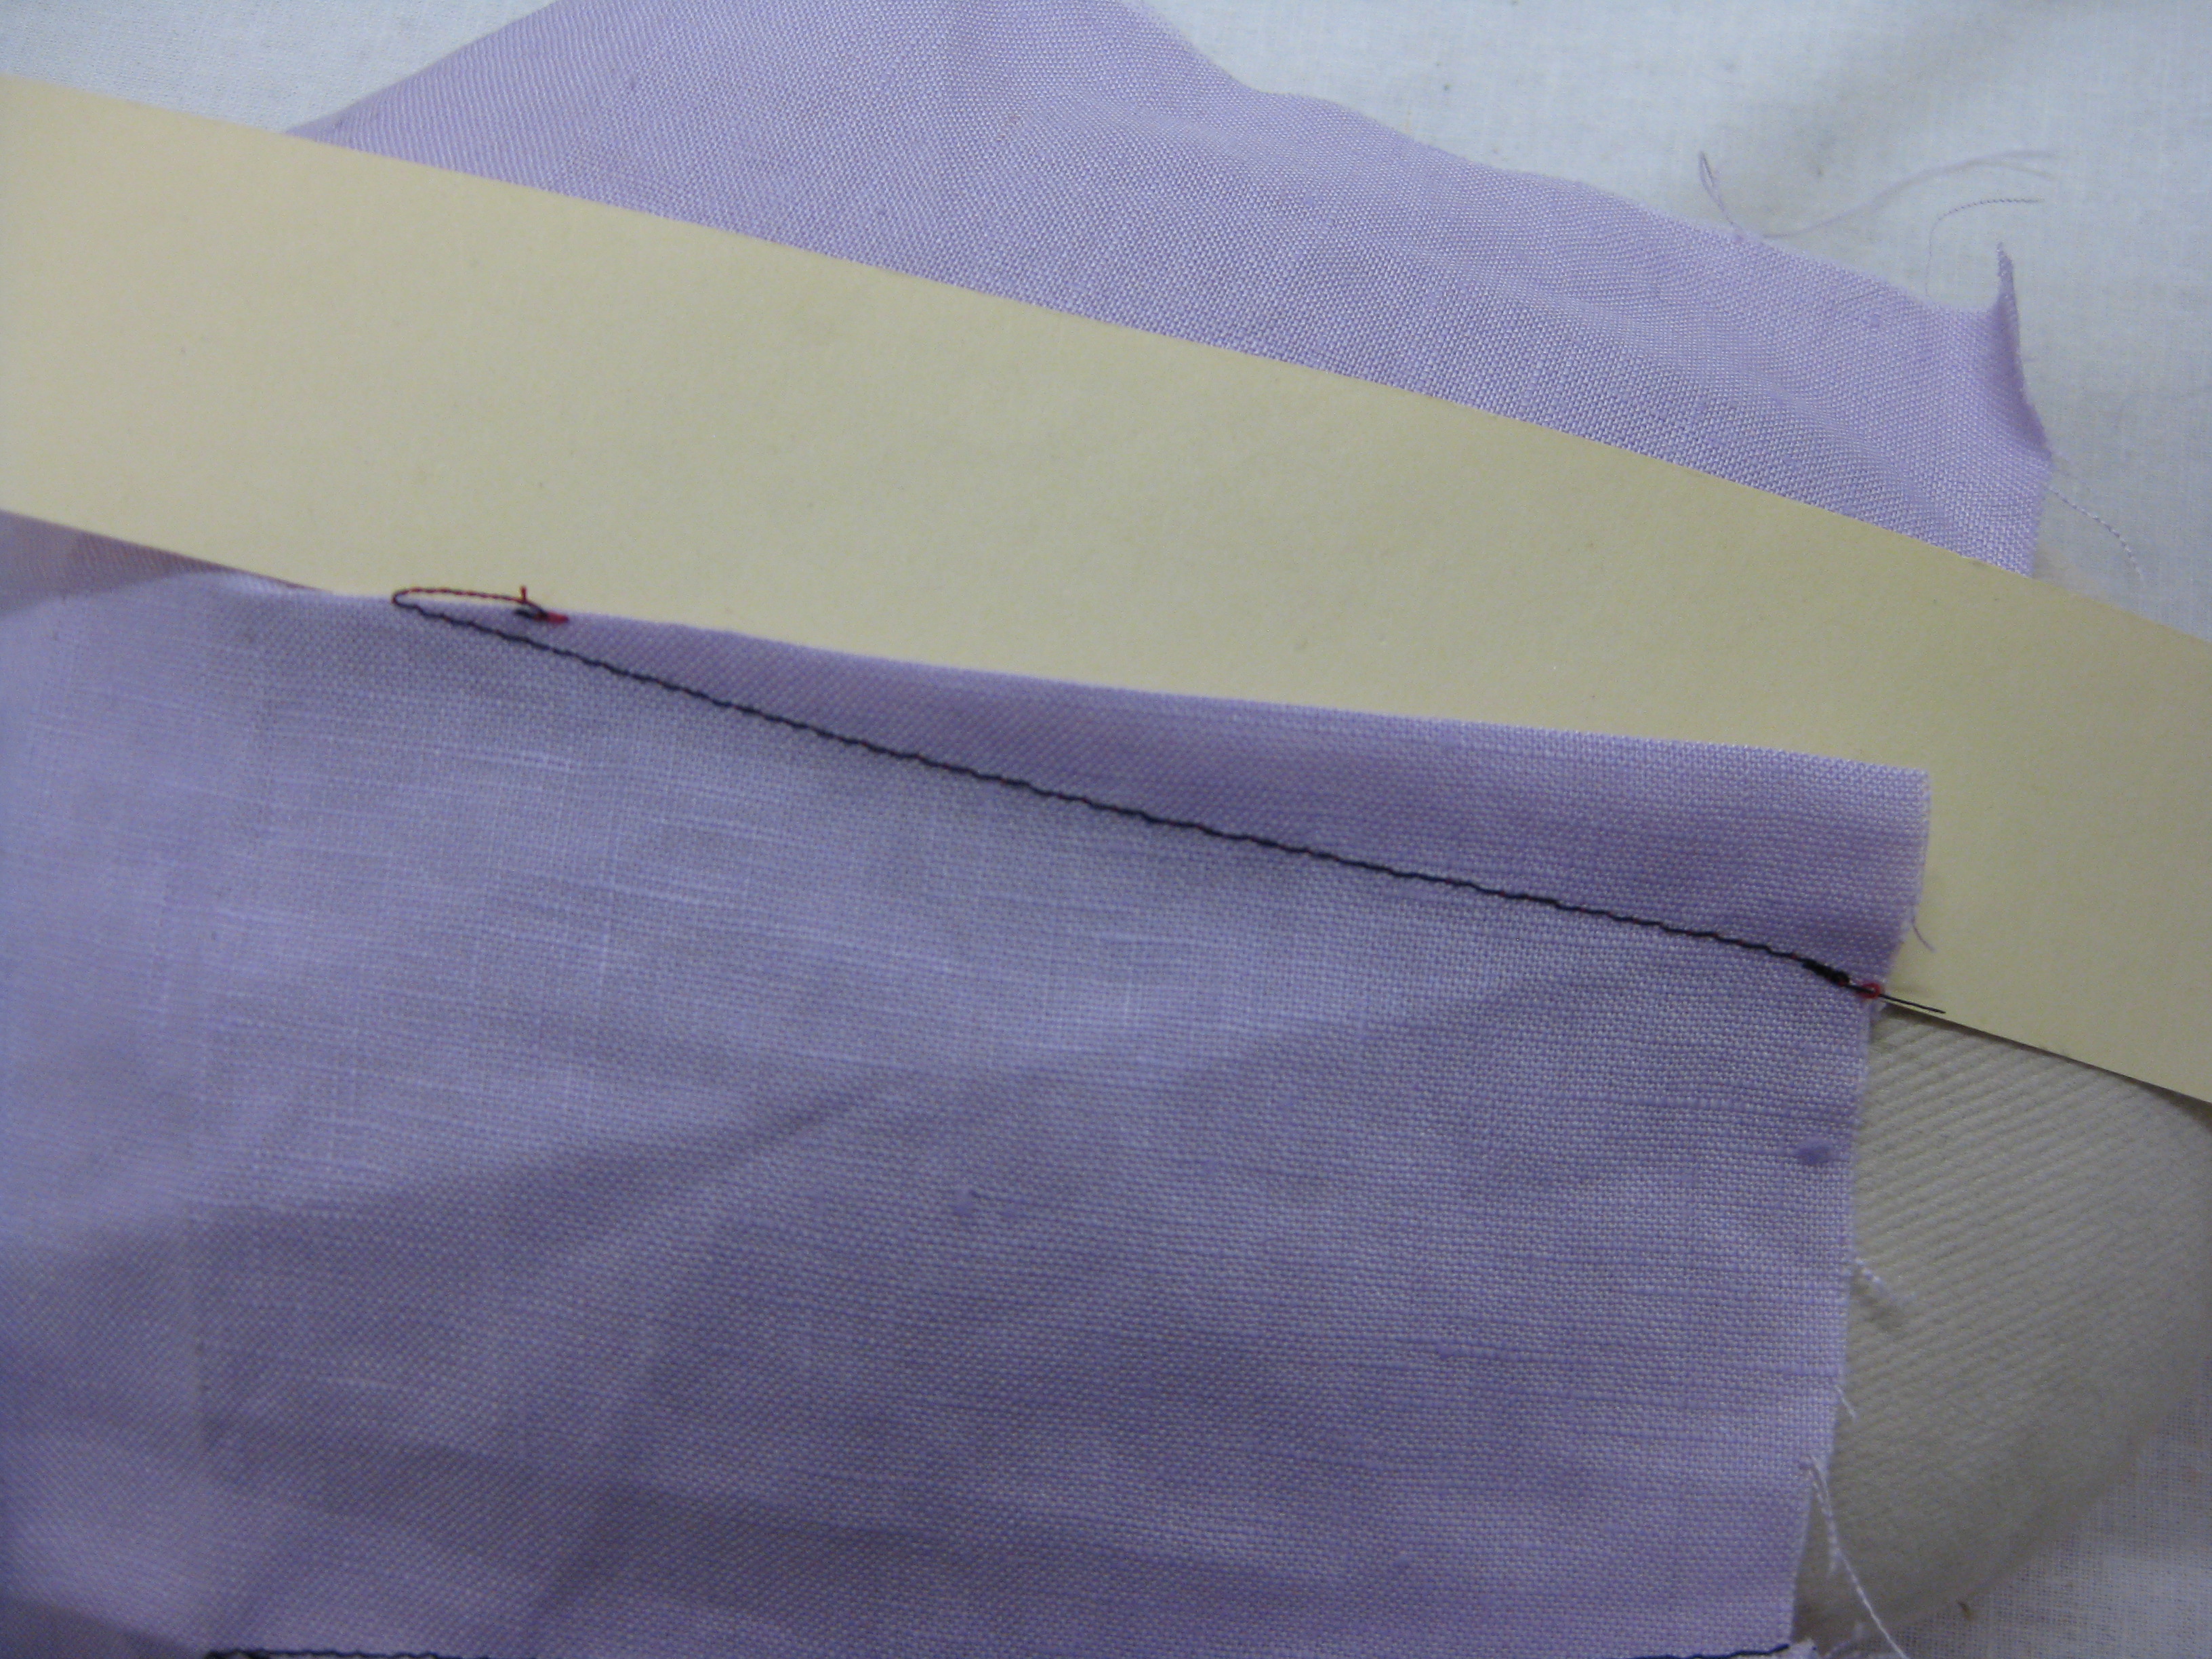
To aid in pressing an even hem width, cut a piece of manilla card stock to the width of the finished hem. Hold it against the wrong side of the hem allowance and flip the fabric up so that it aligns with the top of the card and press in place. This method results in a crisp hem crease and avoids marking the front surface of the garment.
Using a manilla strip cut to the hem depth makes pressing an even hem allowance very easy.
This technique is also very useful for pressing under the edge of patch pockets .
Pressing pleats:
If your garment features pleats, you will find it much easier to stitch them if the crease has been pressed in place first. Use tailor’s tacks to mark the crease lines; fold the along the marked lines and press using a cloth; pound with a clapper to set the crease.
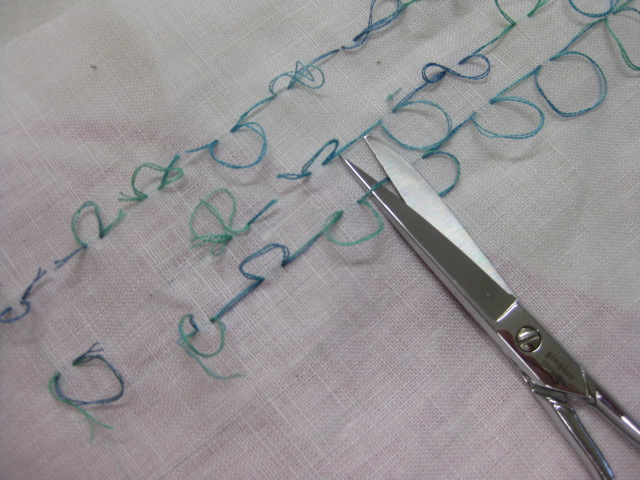
Continuous tailor’s tacks stitched through both sides of garment piece to mark fold line for tucks and pleats. They can be clipped apart between each tack to separate fabric layers.
Press tucks from right side using thread marks as a guide to the fold line
Pressing gathered fabric:
Once your gathered section has been applied to the rest of the garment, use the tip of the iron to press at right angles to the seam. Applying a gentle pull to the fabric will help to position the gathers with the iron.
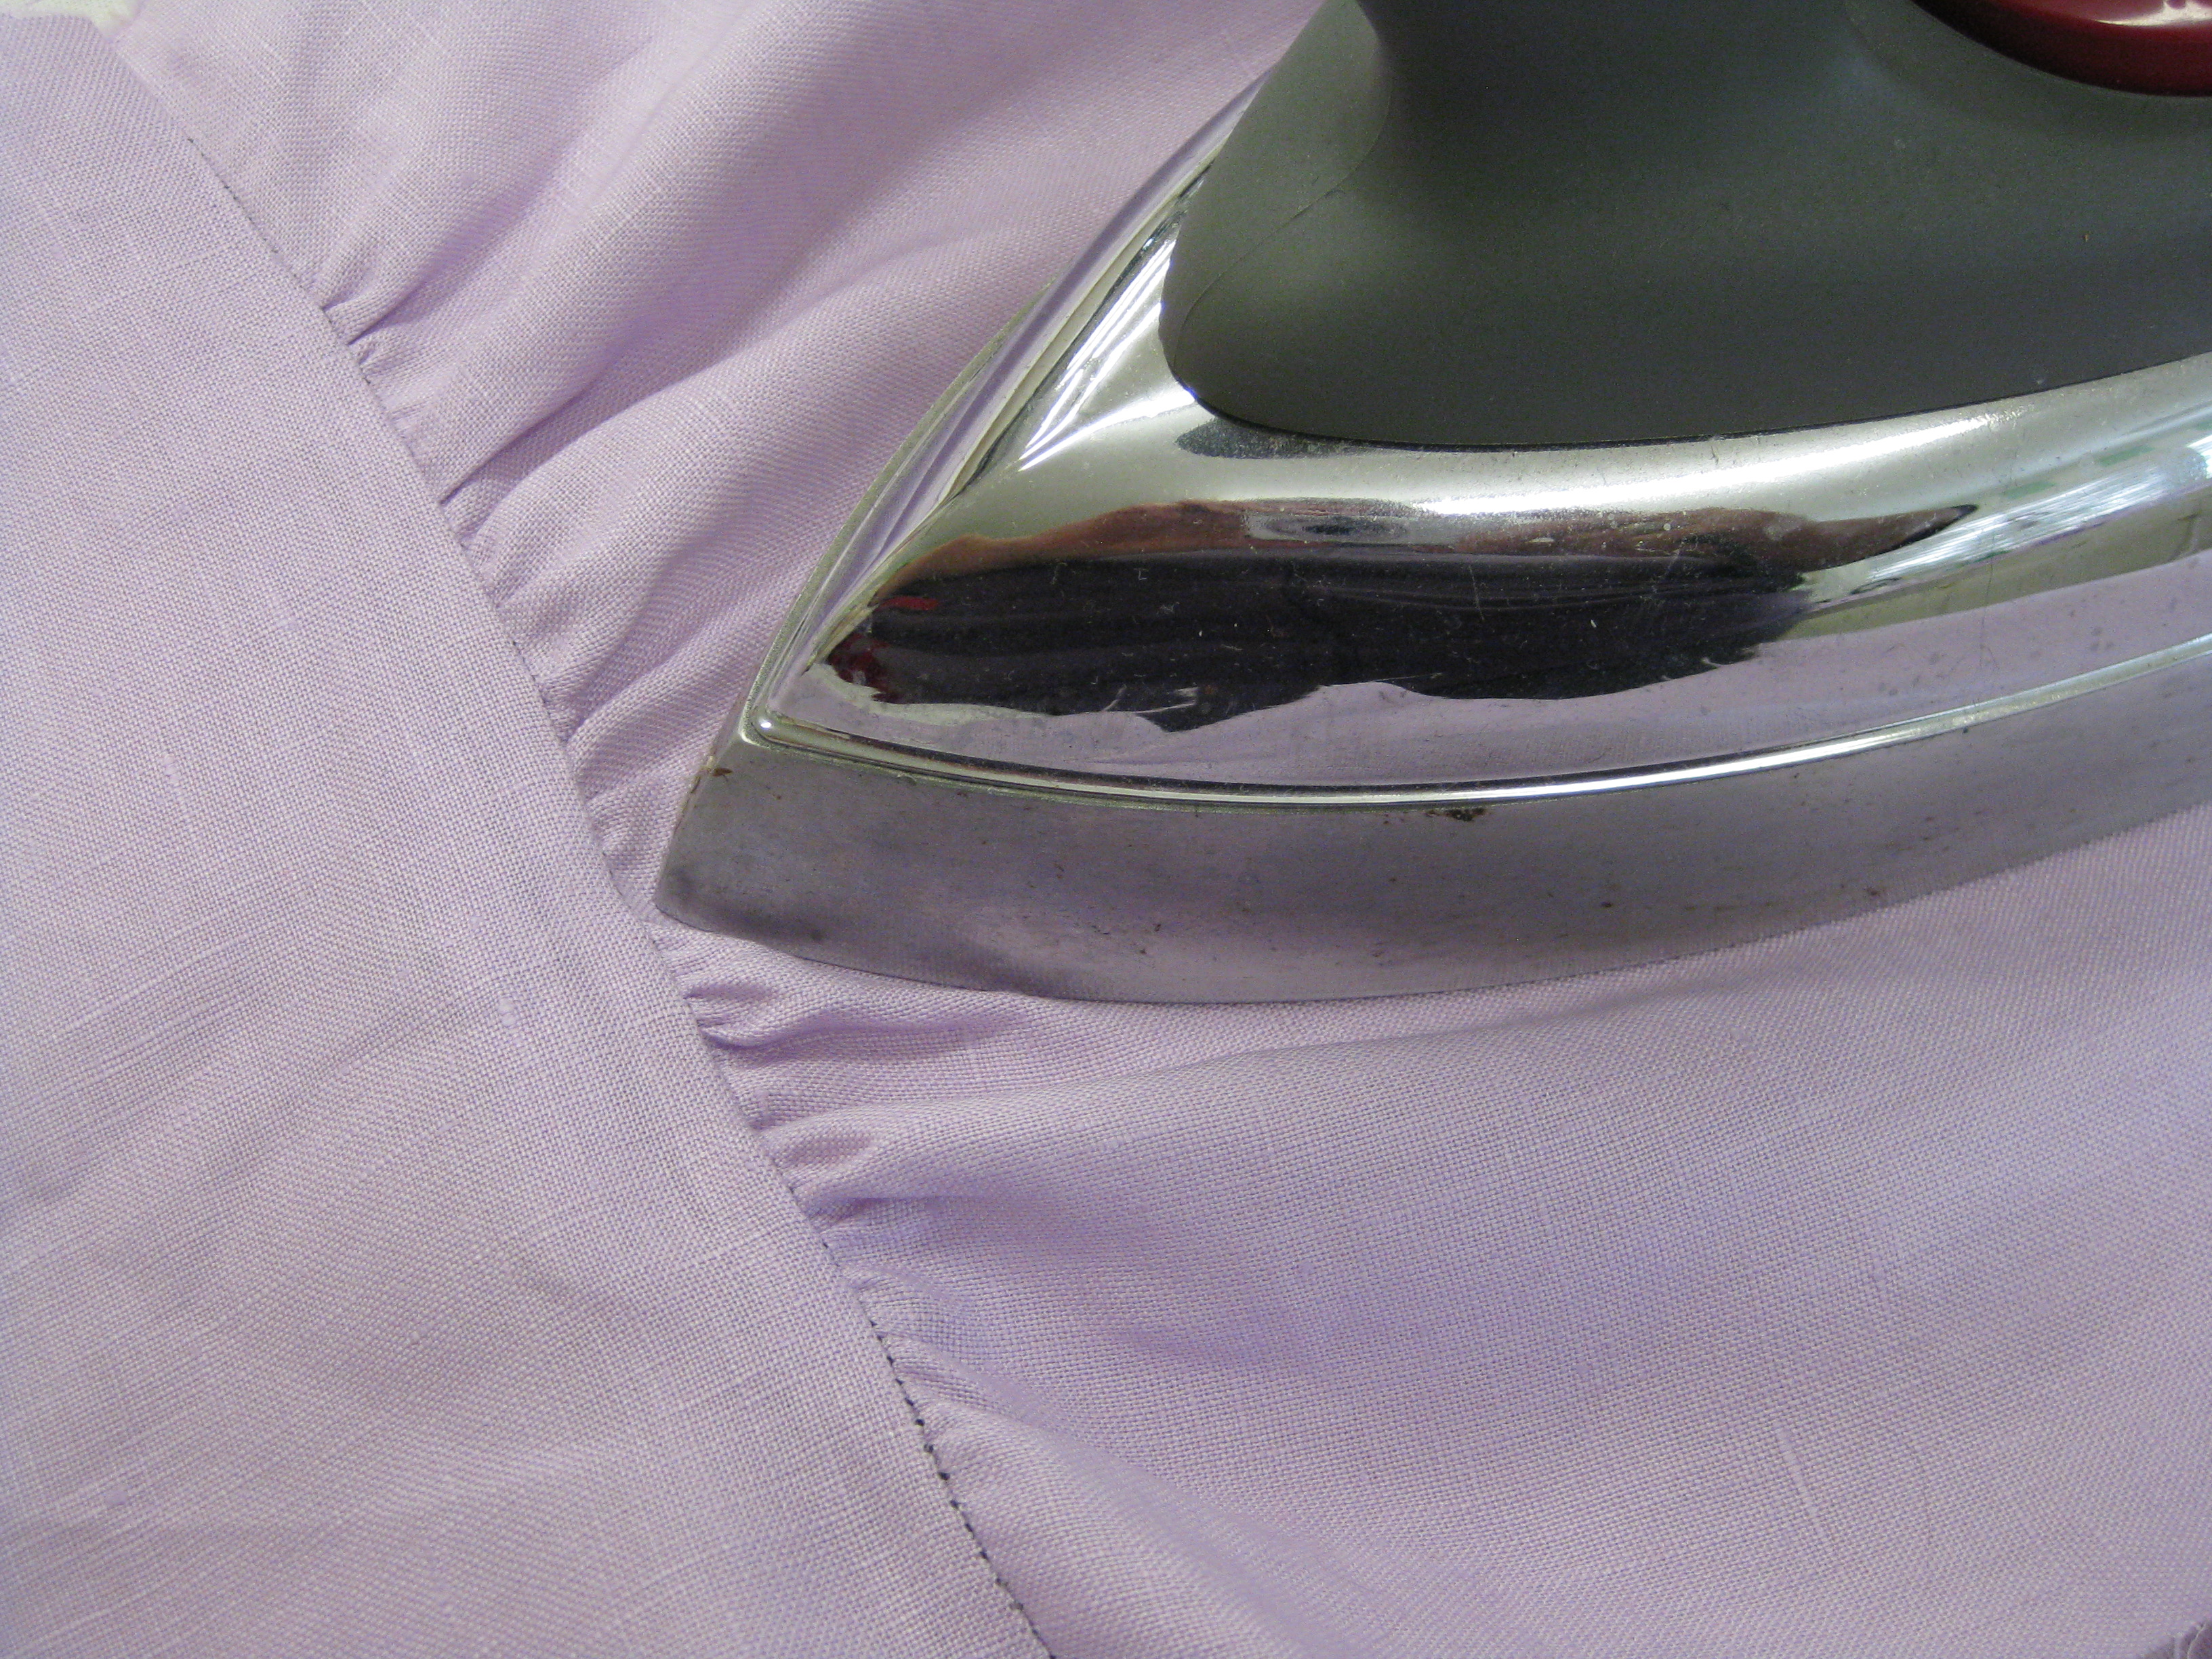
Press gathers towards seam, spreading them with the point of the iron.
Pressing sleeve caps:
Once a set in sleeve has been eased, place the sleeve cap over a tailor’s ham and pin it in place along the seam line. Without touching the fabric, steam the sleeve cap. Press the seam allowance gently with your fingers to smooth it and allow it to dry completely before setting the sleeve into the armhole of the garment. This method results in a pucker free installation of the sleeve.
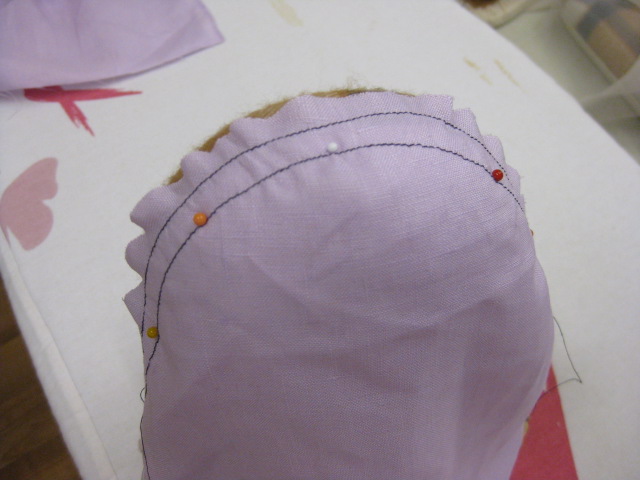
Place sleeve cap over small end of the ham and pin in place with glass head pins. Keep the pins on the seam line.
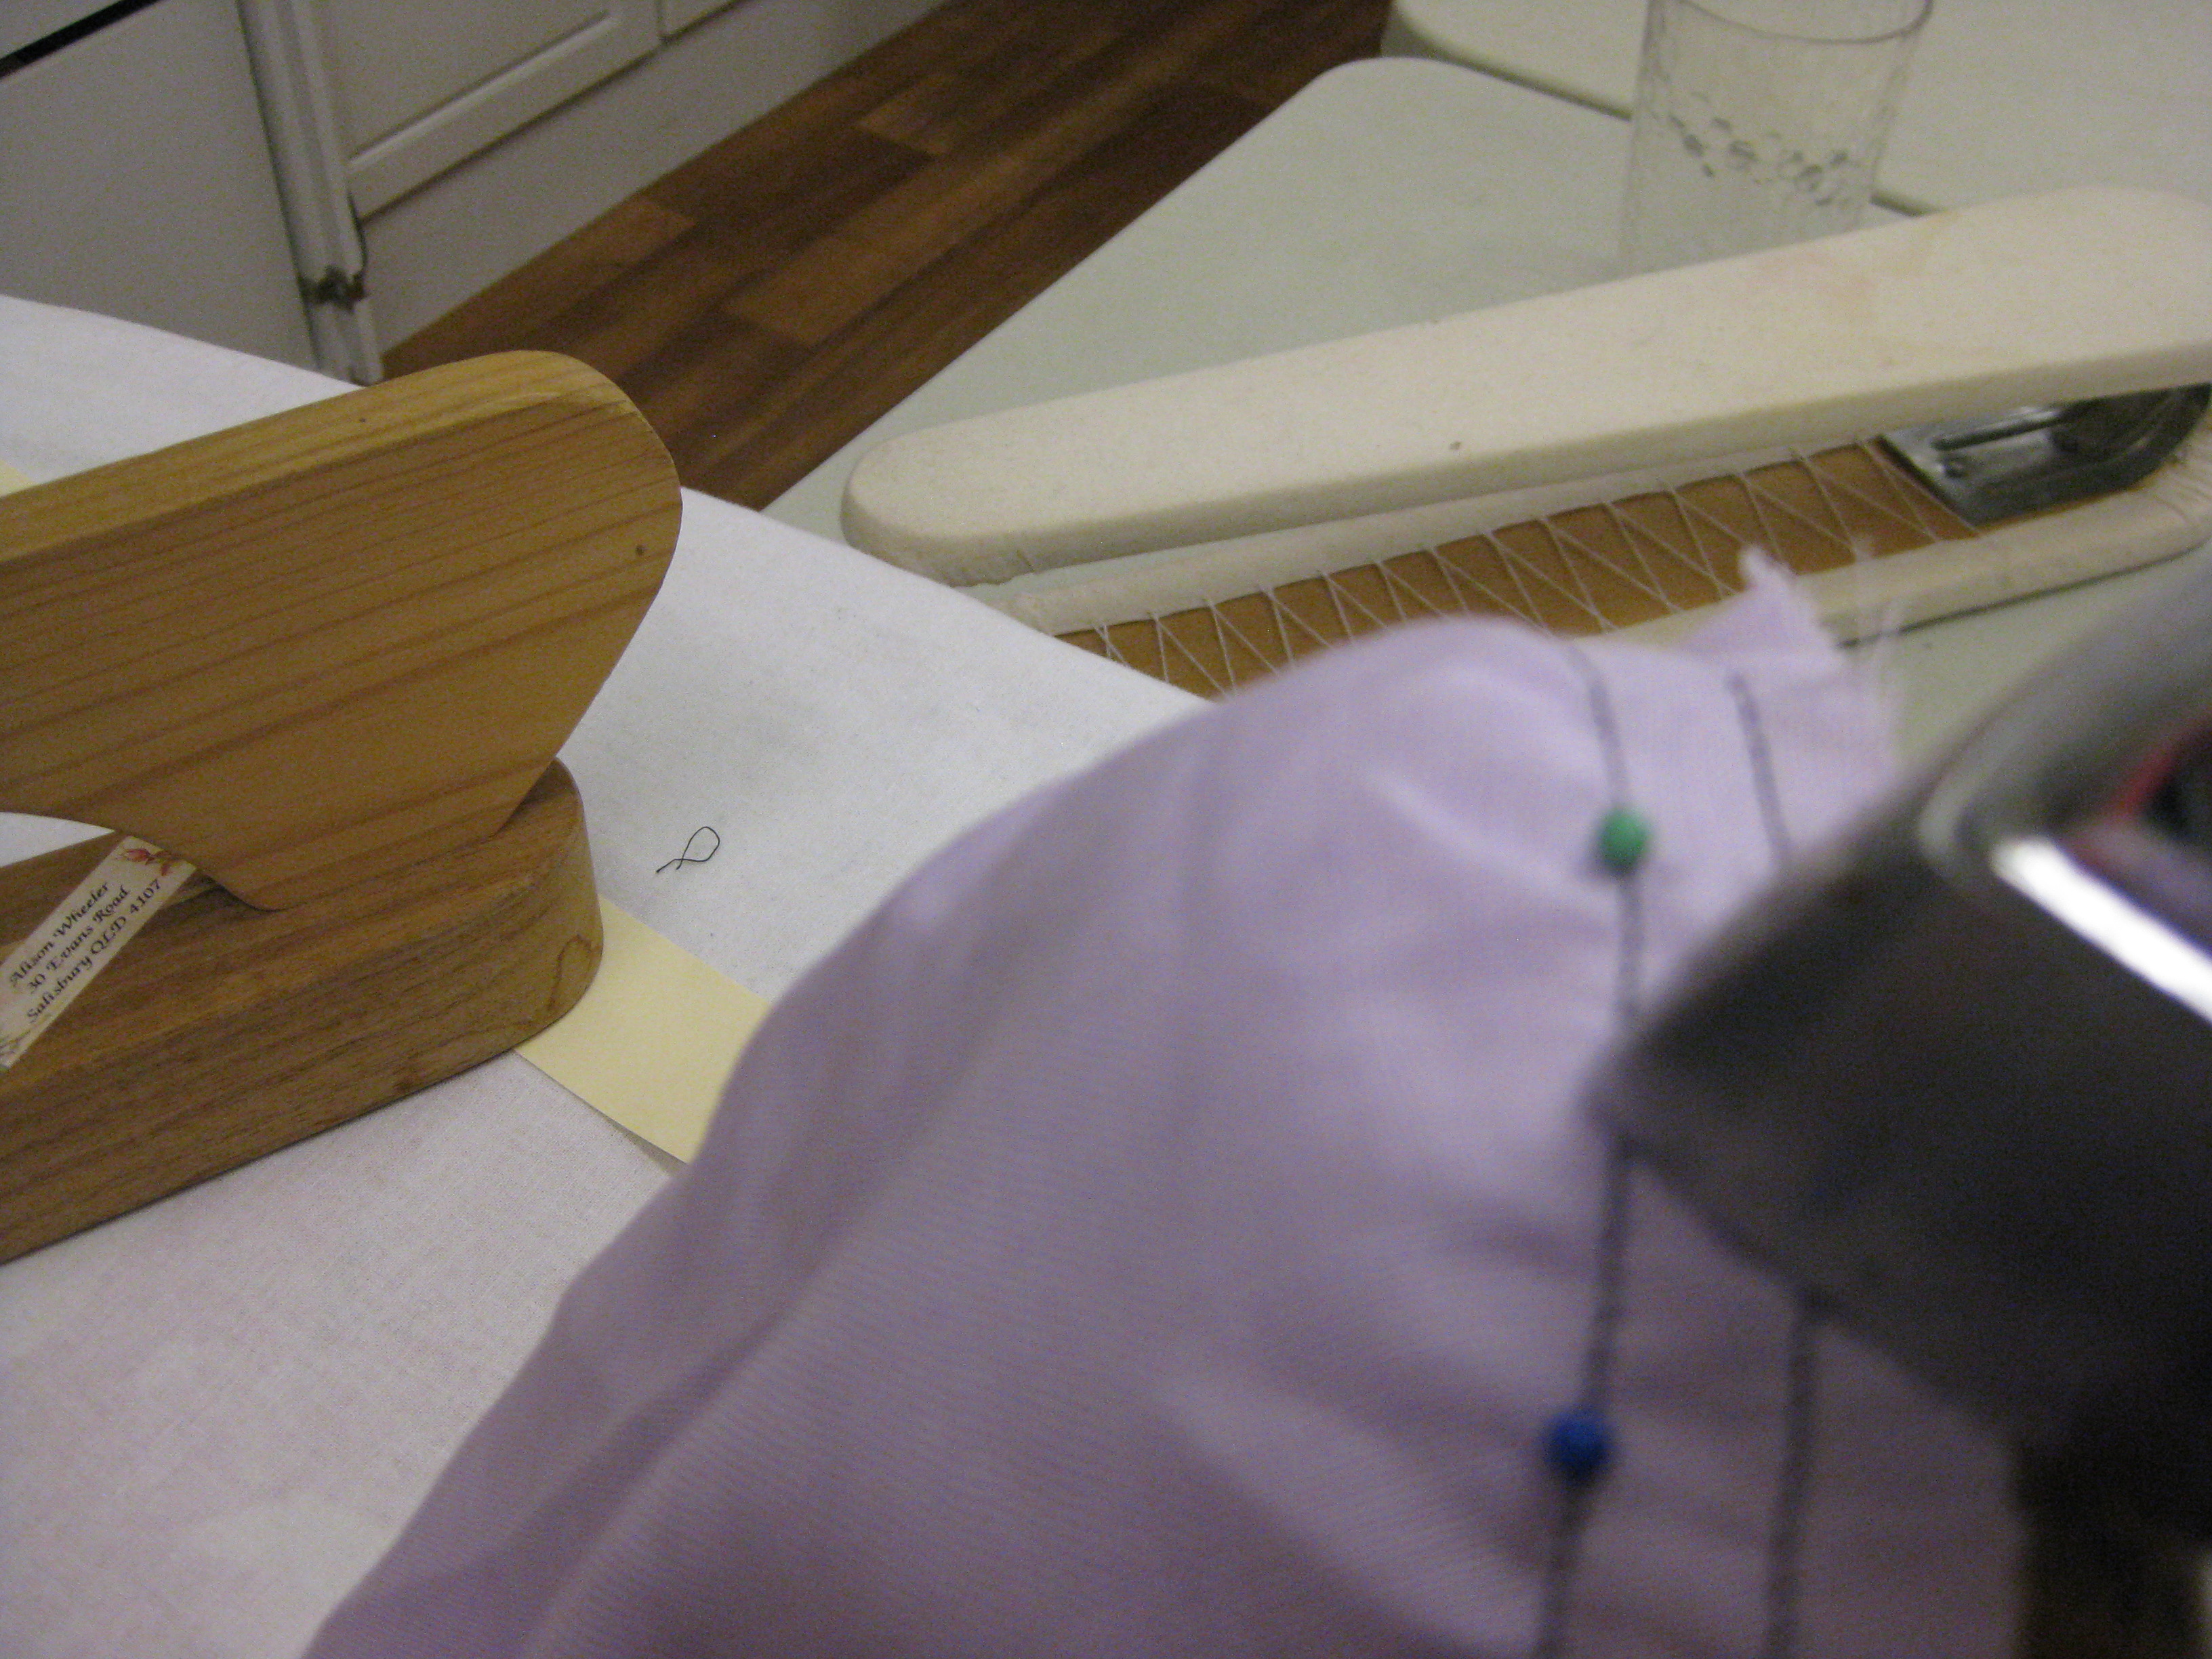
Steam the section being eased – do not allow the iron to touch the fabric.
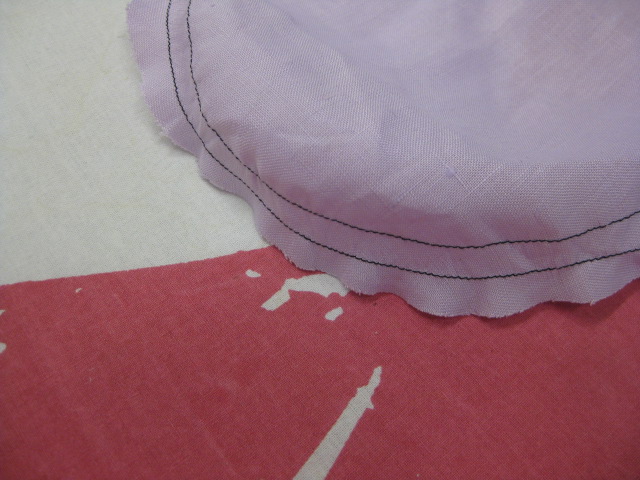
The result is a smooth seam line ready for insertion into armhole.
The sponge method can also be used on wool fabrics. Be careful to test on a scrap to make sure your fabric will not water stain.
Pressing darts:
The dart stitching should be pressed flat first to meld the stitches into the fabric. The darts are then pressed against the garment, usually towards the centre back or front for vertical darts and towards the waist for bust darts. Place the fabric right side down over a tailor’s ham and a small piece of manilla card stock under the dart.
Place dart over ham with manilla card under the fold and press.
Cover the fabric with press cloth and press over the ham to shape the fabric. Always allow the fabric to cool before removing it from the ham.
If the garment is underlined or a lining is to be inserted, slash the darts open for a smoother, flatter line. Press using a press cloth and pound with clapper while fabric is over the ham. Again, allow the fabric to cool before removing it from the ham.
Dart slashed and pressed open will give a flatter garment surface in lined garment.
Stretching and Shrinking:
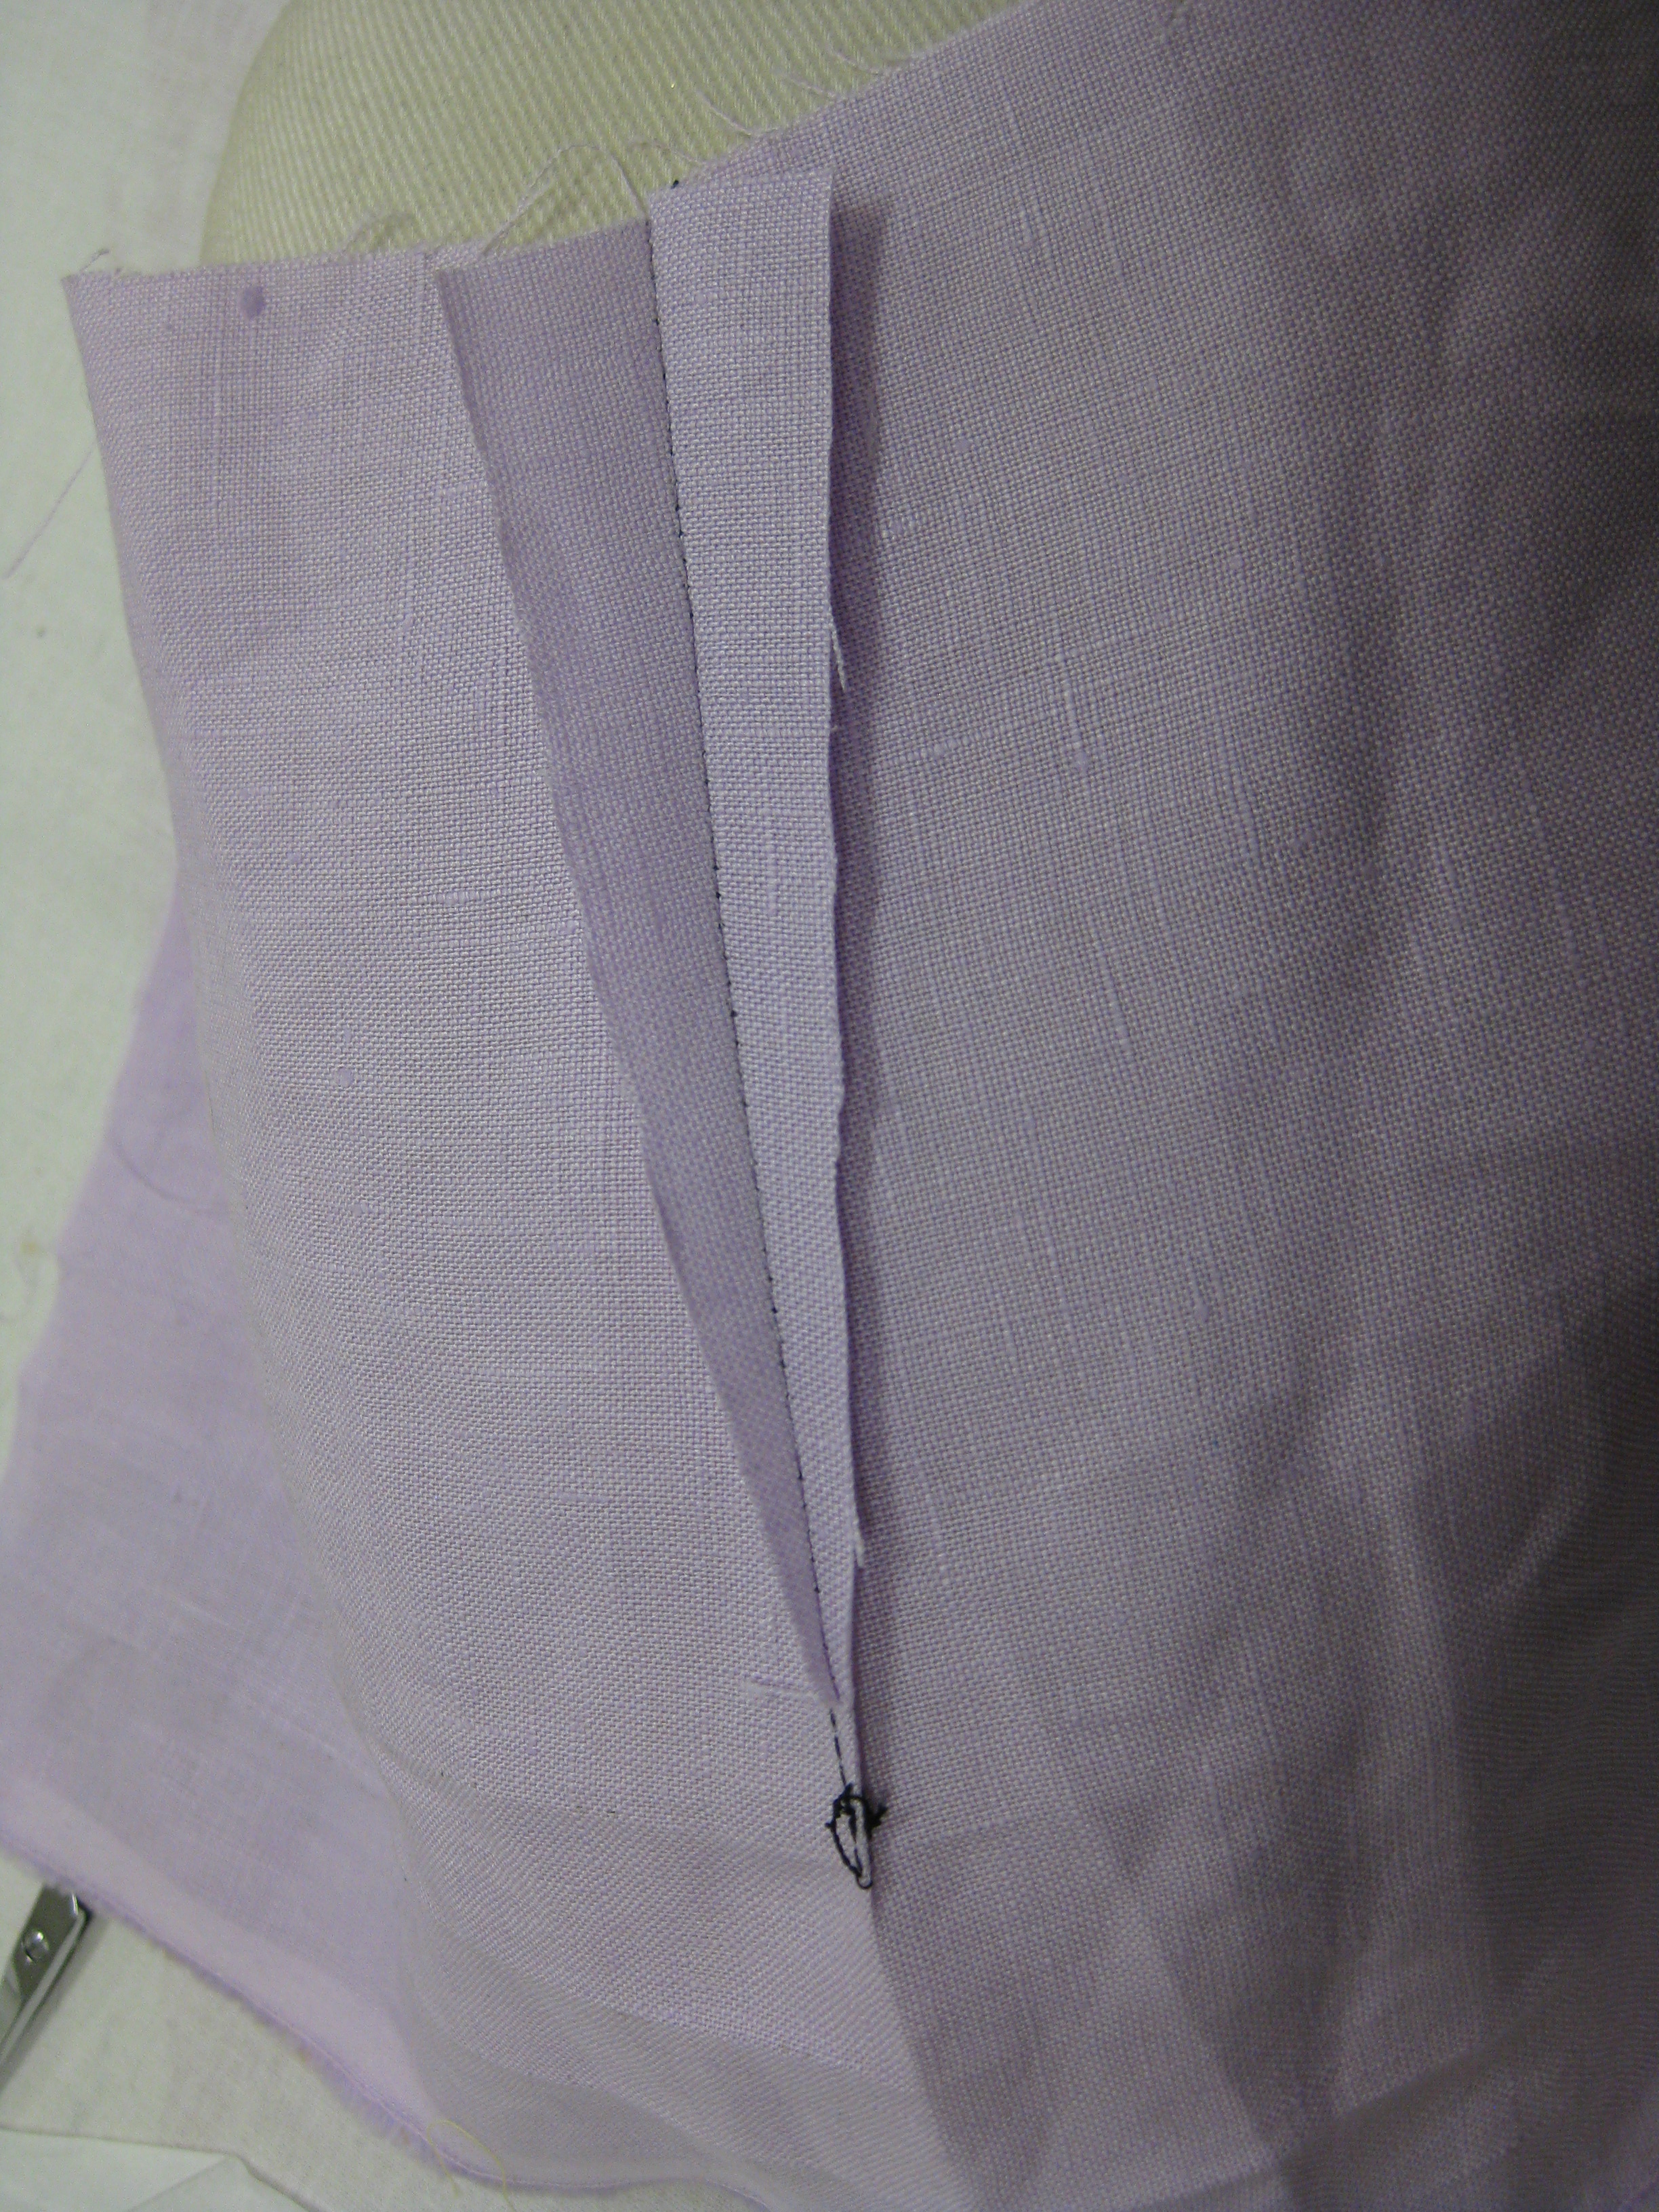
Used in tailoring, these techniques can be used in dressmaking where you do not want to clip seam allowances; for example, if working on a white or pale colour garment with princess seams or if stitching a dart would make a plaid garment less visually appealing. It is also a useful technique beacuse if the seams are not clipped, future alterations are made much easier.
Curved side seams will not press flat. Most patterns mention clipping them so they will lie flat.
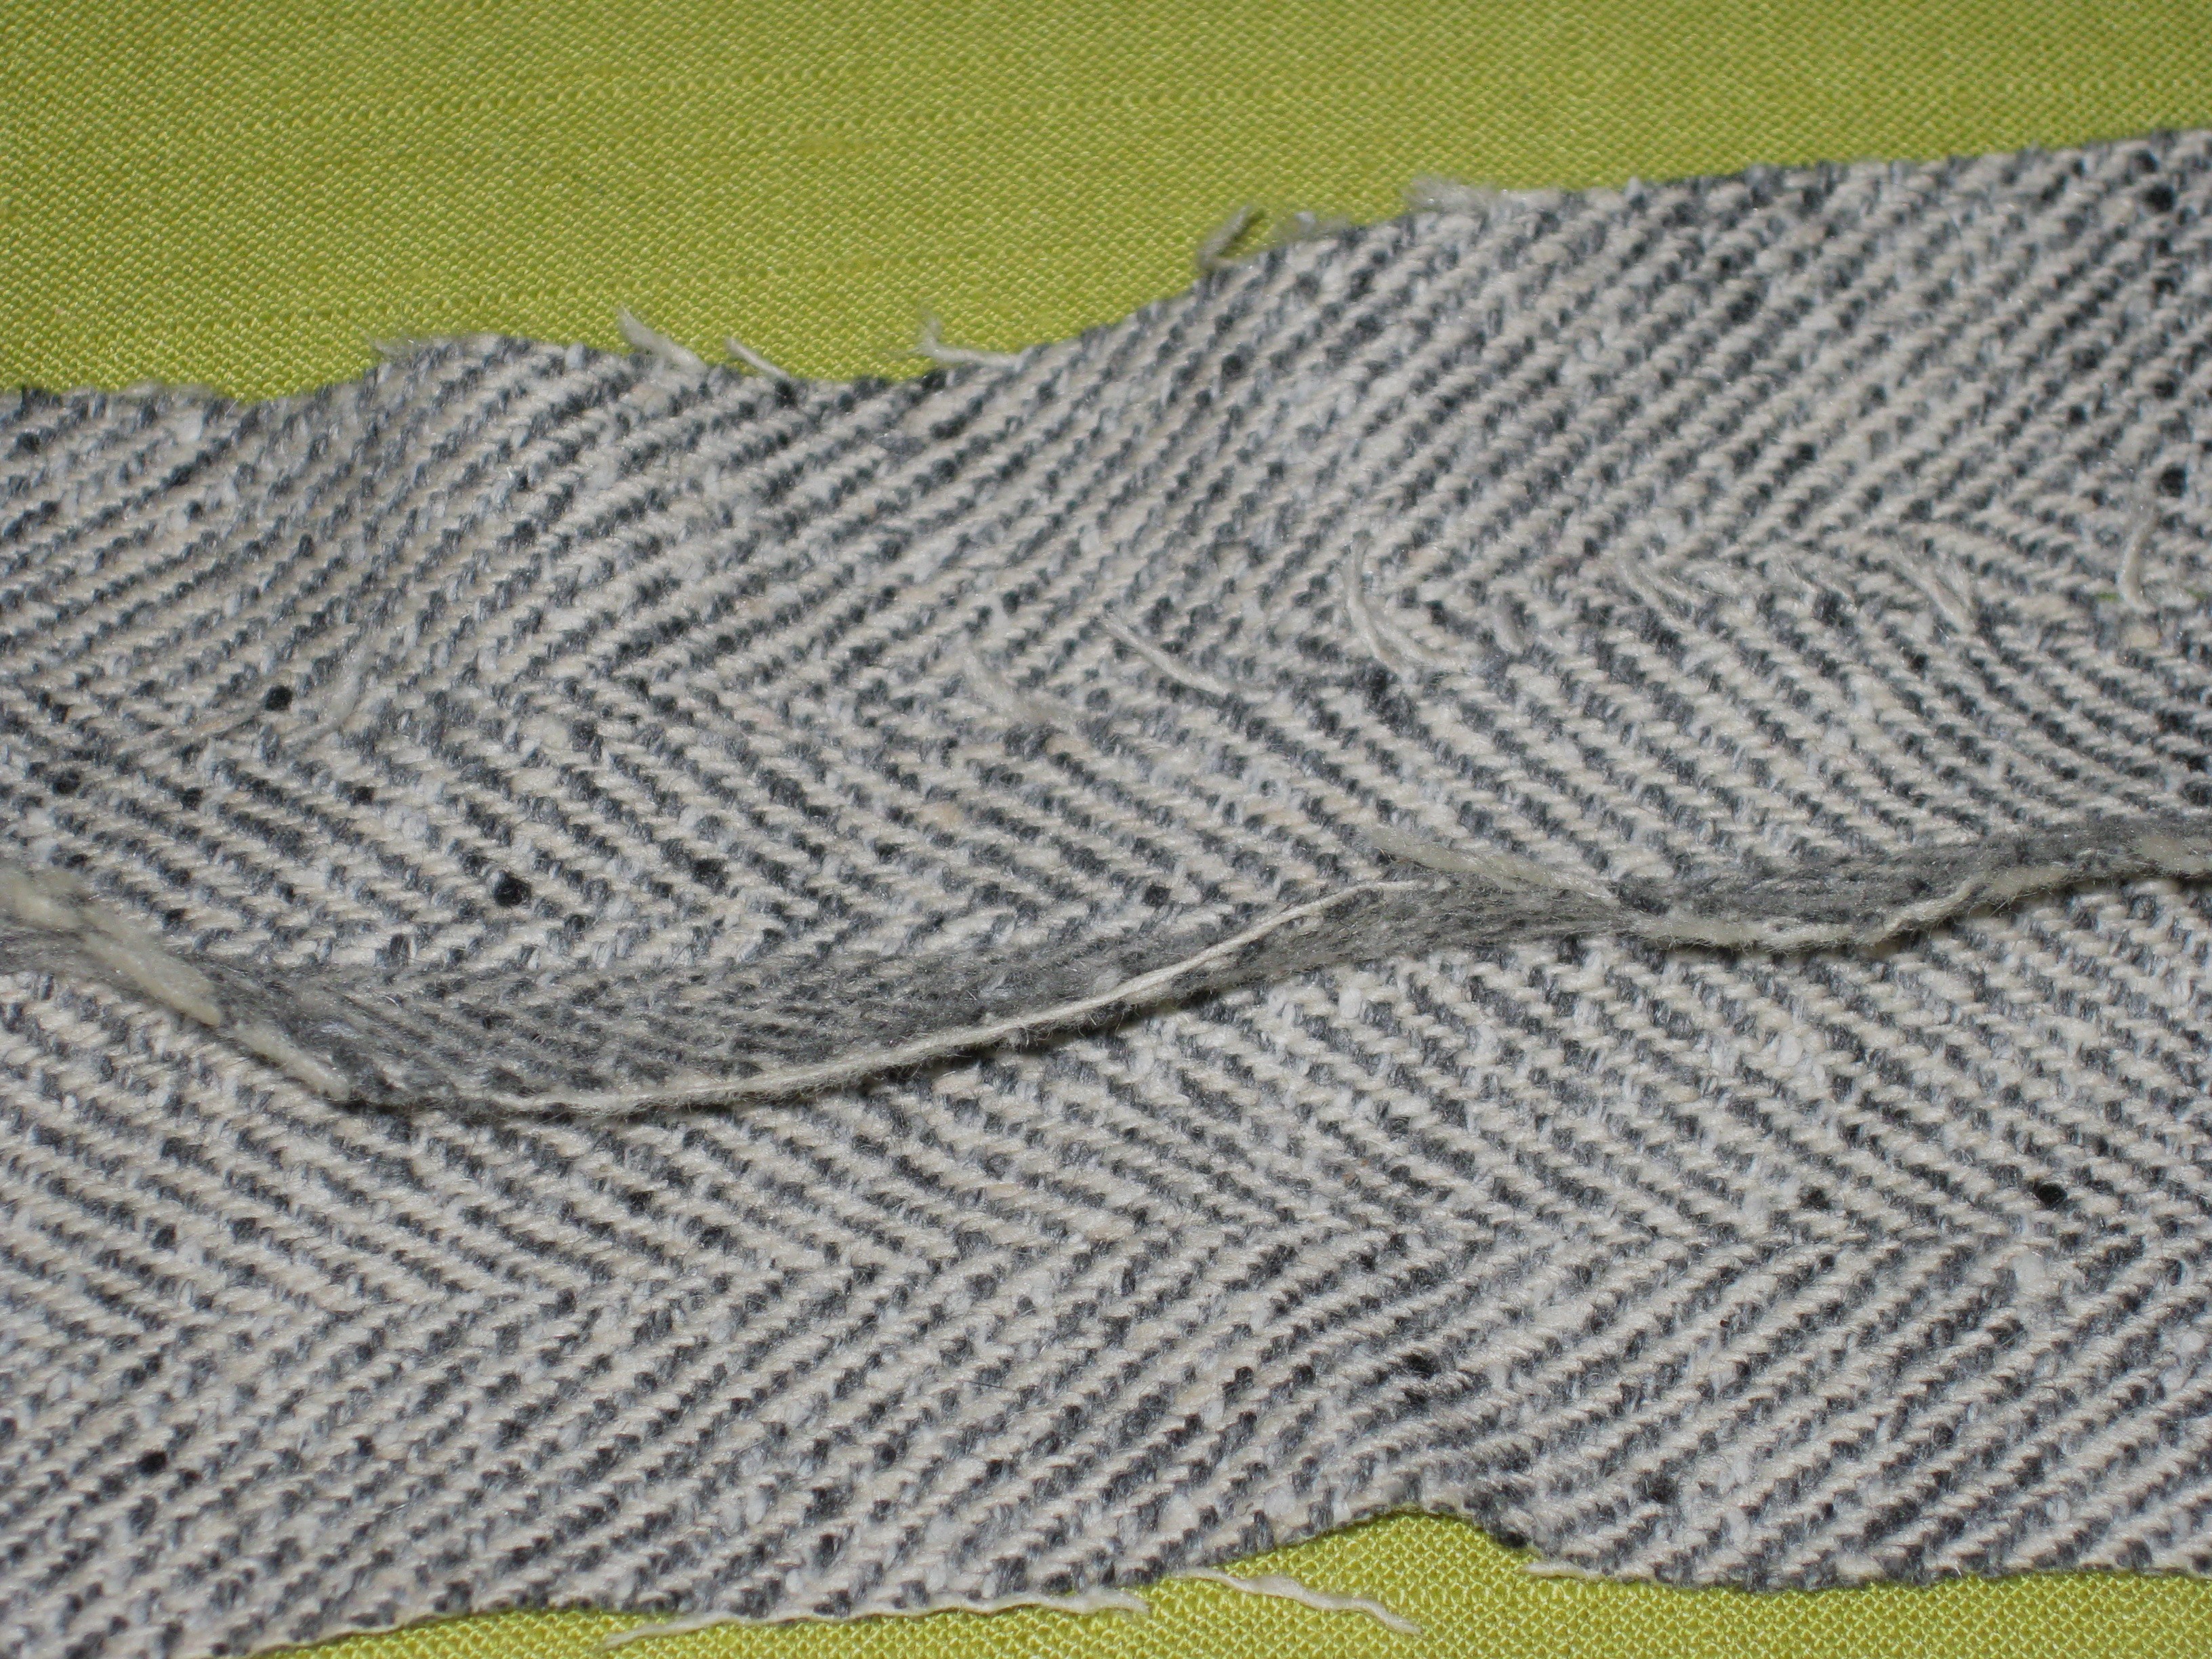
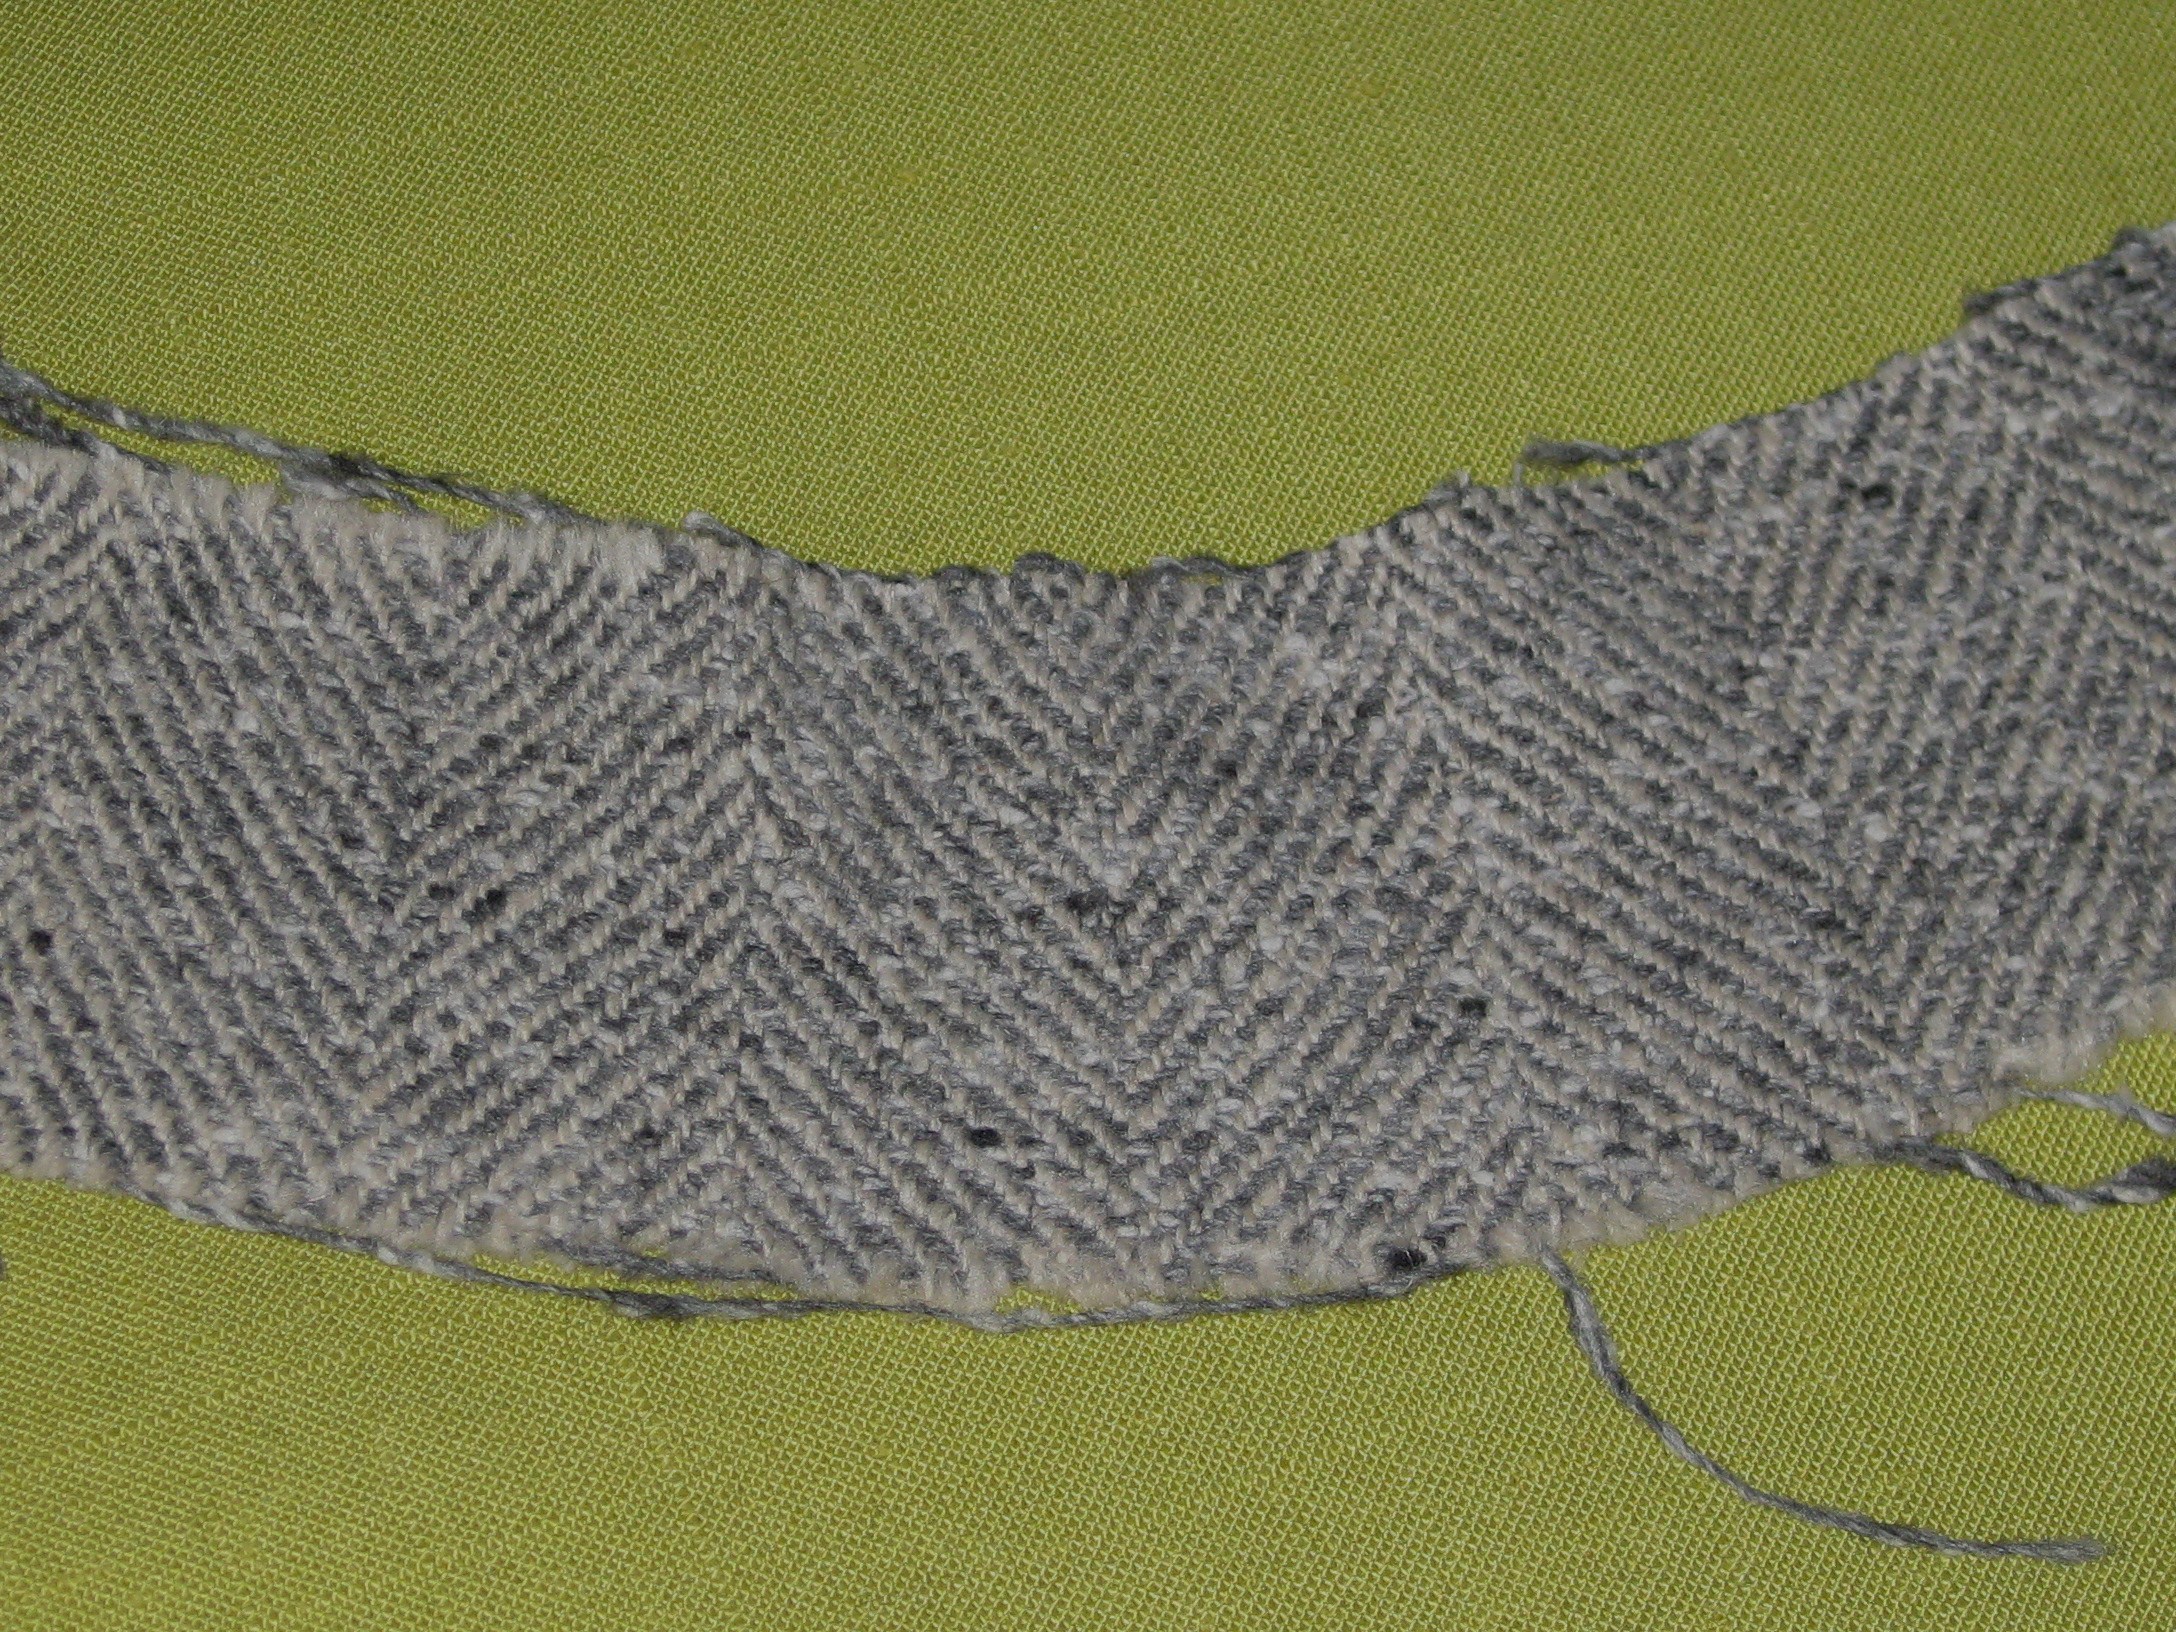
Pressing with steam, stretch the outer edge of the seam allowance.
Top seam allowance pressed flat after being stretched. Bottom seam allowance clipped.
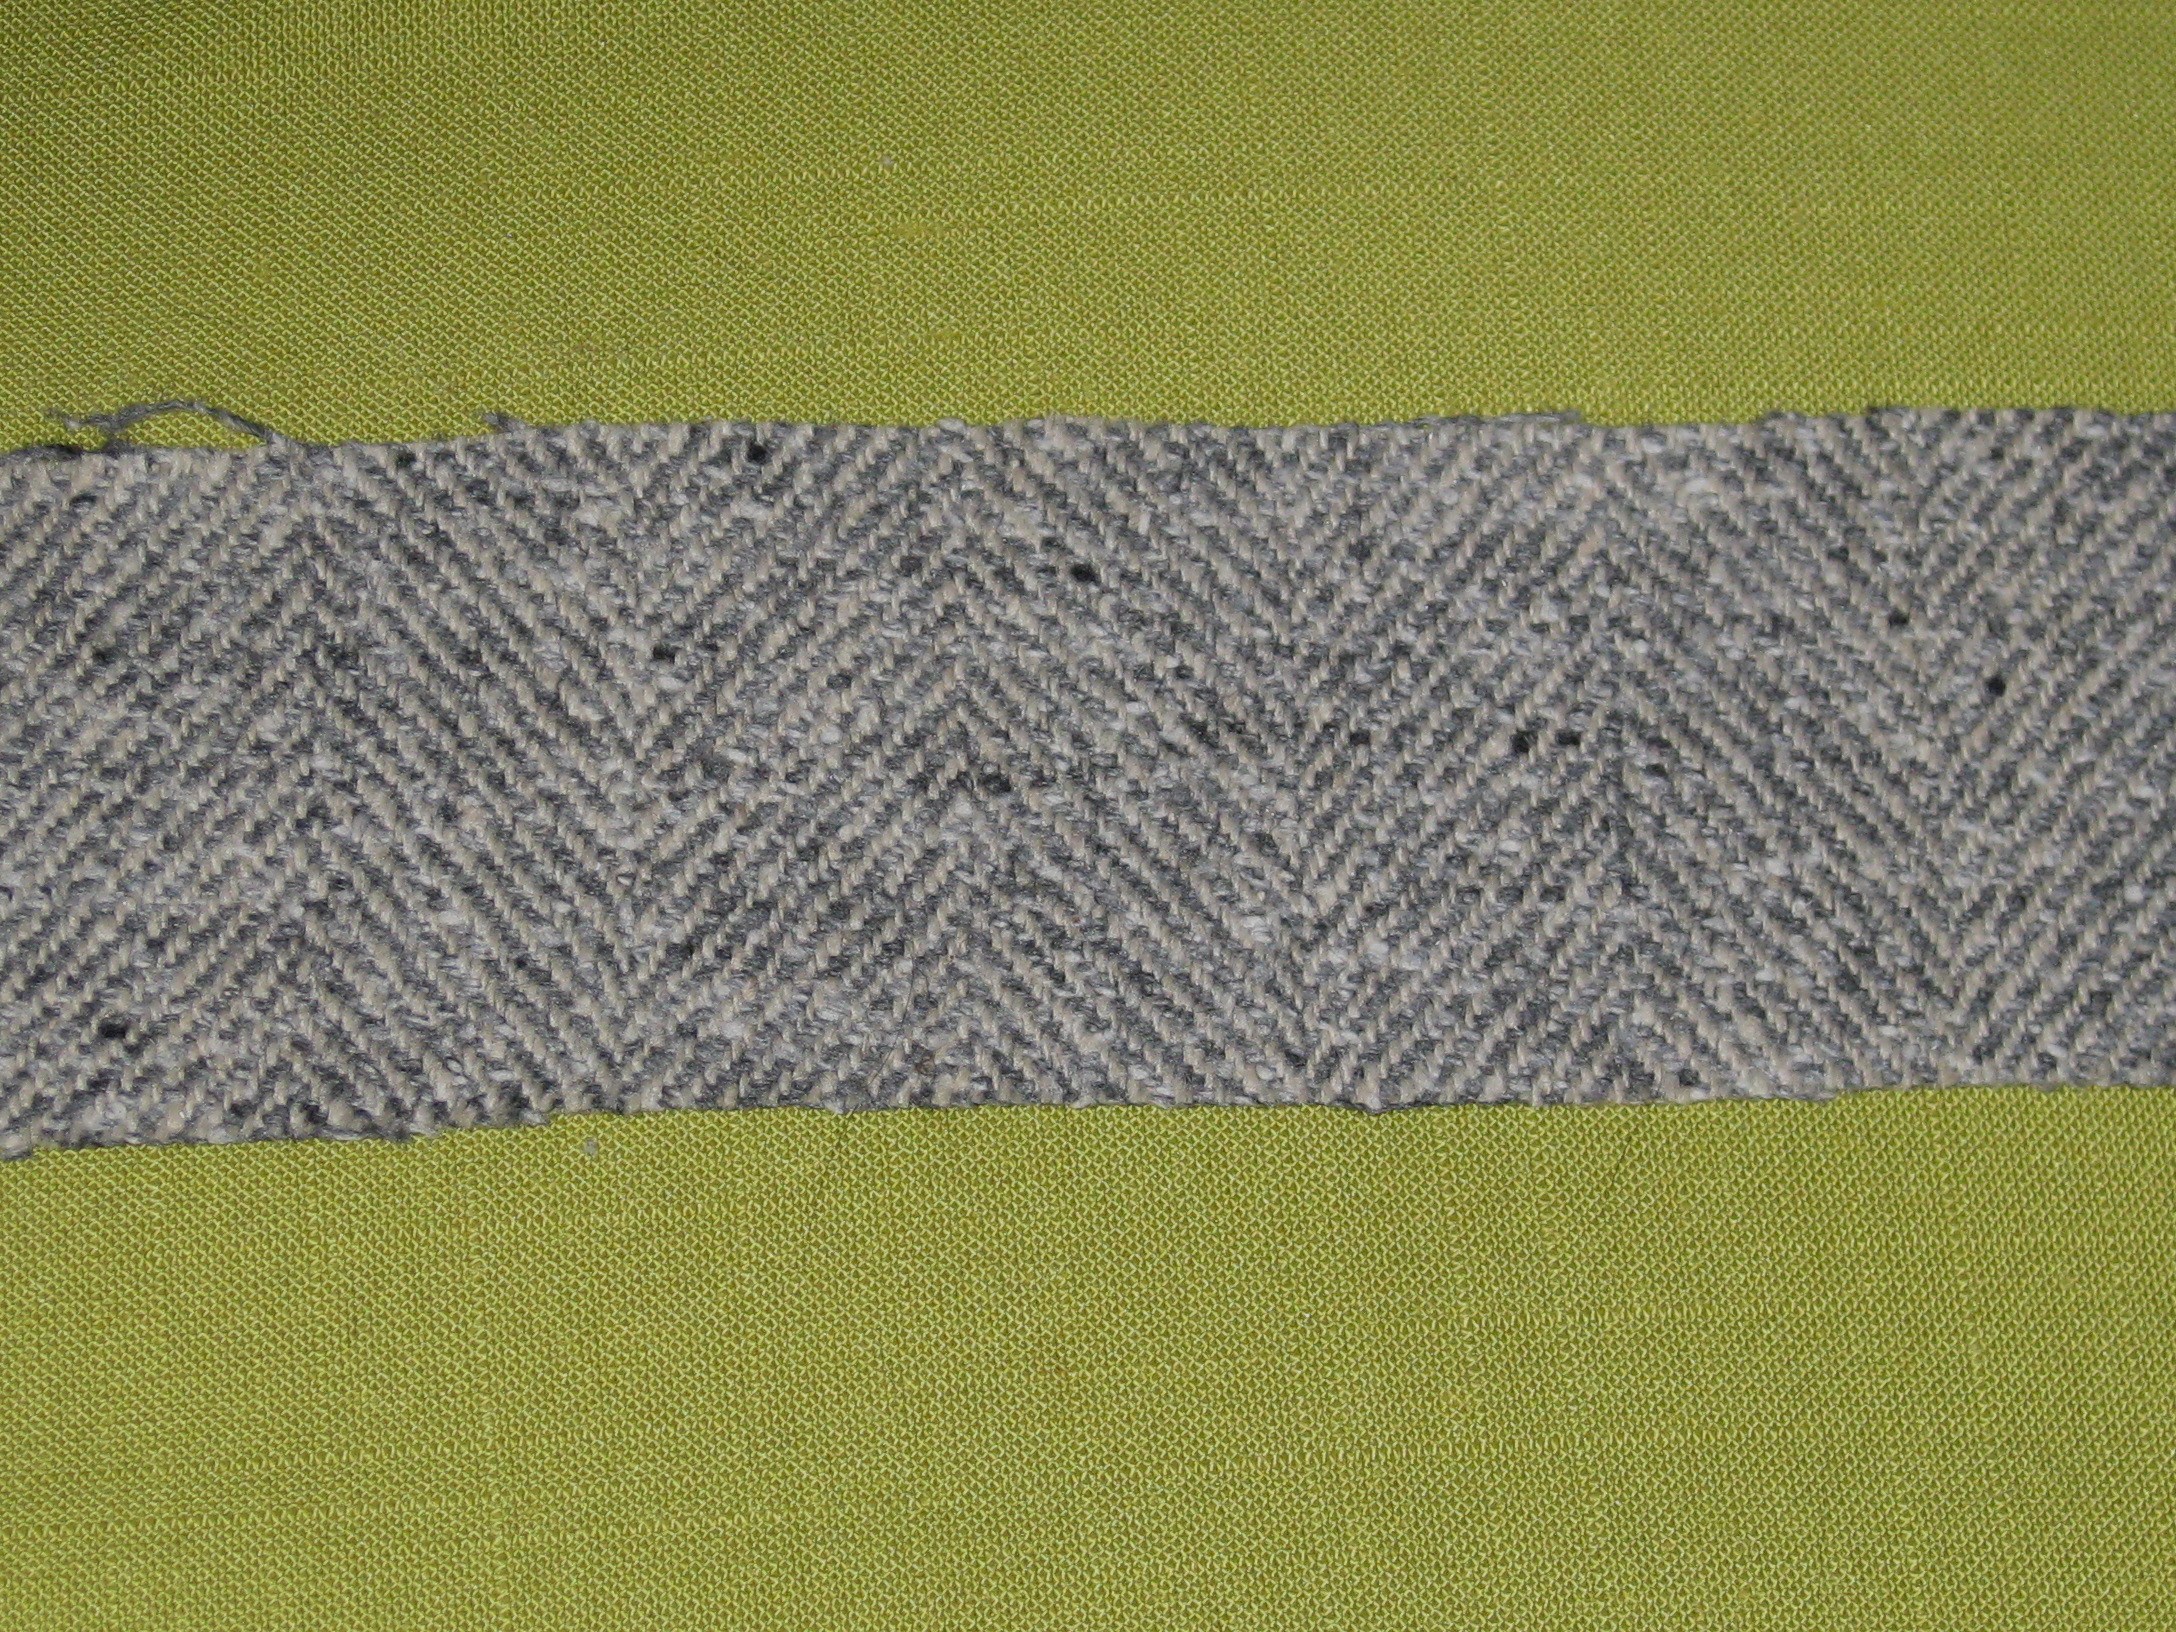
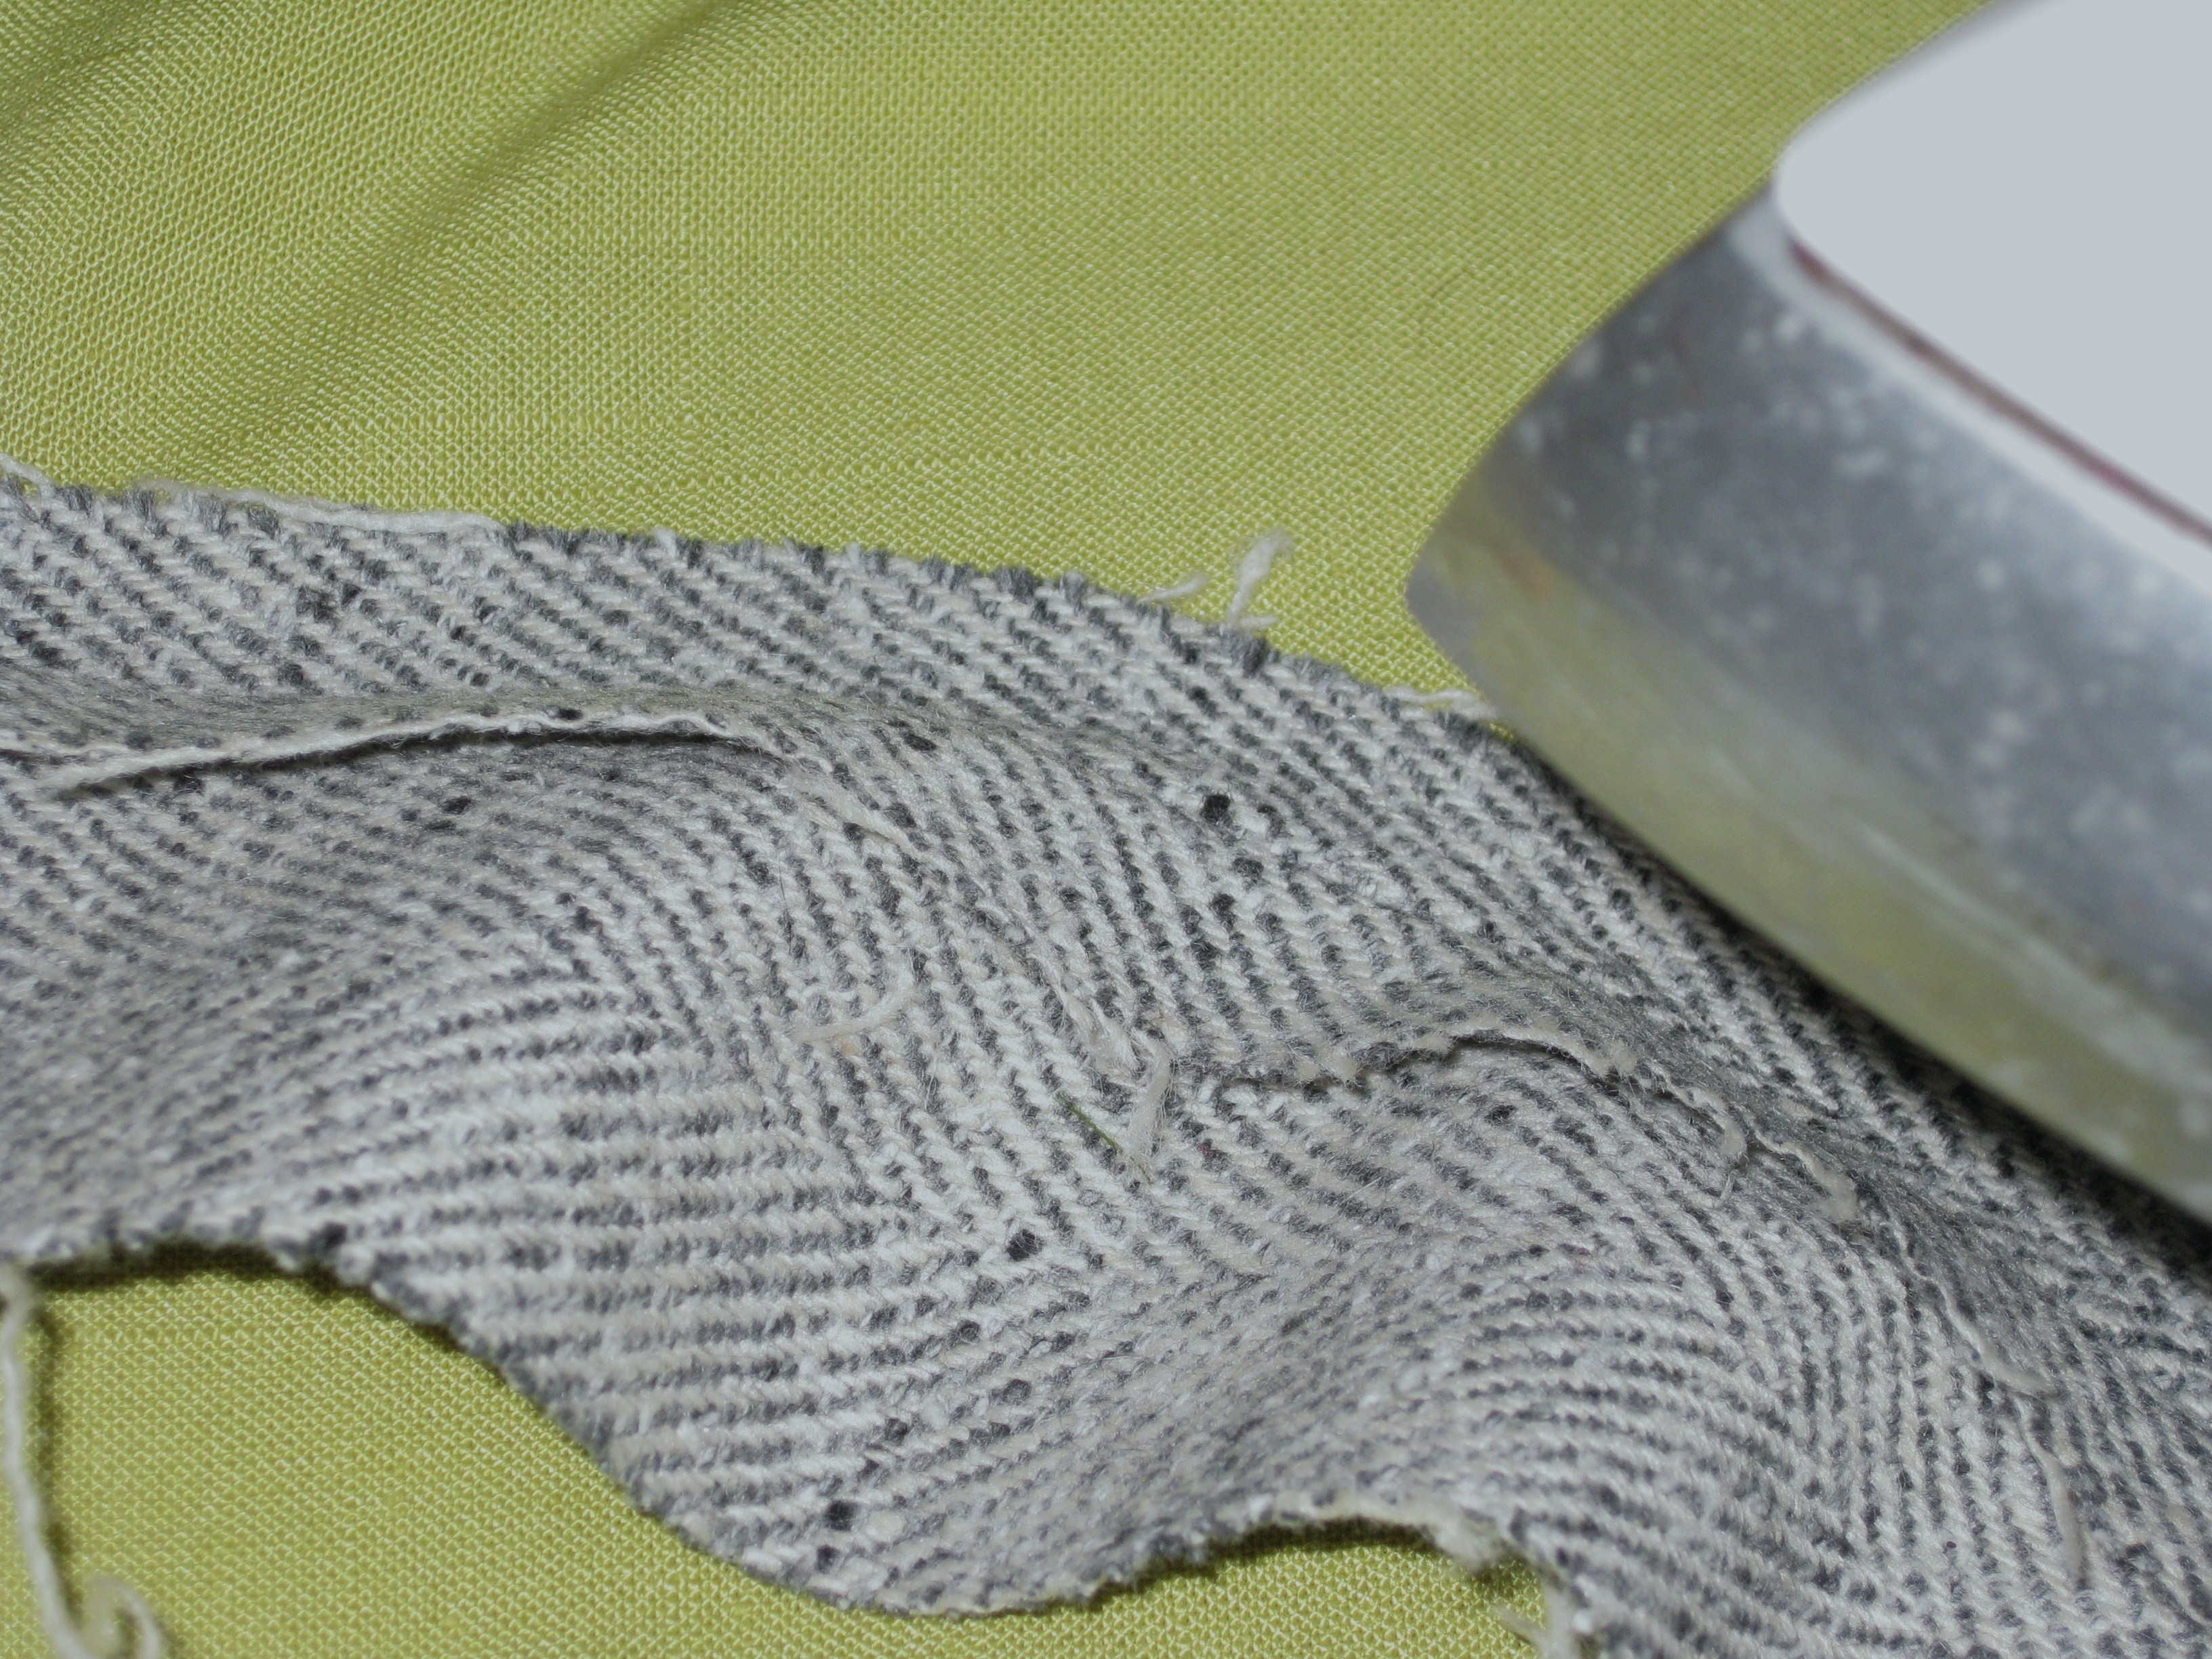
Straight piece of fabric cut on the crossgrain.
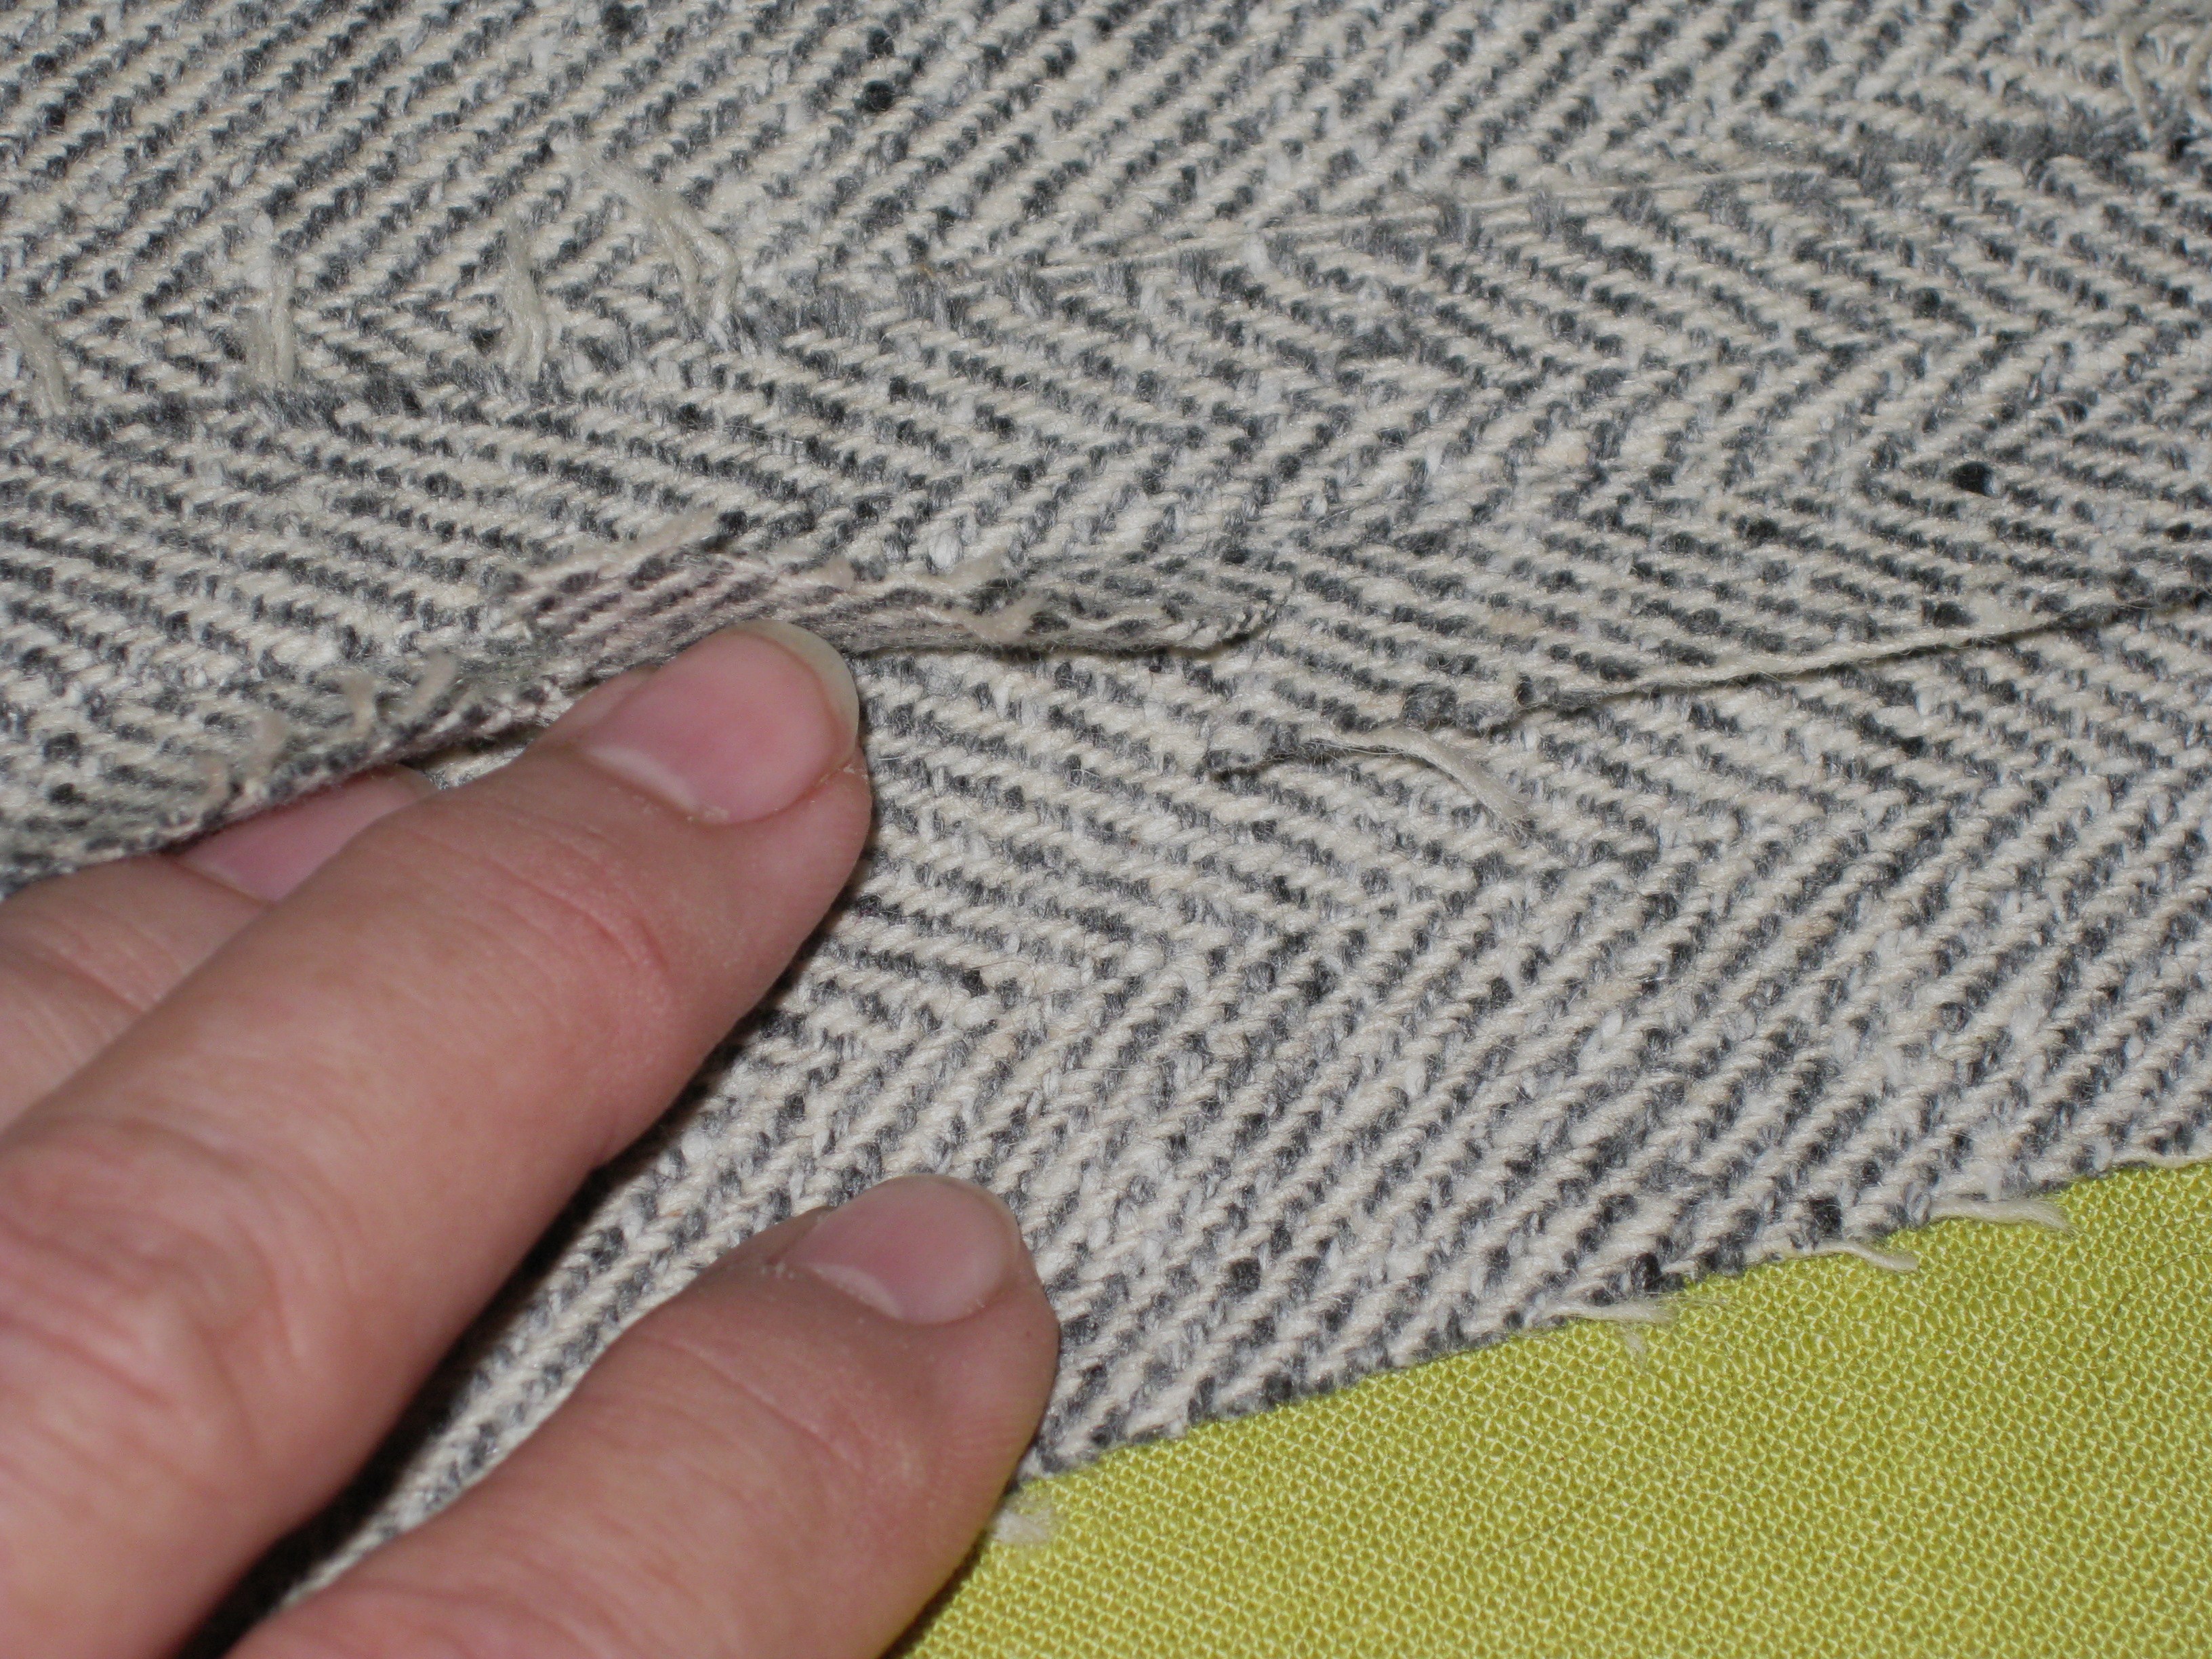
Outer edge of seam allowance of concave curve is pressed and stretched.
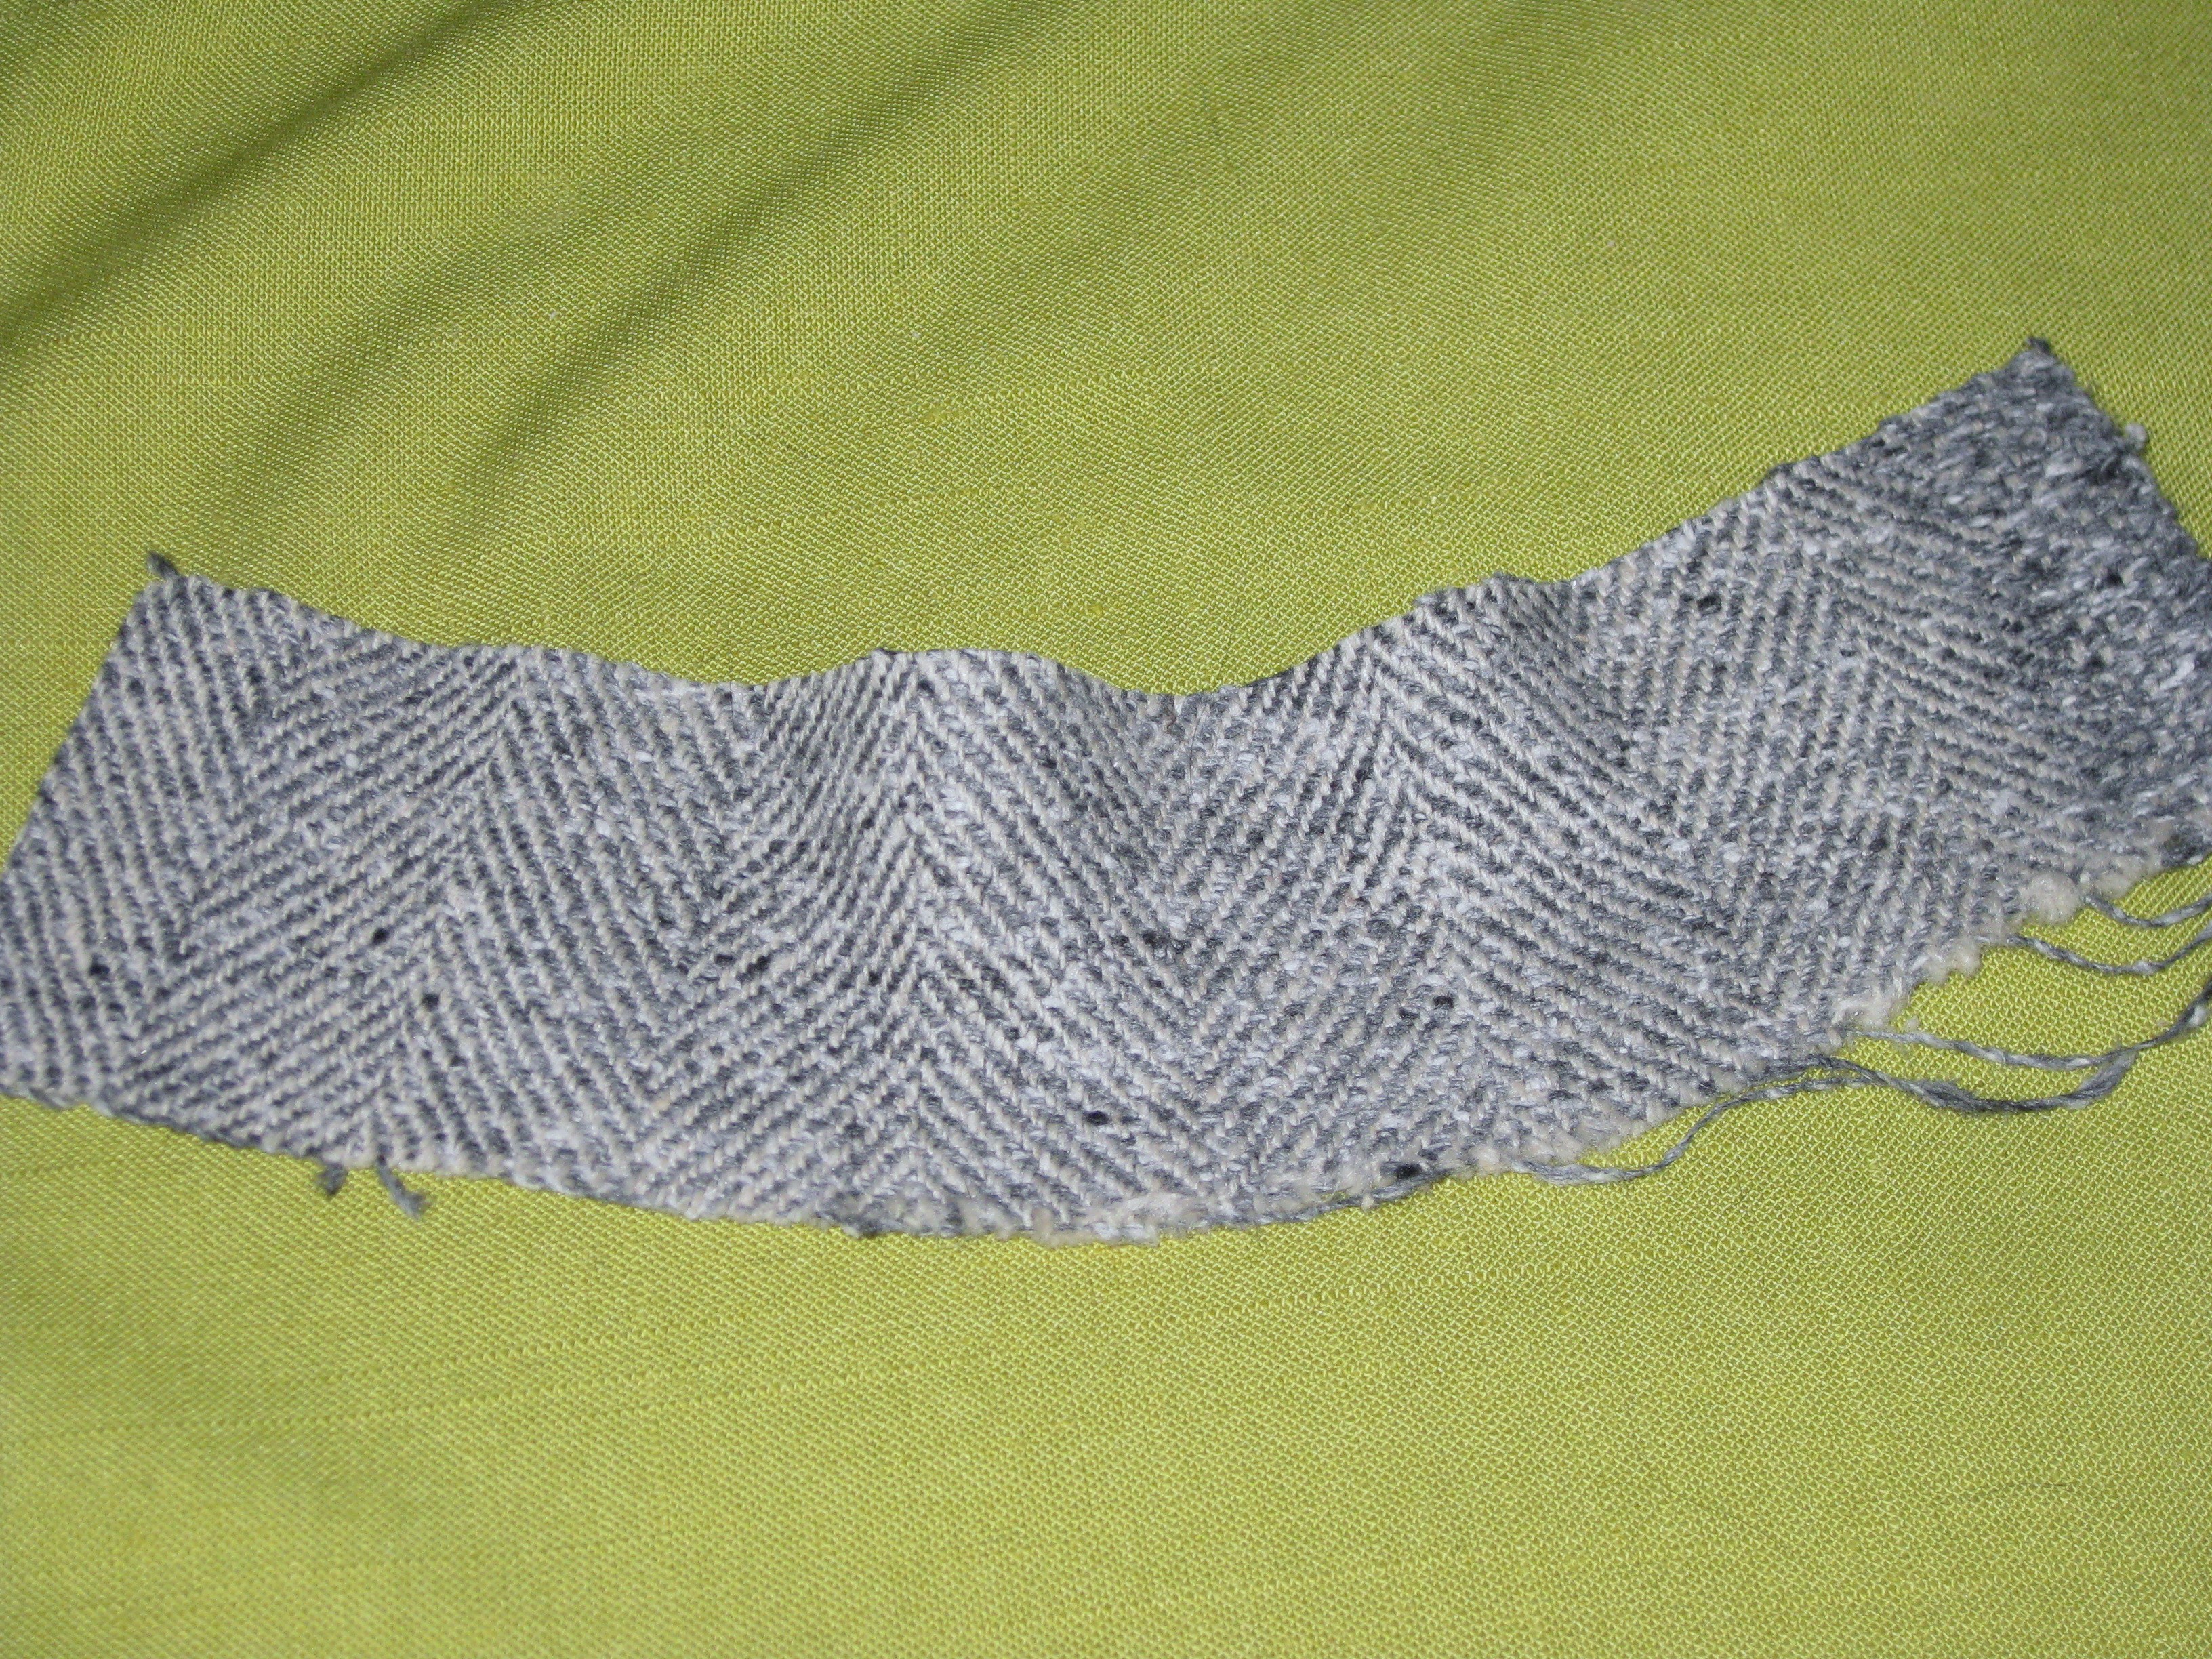
Upper edge shrunk into a curve; lower edge stretched into a curve.
I hope you will give these techniques a try. You will see a marked improvement in the finish of your garments and understand that our mothers and grandmothers did indeed know a thing or two about quality construction and pressing techniques.

This is fabulous- so much information! Thanks Alison
You are most welcome.
Pingback: Sewing Project Pressing Techniques: Tips for Perfect Results