
Exposed zippers have been in fashion for the past few years and they can add a dash of fun and surprise to otherwise plain or tailored garments. Try using them at the bottom of a sleeve or at the hem or a skirt of pants for a stylish accent.
Separating zippers can also look great horizontally to join a removable piece to the bottom of a jacket hem or sleeve hems.
They inserted into any seam where an opening is needed and can also be used to establish an opening where there is no seam.
I can be difficult to find a big variety of different colours or zips with printed tapes and when I seem them, I usually buy one and I can then add it where I choose to any future garment. Sckafs Fabrics at Indooroopilly and Sewco Sewing Centre at Macgregor in Brisbane have a small selection of the more decorative styles. Otherwise it will probably be necessary to source them on line.
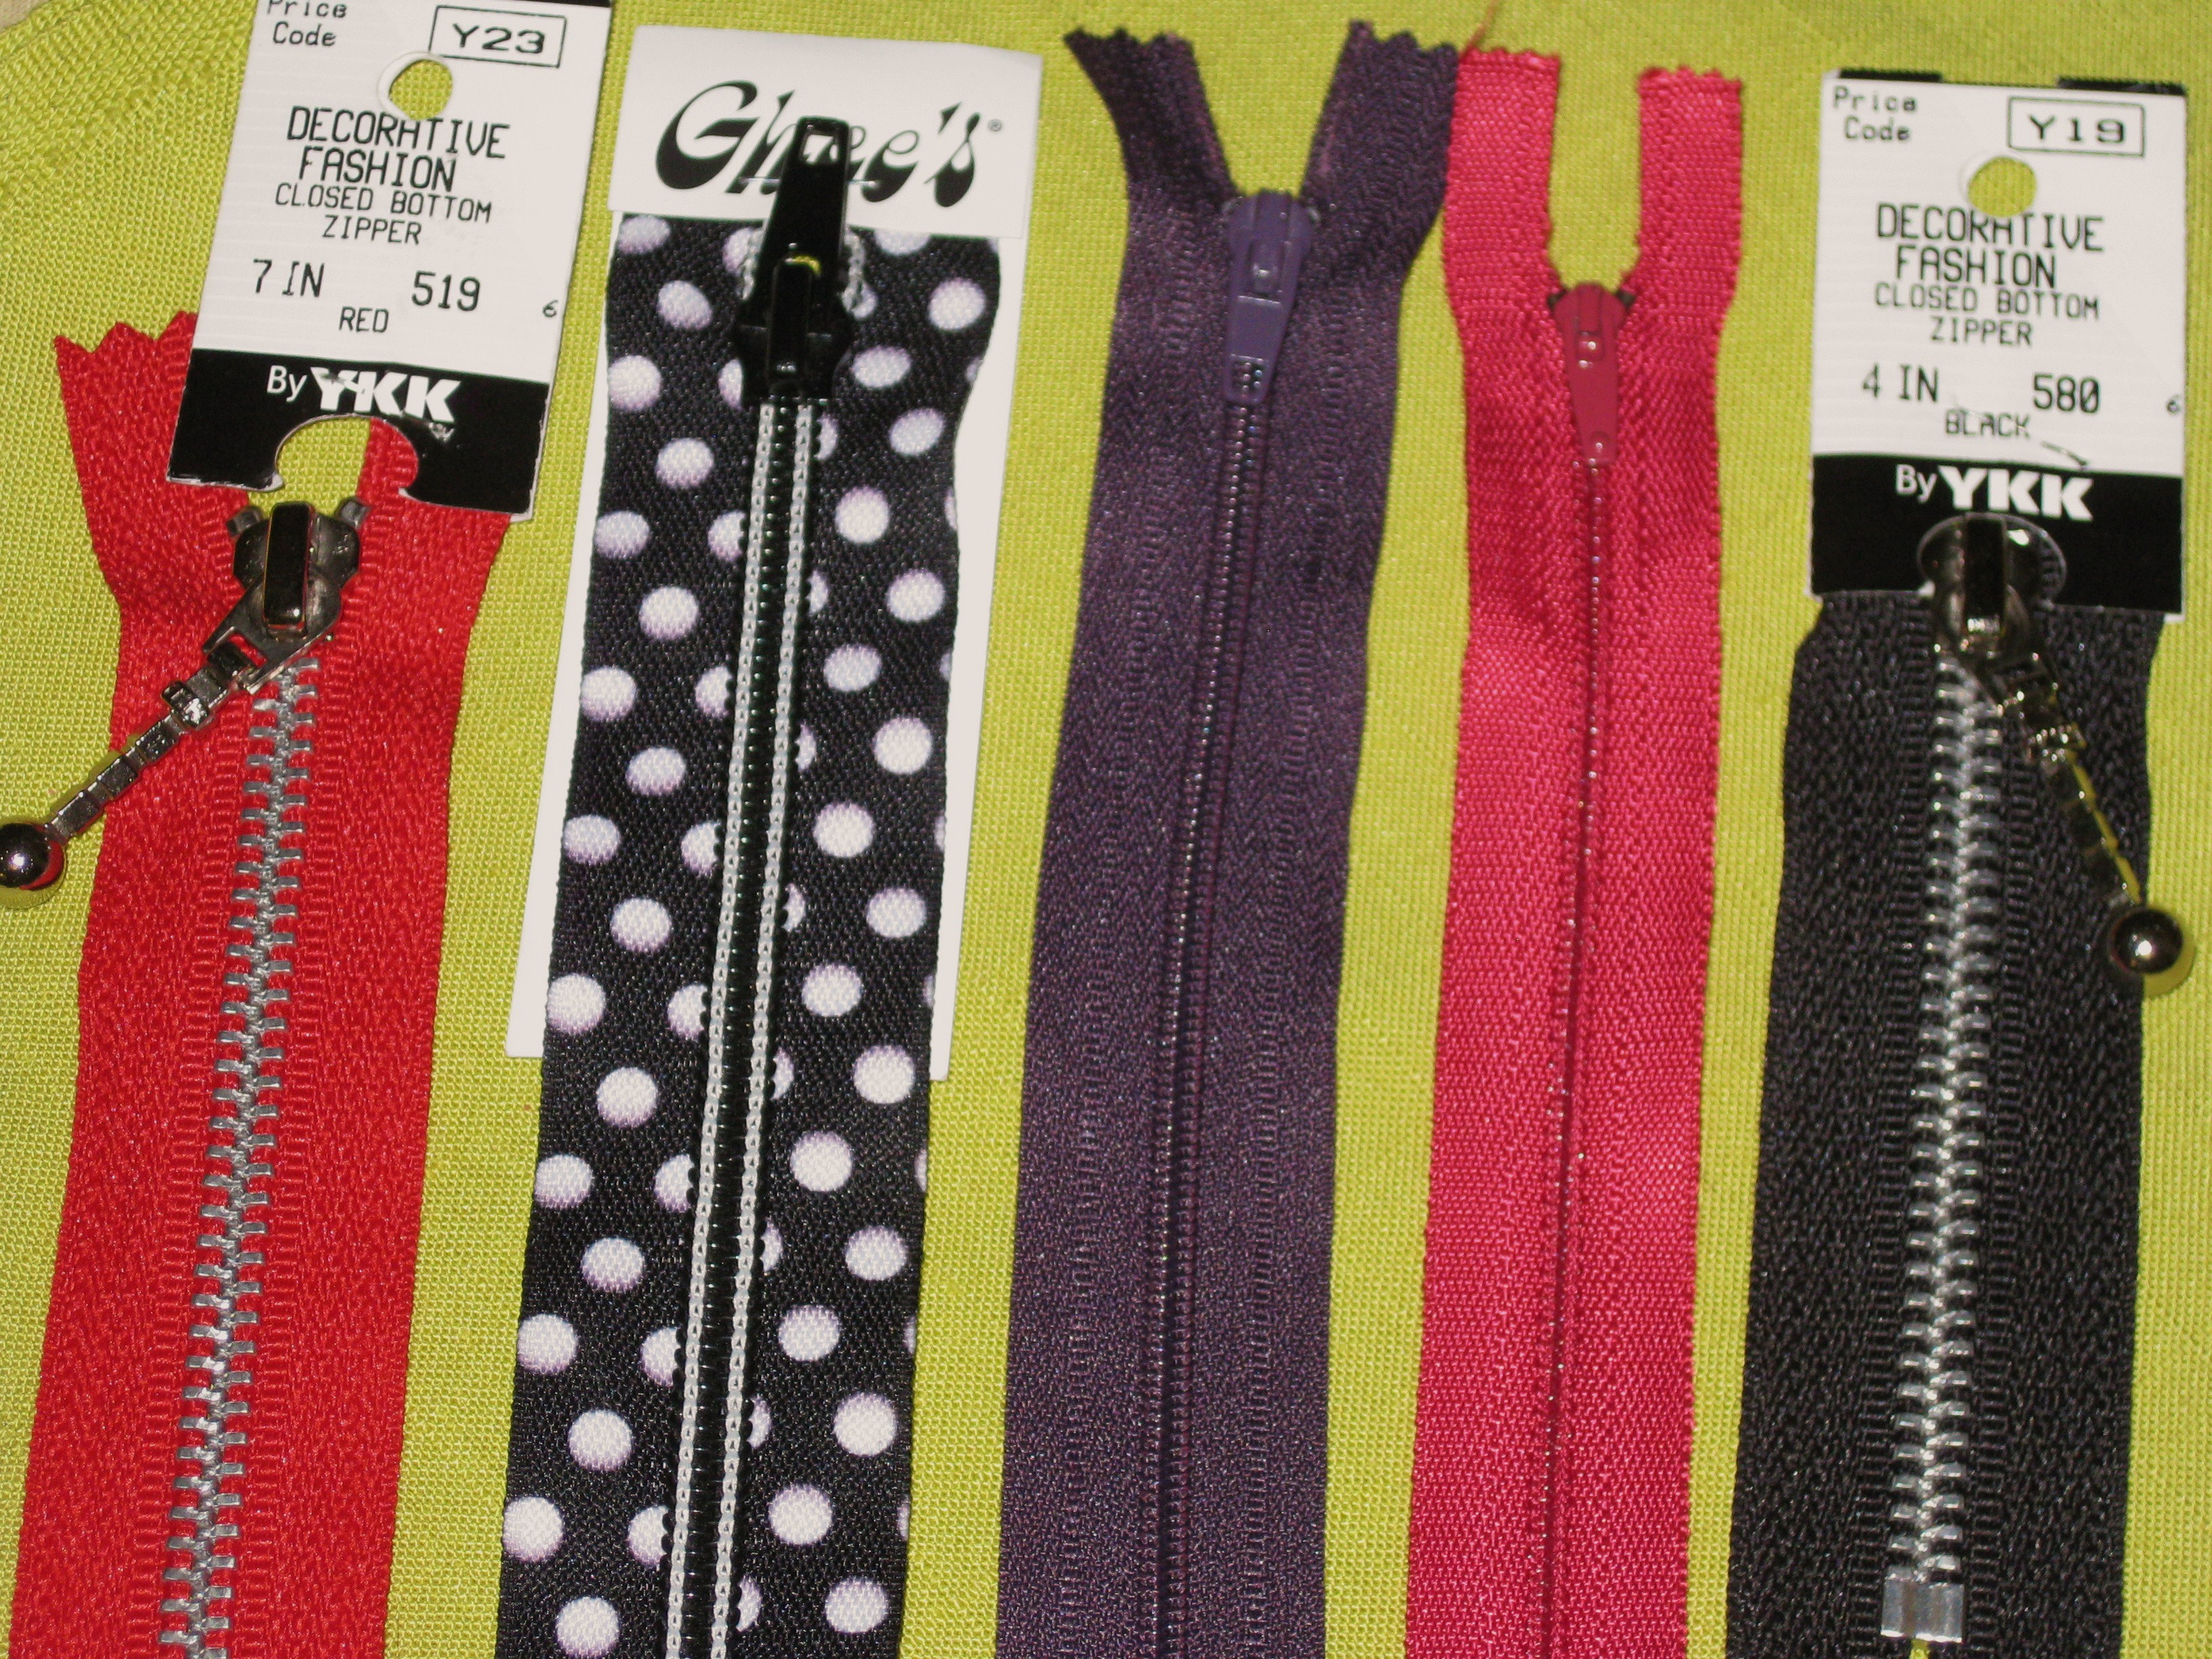
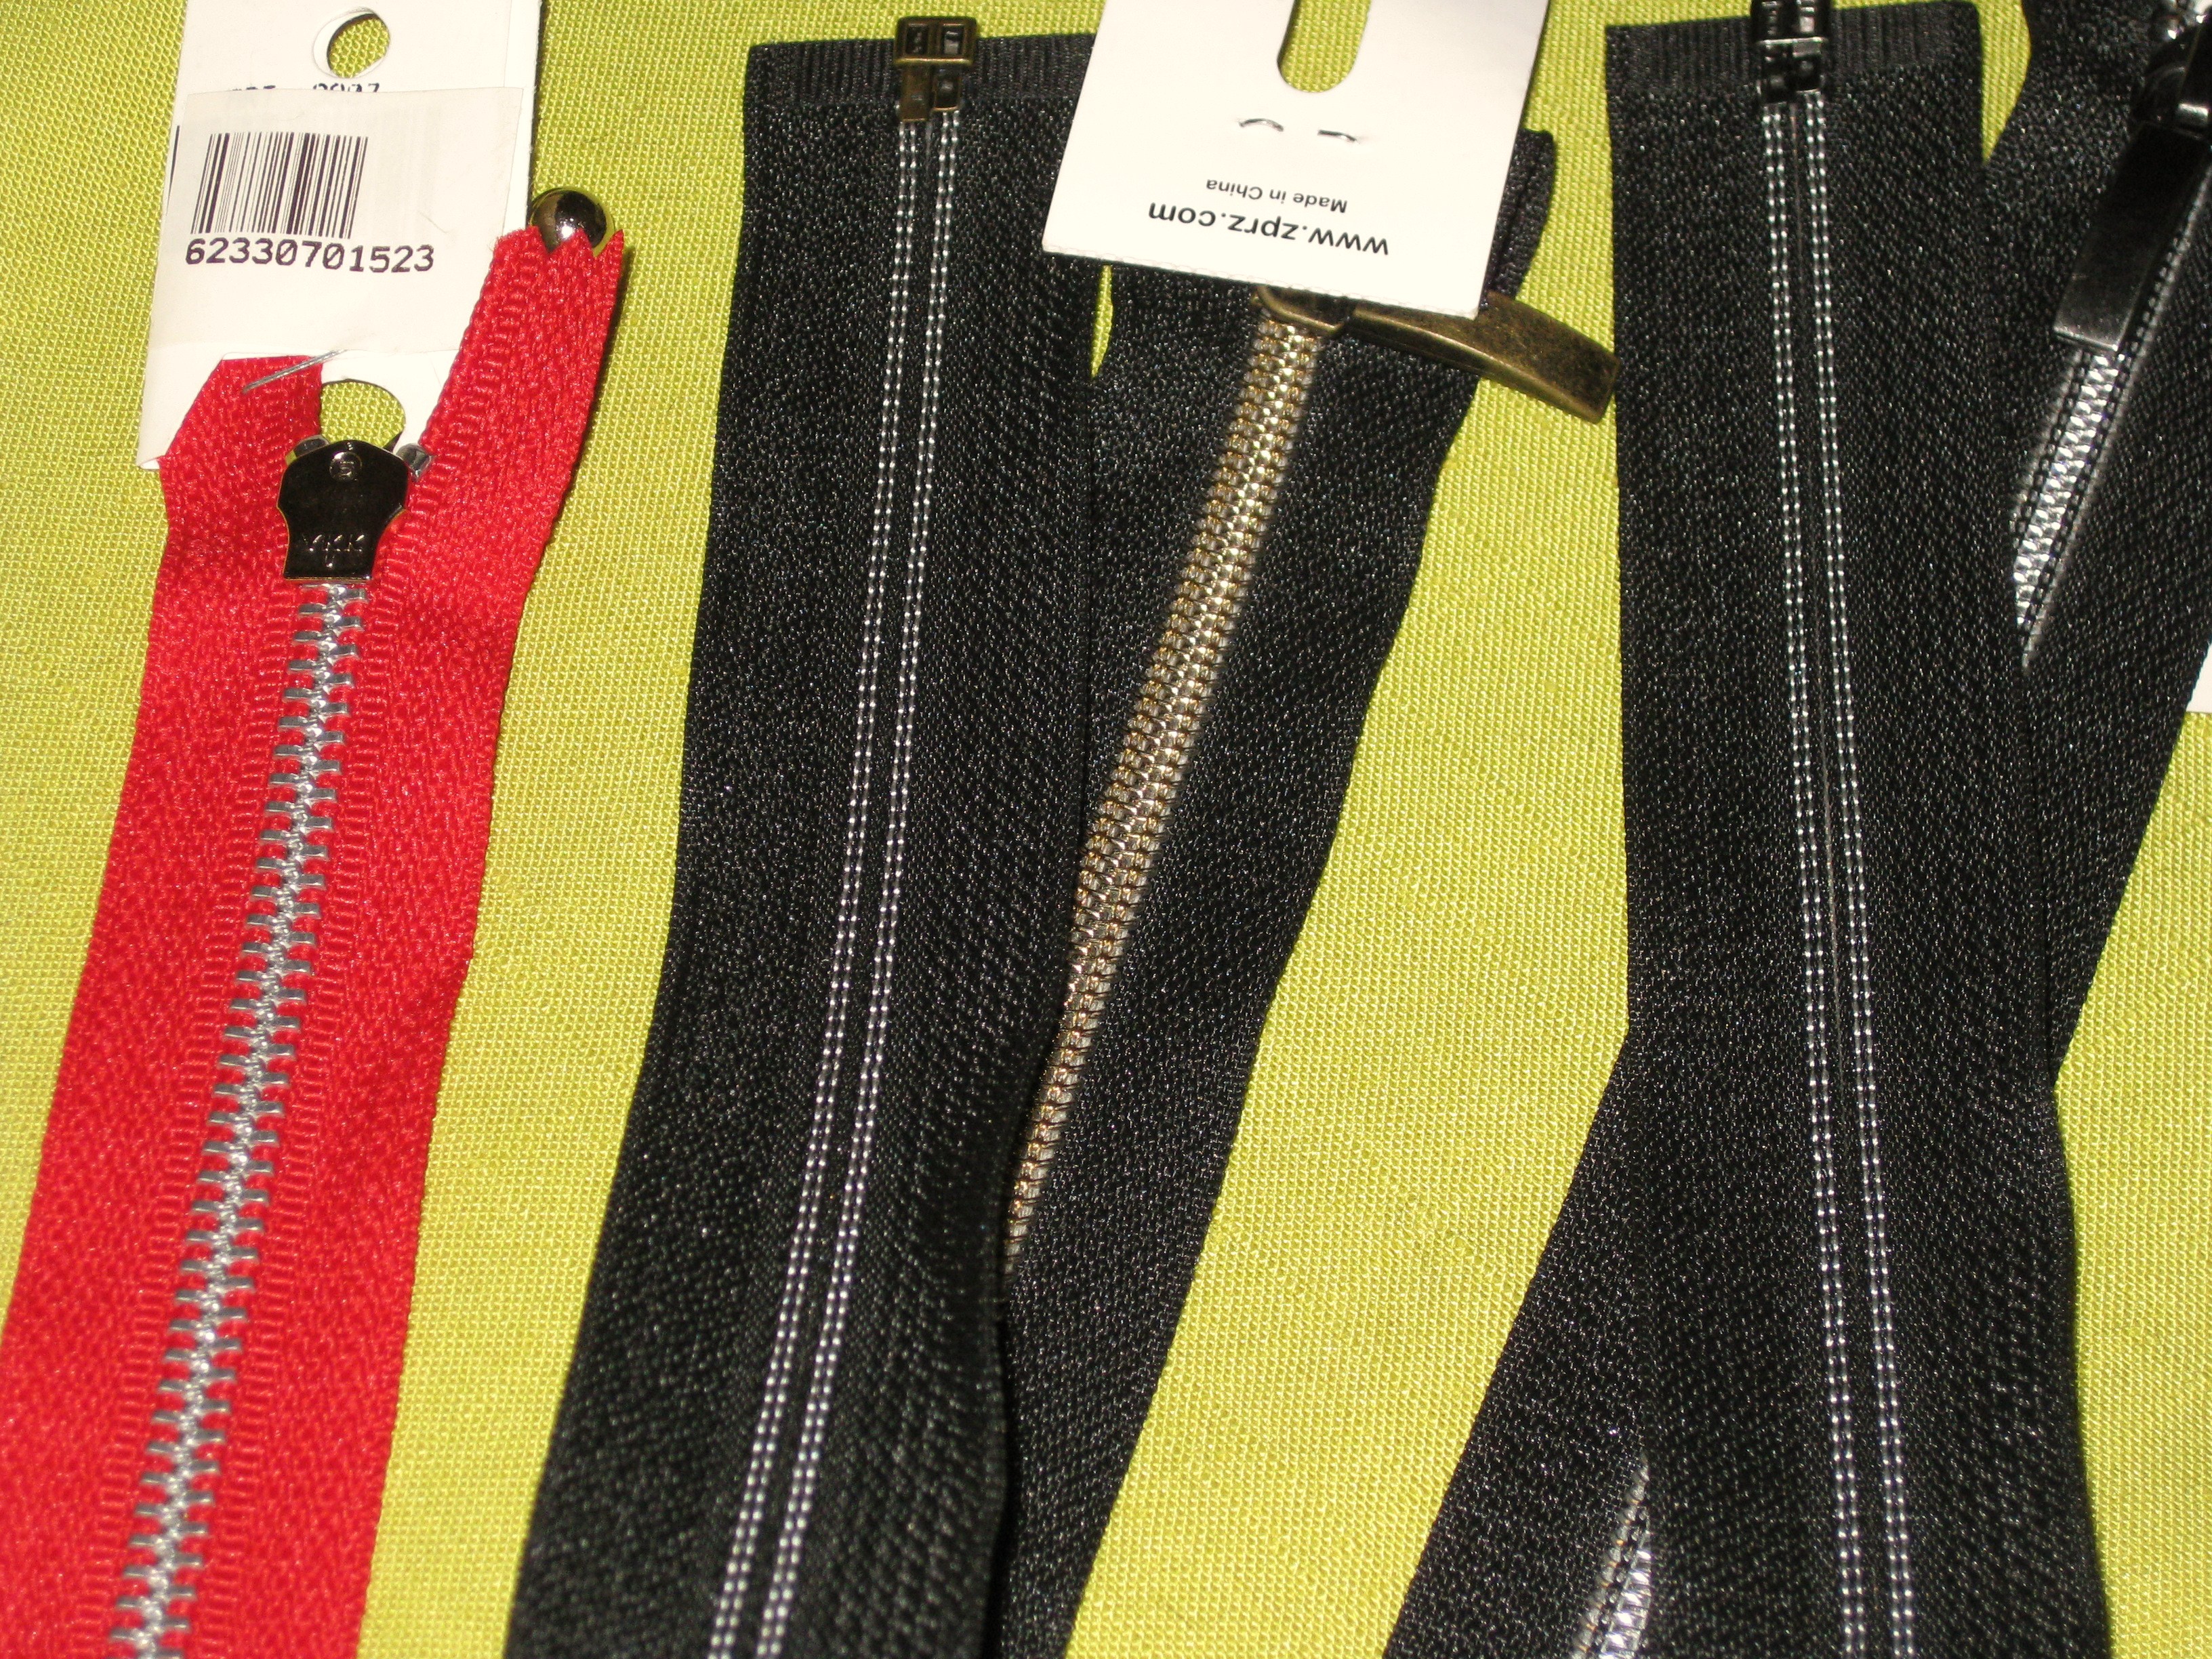
A selection – Left to right are metal zip; decorative tapes; regular dress zip; lightweight dress zip; metal zip
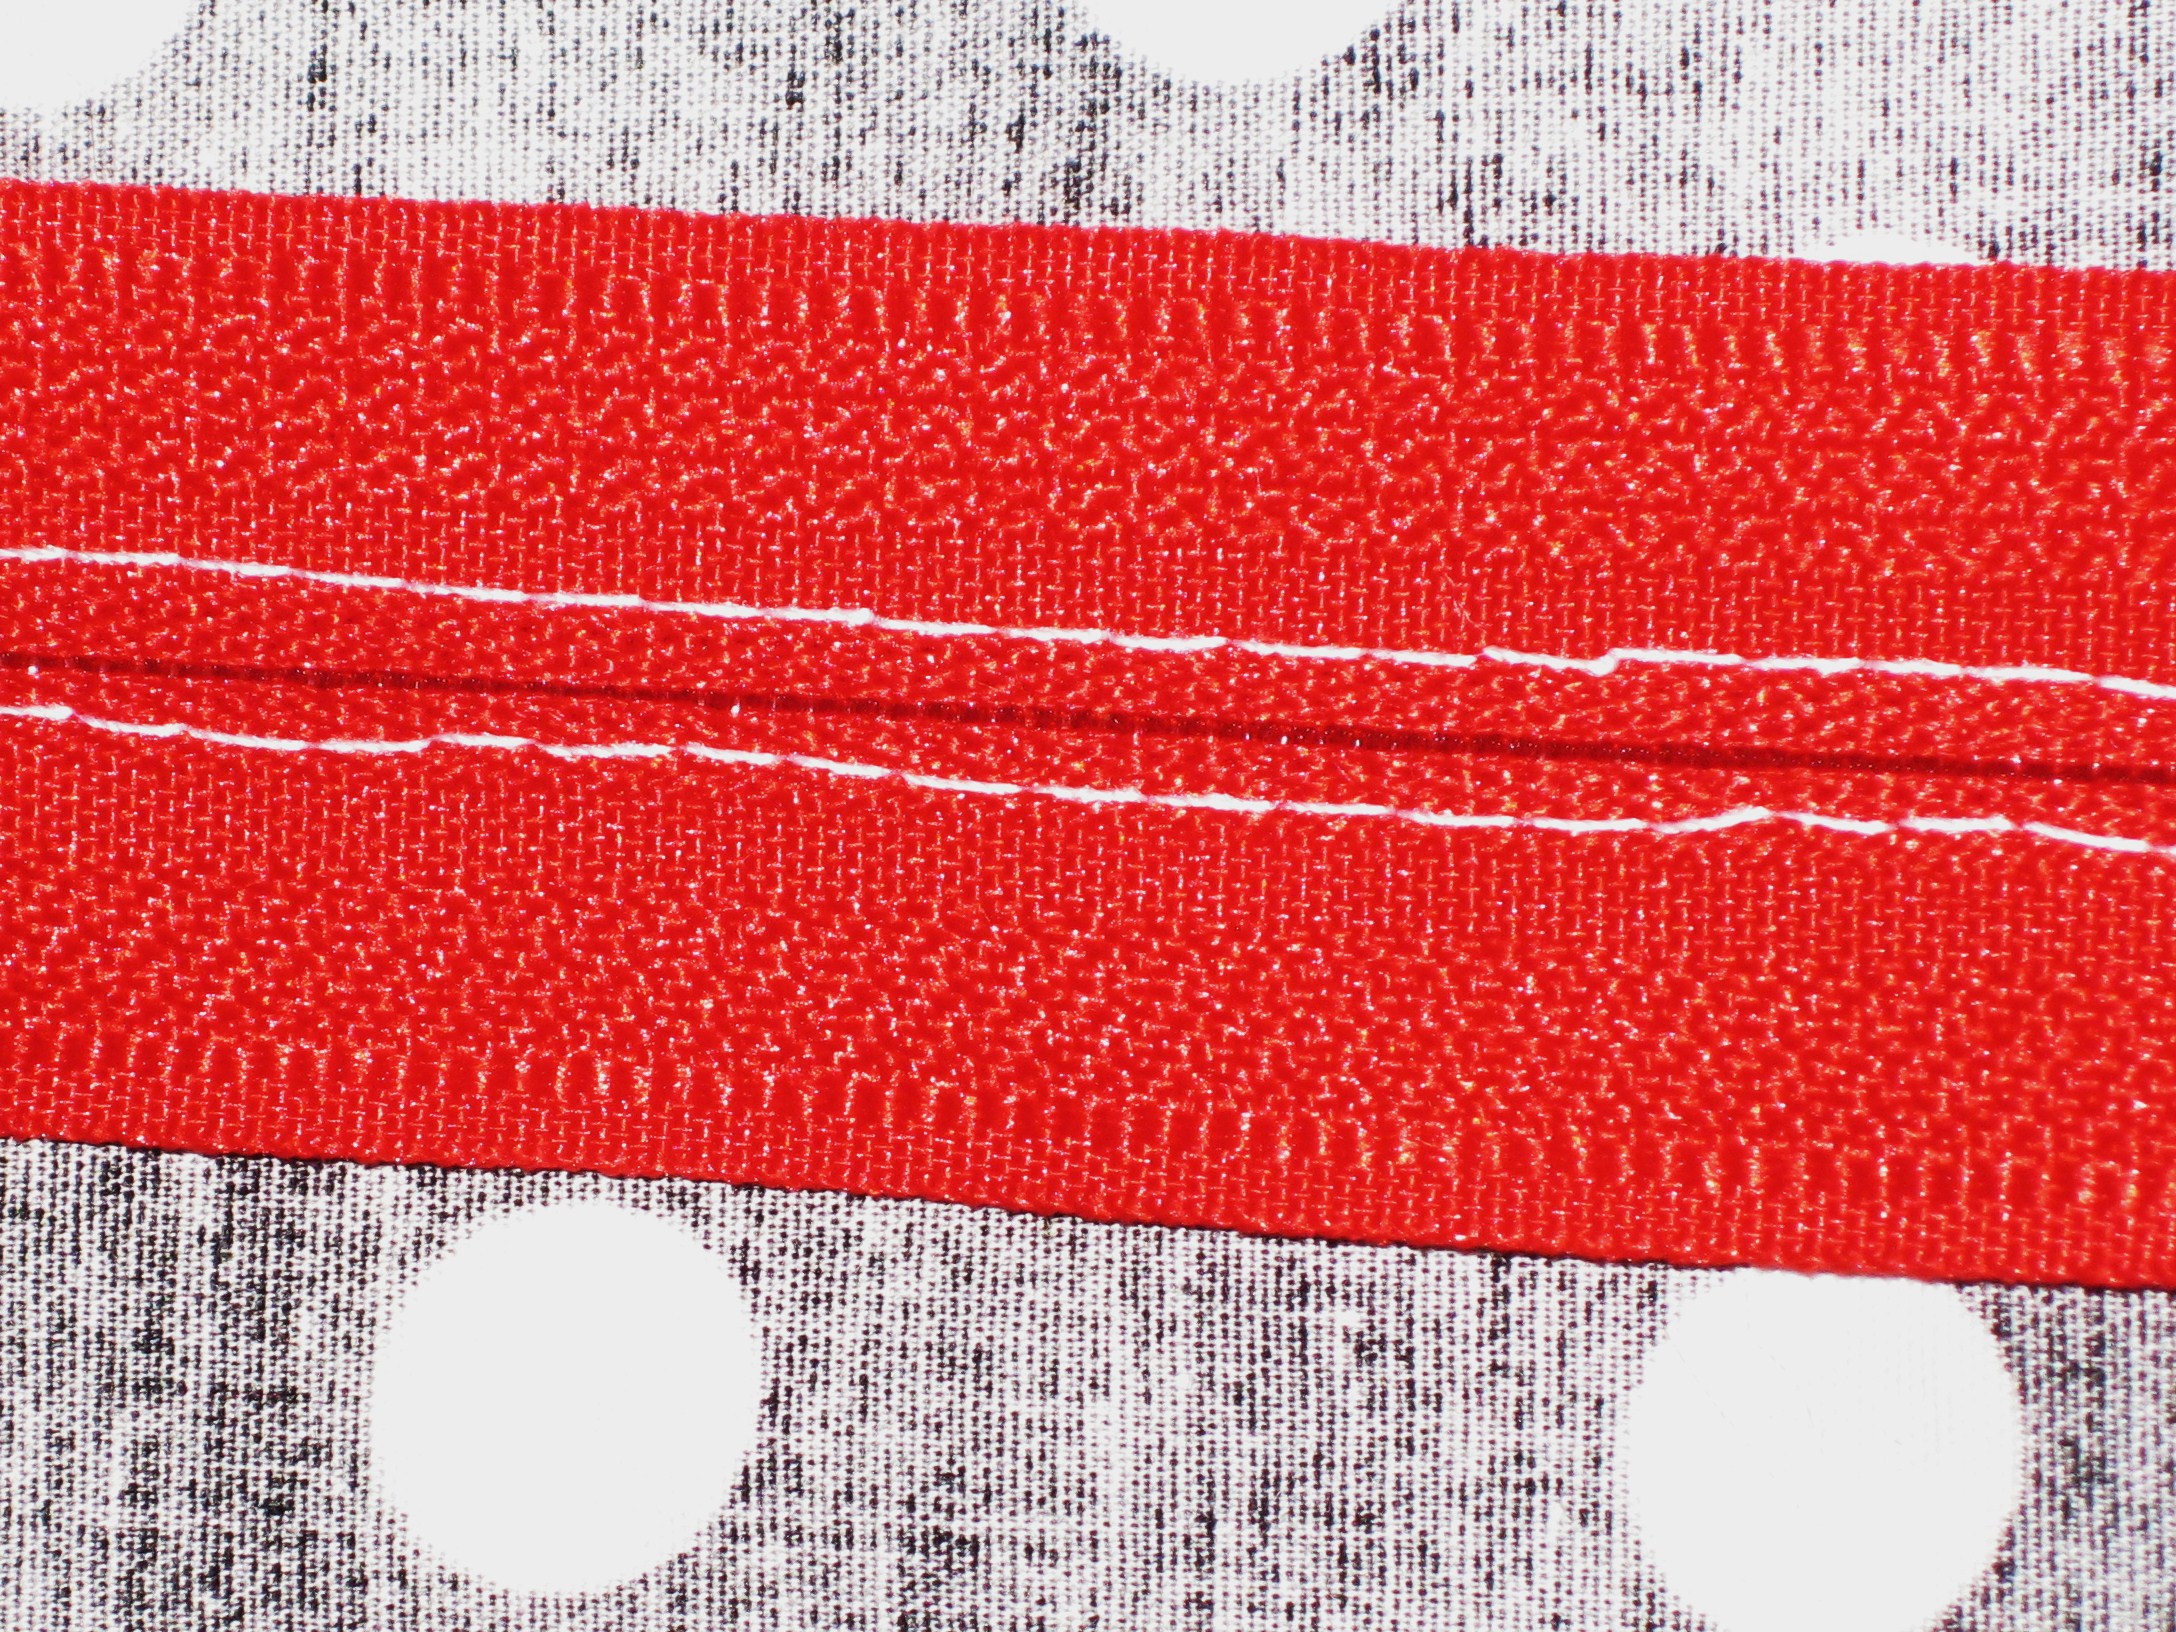
Most of those used in ready-to-wear seem to have metal teeth which can be quite heavy and rough against the skin; and sometimes the zips are inclined to ripple – most probably because they are used with either knit fabrics (usually double knit) or lightweight fabrics.
Choosing a zipper which is of comparable weight to the garment fabric and taking the time to stabilise the area where the zipper is to be sewn would greatly reduce this problem.
Partially Exposed Zipper:
Since the zipper will use part of the width of the seam allowance, it is important to measure the width of the amount of the teeth and/or teeth plus zipper tape and to subtract half this amount from each seam allowance. If this is not done, the garment will be bigger across the garment piece.
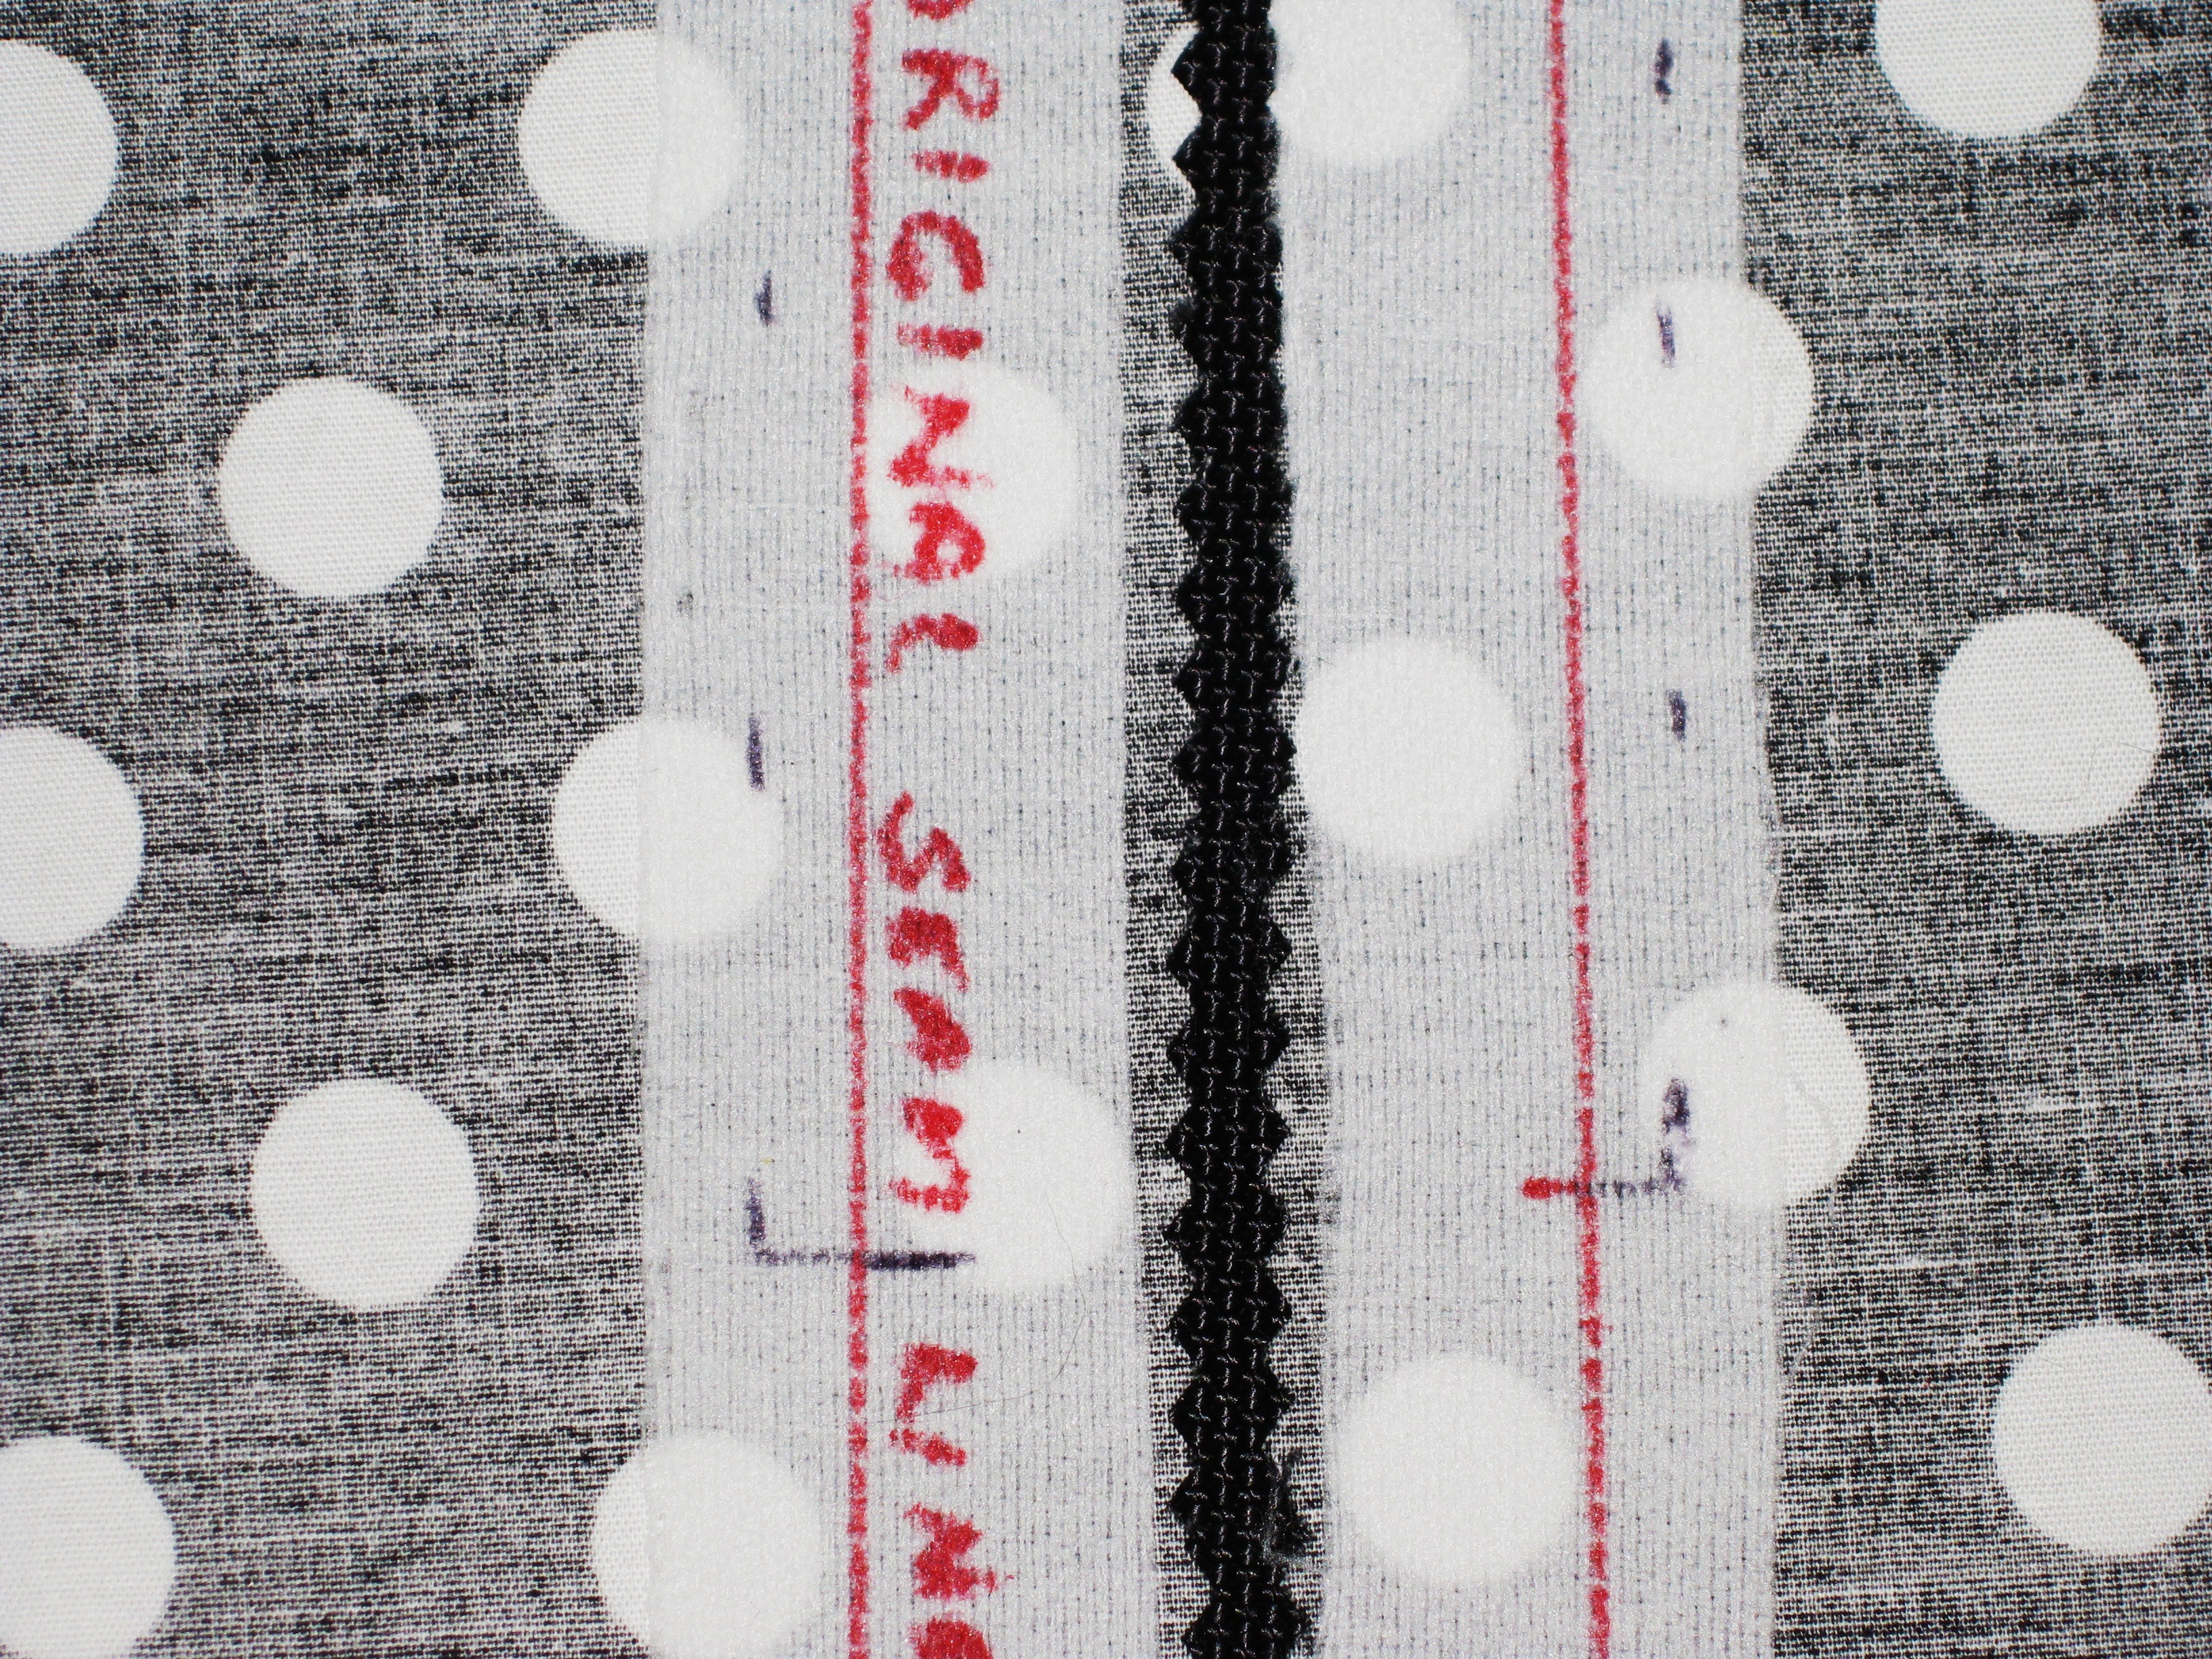
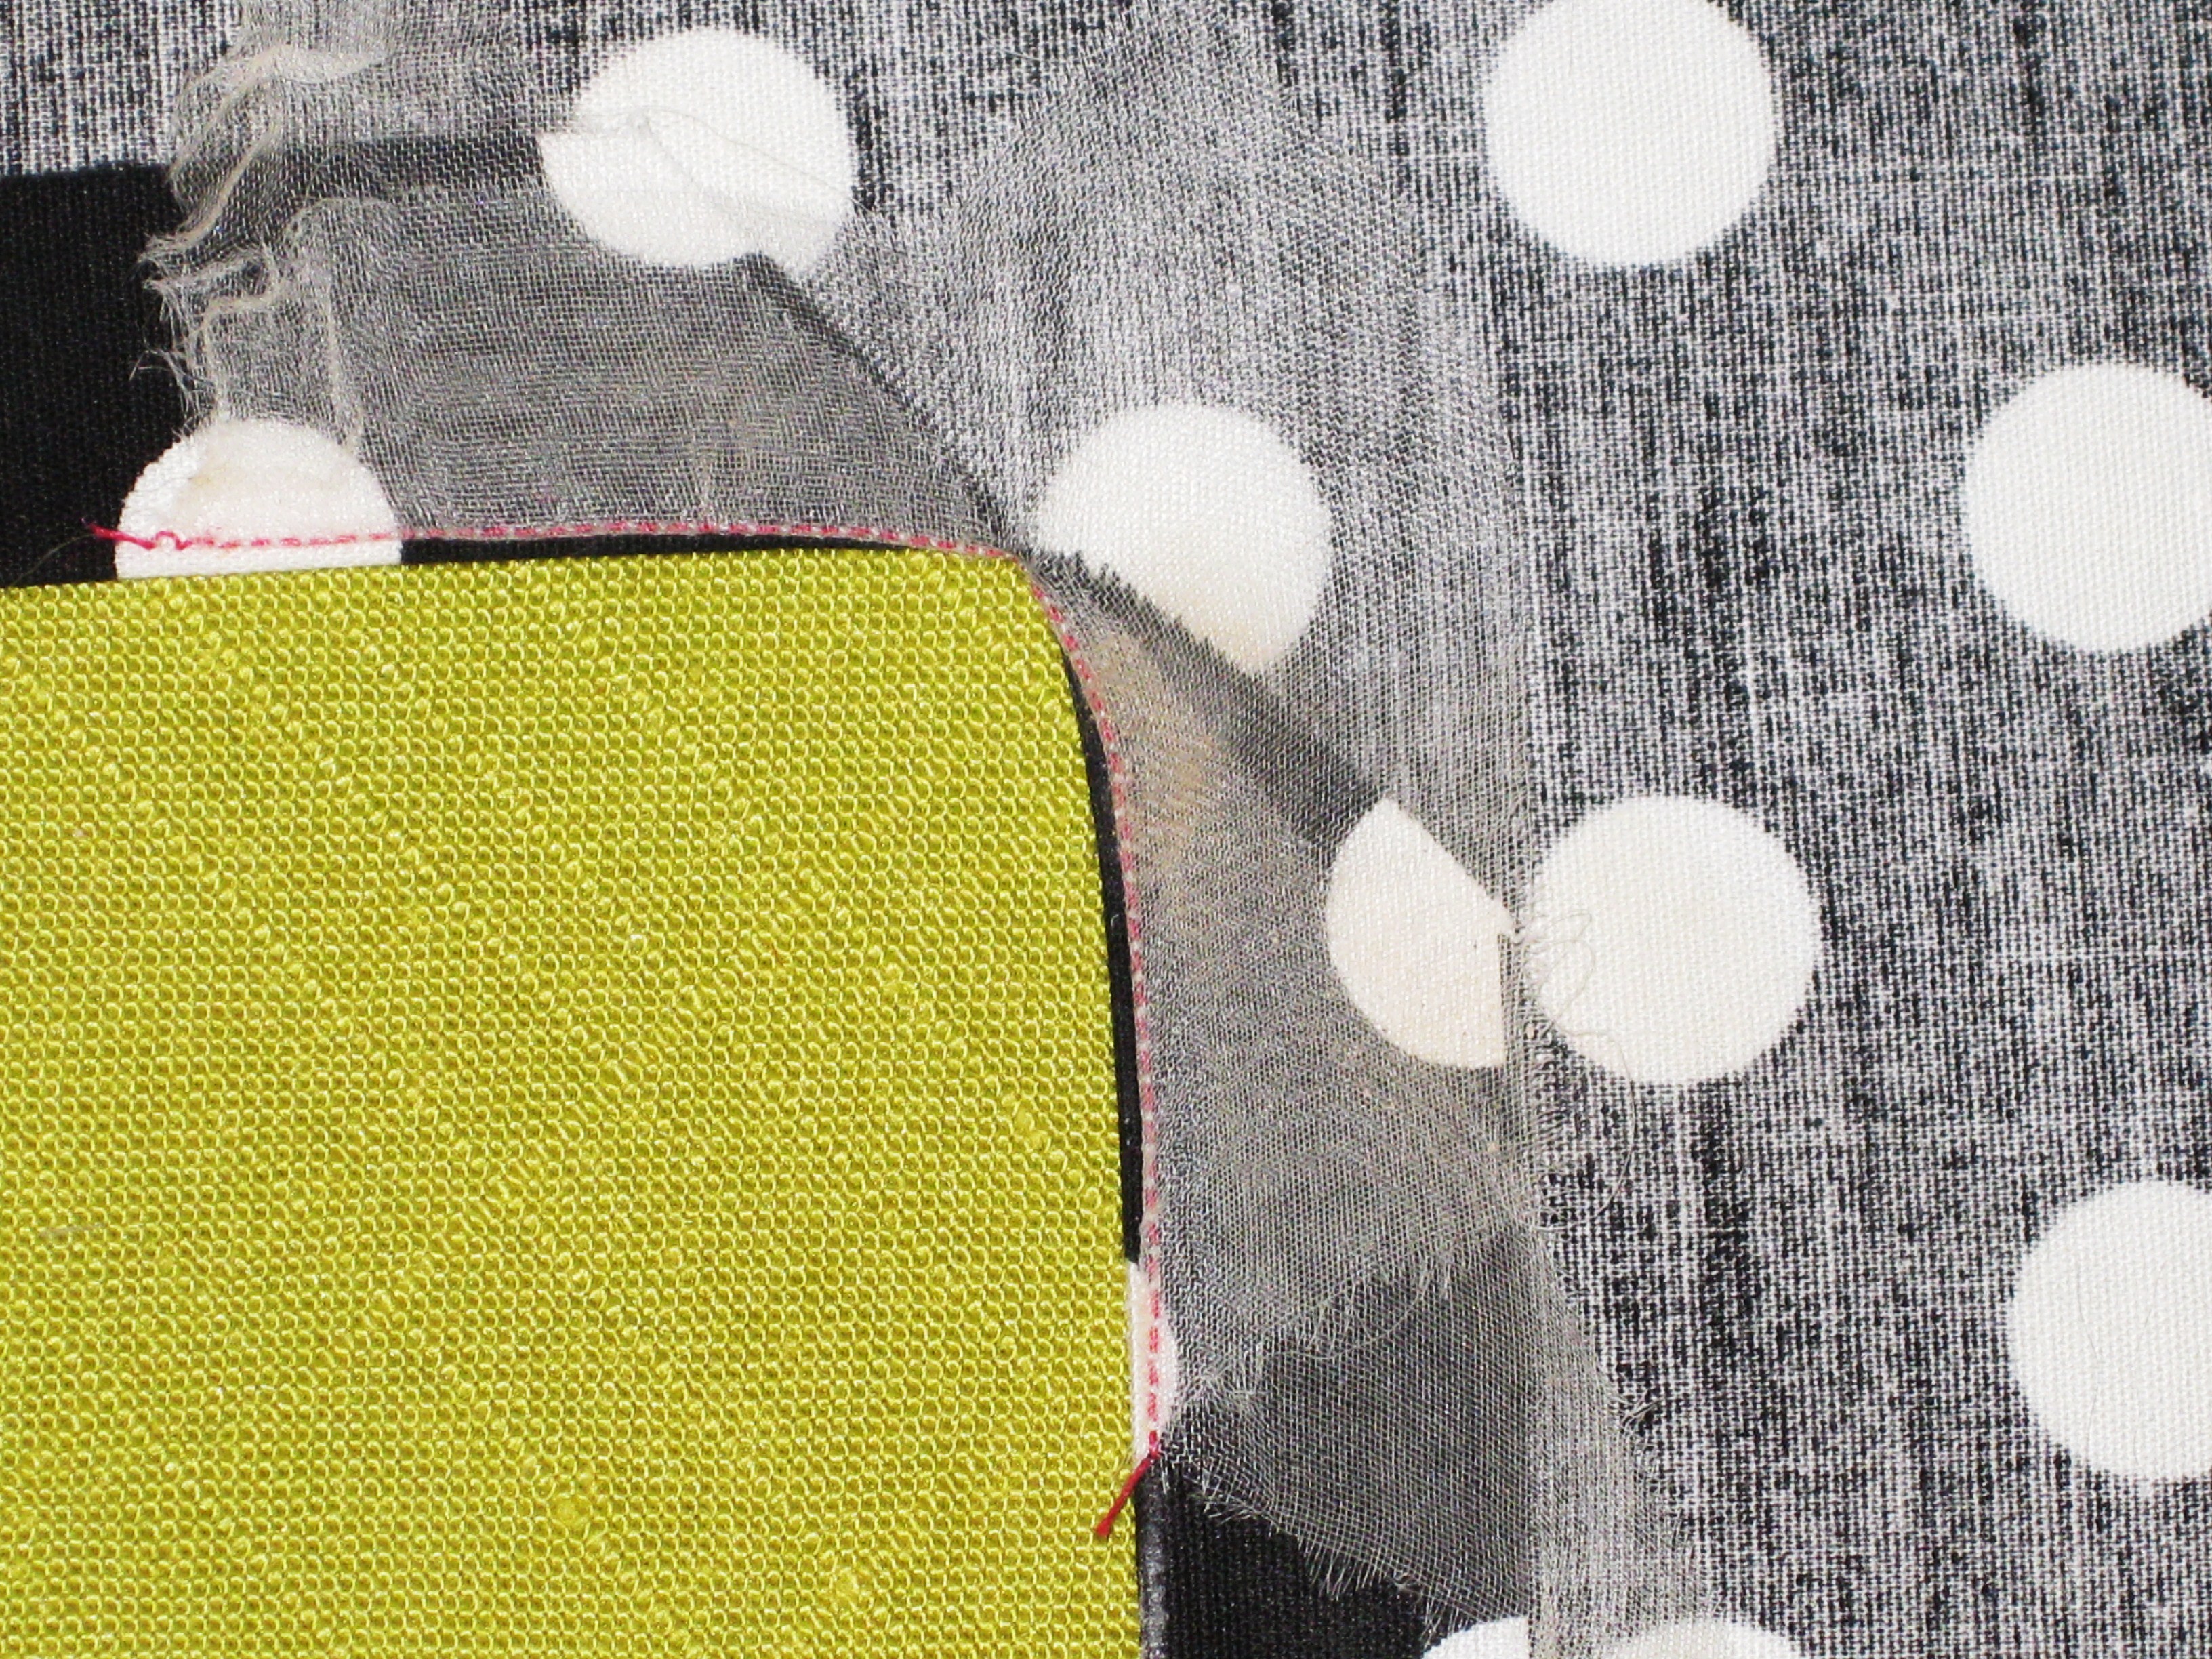
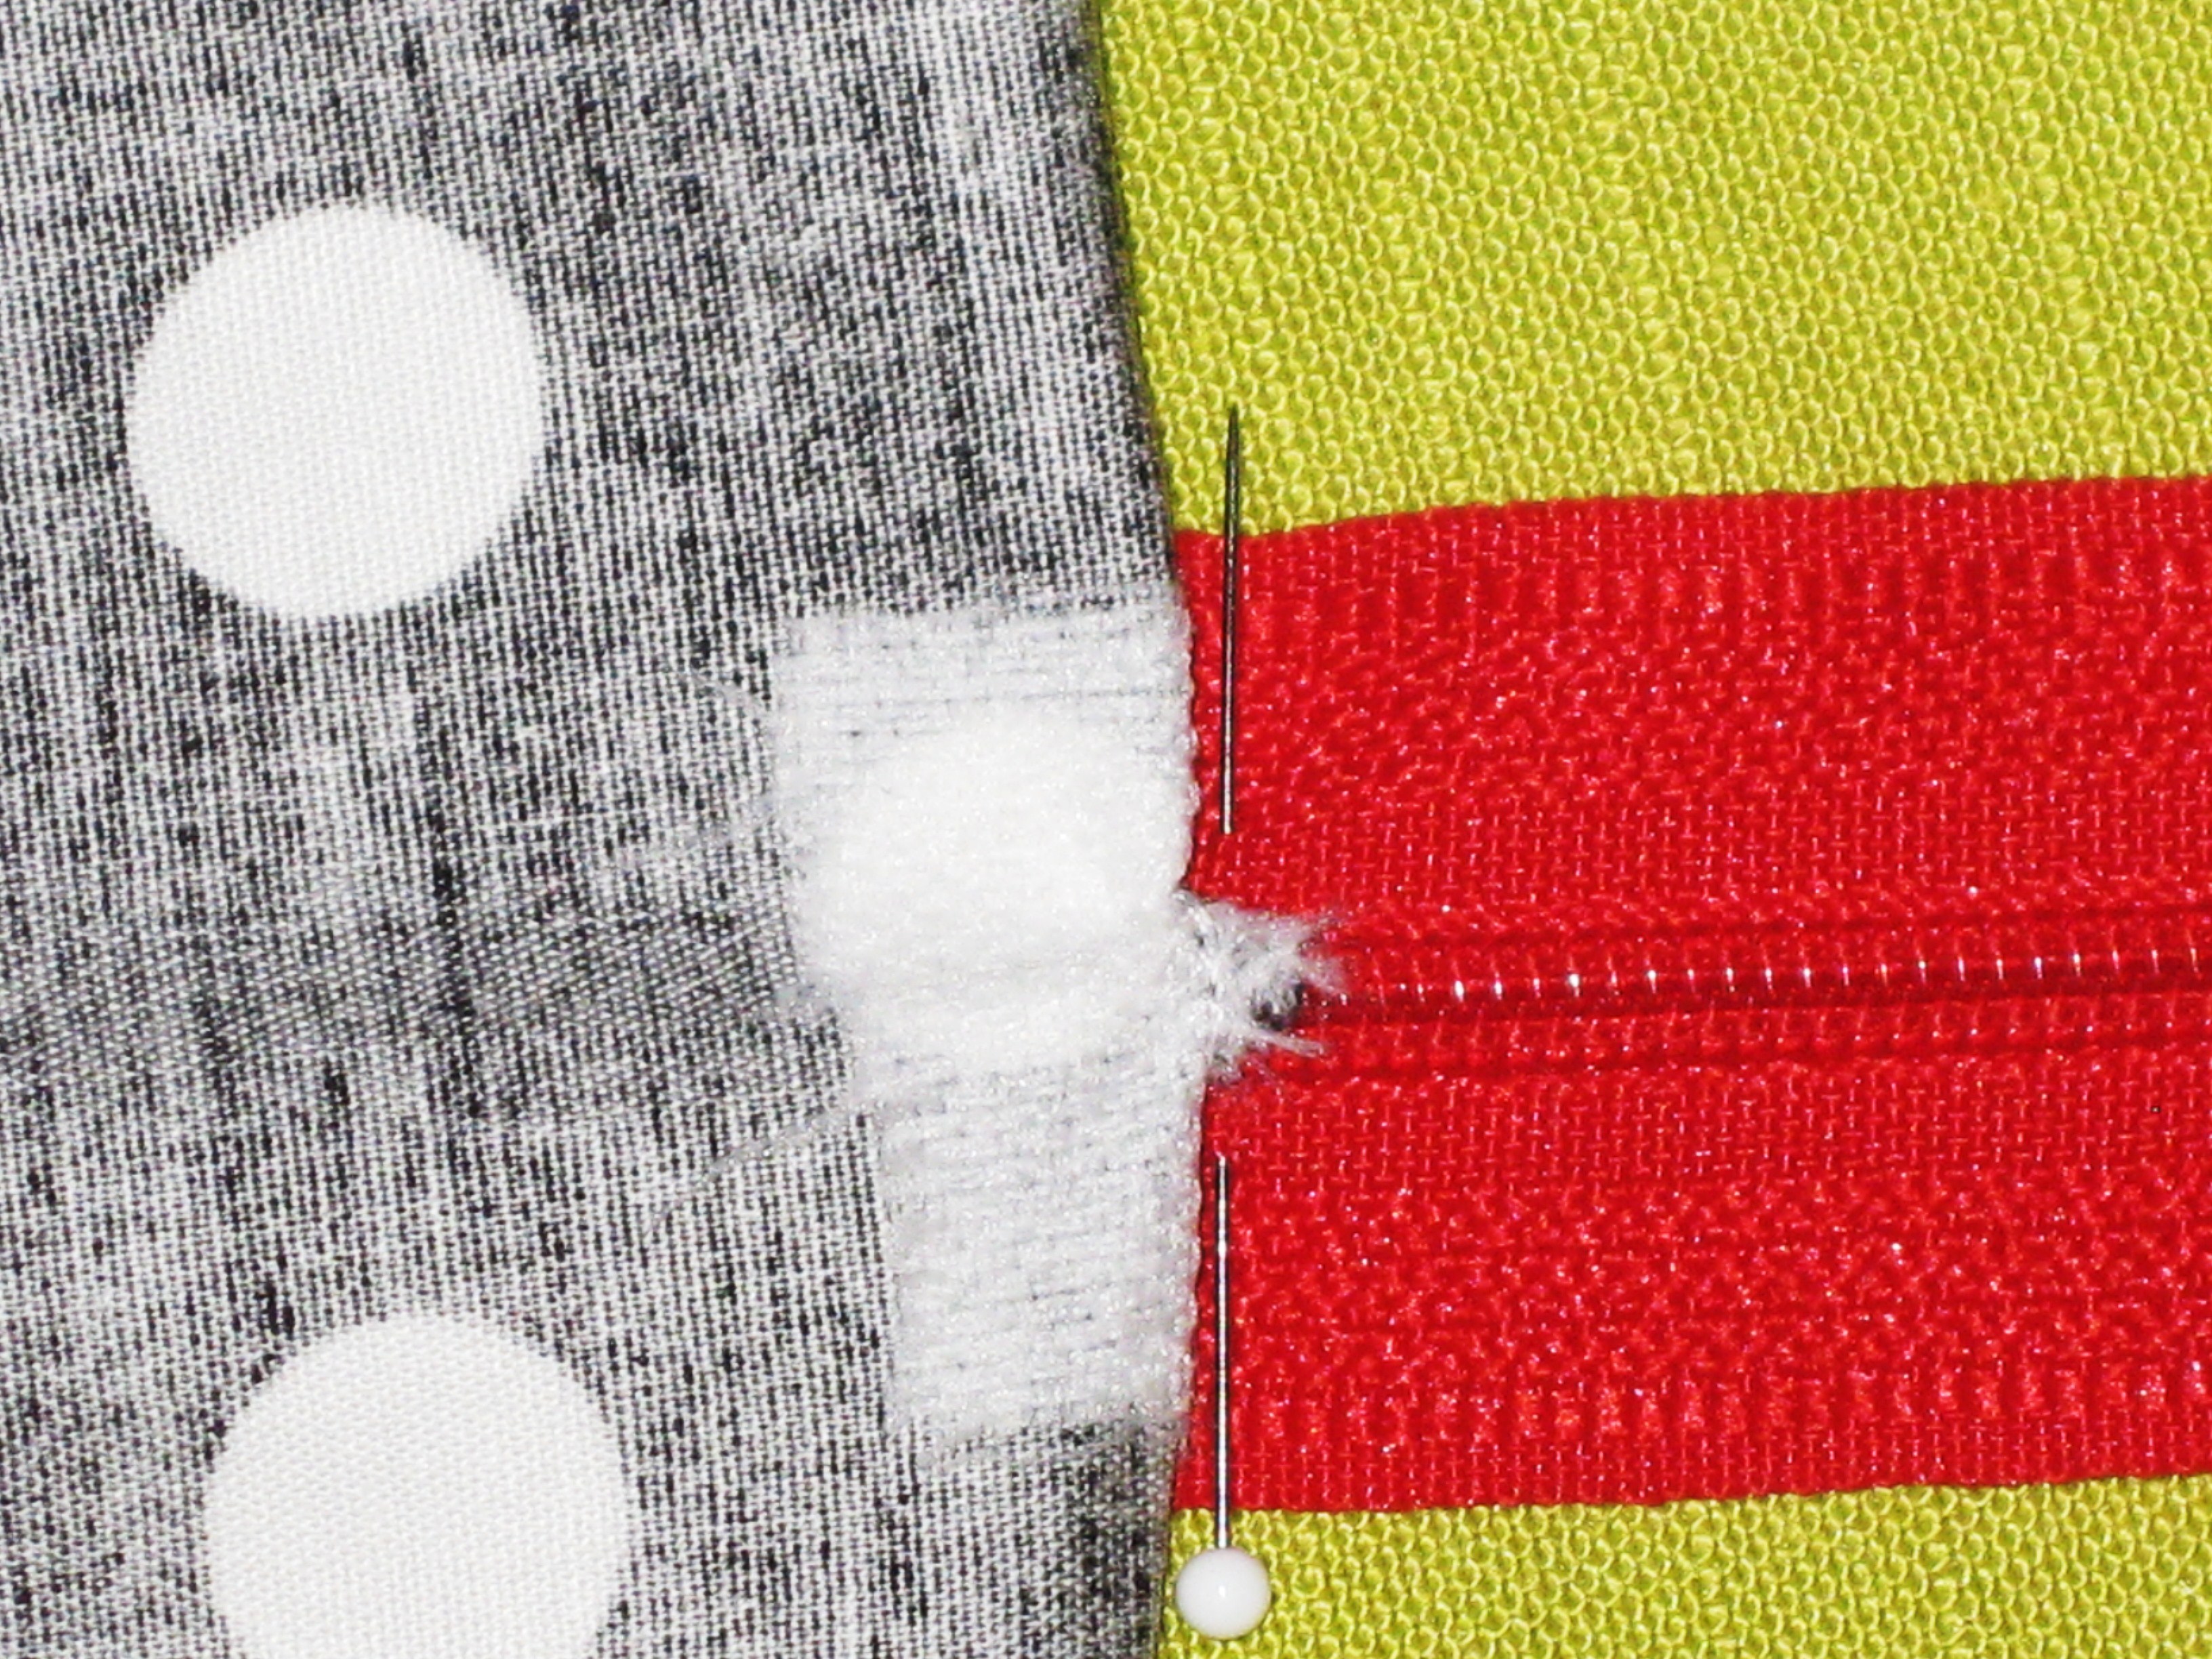
Mark this measurement from the cut edge of the seam and stay stitch 15mm / 5/8” towards the bottom of the zipper opening, across the opening and up the other side by the same amount. Use small machine stitches (Length 1.5) to protect the corners.
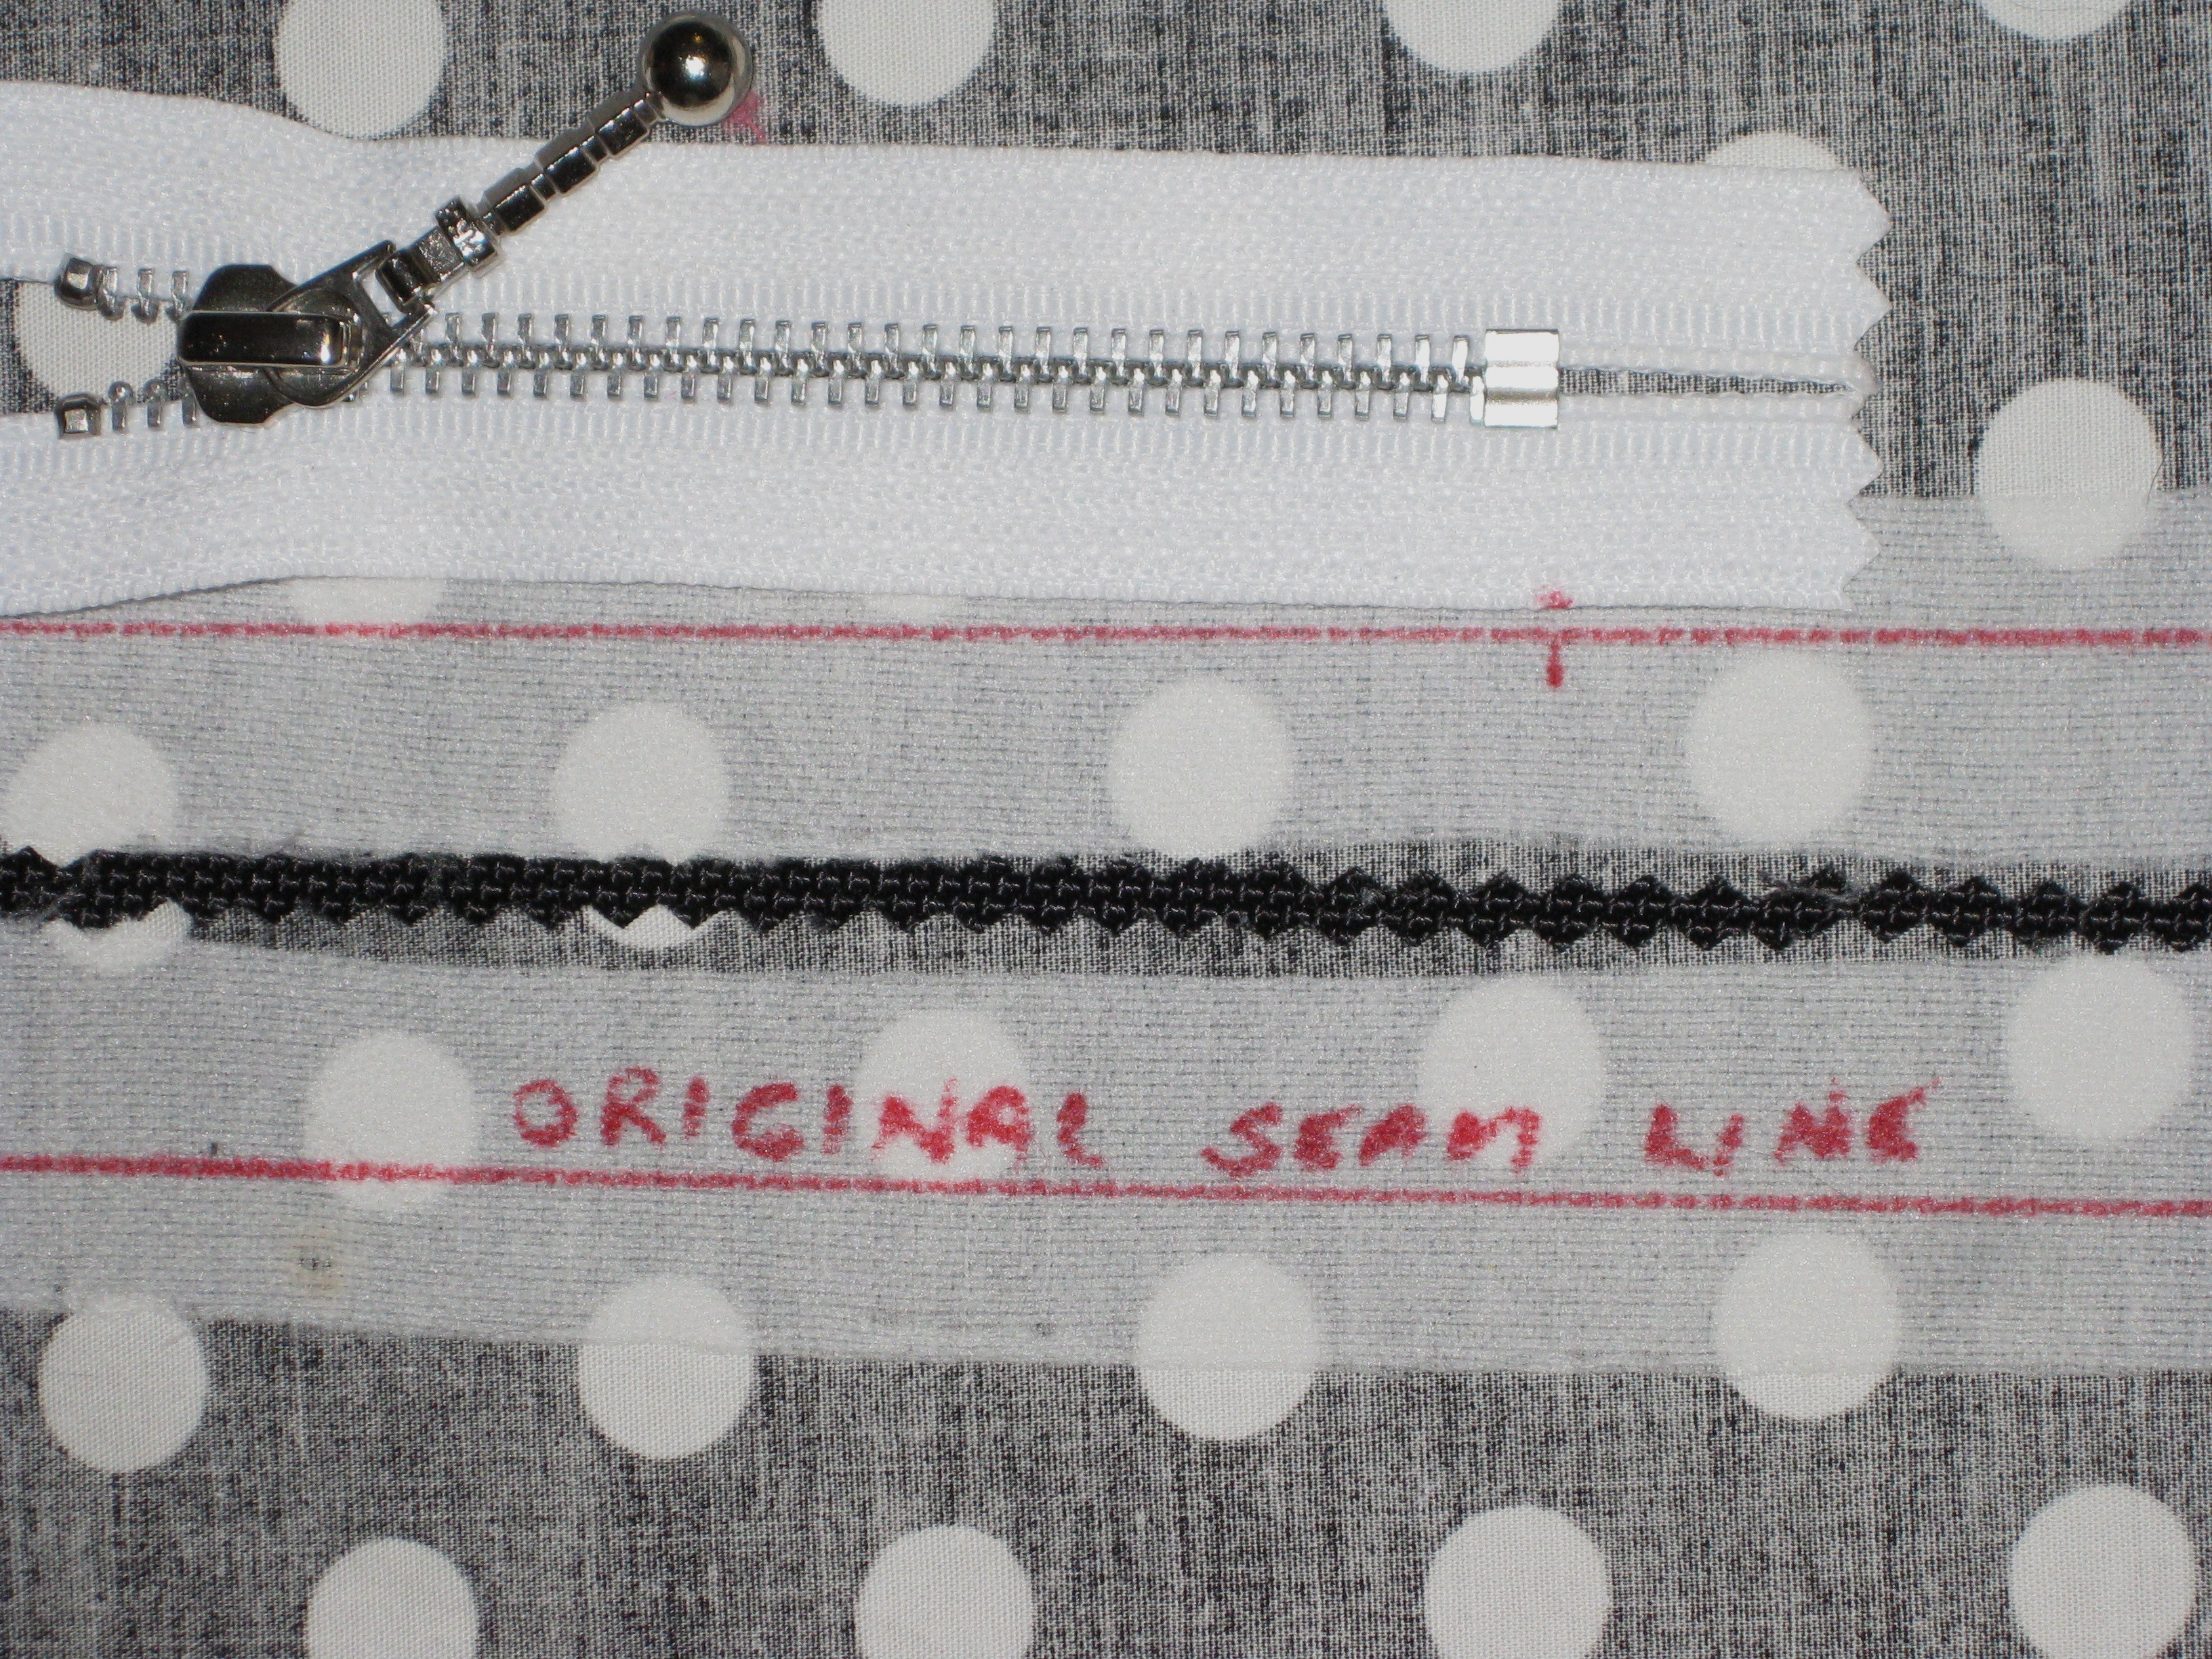
Mark seam line and position of stopper on interfaced seam.
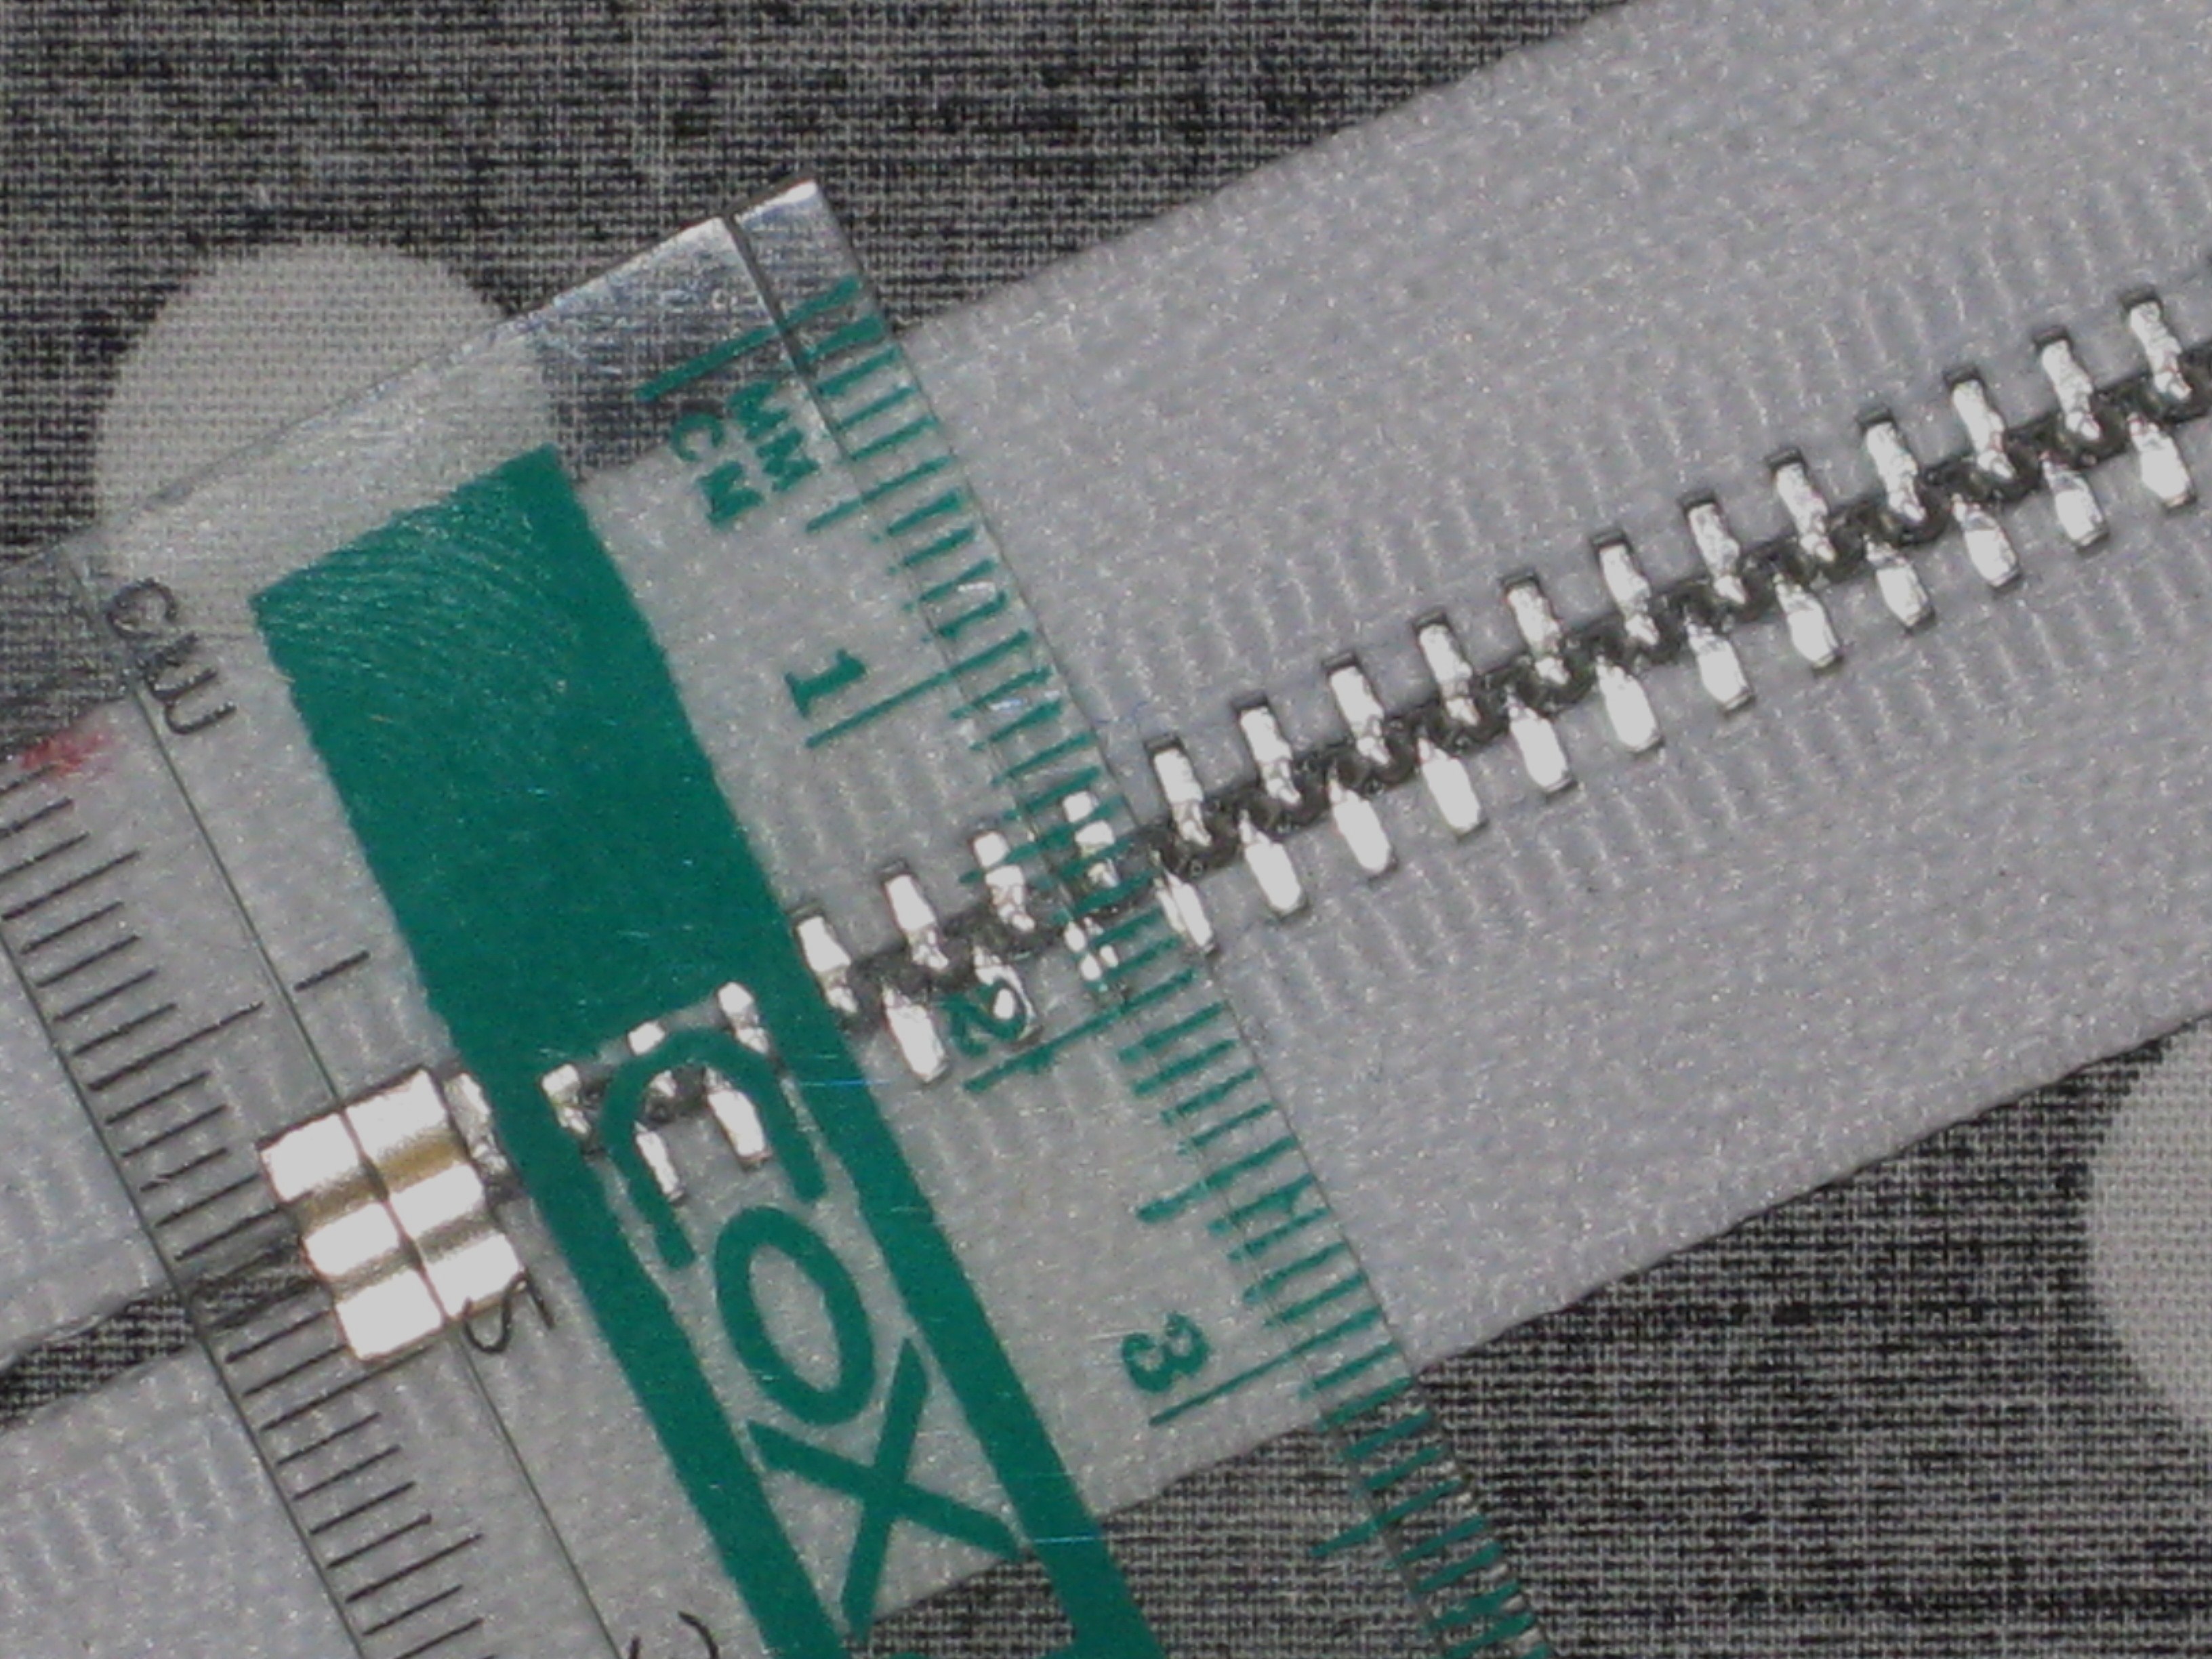
Measure width of teeth.
Divide measurement of teeth by 2 and mark this width on the garment side of the seam line.
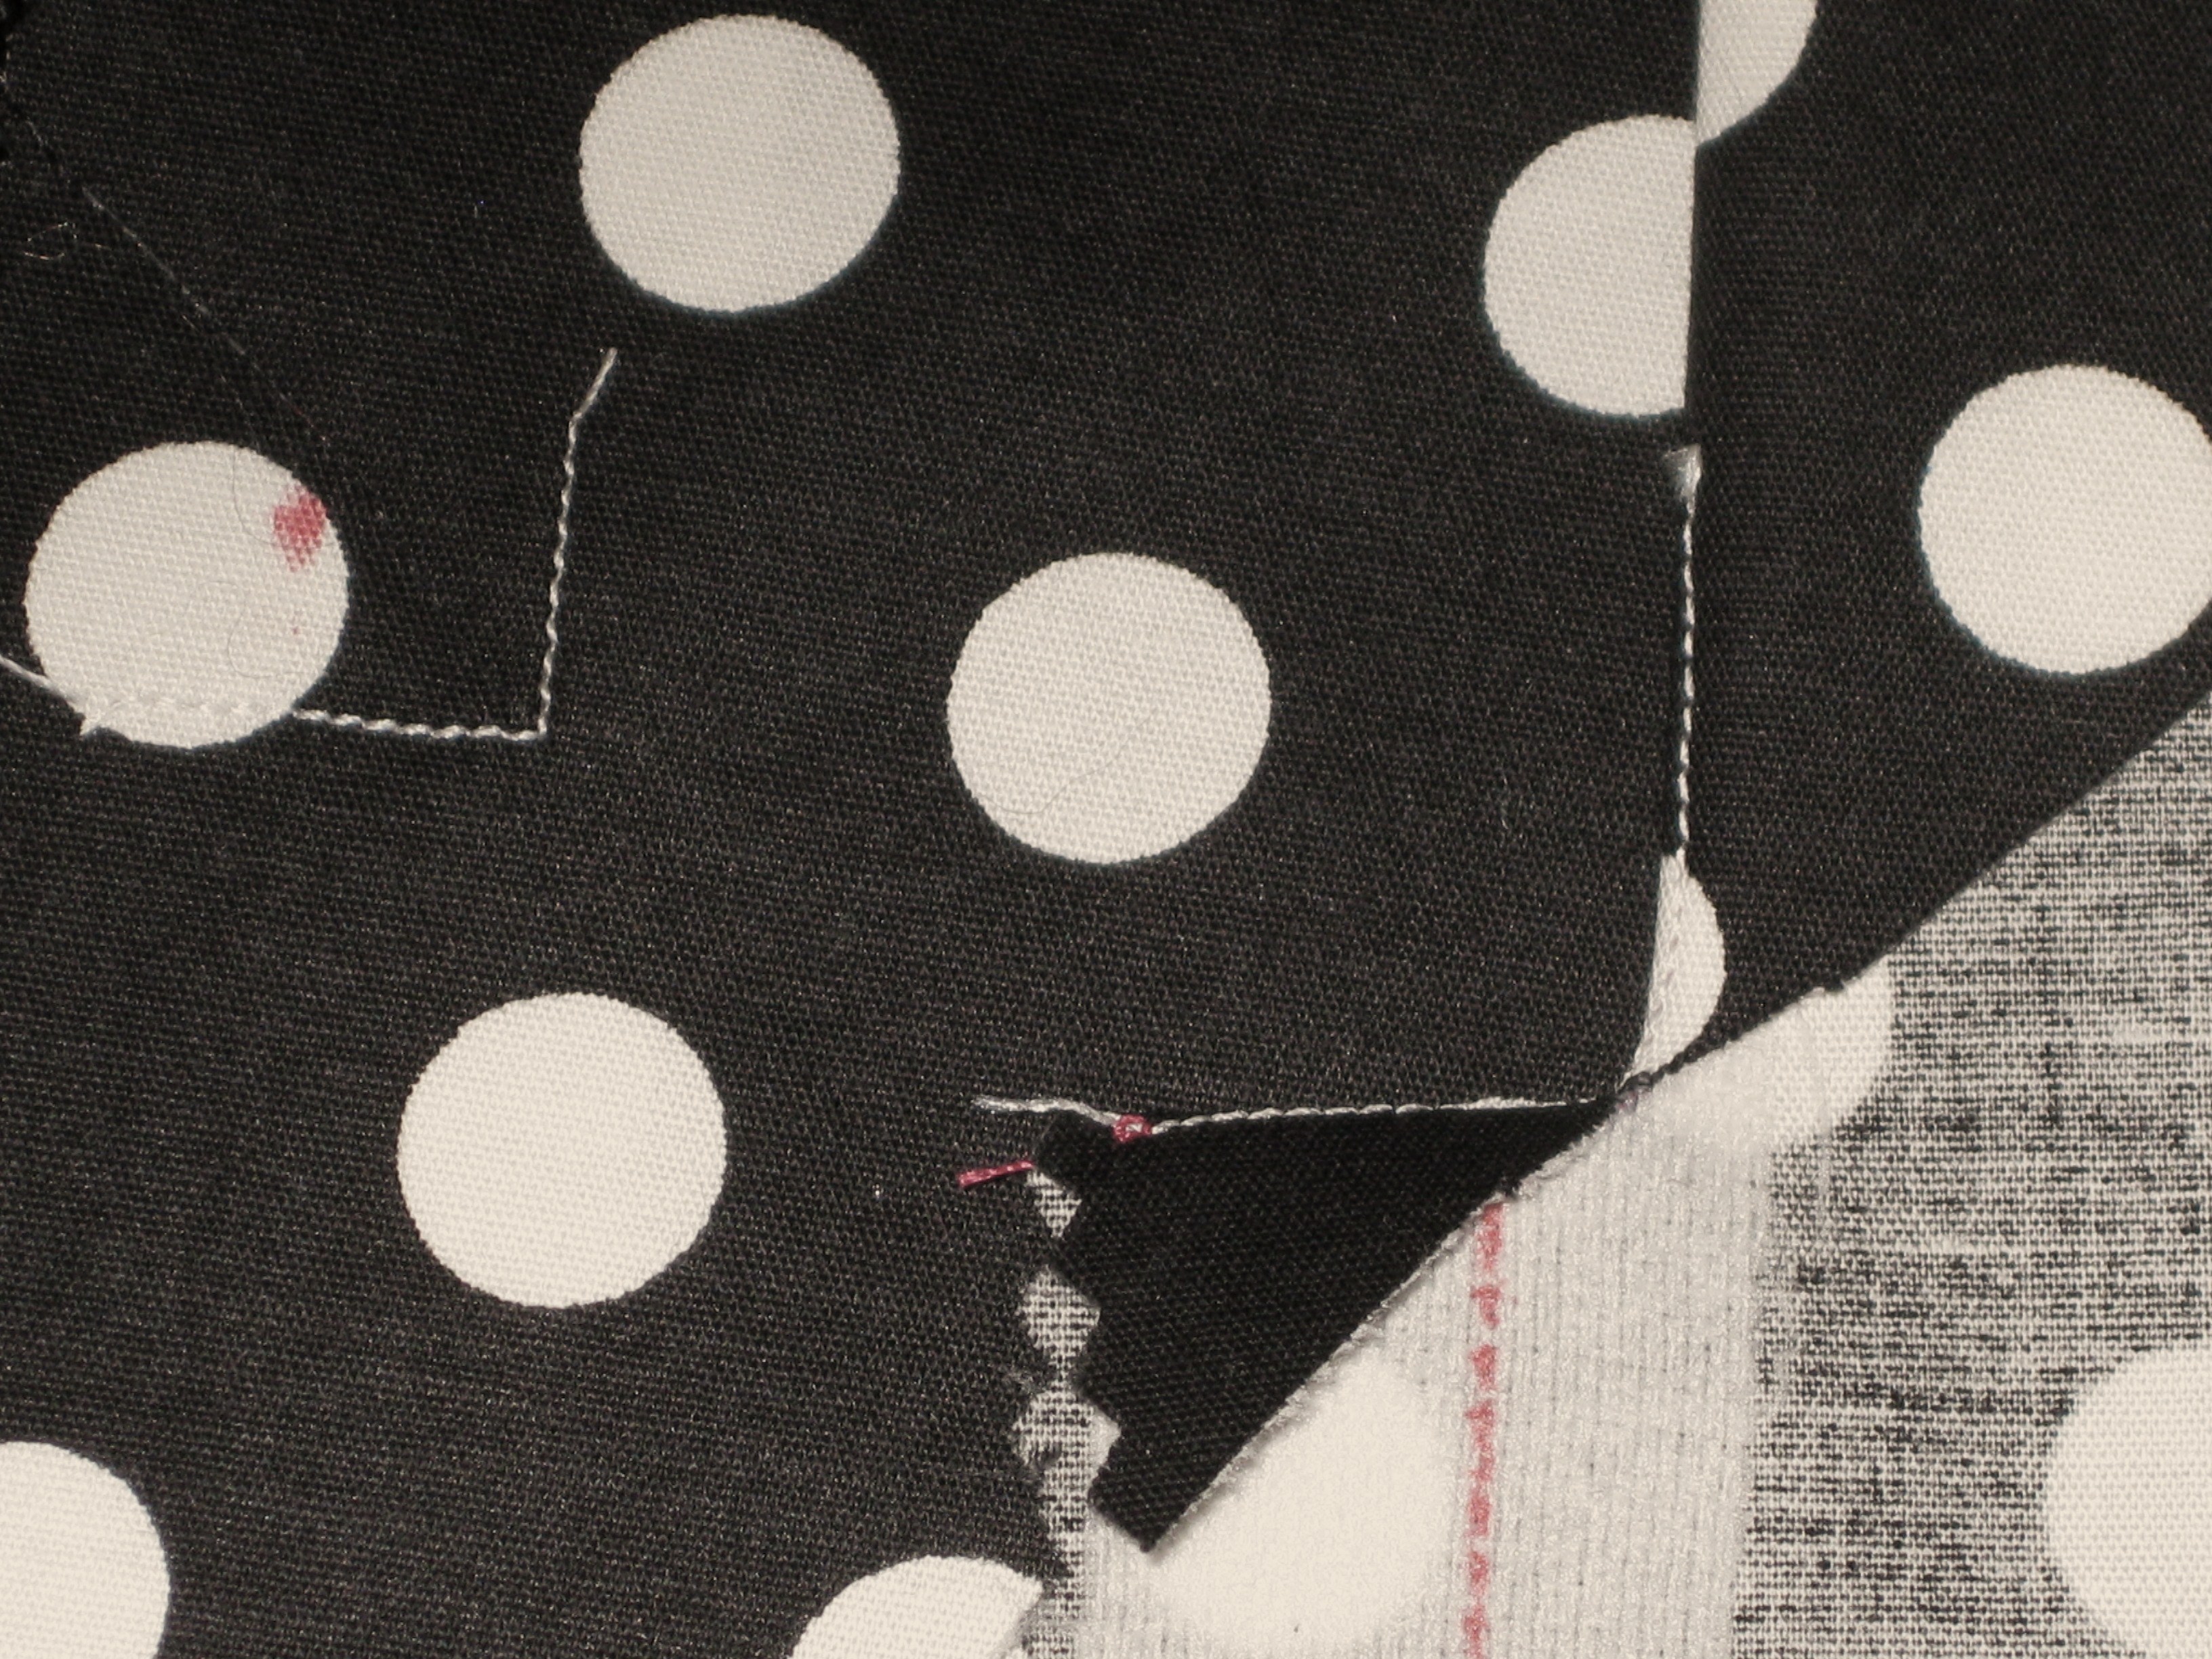
Top left – stay stitched corner
Bottom right – clipped and turned seam allowance
Stitch the remainder of the seam in place.
Stitch to close seam below zipper opening.
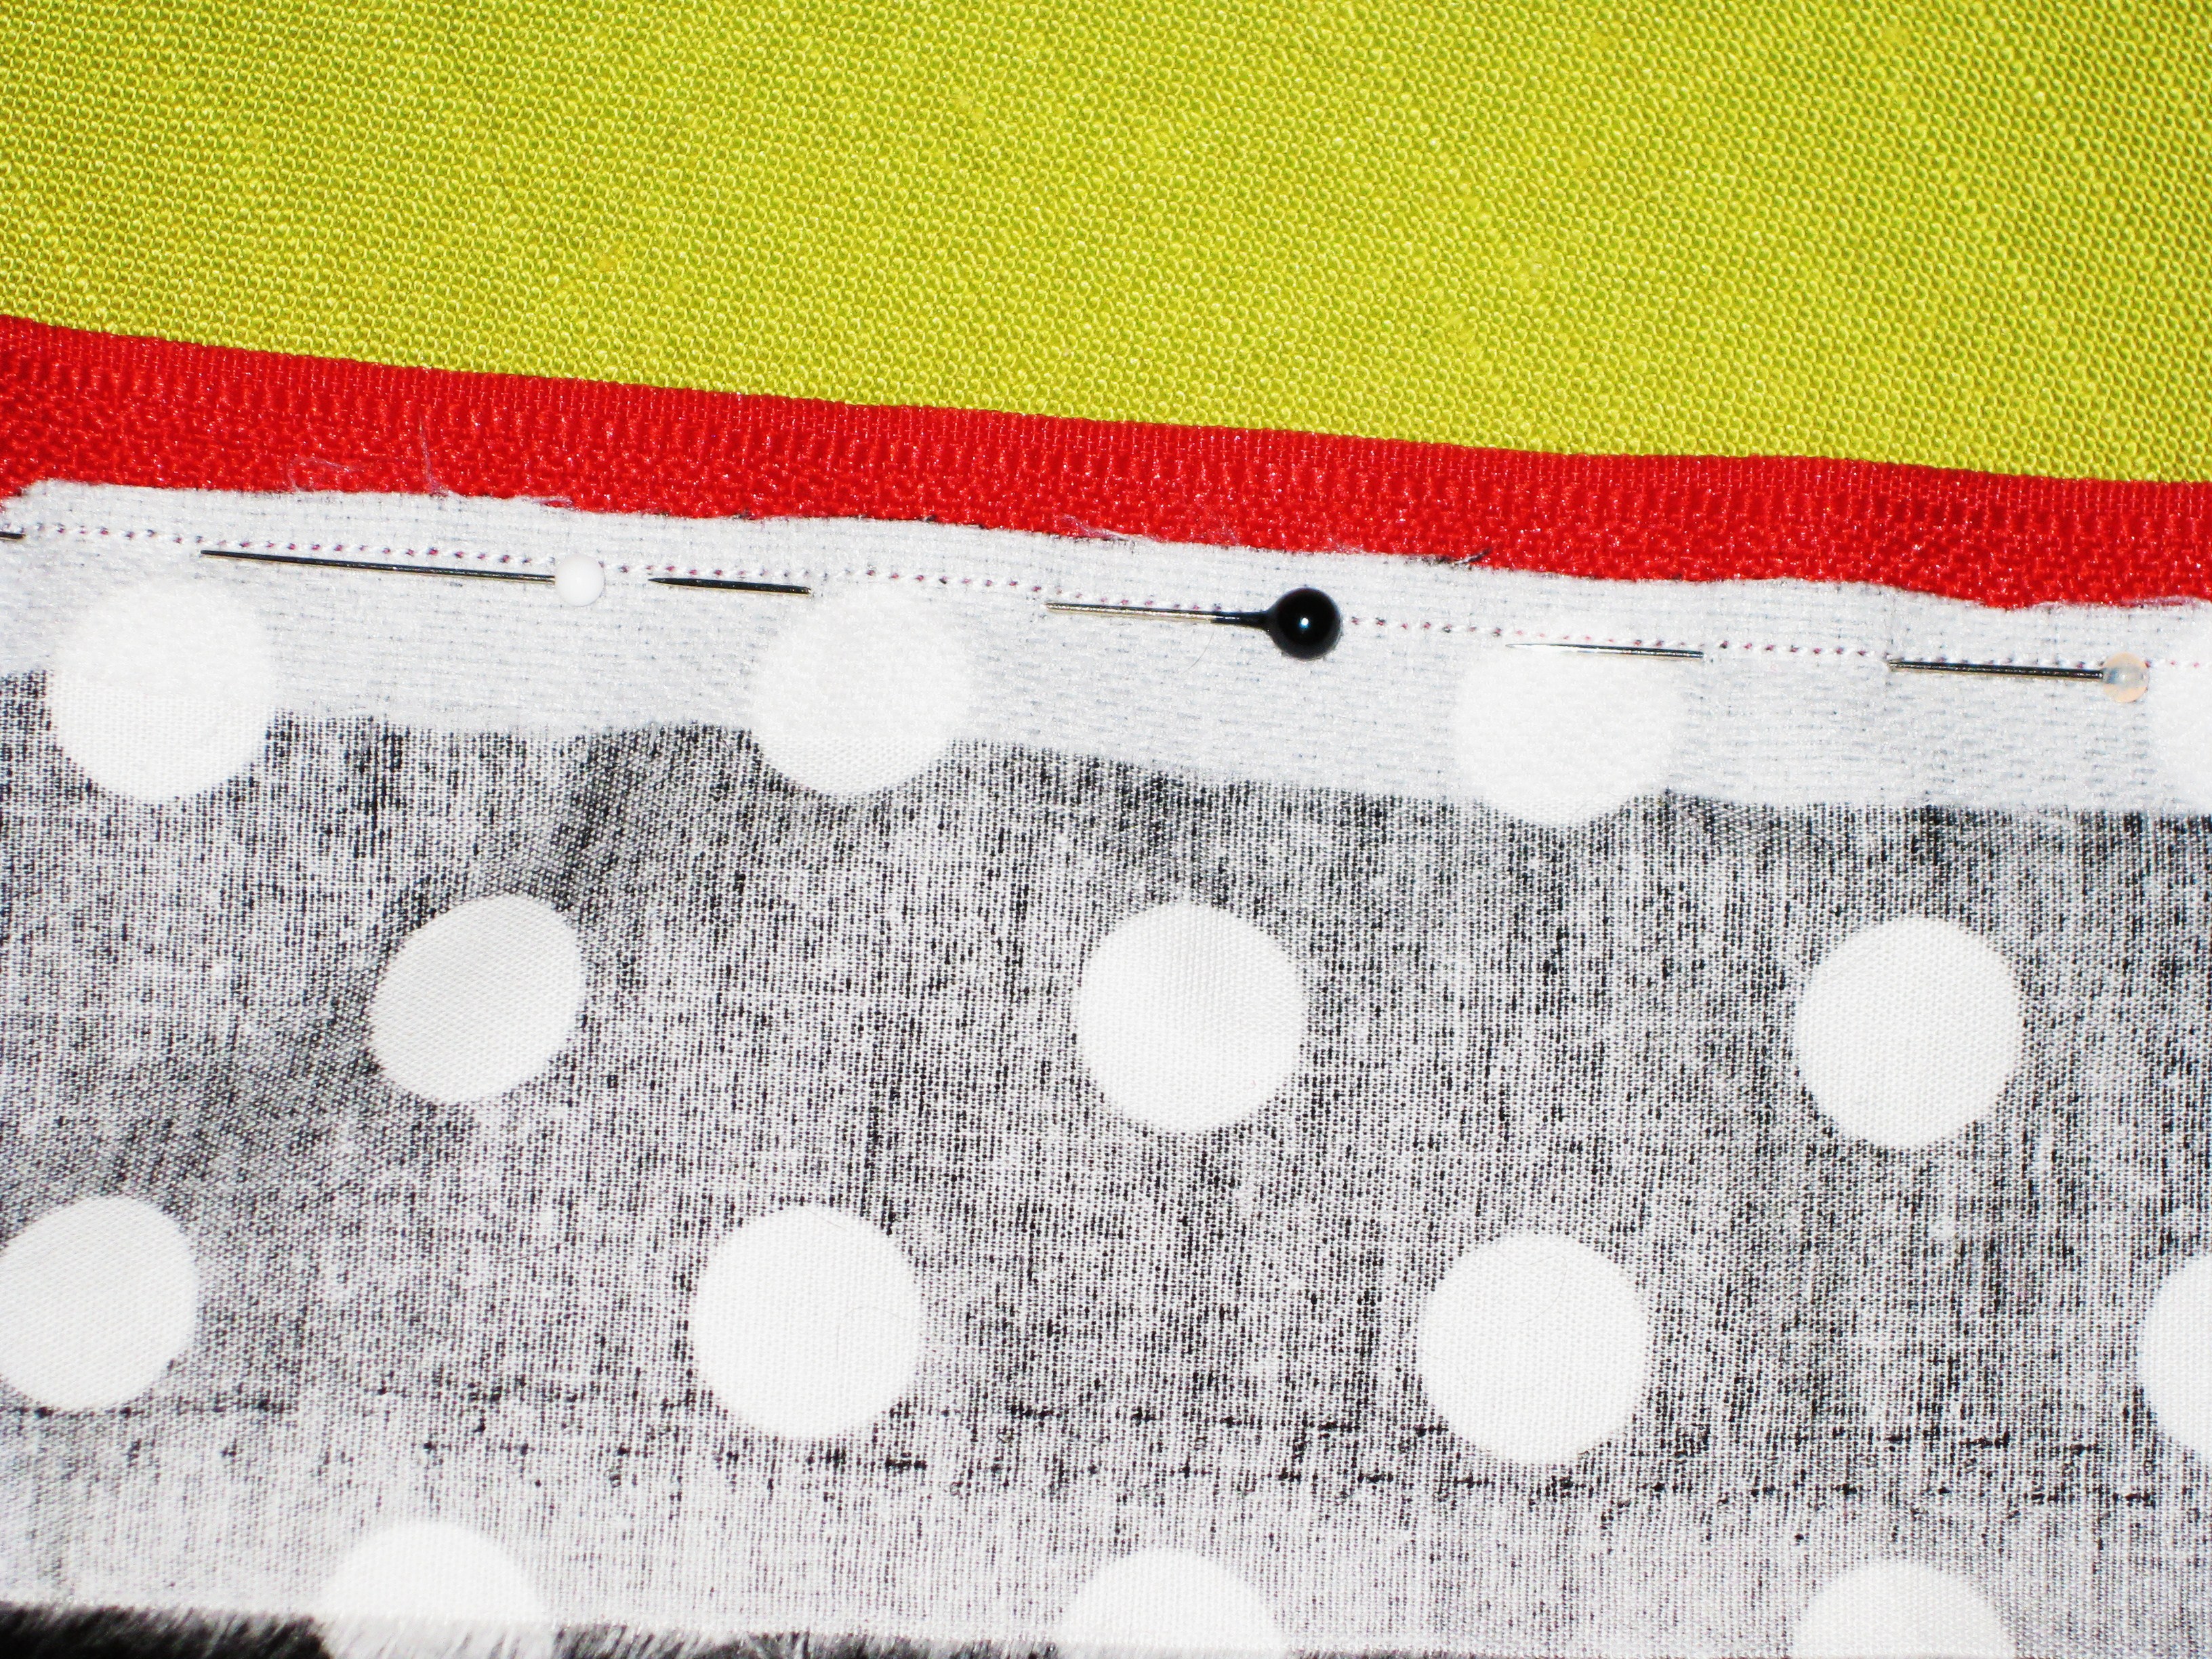
Centre the zip under the opening; pin and baste in place. Turn the top ends of the zipper tape under and hand stitch in place.
Edgestitch and/or topstitch from the right side, catching the zipper tape in place.
Position zipper and edgestitch and/or topstitch in place.
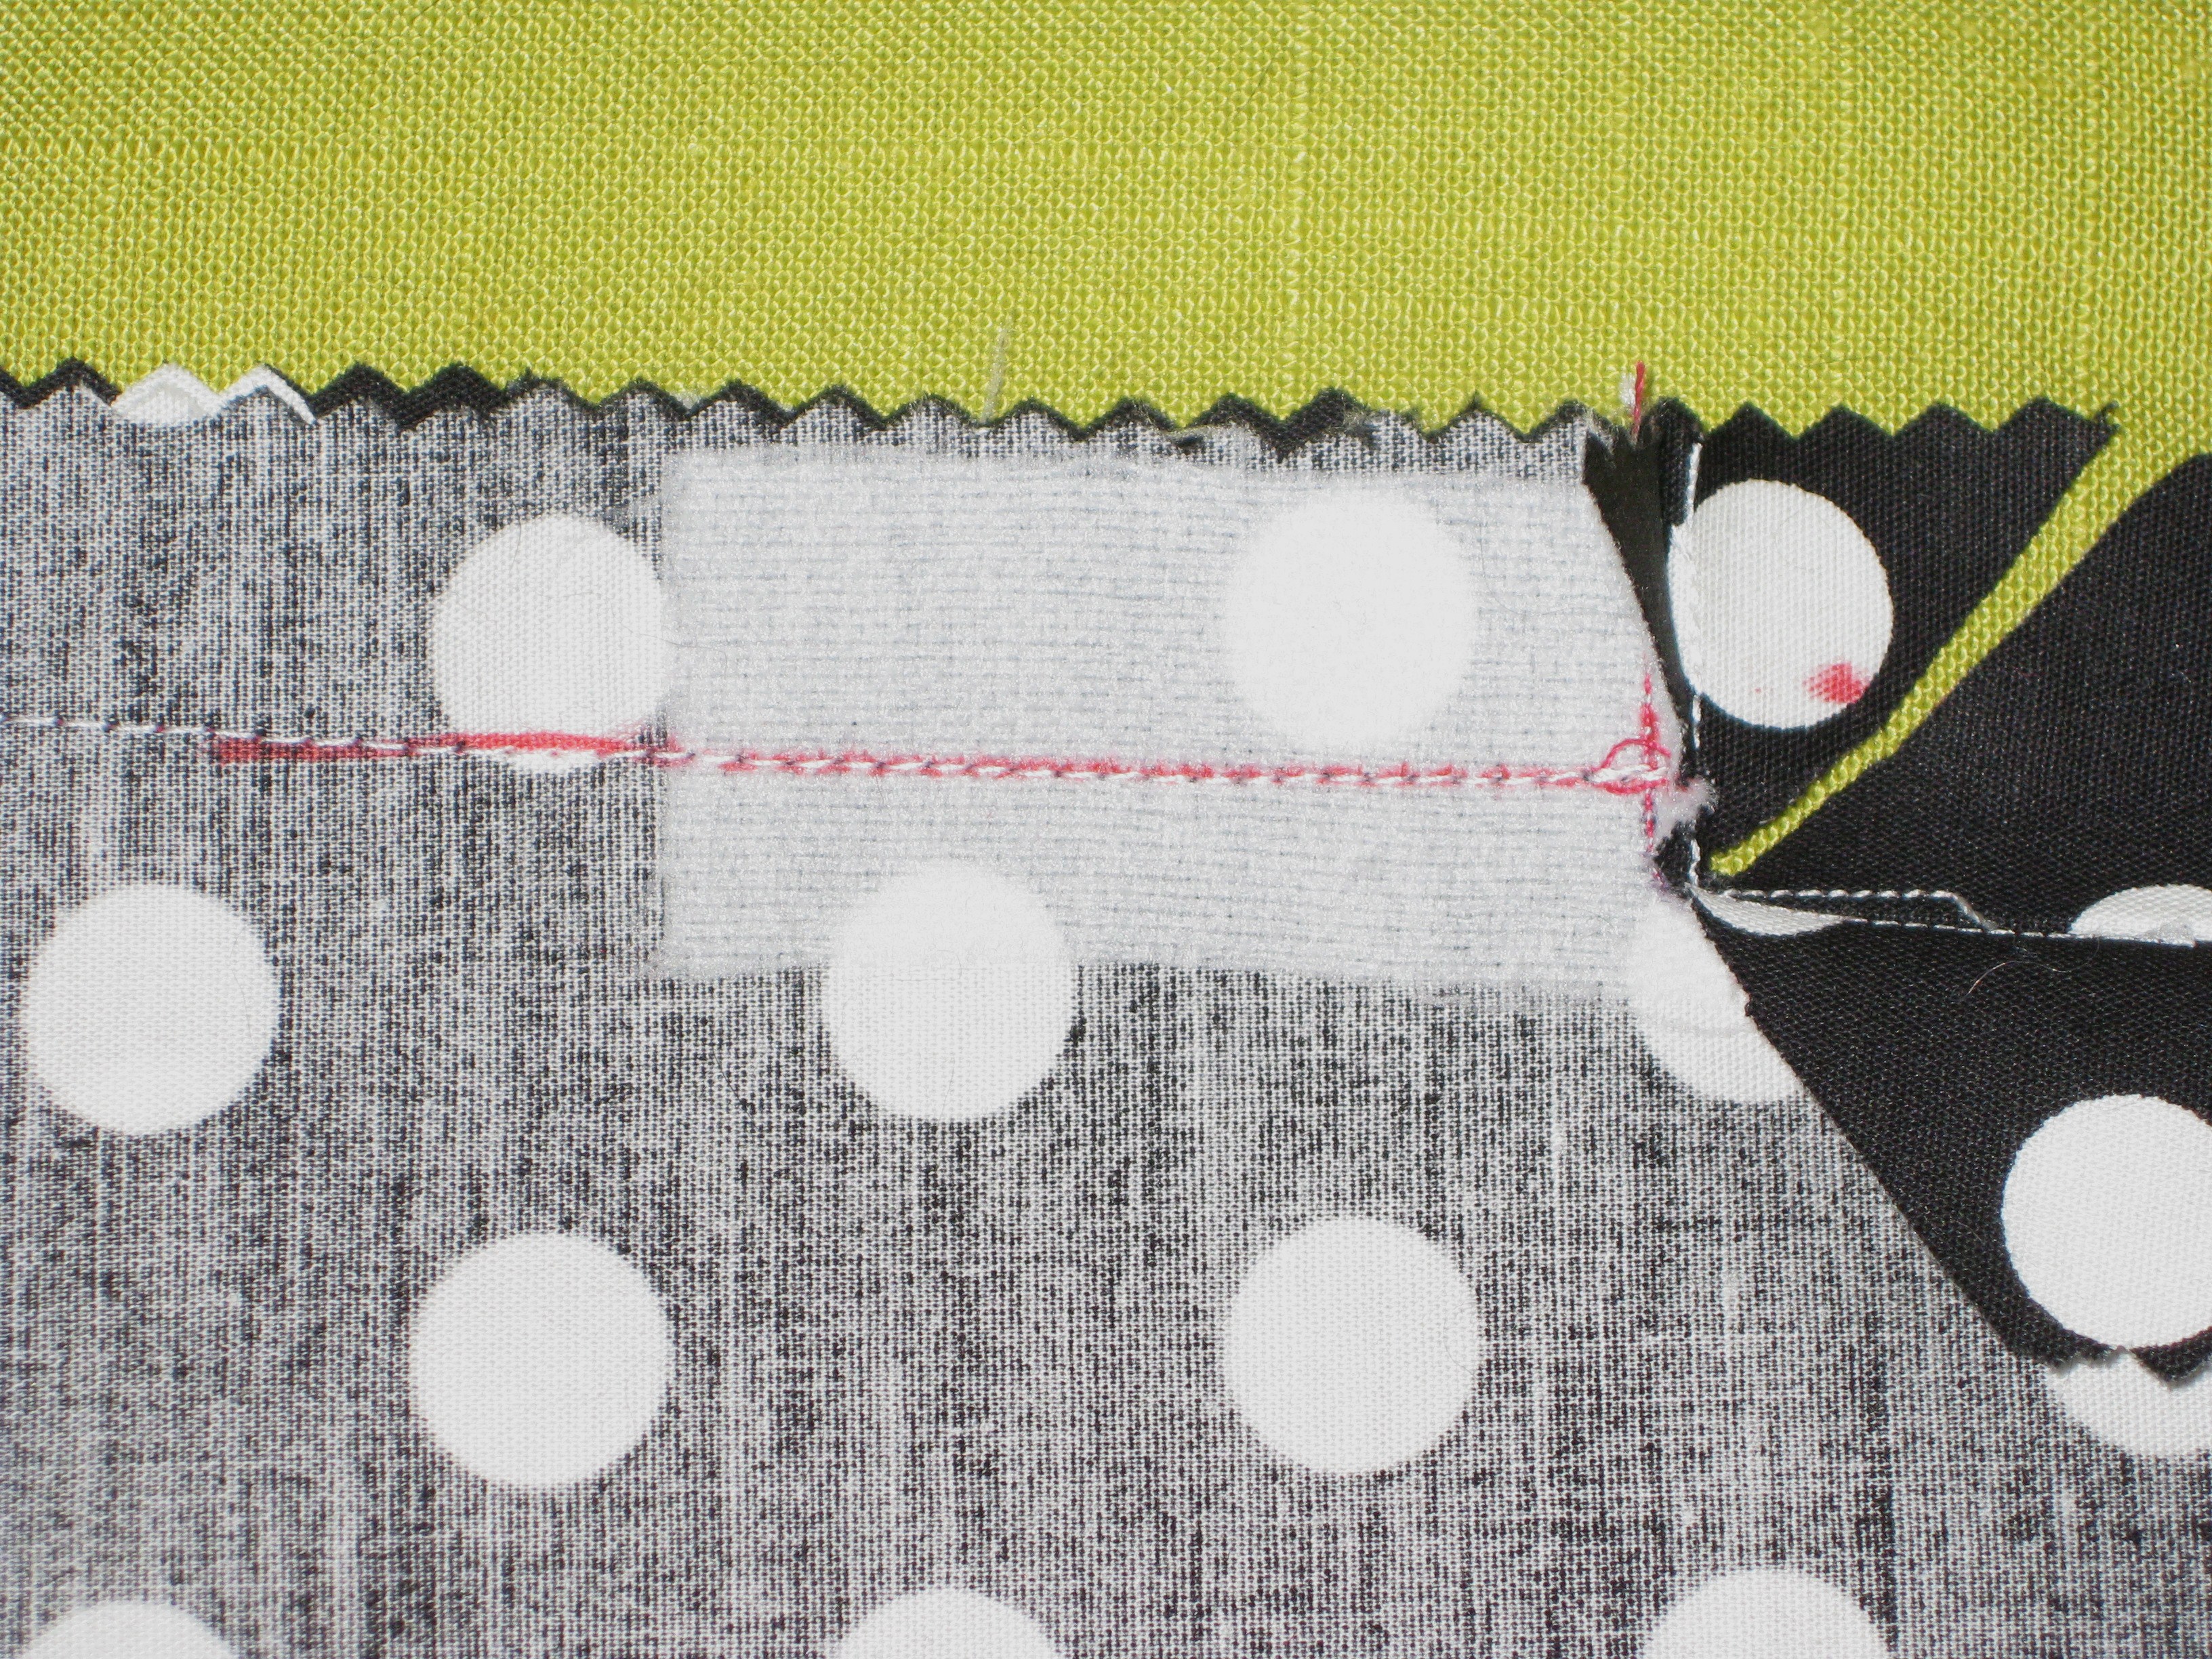
If the garment fabric frays easily, place a small piece of silk organza over the fabric when stay stitching as above. Clip and press the organza to the wrong side, slightly favouring the fabric to the wrong side. Stitch in place as above.
Place a small piece of silk organza over the fabric when stay stitching
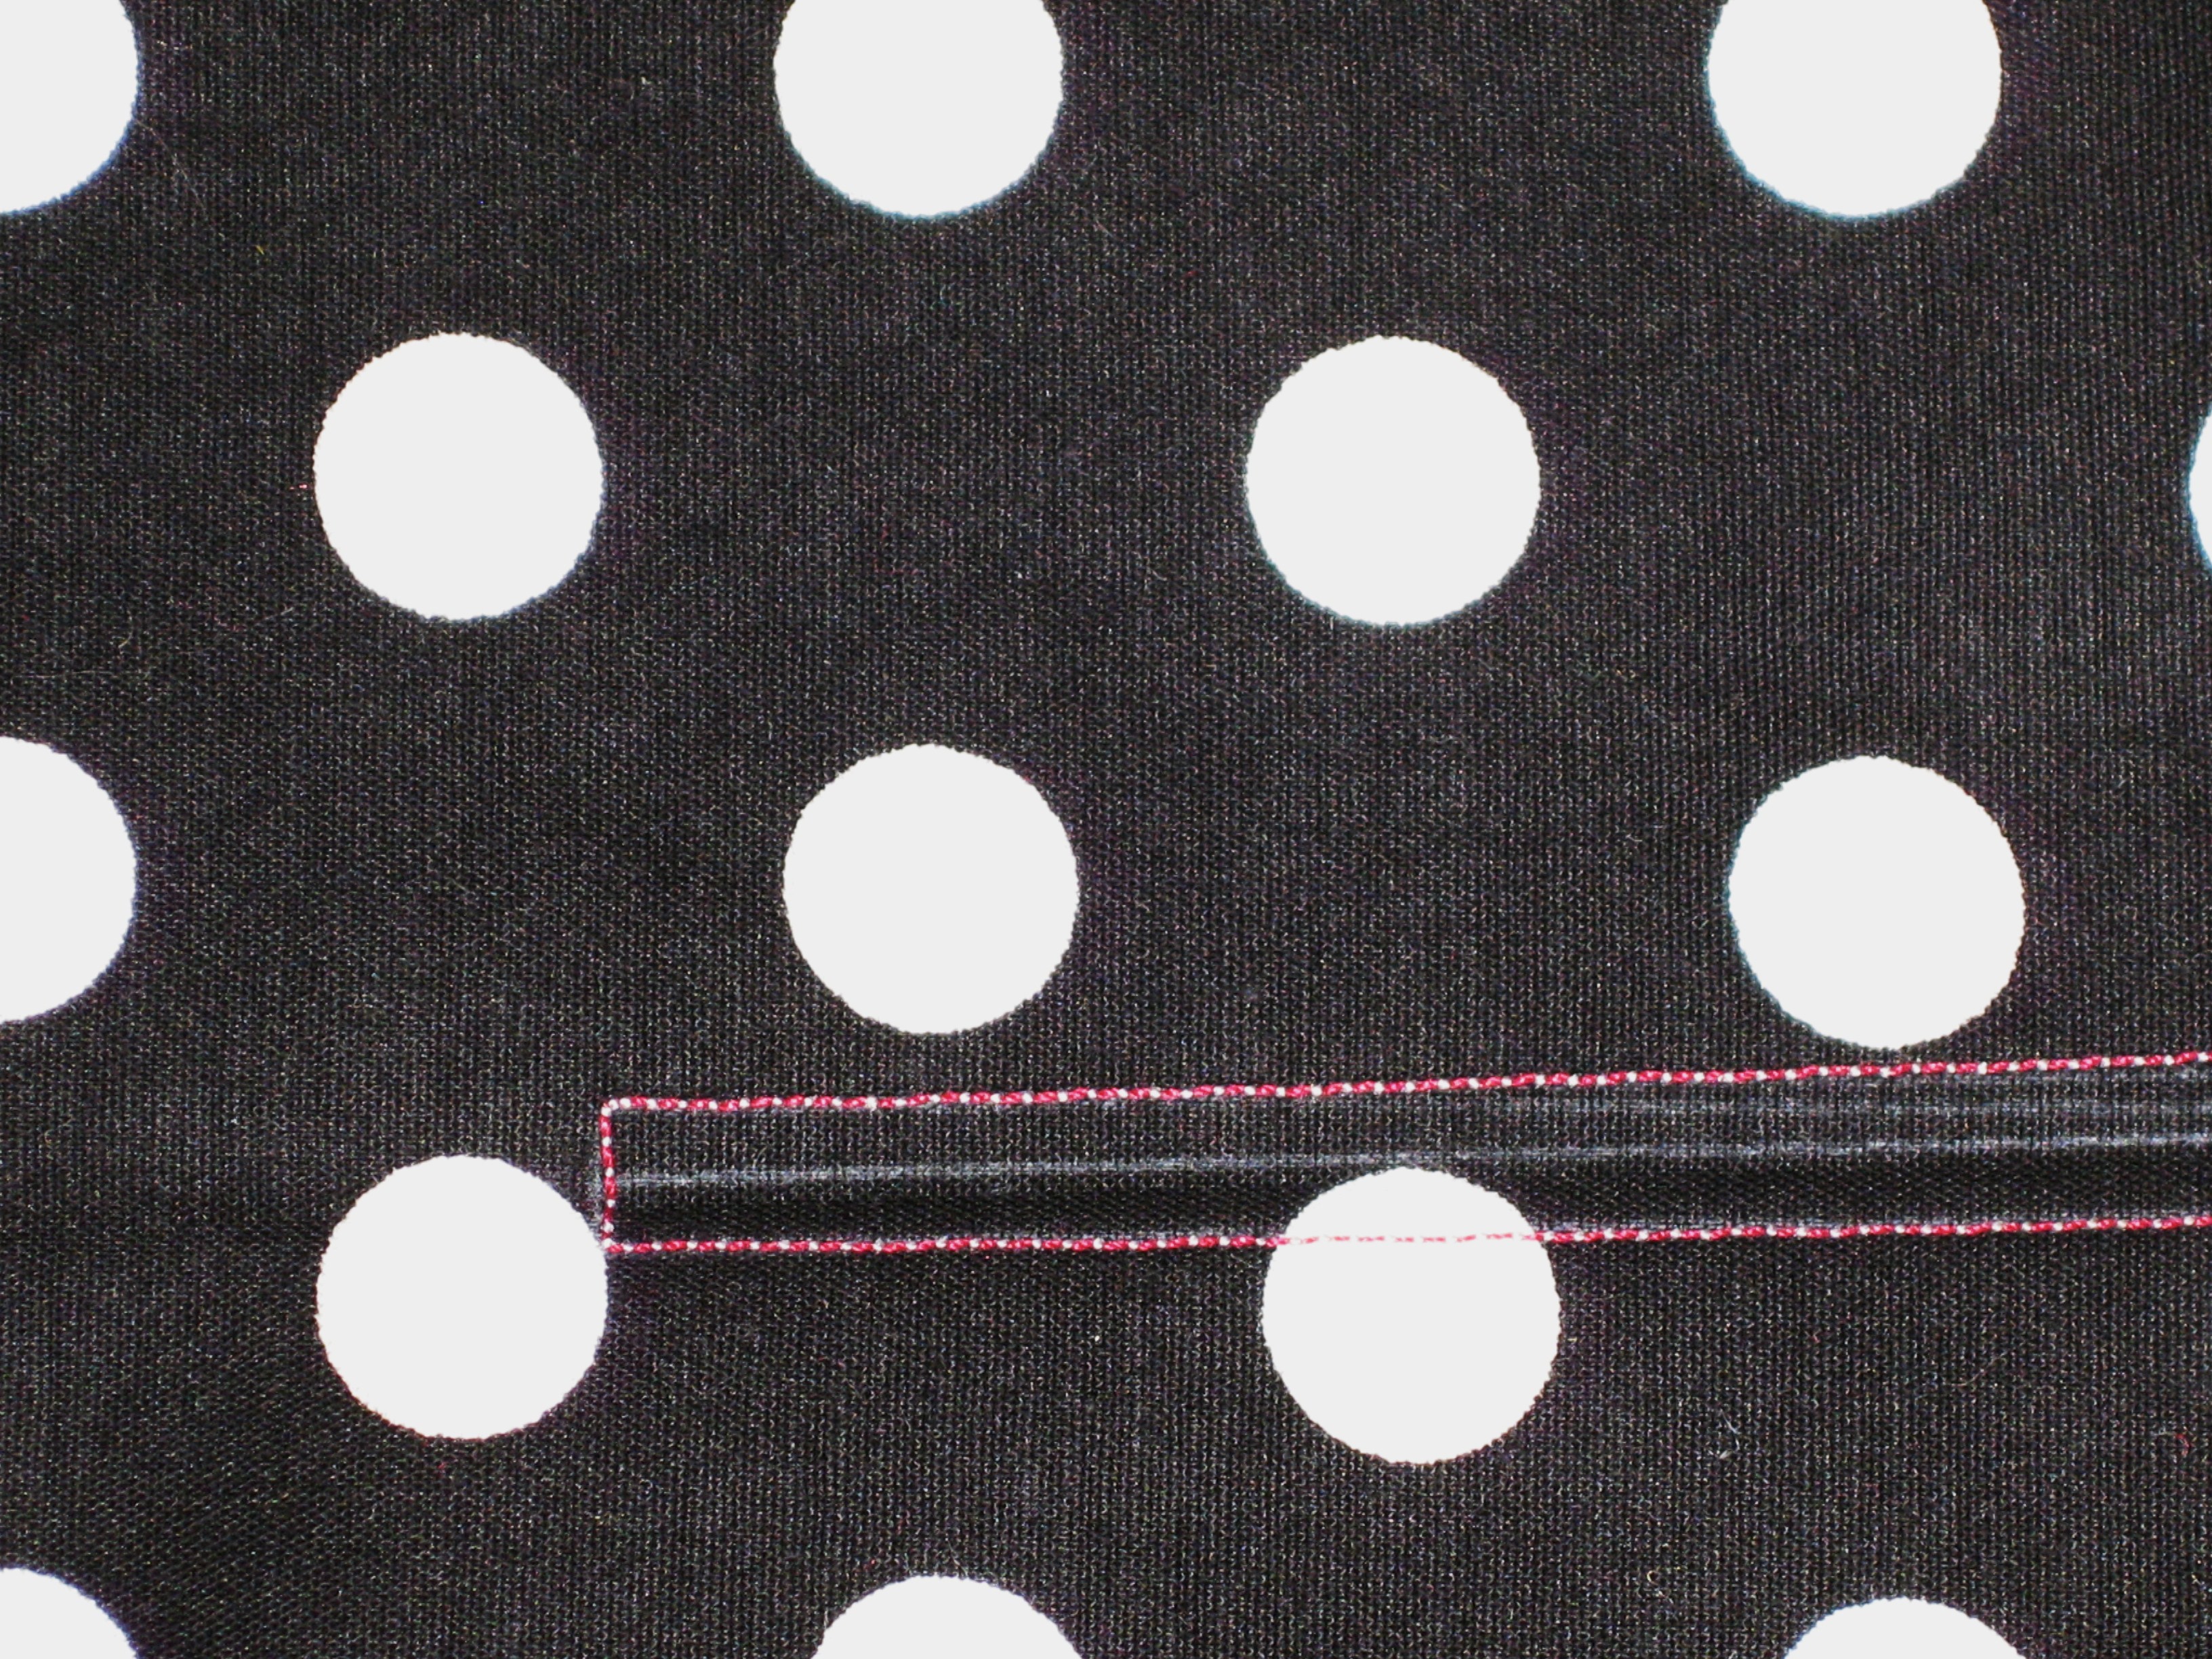
Clip through all layers to reinforced corner. Turn to wrong side and press in place.
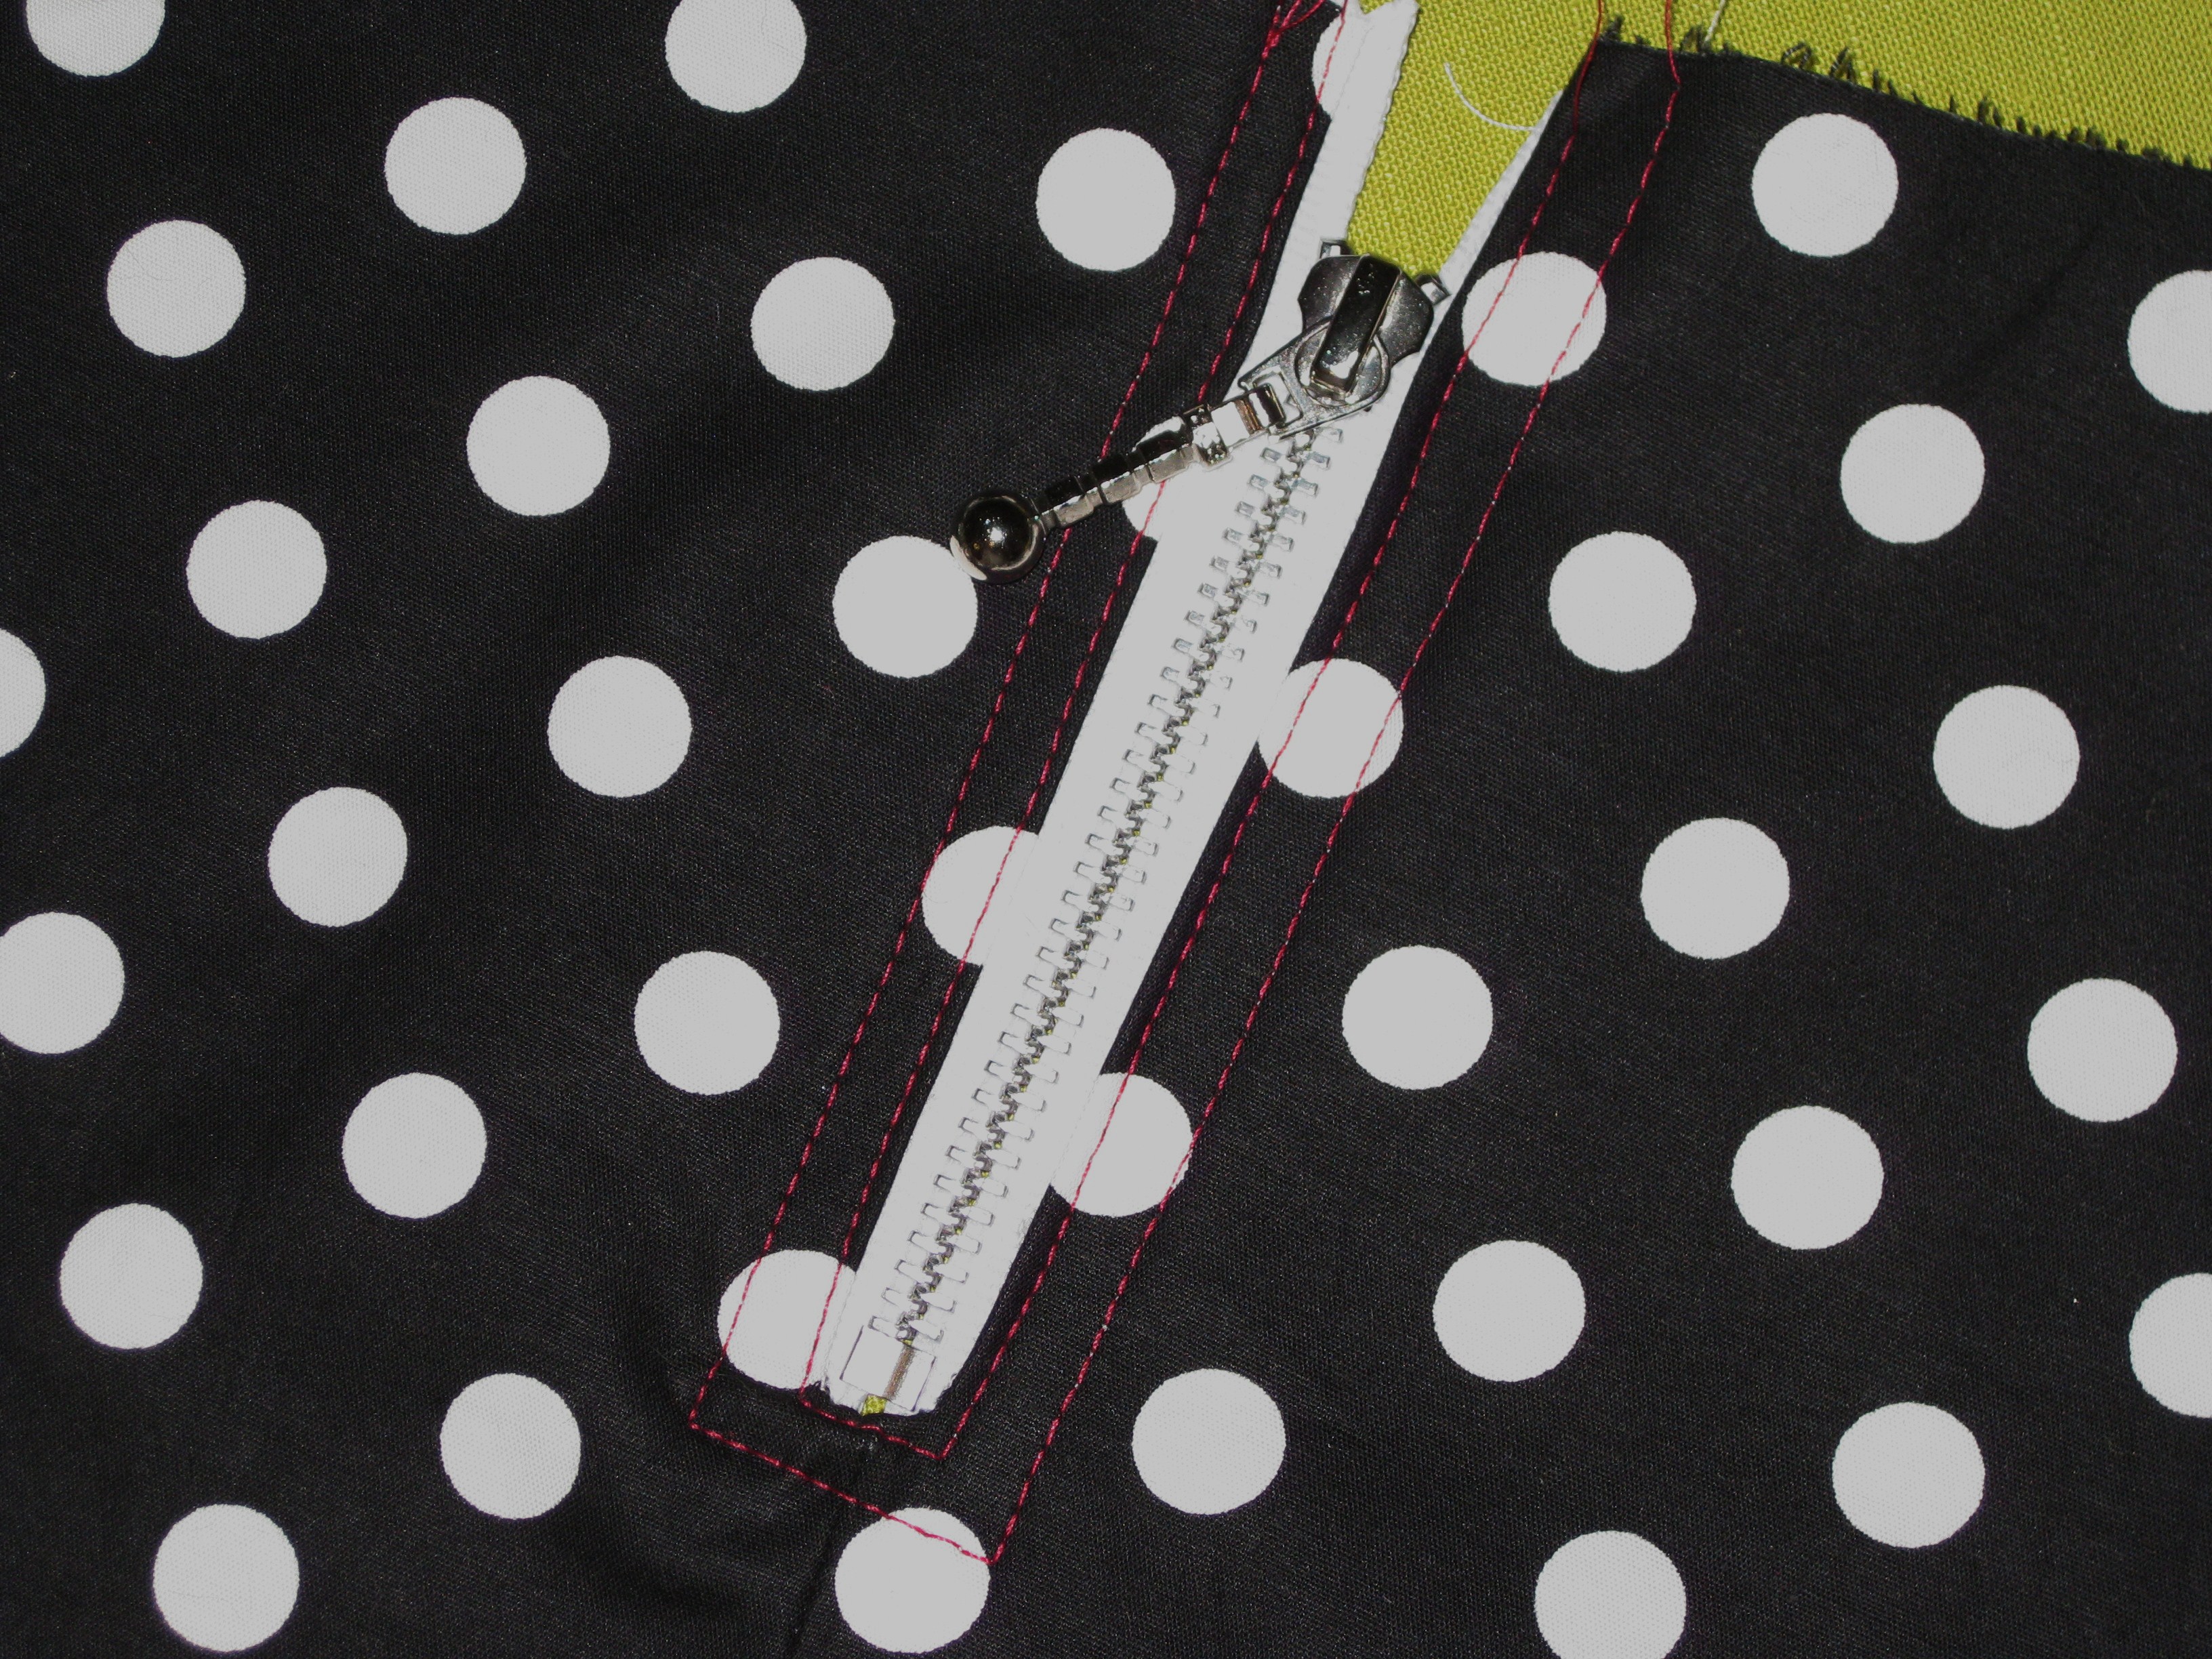
This technique works well to establish a decorative opening in a garment where there is no seam and also with knits where other zipper applications do not give an attractive finish. Use a lightweight dress zip in knits to minimise distortion.
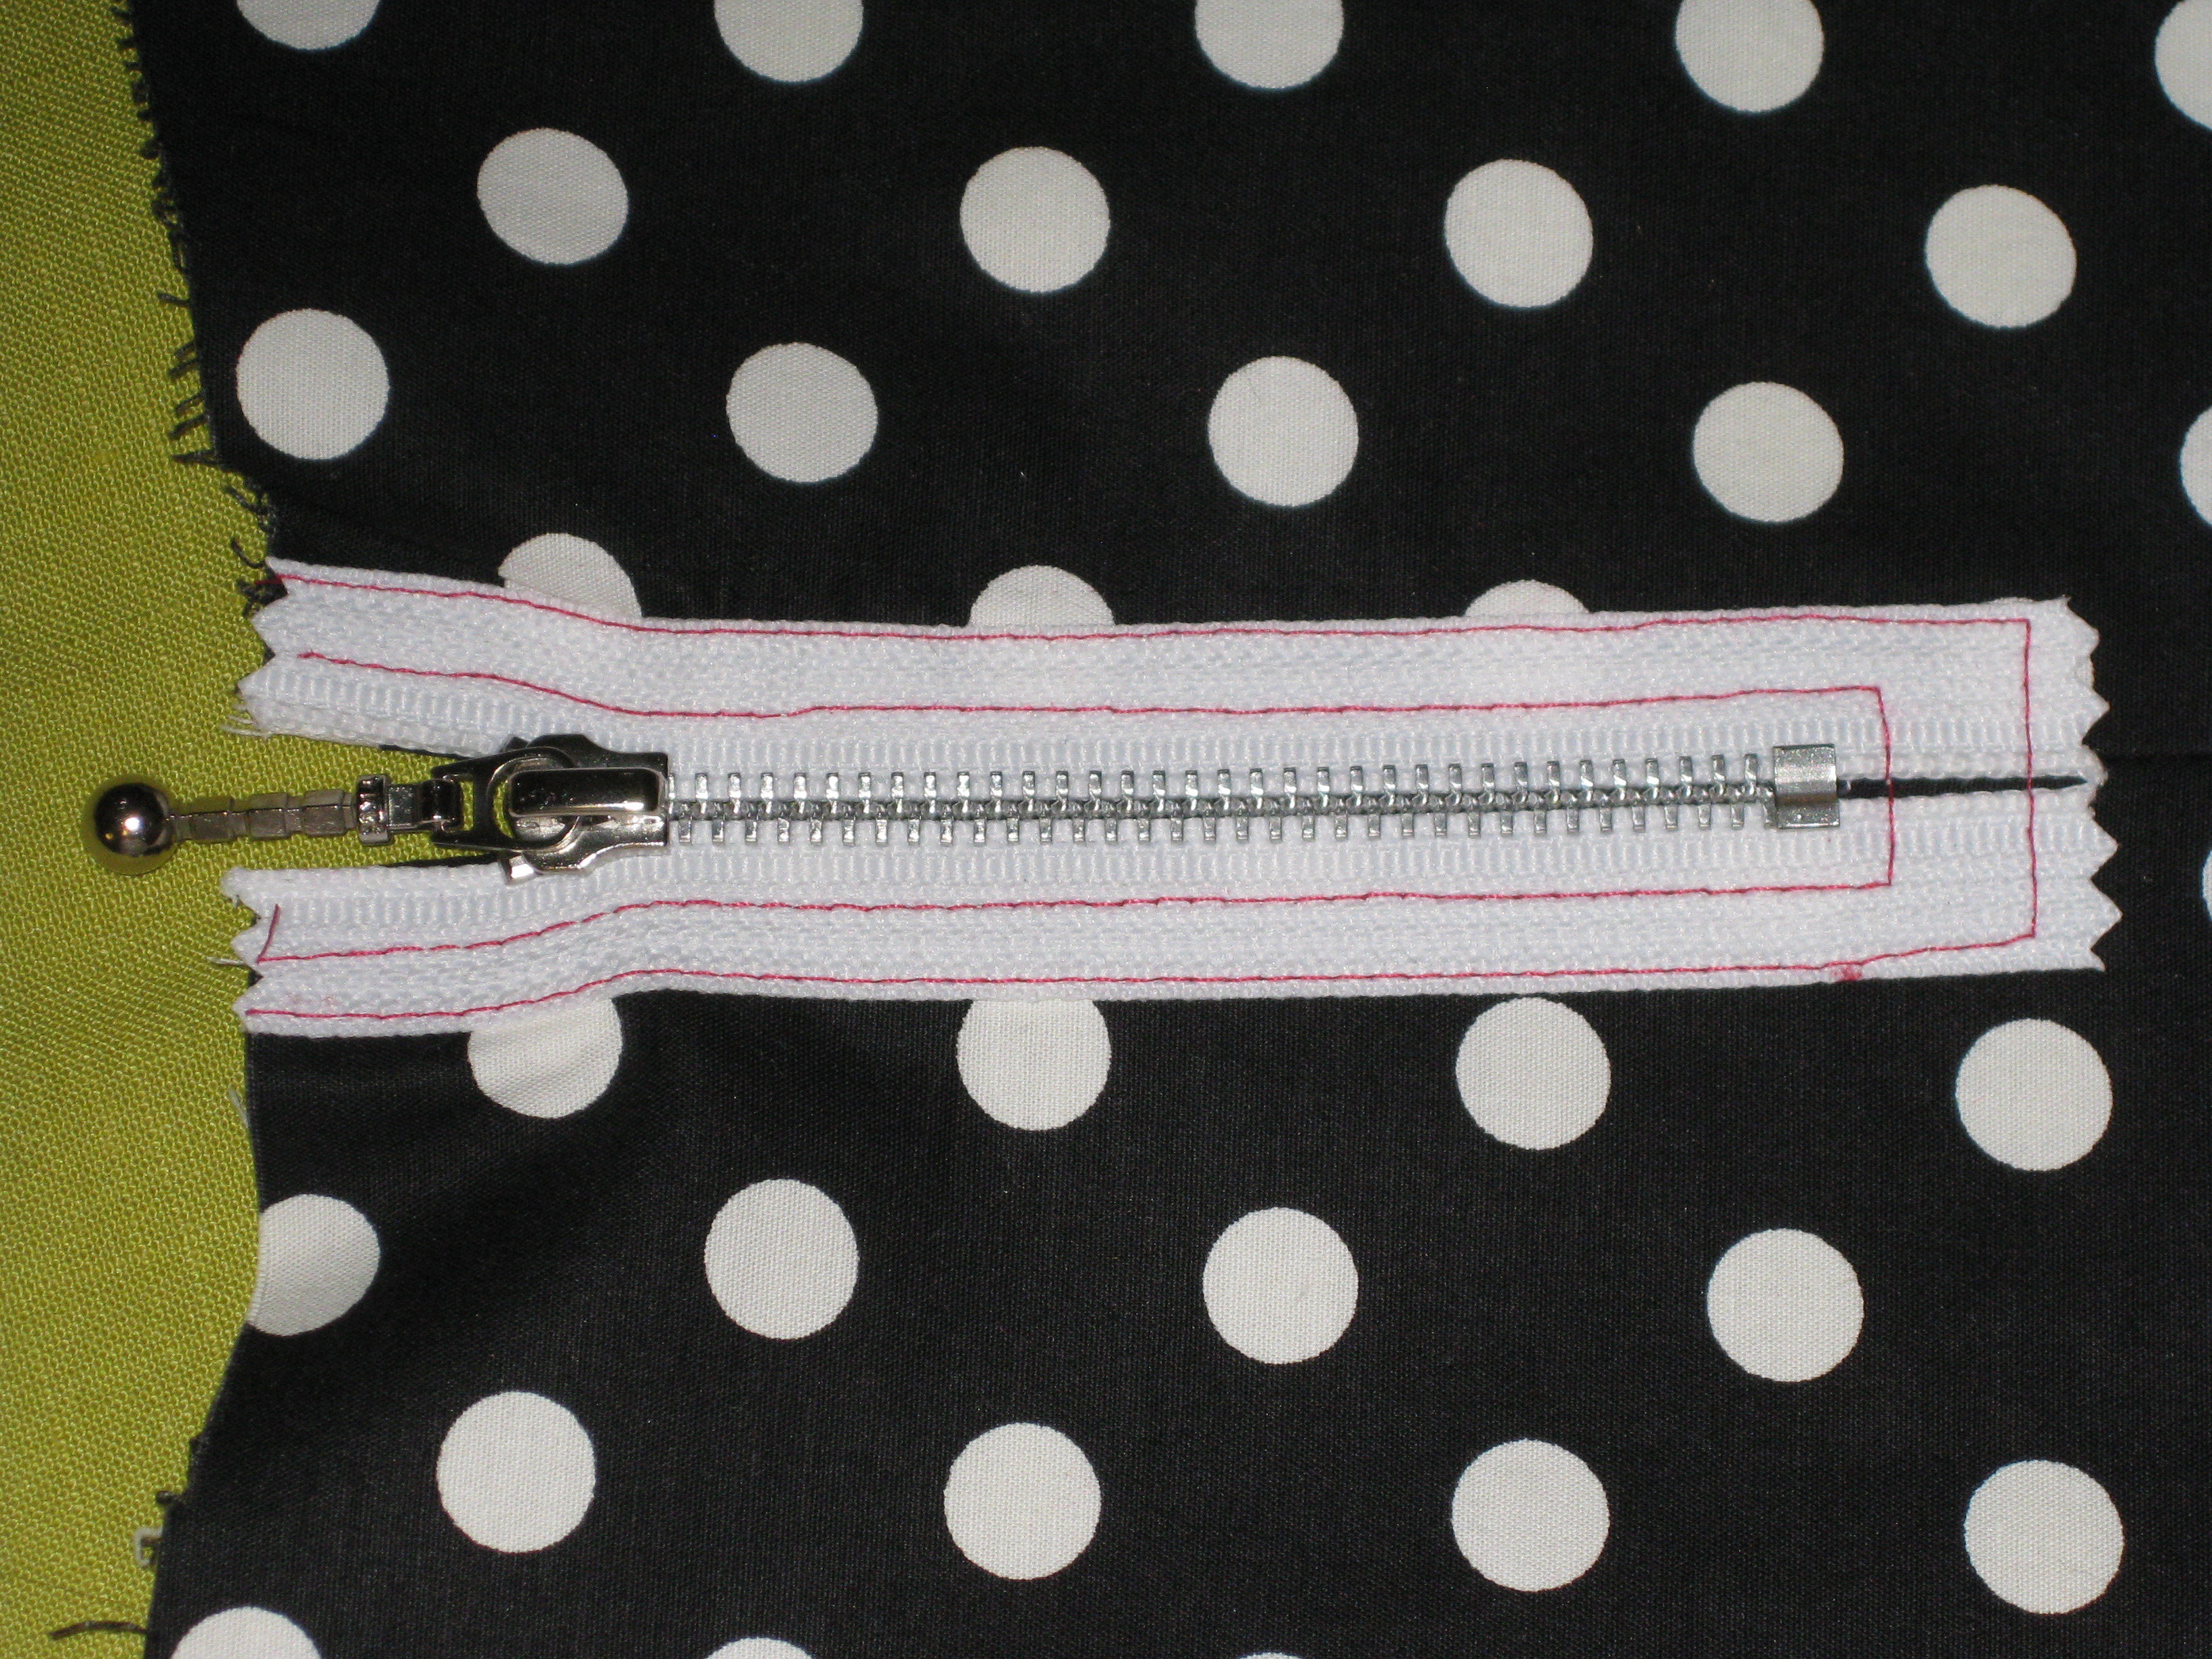
Finished zipper with just the fine teeth showing.
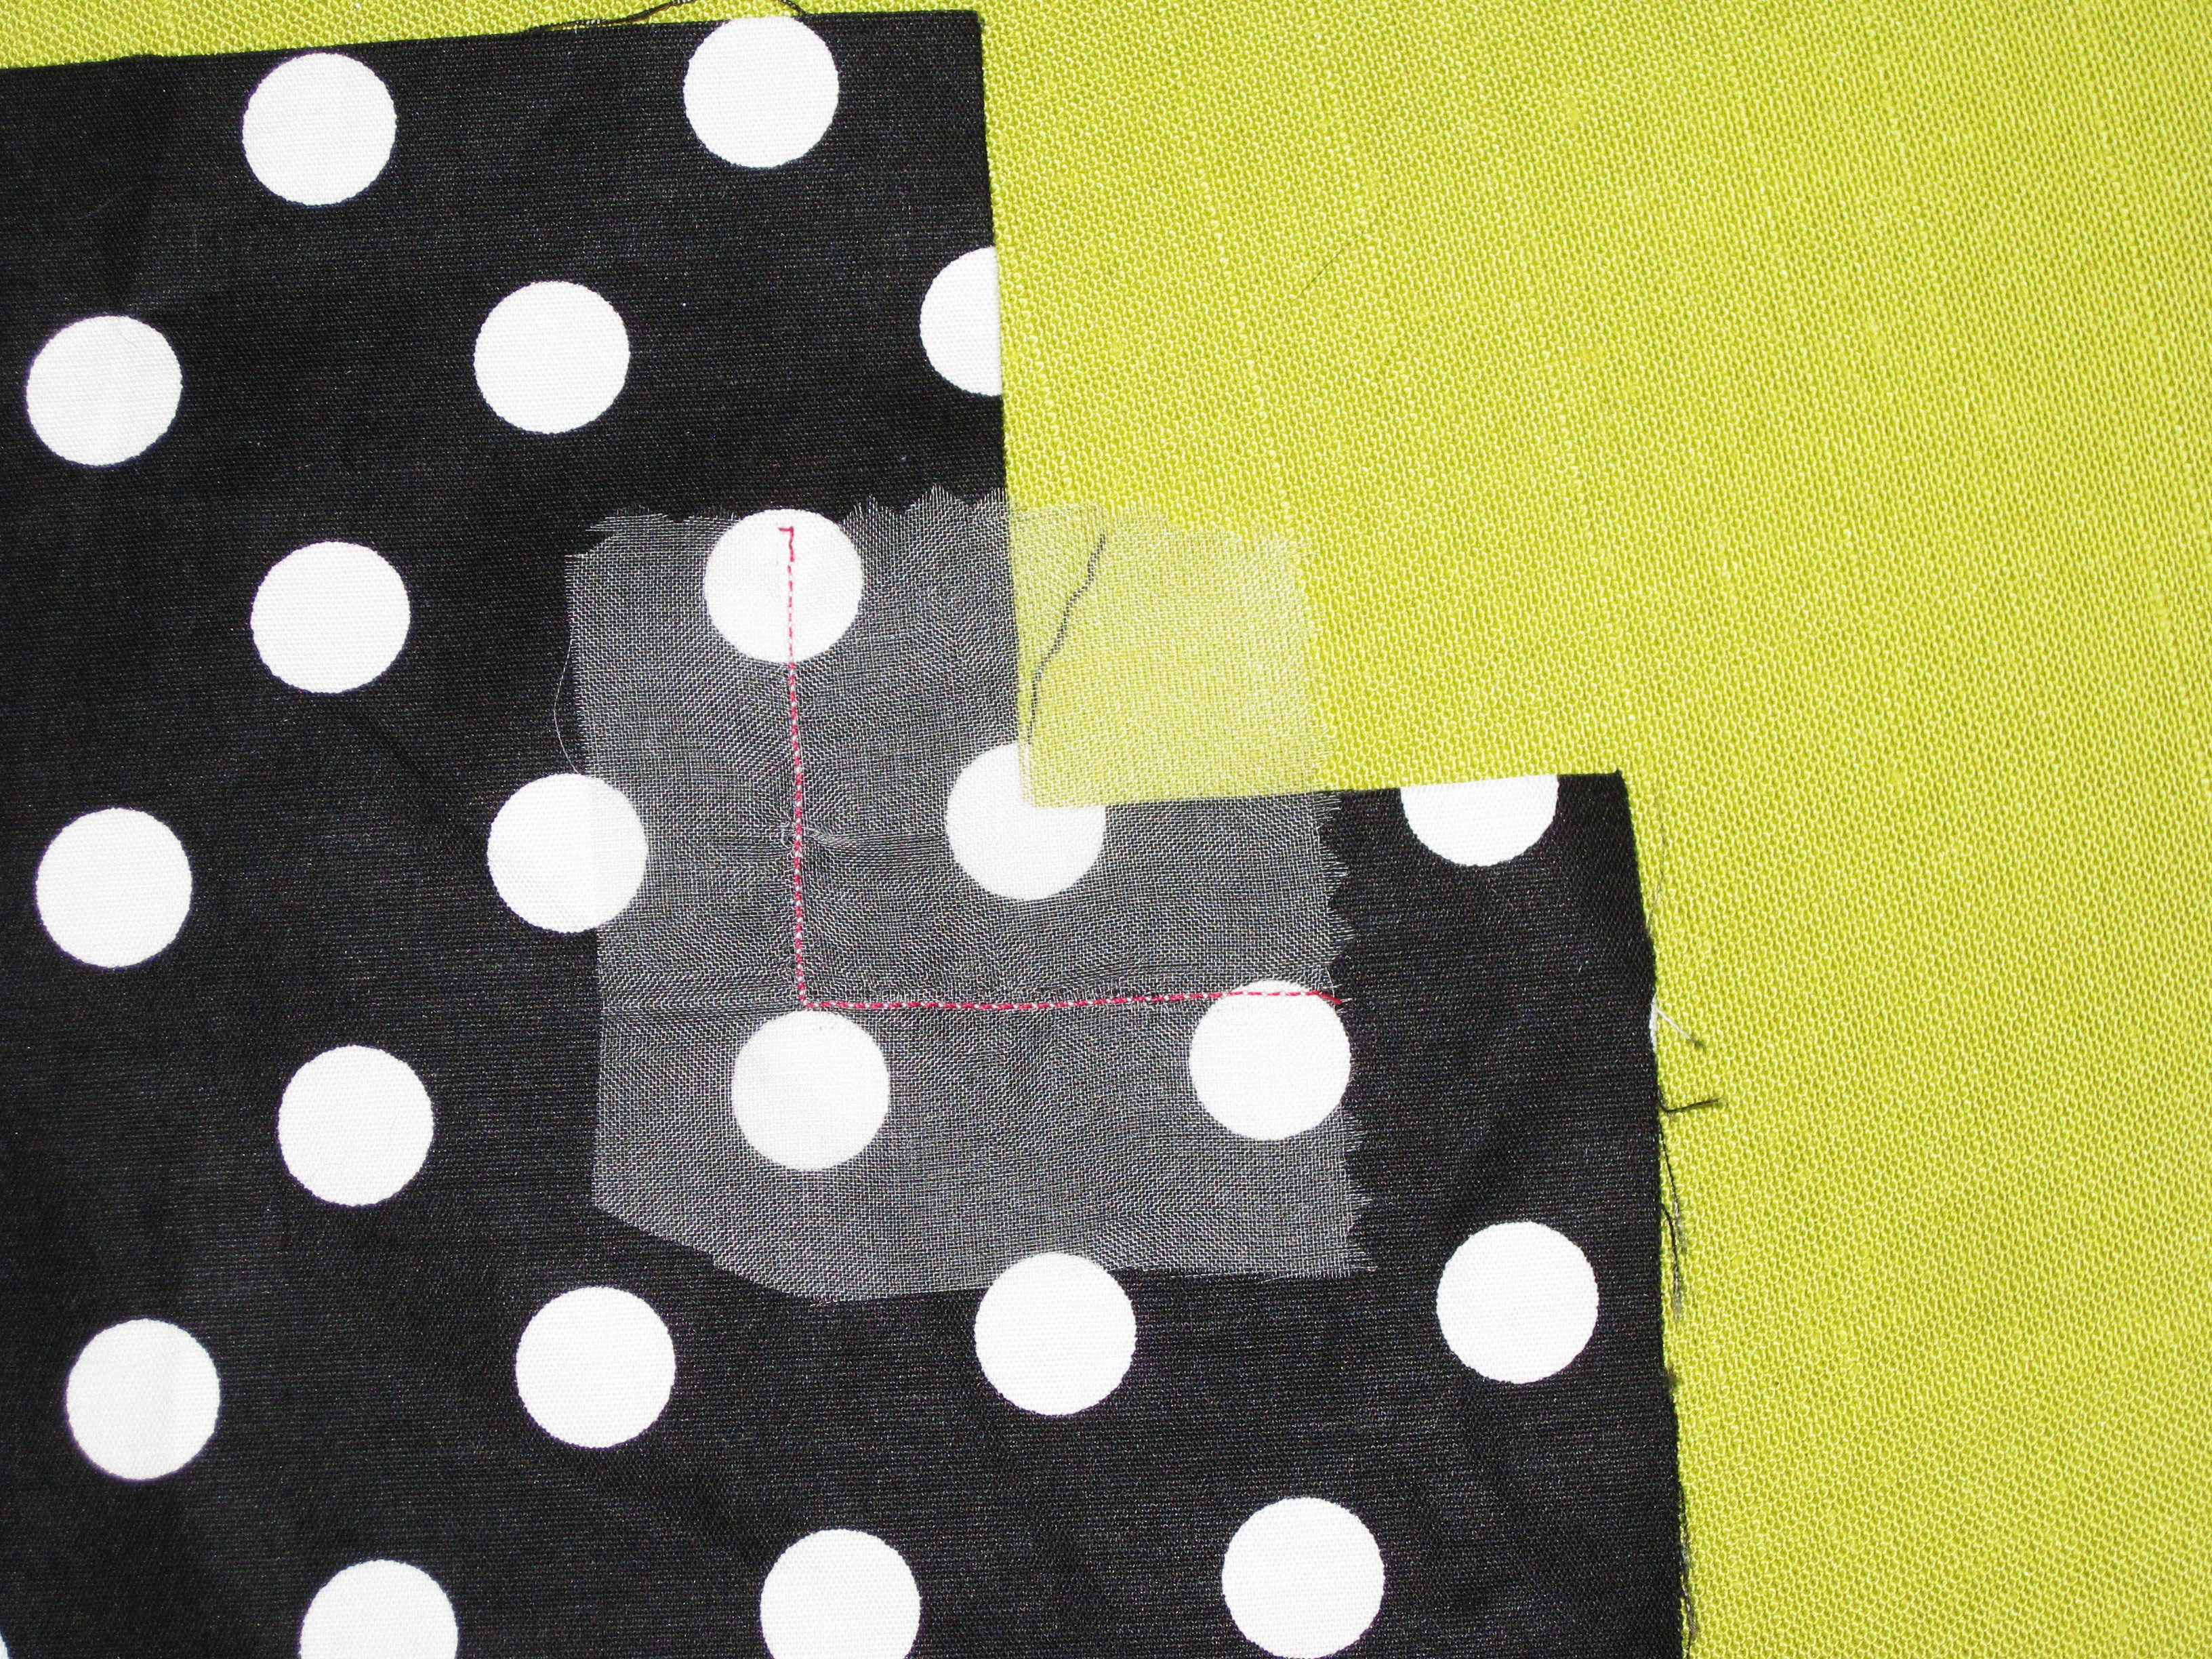
Mark the fabric where the centre of the teeth will sit and fuse a strip of interfacing (centred on this mark) to the wrong side of the fabric. Measure the width of the zipper teeth and draw fold lines an equal distance away on both sides of the centre mark. Mark where the zipper stop will rest.
Mark centre of opening and on either side to cater for total width of the teeth. Stay stitch the whole area of the opening and cut down the centre and into corners.
This is how the zipper will look
Stay stitch down one side of the fold line, across the base of the opening and up the other side. Clip to the corners and fold the fabric under. Press slightly favouring to the wrong side. Position the zipper and edgestitch and/or topstitch in place.
Fold fabric at the bottom of the zipper up over the teeth to reveal the triangle at the base of the zipper. Stitch across.
Underside of zipper.
Totally Exposed Zipper:
Stitch the bottom of the seam up to the base of the zipper opening. Increase stitch length to 4.0-4.5 and machine base the rest of the seam.
Press the seam flat and open.
Turn under the zipper tapes at the top and bottom and baste or glue in place.
Position the centre of the zipper over the seam; pin and baste in place.
Topstitch around the zipper.
Reverse of exposed zip. By keeping the full width of the seam allowance, there will be no chance of the harsh metal teeth rubbing skin.

Centre zip against wrong side and stitch in place.
Separating Zipper:
These zippers are one of the easiest types to use and are available in various lengths and thicknesses. Some have metal teeth and others plastic teeth. The teeth can be chunky or finer. Rhinestone teeth are also available (Sckafs have some great ones in black, white and black and white).
They are also available as invisible zippers making them a great option for edge-to-edge jackets.

A selection of open-end zips – Left to right are
large plastic teeth; wide chunky teeth; narrow teeth; open end invisible zip.
A selection of open-end zips – Left to right are
large plastic teeth; wide chunky teeth; narrow teeth; open end invisible zip.
Always buy the length which is closest to the opening. It is often easier to lengthen or shorten the opening rather than try to lengthen or shorten the zipper.
The zipper can be exposed, partially exposed or hidden entirely.
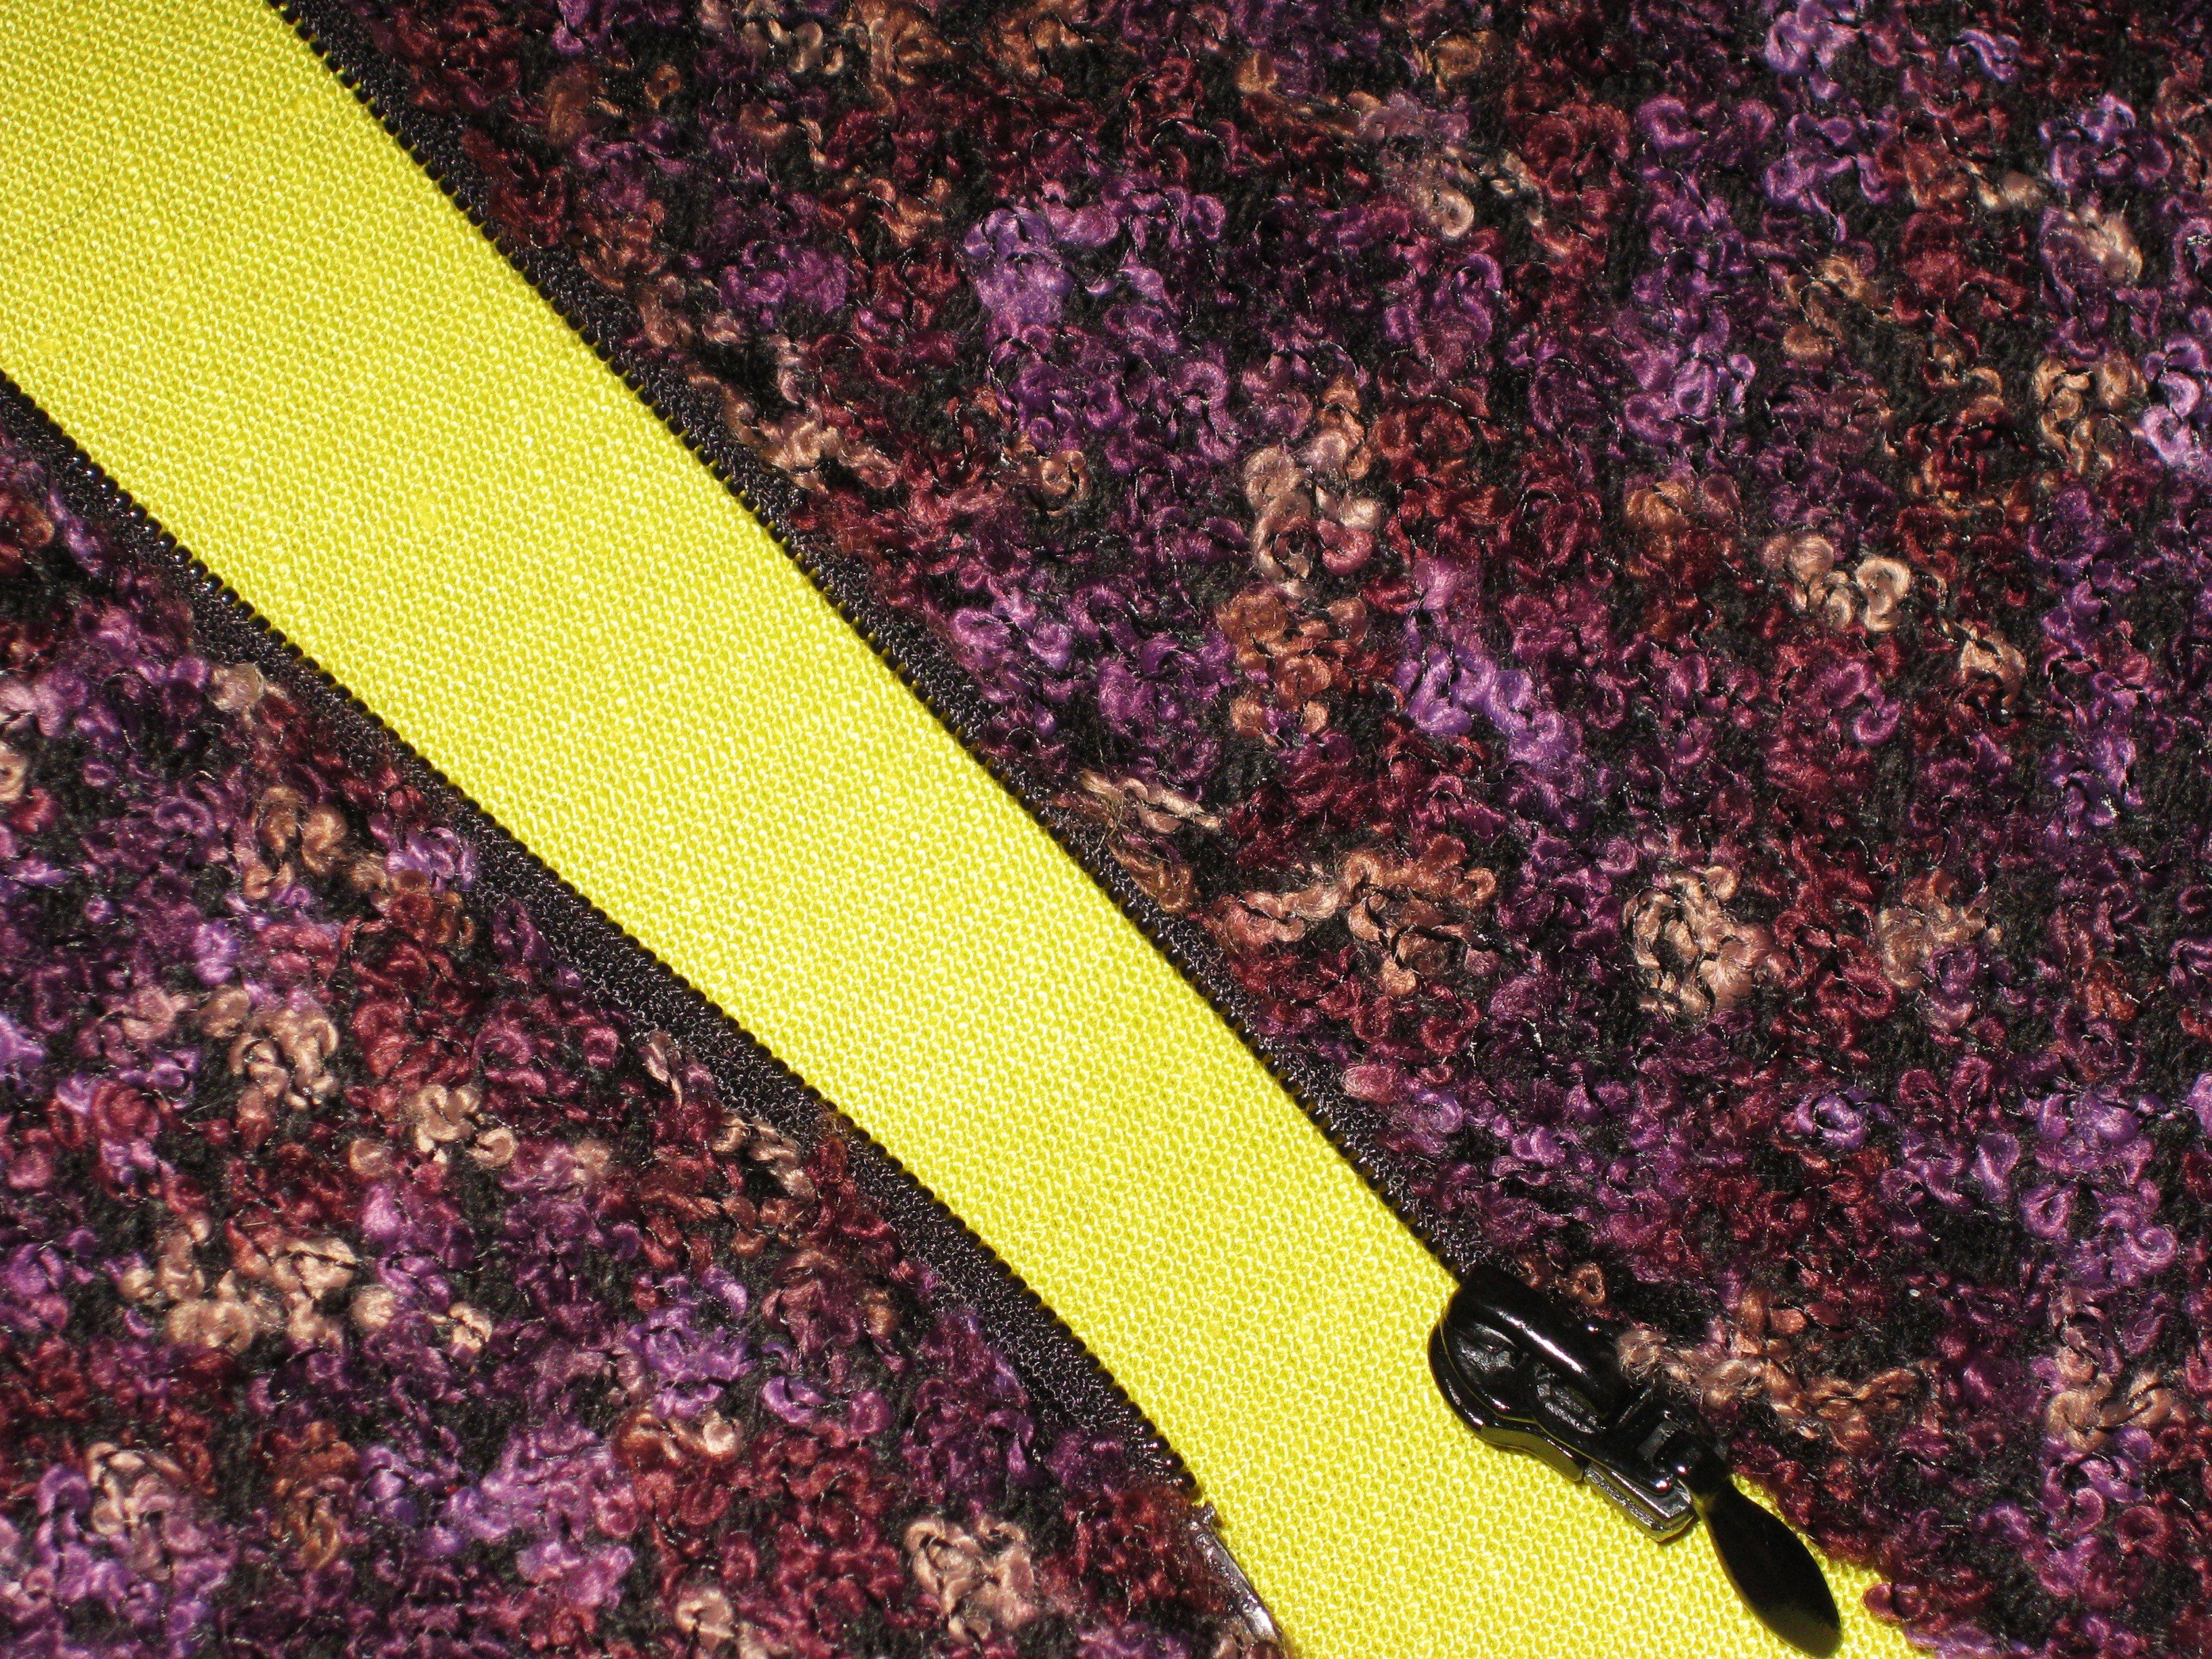
Concealed front closure with open end zipper.
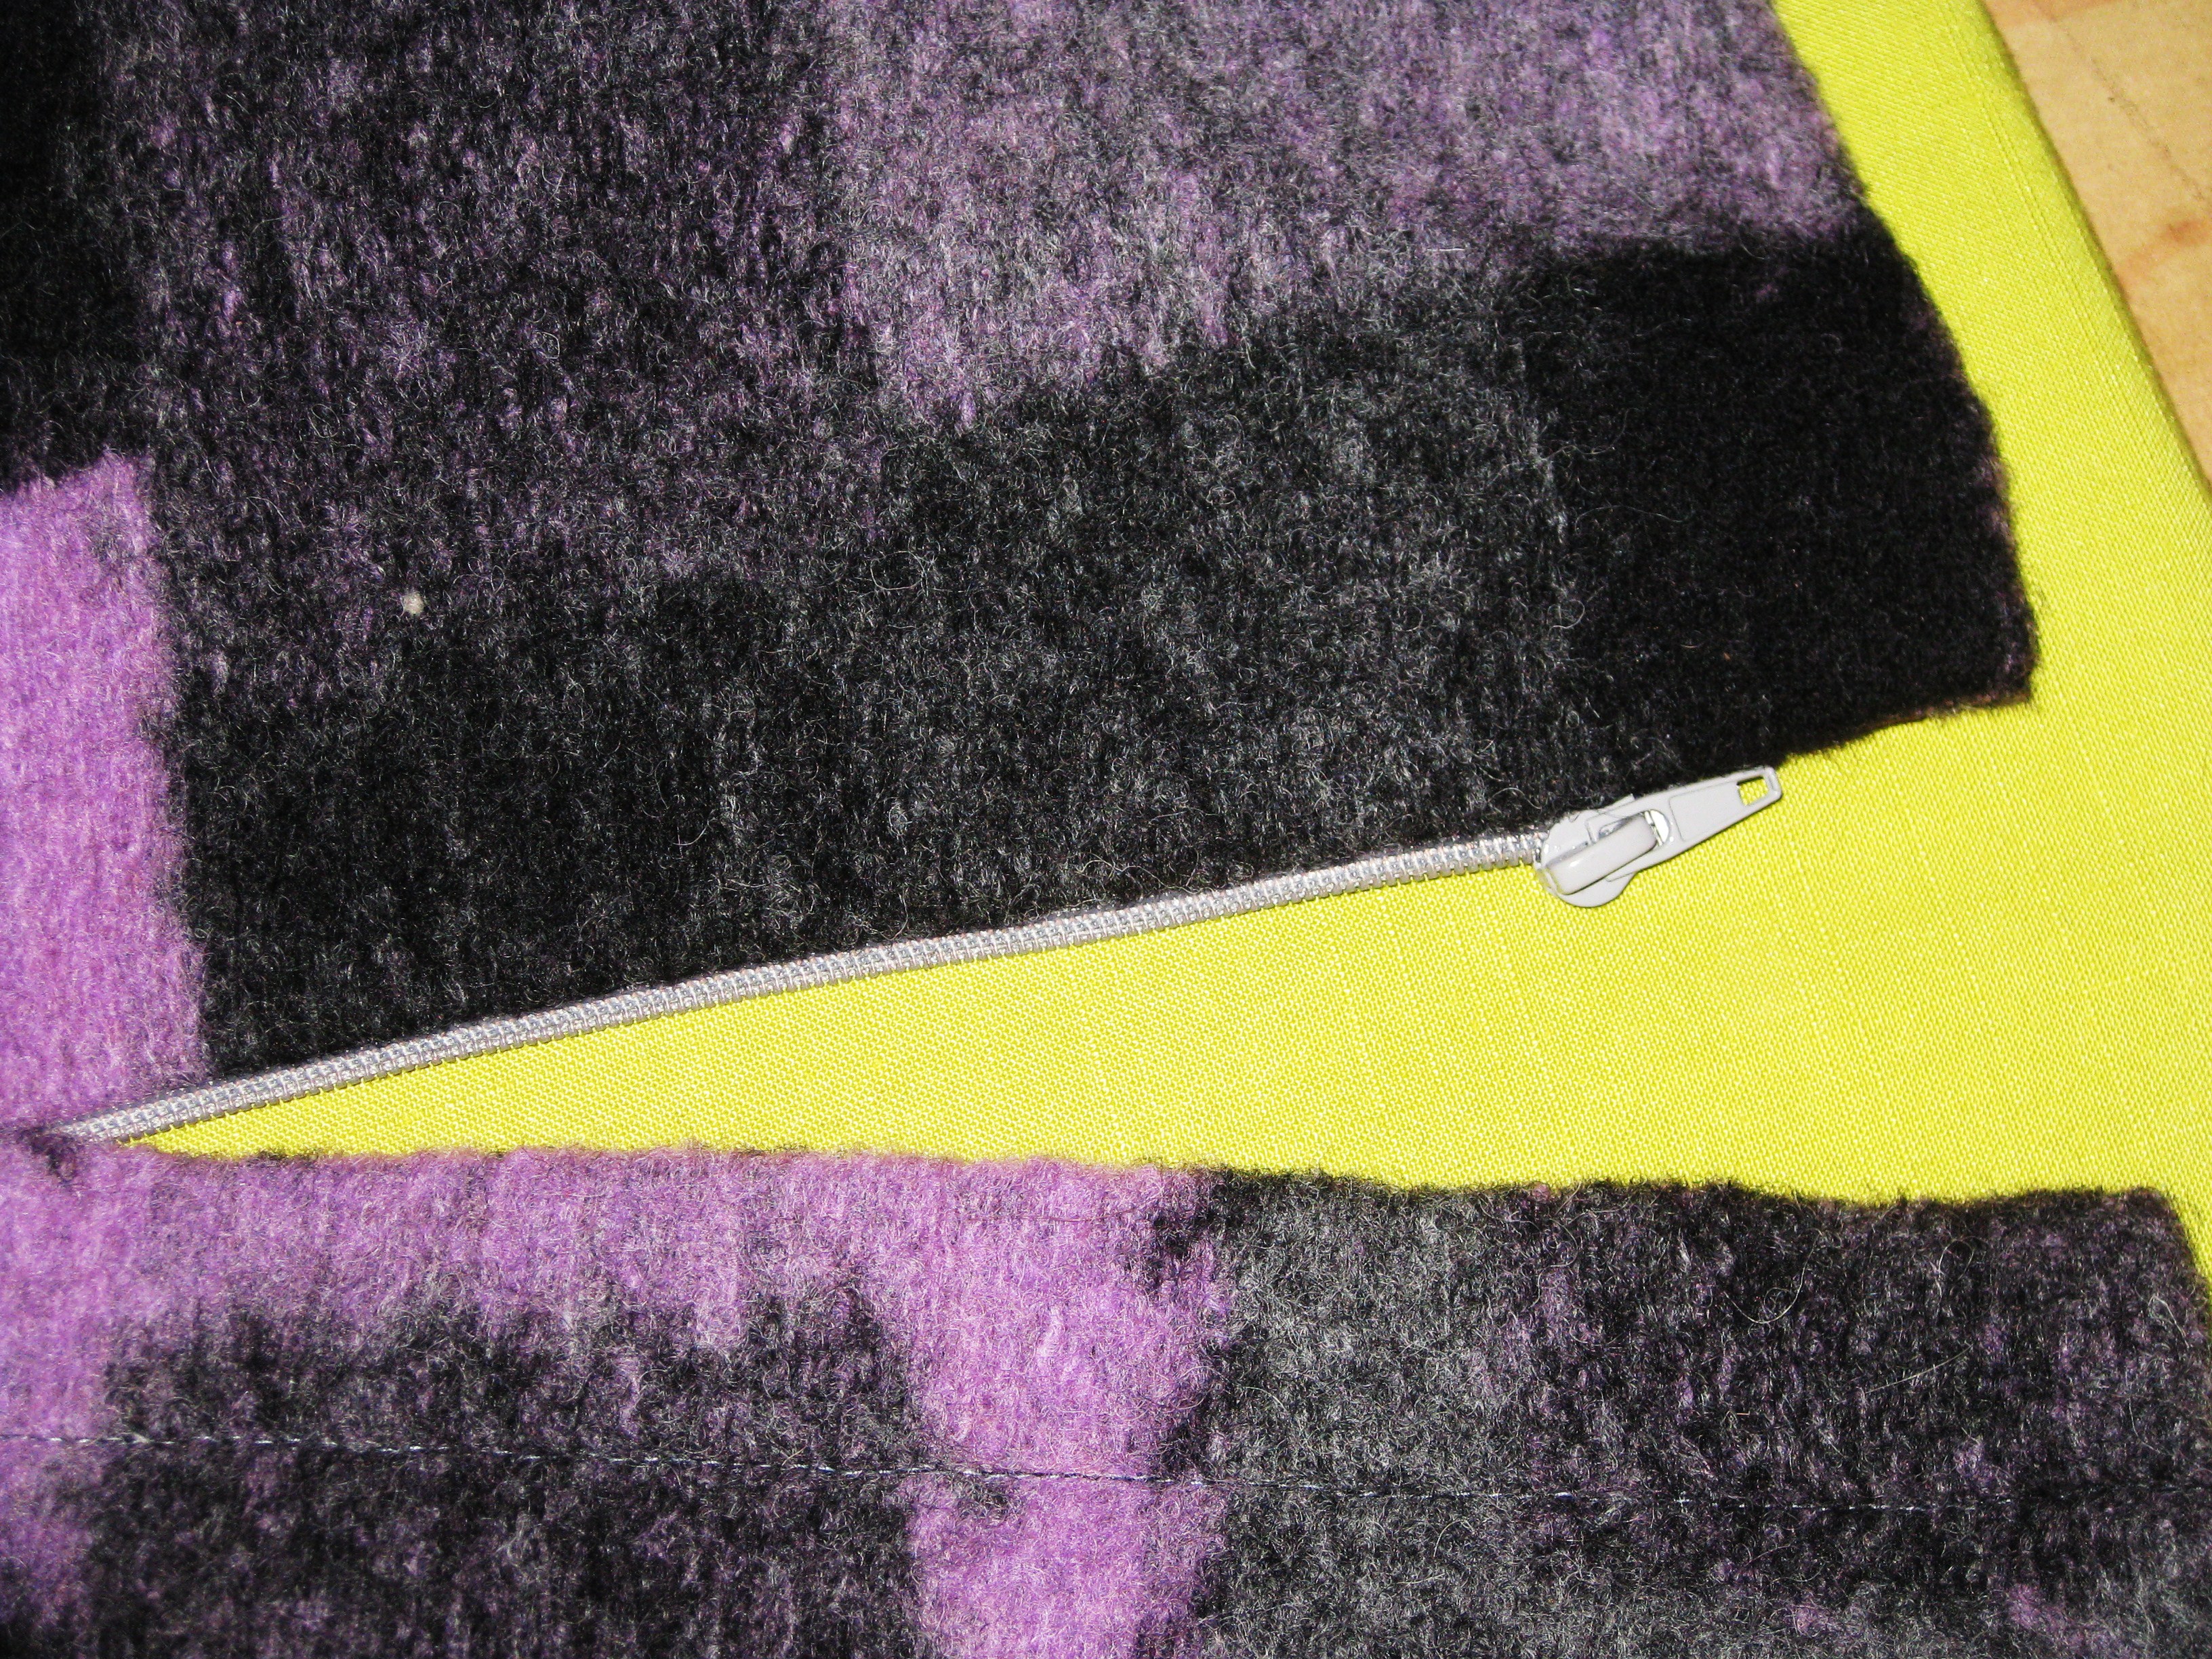
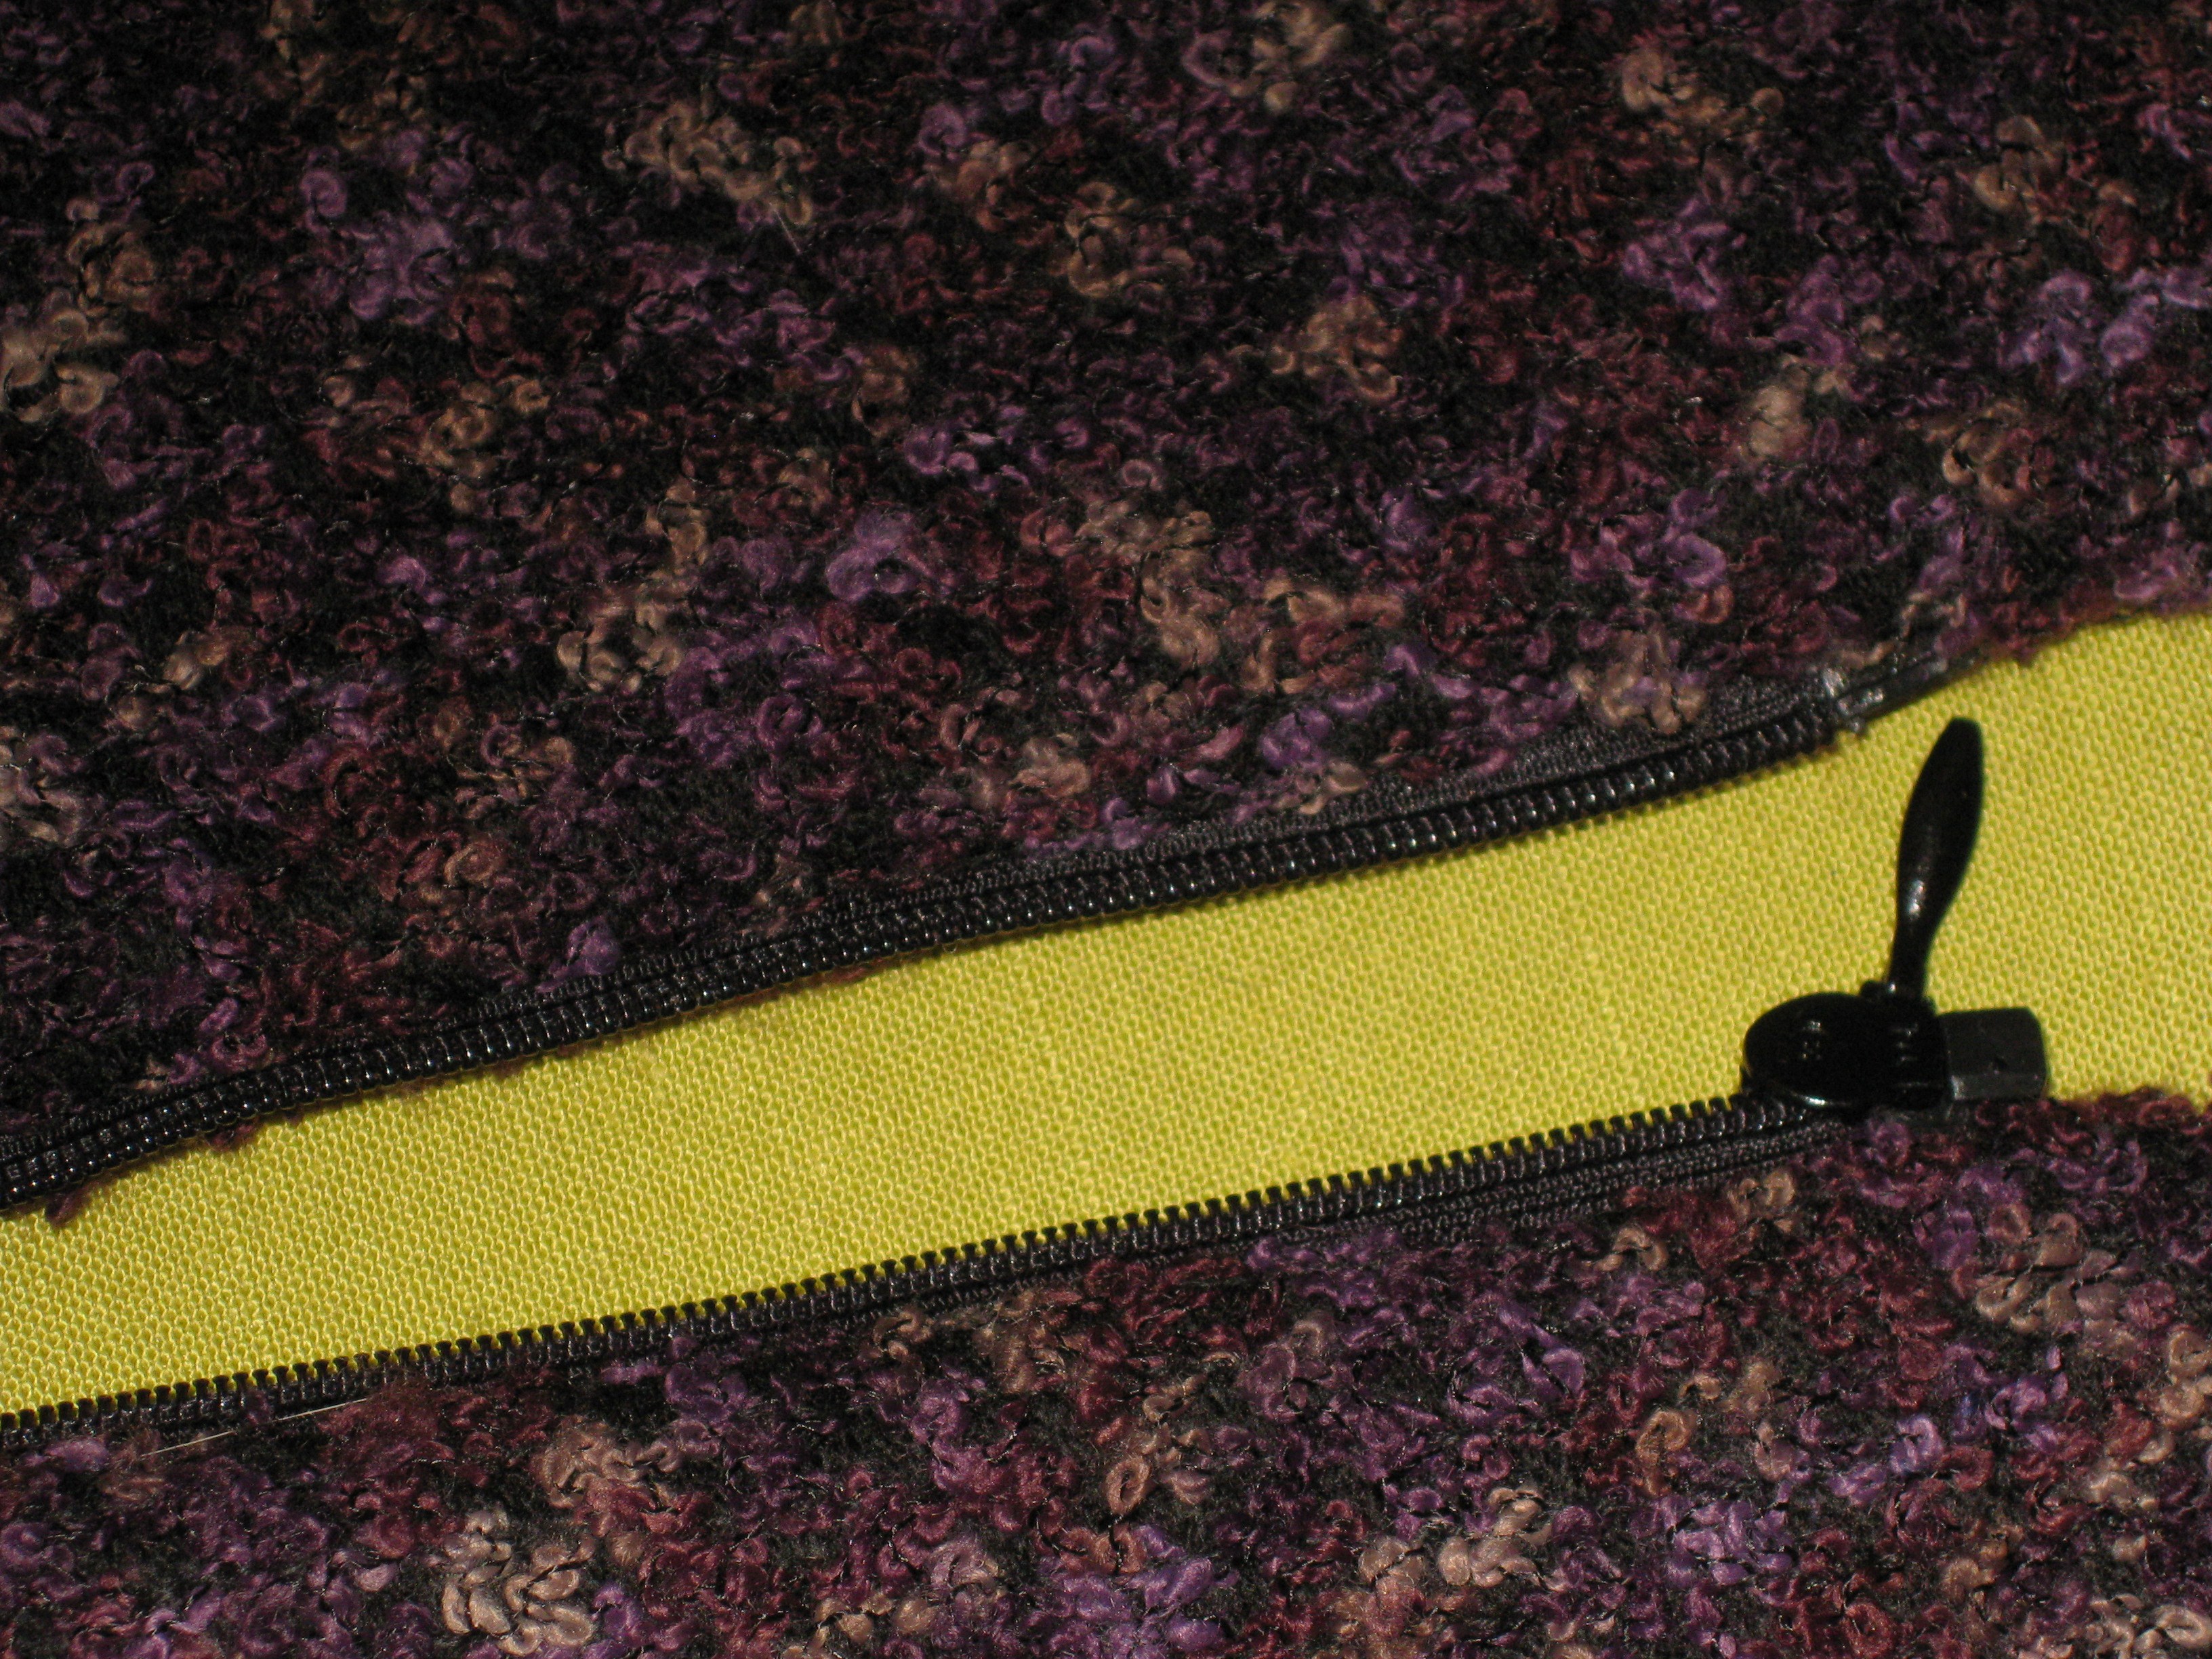
Textured wool jacket with invisible open end zip.
Simply fold the seam allowance to the inside of the garment. Press in place.
Separate the two sides of the zipper and position each side under the folded edge exposing as much of the teeth as desired. Baste and topstitch in place.
For an unlined garment, finish the seams as desired – overlocking or binding both work well and give a tidy finish. You can also use a facing with the zipper teeth sandwiched in place between the facing and the garment.
If you choose to line the garment, you can attach the lining to the facing edge or line to the zipper teeth. In both cases, understitching will keep the fabric away from the zipper teeth when the zipper is being raised or lowered.
Lining stitched close to underside of teeth and understitched by hand.
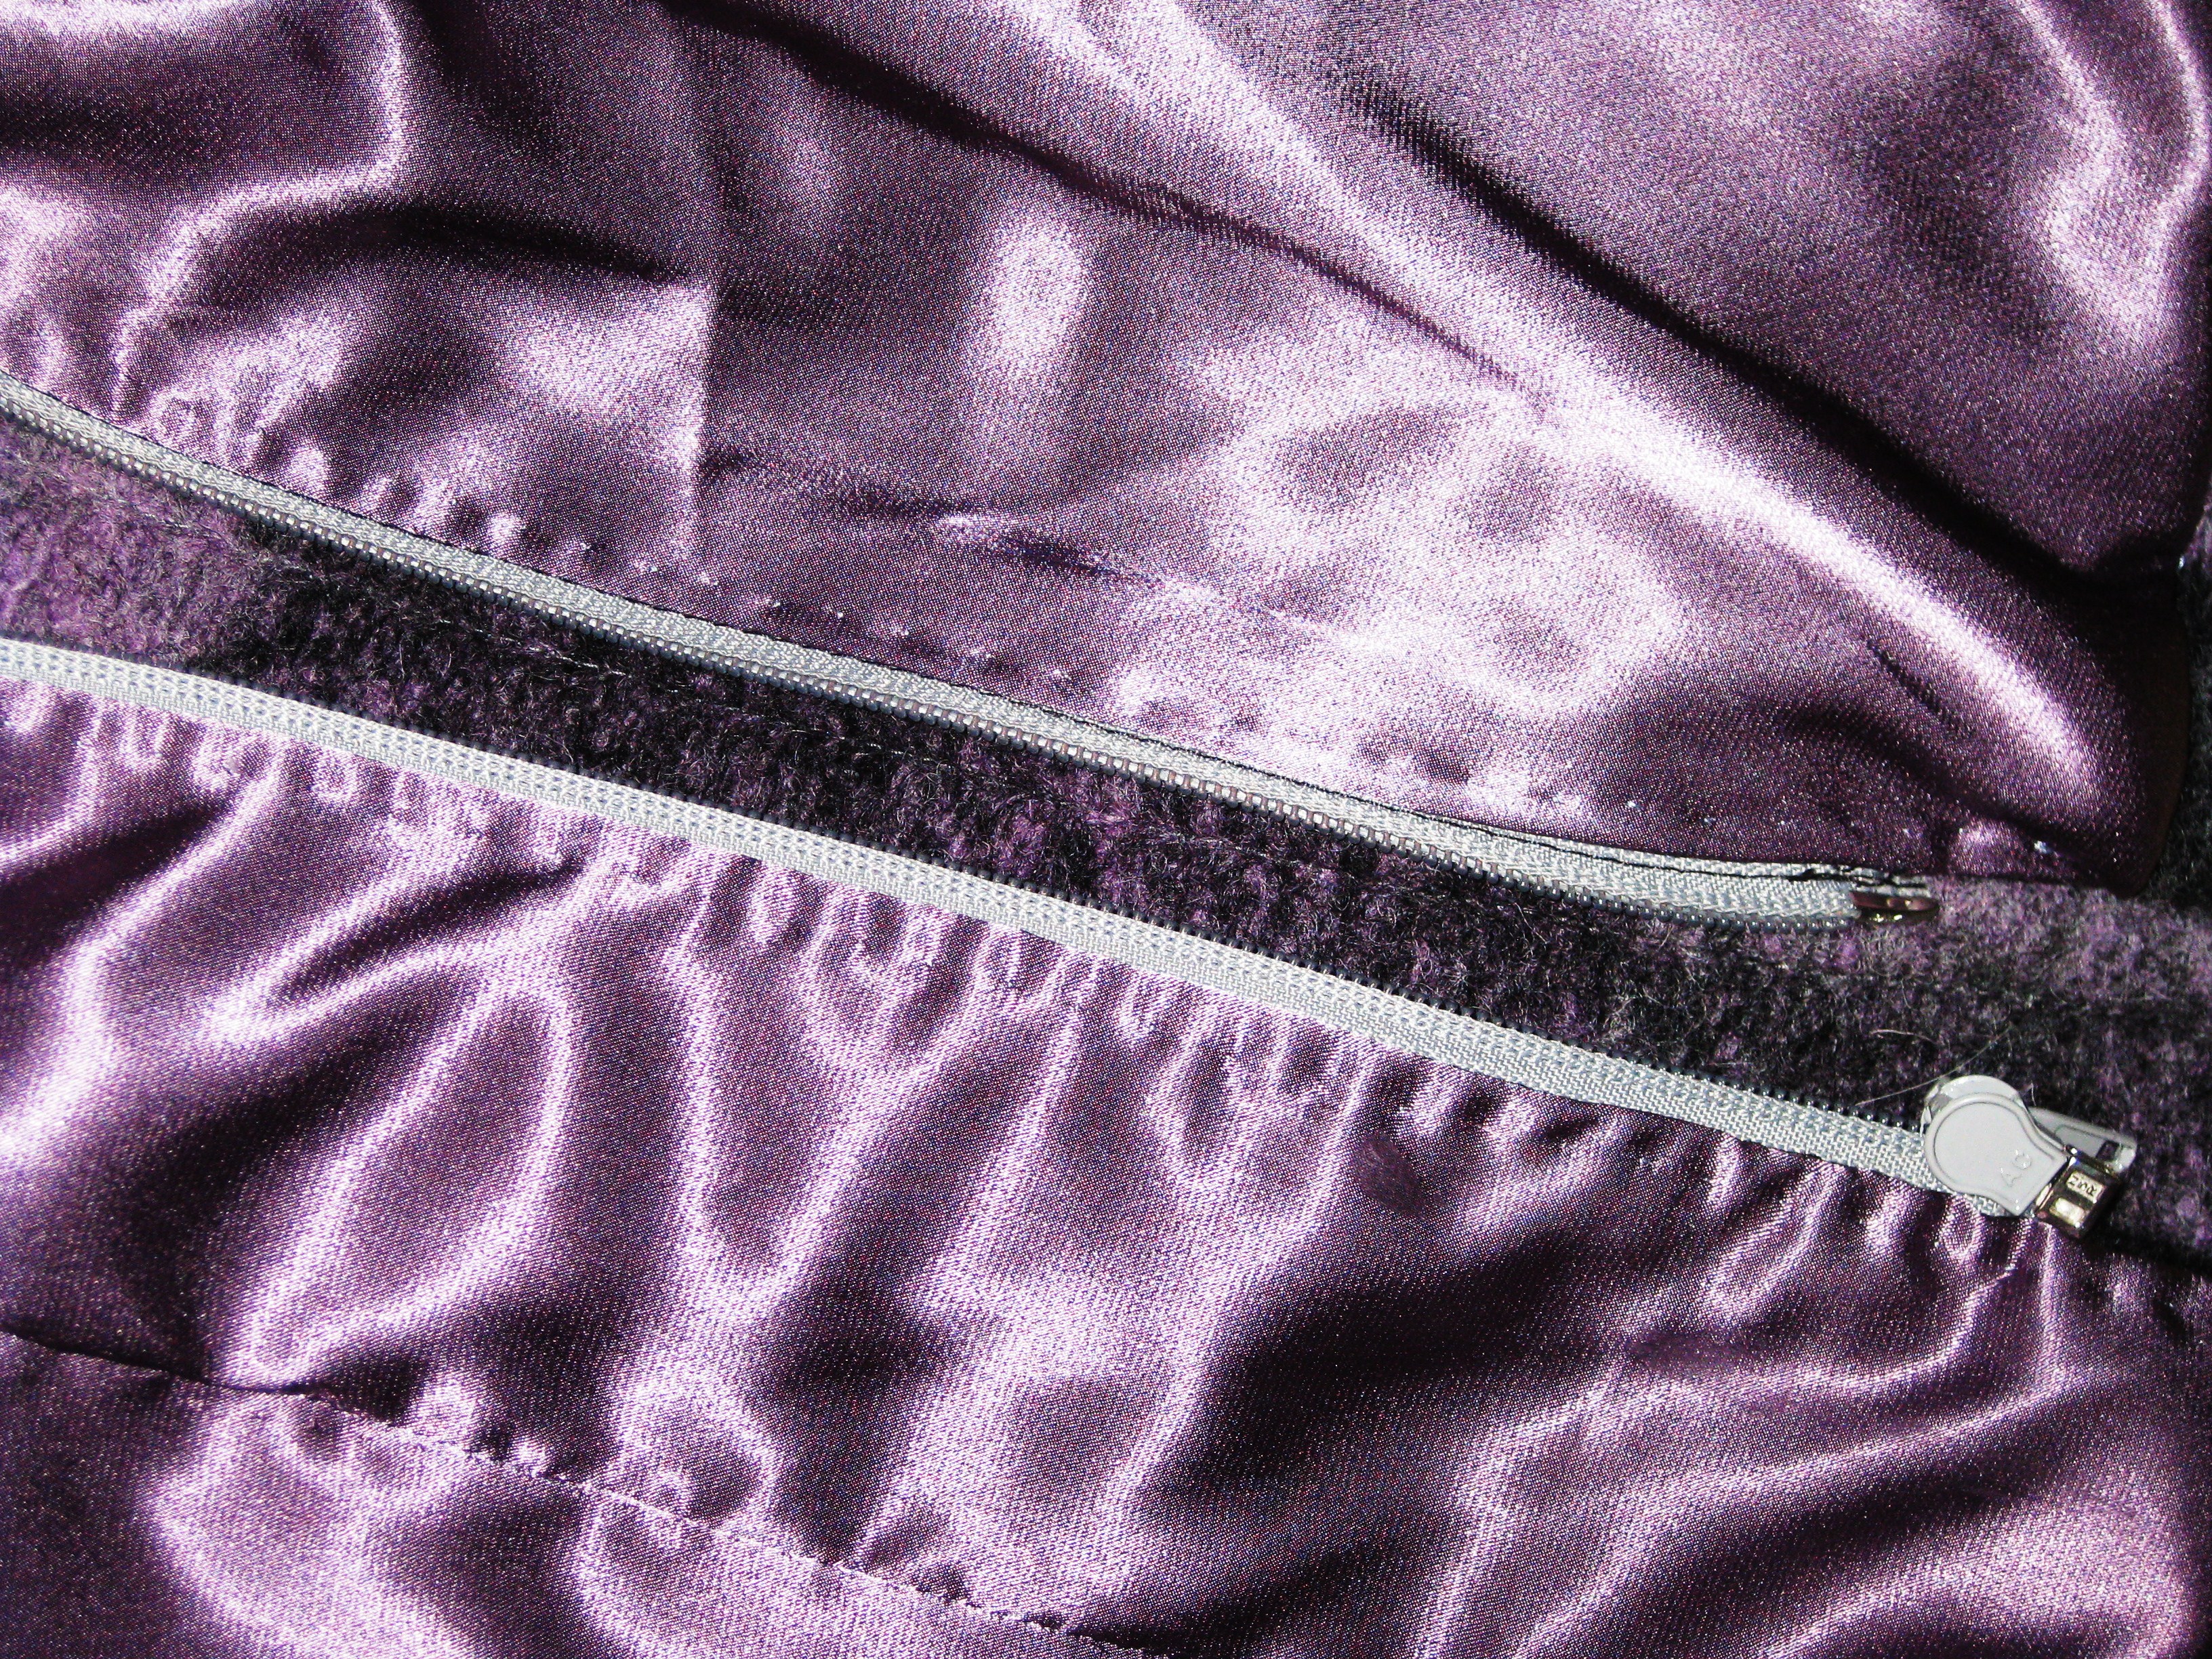
Open invisible zipper.
Facing side of zipper which has been sandwiched between layers.
I have seen photographs of garments featuring separating zippers with two pulls – one opening down from the top and the other, up from the bottom of the garment. They are available on line and would be inserted in exactly the same manner as I have detailed above.
I hope these posts have been helpful and next week I will start a series on a different construction element.
